Outdoor Sofa
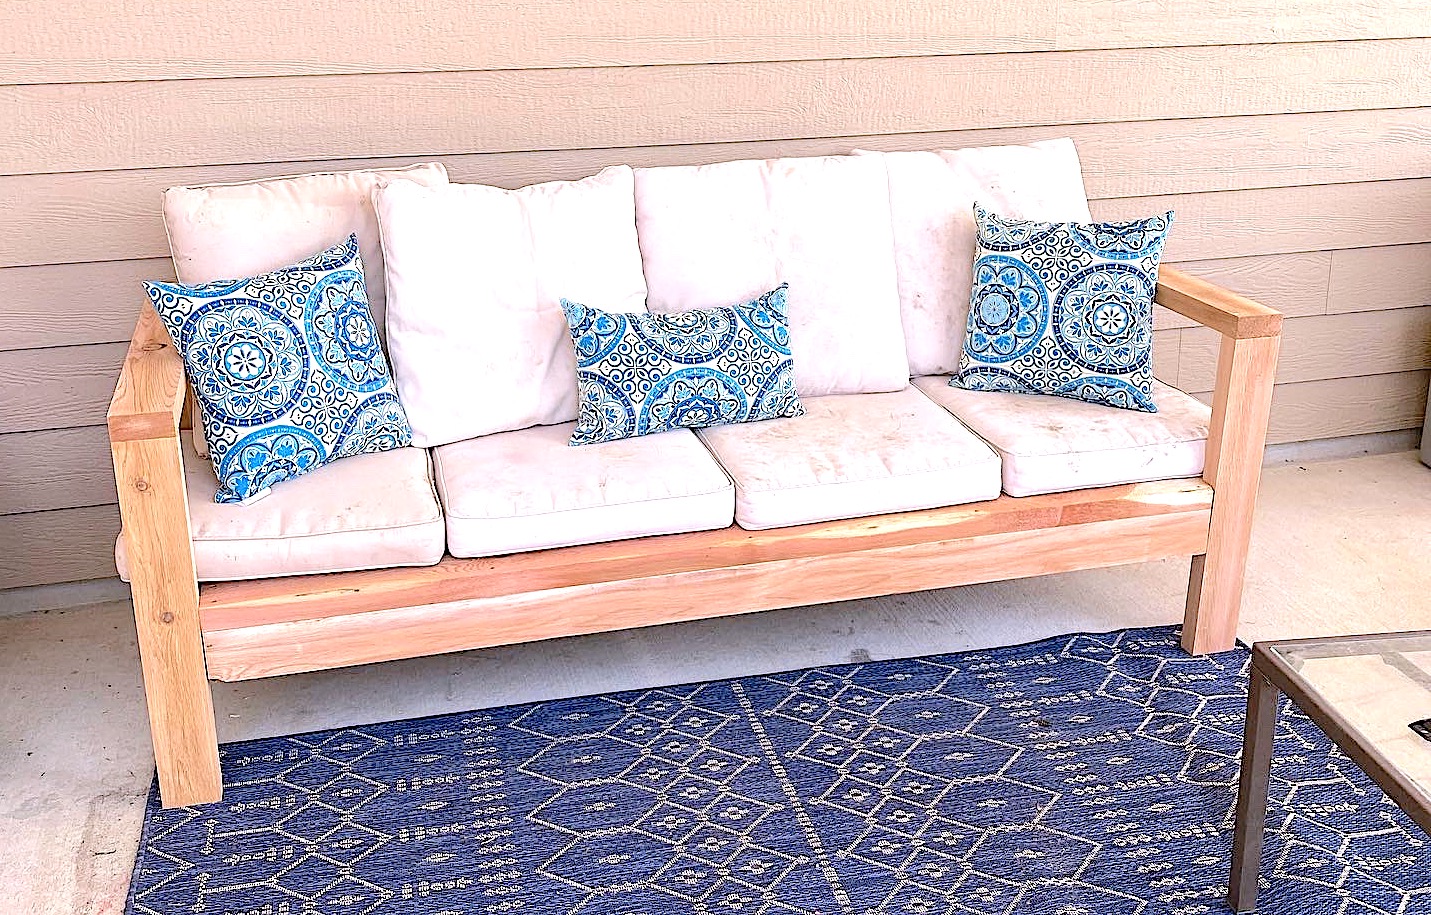
Love love love this sofa!

Love love love this sofa!
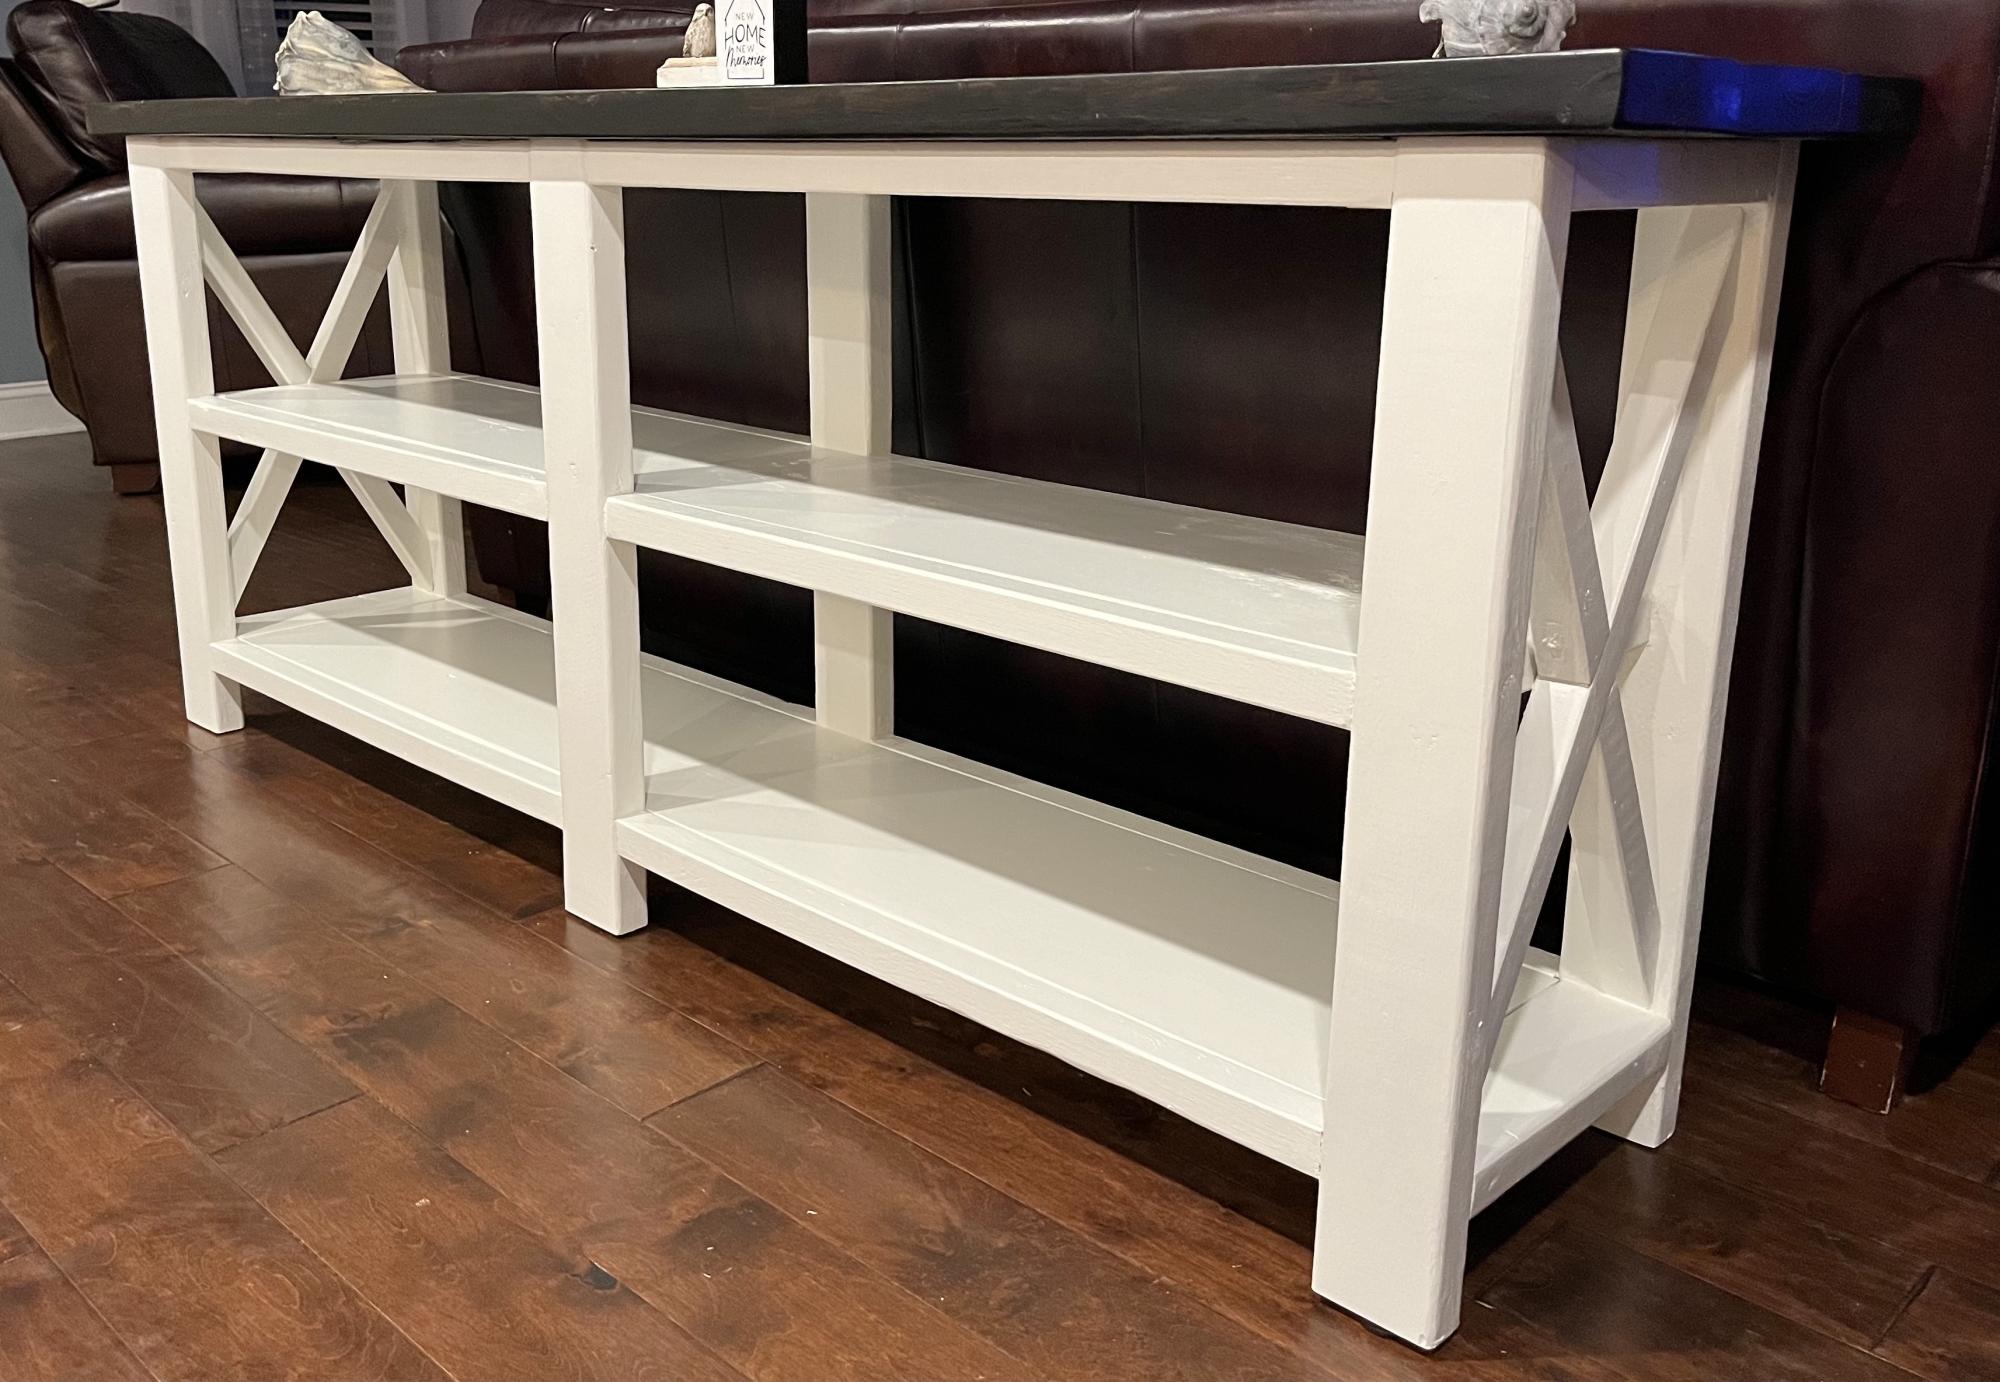
First time building a piece of furniture. Definitely get a small Kreg Jig for the project. Built it for my wife for Christmas. She loves it. A lot of imperfections, but not too bad and very sturdy.
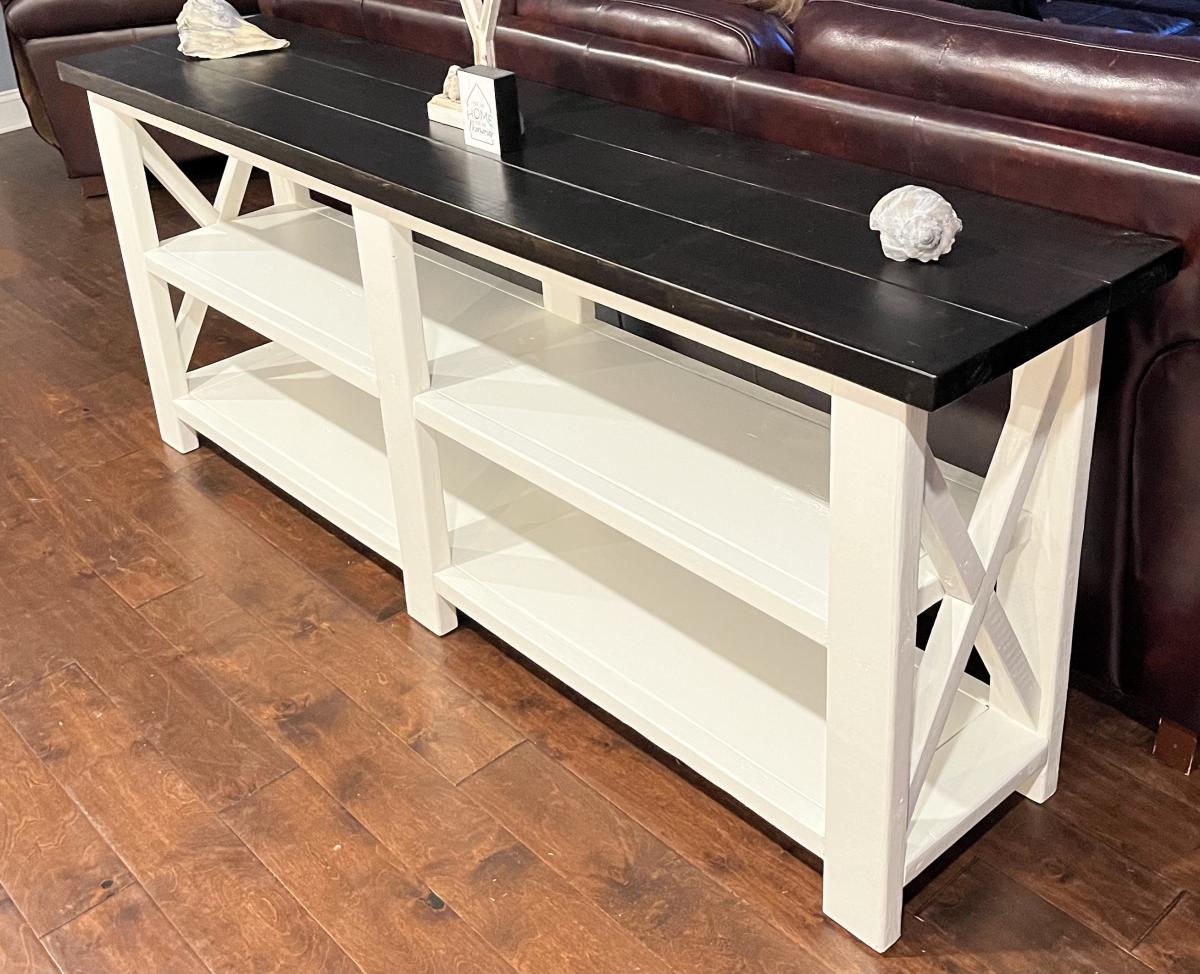

This was mine and my husband's very first attempt at making something on our own from wood, and I'm so pleased with the end result! Actually I didn't do much of the actual building - I left that up to my husband. We recently moved into a new home, and I wanted some nice furniture for our front porch that was comfortable to on. I found a lot of nice furniture, but the price was just a little more than I wanted to pay especially since I knew there were other things we needed for the house. So after discovering Ana's site we decided to bite the bullet and buy some tools and the supplies we needed to build this loveseat. The only thing we really had was the drill because our circular saw needed to be replaced. It turned out to be probably more expensive by the time we paid for all of those things, but we knew in the long run it would pay off.
So my husband started his work, and when he finished building I put two coats of primer on it and one coat of white paint. The woodwork itself turned out better than my paint job because there are some drips here and there. I just haven't bothered trying to sand them yet since it's not too bad.
We bought our cushions from Lowe's. They were $55 for each set (cushion bottom and back) so about $110 for the all. It's amazing how much more expensive the cushions were than the actual loveseat! All in all we are very happy with our new loveseat and absolutely thrilled that we found Ana's site! We've already made something else since this project and are working on a third!
Fri, 06/22/2012 - 11:06
Beautiful job Motsy! I agree with Patrick that you're probably hooked now! A little sweat equity can produce the most beautiful things that make us proud!
Decided build this simple cahnging table for my wife and I. I used the "Simple Changing Table" plan, but used 1/4" Hardboard instead of 3/4" ply or MDF. To keep the 1/4" hardbaord in place I cut a groove in each of the 6 end pieces and glued it in, then I put 2 supports (1x2) under the middle of each shelf. I didn't make the top try insert and made it a little narrower. I notched out the legs to help support the cross beams.


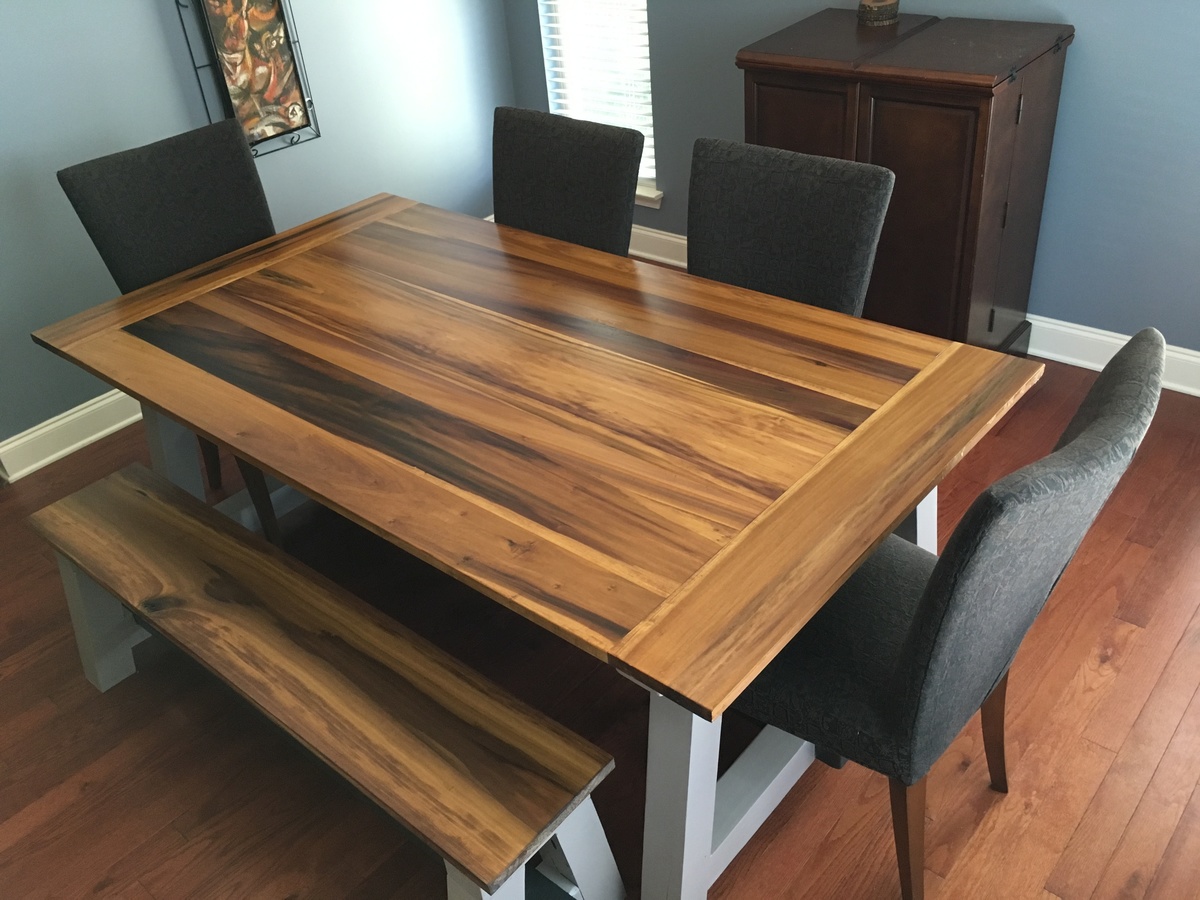
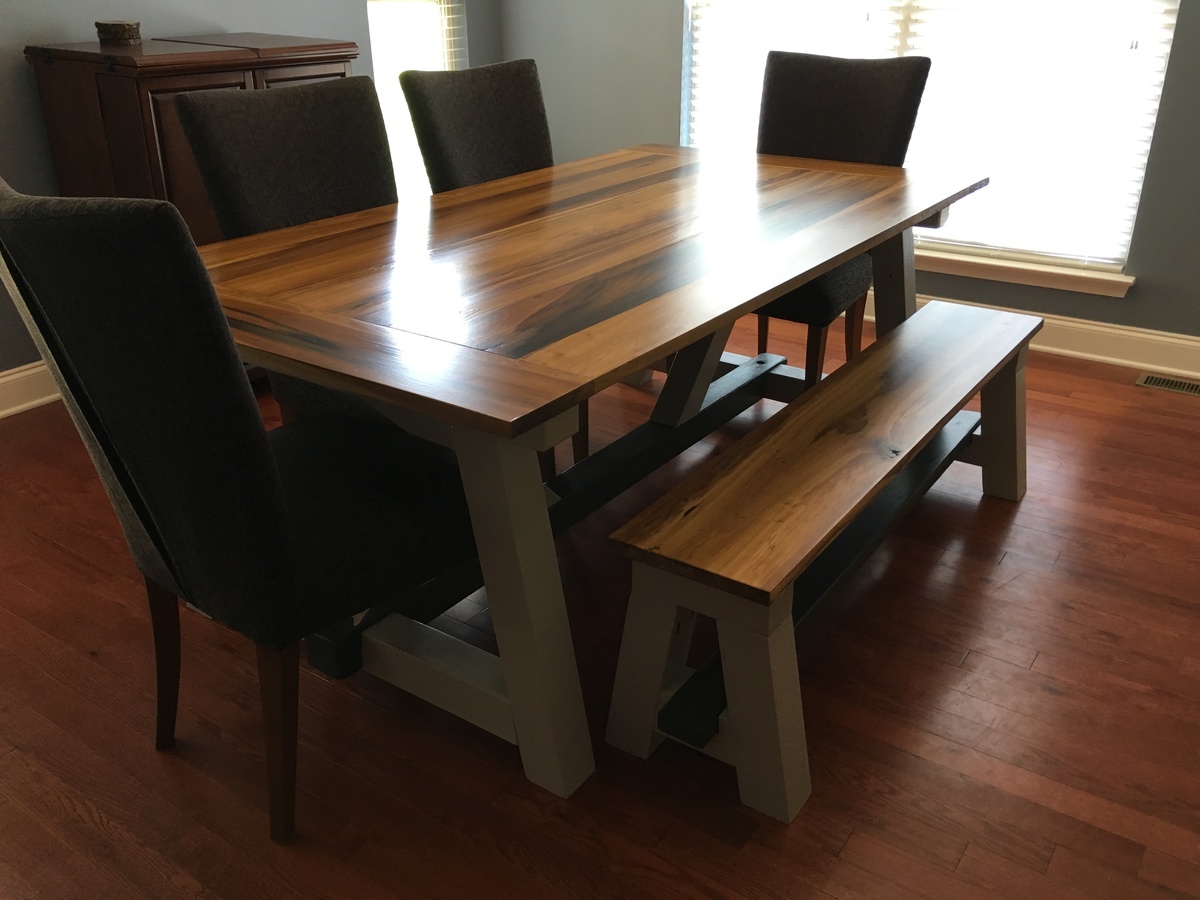
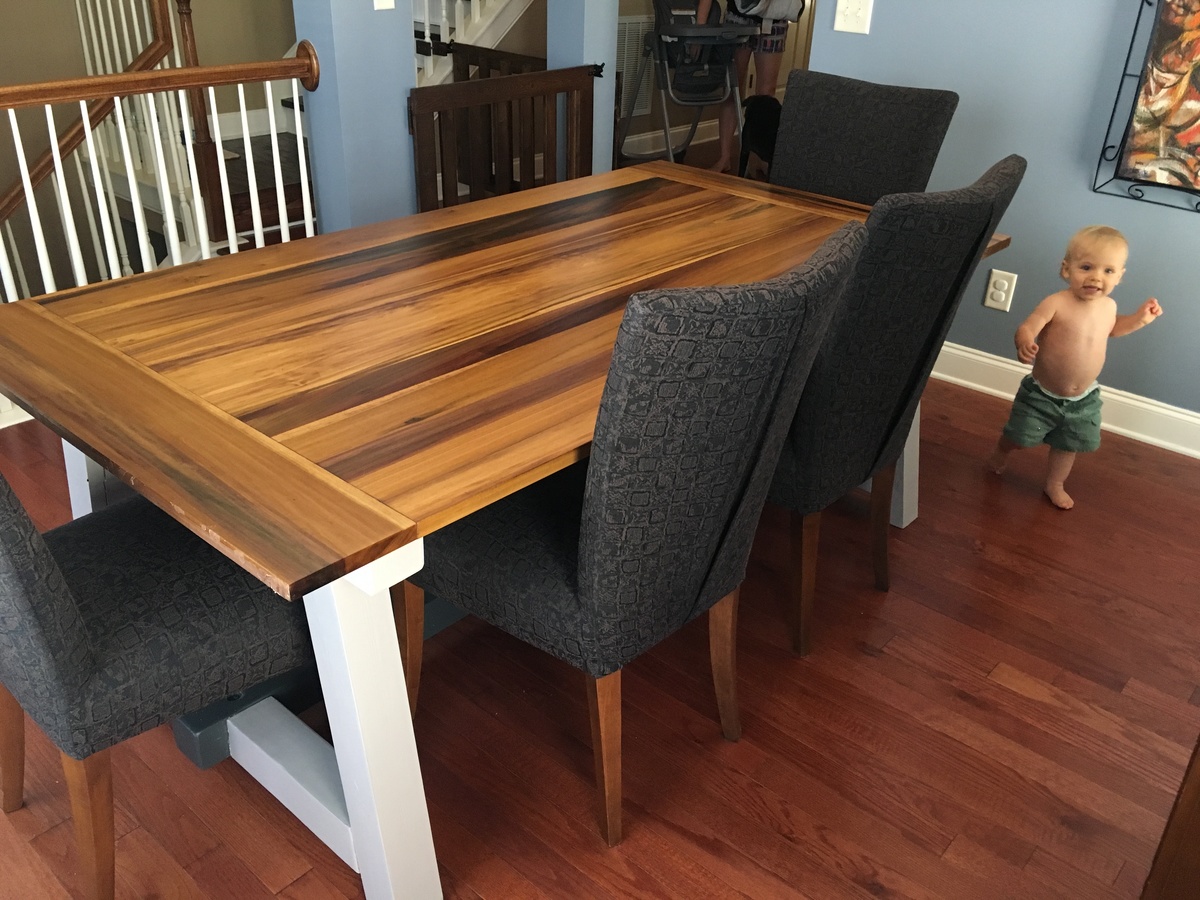
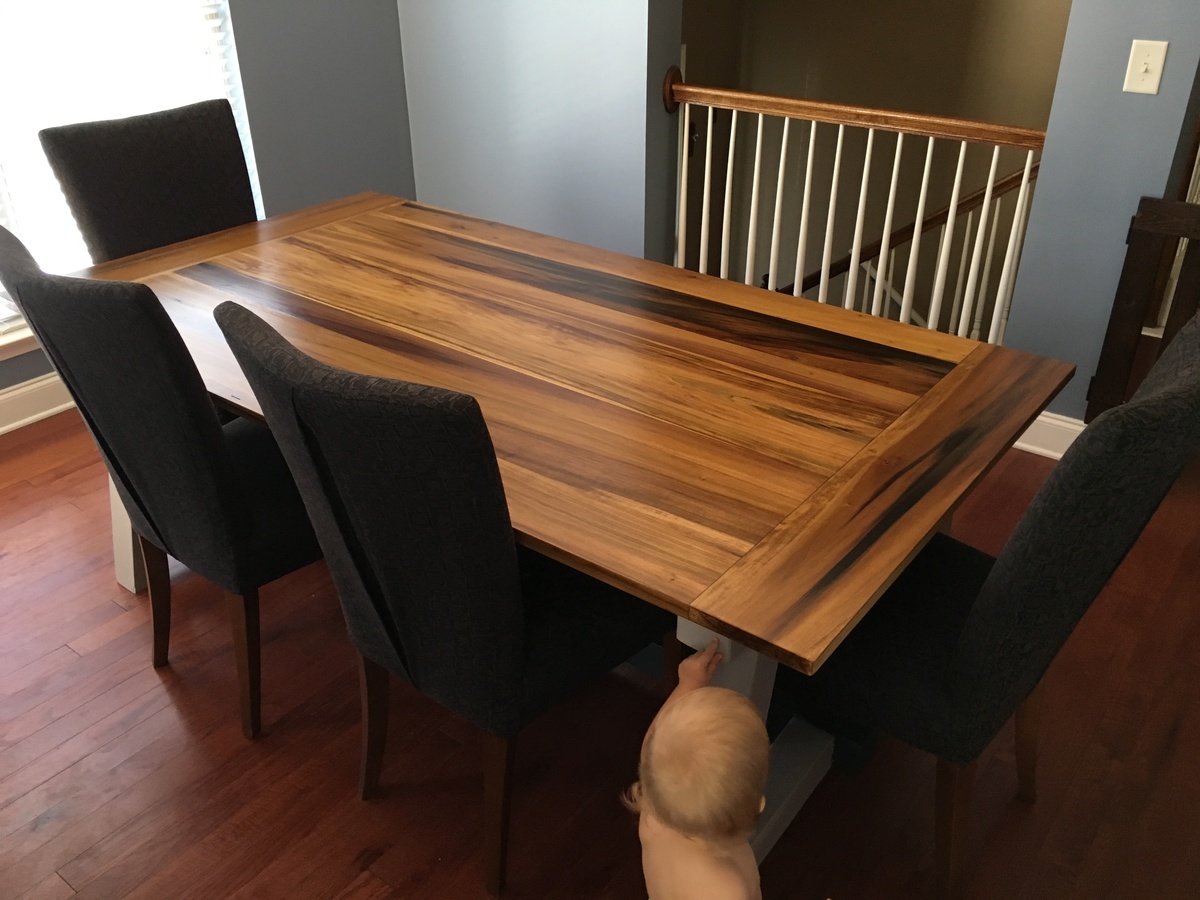
Was planning to build the table from smooth cedar... But at the lumberyard I happened across this beautiful batch of 5/4 poplar and adjusted on the fly. The tabletop is actually a crazy assortment of widths... 6, 8, 4, 12, 4, 8, 6 (respectively). Kregged, sanding like the dickens, two coats of light stain (cause I love all the ribbons/grain in this top) and fought with the poly for a few days to get it smooth. Decided to paint the base cause the broad grain of the pine base wouldn't match the top. My wife picked the little accent color for the stretchers on the base and that added some nice contrast. I didn't intend to build a bench at the start, but I had enough wood and the remaining 5/4x12 poplar top was too pretty not to use!
snagged the 4 chairs on Craigslist too. Really rounded out the set.
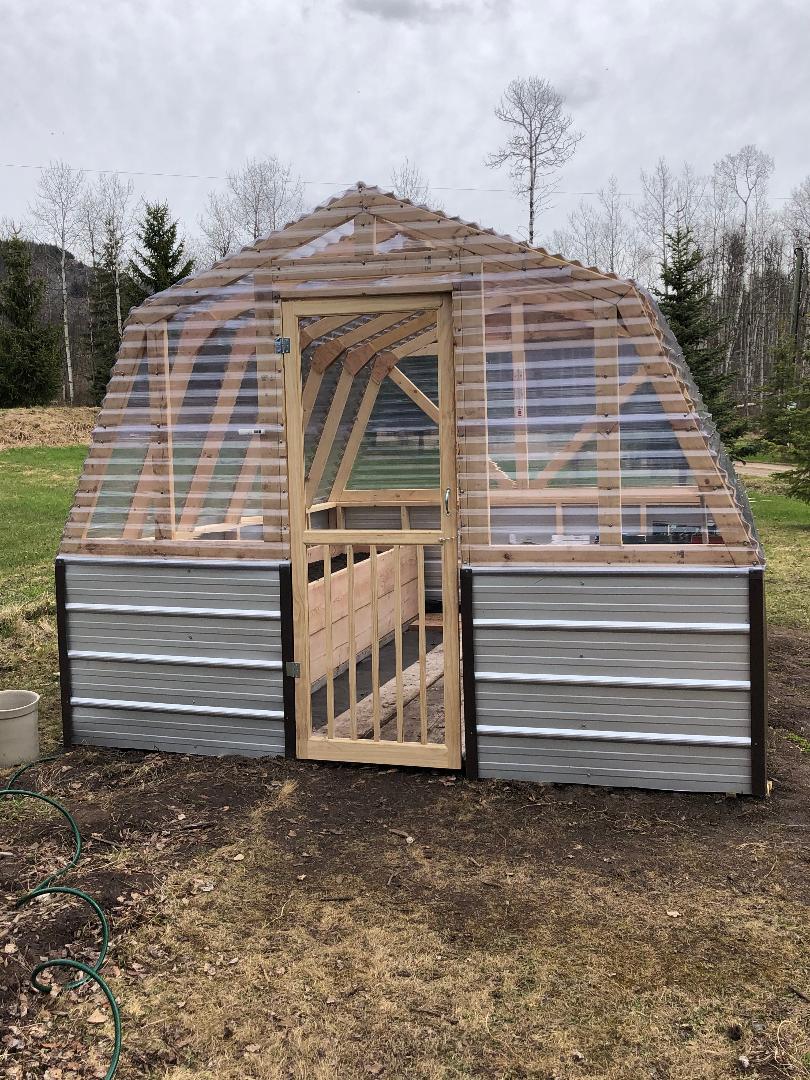
When the Covid quarantine hit we decided to build a greenhouse - it's been on our To Do list for 9 years. The DIY Greenhouse was the first design I found via Google search and it looked so easy and has all the materials listed so we just had the materials delivered and dived right in! It took us 5 days, about 4 hours per day. The smartest thing we did was borrow a mitre chop-saw. There's a lot of 22 degree angles to cut. Other than that it was easy peasy as long as you follow directions. Also got a skill saw blade that cut both the plastic and the tin. It cost us about a grand Canadian, but the closest kit I found online was smaller and was $1500 US. I'm already growing stuff in it and the temperature here in Northern BC gets below freezing at night (around -1C) but everything is ok. The current temp outside is 15, but it's 30 in the greenhouse. We cut a few vents in the back wall panel to allow for airflow and I'm going to purchase a solar muffin fan to move the air a bit. Highly recommend this unit!

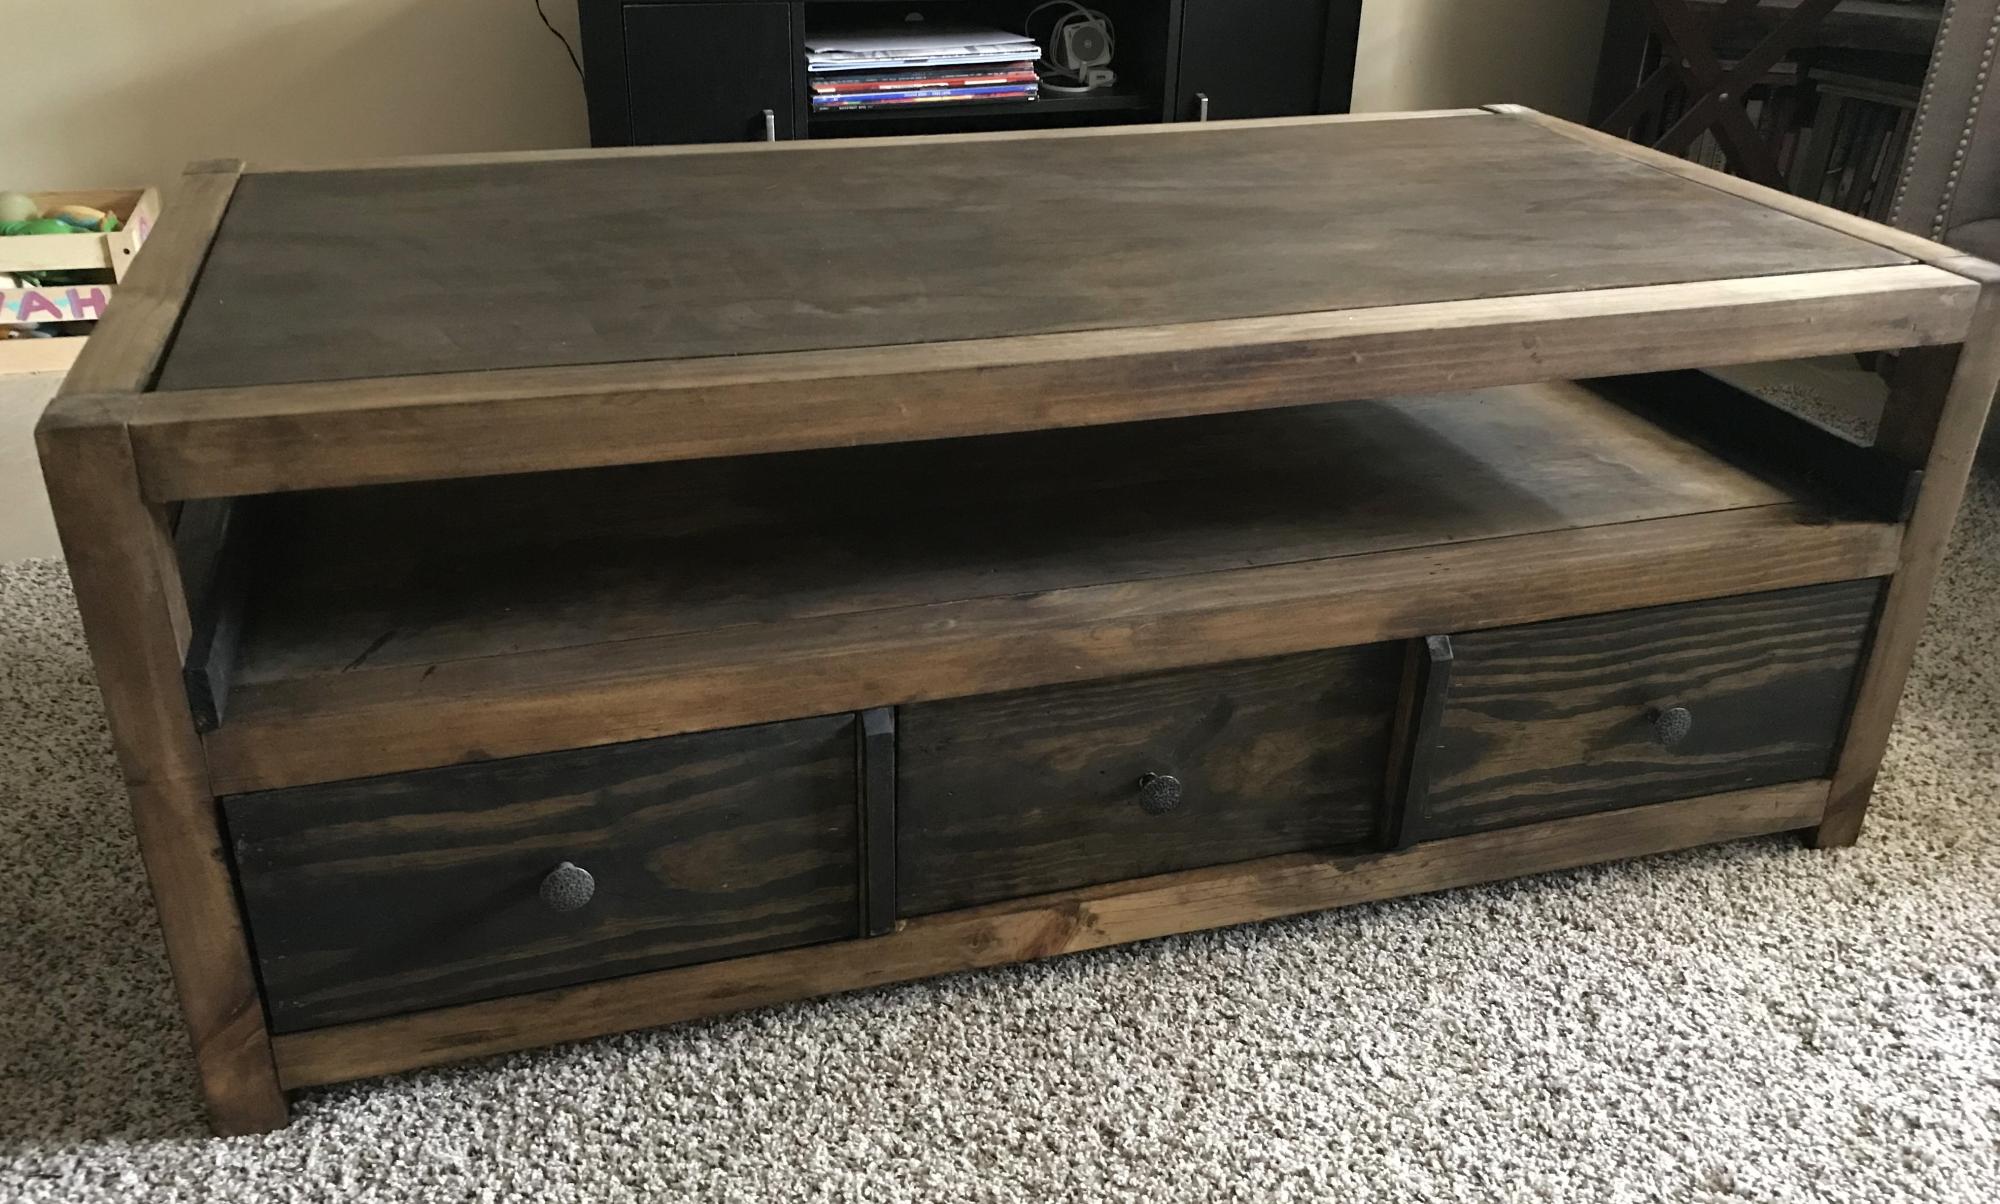
Built this gorgeous table from Ana’s plan. Had to build two more for my grands.
Debbie Cutts
With grandchildren and pets we decided to put a gate on the deck.
The gate is made from 2 X 4's and 2 x 2's. I used brass hinges to prevent rust and smooth operation
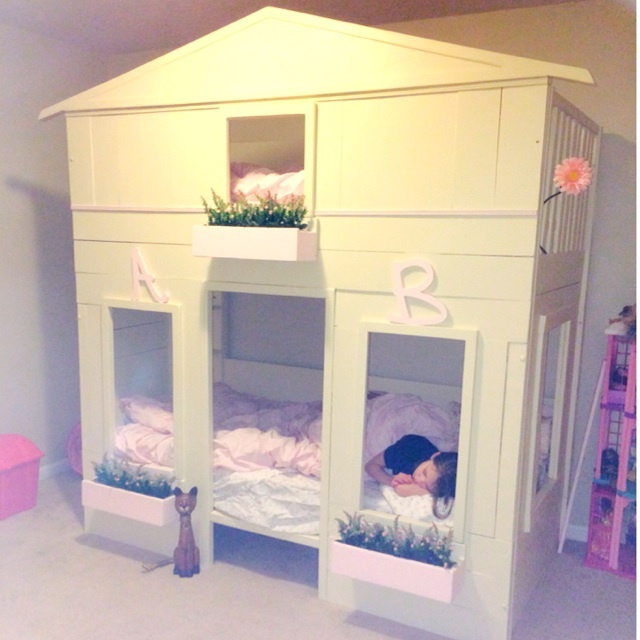
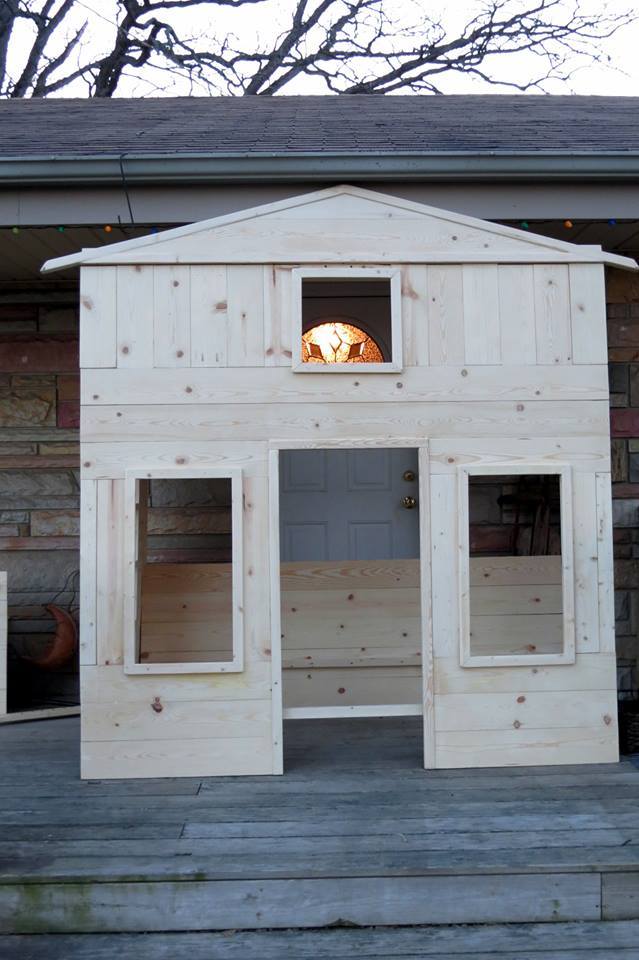
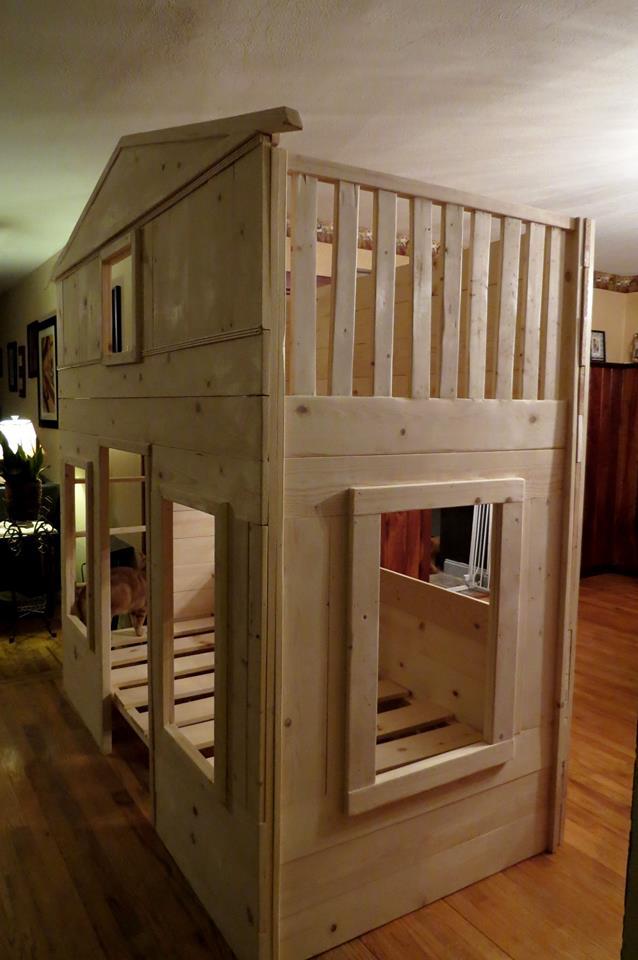
This was Ana's cottage loft. I was asked to make it into a bunk bed. So I changed the backside to include two sets of five 1x6s, and added a 'second floor' so the top bunk child would feel like she was in the house as well. I also added the flower boxes and made the rails 19" high on the top bunk. Next time, I would add a ladder to both sides for easier access to making the bed. The customer painted the bed.
Sat, 08/09/2014 - 09:28
First of all, what an amazing job you did! I love the changes you made!
I'm wondering if you could offer some advice.
I'm building a "Little Cottage Loft Bed" for a friend's daughter. With the few changes that I've made there are approximately 375-400 pocket holes (thank goodness for my trusty kreg jig!).
With previous projects, I've used wood filler to fill and cover the pocket holes but due to the quantity involved in this project, I'm not sure that's the best approach.
What did you do with the pocket holes on your beautiful bunk bed?
Would you recommend using wood filler? Using wood plugs? If so, how do you recommend trimming them flush? I've not used them before because I was unsure of that step. Should I pay an arm and a leg for plastic plugs (I'm in Canada and would have to order from the US)? Or should I simply paint and leave them visible since the vast majority of the pocket holes are on the inside of the lower level playhouse and would not be seen from the outside?
Any advice would be greatly appreciated!
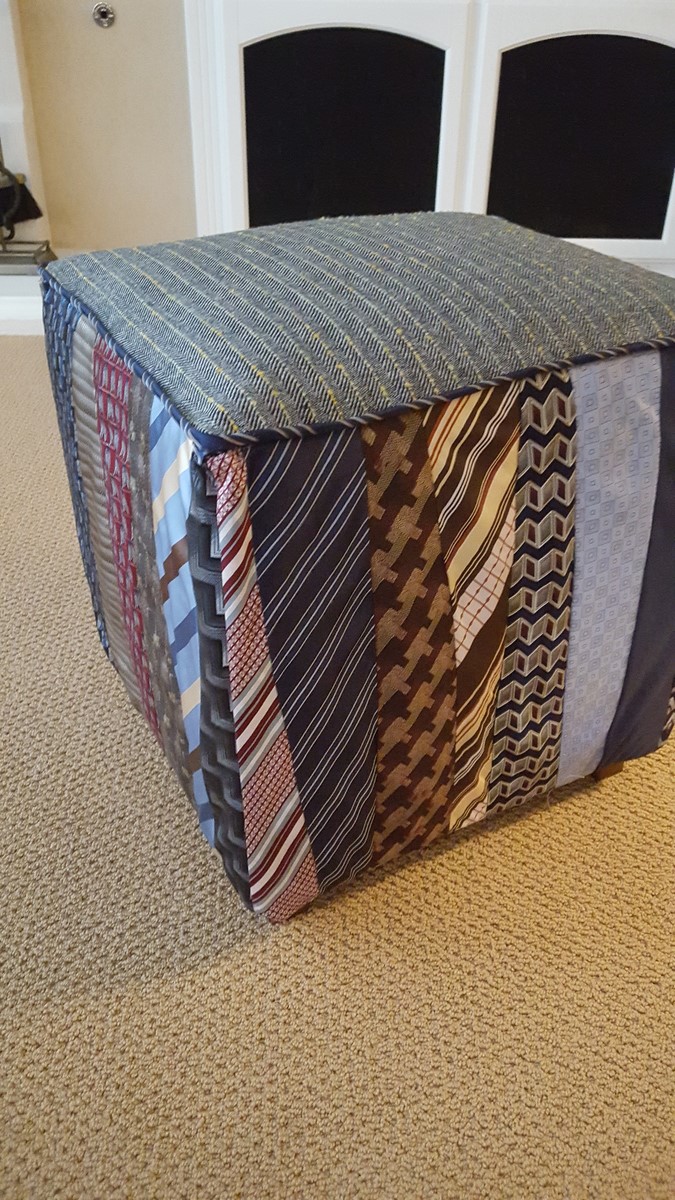
Use those ties and a suit you aren't using anymore now that you are retired! Sit back and relax!!
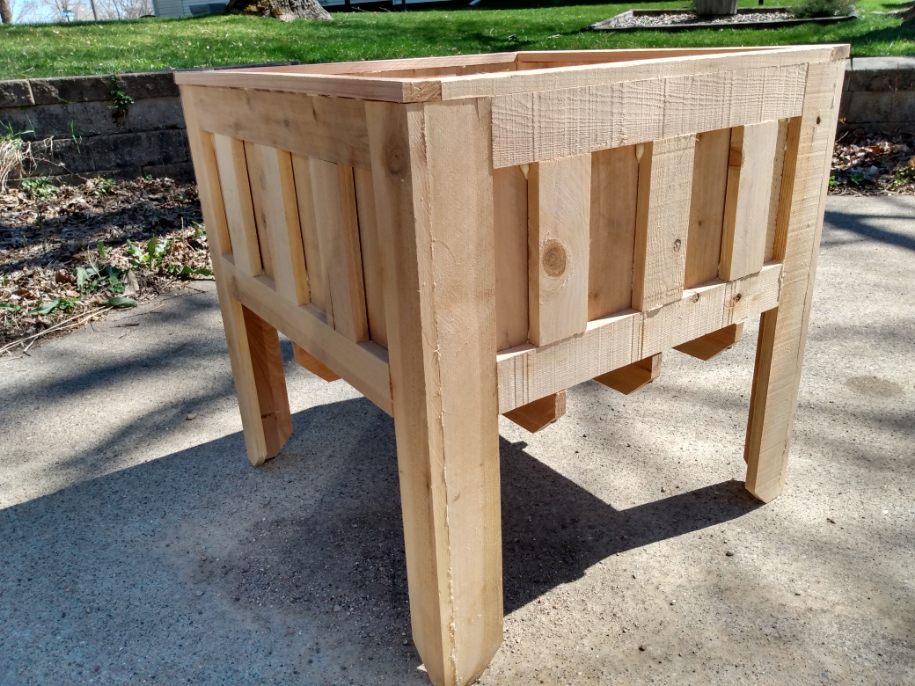
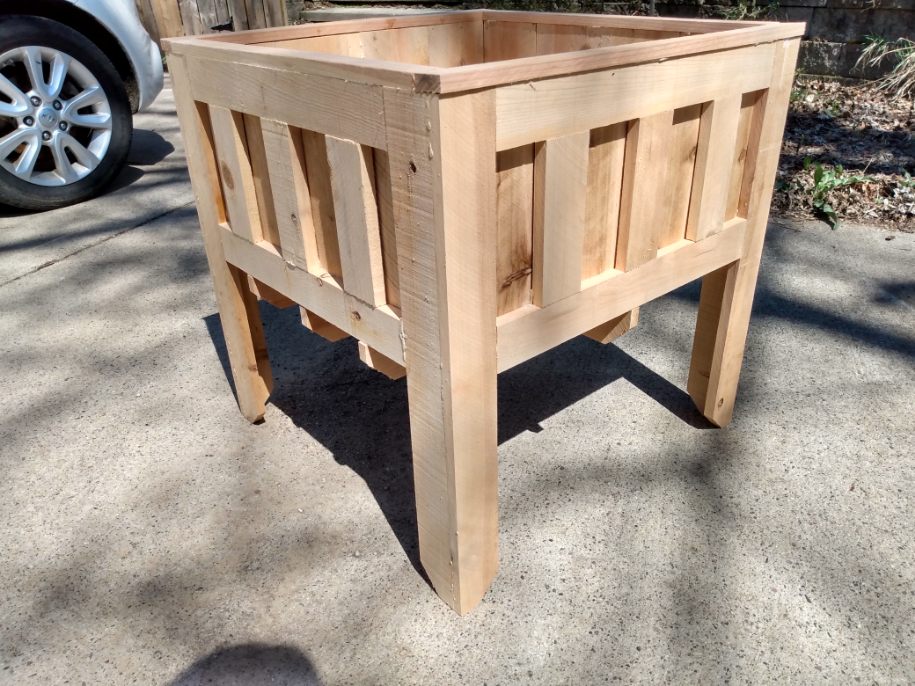
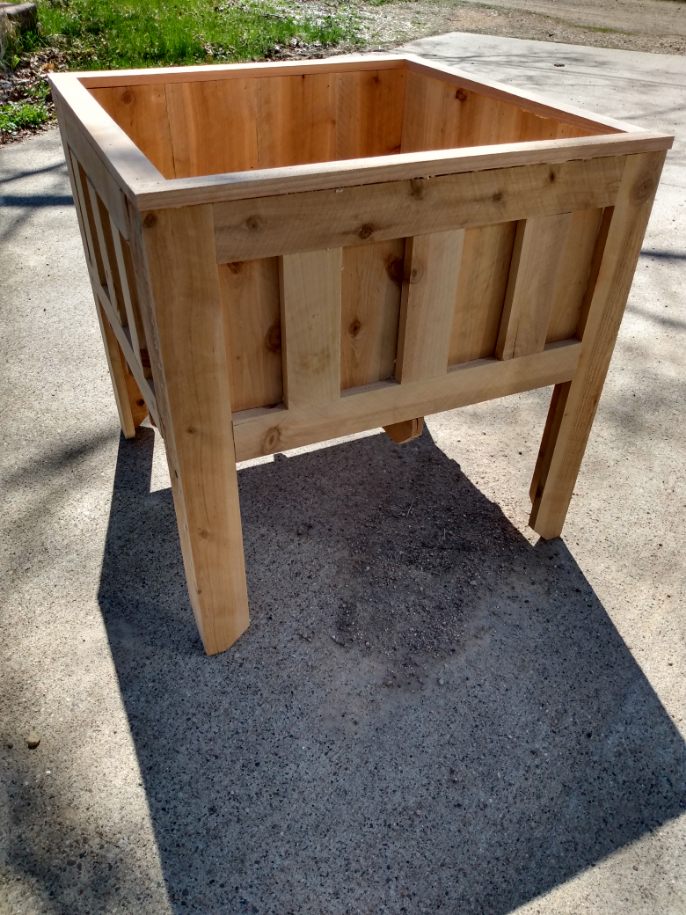
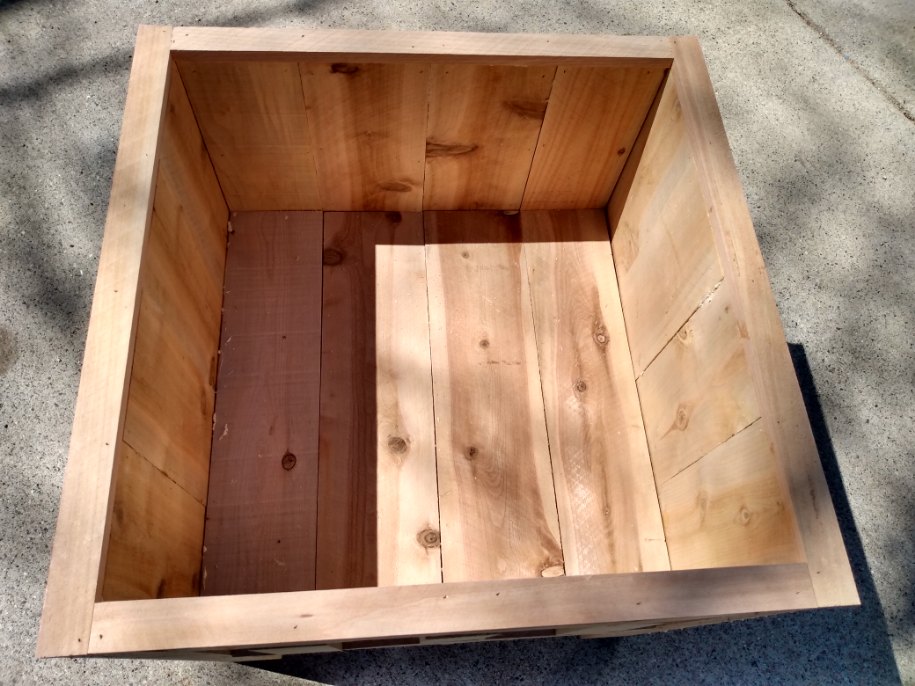
My supervisor wanted me to build her a waist high planter so I found pictures online and then came up with an idea in my head and carried it through. I had some pieces left over so I made it's little brother as a gift to my mom for Mother's Day. I posted it on a FB share site the other day, now folks want the plans for it. I am great when it comes down to thinking the plan in my head but putting it on paper, well lets just say not so much.
It measures 24" X 24" X 24" with a 12" deep planter basin. The bottom has a dadoed grid of 4 boards on the first and 6 in the newer versions to hold the bottom boards on top.
The entire project was 8-1X6 6' dog ear cedar fence pickets from The Home Depot that cost $2.35/each. I glued (Gorilla Glue), brad nailed and screwed the entire thing together So total, this cost me about $25.
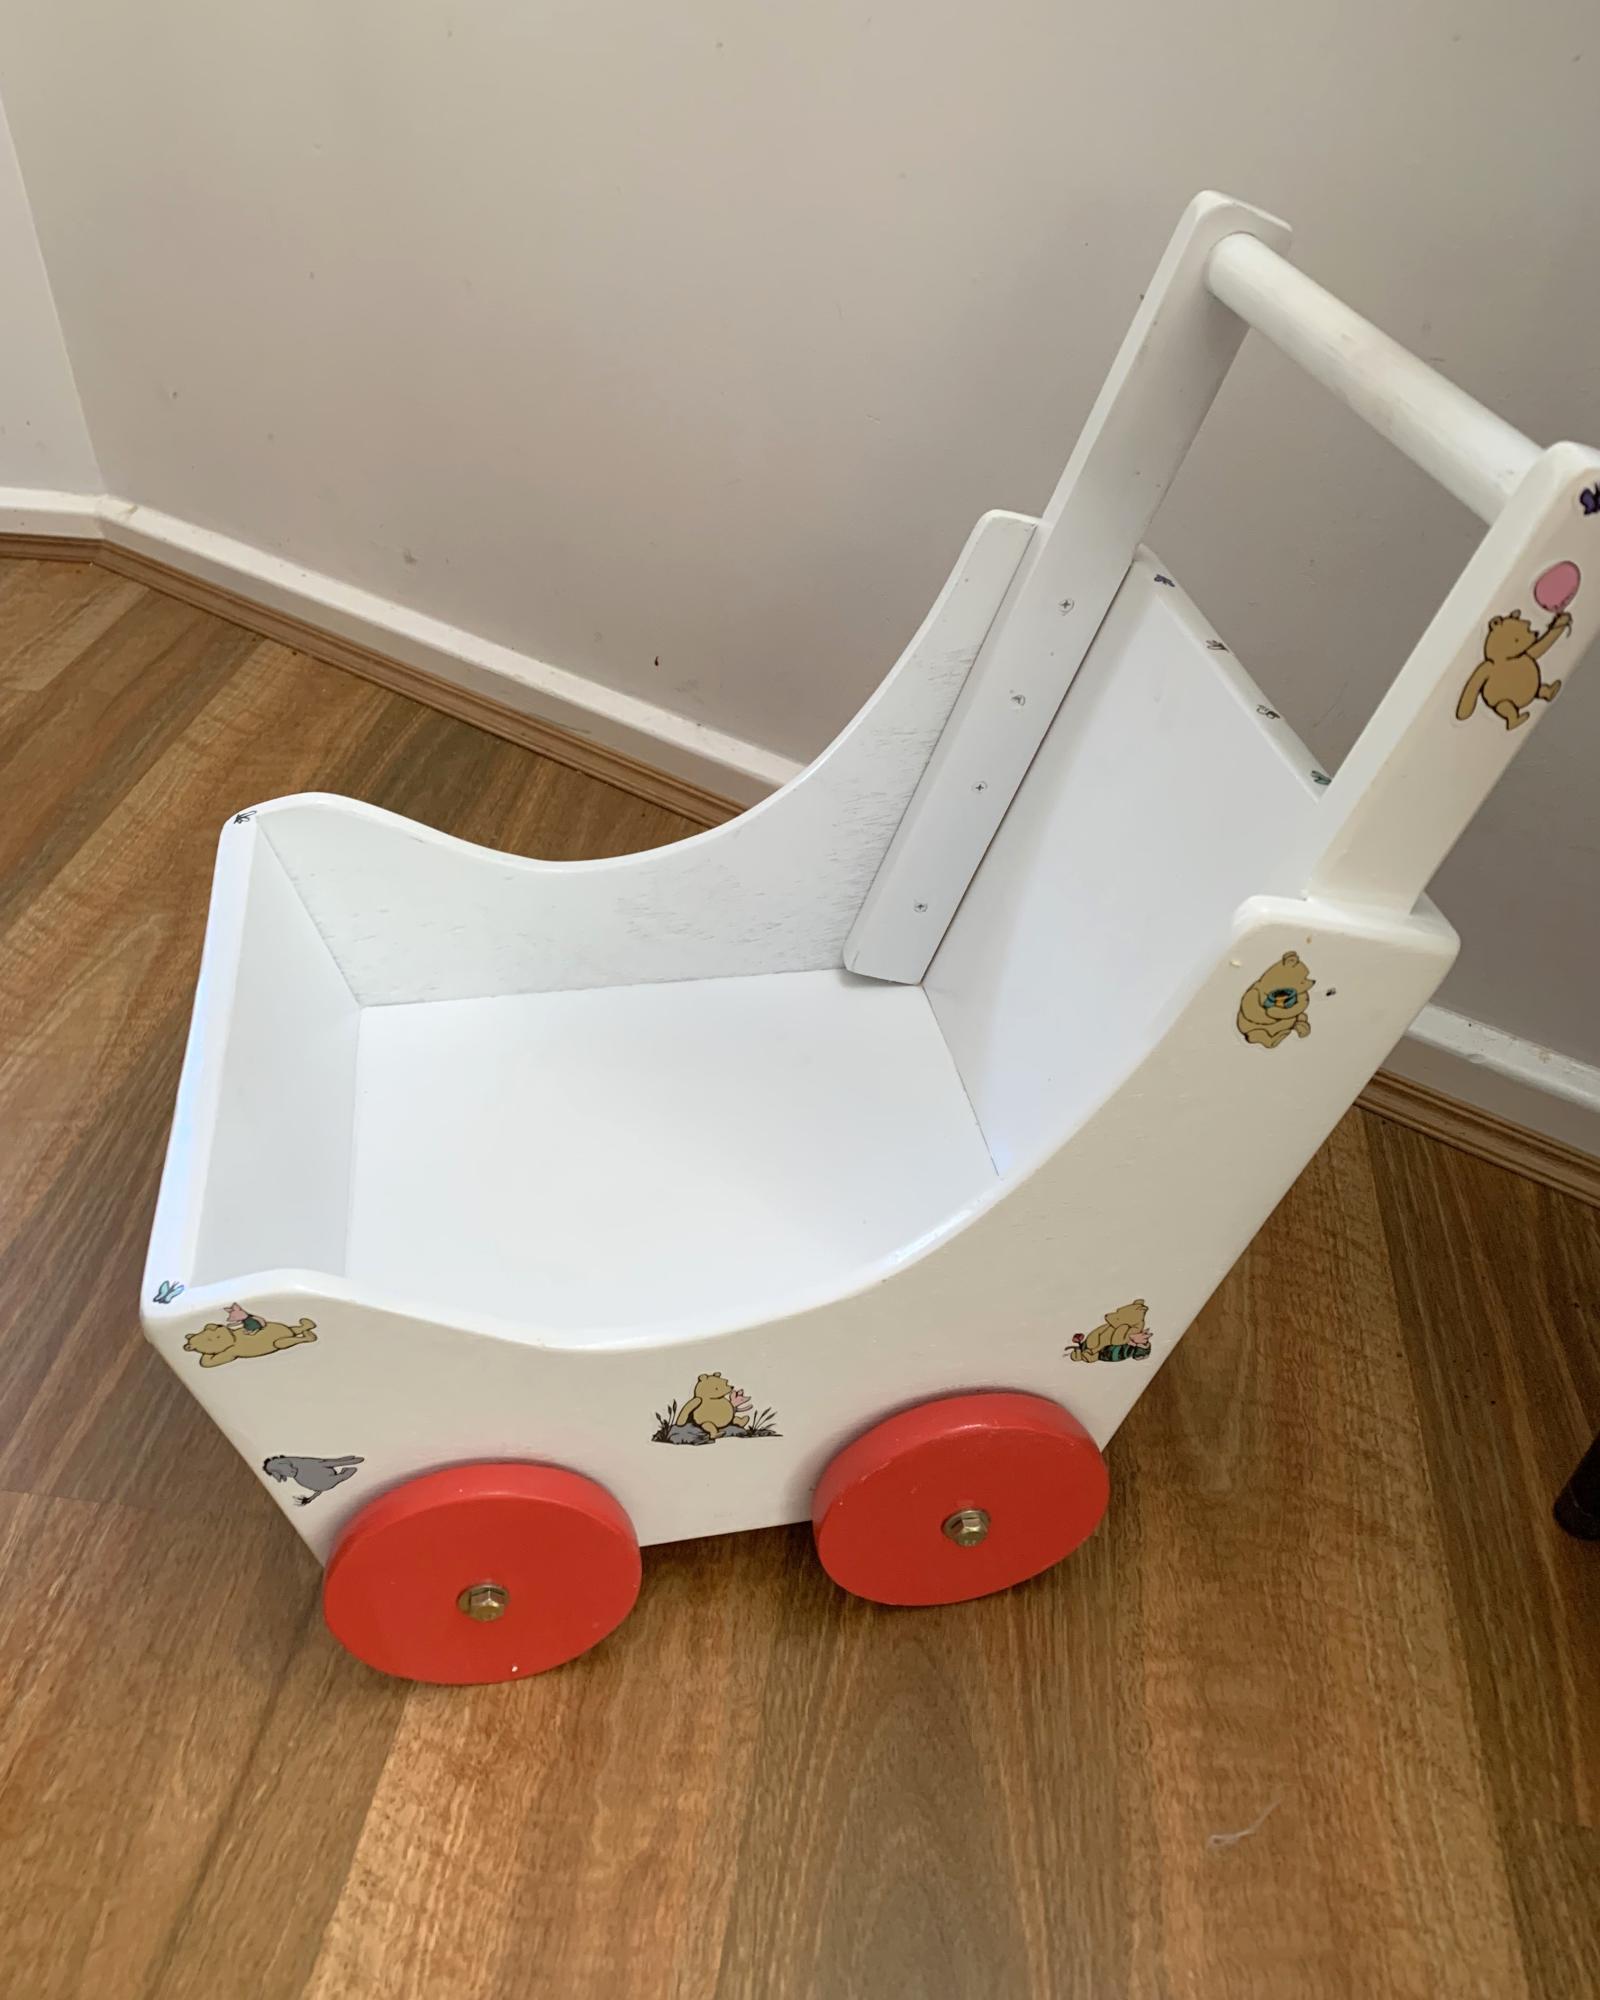
Thank you for the inspiration. In Australia I could not get the same size timber so needed to trim the sides. Next time will create the main frame and use it as a template. Made my own wheels, lock nut (also super glued) to ensure nut does not come off with little ones.
For my granddaughter and finished with Winnie the Pooh stickers.
Lawrie Kirk
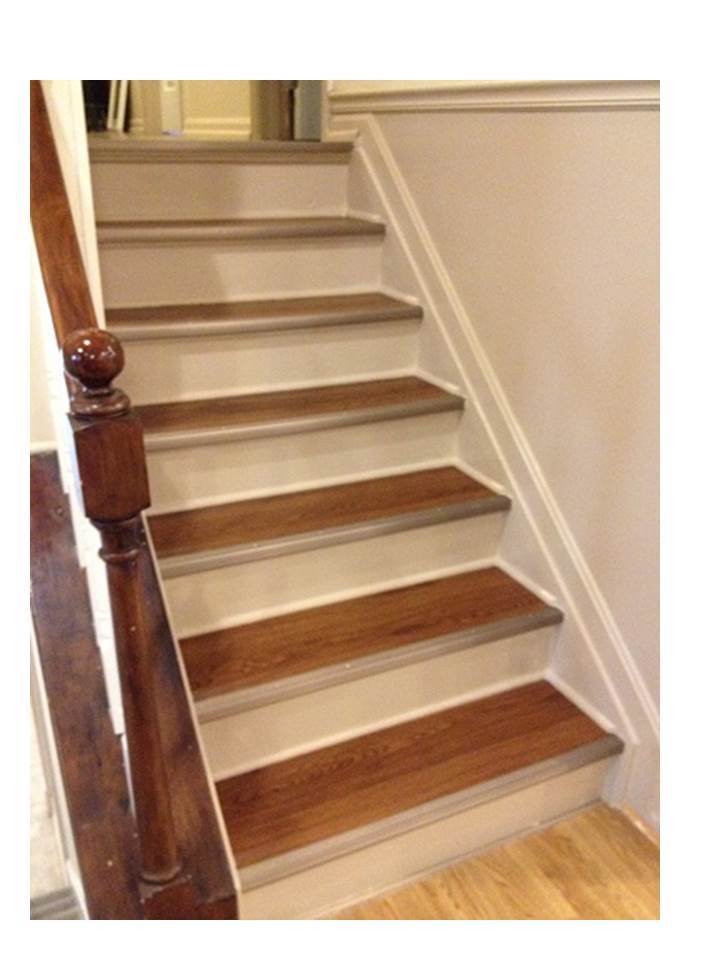
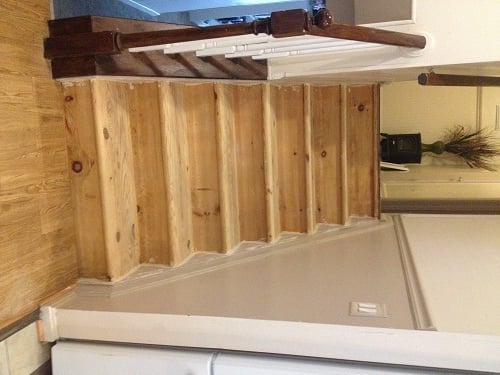
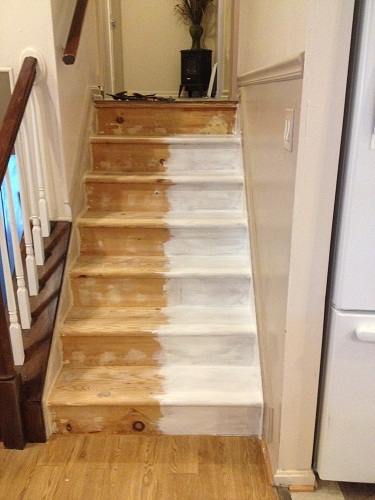
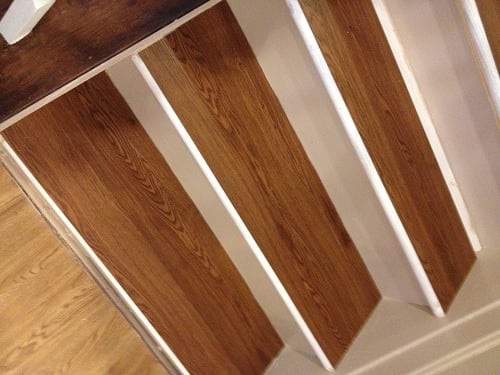
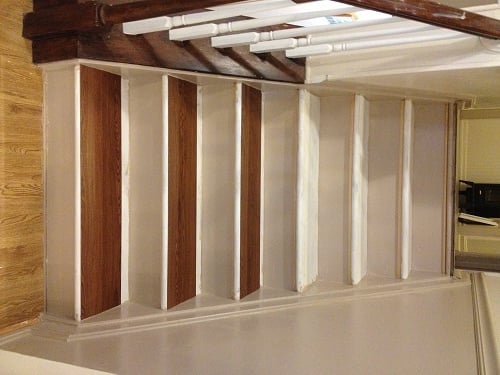
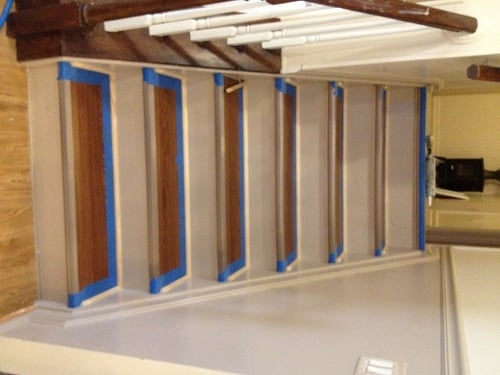
Finally got rid of the yucky worn-out carpet on the stairs. Instead of painting or staining the tread surfaces, I sanded, filled in holes, primed with a high quality primer, and used luxury vinyl flooring planks on the top of the treads, and finished the fronts with pewter stair nose. The risers and skirt boards were sanded, primed, and painted with 2 coats of semi gloss paint. Below the front edges of treads and where the treads meet the risers and skirt boards, added a finishing touch with some trim. This project was time consuming and I had sore muscles all over from crawling up and down those steps, but I think the finished result was worth it. They look much nicer, and we can get dust and dog hair off of the steps with just a Swiffer. Plus, it only cost about $200 to do 2 sets of stairs (6 steps up and 6 steps down).
So, why didn't I stain or paint the tread surfaces? I originally planned to, and did a lot of reading and research on what to use. But, I was worried about slipping on the stairs. Mom (who lives with us) isn't as mobile as she used to be due to a hip replacement and arthritis, and I was worried about her slipping on the smooth tread surfaces. Even if I'd used slip resistant paint, I was still worried about her foot slipping off the round bullnose at the front of the tread (that's happened to me with the carpeted stairs). The vinyl planks have a textured surface. We have these on several of our floors throughout the house and they aren't slippery for her feet. The stair nose has ridges and also is a bit squared, so it doesn't allow your foot to slip off of the front edge.
I know this is non-standard from what most people would expect to see on stairs, and we'll surely have to change it if we ever sell our house, but in the month we've had this project complete, so far it has been great.
Mon, 10/07/2013 - 16:00
How have your stairs held up over the last year? I'm considering doing the same thing. I'm worried about them being too slippery (my planks are not textured) and the fact that the manufactuer says not to use for stairing. Your stairs look great!
Mon, 10/07/2013 - 16:33
Thanks SunnyL! The stairs are holding up great! The stair nose makes it so your foot doesn't slip off the end, and they sweep up beautifully. We have 2 beagles that shed a lot, and it's a cinch to get the dog hair off the stairs ;).
I'm not sure about doing this with a slick surfaced plank, though... One of the reasons I chose to use this particular plank is that it's textured and not slick at all.. These have the adhesive on the back and haven't moved or lifted a bit. This is the one I used, it was a great price and is wearing beautifully.
http://www.lowes.com/pd_33259-84875-WD4011_0__?productId=3032606&Ntt=vi…
Good luck on your project! :)
Joanne
Here's my farmhouse table! This was my 2nd project (the first was a work bench) and it went really smoothly.
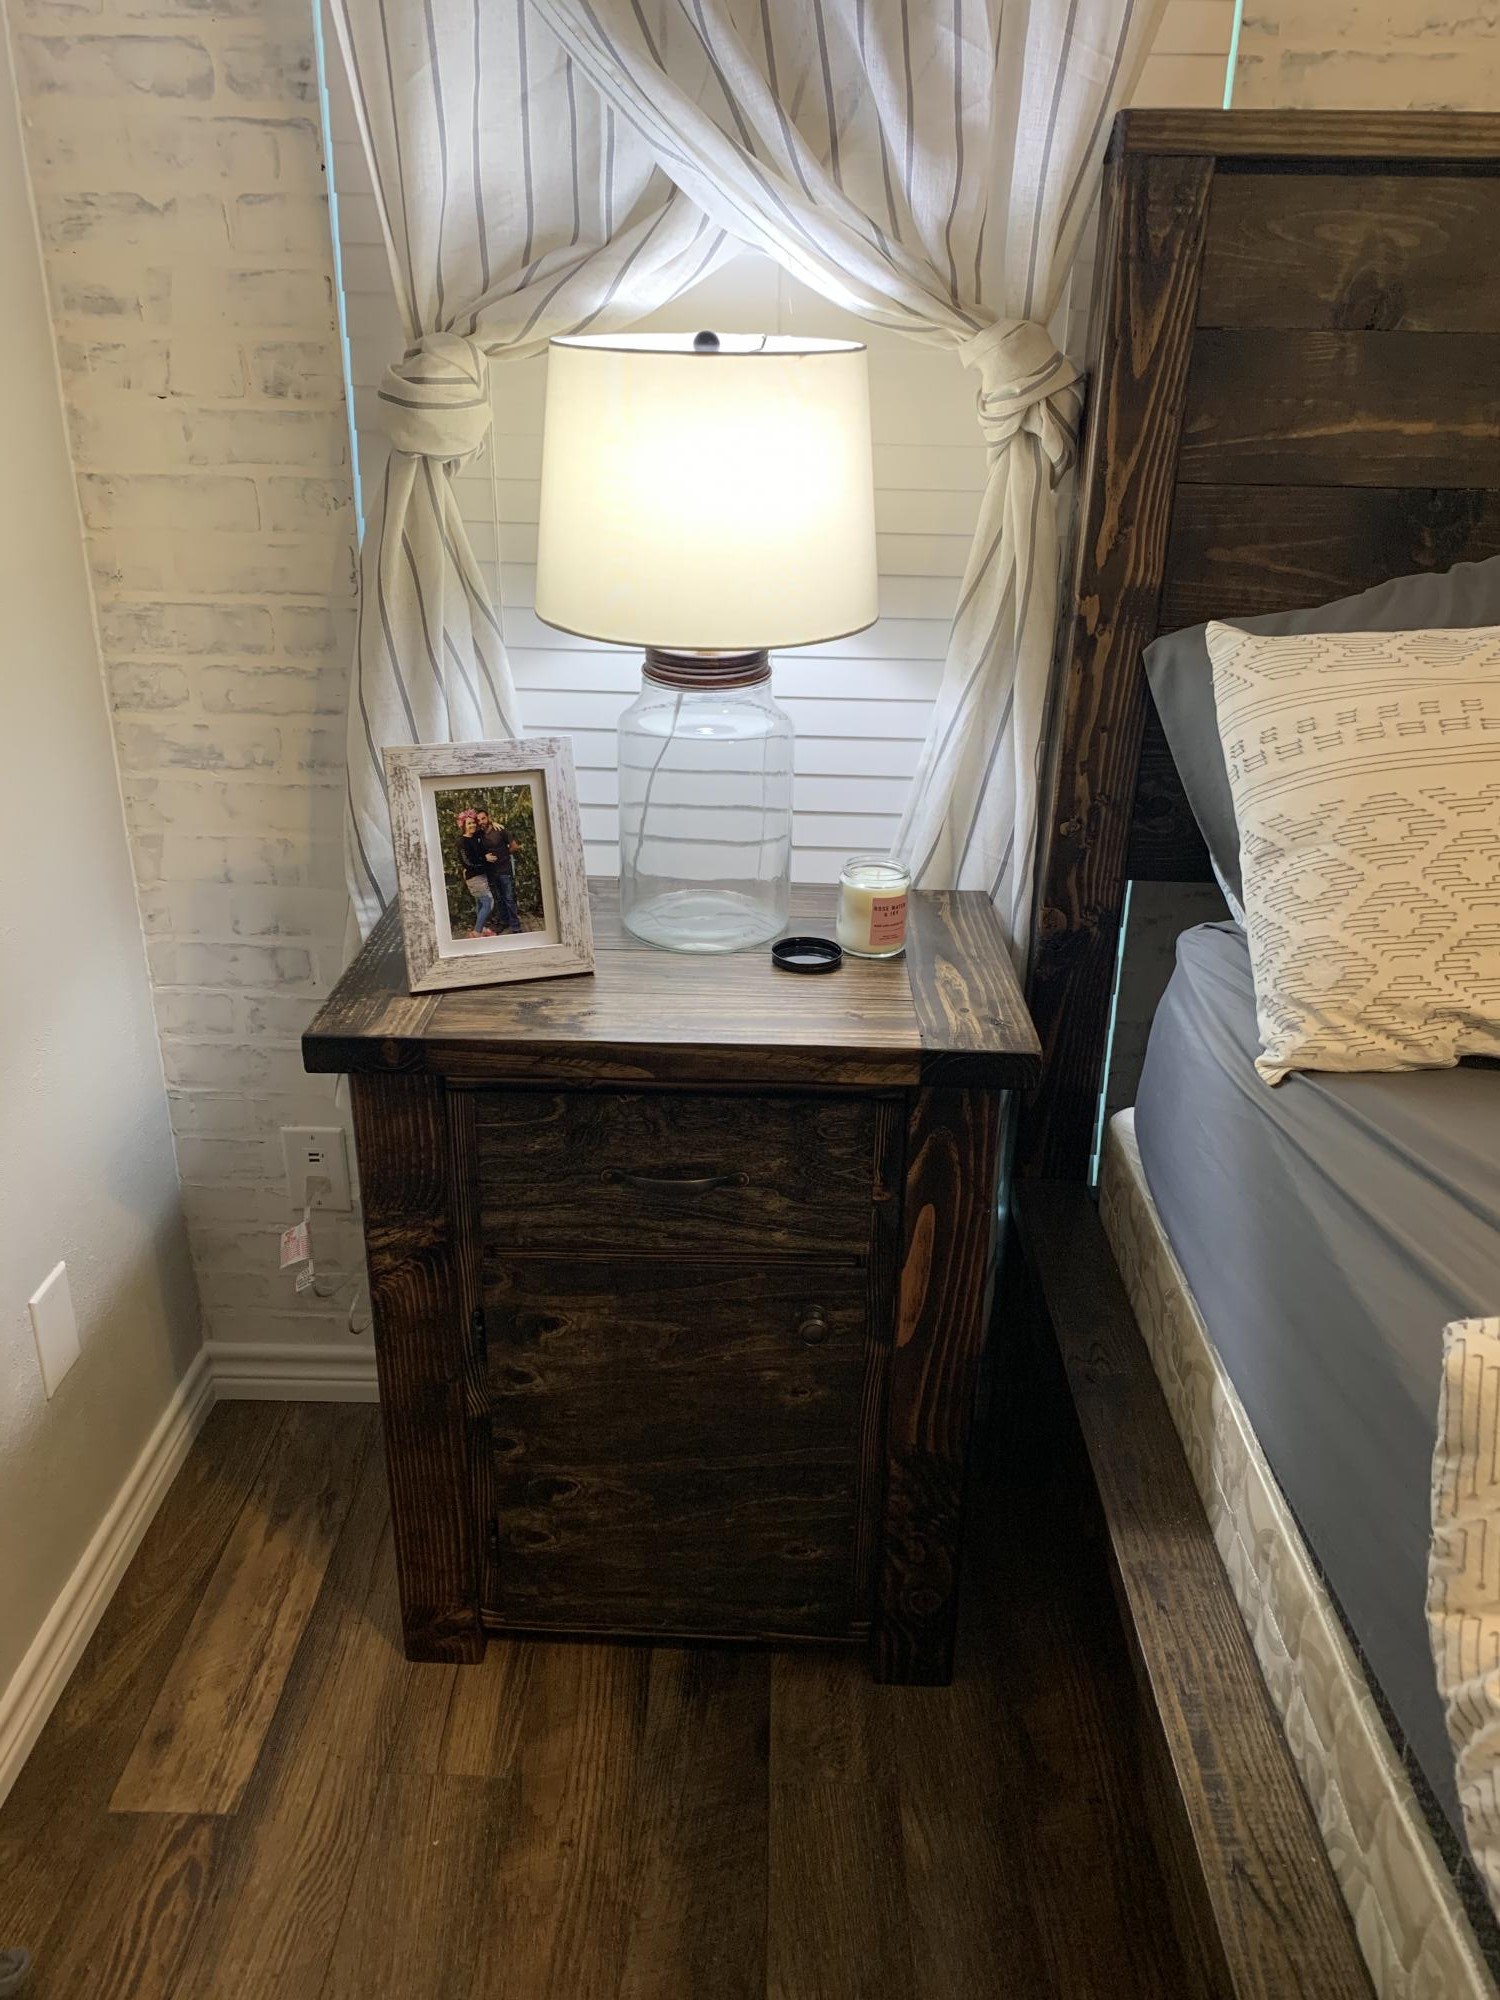
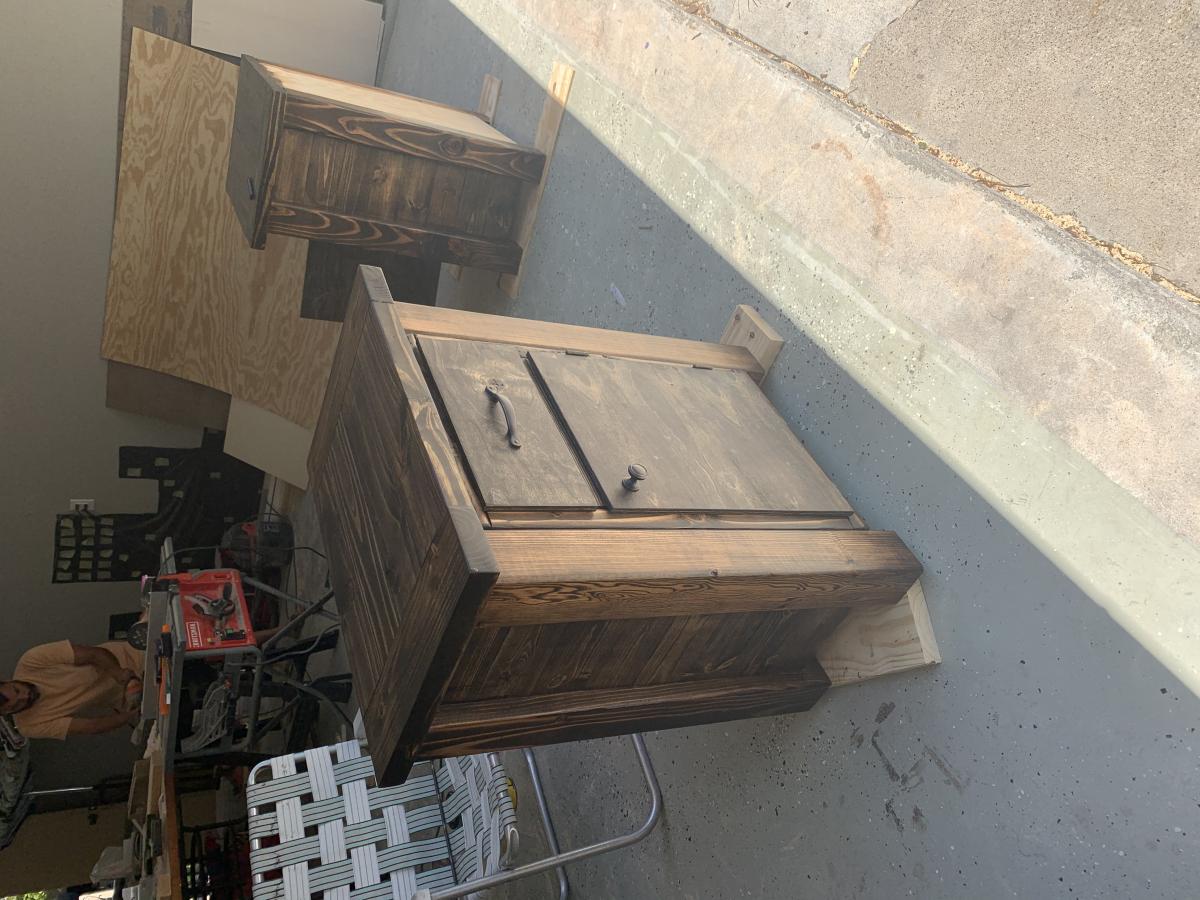
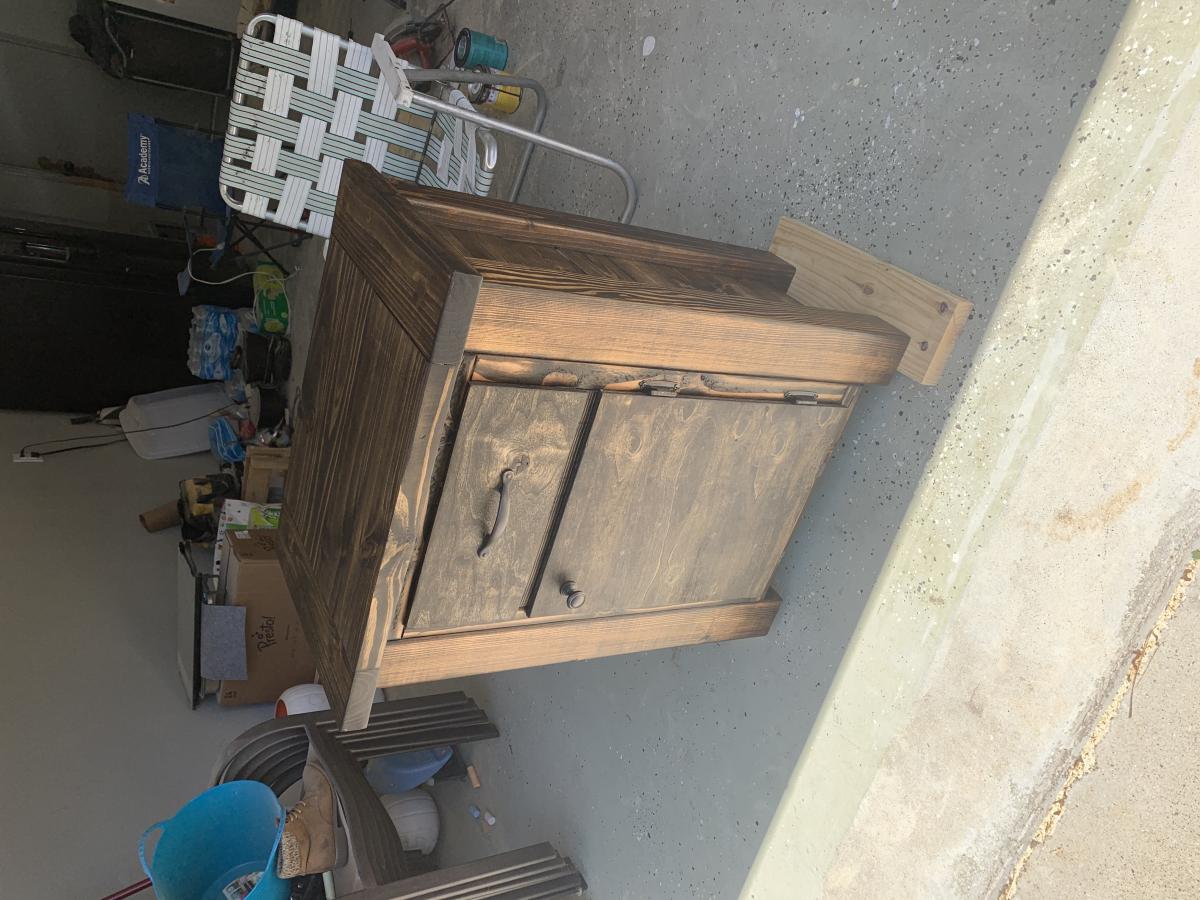
We built the Modern Farmhouse Bed Frame, but wanted matching nightstands. Since we made the bed frame taller than the original plans, we needed taller nightstands. I also wanted a drawer and cabinet in the nightstand. We used the same panel pattern as the headboard for the side of the nightstands, and we used 4x4’s as the corners. We used euro sliders for the drawers. We used Minwax - Dark Walnut and Polycrylic in Clear Matte to finish the pieces. The nighstands dimensions are 32” in height, 26” wide, and 17” (top edge to edge) deep. They turned out amazing!
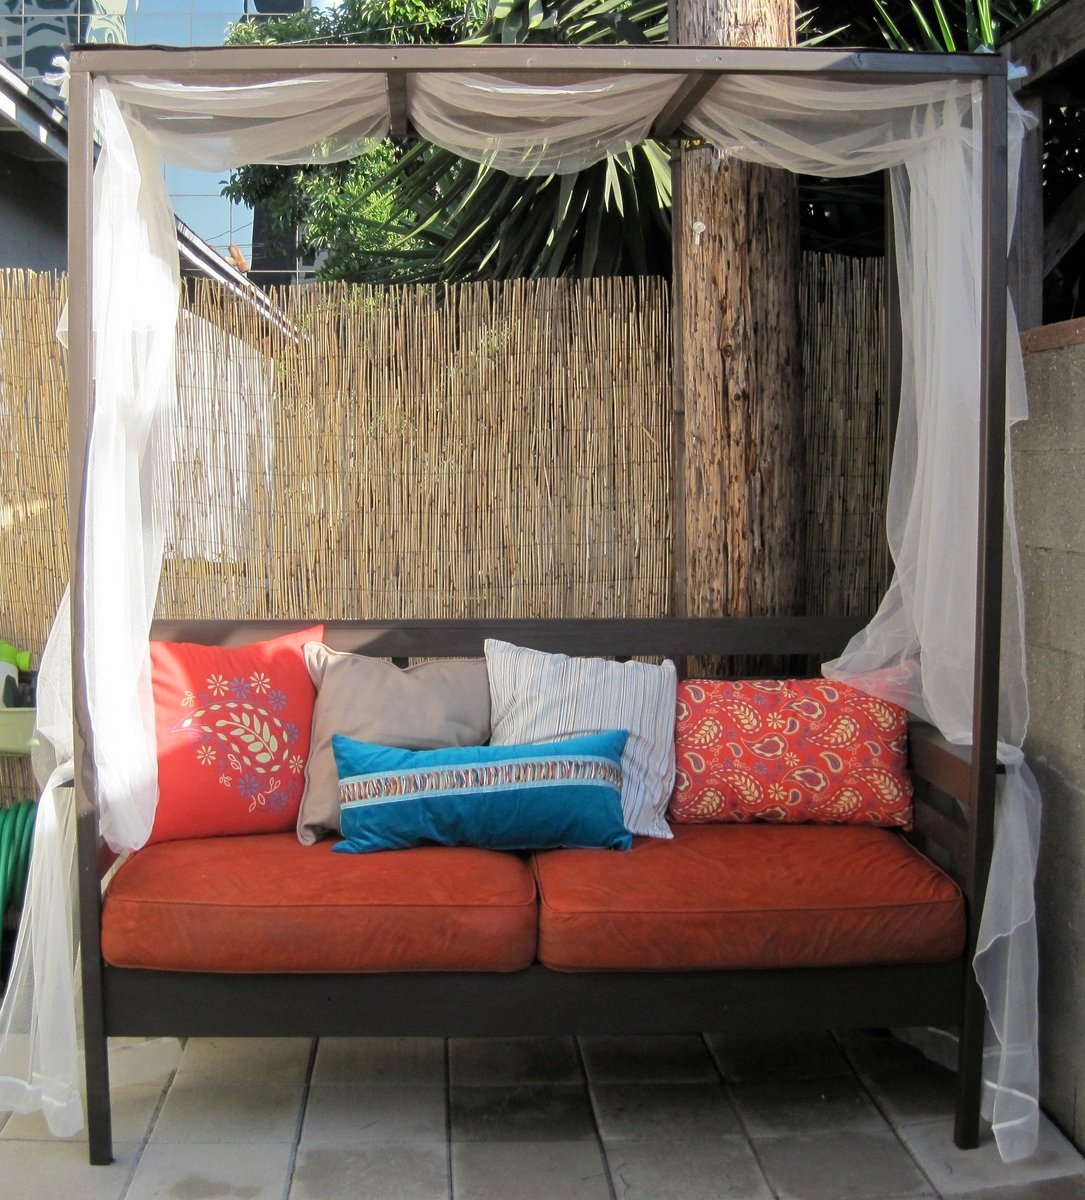
Thank you anawhite.com for this project! It was exactly what I was looking to build for my outdoor space. The outdoor daybeds with this look are WAY too expensive for us to buy and these plans were just what I needed!
My husband and I built (and painted) this project over one weekend. Not included in that time are 2+ hours shopping for materials on the friday night before and extra hours over the next few days to buy pillows, tie on the drapery, and finish the cushions.
We actually changed the plans to make more of a smaller 'daycouch' rather than a 'daybed' because we had some old cushions from a loveseat we just got rid of that I wanted to repurpose. It worked out great for our small space. If you do change the proportions keep in mind that a 1X3, 1X4, etc., are not exactly 3", 4", etc.
This project is totally doable, so go for it! The only things I would recommend are that you have some skills with power tools, know a little about carpentry (the directions are pretty spartan), and paint the pieces beforehand (if you have the patience; it really does cut down time on painting all those slats).
*Important note: the materials list is missing 2 2"X4"X8" (for the 2 cleats) that you need to complete the project.
Fri, 07/13/2012 - 23:26
Thank you! We are pretty happy with the way it turned out. If you do the project please post a pic!

At the end of the day, my spice rack did not look anything like Ana's plan, but it did make my creative juices start.
I hung mine on my wall. I used a premade panel as the backing which I then stained. I boxed in the panel with a thin 1x2 along the sides so that the hanging wire would not show. The shelves are 1x3 trimmed with the same 1x2 to provide a ledge so that the spice bottles won't fall off.
Still waiting on my labels to arrive so have not loaded up the jars yet! Splurged on the jars from a specialty bottle company. They are high grade impact resistant plastic that is super clear and lightweight. The lids have a hinged top with one side having shaker holes and the other open to be able use a measuring spoon.
So proud of the finished result. Thanks Ana!
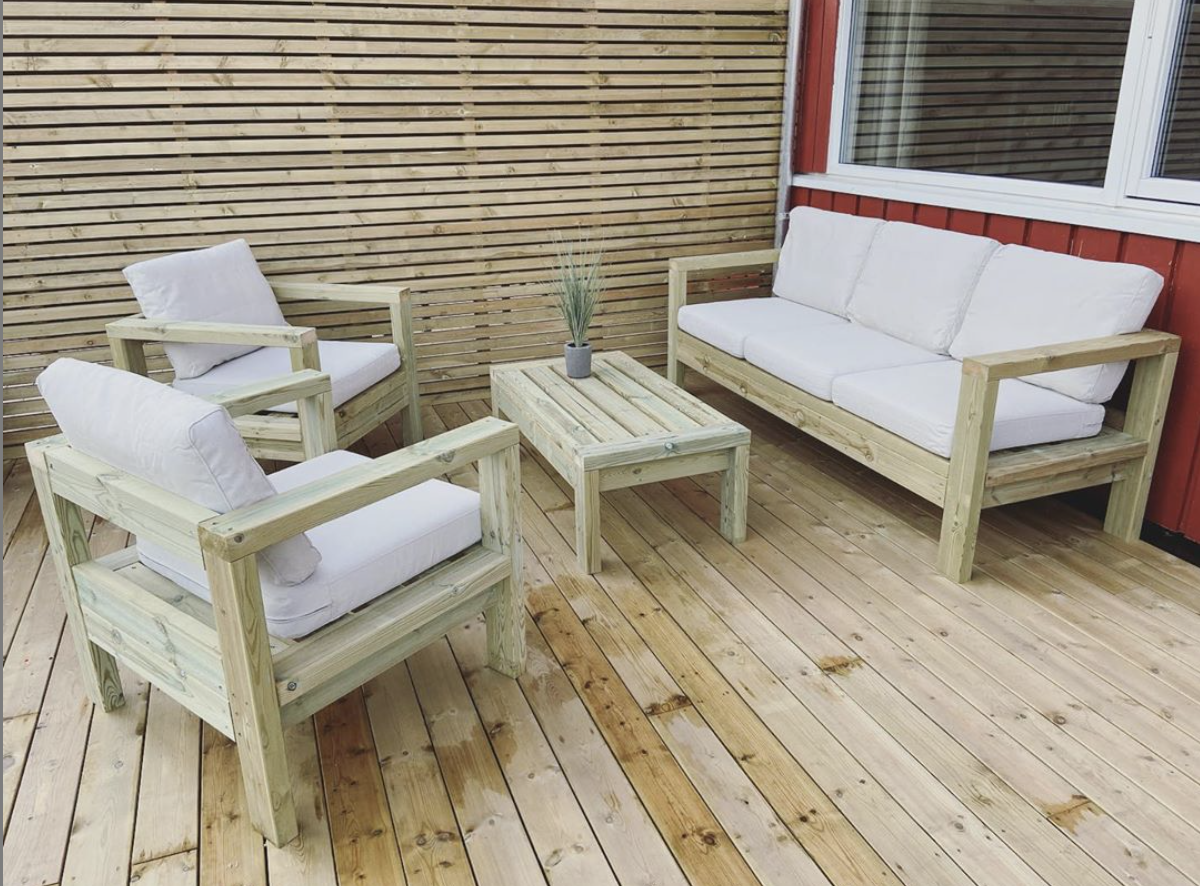
So, we decided after not finding any outdoor furniture, that why not make them! So this is the result, made a few changes to the size and measurements so the pillows from IKEA, would fit perfectly. Now we are waiting for them to be ready to oil/paint. We also made the chairs with the sofa plans, so happy we did that. Thank you so much for the plans! We are so happy! IKEA pillows name are: Sitting pillow - FRÖSÖN/DUVHOLMEN 62cm by 62 cm. Back pillows - FRÖSÖN/DUVHOLMEN 62cm by 44 cm.
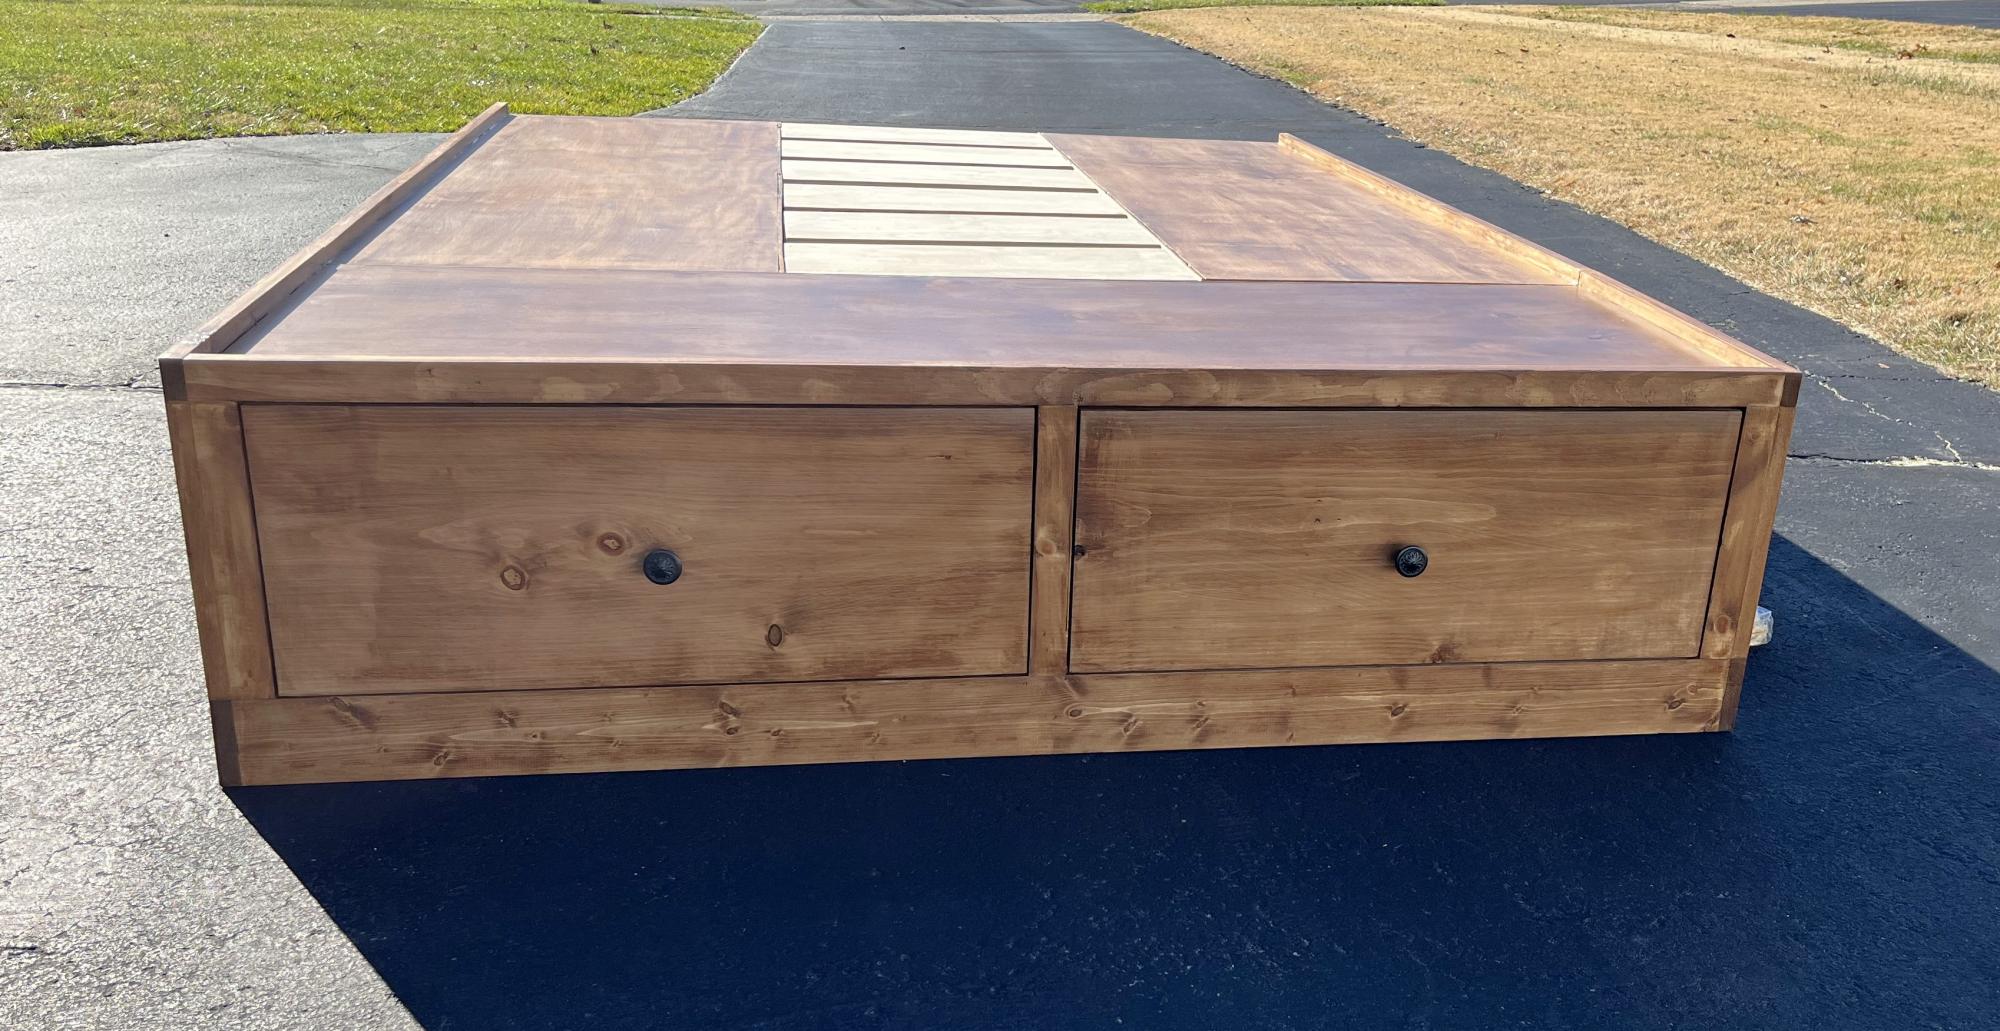
Queen bed frame with drawers.
Alex's Dad
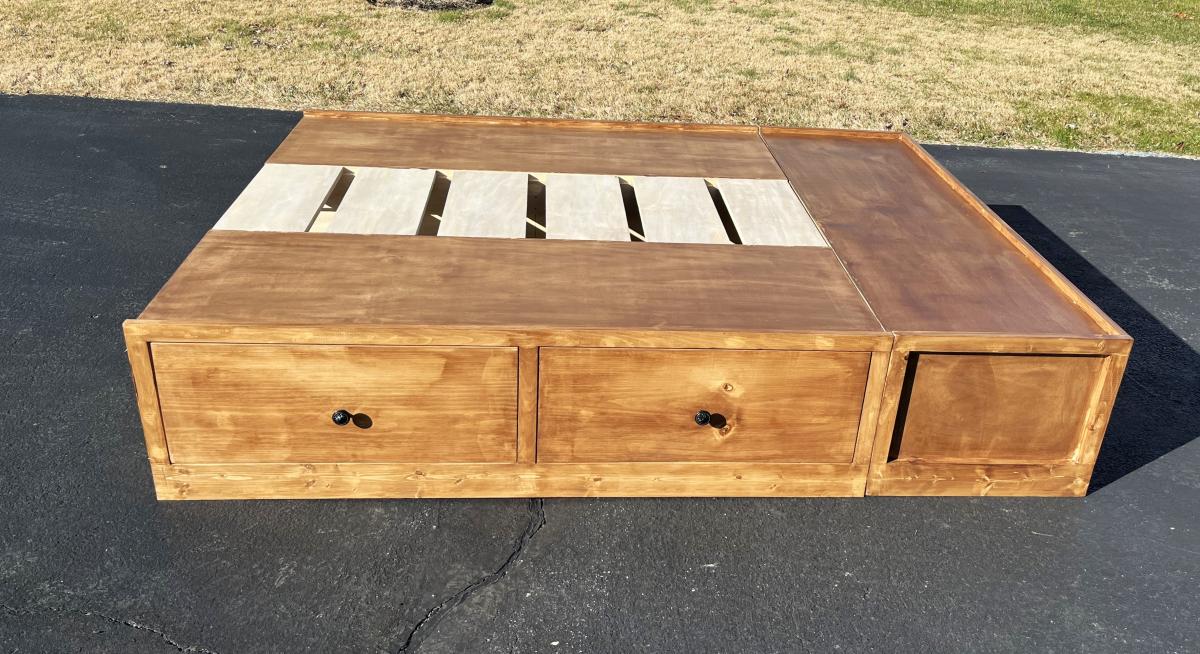
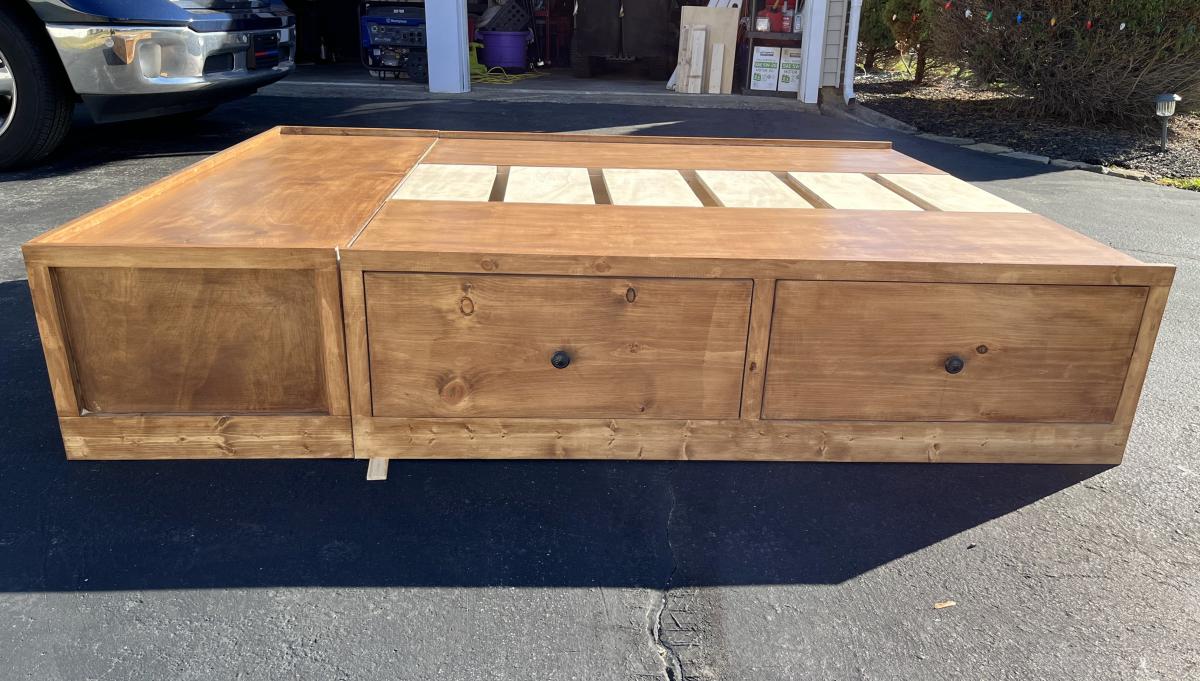
I made this kitchen island for a friend who wanted it unfinished. I got the plan from Ana's site but it was submitted by Brookifer86. I made no changes to the original plans. I did splurge on a project top from Lowes at $22 and the stair stiles (i think you call them that) for the legs at about $2 each. What a really nice project and so easy to build. Hardest part was the 22 cross members on the bottom shelf. I think I will make another one but try to add a small drawer.
The lady that I made the table for has wanted to start building. So I made one small easily fixed mistake for her to fix. When she gets here to pick the island up I will hand her safety glasses, hearing protection, square, pencil and tape measure and let her go to work. She is also bringing shaker pegs that she can install. Should be fun.


THE TOP OF THE TABLE WAS MADE FROM A PINE TREE I CUT DOWN IN MY BACKYARD, THE LEGS ARE MADE FROM 4X4S I FOUND ON THE SIDE OF THE ROAD
