Community Brag Posts

Hall Tree

Submitted by Anonymous (not verified) on Tue, 12/27/2016 - 11:37

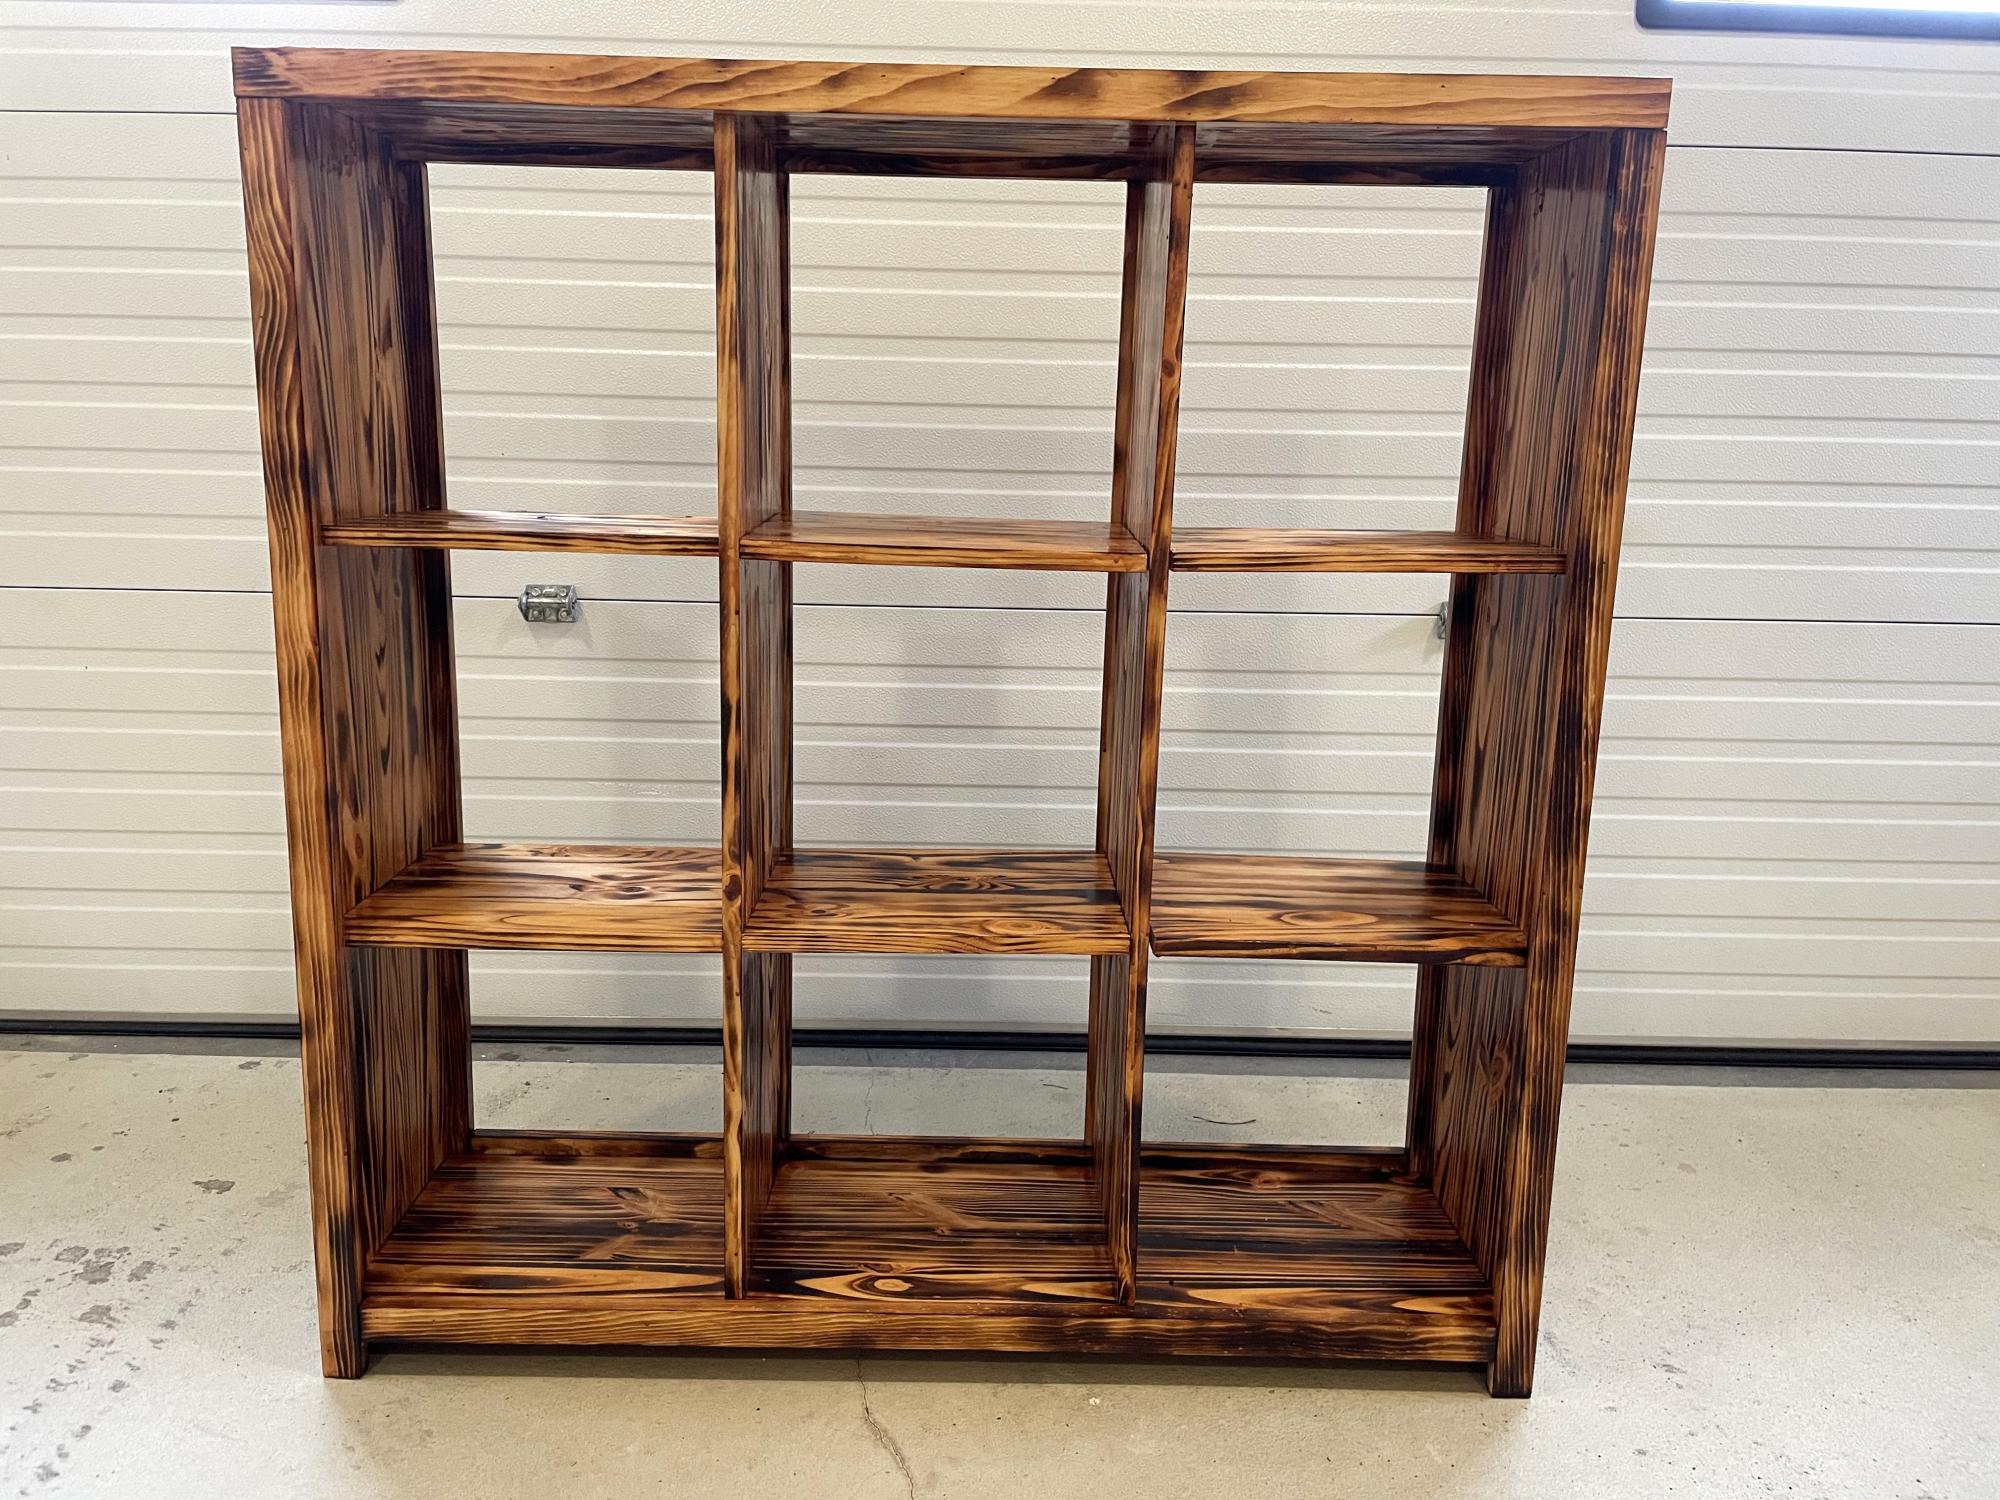
For the top I followed the plans for the most part.  I made this for my mother for Christmas and she wanted shelves under the bench instead of a storage bin so I modified the original bench plans.  I purchased the baskets for $12.99 each from "At Home" and the medium size fits pretty good.

Estimated Time Investment
Week Long Project (20 Hours or More)
Finish Used
I used Minwax "Early American" stain and finished with gloss polyurethane. The rustic looking wood on the back is actually paneling that had been printed that way.
Recommended Skill Level
Intermediate

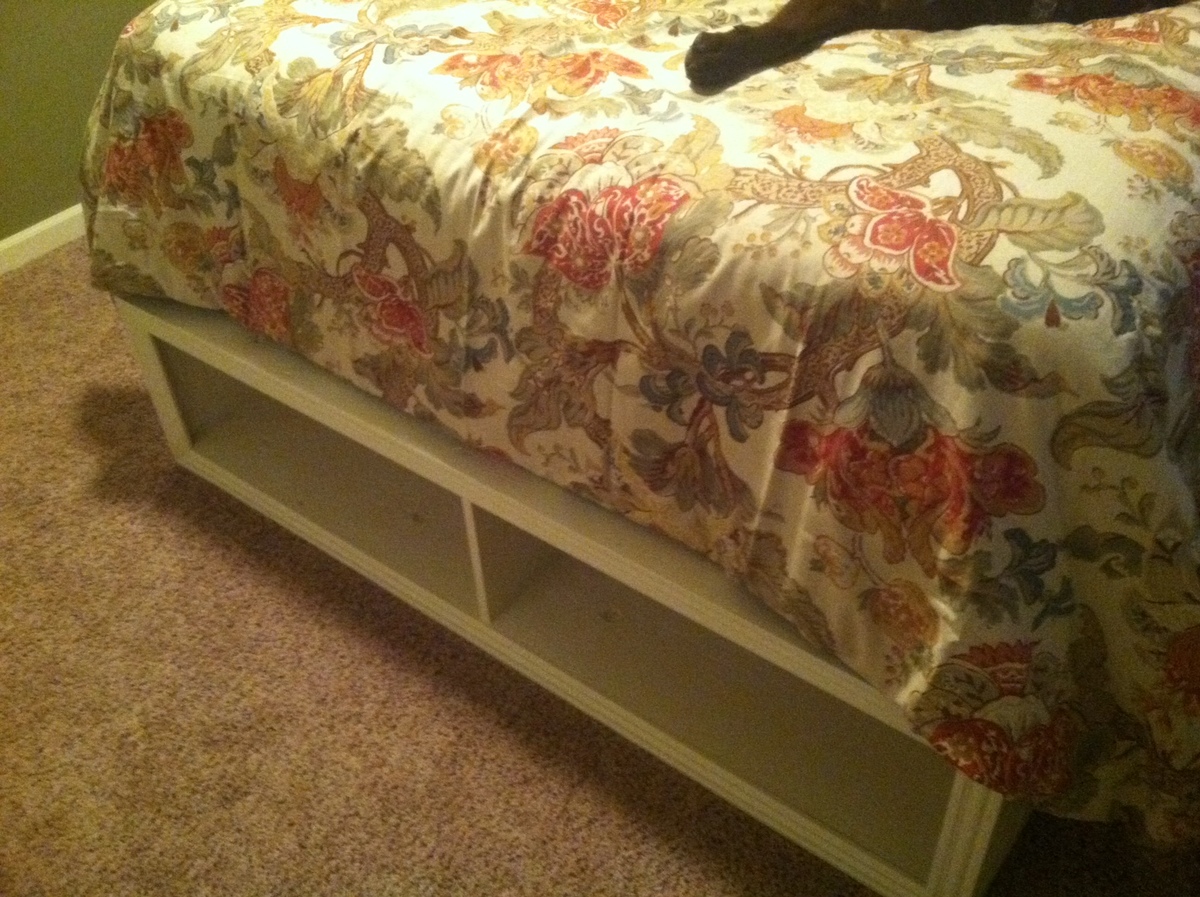
Queen size Storage Bed

Submitted by mellue_8 on Mon, 11/26/2012 - 15:14

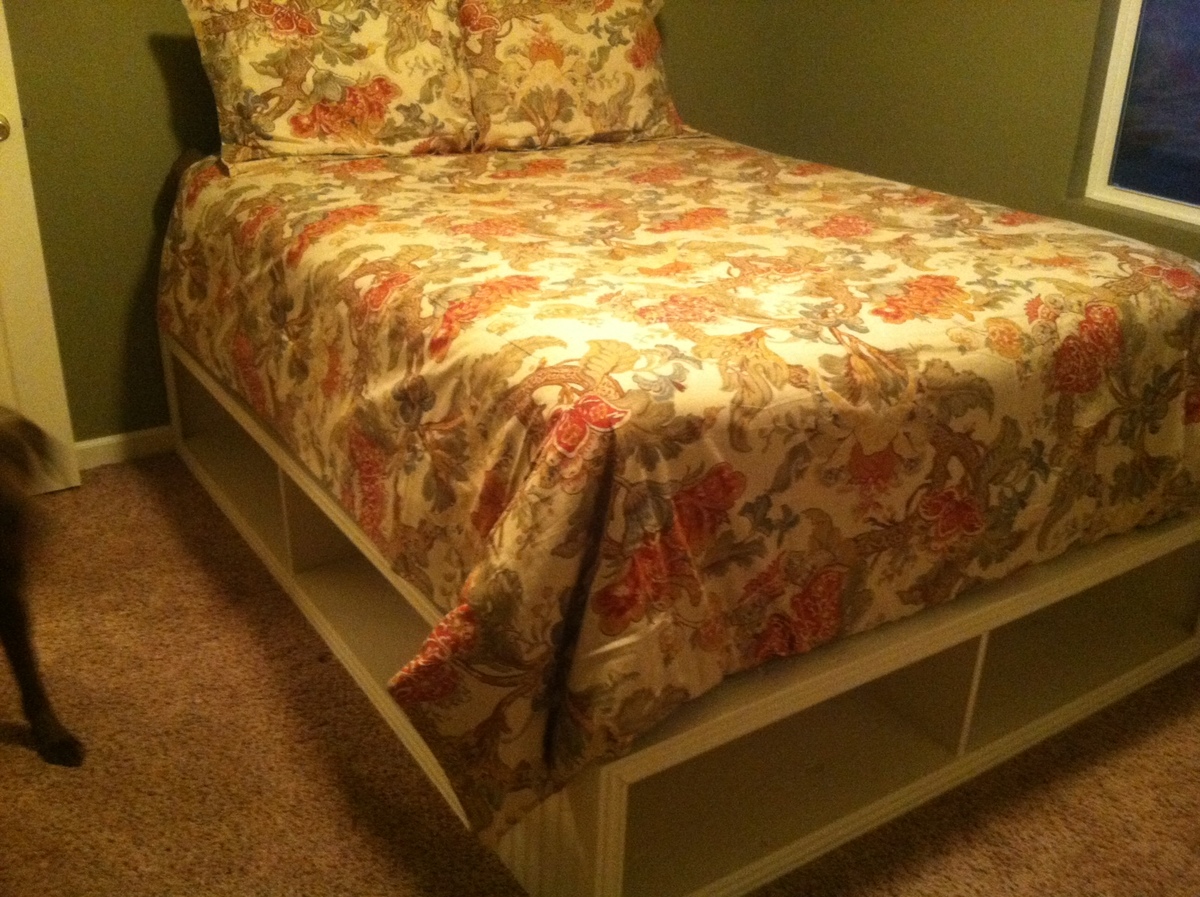
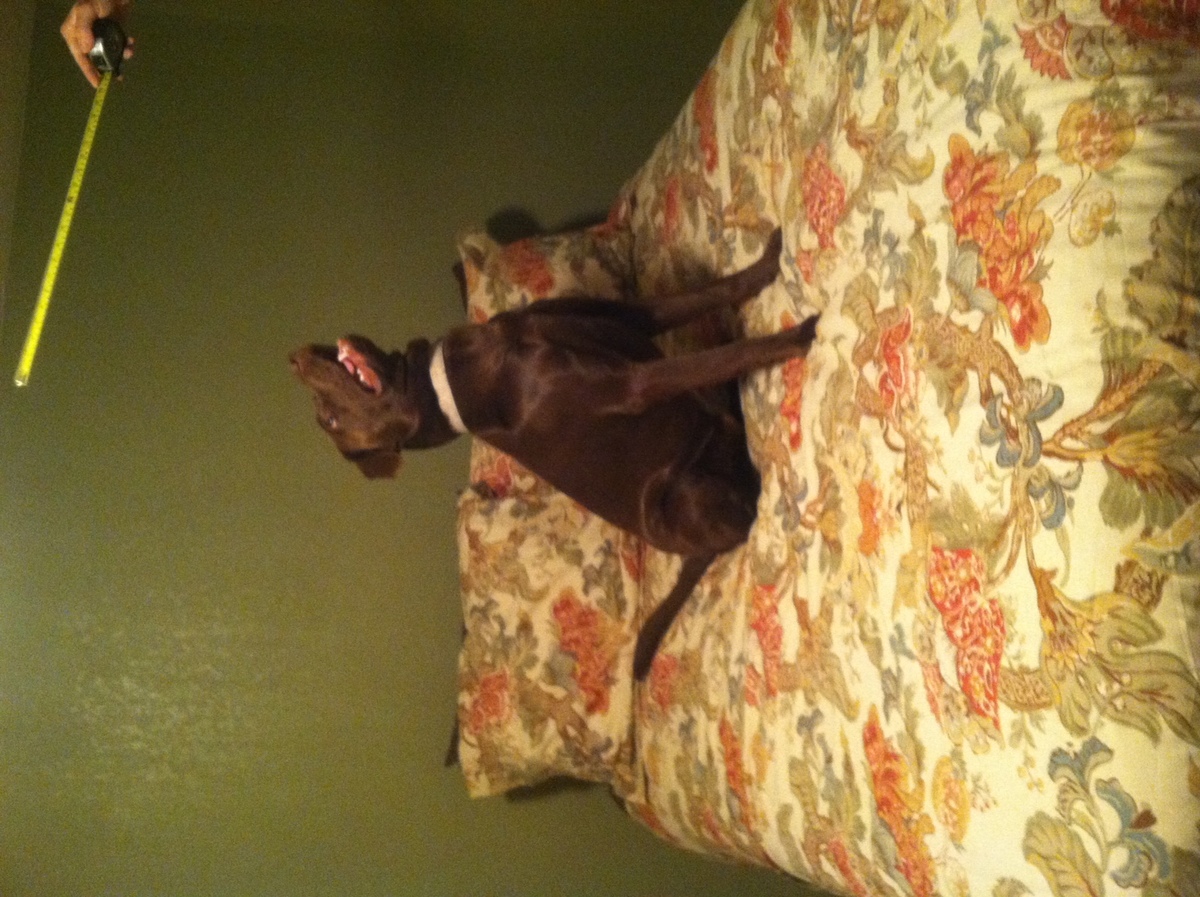
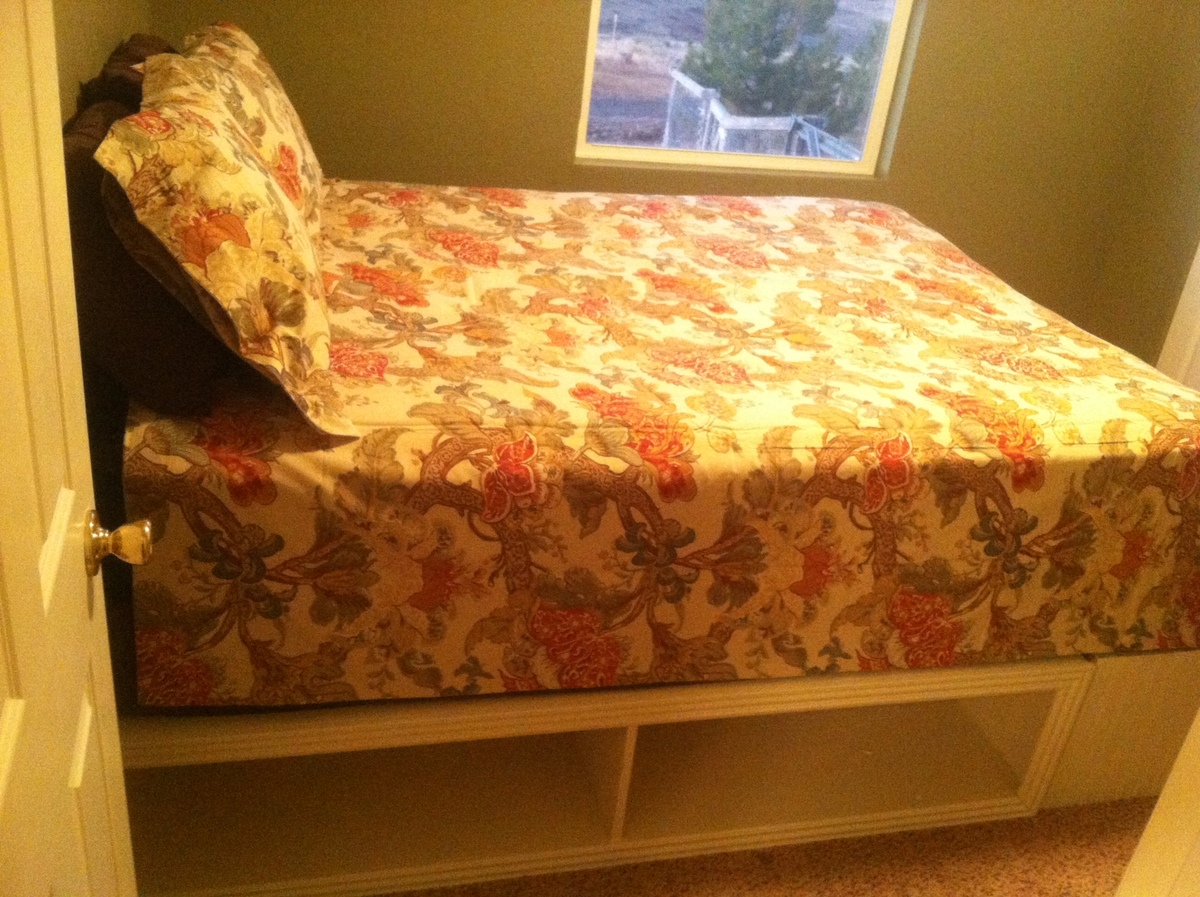
I couldn't find any queen sized plans on the website so I took a twin plan and modified it to fit a queen bed. There are a couple things I would do different such as use MDF instead of the plywood it called for. The plywood, even painted, appears very rough. Also, I am going to frame in the sides on the bench across the foot of the bed and leave some overhang to cover up the seam in the benches. Overall it was a very easy and smooth project. I am def investing in Kreg on my next project. Baskets will fill the empty space and a headboard is to come!

Estimated Cost
$250
Estimated Time Investment
Weekend Project (10-20 Hours)
Finish Used
Off white paint
Recommended Skill Level
Beginner

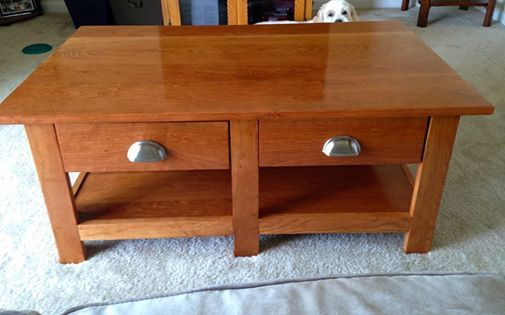
coffee table

My version of benchright coffee table. Made this for my daughter. It's made of solid cherry.

Estimated Time Investment
Week Long Project (20 Hours or More)
Finish Used
Poly 3 coats
Recommended Skill Level
Intermediate

Comments

Patchwork Dresser

Submitted by bRick on Thu, 12/29/2016 - 05:47

This was an anniversary gift, so I wanted it to lean more "chic" than "shabby" and as a result I spent a little extra money. Instead of using different colors of stains, I used different kinds of hardwoods to provide the color contrast. I changed the dimensions to fit our space and my wife's requests. In the end I believe the dresser was 50" wide, 31" tall (not including legs) and 20" deep. 

Carcase - The carase is made of 3/4" plywood and the the divider is held in place by a dado groove. I used a roundover bit to soften the edges. I then applied a vinyl spackle to the edges of the plywood so the paint would go on uniformly.   

Drawers - The drawers were made with 1/2" plywood for the sides and 1/4" for the bottoms. Isntead of nailing the bottoms to the drawer sides, I routed a dado groove into the sides that holds the bottoms in place. I used full-extension ball-bearing drawer slides, which in hindsight may have been a mistake. Combining the the full-extension with weight of the hardwoods created a decent tipping hazard. As a result, I've needed to add wieght to the backside of the dresser for stability. 

Feet - In lieu of casters, I bought some premade 6" legs from a local big box store for about $10-$15. I don't regret this purchase as they worked out very well. 

Finish - The paint I used was super thick and covered great but was difficult to brush on with any consistency or finesse. It was like painting with pancake batter. I had impossible visions of being able to sand the finish down to an incredible flat surface but after redoing it twice, I settled for a brushed look. 

Built from Plan(s)
Estimated Cost
~$600 but with a slight design change and not screwing up the finish, it could've easily been ~$400
Estimated Time Investment
Week Long Project (20 Hours or More)
Finish Used
Tung Oil on hardwoods and Black Dog Salvage Paint with Rustoleum Chalked Matte Clear topcoat.
Recommended Skill Level
Intermediate

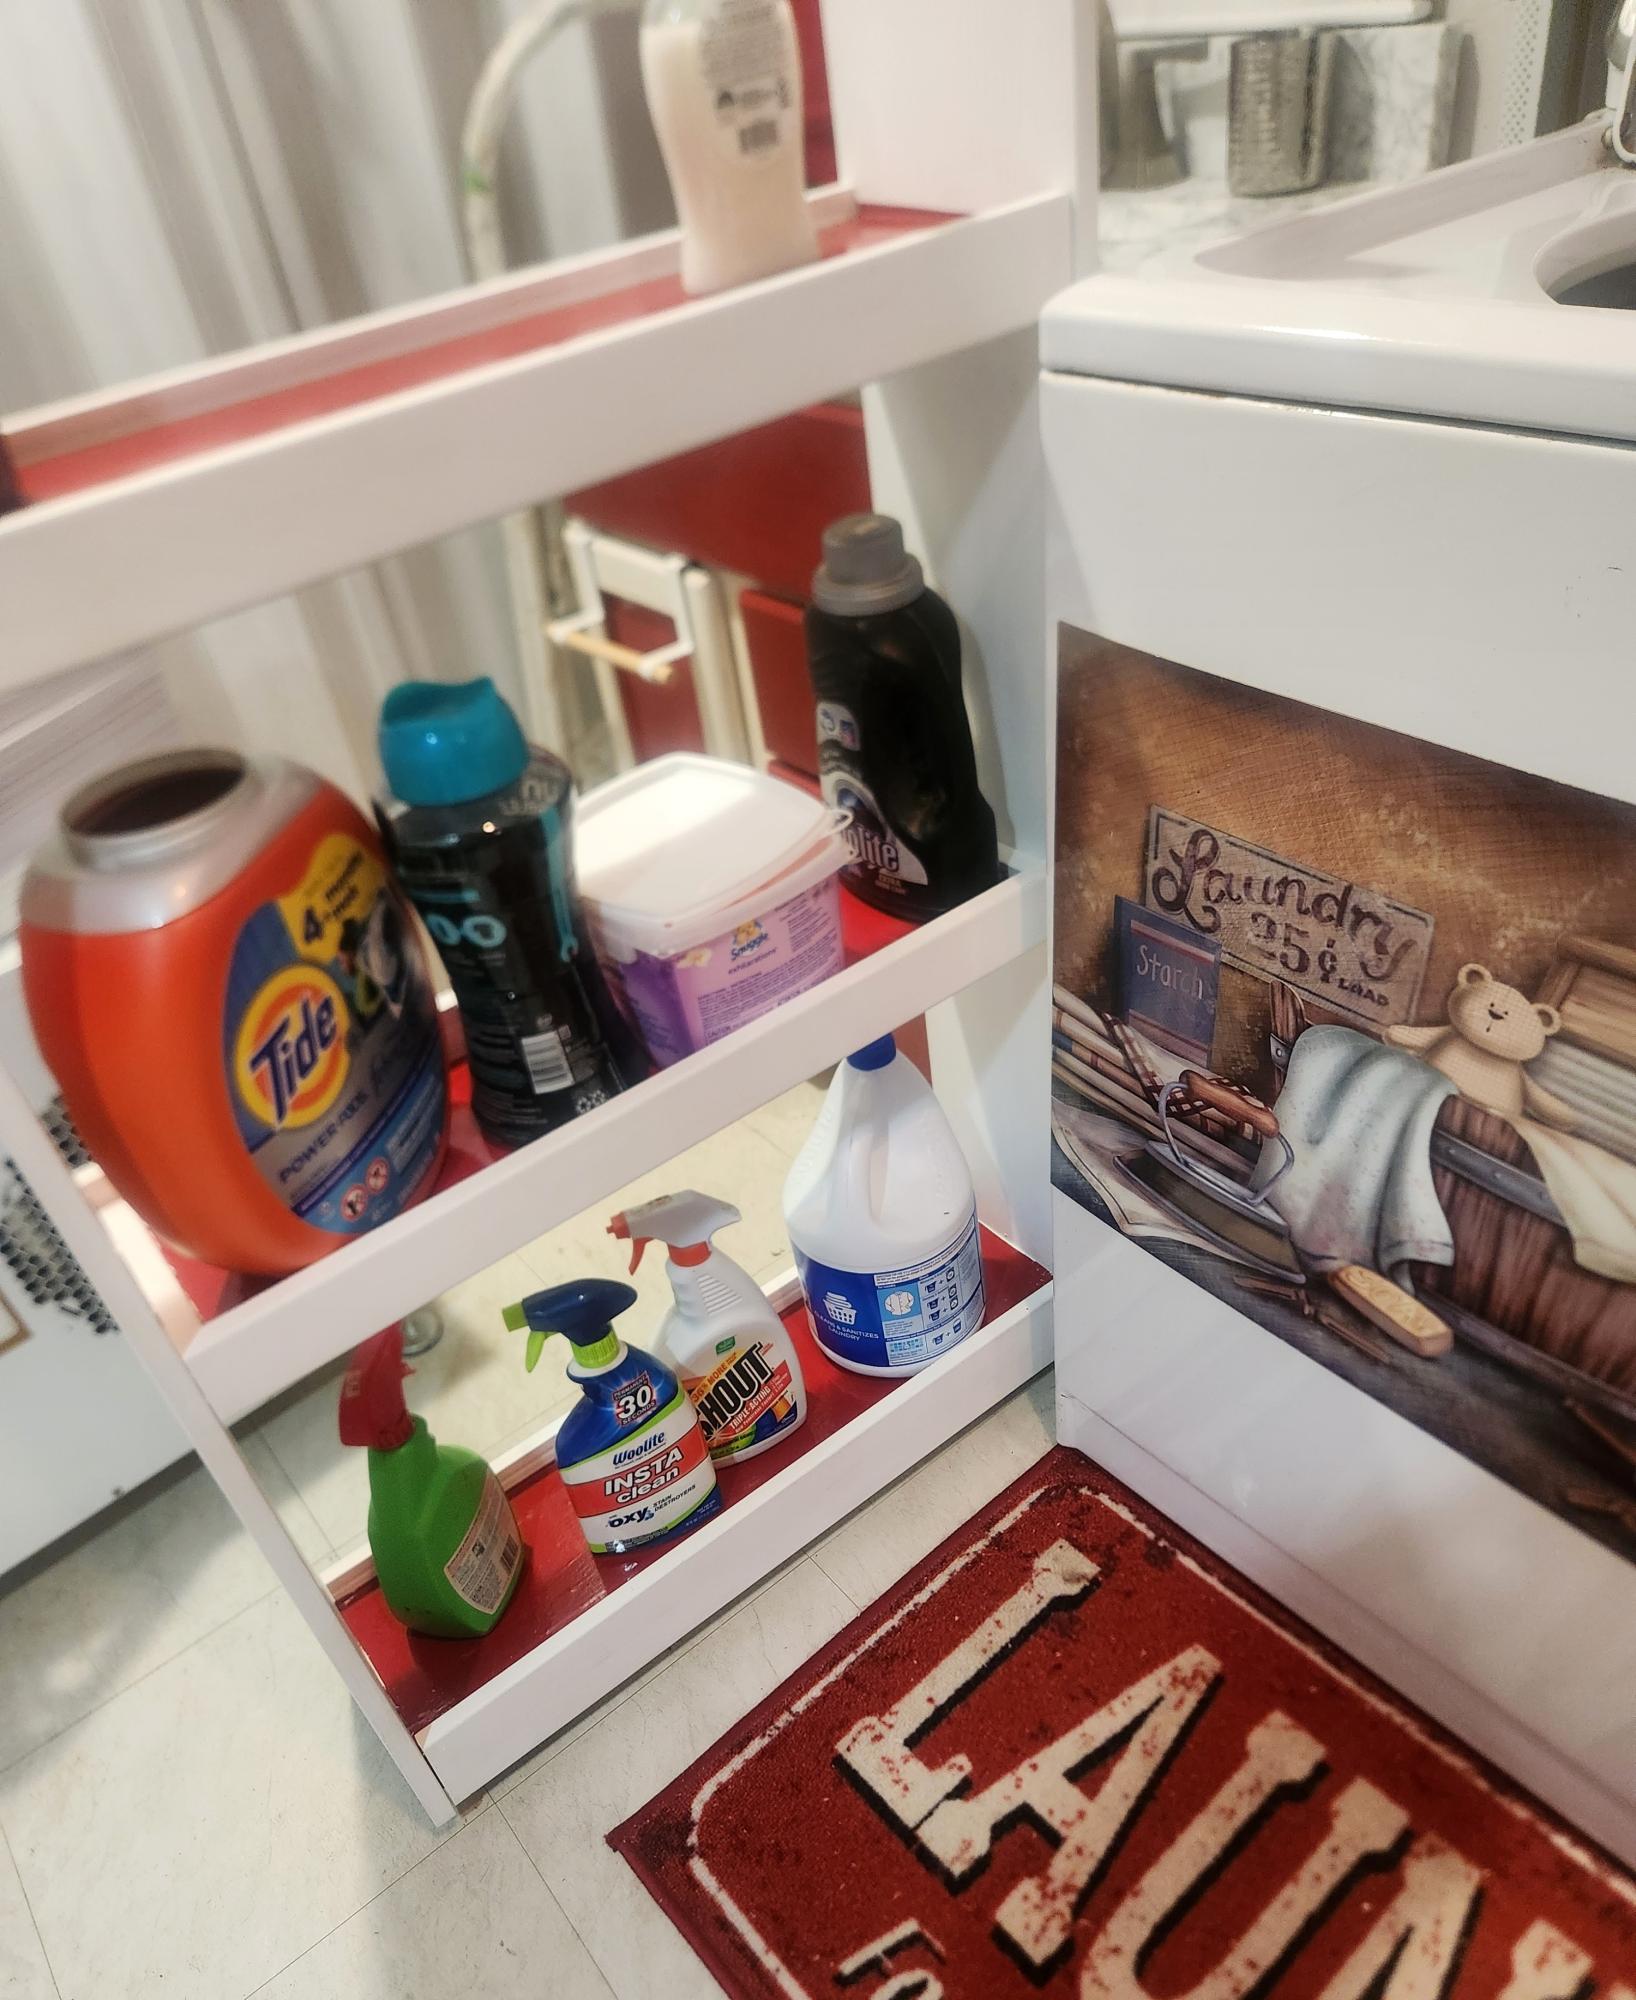
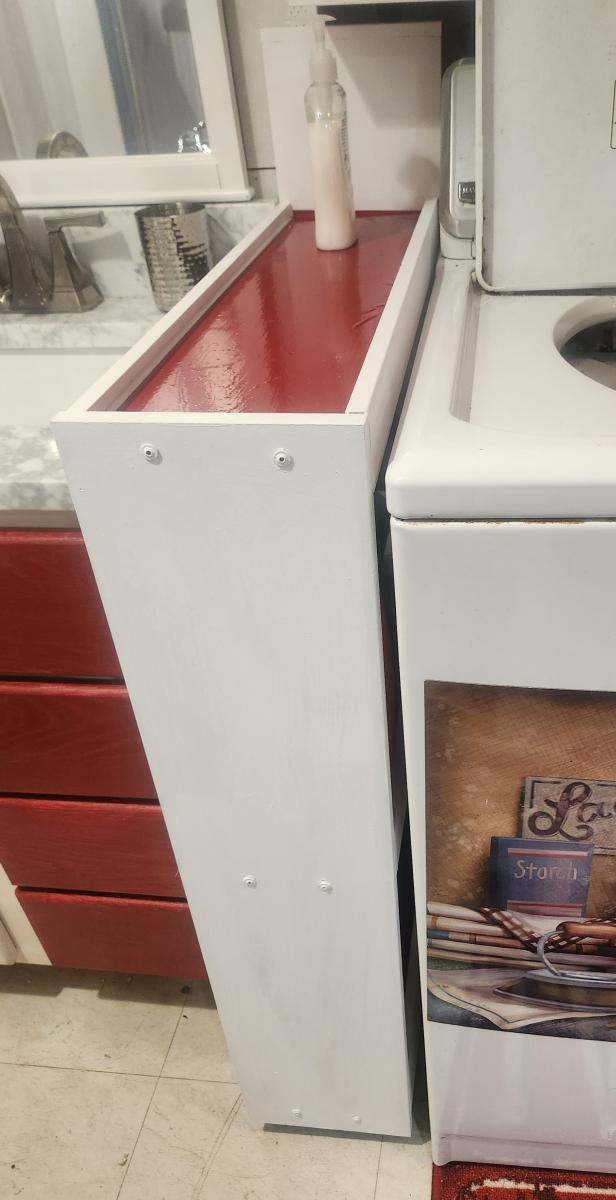
Rolling Laundry Storage

Submitted by Anonymous (not verified) on Mon, 09/16/2024 - 10:52

Needed a narrow laundry cabinet that would fit between my washer and the sink cabinet. This worked very well and even hides water lines and dryer vent. - 

Redo Bonnie

Console Table

Submitted by Burnyoung on Wed, 11/28/2012 - 18:22

After completing this console table from Ana Whites' The Hand Built Home, I'm sold on doing more projects from this book! My wife has gone ahead and put sticky notes throughout the book on stuff she wants built! So pretty much I have all the projects in the book to complete. I also had guys at the fire department I work for make comments on how much they liked it. Keep the plans coming Ana!!

Estimated Time Investment
Weekend Project (10-20 Hours)
Finish Used
3 coats of Minwaxs' Polyshades (Stain & Polyurethane in 1 Step) Antique Walnut Gloss 440
Recommended Skill Level
Advanced

Outdoor concrete/wood coffee table w/ browning emblem

My first project using countertop concrete mix.  This specific concrete calls for very low water mix ratios, and I was hesitant to over water the mix. I should have used more because it came out very pourous. Not bad over all though. I used a urethane Matte finish on the concrete and a semigloss poly for the wood base that is made from 4x4's and 2x4's. I used a special walnut color stain from minwax for the base and used a browning triler hitch cover for the emblem.

Estimated Time Investment
Weekend Project (10-20 Hours)
Finish Used
Minwax Special walnut for base color
Urethane Matte on concrete
Semigloss polyurethane for the base
Recommended Skill Level
Beginner

First project

Submitted by Anonymous (not verified) on Sat, 12/31/2016 - 21:34

First project since high school woodworking class. I was pleased with the outcome but, I had a few bumps along the way. I learned from my mistakes so the next one will be better!

Built from Plan(s)
Estimated Cost
About $30
Estimated Time Investment
Weekend Project (10-20 Hours)
Finish Used
Light Walnut, Gloss white, Poly
Recommended Skill Level
Beginner

Garage Sliding Screen Doors

Inspired by your diy barn door hardware, I wanted to create a way to have airflow in my garage as I work in there without the nuisance of bees, flies, and hummingbirds entering in. Since this is my first attempt to make a project like this, a few mistakes were made along the way, but, overall, I am happy to say my objective has been accomplished! Thank you, Ana, for inspiring me to start and finish this project to the end!DI

Estimated Cost
$250
Recommended Skill Level
Intermediate

Comments

eegad1973

Thu, 02/16/2023 - 12:52

Amazing, can you tell me what thickness your flat bar was and what size Fender washers you used. I am wanting make hardware for a door that is 27.5 inches wide by around 68 inches high. It is 1.5 inches thick. So I’m also curious what size bolts you used as I want to ensure 1/4inch bolts are enough. I’m struggling to find 2 inch diameter fender washers that have a 1/4 inch hole. I’m excited to make the hardware as traditional hardware is too big for the space. Any ideas are appreciated.

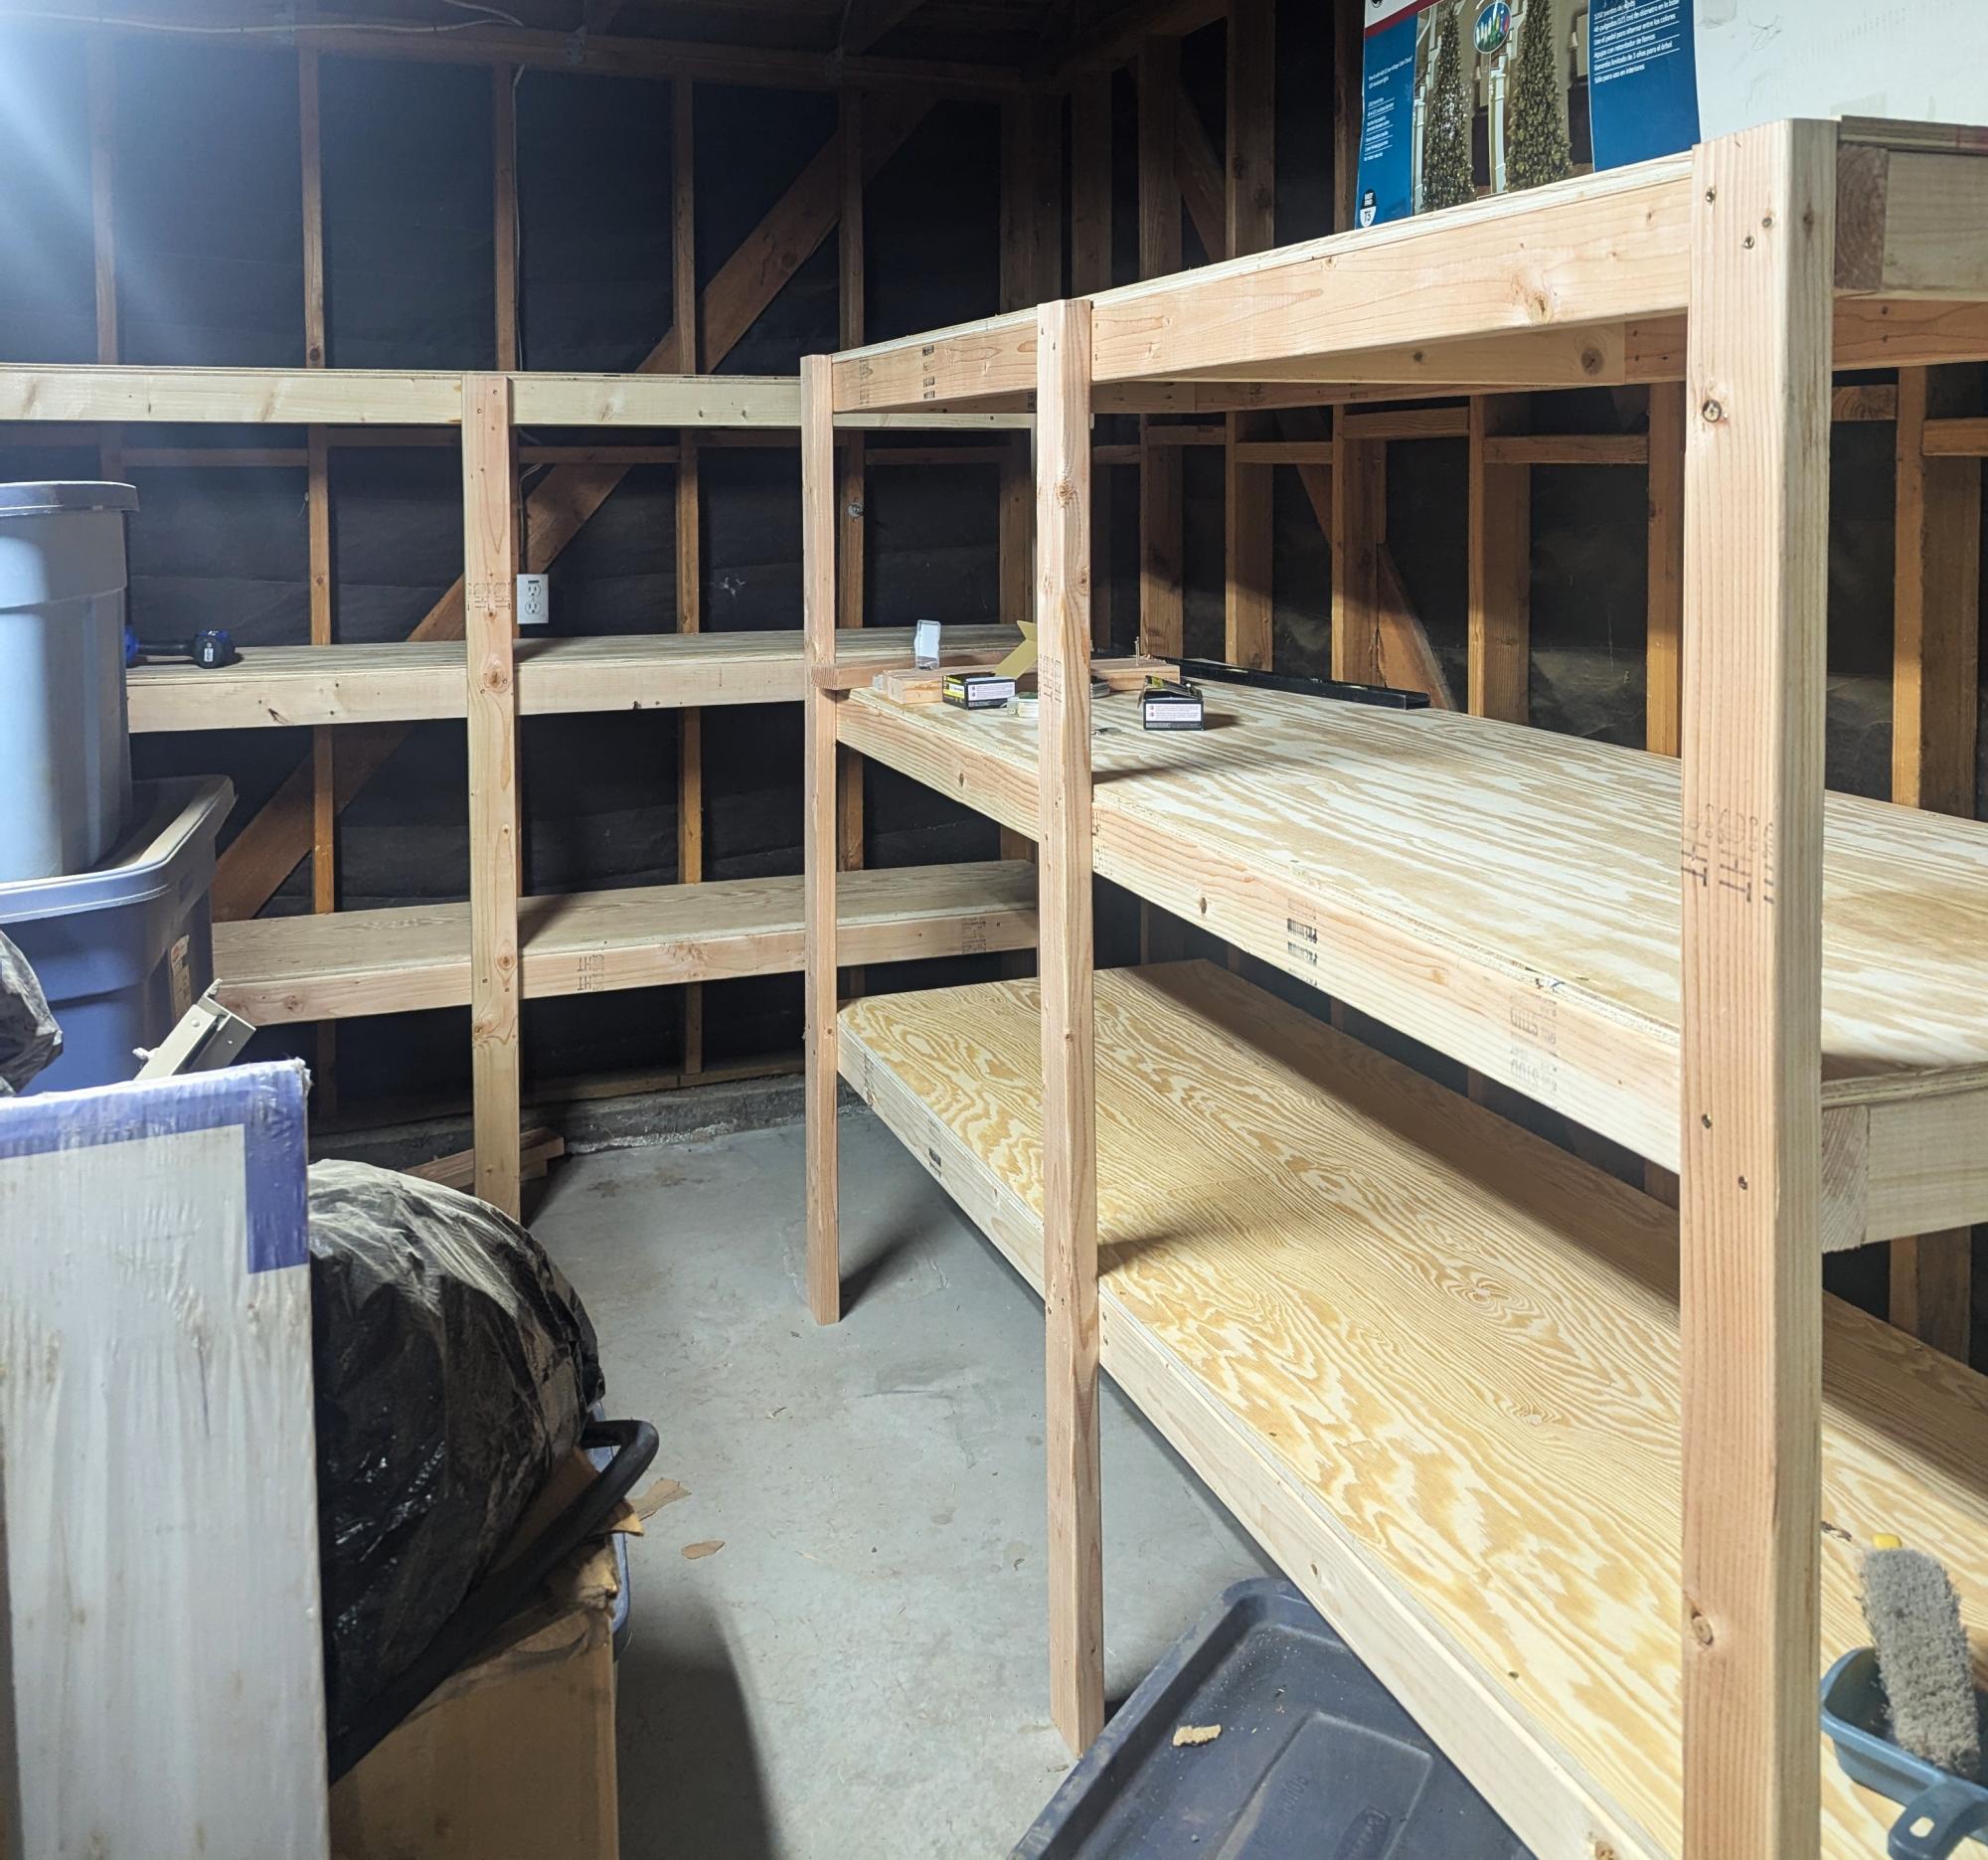
Tote Storage Shelves

Submitted by Anonymous (not verified) on Mon, 09/23/2024 - 09:50

Two sets of simple garage shelves, but odd depths specifically designed to accommodate those black bins with yellow tops. Using 4 X 8 plywood, one set is 31" to hold bins five across (one is behind the center 2 X 4). The second set of shelves uses the remainder of the plywood and is 17" deep. Due to the 31" depth, I used 23/32" thick plywood, which is way less expensive than 3/4".-  Brucendennis

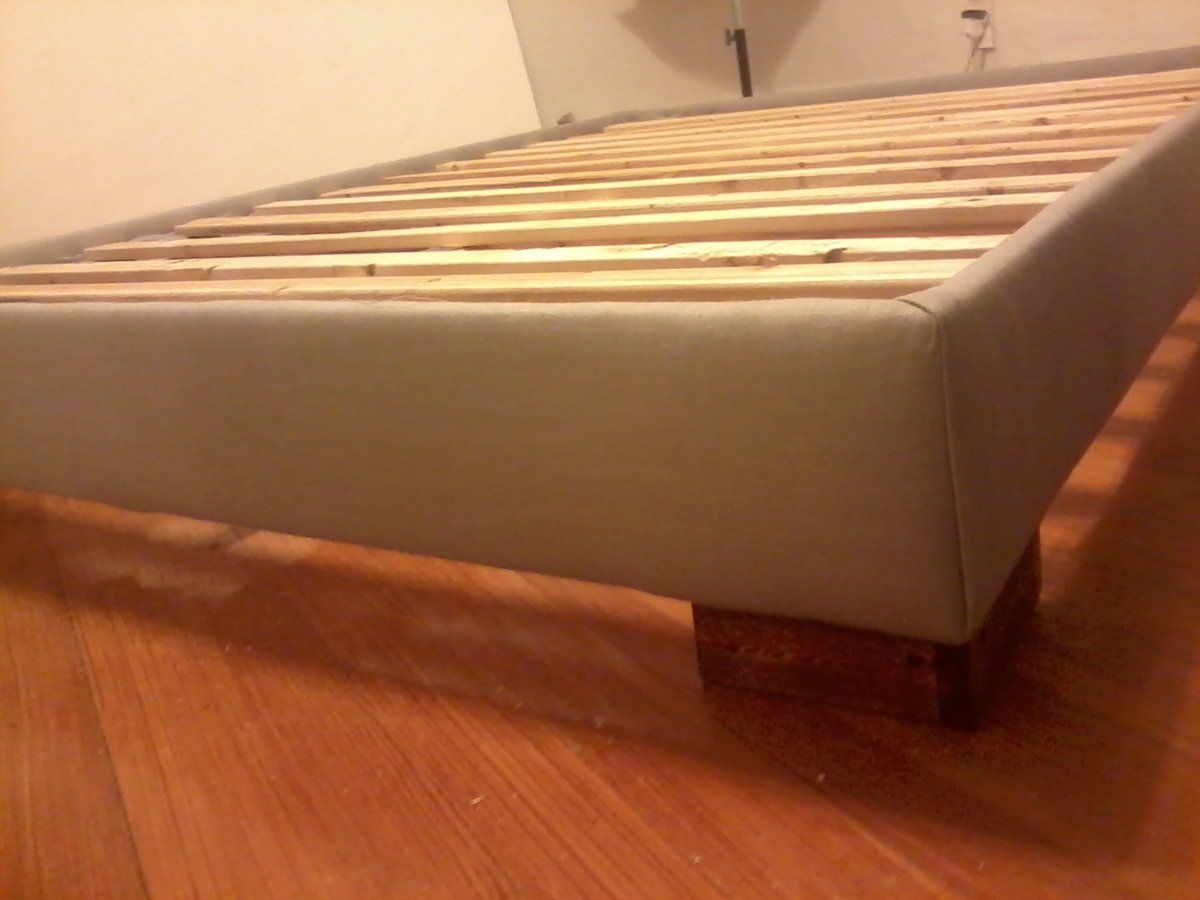
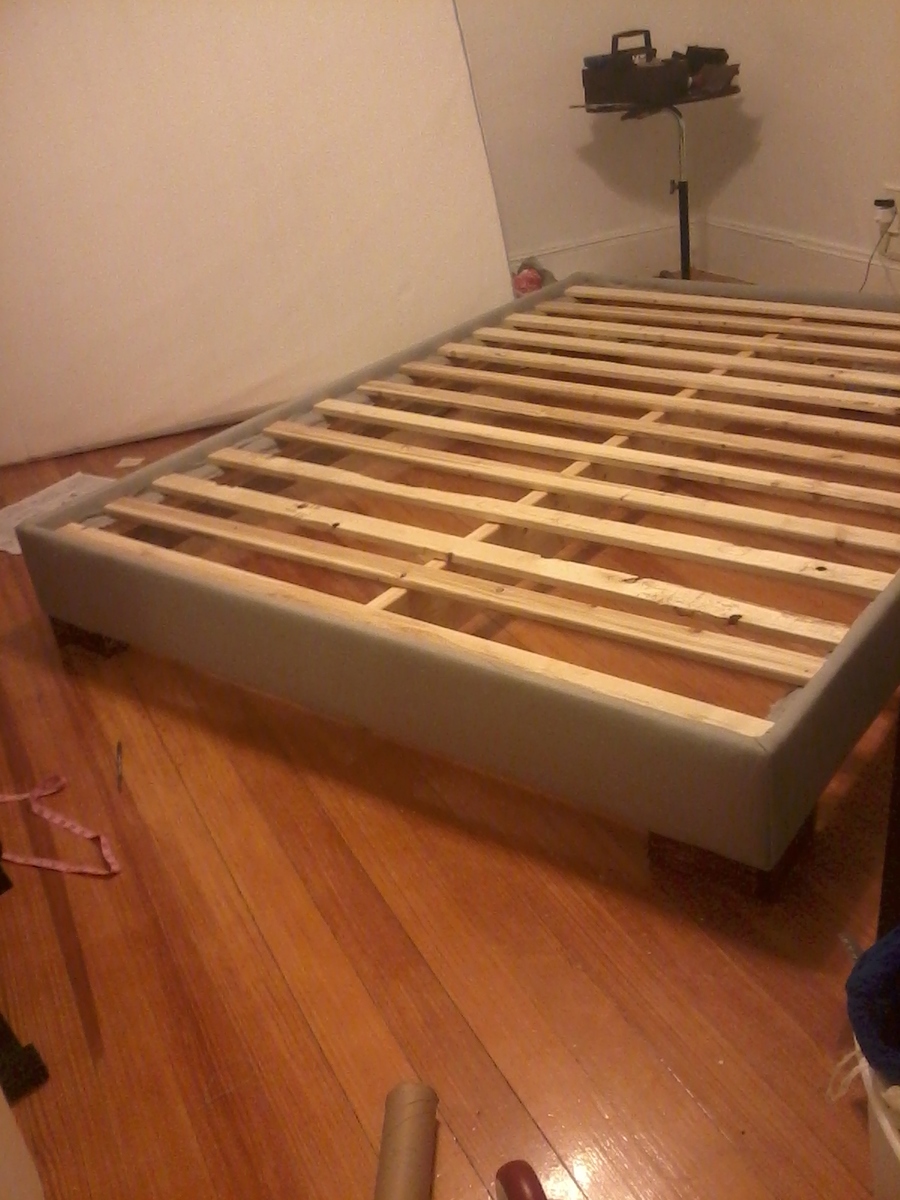
Somewhere to Lay My Head

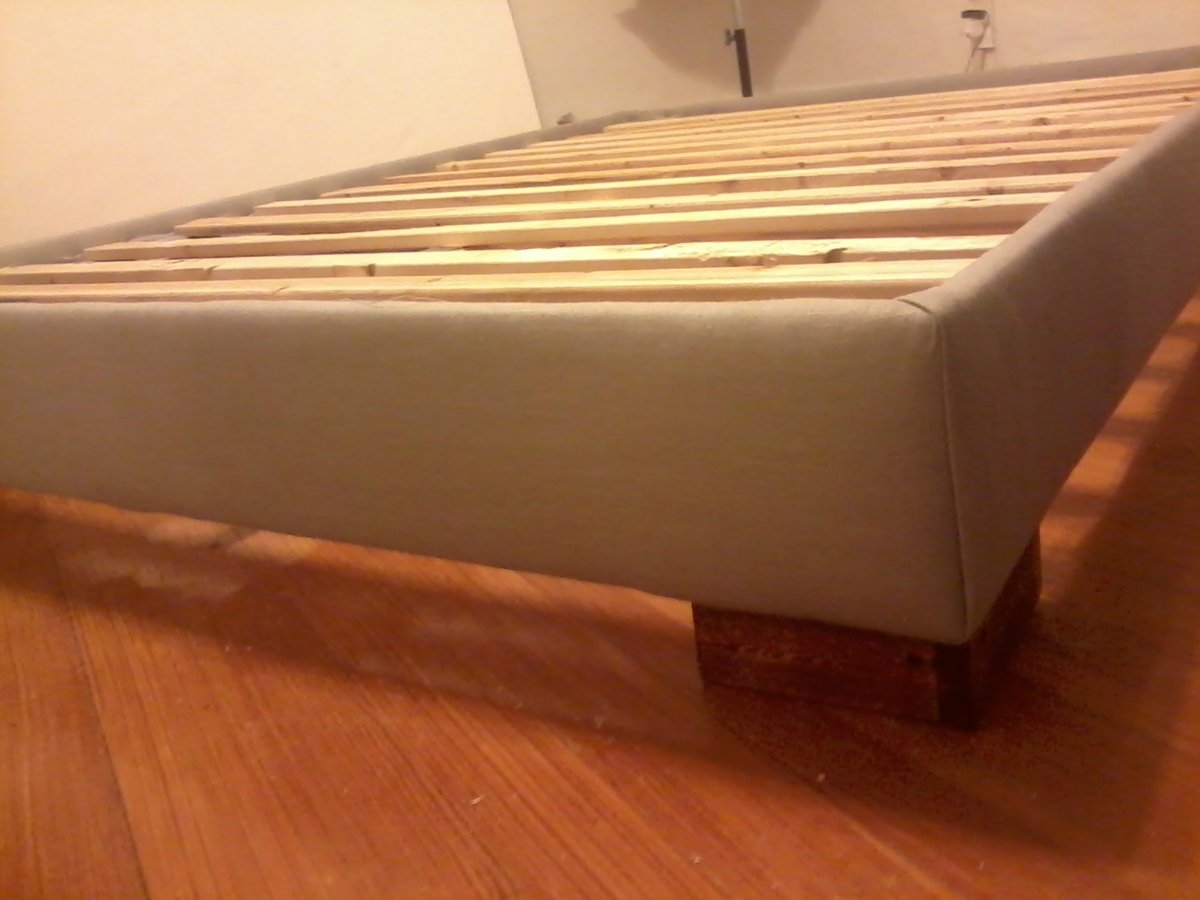
I was inspired to build this bed by this post at Big Box Detox. http://www.bigboxdetox.com/diy-make-own-upholstered-bed

I chose not to build the headboard because I have my bed placed in front of a window. However, I may add it in the future. For those of you going on a search for fabric and batting I recommend scoping out Joann's Fabric and Crafts, especially when they offer 50% coupons. The cost for me for wood, batting and fabric was less than $150! My project can also be found on my blog at designroost.net

Happy building!

Estimated Cost
150
Estimated Time Investment
Afternoon Project (3-6 Hours)
Finish Used
I applied a stain the previous owners left in the basement of my house. I applied it with a disposable foam brush.
Recommended Skill Level
Beginner

Planked Wood Sideboard - 2nd Ana White Project

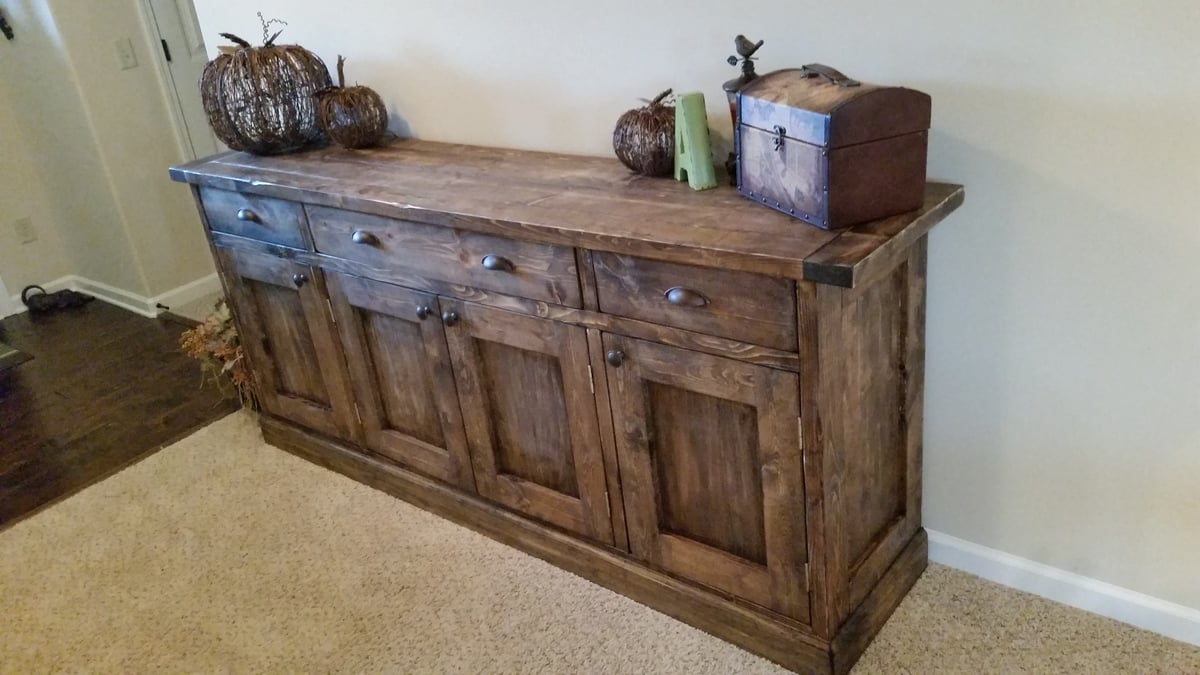
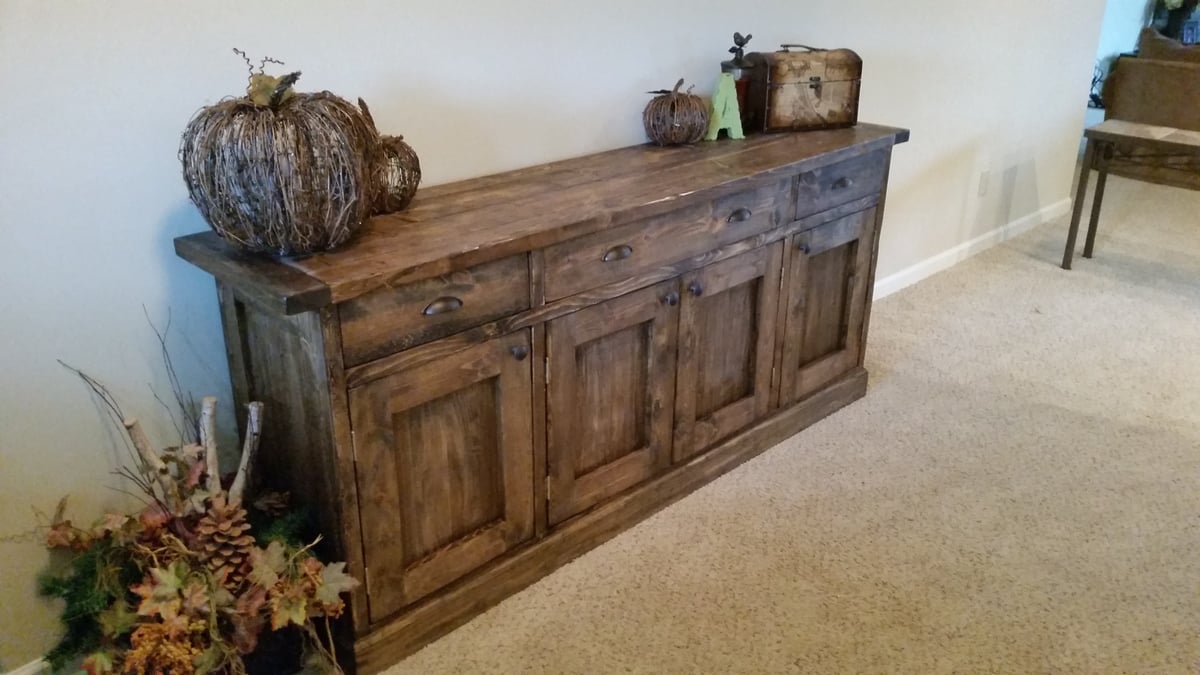
My wife and I looked all over town for just the right piece of furniture for our entry at our new home. After looking and looking I decided I would build this plan. Turned out amazing and all our friends want help building their own.

Built from Plan(s)
Estimated Cost
$350
Estimated Time Investment
Weekend Project (10-20 Hours)
Finish Used
Dark walnut minwax and polycrylic finish
Recommended Skill Level
Intermediate

Comments

Michael K

Fri, 02/06/2015 - 03:27

You did a great job on this project. I love the stain and finish on this piece. Thanks for sharing!

Captain America for Grandson #2

A fun project to make ending with a functional product to boot!  I went all out making sure that each truck/shelf would coordinate with each grandson's theme/decor in their bedrooms.  Chase, who will turn one next month, has a super heroes/comics theme for his room.  Therefore, I selected Captain America as the star of the big rig shelf.  Red, white & blue paints, some wooden shapes and some creativity and Captain America was ready for Mr. Smiles.

Built from Plan(s)
Estimated Cost
$75 ~ supplies on Ana's suggested list plus the extras I purchased to create my 'star'
Estimated Time Investment
Weekend Project (10-20 Hours)
Finish Used
Rustoleum apple red and navy blue and crafter's choice snowfall (white)
Recommended Skill Level
Beginner

Brookstone Desk

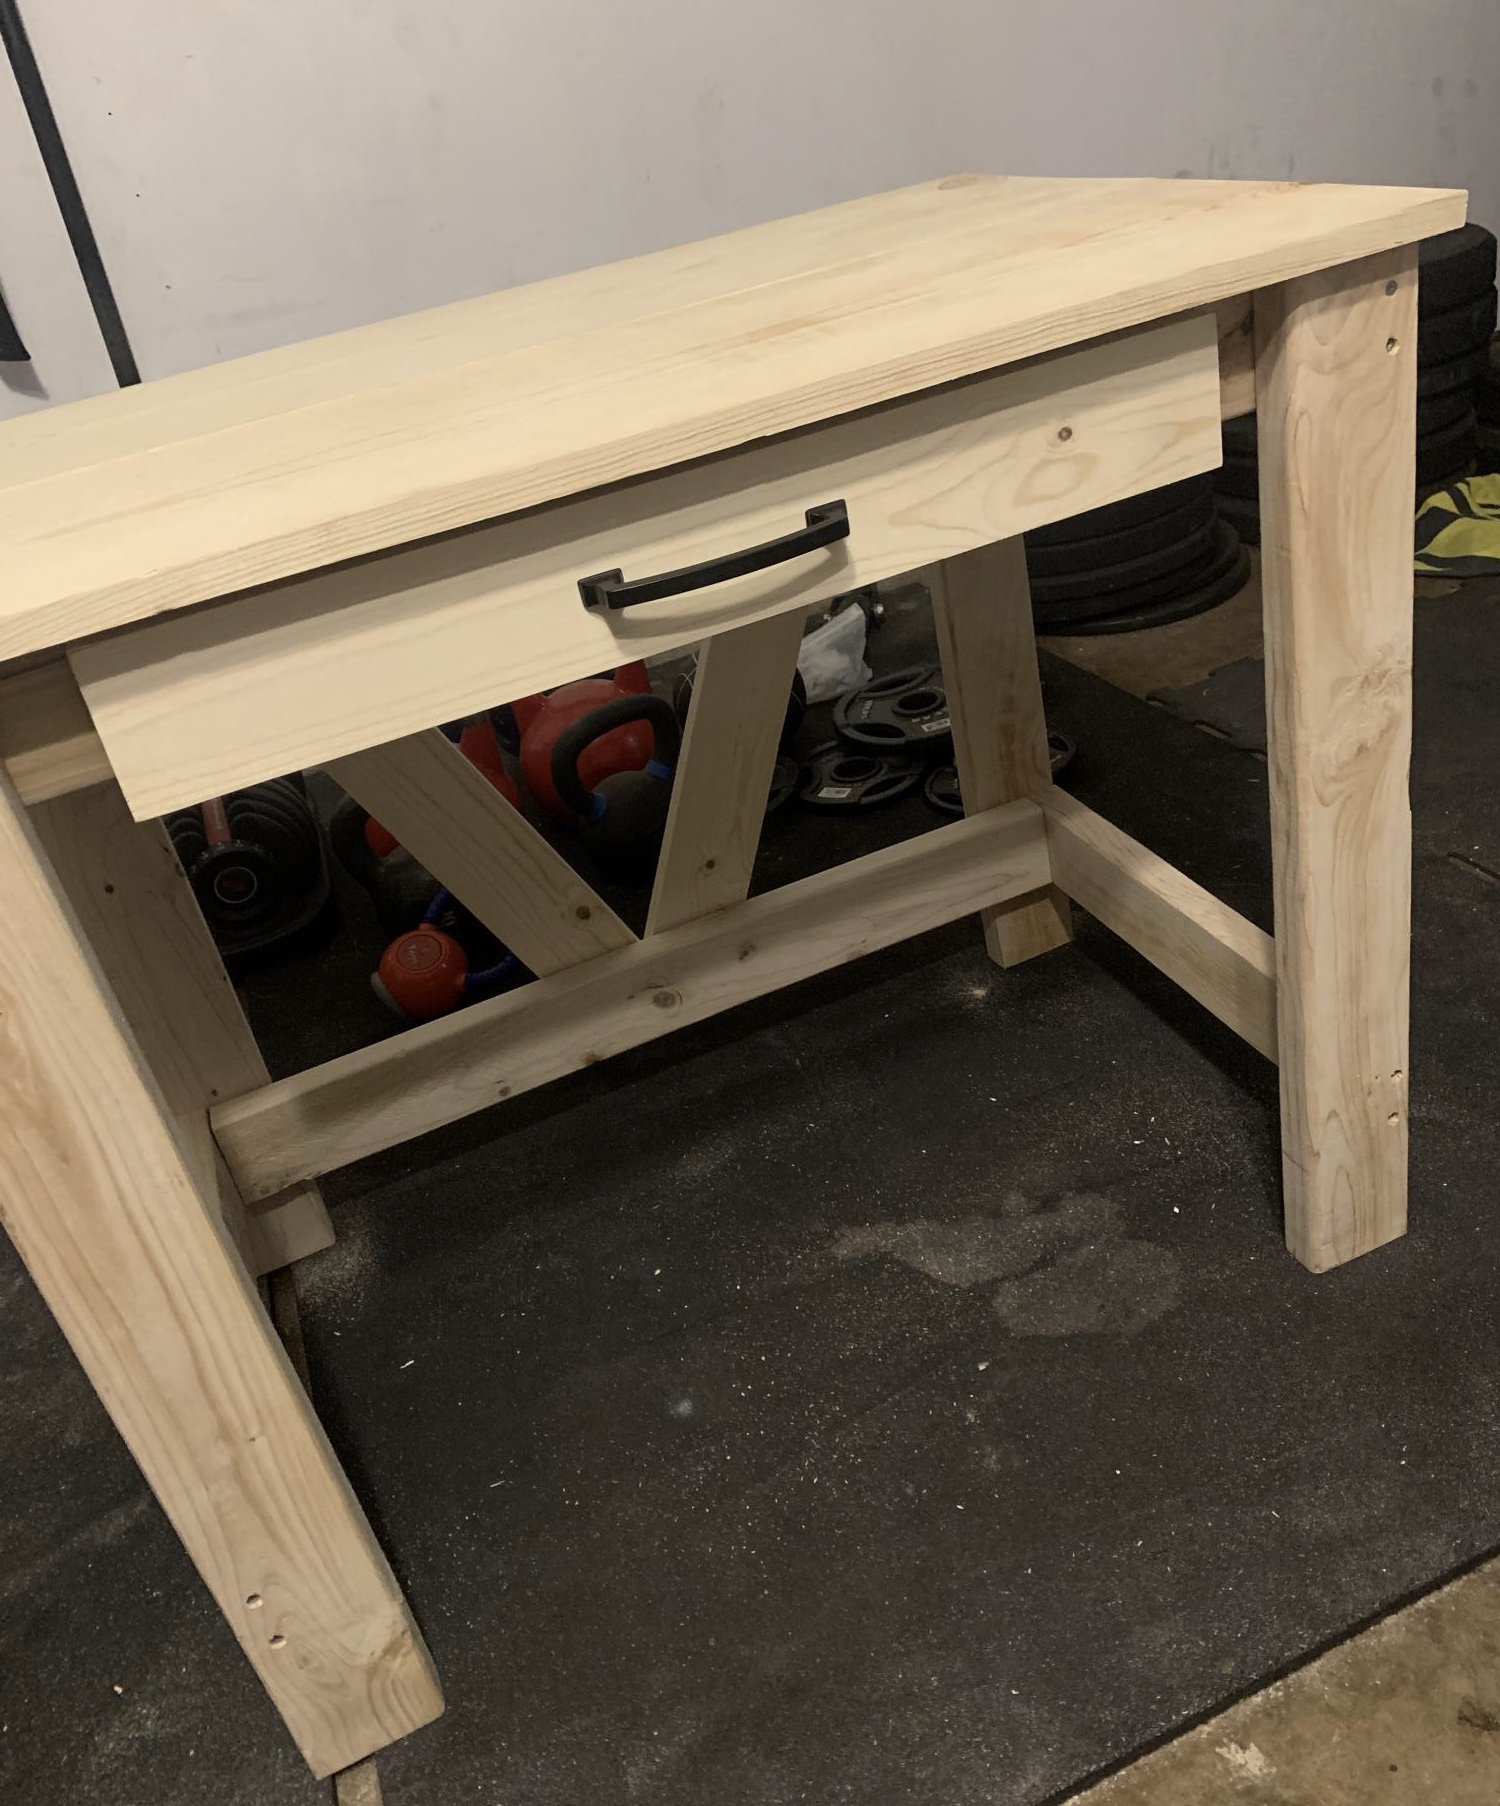
Changed the top of the desk size to 24” x 36” to fit my tiny space.

Built from Plan(s)
Estimated Time Investment
Day Project (6-9 Hours)
Recommended Skill Level
Beginner

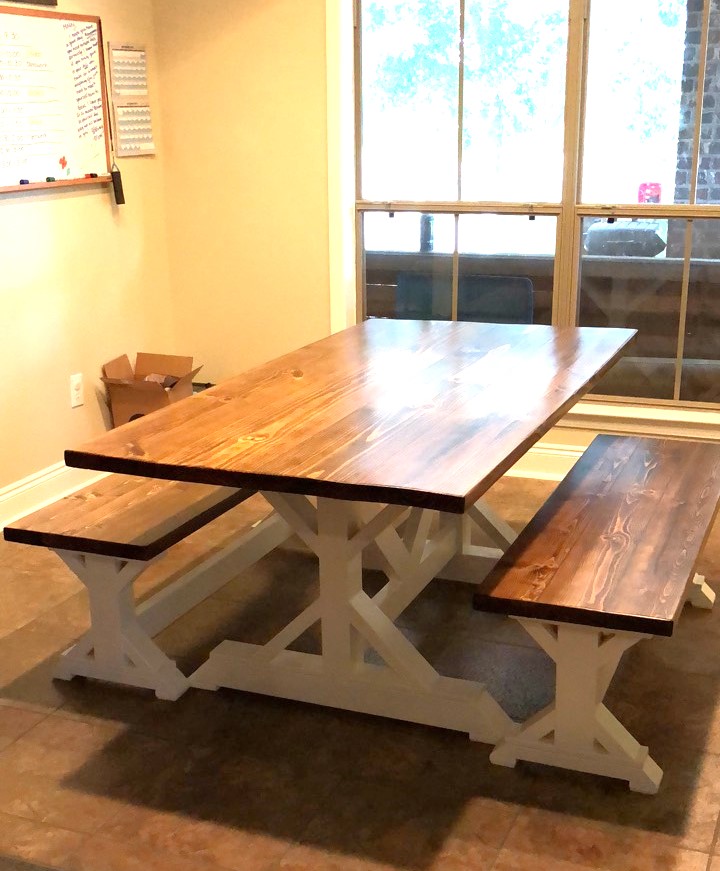
Farmhouse Table

Submitted by Anonymous (not verified) on Mon, 09/30/2024 - 10:29

I built this table for my wife four years ago, but lost it in a house fire a year and a half ago. Now I want to rebuild a better one! - Tom T.

Built from Plan(s)

Rustic X End Table

Submitted by UK Cats on Mon, 12/03/2012 - 16:19

Built two Rustic X end tables and one Rustic X coffee table. I modified the design to fit my room better. Just building the two tables (no sanding) took me about 5 hours.

Estimated Cost
80 for 2
Estimated Time Investment
Day Project (6-9 Hours)
Finish Used
Vinegar and steel wool as used in the example
Recommended Skill Level
Intermediate

Extended Barn Beam Ledges

Built these some time ago, but I forgot to post my brag til now! I took Ana's plans for the Barn Beam Ledges and simply modified them by making them into 5-foot lengths. They were very easily and quickly built. The longest part was waiting for them to dry! There are three keyholes on the back of each, aligned with the studs, so they sit nice and flush against the wall and no worries of them falling down! They hold lots of picture frames, which I love. No individual nail holes all over my wall! lol Very happy with the end result. :)

Built from Plan(s)
Estimated Cost
unsure
Estimated Time Investment
Afternoon Project (3-6 Hours)
Finish Used
I mixed different walnut stains we had on hand.
Recommended Skill Level
Beginner

Desk made from Ana White plans

Submitted by Anonymous (not verified) on Fri, 01/06/2017 - 06:38

Biggest tip for everyone is to make sure you are square at all times! I would also recomend springing for the better drawer slides. I used the cheap white ones and regret it. Overall, this was fun to make and looks great in my office! Thank you for the plans

Built from Plan(s)
Estimated Cost
$300
Estimated Time Investment
Weekend Project (10-20 Hours)
Finish Used
Minwax Jacobean Stain, 2-3 coats. Minwax semi gloss polyurethane, 2 coats
Recommended Skill Level
Intermediate

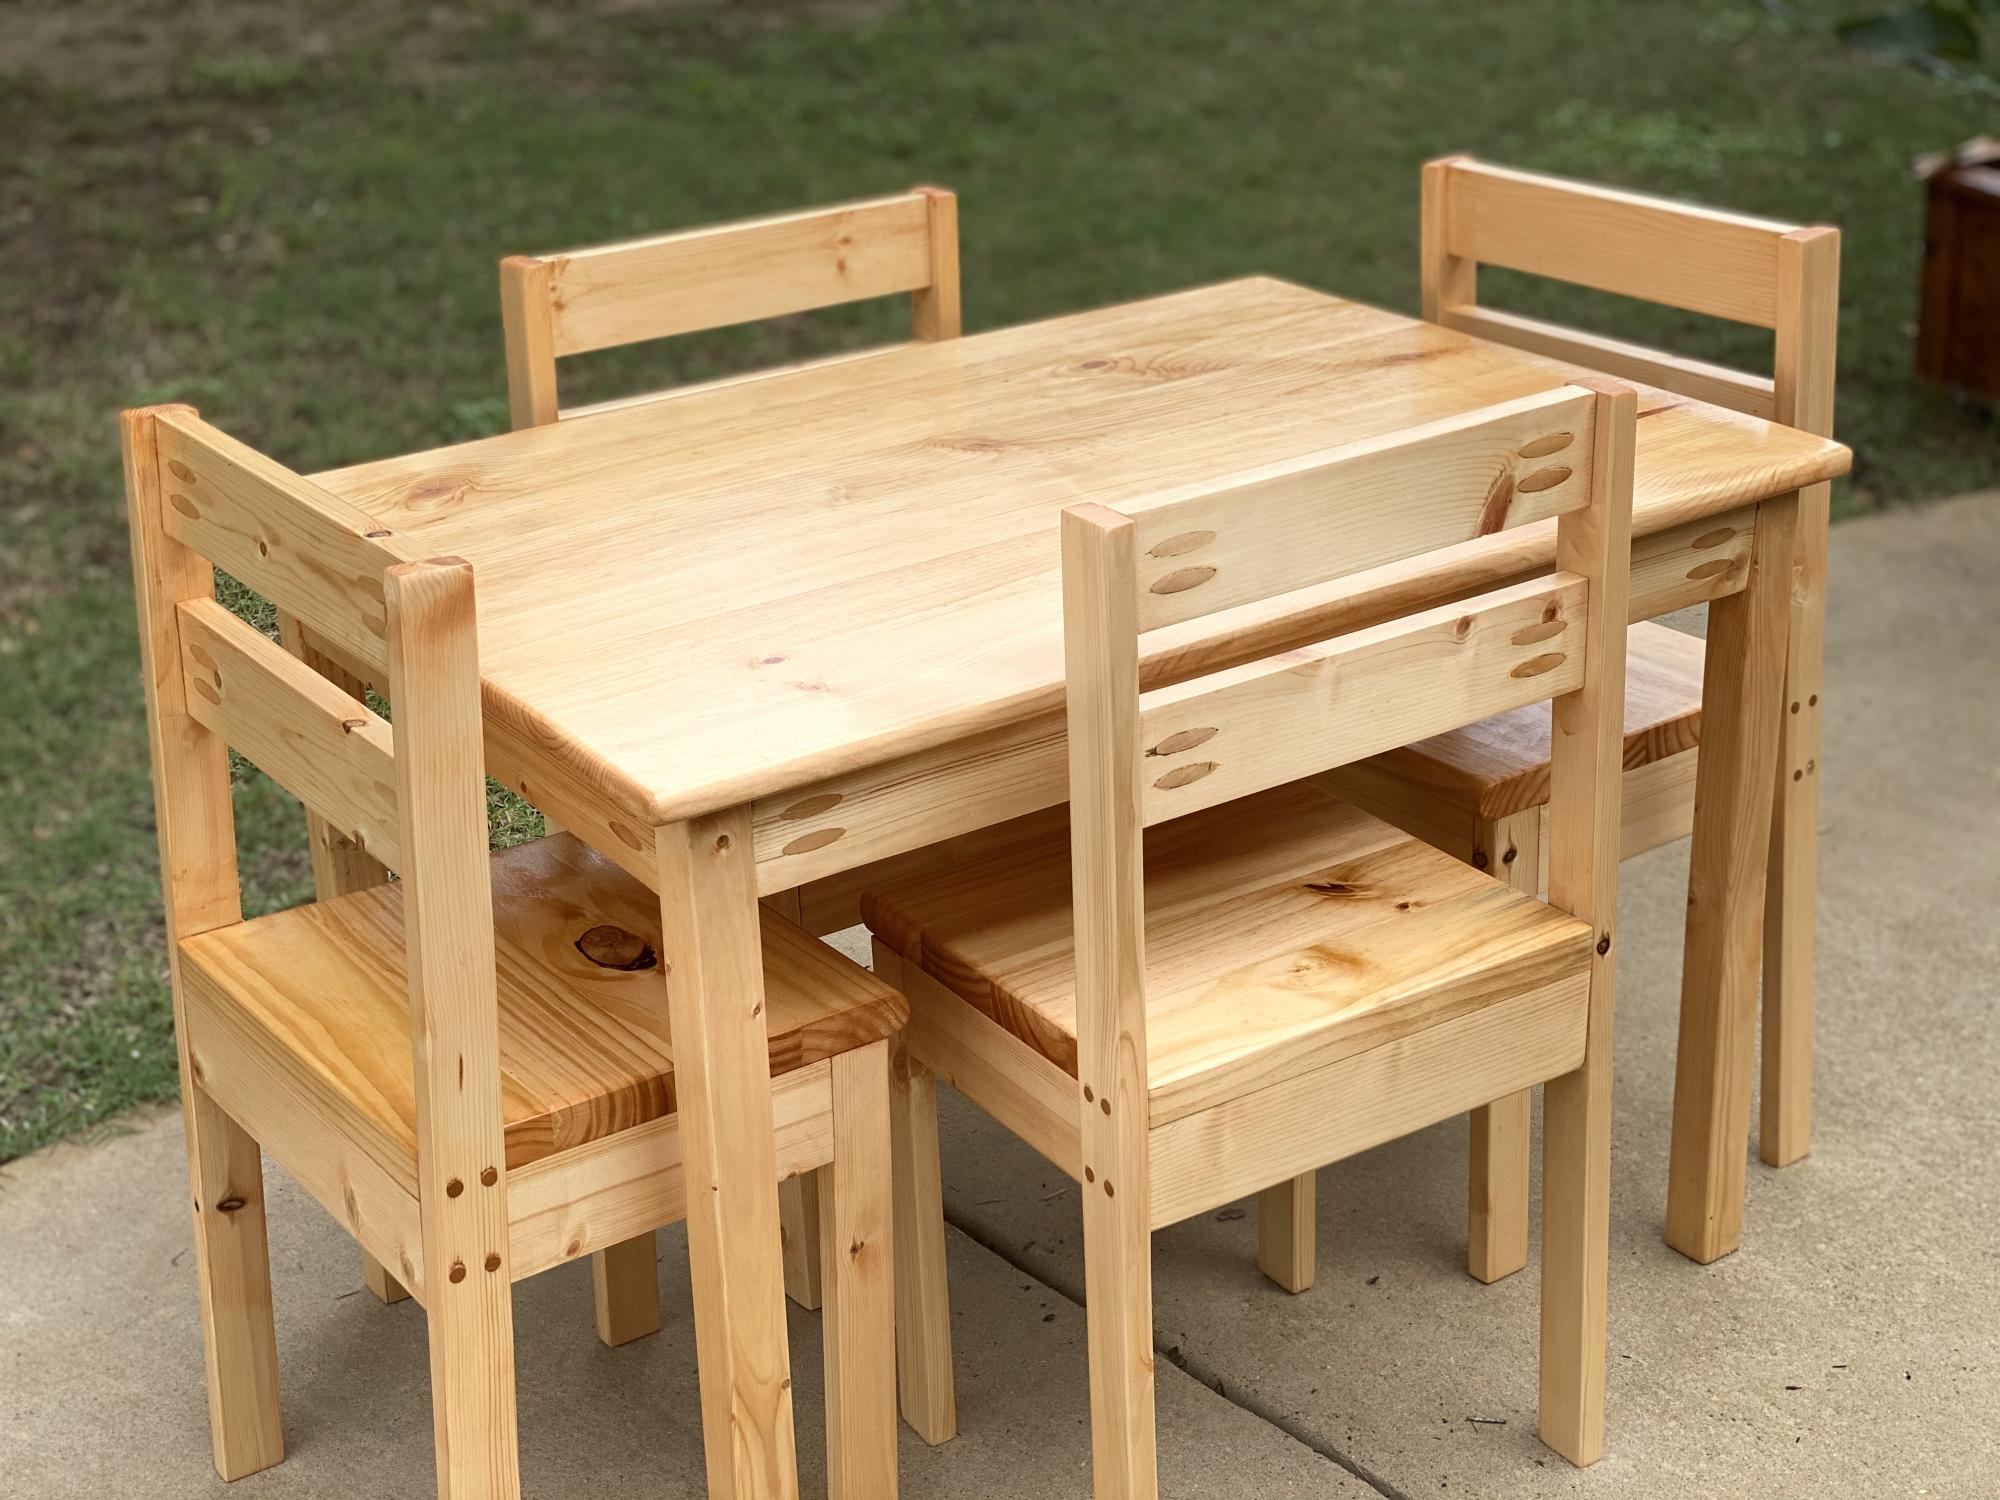
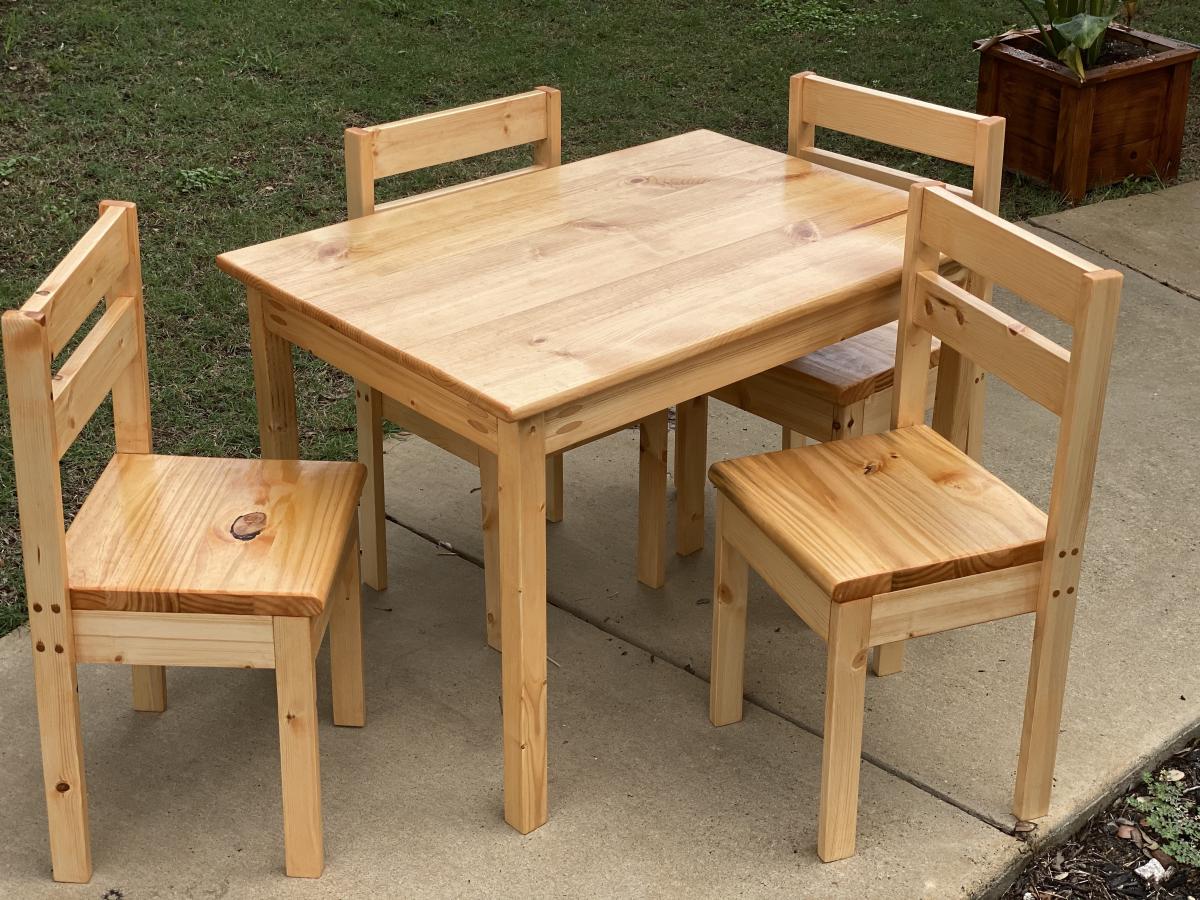
Table & Chairs for Kindergarten Co-Op

Simple table and chairs for a kindergarten homeschooling co-op. Perfect size for 4-6yr olds. Sturdy enough for older kids as well. We used a stair tread for the seat tops instead of 1x3 to make it more solid and to minimize little fingers getting caught between slats also the bull nose on the stair tread makes a nice edge for little legs to rest against.

Estimated Cost
$140
Estimated Time Investment
Week Long Project (20 Hours or More)
Finish Used

It is finished using two coats of Minwax PolyShades stain & polyurethane in classic oak with sanding using 320 grit sandpaper in between coats. Then a polish with steel wool #0000, beeswax and orange oil.
Back