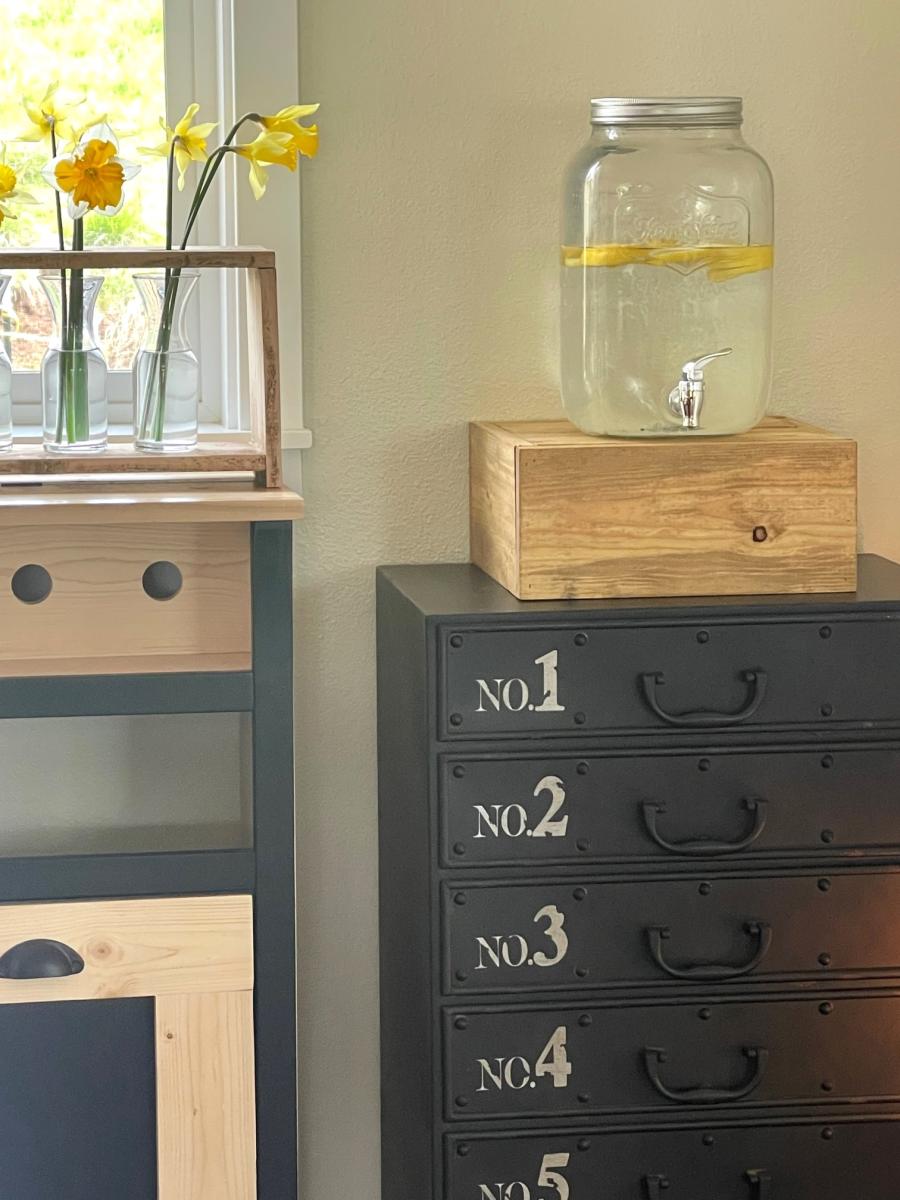
Drink Dispenser Stand
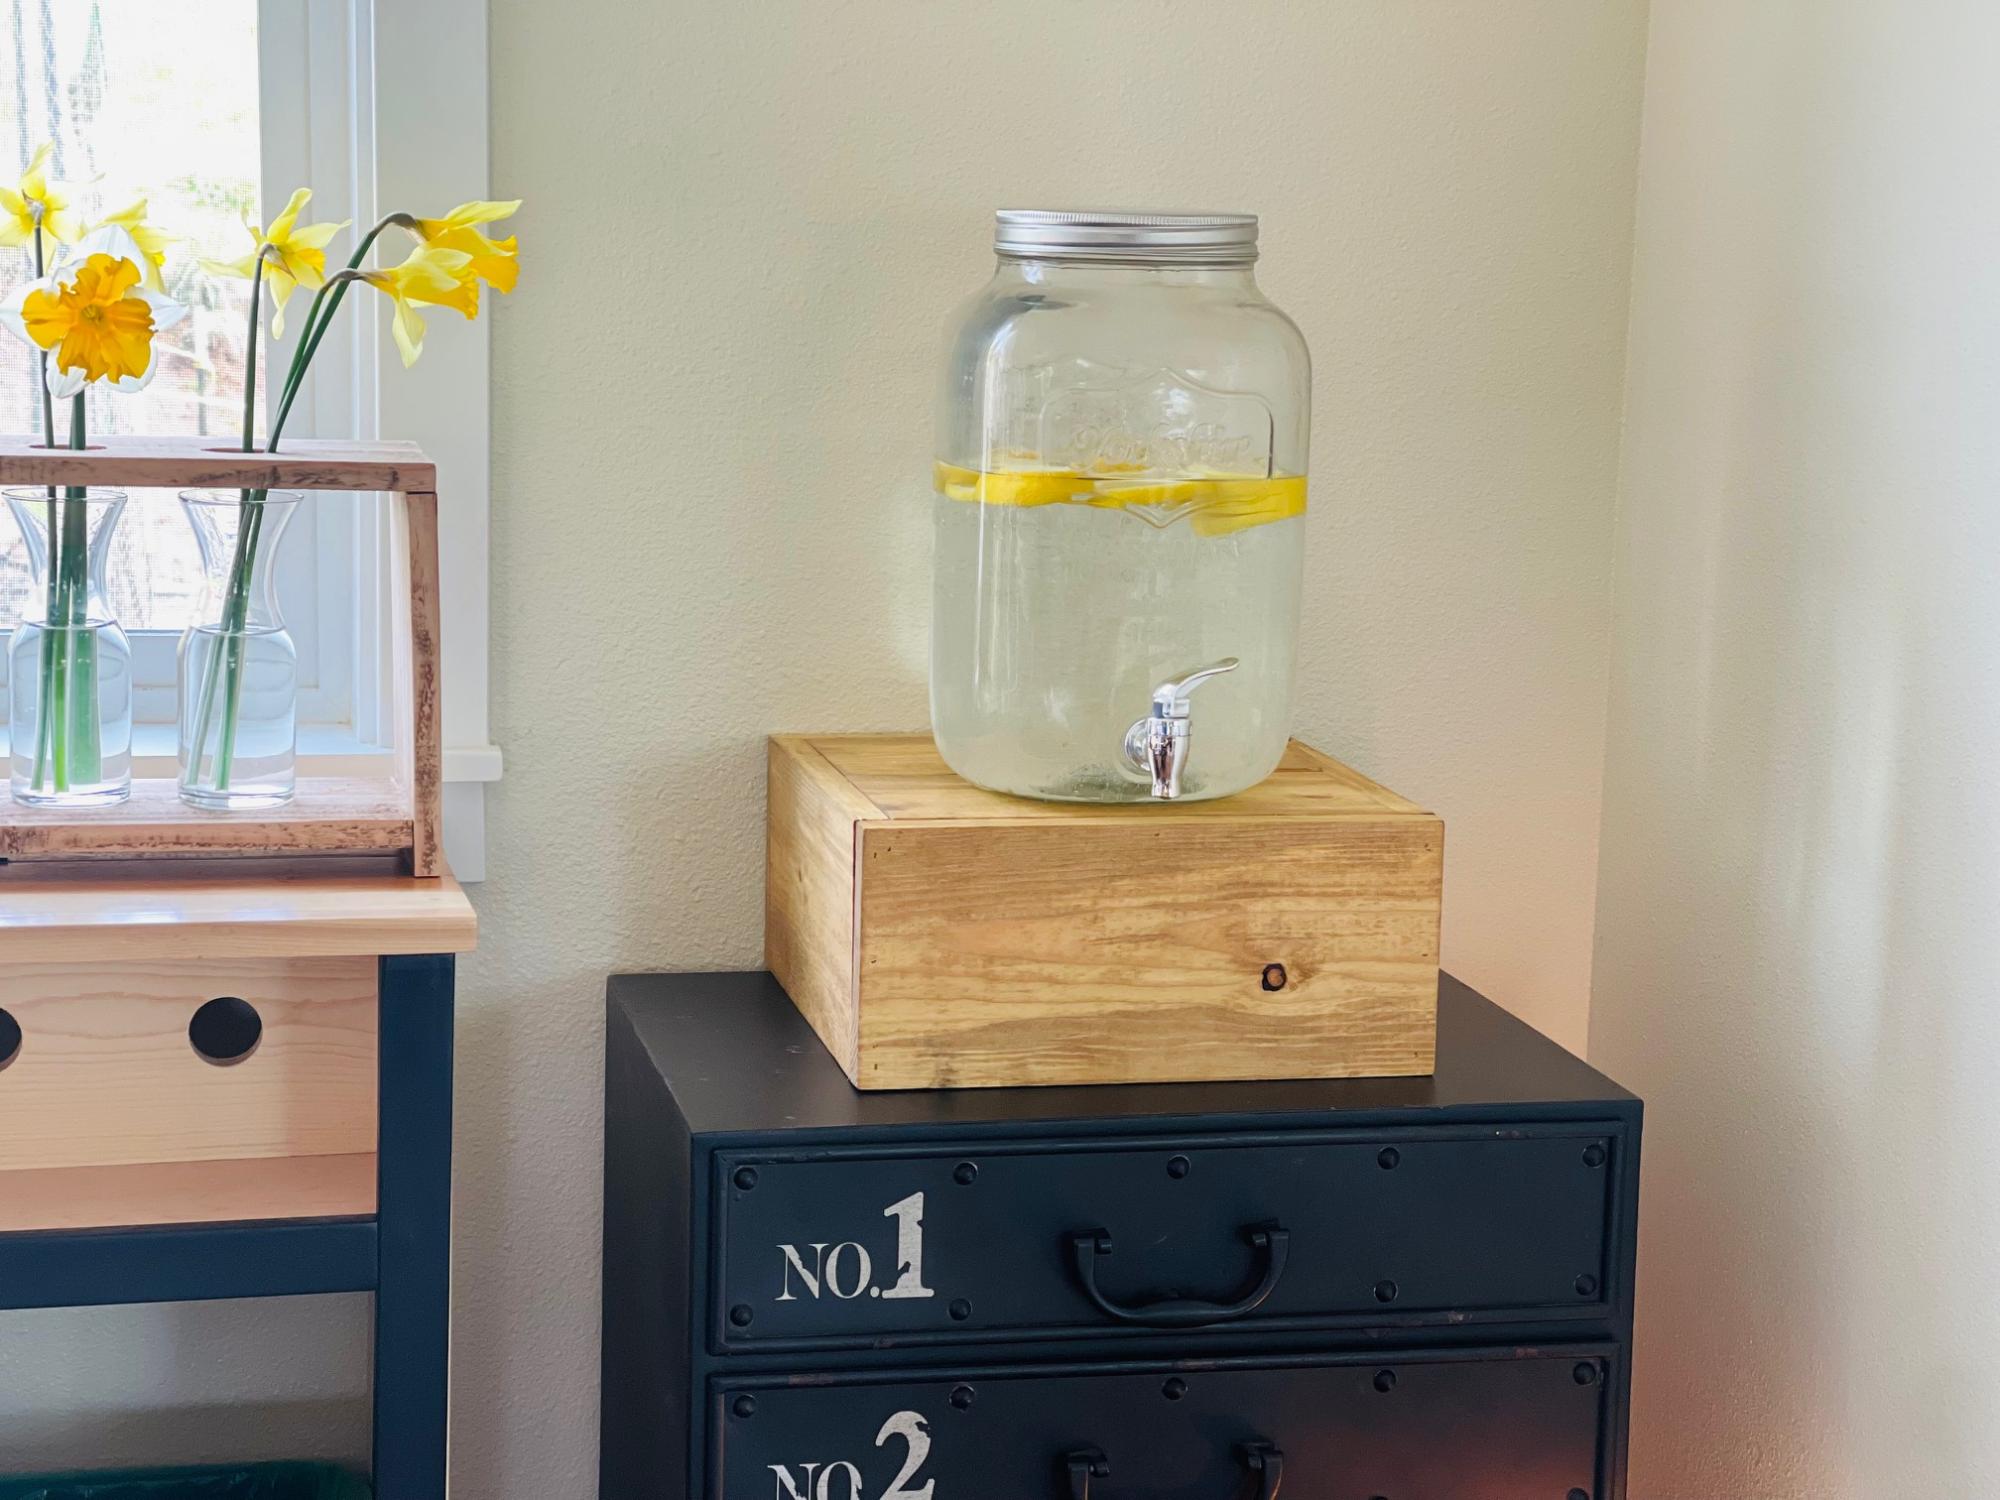
Using the tall cake stand plan I found it doubles as a drink dispenser stand when not being used for cakes.
Built from Plan(s)
Seasonal And Holiday
Using the tall cake stand plan I found it doubles as a drink dispenser stand when not being used for cakes.
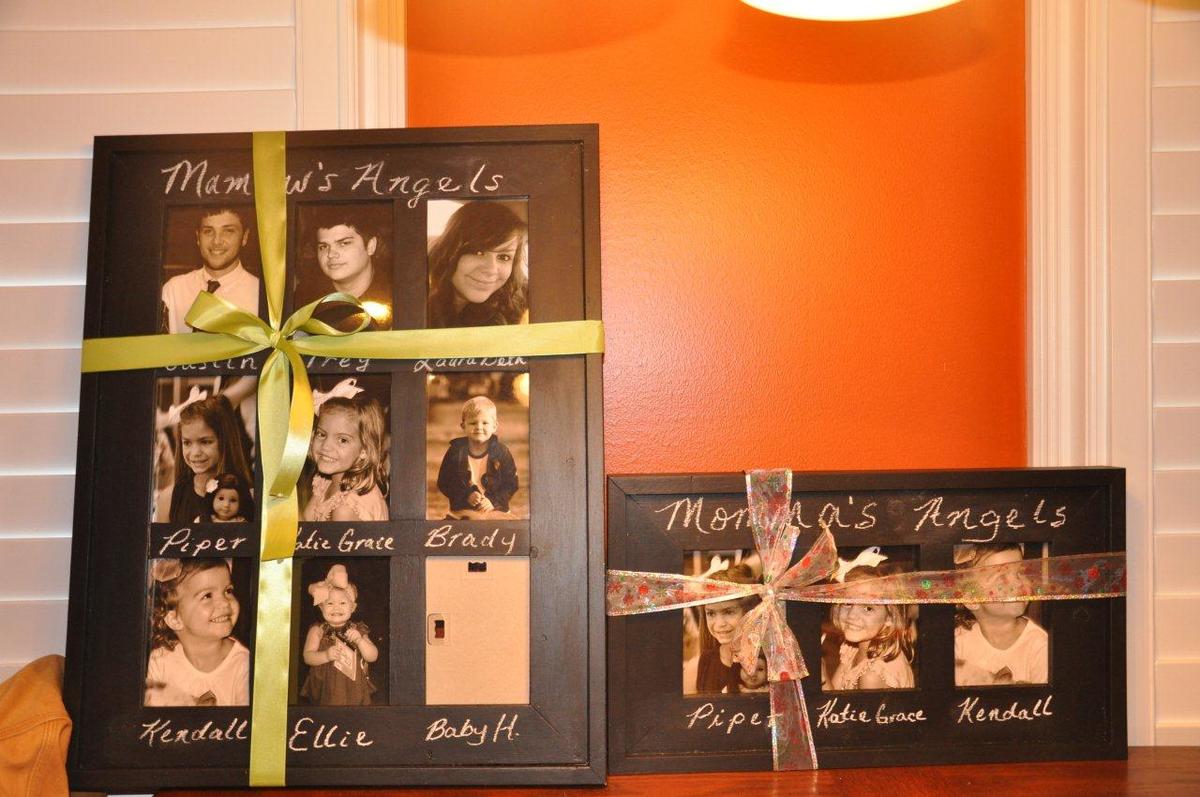
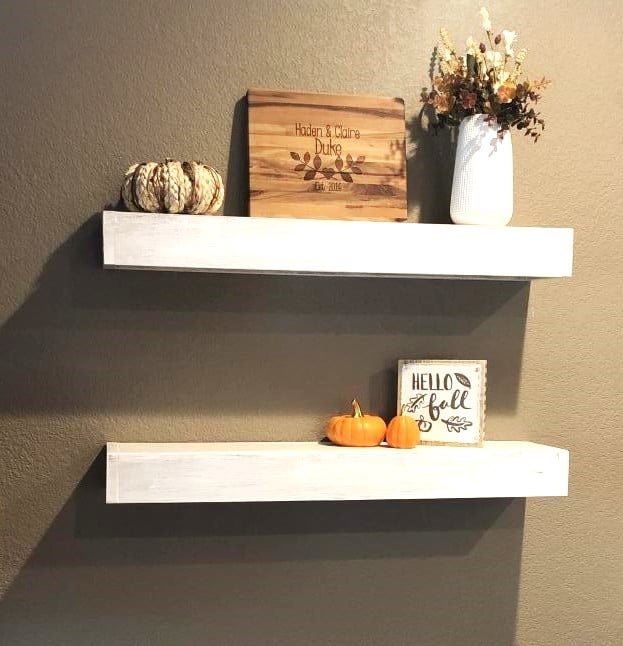
Frames I made for my Mother and my wife for Christmas. Painted with Chalkboard paint so they can change them however they want
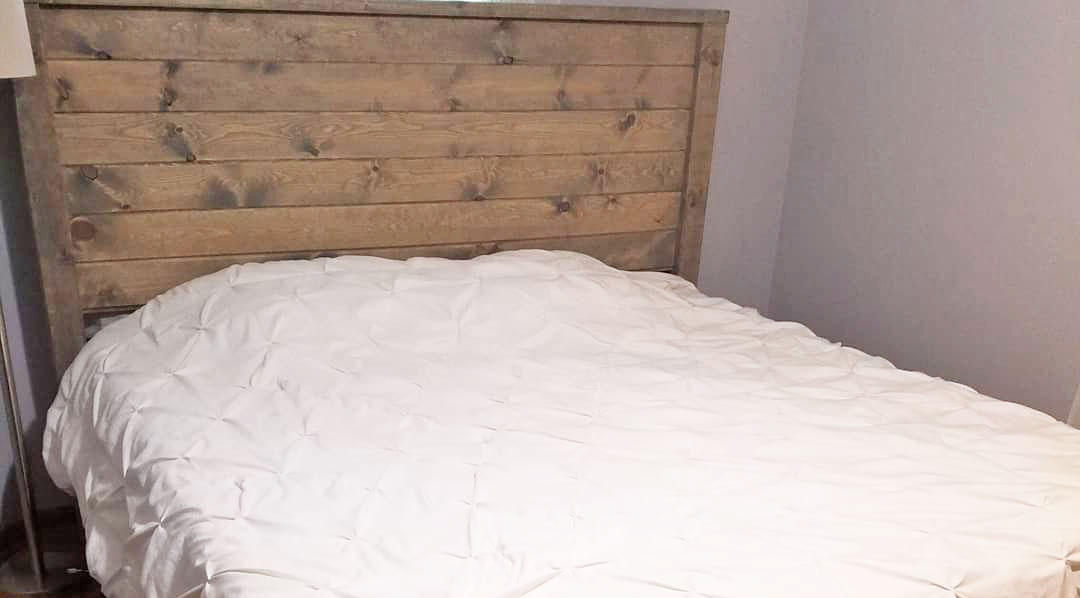
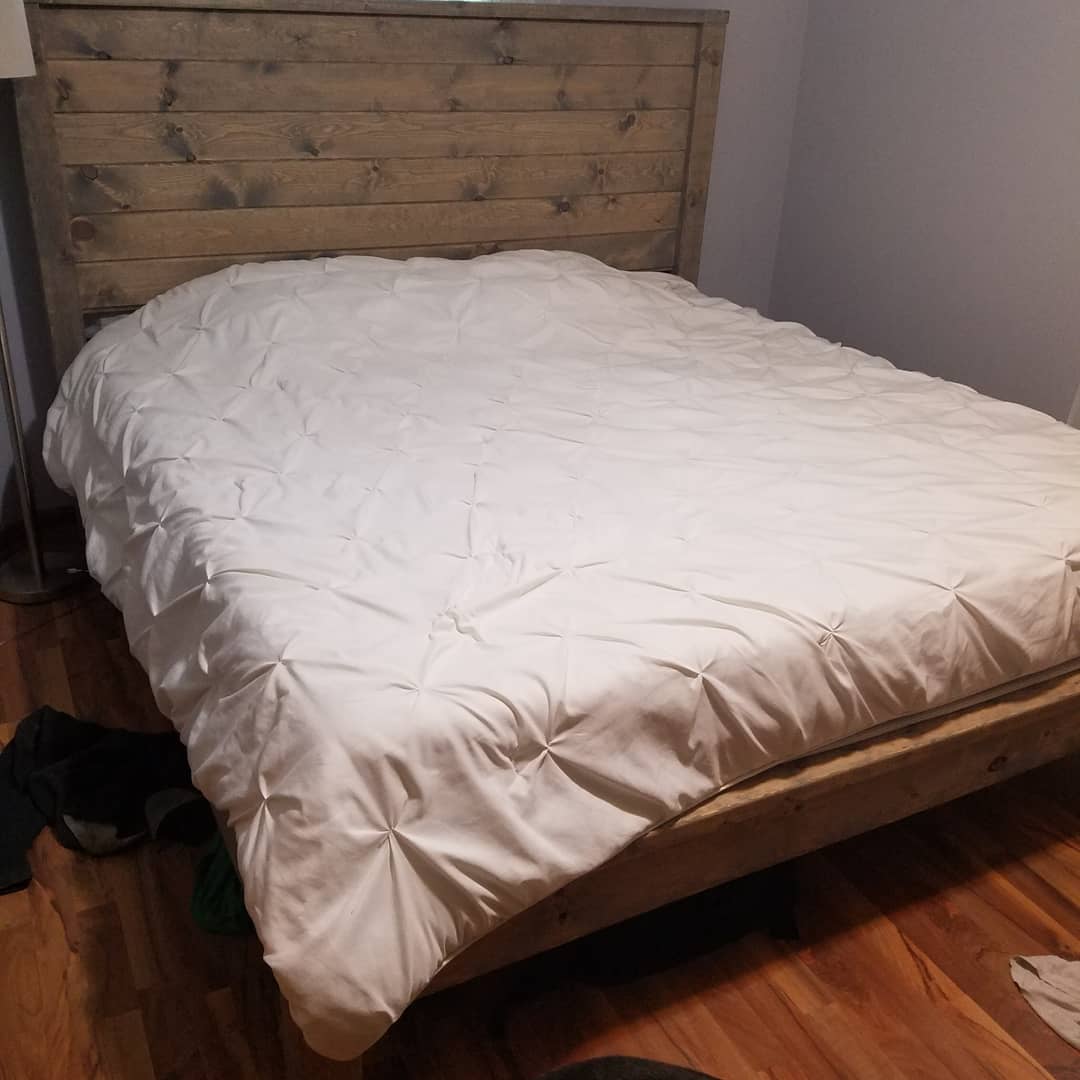
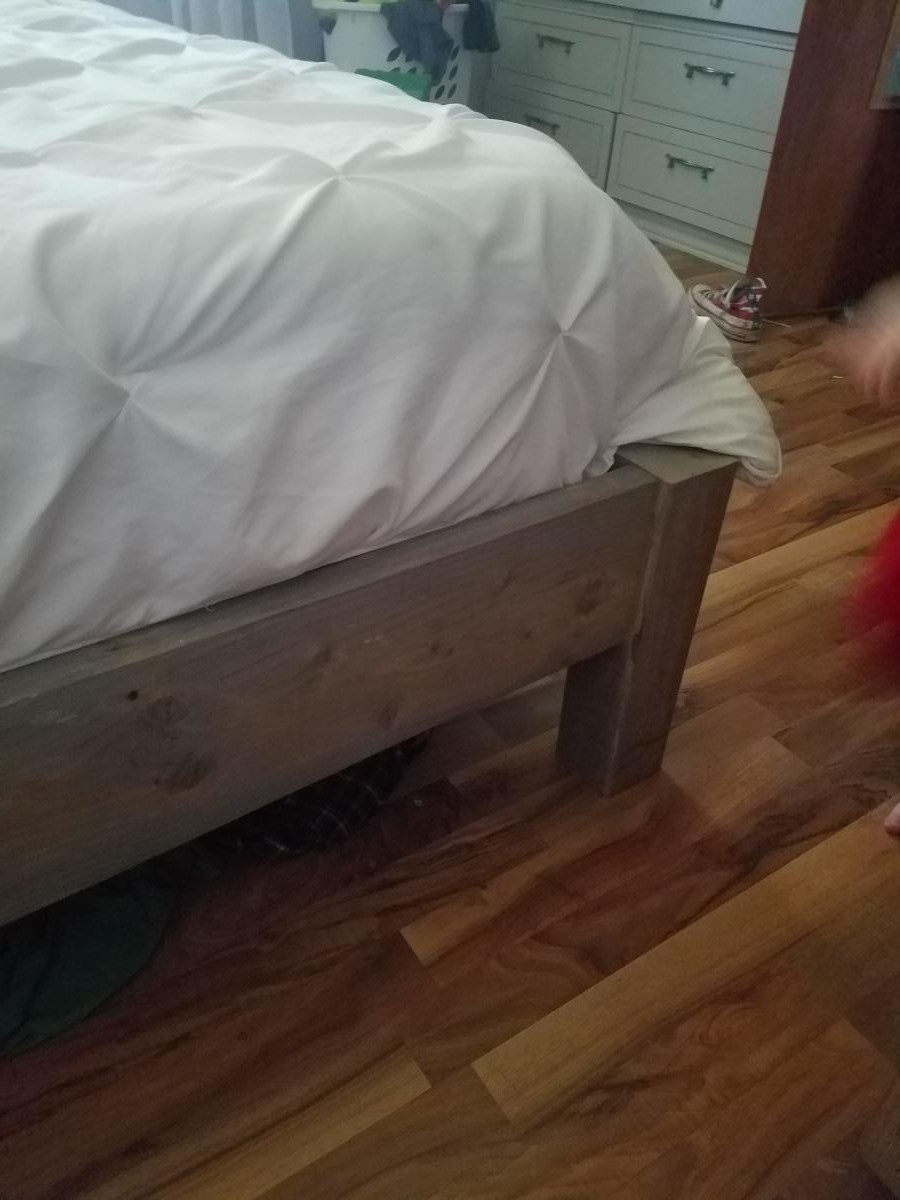
We used 2x6s on the sides so we wouldn't have a ledge on the side of the bed. Everything still lined up really well! We also used brackets to put the sides onto the headboard and footboard. It made it easier to put together and seems sturdier.
Mon, 10/19/2020 - 19:53
I thought about doing brackets too, but not sure how that would work w/the cleets on each side for the slats.
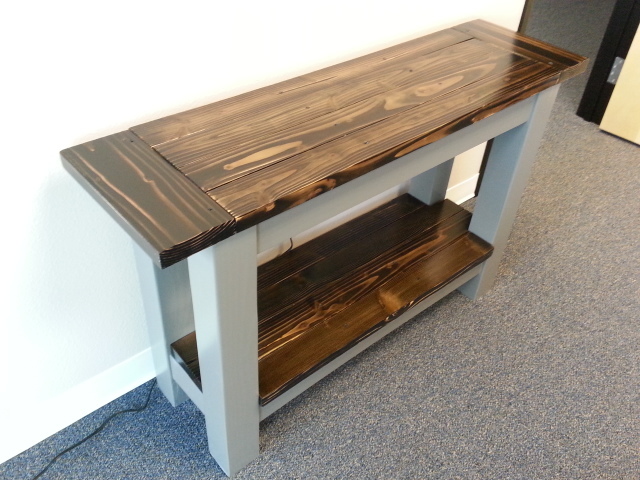
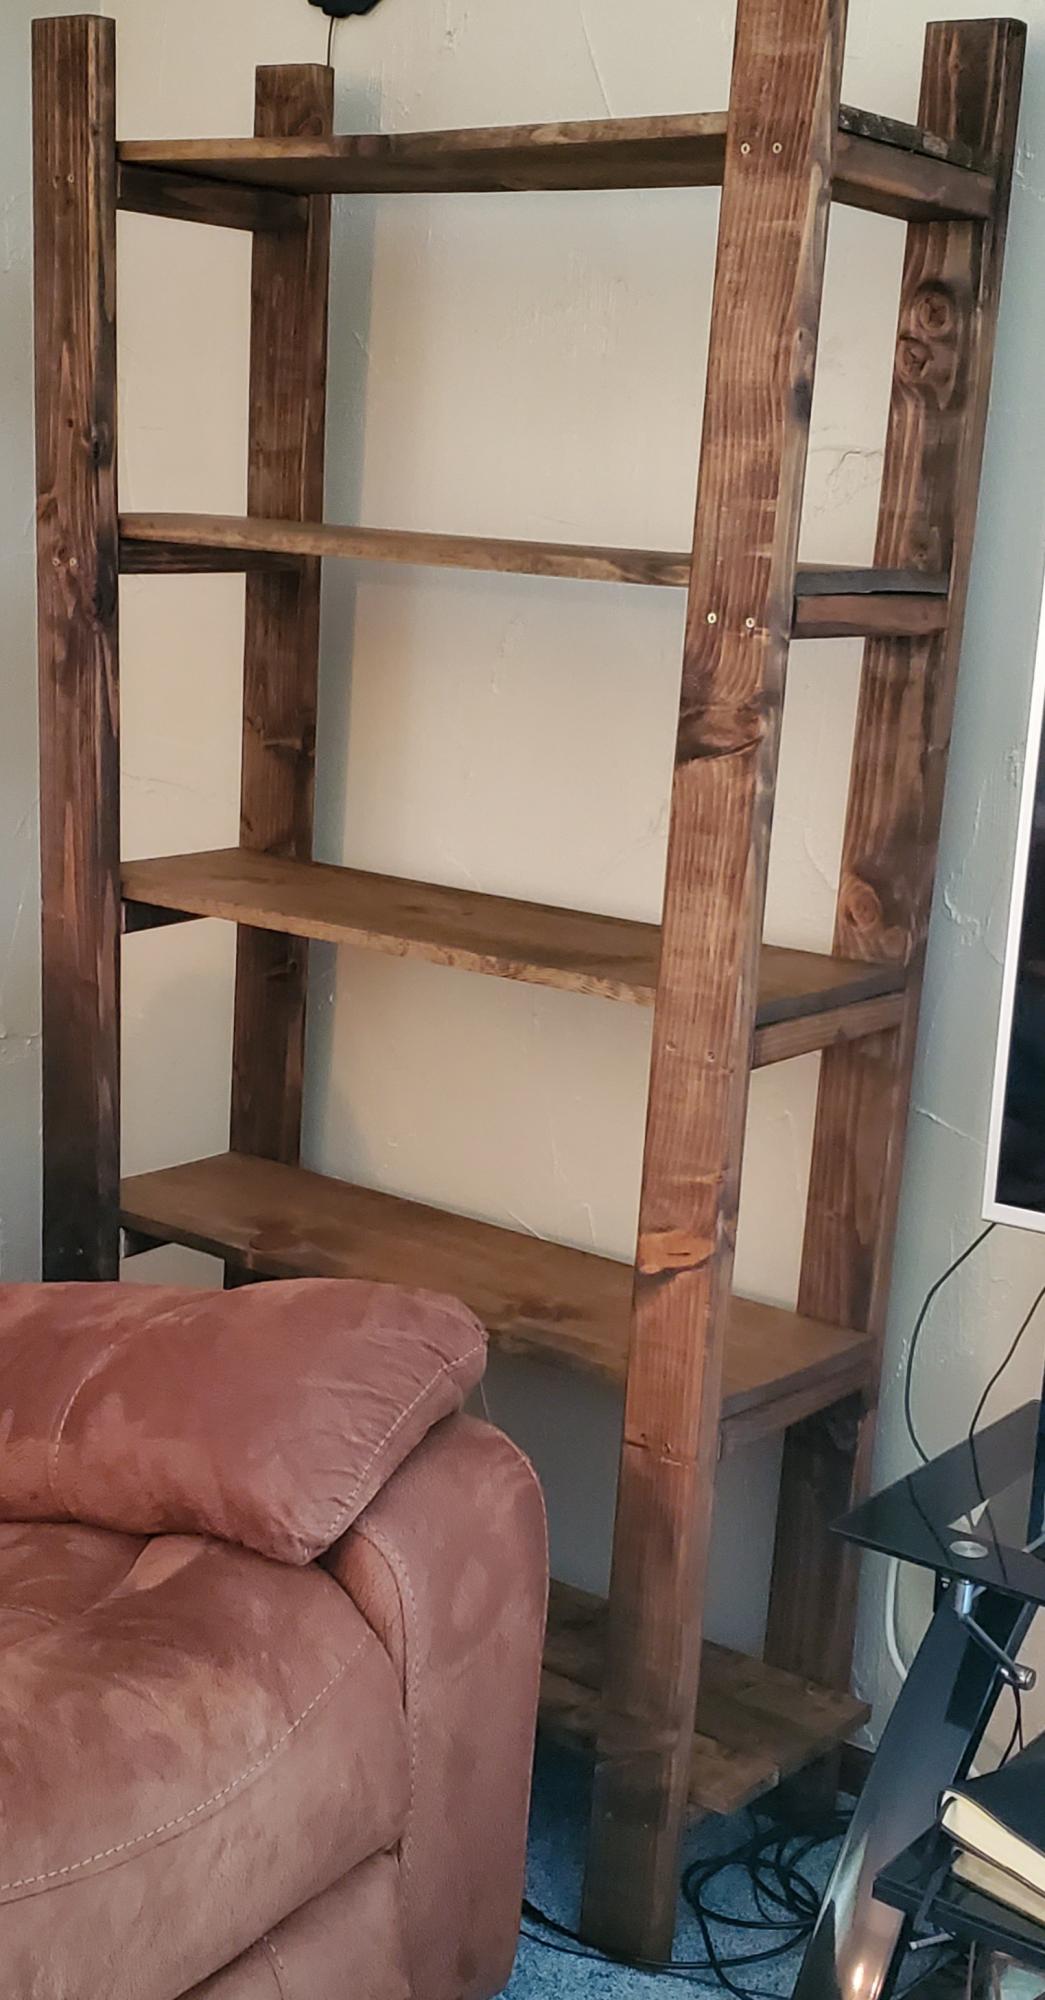
Been loving our Ana White plans!! The table and shelves turned out exactly how we wanted them to & they were SO much cheaper than paying for lesser quality furniture store finds. We’ve received so many compliments!
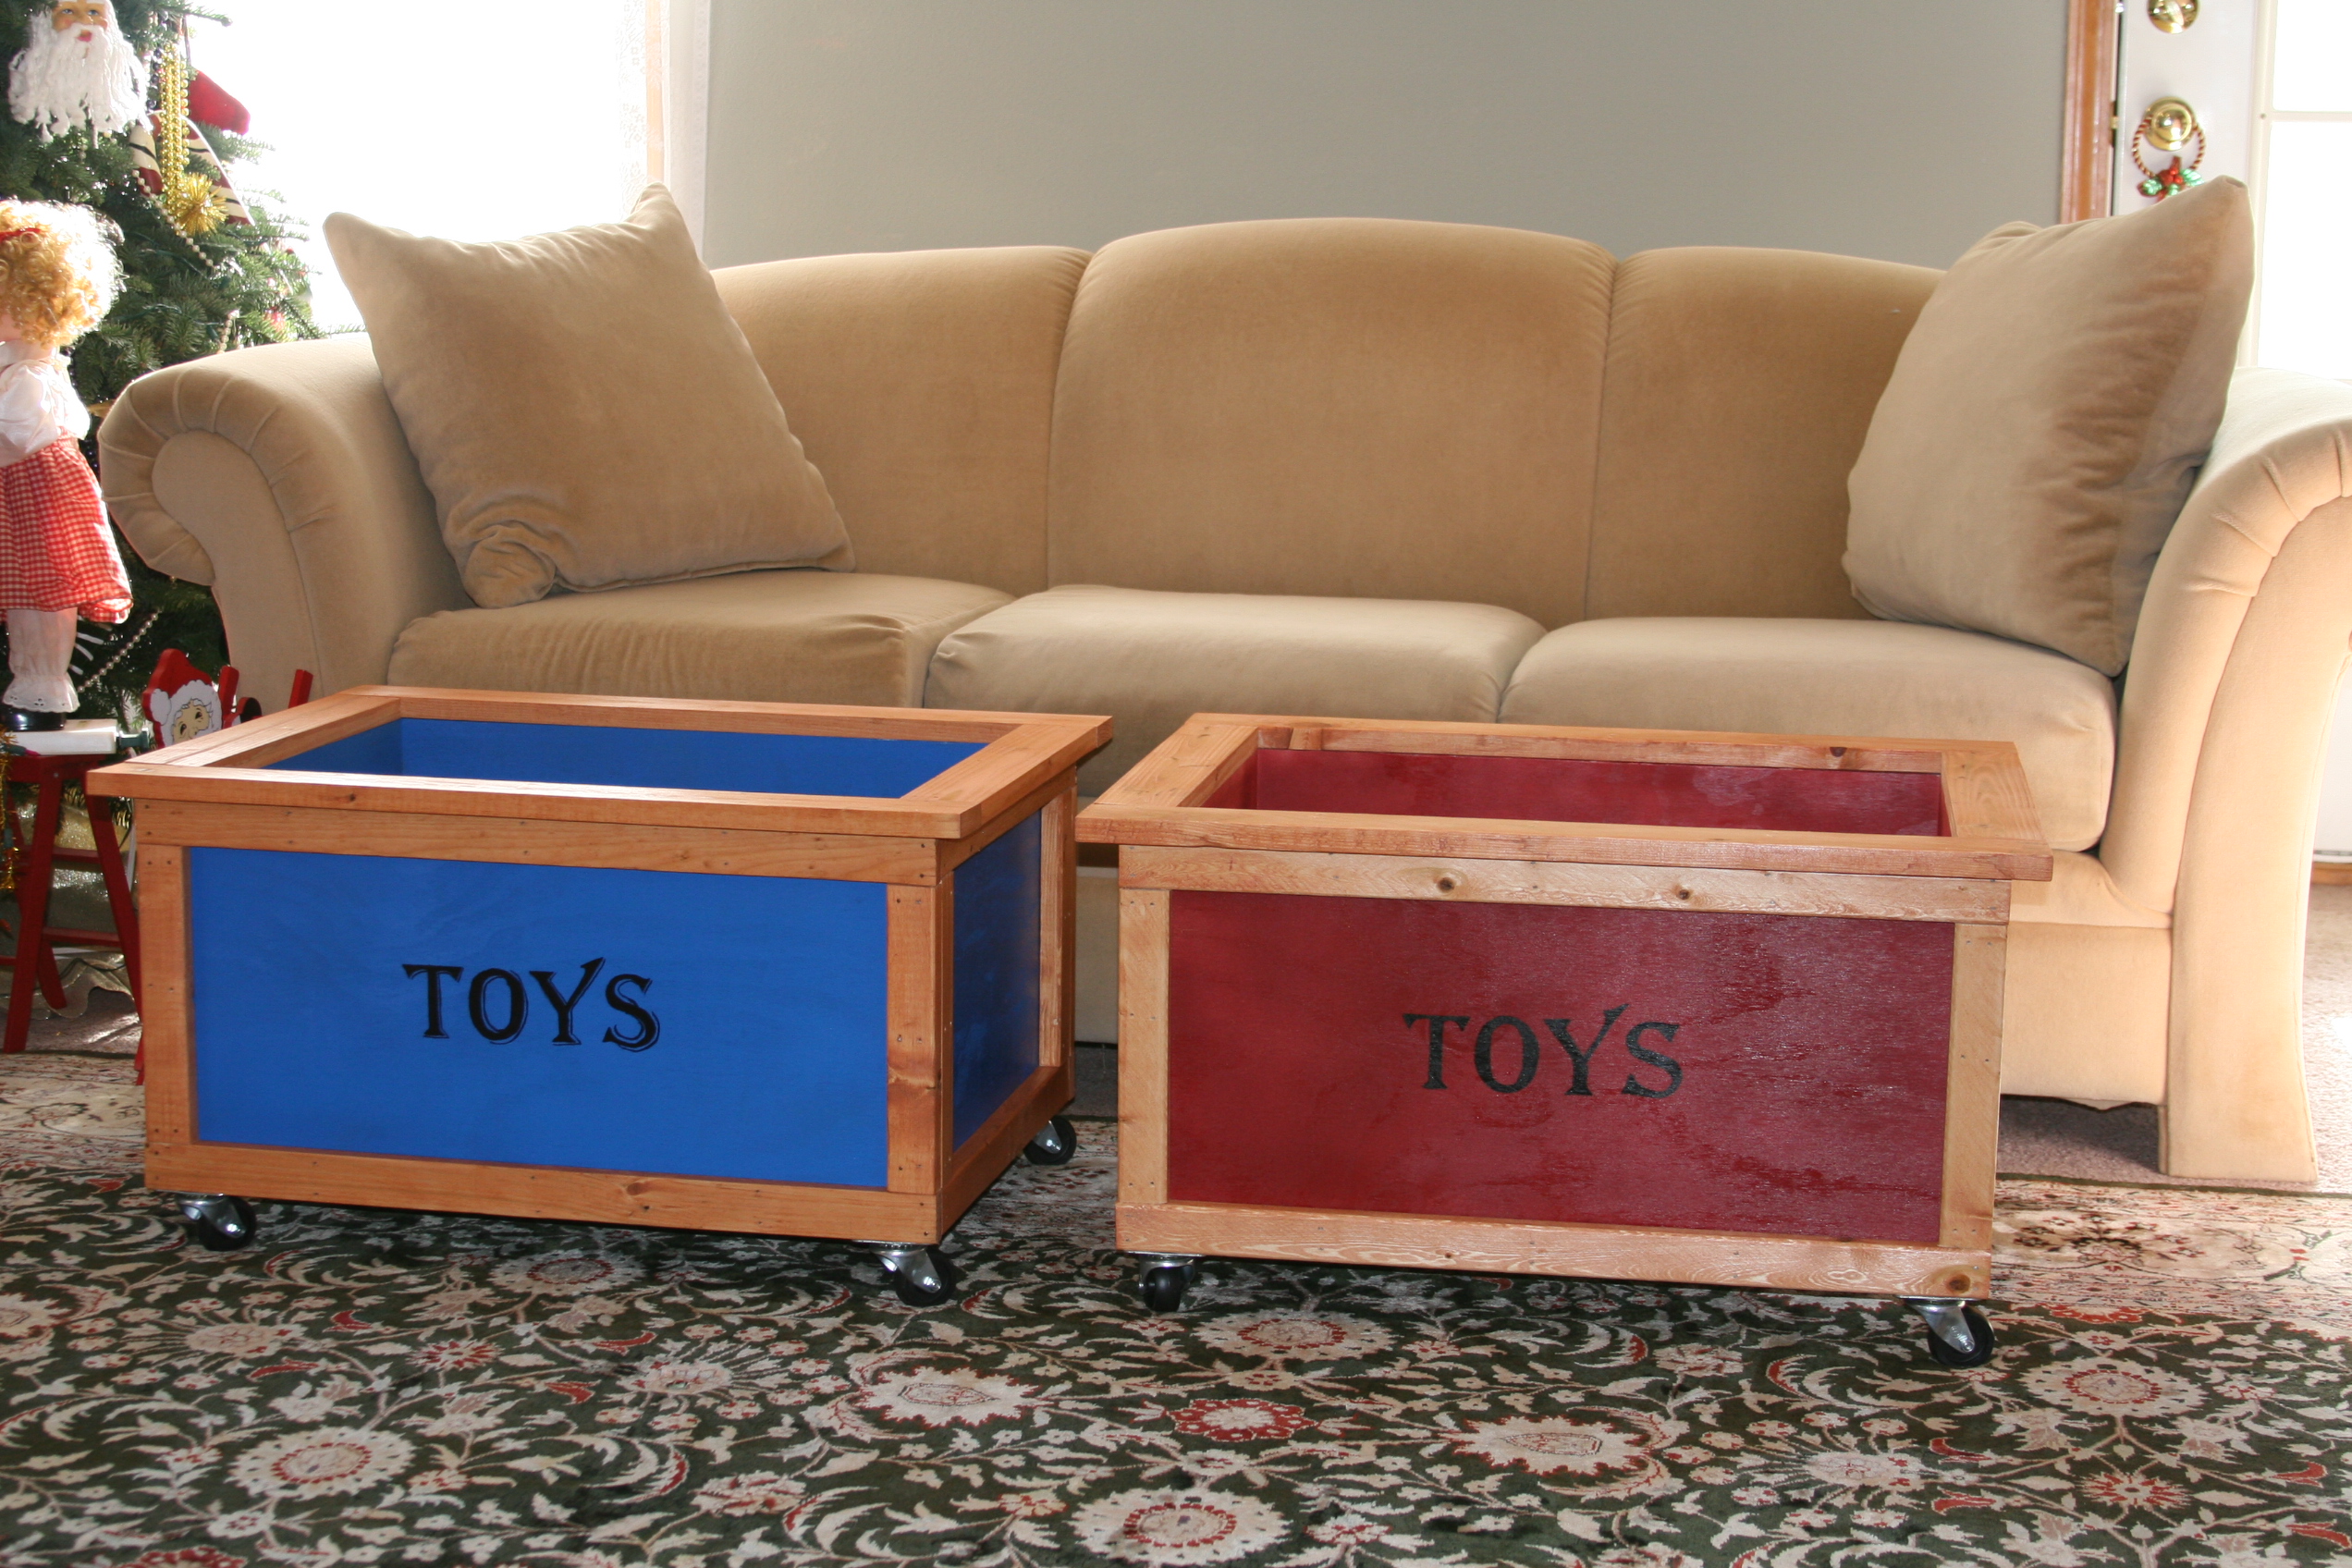
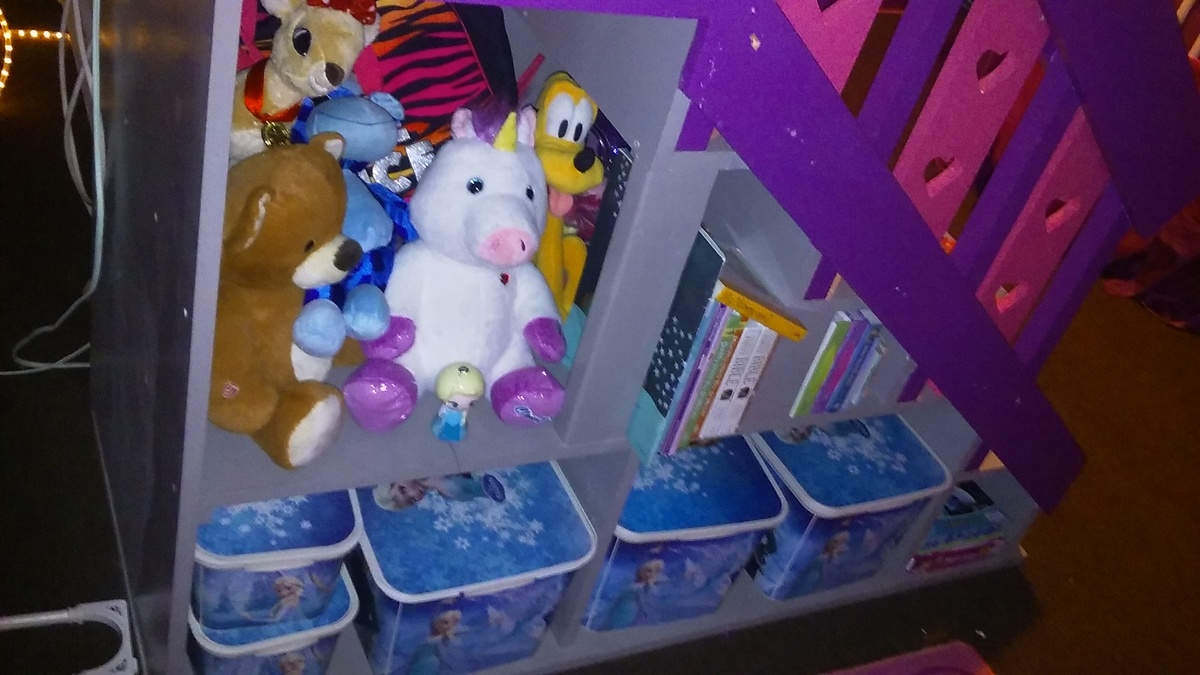
We made two toy boxes for the Make Two Challenge. A single mom with two small children needed a little boost for christmas this year. I used the stacking toy box plans but dressed it up a bit with trim and added casters. The plan was very easy to follow.
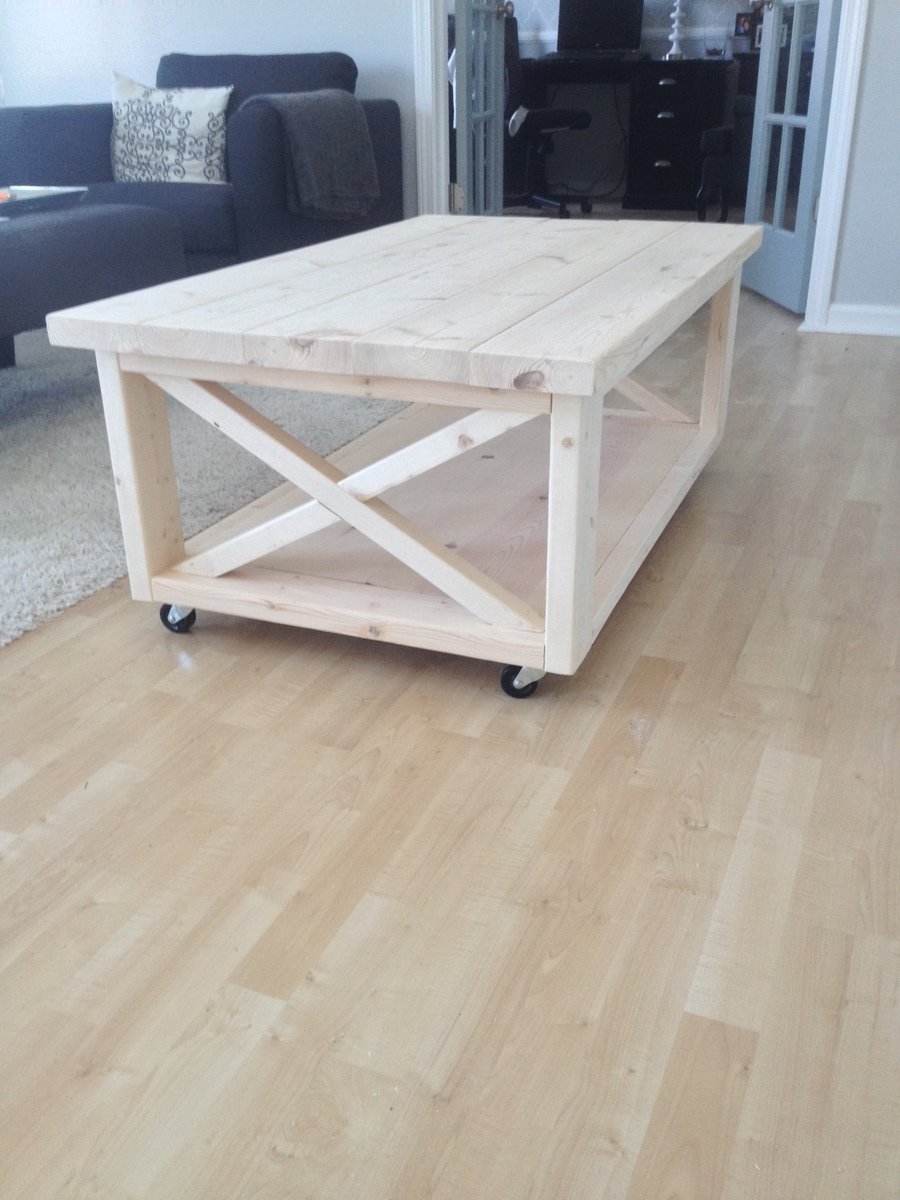
Modified the plan to have no legs and added caster to the bottom so that it can be rolled easily around. Easy to build. I am in love with Ana's plans! Only cost $40 in wood!
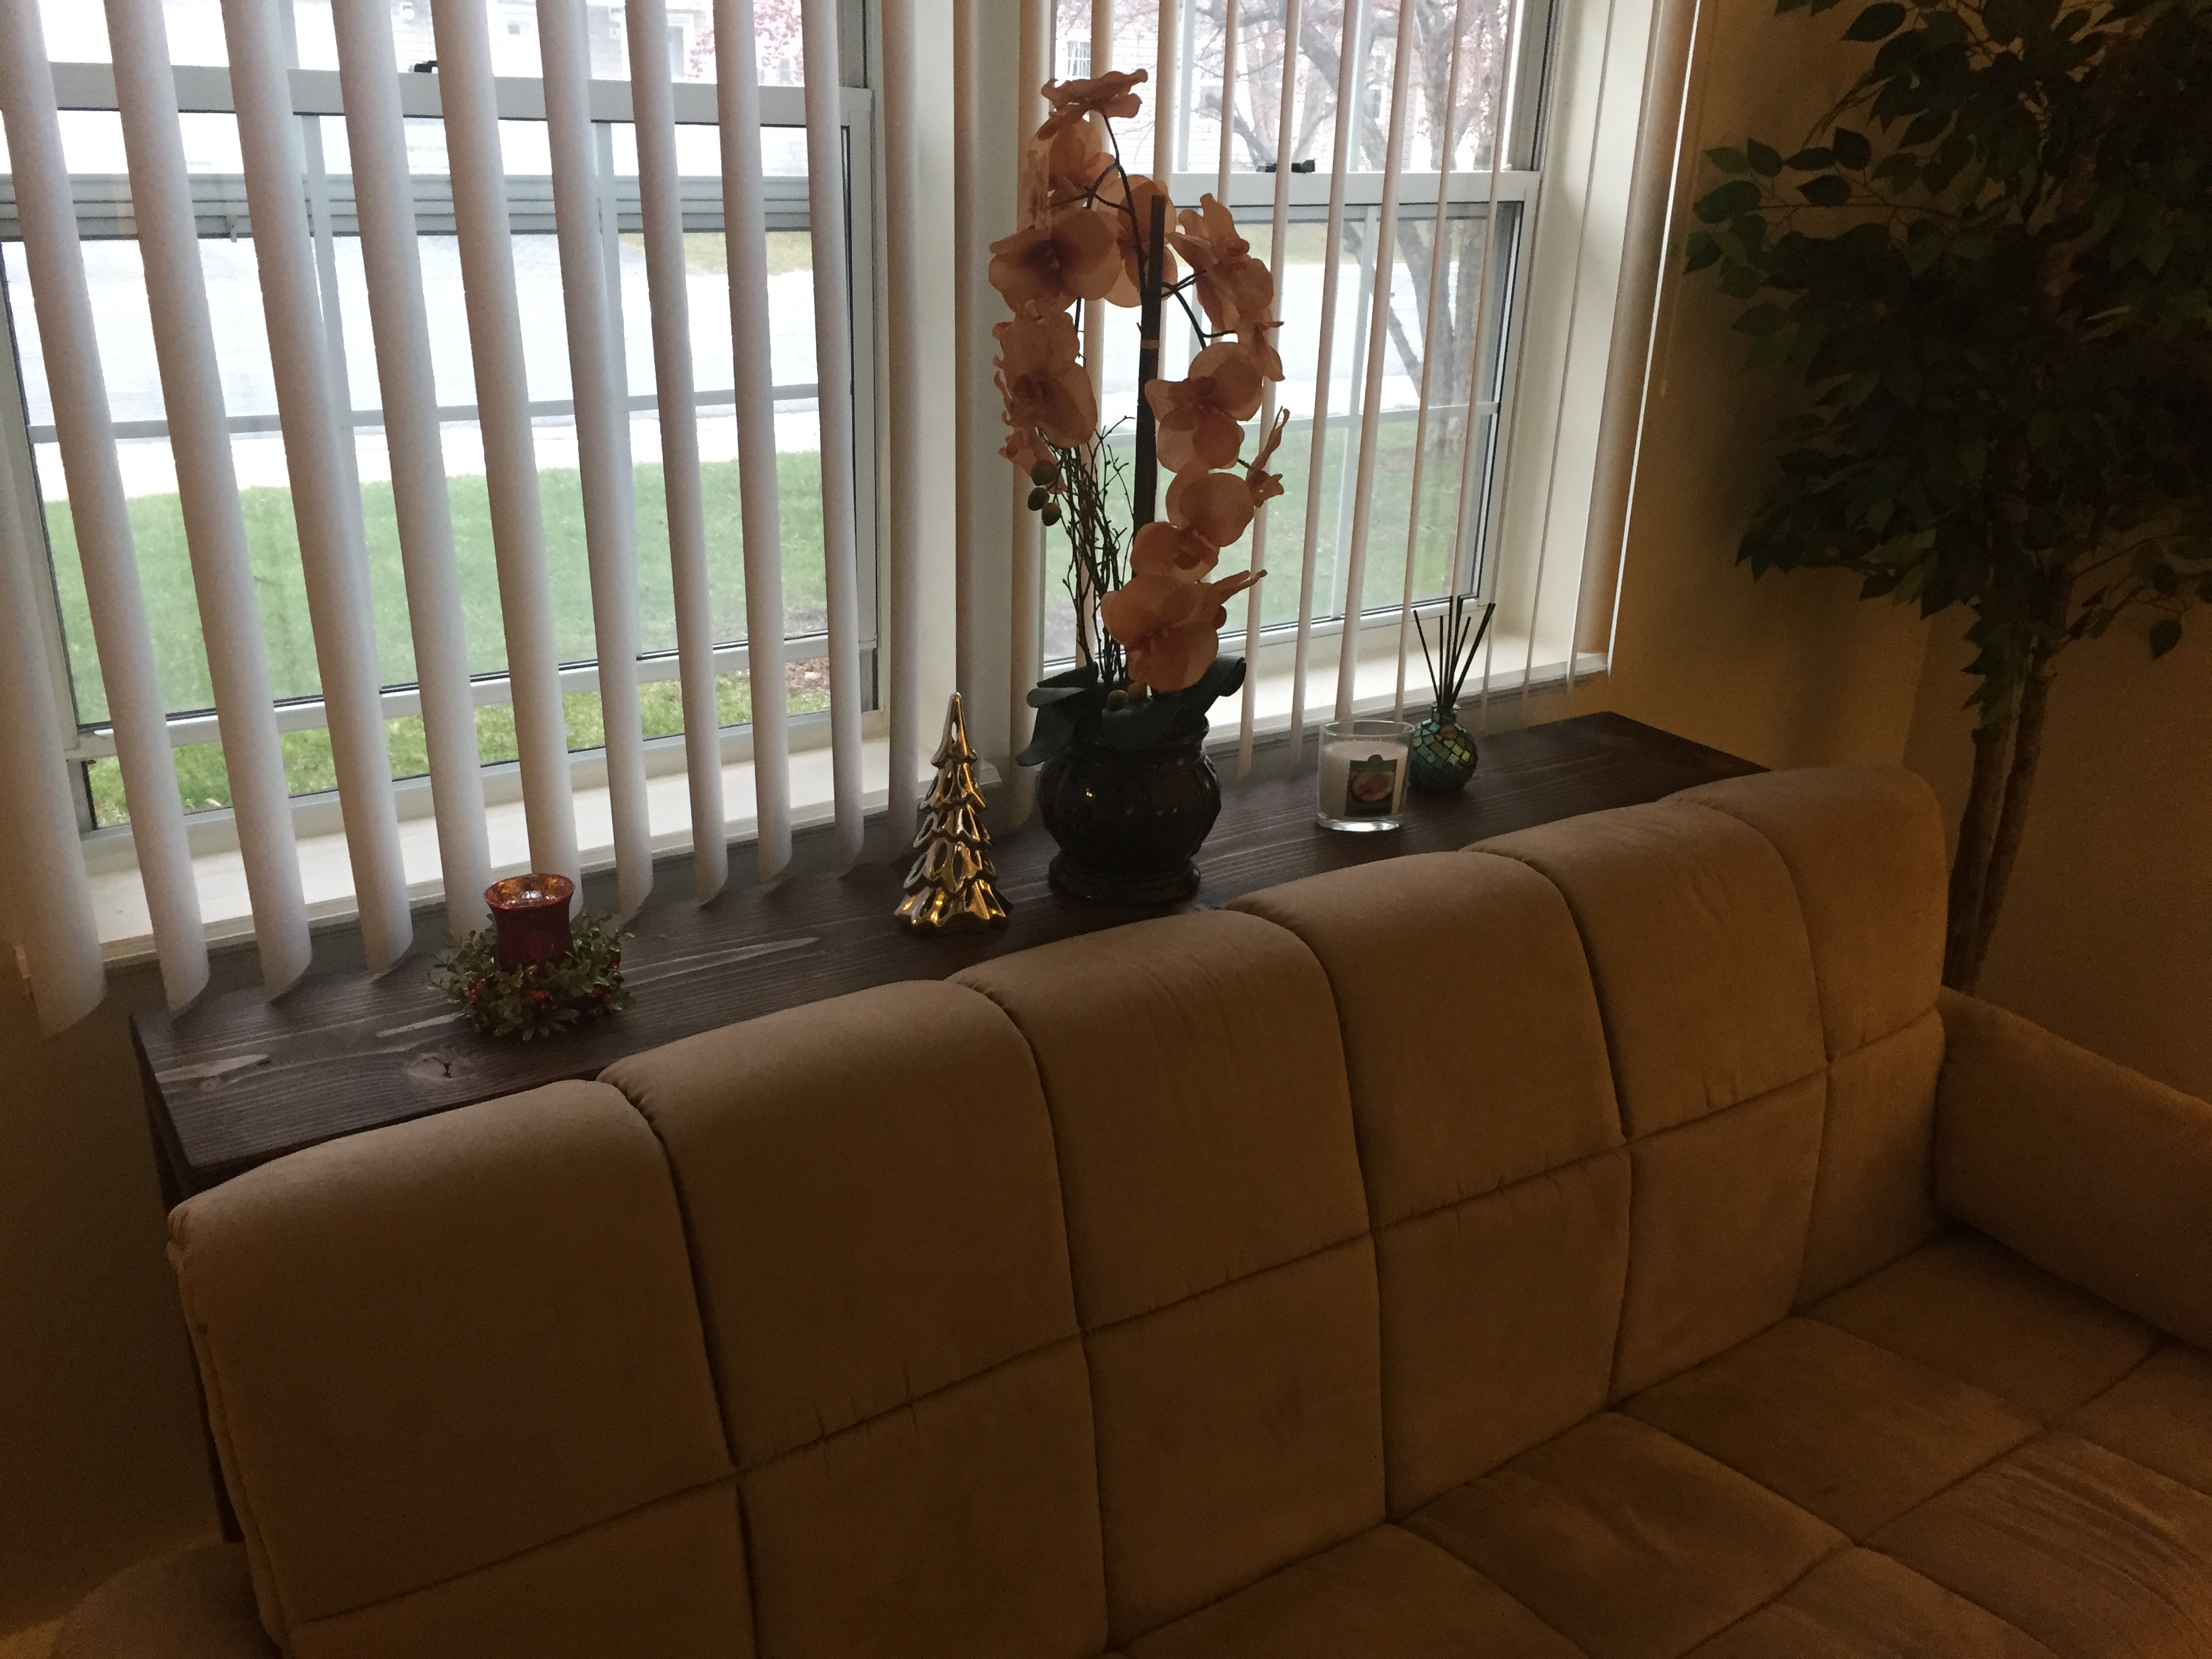
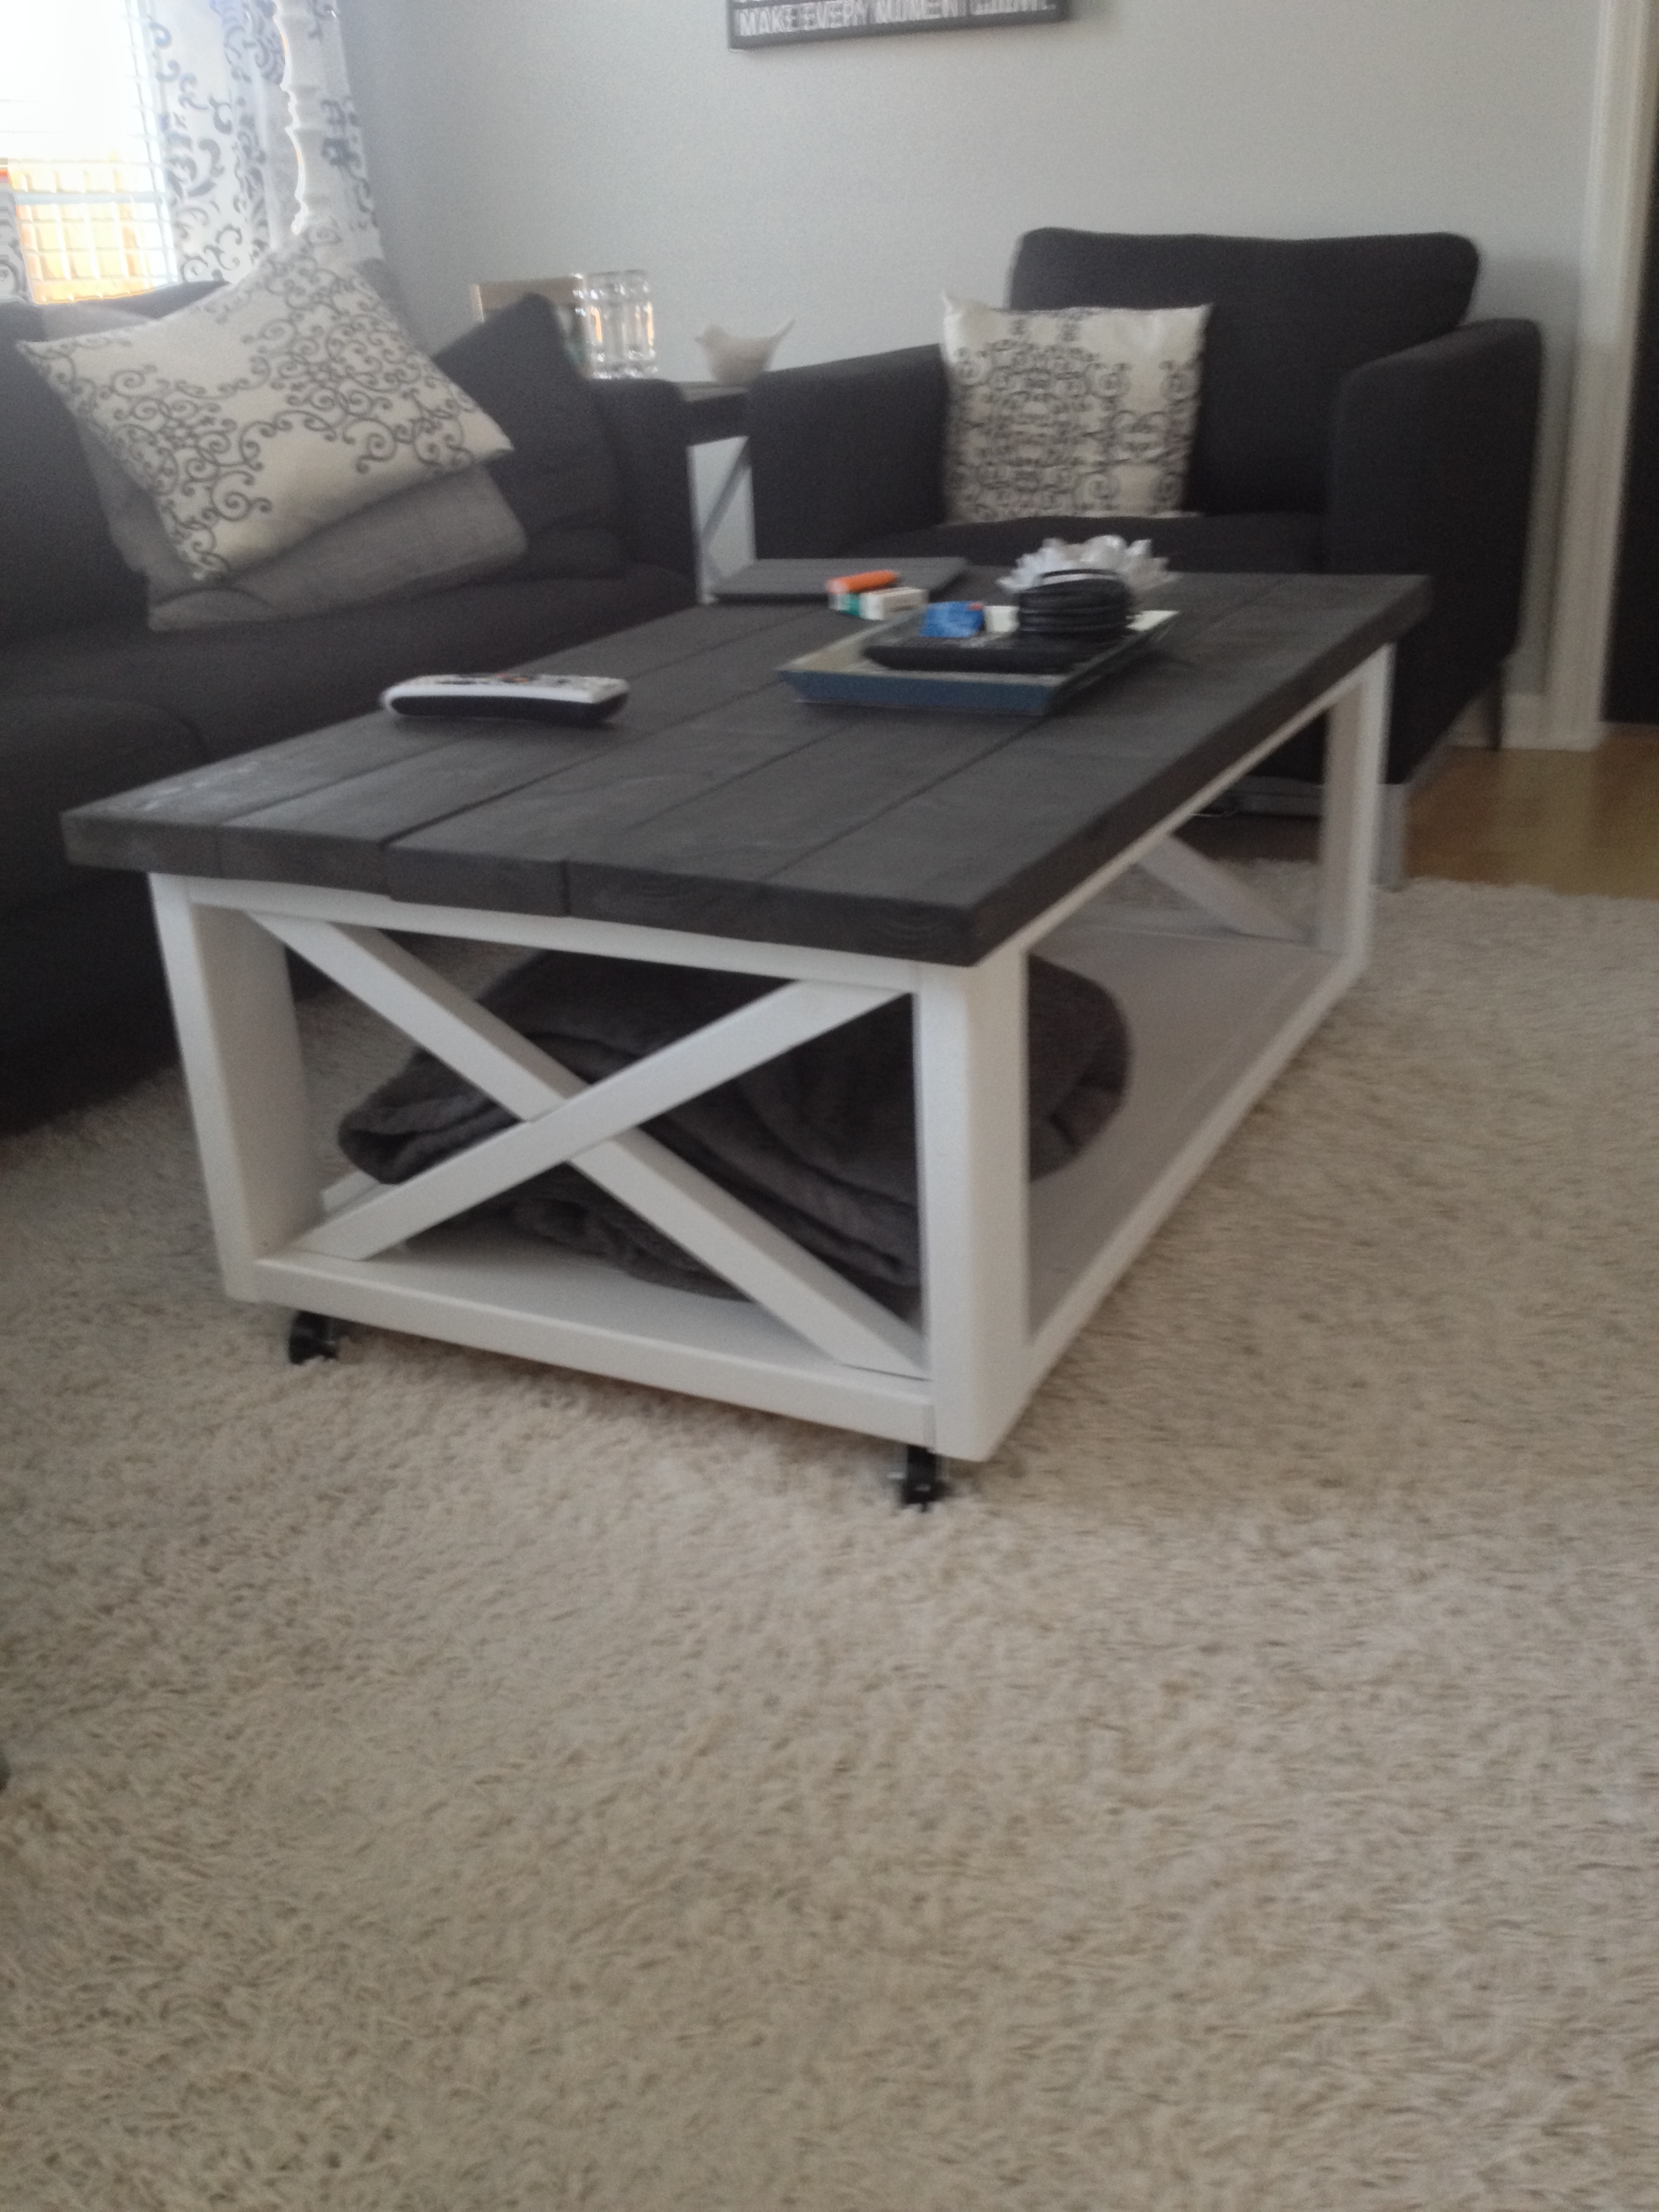
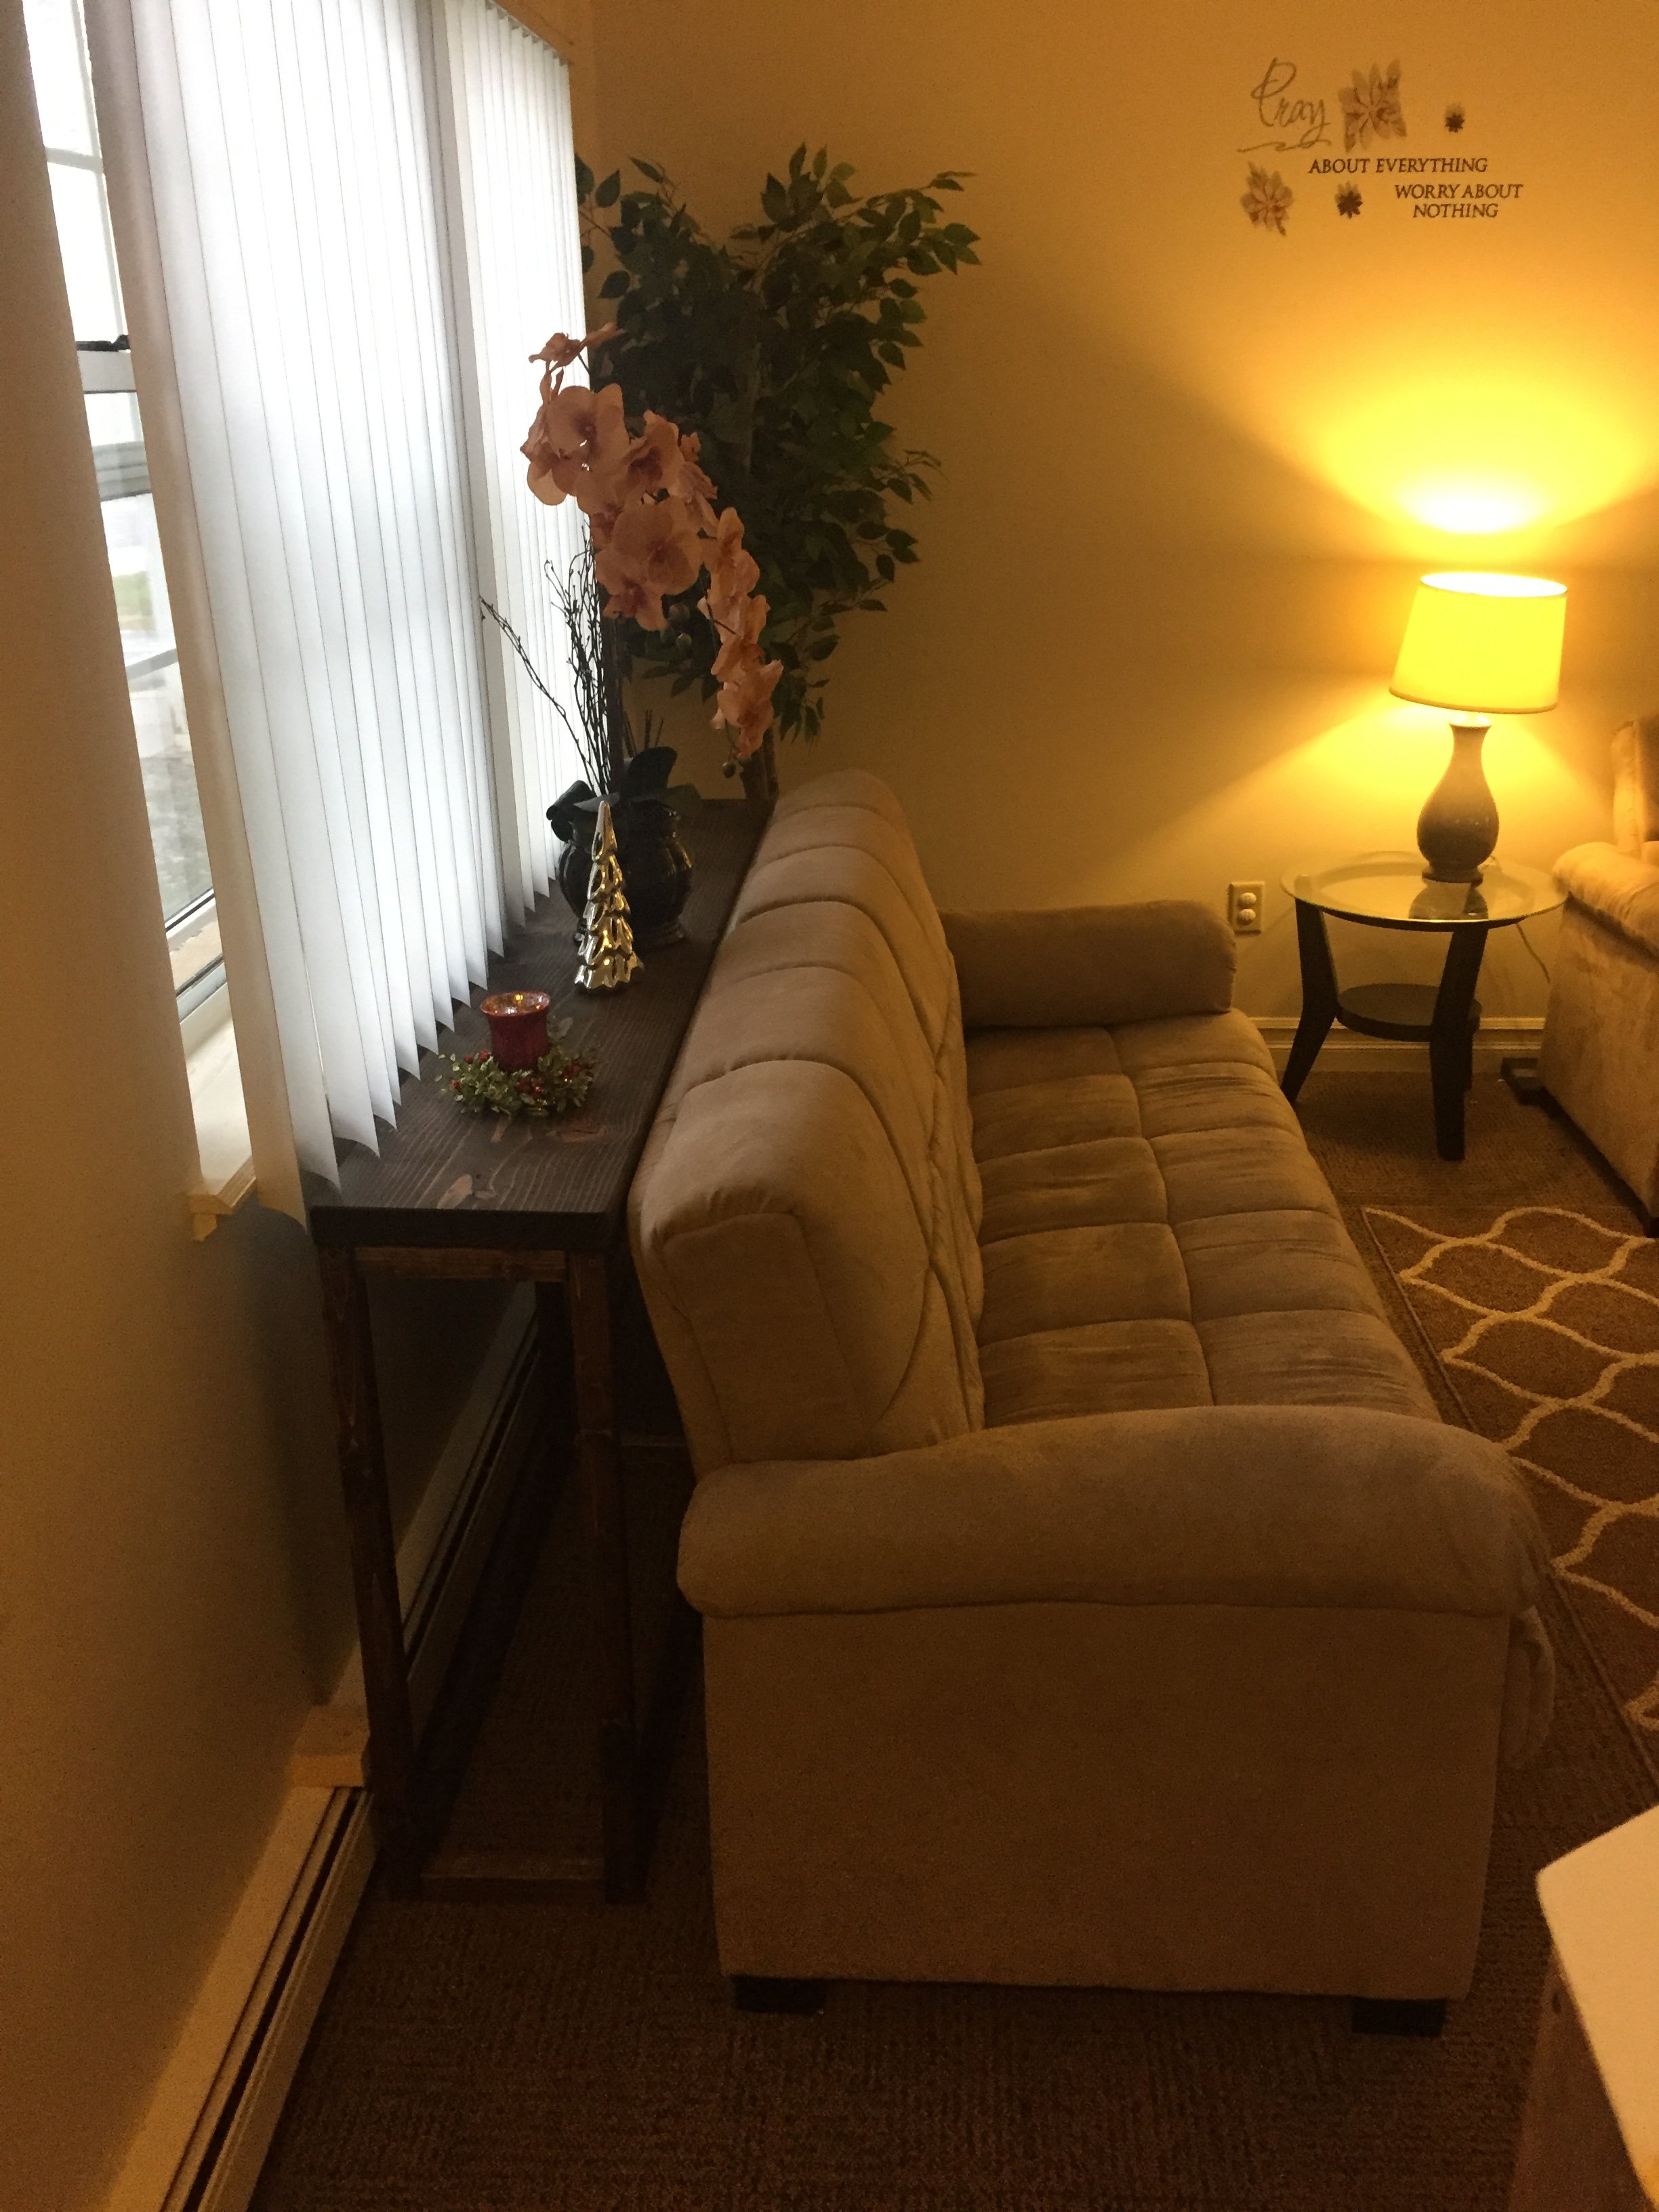
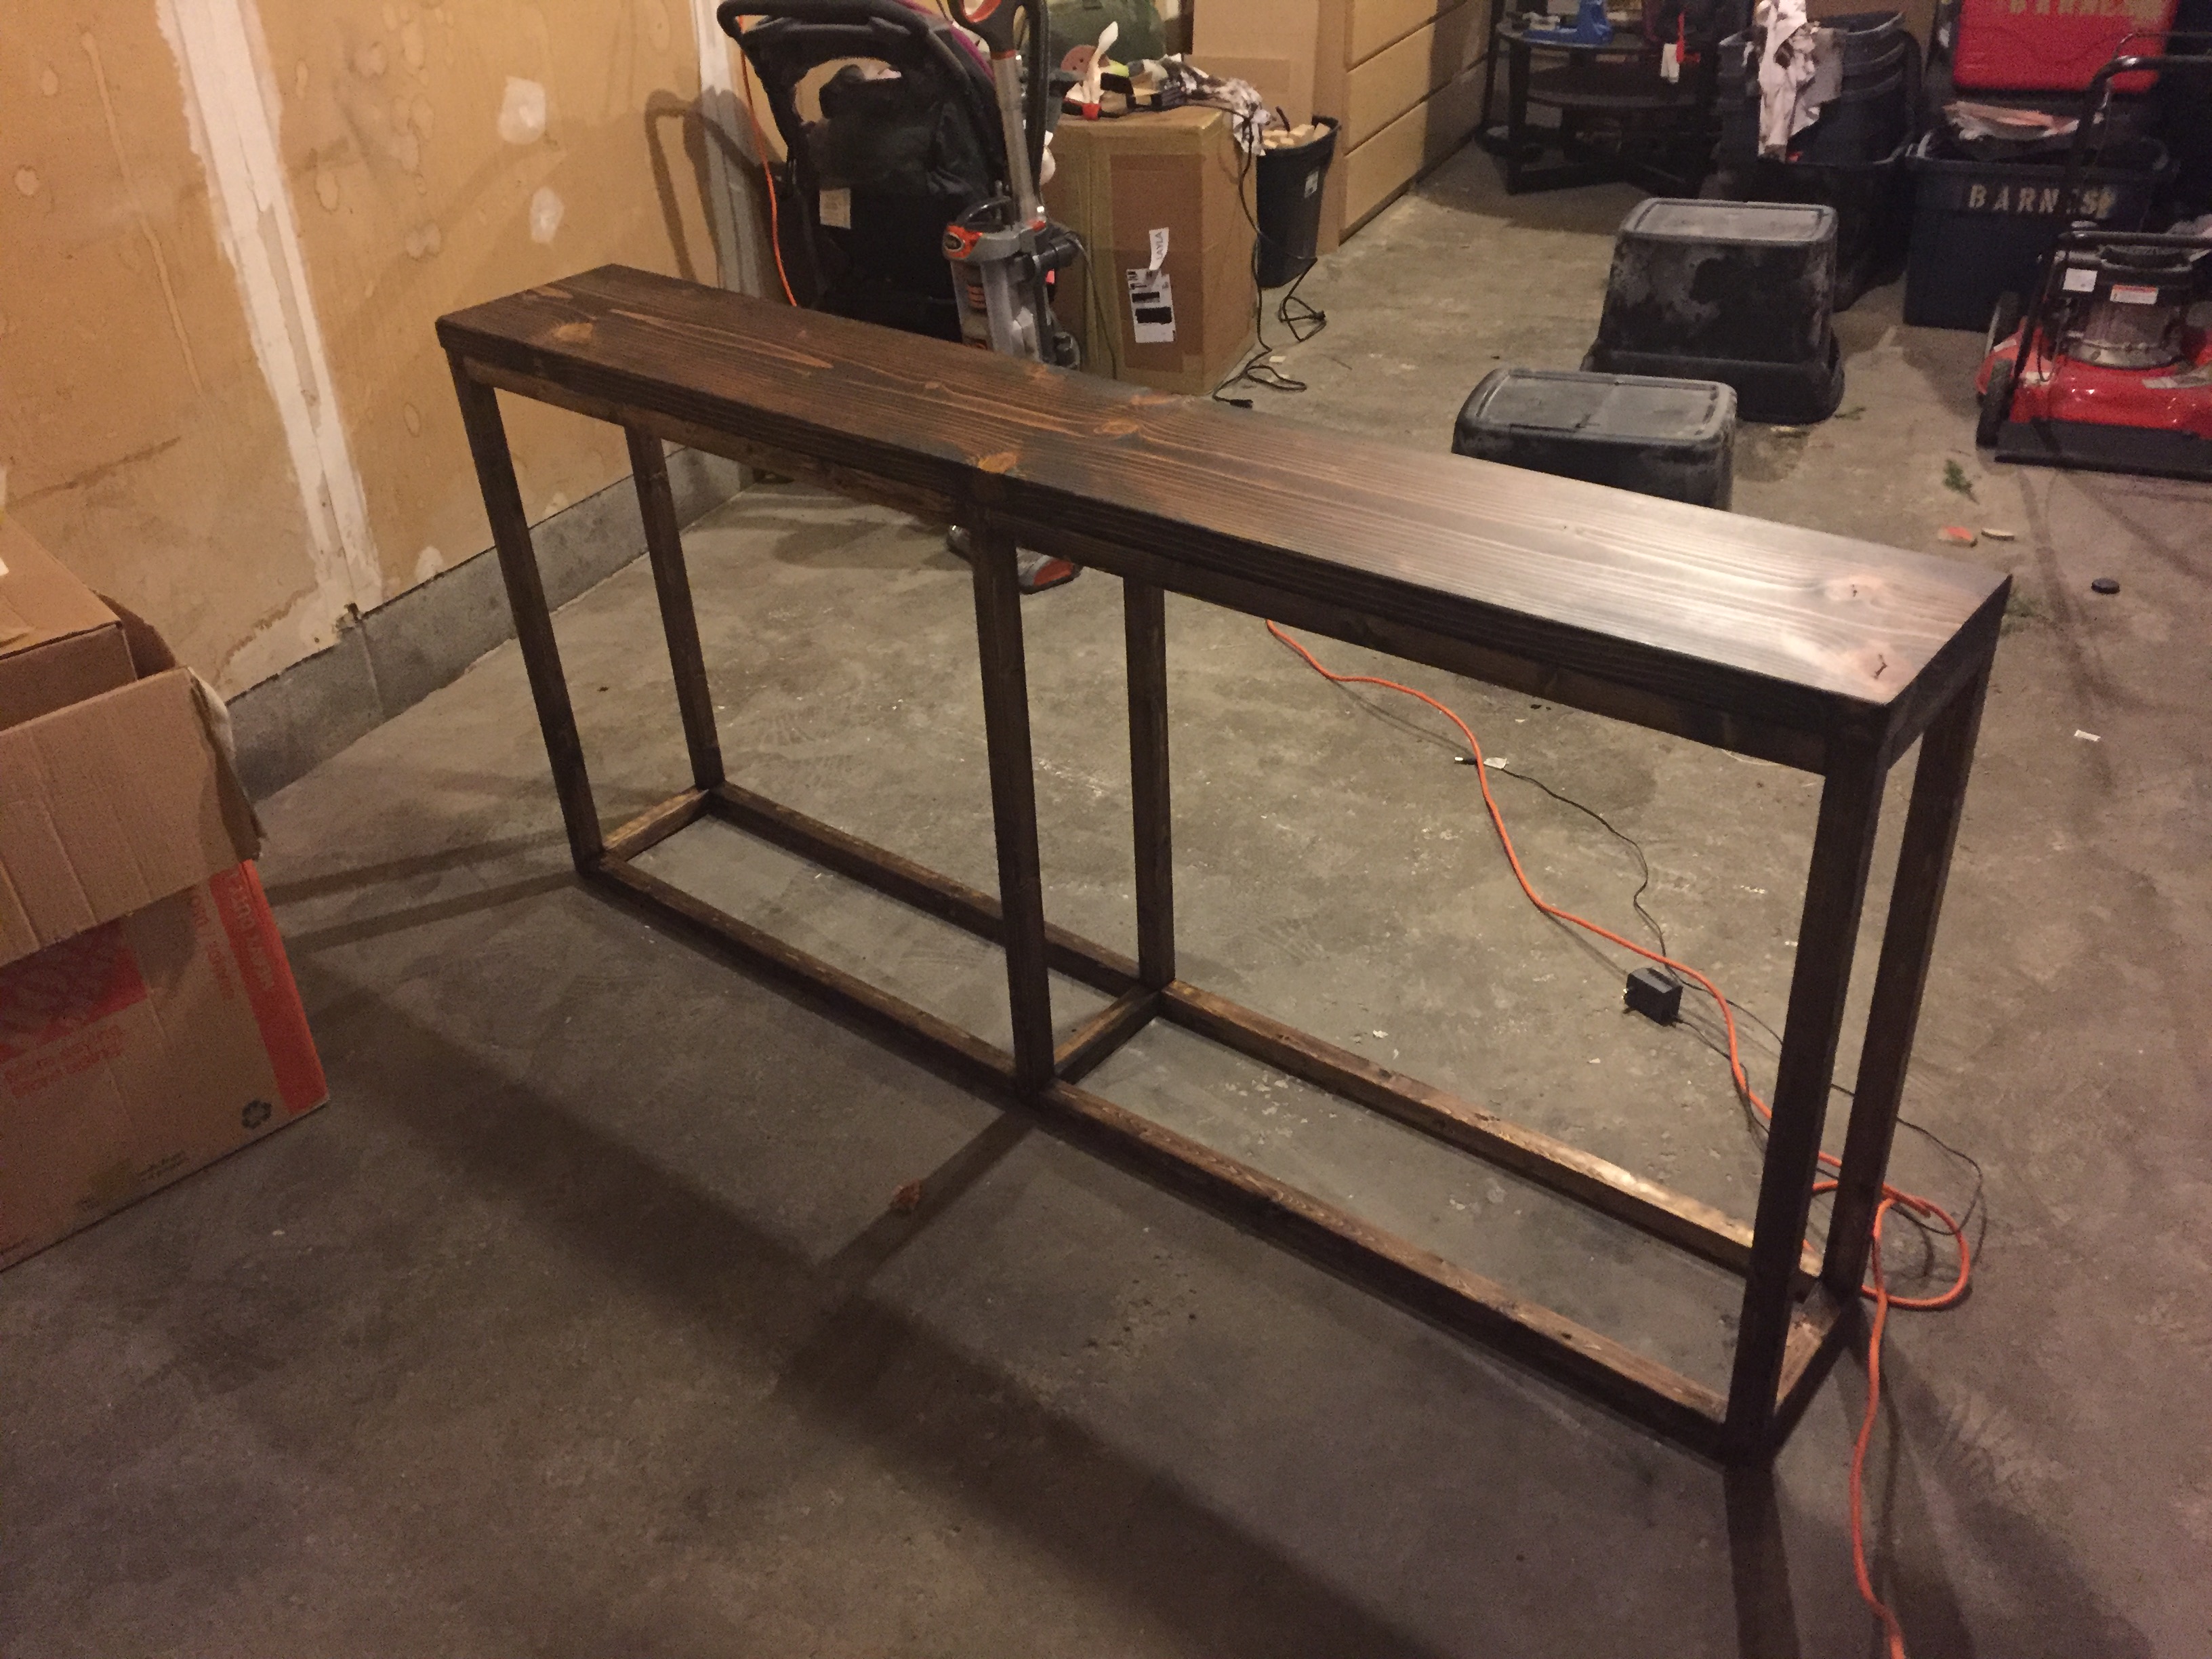
This is my first DIY project and I learned alot. It was fairly easy to put together following the ste-by-step plans. I did however have to cut the legs of the table down by three inches due to mis-measuring, but besides that minor hiccup this project was great. This was also the first time ever applying, or even working with, wood stain. Some of the areas did not come out as dark as I wanted, but the overall look of the stain, and the finished product we're pleased with.
For my next project I'm going to really try my hand, step everything up a notch, and attempt the Faux Fireplace Mantle with Hidden Storage Cabinets ( http://www.ana-white.com/2014/11/free_plans/faux-fireplace-mantle-hidden-storage-cabinets ). Wish me luck!
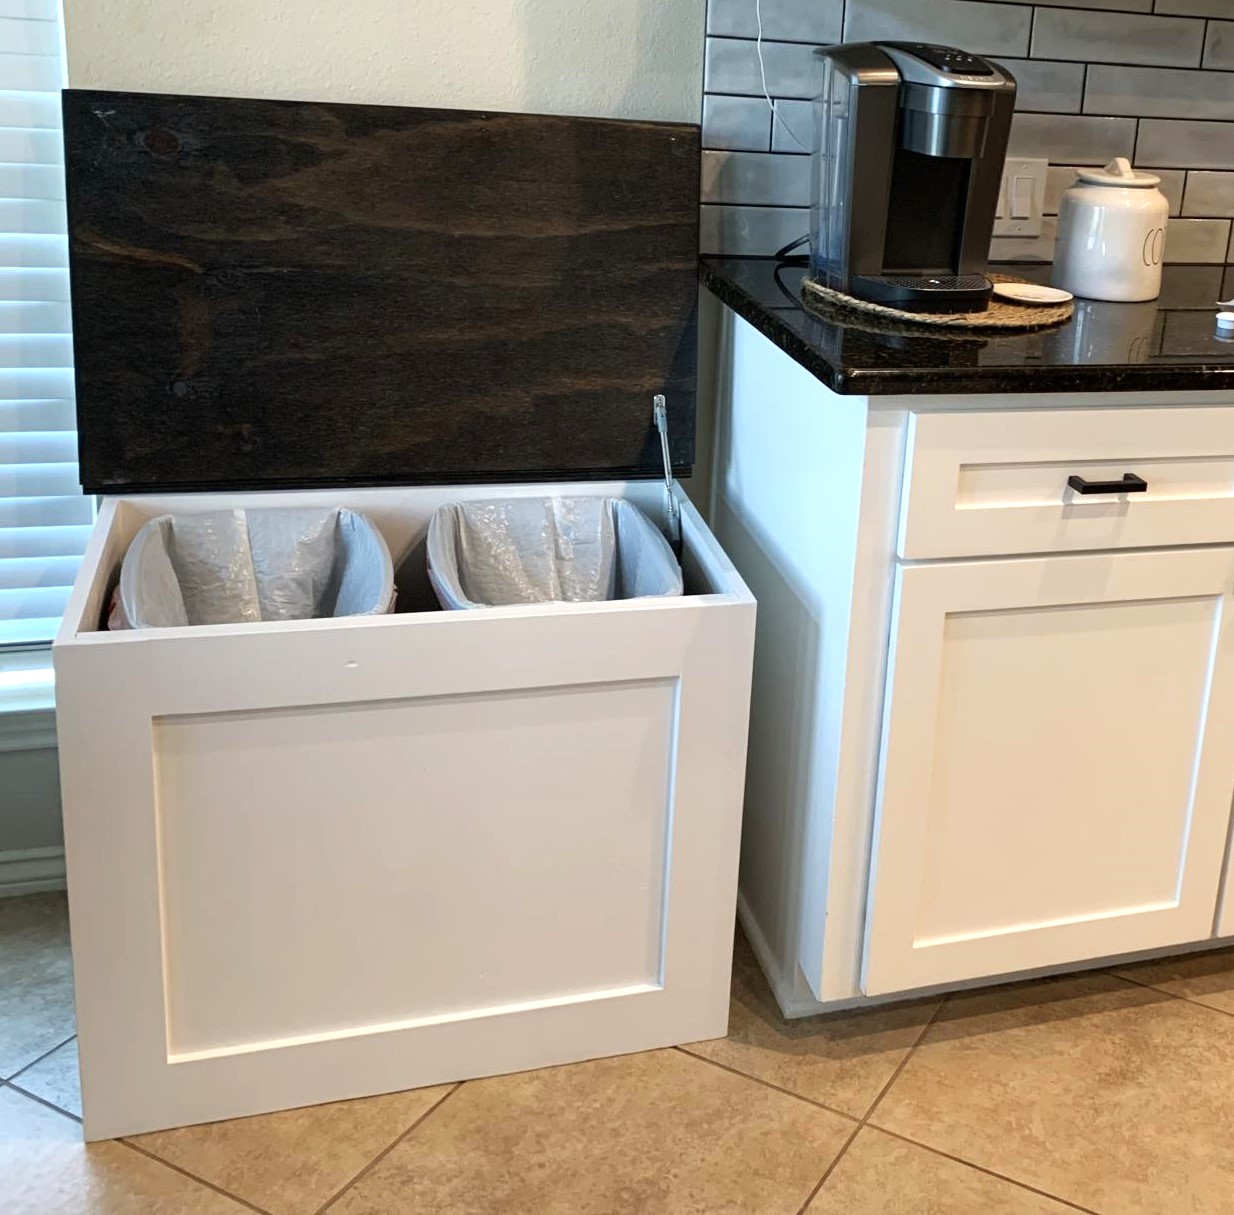
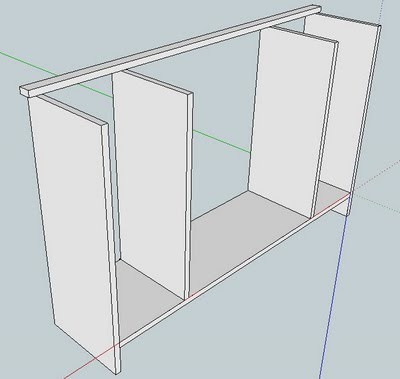
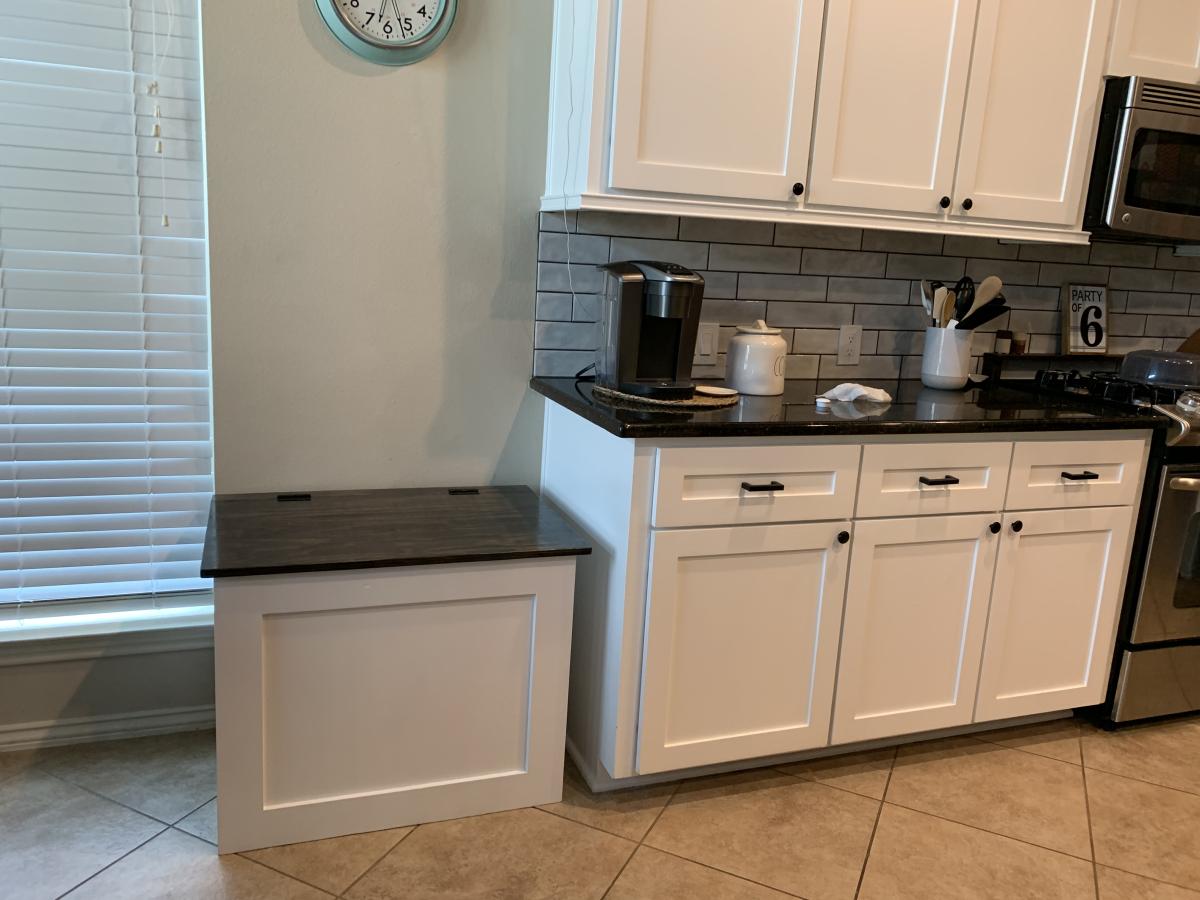
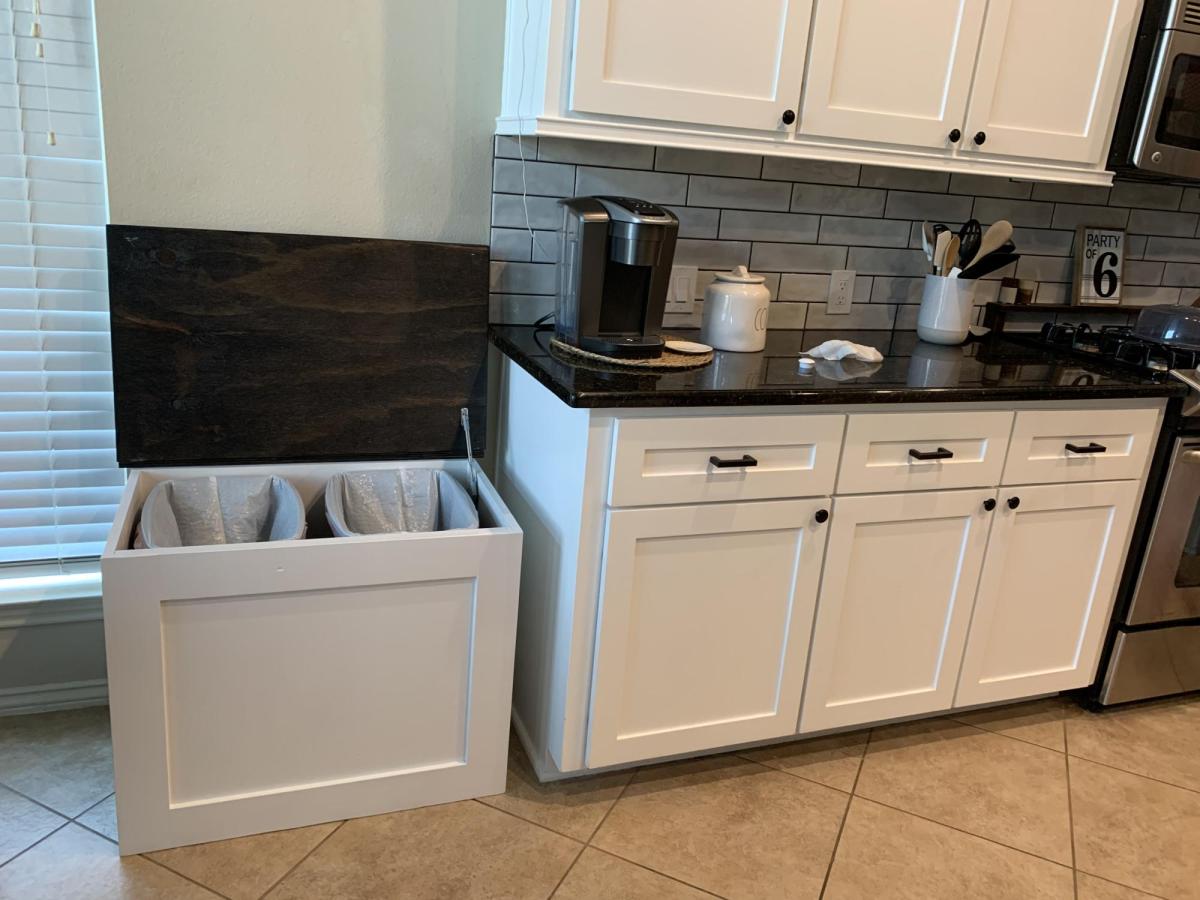
Double trash can cabinet made of plywood. Included soft close hinge. Holds 2 13 gallon cans.
Fri, 05/05/2023 - 07:24
So much better than a regular garbage can! Thanks for sharing your version, it looks fabulous.
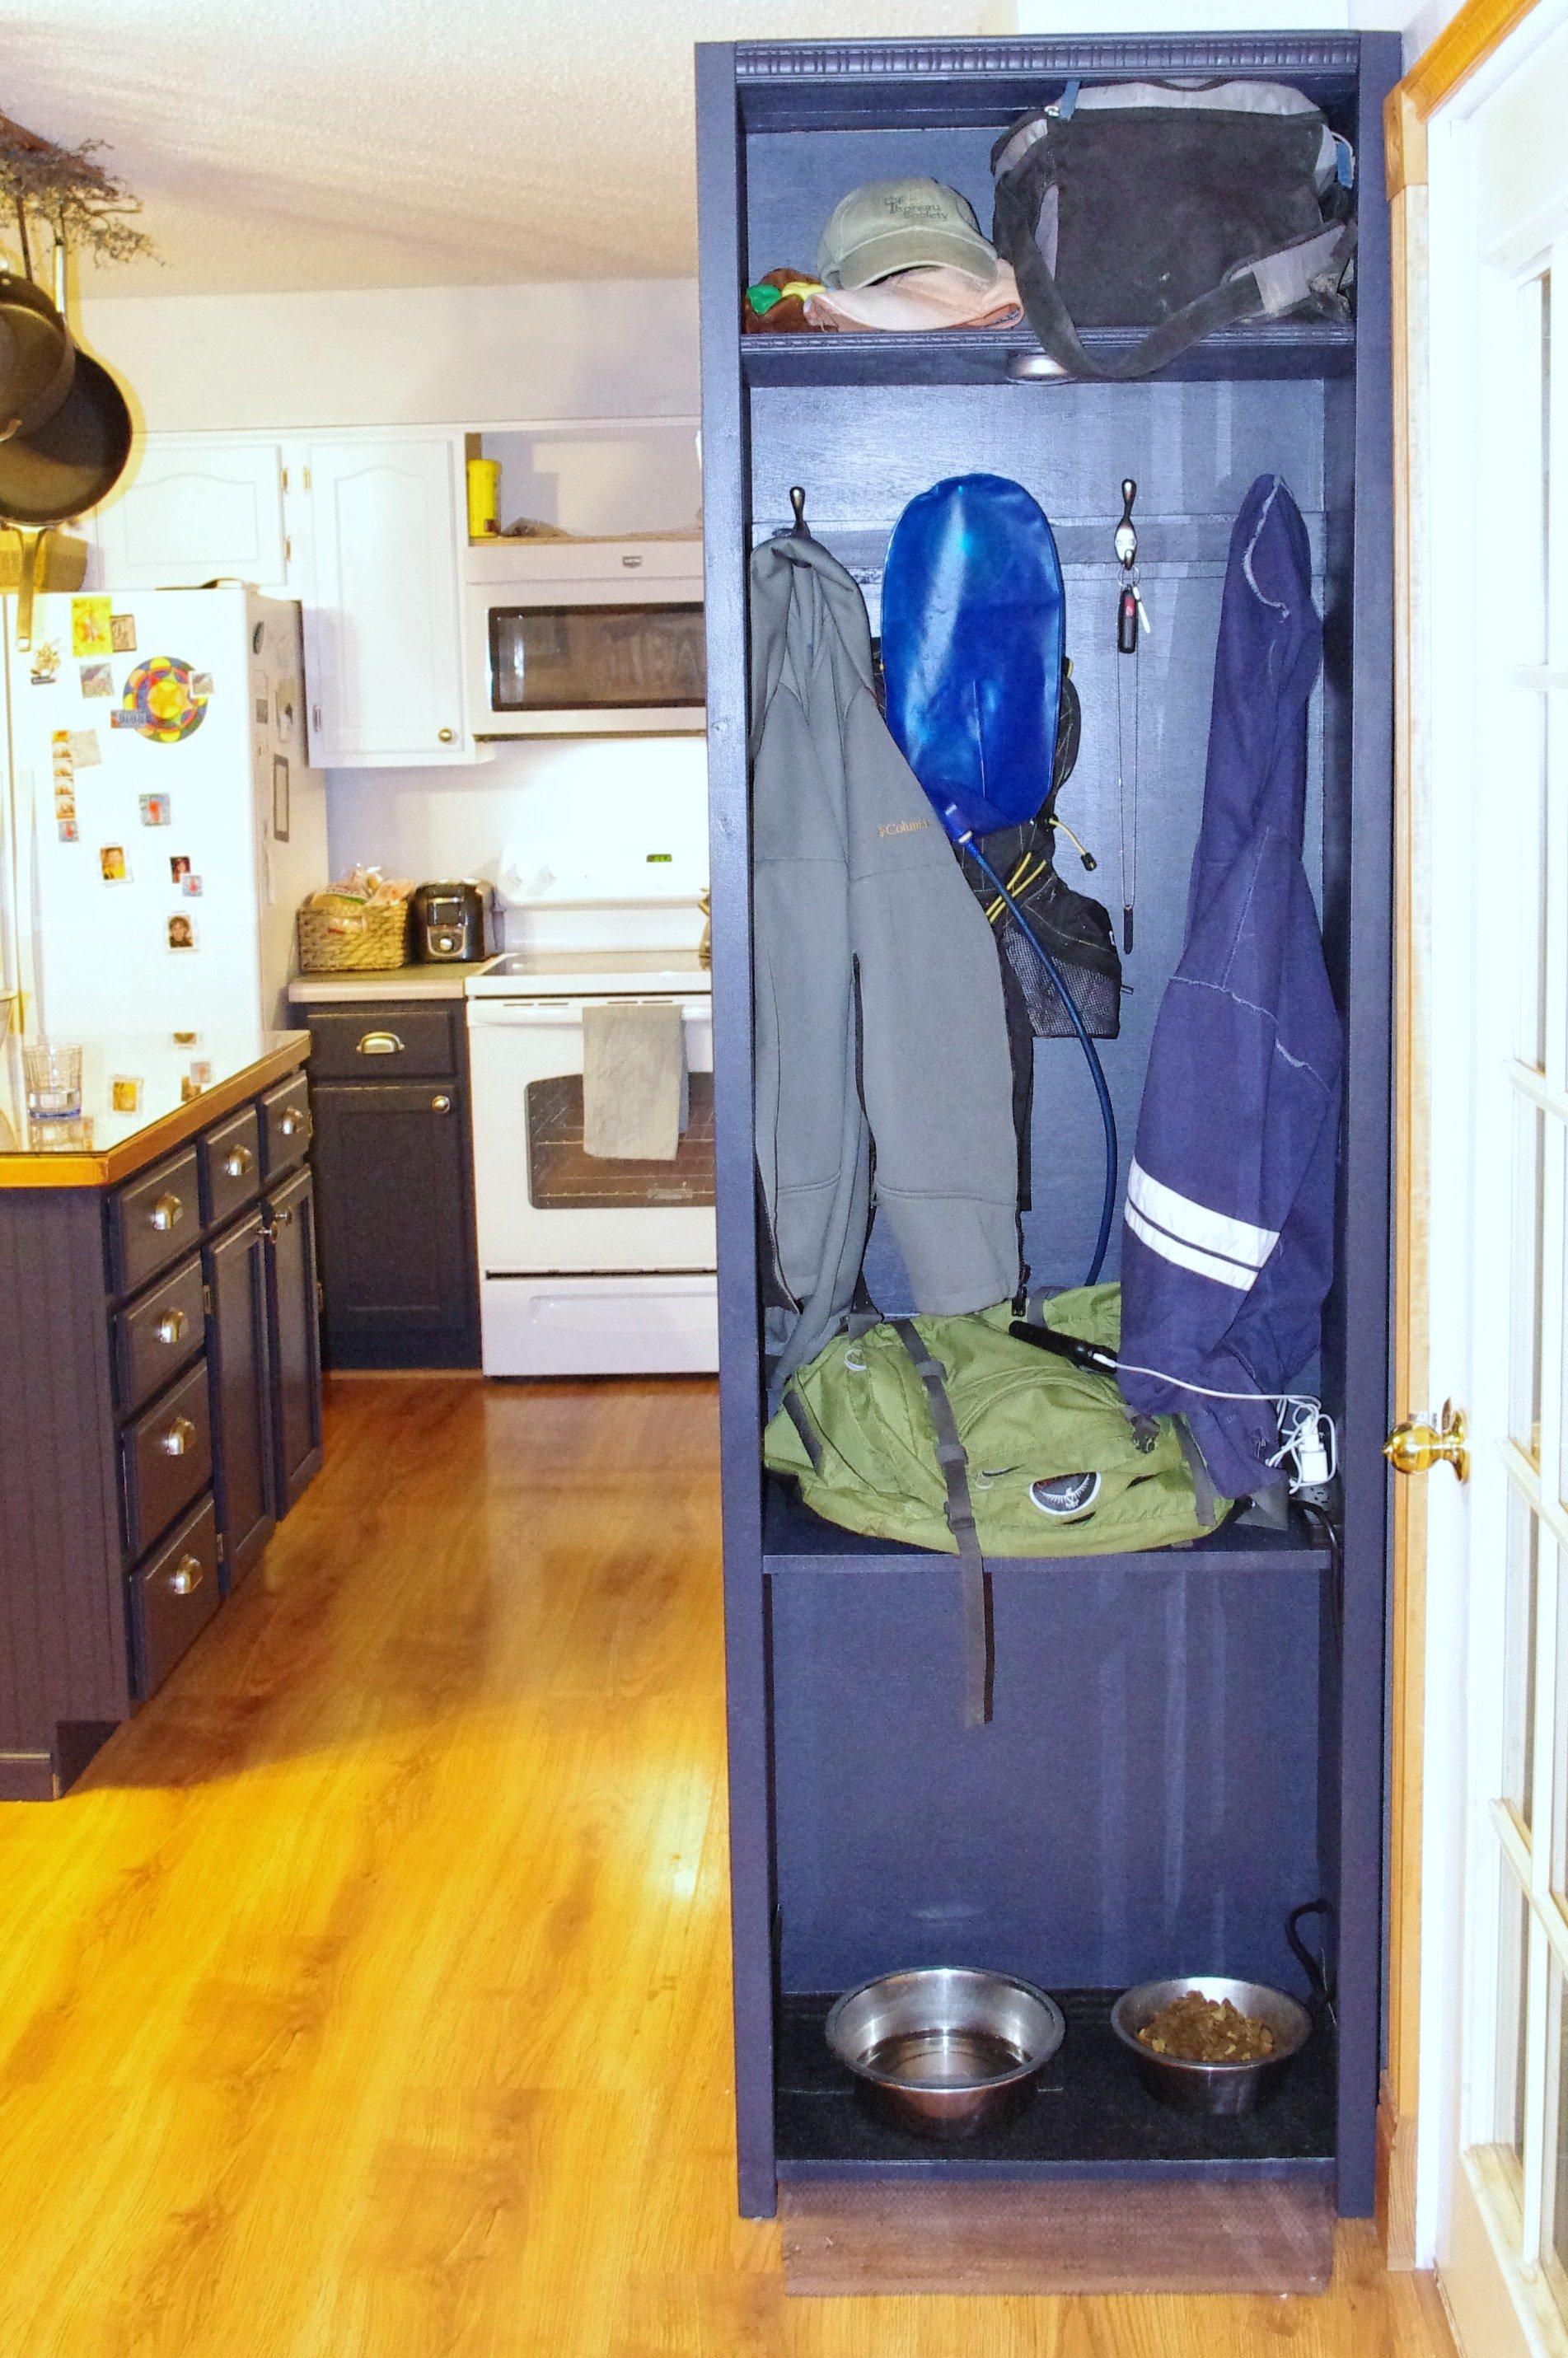
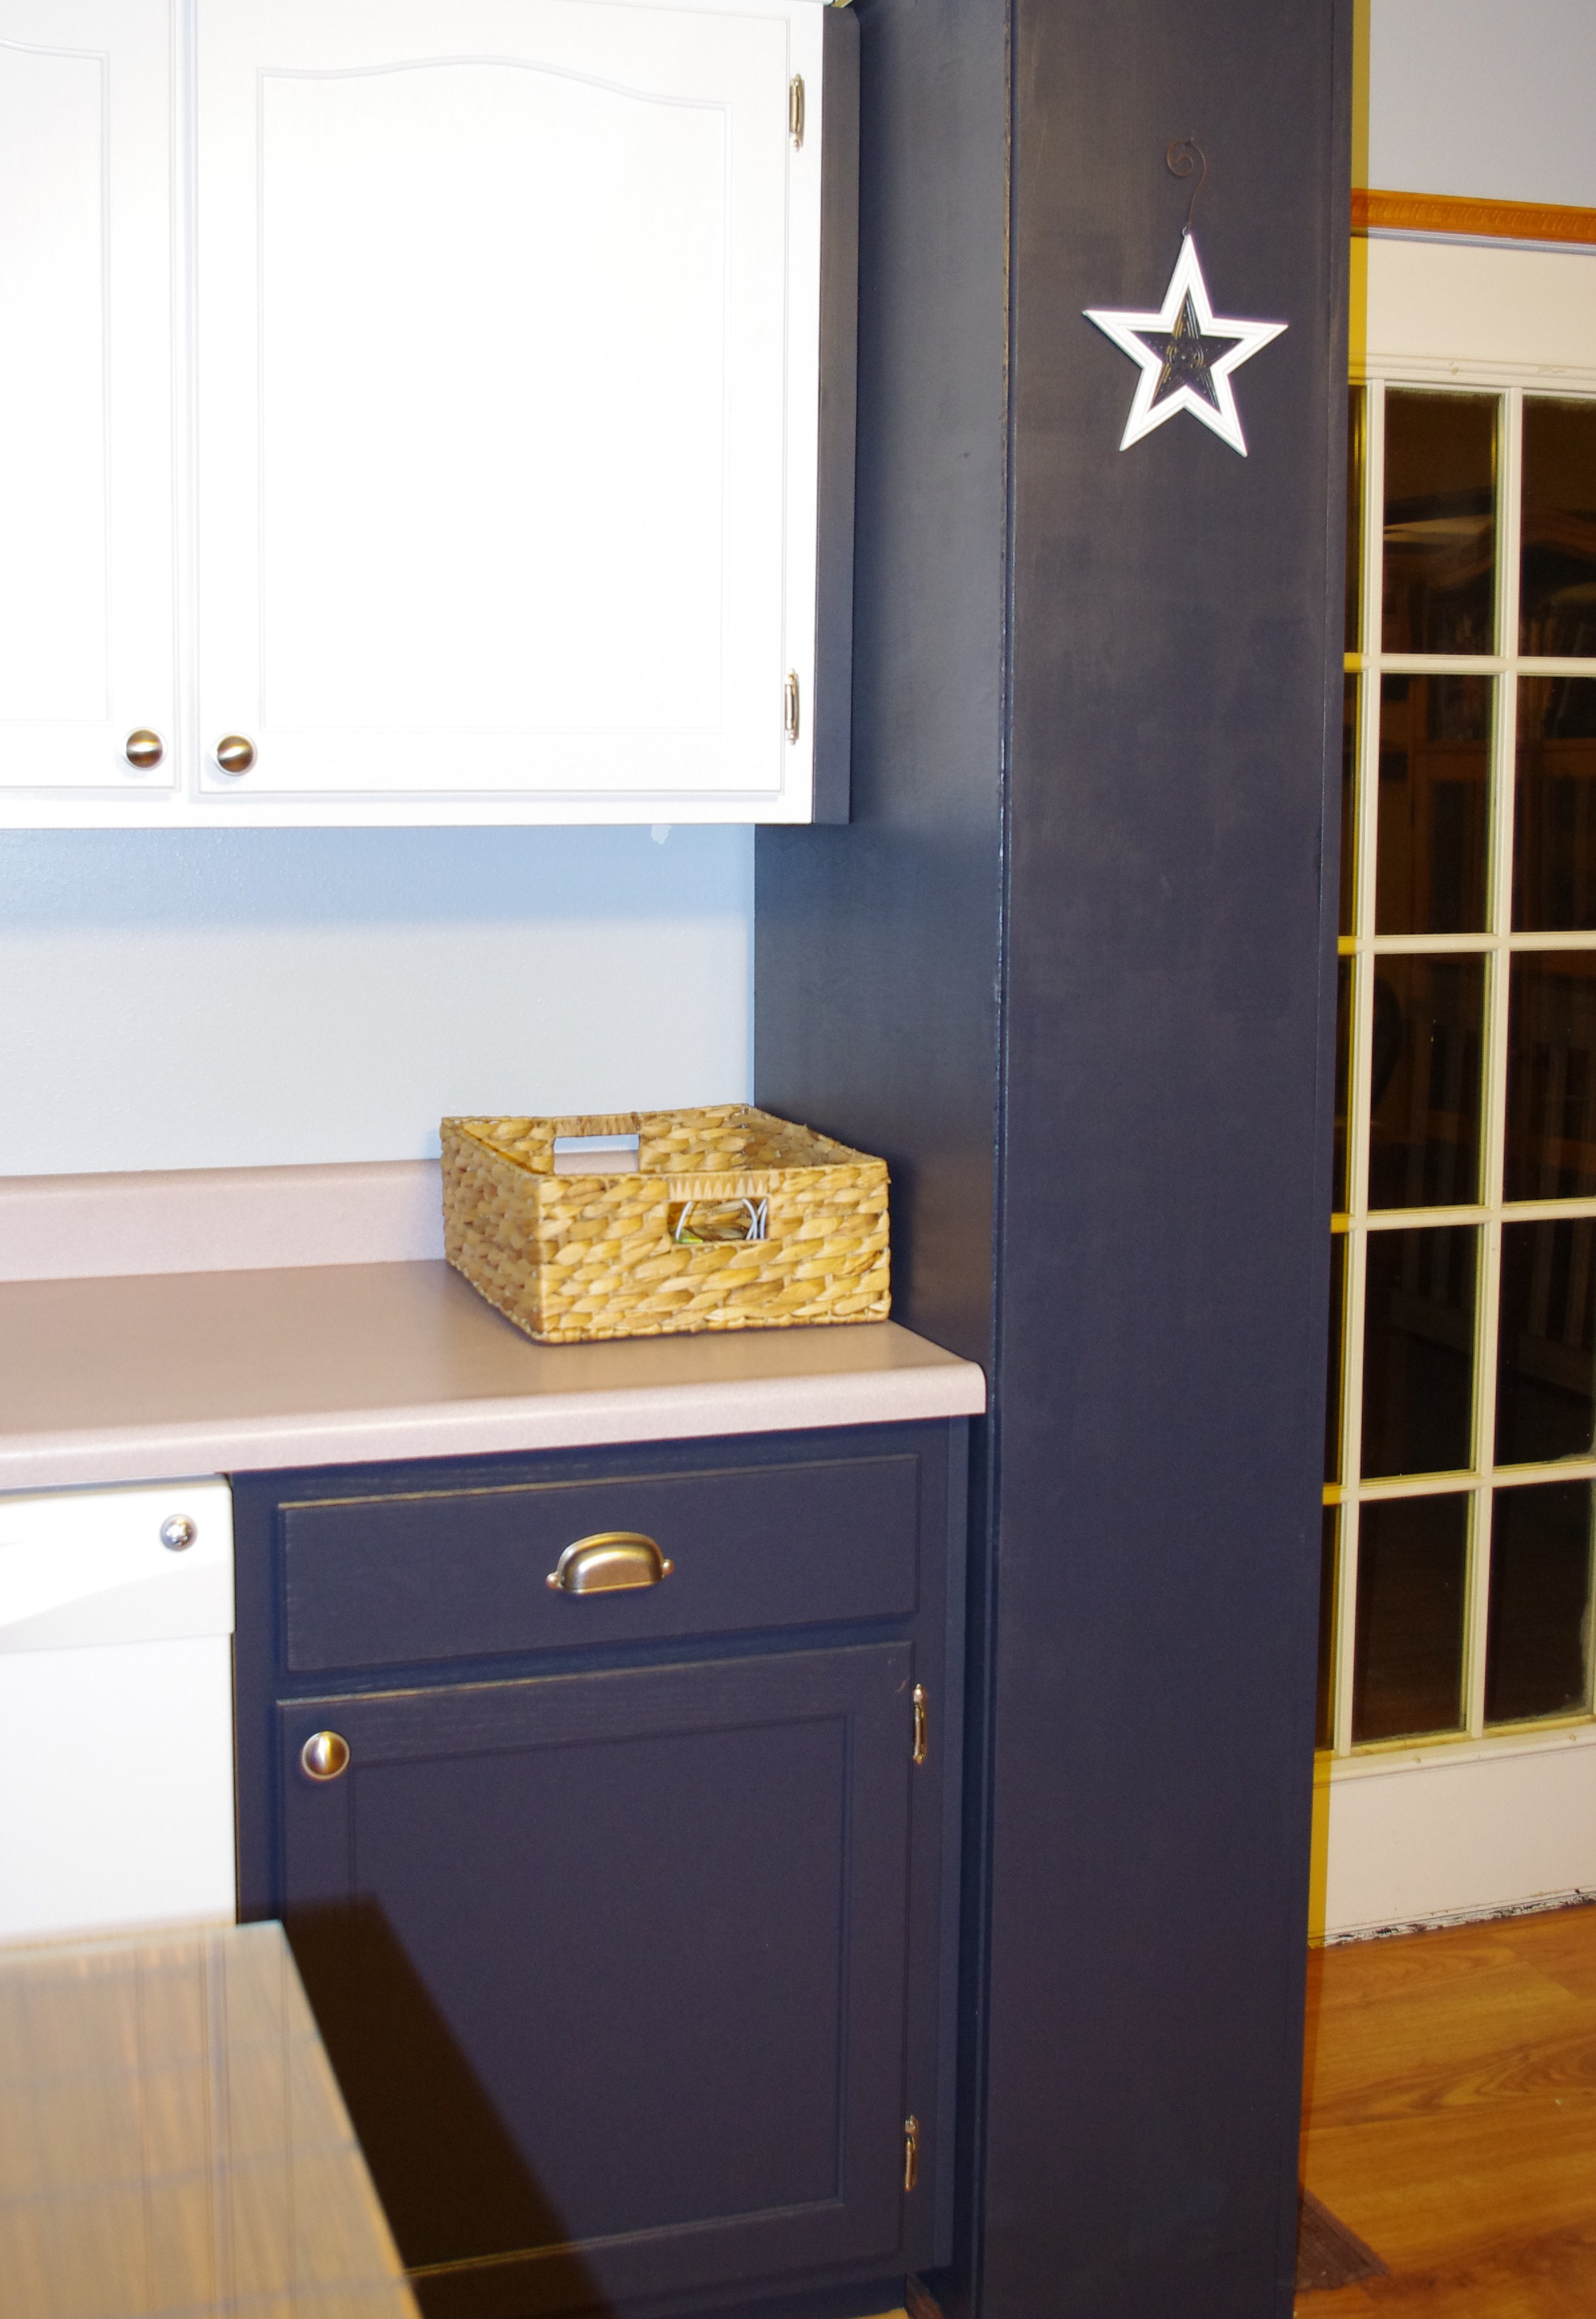
My husband, who is otherwise amazing and free of bad habits, always set his work bag, jacket, lunch box, keys, and more on the kitchen table. Our house does not have a coat closet, entryway, or any sort of nook near the door, so I used the only available space in our kitchen to craft a locker for his stuff. There's a cut-out for a light switch (deck light) and an outlet, which made it easy to craft a charging station on the middle shelf. The dog food and water is on the bottom, with a rubber mat beneath them. His hats and lunchbox go on the top shelf. Now we're both happy!

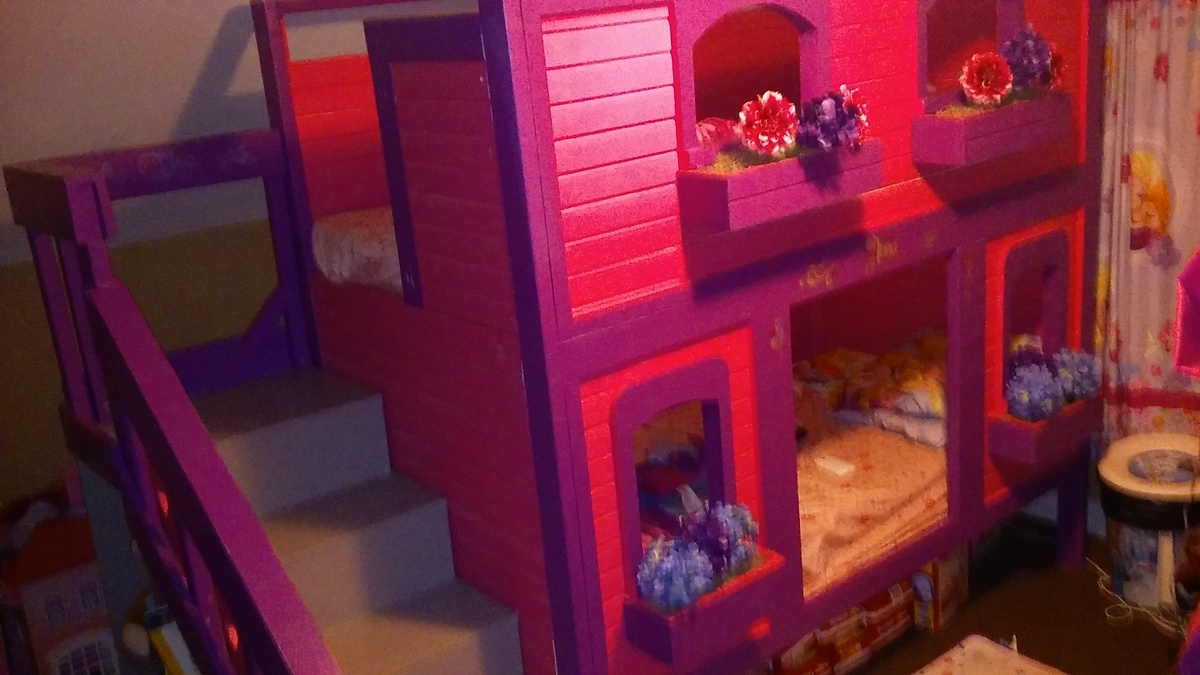
Had a great time building this bed for my 2 year old son. The toughest part was building a slanted ladder that he could climb up. The project turned out way better than I expected and my son loves it.


Wed, 11/20/2013 - 15:37
You did a marvelous job on this, and your details are fab! Wonderful build! Your son is lucky his mom is an amazing builder. And this was your first project? I'm blown away! :)
I used the Tryde Console Table plans to make a small table to go in our conference room. I liked the design, but if I had to do it again, I probably would have not built in the breadboard ends.
I love the ease of your plans.

Wed, 08/28/2019 - 12:29
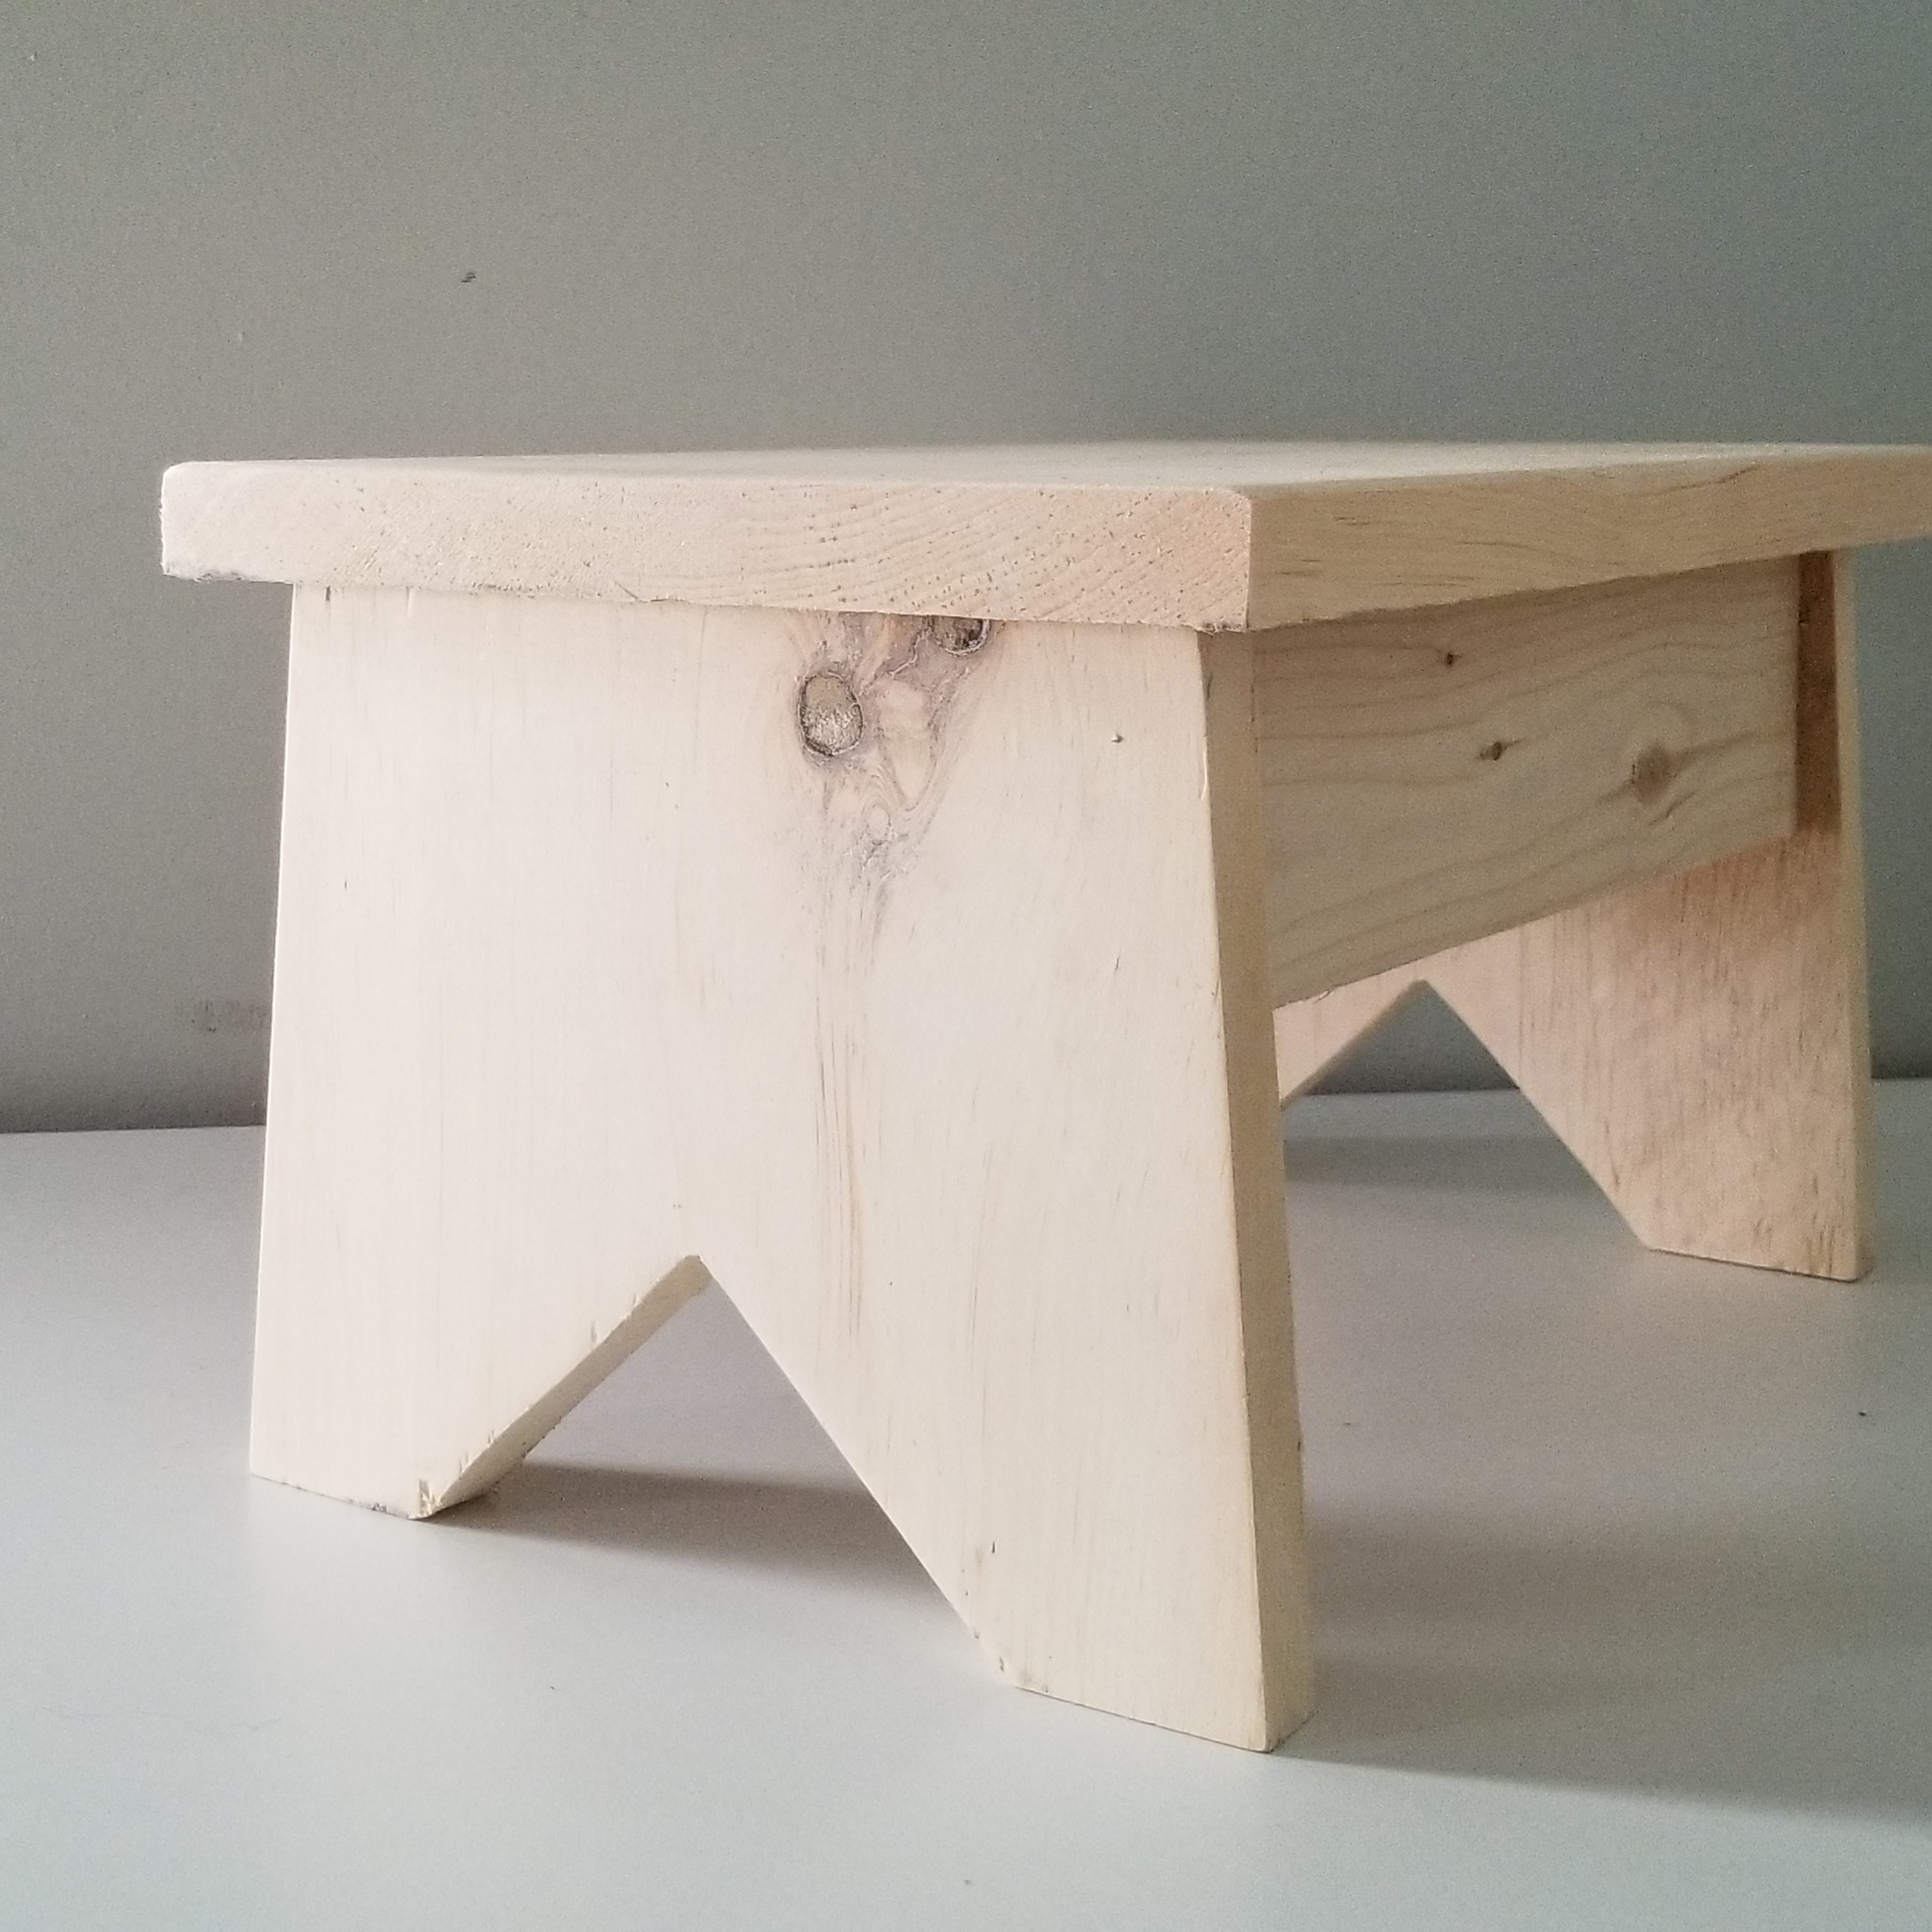
Thank you! Great job! This is one of my favorite step stool plans too, glad to see you built it!
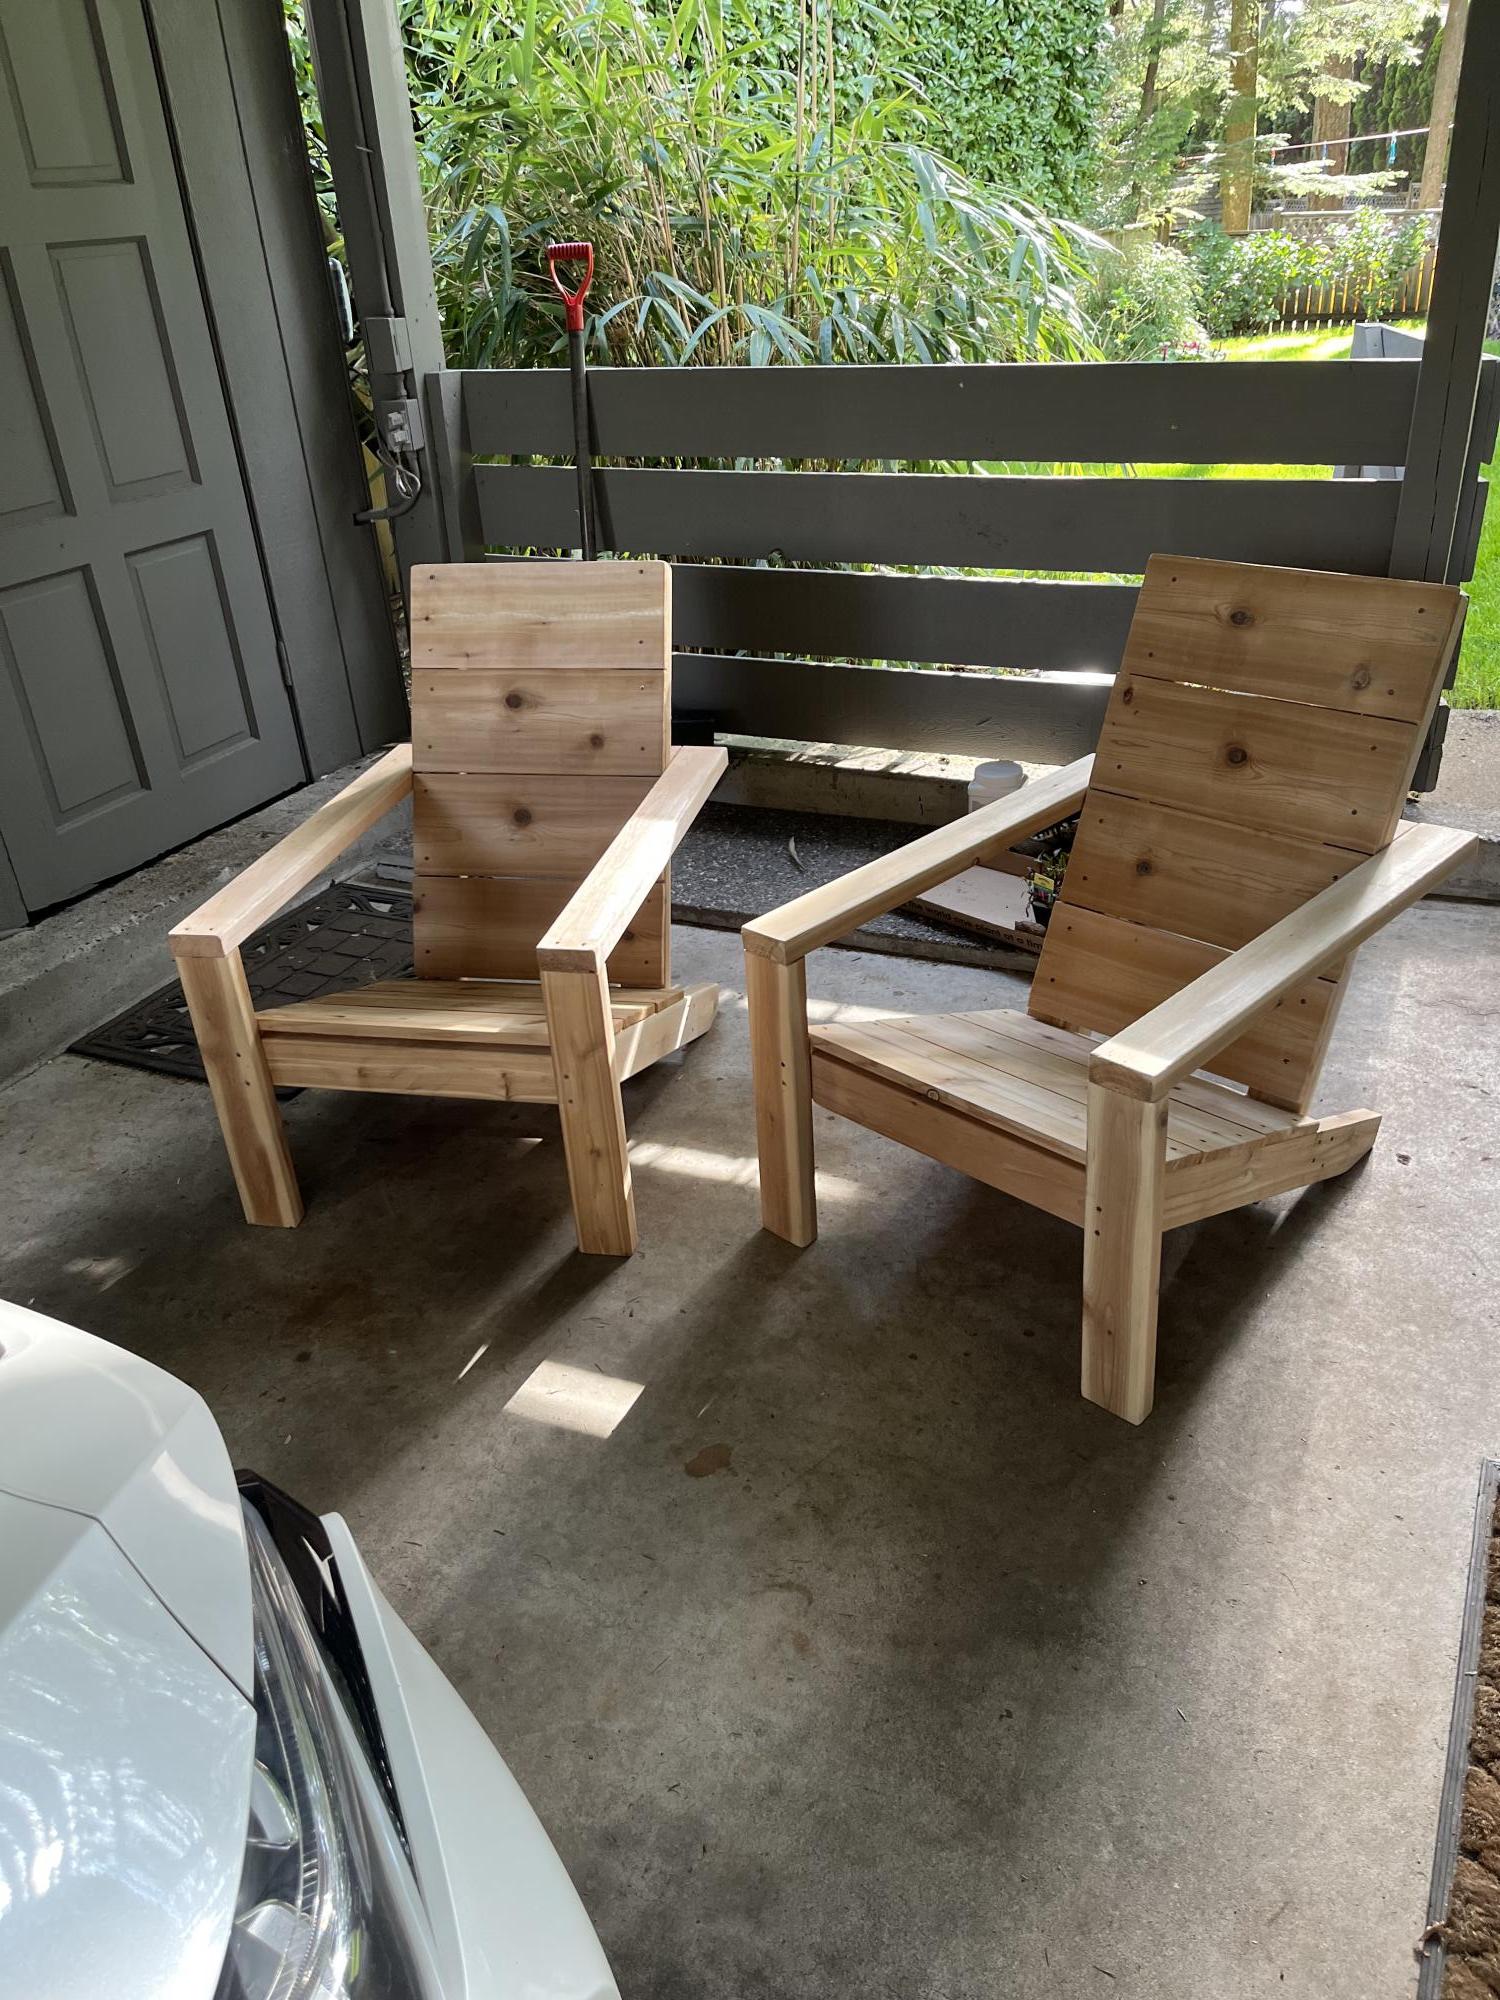
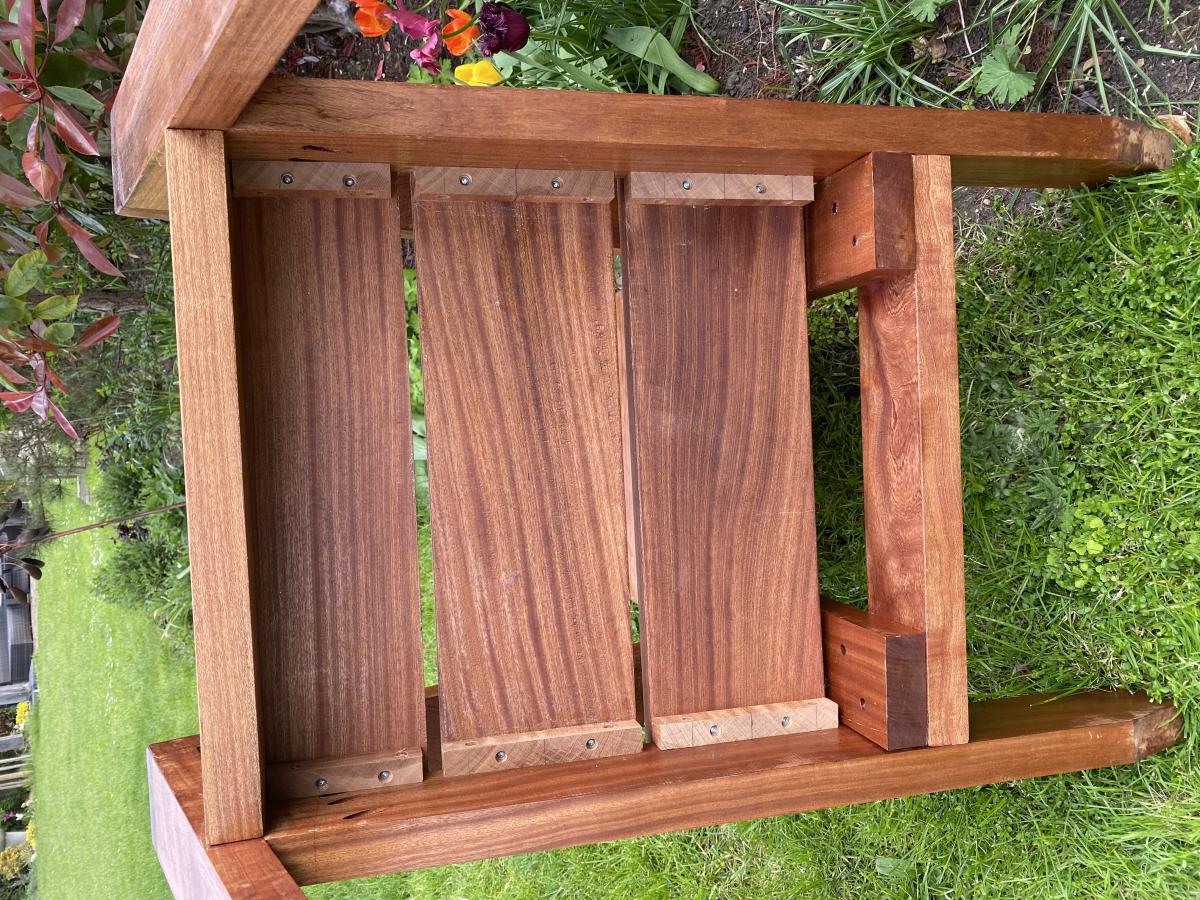
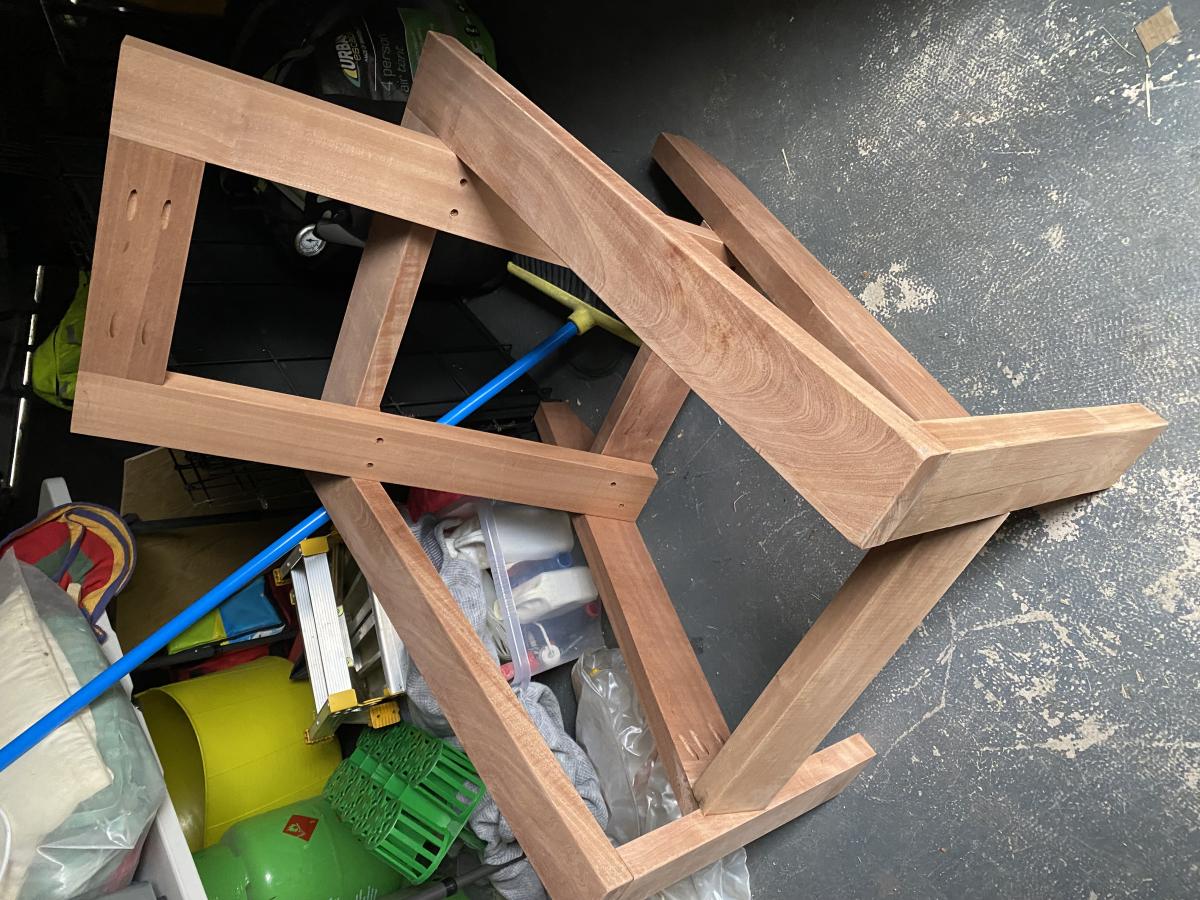
Finished the second chair using Kreg holes fir the arms
Cedar looks good I think
Mon, 05/08/2023 - 10:59
The cedar looks great, thanks for sharing your beautiful build!

I adapted the bunk bed to make the 70s style canopy bed for Julie.
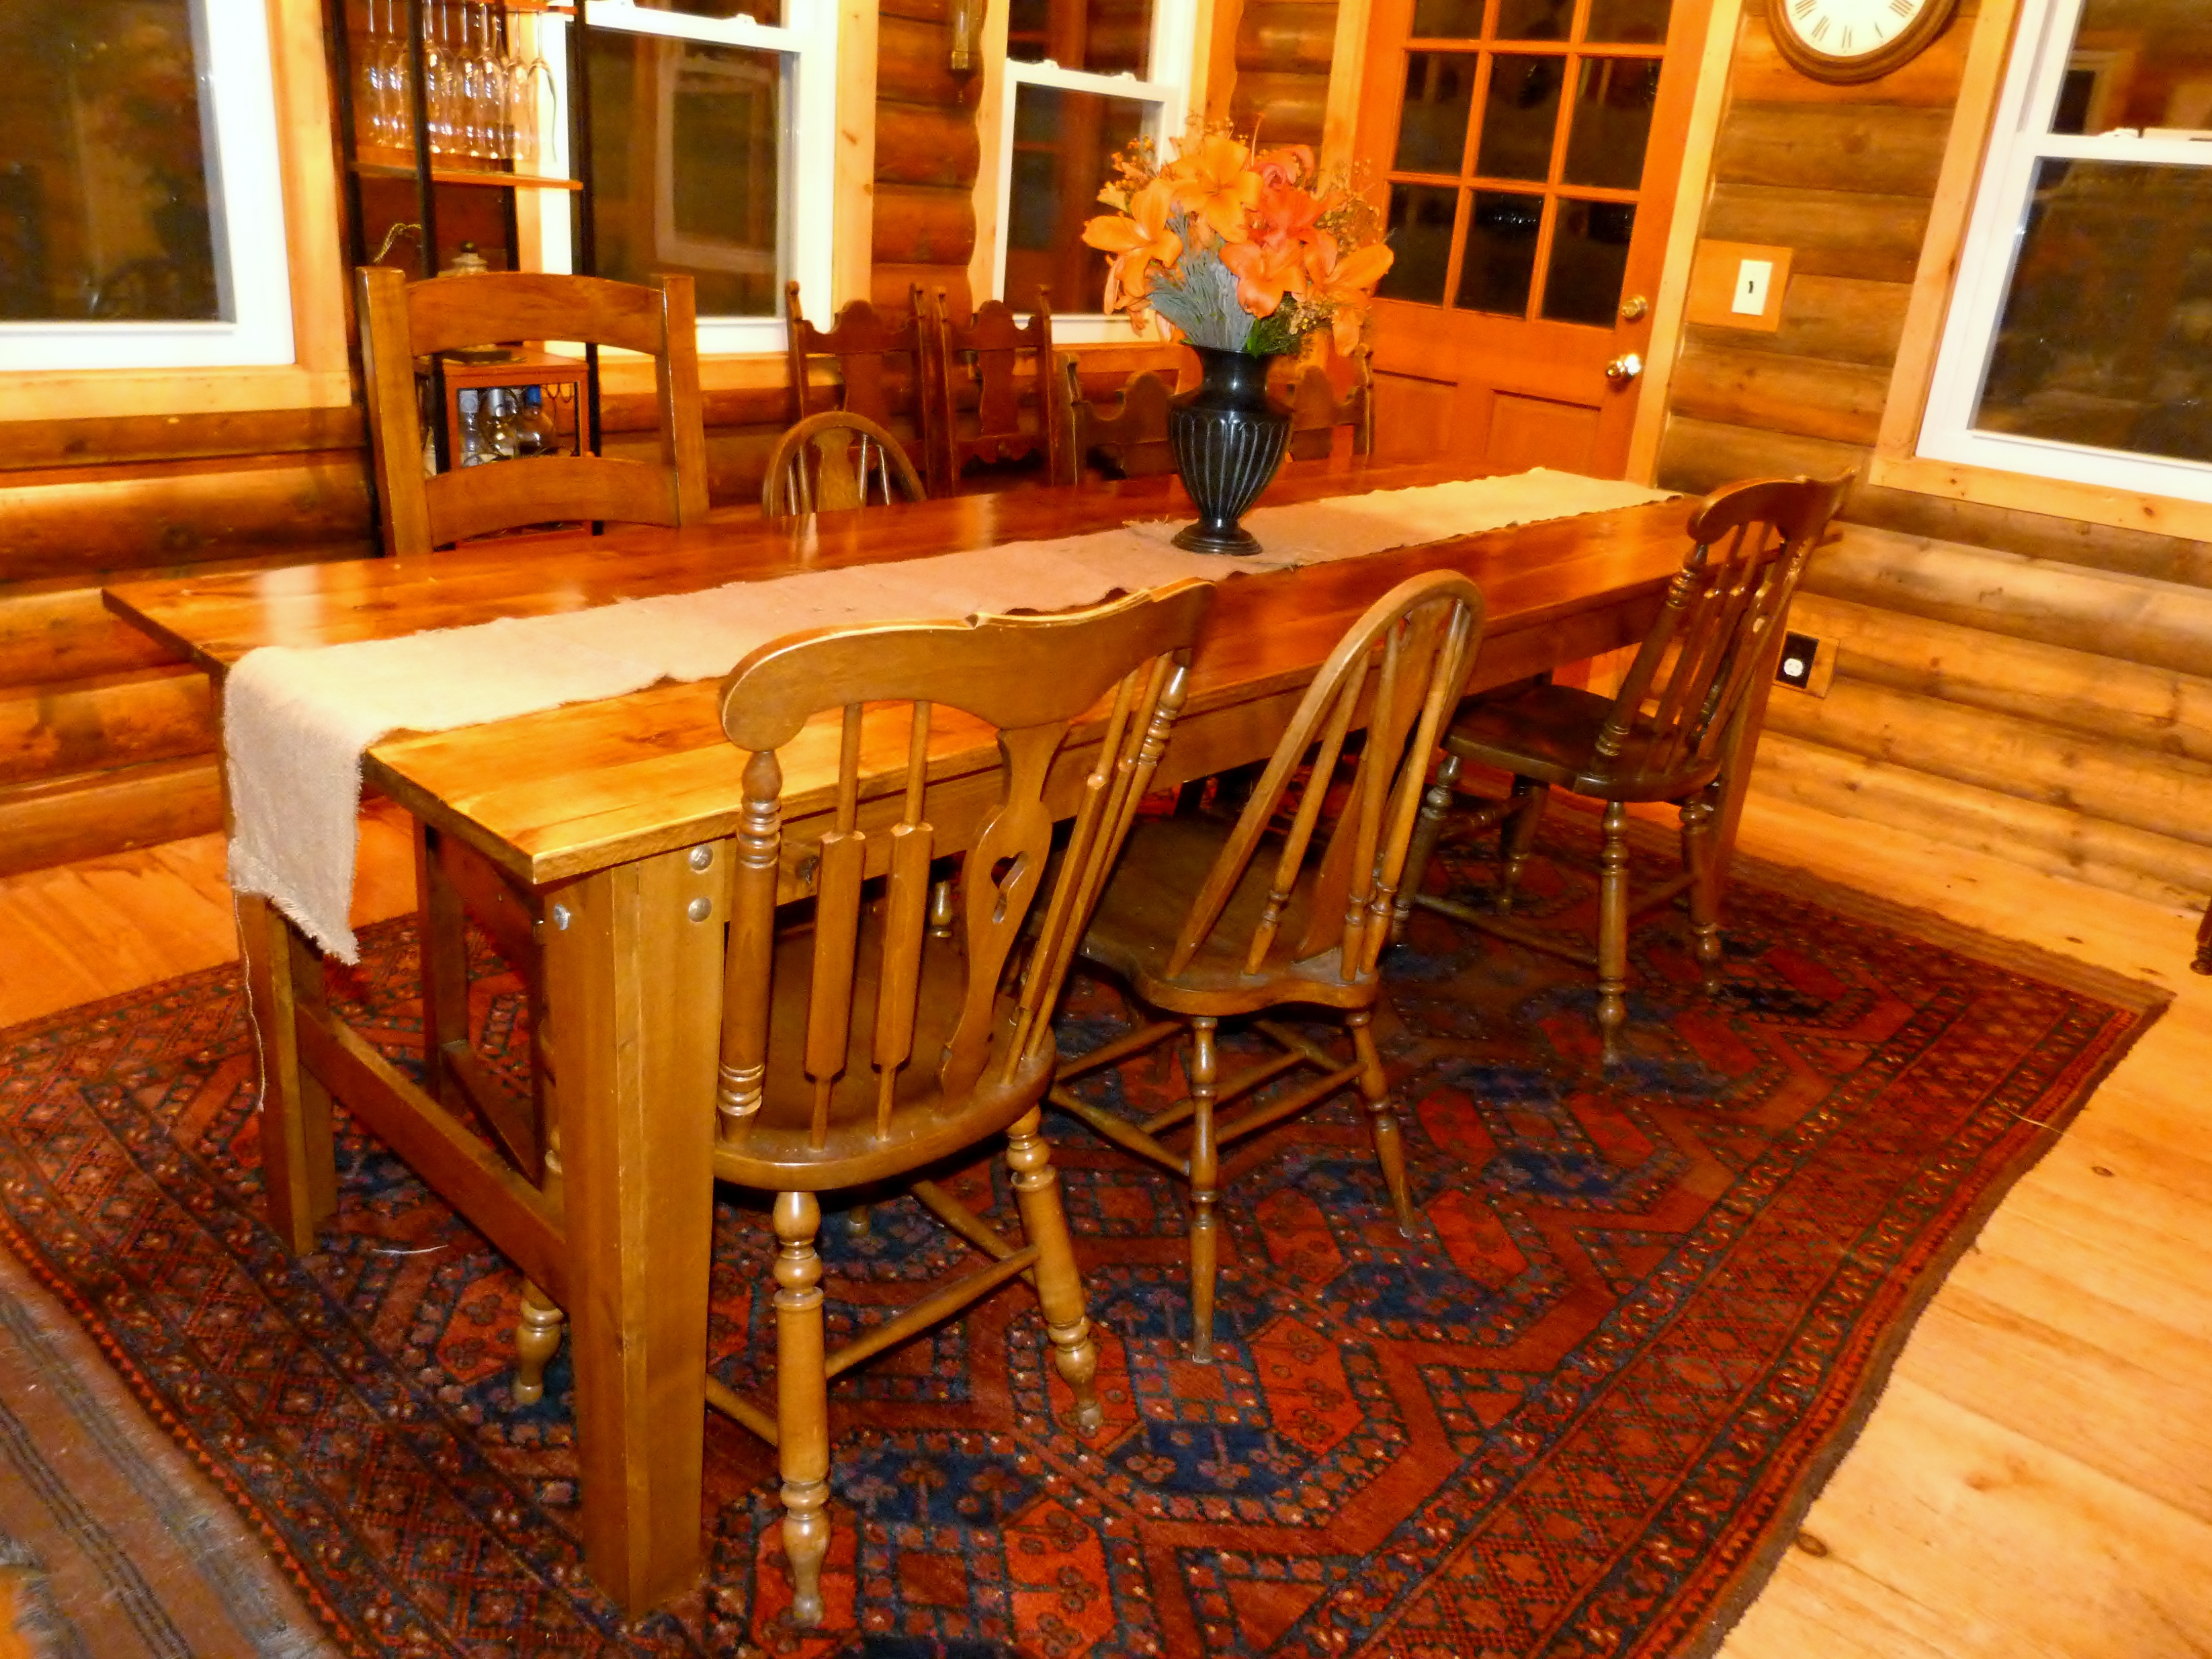
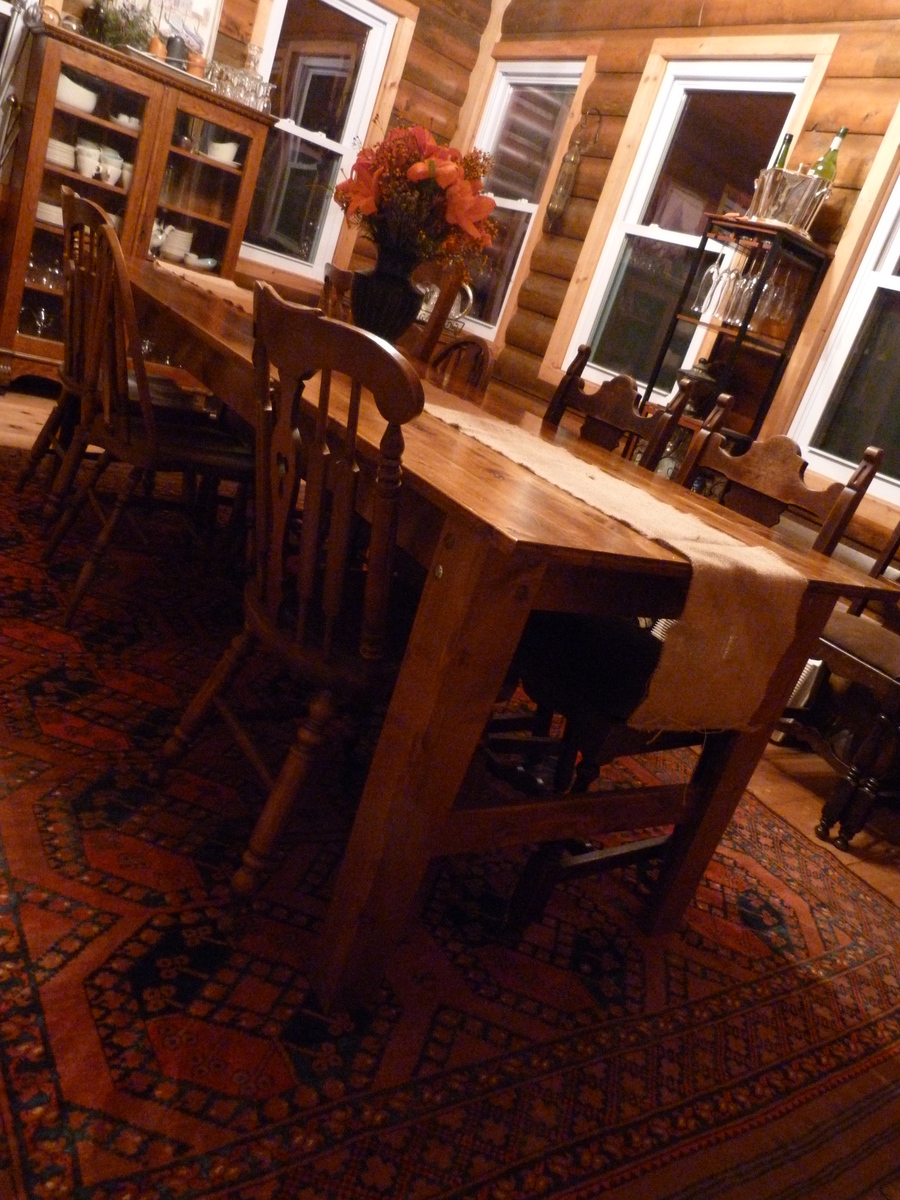
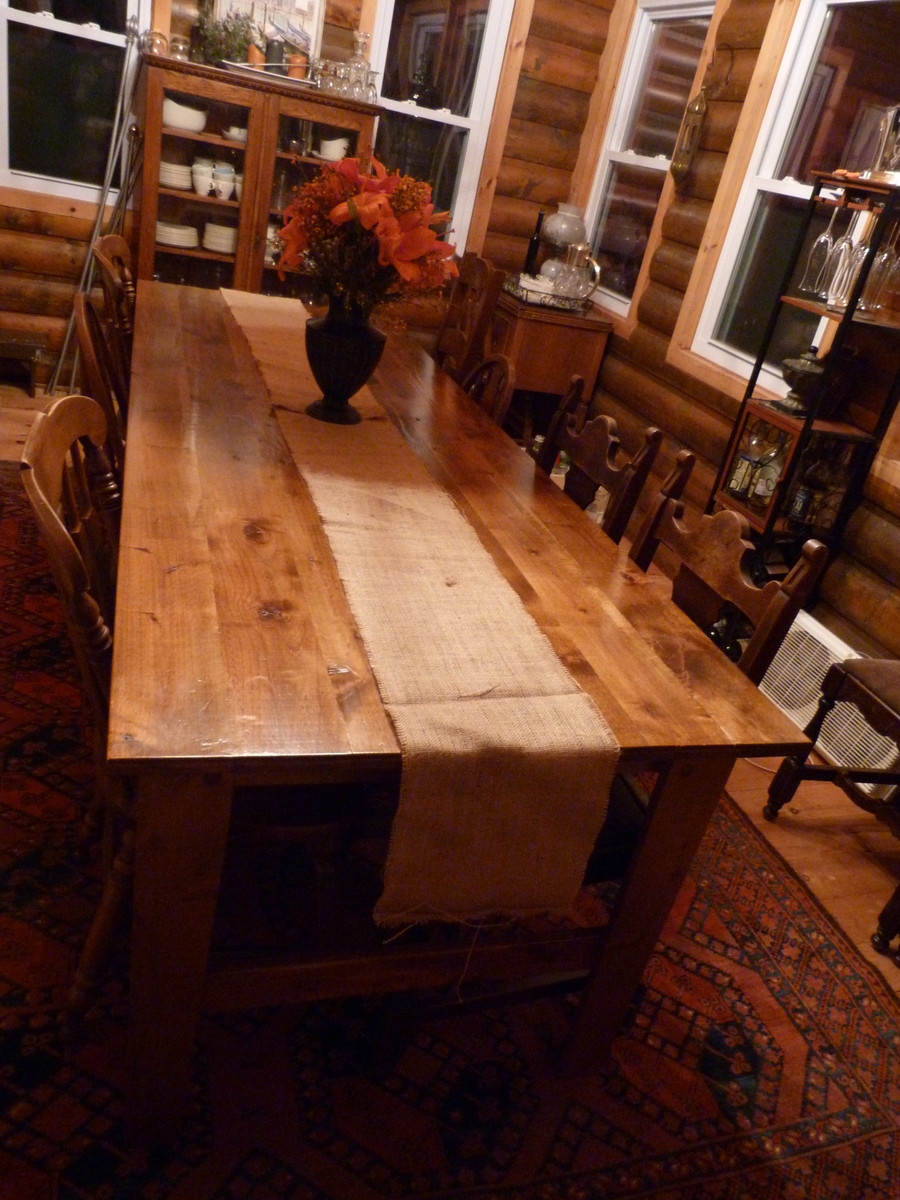
I can't say enough how much I love my farmhouse table! Oddly enough, it took me three years to post these brag photos. We changed the plans to make a table suitable for 10 people and have filled it many times over! It has made two big moves almost completely unscathed. Because we tend to move a lot, we used 4 lag bolts to attach each of the legs and didn't glue them on. The table is very sturdy with this modification, so much so that I can stand on it to change light bulbs in our chandelier without any movement at all! We used spar urethane to seal the wood. We did five coats so that coasters and hot pads were optional. We have no water or heat marks even with a lot of careless use.
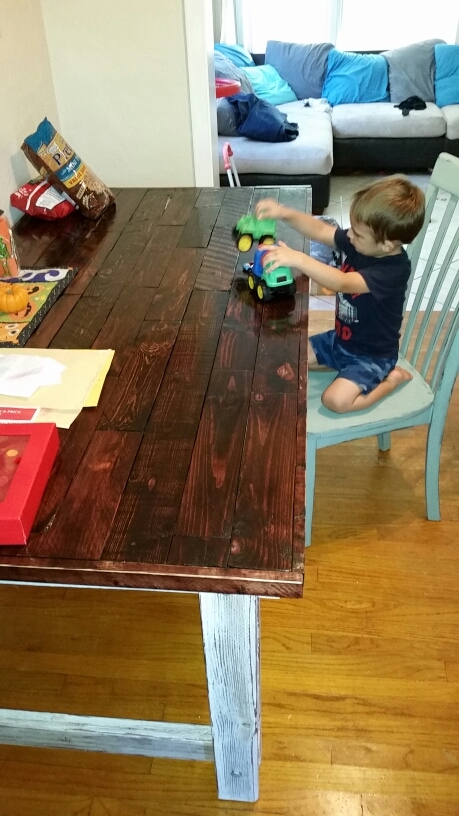
Had a bunch of scrap wood laying around from deconstructed and unused pallets. Great idea for a table top. NOTE: Table top will be uneven because of different widths and thicknesses of pallet scraps. Use a planer if you have access.
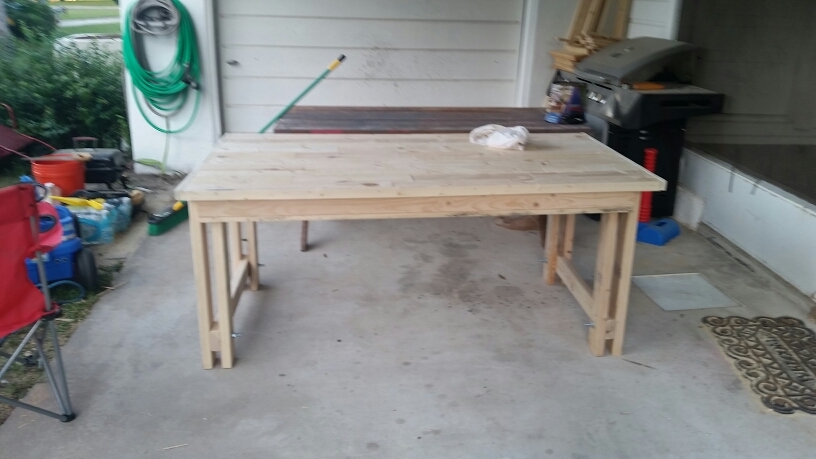
This was my first project in about 10+ years, so it's not perfect. Thanks to my oldest son who bought me a compound miter saw for Mother's Day and a few of my hubby's tools. My son's and I completed this project over the weekend. Looking forward to our next team project.
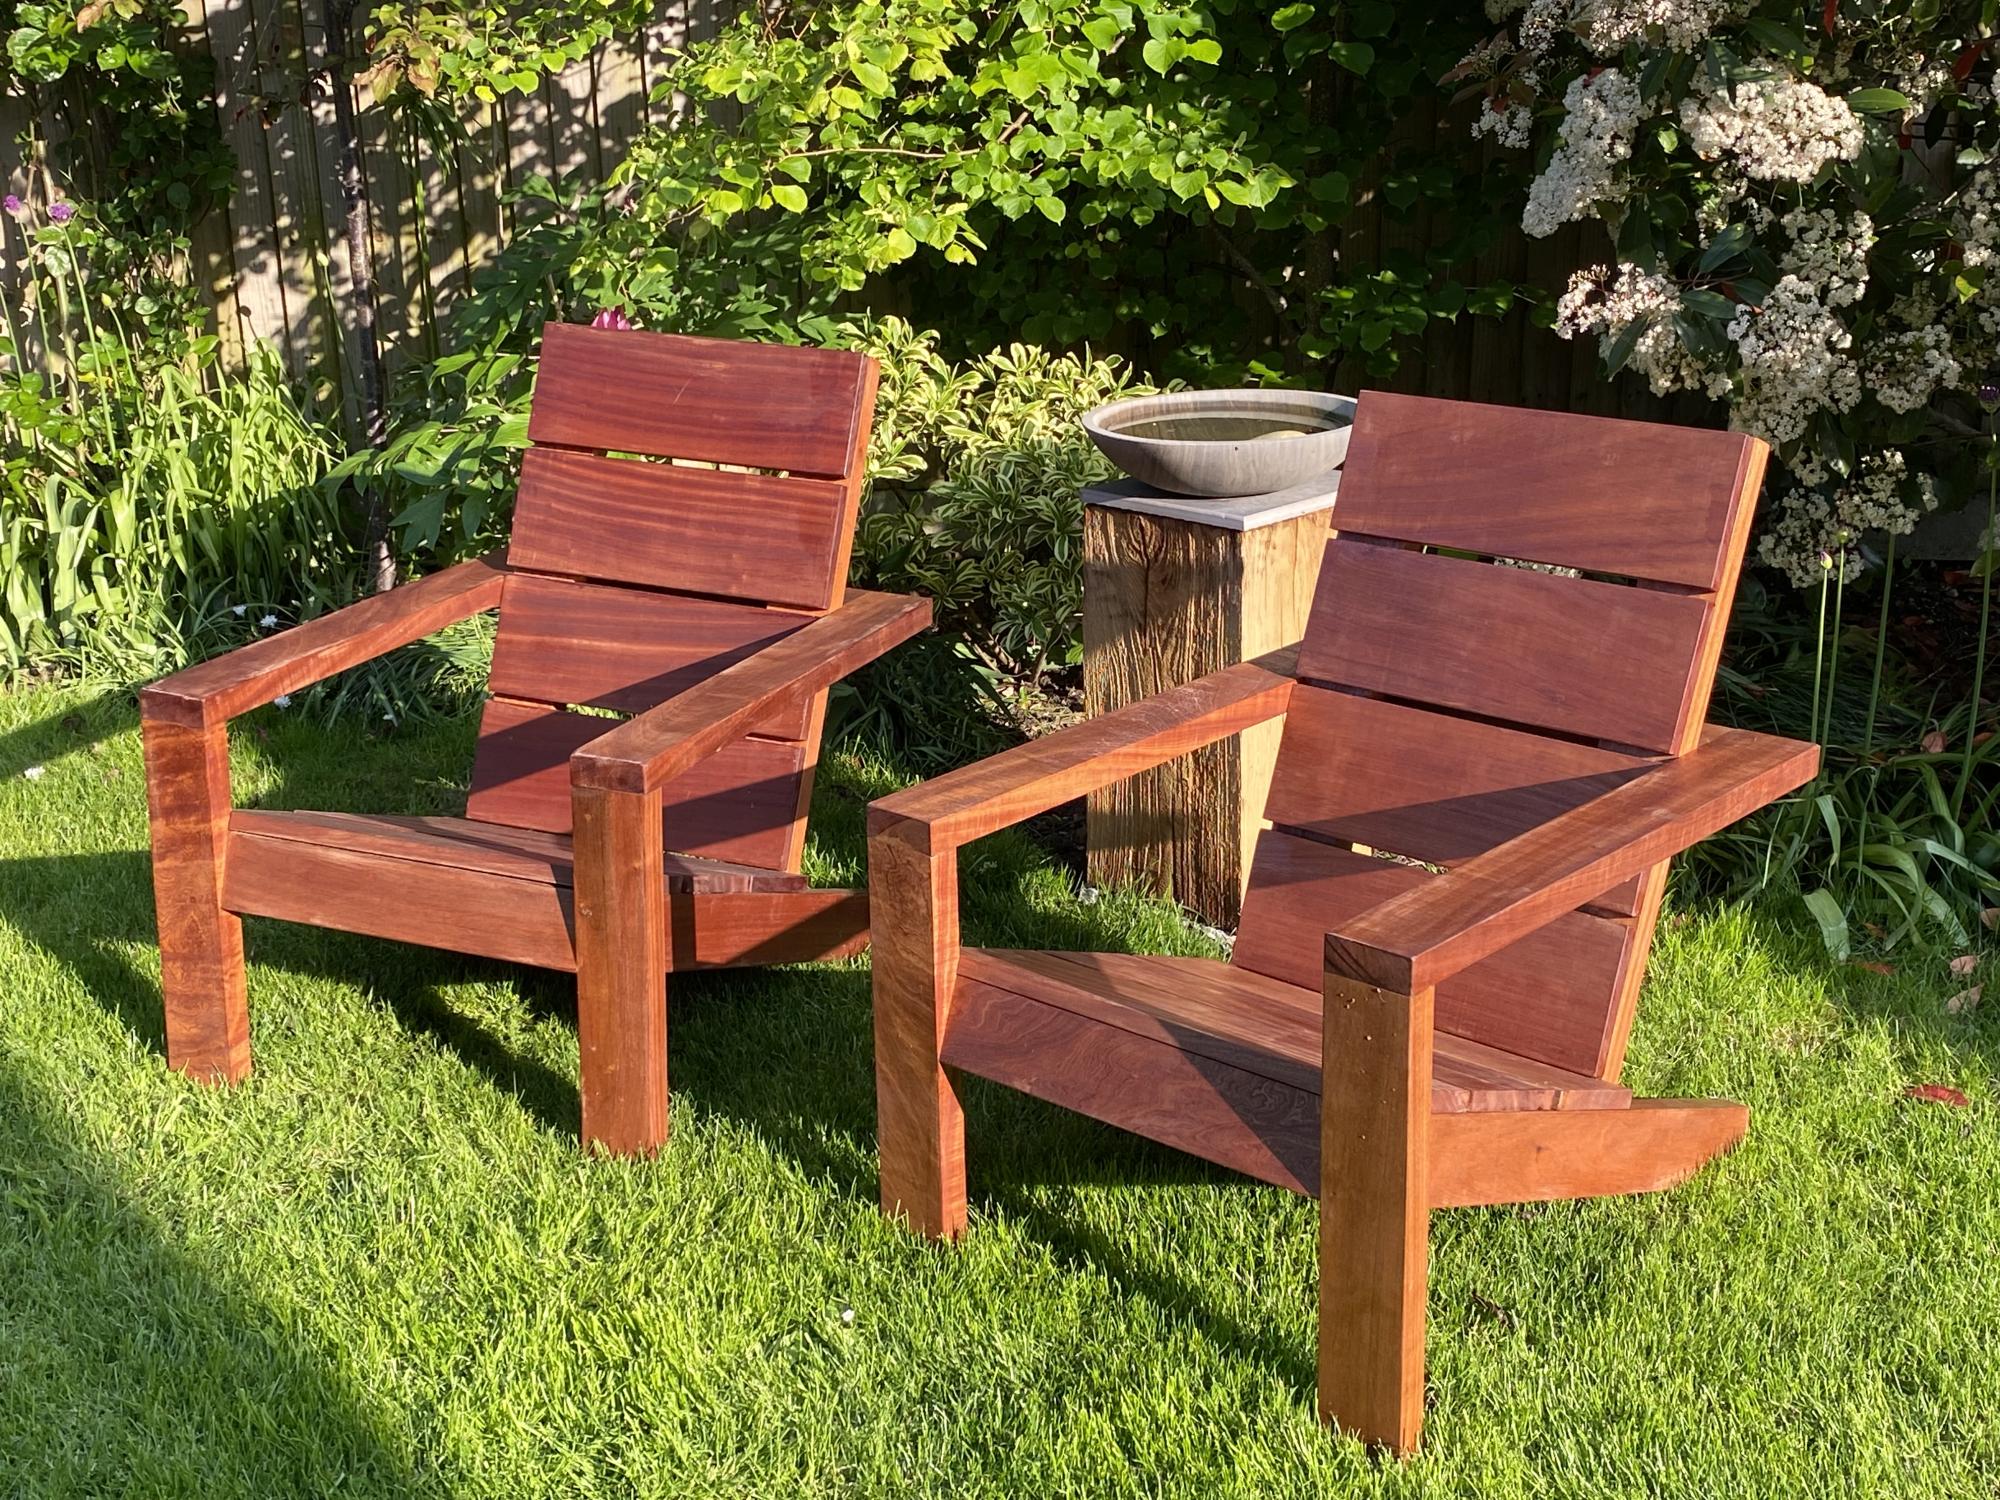
Loved design so decided on hardwood and no visible screw heads….. took a while but loved the result
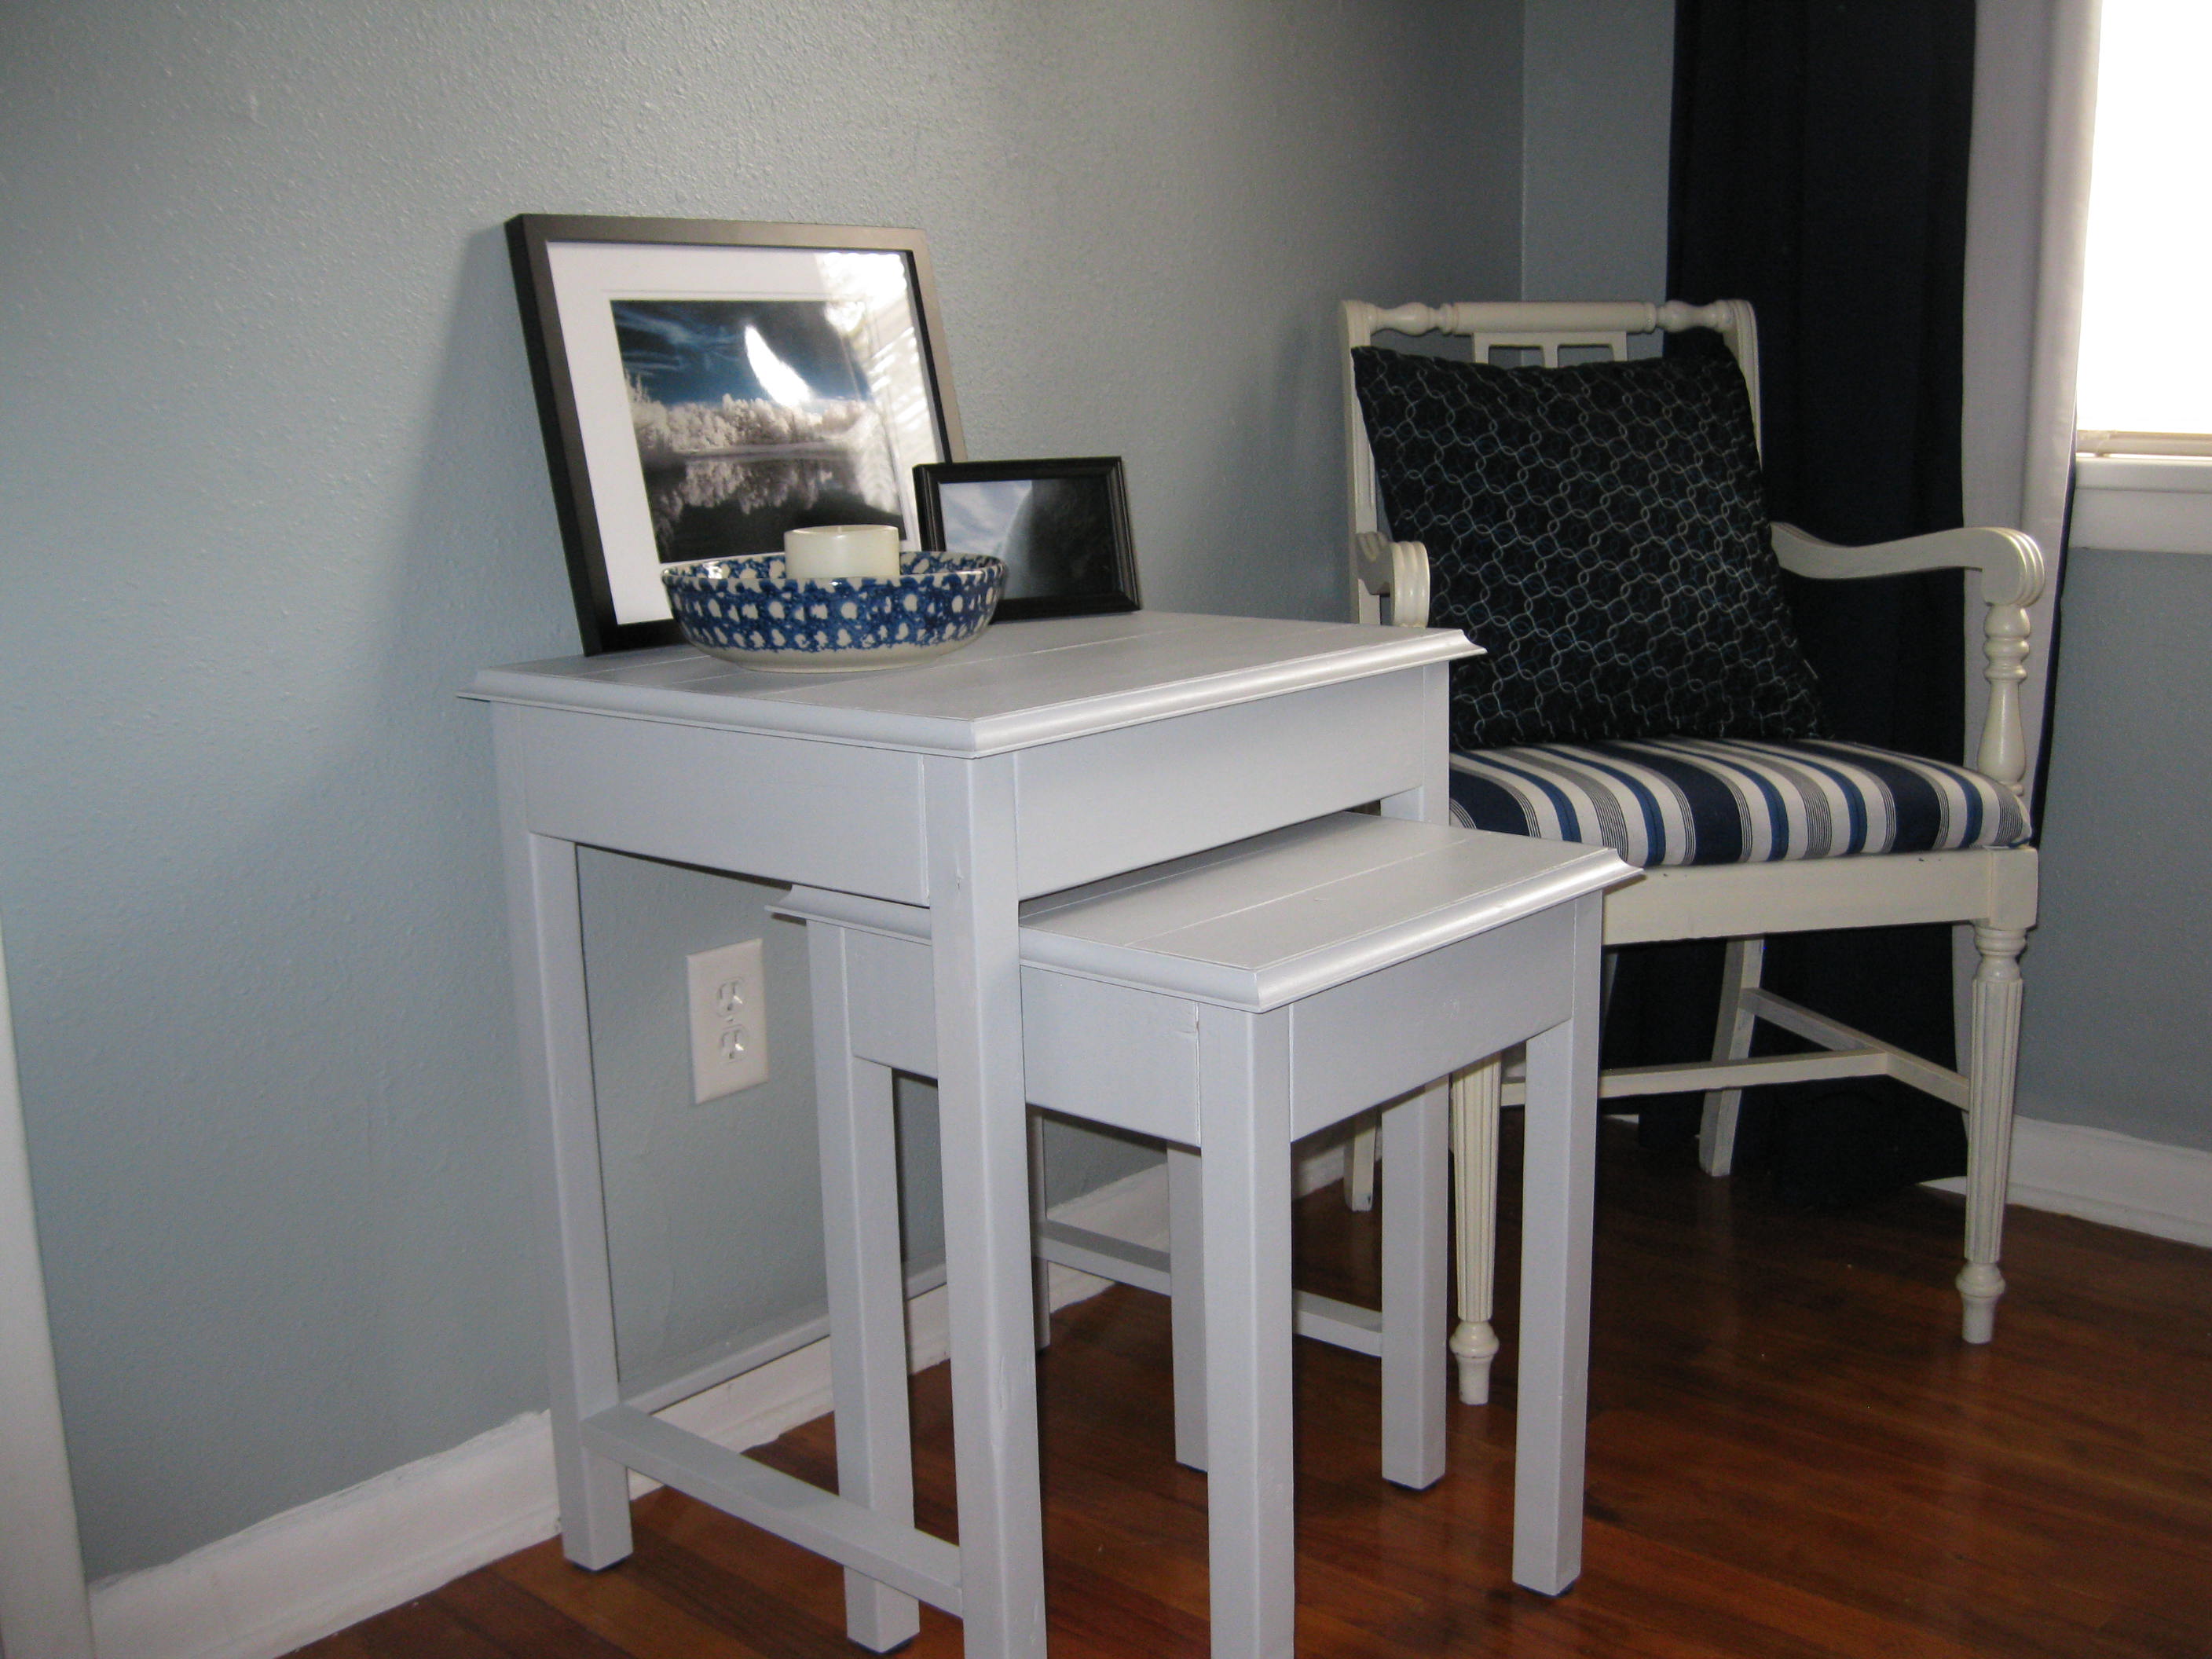
I was really excited when I saw this plan. I needed a side table for my guest bedroom and these are perfect. The plans were very easy to follow - the only thing I did differently was I left off the angle braces. The hardest part of the project was waiting on the paint to dry. I've done a few other projects but this my best work so far...I'm getting better and better with each build. So excited to start something else...
Sun, 01/08/2012 - 13:08
They look great! I'm sure your guests will love them.
I'm currently still in the painting stage of a modified version of just the large of the Preston tables. I love seeing one fully completed!
Sun, 01/08/2012 - 13:37
Awesome!!! ... What a great job you did!!! I am making these too... glad to see how great they look... can't wait to finish mine now!
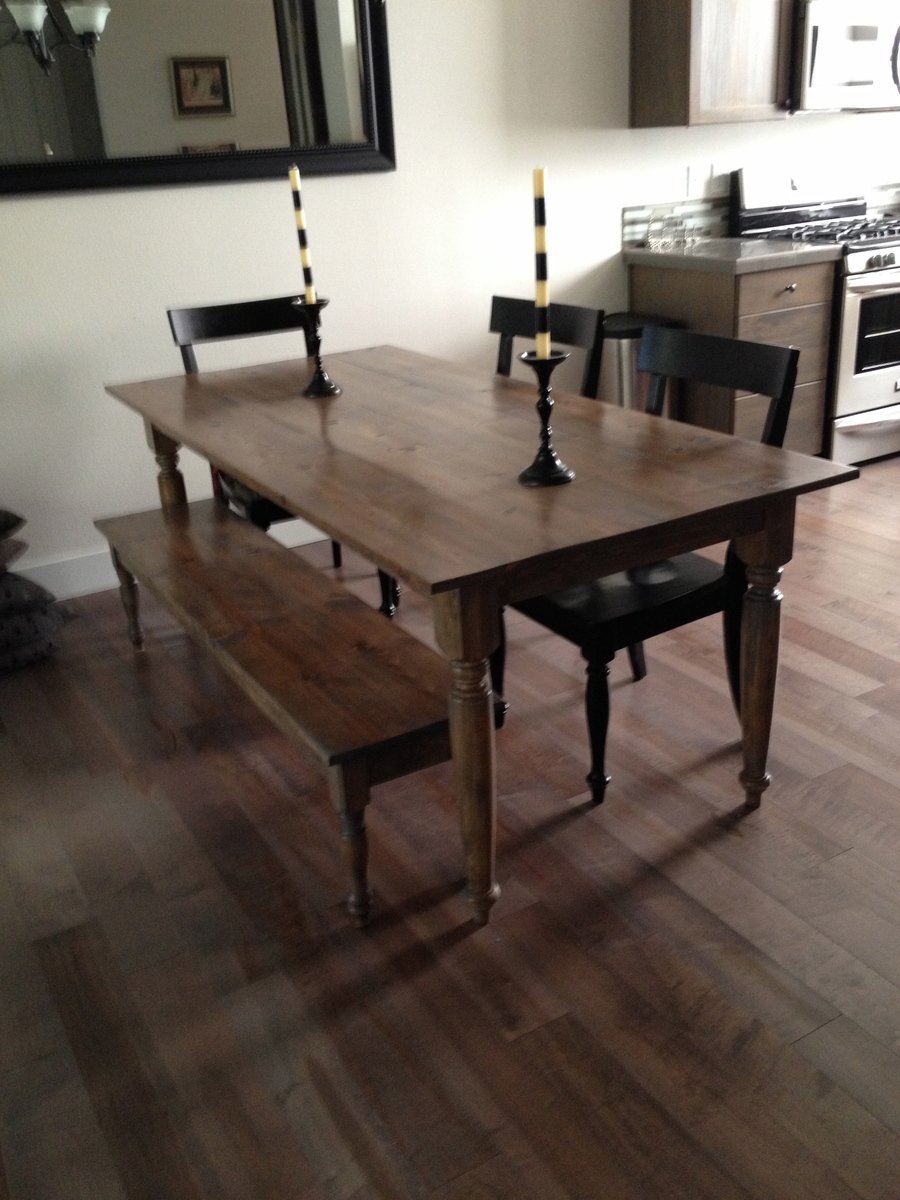
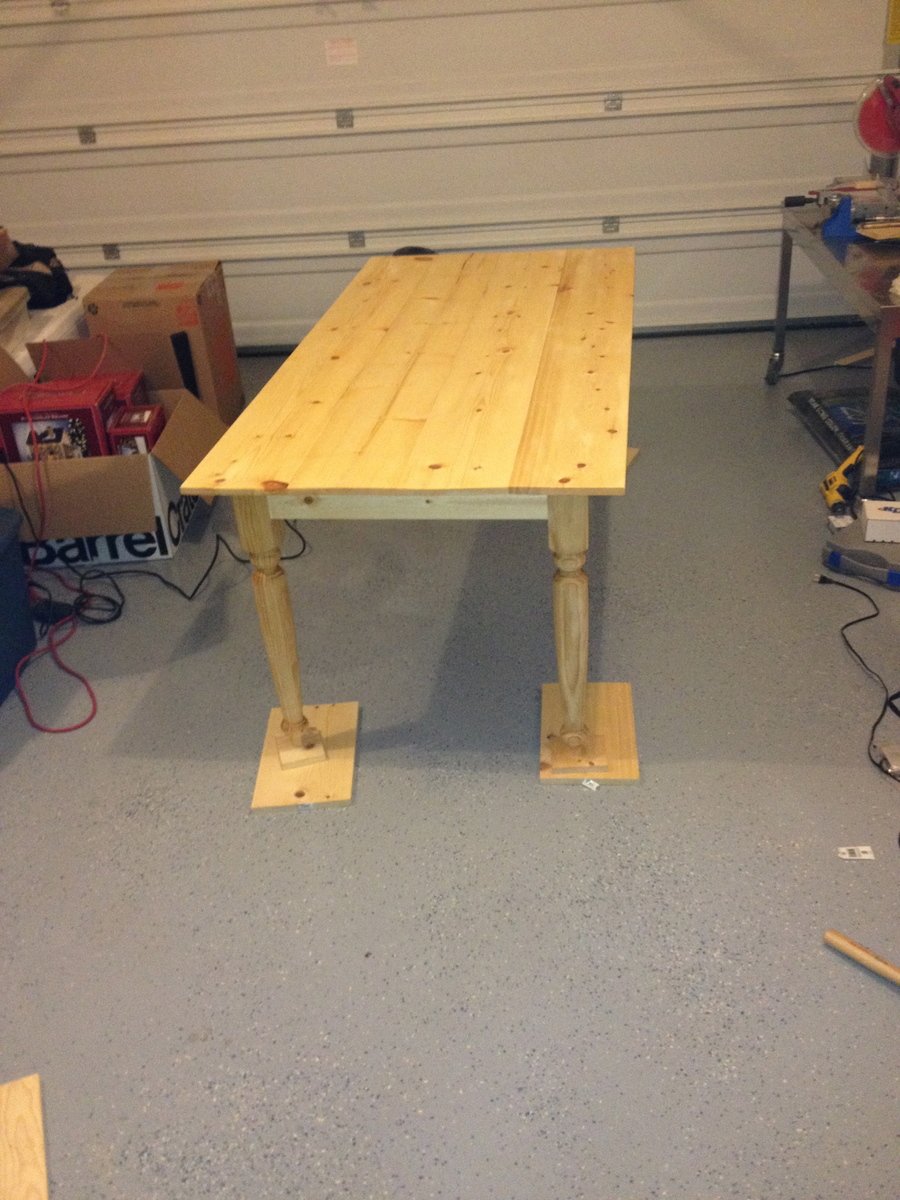
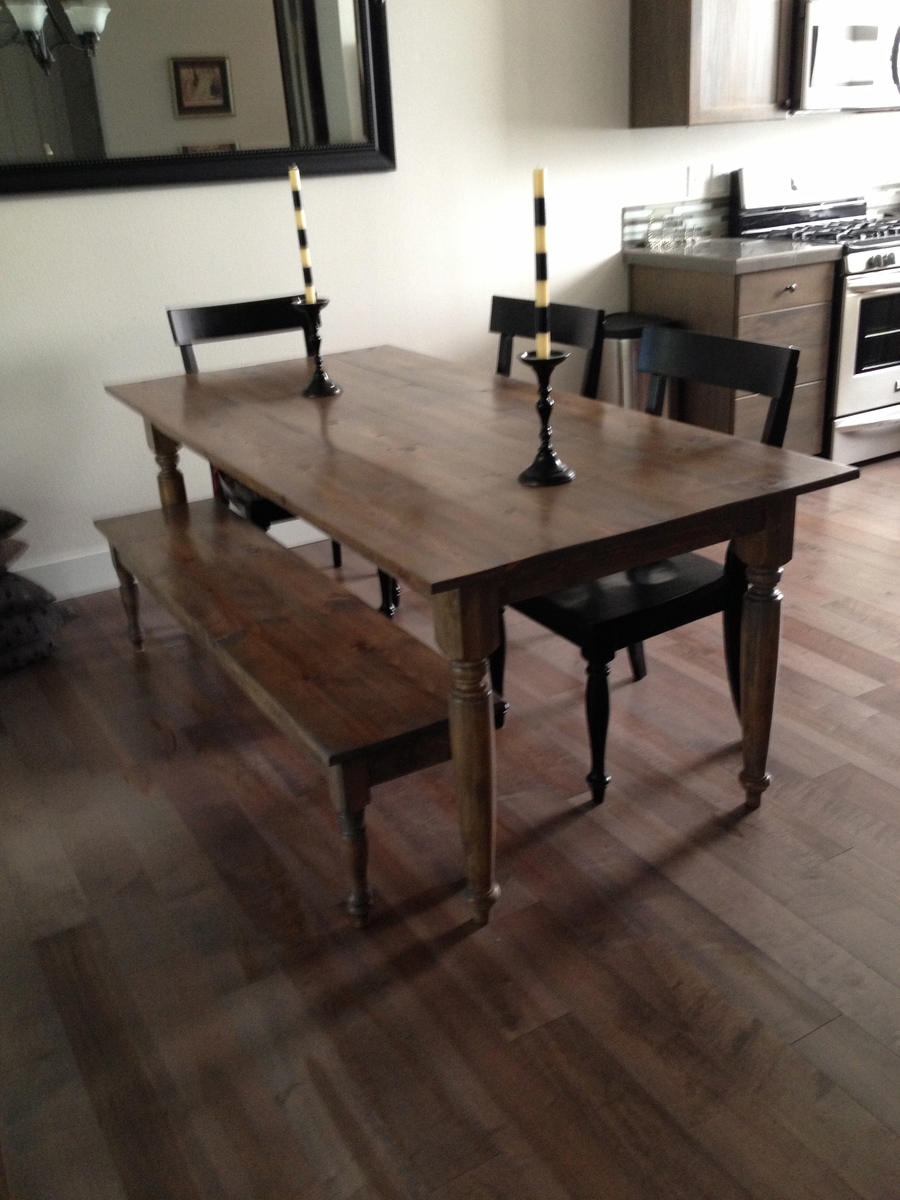
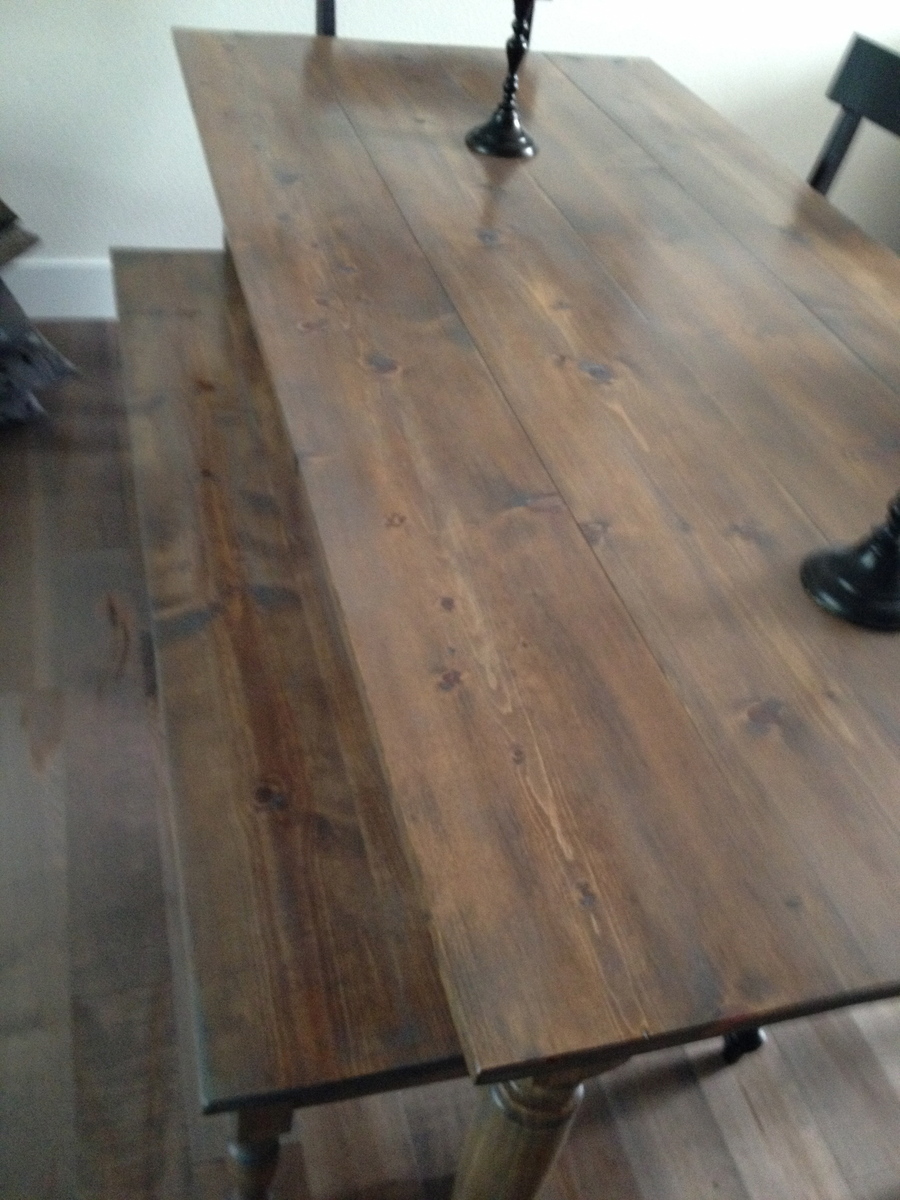
This projected started with a mishap. I bought table legs from Lowes that were 35" tall, and after trying to decide if I could somehow make our chairs taller...I returned them for the correct set. The set I used was from Waddell online (the manufacturer). 29" Country Pine legs. With shipping these were the most expensive part of the entire project. The rest went according to plan. Once the table was done I decided on a whim to make a matching bench. I bought the bench legs from Home Depot and a bit more pine for the seat. The bench legs were 15" country pine also. I guessed on the measurements for it, and it came out okay. The only hard part was that my drill didn't fit with the Kreg bit on it when I was trying to screw in the bench supports. I actually had to borrow a shorter drill and bit from a friend to complete it! The staining took me a long time because I don't have a heated garage and the temperatures dropped below comfortable to work on it.
Tue, 11/26/2013 - 08:50
Thanks for the tip on the polyurethane. Your project is beautiful.