Community Brag Posts

Two tone planter

Submitted by Markb25 on Mon, 04/18/2022 - 11:49

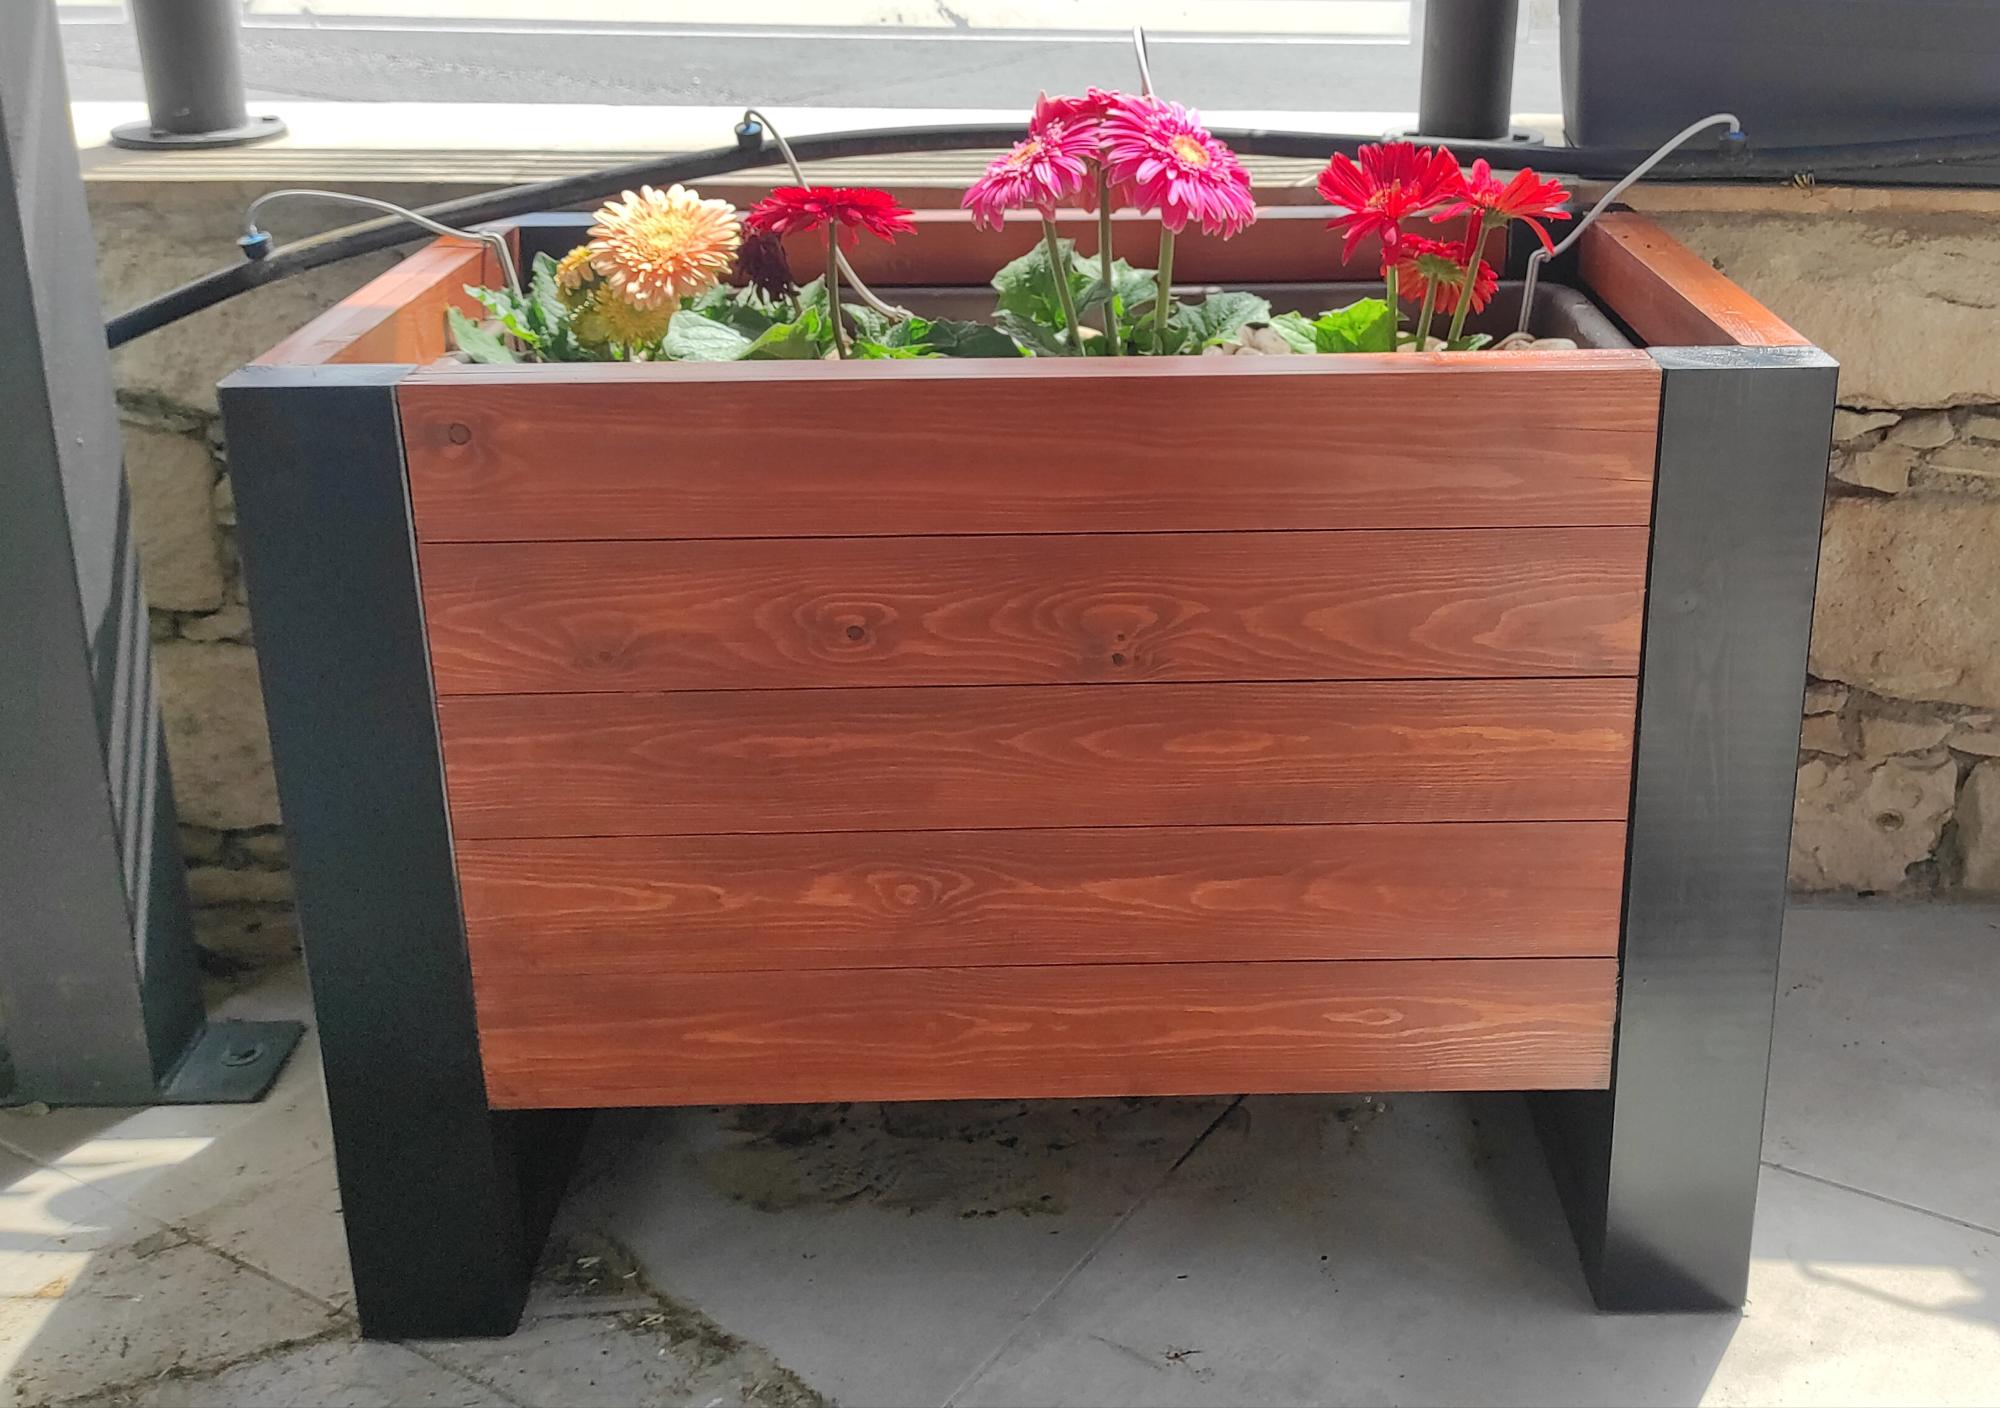
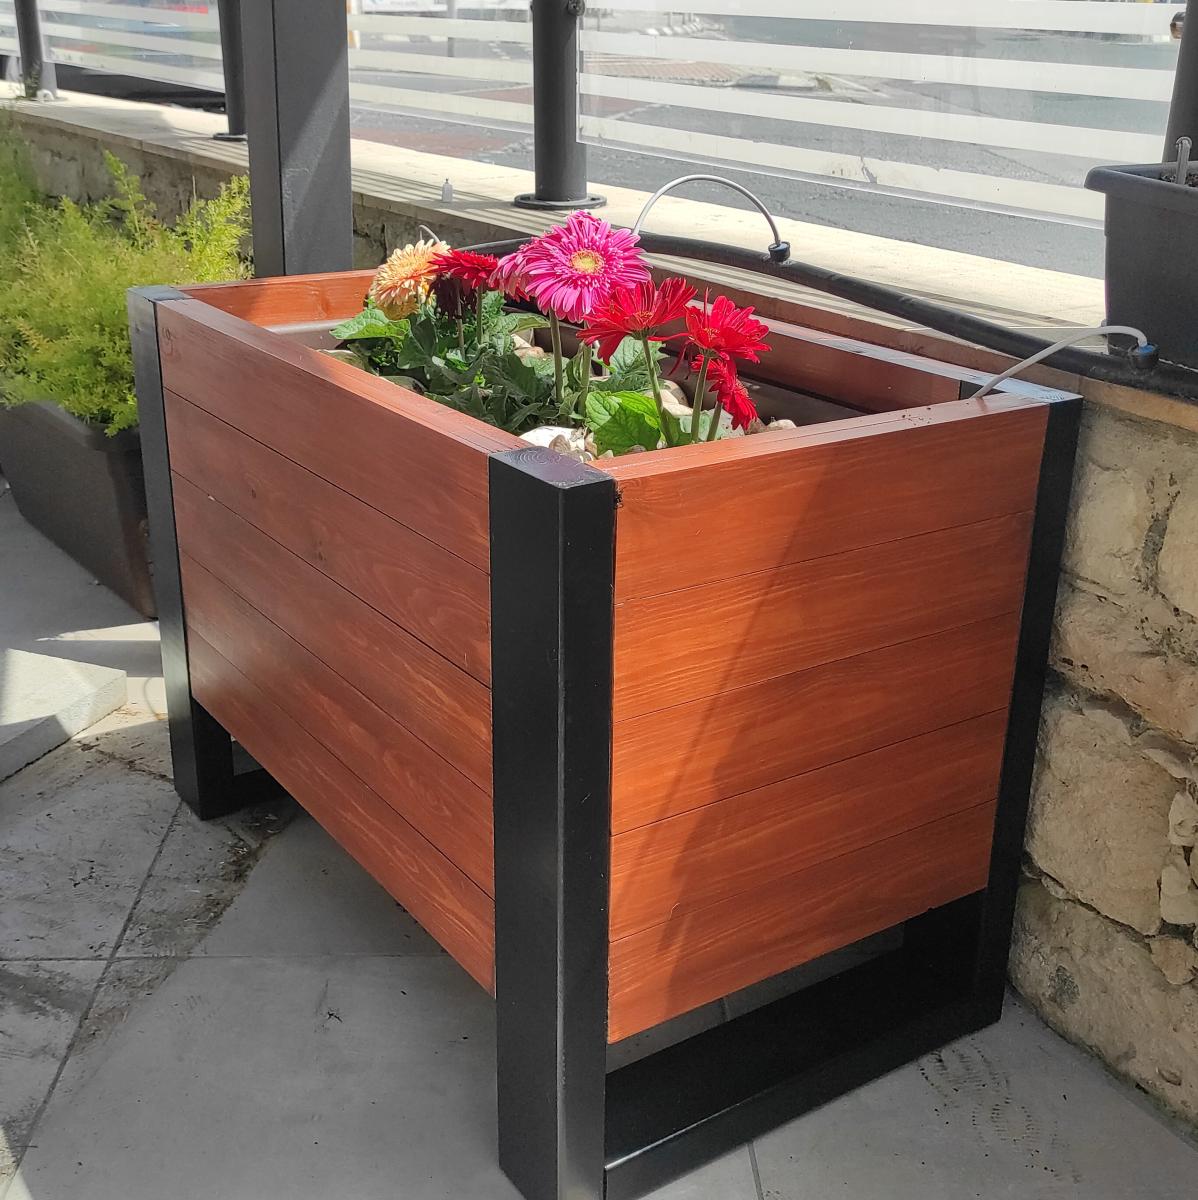
Nice and simple planter, the frame uses 2x4 for the legs with 2x3 to frame the lower section internally, along with 1x2 to provide a base for plastic plant pot to sit on. The sides are use 1x4 attached internally with pockets screws and glue so there are no visable fixings ruining the look, additional strips of 1x2 are placed at the very top to give the rim a wider and more aesthetically pleasing finish. Finished in ebony and medium oak followed by three coats of Polyurethane and the addition of small plastic feet/sliders on each corner to prevent damage to the paint if slide along concrete floors.

Comments

My First Chair!

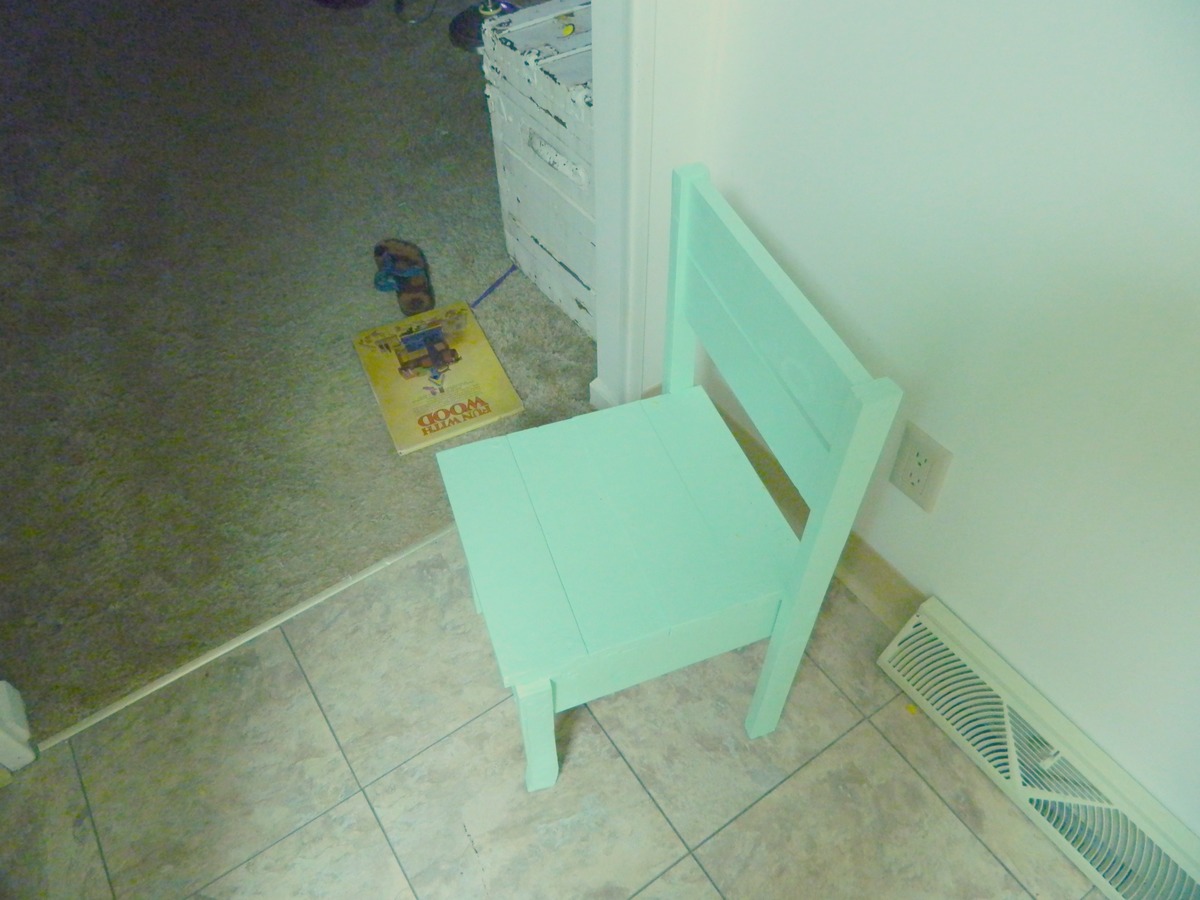
Aside from a small train table and a vegetable garden, this is my first furniture build! Sadly, I was not able to move past the first step without the help of my husband. I chose this chair because it seemed like a very simple build, but it was quite challenging, even with the help of my hubby.

This chair cost me about $34 to build. I had to buy screws, a square, top coat, and eventually a right angle clamp. The next chair should cost me $4 plus the cost of the paint.

On the next chair, we will definitely switch up steps 6 and 7. It was very difficult to screw in the screws on the very back seat slats once we attached the back slats. Also, side note, it didn't saw in step 6 or 7 which size screw to use, so we used the 1 1/4 inch screws. We used a size 8 in width. My hubby thinks we should have used a 6. I didn't even know screws came in different lengths AND widths!

Our chair ended up a bit loopsided and rough in some areas. I wish I would have sanded it more before painting it. Also, I was way off on attaching the second back chair leg, so I had to cut off a little bit of the left over 1x2 and glue and screw it to the bottom of the leg (see pic below). Then, I shaved off some of the top of that leg with my mitre saw.

Also, I initially tried making this with pocket hole screws, but quickly learned that that level of woodmaking was above my pay grade. I switched back to the 2 inch screws and it was just fine. We used wood filler to hide the screws as much as possible.

Despite how difficult this first build was, and despite how imperfect it is, I am totally in love with the chair and with woodmaking! My husband and I really bonded and enjoyed our time together making this. My 2 year old daughter just loves it (and it didn't break when my children sat on it!). I've already bought the wood for the second chair and, after that, have plans to move on to the Elementary Trestle Table!
Estimated Cost
$34
Estimated Time Investment
Afternoon Project (3-6 Hours)
Finish Used
Left over Behr paint sample, "Clear Pond." I think this is by Ralph Lauren. Plus a top coat spray.
Recommended Skill Level
Beginner

Comments

cdswhite

Wed, 06/08/2011 - 19:43

Hi - I also thought this would be an easy build for my first project but it wasn't!! I also had a hard time keeping the pieces together (so they could be attached) and I kept having to check where I screwed previously, so I wouldn't put another screw in the same path as the previous one. Nice job and love the dedication it takes to fix and see through things to the end.

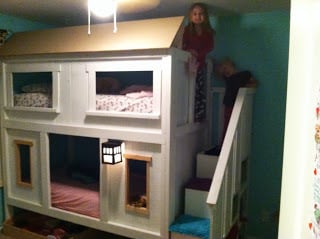
Craftsman Style Sweet Pea Bunk Beds

Submitted by Perkelator on Wed, 07/24/2013 - 21:56

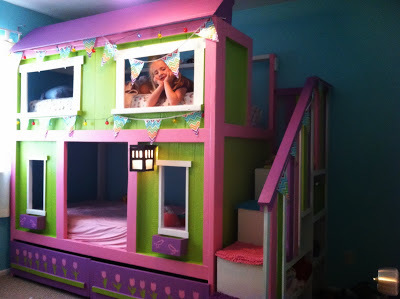
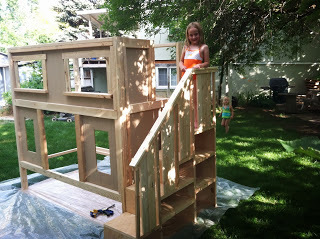
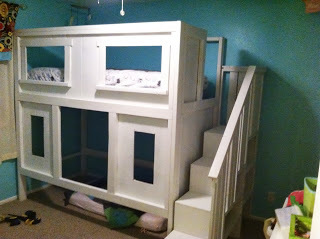
I'm so thankful for these plans! I love how these beds turned out, my daughters love them too! Whenever they have friends come over, this is the first place all of them want to go (not necessarily a good thing, I know).

I wrote about the project on my blog: sharethepants.blogspot.com

This is my third project that I've attempted since finding this amazing website and it's certainly my favorite!
I ended up leaving off the pergola due to an overactive climbing two year old. We are planning on adding some additional decorations as we have ideas. Mailbox and house numbers on on their way.

Estimated Cost
350-400
Estimated Time Investment
Week Long Project (20 Hours or More)
Finish Used
Satin finish paint
Recommended Skill Level
Beginner

Comments

birdsandsoap

Fri, 07/26/2013 - 22:24

I love the color combo! It looks great without the pergola too. And I love the way you built/painted the flower boxes under the bed. nice job!
Perkelator

Fri, 07/26/2013 - 23:37

I can't tell you how great your plans are! I am so impressed by all the details you put into it. I changed some things (like paneling instead of the charming 1X3's and 1X4's, and leaving the back open) but I was so impressed by how everything came together--especially the stairs. You did a fantastic job.

Baby Bed

Submitted by ramonag on Tue, 08/04/2015 - 12:17

I used the plans at Diystinctlymade.com(DIY crib, Ana showed it on her website)to build this crib for friends having their first child this month!  i changed the plans a little, instead of cutting both end boards I cut the center board. I put a decorative trim on the ends and sides.  I stenciled the "love you to the moon"  and "now I lay me down to sleep" on the ends of the crib  I love making it!

Estimated Cost
$200
Estimated Time Investment
Week Long Project (20 Hours or More)
Finish Used
Rust-Oleum Chalk Paint Lined white
Rust-Oleum Chalk Paint Aged Grey
Anne Sloan clear wax
Recommended Skill Level
Beginner

Comments

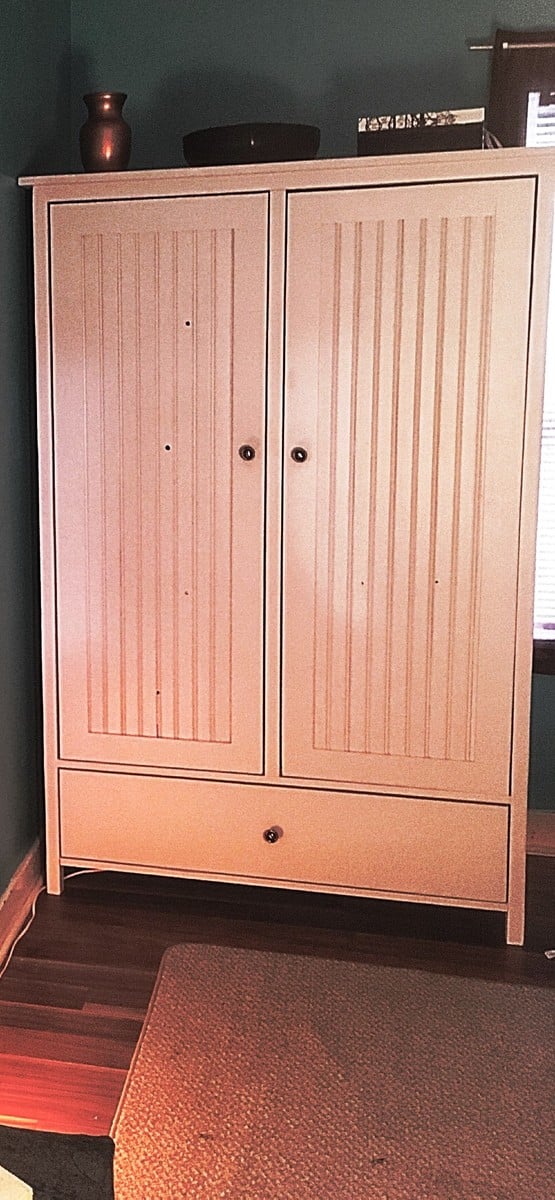
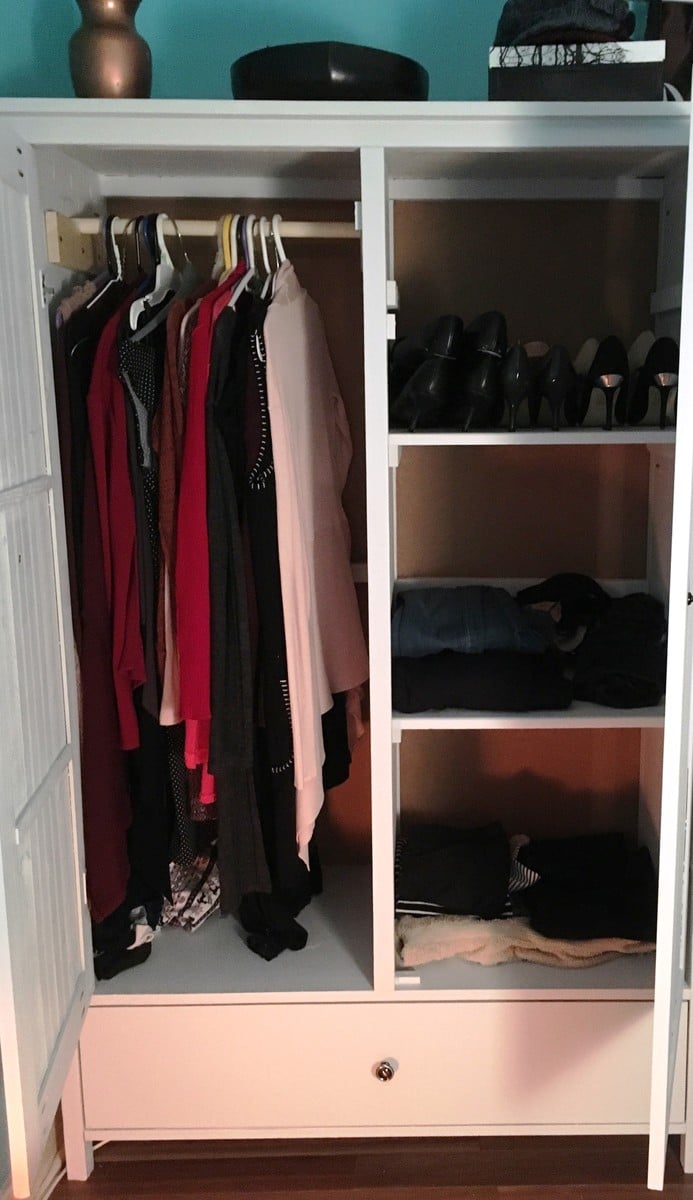
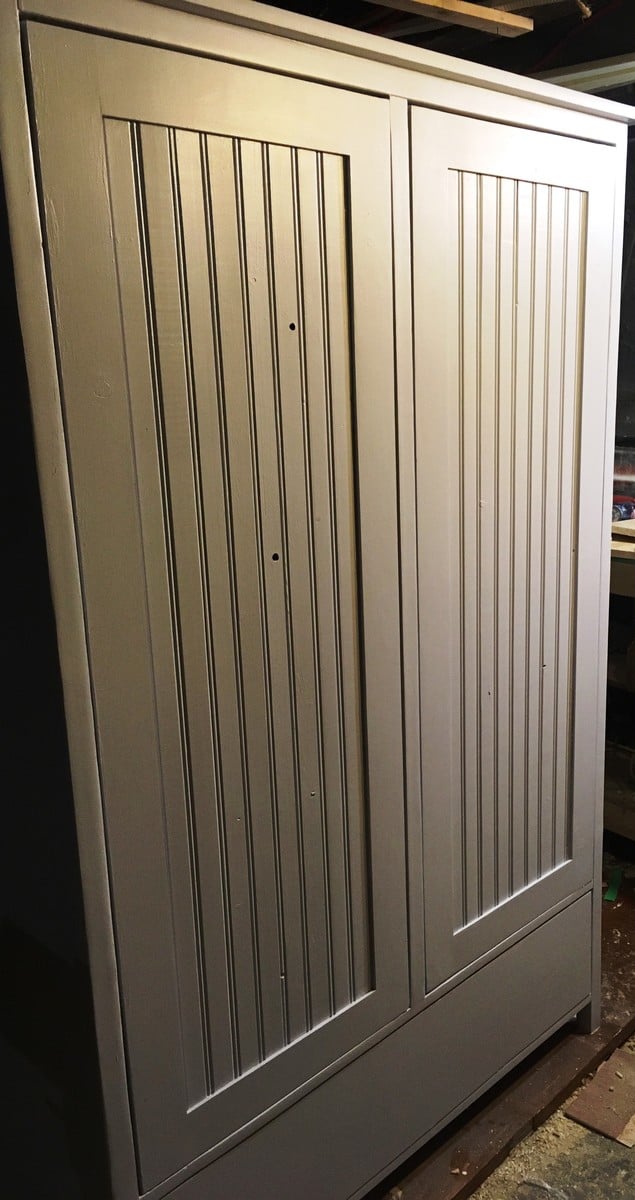
Wardrobe

Submitted by MERCMAN on Mon, 03/05/2018 - 08:44

Made from Mirroed Door Wardrobe Plans. Built from pine shelf boards at a cost of approx $7.00 per board. Light grey cabinet paint, primed with Bins primer as it also seals the knots. Used a kreg jig and glue to attach boards to each other to get then wide enough. No ply-wood was used. 

Estimated Time Investment
Week Long Project (20 Hours or More)
Finish Used
Bins Primer and Cabinet paint.
Recommended Skill Level
Intermediate

Craft Lair

Submitted by Anonymous (not verified) on Thu, 04/21/2022 - 13:51

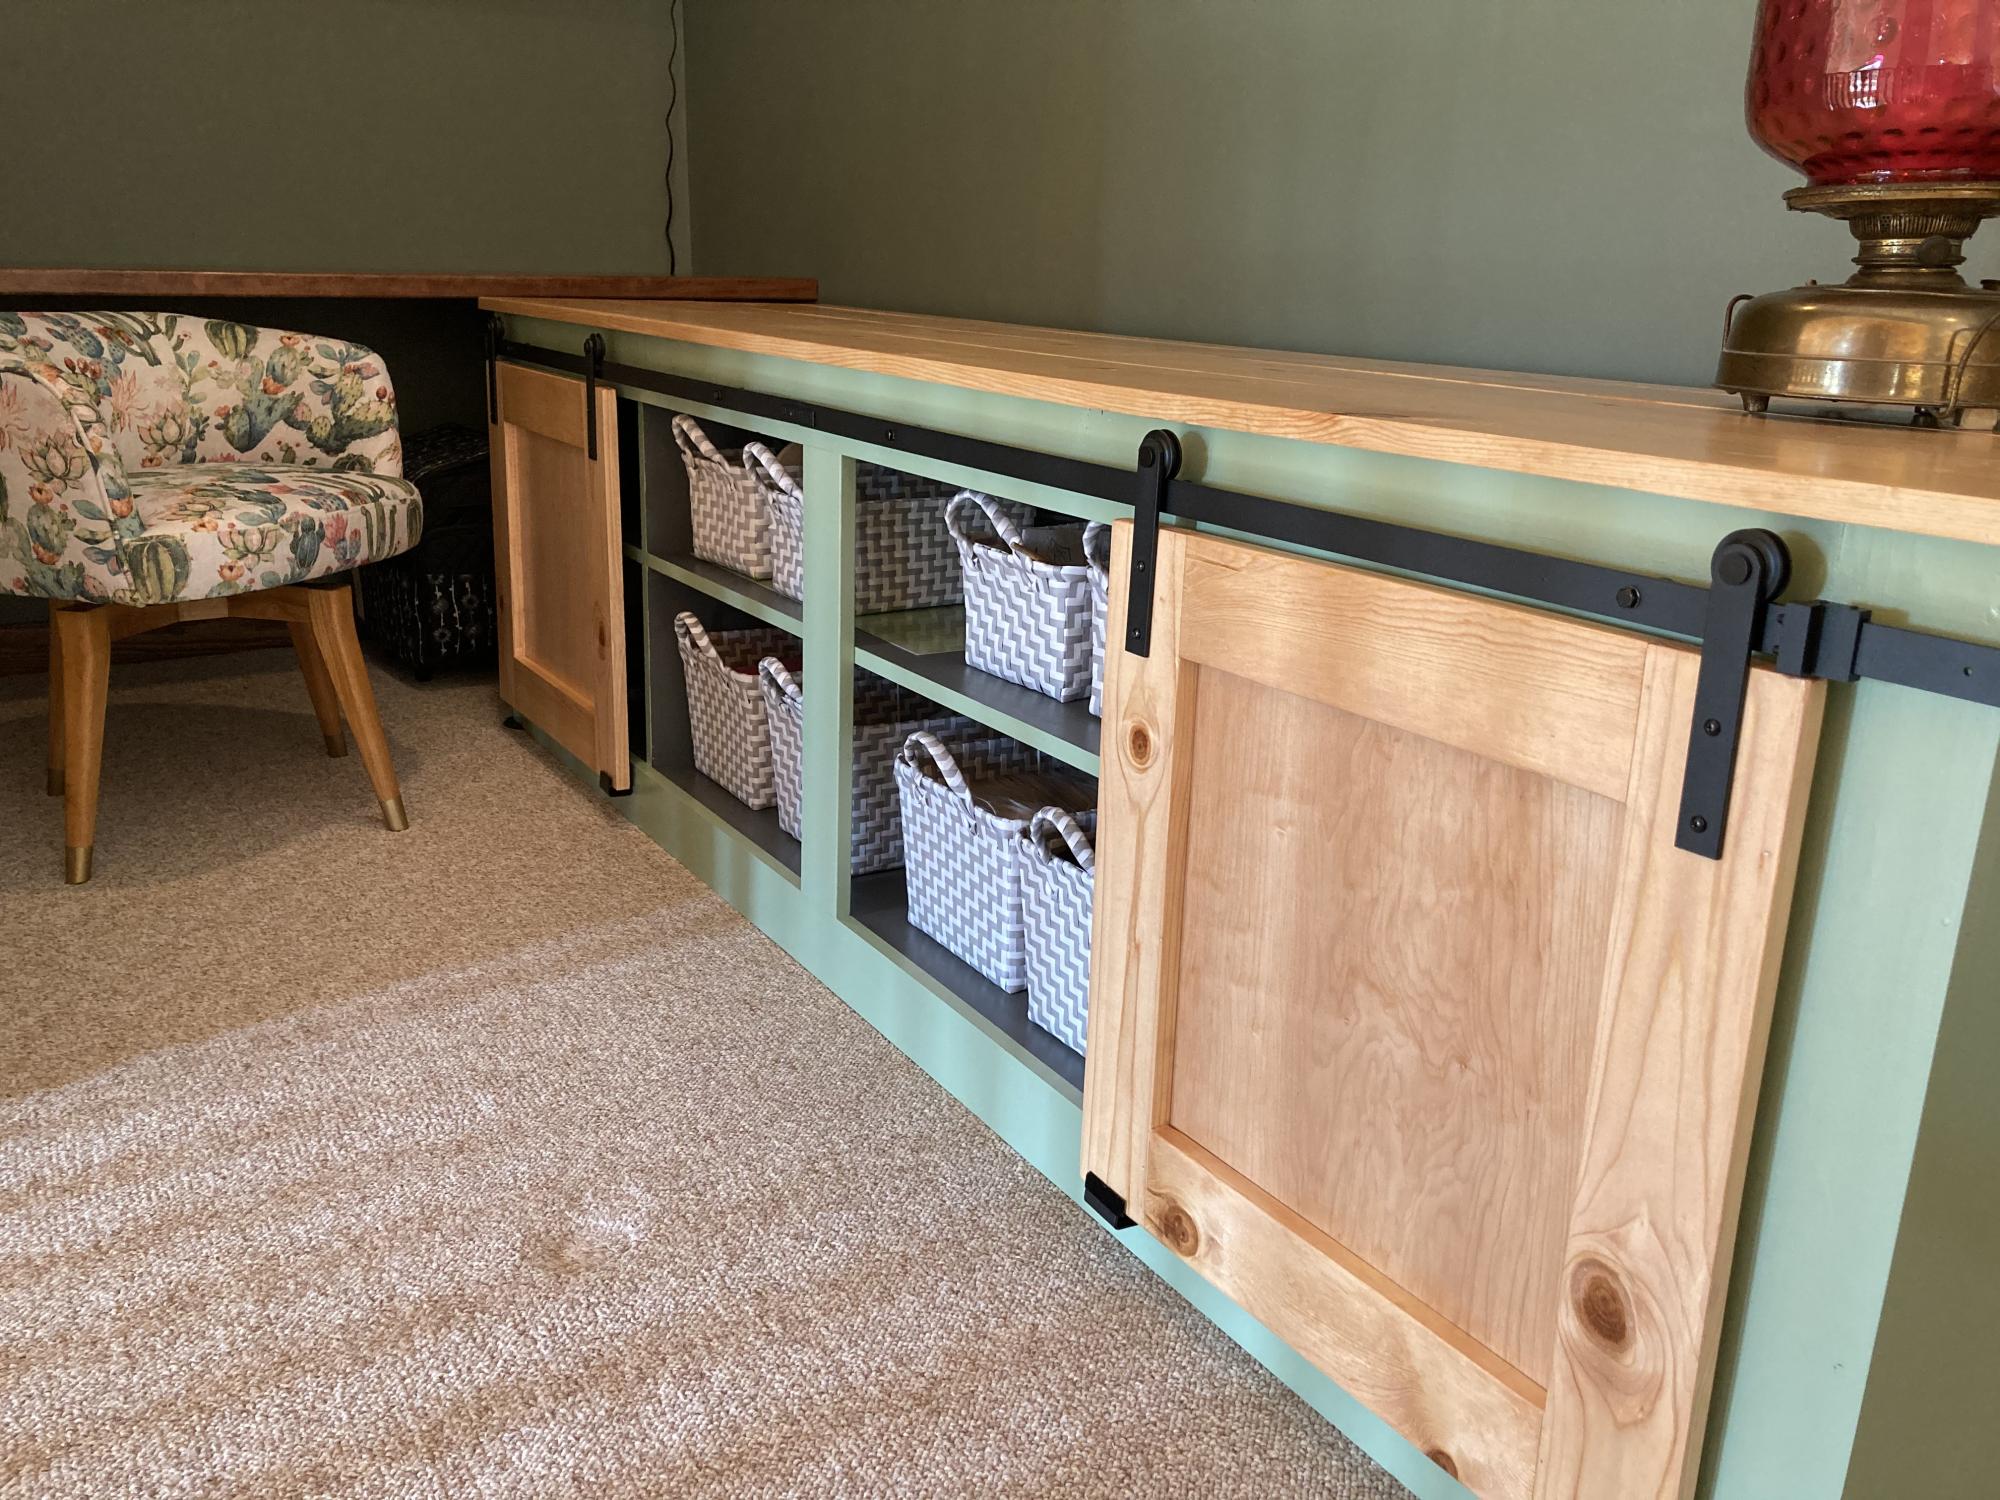
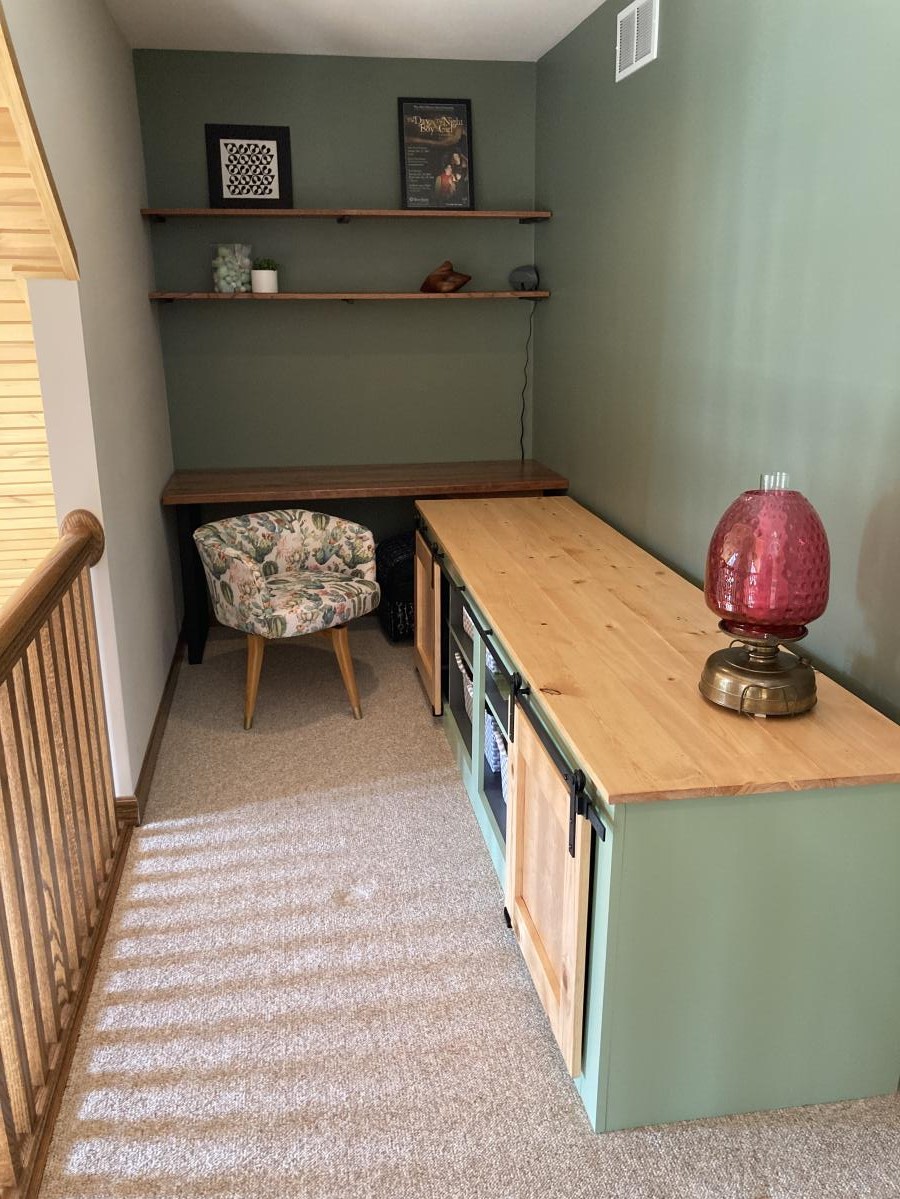
I used the plans for barn door TV cabinet and adapted it to make a craft area cabinet in a small loft space.

Built from Plan(s)

Comments

Beefed Up - Outdoor Storage Bench

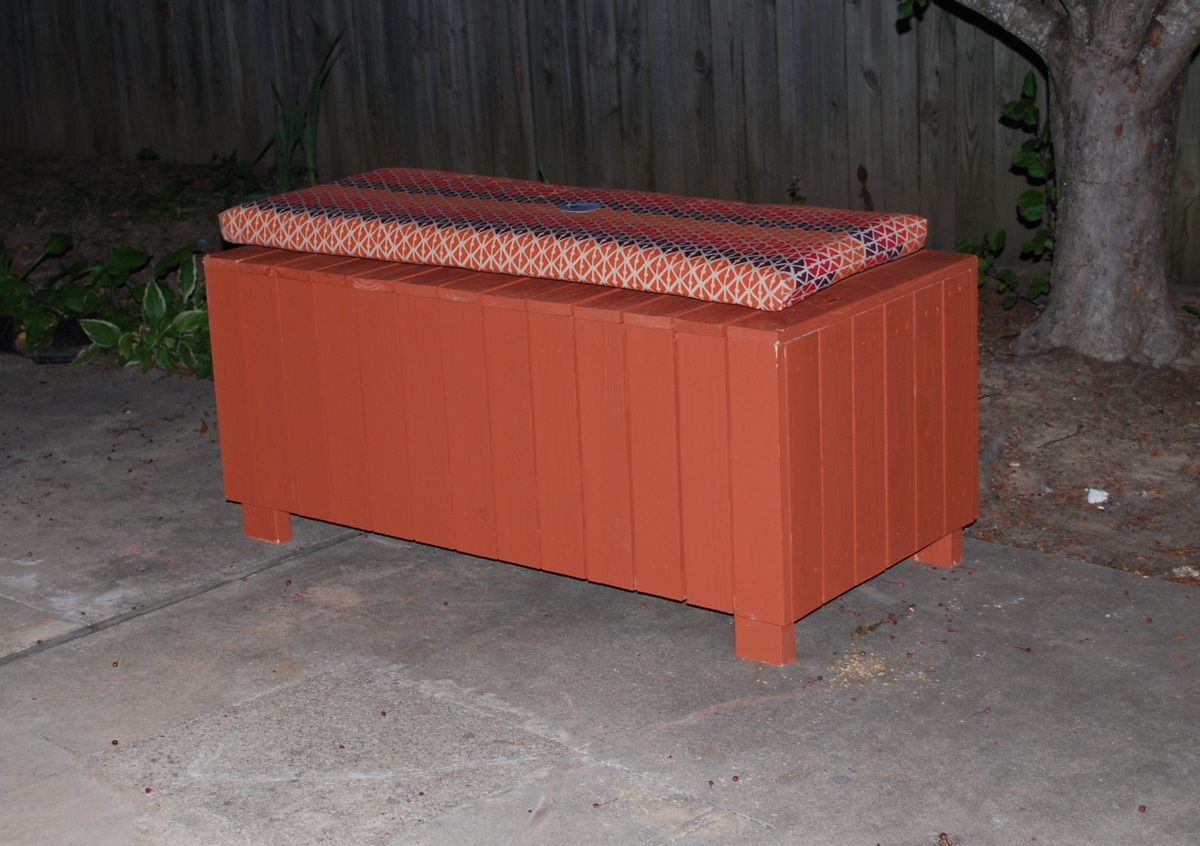
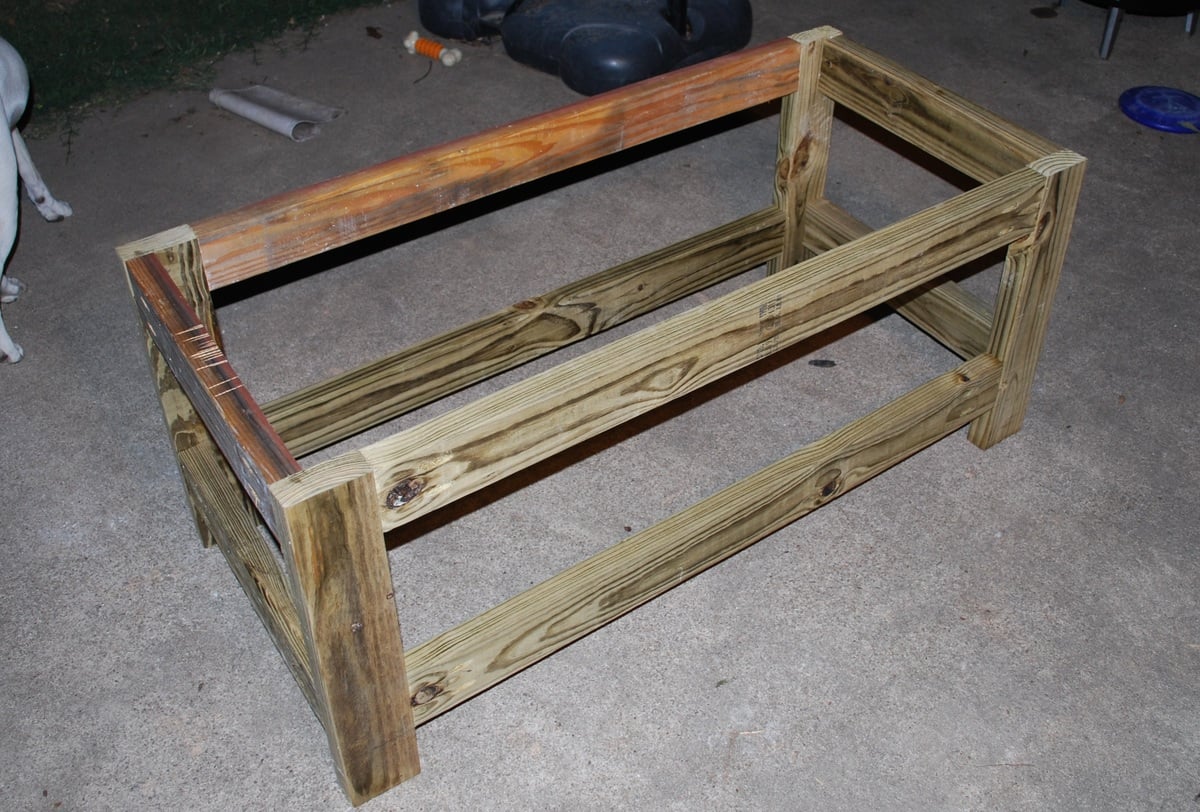
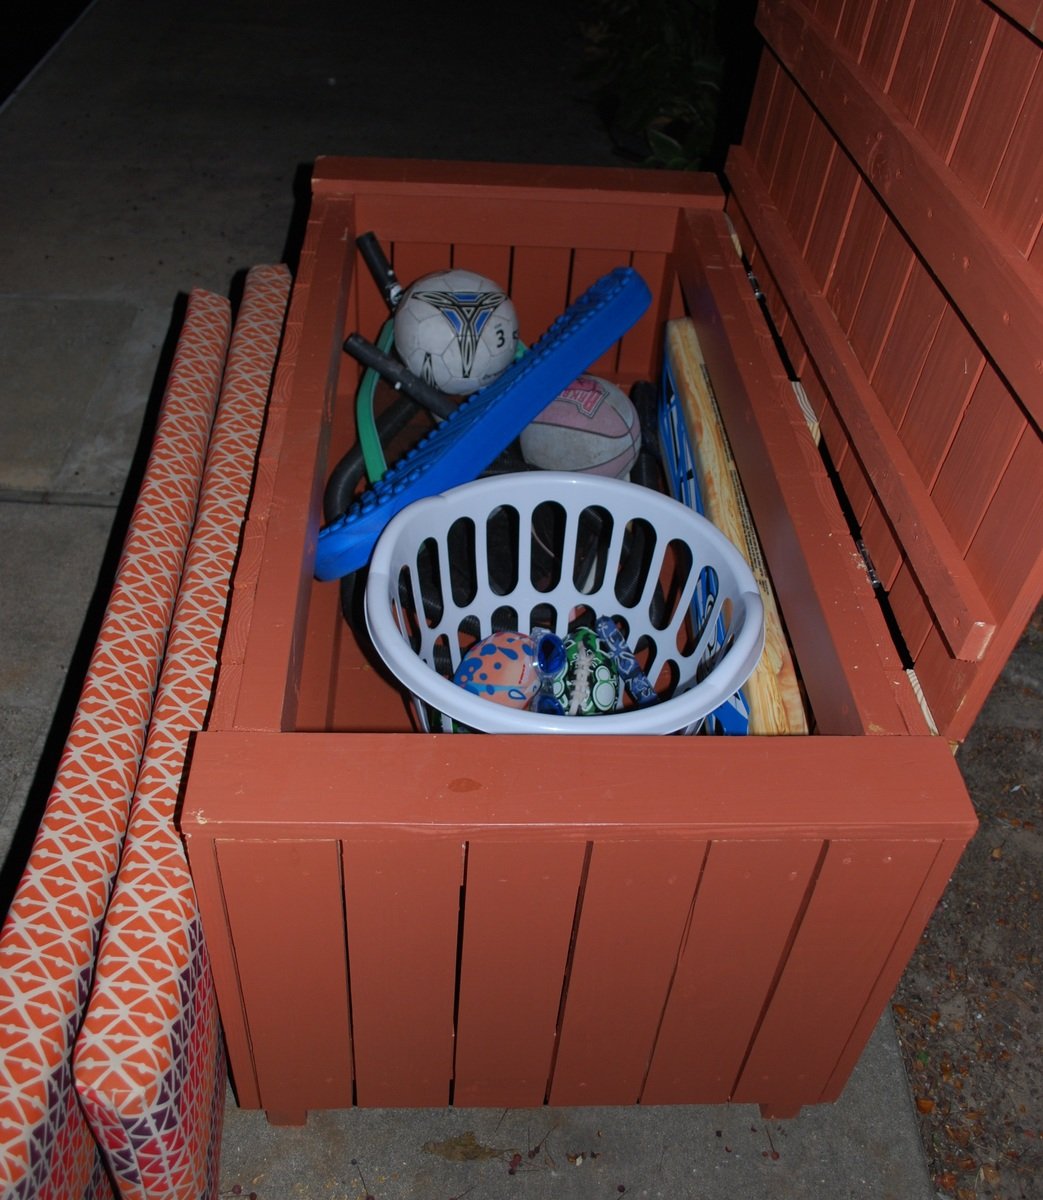
I love this project!!! I made a few changes so it would be sturdier for storing more weight than chair cushions. I use one of them for storing my chemicals by the pool and another for all the kids toys and balls. I used 2x4s for the frame, put togeher with my Kreg Jig. This gave it 2x4 legs instead of 1x4, and the weight of the bench and contents are held by the frame not the 1x4s. I used 1x8 for the bottom of one and some scrap plywood siding for the bottom of the other (drilled holes so it would drain). Love these, and will prabably be building a few more for the front porch!!!

Estimated Cost
around $100 for 2 with cushions (I had some scraps for some of it)
Estimated Time Investment
Afternoon Project (3-6 Hours)
Finish Used
paint, oops paint kindof a terra cotta color, found cushions that matched at walmart for $20
Recommended Skill Level
Beginner

Comments

Colorful Patio Makeover!

Submitted by keribeth on Sat, 07/27/2013 - 10:20

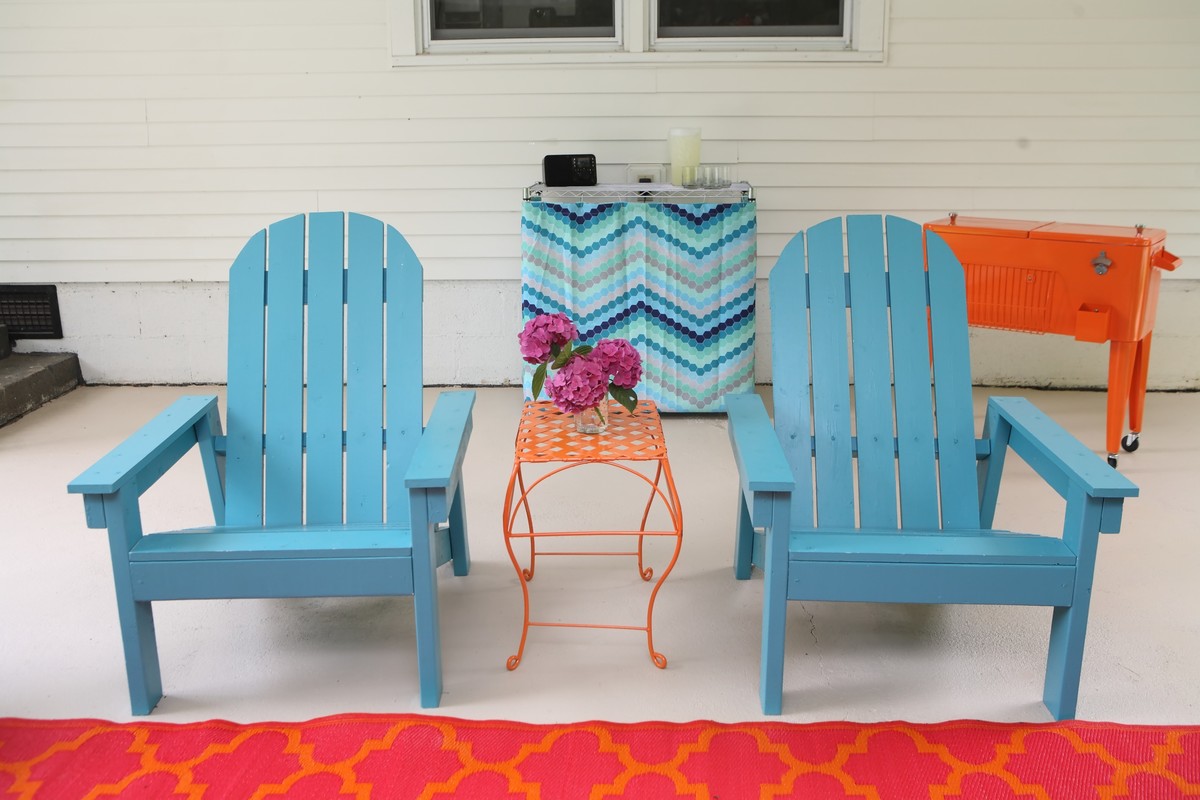
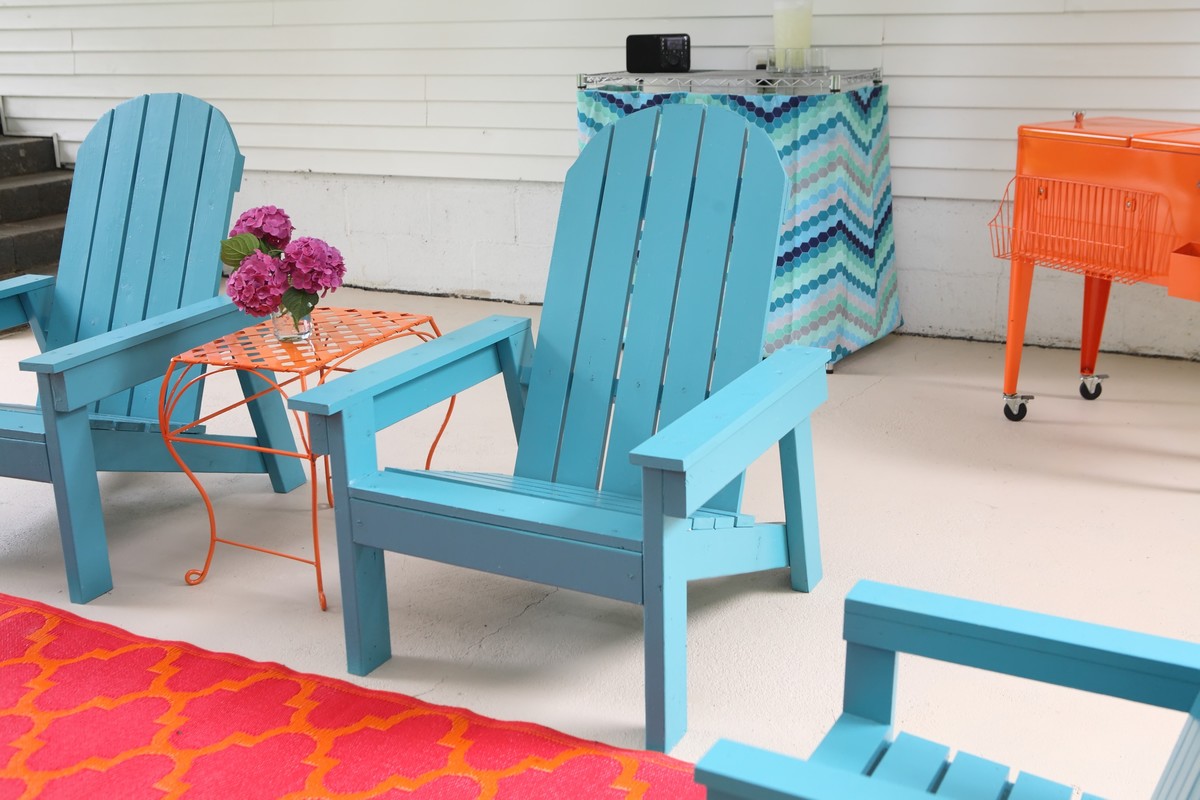
I pulled up the ancient green carpet on our patio, gave away our old cheap rusted table and chairs, and built four adult-sized Adirondack chairs from the Home Depot DIH plans and two child-sized ones from the plans in Ana's book. All are painted in Olympic's Schooner. This took forever, but I love the result! A friend dubbed it "the partio." :)

Estimated Cost
~$230 for six chairs, including lumber, screws, primer, and paint
Estimated Time Investment
Week Long Project (20 Hours or More)
Finish Used
Olympic exterior latex paint in Schooner
Recommended Skill Level
Intermediate

Comments

Val Manchuk

Sat, 07/27/2013 - 22:26

I love your colors! The cool blue with the hot pinks and oranges is stunning!

My first woodworking project - 5 Board Bench

Submitted by krisque on Sun, 08/09/2015 - 17:53

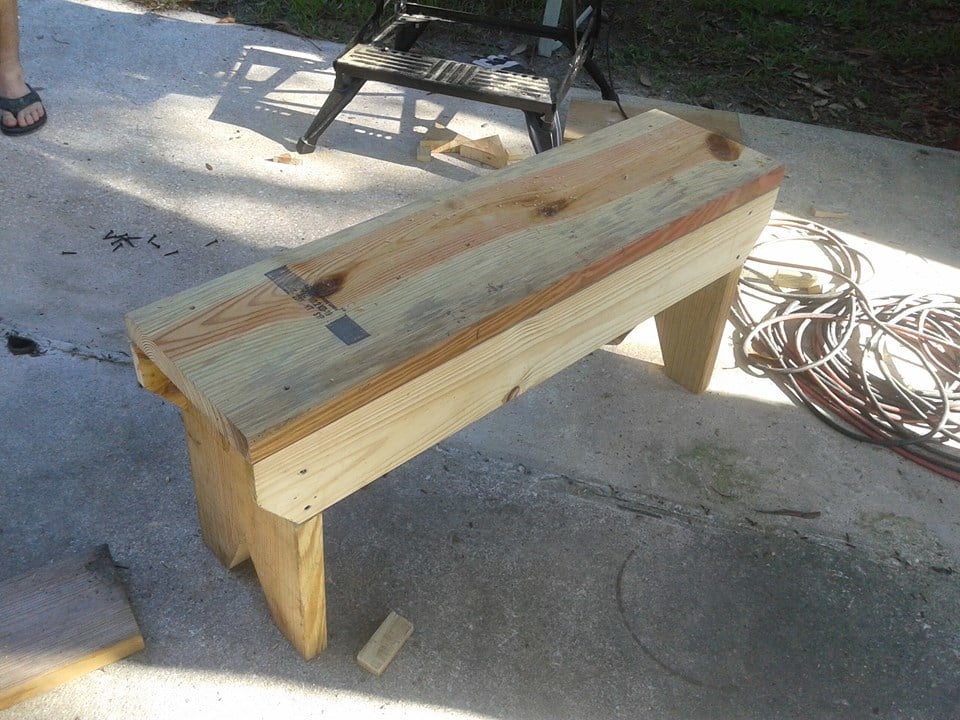
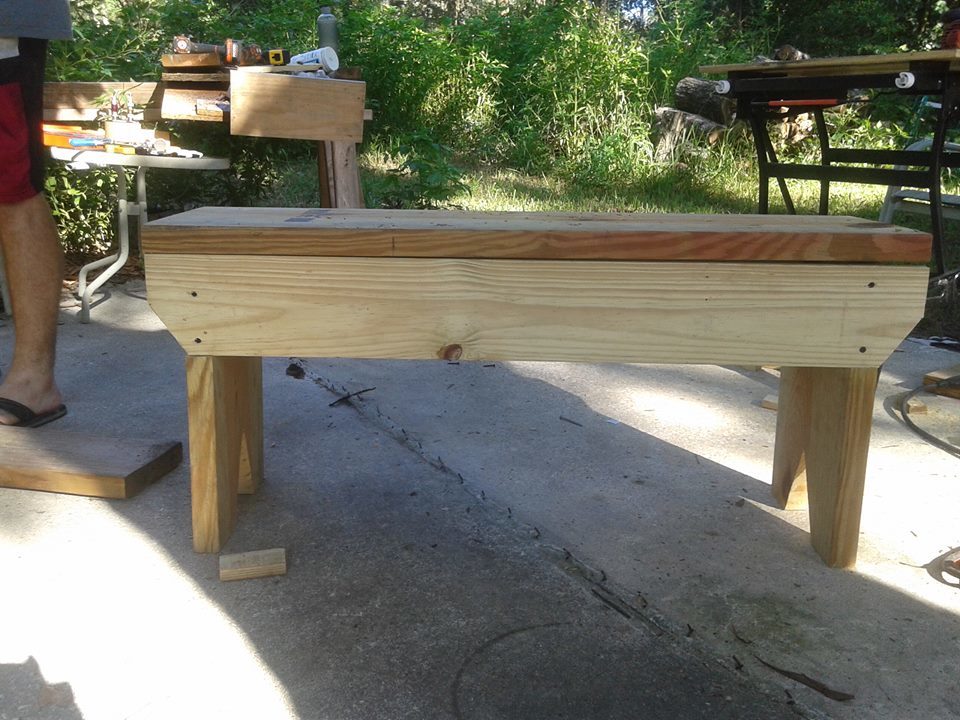
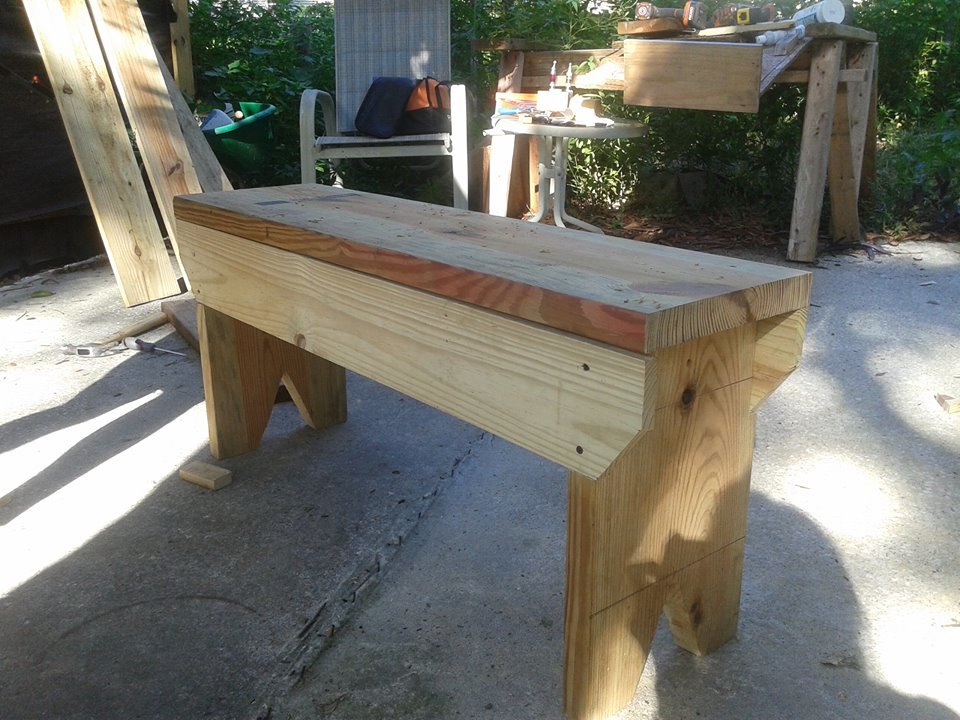
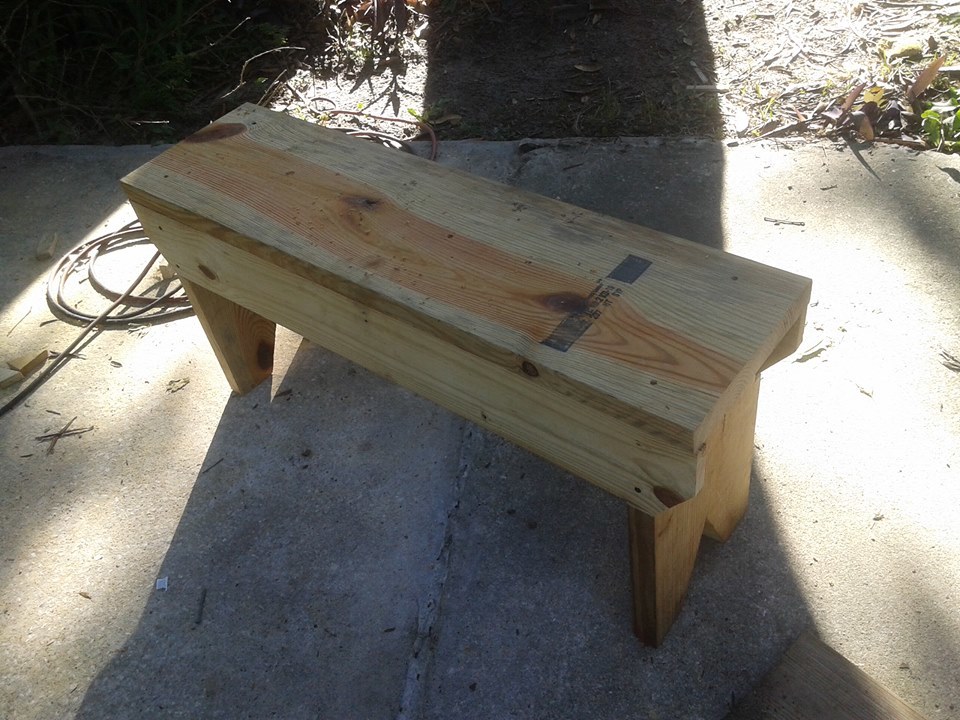
This was my first project so I picked one from the starter section.  My fiance helped me to get familiar with the tools and learn to make the cuts.  I am hooked.  My goal is to learn well enough to get to the point where I can build built ins to make the most out of the small space in our home and maximize it. Since we started late in the day and it's Sunday, I will putty, sand and paint it next weekend.  Gives me an excuse to go to Home Depot for materials for my next project wink We made some modifications though, we subbed 2x12 for 1x12 and 1x6 for 1x4.  I wanted a thicker seat, and the local Home Depot was out of 1X4's.  We had 1x8's but instead of ripping them in half we just made the jigsaw cuts a little deeper.  We also used the 2x12 for the legs so those were a little thicker and sturdier.  We'll likely make another and an outdoor table eventually.  Thank you for a wonderful site!

Estimated Cost
I can't remember, we bought the materials some time ago and I have been wanting to do this for so long but kept procrastinating.
Estimated Time Investment
An Hour or Two (0-2 Hours)
Finish Used
Recommended Skill Level
Starter Project

Comments

Smokeydog

Mon, 08/10/2015 - 05:45

Congrats on your first project.  Good job!  Wood working can become a little addicting.  I really didn't get into it until I discovered Ana's site and now I  am hooked.  Have fun!

Around the corner, outside

First of all, sorry for my english, i'm french and i don't speak english often in life, so i don't know now if i still speak and write it well enough to be understood.


We needed some space outside our appartment to room bootles.

When i found the plans on this website i decided to start this project.

It was the first time i used my device "undercaver jig" to assemble or link all the wood pieces together.

Once all the "wooden wall parts" made, i strated assembling the whole wooden furniture.

Then i painted them and once the paint was ok, i protected the wall furniture (painted parts and unpainted parts) whith an uncoloured protective product.

After that the inside was done to be able to store milk and water bottles.


The last part to be done was the upper part. I decided to make it in 4 indepedant concrete parts to be abble to replace it in case it breaks.

Estimated Cost
150 Euros
Estimated Time Investment
Week Long Project (20 Hours or More)
Recommended Skill Level
Intermediate

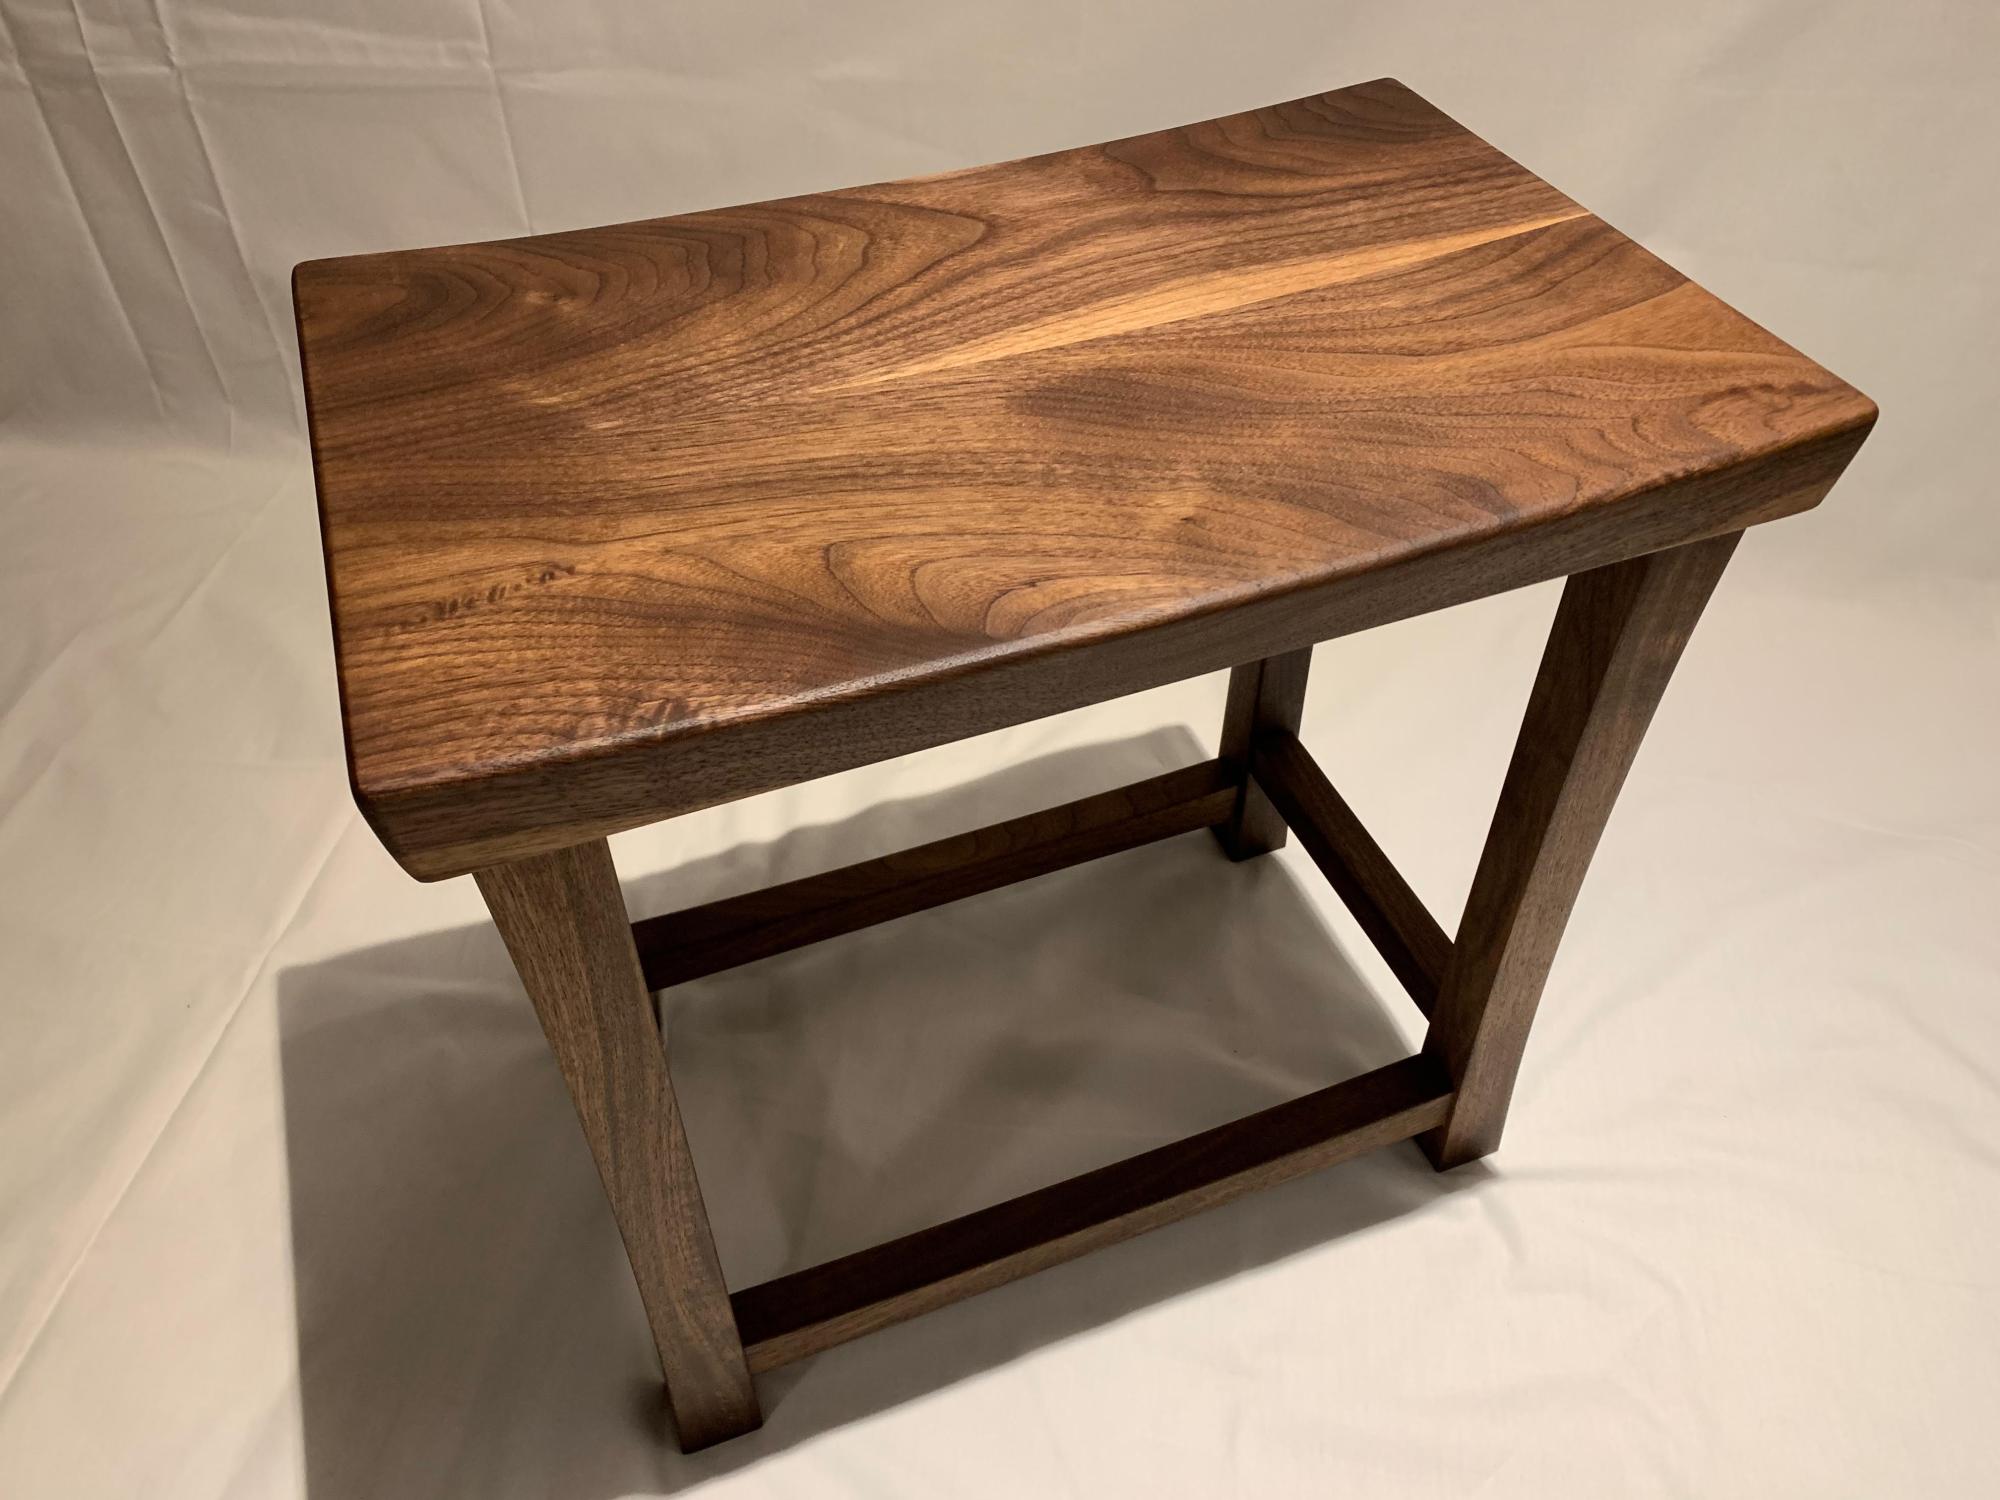
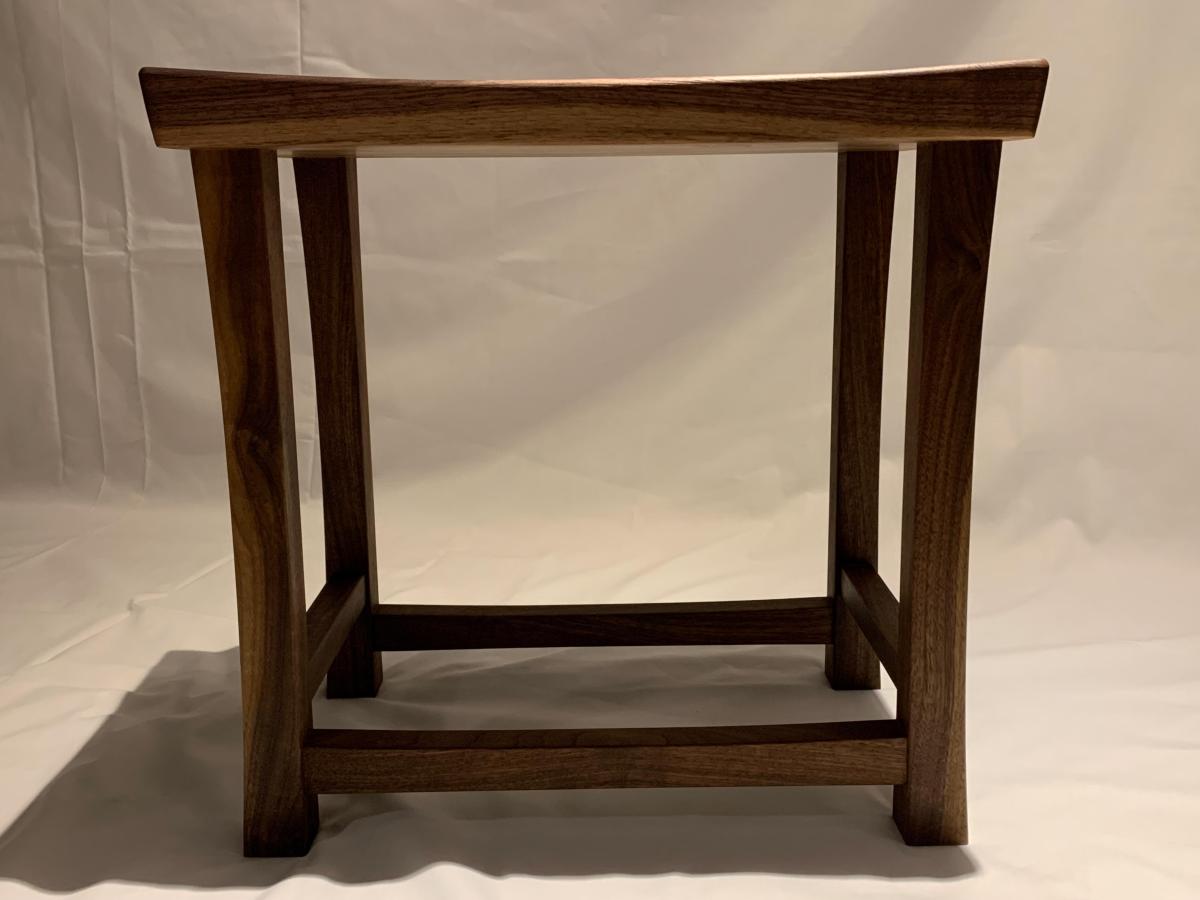
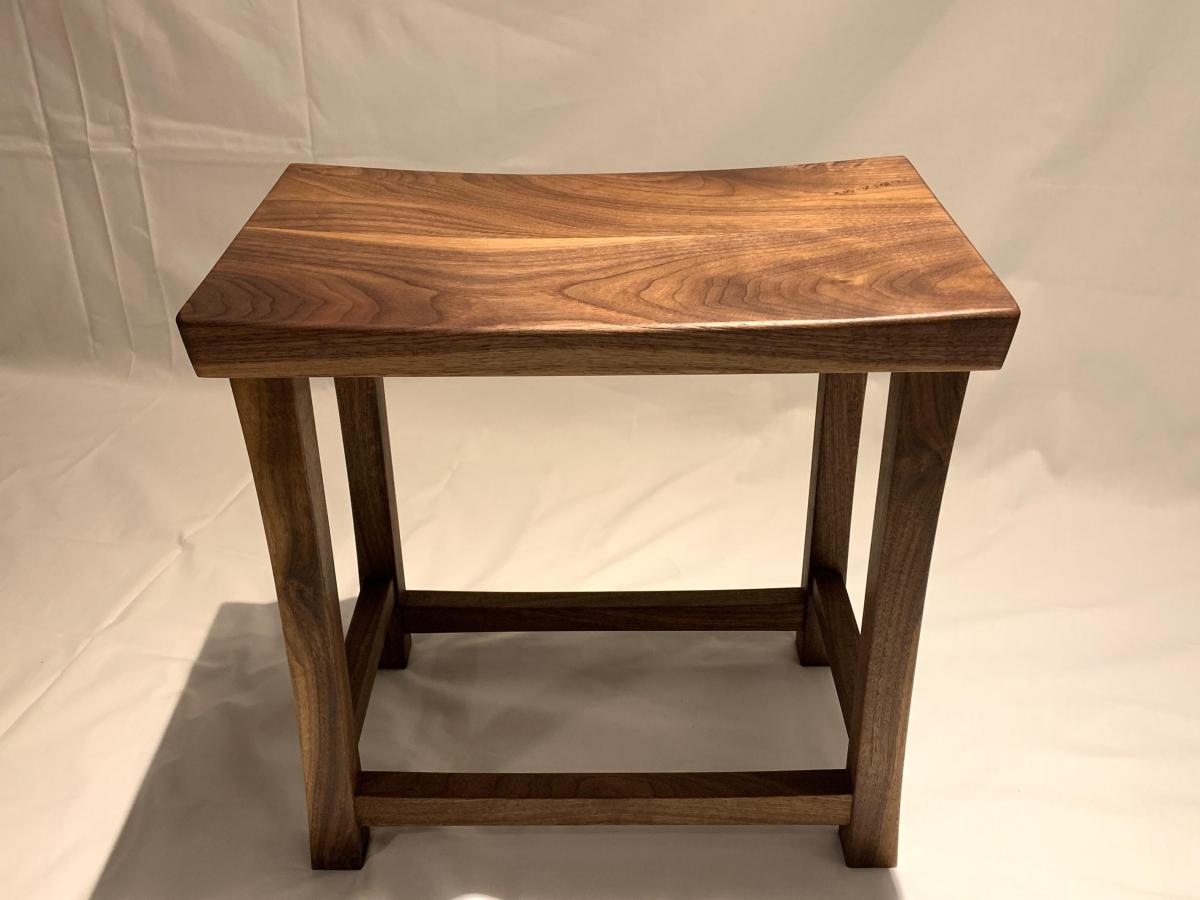
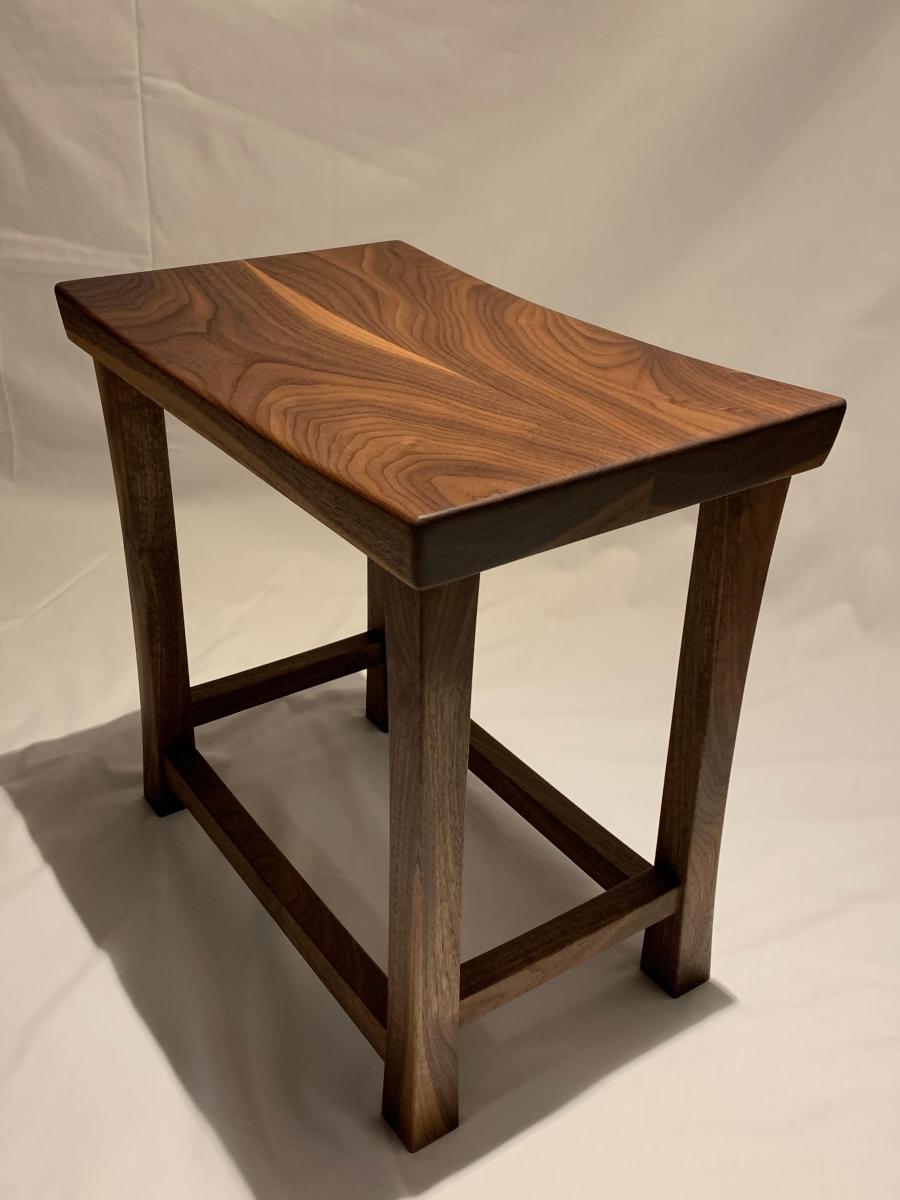
Japanese Inspired Black Walnut Stool

Submitted by Anonymous (not verified) on Fri, 04/22/2022 - 08:06

As my first piece of furniture, I made a Japanese design inspired dining stool. The motivation was requiring a few extra seats around the dining table when we exceeded the seating capacity of 6.

This stool is all black walnut. I started with a template for the curve, made from 1/2” mdf. This template was used to curve the legs (curves on both outer faces), the long and short stretchers, and also the bench style 18x12” seat. Joinery was done with mortises and floating tenons (dominos). The stool was finished with two coats of Odies Universal Oil. 

Perfect Shelves For Any Room!

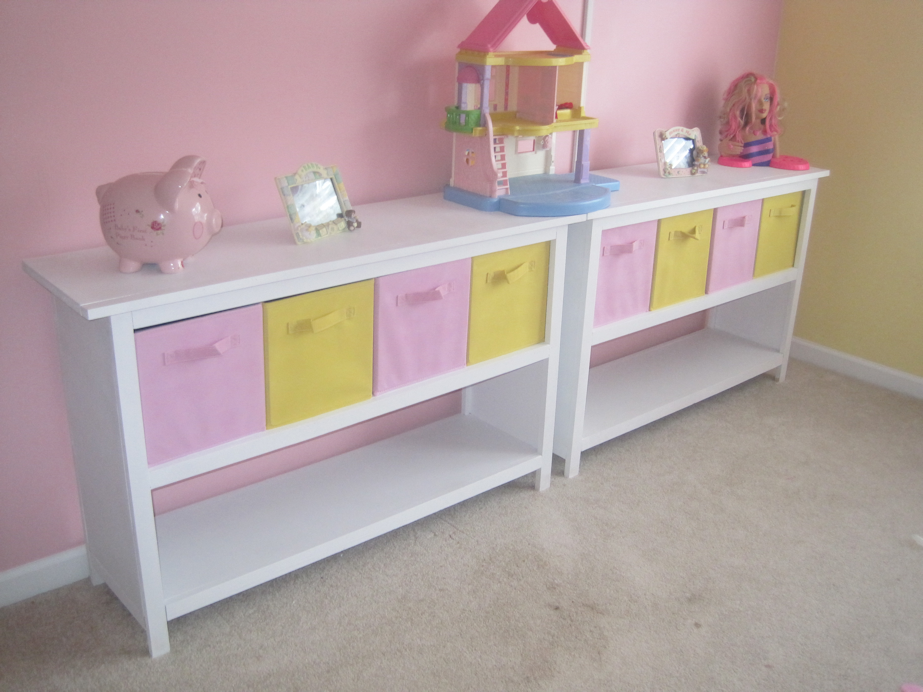
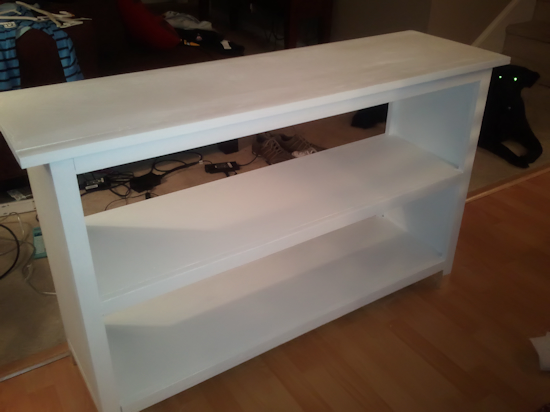
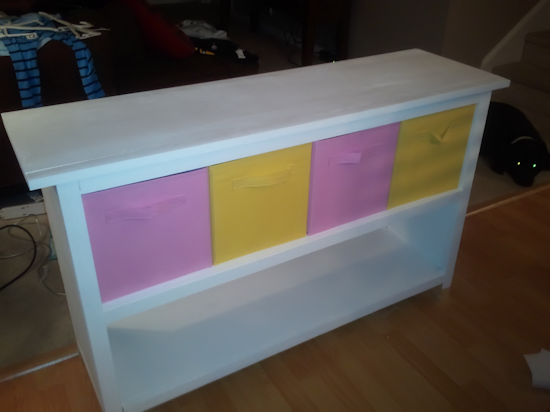
Had a Blast making these shelves for my daughters room last Summer! (sorry for just posting now) She had such a long plain wall I thought what a perfect way to take up space but still have places for her toys! She loves them as much as I do!

Built from Plan(s)
Estimated Cost
$25 ea. (Not Counting bins target $7ea. on sale)
Estimated Time Investment
Weekend Project (10-20 Hours)
Finish Used
Plain ole White Valspar Paint and Valspar spray clear coat. If I would have to do it all over again I would have sanded down more.. but at the end of the day we all love them the way they are :)
Recommended Skill Level
Beginner

Comments

Play Kitchen

Submitted by Cfast on Tue, 07/30/2013 - 07:19

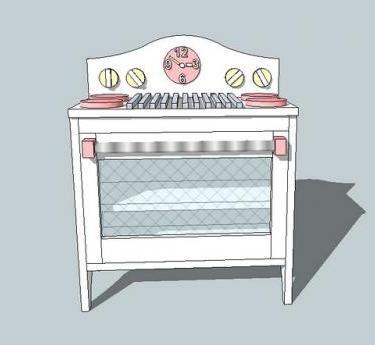
Before my daughter was born I started planning a play kitchen for her. Last week she turned two and this was my gift to her. I borrowed ideas for details that I had seen on this site from several different kitchens.

Estimated Time Investment
Week Long Project (20 Hours or More)
Finish Used
Sherwin Williams Shagreen, SW Antique White brushed on
Recommended Skill Level
Intermediate

Comments

Little Helper

This was the first project I made from this website...my wife wanted to make it for our 2 year old (at the time).

Built from Plan(s)
Estimated Time Investment
Weekend Project (10-20 Hours)
Recommended Skill Level
Beginner

Custom Retail Counter/Bar

Submitted by ksmith311 on Wed, 07/31/2013 - 18:02

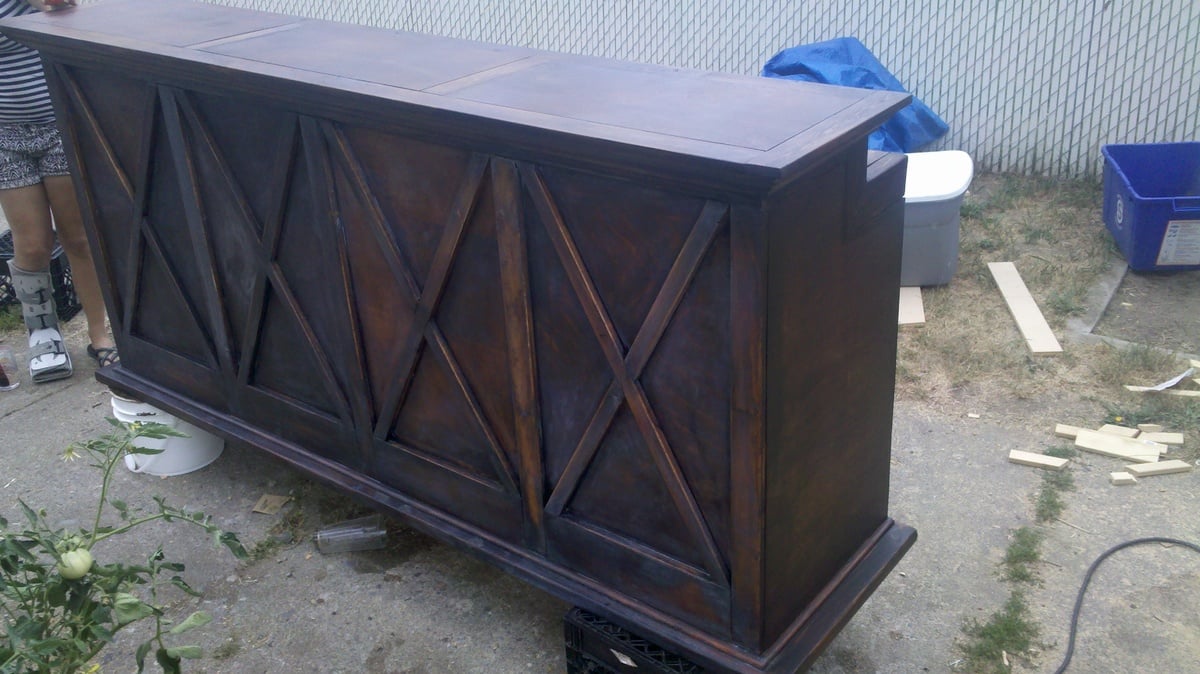
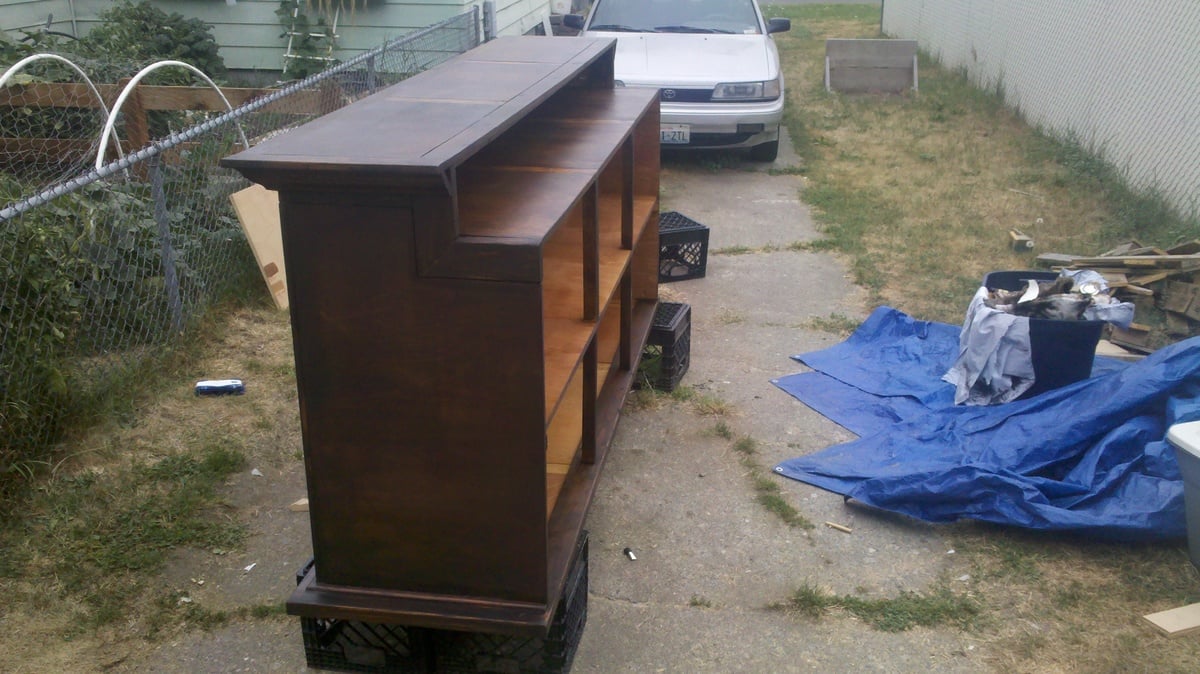
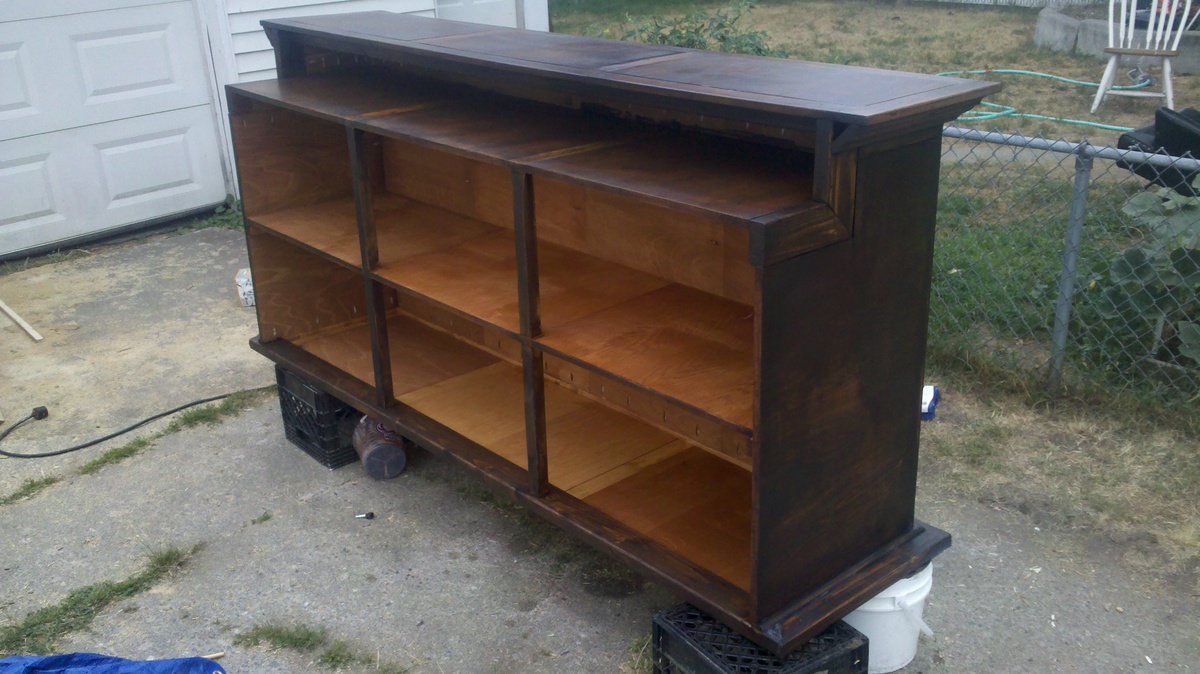
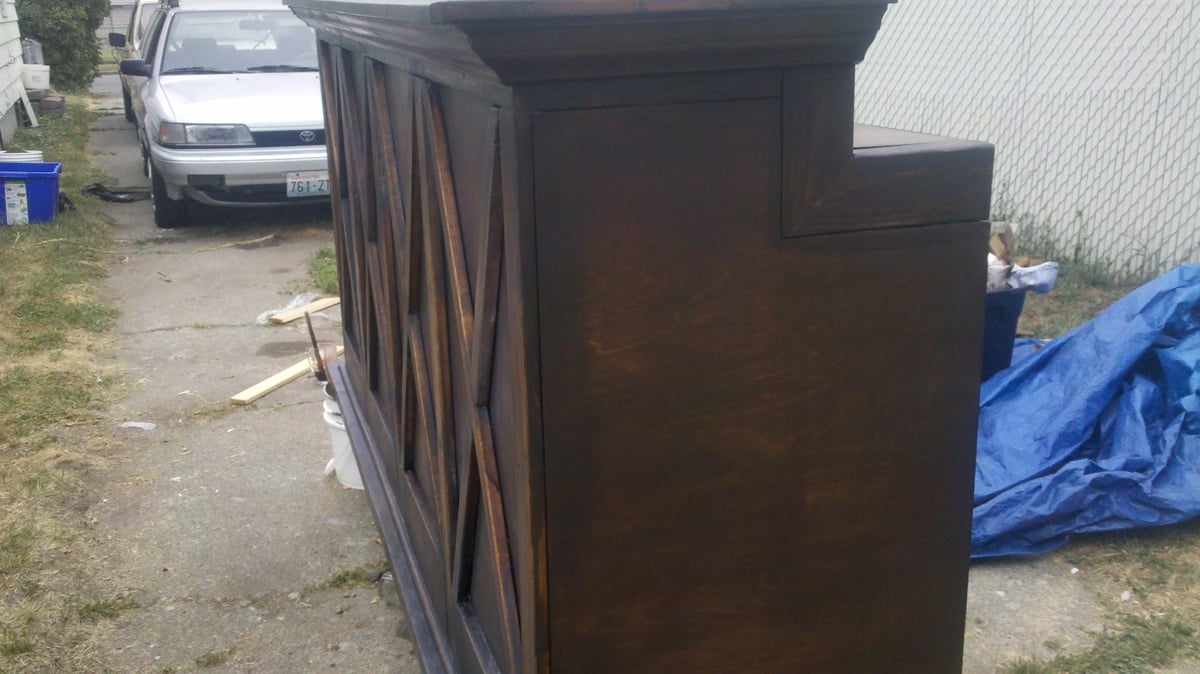
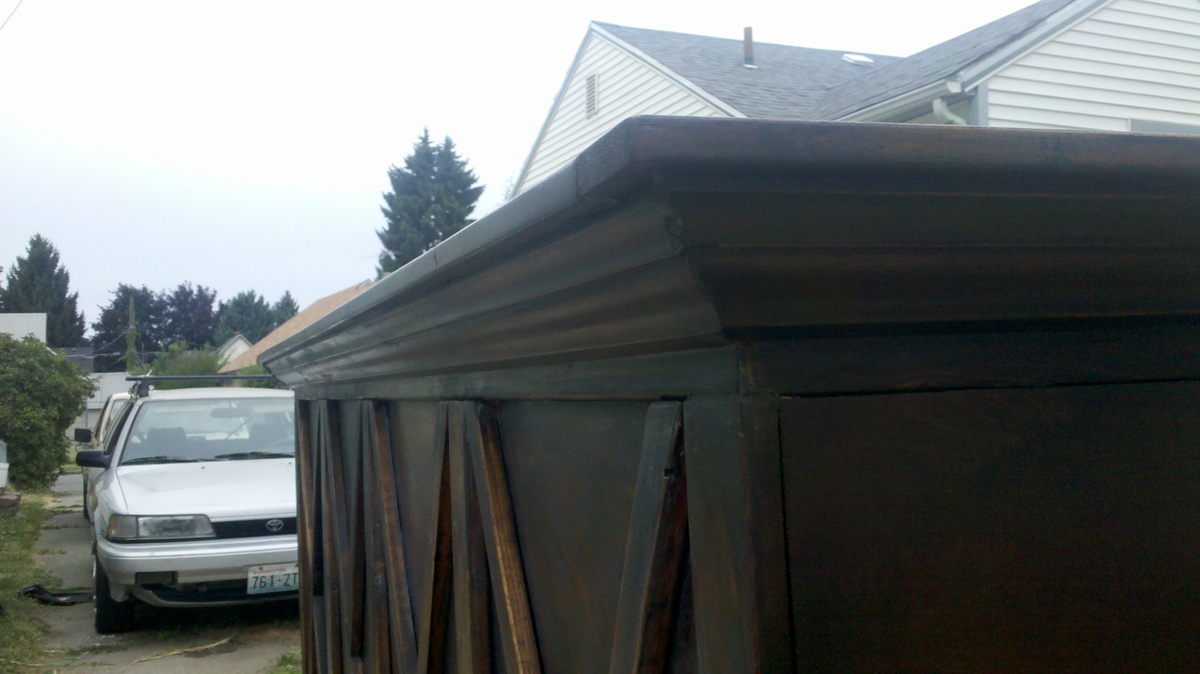
This is our first original design! We had a request for a custom bar/retail counter for my mother in law's children's re-sale store and this is what we came up with! After we found a ridiculously awesome deal on 3/4 inch hardwood plywood (the only down side was that it was already cut into 2ft by 4ft pieces) we quickly got to work. Using our trusty Kreg Jig we turned 4 pieces of plywood into one large piece to create the front of the bar. From there we attached 1x3s and 1x2s to cover any seams that were caused by the different plywood pieces.

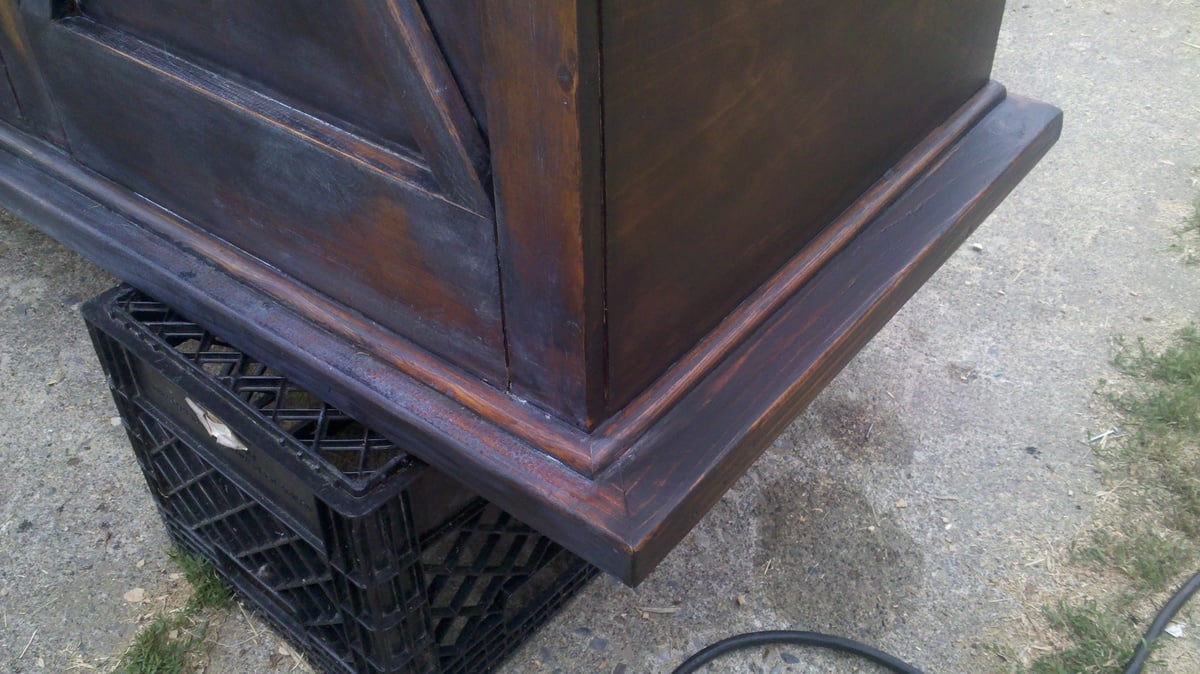
The finish was kind of a struggle but I love how it turned out in the end. It looks like the piece was made 100 years ago and definitely has a lot of soul. I started with Early American but it made the wood too red. So from there, I layered on Kona stain, lime wax, and dark wax and this is how it turned out! Which was not exactly what I was going for, but I LOVE it!

We are so happy with how it turned out. It is being picked up by its new owner tonight and I'm soooo sorry to see it go. We're happy that the piece will be functioning beautifully in the store with TONS of storage in the back. We're very proud of this one.

oh and it cost us about $130 for all lumber and finish materials.

Estimated Time Investment
Week Long Project (20 Hours or More)
Finish Used
Early American then Kona then lime wax and then Dark wax.
Recommended Skill Level
Advanced

Comments

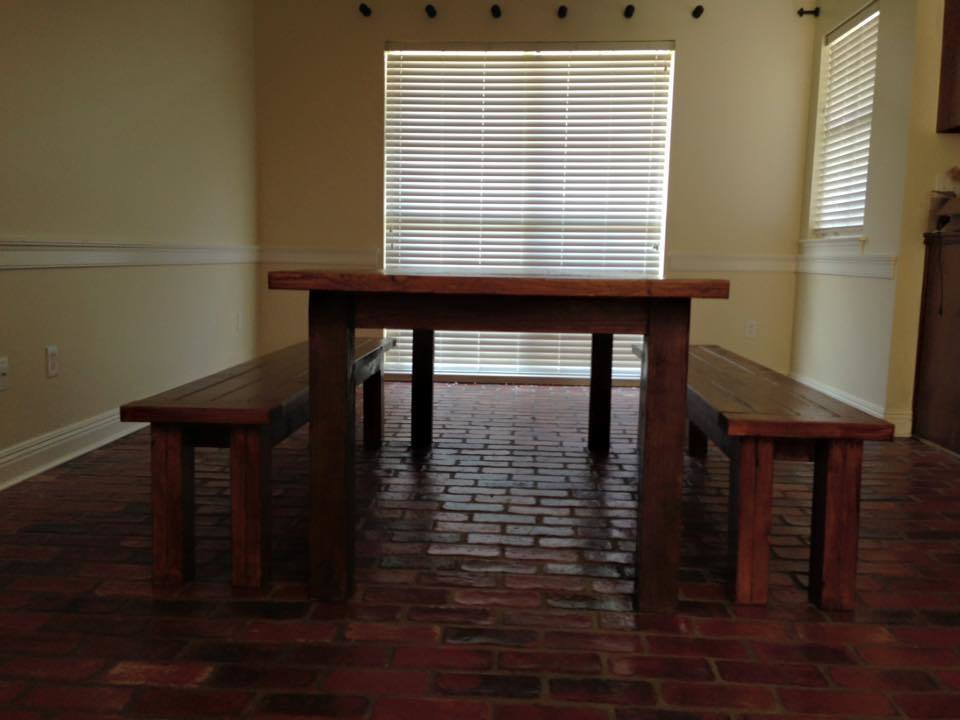
Farmhouse Table and Benches

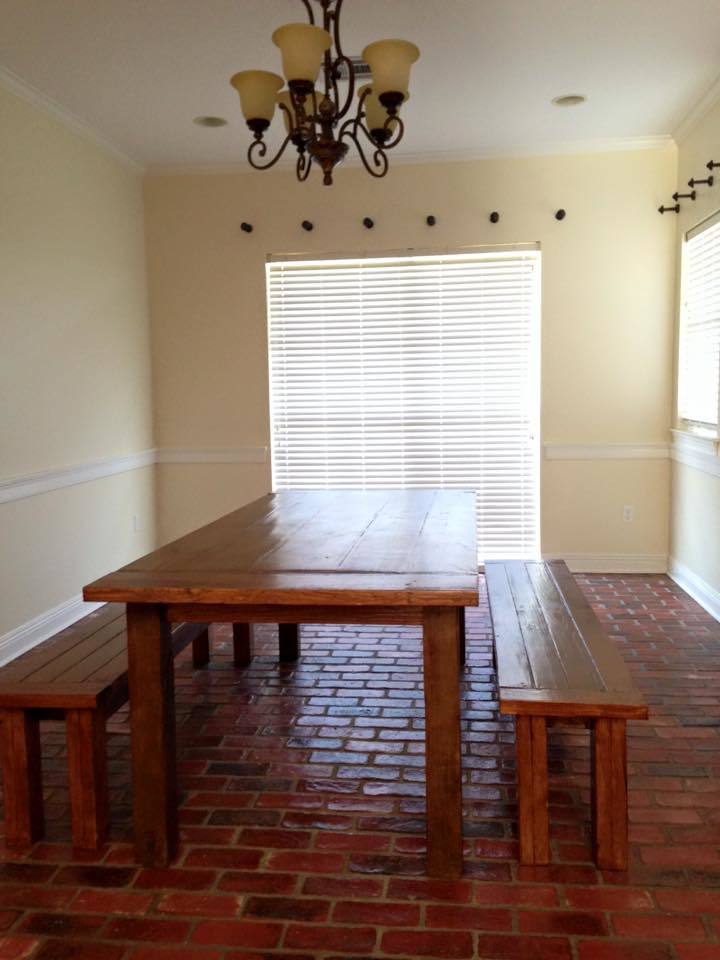
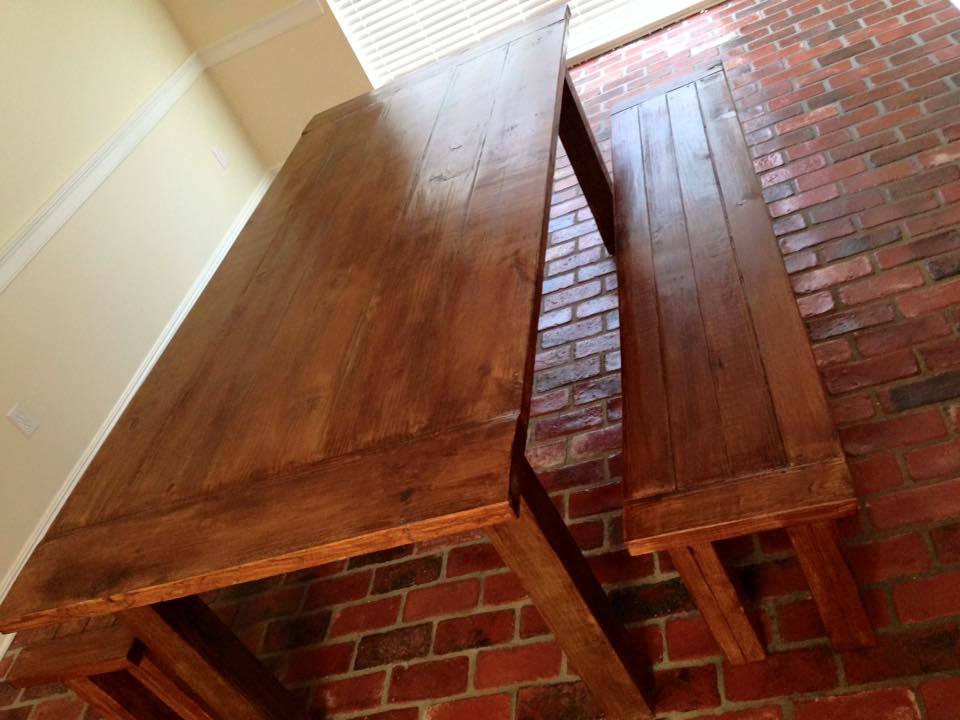
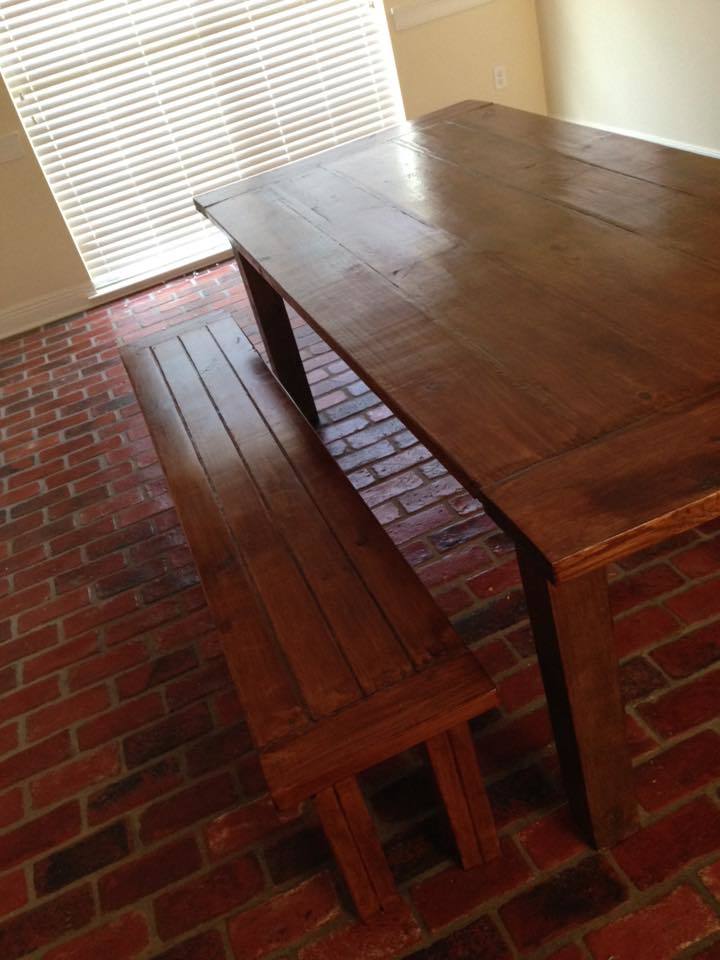
This was the first project my husband and I built and it is for our new home!


We excluded the bottom part of the farmhouse table. 


After building we conditioned the wood,  used a stain poly mix, and then waxed it. 


Estimated Cost
Since this was our first project we did have to buy some big tools, but excluding the power tools, we spent about $200-250 on wood, screws, and finishing product and materials.
Estimated Time Investment
Weekend Project (10-20 Hours)
Finish Used
Coat of Pre-stain conditioner
Two coats of Minwax Antique Walnut w/poly
Waxed and buffed
Recommended Skill Level
Beginner

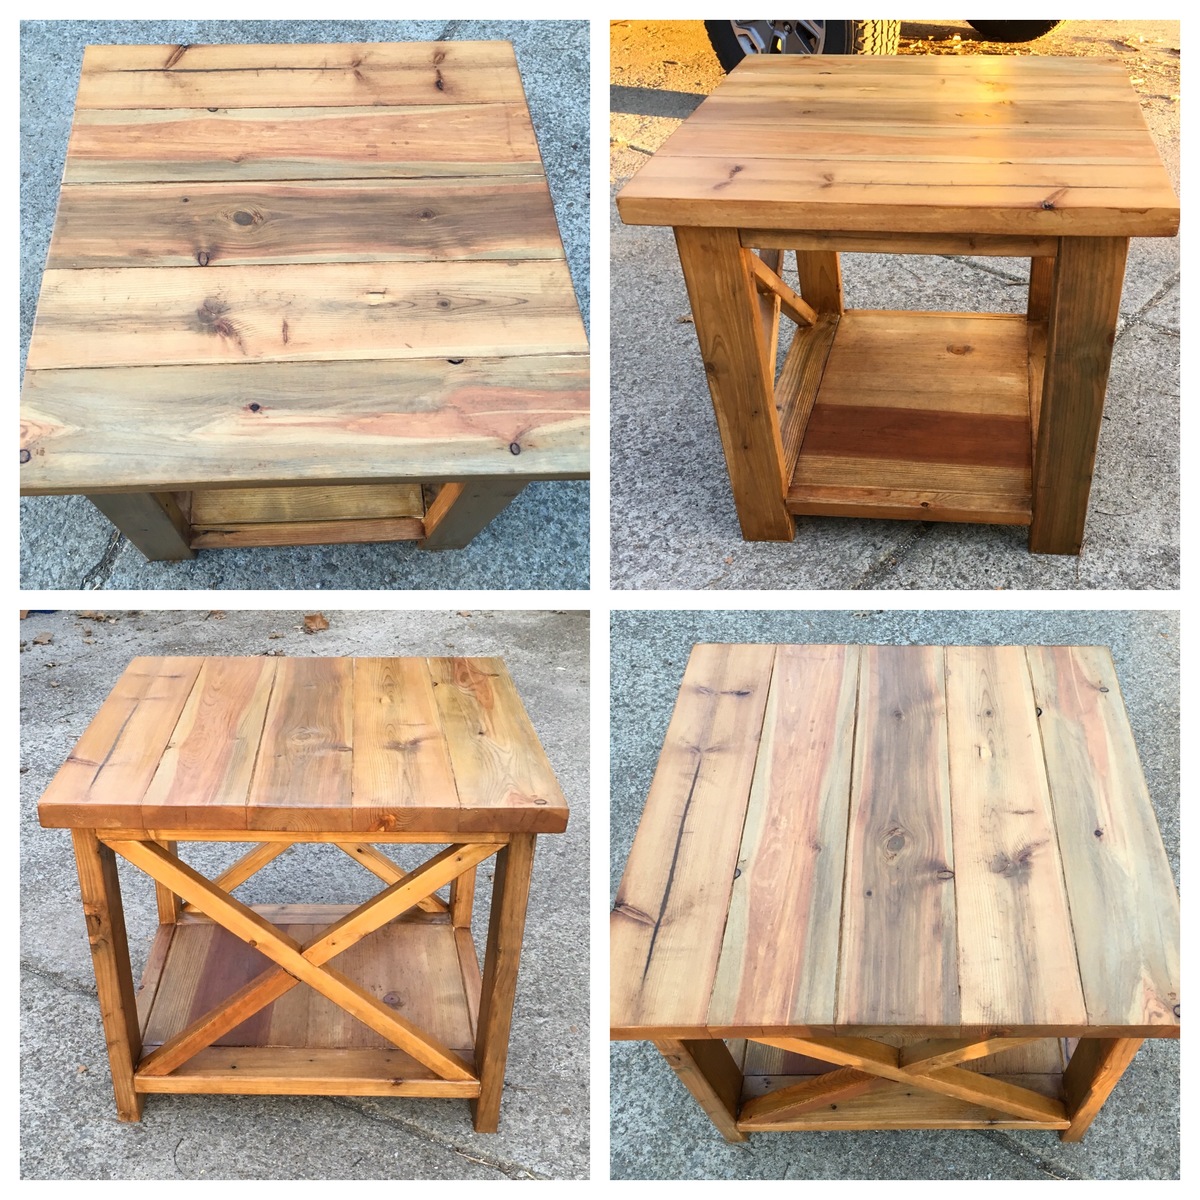
New side table for our guest space

Submitted by Tbacks on Sat, 03/17/2018 - 04:57

I was making a set of side tables for my daughter and decided to make an additional one for our spare room/guest space.  I love to try new wood treatments so I used Apple Cider Vinegar applied with a steel wool pad on this table.  Let the steel wool soak for about an hour and then applied.  Sanded after dry to even out the finish and then applied a gloss finish to give it a beautiful shine.  

Built from Plan(s)
Estimated Time Investment
Afternoon Project (3-6 Hours)
Finish Used
Apple cider Vinegar applied with Steel Wool Pad
Recommended Skill Level
Intermediate

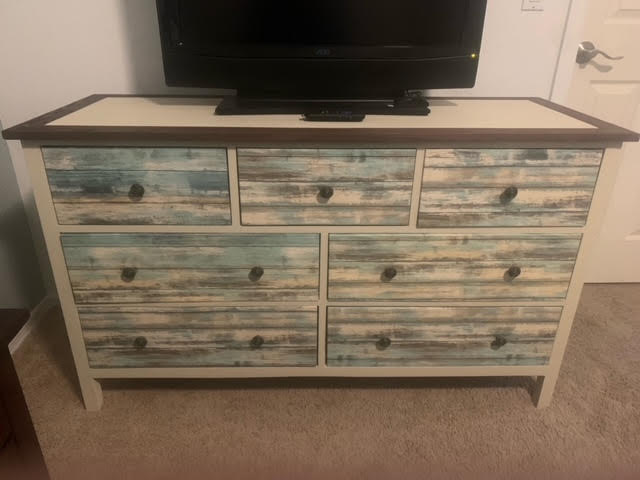
Kendall Dresser

Submitted by PRBarnette on Sat, 04/23/2022 - 19:19

Here’s a pic of the Kendall Dresser I built for our spare bedroom. The drawers are finished in contact paper so if we want to change the decor we can remove the contact paper, do a little sanding and re-apply. 
 

Built from Plan(s)

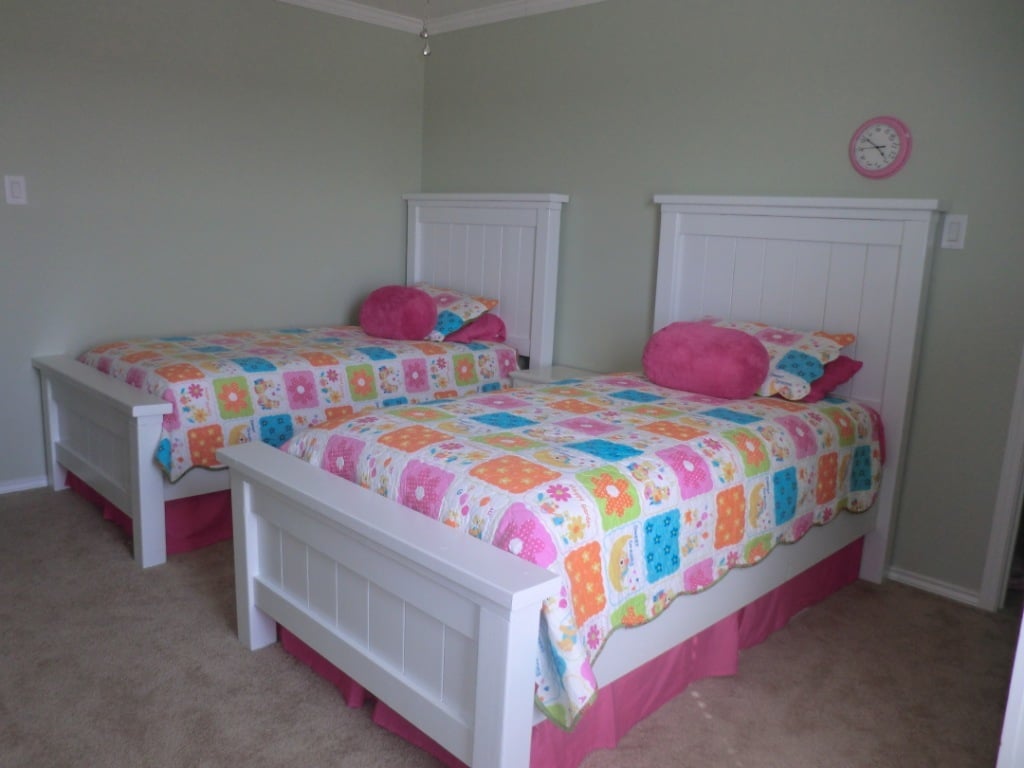
Twin Farmhouse Beds

Submitted by chrimicha on Tue, 06/21/2011 - 18:45

Finally Finished! We needed to put two girls in the same room, so we could make room for a baby. The beds I found in furniture stores were either affordable with good reason (poor quality!) or expensive with good reason (solid wood). So this was the alternative. I eliminated the box spring and elevated the platform 15 inches high, so there is tons of storage space under those beds! Another builder found this fabulous bed hardware, which I used and definately recommend: http://www.rockler.com/product.cfm?page=11
It allows you to assemble and dissemble the bed quickly without a screwdriver, which is great if your in the military! One word of caution though, in the original furniture plans, the cleats attach to the inside of the bedposts. If you use the rockler bed hardware, the cleats will attach to (roughly) the middle of the bed posts. So in order to have your mattress platform be the proper width (not too wide), you need to use a table saw and trim 3/4 an inch off the width of each of the panels for the headboard and footboard prior to assemly.

Built from Plan(s)
Estimated Cost
Roughly 130$ a bed
Estimated Time Investment
Week Long Project (20 Hours or More)
Finish Used
1 coat of primer and 2 coats of ProClassic interior acrylic latex paint in gloss from Sherman Williams. I used those fabulous mini rollers designed for furniture; it virtually eliminated the possibility of brush strokes and made for a very professional finish.
Recommended Skill Level
Beginner

Comments

Anneke

Wed, 06/22/2011 - 10:58

They turned out SO good! Our girls LOVE sharing their room in their special beds. The bedding you have on the beds is super cute too!

marlaandwilliam

Wed, 06/22/2011 - 14:15

These turned out beautiful! I love the crisp white! (just like i did my queen size one!)
but THANK YOU SO MUCH for posting the hardware information!! i am not 100% thrilled with how i assembled the side rails onto the head/foot boards, and i just ordered this hardware to re-do the siderails! awesome! thanks!

Daryl D

Thu, 12/08/2011 - 07:28

Thanks for the hardware tip, I just ordered the same set. Also, did you assemble the panels and then cut off 3/4 an inch off?