Community Brag Posts

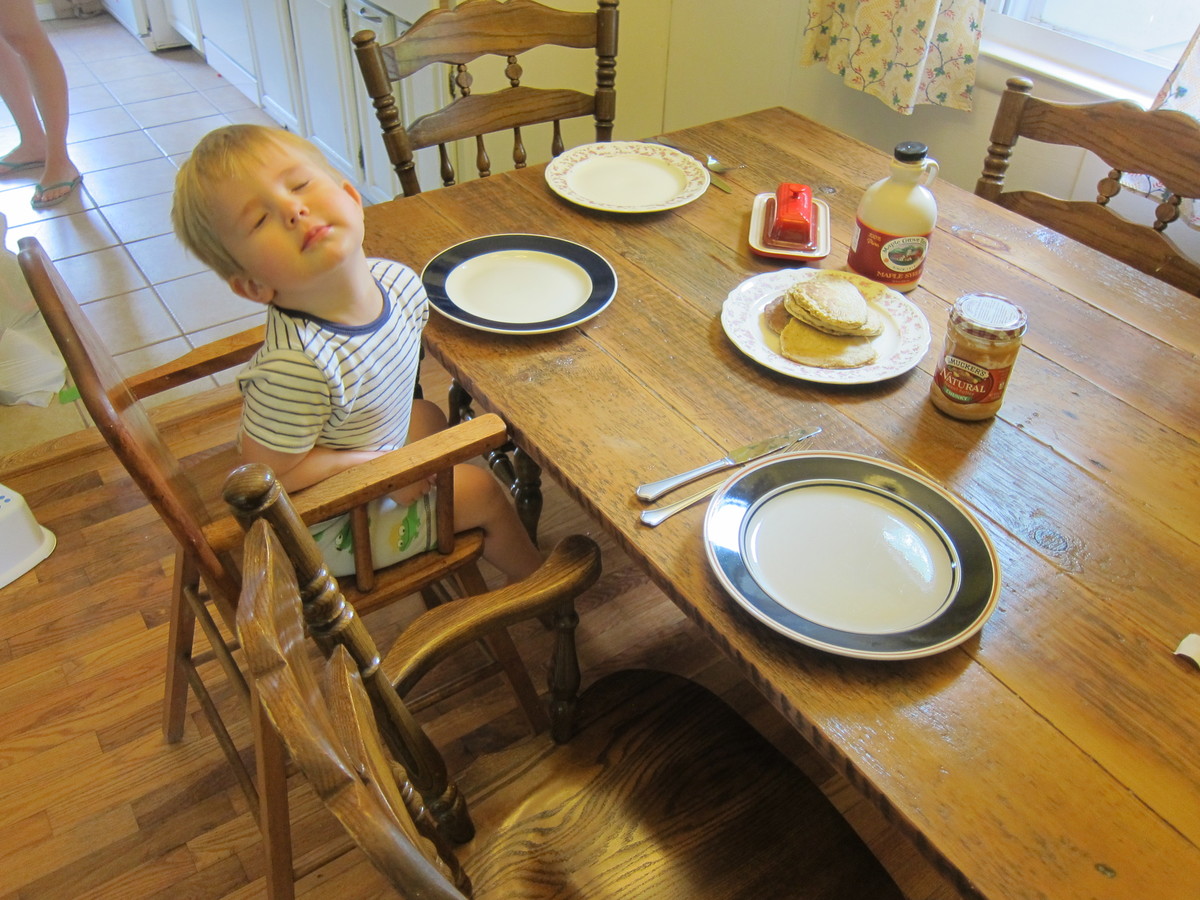
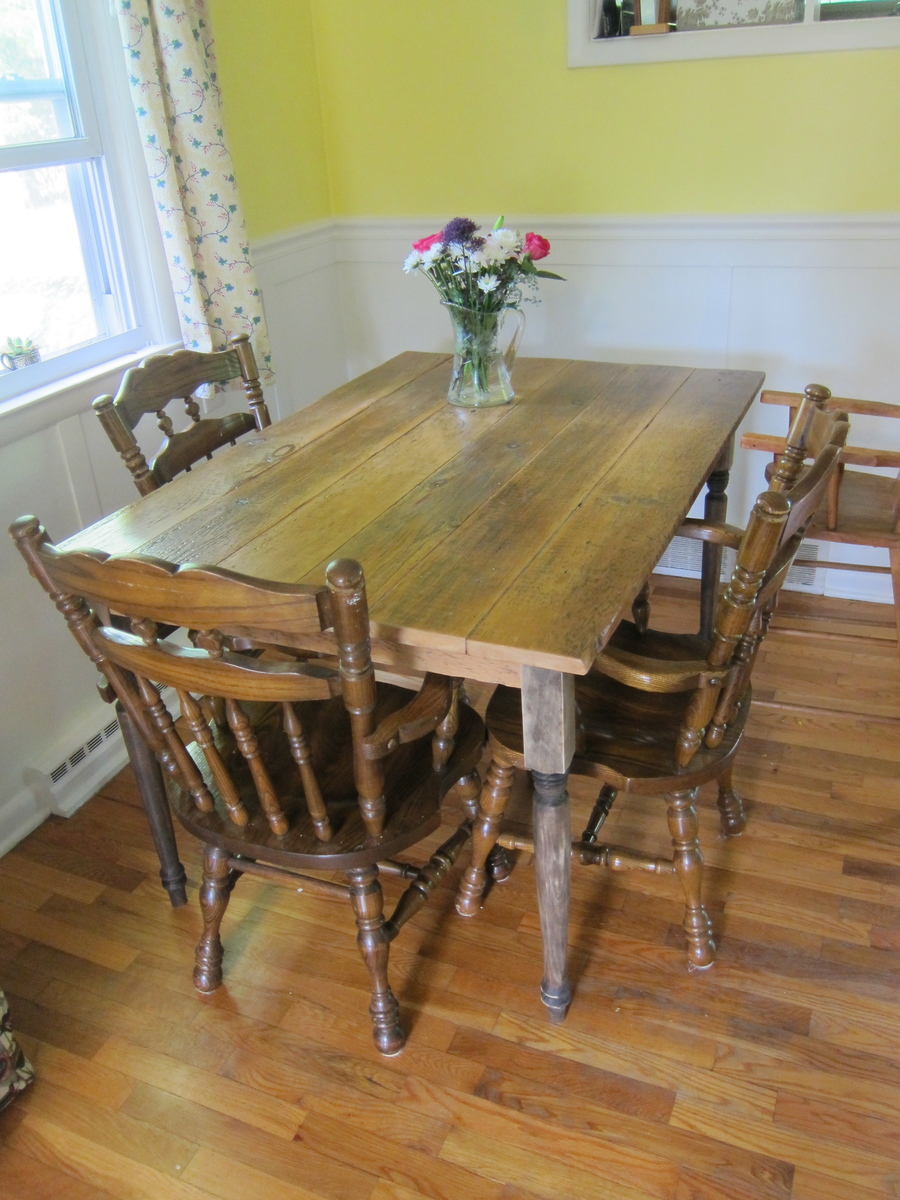
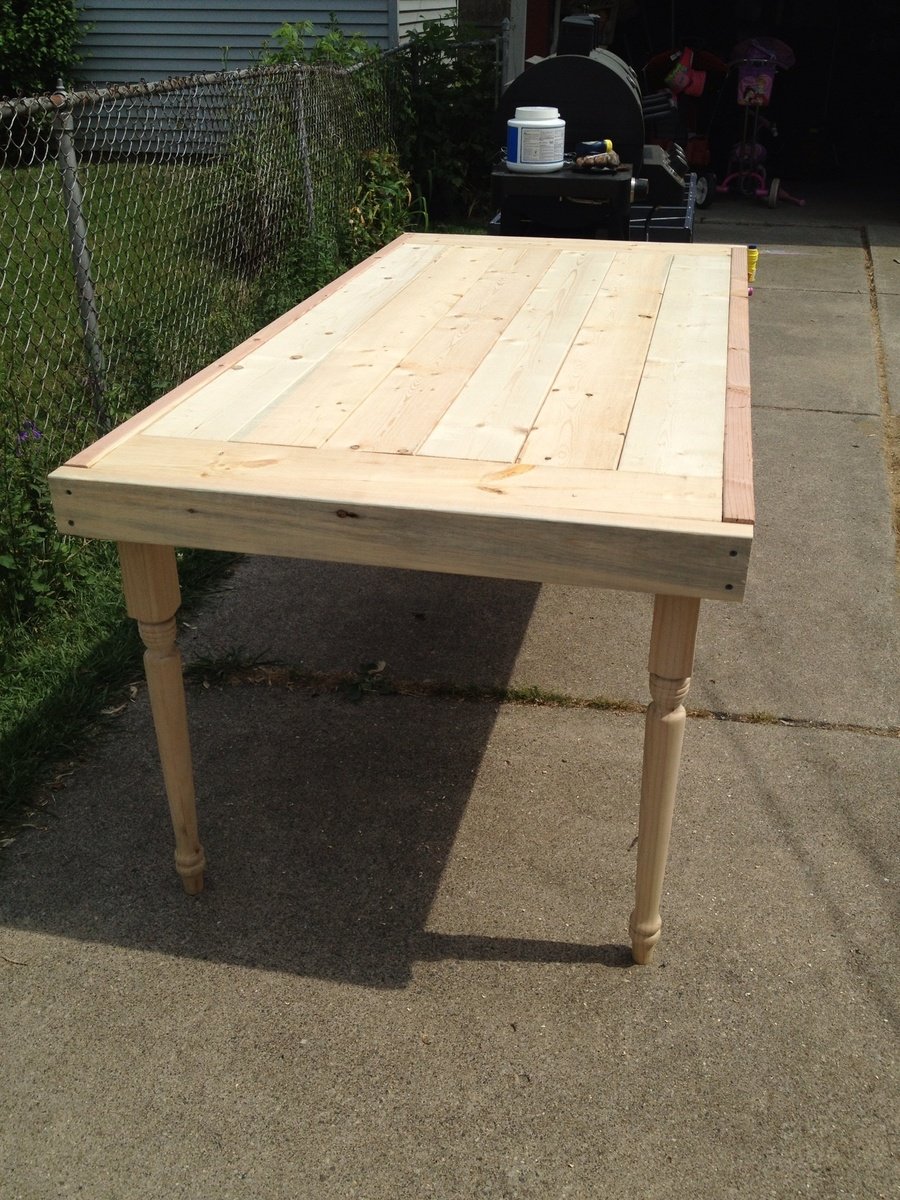
Husky Farmhouse Table
Submitted by Victorian on Sat, 06/15/2013 - 17:17

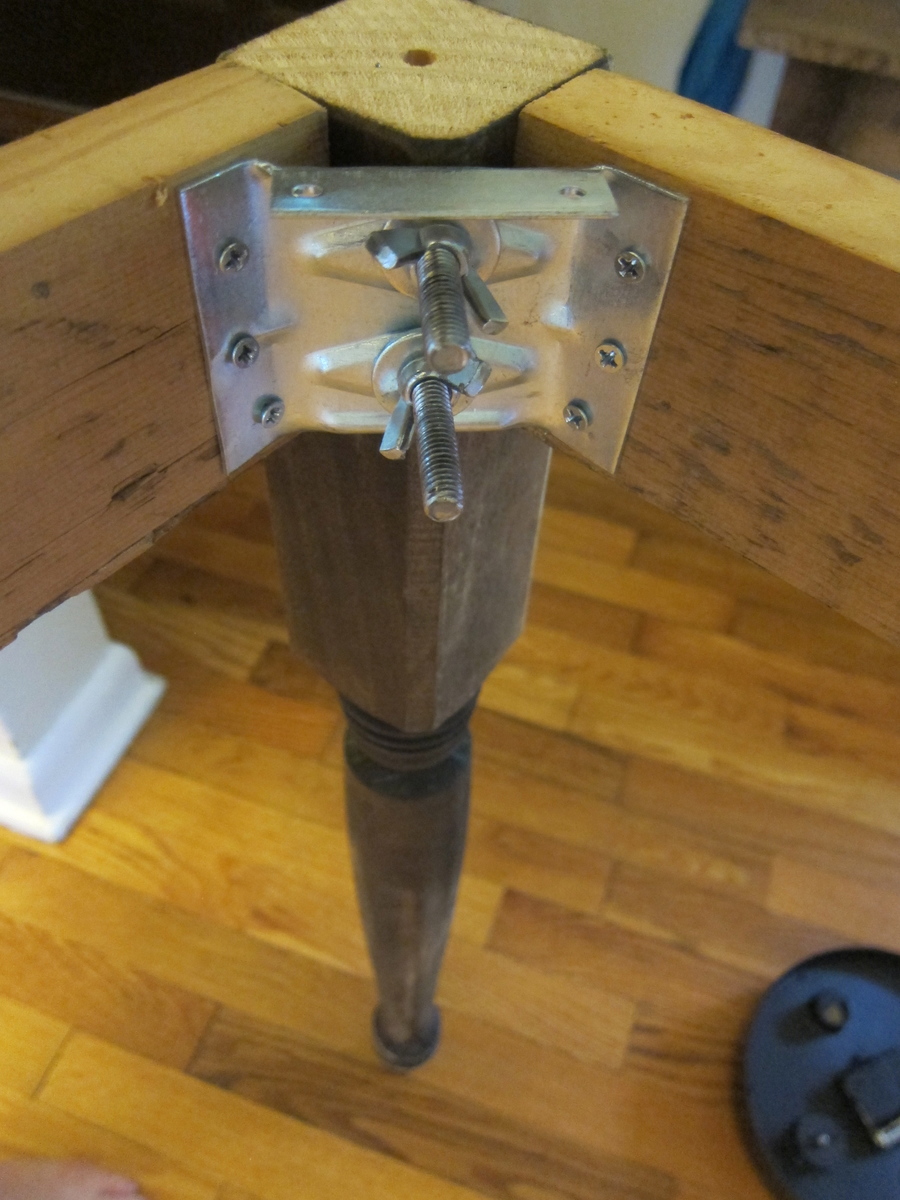
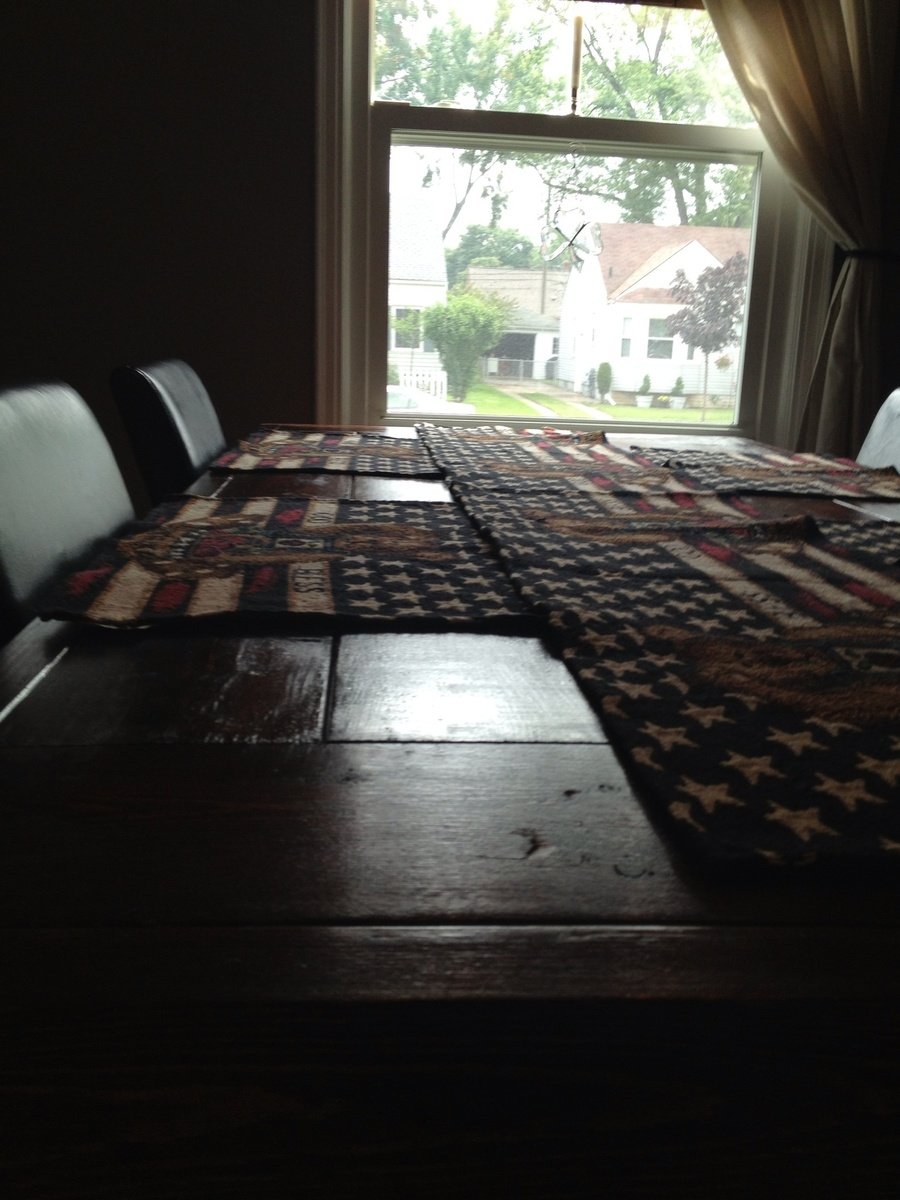
I've been wanting to build a "plank" style farmhouse table for a long time. I used metal corner brackets to allow for easy removal of legs of the table. However, I found the corner brackets quite hard to work with. I think they're probably sturdier than just pocket holes, so I guess that's good.

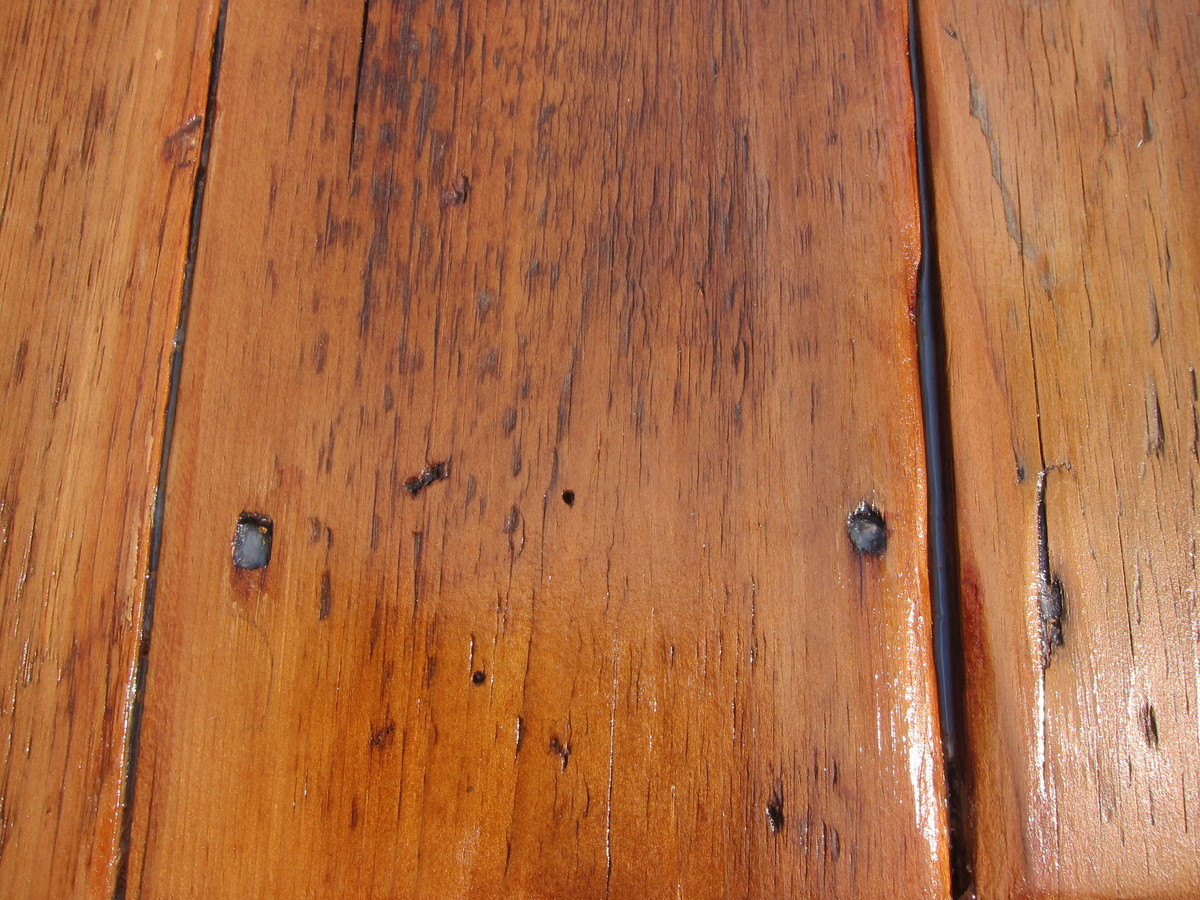
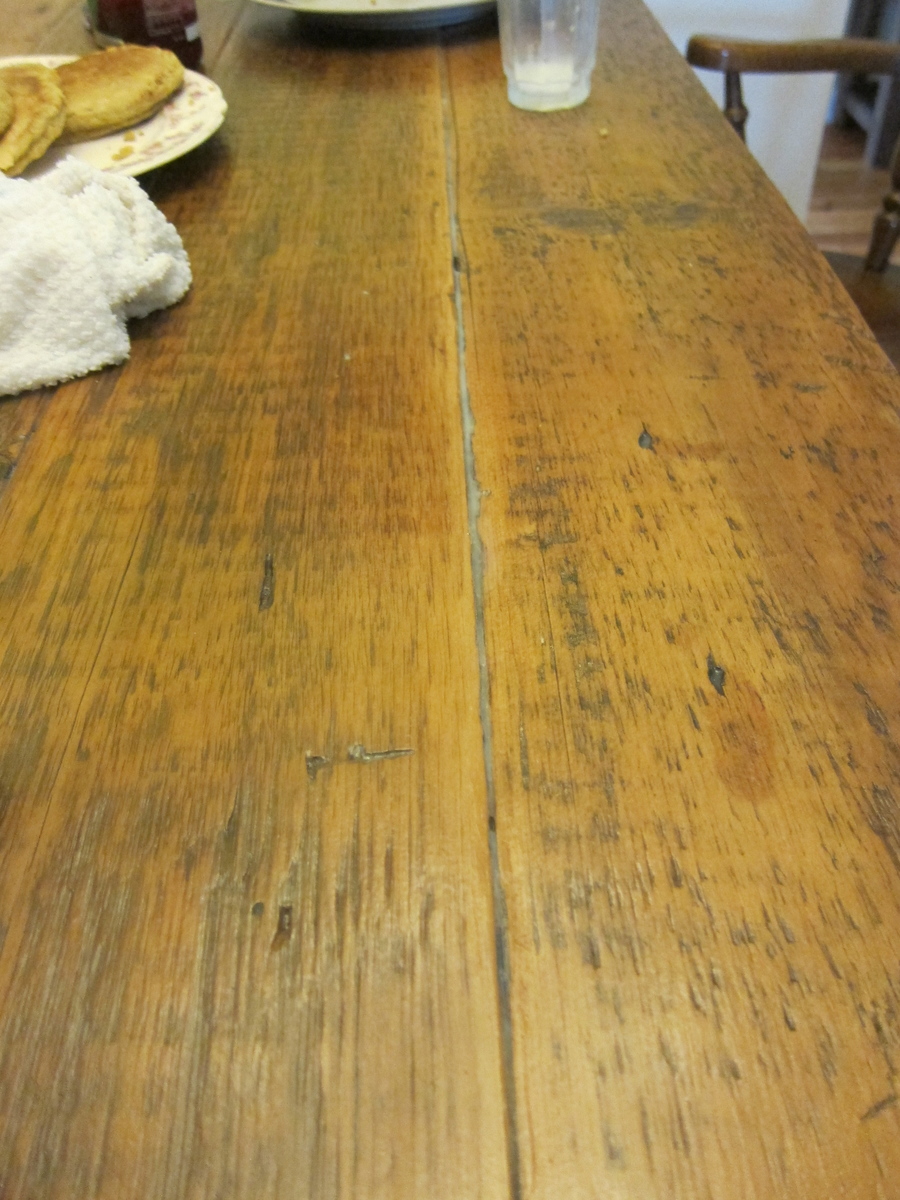
I used 100-year old barn wood and it looked so beautiful. BUT...I have a two year old and I'm expecting another child soon, so I wanted to plug up some of the gaps in the wood (like old nail holes that went the entire way through the boards) and put something down to preserve the quality of the wood.

After researching a lot of ways to fill in the gaps in wood tables, I tried a few things.

First I tried clear silicone. I think this would have been a great option if the holes were just a little bit smaller. It ended up just looking like plastic in the spaces, though. So I scooped that out and then tried wood filler. The wood filler looked terrible under polyurethane, though, and no matter how much I tried to get them to match, it just looked like a different color. Finally, I ended up using painter's tape on the bottom of the table under slats and holes and filling them slowly with polyurethane (I used an eyedropper for this task!). It worked really well. I should also say that I sanded the already planed boards as much as possible to reduce the gaps between boards.

I'm really pleased with my new table!

I used only poly on the top. The wood is its natural color.

Thanks for the idea, Ana!
Built from Plan(s)
Estimated Cost
Maybe $100 (wood, brackets, legs, poly)
Estimated Time Investment
Weekend Project (10-20 Hours)
Finish Used
Clear, water-based polyurethane.
Recommended Skill Level
Beginner

Round Trestle Table

Submitted by ktprinkey on Fri, 05/22/2015 - 13:16

Table was a fairly straight forward build. The only thing I'd do differently if I were to make another one is to paint the base pieces before assembling. Once the base is together its hard to get in between the angled supports. I ended up having to use my paint sprayer to paint the base because brushing it on was just not working for me. I ended up buying the round top piece from the Blue big box store and it was around $11 so that put the cost of this table over the price quoted in the plans.

Estimated Cost
$20
Estimated Time Investment
An Hour or Two (0-2 Hours)
Finish Used
Base is painted with SW ProClassic in Bright White. Top is stained with Rustoleums Weathered Gray.
Recommended Skill Level
Beginner

Comments

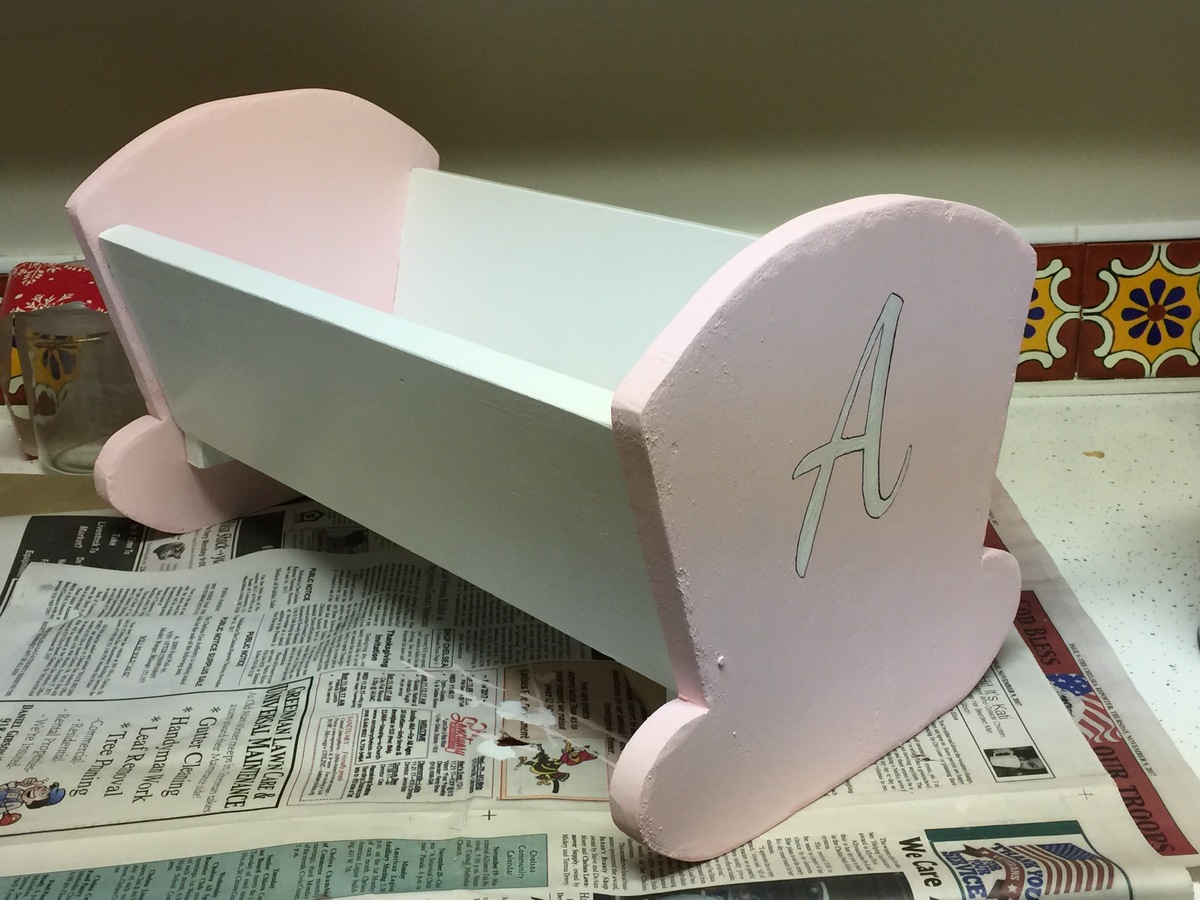
Doll cradle

Submitted by JBachelor on Sun, 12/17/2017 - 20:14

My husband and I used your plans to make this cradle... He built it, and I painted it.  I’m so excited to give it to our granddaughter for Christmas!!

Estimated Cost
We used wood and paint we already had, so it was basically free.
Estimated Time Investment
Weekend Project (10-20 Hours)
Recommended Skill Level
Beginner

Comments

JBachelor

Sun, 12/17/2017 - 20:52

I put that it took 10-20 hours... that was mostly the painting and drying time between each coat, and doing the A for her name.

Custom Pantry Spice Rack

Submitted by Anonymous (not verified) on Mon, 12/06/2021 - 02:56

After special ordering glass spice jars for my cupboard I came across your plans for this spice rack and decided to attempt the build. Plans were very well written and easy to execute with a few customizations. I opted for brass rods to hold the jars in place and lined each shelf with shelf liner to ensure the jars don’t move when the pantry door swings. I am very pleased with the outcome and will be making a matching rack for my aluminum foil, plastic wrap, etc.

Built from Plan(s)

Comments

Sweet T's Easy Console Table

Submitted by Sweet T on Sun, 04/10/2011 - 21:33

My first build! Added a shelf to the bottom.  Think it came out great :)  Super excited to tackle my next project!!

Estimated Cost
$30 -$40
Estimated Time Investment
Afternoon Project (3-6 Hours)
Finish Used
Rustoleum - Universal Hammered Brown
Added the bottom shelf. Did not cut the breadboards, but made a solid top. Also, added hardware for a faux drawer look.
Needed to adjust the cuts for the width to 9 3/4, because the 1 x 12 were only 11 1/4 inches.
Recommended Skill Level
Starter Project

Fireplace Wall Remodel

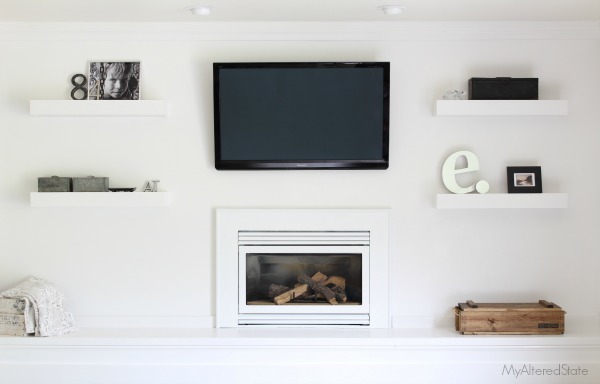
I needed a solution to my shelving problem. I wanted something clean looking, modern, and white to flank both sides of my fireplace. Count on Ana White to come up with a plan. Within seconds of sitting down to surf her site, I found that perfect plan to build four floating shelves.

Built from Plan(s)
Estimated Time Investment
Day Project (6-9 Hours)
Recommended Skill Level
Intermediate

Cube Entertainment Center

Submitted by mommabutts on Thu, 04/14/2011 - 11:00

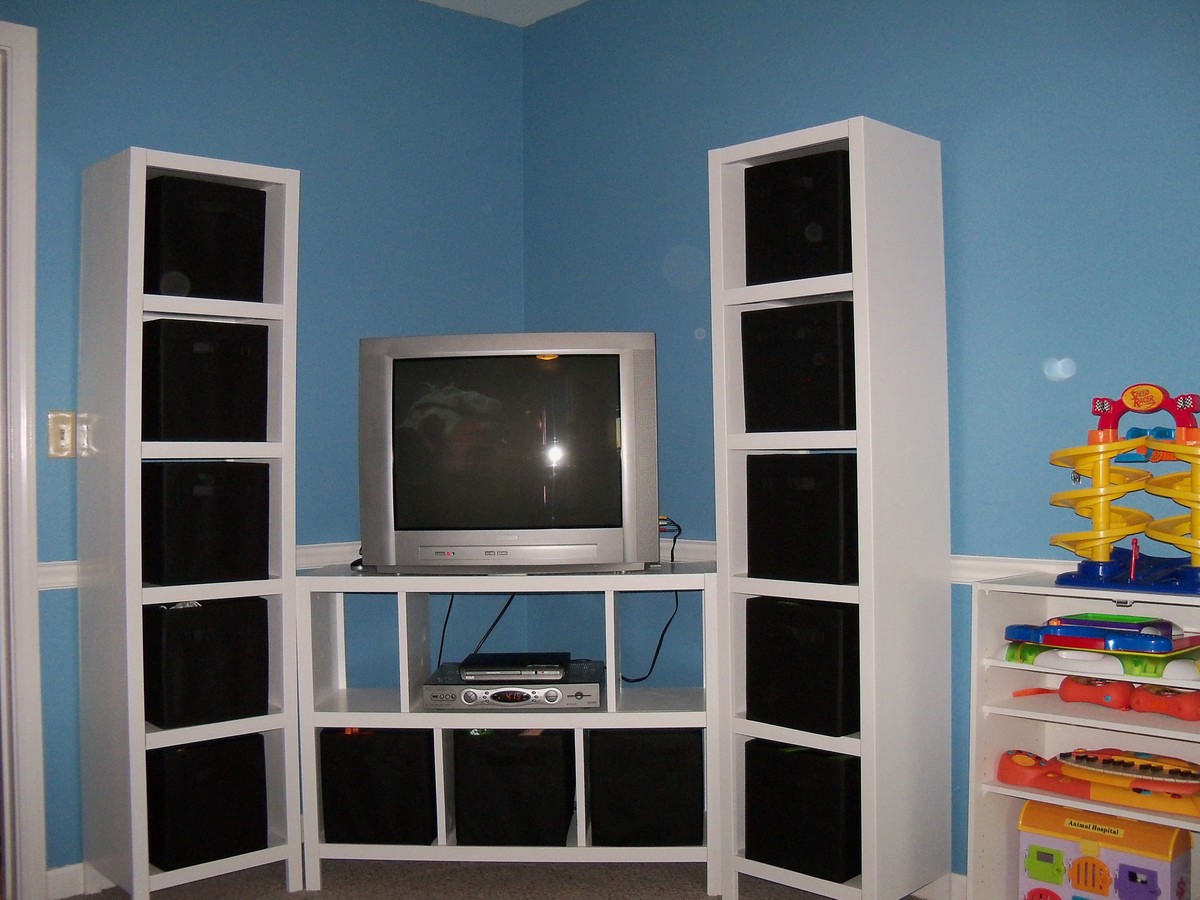
We combined two 5 Cube Tower Bookshelves with one 6 Cube Bookshelf (with a larger top center compartment to fit our cable box) to make an Entertainment Center for the kids playroom. 

Estimated Time Investment
Afternoon Project (3-6 Hours)
Finish Used
White Satin Paint
Recommended Skill Level
Intermediate

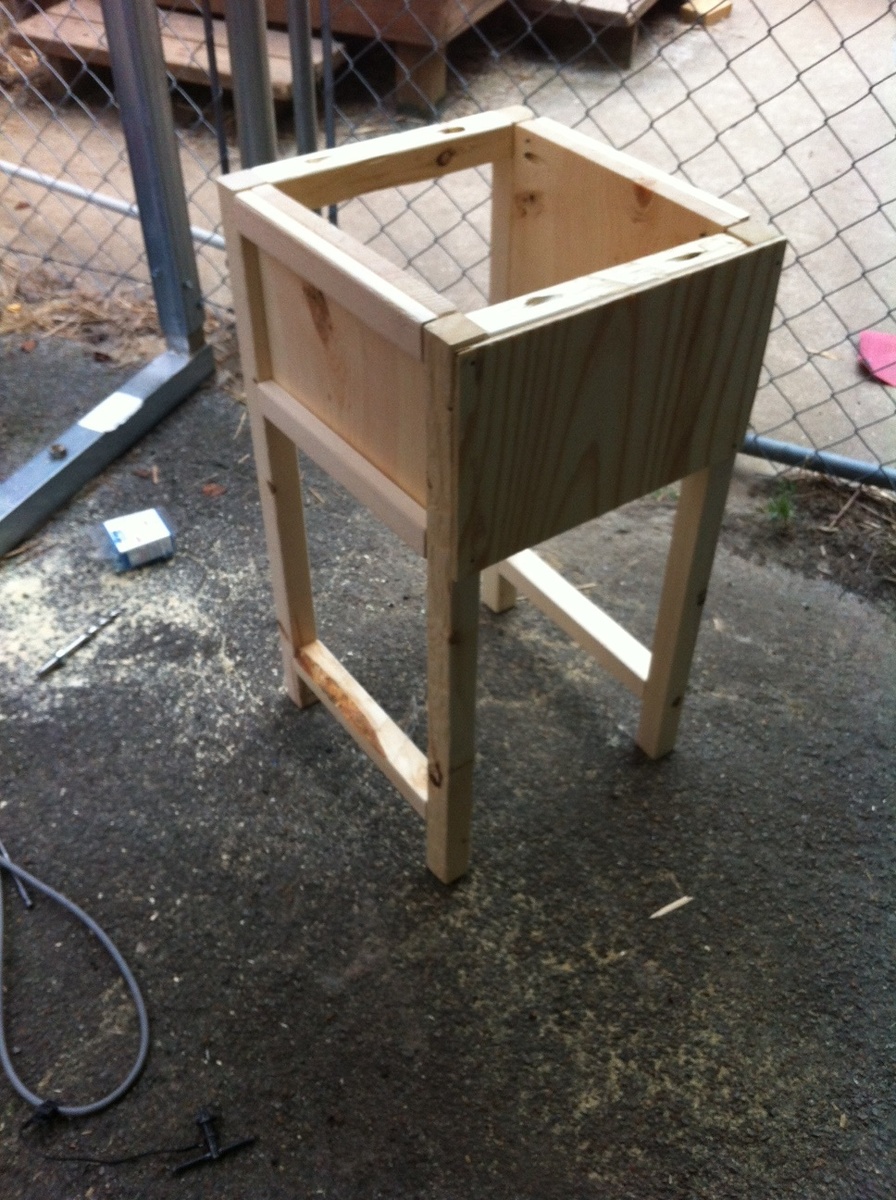
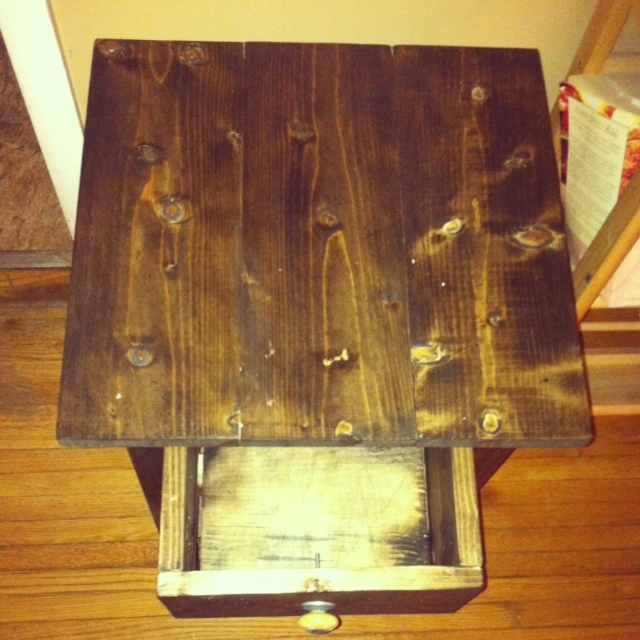
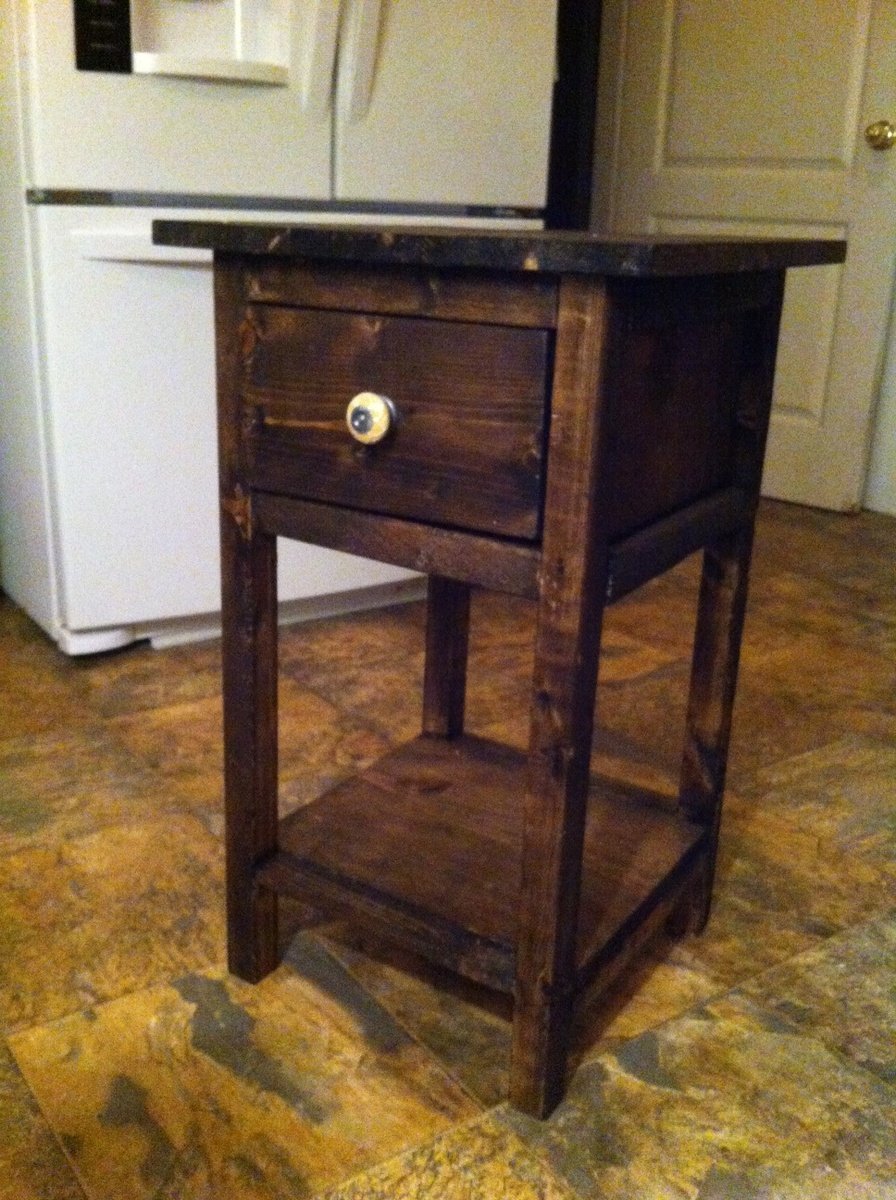
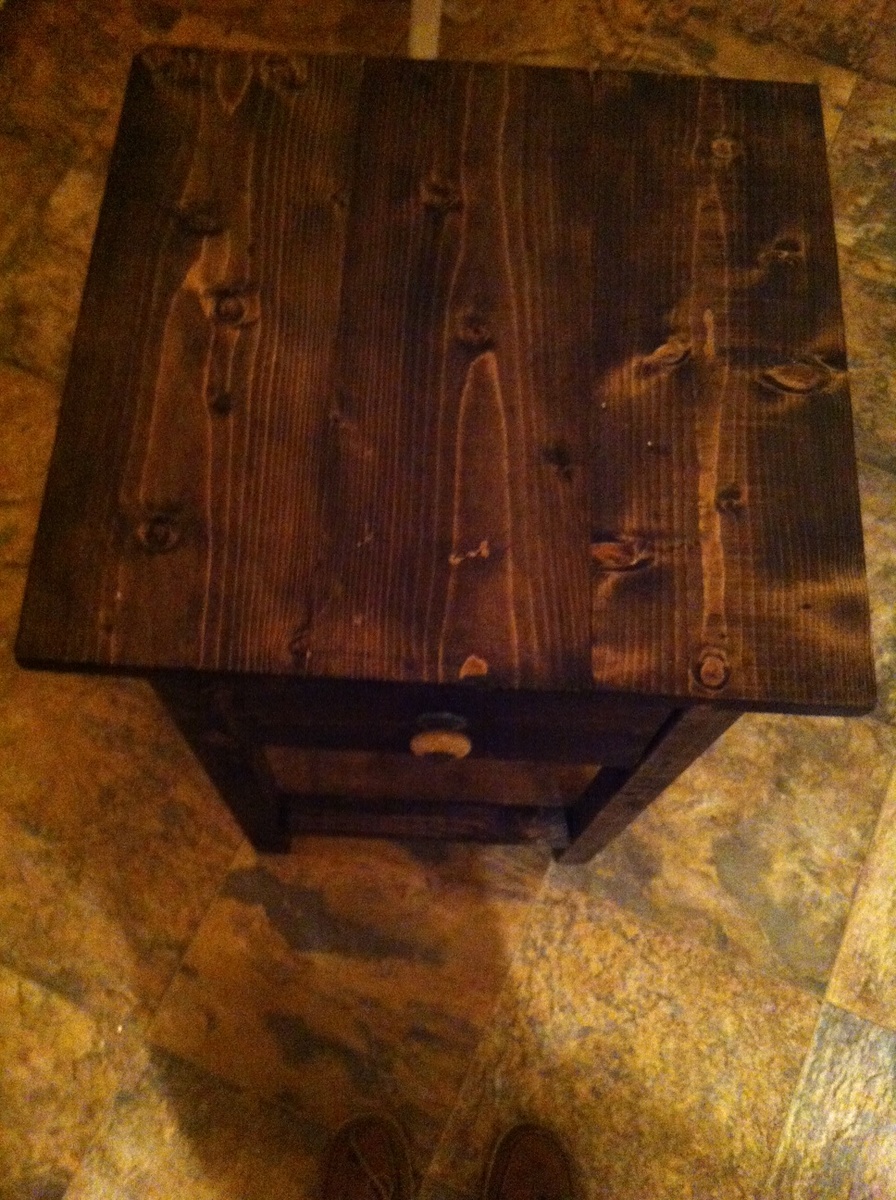
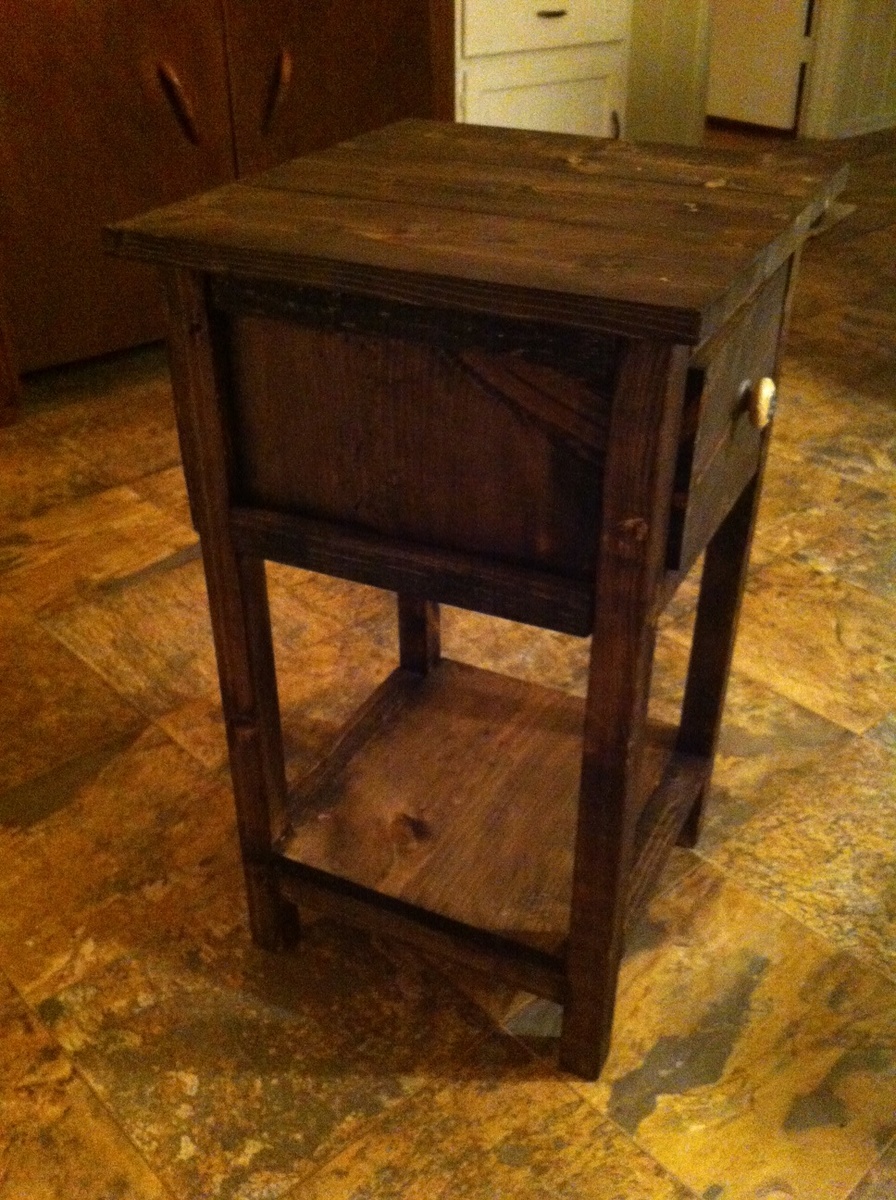
My little mini farmhouse bedside table!

Submitted by DogDoc25 on Wed, 06/19/2013 - 19:49

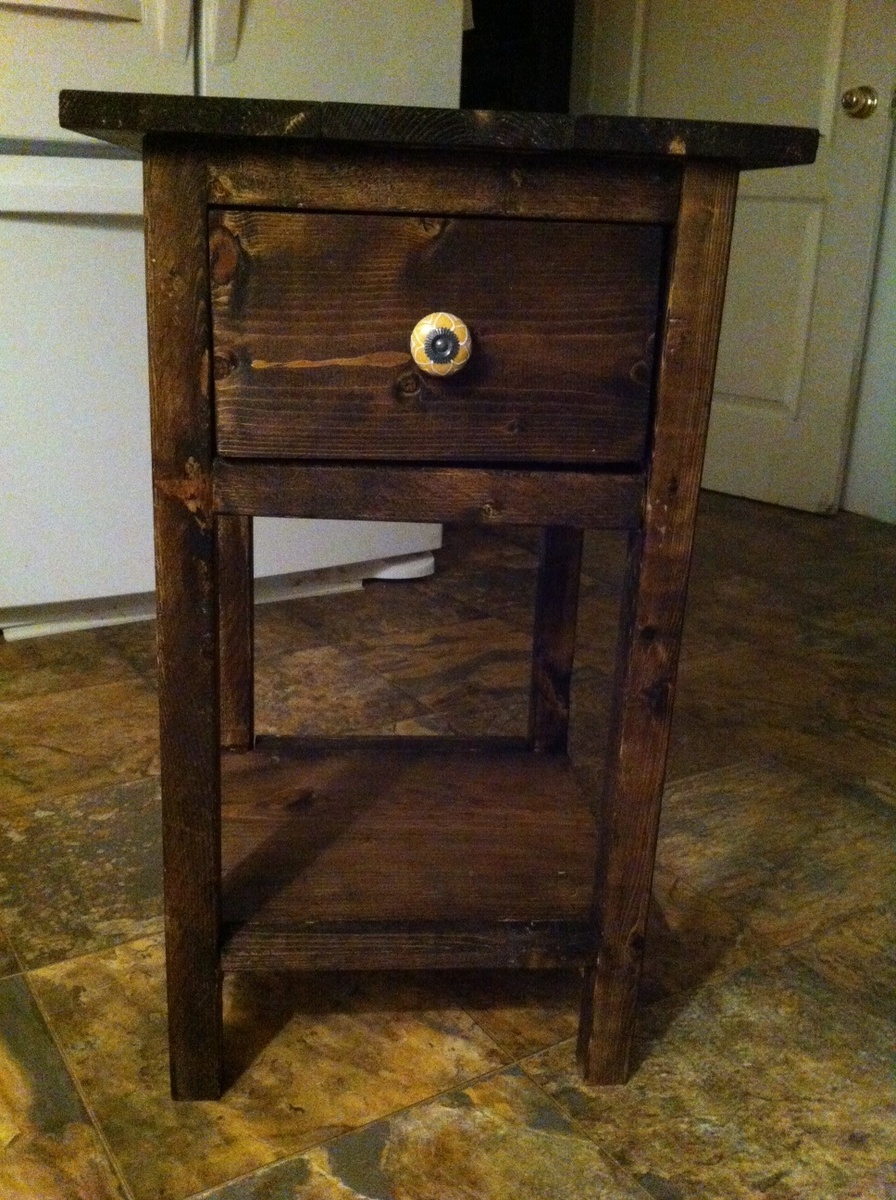
Fun project to do! I still have to make the other one, but thought I'd post the one that I did complete so far. The drawer doesn't fit in as perfectly as I wanted it to, but it's still ok and not completely noticeable. I was really torn on whether to do the paint/stain look but ended up staining the whole thing and like how it turned out. I had to split this project up into several days because of work, but hopefully the next one won't take as long since it'll be the second one. Overall not too hard!

Built from Plan(s)
Estimated Cost
about $40
Estimated Time Investment
Day Project (6-9 Hours)
Finish Used
Minwax Jacobean
Recommended Skill Level
Beginner

Mini Adirondack Chair

Submitted by MrCoffee on Fri, 05/29/2015 - 03:53

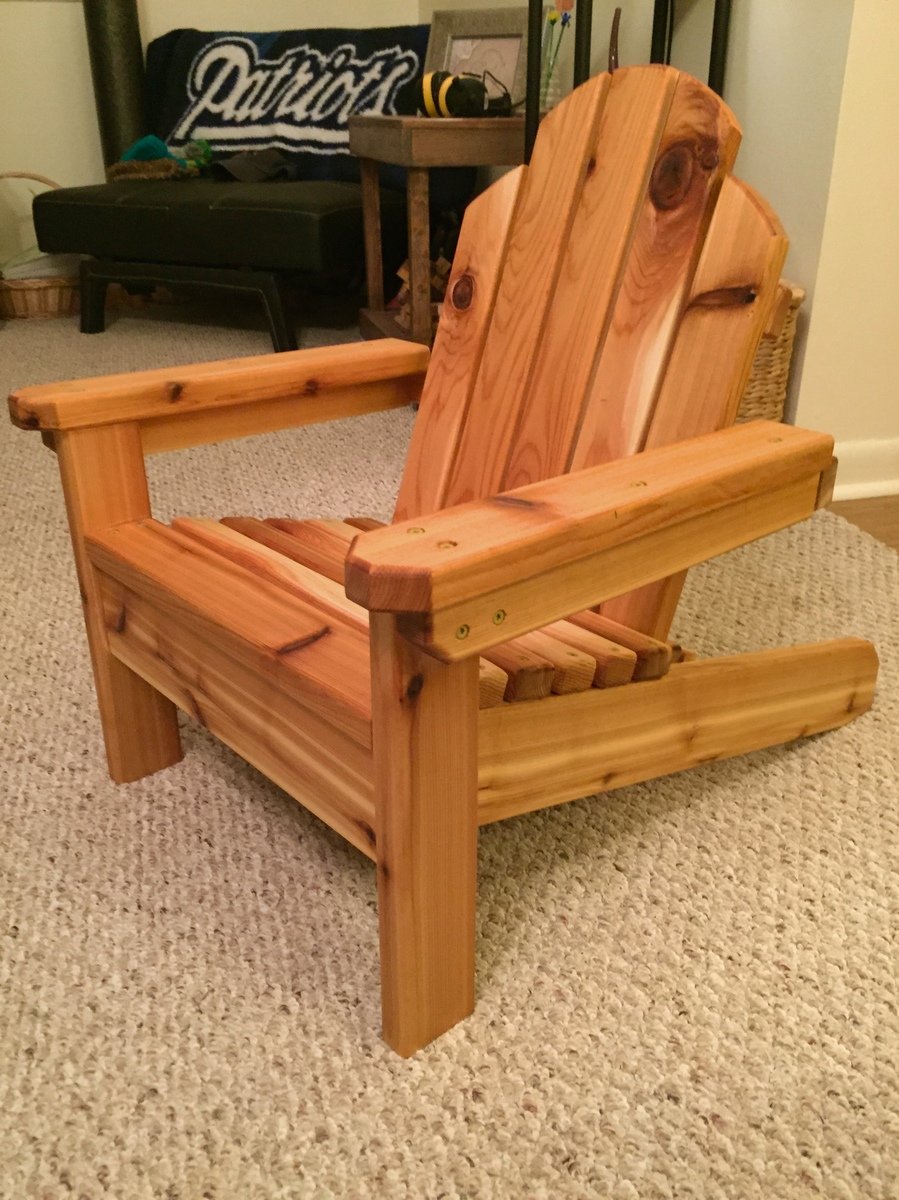
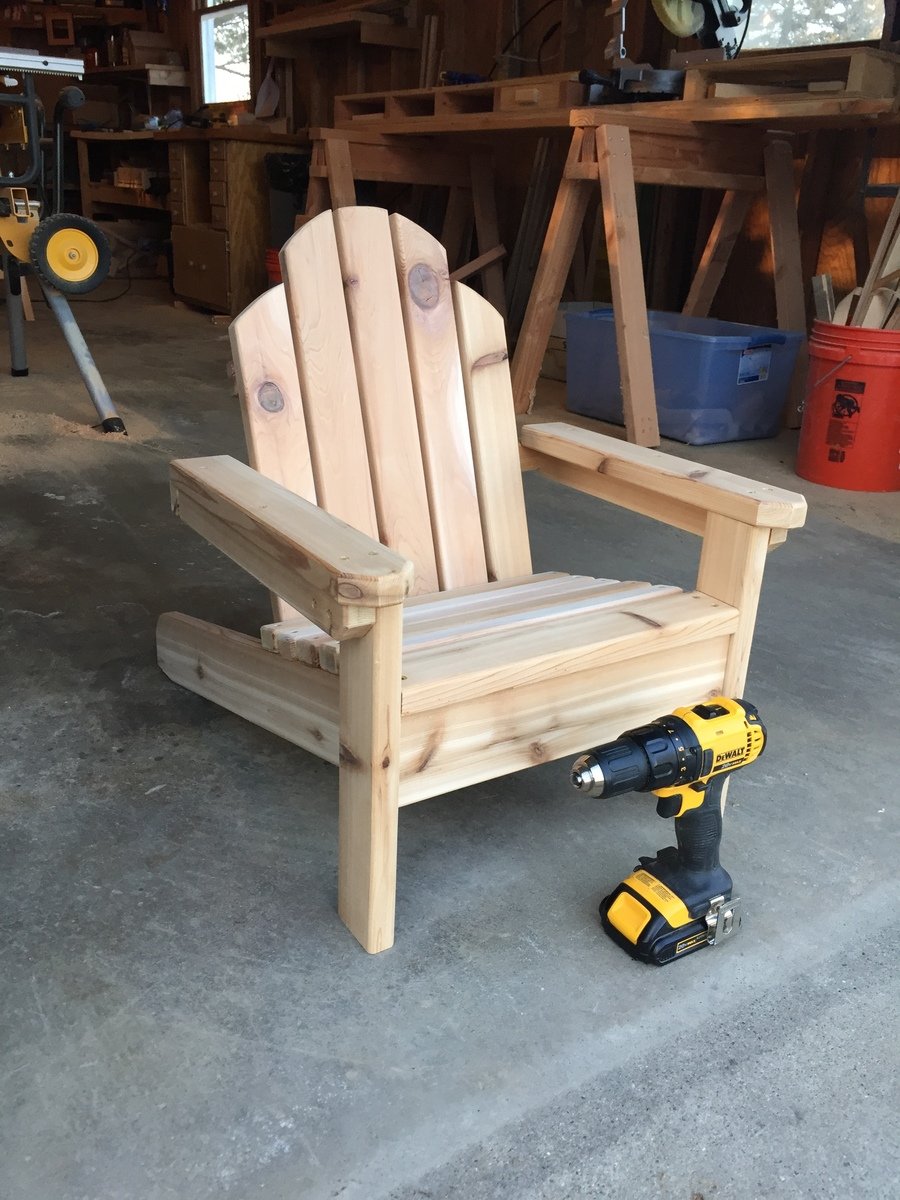
This was a fun little project that I built for a friend, whose son was turning one year old. I used 5/4 cedar deck boards and ripped them down to size. For a finish I used Watco's teak oil. I love the way it brings out the cedar's natural tones. You can see in one of my pictures the before/after when applying the teak oil.

Built from Plan(s)
Estimated Cost
$30
Estimated Time Investment
Weekend Project (10-20 Hours)
Finish Used
I used Watco Teak oil for a finish and applied as directed by the can.
Recommended Skill Level
Intermediate

Last minute Christmases gift. Bunny hutch.

Submitted by jlsomers on Sat, 12/23/2017 - 14:27

Thank you Ana for the plans. Our daughters dolls needed some pets and this project was the perfect home for her New bunnies!  I can't wait for her to open this gift Christmas morning. 

Estimated Cost
Used all scrap wood
Estimated Time Investment
Afternoon Project (3-6 Hours)
Recommended Skill Level
Starter Project

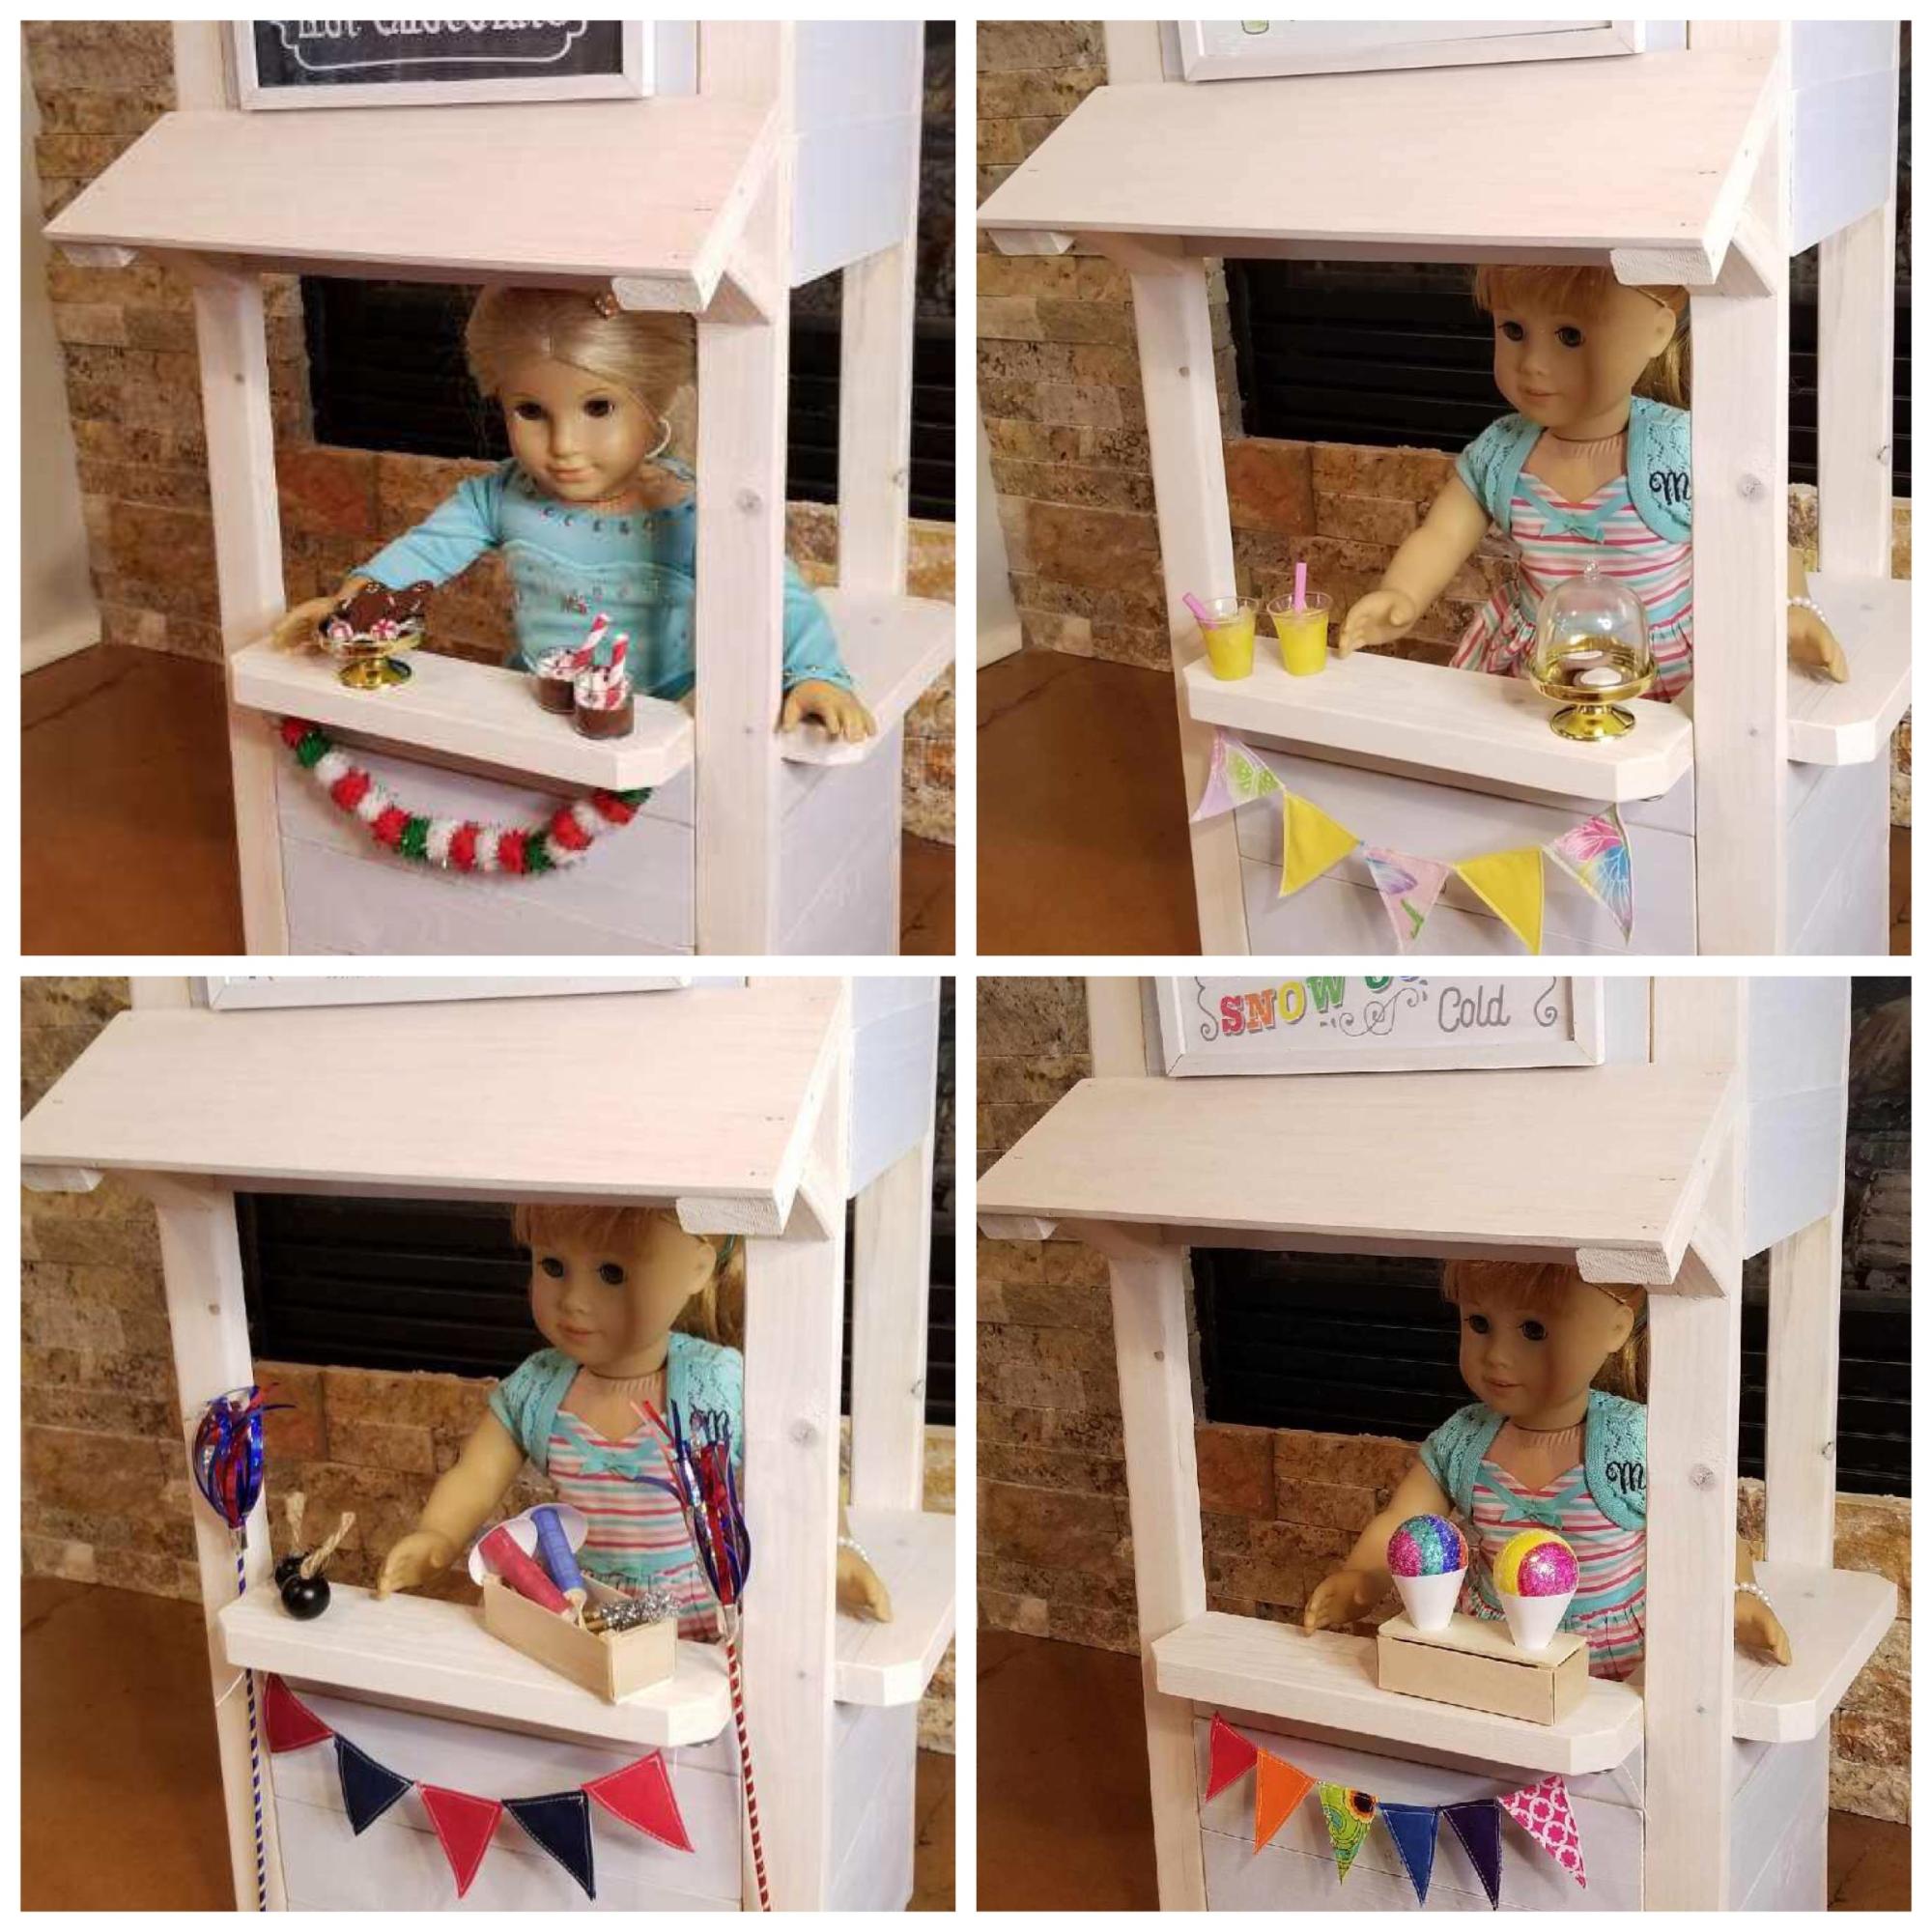
4 in 1 Entrepreneur Stand

Submitted by jkjackson on Thu, 12/23/2021 - 19:55

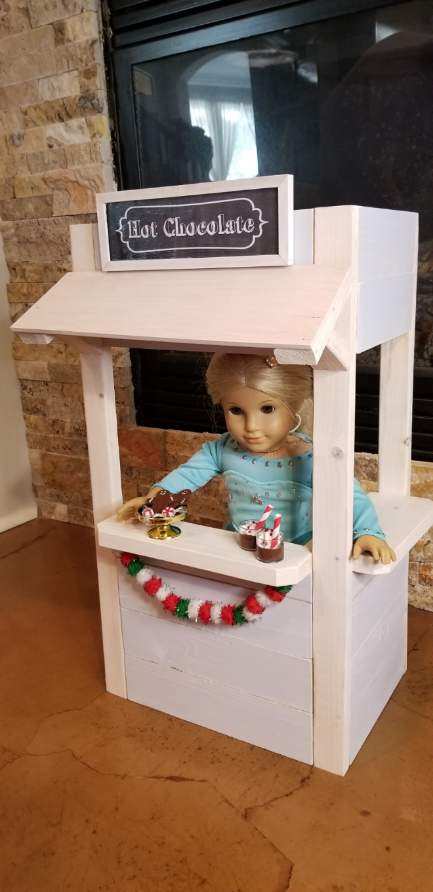
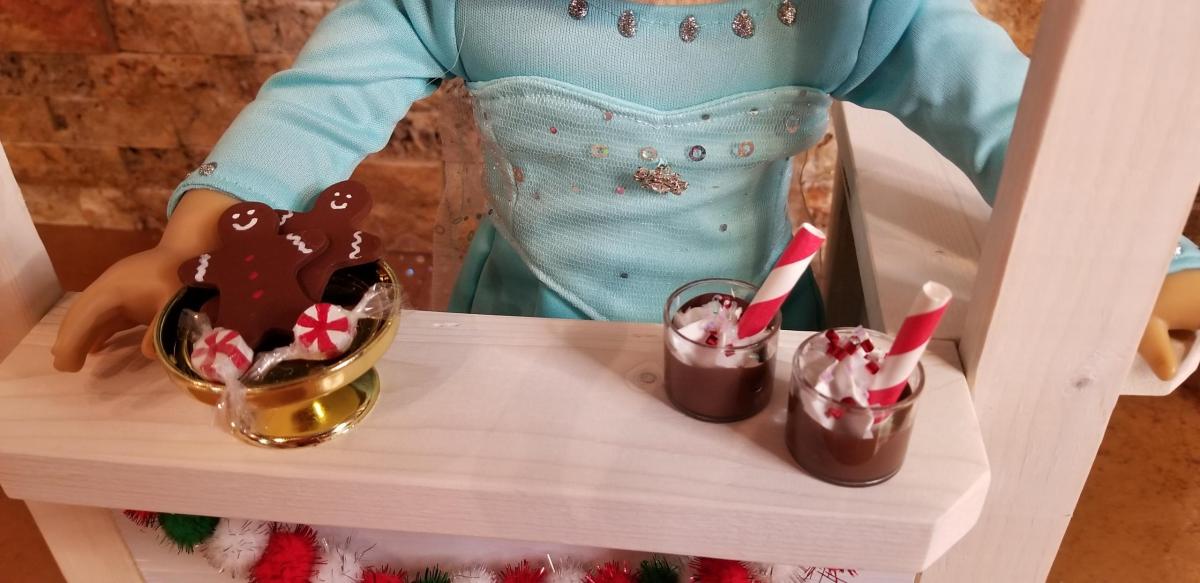
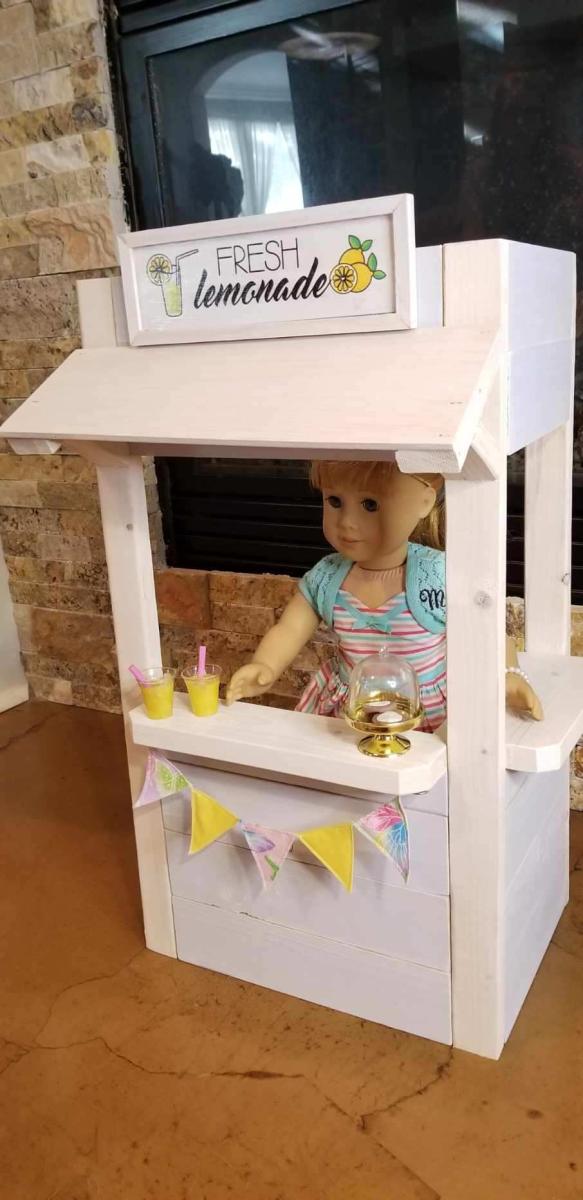
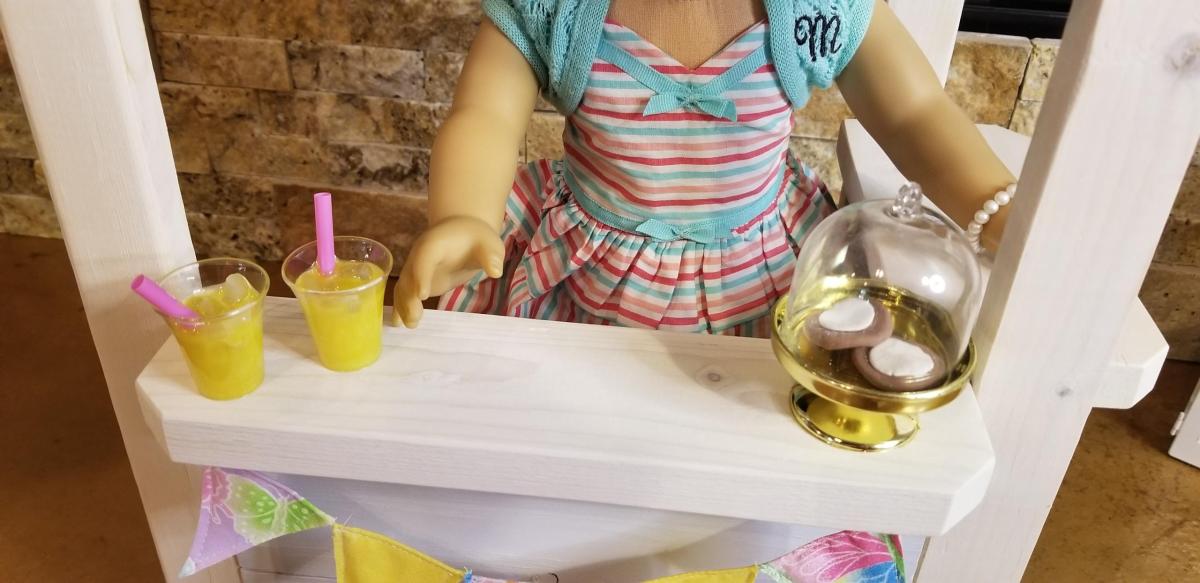
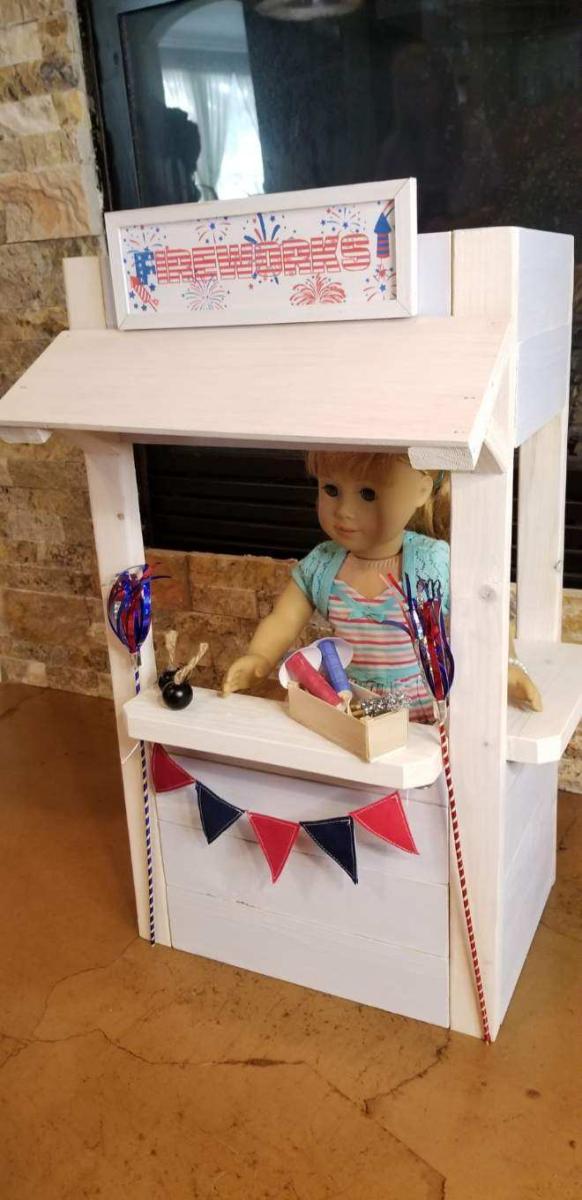
I LOVE the hot cocoa stand but wanted to make it “year round”. So I also created accessories for lemonade, fireworks and snow cone stands. The signs are reversible. They are made of metal and attach with magnets. The banners also attach with magnets. There are hot cocoas, gingerbread cookies, peppermints, lemonades, iced cookies, a cake plate, fireworks, smoke bombs, bottle rockets, sparklers, snow cones and a snow cone holder that flips over to become a crate.

Comments

Bathroom Storage Tower: sans baskets

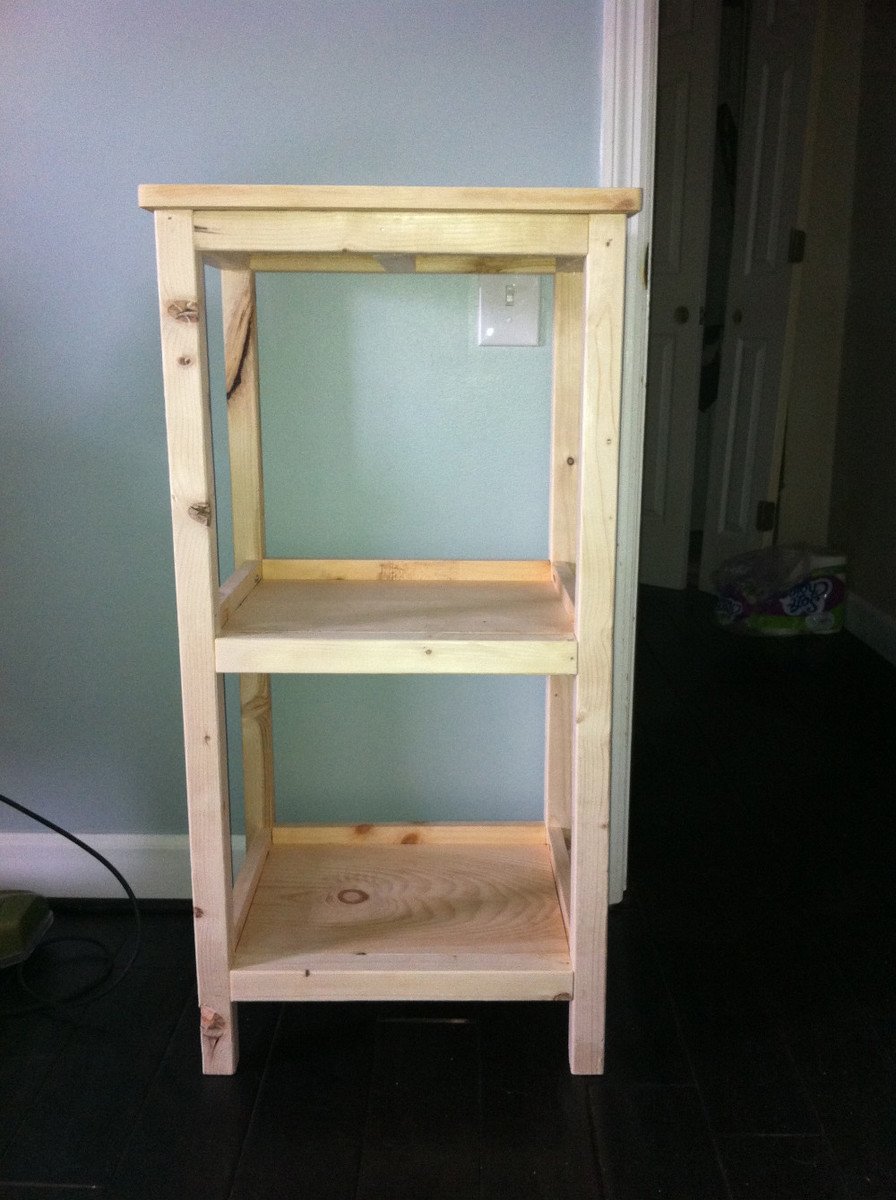
I couldn't find any wire baskets to use for this, so I just put some rolled towels and TP on it for now... mine is quite bigger than Ana's version and it's even bigger than the original Pottery Barn version - it's about 37" tall, 19" wide and 14" deep. I had some of the wood still left over from other projects and I already had all of the paint and supplies. I only spent $15 on the wood I needed.

Built from Plan(s)
Estimated Cost
$15
Estimated Time Investment
Afternoon Project (3-6 Hours)
Finish Used
i sanded every piece of wood after cutting and before putting it together and then sanded the entire thing after it was put together. i put on 2 coats of KILZ primer, then I put on a coat of really light gray paint that i had leftover from the livingroom that was too light and i didn't end up liking what it looked like, so i painted it a teal color i had left over from my art room called FIRMAMENT by Valspar in SATIN finish. I put on 3 coats of that sanding between coats. I plan to put a coat or 2 of polyurethane on it too, but haven't done so yet.
Recommended Skill Level
Intermediate

Dining room table, inspired by turned leg table and modern farmhouse table

Submitted by jbaibak on Sat, 06/22/2013 - 11:18

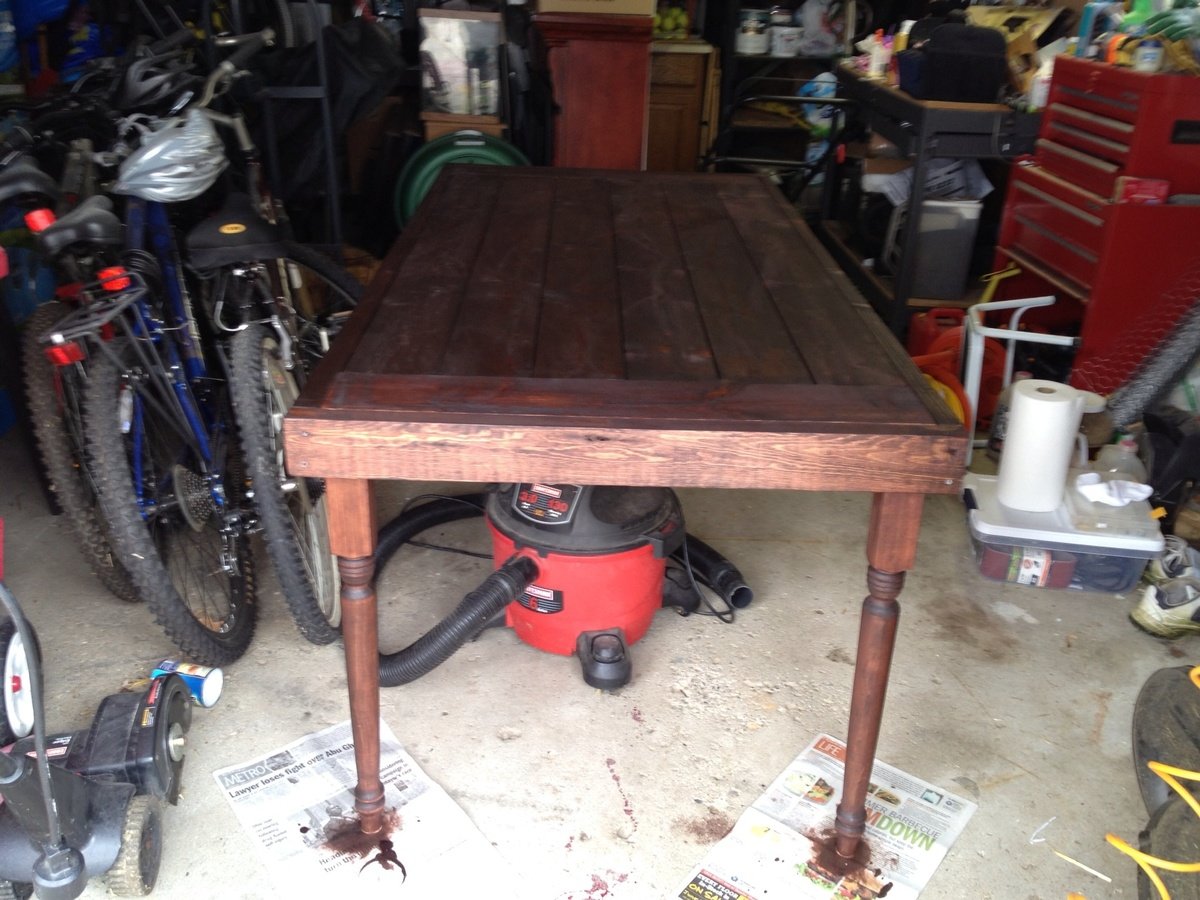
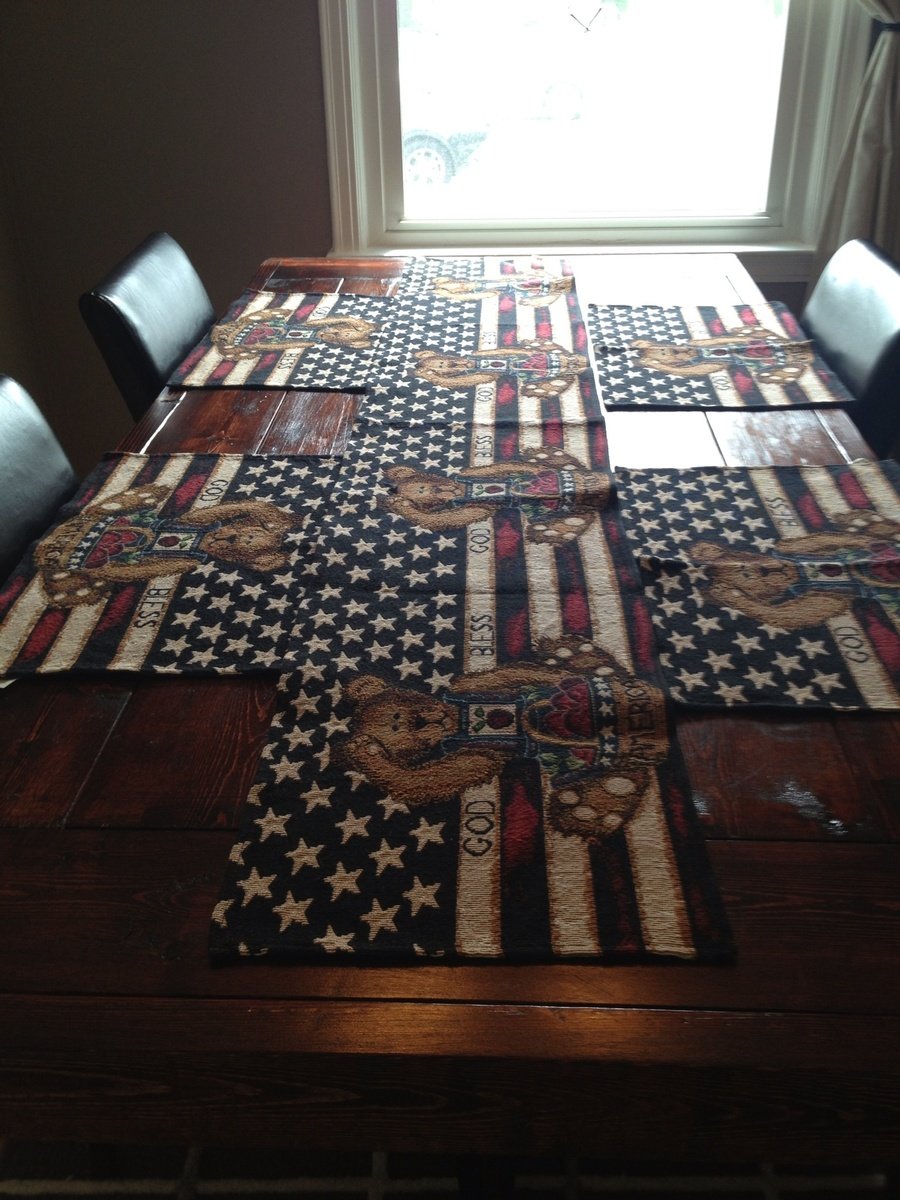
I wanted to attempt making a dining room table. This is my very first woodworking project. I did use store bought legs from one of the big box stores. Your site completely inspired me to just go for it. It's not quite finished. I've got to do all the sanding and staining. I plan to use a mahogany tone stain to coordinate with my brown/black parsons chairs and hutch in my dining room. Finally finished and I think it looks great! It took a lot of sanding to get all the wood pieces even, but so worth the effort. I love the rustic country look.

Estimated Time Investment
Week Long Project (20 Hours or More)
Finish Used
Minwax Red Mahogany and 3 coats of Minwax semi-gloss polyurethane
Recommended Skill Level
Beginner

Bunk bed

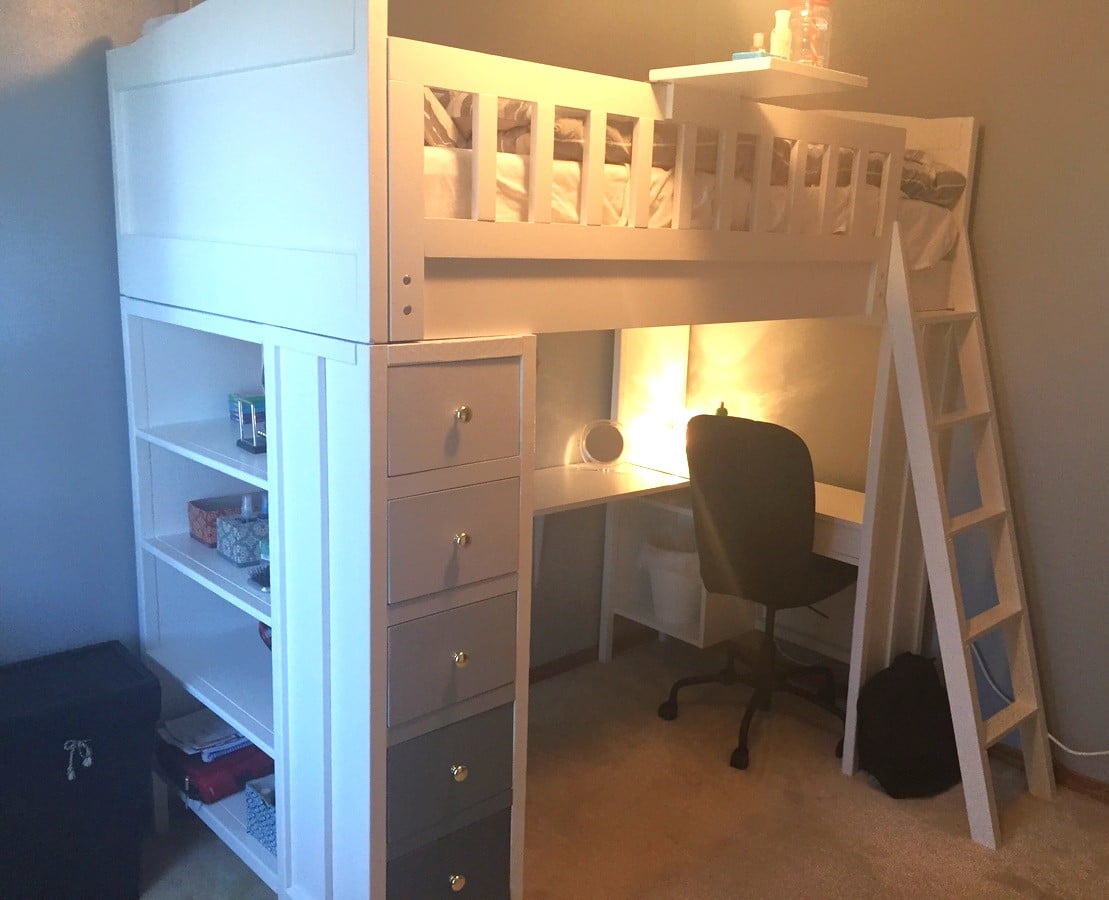
Submitted by tomzig on Mon, 06/01/2015 - 18:15

Bunk bed system. My daughter picked the colors. She loves it

Estimated Time Investment
Week Long Project (20 Hours or More)
Recommended Skill Level
Intermediate

Comments

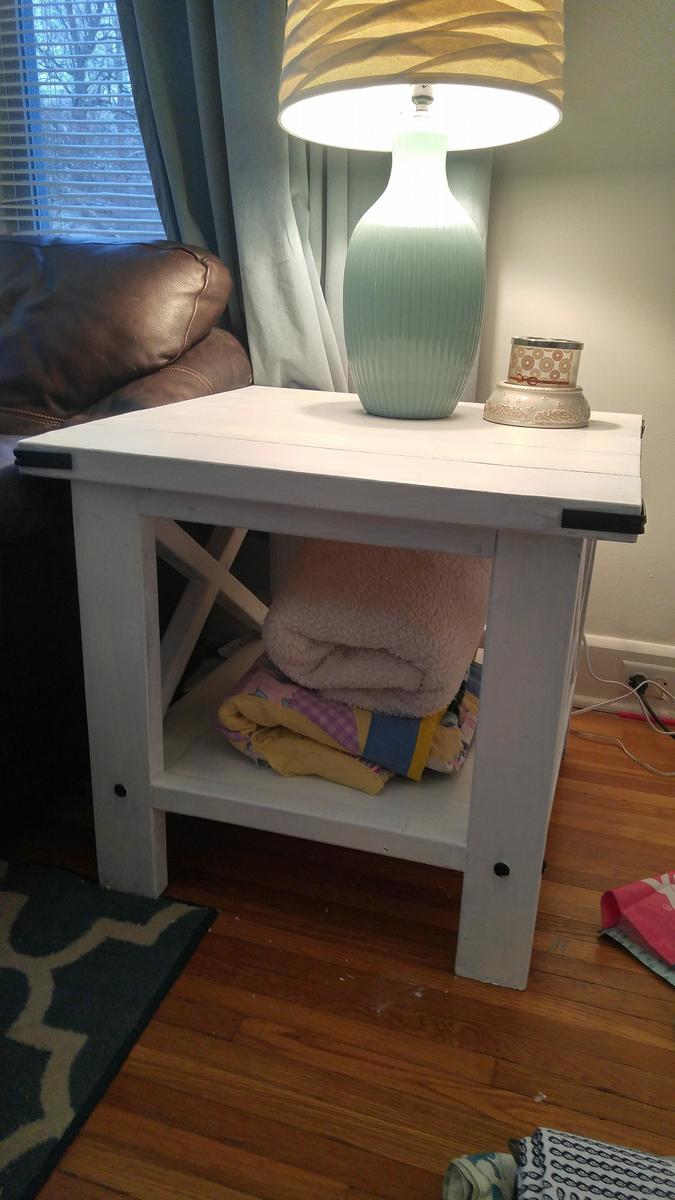
Love these end tables!

Submitted by TheMrsS on Wed, 12/27/2017 - 22:48

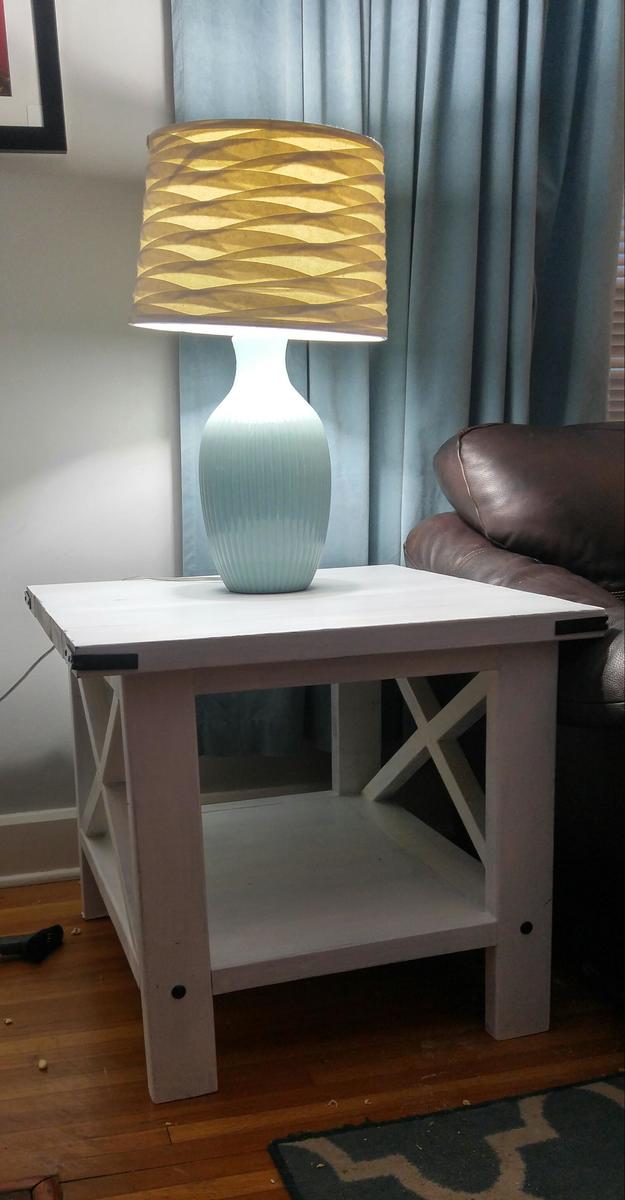
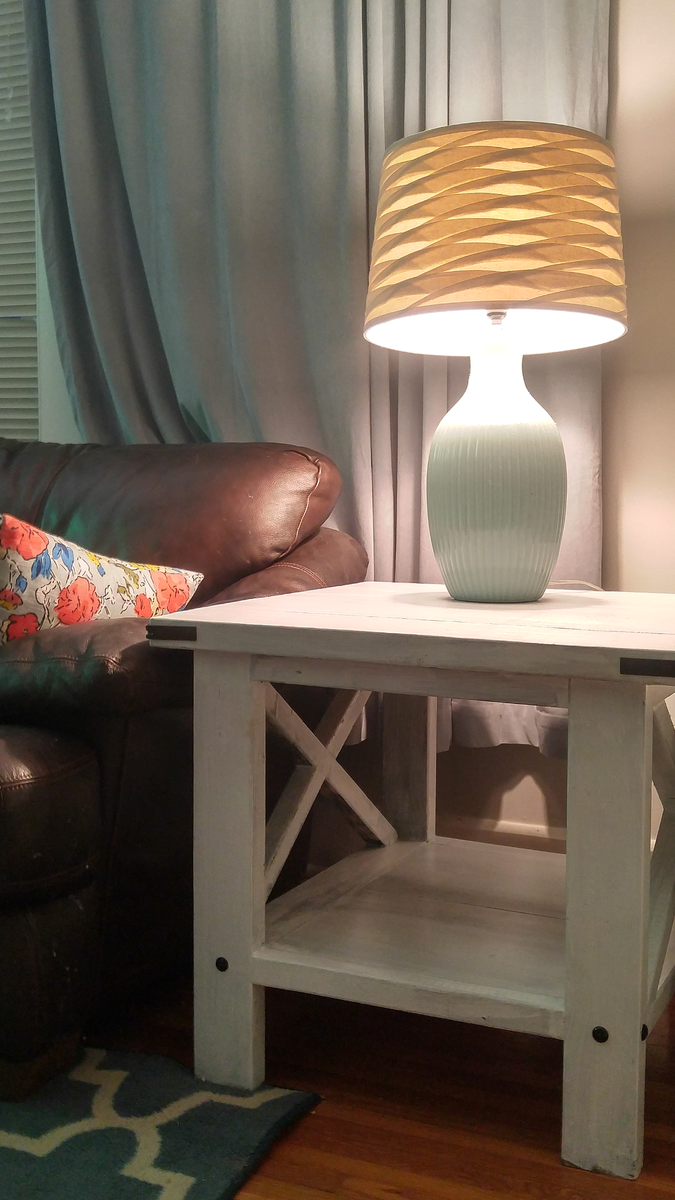
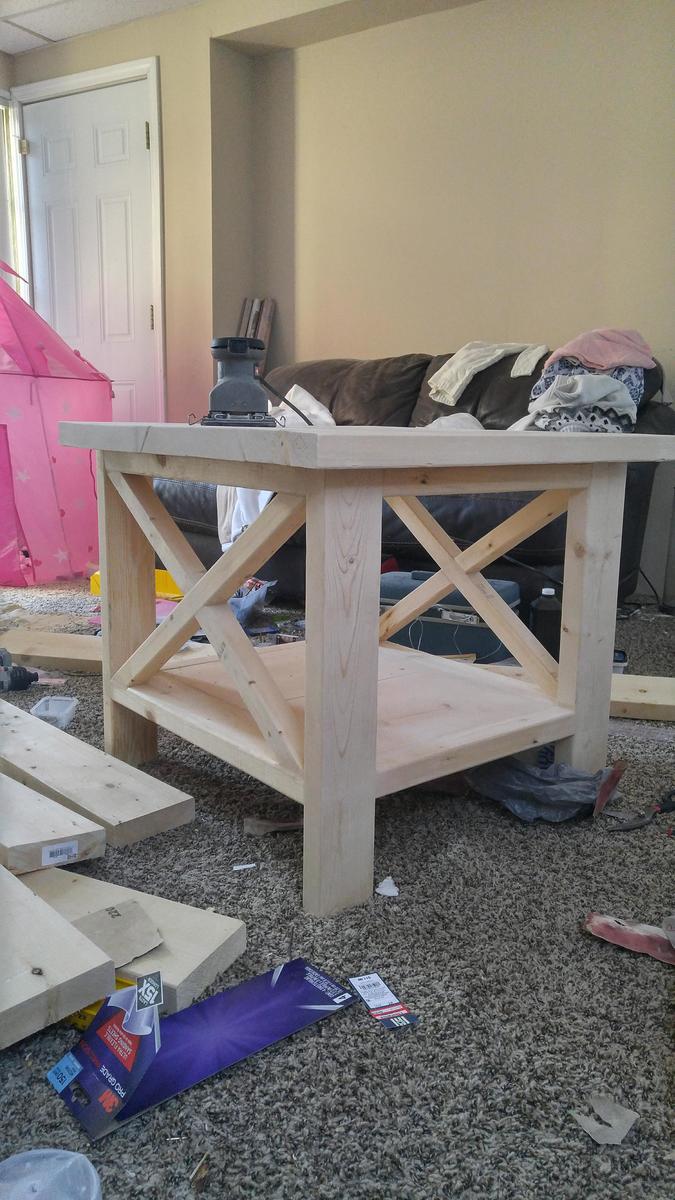
I loved this project! I had been wanting a new set of end tables for a while and I came across these plans and was in love! I altered them just a smidge by raising the bottom shelf a little so I could fit a vaccuum/broom under it more easily, but other than that I left it as is! For the decorative hardware, I used L brackets and large upholstery nails/tacks...you can find them in most craft stores...I picked mine up at Hobby Lobby.

Built from Plan(s)
Estimated Cost
$50
Estimated Time Investment
Weekend Project (10-20 Hours)
Finish Used
I used a coat of pickling stain, and then a watered down latex paint to 'wash' over it to give the finish a subtle layered effect. I used Varathane Matte Poly on top.
Recommended Skill Level
Beginner

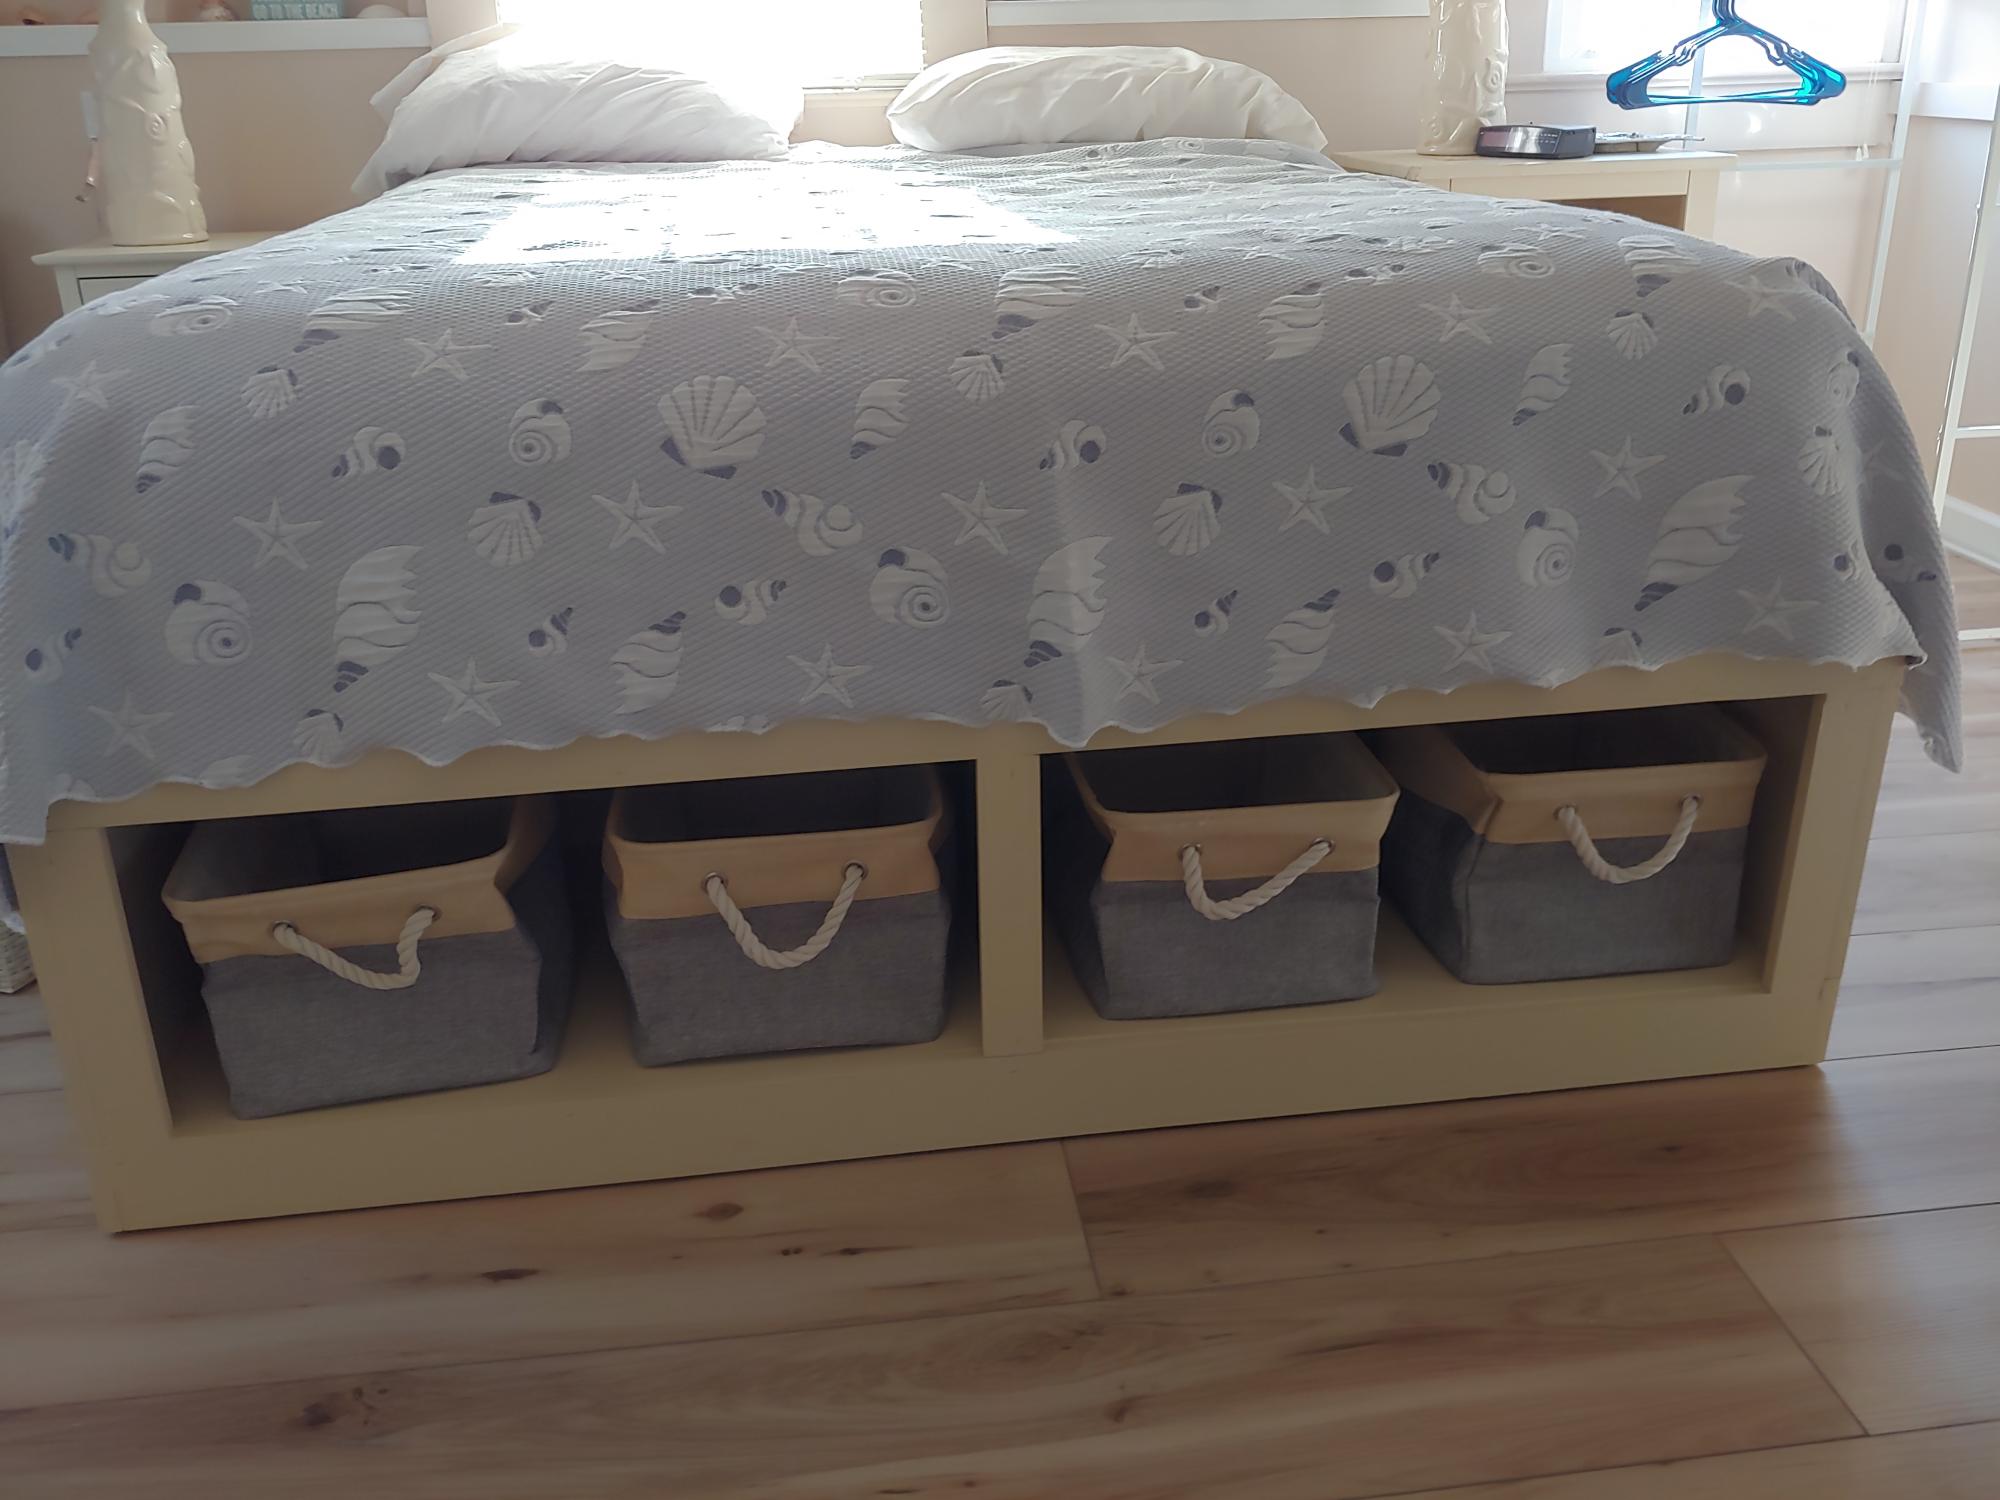
Queen Platform Storage Beds

Submitted by Anonymous (not verified) on Sun, 12/26/2021 - 13:01

My husband and I made two Queen Platform Storage Beds for our "Carriage House" apartment. They are a beautiful and functional upgrade! Thank you Ana for sharing your plans!

Comments

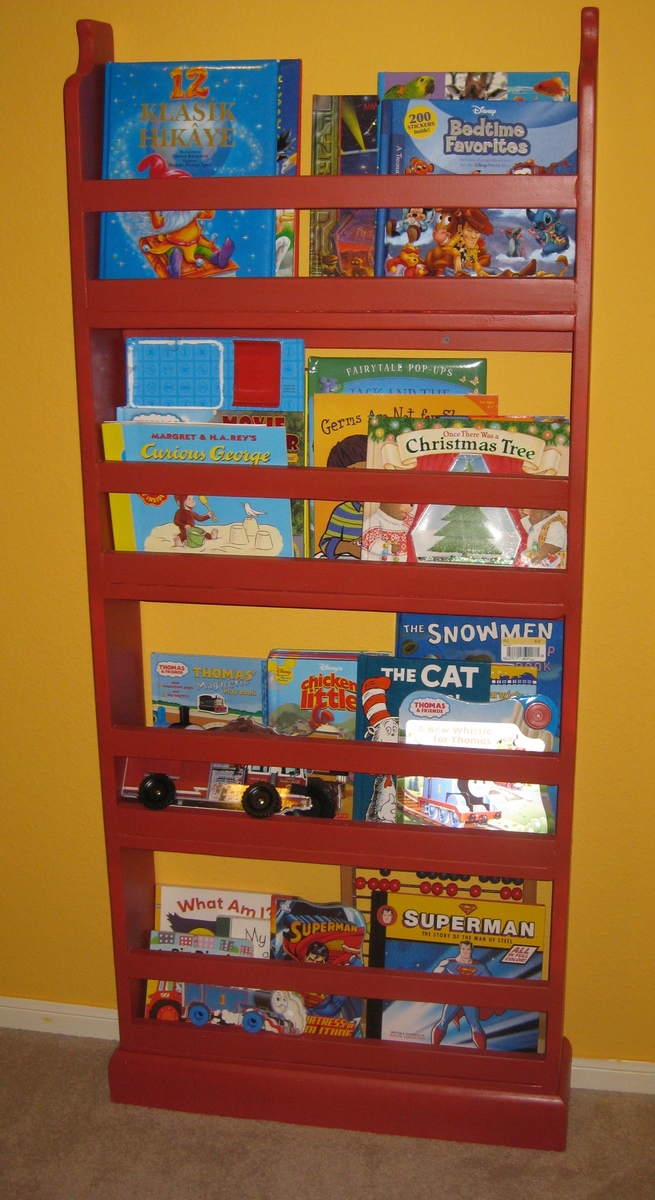
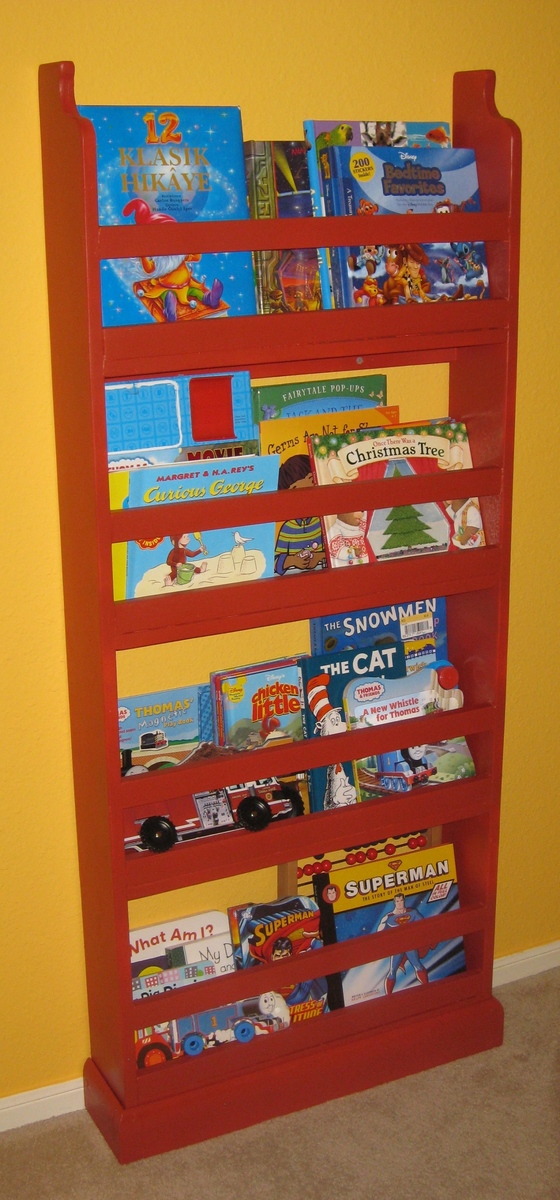
Michael's Book Shelves

Submitted by PINAR on Thu, 04/21/2011 - 14:46

The first furniture I built from Ana-White's page. My son liked it so much!

Ps: Home Depot employer cut all the pieces for me...Saved me an hour! :)

Built from Plan(s)
Estimated Cost
$20
Estimated Time Investment
Afternoon Project (3-6 Hours)
Finish Used
Krylon - Pimento- Satin Spray
Recommended Skill Level
Starter Project

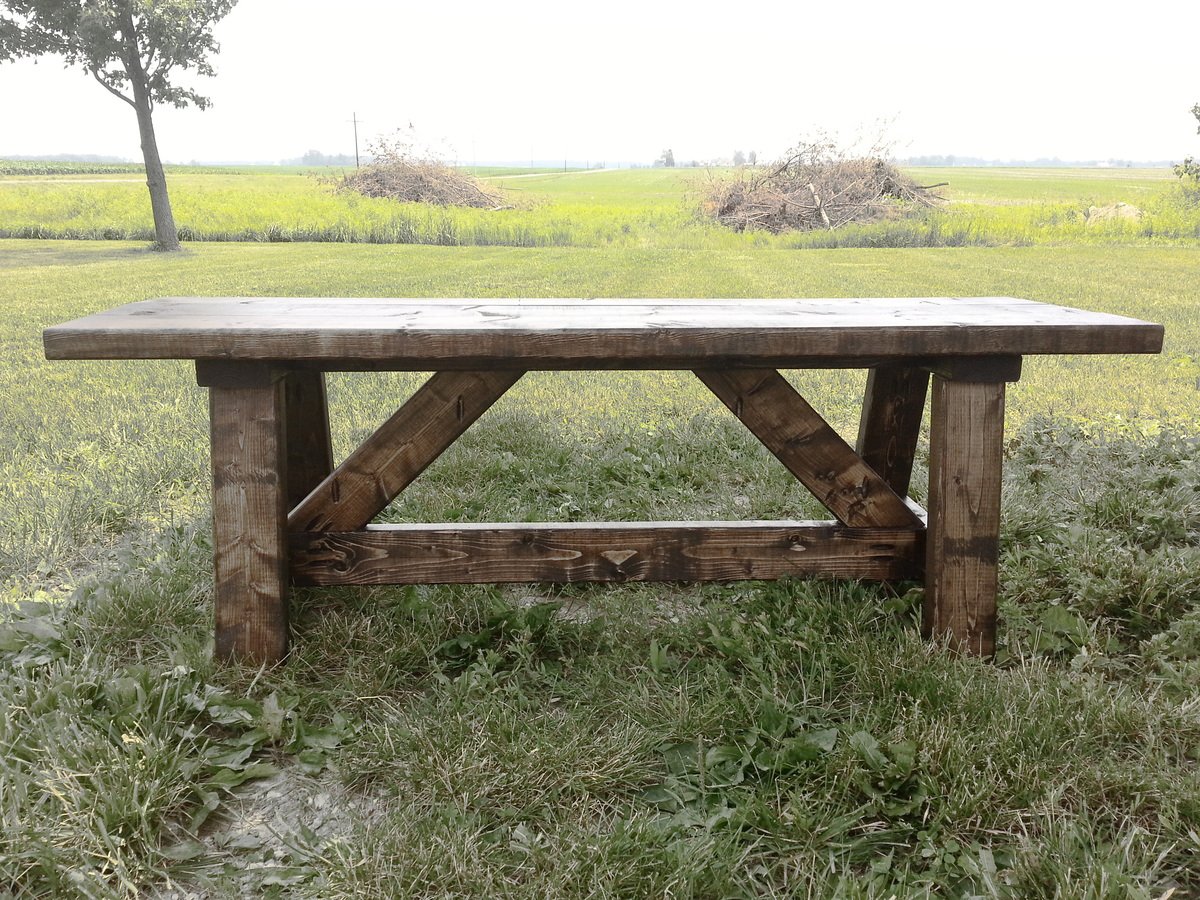
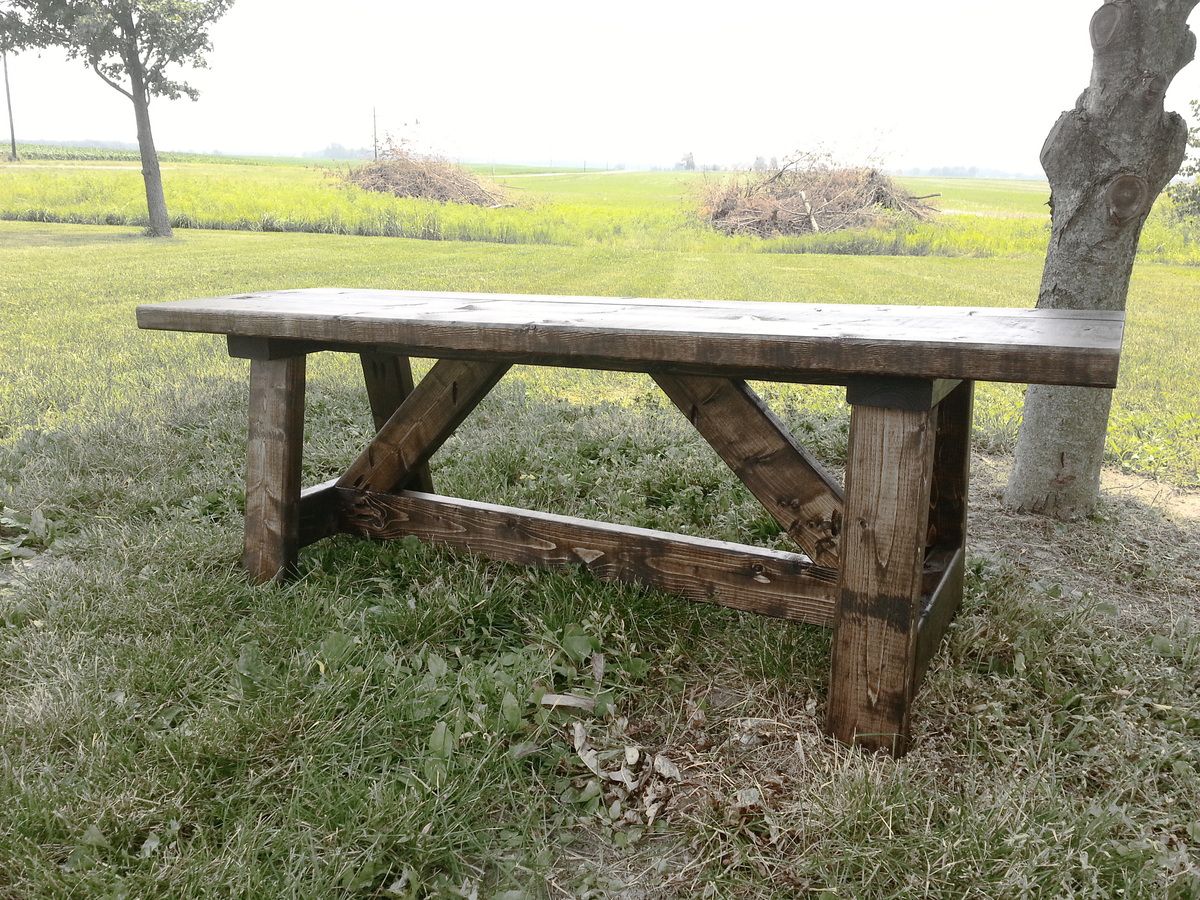
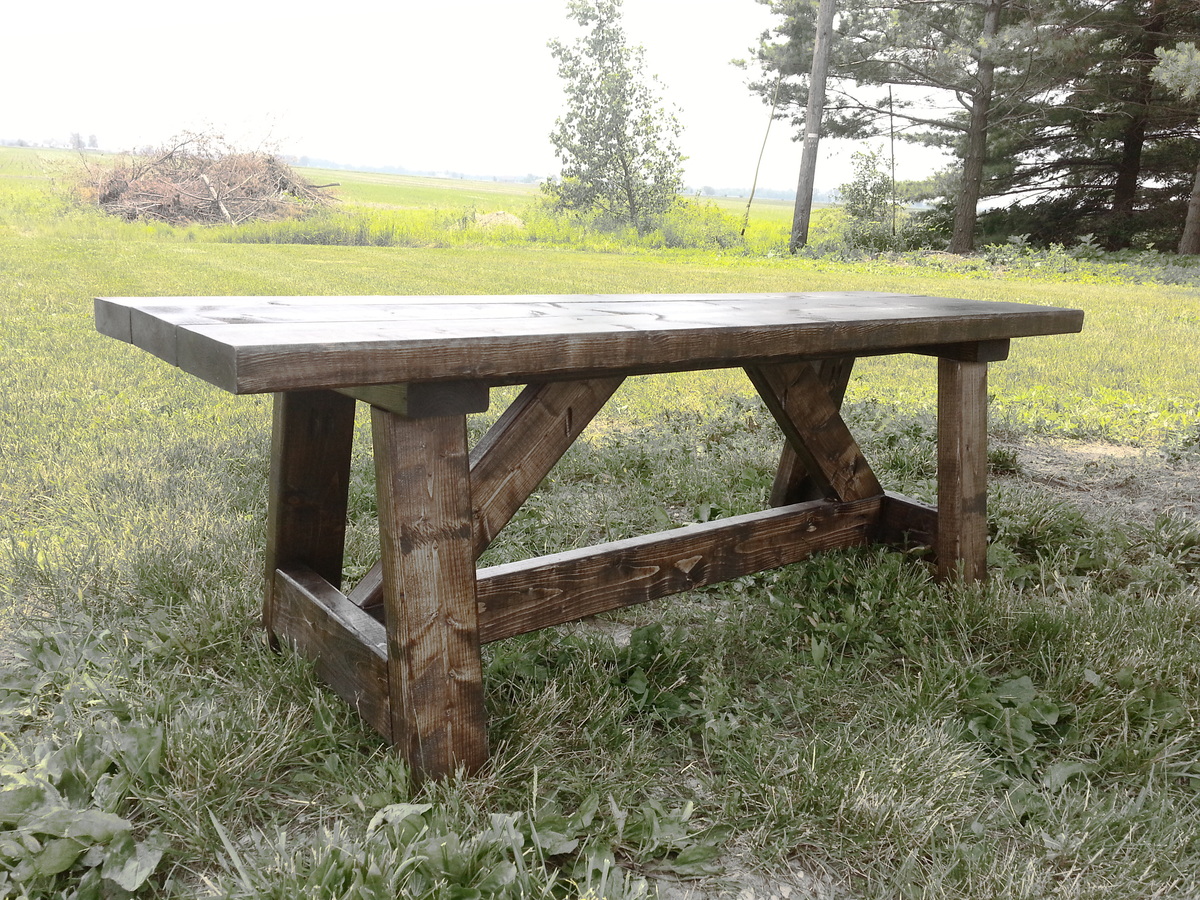
Rustic Providence Entry Bench

Submitted by bludevil35 on Mon, 06/24/2013 - 06:36

My wife, Carrie, and I decided to make this bench for a very deserving couple for their wedding. It turned out great and this will be the first of many pieces we'll build. Thanks for the plans Ana!
Built from Plan(s)
Estimated Cost
$8 We already had the wood, just had to buy the stain.
Estimated Time Investment
Afternoon Project (3-6 Hours)
Finish Used
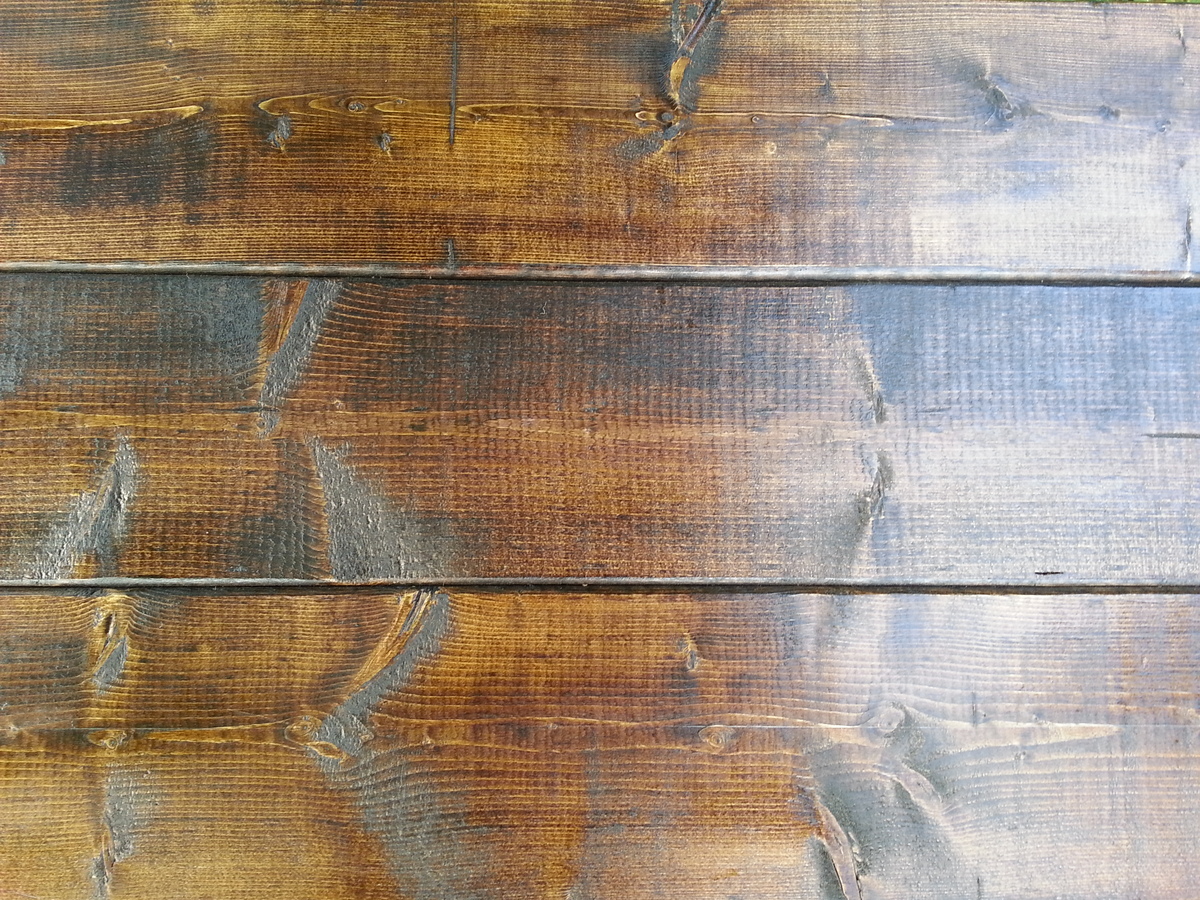
Minwax Dark Walnut- 1 Coat with Foam Brush, waited 10 mins to wipe off. Then the next day Rustoleum Spray on Poly 1 light coat.
Recommended Skill Level
Beginner

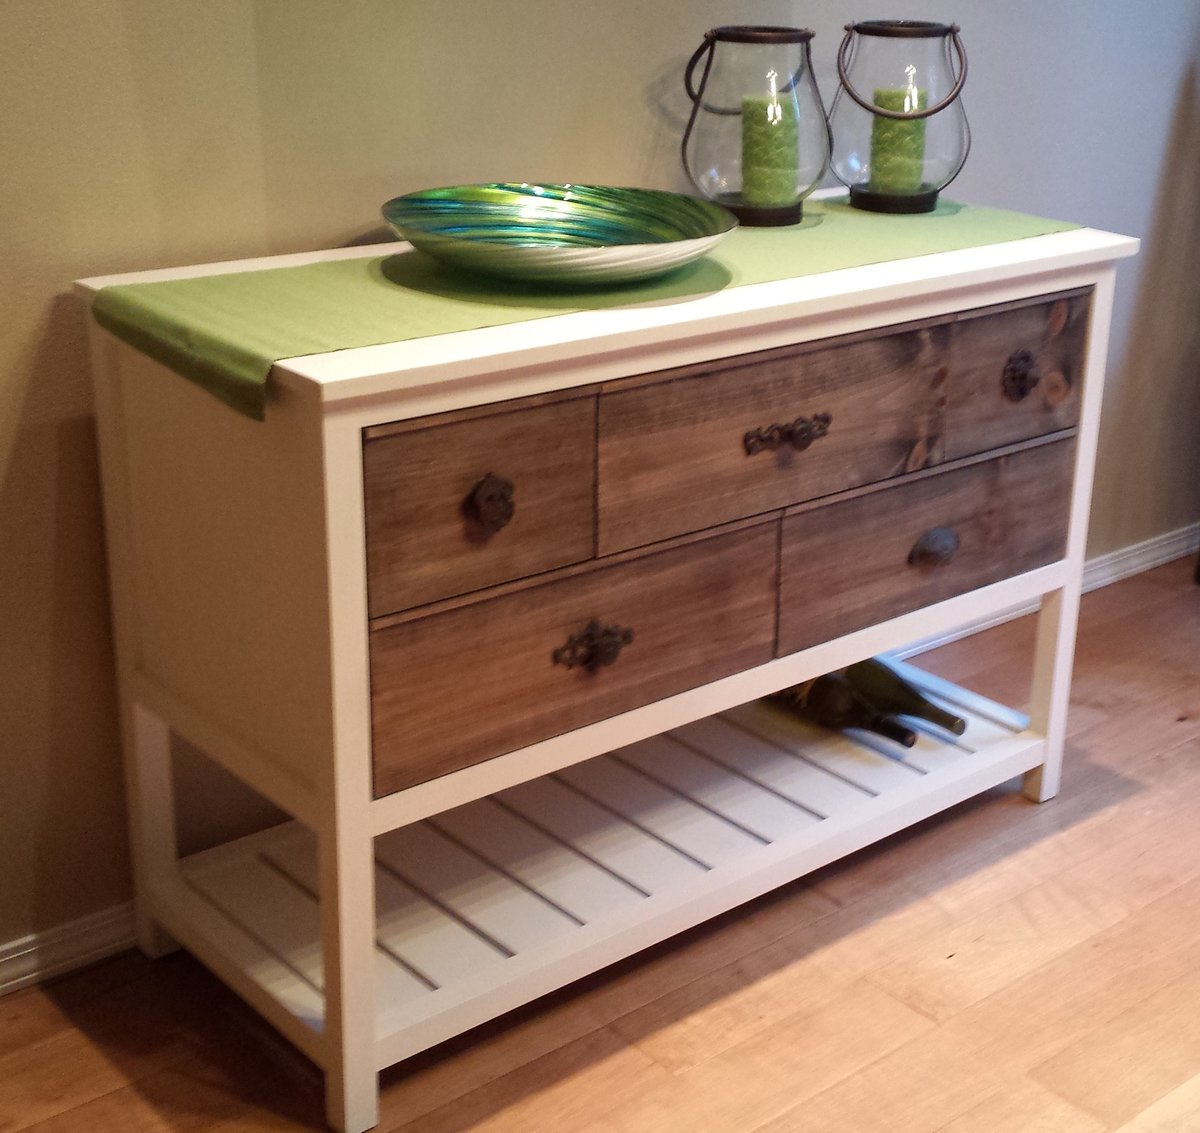
Buffet

Submitted by fortasha on Fri, 06/05/2015 - 22:57

I'm a novice- but these plans were so great that it came out beautifully! Definitely won't be my last project using plans from this site. Rogue Engineer rocks!
Built from Plan(s)
Estimated Cost
$130
Estimated Time Investment
Weekend Project (10-20 Hours)
Finish Used
Mix of Annie Sloan Chalk Paint in Old White and Pure White for the cabinet. Made my own stain from steel wool disolved in vinegar mixed with black tea for the drawer fronts. Sealed with Rustoleum Ripple Effect Poly which is supposed to give it a rustic textured finish, which it did, but it also yellowed my white paint. So I will be stripping that off and resealing with General Finishes Poly
Recommended Skill Level
Intermediate

Comments

les5010

Sat, 08/15/2015 - 09:37

This project turned our beautifully!!! I love the hardware that you used on this piece!  Where did you get it?