Community Brag Posts
Pergola Sectional
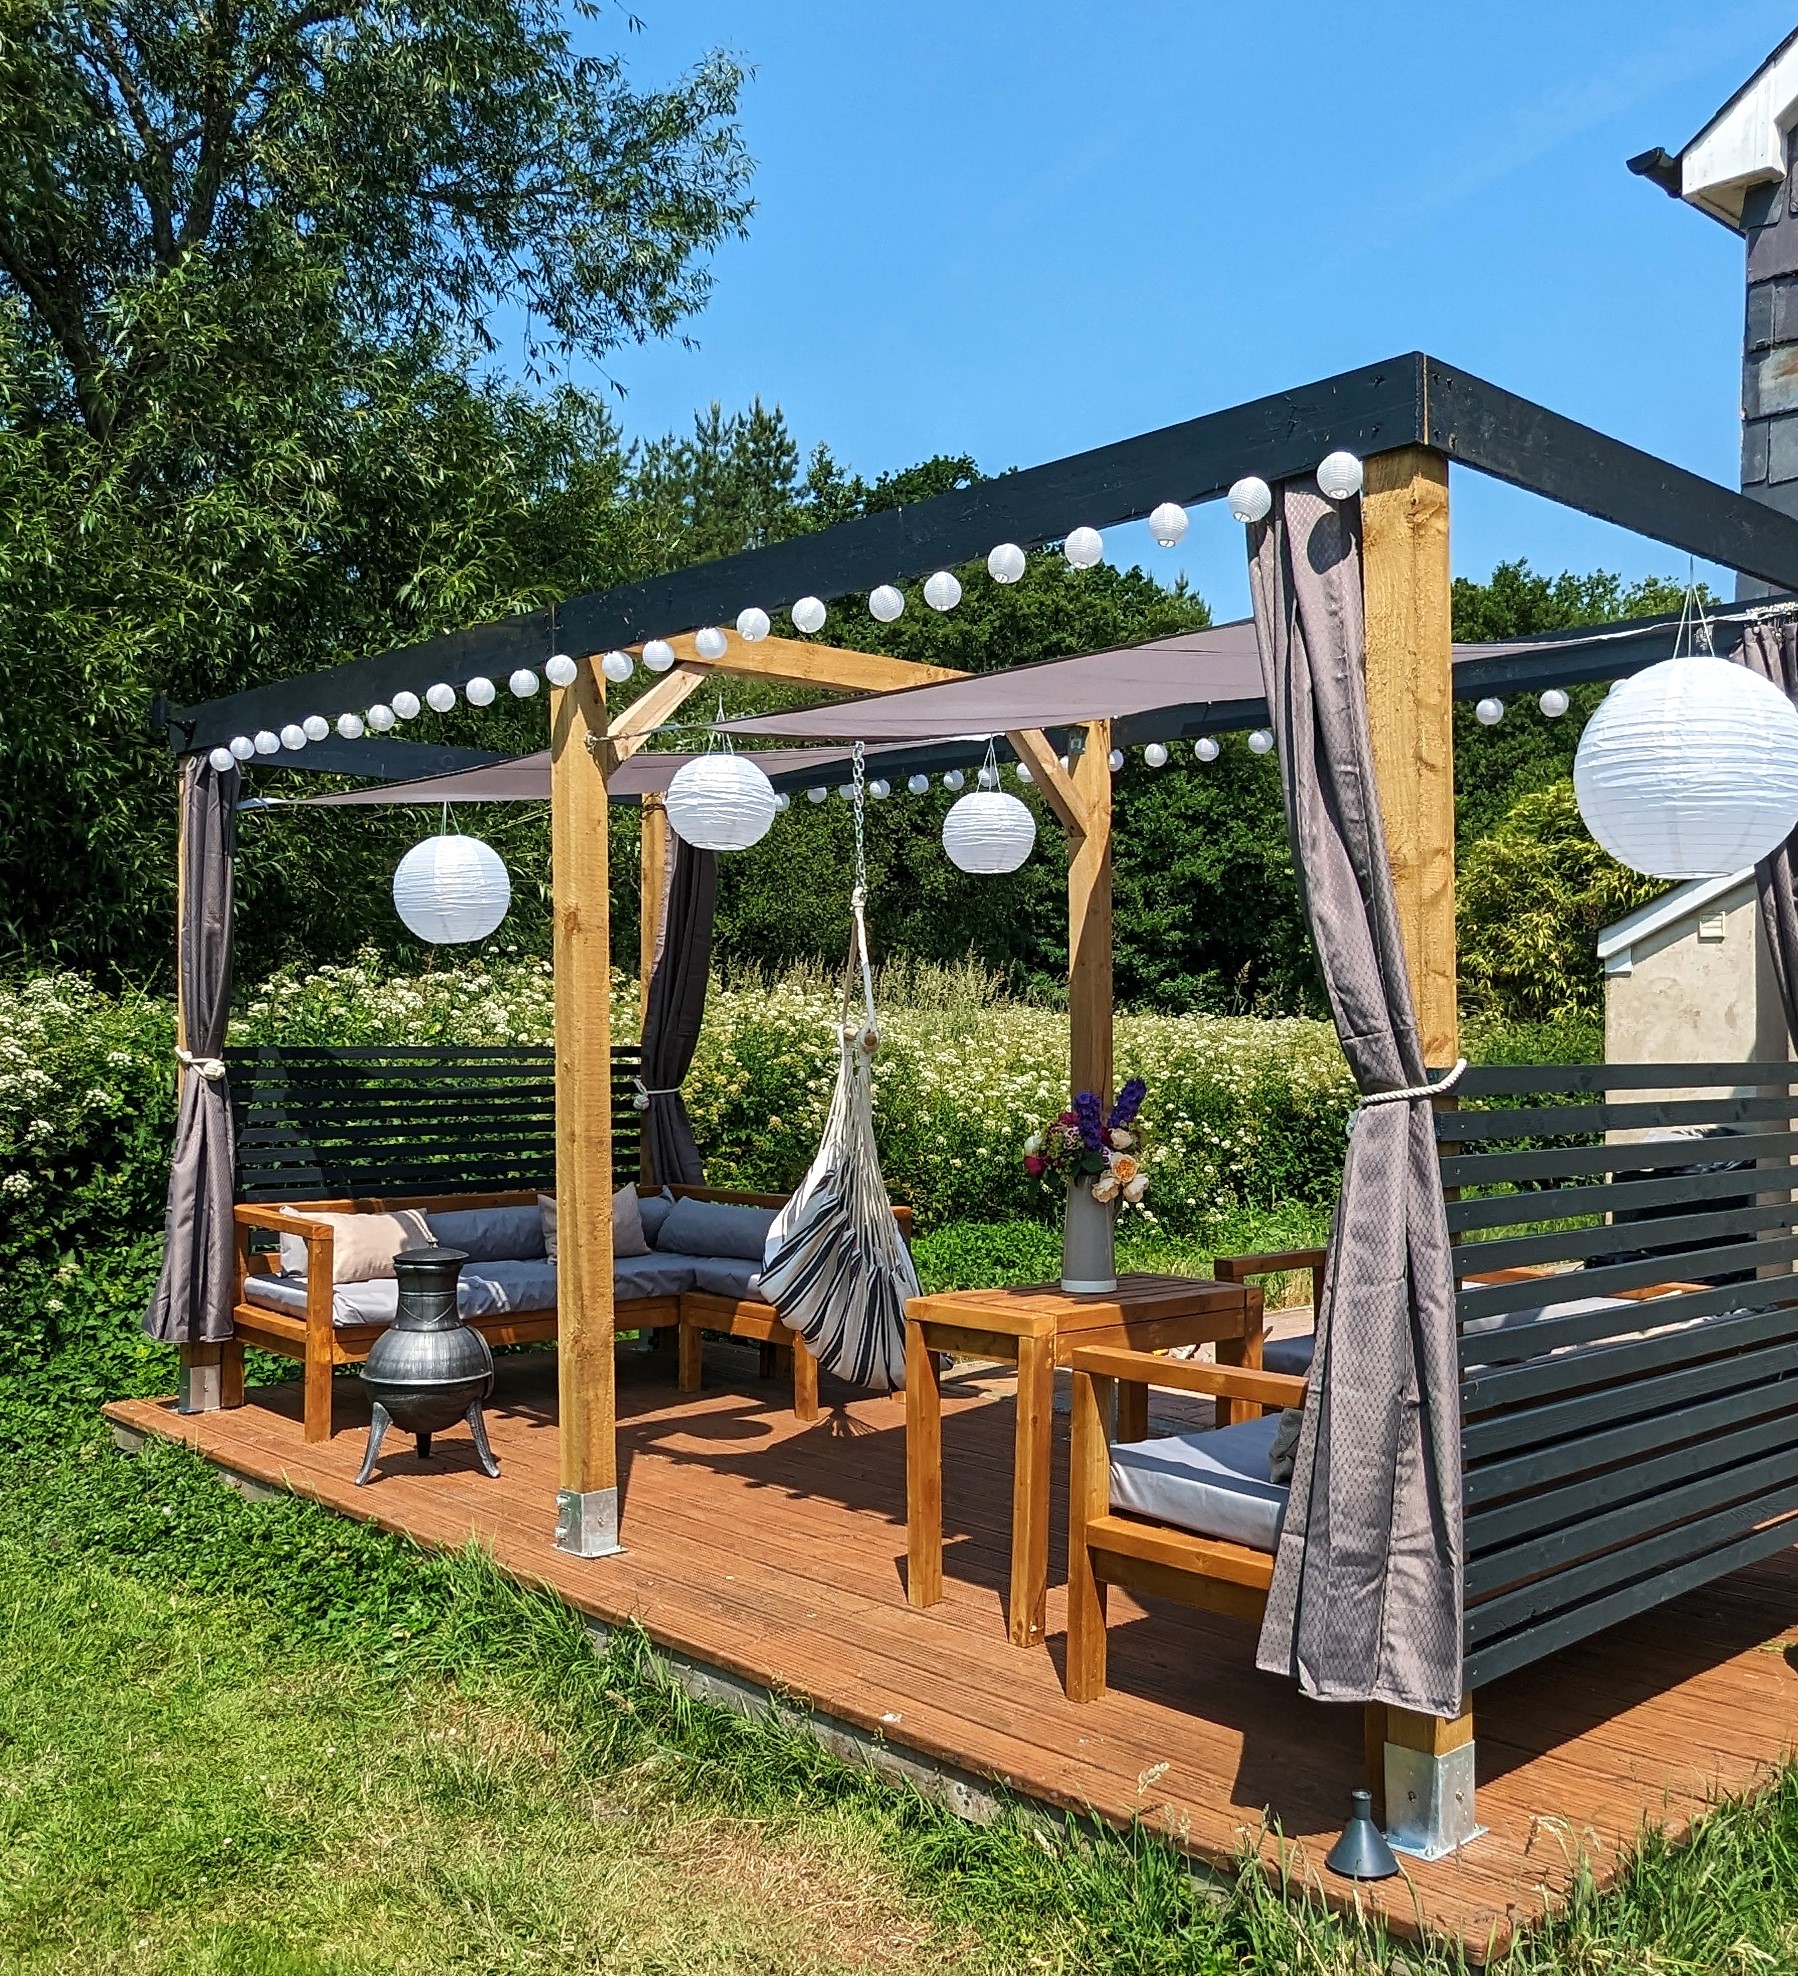
My first ever attempt at woodworking, after I built the pergola I used the 2x4 outdoor sectional plans and modified slightly to fit the space I had. So easy to follow and delighted with the result. The hardest part of the whole project was making the cushions, that's how easy the woodworking plans were to follow!
@louspoutsstuff tiktok - Lou brown
Rustic bench
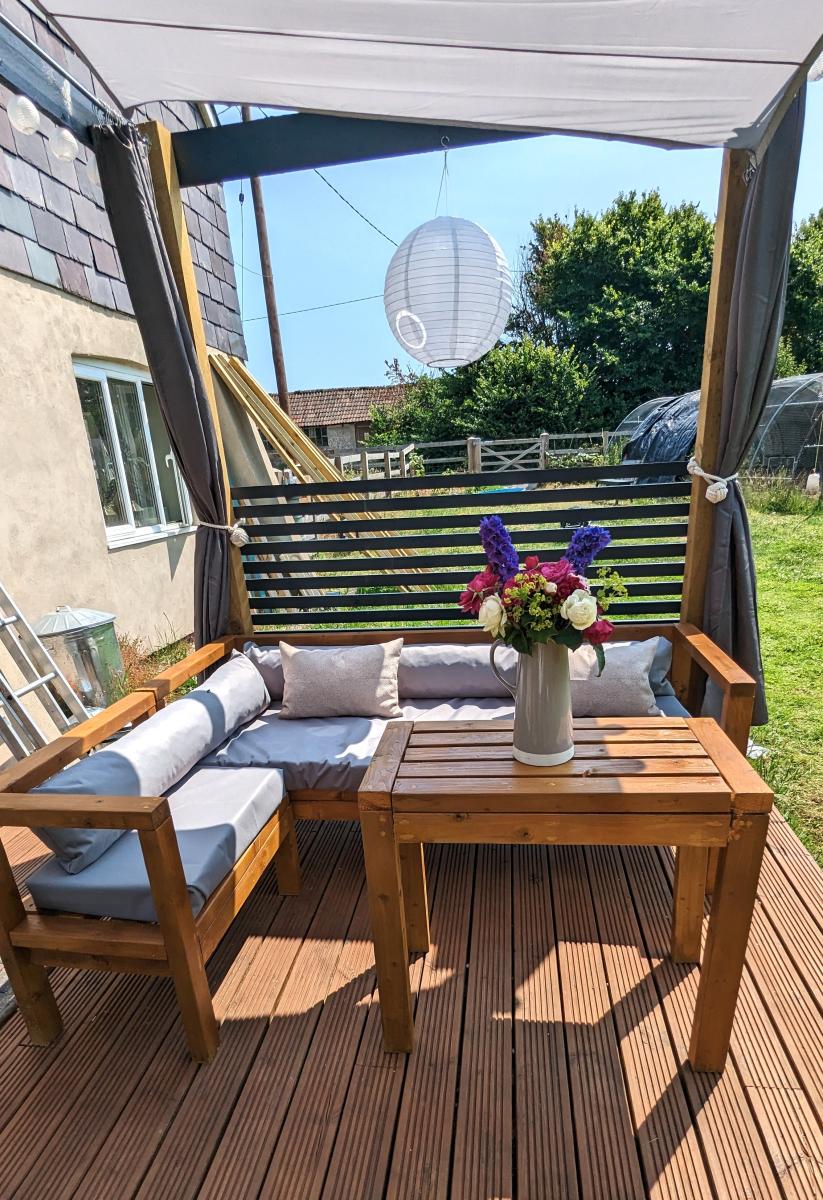
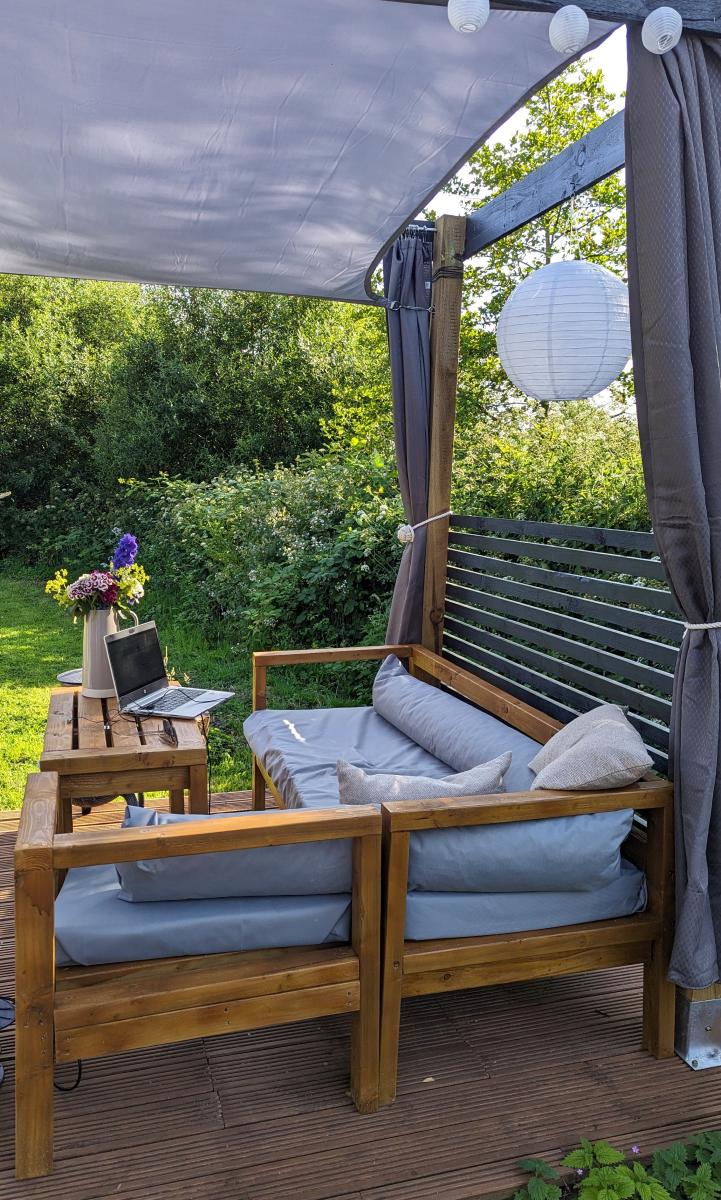
Fun little bench to make for our front porch. We liked it so much we built 2 more smaller ones one for each of the kids to go with mommy and daddy's bench. Bought all the material at the home store and decided to use stain since it was going to stay outside. Used the same method with all my other projects sanded using 180 than 220 grit, wood filled all the cracks and the Kreg Jig made this simple.
Chelsea Bunk Bed System
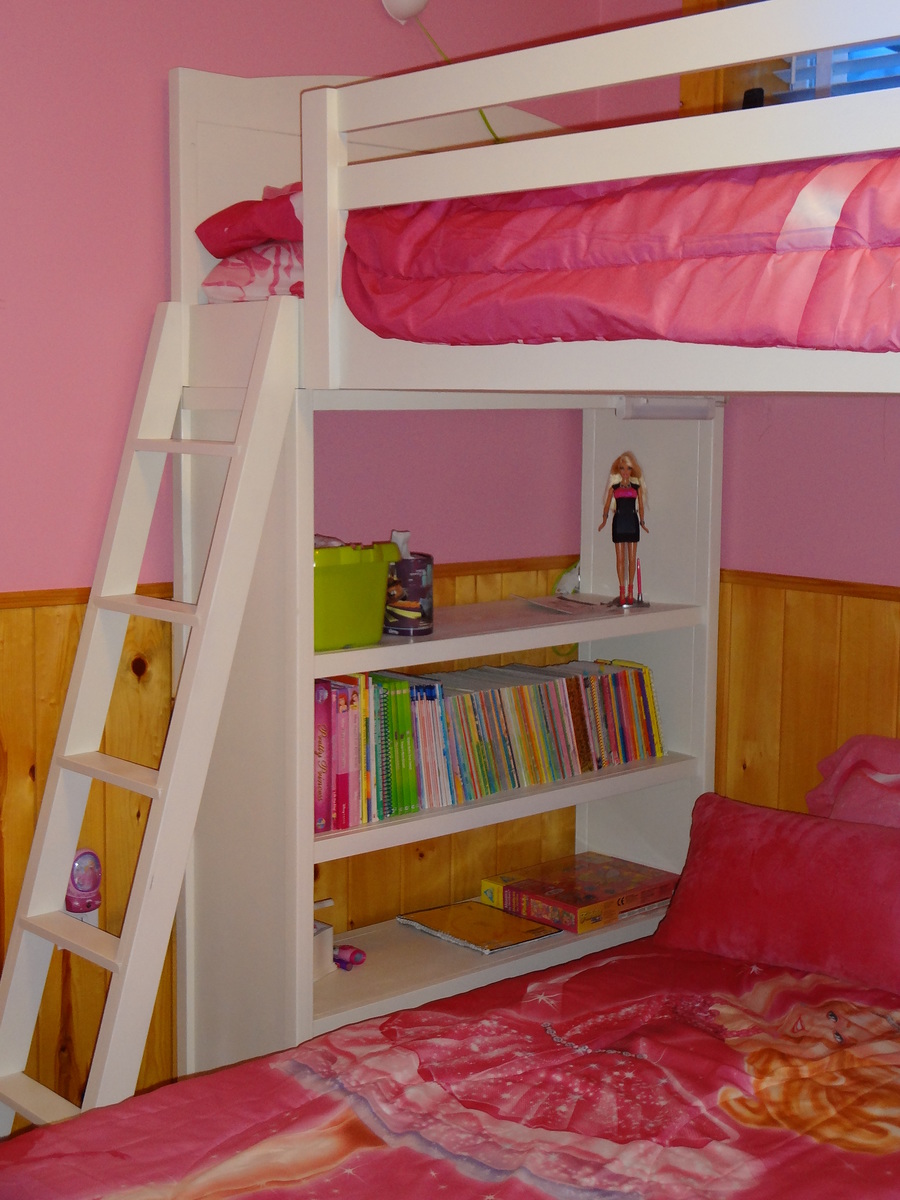
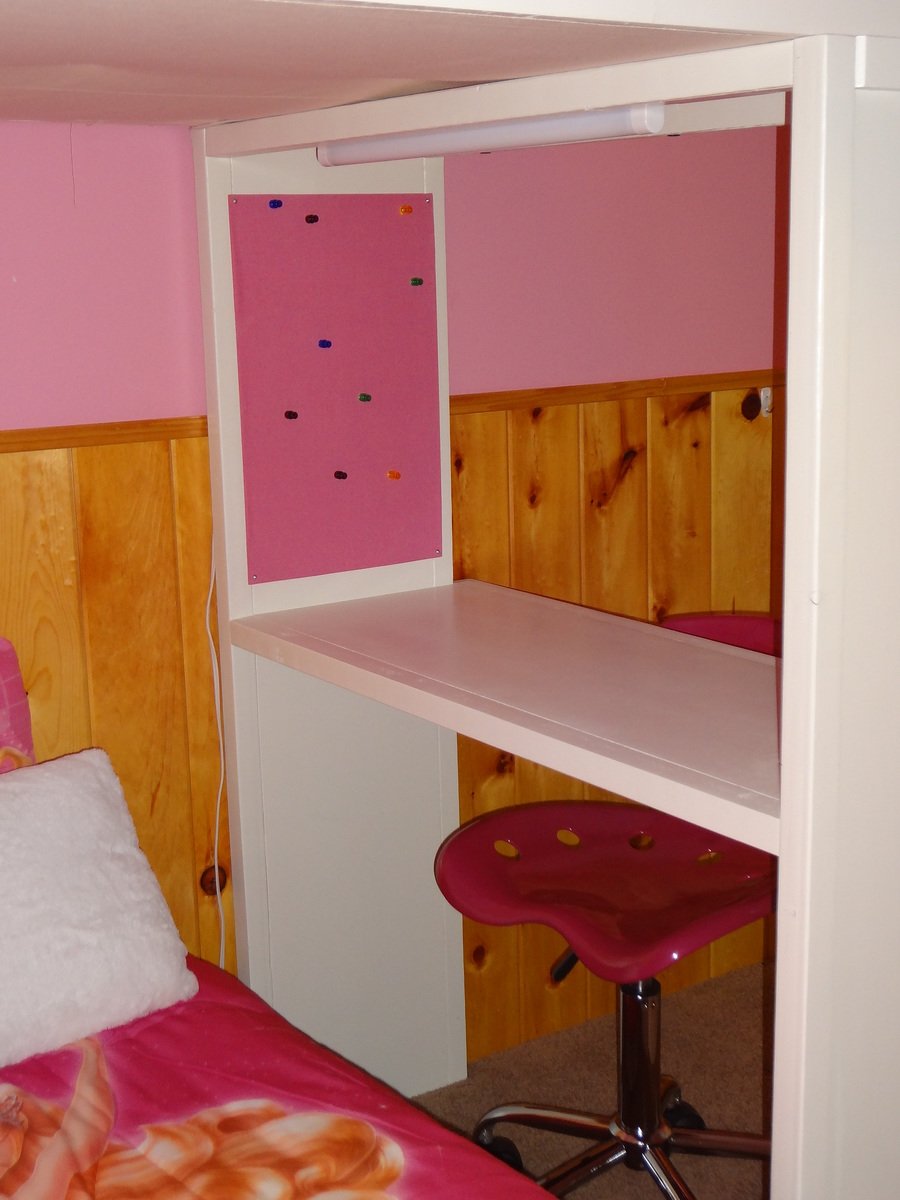
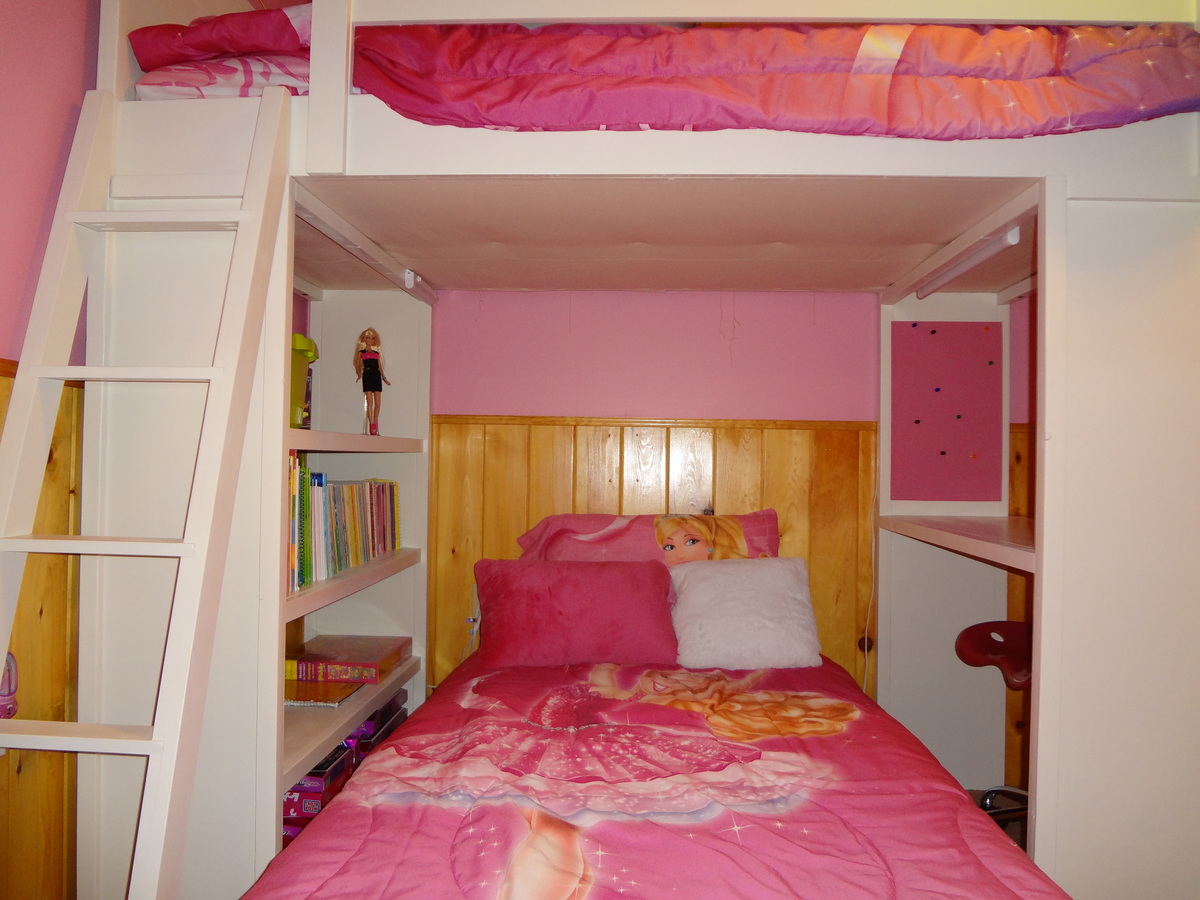
My dad and I built these beds for my 7-year-old daughter for Christmas. We followed the plans almost completely, with a few tweaks of our own. We didn't feel that the decorative feet would be very stable, so we just continued the length of the bookshelf and desk all the way to the floor. We put a piece of 1/4 in. MDF on top of the slats to help support the memory foam mattress. We also stapled canvas to the underside of the top bunk to hide the slats. I didn't want a headboard or foot board on the lower bunk (toe-stubber!), so instead of building the matching Chelsea bottom bunk, we just made a simple platform bed. We added magnet boards to each side of the desk. I liked the idea of magnets better than bulletin boards. Since this plan didn't include a ladder, we built the ladder from the Loft Bed plan. The bed had some significant wobble to it, so we attached it to the wall. Took ALL of the wobble out and it is very solid and secure now. I'm very pleased with how these beds turned out and my daughter loves them as well!
Bathroom Mirror
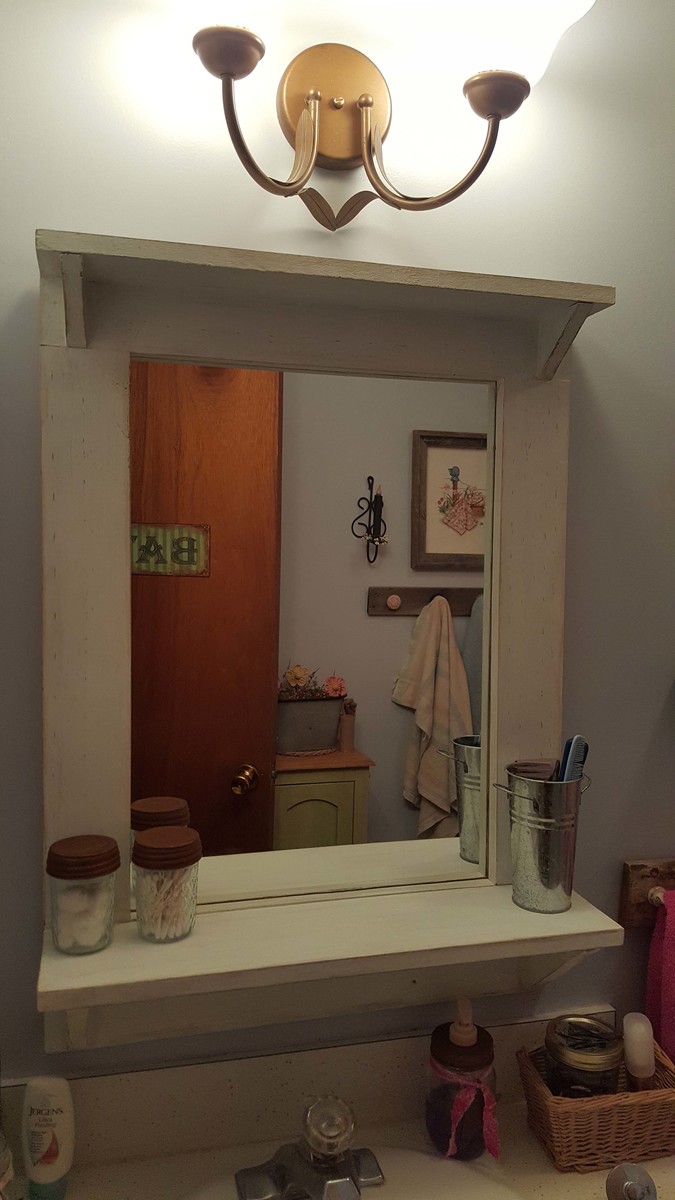
This project is the mirror from The Handbuilt Home and is the first project I made from the book. I changed the size since I wanted the mirror for my bathroom and adjustments were so easy to do. I used regular pine boards and a mirror I got from Lowes - Lowes cut the mirror to the size I needed at no charge. I painted the frame with two coats of a celery colored chalk paint, one coat of white chalk paint then sanded to distress. I attached the mirror using a glue and seal caulking and secured with mirror brackets so I could hang up right away without waiting for the glue to dry . This was a super fun project, easy to do. Love the book, and plan to build more projects from it!
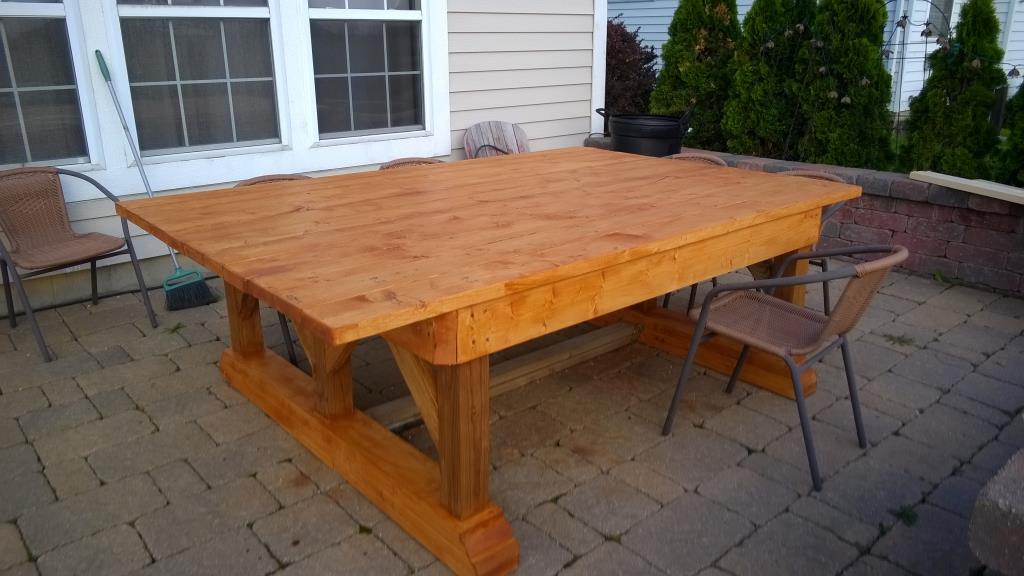
Trestle Outdoor Table
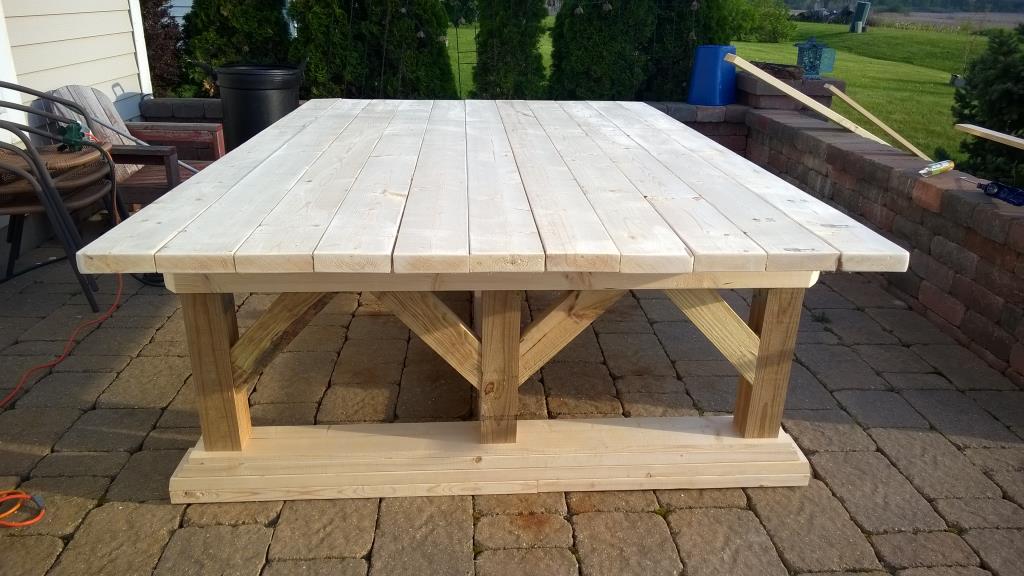
Love large family gatherings in the summer and this table was just perfect for that purpose.
Planter Deck Steps Doubled Up
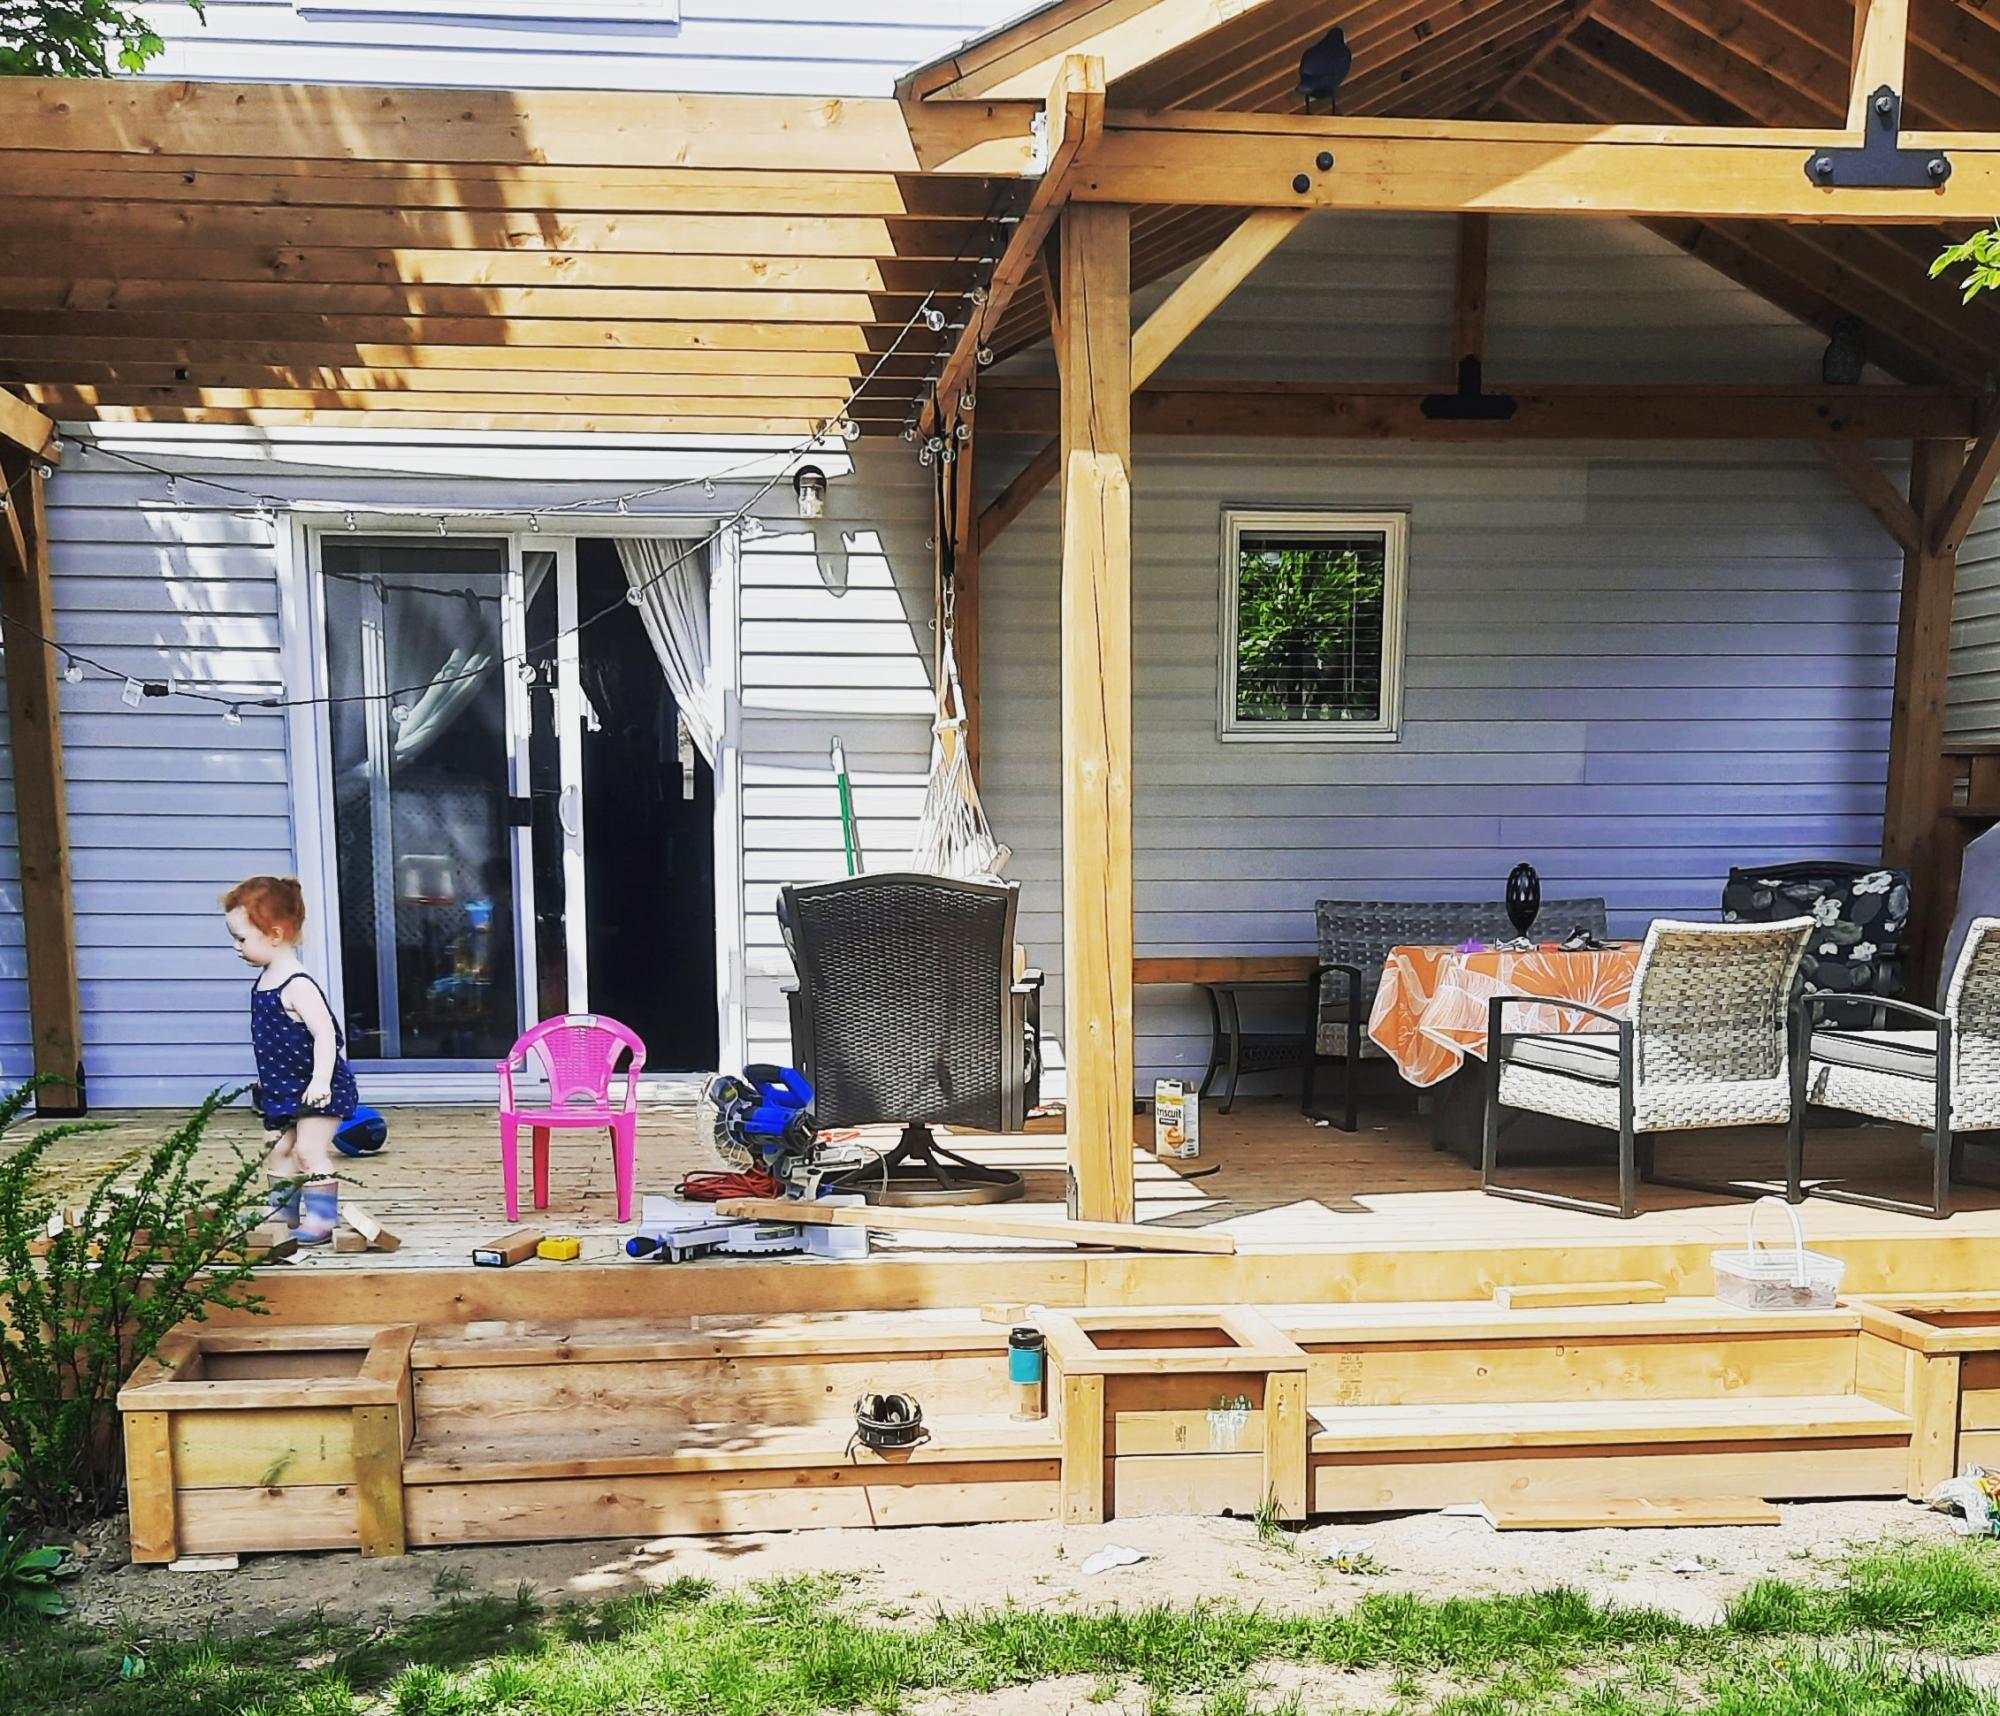
Added another set of steps and planter box. Thank you so much for the plans. It was a quick easy project that was doable in 2 nap times.
Brittney
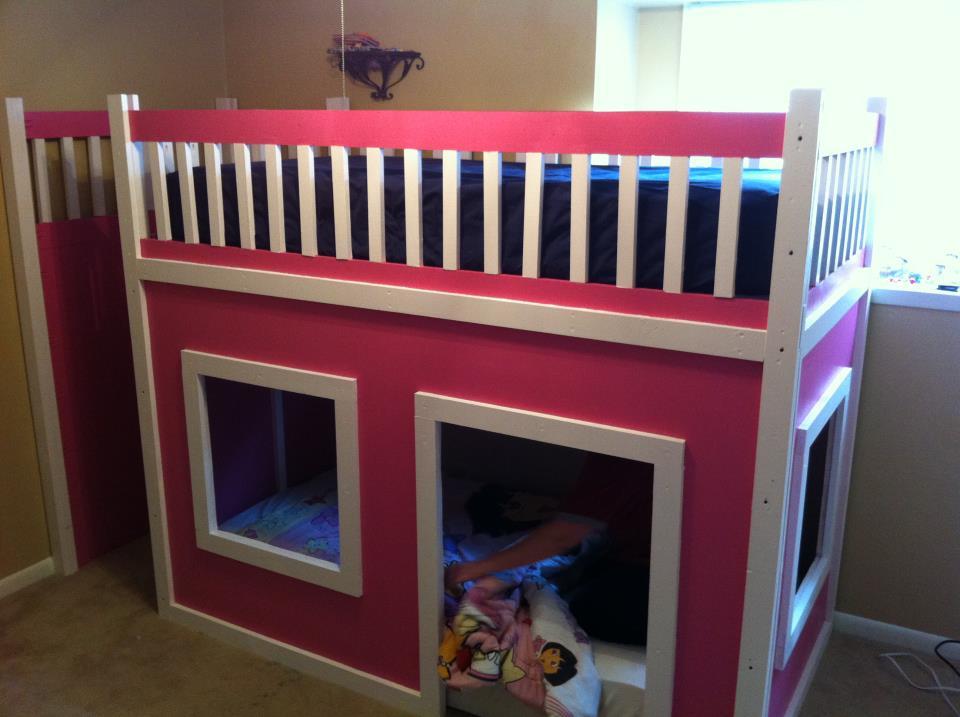
Princess bed for my princesses
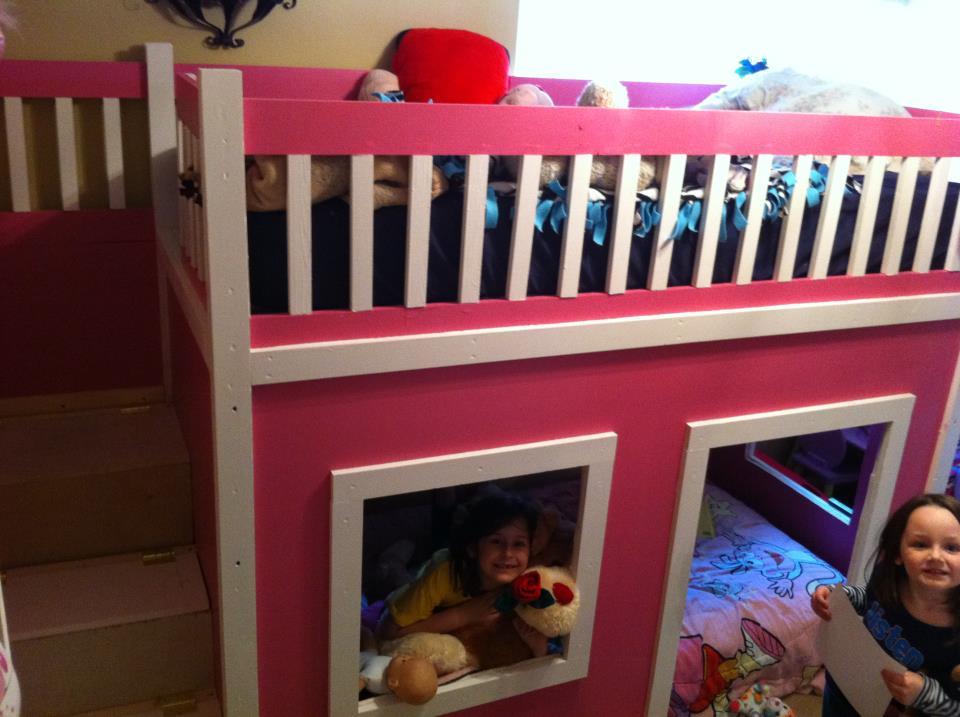
After about a month of looking for a new bunk bed for my daughters and becoming more frustrated with every new search at the outrageous price and often cheap quality of what's available I decided to look to the web for inspiration to build one myself. It took a little while to work myself up to going for it but man am I glad I did. And I am even more glad I found Ana White's site almost immediately. Her incredibly well written and documented plan for this bed made it not only doable but incredibly fun for me. And it gave me the confidence to create a loft bed for my son from nothing but an idea and dream. Thanks a ton Ana!
Comments
Thu, 06/12/2014 - 11:01
Bottom Mattress?
Hello.....is that another mattress in the bottom portion of the playhouse? If so, how did you get it in there? I wanted to try and put another mattress in the bottom but couldn't figure out an easy way to get it in and out......
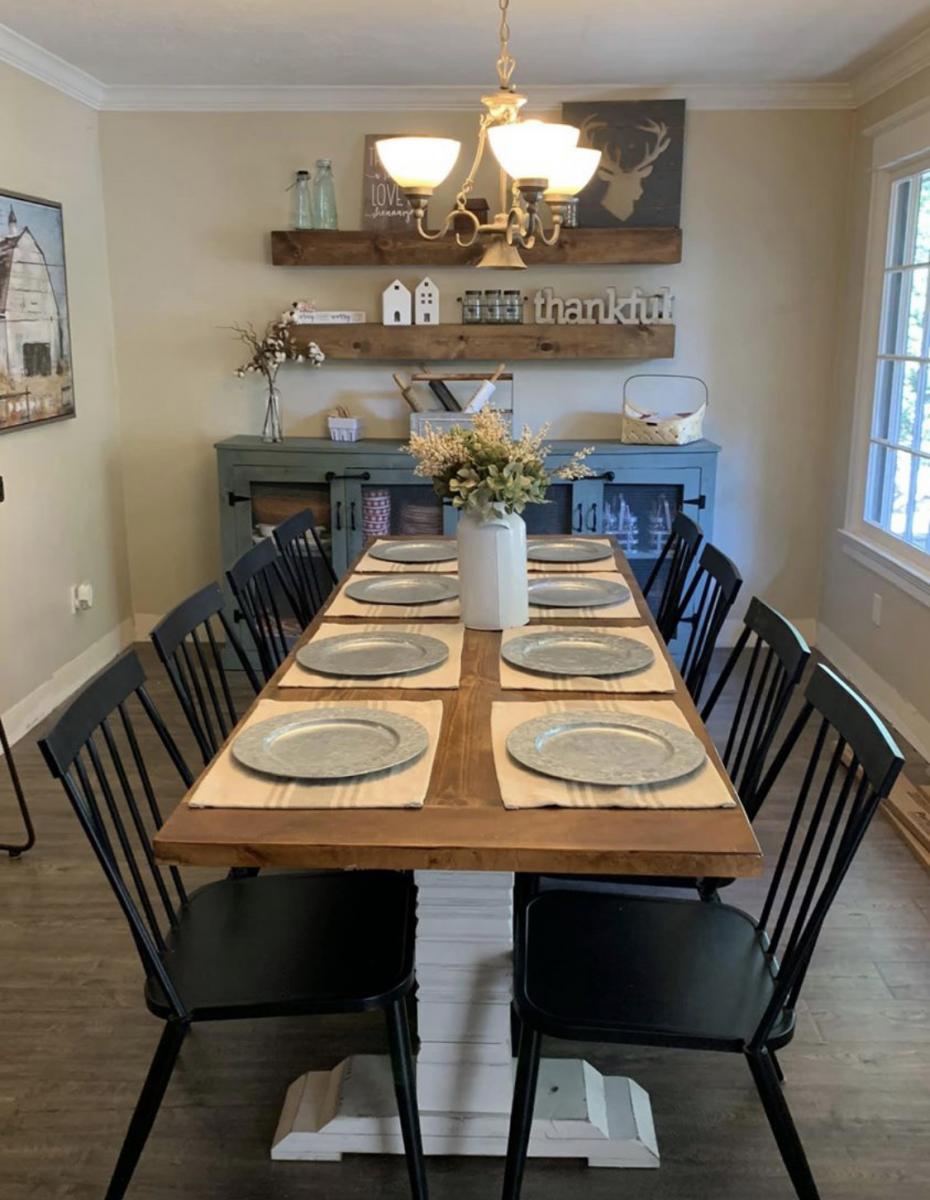
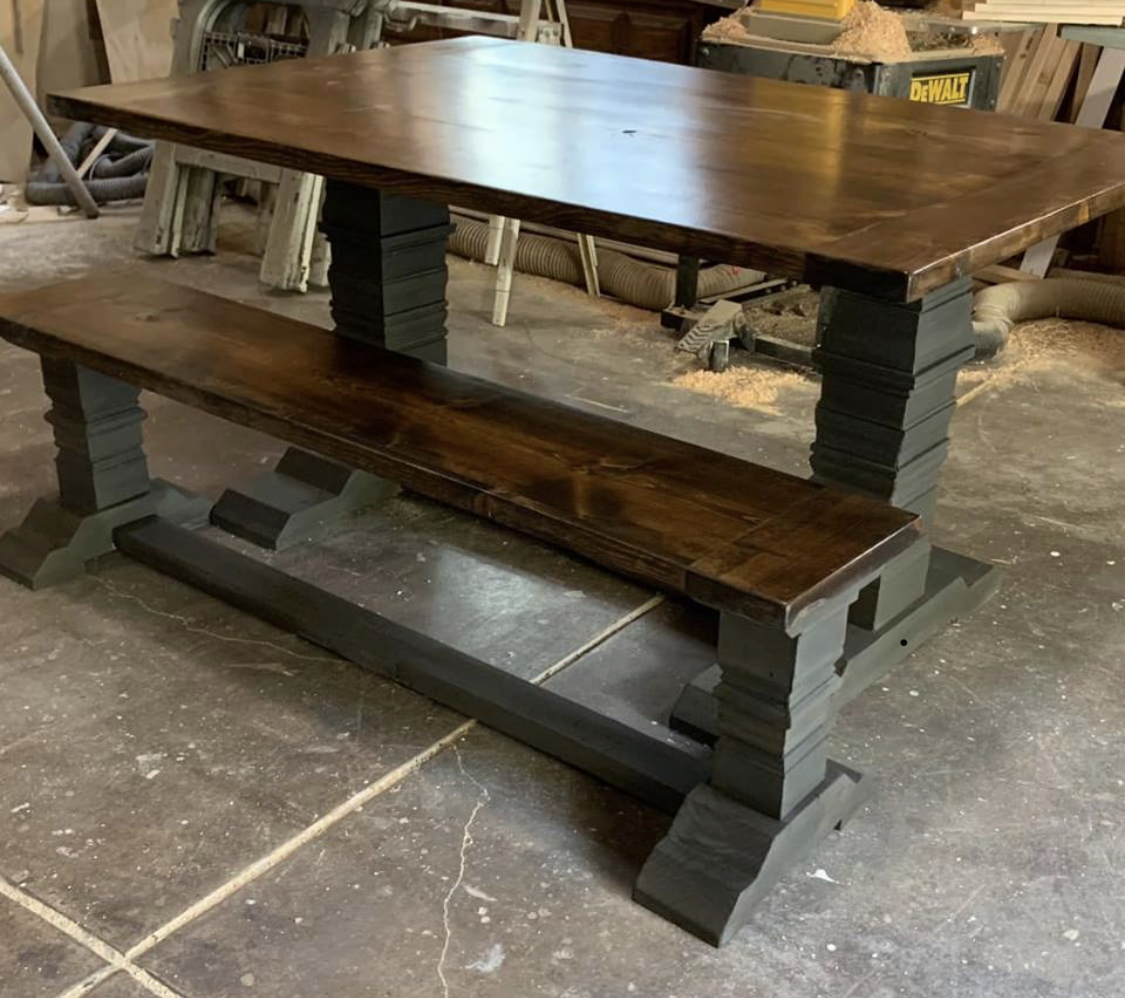
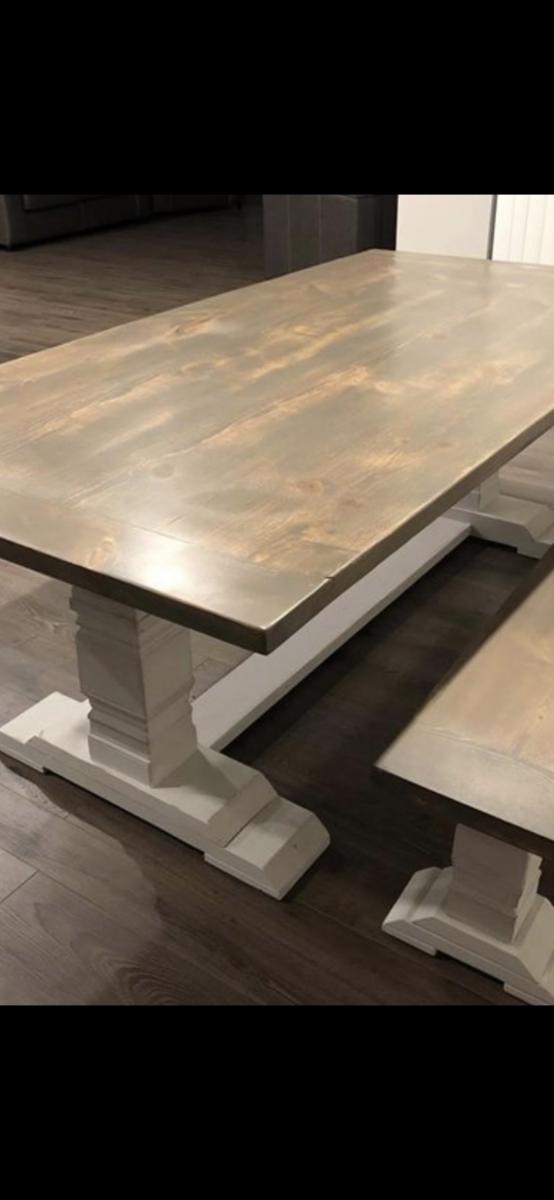
Triple Pedestal Farmhouse Table
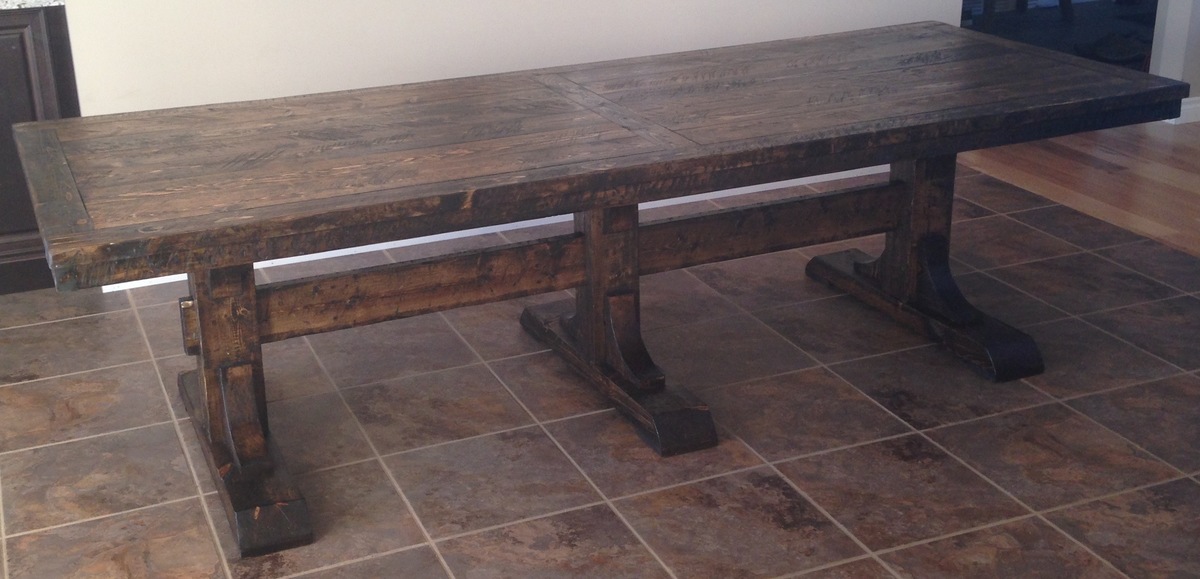
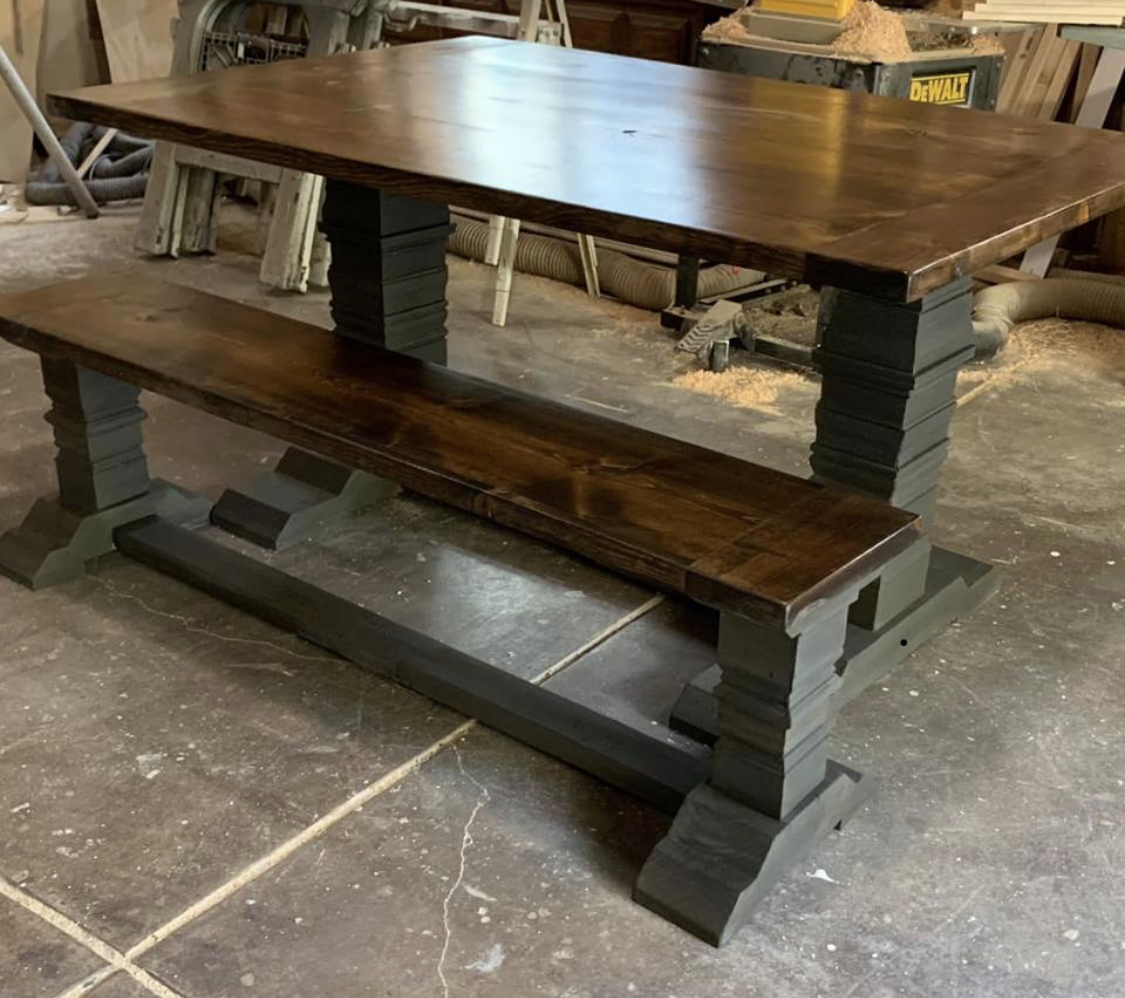
Made this table as a Christmas present for my wife. I modified a few details like the legs because I was able to use some old timbers from her dads farm. And for the apron, I just ripped a 2x6 in half. First time I've used plans from this site, thanks so much for making them available. -Matt M
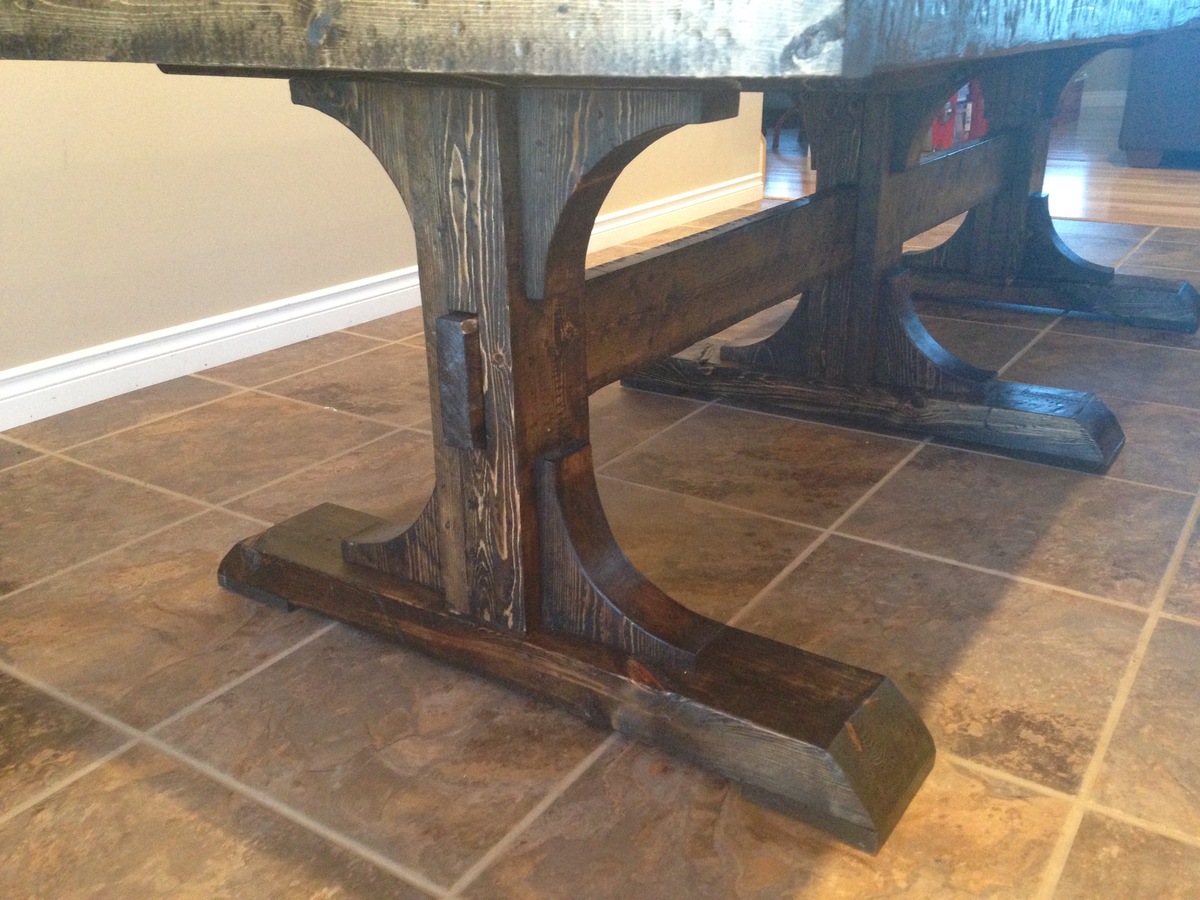
Minwax Wipe On Poly
Ultimate loft bed
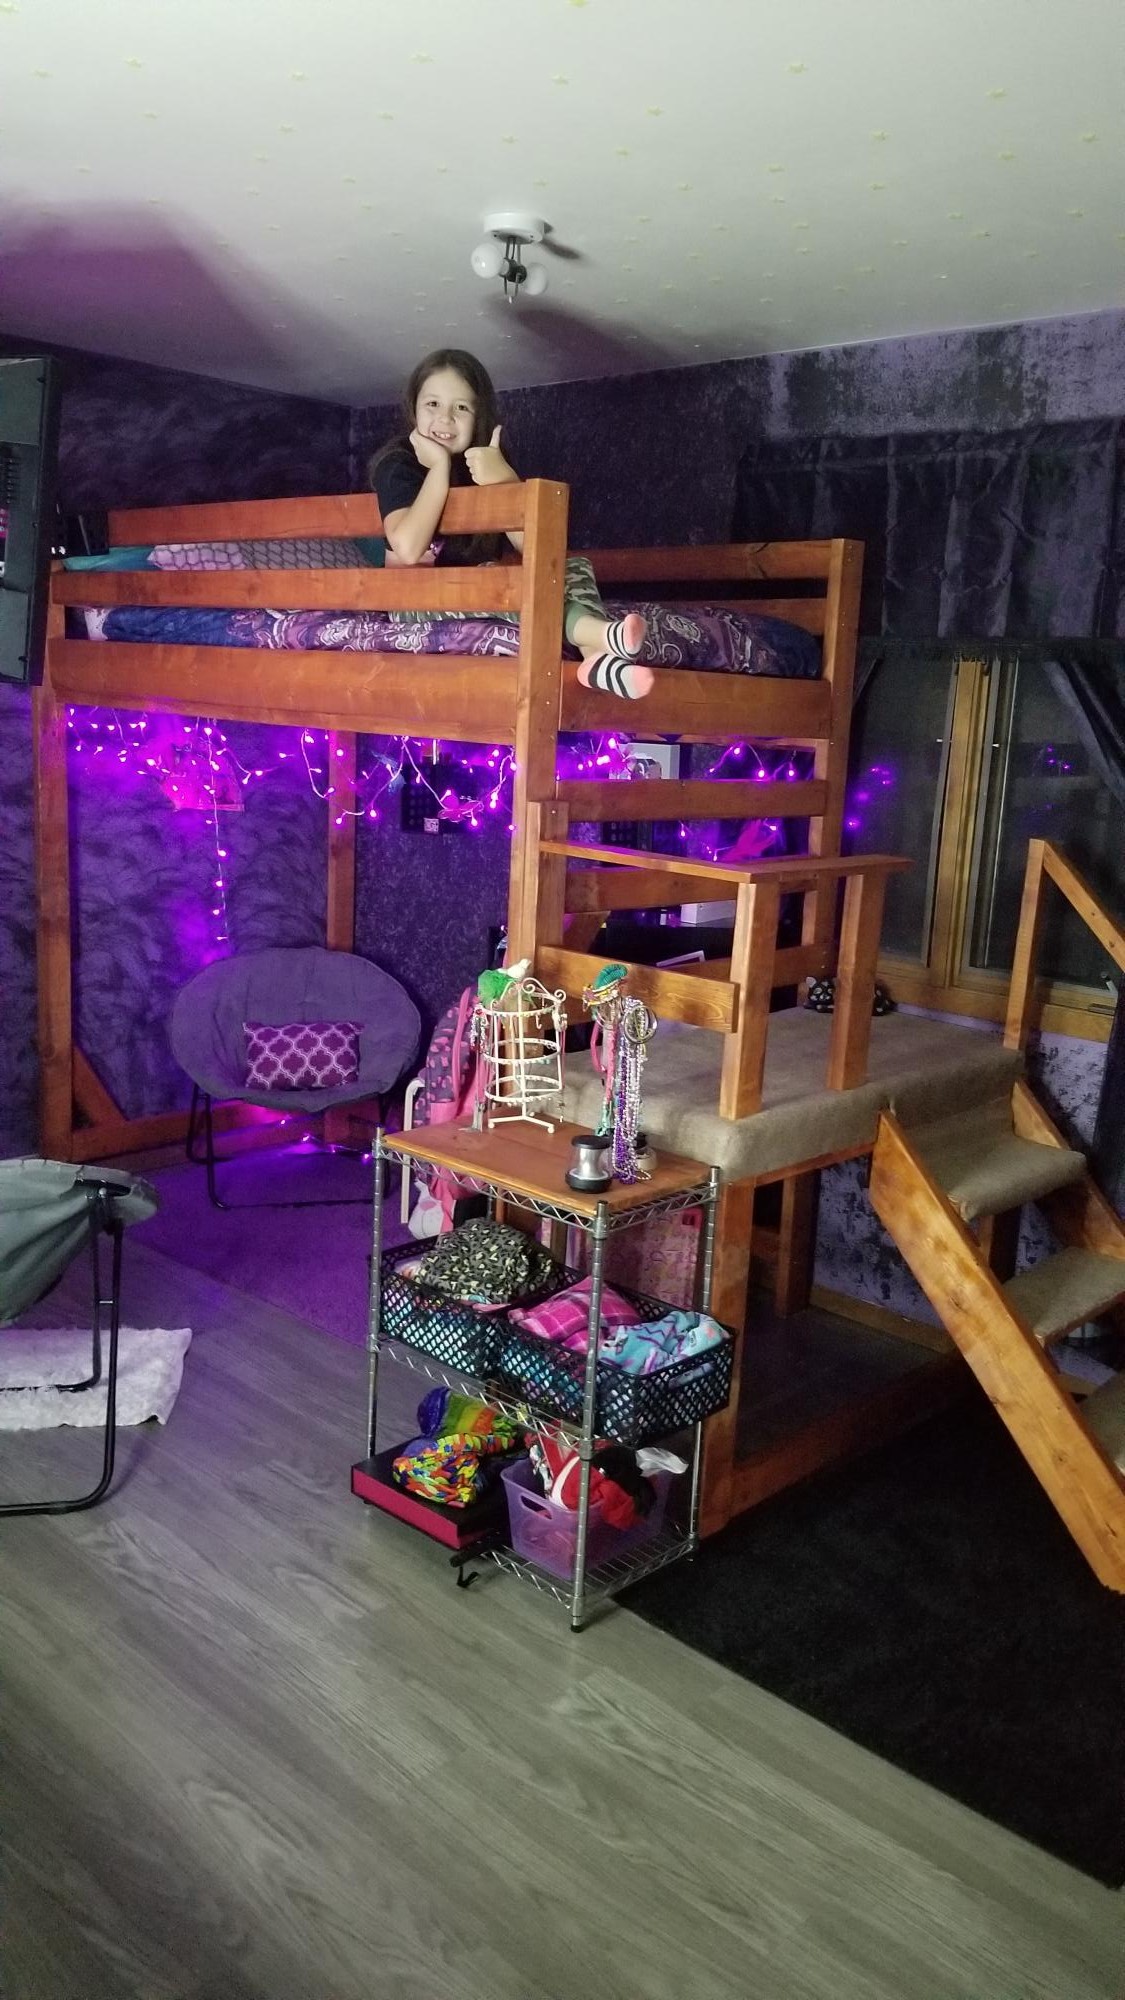
Extremely easy with Ana's plans. Under $100.
Comments
Wed, 11/06/2019 - 10:52
Wow this turned out really…
Wow this turned out really great! I love the carpeted stairs, what a great idea!
Delightful Potting Bench
DIY Potting Bench by At Home with Xin on Instagram
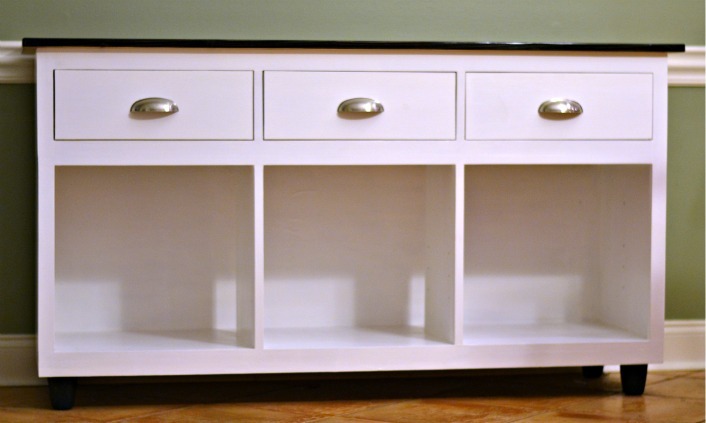
The salsa console with a twist
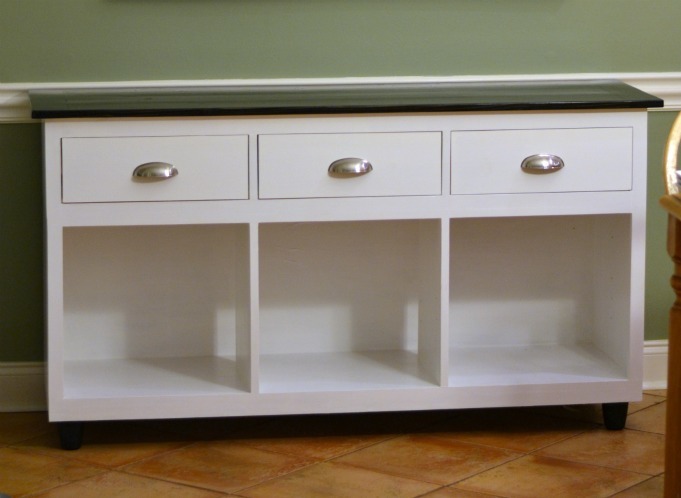
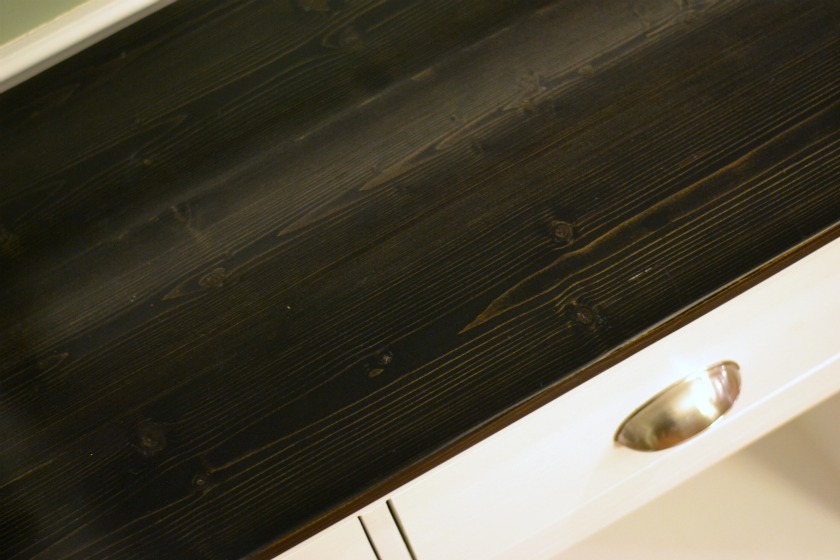
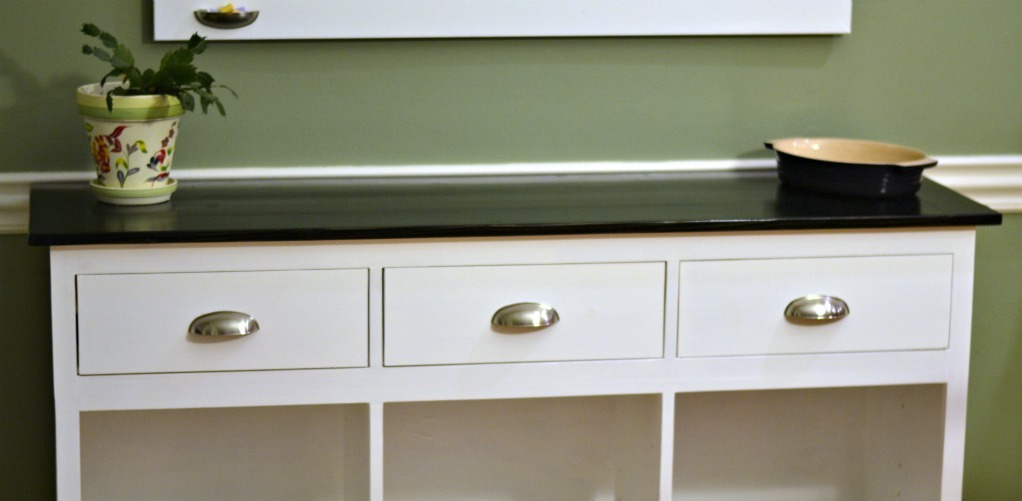
We took the plans for the salsa console and modified it by leaving the bottom of the console open. We painted it a bright white and stained the top.
Comments
Mon, 03/12/2012 - 15:13
Very professional
You did a very professional looking job. I would never have guessed that you didn't buy it.
Play Stand
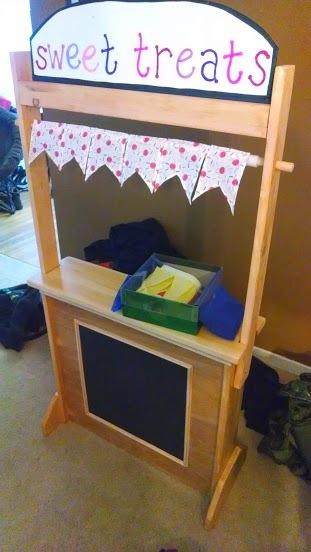
I saw this at the perfect time for deciding to make one for my niece for Christmas. It was too cute of an idea to not make!! She turns 3 at the end of January and it's perfect-sized for her. From what I hear, she threw a tantrum when her parents told her she had to stop playing with it because it was naptime! I'm hoping that she will share with her brother when he's older (he's about 7mos now) and they can play with it together.
I apologize for the lack of pictures, I got the buntings done about one day before we had to pack it up to head out for the holidays, so there wasn't much time for pictures!
For the hutch part, I attached each side with bolts and wing nuts so that it could be knocked down for transport (especially since we have smallish cars and had to drive an hour to gift it, and the recipient had to drive 2 hours back to their house!). I added some holes just under the dowel (lining up with the holes in the base when knocked down) so that it could be connected again as a shorter version for transport. This actually worked out pretty well and you can almost use the dowel as a handle when it's like that. The only issue I ran into with that was once I put the lower velcro on for the theater curtains, they would hit when trying to collapse it and we wound up losing one in transport.
Buntings weren't too hard, but I've been sewing much longer than I've been building! I did have some issues getting the theater curtain to lay right.
Pentagon Cooler table
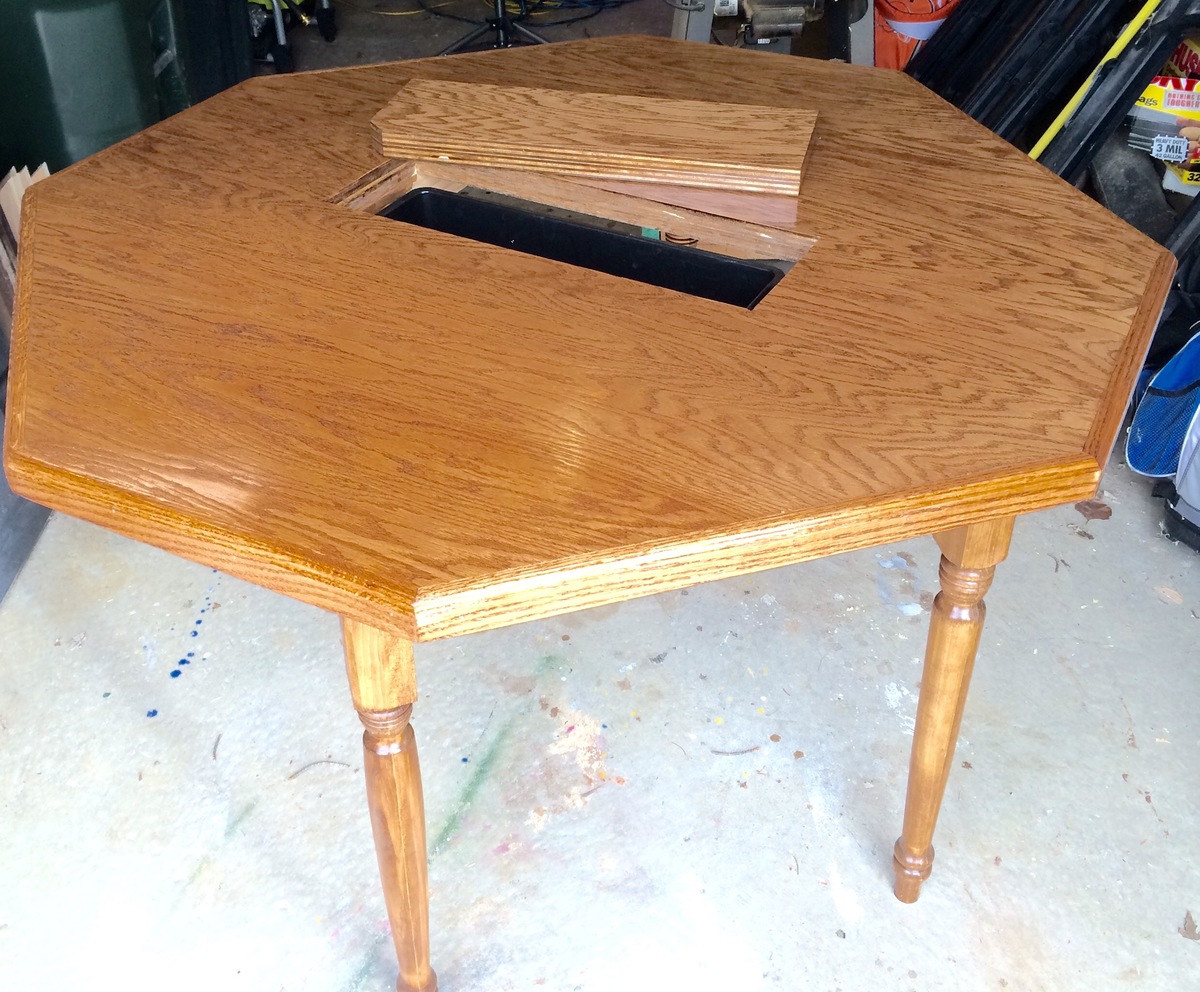
This table was made with already turned legs purchased at HD, one 4 x 8 sheet of oak plywood cut into two 4 x 4 sheets, pine for the cooler supports and edged with 1 x 3 oak routed with an ogee detail. Table supports were attached to the legs using pocket holes. Legs and supports were attached to the table bottom using pocket holes. The opening for the cooler was cut by plunging a circular saw from the top.
Minwax Polycrylic Polyurethane
Tablet retro holder TV set
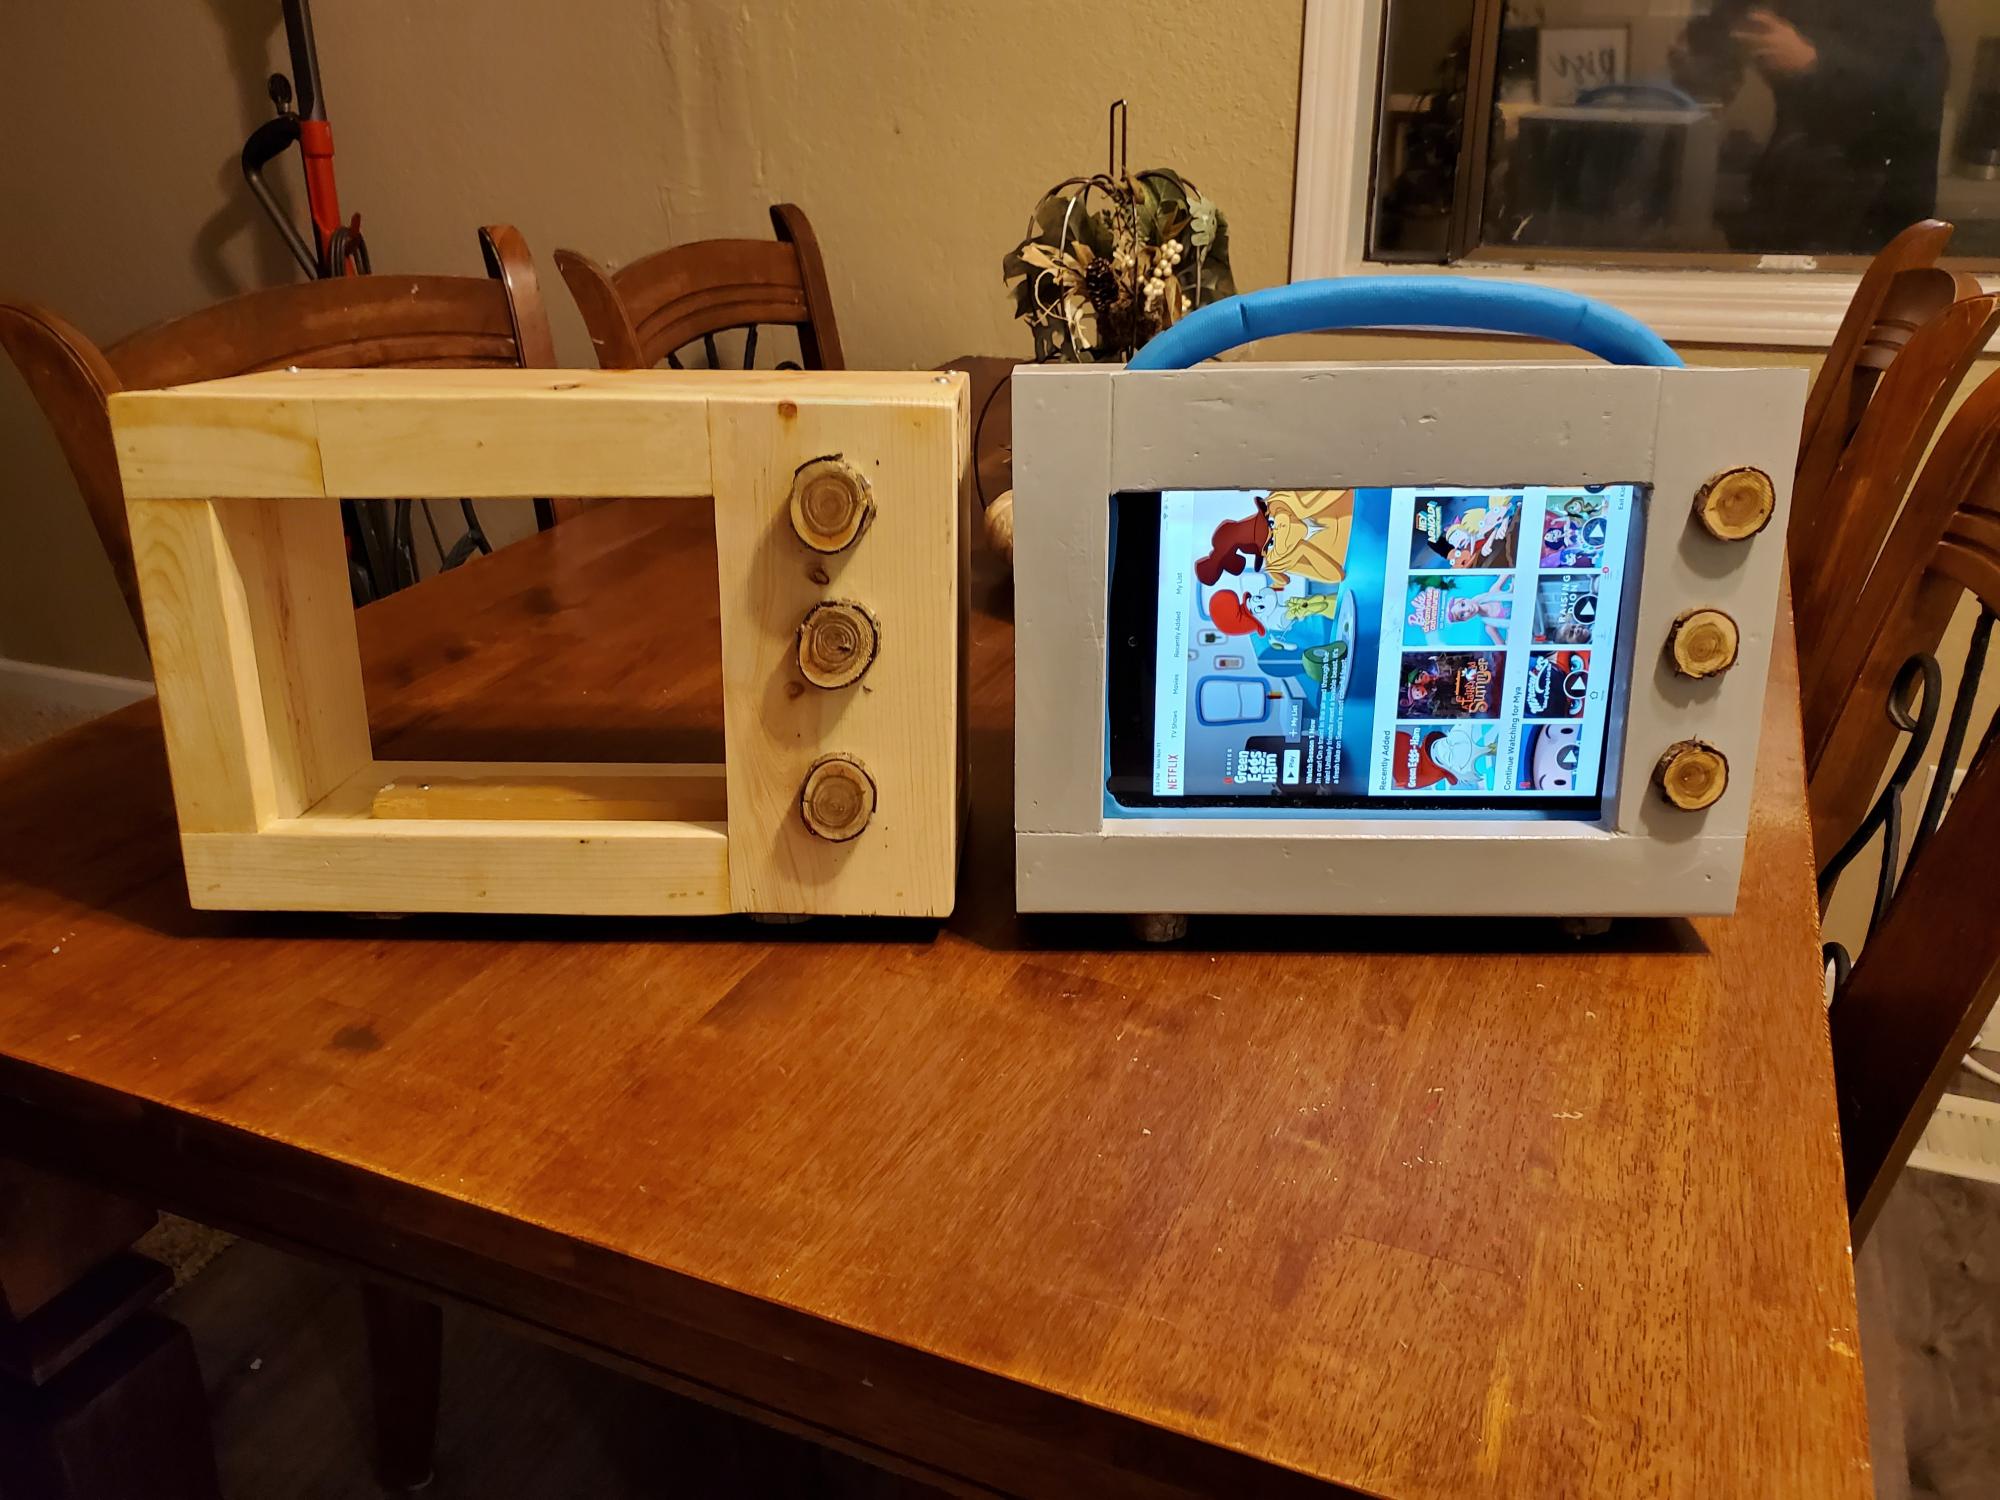
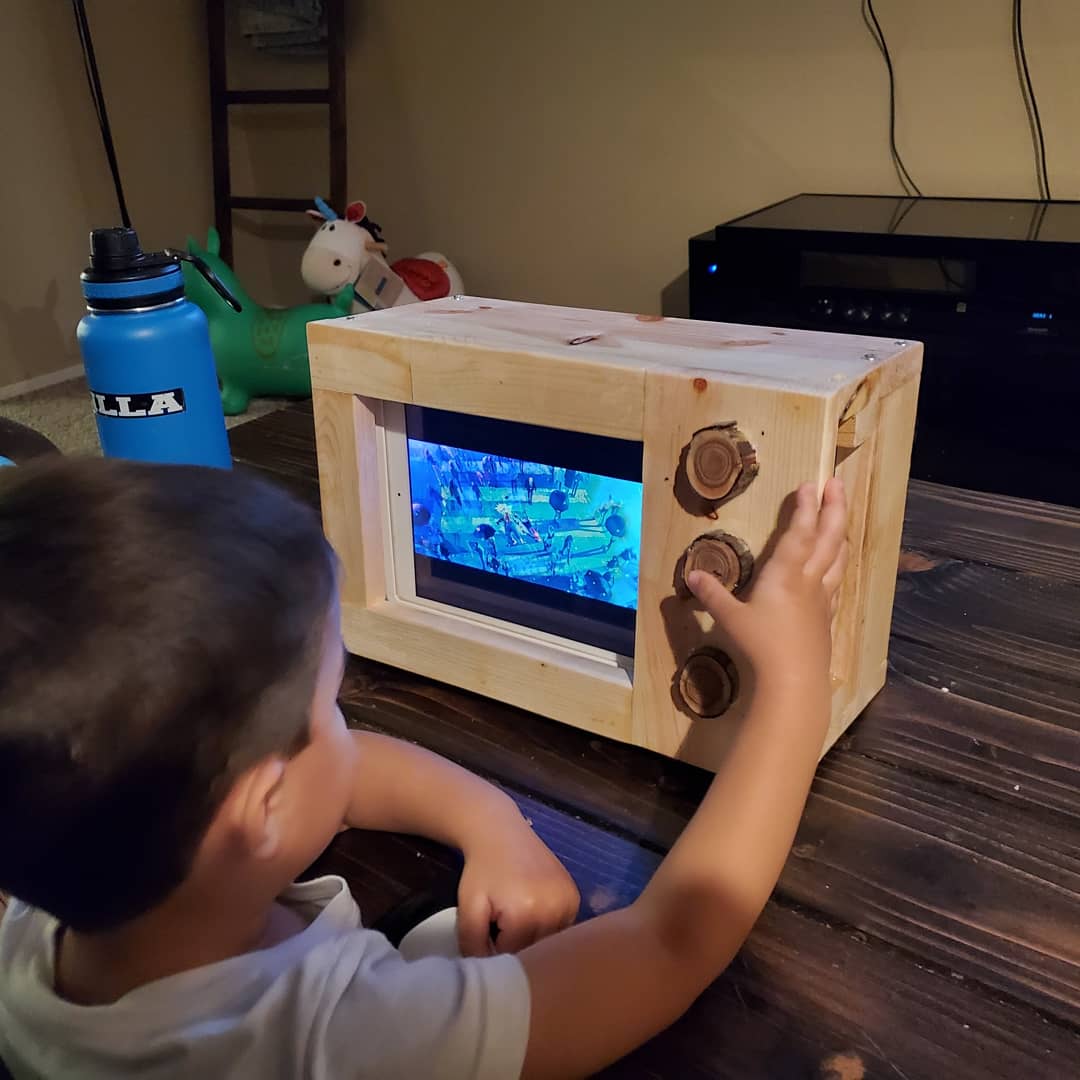
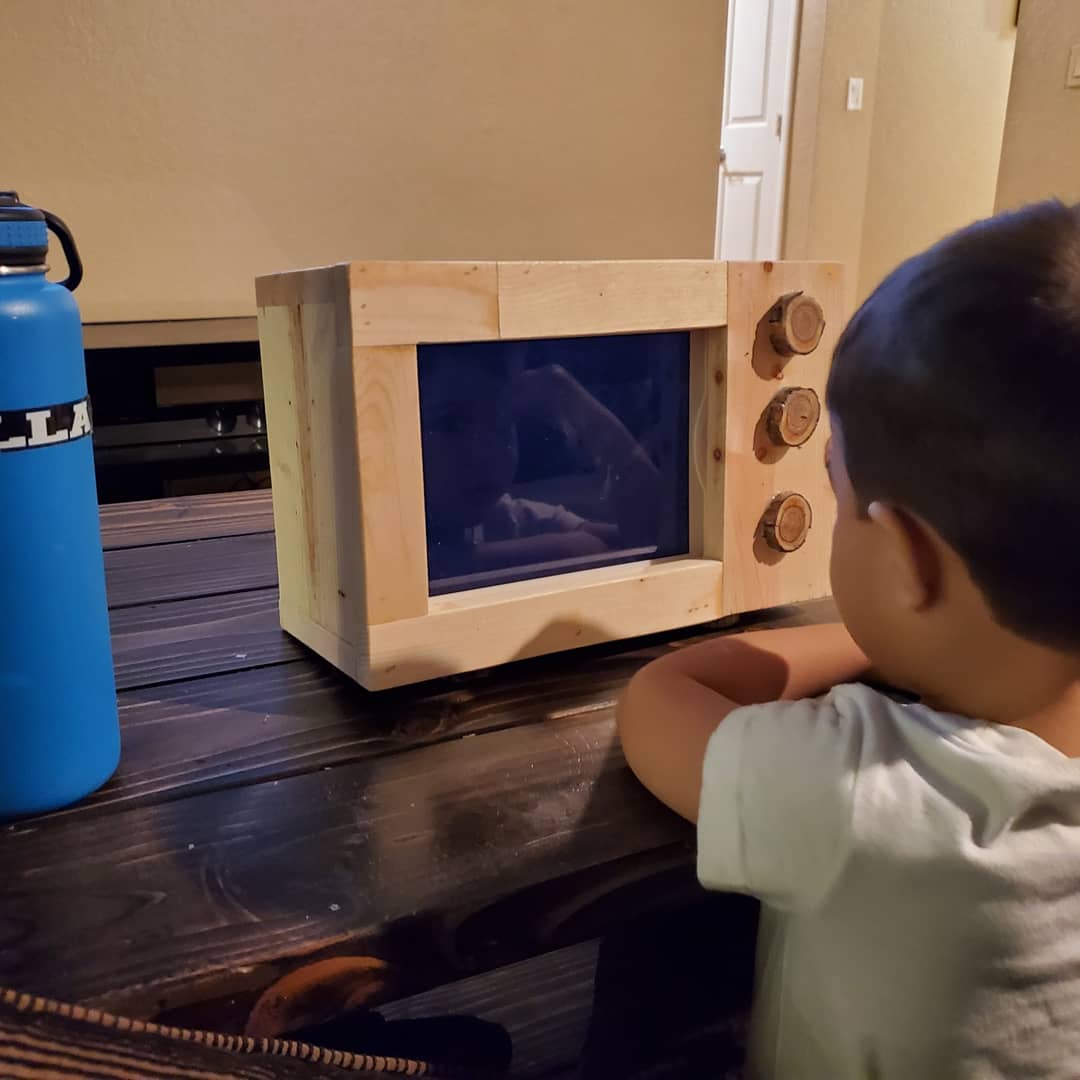
Made a mini TV set for my son and as soon as my older daughter saw that she had to have one too.
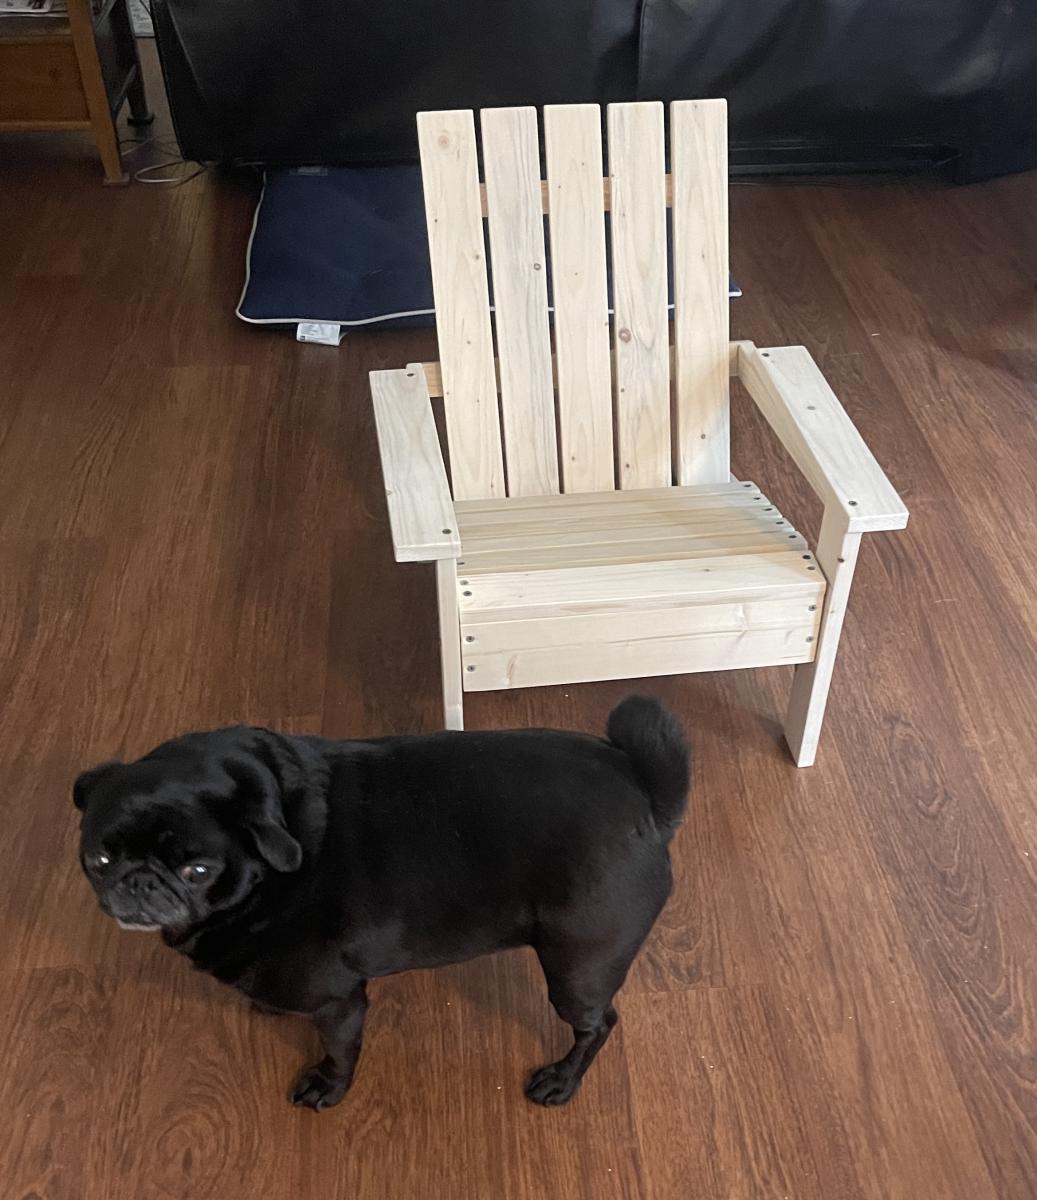
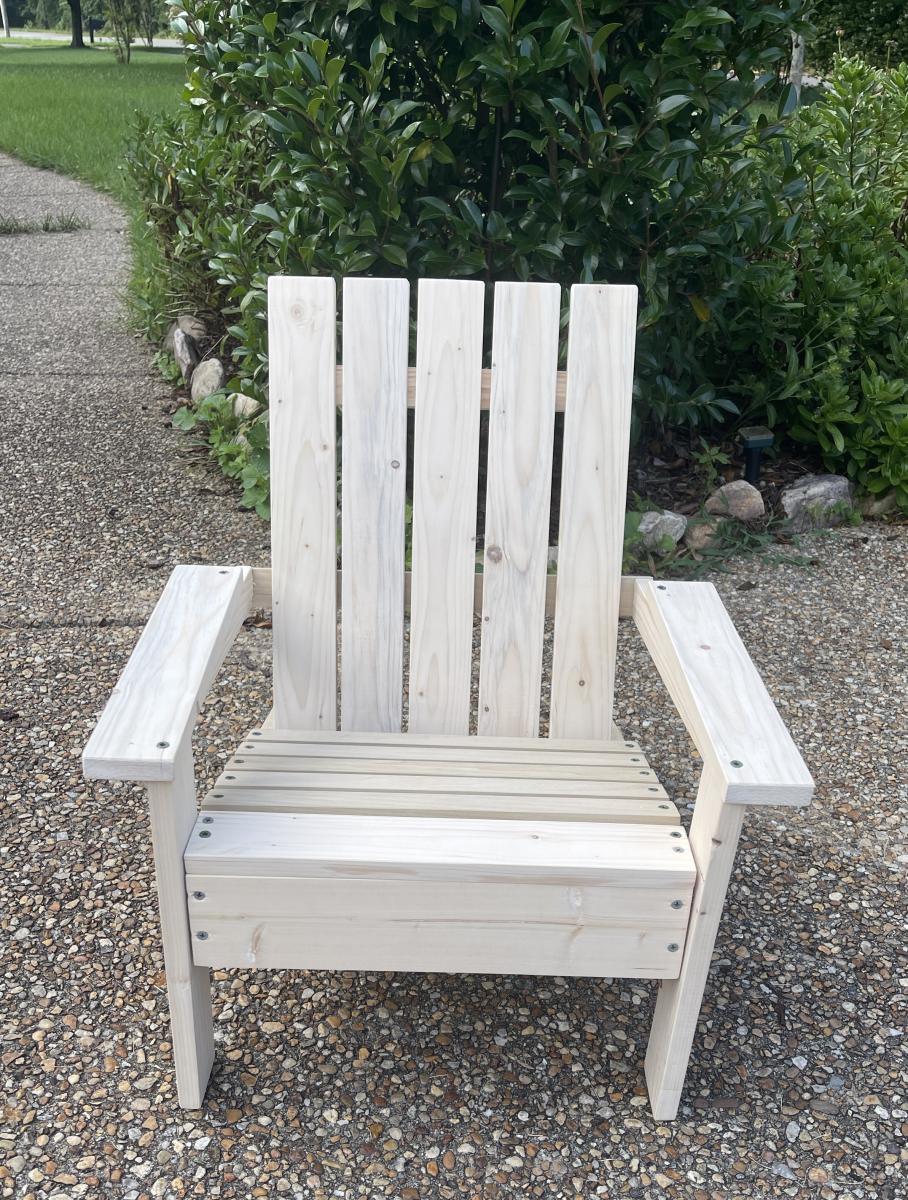
Adirondack Chair for Granddaughter
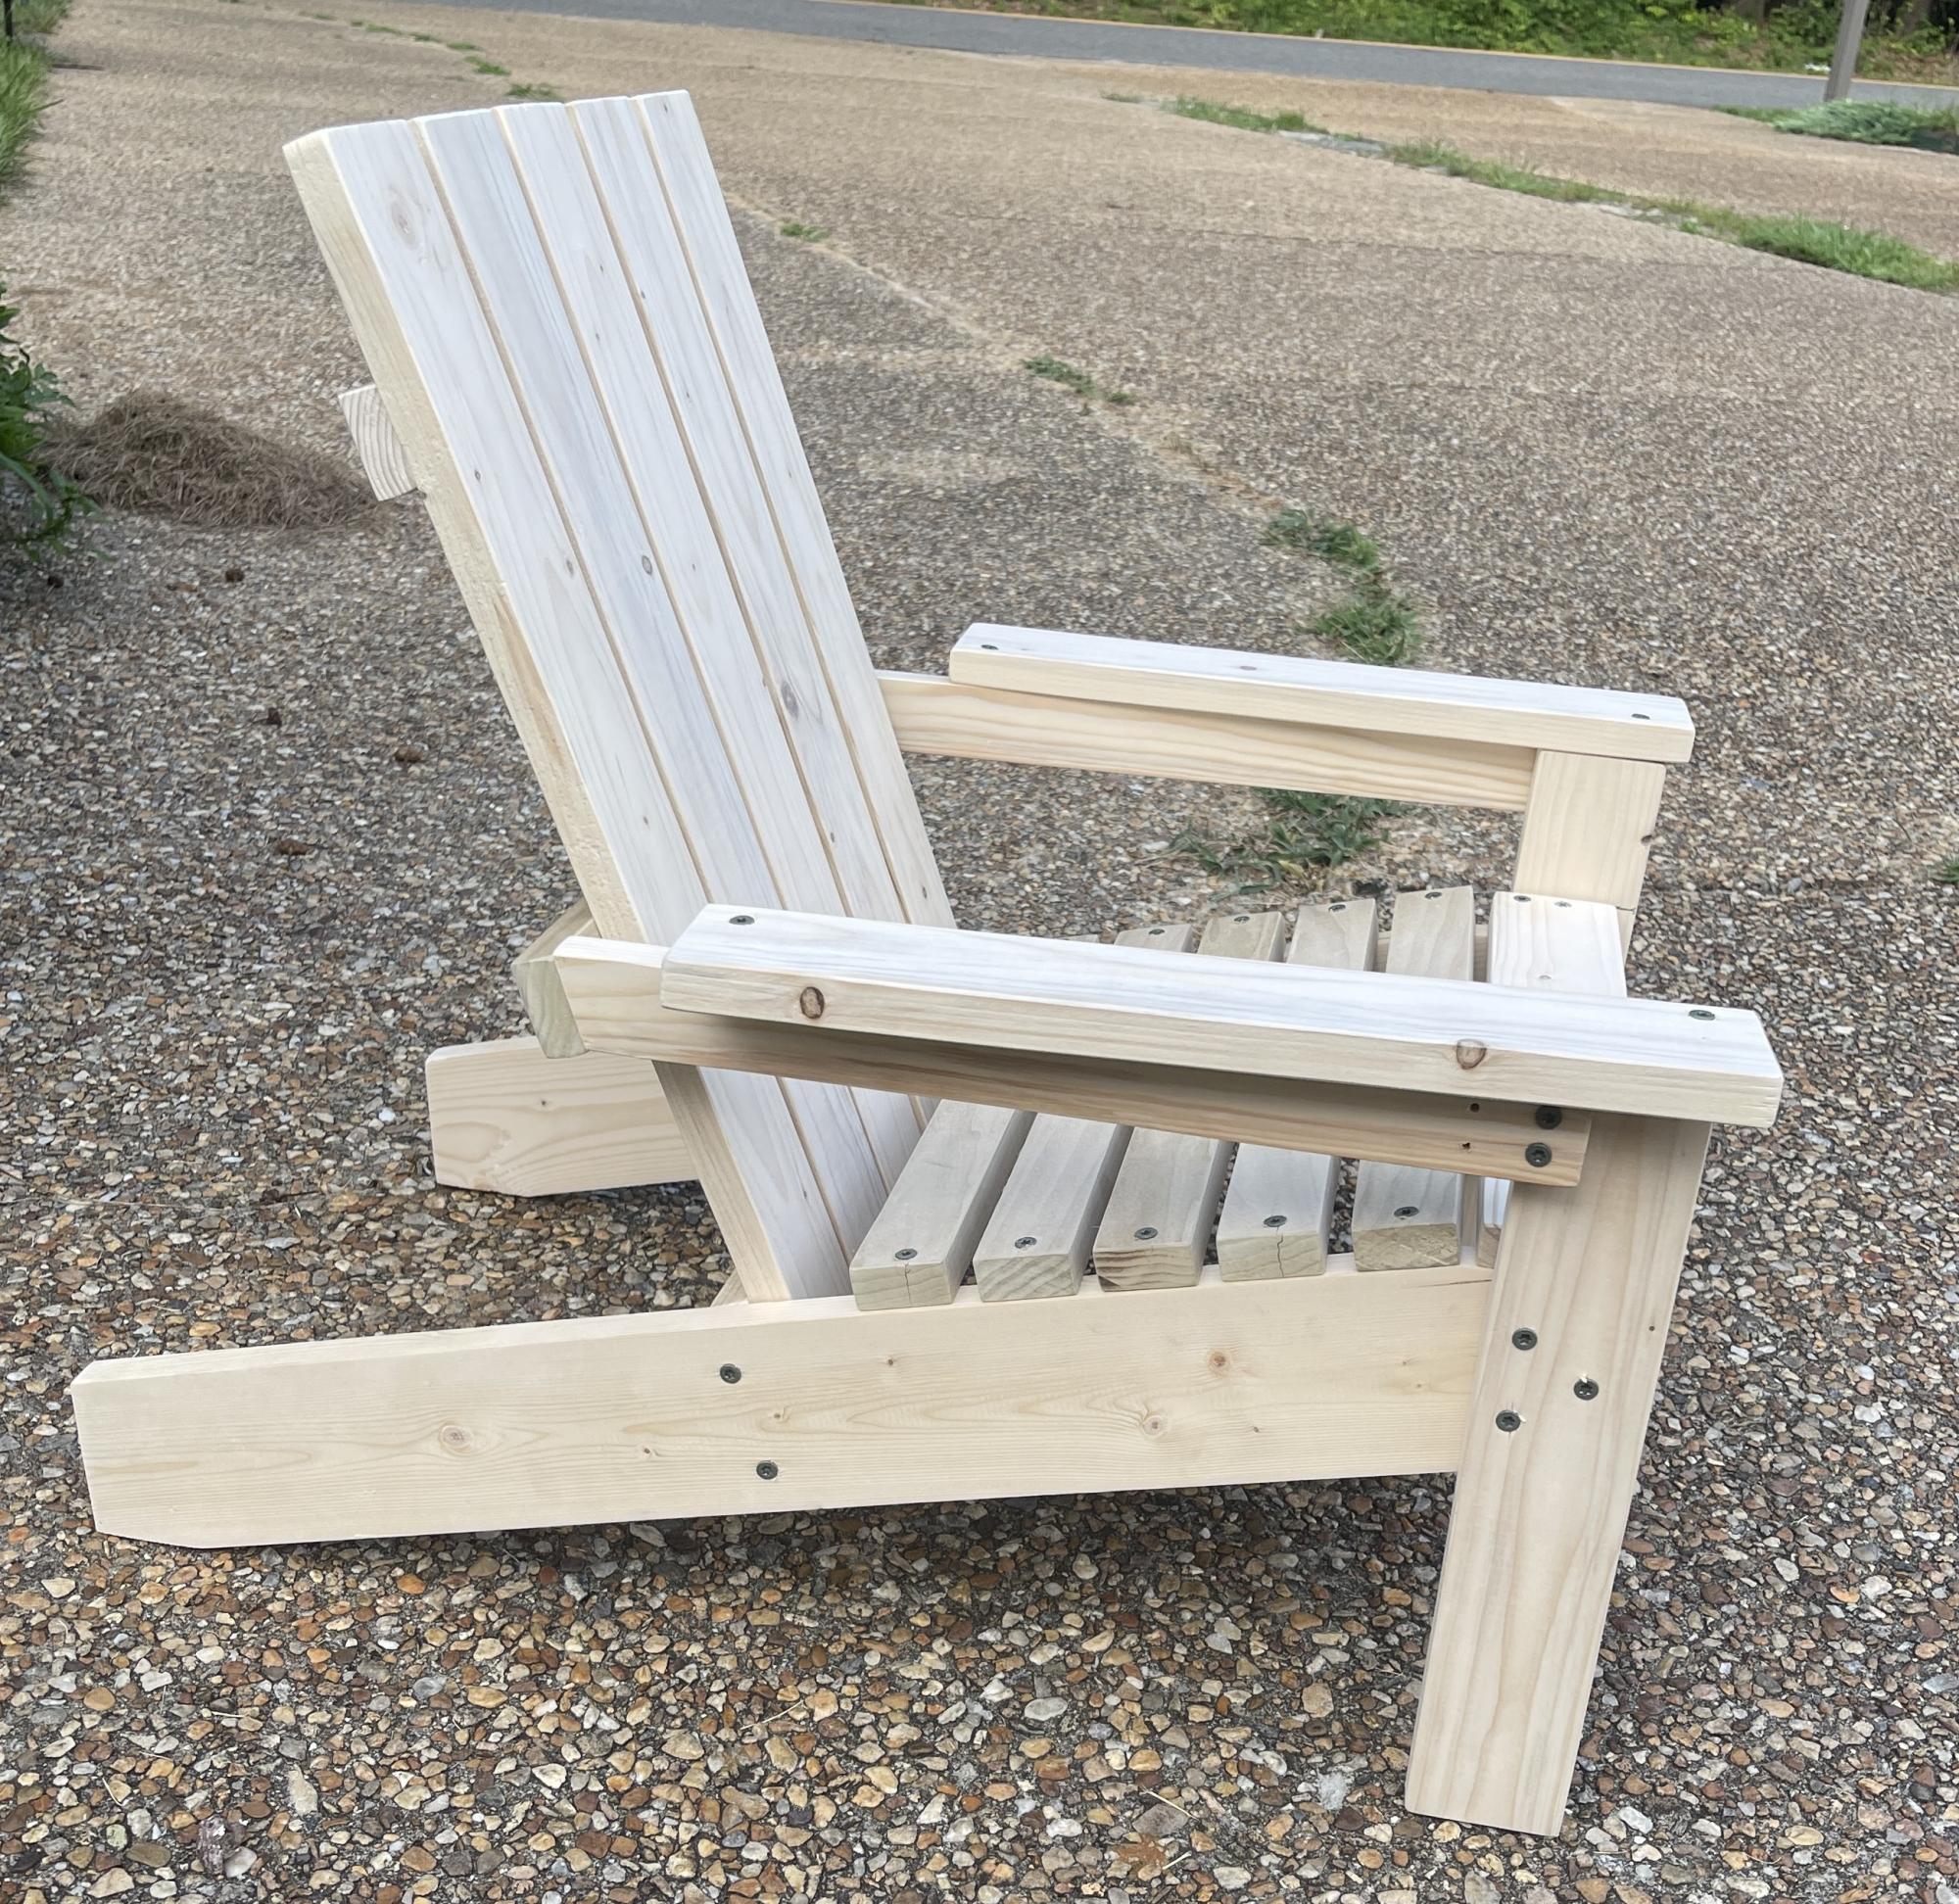
I loved making this chair for my granddaughter! My pug is for size reference! Thank you Ana White!
Chris Dowling
$20 VERY STURDY Work bench
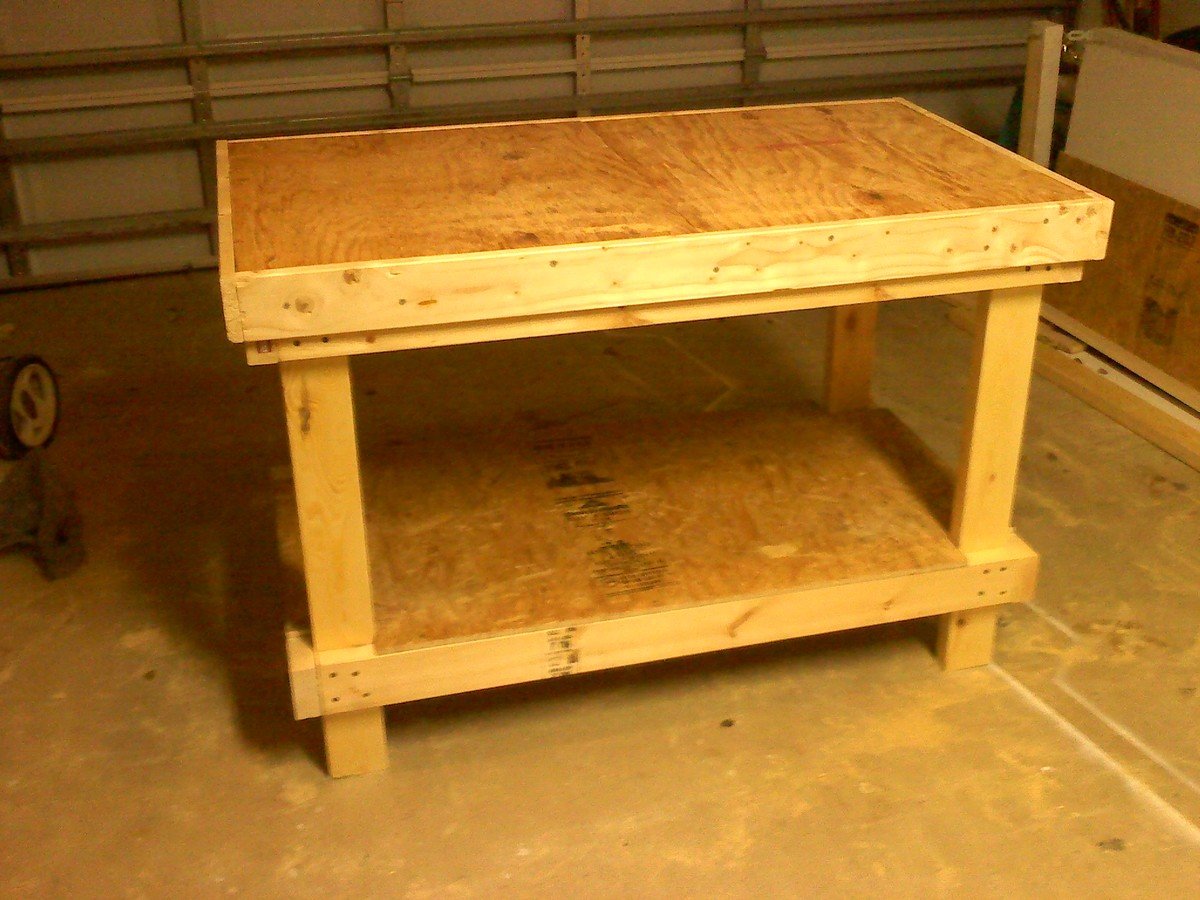
This plan isn't an Ana-White, but I wanted to share due to the low cost. I'm sure many of you are like me and are about tired of building on the garage floor.
(I'll be posting more projects soon)
I modified the plan slightly by making a thicker top (doubled the OSB and some 1/2 plywood I had around the garage for a smoother surface.) and 1 x 4 furring strips for trim around the top edge. This gave a very sturdy setup and matched the height of my table saw, making this my outfeed table when needed.
Hanging Loft Bed
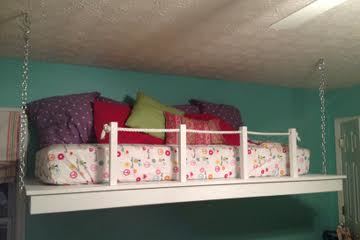
We decided to make loft beds for our girls room to offer them more space and also give them some individual room. The old room had daybeds that just took up so much of the room.
I saw the hanging beds on this site and thought they would be great. So I got to work.. I used 1x4 s for the platform to lighten the weight of the bed. I had to customize the sizes a bit but that wasn't a big deal. I used the Kreg jig to joint the 2x4s as well as on the rail posts. They are attached below the platform to the front 2x4. We also used chain rather than rope as chain doesn't give.
We are really pleased with the results. The girls love them. Each has their own desk space now, they shared one before, and their own storage space.
Cost us with all wood, supplies, hardware, paint, about $150-175


Farmhouse table - Grey legs
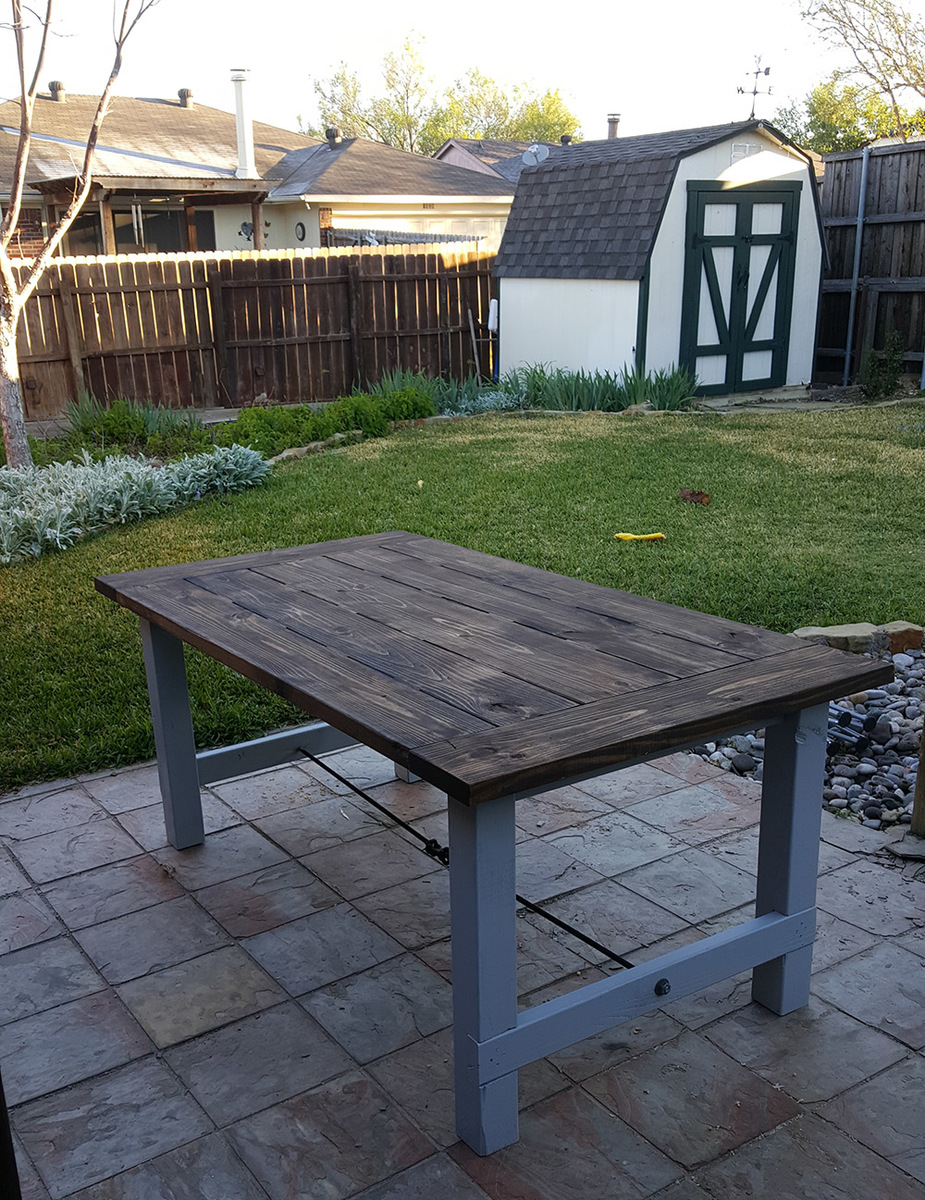
Made exactly to the plans with the exception of the middle 2x4 between the legs. I used 1/2" threaded rod, some steel rings welded to the rod, and a double sided clevis to make the connection in the middle.
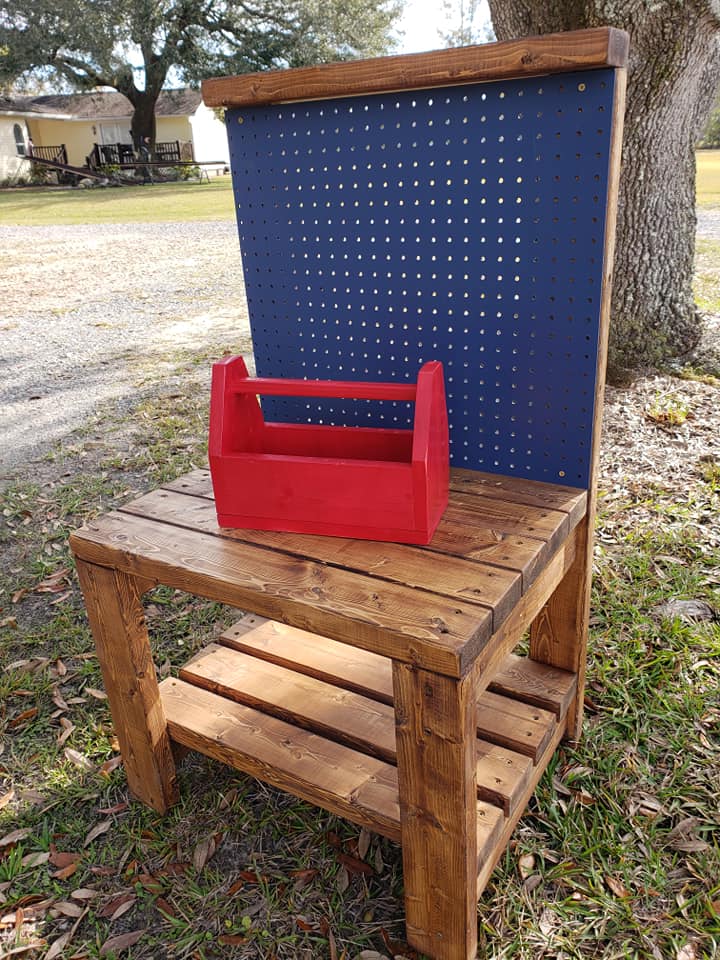
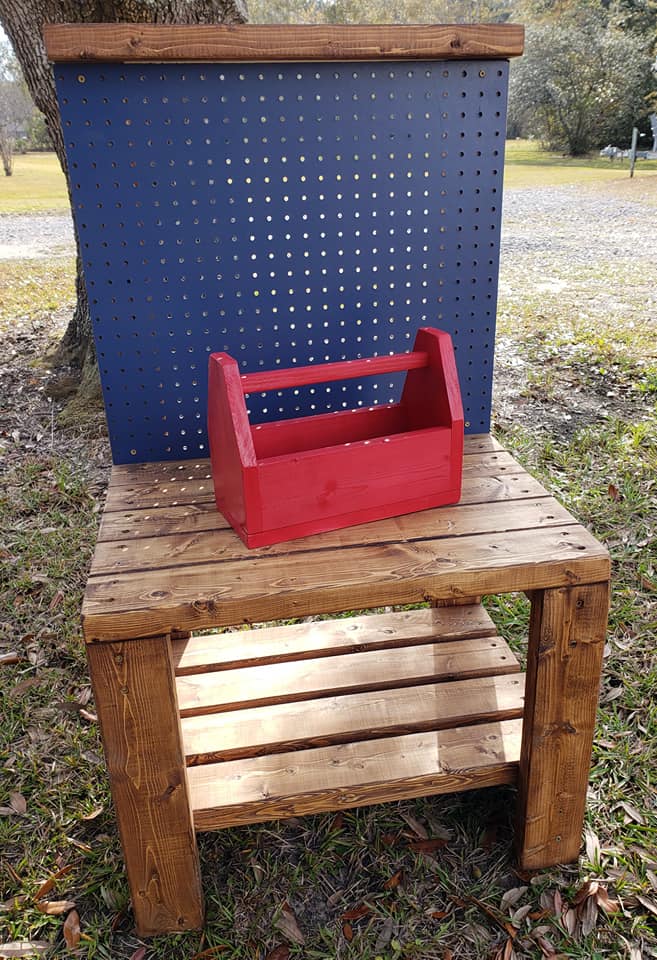
KIDS WORK BENCH
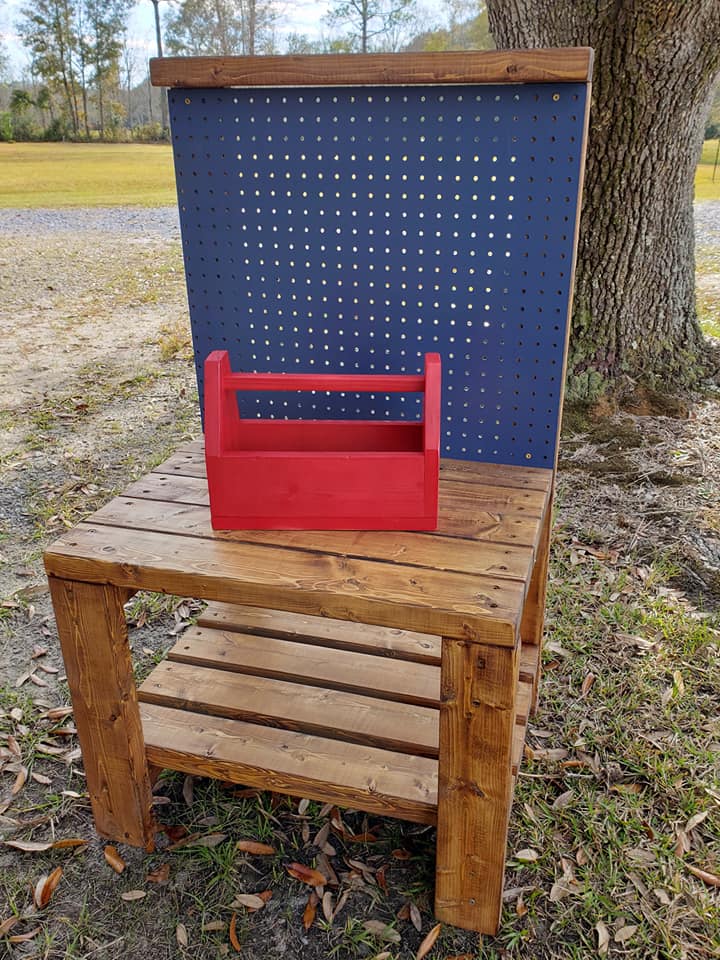
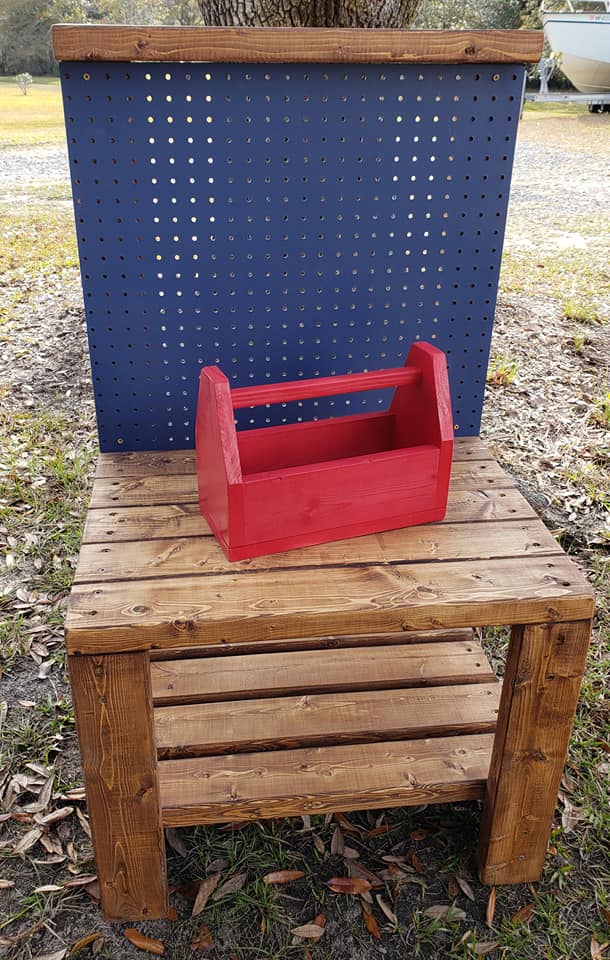
This is a kids work bench that I saw on pinterest. I couldn't find plans anywhere so I just winged it. If anyone knows who I should give credit to, I would be happy to do that.
This is made from pine studs. The dimensions are 24" wide x 42.5" back height, 19.75 bench height, 19" deep. The peg board is 24" x 18".
I used Early American stain with dark wax finish. I painted the peg board with Rustoleum Navy spray paint.
I used a plan from Jen WoodHouse for the red tool box.
Essential Adirondack Chairs
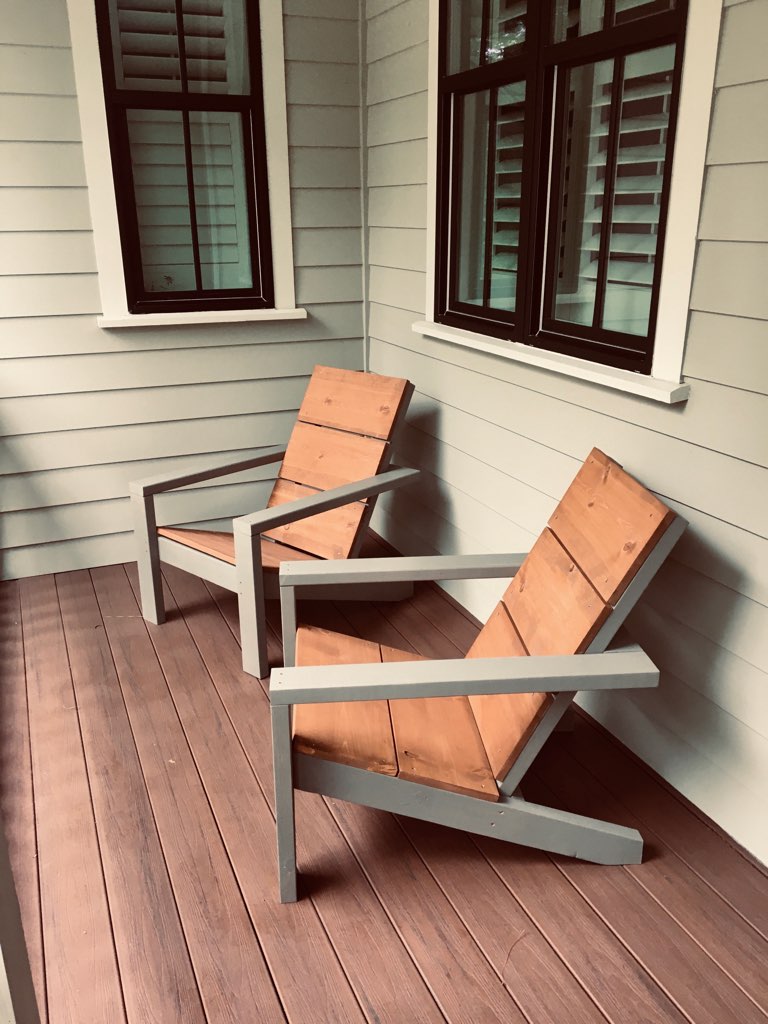
Beautiful chairs by a reader of the site

Comments
stevewolfe099
Mon, 10/28/2019 - 19:40
Hand made
Hand made