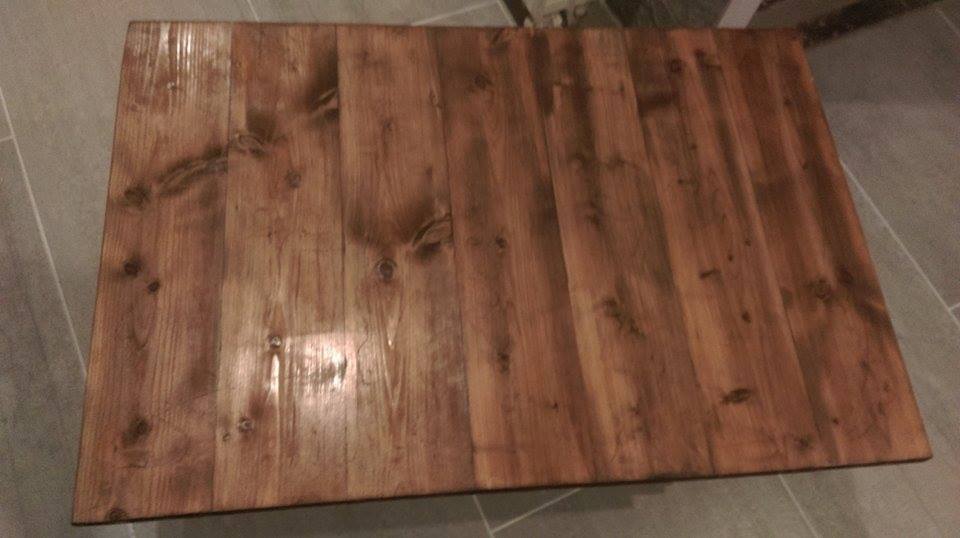
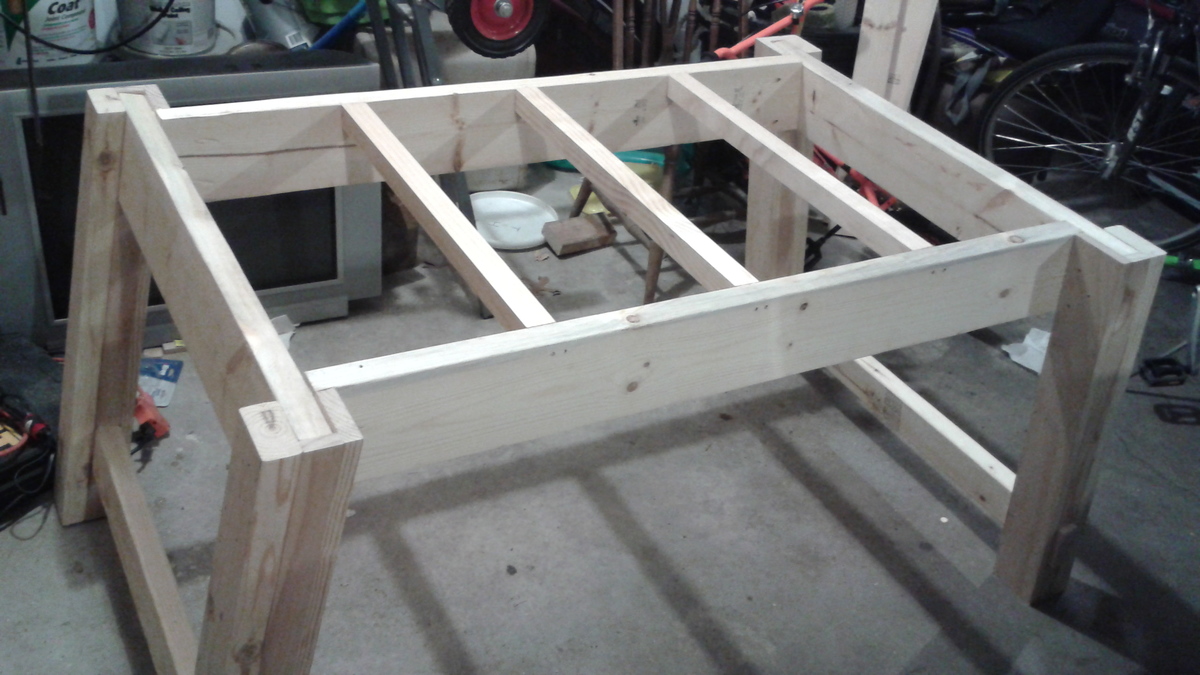
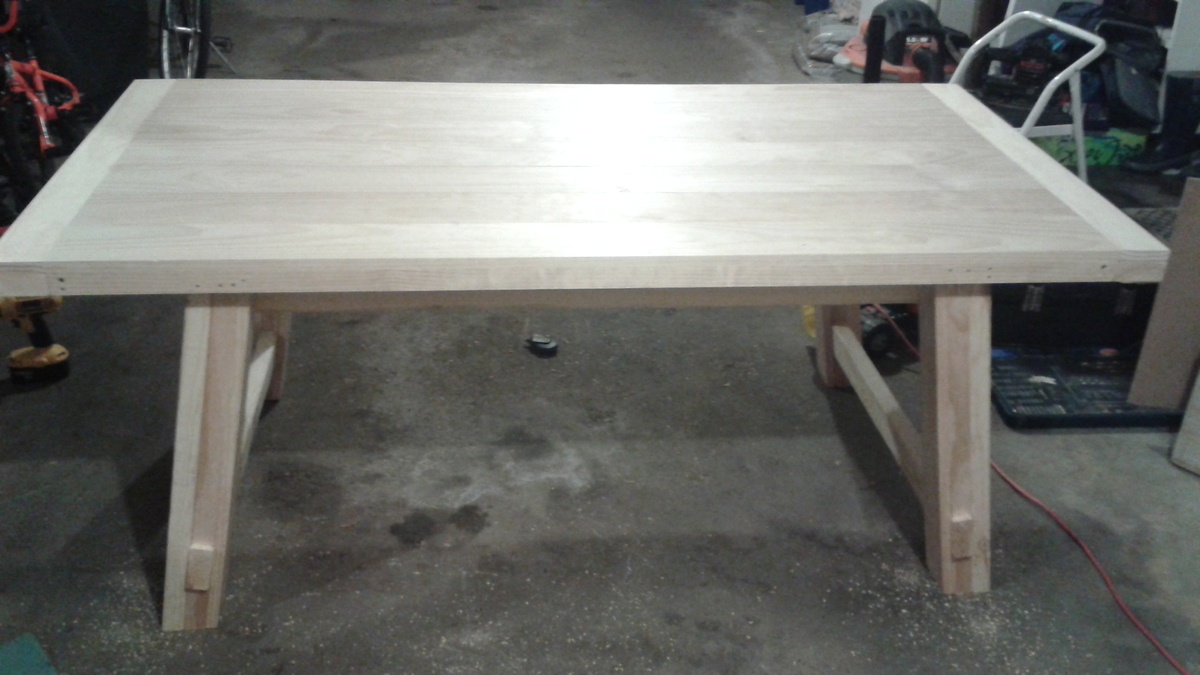
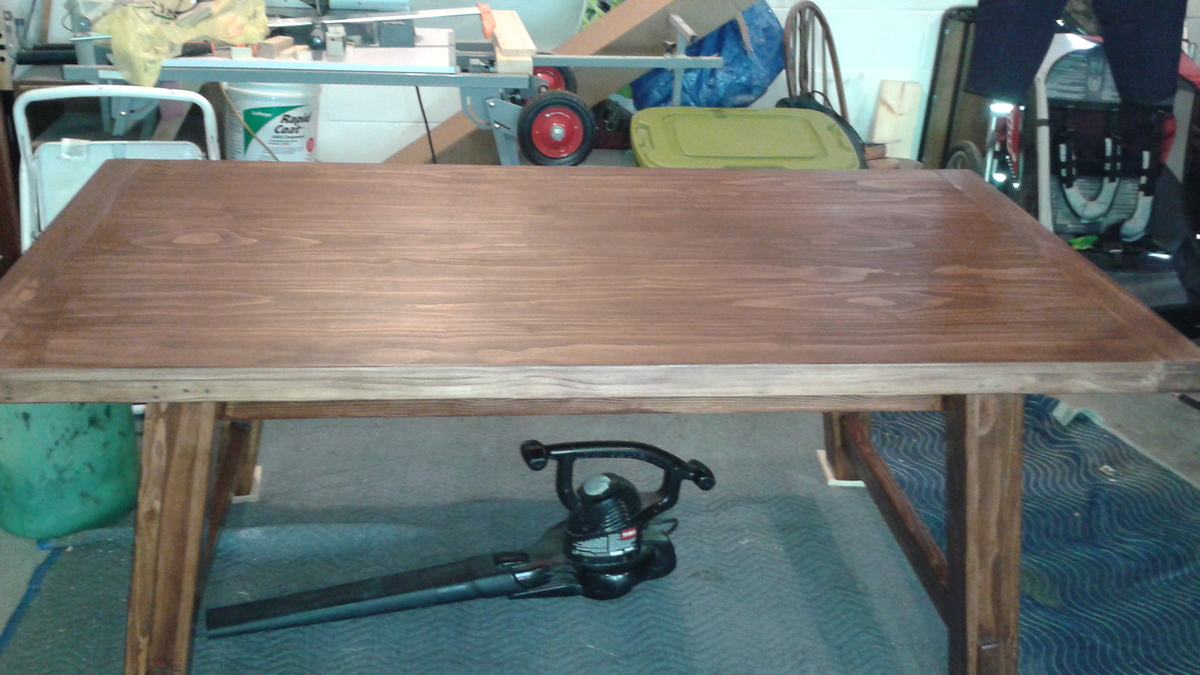
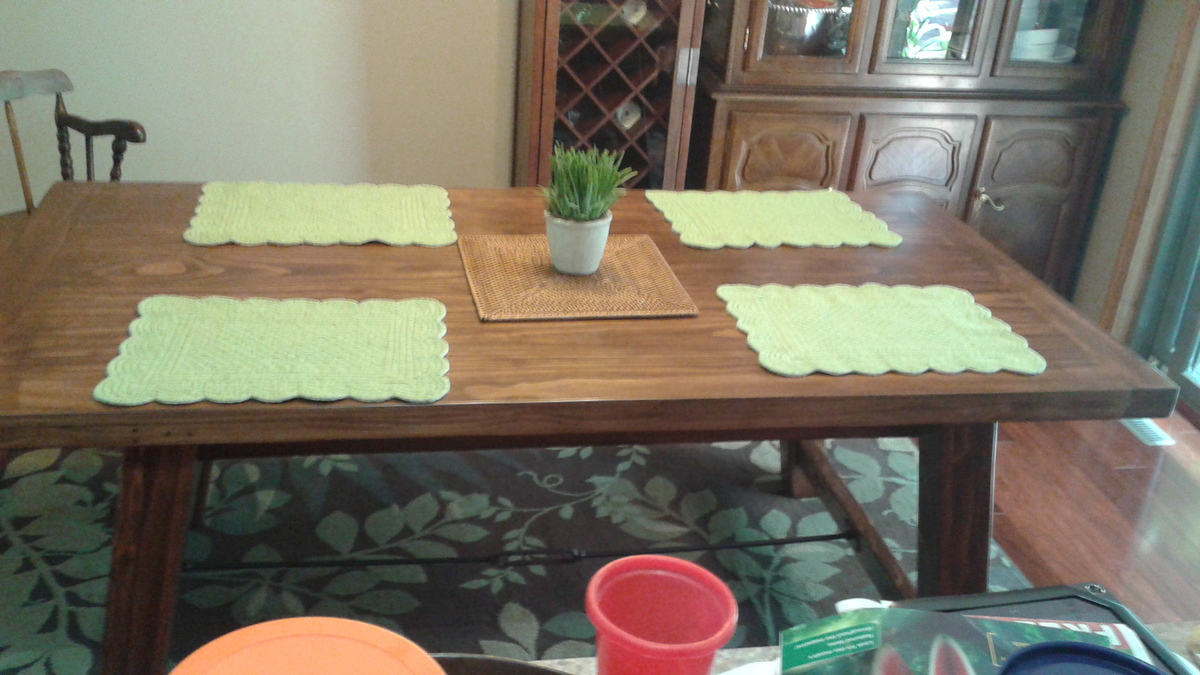
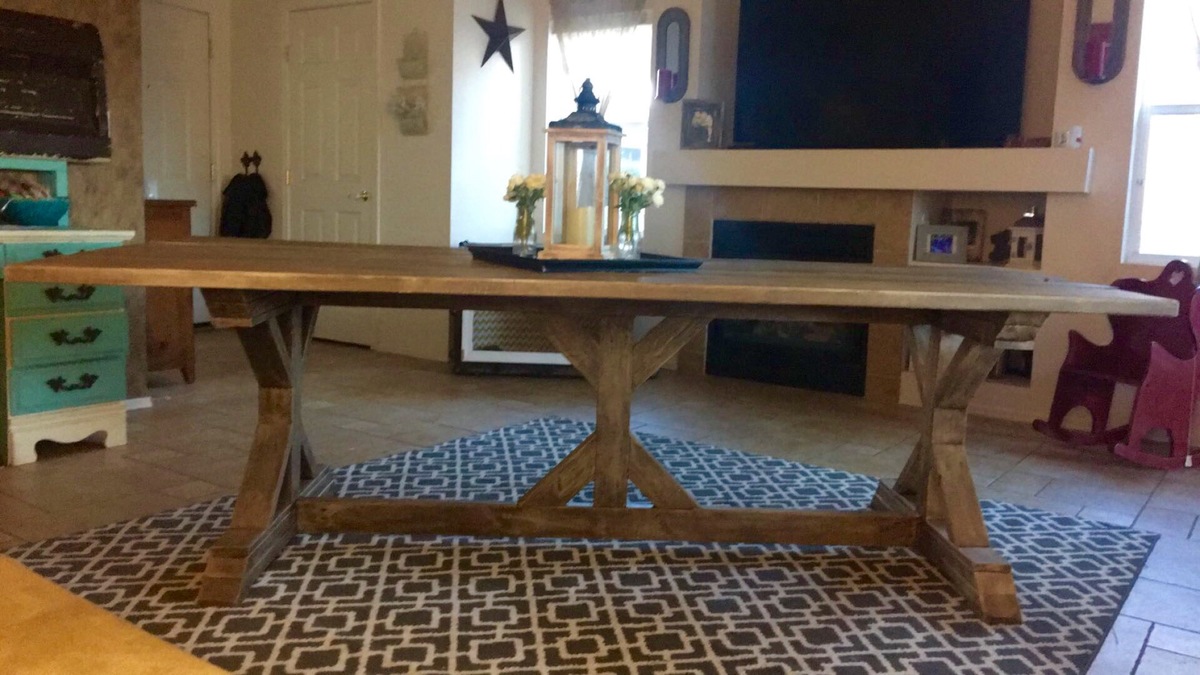
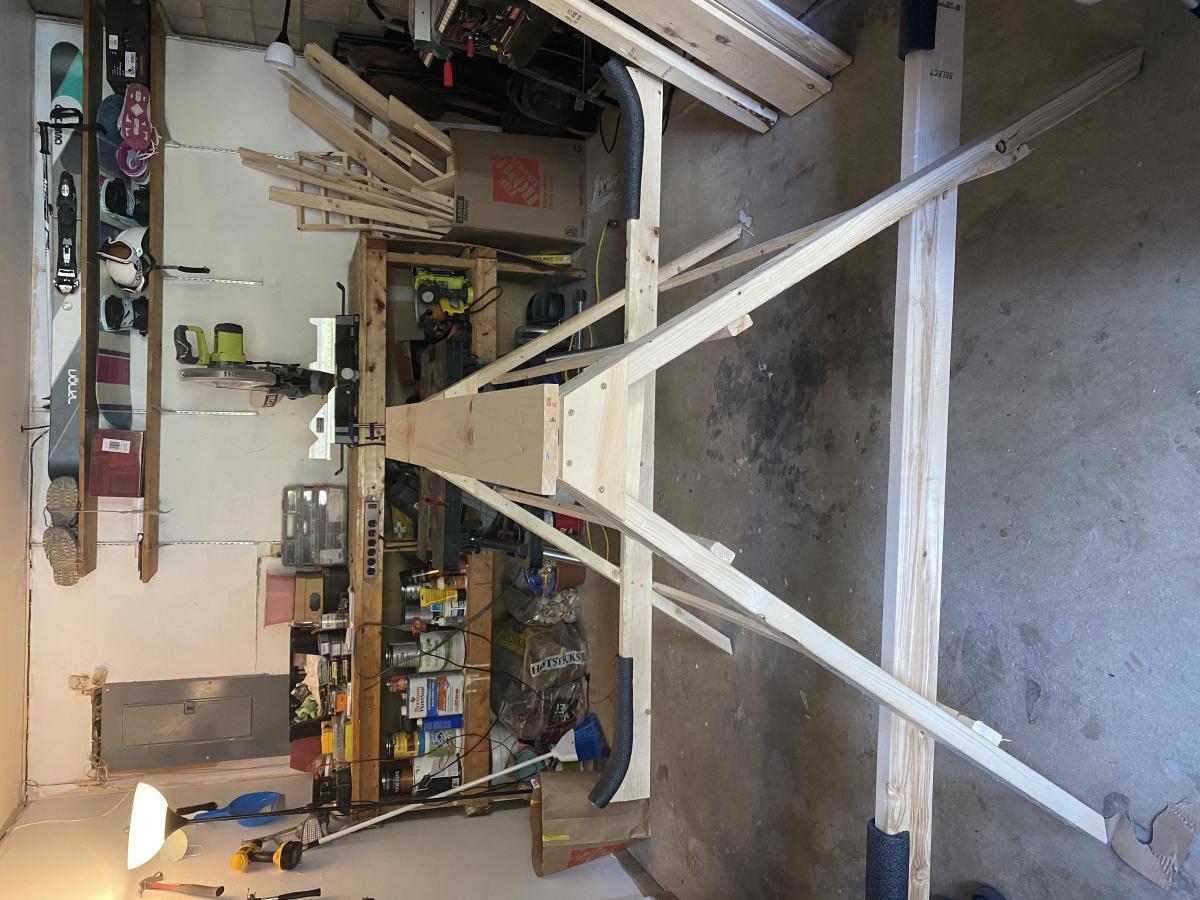
Truss table
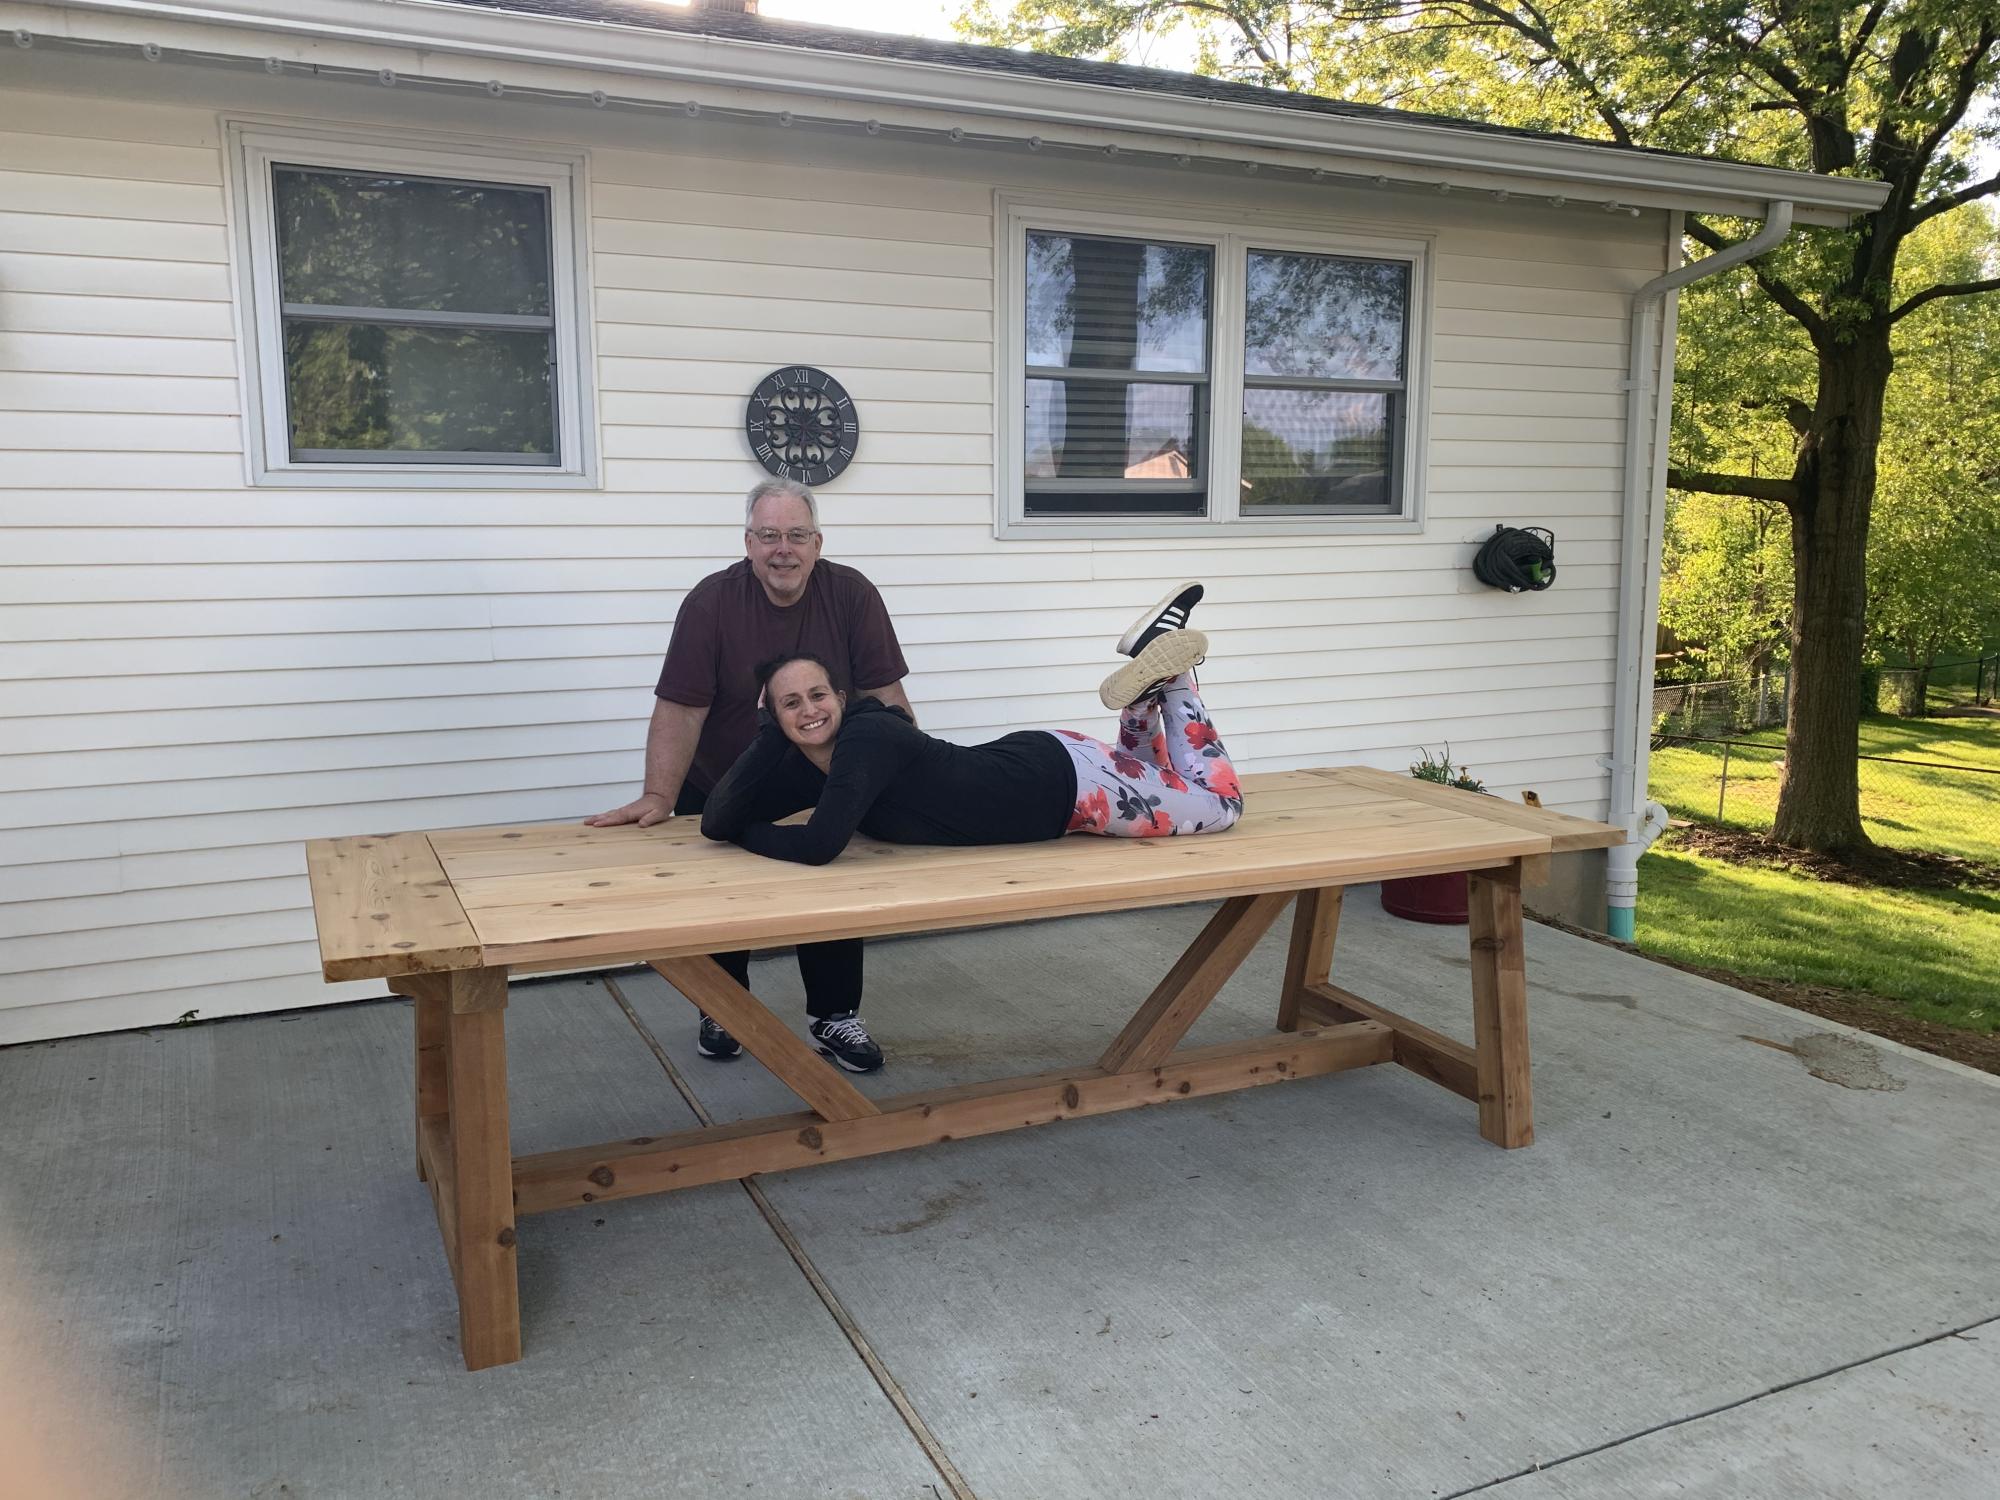
My dad and I built this table together just the 2 of us last Tuesday
Built from Plan(s)
My dad and I built this table together just the 2 of us last Tuesday
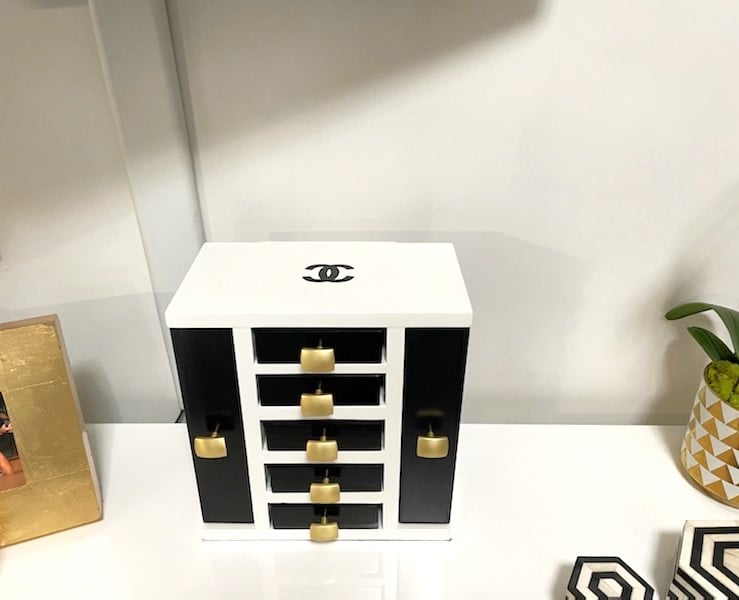
Fancy Jewelry Box, first attempt doing anything like this.

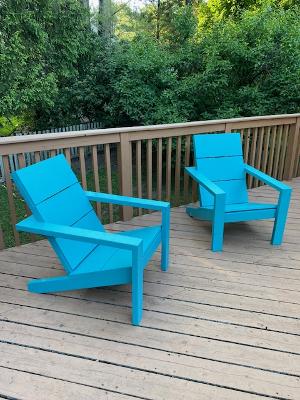
These were my first set of full size Adirondack chairs. I have several of the kids version. A friend of mine was moving and wanted some to set on her new patio. They were fairly simple to make but the painting was a little time consuming. All in all, I loved the way they turned out and she was pleased :)
The Flickr gallery for this project is at https://www.flickr.com/gp/akutz/86502i/.
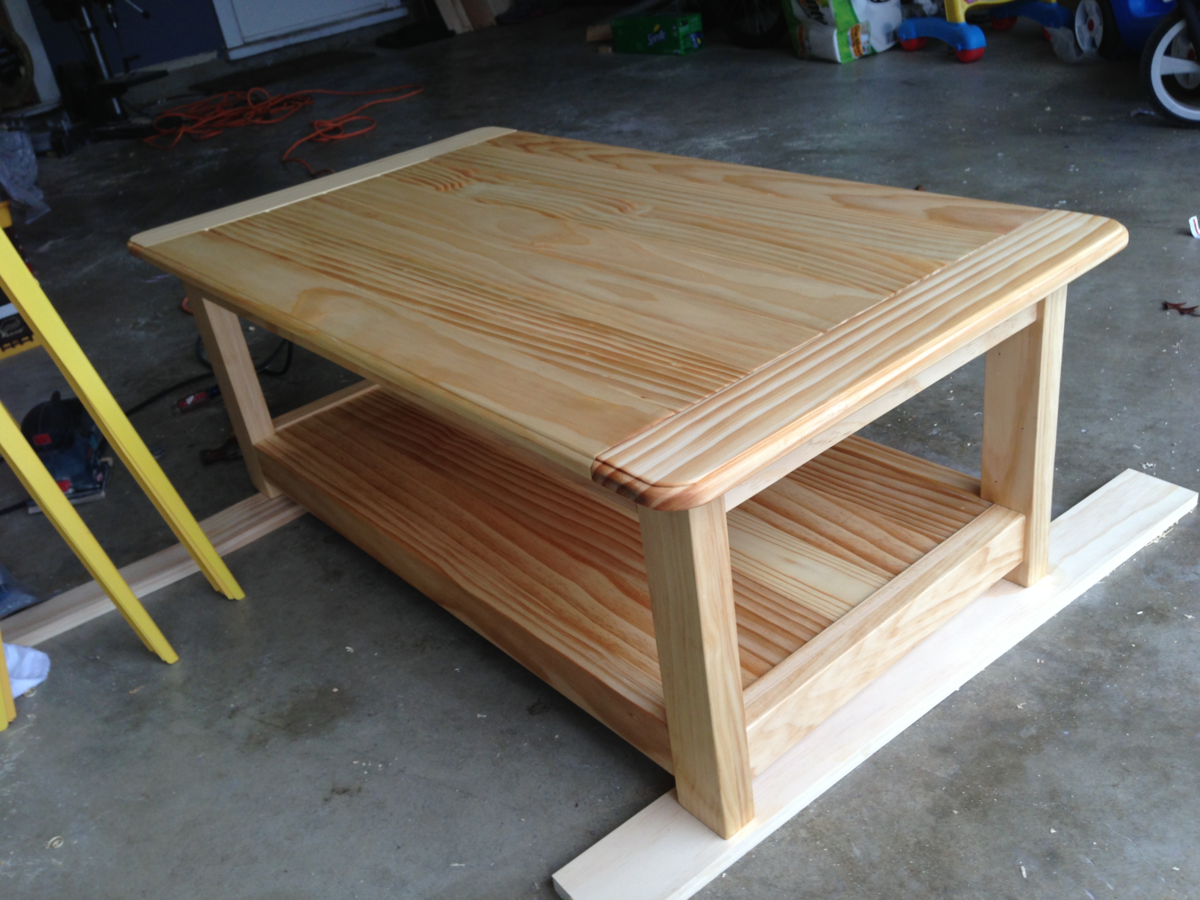
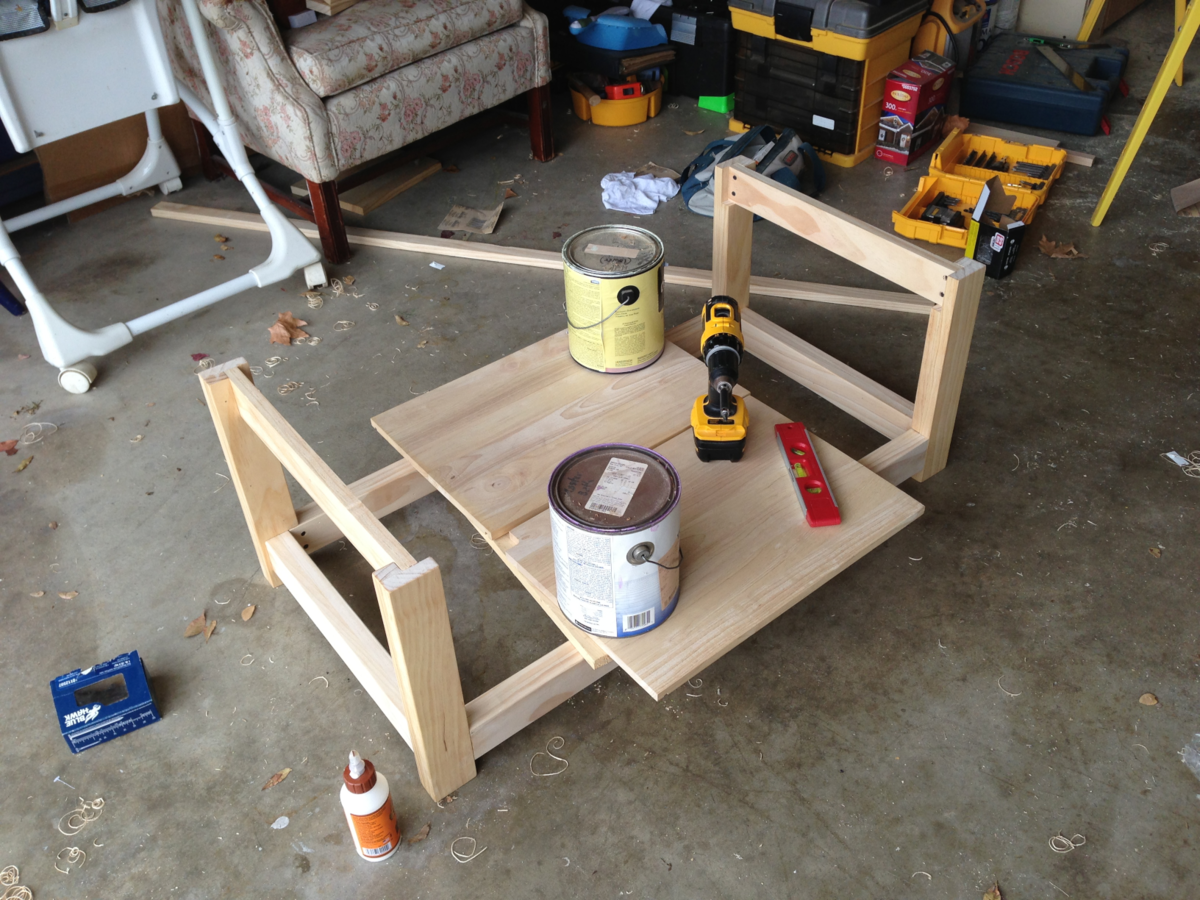
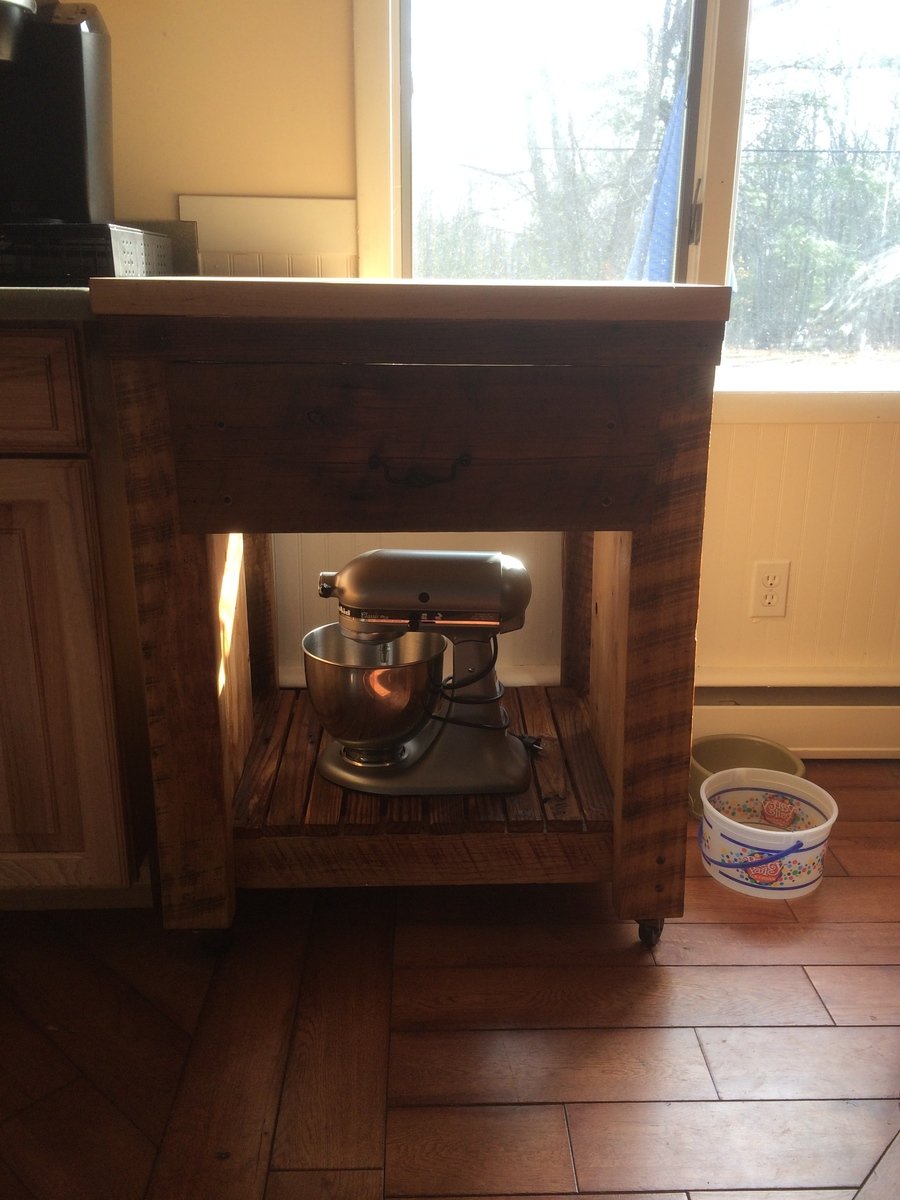
A friend of mine asked me if I'd build her a farmhouse table per the plans at http://ana-white.com/2009/12/plans-farmhouse-table-knock-off-of.html. Sadly I still haven't gotten around to building her one (sorry Jennifer!), and that's partly because even after practicing my skills on smaller projects, a full-sized table still seemed like a big job. Around the same time my two year old daughter was walking all over the house, and our coffee table presented a constant threat of head-banging and side-hurting danger. Then I realized I could build a miniature version of the farmhouse table as a coffee table, and in the process round the corners to make it baby-safe!
Unfortunately I'm not disciplined enough to write down the exact measurements, or at least not keep them since I never think anyone will be interested in these things later. I take pictures just to show friends and family. However, since these plans came directly from the aforementioned link of the farmhouse table, it should be easy to figure this out. The only differences were that I created the outer dimensions based on the space the unit would be taking up in my living room. And with a couch with a chéz, it was important to stick to those.
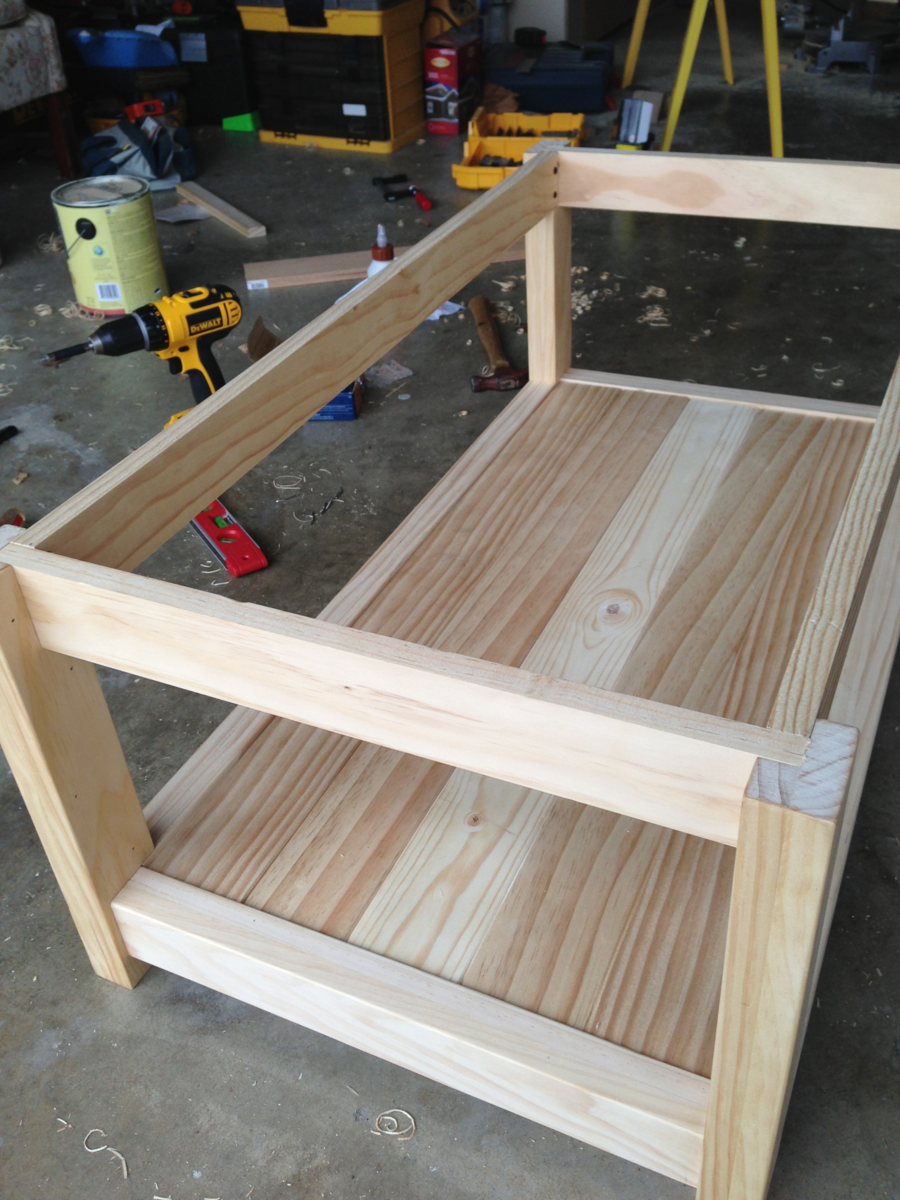
Also, as you can see, I added a second level to the table so that we could place things on it, but also for stability. This was not difficult to do since I just created an internal shelf to place the planks across the bottom.
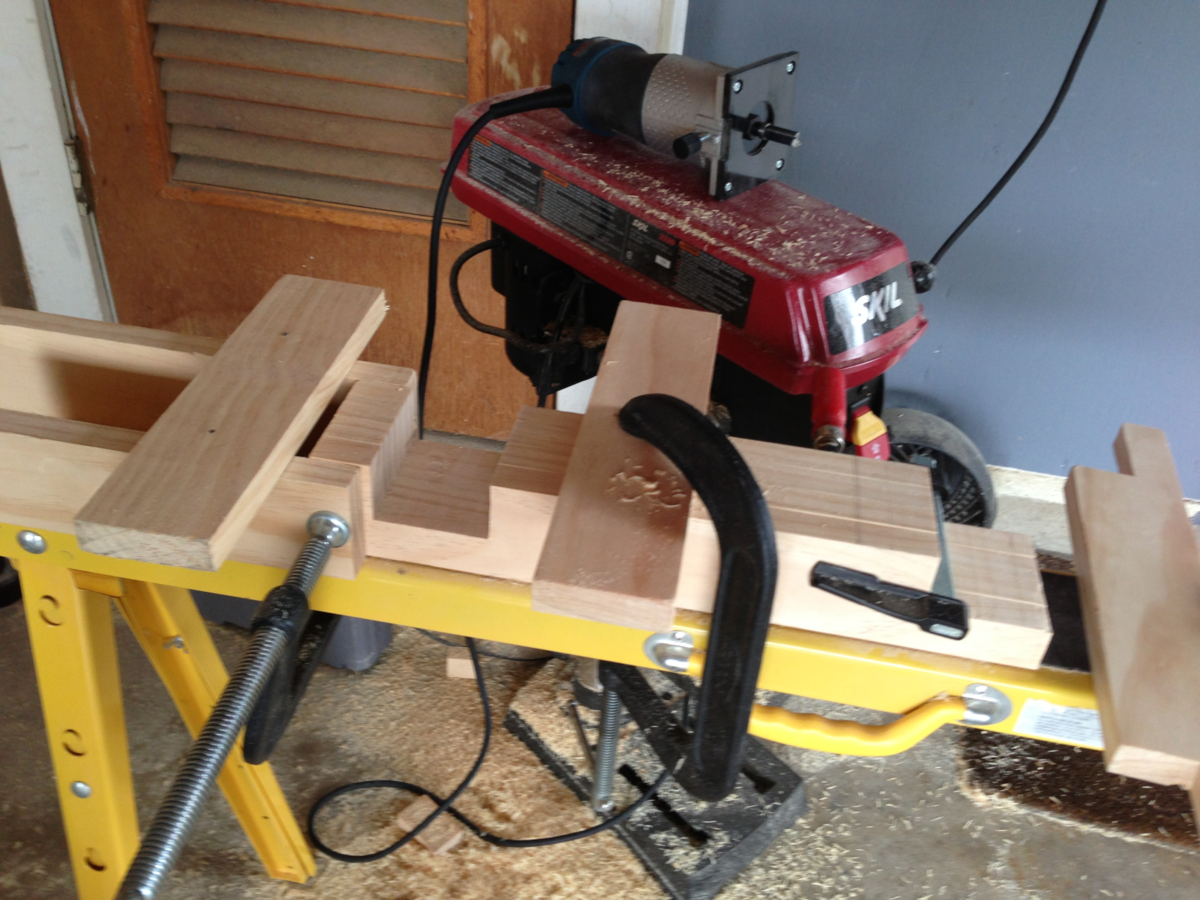
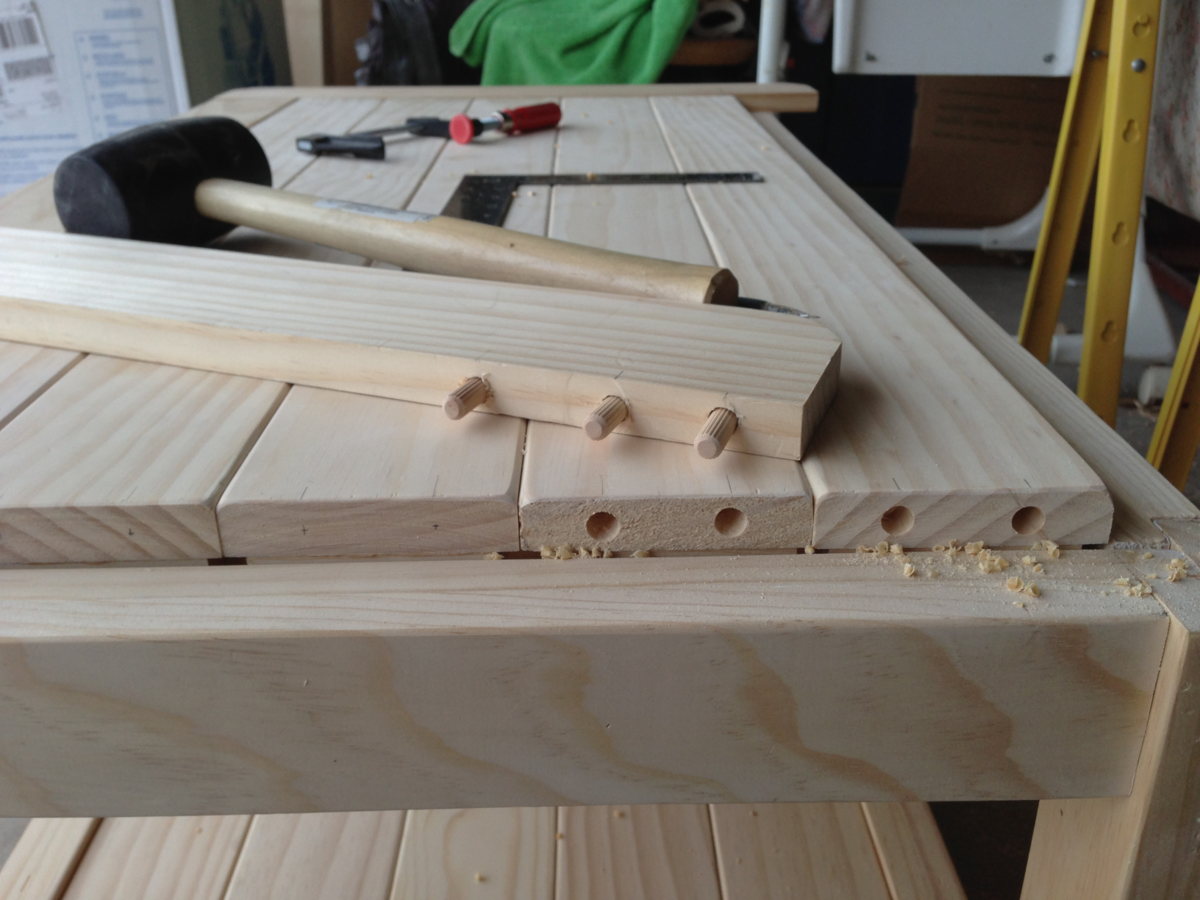
Since my father is a master carpenter, and I explained to him what I was doing, he also recommended that I not fasten the upper or lower planks to the outside with any single piece. He said that due to weather-caused expansion and contraction throughout the year, if I fastened the planks together at the ends with the bread boards, there would be much cracking. That's why you see the bottom supports fastened to the underside of each plank with an individual block of wood, and not with one long piece. That way the planks can move independently of one another. that's also why they're not fastened together long-ways.
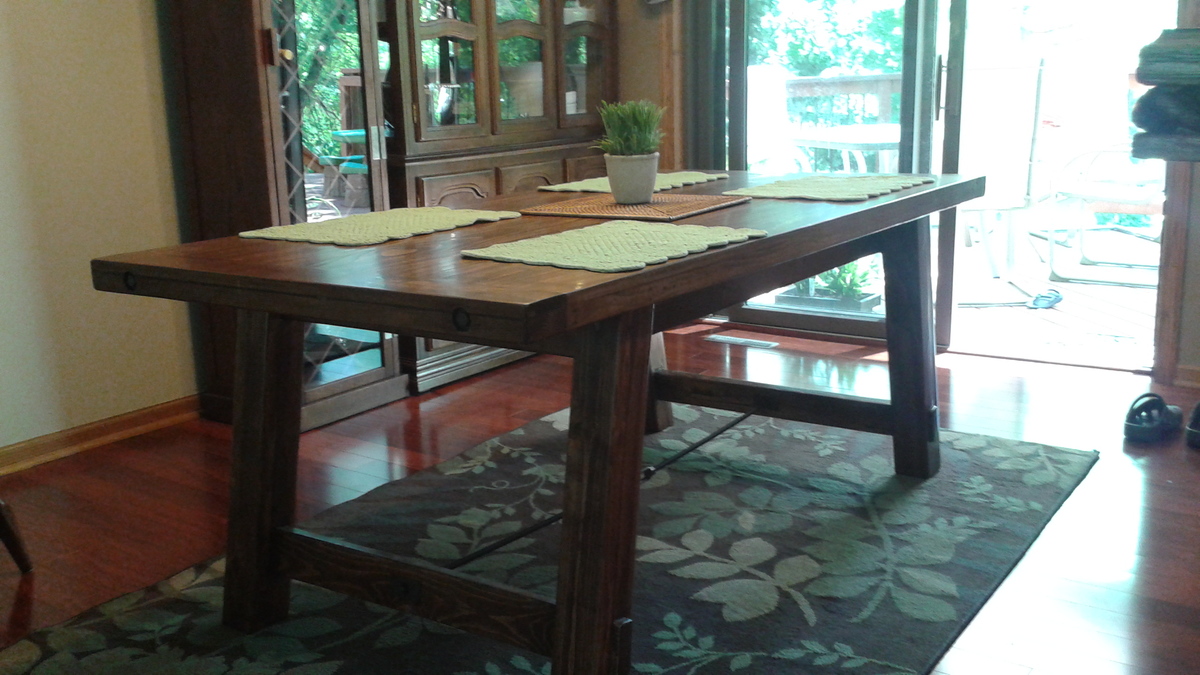
One last note. I built those legs several times. The only way I was ever able to get them correct is when my father told me to buy a long router bit, clamp the legs together, and route them all with guides. He said getting cuts in four separate posts even like that is one of the hardest thing to do if you don't make the cuts at the same time. He was right, and with his approach the table was perfectly level!

That was my first real handmade project after just reading and following Ana Whites story and her diy projects for a while.
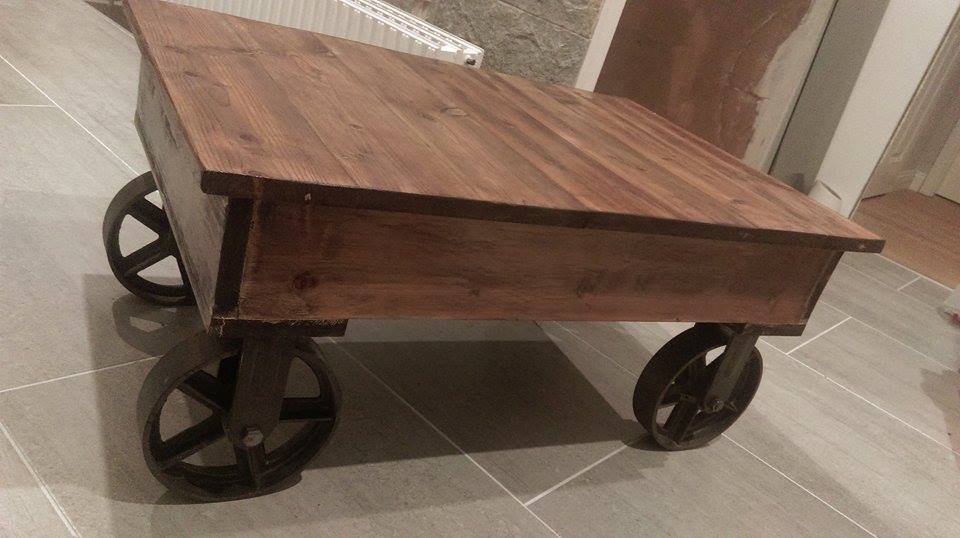
I´m coming from Germany and it took quite a while to "translate" all the lumber measurements to the german equivalents, since we don´t have the same ones. So I just took the similar lumber sizes I could find in a hardware store (Baumarkt), all in all 23 € for pine lumber plus wheel casters for 30 € each, which was the most expensive part of the project. I modified the size of the table as well and am very proud to present you my first project: my very first industrial coffee table for the home office.
I made the stain myself, by the way!
Here is the summary:
- one layer of black strong coffee (3 table spoons + 500 ml hotwater)
- 2-3 layers of steel + vinegar solution (sanding a bit inbeween)
- 2-3 layers of spar varnish (sanding a bit inbetween)
Hope you like it;) and thanks a lot to Ana White for being so creative and delivering loads of beautiful diy projects for woodwork lovers all over the world!
Looking forward to my next project!!!
Easy plans to follow and build .
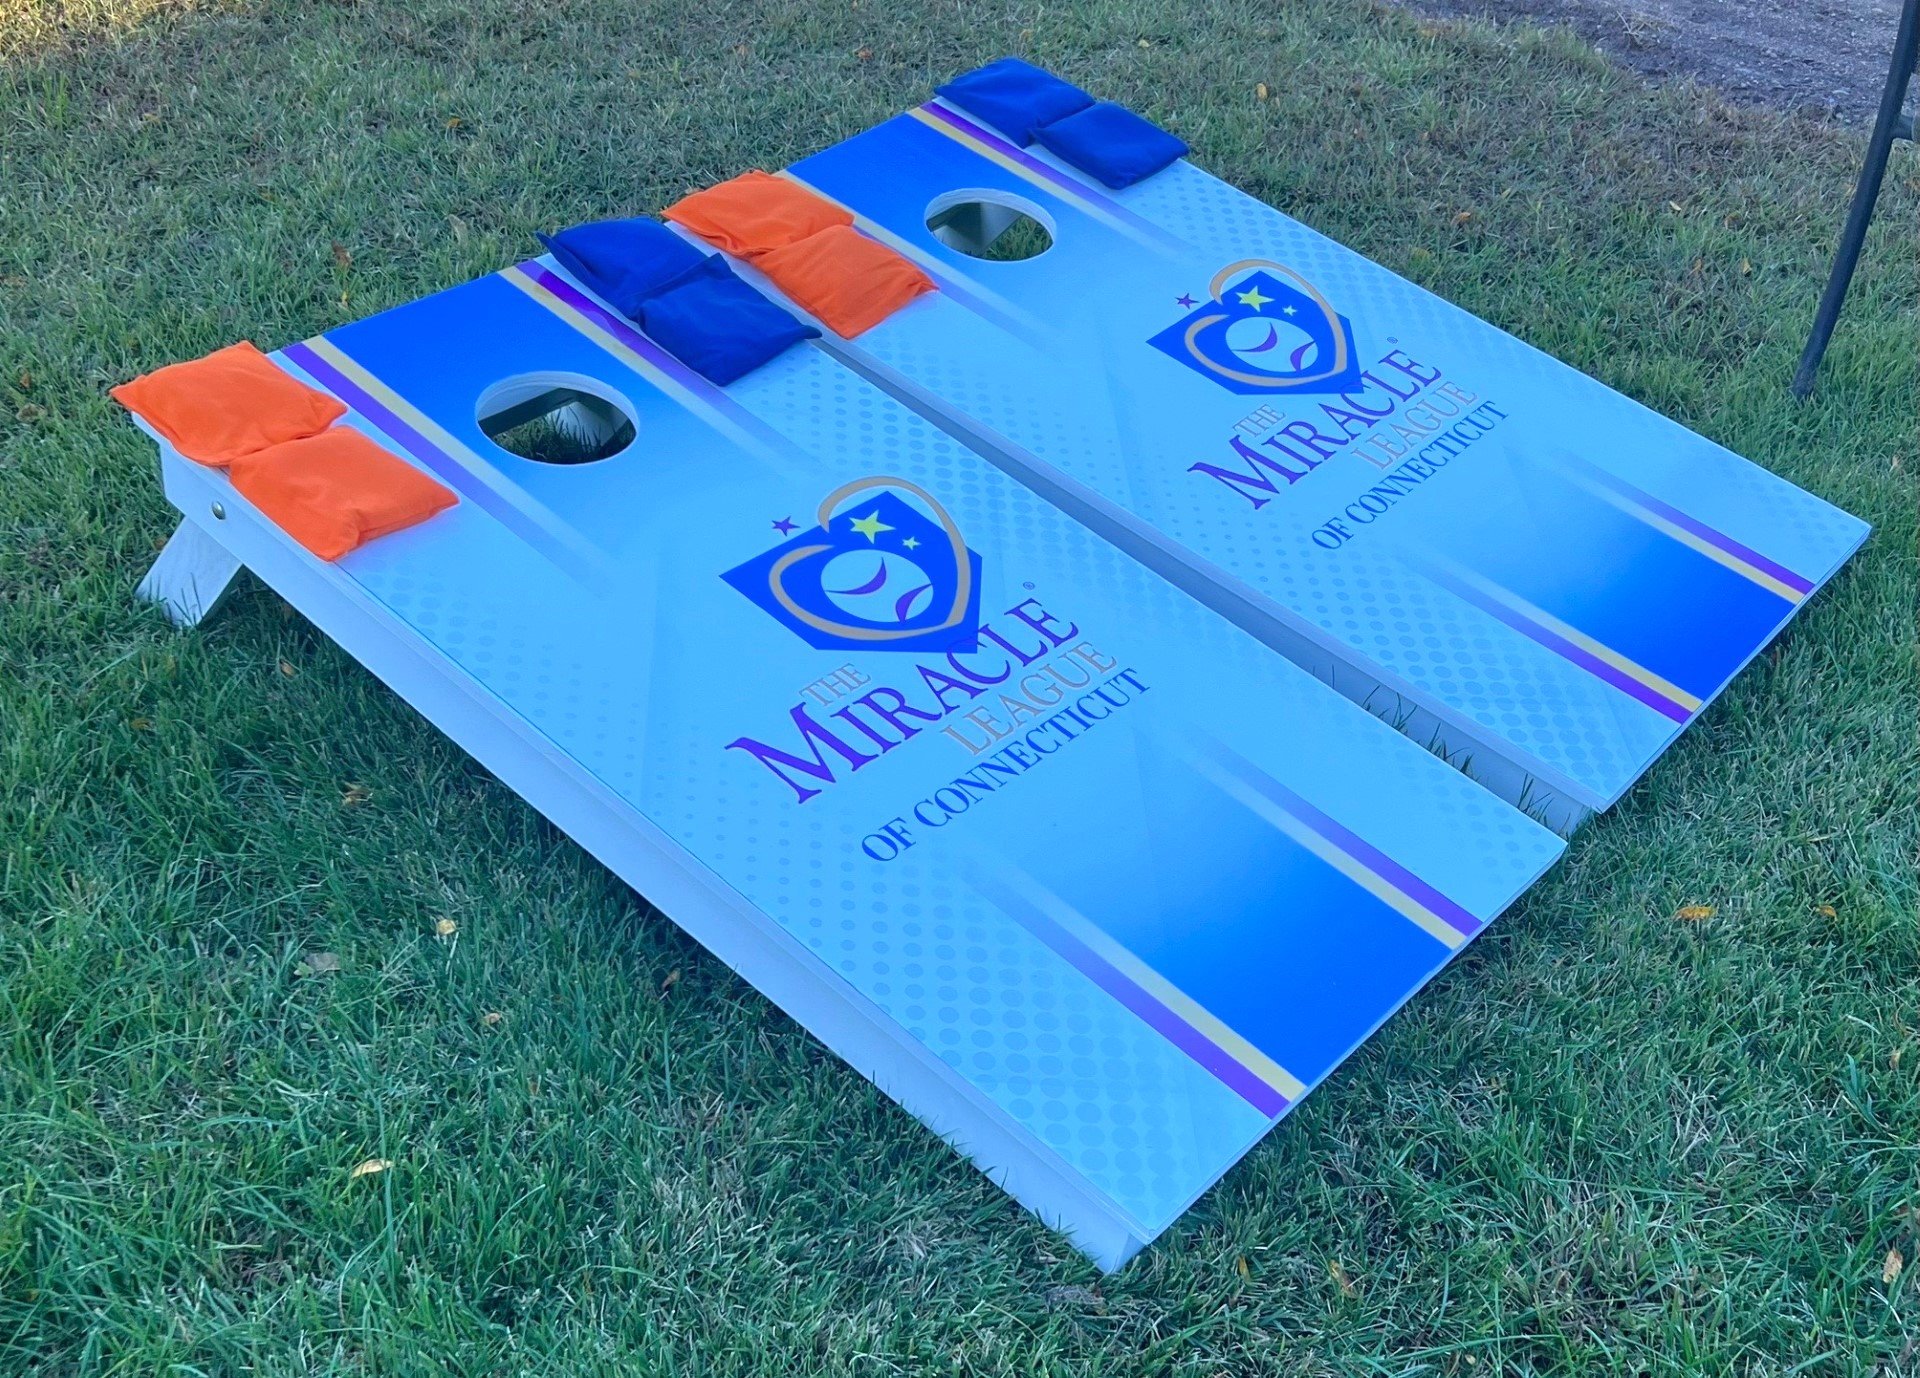
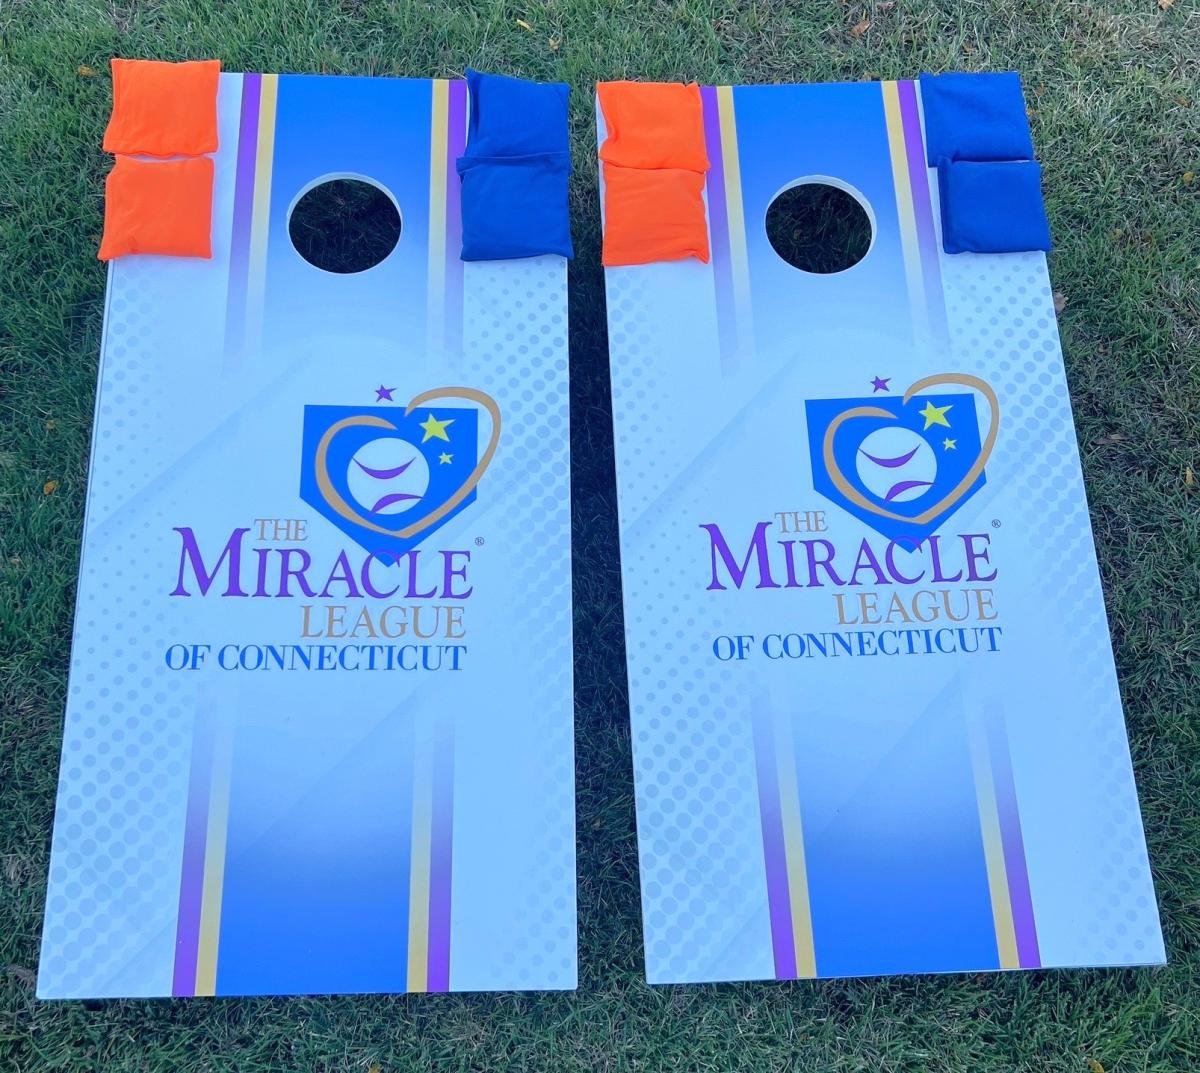
A Cornhole set I donated to a charity golf tournament. The Miracle League of Connecticut puts on social events for kids with intellectual and physical disabilities. It's built to ACL specs.

this was a relatively easy project. I used a very old saw for this project so my cuts were less precise than I would have liked.
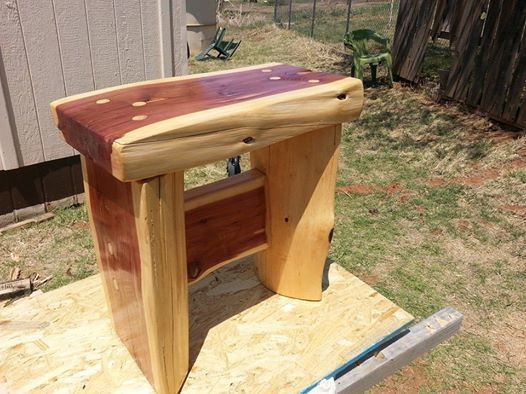
I made this for my wife. It is a simply design but she loves it and I think it turned out very nicely. I had an 18" inch long western red cedar log laying around that I sat on sometimes and wondered how I could make it more comfortable to sit on, and this is what I came up with. I peeled the bark with a draw knife. and then marked out a 3" thick slab out of the middle lengthwise and carefully ripped it out using a chainsaw. I used the two end pieces as the base by turning the outer sides in while using the slab for the top. Out of a smaller log I cut the cross member about an 1 1/2" thick sized to fit between the legs. After lots of sanding I was able to get the marks from the chainsaw out and assembled the pieces using 5 1/2" x 1/4" hex head screws countersunk and holes plugged with 3/4" poplar dowels. After a final sanding I applied 3 coats of Spar-Urethane. The red parts of the cedar turn a rusty color quickly after sanding so a finish needs to be applied rather quickly. I hope you like it.

This is a coffee table built out of pine, doug fir and redwood. I mistakenly bought redwood for the top, but I think it came out pretty nice! I had the "x" but decided I liked the look better without it.
Loved this project! The plans were so easy to follow, even for a begginer. Thank you so much!
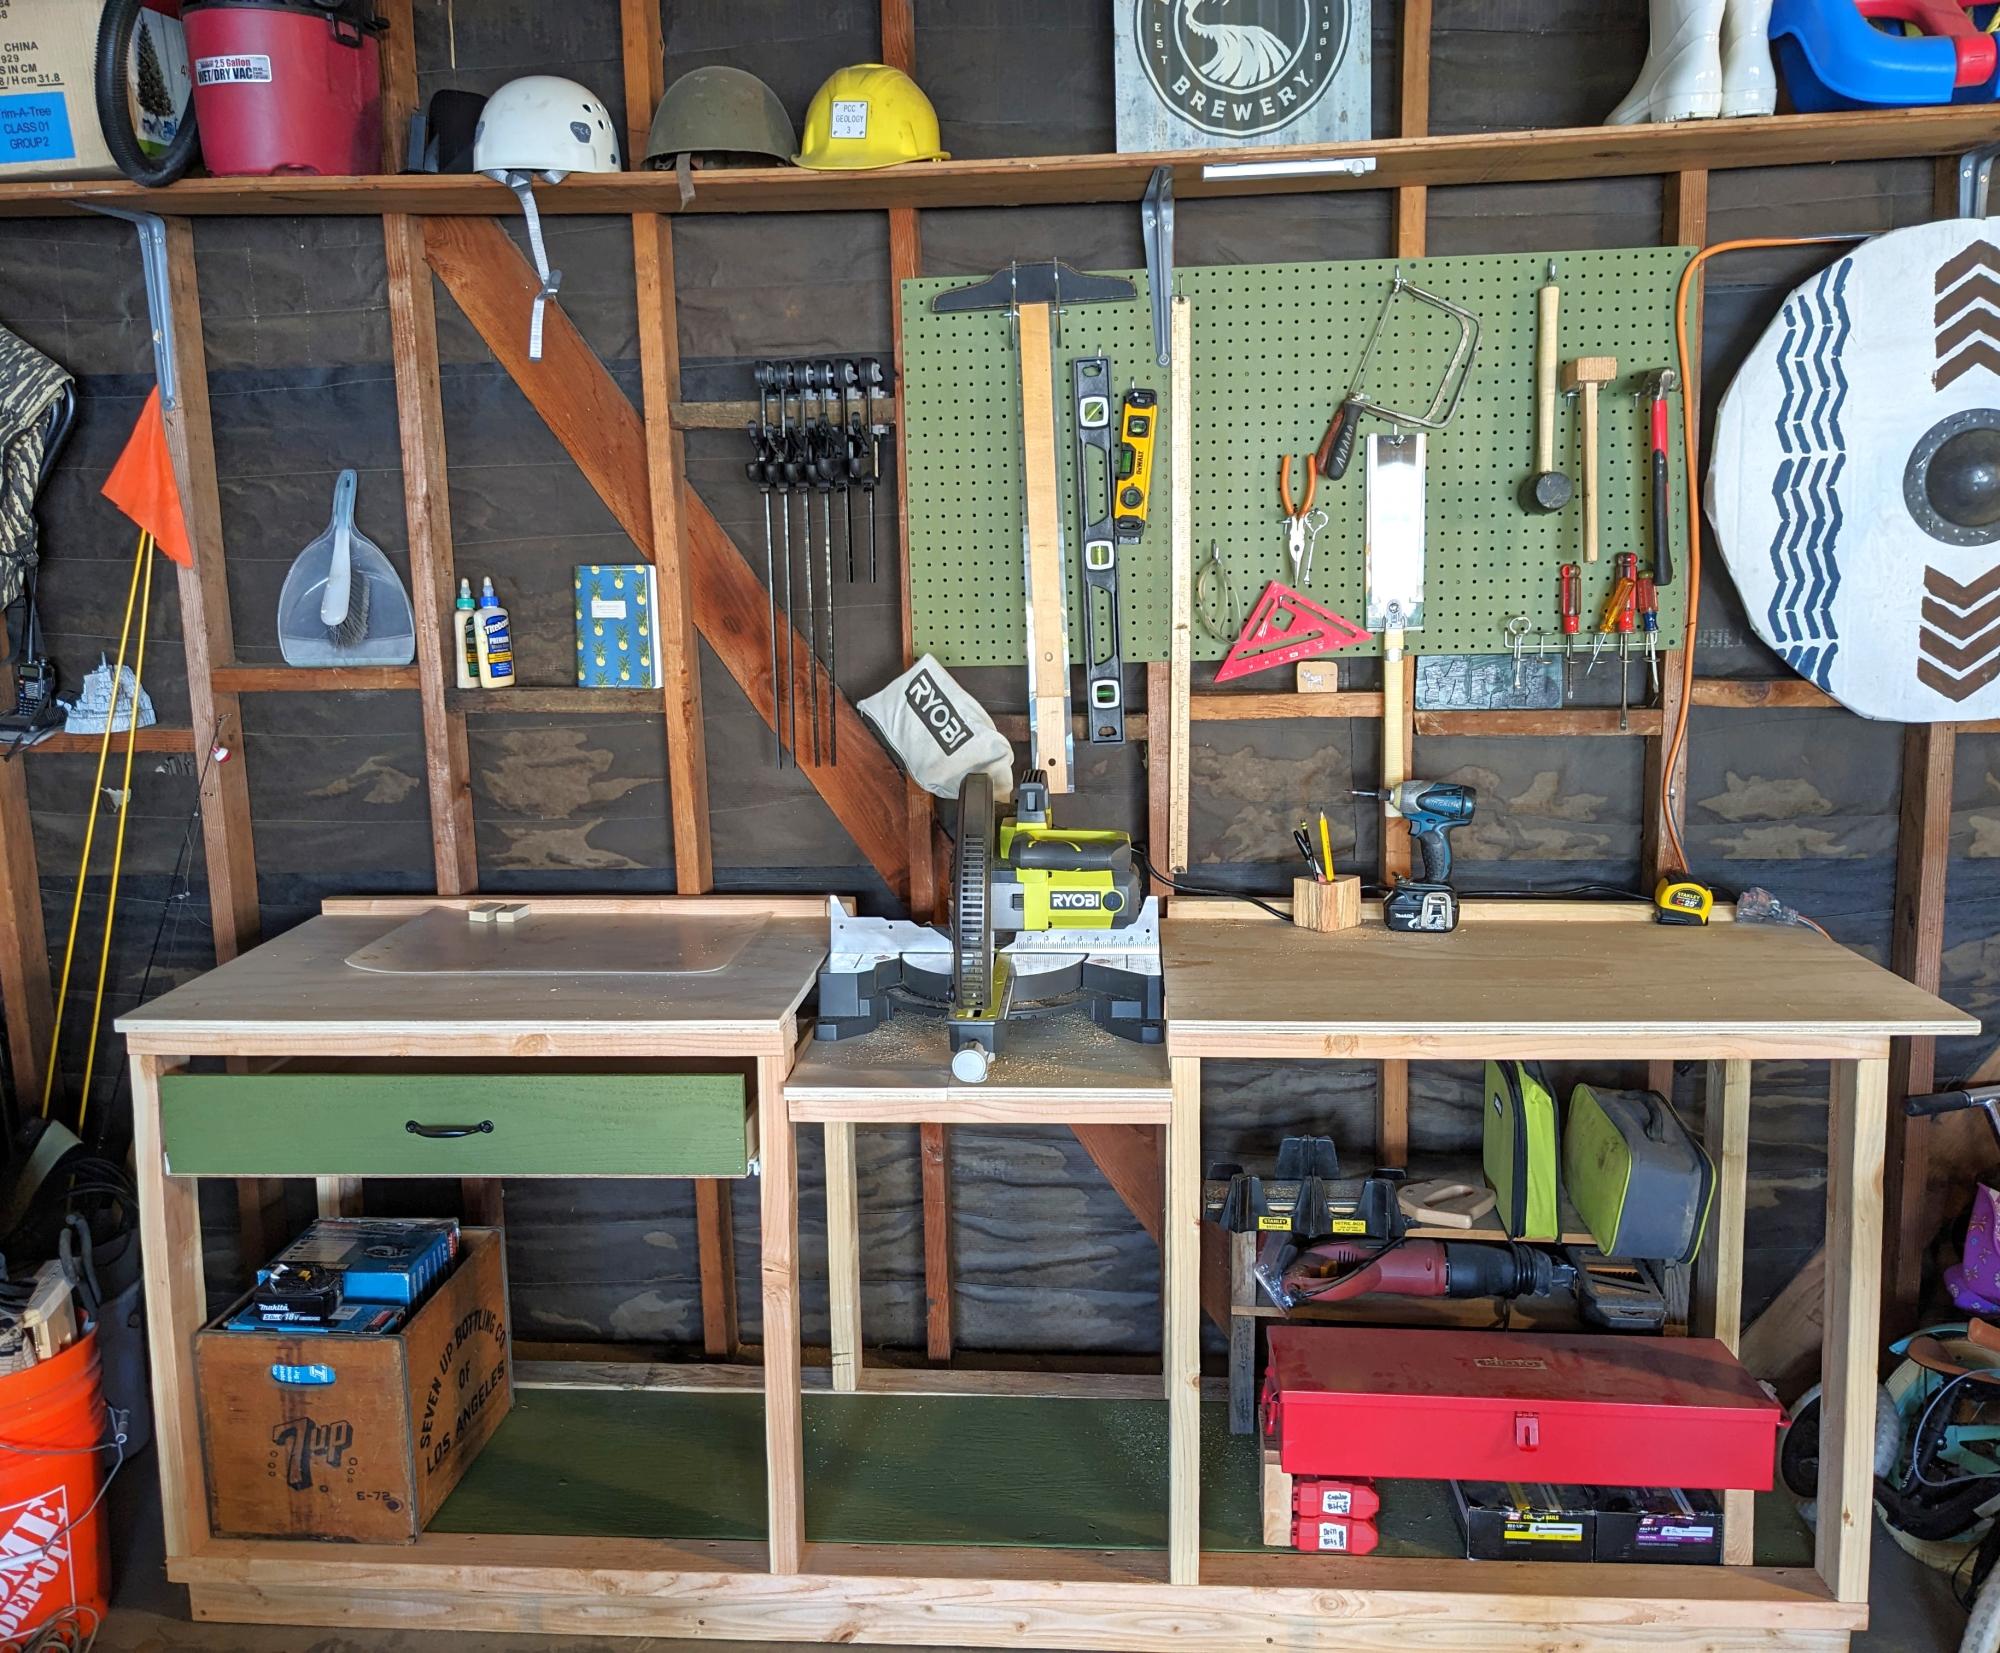
Made mine 8ft long, with just one drawer. So far the bench is great for my space, highly functional, holds all my stuff, and looks good too (I think).
bonan.califonica
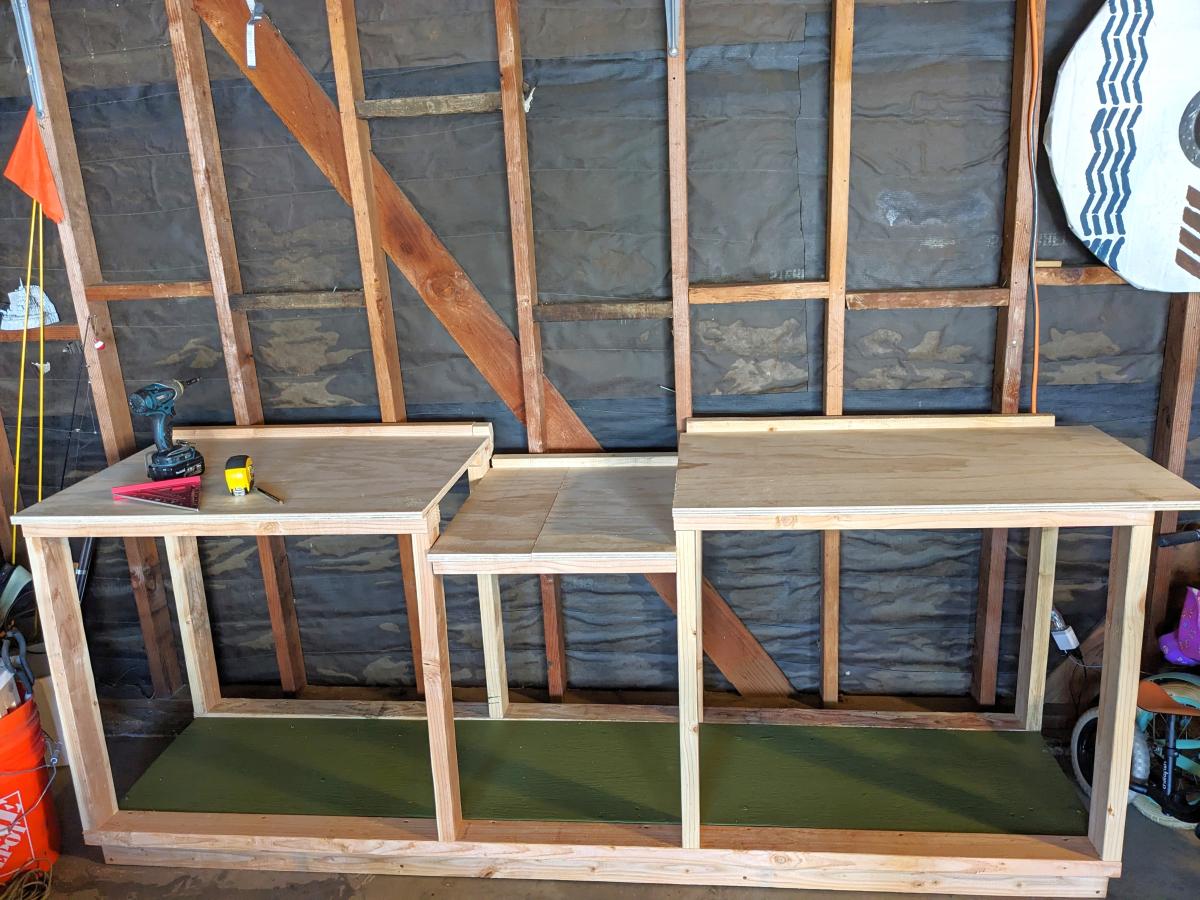
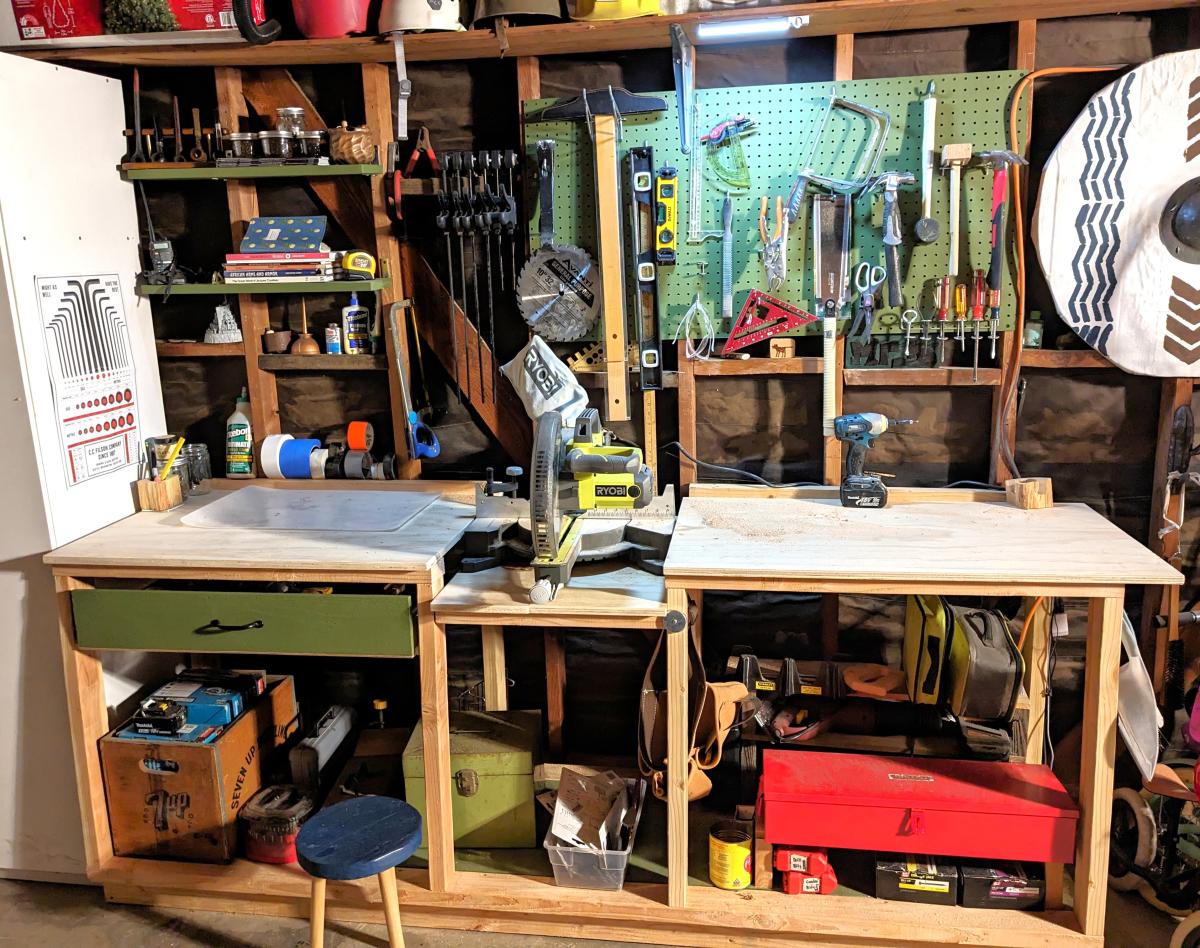

I based this console off of the Rhyan's coffee table plans. It about 6 1/2 feet long and just under 2 feet for both height and depth. The frame is reclaimed pine off of a barn, the shelving, the sides and the drawer fronts are irregular cedar planks and the drawers themselves i believe are actual 1 in thick white pine boards that were rough milled. Hopefully the pictures can answer any questions you have about this build but feel free to contact me if you have any questions. I was very pleased with how this project turned out since I was making so much of it up as I went.


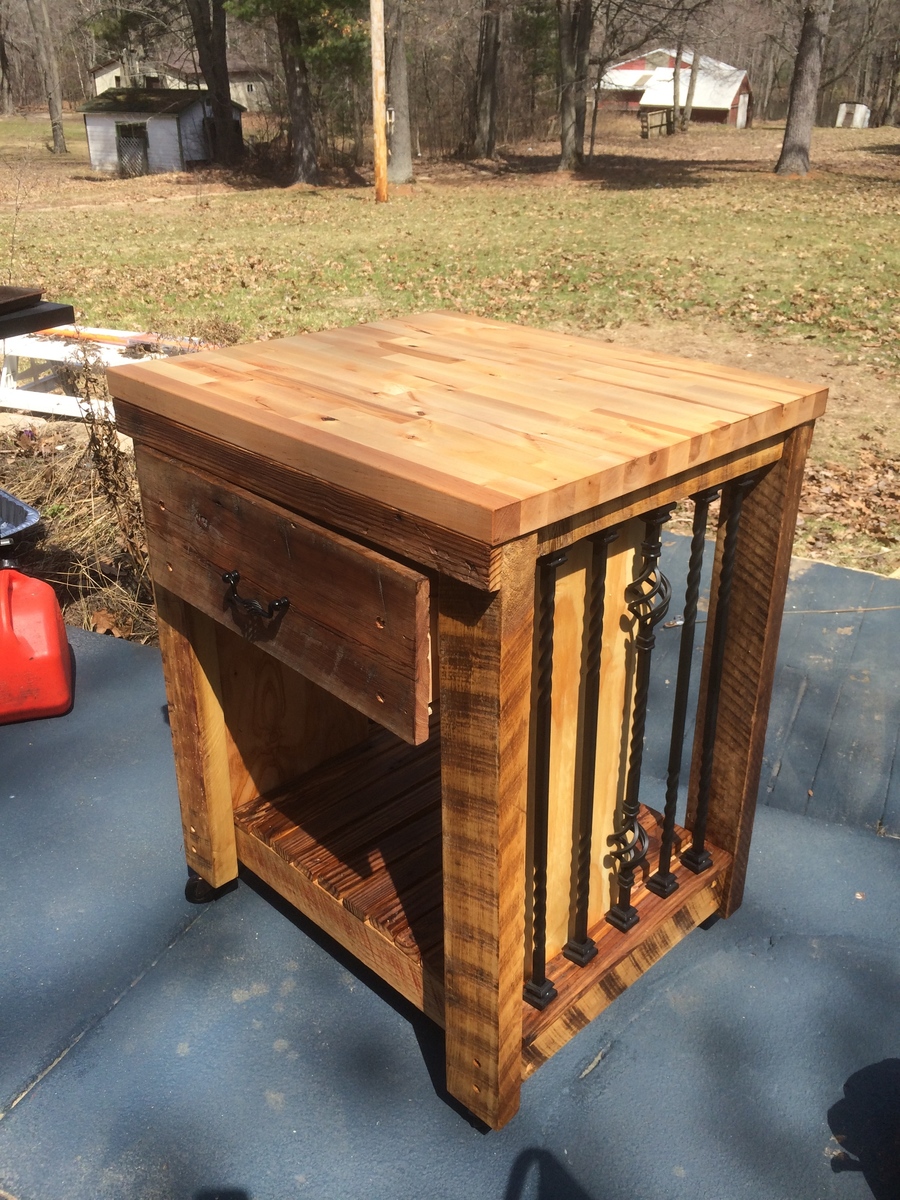
I started using the basic dimensions and cut list from this plan. I decided to use as much repurposed barn wood as I could (80%) in this project. I tried to keep the rough cut weathered look. On the sides I used wrought iron balusters in place of the wood X pattern specified in the plan. I used matching wrought iron drawer hardware and topped it off with a butcher block table top. This is my very first piece of furniture that I have ever made and I'm very happy with the way it turned out!
Put together mostly in accordance with the Ana plans, but this one is one 1x6 wider than the original plans with aprons, legs, breadboards, etc. widened as necessary. Also, the table-top is connected all from the bottom so I could avoid having to patch a bunch of nail holes on the top (lots of screws and pocket holes to pull it all together that way). I'd highly recommend a Kreg jig for the table, as it allows for most of the screwed connections to be hidden.
We're moslty just happy to have a rock-solid table that's easy to clean with our 3 and 5 year old boys. The table this is replacing was a hand-me-down antique that was quite shaky.
The matching benches will be coming along as well, but most of my stuff is put together after the kids go to sleep, so takes some time.
I didn't use wood conditioner prior to the stain - as I read from a good source that the gel stain will essentially do the same as conditioner + traditional stain, and somewhat wishing I would have, as there are a couple blotched areas I'm not happy with, but I'll probably notice them more than anyone else.

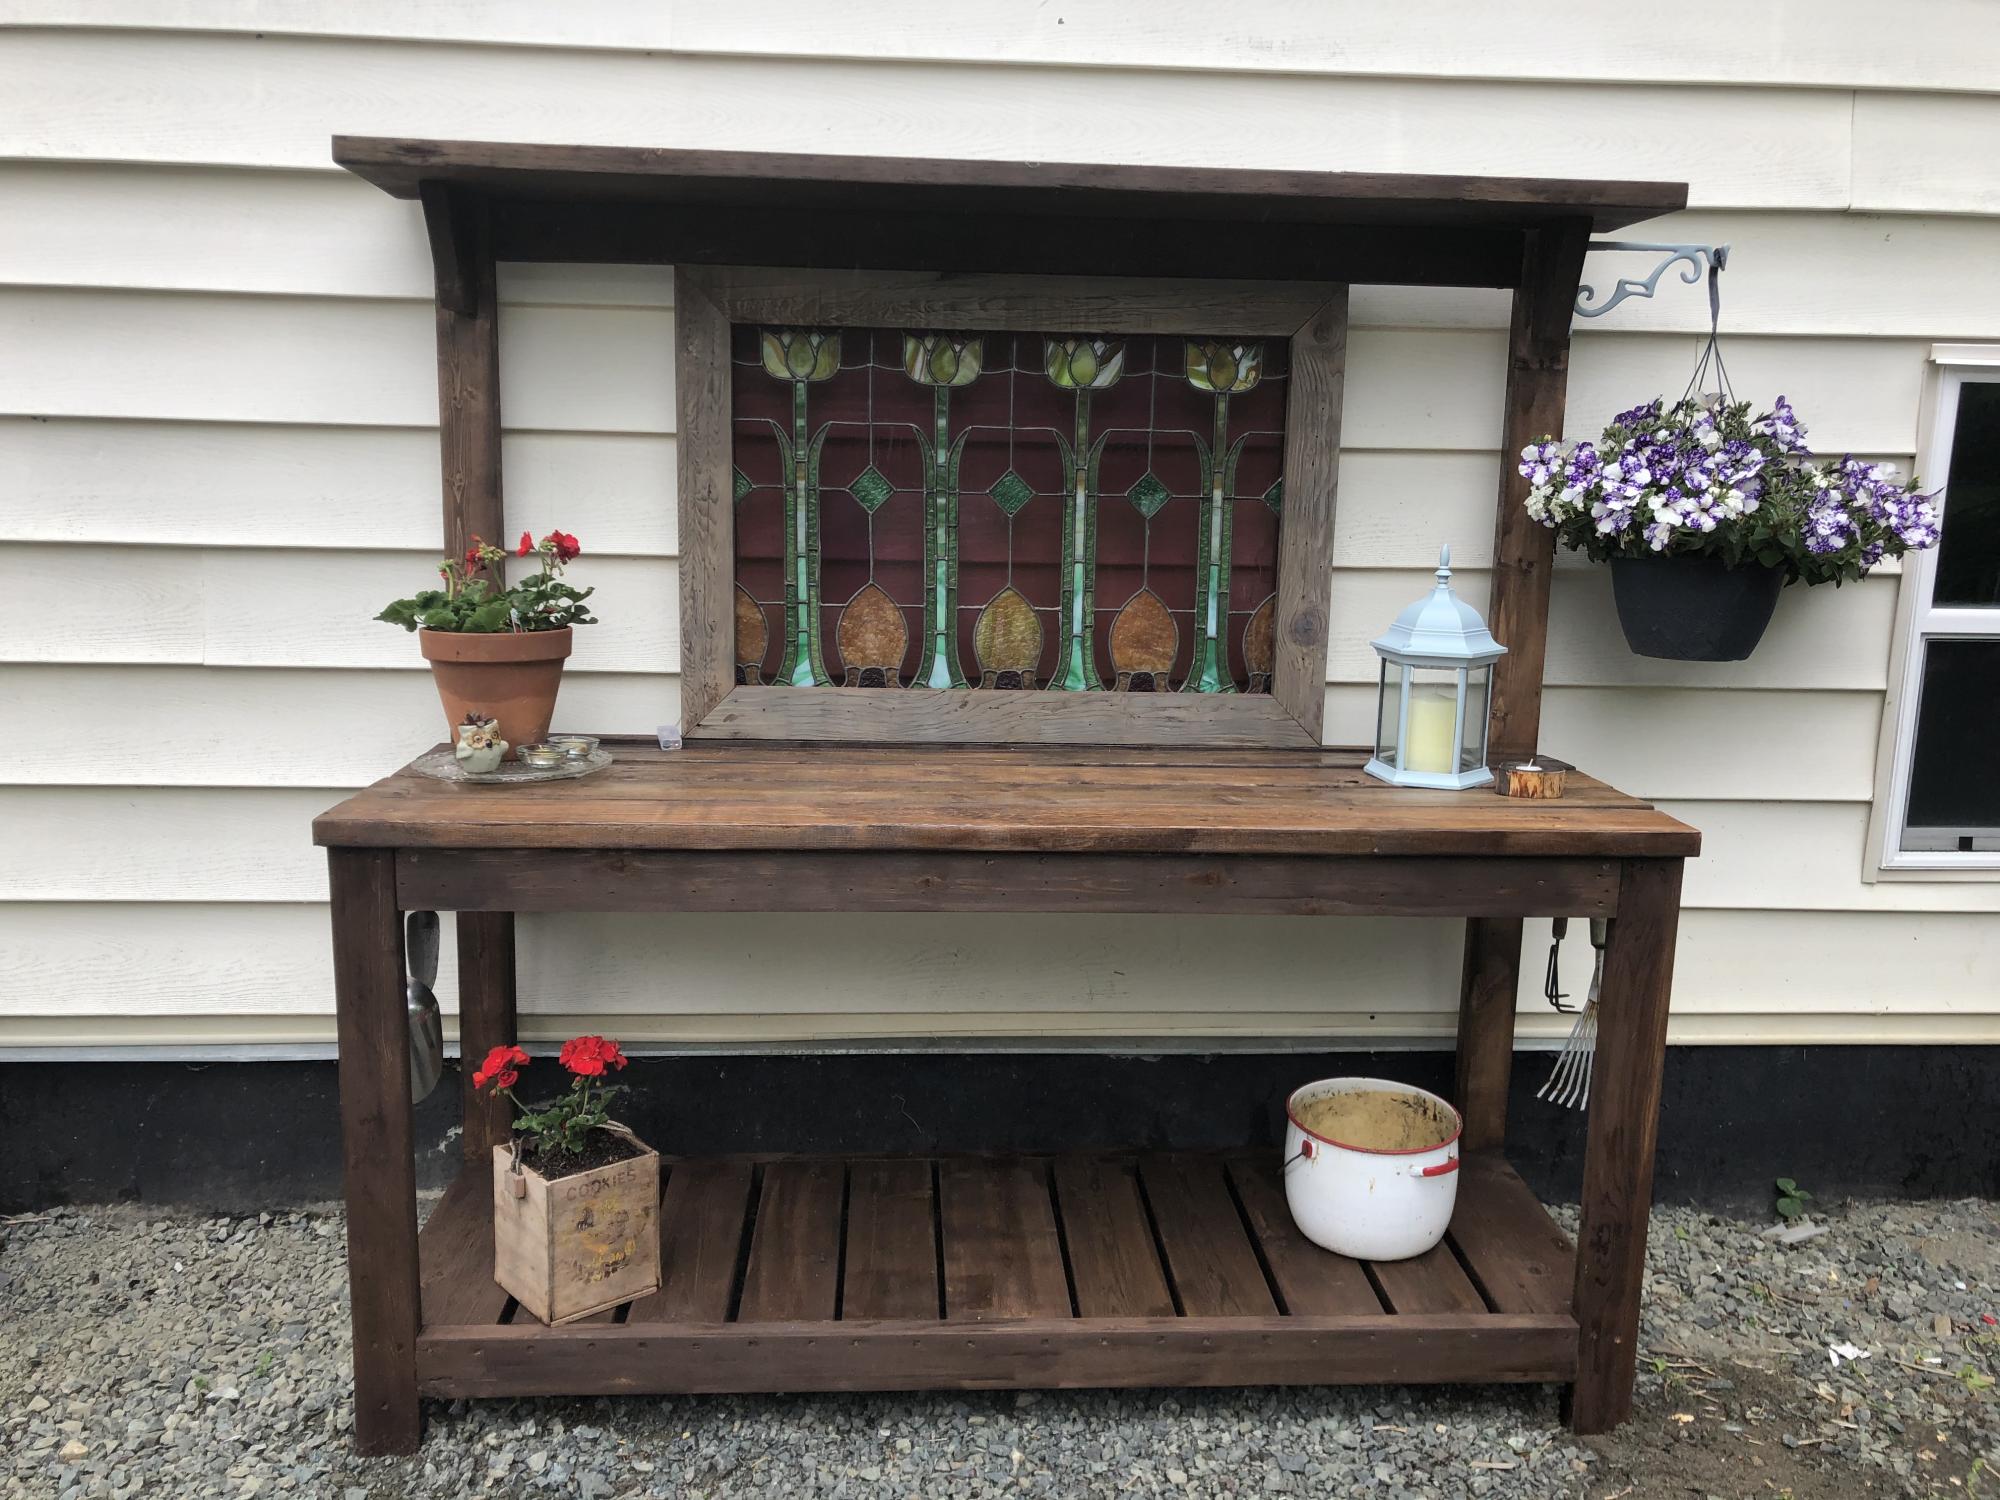
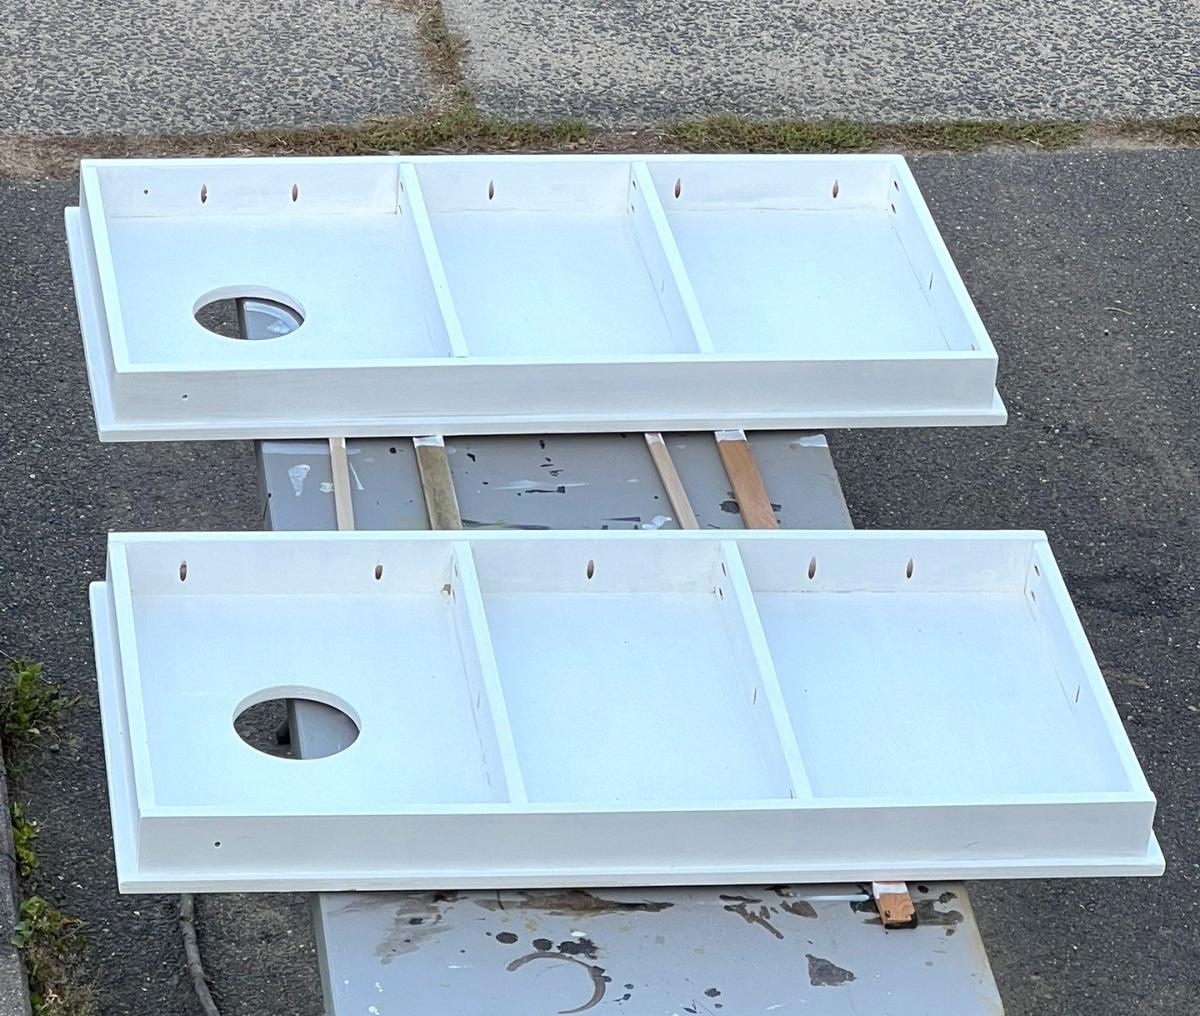
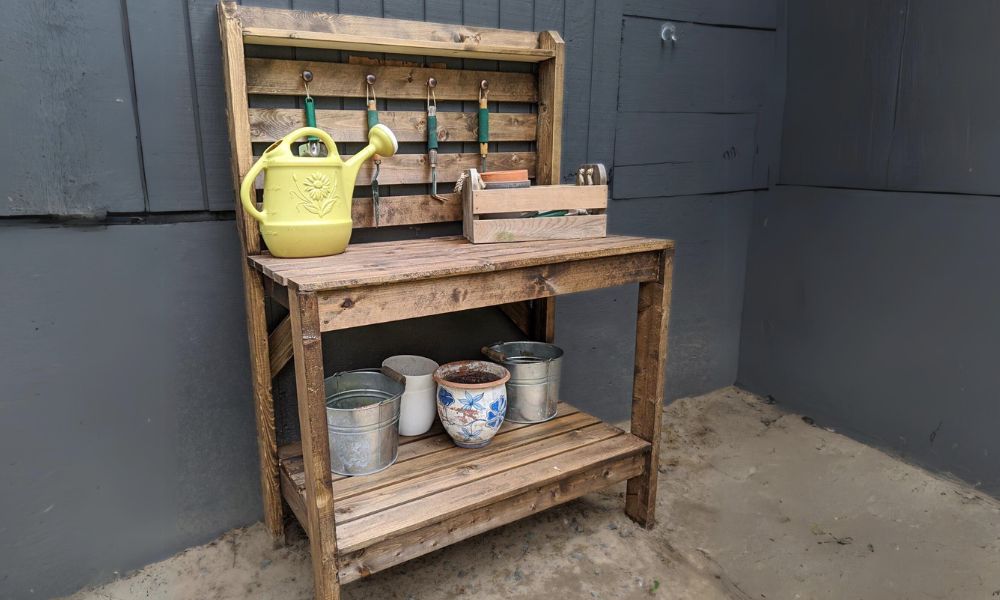
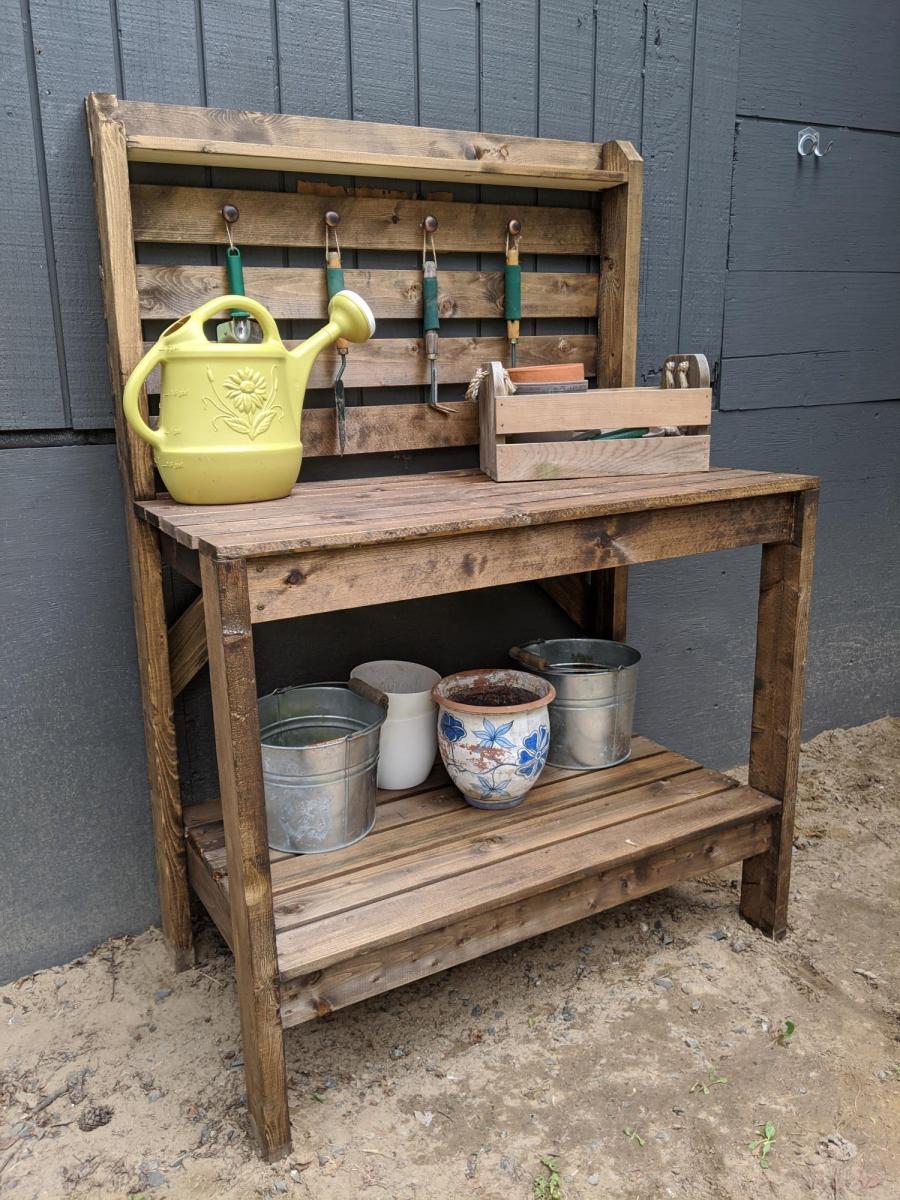
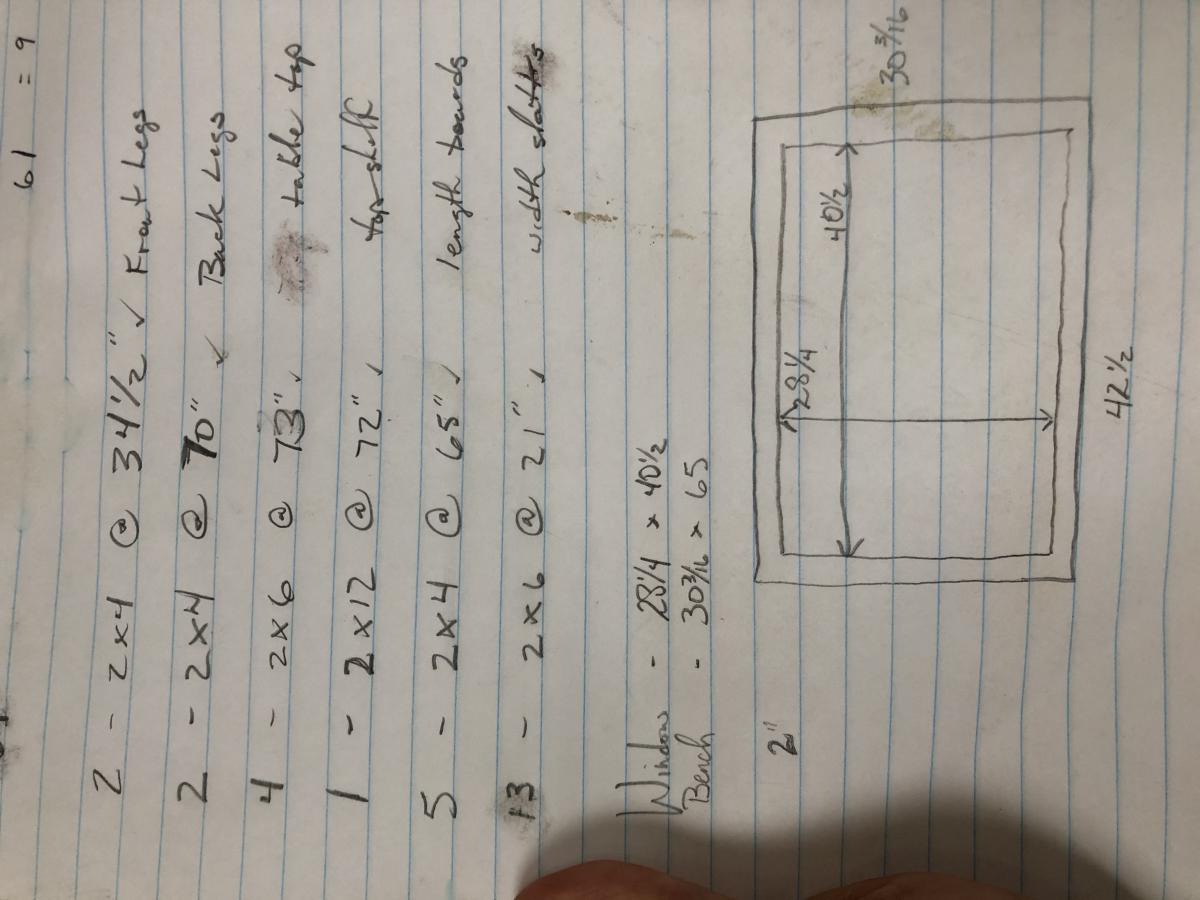
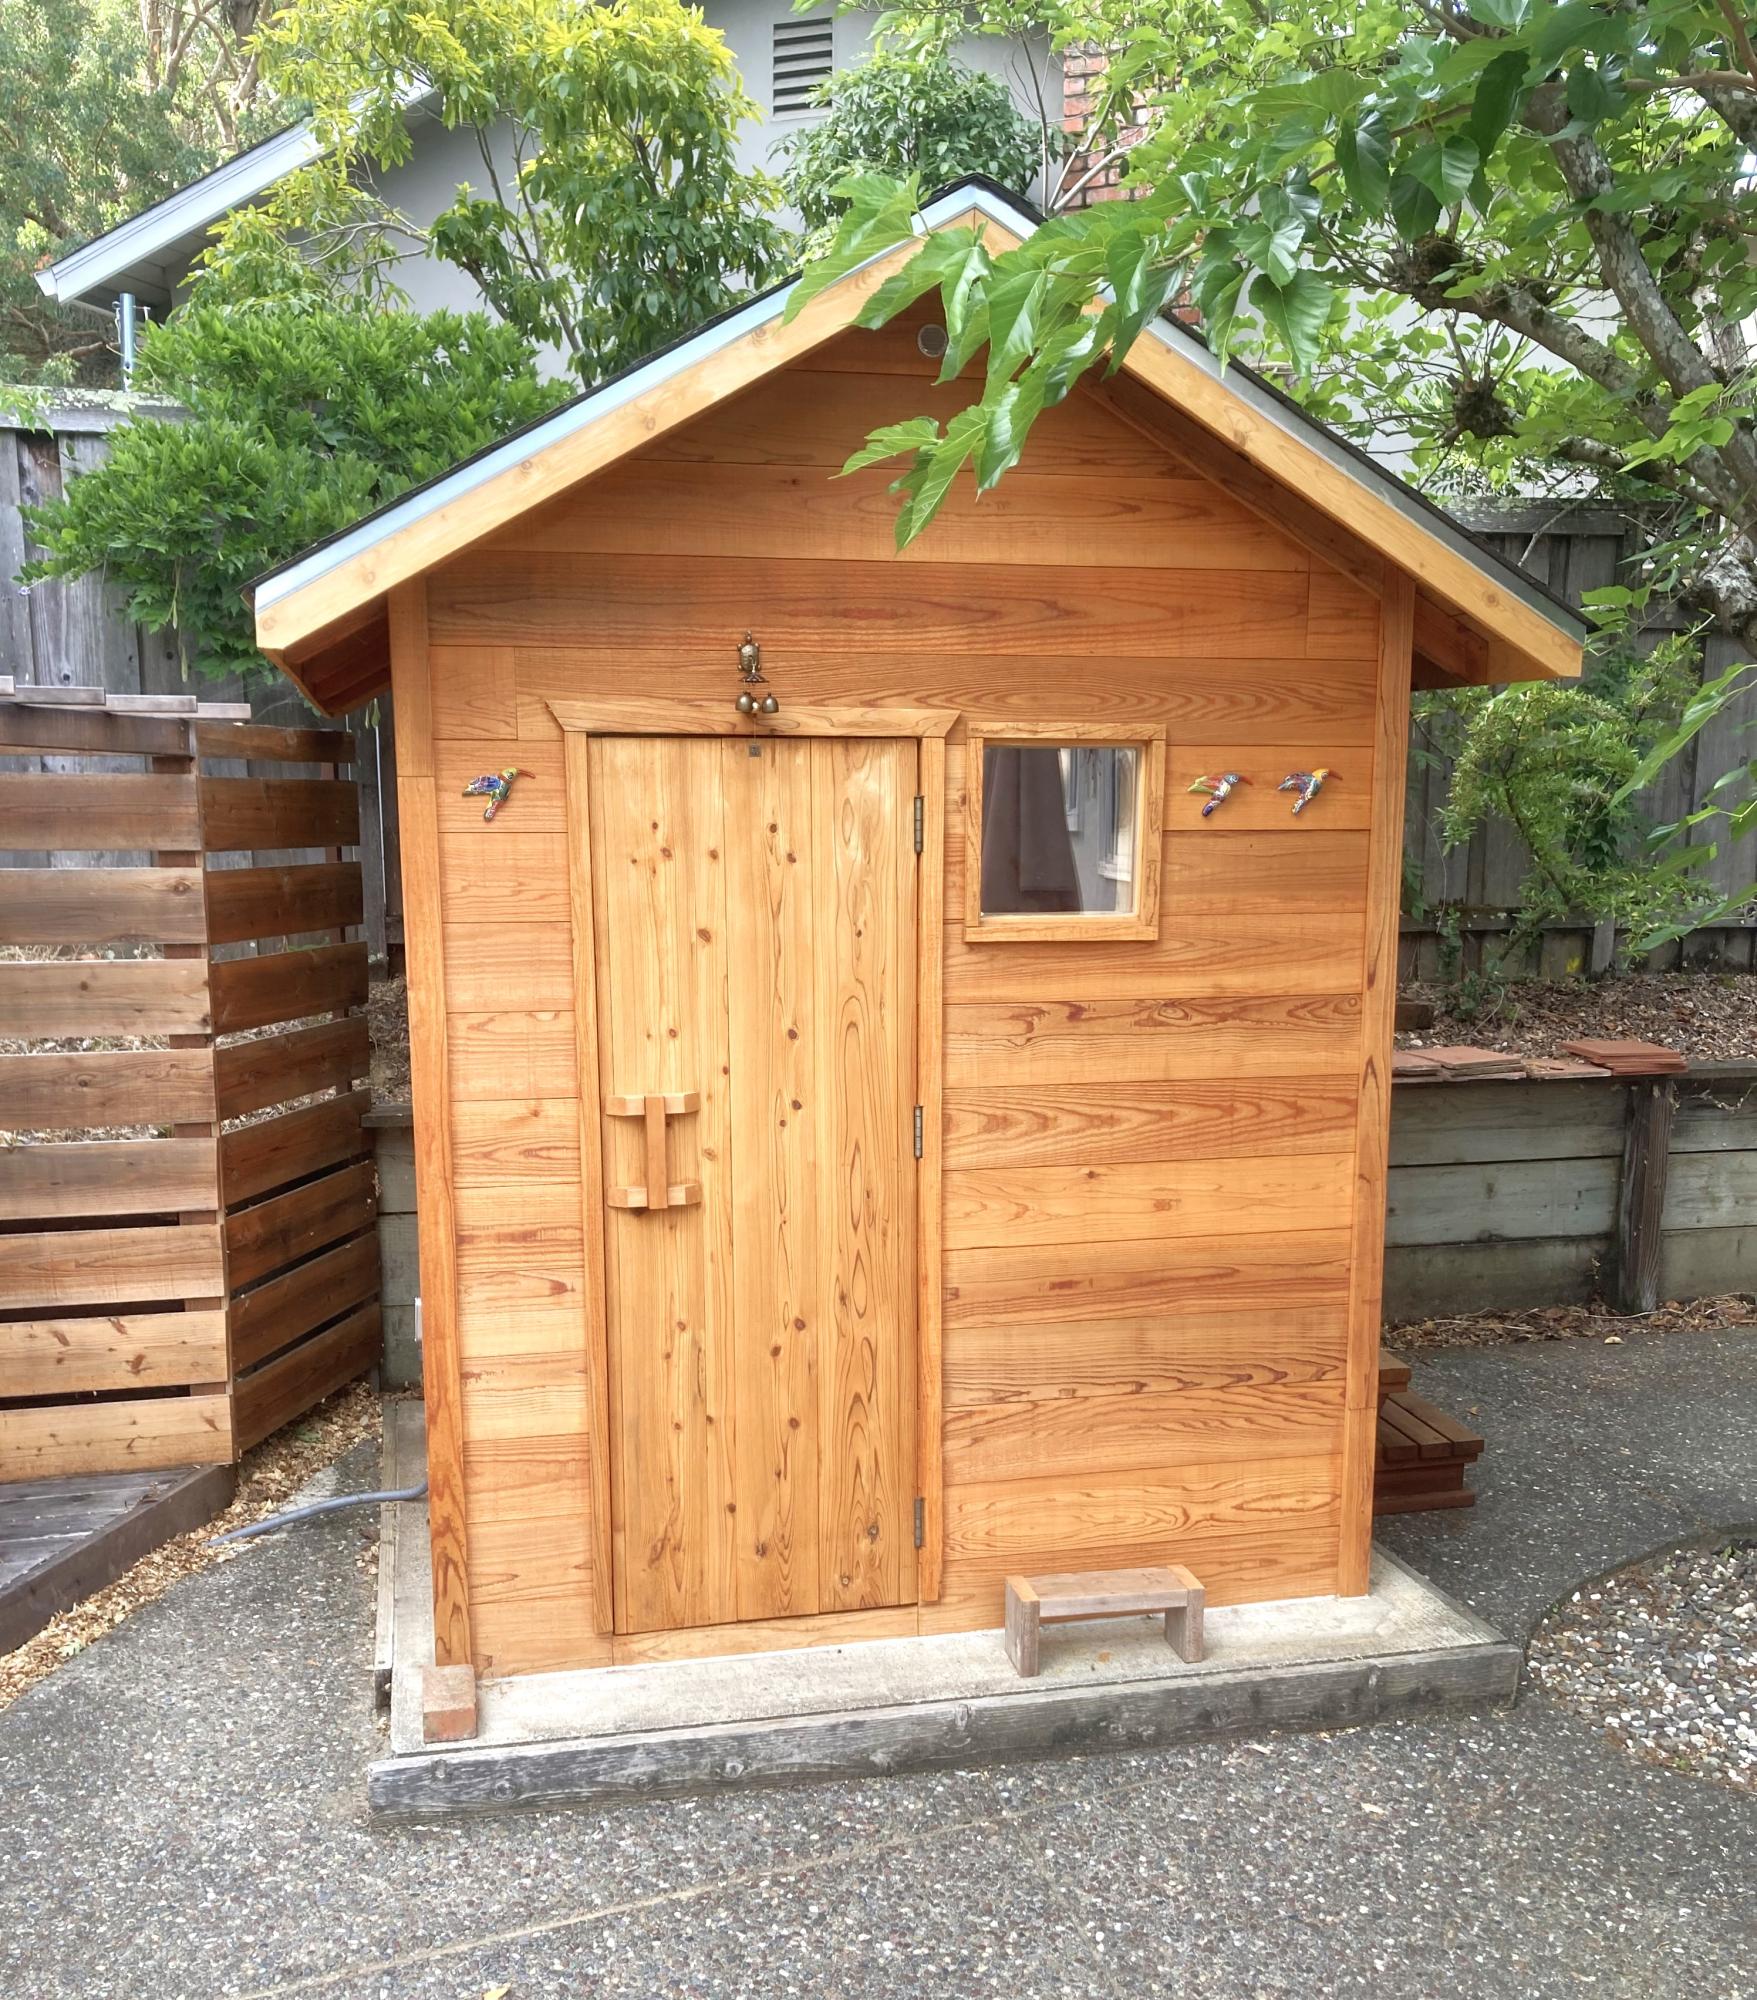
We had a pile of old wood and an old fence in the backyard that I wanted to repurpose. I had a spot along my house in the back yard that was empty, that really needed something. Thanks to Ana's "Farmhouse Potting Bench" tutorial and plans, we got inspired. We changed the measurements to make sure we could incorporate an old stained glass window that I've had, just waiting for a purpose. We also changed the measurements to accommodate the different sizes of wood that we had on hand. Our project took a much longer time, because of all the measurement changes and wrapping our head around how to mount the window, but it was worth it. We're really happy with how it turned out.
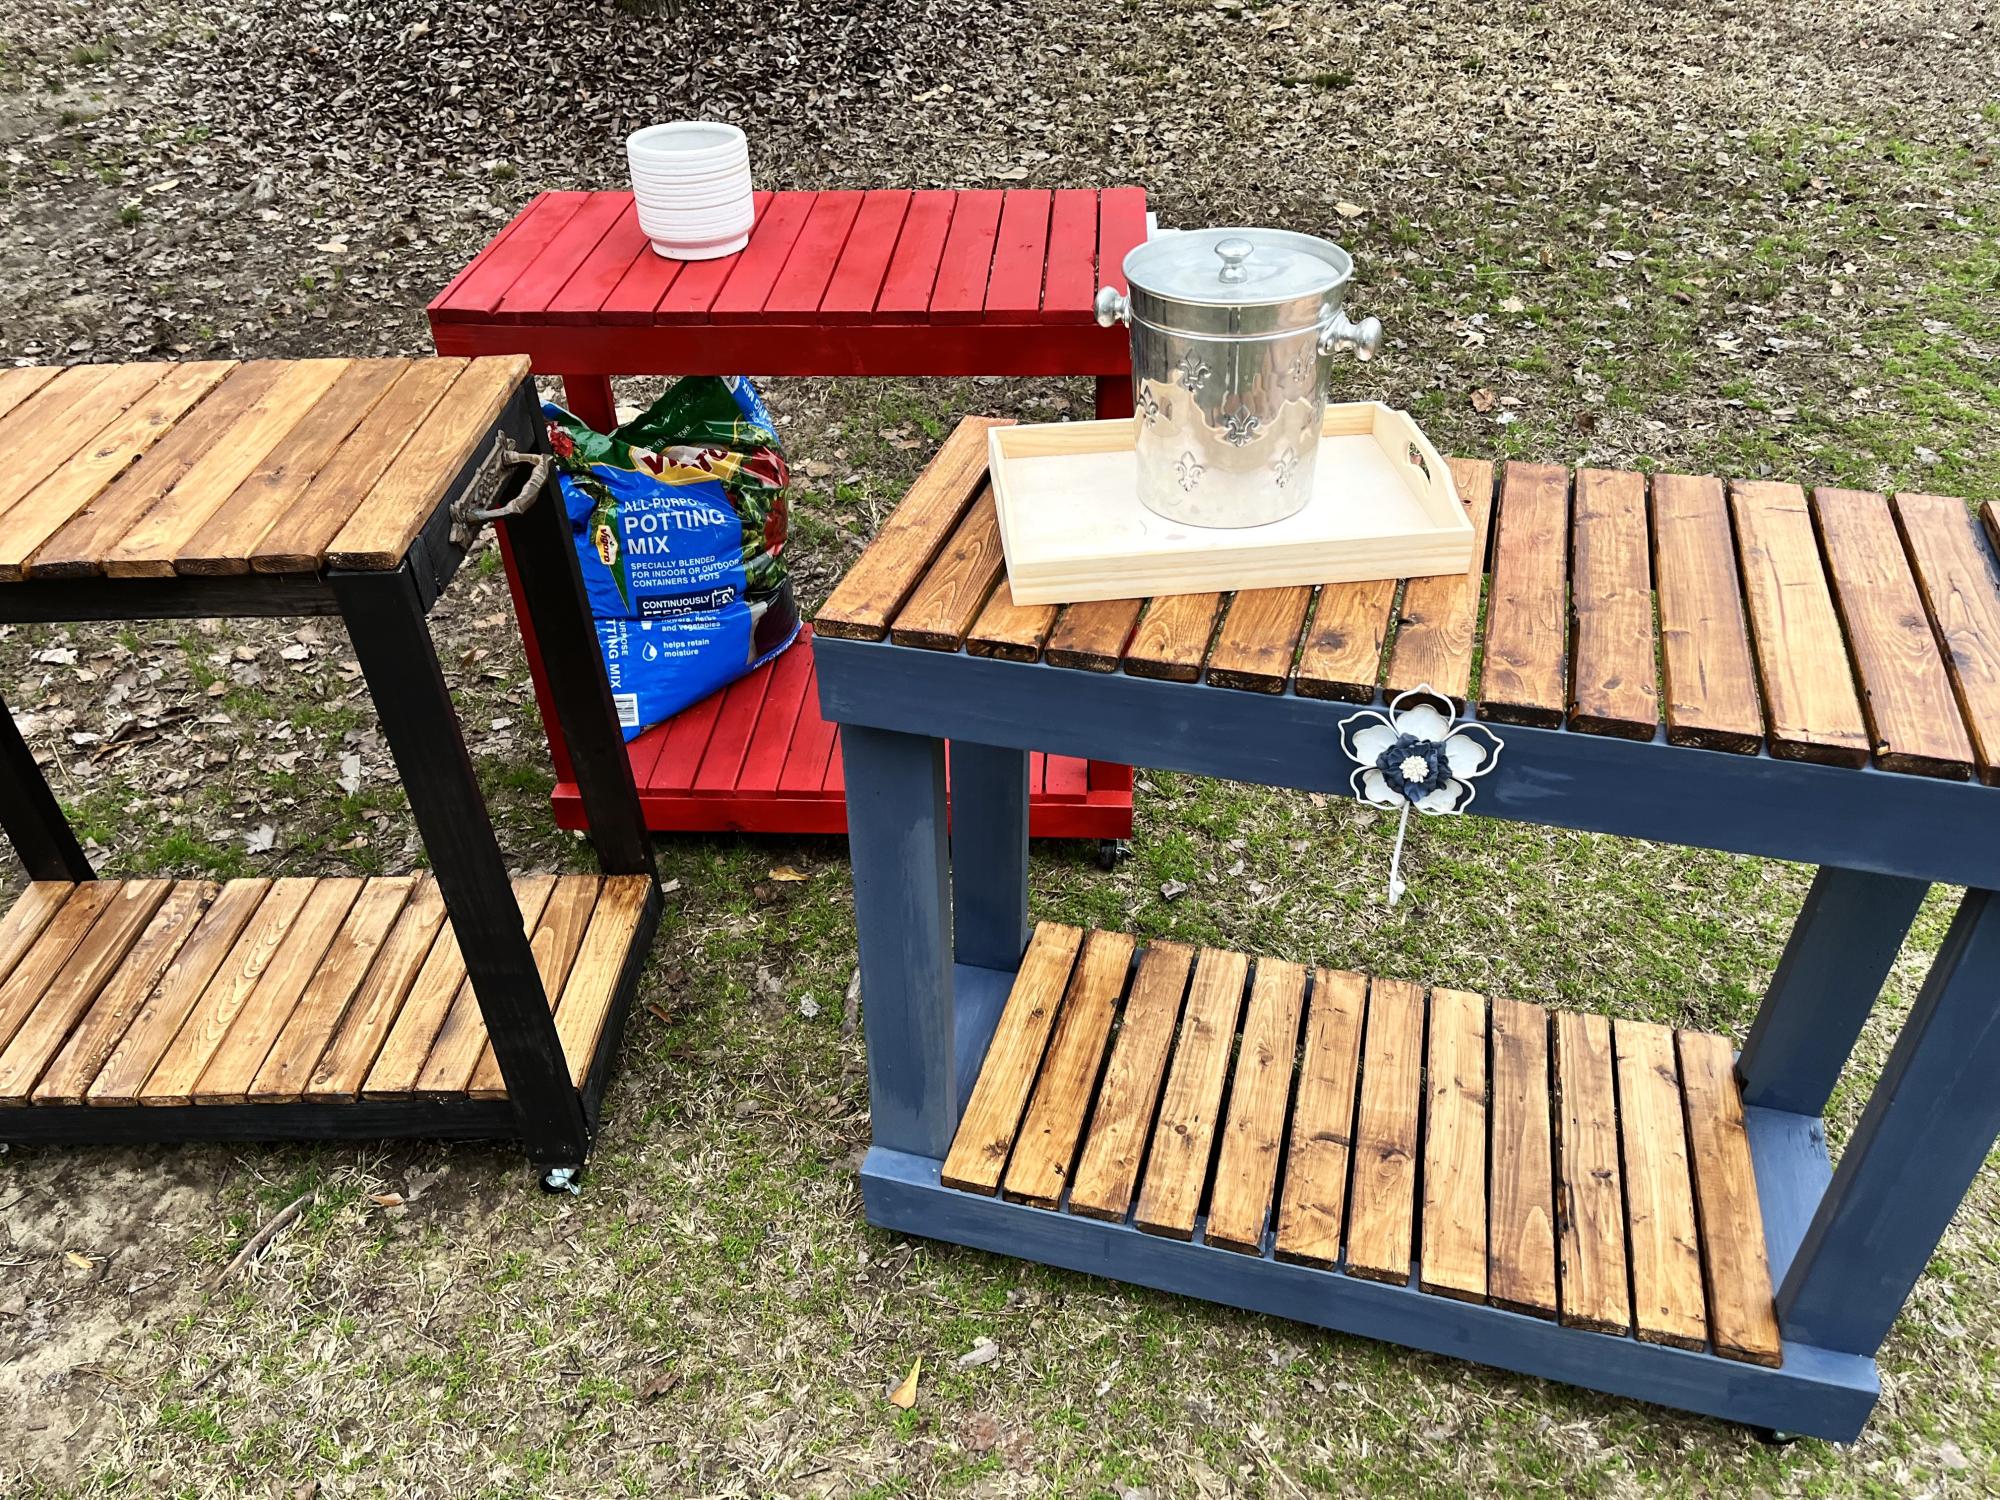
My first build was the rolling bar cart. It took 3 to work out my kinks but I love them!
Cerissa Neal

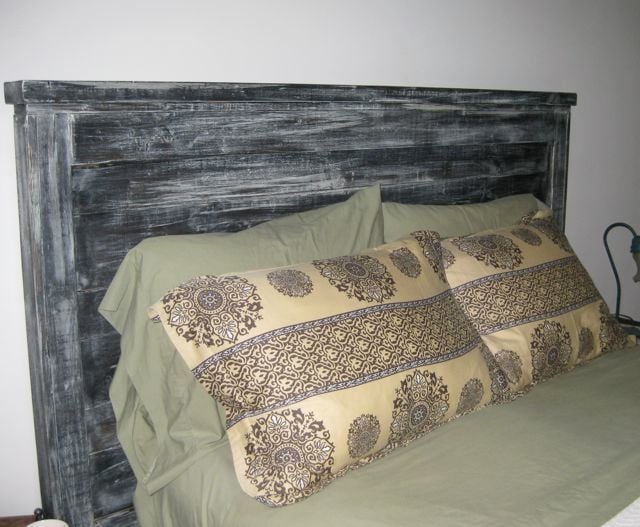
I followed this plan (http://ana-white.com/2010/03/plans-mason-headboard-its-all-in-finish.ht…) and my headboard turned out beautifully!
I chose to stain my headboard prior to dry brushing with paint.
While a beginner can complete the headboard, distress it, and stain it in a few hours, the stain needs to dry at least 24-48 hours prior to distressing/painting. And then the paint needs to dry at least 24 hours prior to wiping on the poly finish. I'd give yourself one week from start to moving it into your room.

Comments
blanchflower
Wed, 01/20/2021 - 20:44
Looks awesome!! Great job
Looks awesome!! Great job