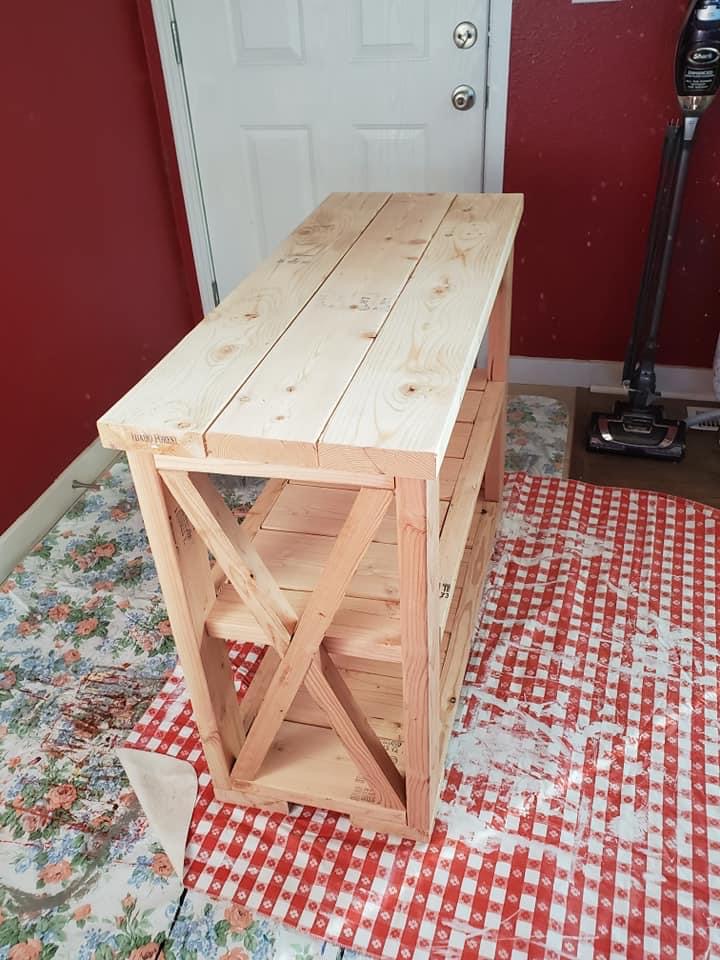
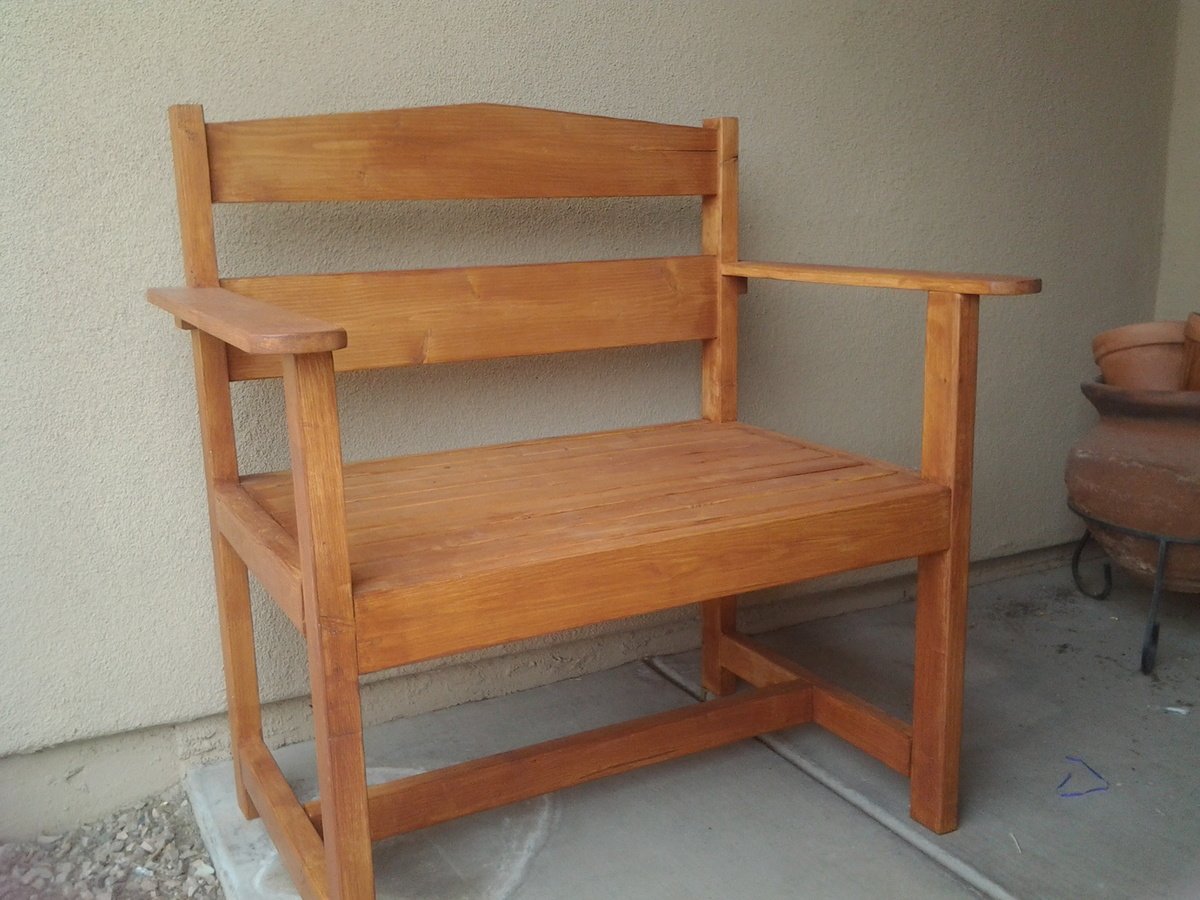
My first build
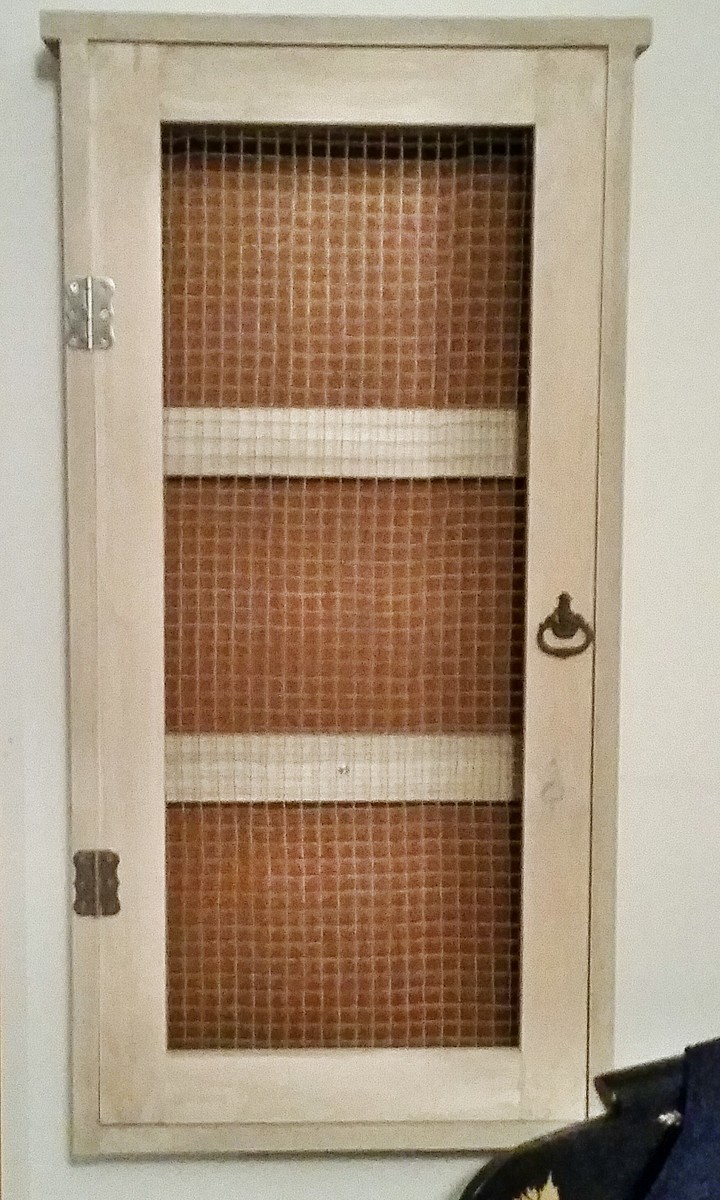
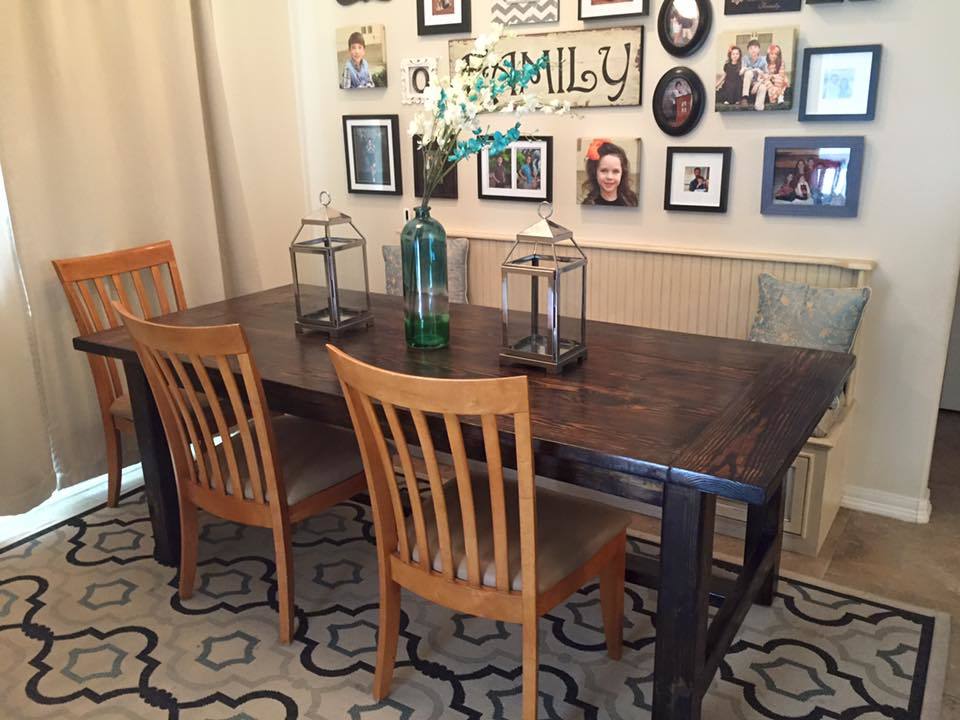
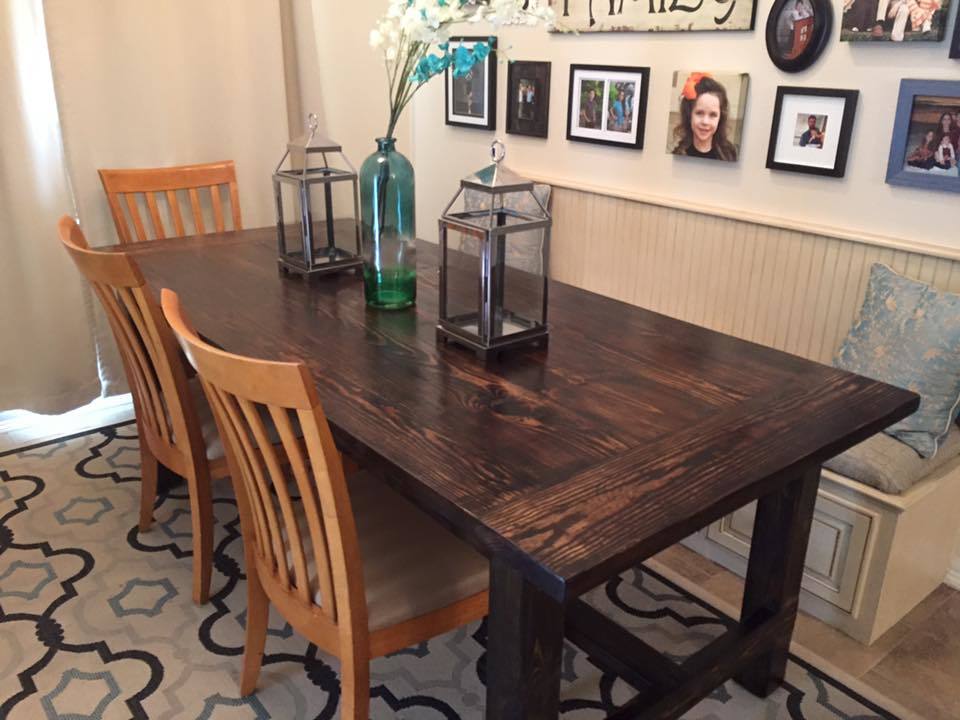
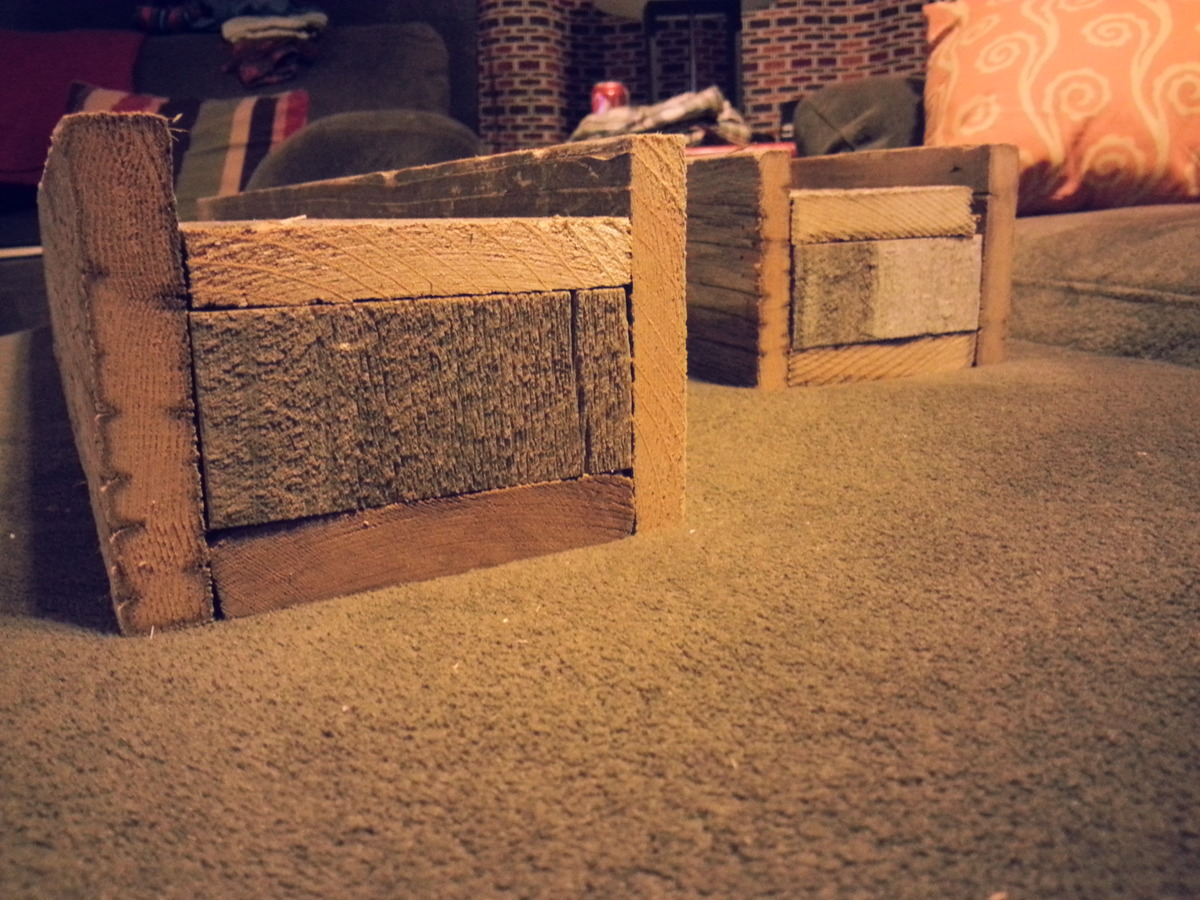
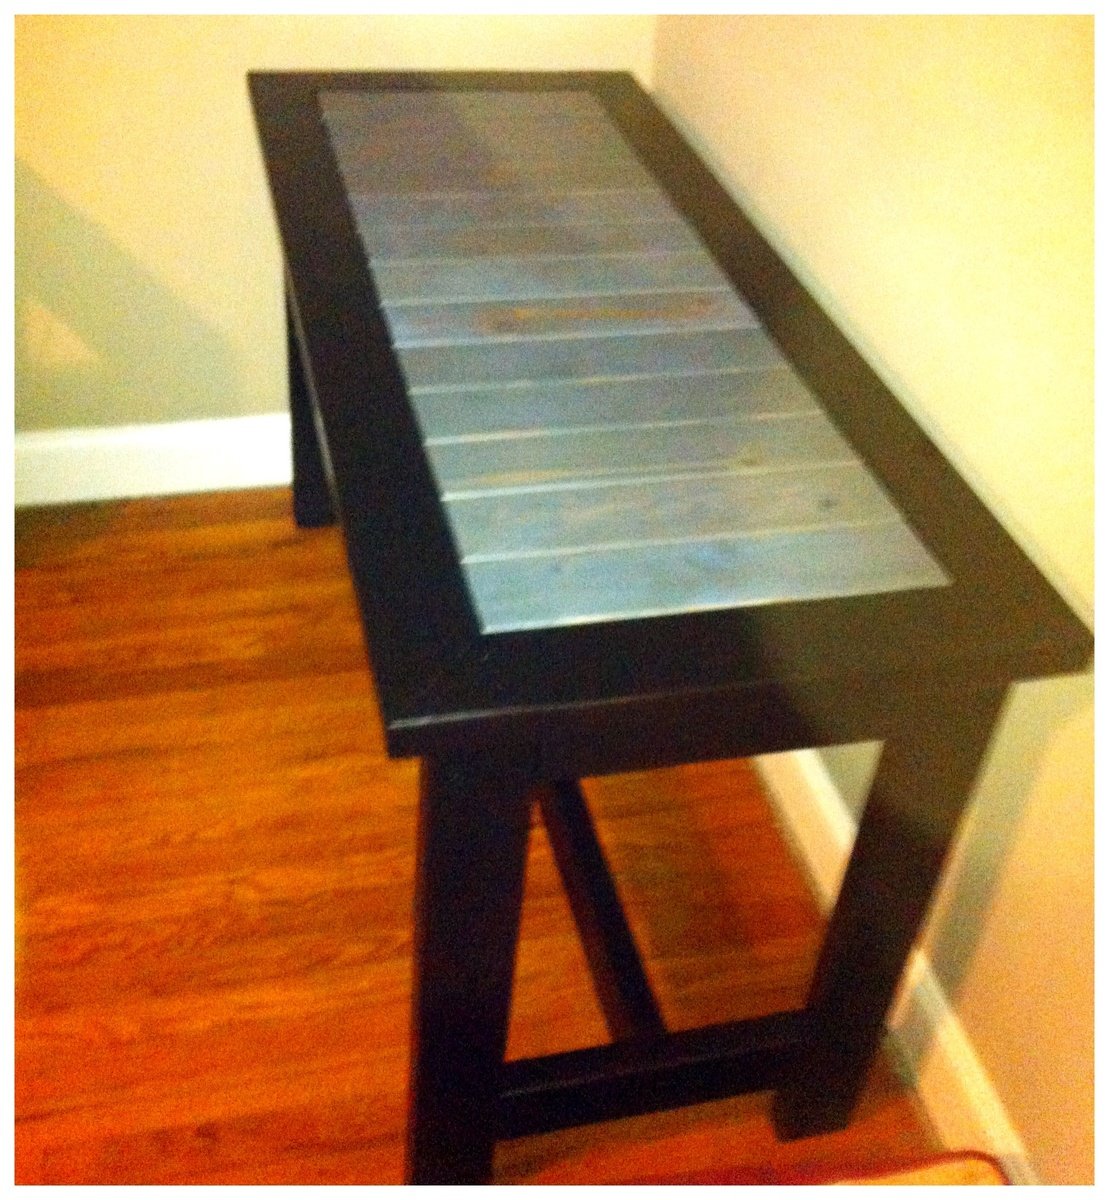
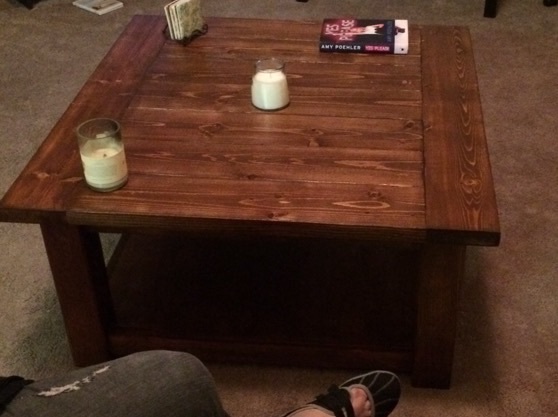
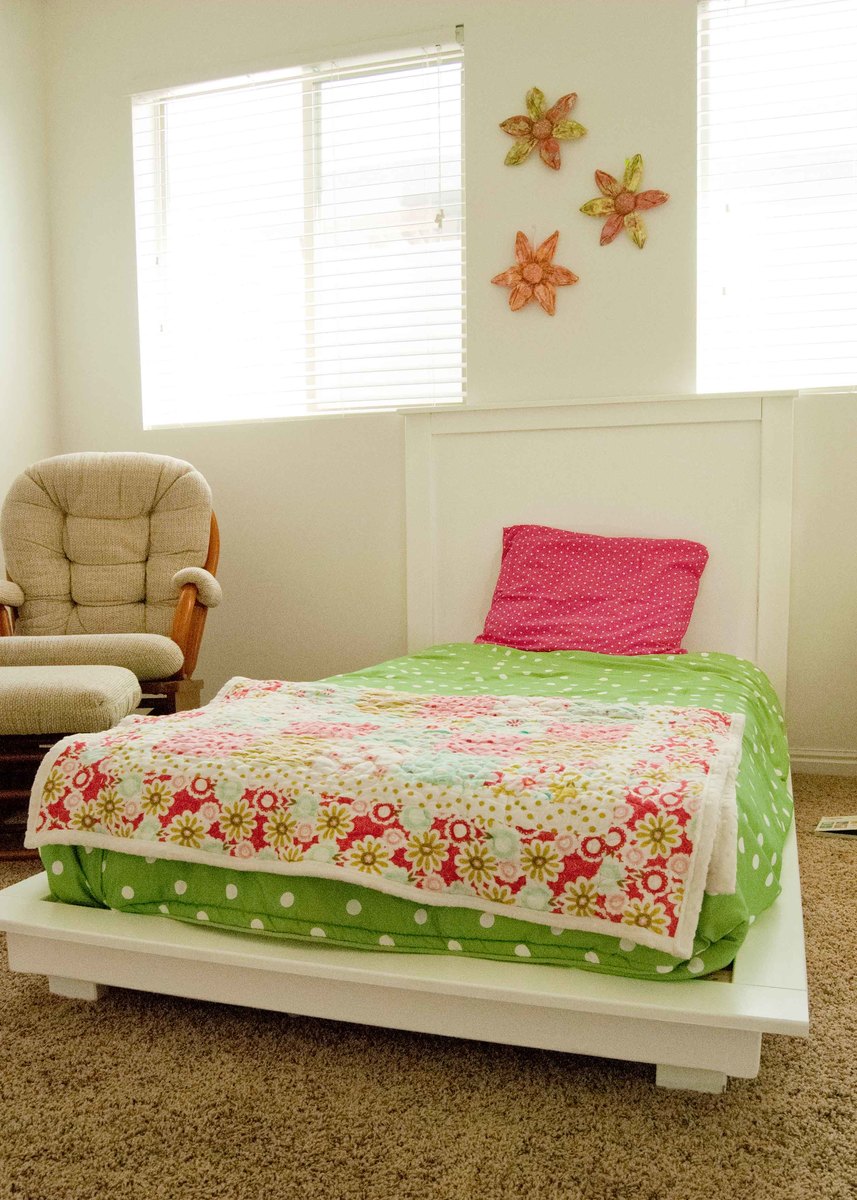
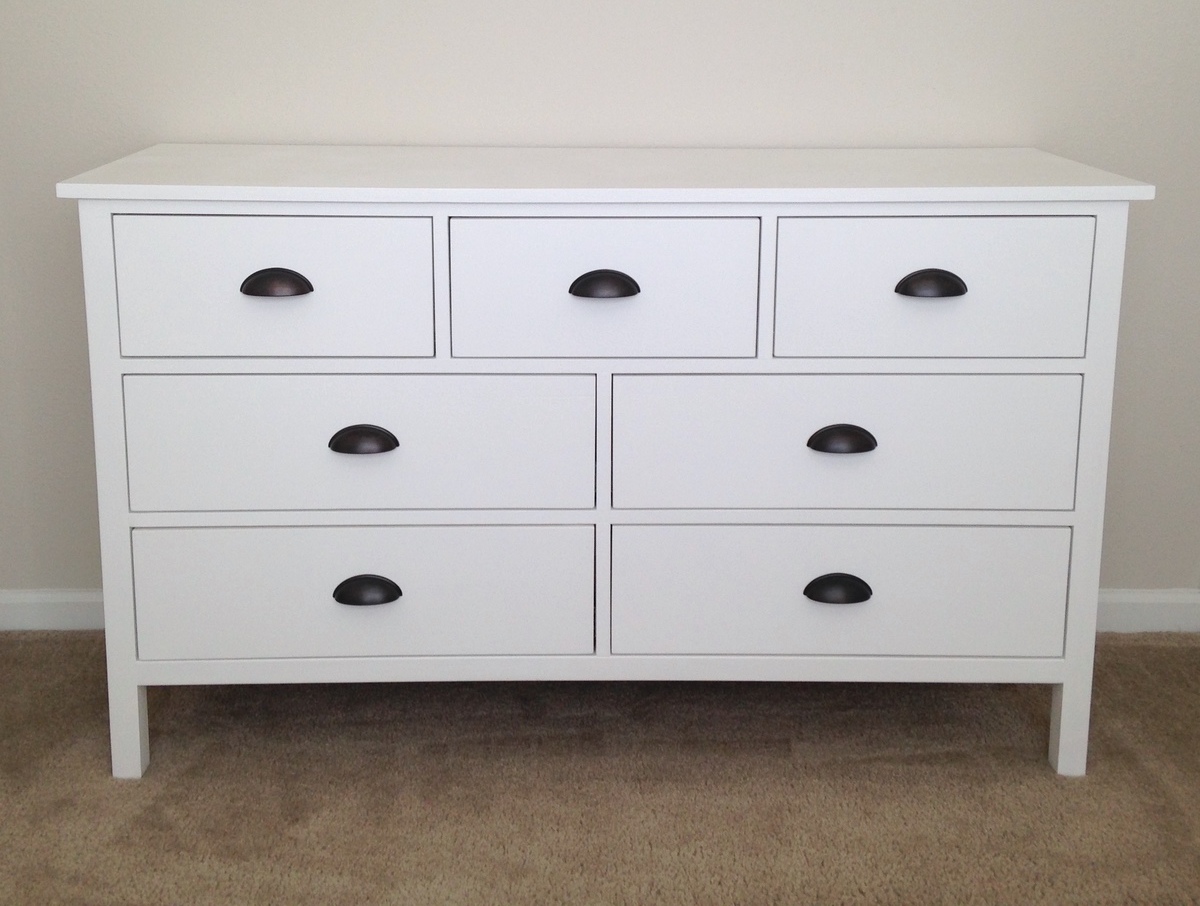
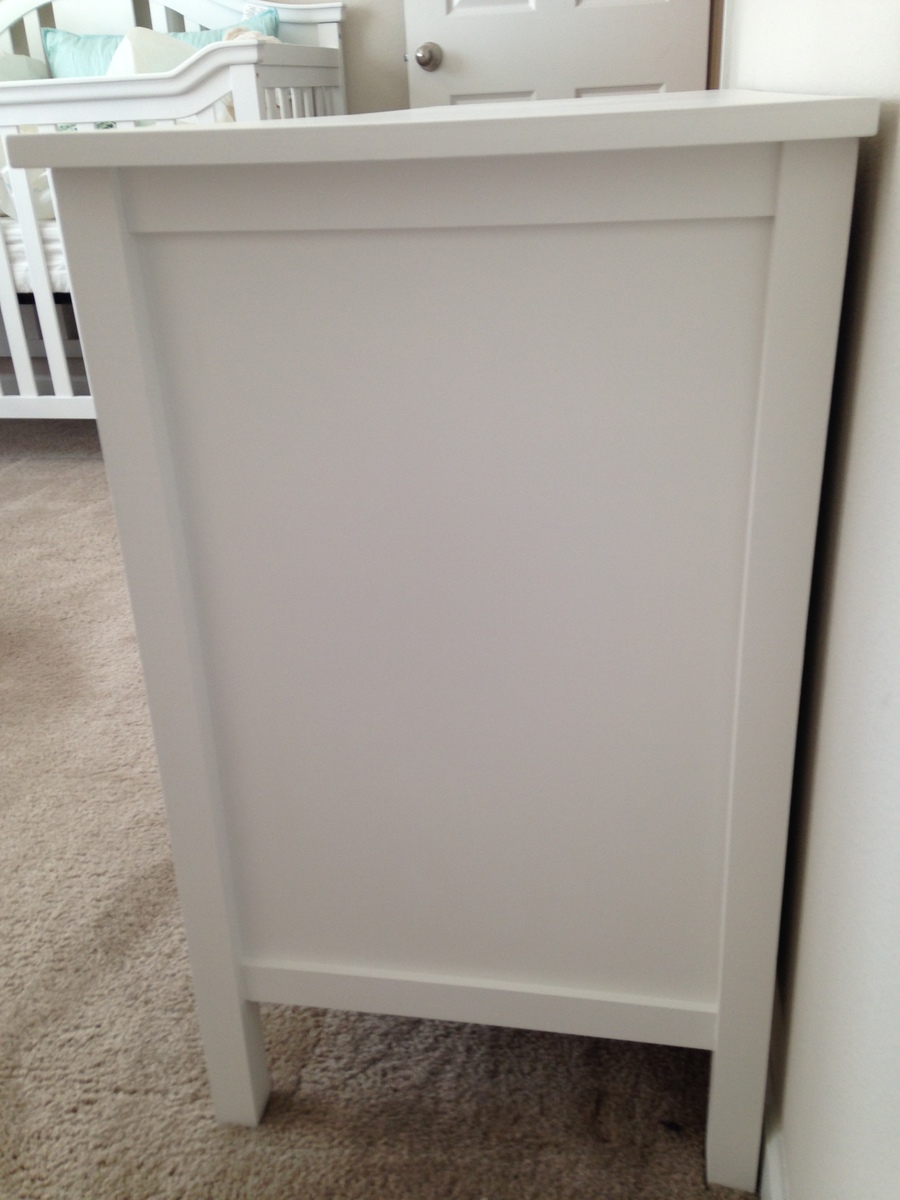
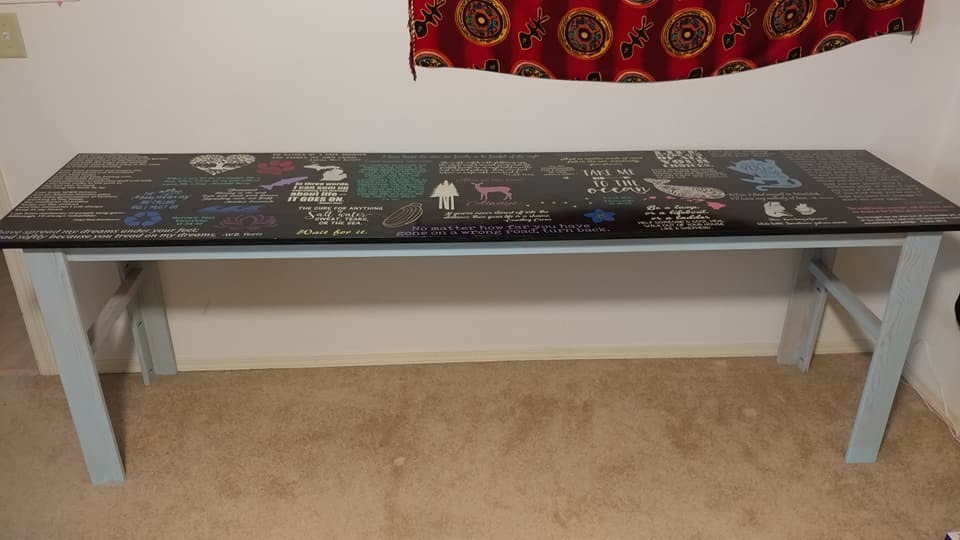
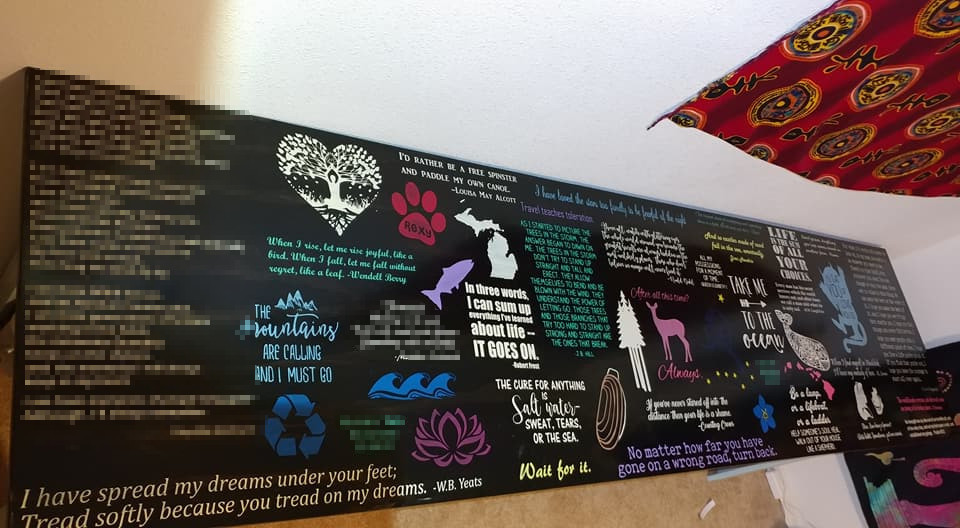
This was my first build. I followed Ana's plans. I used Eastern White Pine and applied a pre-stain because pine almost never stains evenly.
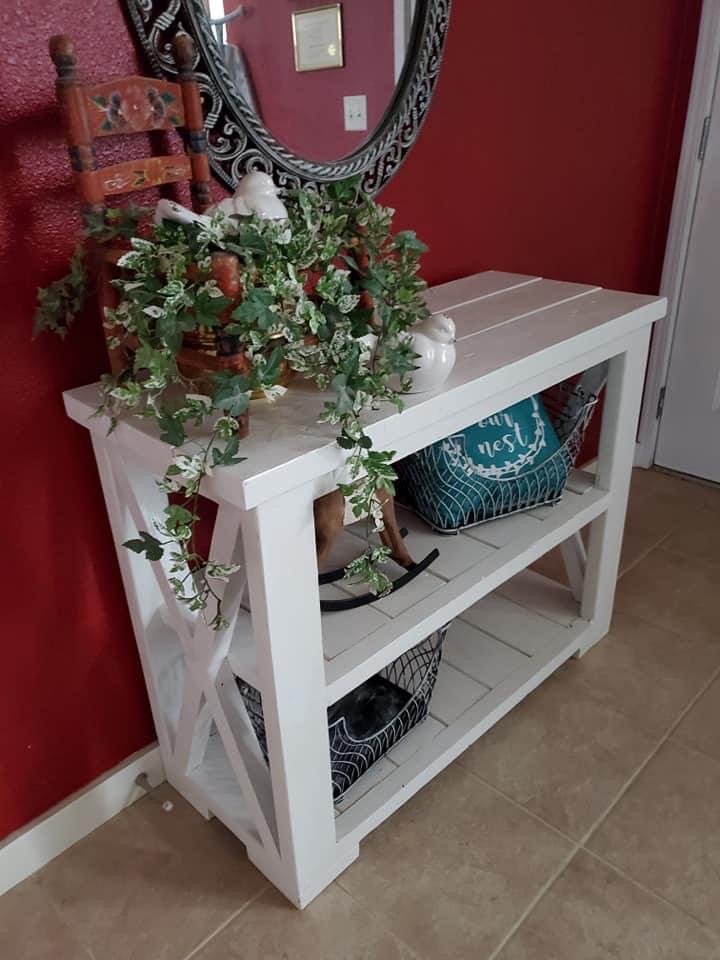
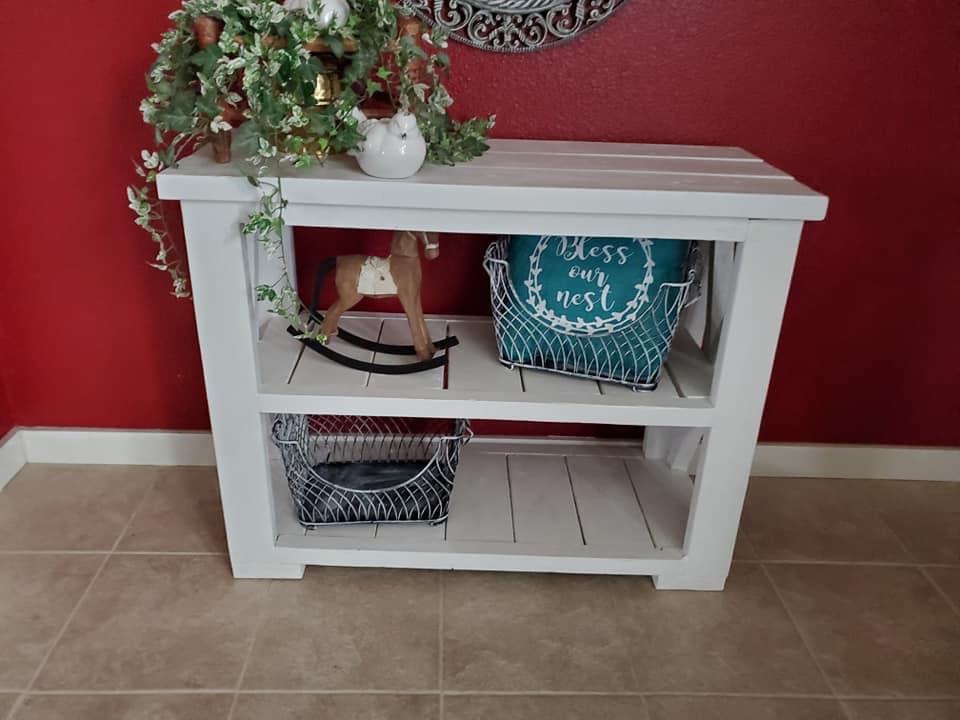
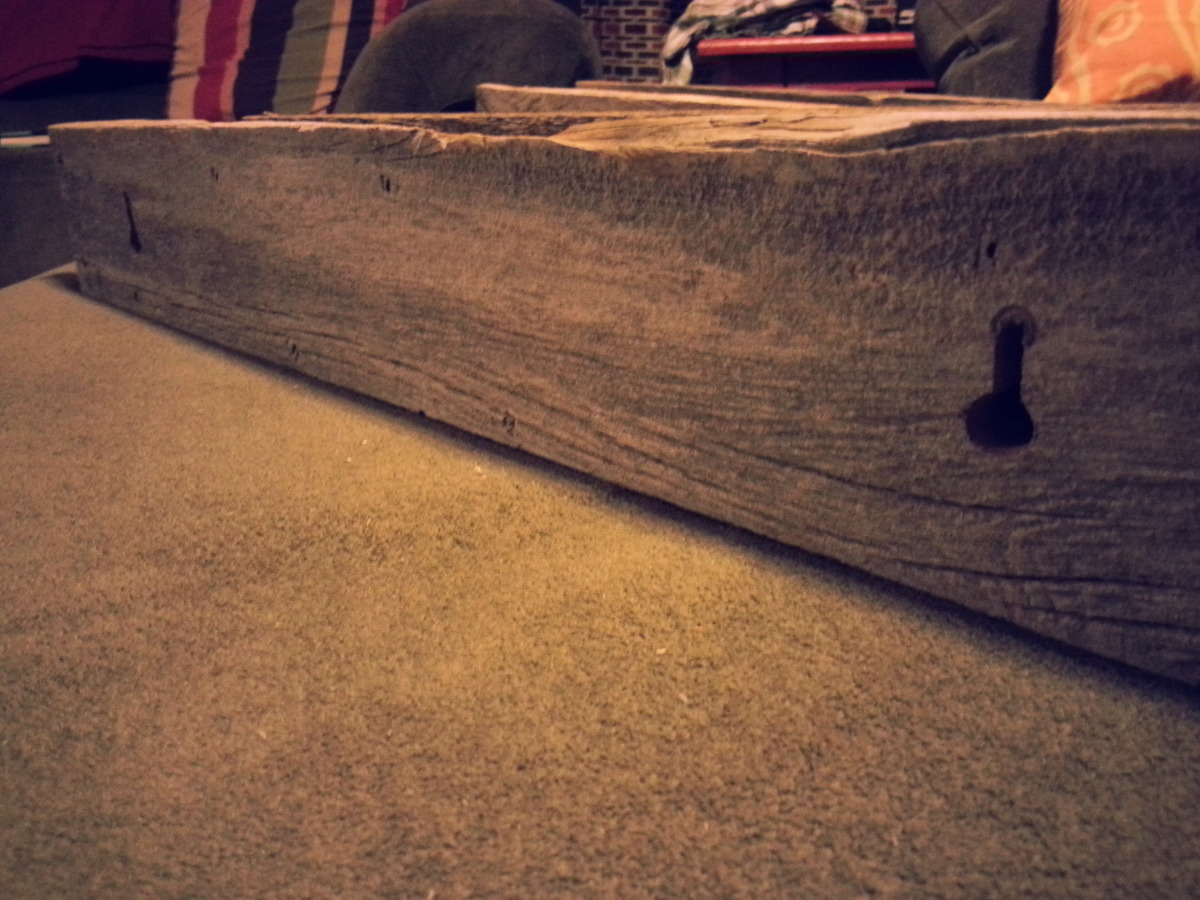
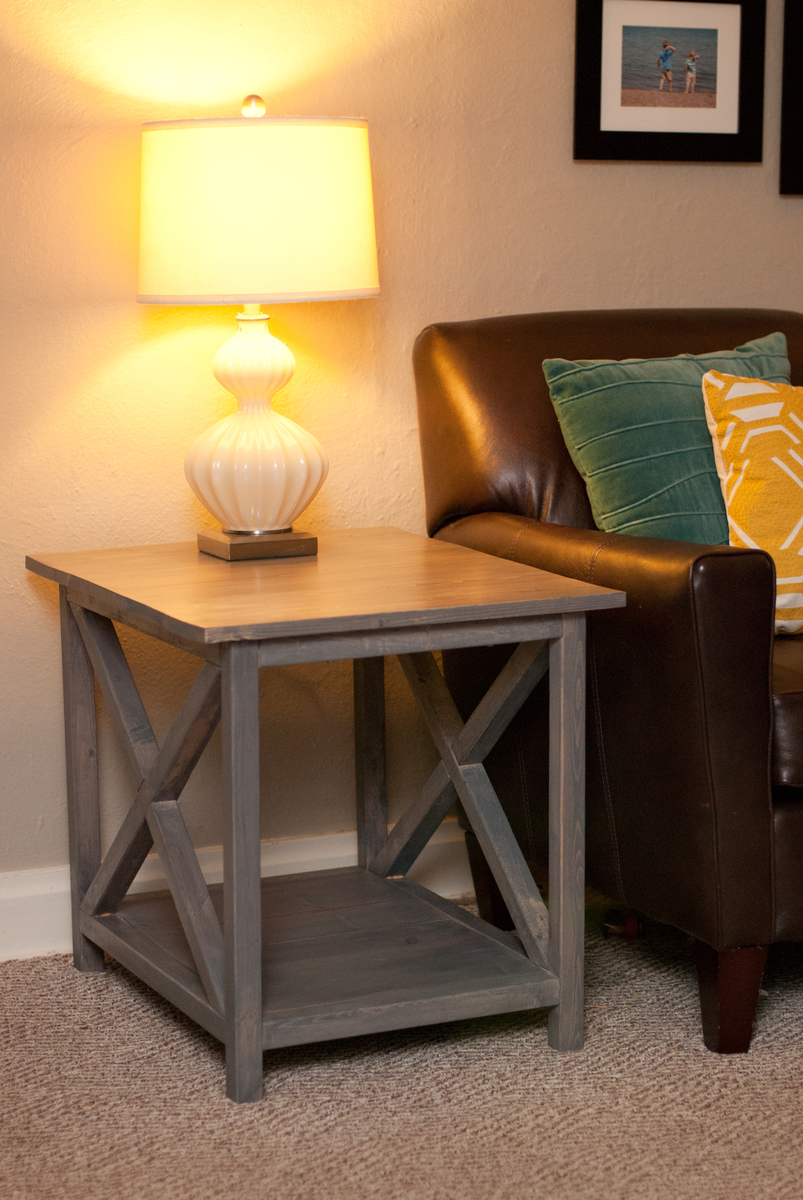
I finished the project with a white wash and then a quick water based stain that I wiped off almost immediately. I ended up with a pale tan/grey color with a very subtle peachy color that peeks through in a few places. It doesn't show in the photo very well, but the colors gave me a lot of depth without a ton of wood grain showing.
Built from Plan(s)
Estimated Cost
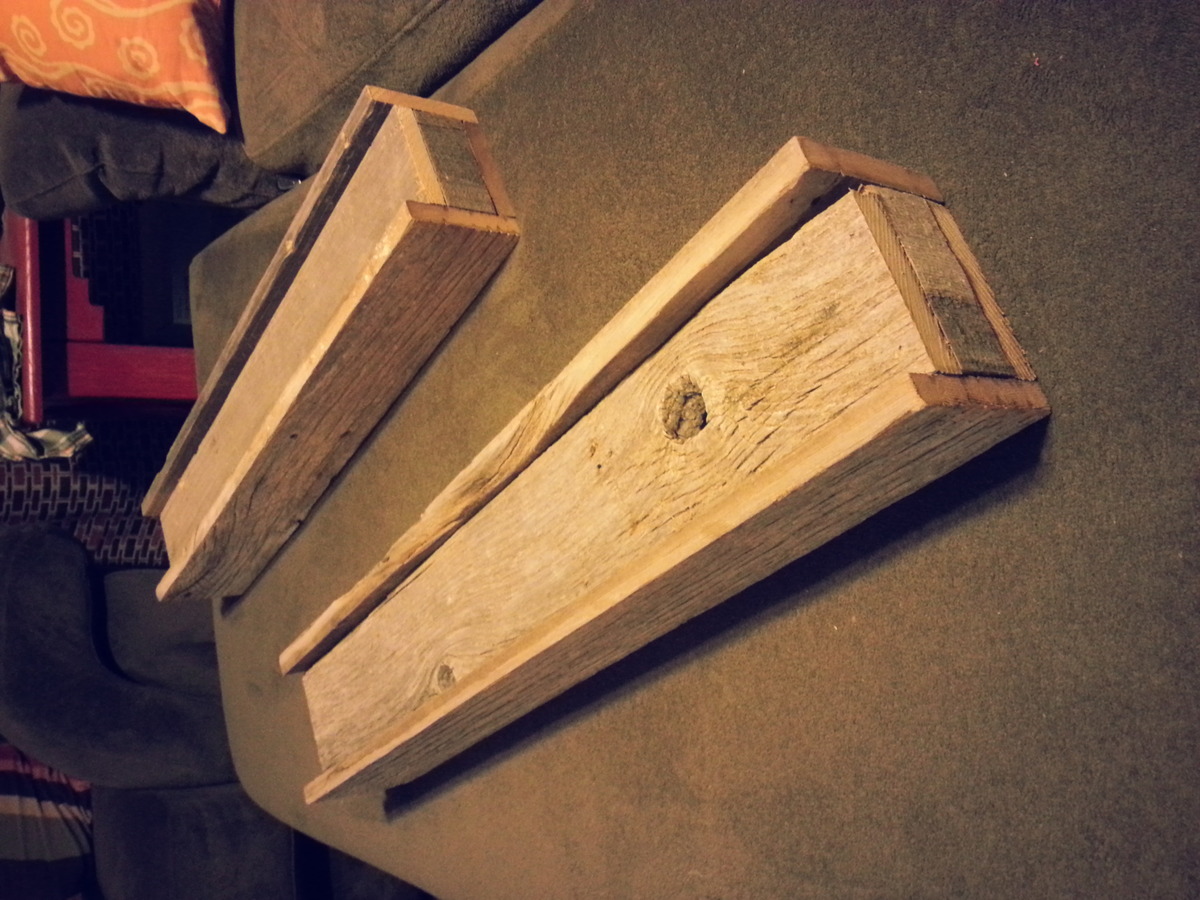
Unsure, my wood was free.
Estimated Time Investment
Afternoon Project (3-6 Hours)
Finish Used
Pre-stain, white wash, a light colored, water based wood stain.
Recommended Skill Level
Starter Project