DIY Potting Bench
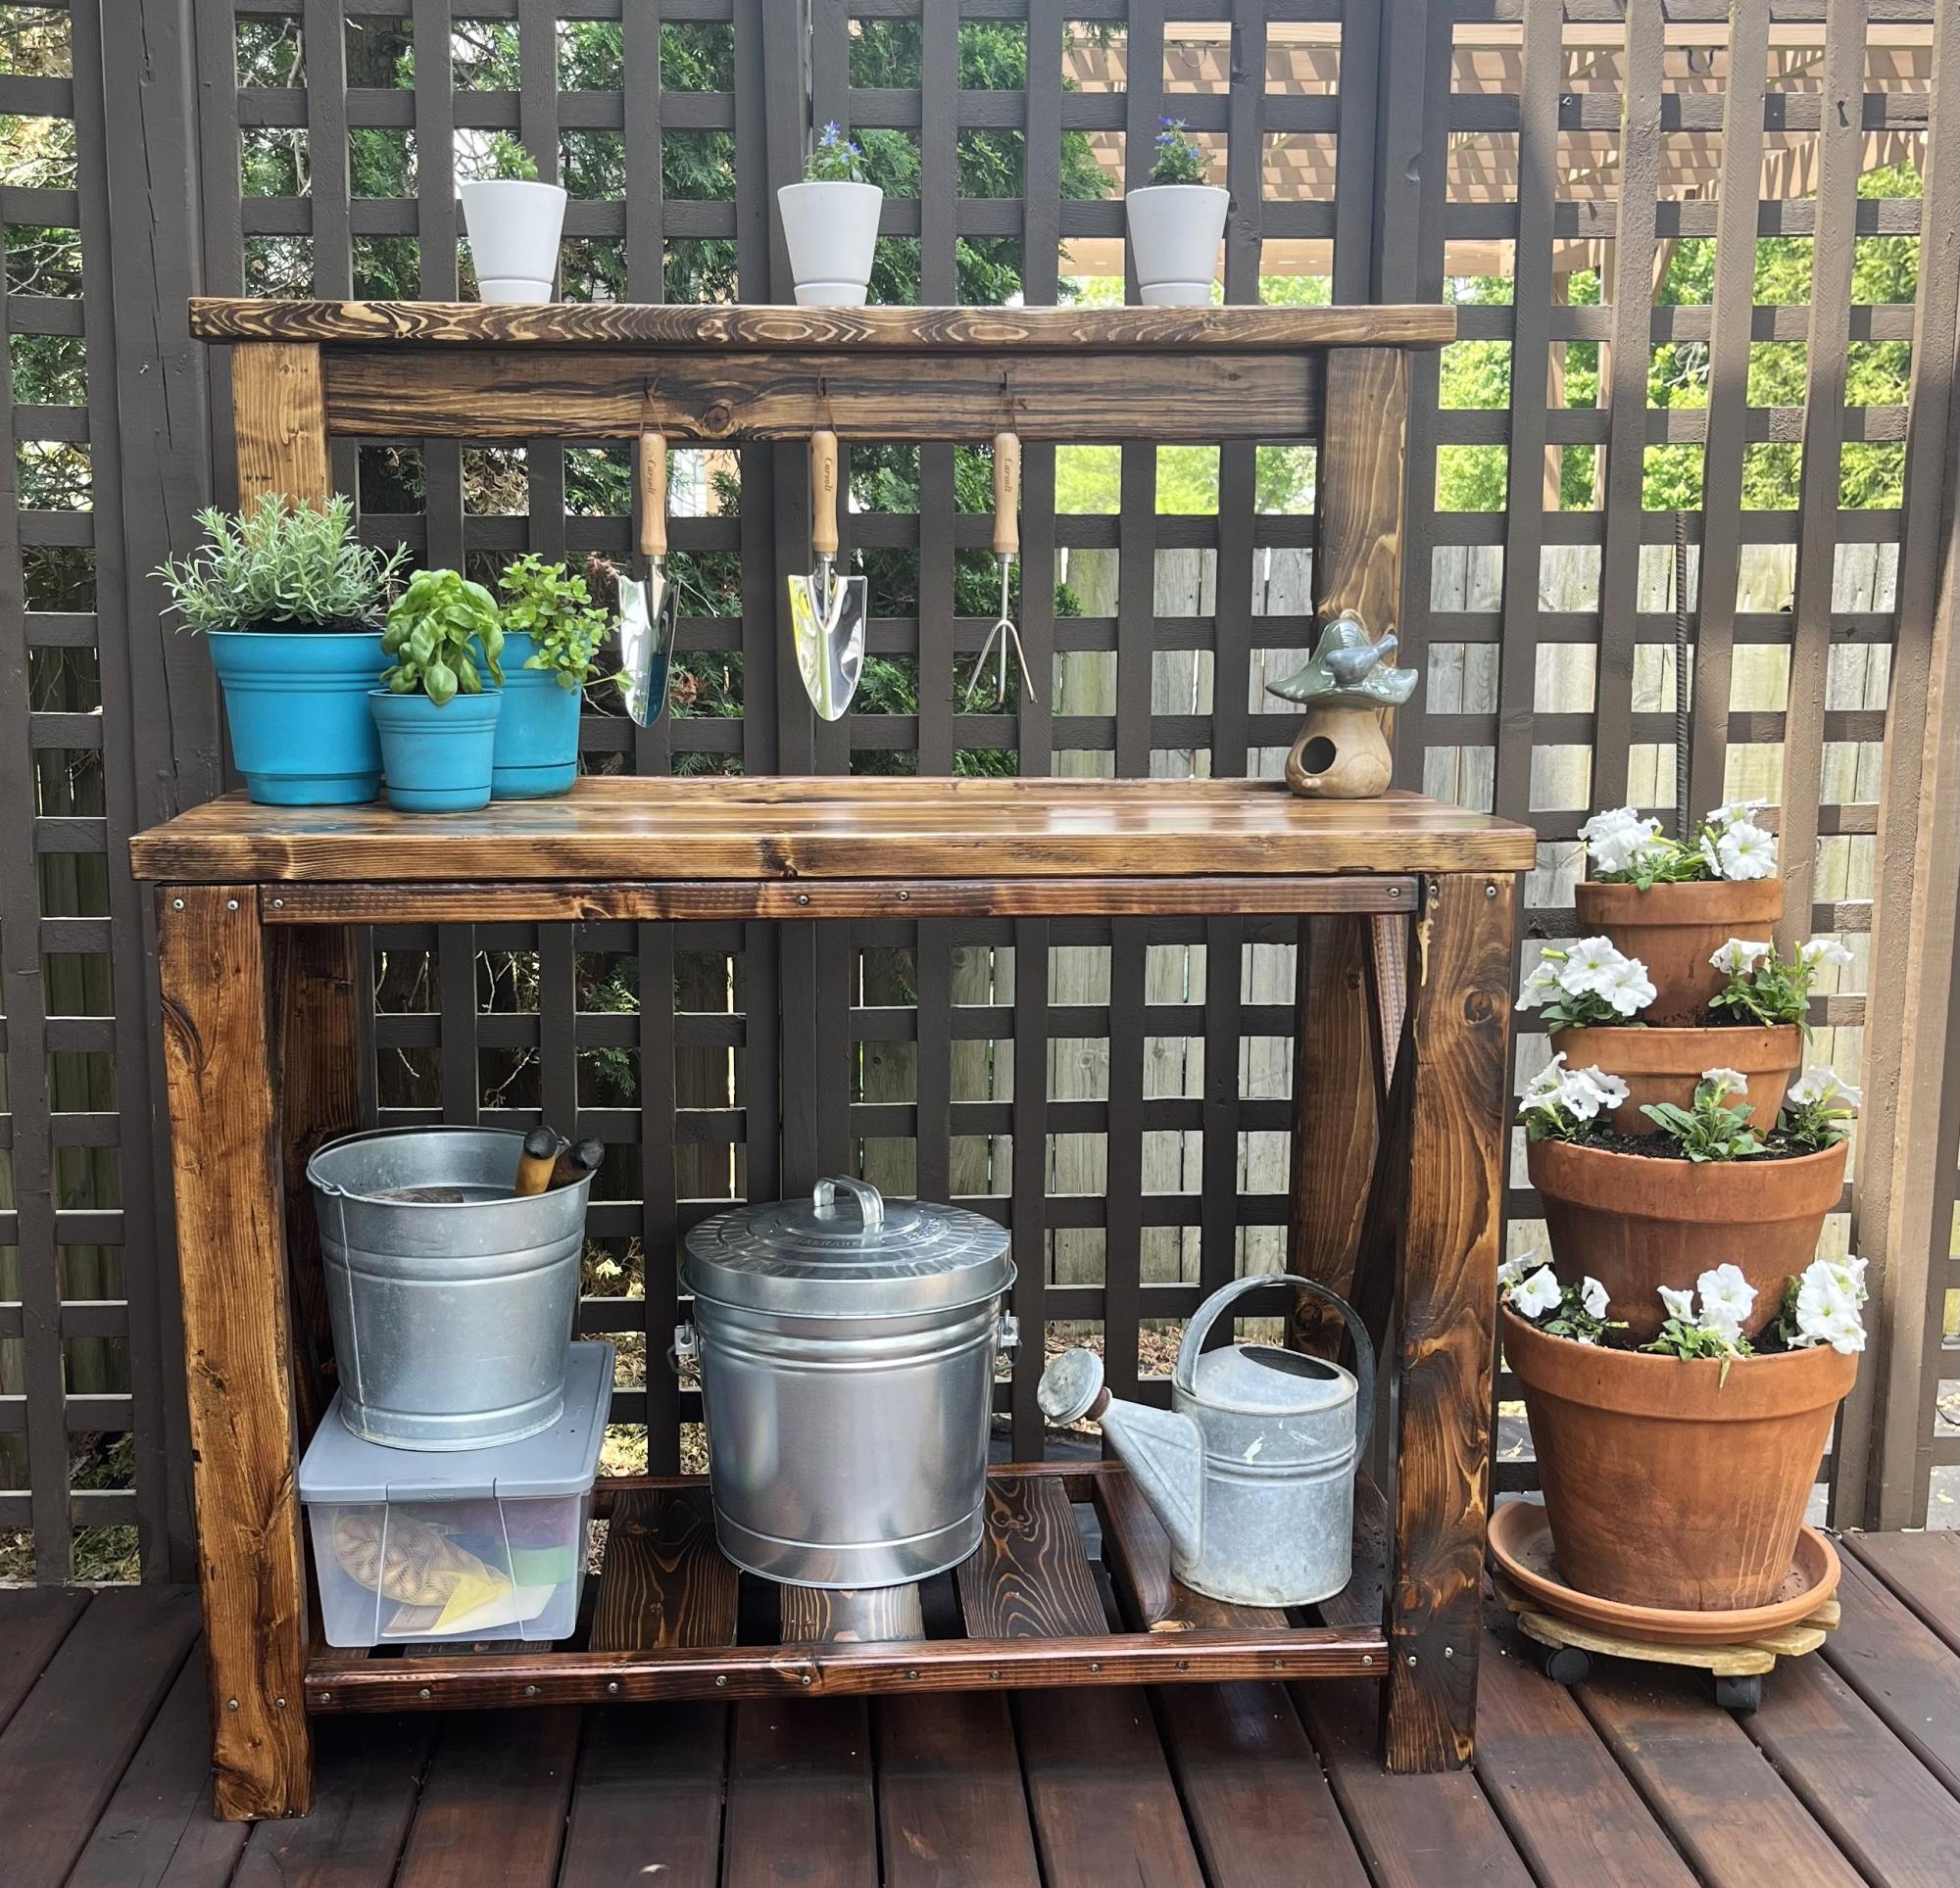
Such an easy build with a little woodworking experience. I am in love with this project and am so excited to have done it myself!
Amy

Such an easy build with a little woodworking experience. I am in love with this project and am so excited to have done it myself!
Amy
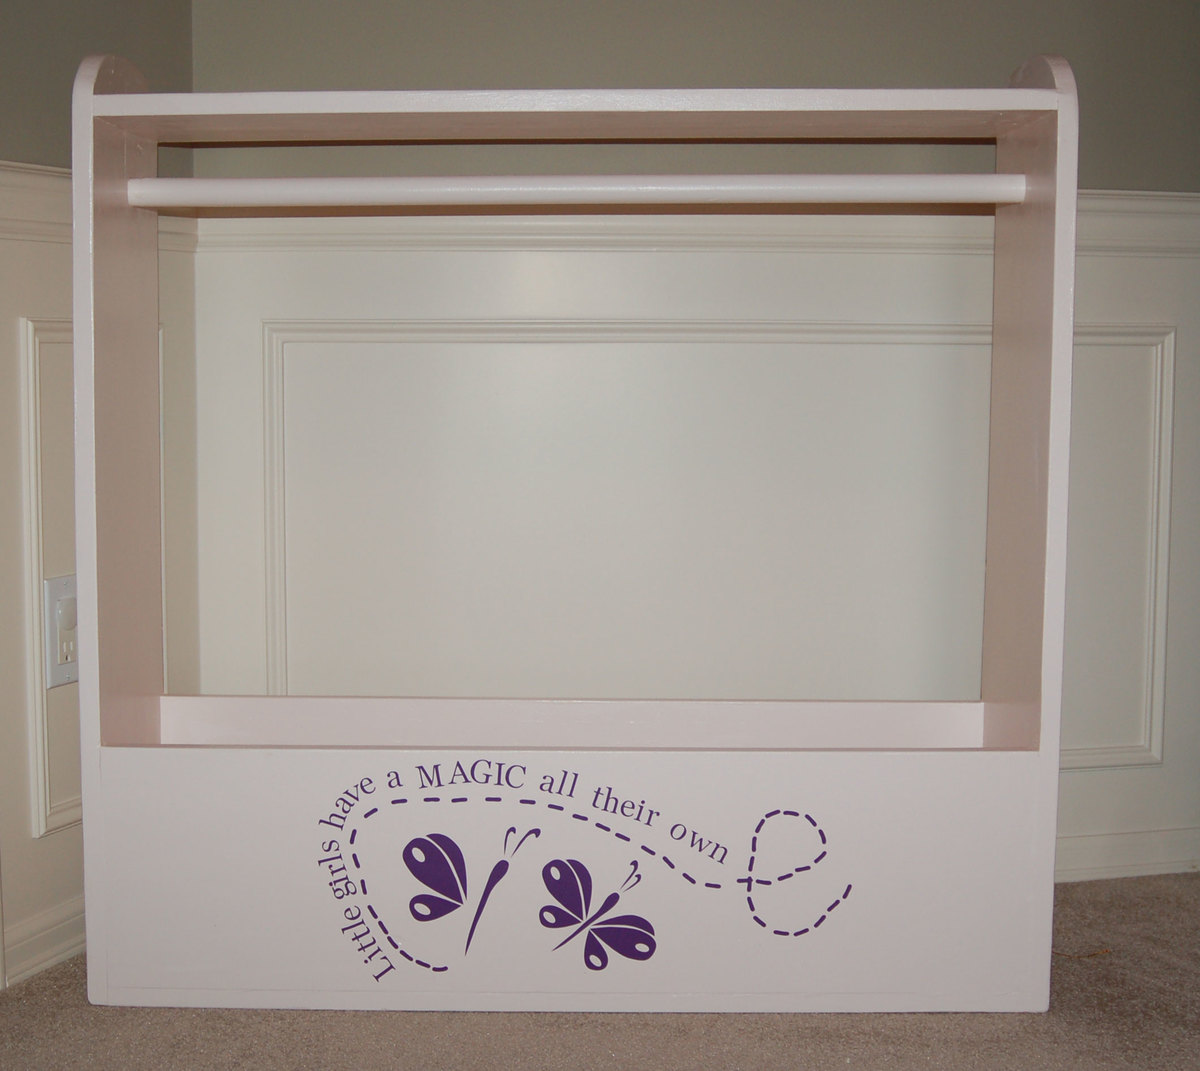
I've been working on a couple of doll beds, but since the storage cabinet that was keeping my girls' dress-up clothes partially collapsed, I put those on hold to make this.
I followed the dimensions as written, though in hindsight, I wish I had made it a little larger. This is for three girls and already jam packed. Or maybe we need to pare down our selection. :-) I skipped the wheels for now but did add the upper shelf. The shelf is holding three Closetmaid fabric cubes which contain shoes, wands, crowns, purses, etc. I put a little 3M plastic hook on the side which is holding their fairy wings.
The actual piece went together fairly quickly -- ~2 hours. It took me a few days to do all of the sanding, priming, painting, and poly.
The design is an Uppercase Living vinyl rub-on. It's not perfectly placed because I had it on the wall in the playroom at our old house. I took it off when we moved and kept it stored between two pieces of Glad Clingwrap. It took a little tinkering to get it to reapply. I rubbed it onto a Cricut cutting mat and then rubbed it again back on to the wood. The cutting mat wasn't large enough so I had to do three transfers to get it all on...part of the reason it's so wonky.
I wish I had time for a blog, but I'm too busy reading everyone else's.
Mon, 02/20/2012 - 06:57
Don't get rid of any of the dress up clothes! Just build a second unit! =)
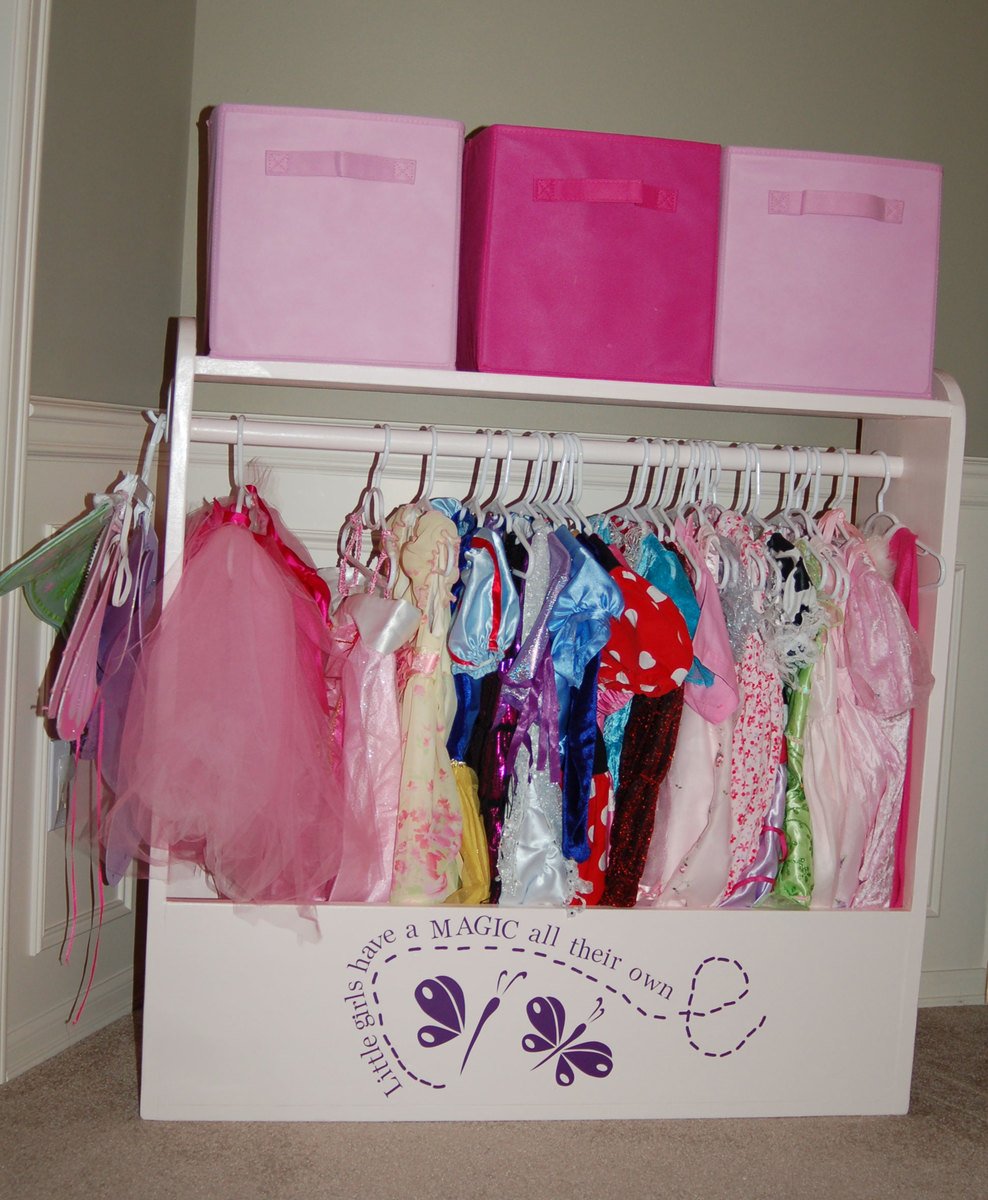
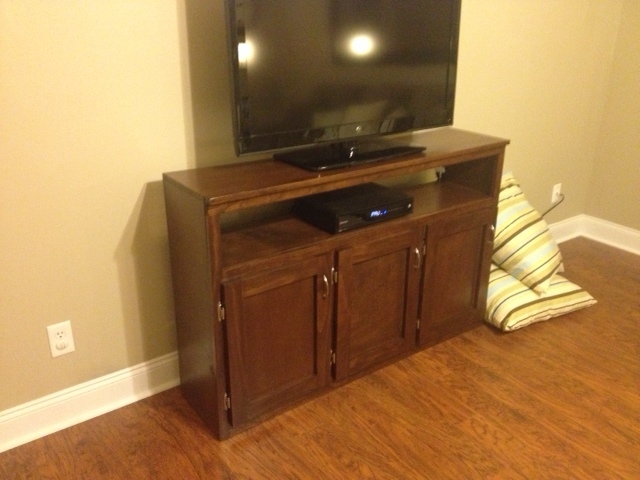
My version of the Rebecca Media Center - Console.
Had a great time completing this project, being a professional wood-finisher I was able to match it exactly to the other pieces of furniture in our family room.
Can't wait to start the next project.
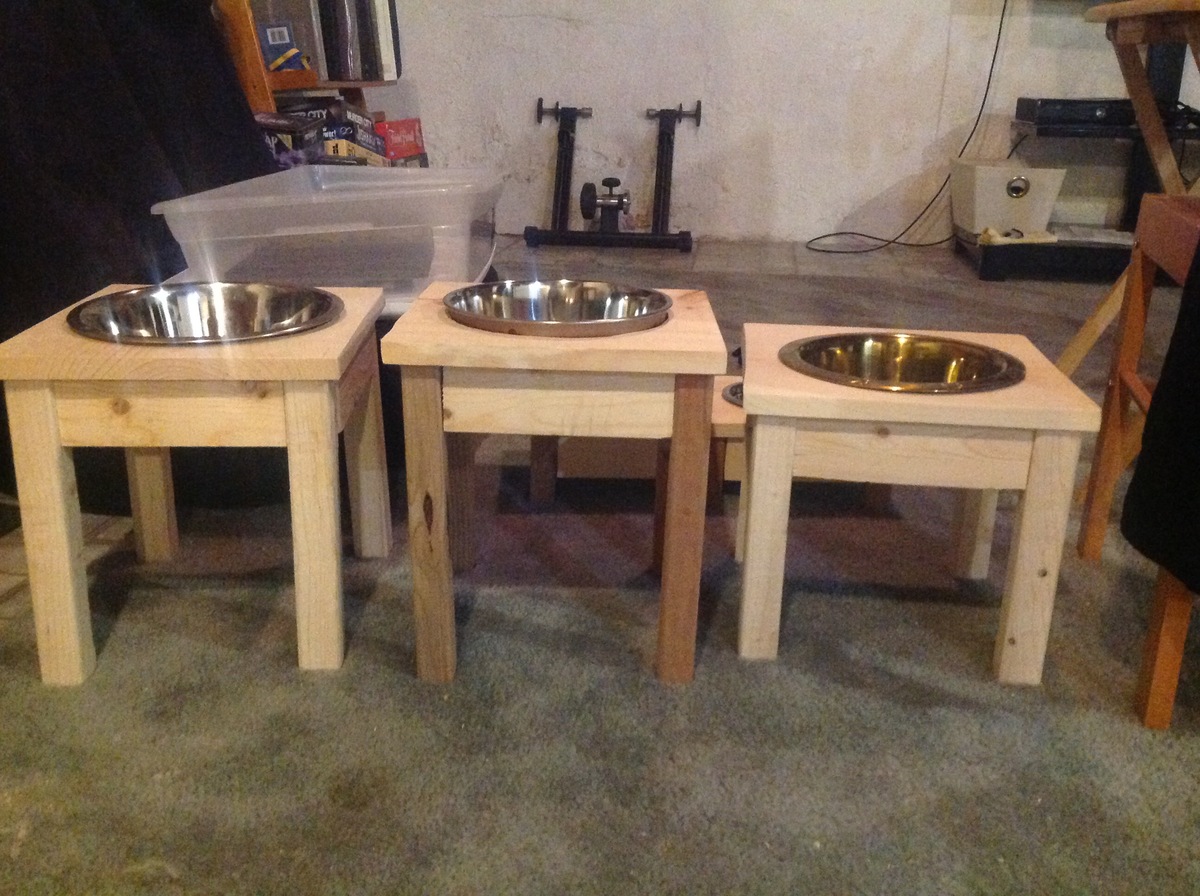
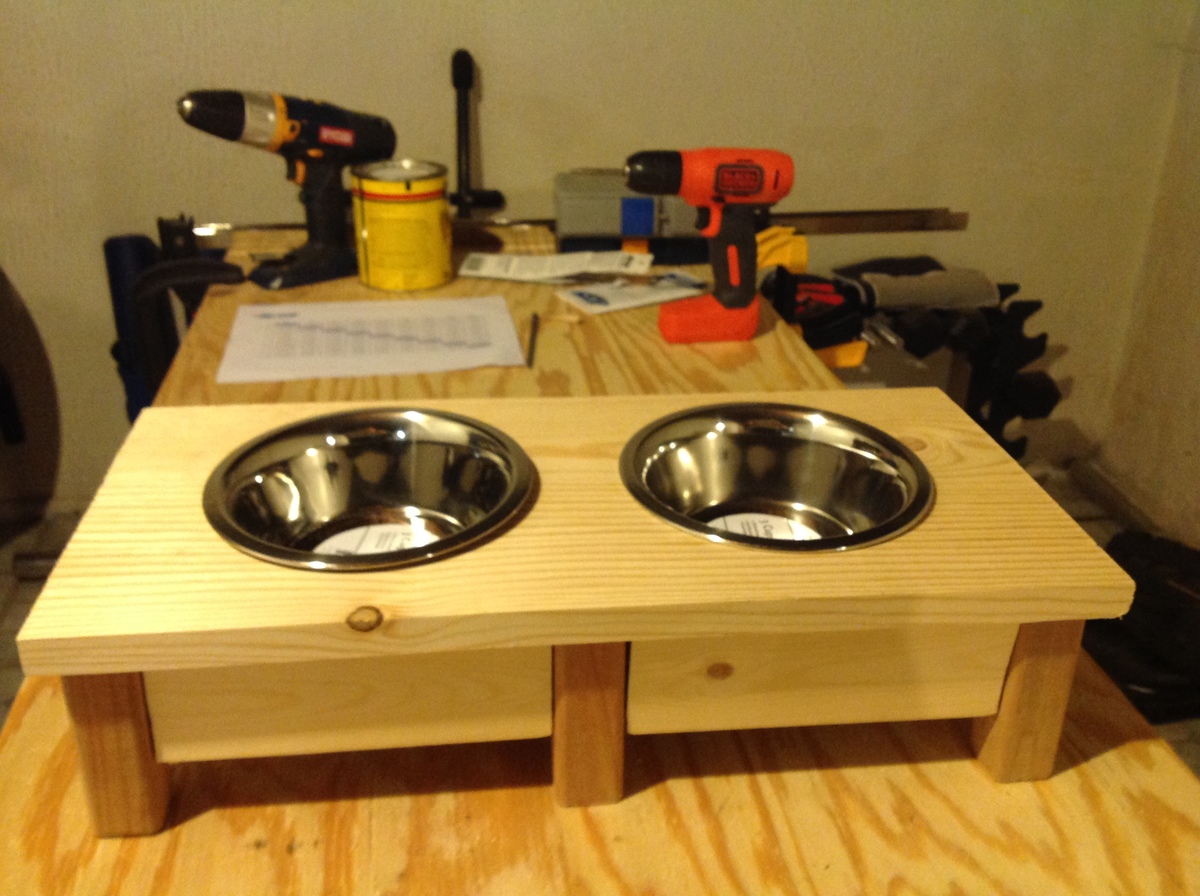
I had to practice cutting the circles probably 10 times before they were acceptable. I am glad I didn't quit! These bowls are great!
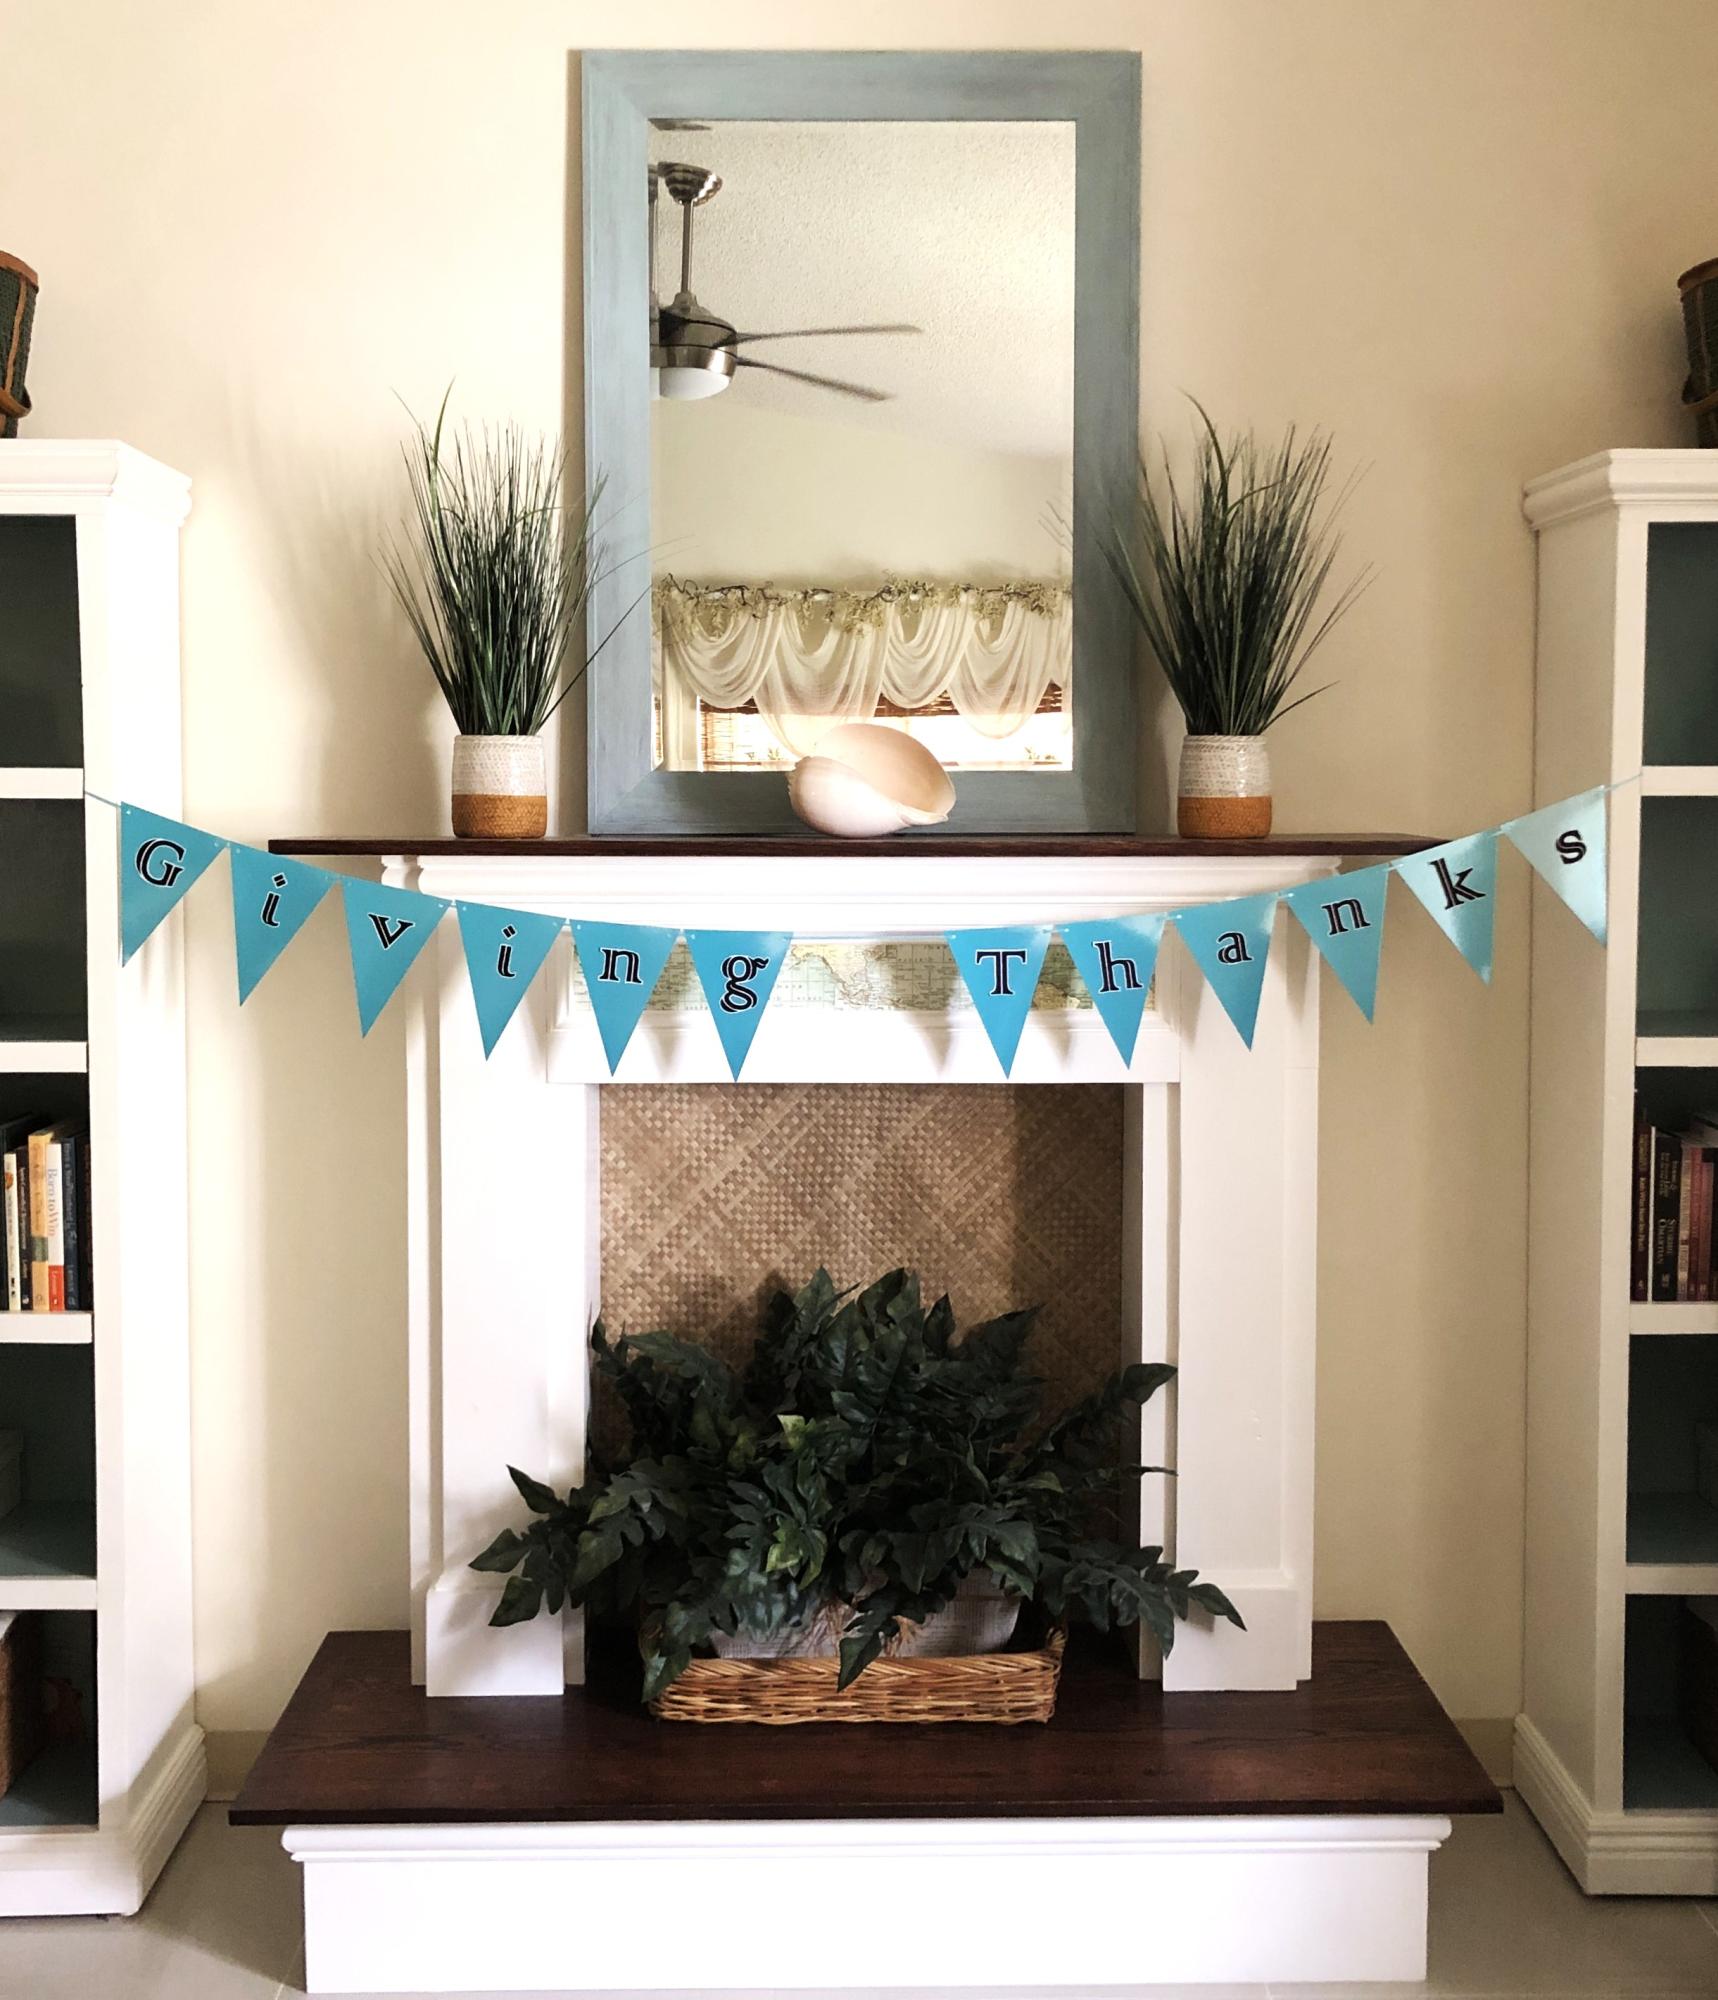
We’ve made three of these: this one’s on a “hearth” in our sala on Guam; my husband put another one in our bedroom here, and the third faux fireplace is in our bedroom in Missouri. Later this year he’s building one requested by our daughter for her living room.
Kelley
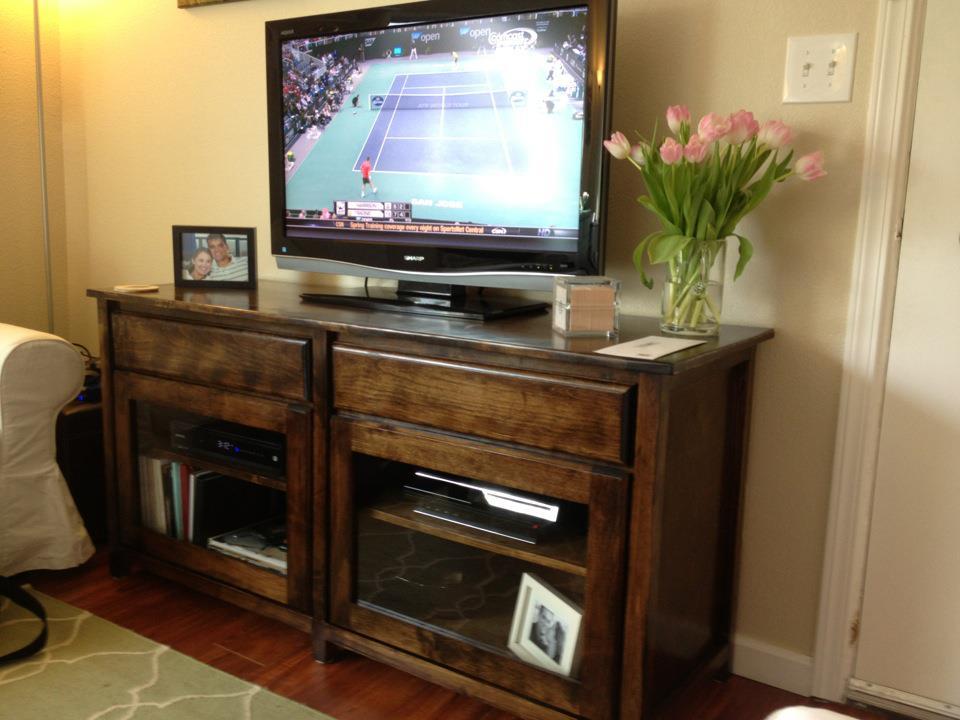
My dad and I built the Benchmark Media console!We made a few minor adjustments but pretty much stayed to the plan.
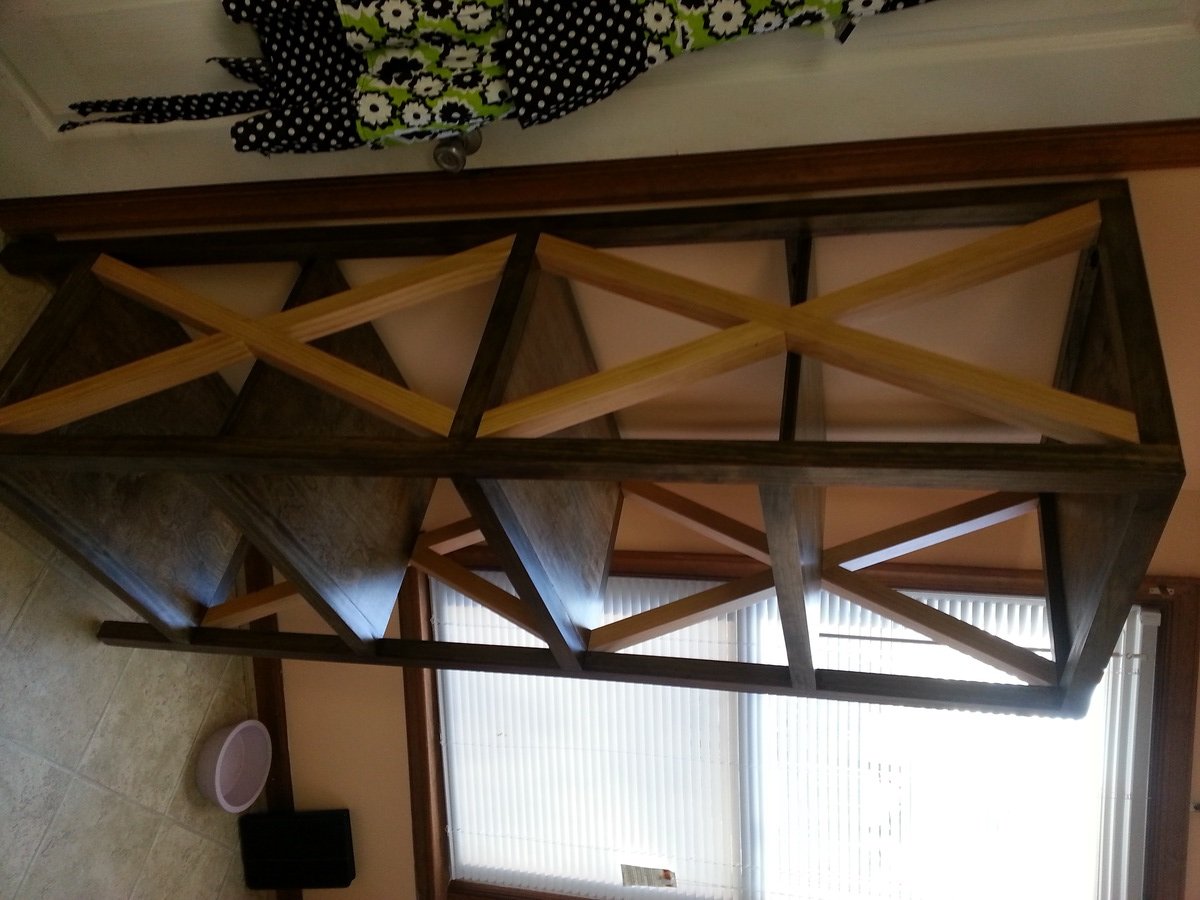
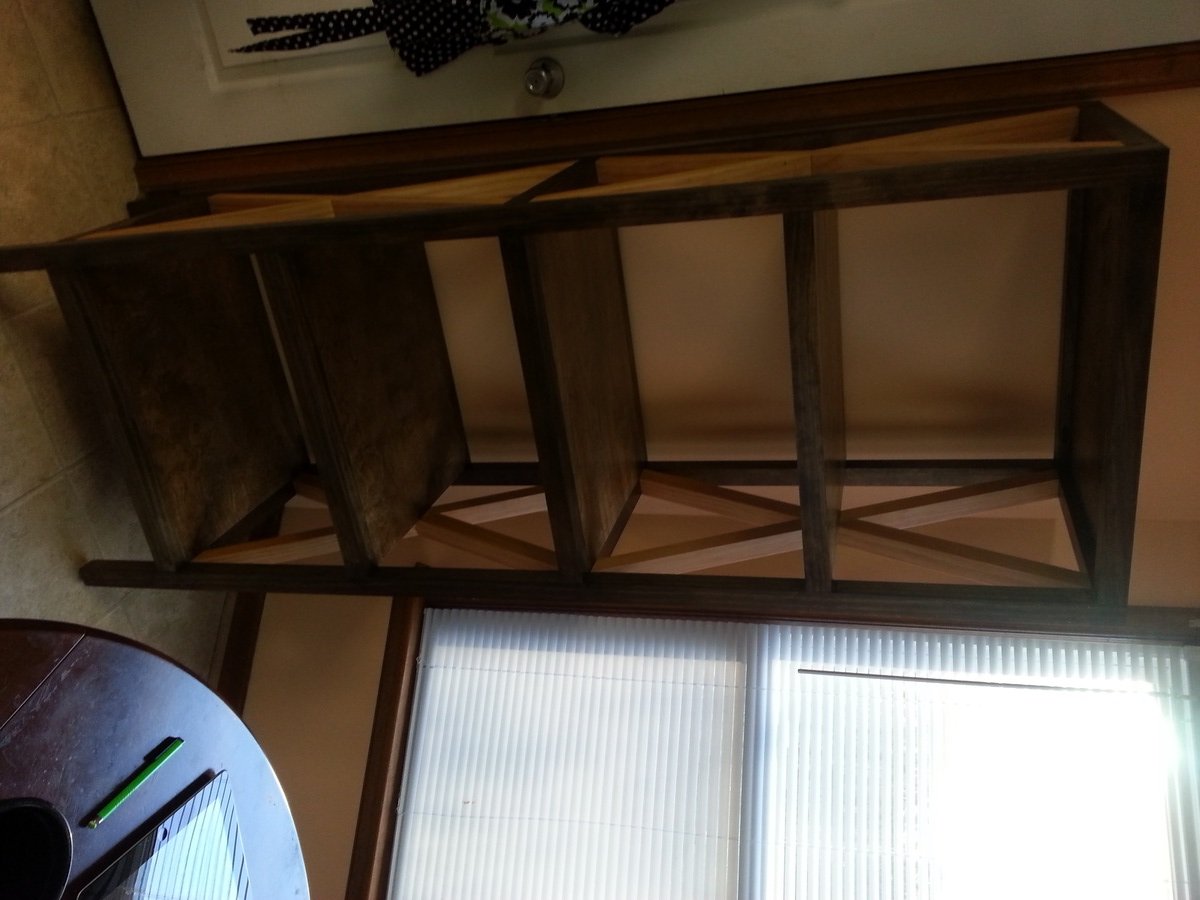
I made this piece a little different. I used 2x2's vise 2X4's for the frame. I also made the width 4 inches shorter. My friend found a 3/4 inch 4x8 birch plywood piece being thrown out, so I paid next to nothing for it from him and used it for the shelf. The framing was made using select pine which was a little expensive, but the boards were clean and straight as an arrow. Well worth it! Making the X was difficult! I had to go through a few cuts to fit them just right. I used one clamp in the center of the X to hold the X in place while the glue dried.
I modified the plans for only 2 pedestals, and a solid 100 inch walnut top. I used auto body filler to fill the gaps of the legs, sanded and distressed. It appears to be solid barn board wood, and there is NO way to tell that it's stock 2 x 4 and 2 x 6.
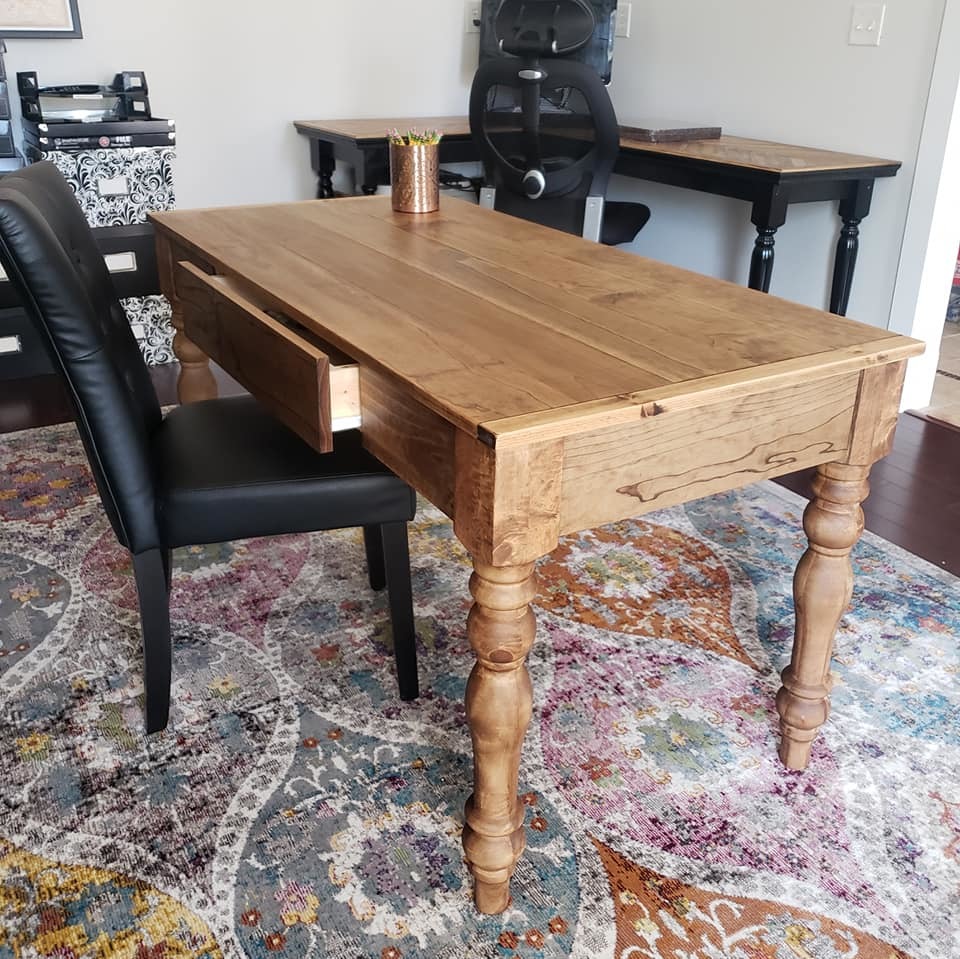
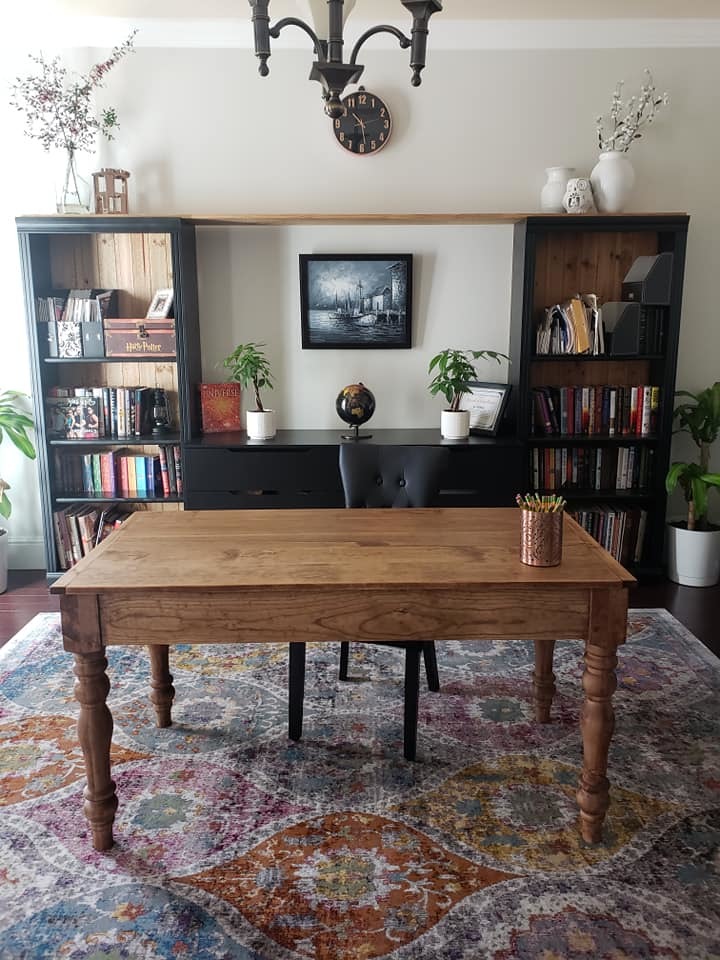
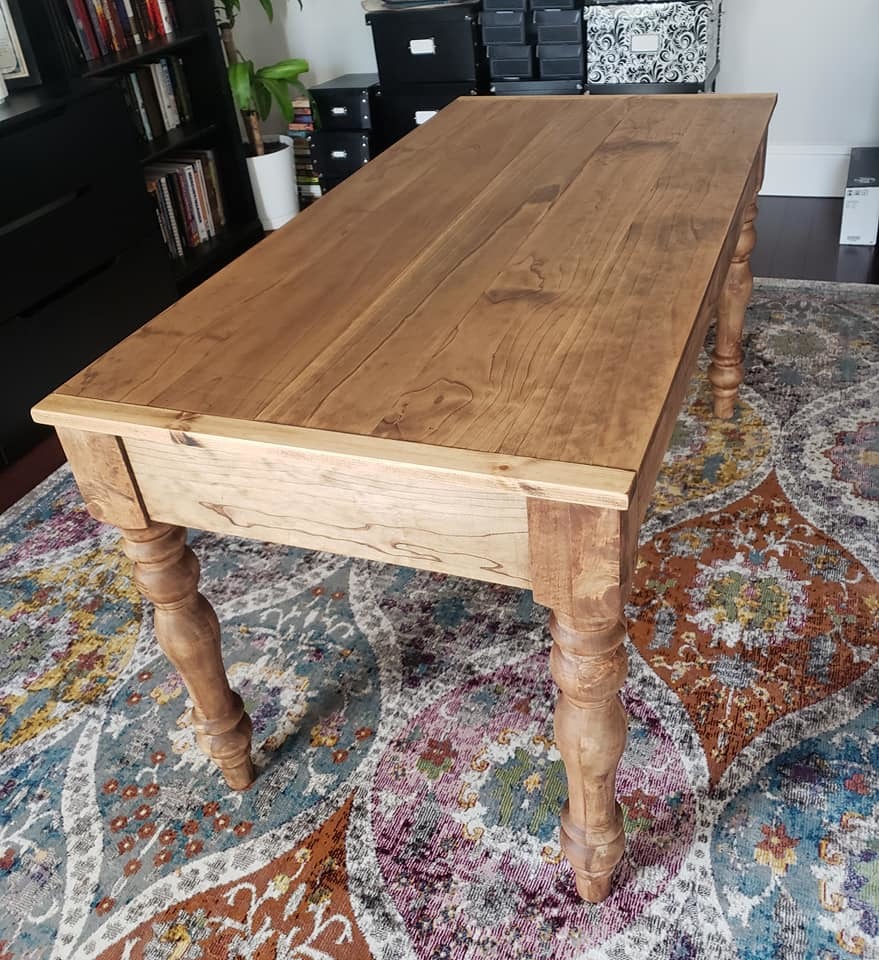
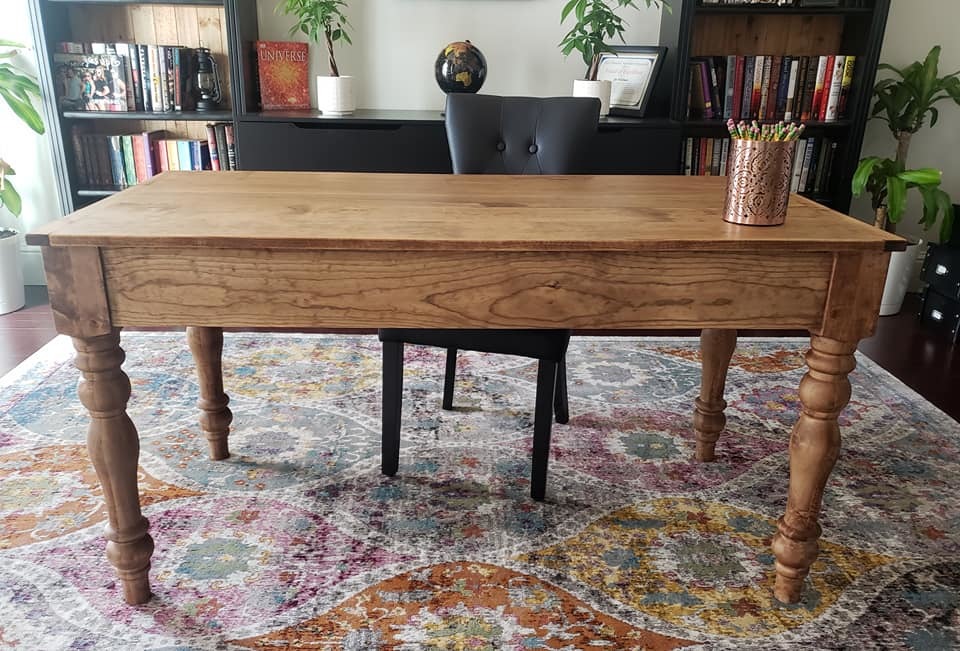
I modified the Small Old English Style Farmhouse Dining Table plan to build a writing desk.
I used five 1x6 boards for the top for a width of 27.5 inches. I made my desk 56 inches in length. I put the drawer on the long side like a pencil drawer. I did use the legs that Ana recommended in the plan.
I watched the video Ana posted on how to make the drawers for this table and it was so helpful. I just made it like Ana did in the video but on the long side instead of the short ends.
I love how it turned out. I used Watco dark walnut danish oil and Minwax dark wax for the finish.
We used flooring from Homedepot for the middle boards. My decorator suggested that I make it longer and that worked well with this flooring. We did discover that our Lowe's has the post for only $10 - we paid too much at 84 lumber - only to discover that they were warped - we had to use corner brackets to fix it.
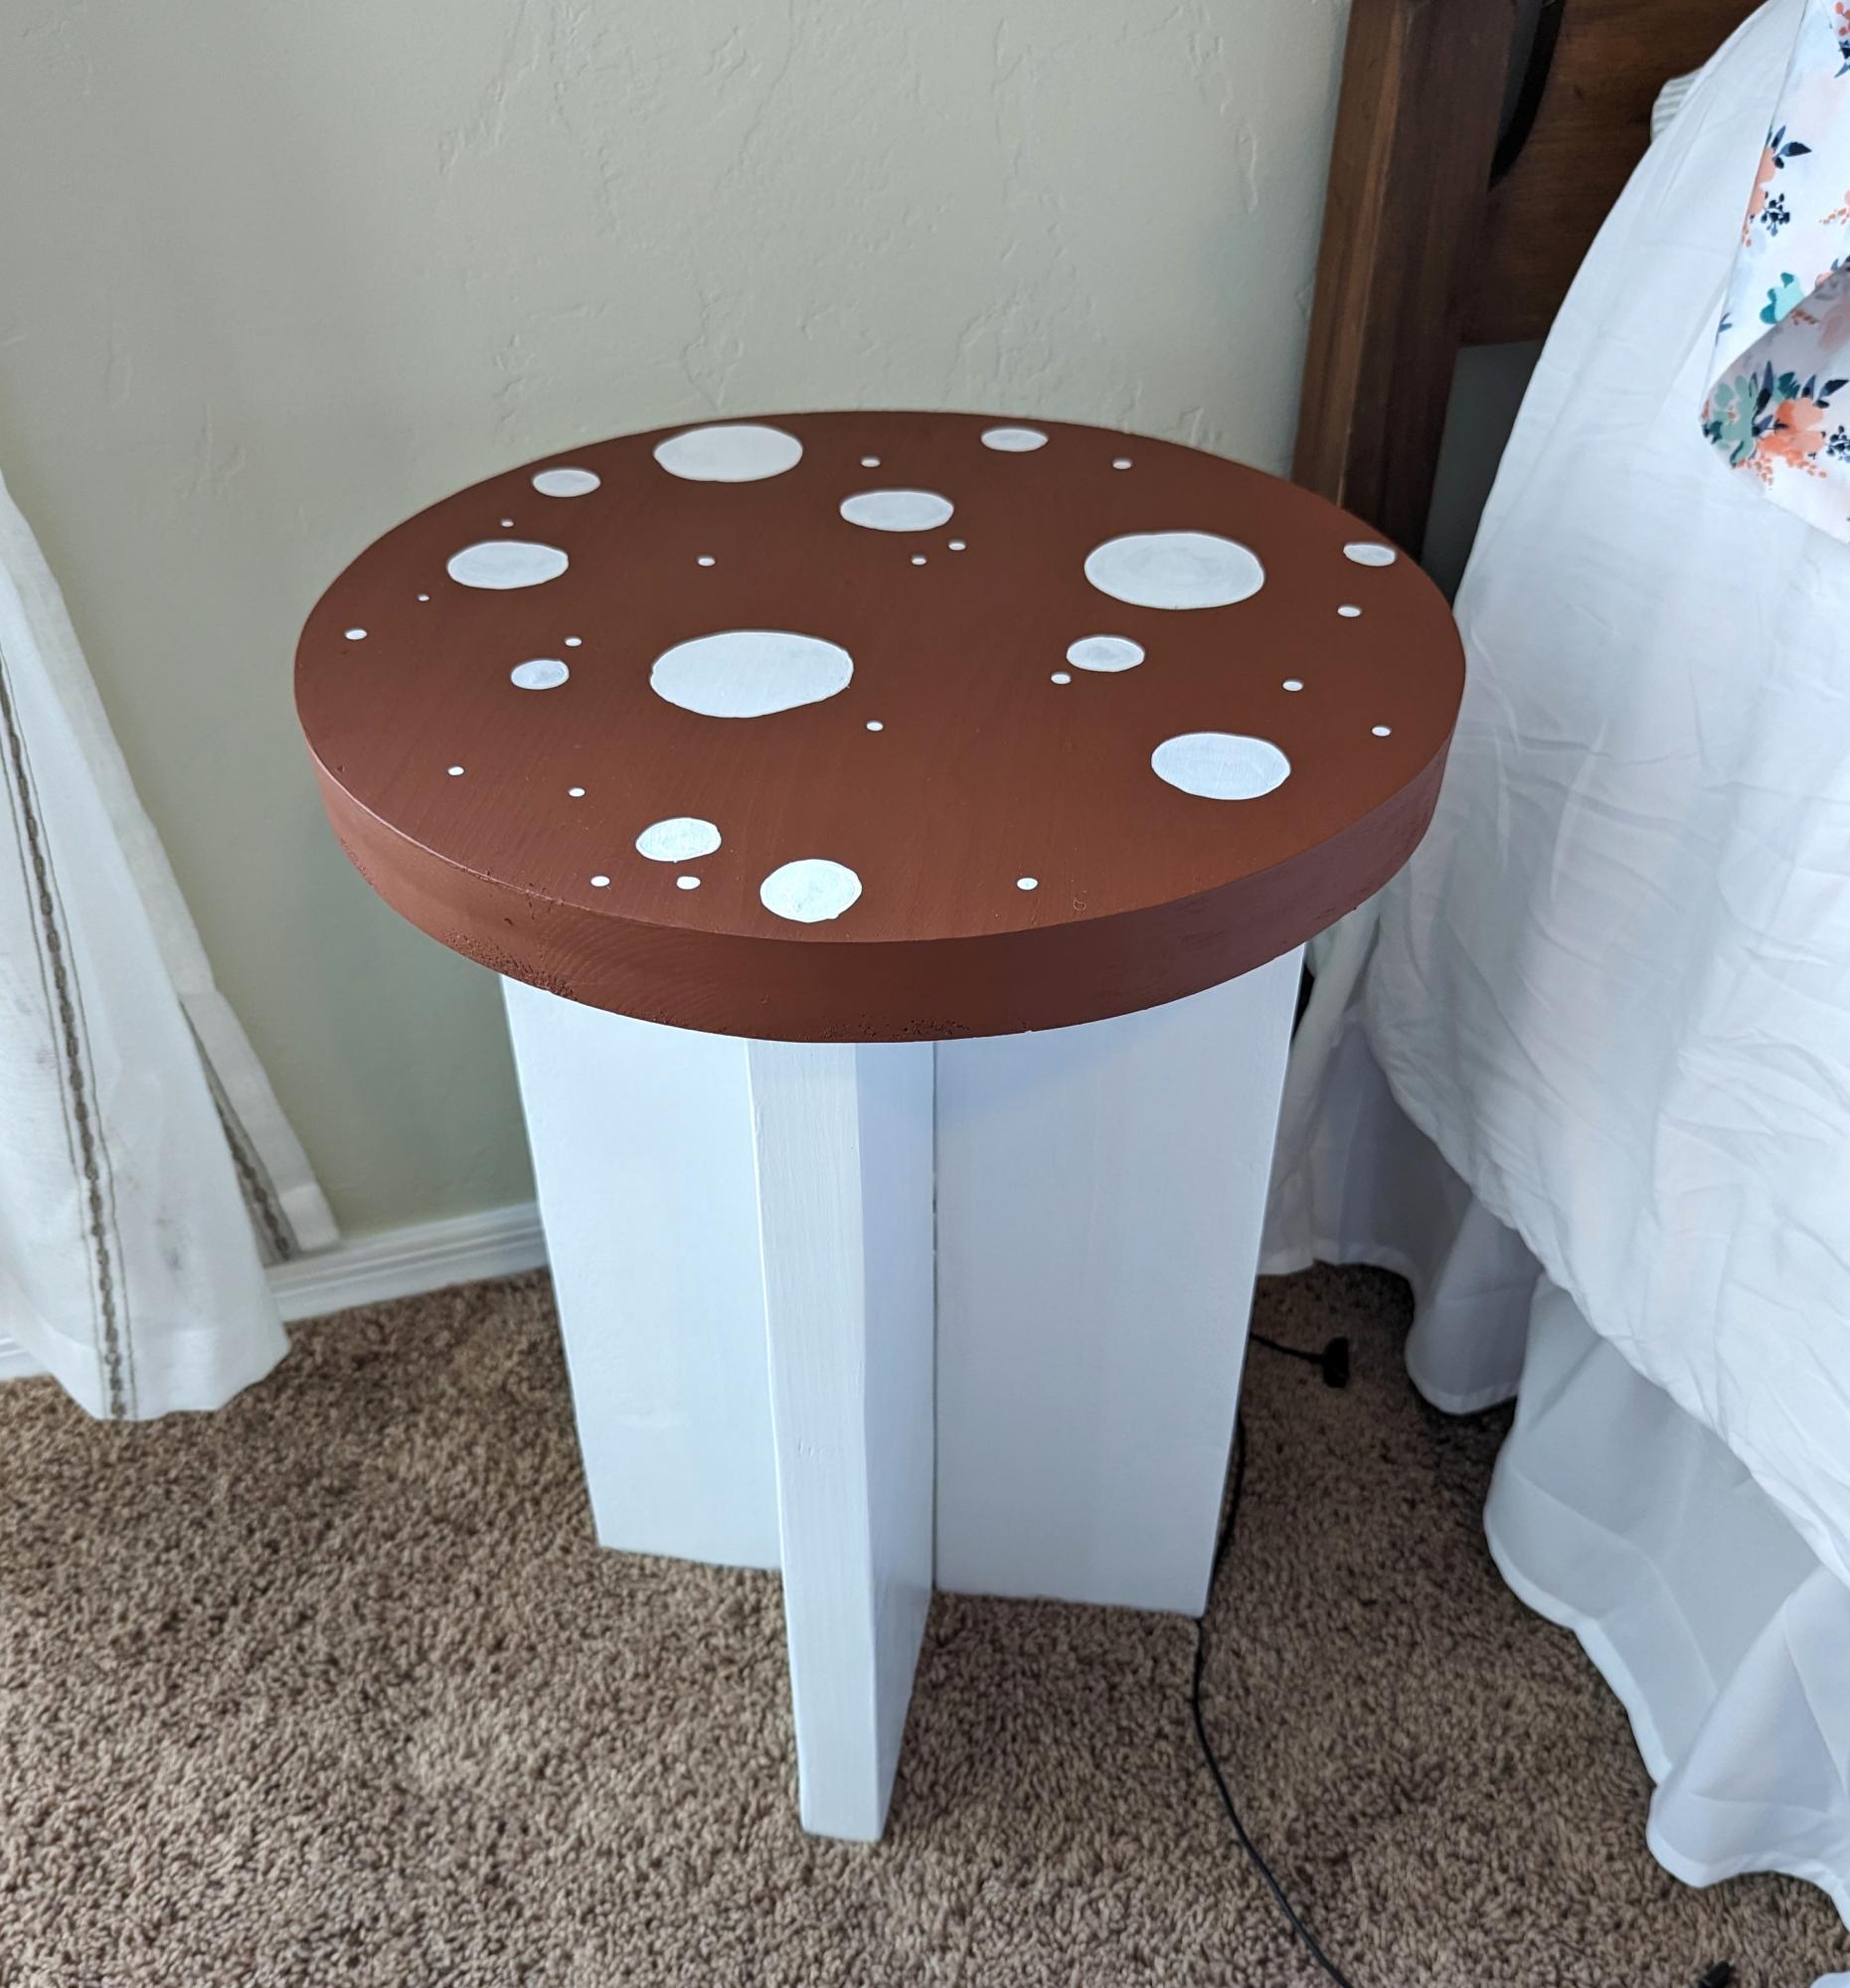
We made this for our daughter, and our other daughter wanted to paint it to look like a mushroom. We are very happy with how it turned out.
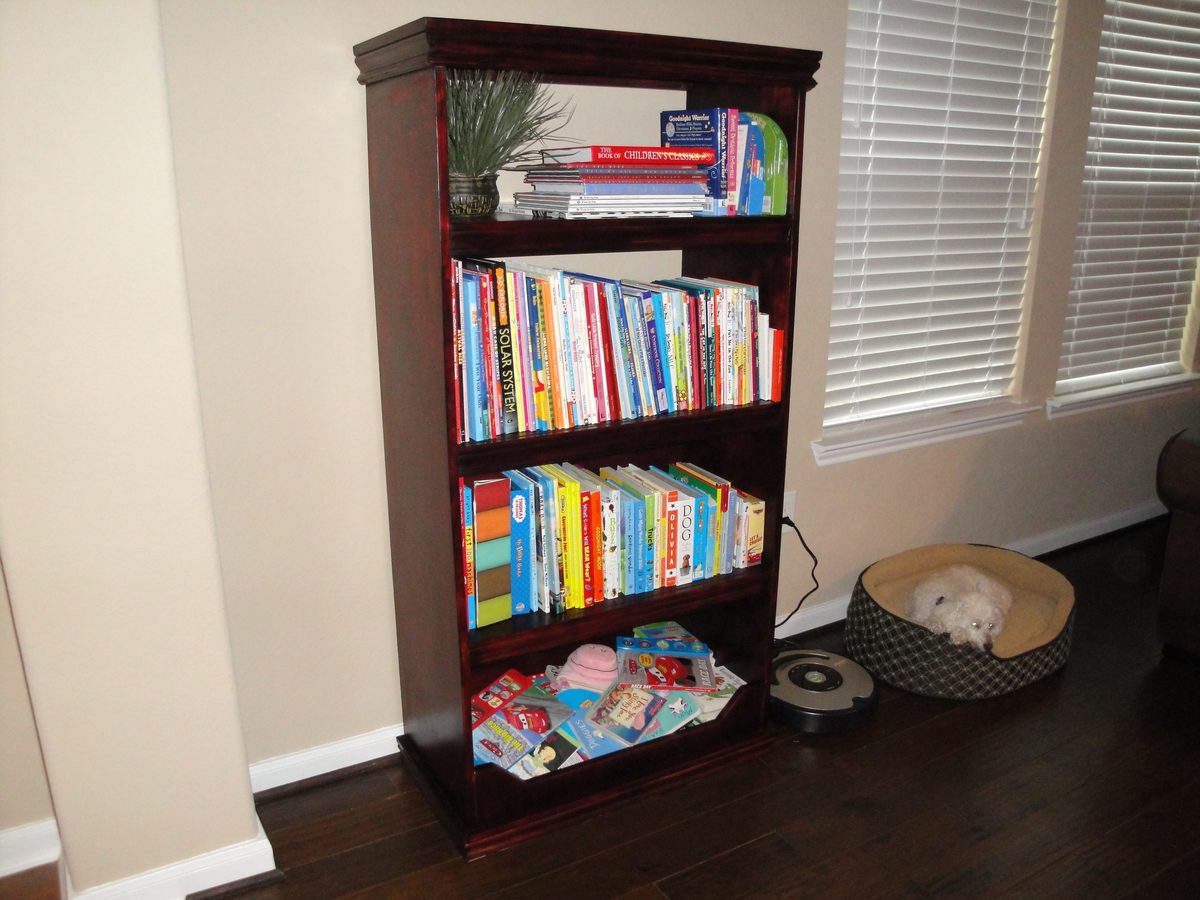
We knew we wanted to make this bookcase as soon as we saw it! I plan to put baskets and toys in it later, but for right now all books. The only difference to the original plan is that we put some plywood behind the bottom two shelves so that we could have a backing when we do use toys. My three year old loves to sit and go through all the board books at the bottom and clean up is a snap!
Sat, 03/03/2012 - 05:36
Great job, I plan on putting a back on mine as well, just haven't gotten around to it. It's in the basement, cut, ready to stain...
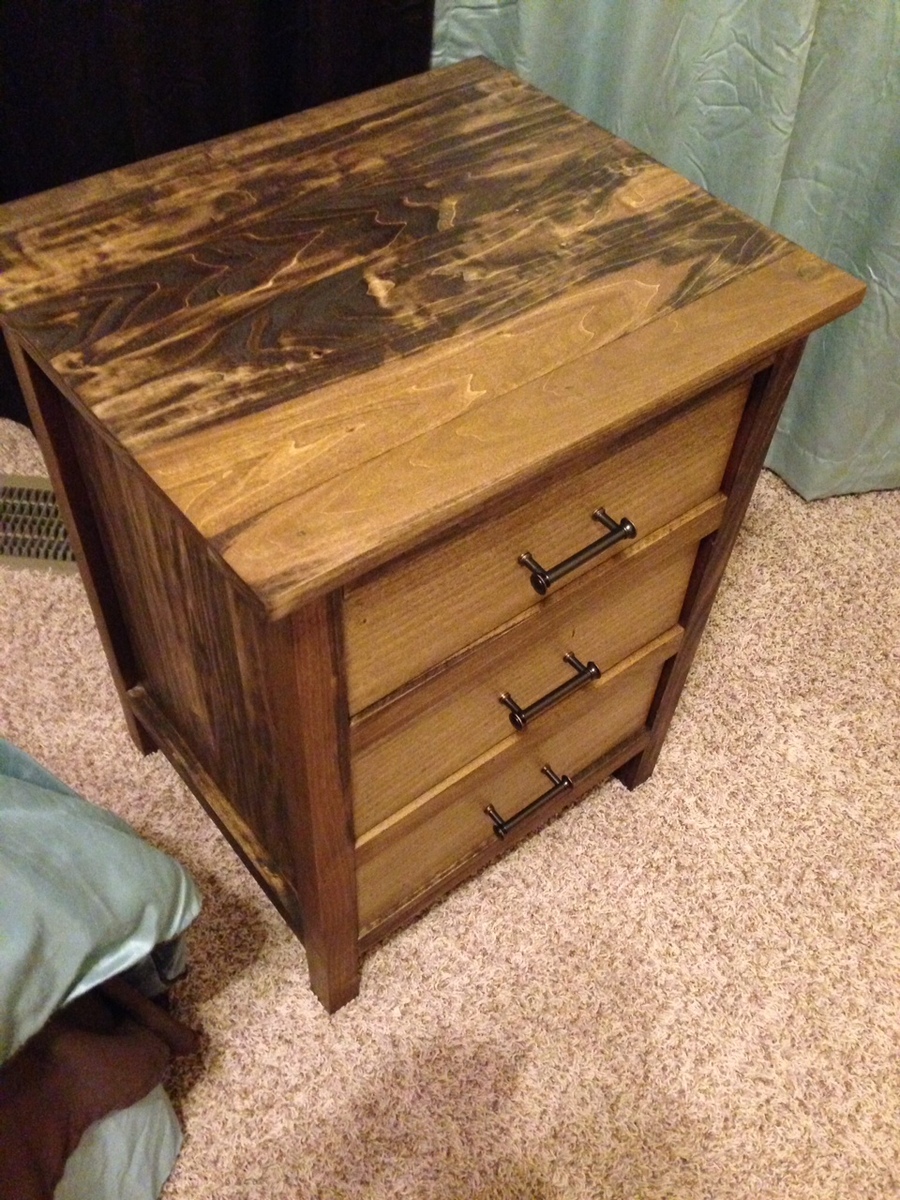
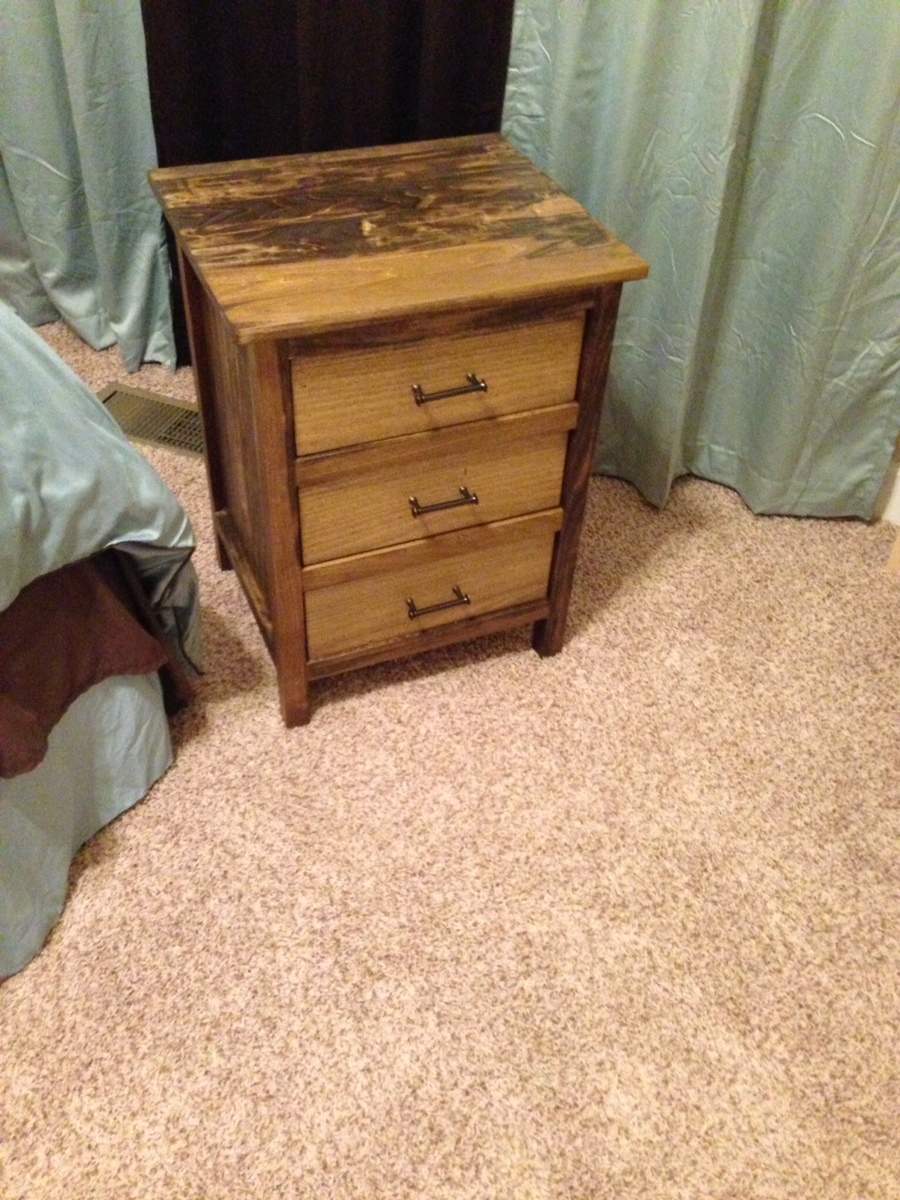
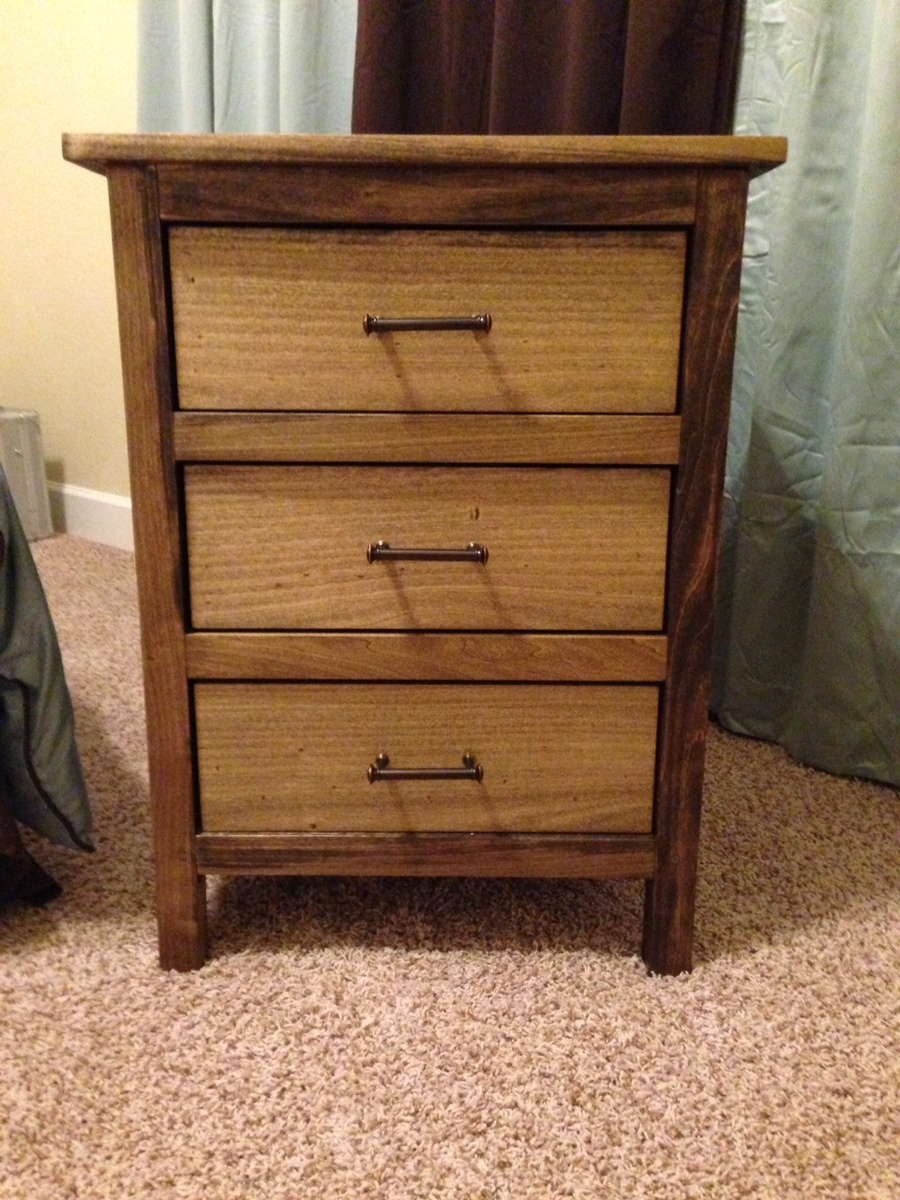
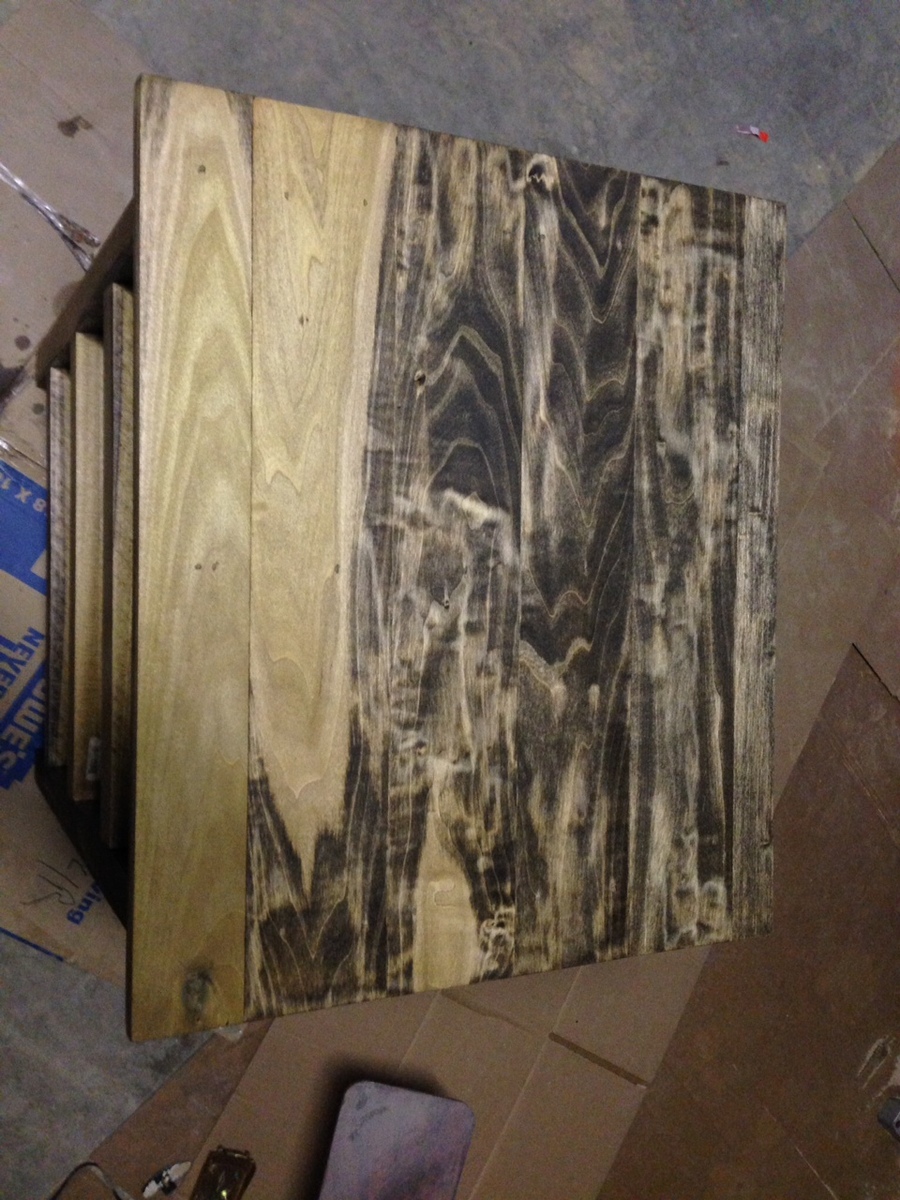
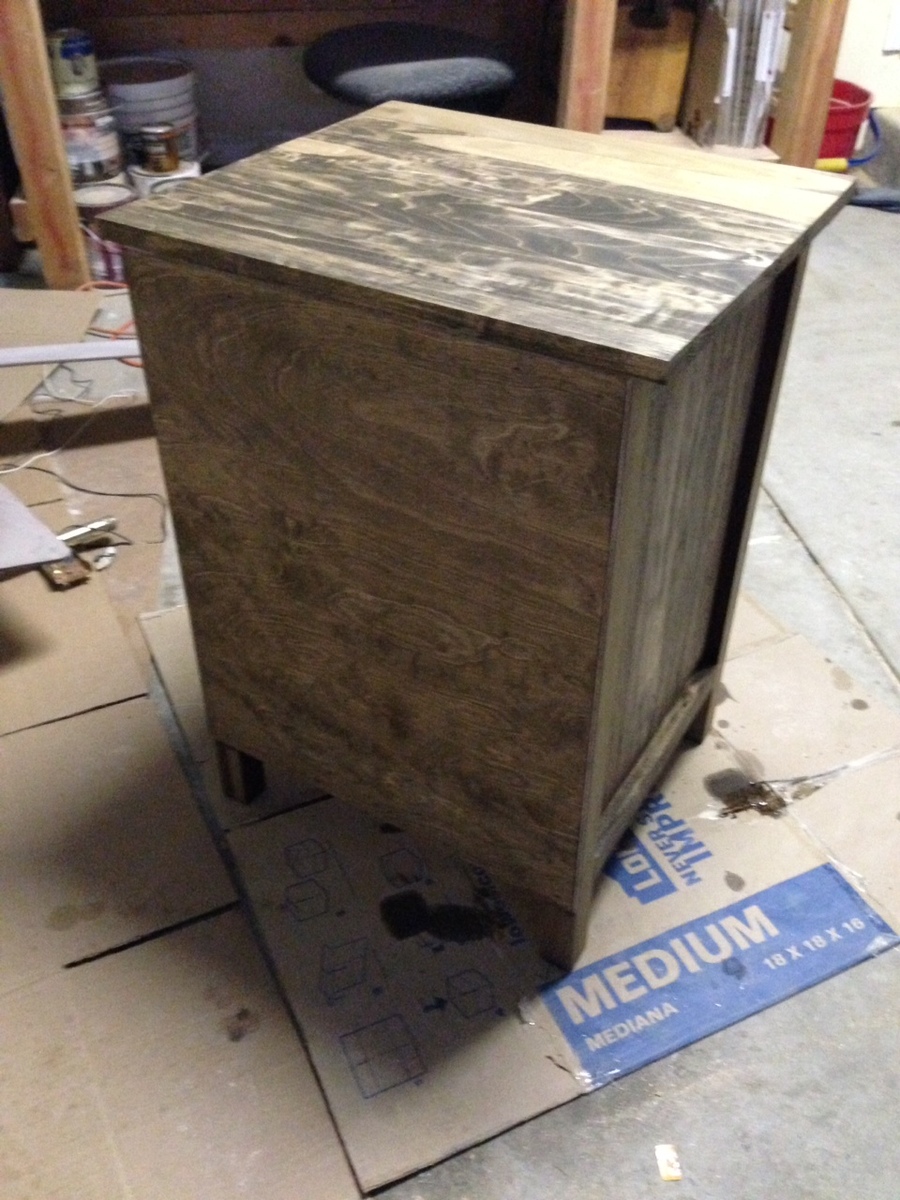
This was my first attempt at building furniture. I decided to make new nightstands for my wife and I. I used the bedside table plans, and they worked excellent. I used poplar hardwood for the material. I stained it using Minwax Special Walnut, and I used Minwax Satin Polyurethane. I am currently working on the second one, which will be my wife's (she said she wanted me to build mine first, so that if I messed it up, hers wouldn't be messed up, lol). Mine turned out good, I am very happy with it. Thanks for the plans! After the next nightstand is built, I would like to build a matching triple dresser...
I procured the finest and freshest Redwood from a lumberyard. Tip : Don't go to Home Depot. Most of the squaring and planing was done from the hand held Lie Nielson Jointer # 7. It was worth an investment and came in handy for a lot of other applications. I used Fein Supercut for sanding needs. Works well.
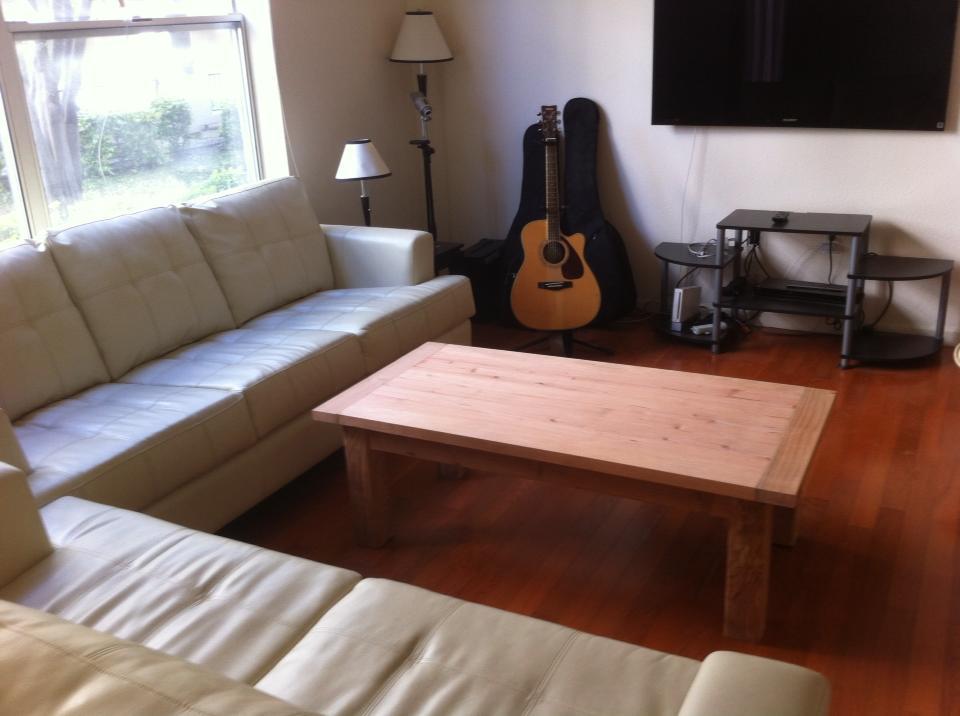
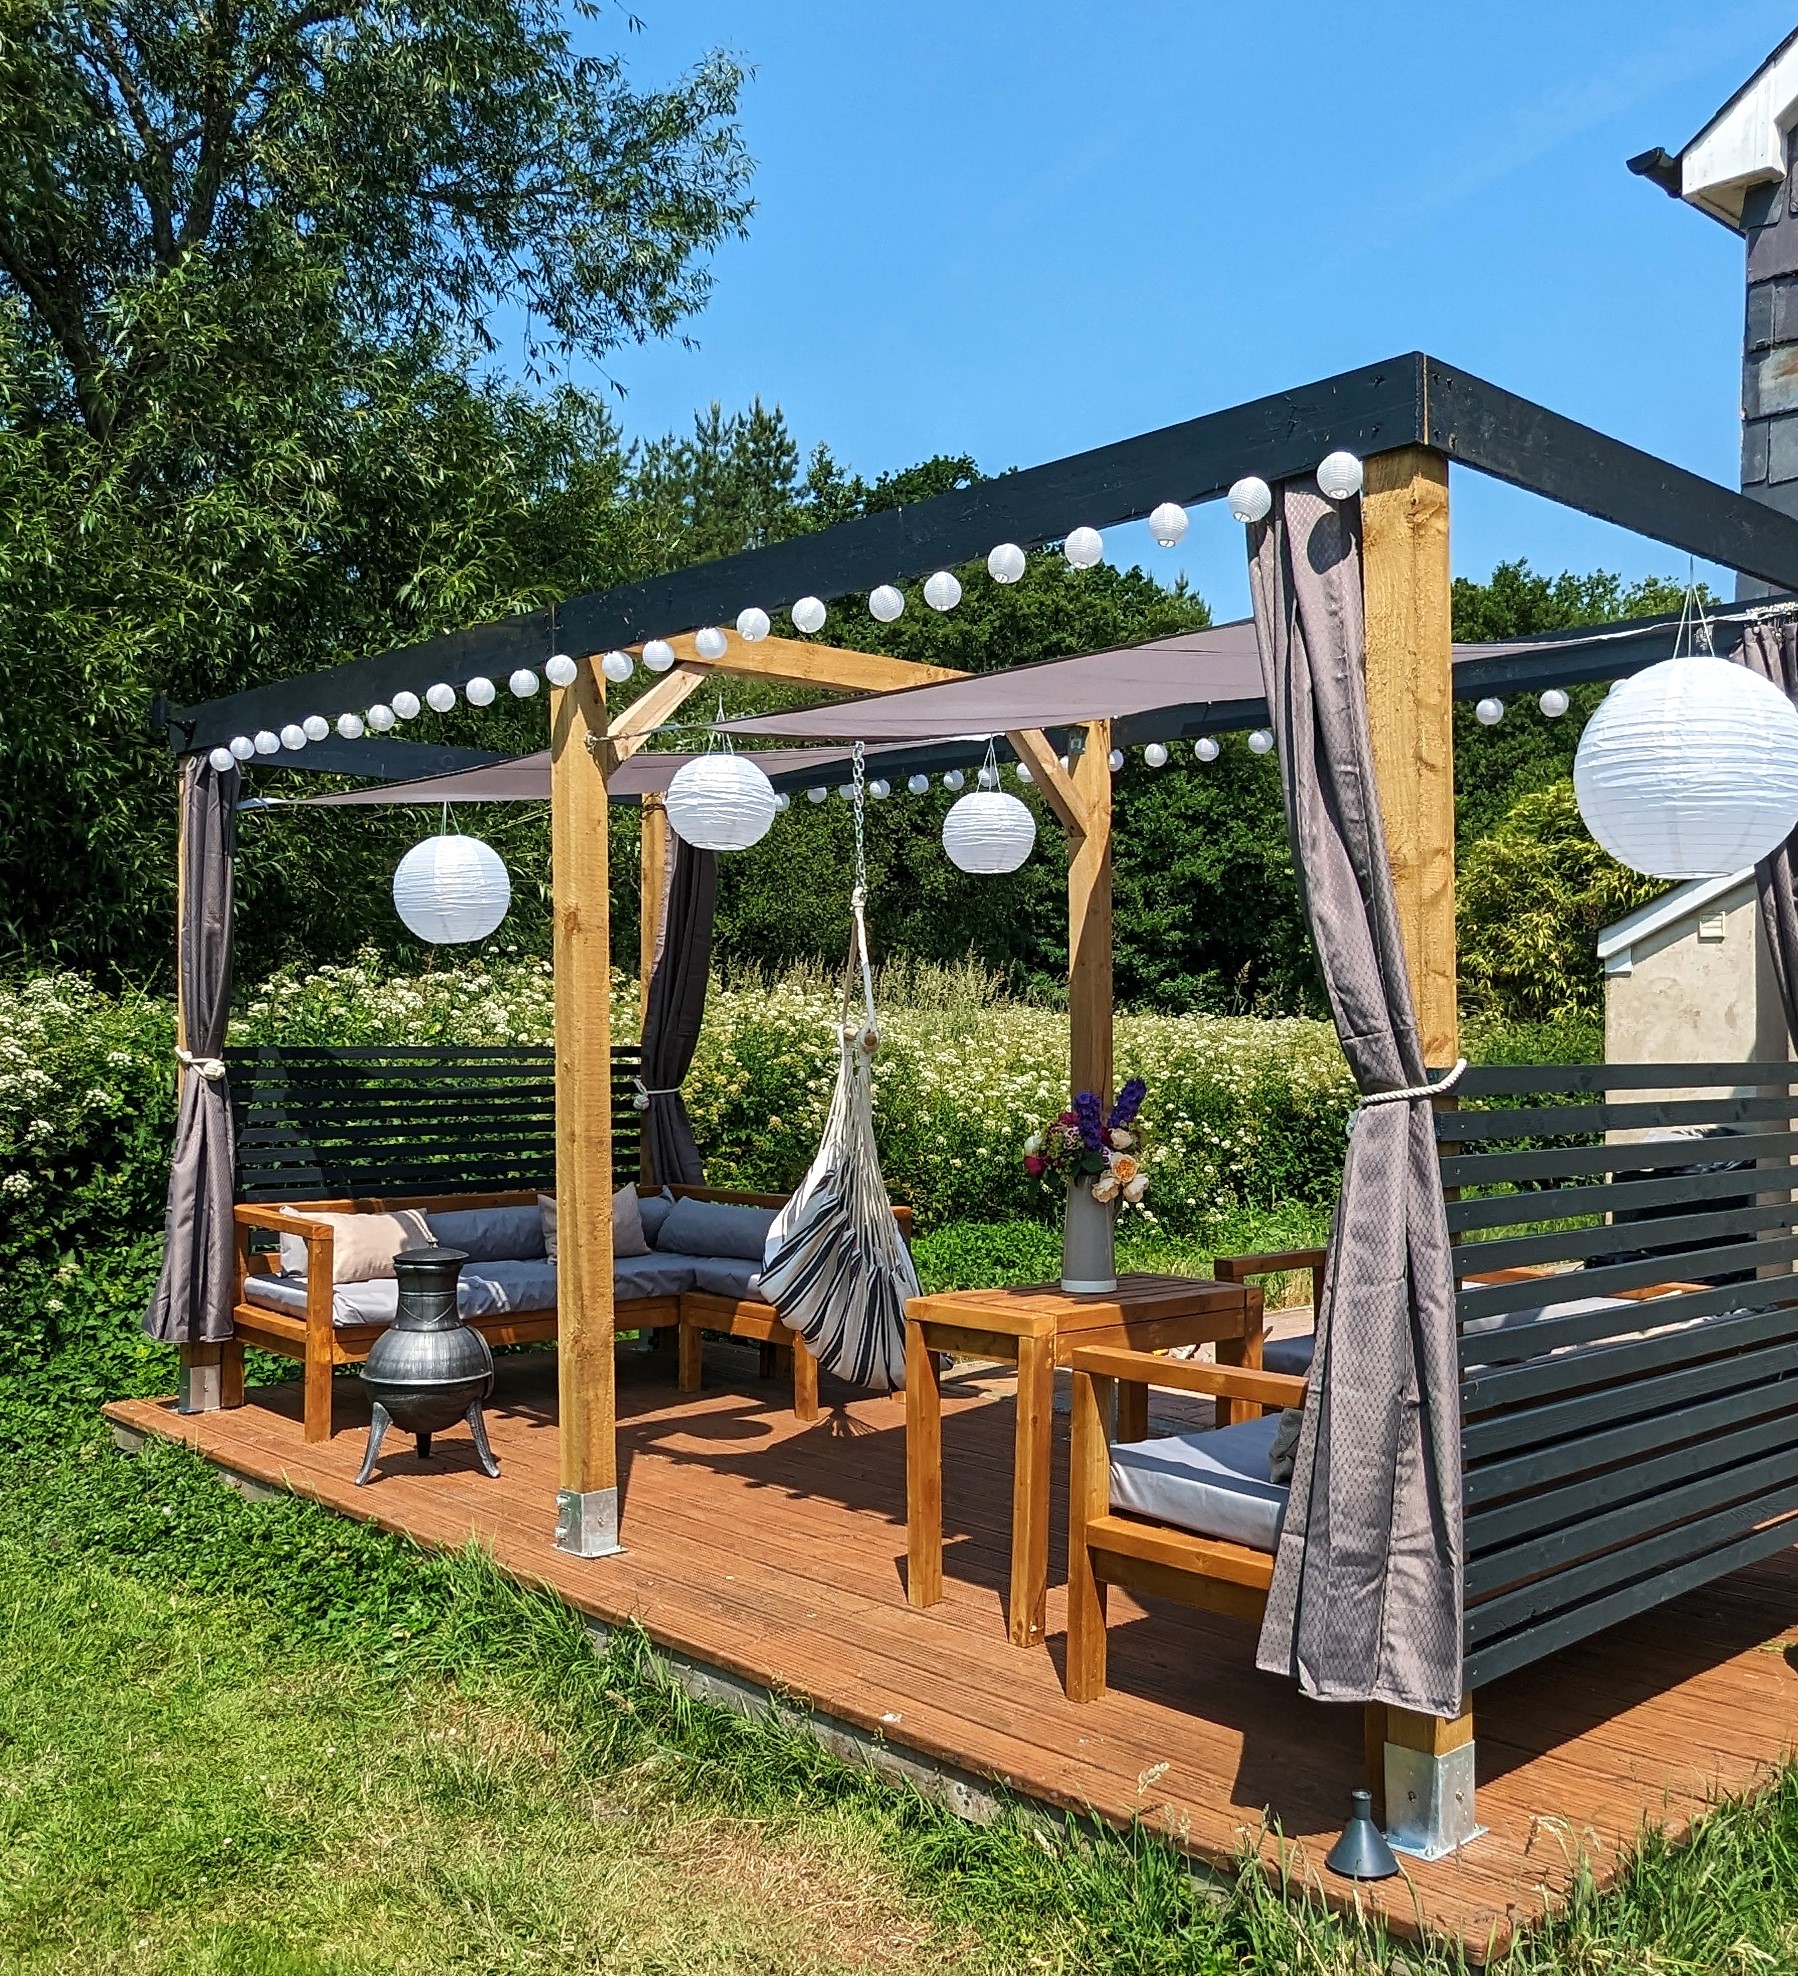
My first ever attempt at woodworking, after I built the pergola I used the 2x4 outdoor sectional plans and modified slightly to fit the space I had. So easy to follow and delighted with the result. The hardest part of the whole project was making the cushions, that's how easy the woodworking plans were to follow!
@louspoutsstuff tiktok - Lou brown
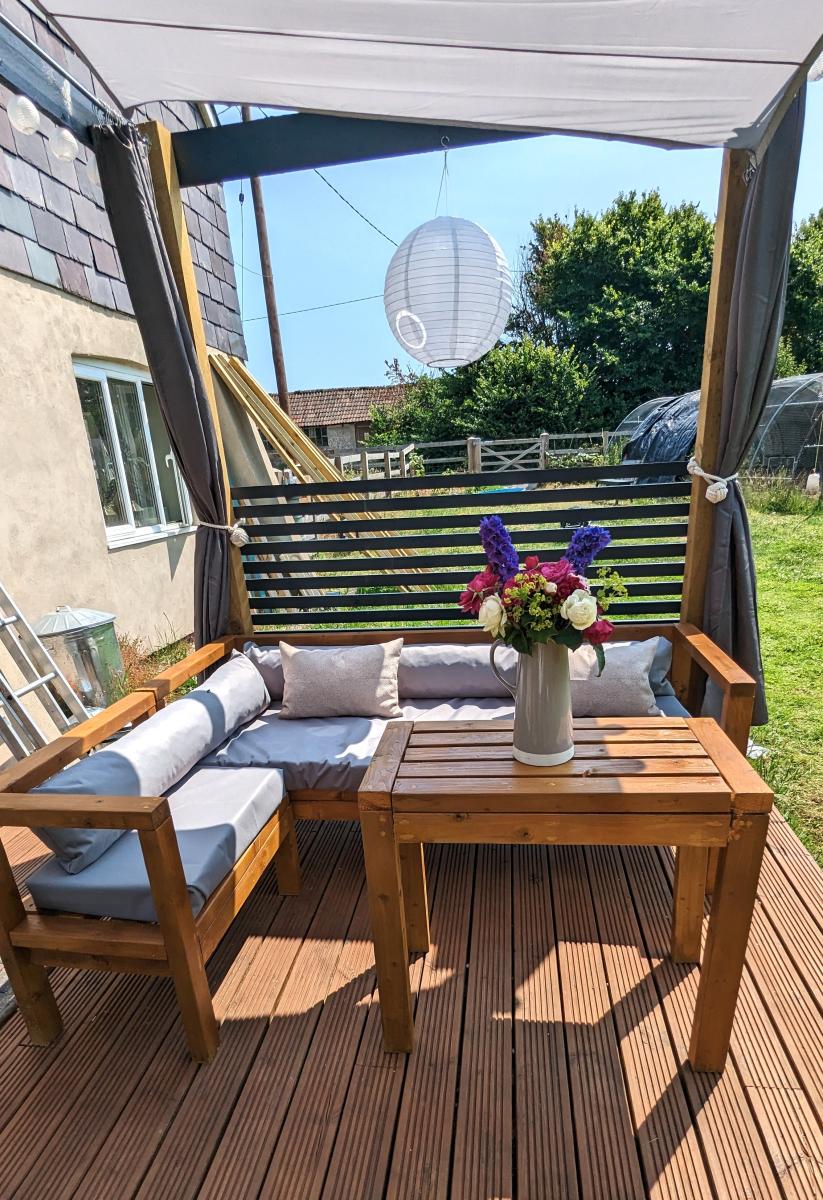
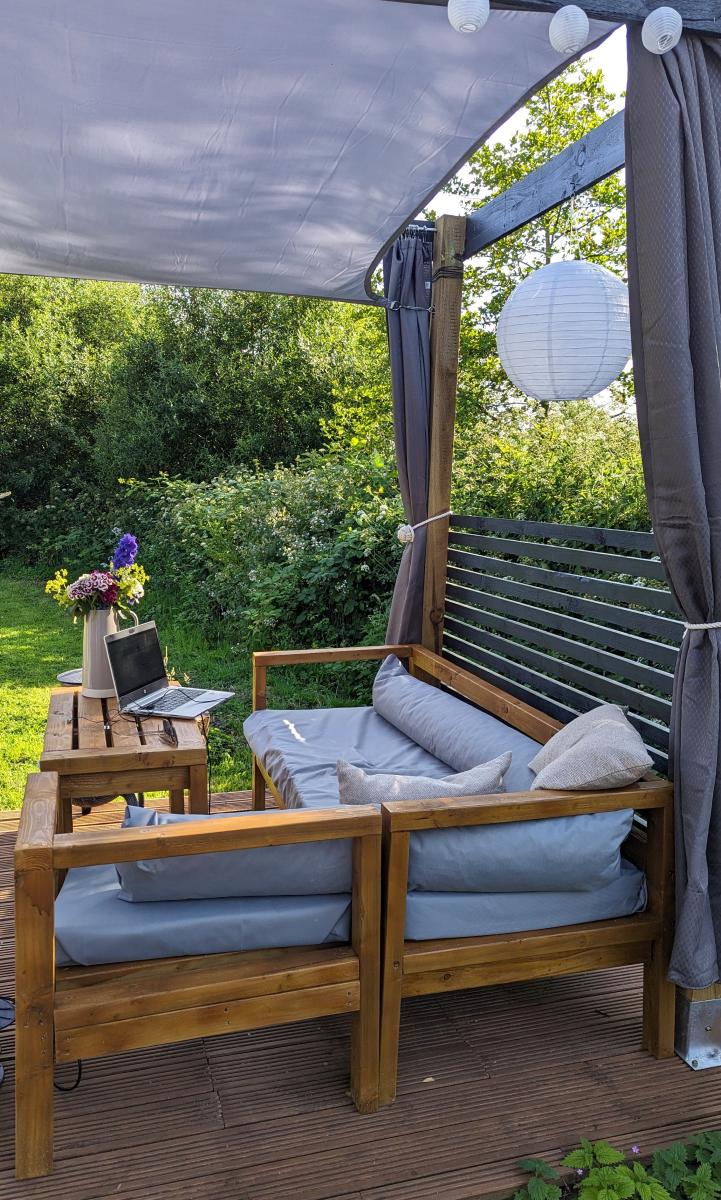
Fun little bench to make for our front porch. We liked it so much we built 2 more smaller ones one for each of the kids to go with mommy and daddy's bench. Bought all the material at the home store and decided to use stain since it was going to stay outside. Used the same method with all my other projects sanded using 180 than 220 grit, wood filled all the cracks and the Kreg Jig made this simple.
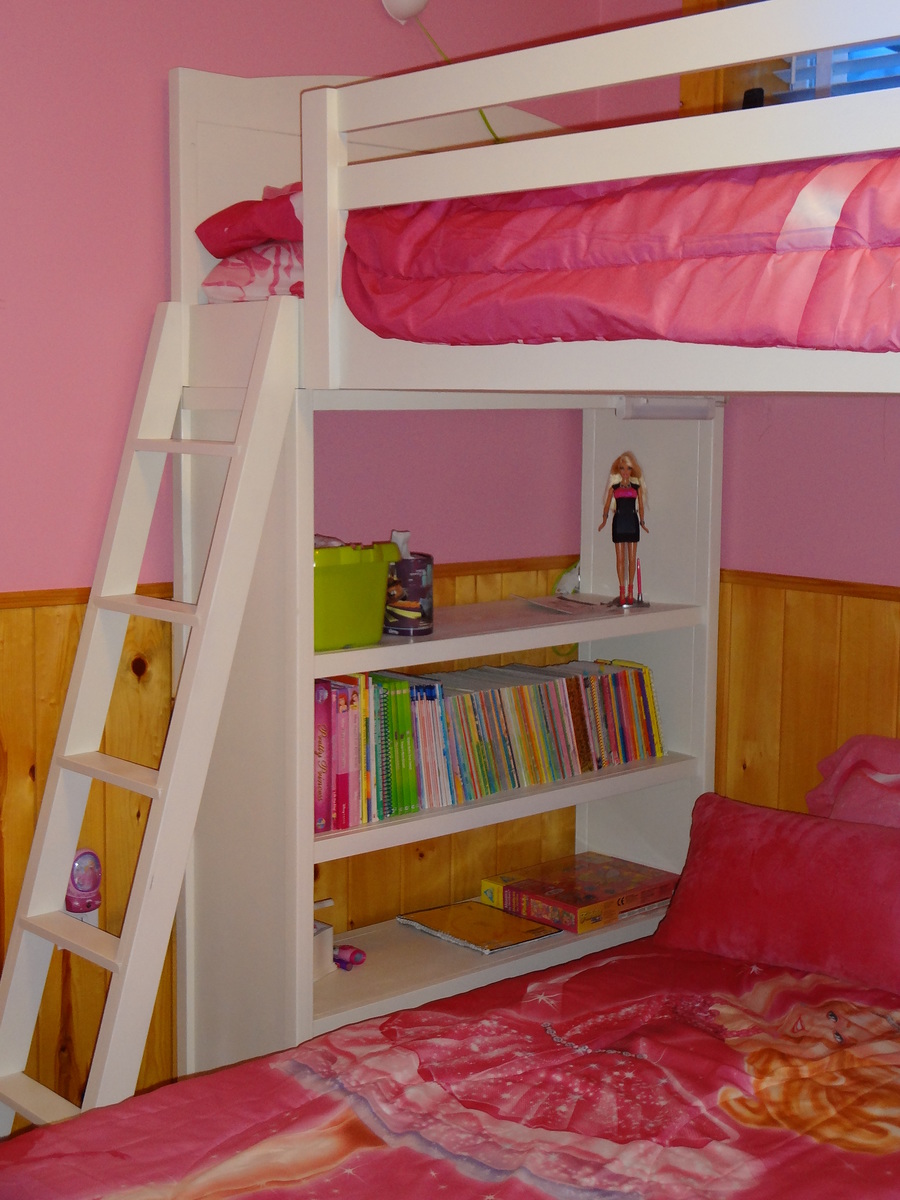
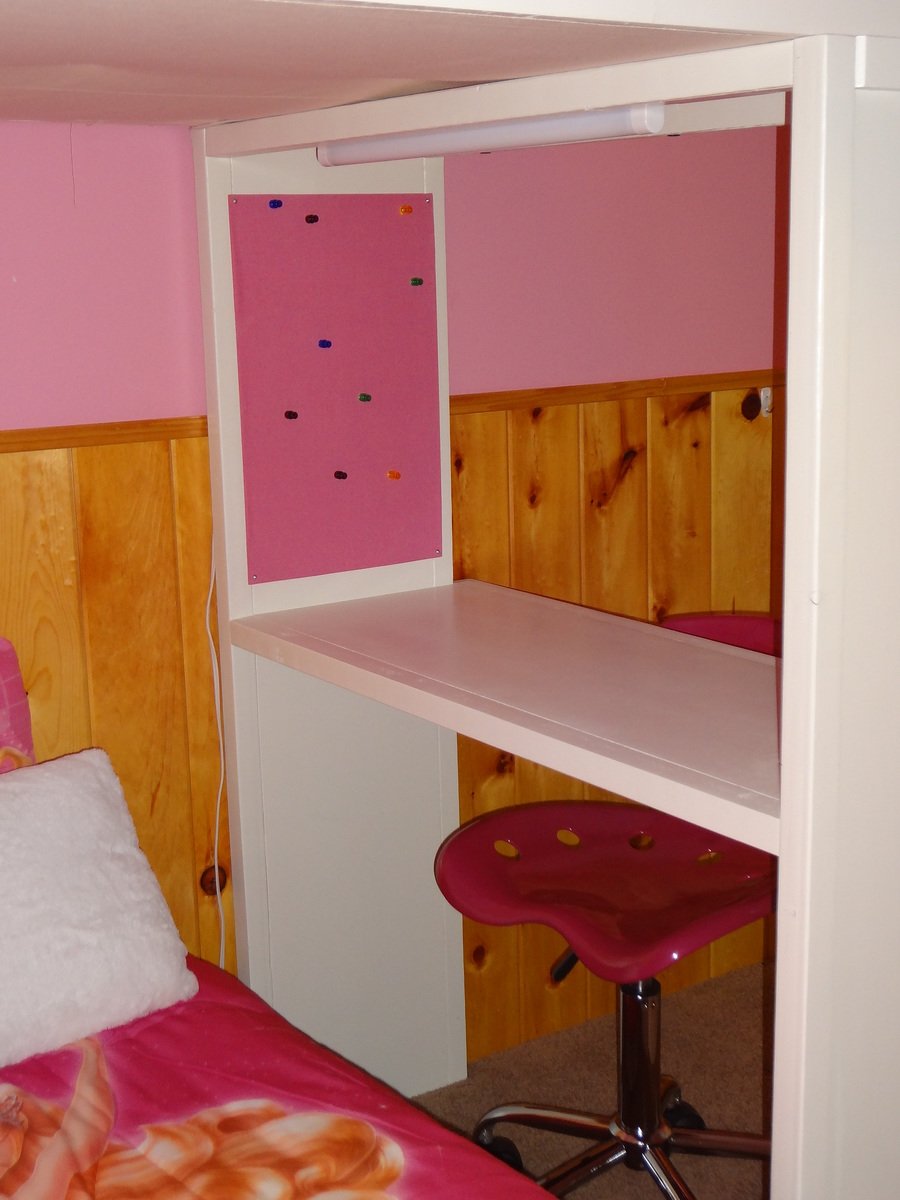
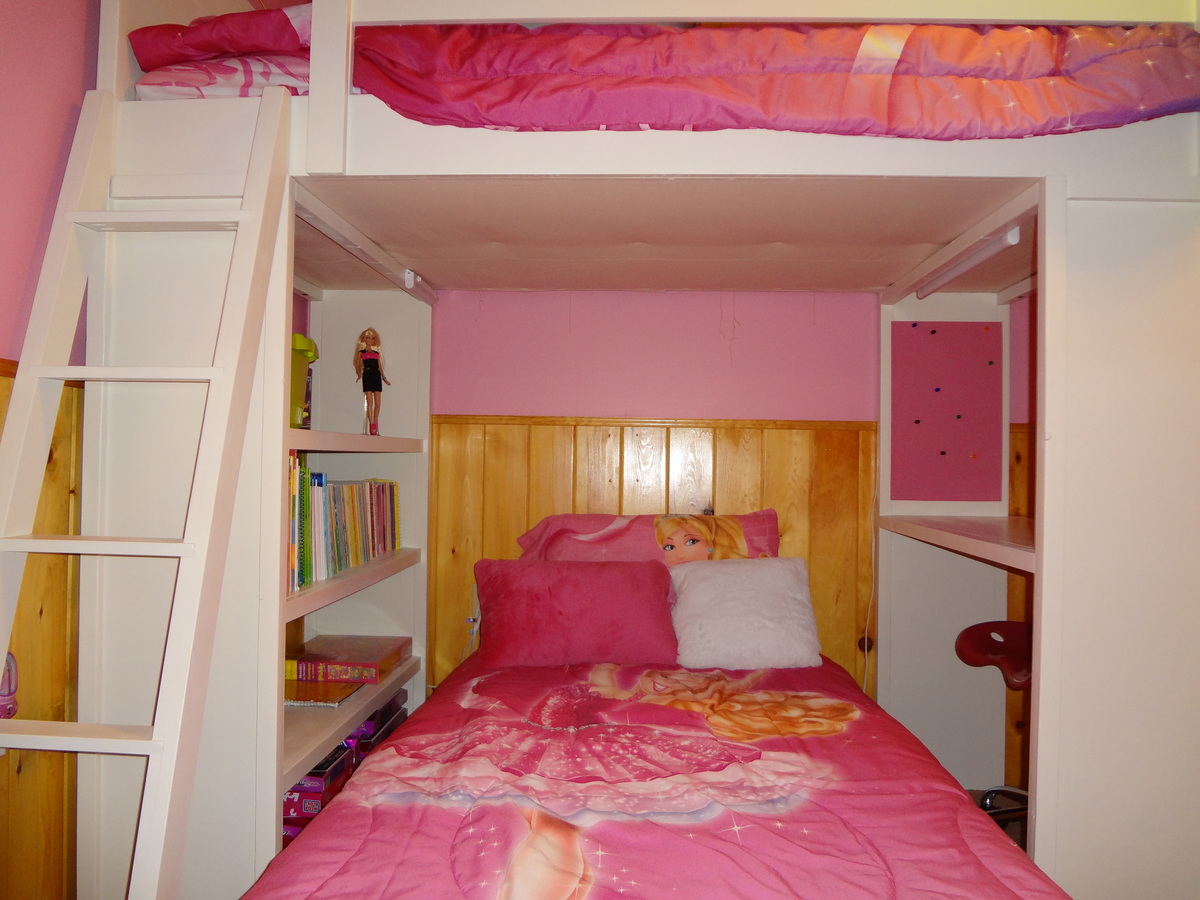
My dad and I built these beds for my 7-year-old daughter for Christmas. We followed the plans almost completely, with a few tweaks of our own. We didn't feel that the decorative feet would be very stable, so we just continued the length of the bookshelf and desk all the way to the floor. We put a piece of 1/4 in. MDF on top of the slats to help support the memory foam mattress. We also stapled canvas to the underside of the top bunk to hide the slats. I didn't want a headboard or foot board on the lower bunk (toe-stubber!), so instead of building the matching Chelsea bottom bunk, we just made a simple platform bed. We added magnet boards to each side of the desk. I liked the idea of magnets better than bulletin boards. Since this plan didn't include a ladder, we built the ladder from the Loft Bed plan. The bed had some significant wobble to it, so we attached it to the wall. Took ALL of the wobble out and it is very solid and secure now. I'm very pleased with how these beds turned out and my daughter loves them as well!
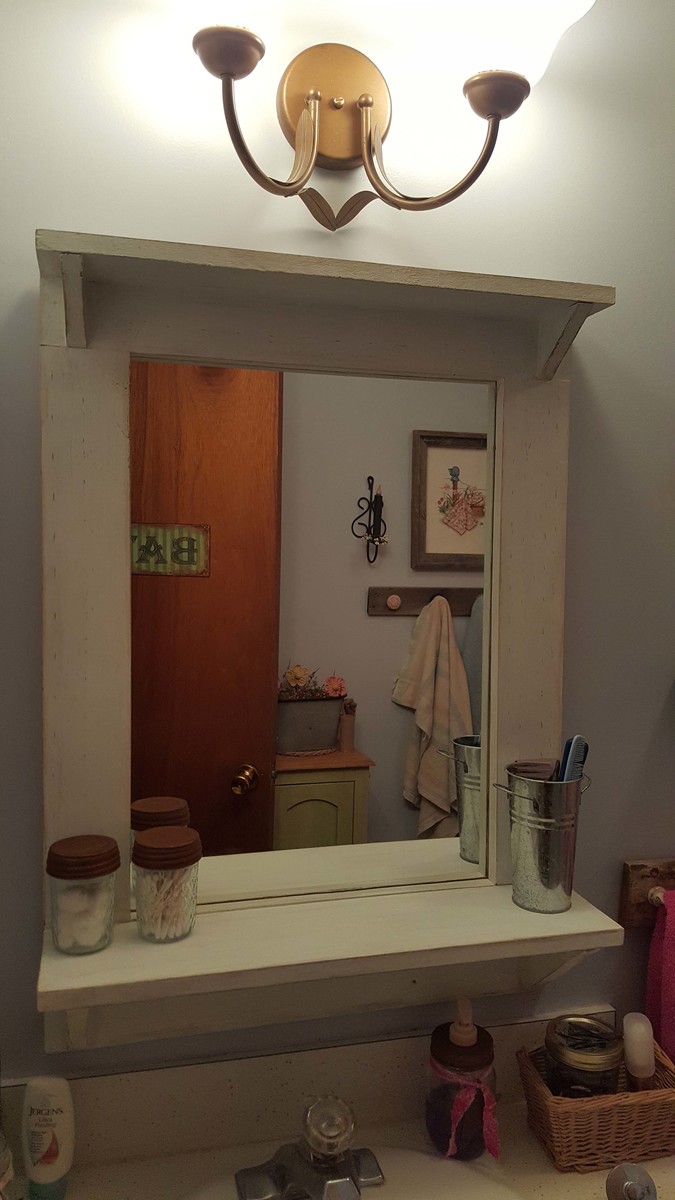
This project is the mirror from The Handbuilt Home and is the first project I made from the book. I changed the size since I wanted the mirror for my bathroom and adjustments were so easy to do. I used regular pine boards and a mirror I got from Lowes - Lowes cut the mirror to the size I needed at no charge. I painted the frame with two coats of a celery colored chalk paint, one coat of white chalk paint then sanded to distress. I attached the mirror using a glue and seal caulking and secured with mirror brackets so I could hang up right away without waiting for the glue to dry . This was a super fun project, easy to do. Love the book, and plan to build more projects from it!