Community Brag Posts

King Farm House Bed

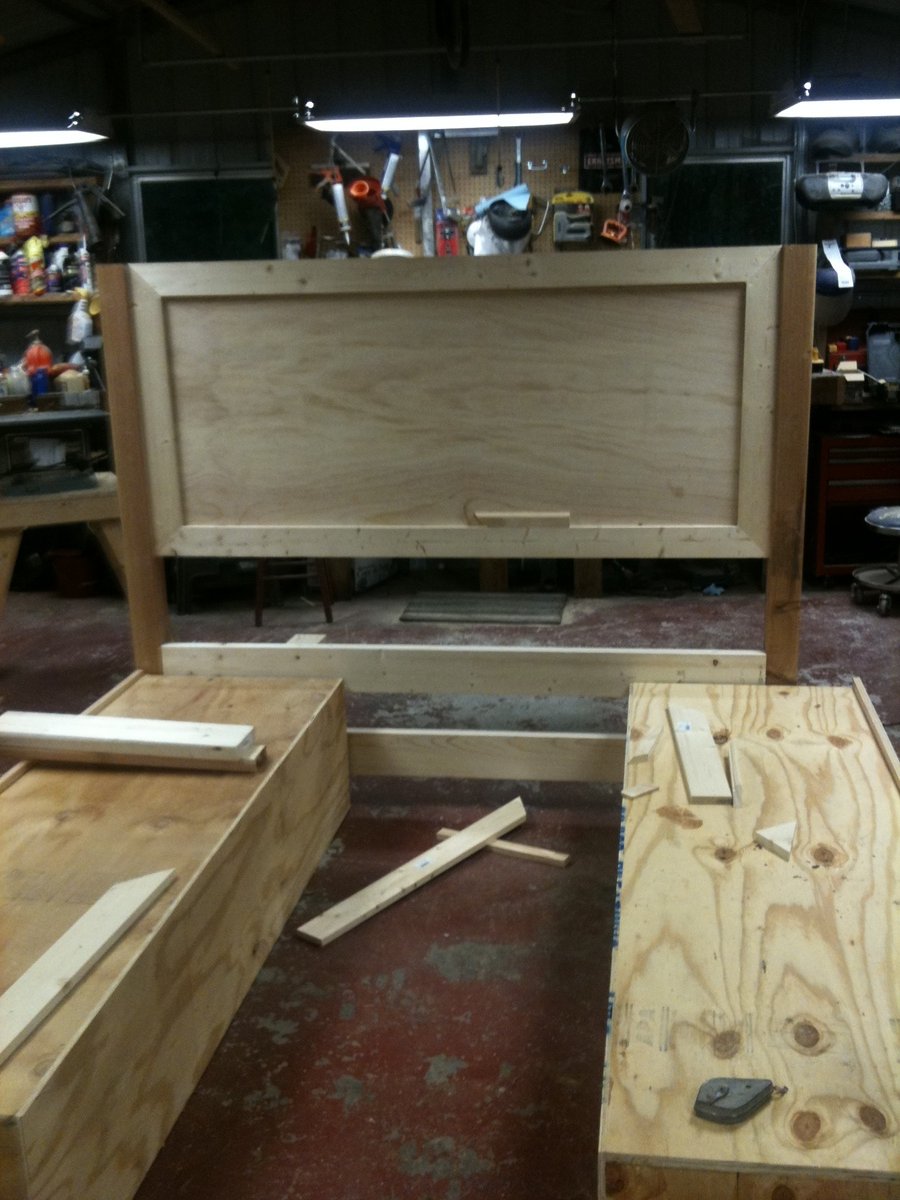
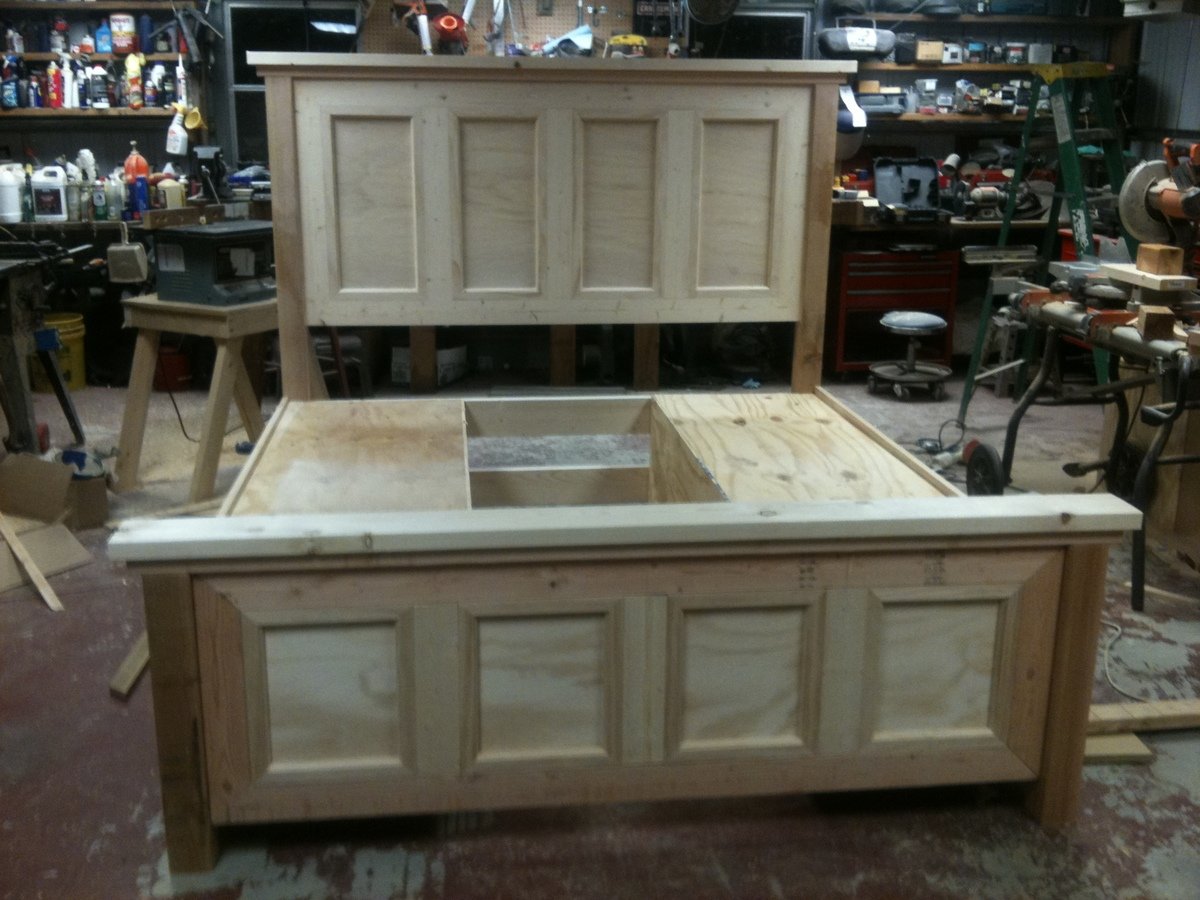
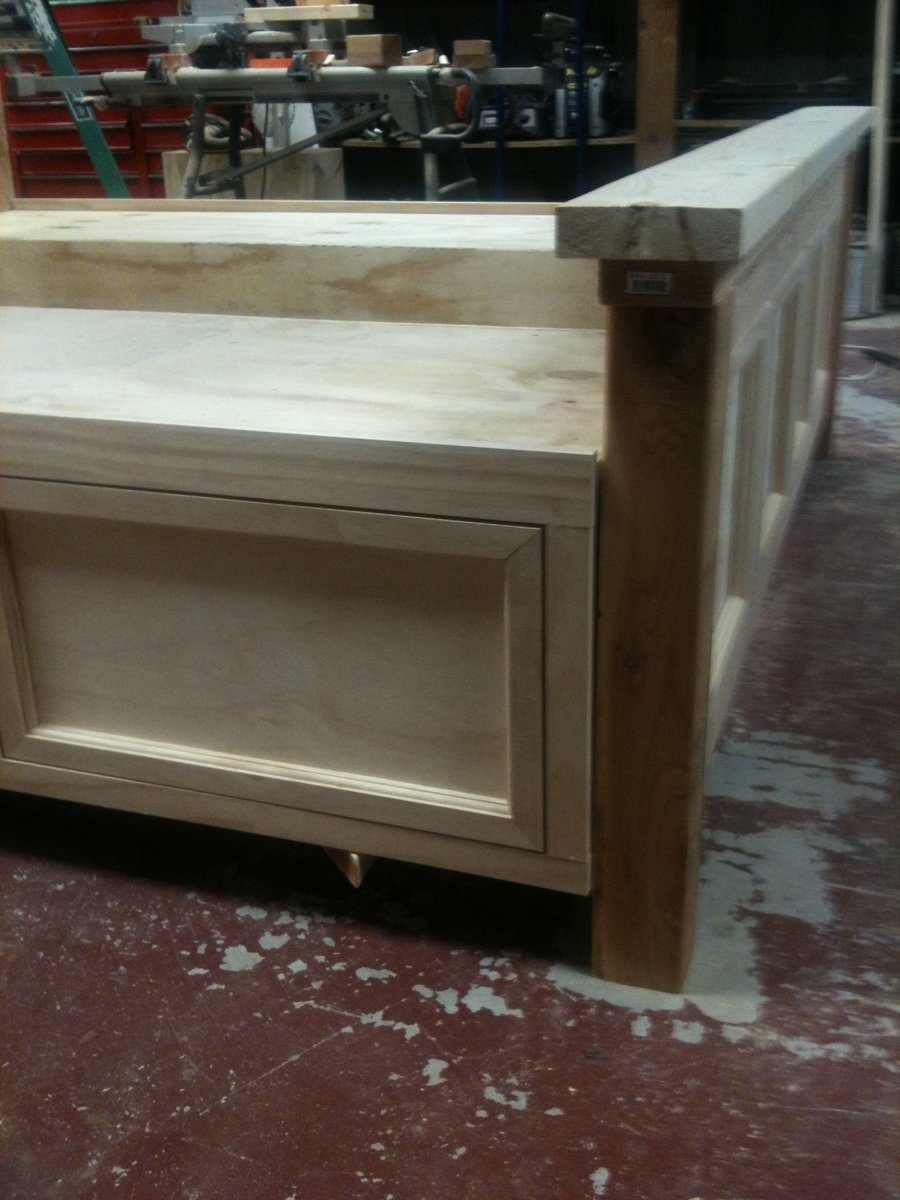
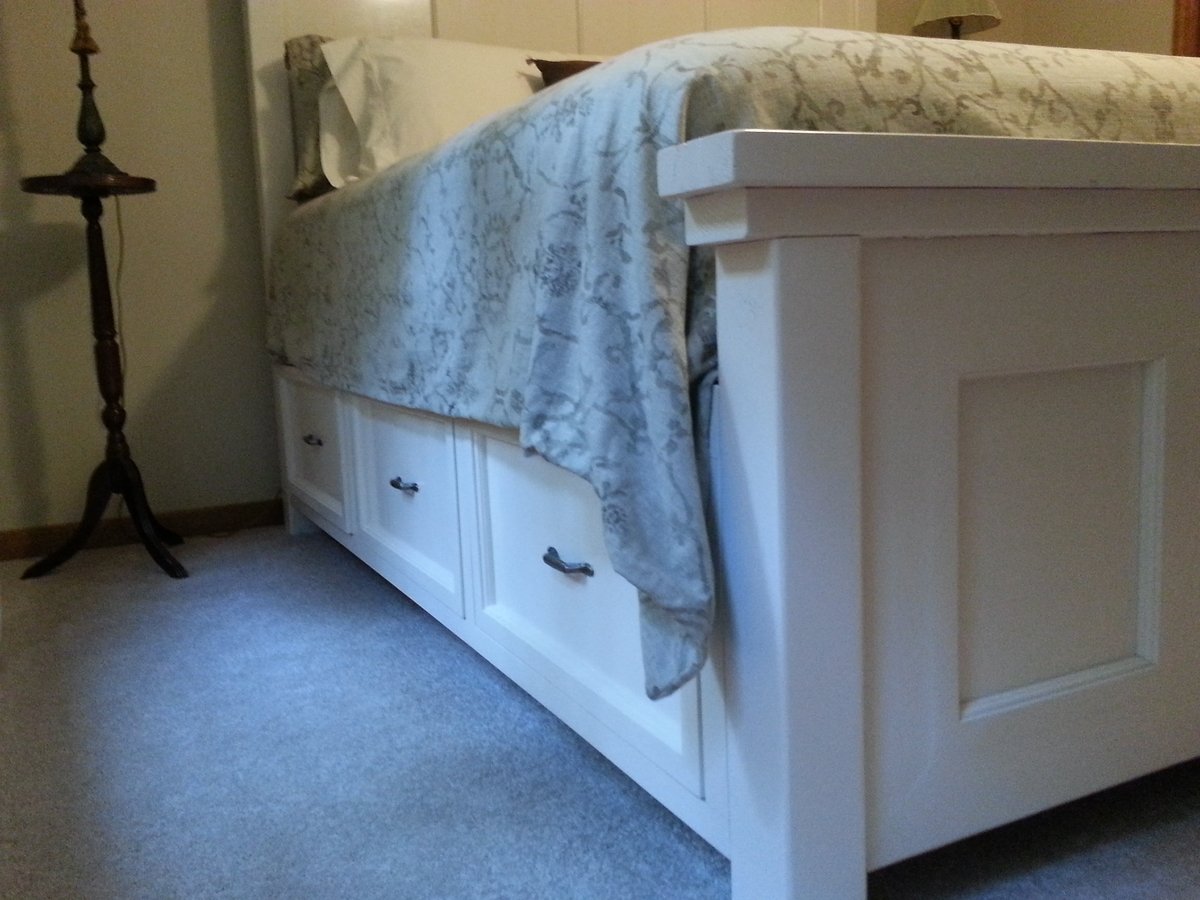
My husband designed this after the farm house bed. I wanted panels on the head board and foot board to "dress it up a bit" and storage drawers. He did a wonderful job. I don't think I have ever had a more prized piece of furniture. Now to find some tall night stands.

Estimated Time Investment
Week Long Project (20 Hours or More)
Finish Used
Off white oil based semi gloss paint
Recommended Skill Level
Intermediate

Comments

vanash2012

Wed, 09/23/2015 - 11:54

Any chance you or your husband would share the adjusted plans to include the storage under mattress?

Thank you so much! love your site and your work!

vanessalust

Thu, 01/21/2016 - 21:52

Hi Ana! 

I was wondering if you had the plans available for this bed with the drawers underneath and the head and foot board ? 


:) thank you!

vanessa

nateleejohnson

Fri, 02/10/2017 - 05:27

What a beautiful bed.  Like others I was looking for the plans for the headboard and drawers.  Are they available?

Thanks,


Nate

danthony313

Sun, 12/17/2017 - 16:03

the wife loves this design but are there plans for the whole thing yet?

Tacoma9596

Wed, 09/25/2019 - 10:40

Ana,

   Can you provide plans with pics for this bed?   My wife wants it and I got tasked with doing it.

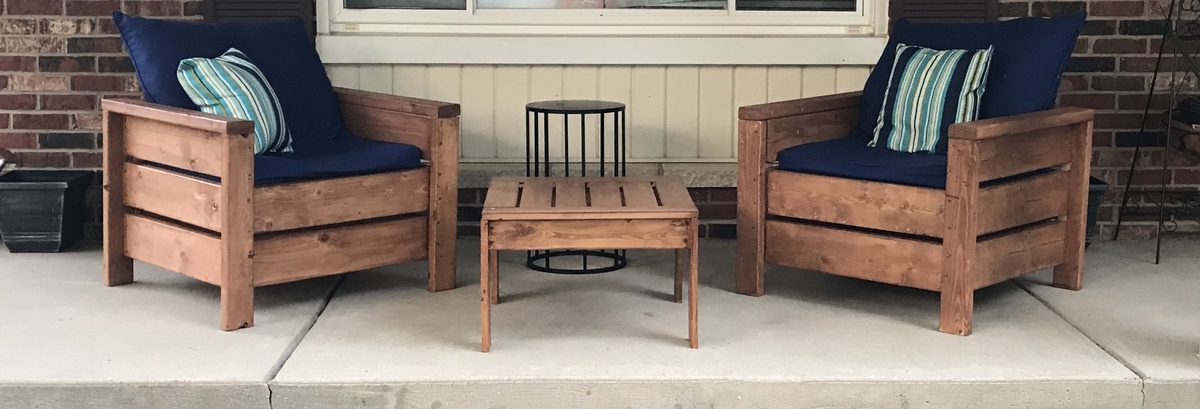
Coffee Table Side Table Combo

My 2 girls  like to play board games on the floor, instead of the dining table. Which I don’t mind. But as I get older, it’s getting less and less comfortable each time. That’s when I decided that we need a coffee table to make playing board games on the floor more comfortable for everyone concerned… no matter what their age is.

But I don’t like coffee tables taking up space in the middle of the room. I love having the room nice and open without furniture sitting in the middle of the floor getting in the way, when it’s not being used.

That’s when I decided that instead of a Coffee Table, what I needed was a Side Table, that could also be used as a coffee table when needed. Either for a board game, or for when you have visitors and you need a place for coffee cups and snacks.

I think it turned out great!
Estimated Time Investment
Day Project (6-9 Hours)
Finish Used
Walnut Stain plus Satin Varnish - both water based
Recommended Skill Level
Beginner

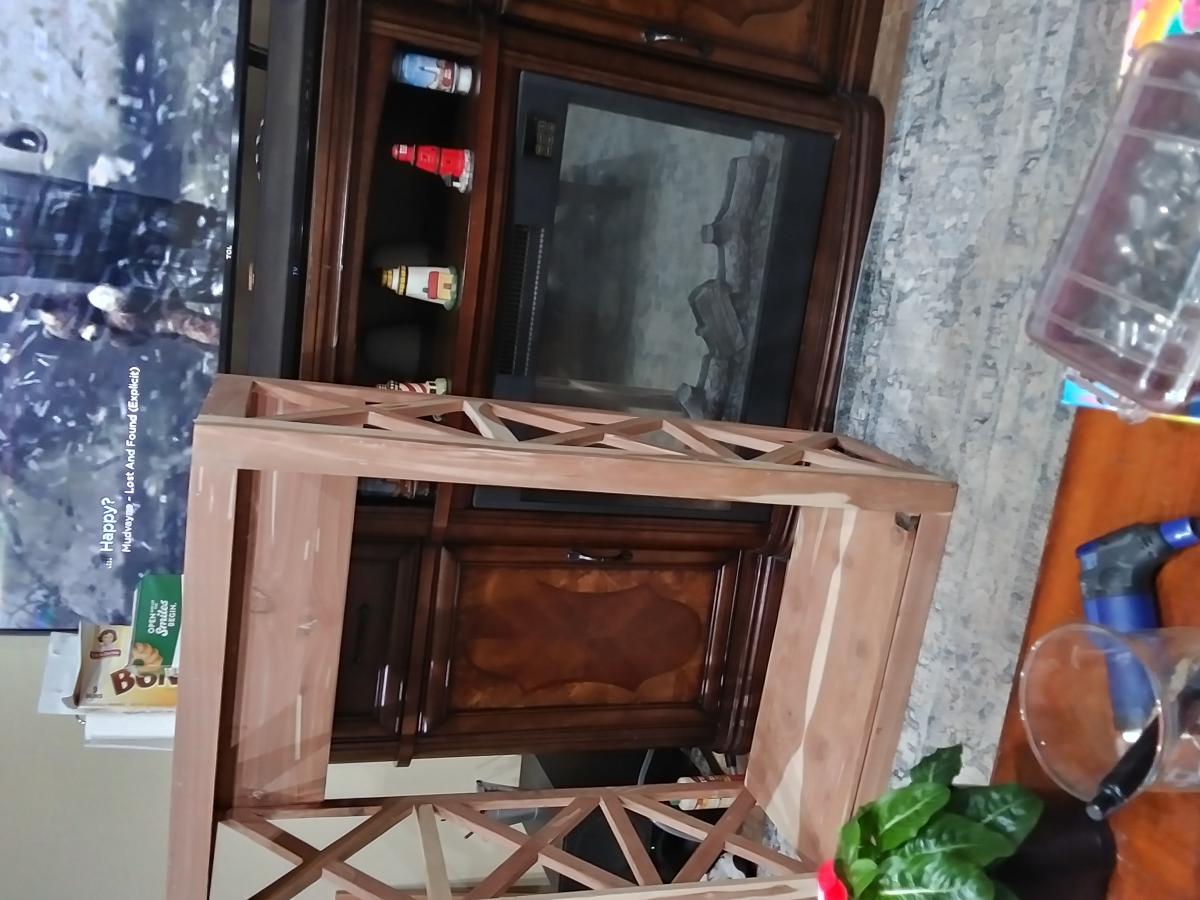
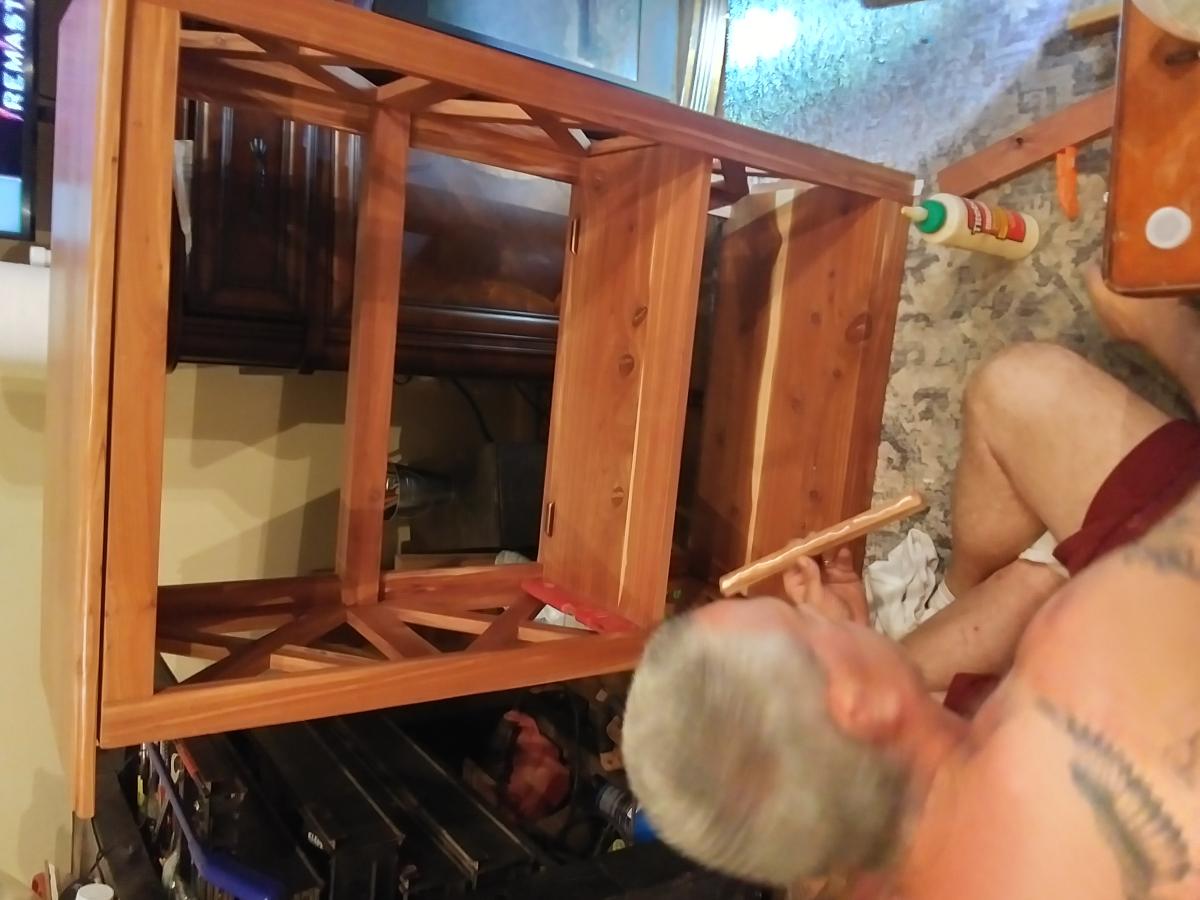
Country shelf

Submitted by Anonymous (not verified) on Sun, 05/15/2022 - 08:14

Just a country shelf . hubby made this

My first crack at it! Hyde console:)

First project for actual furniture ever. This stuff is better than a good book that you can't put down. I am so addicted!

Estimated Cost
100-125
Estimated Time Investment
Weekend Project (10-20 Hours)
Finish Used
Polyurithane black matte after wood conditioner just in case. I put the first coat on heavy with a brush let it dry for 6 hrs+ then distressed with a combo or 120 sand paper and 000 steal wool and then rubbed on a thin coat to seal it all up with an old t-shirt.
Recommended Skill Level
Starter Project

My Daughters Loft Bed and Room

Submitted by haddixml on Wed, 08/14/2013 - 19:52

This was a family summer project. I built the bed and furniture...my wife and daughter did all the painting and picked out the accent pieces!

Estimated Time Investment
Week Long Project (20 Hours or More)
Finish Used
Satin Behr Paint
Recommended Skill Level
Intermediate

Comments

spiceylg

Fri, 08/16/2013 - 05:30

Nice build! Love all of the colors and such. What a fun room!

Farmhouse bedside table in figured Walnut

Submitted by docspence1 on Sun, 09/13/2015 - 19:15

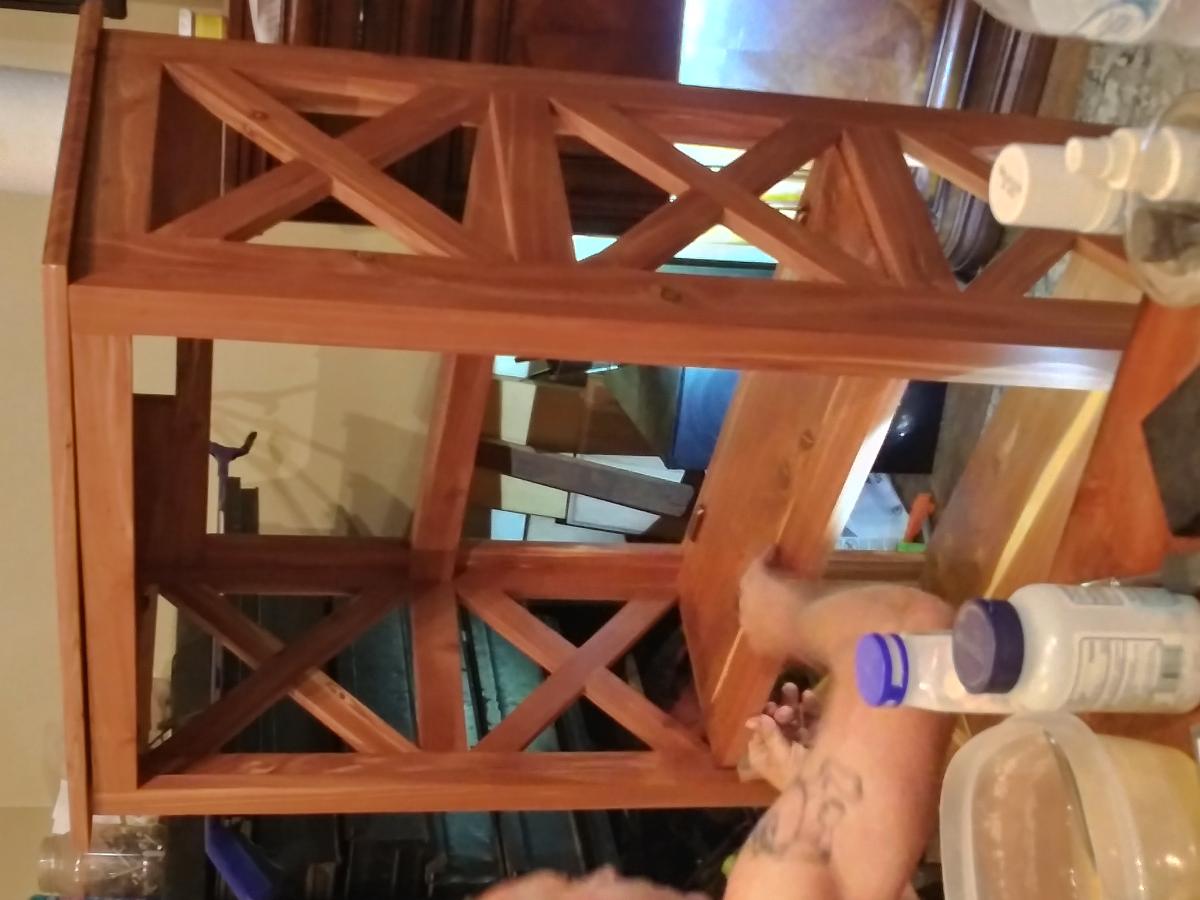
This farmhouse bedside table was made from figured black walnut and finished with Sutherland-Welles Tung oil.  I used a Kreg pocket hole jig for the joinery work

Built from Plan(s)
Estimated Cost
$350
Estimated Time Investment
Week Long Project (20 Hours or More)
Finish Used
Sutherland-Welles polymerized Tung oil
Recommended Skill Level
Intermediate

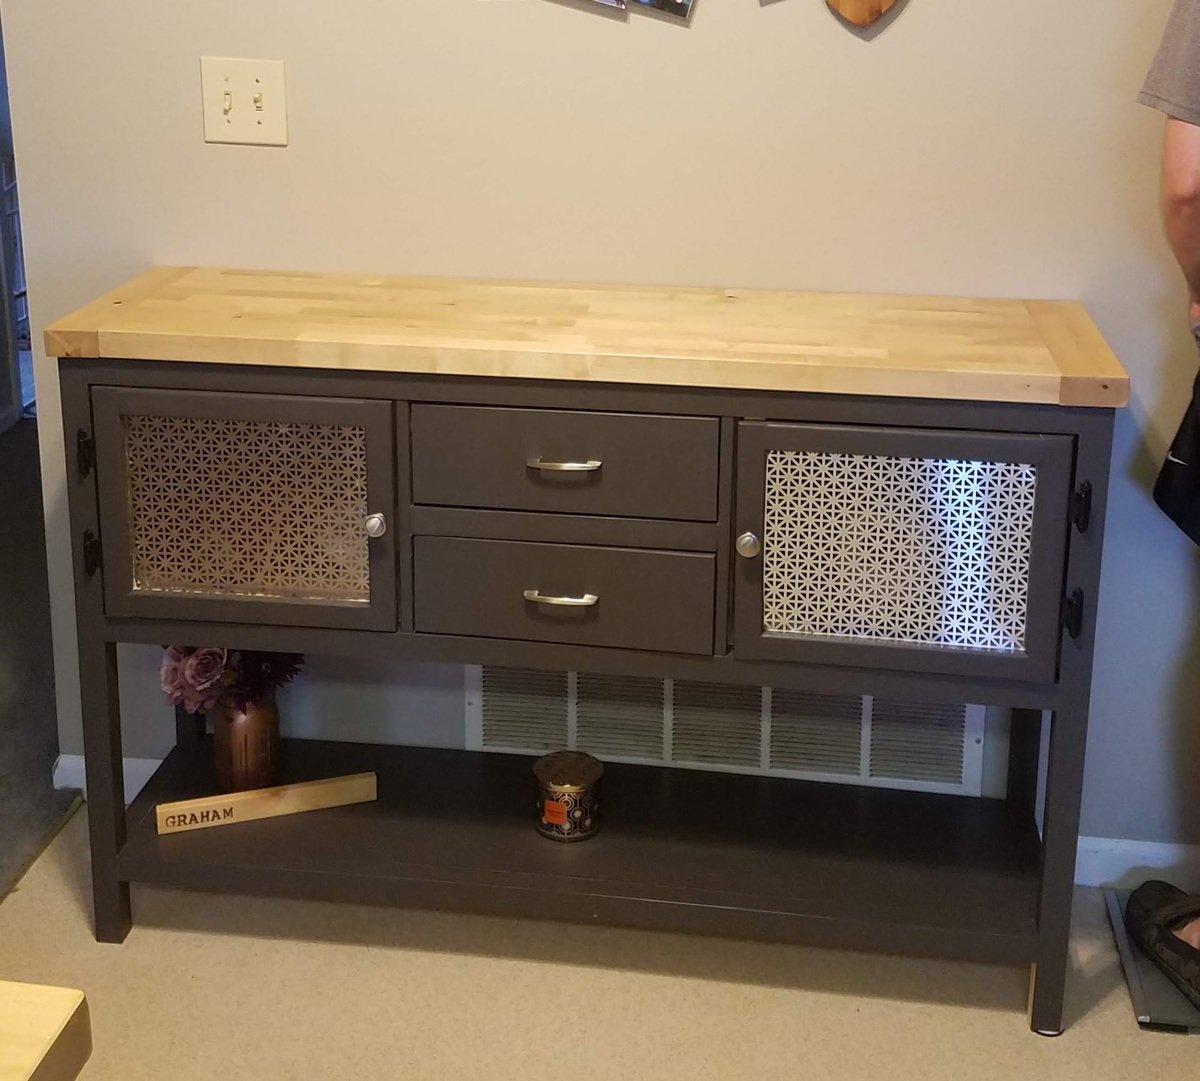
Ryhan Console Table

Submitted by tssroo on Sat, 08/11/2018 - 18:45

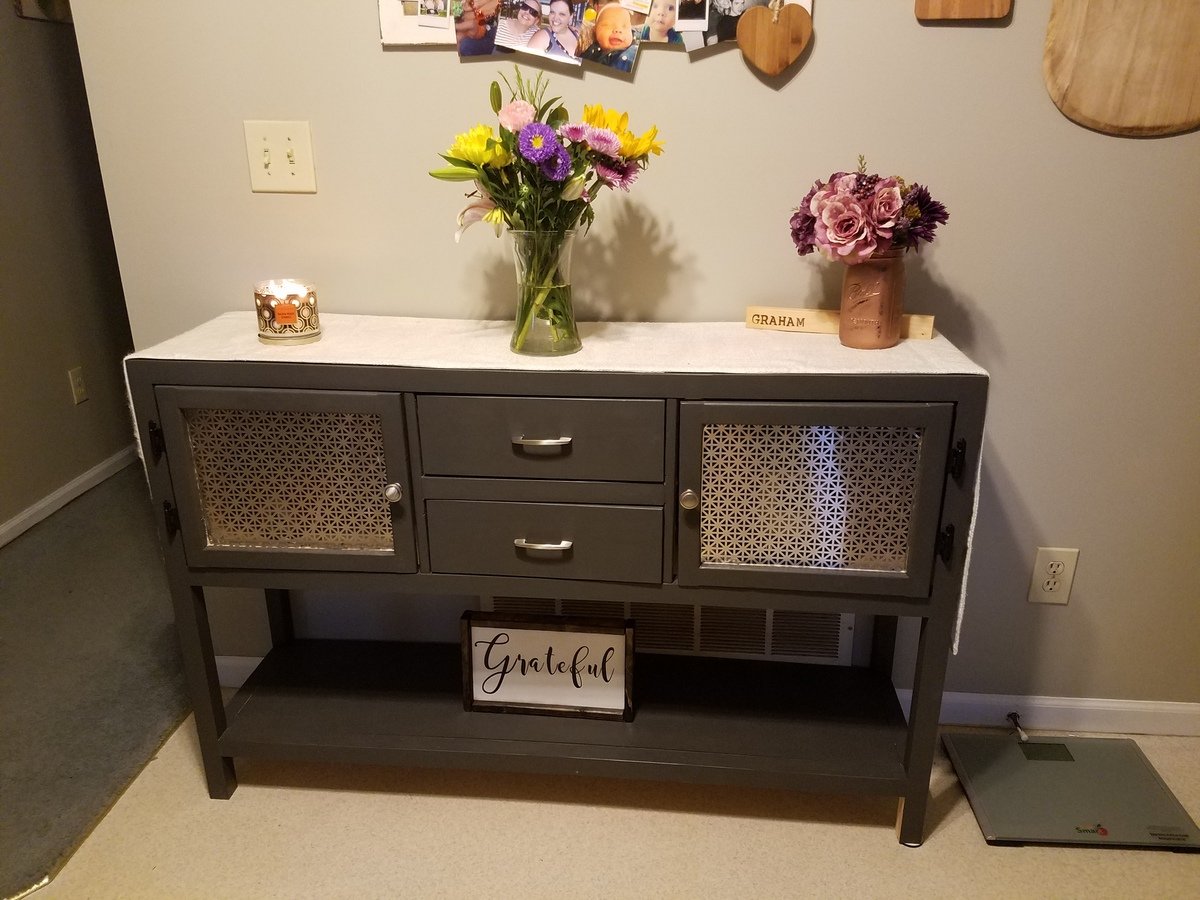
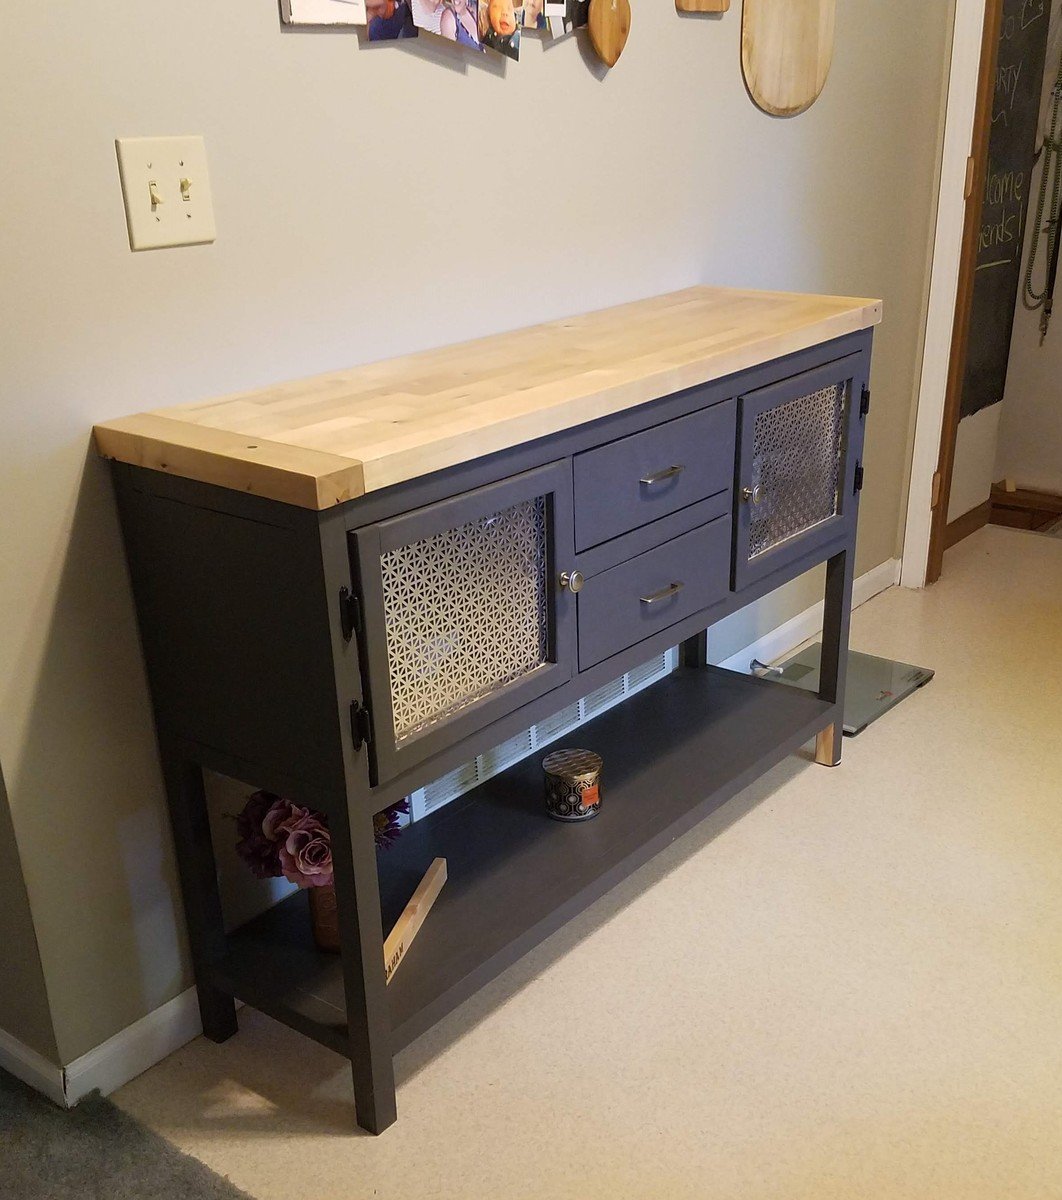
We really wanted a narrow console tabtabltabtable for this space. This was perfect! Modified the original plans to add to the width and height so it is counter height. We added a butcher block top to match our existing kitchen cabinets. I used aluminum decor inserts from Home Depot for the doors. Thank you Ana for your amazing plans!

Built from Plan(s)
Estimated Time Investment
Weekend Project (10-20 Hours)
Finish Used
General Finishes Flat Finish, Sherwin William's Intellectual gray
Recommended Skill Level
Beginner

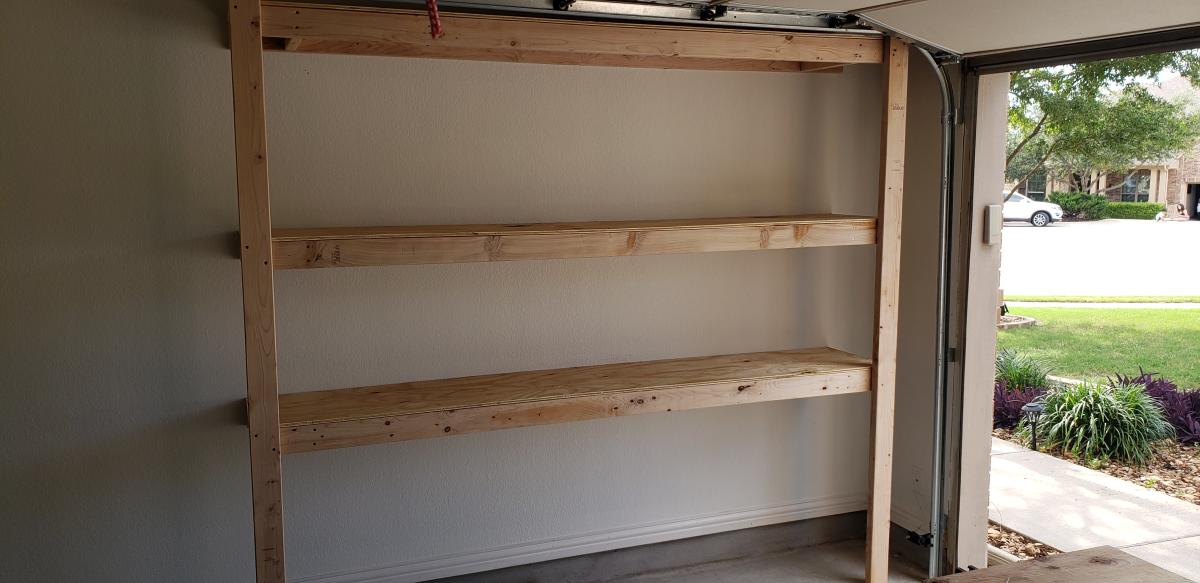
16" Garage shelves

Submitted by Anonymous (not verified) on Sat, 05/28/2022 - 21:37

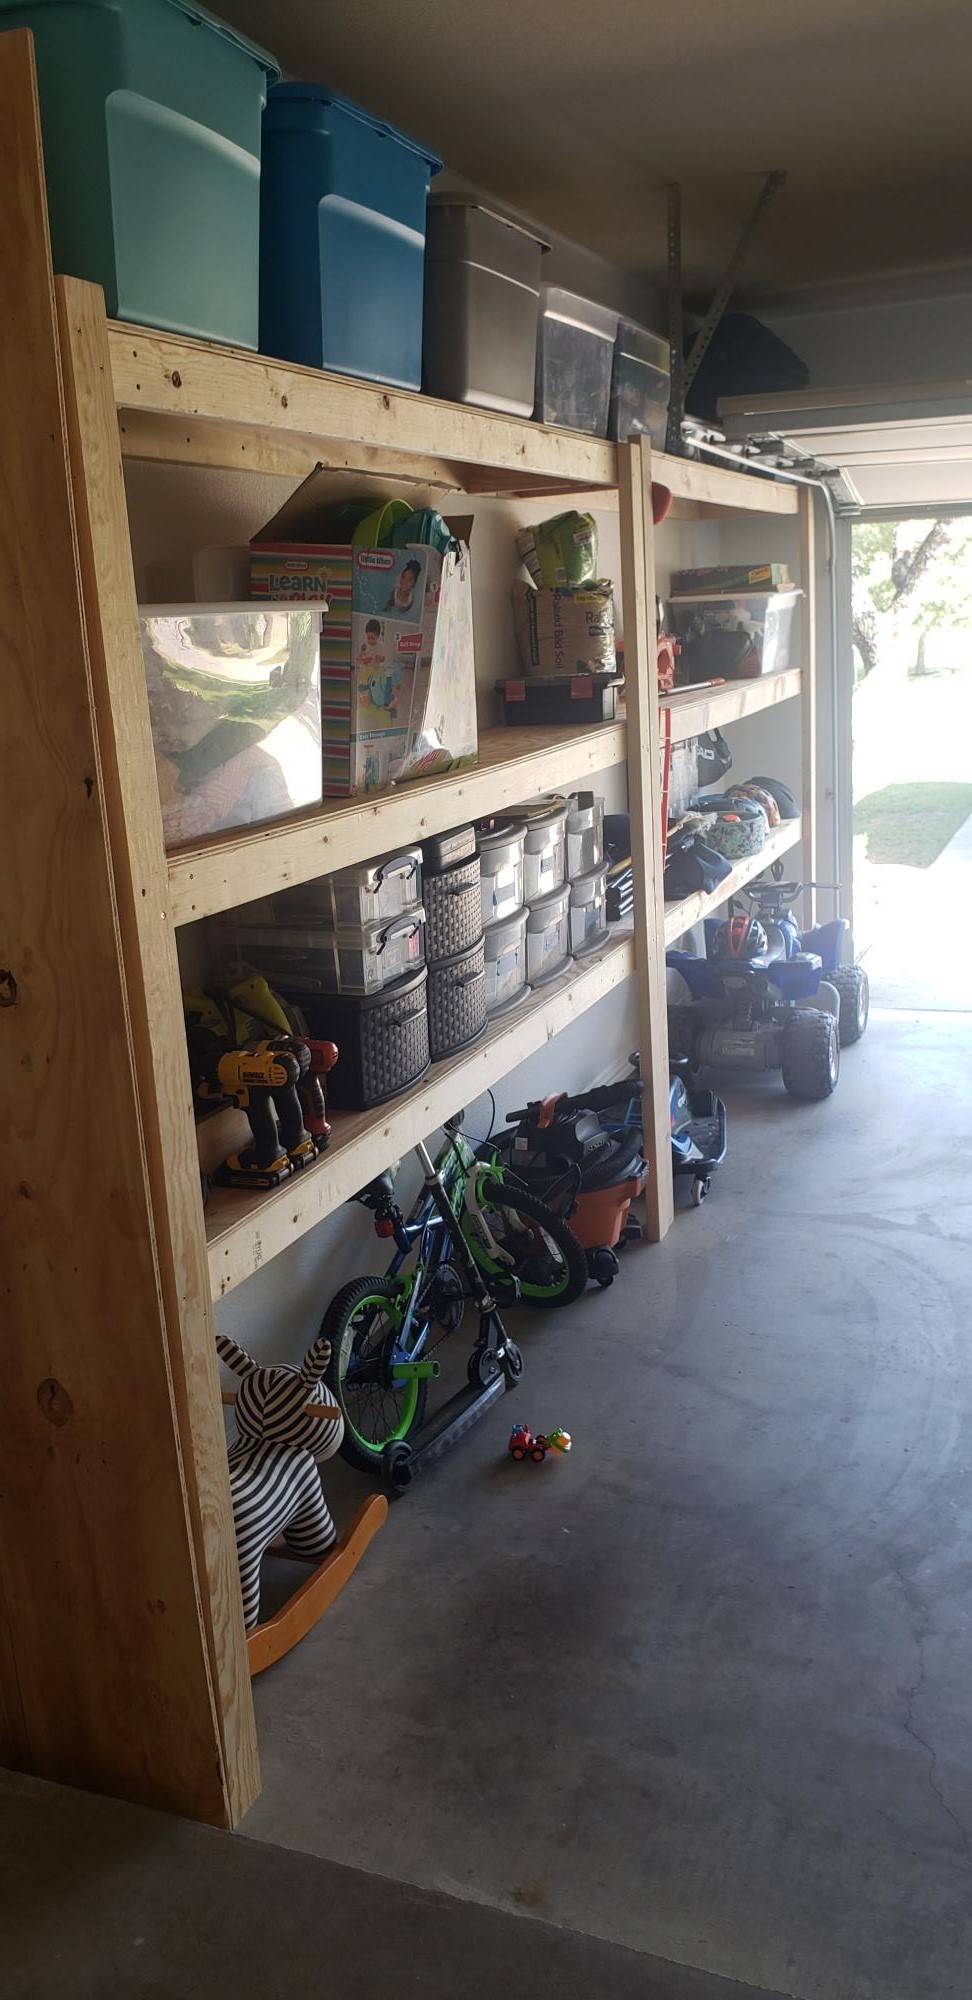
I followed your plan for my 16 inches garage shelves and I absolutely love it. Tons of storage and easy to customize. Each 8 foot shelves is now costing $120 in material - which is still a great deal! Thank you @Anawhite 🙏

Comments

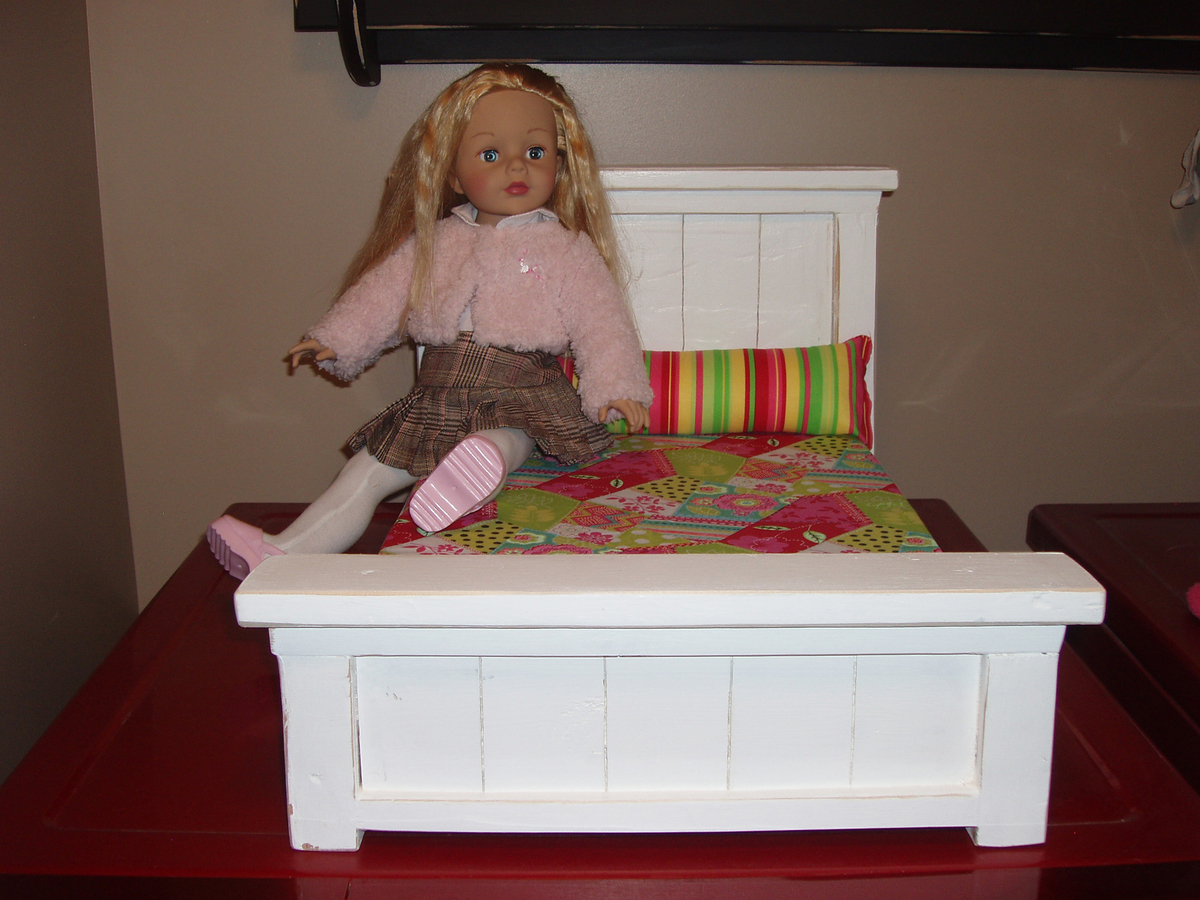
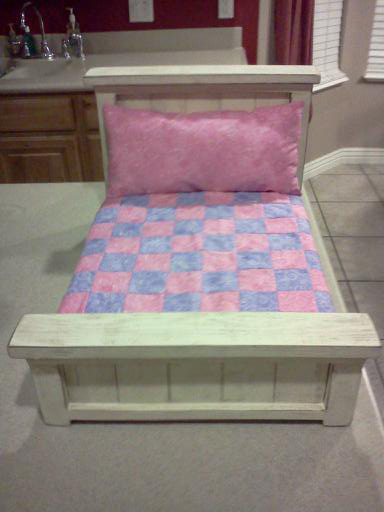
Doll Farmhouse Bed

Submitted by canesa on Fri, 07/15/2011 - 00:22

When Ana posted the plans for the Doll Farmhouse Bed I quickly started thinking of all the little girls I could build this for. I ended up building 4 of them. The first one was definitely my learning curb, the other three went a lot smoother and just looked better!

Estimated Cost
$10
Estimated Time Investment
Day Project (6-9 Hours)
Finish Used
I painted two of the beds Antique White, lightly distressed the beds with 120 sandpaper and glazed them with Ralph Lauren Smoke glaze. I painted the third bed Antique White, lightly distressed it with 120 sandpaper and rubbed it with Minwax Dark Walnut Stain. I painted the last bed in white and lightly distressed it.
Recommended Skill Level
Beginner

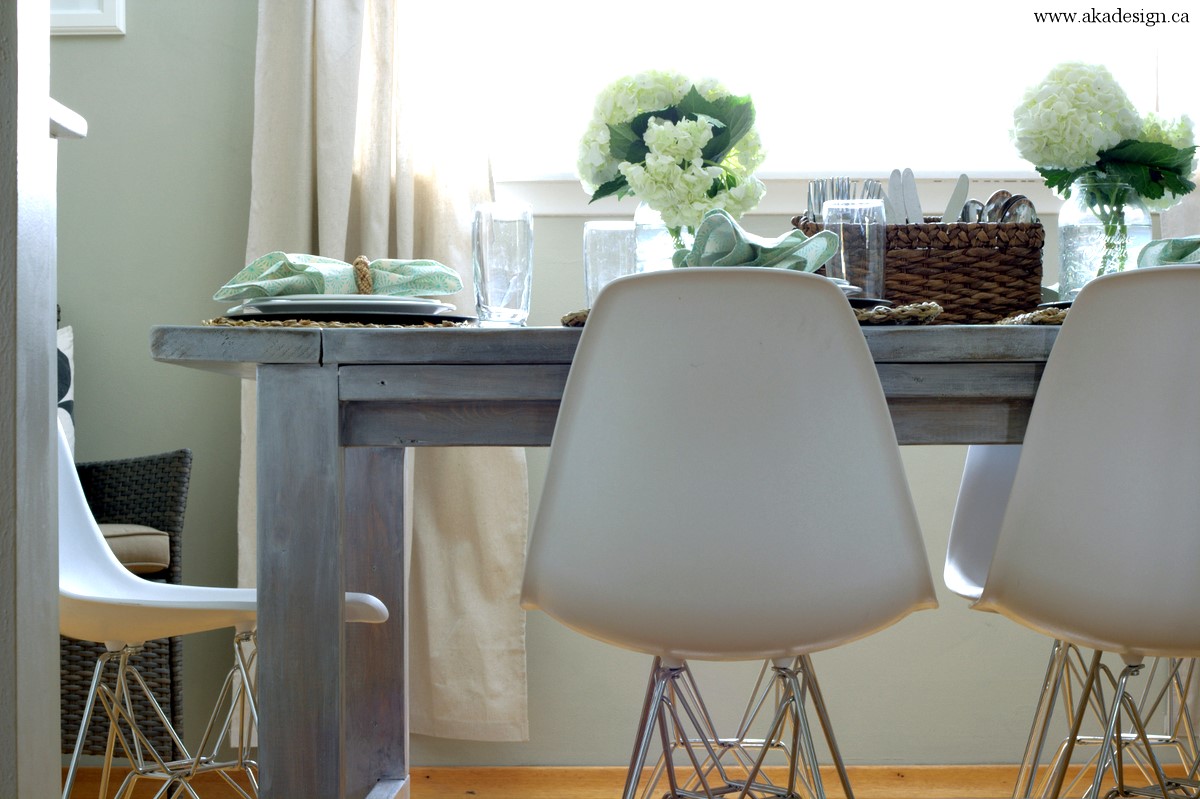
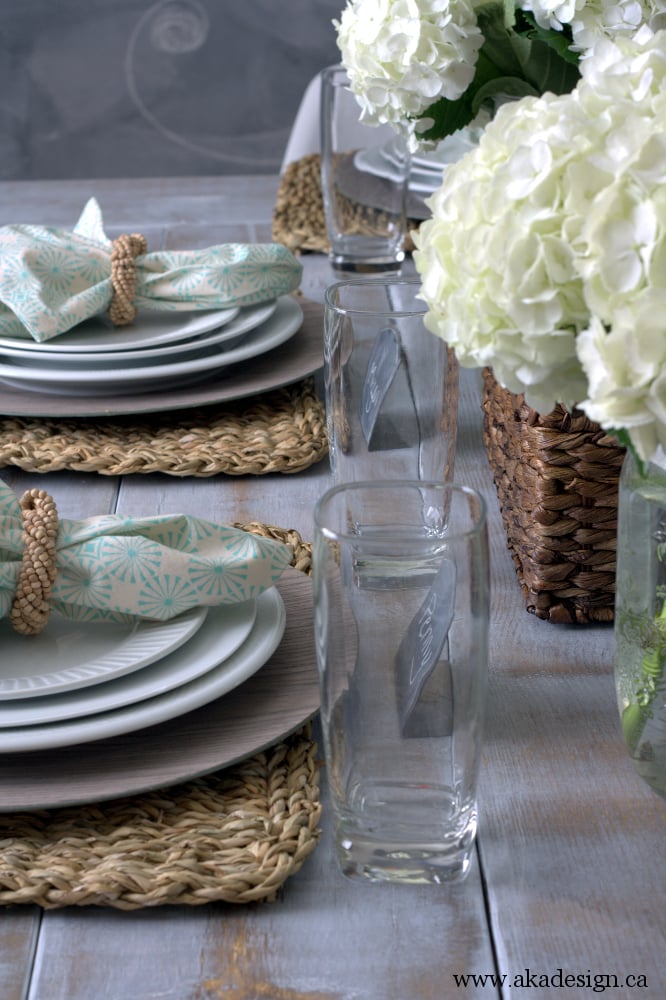
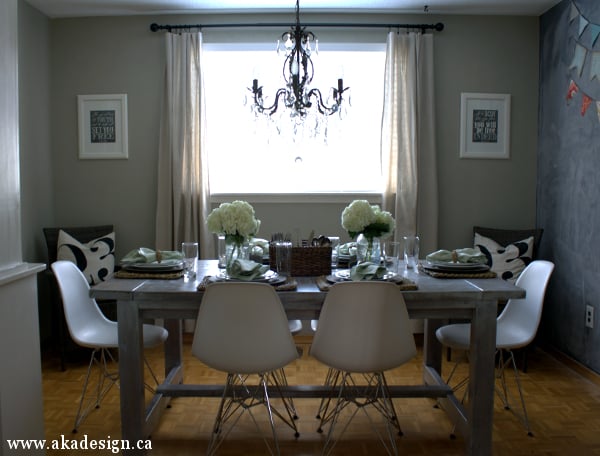
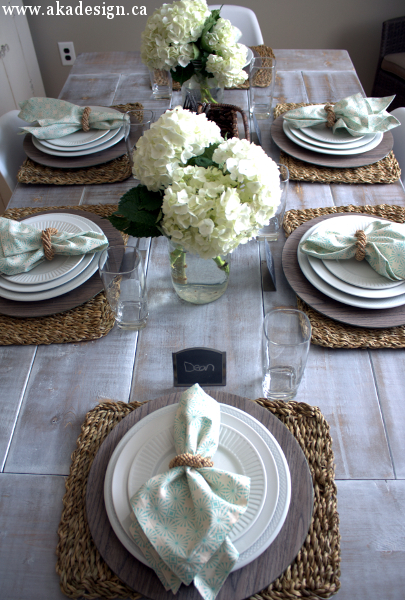
White Wash Pickled Farmhouse Table

When we sold our last house, we sold the dining room furniture we had custom built with it. We did projects, homeschooled and ate off of a folding table for the first 7 months we lived in our new house. Until we built our new farmhouse table!

Estimated Cost
300
Estimated Time Investment
Weekend Project (10-20 Hours)
Finish Used
We chose to white wash/pickle our farmhouse table. All the instructions can be found here: http://www.akadesign.ca/white-wash-pickling-get-the-restoration-hardware-look-for-less.
Recommended Skill Level
Beginner

Comments

Stackable Wood Pumpkins

Submitted by mtairymd on Fri, 09/18/2015 - 13:22

Build Instructions:

http://www.instructables.com/id/Stackable-Wood-Pumpkins/

This is a simple project made from some scrap wood I had laying around. As shown in the pictures, the pumpkin boxes can be spaced side by side or stacked vertically on a porch, mantle or table. In addition, the group can be stacked inside one another for easy storage. Since they are made from wood, I recommend LED Tea lights versus a candle for the illumination.

Estimated Cost
$10
Estimated Time Investment
Day Project (6-9 Hours)
Finish Used
Paint
Recommended Skill Level
Beginner

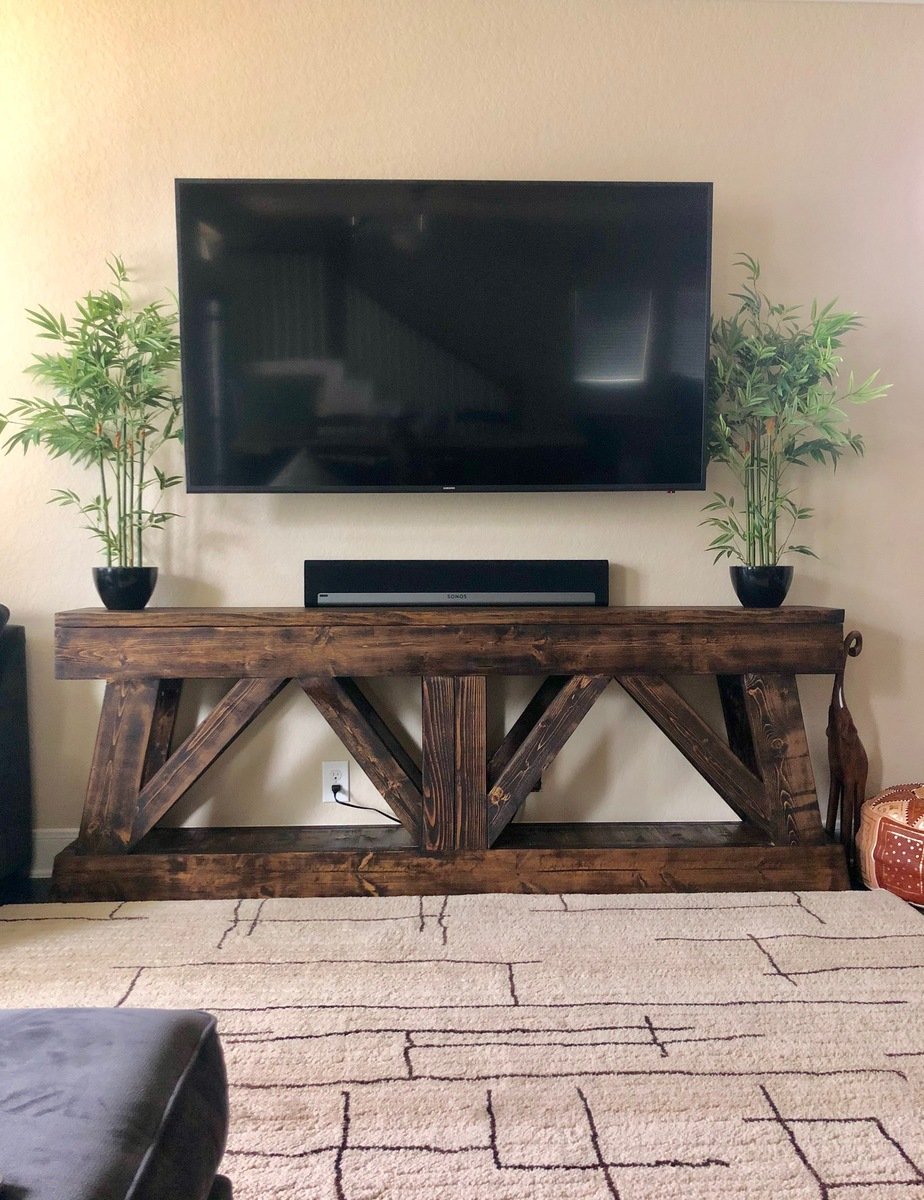
Slim Trus Console Table by Drew Cameron

Submitted by deaconcam on Thu, 09/13/2018 - 09:30

This project was a great learning experience and turned out fantastic. The mitered/beveled cuts were a bit tricky for me, It took me a while to understand how to use my miter saw to make the cuts correctly. Other than that, the building plans were clear and easy to follow. Cara, an author at Inspired Workshop, posted the plans at the following link: https://theinspiredworkshop.com/diy-slim-truss-console-table/ 


-Drew Cameron

Built from Plan(s)
Estimated Cost
$100
Estimated Time Investment
Weekend Project (10-20 Hours)
Finish Used
Minwax PolyShades Espresso Oil-based Interior Stain
Recommended Skill Level
Intermediate

Comments

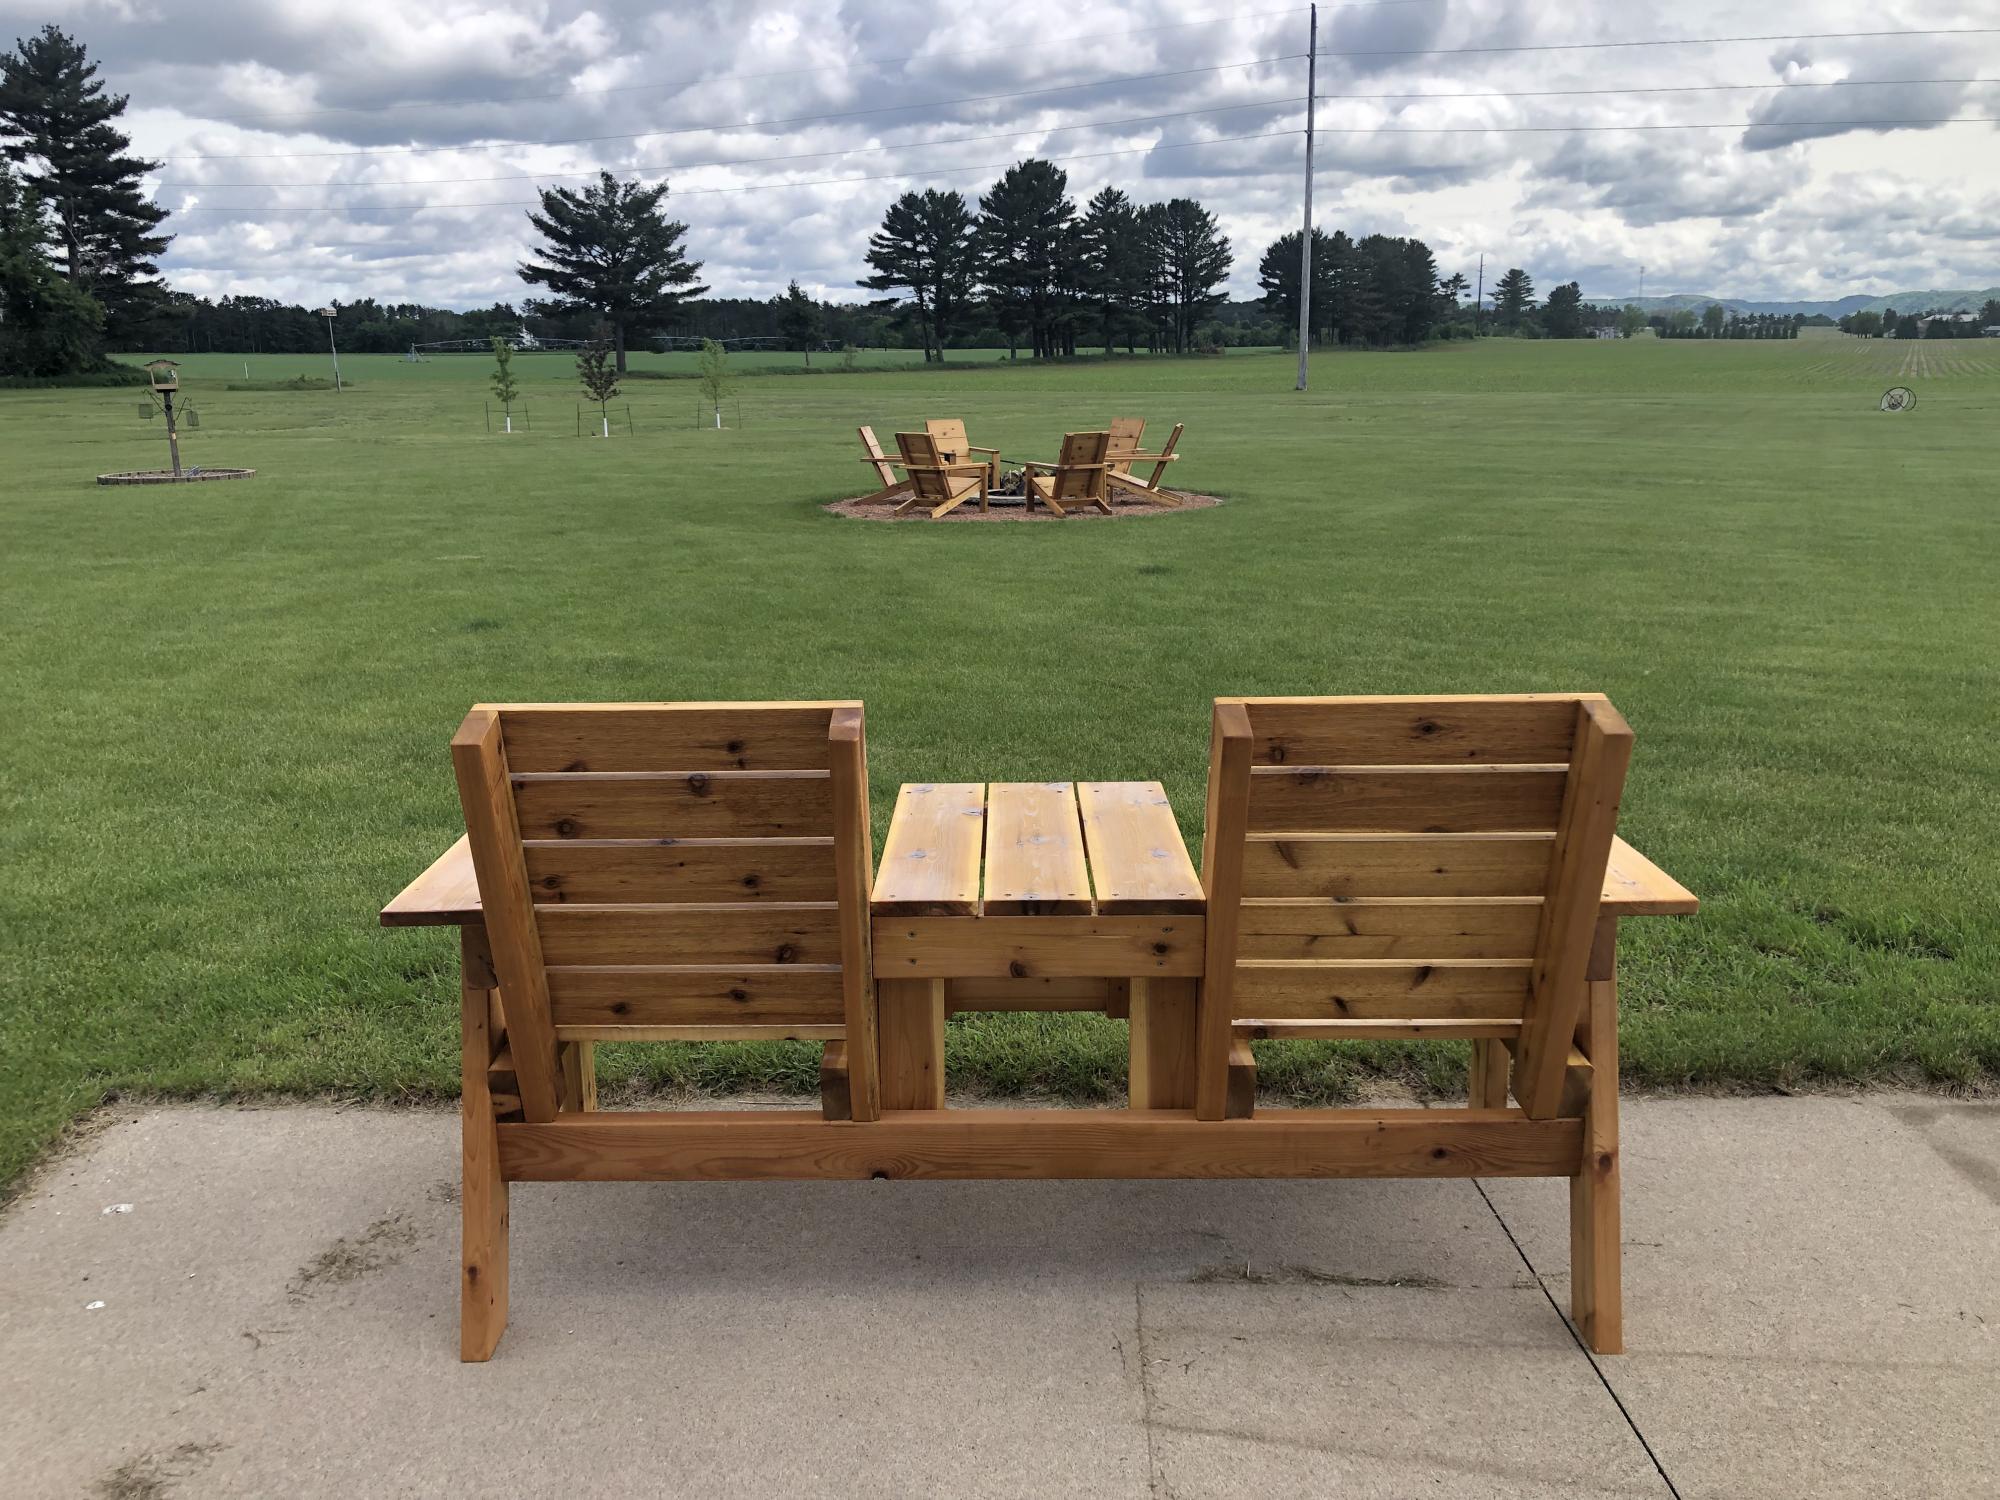
Backyard seating

Submitted by Anonymous (not verified) on Mon, 06/06/2022 - 13:17

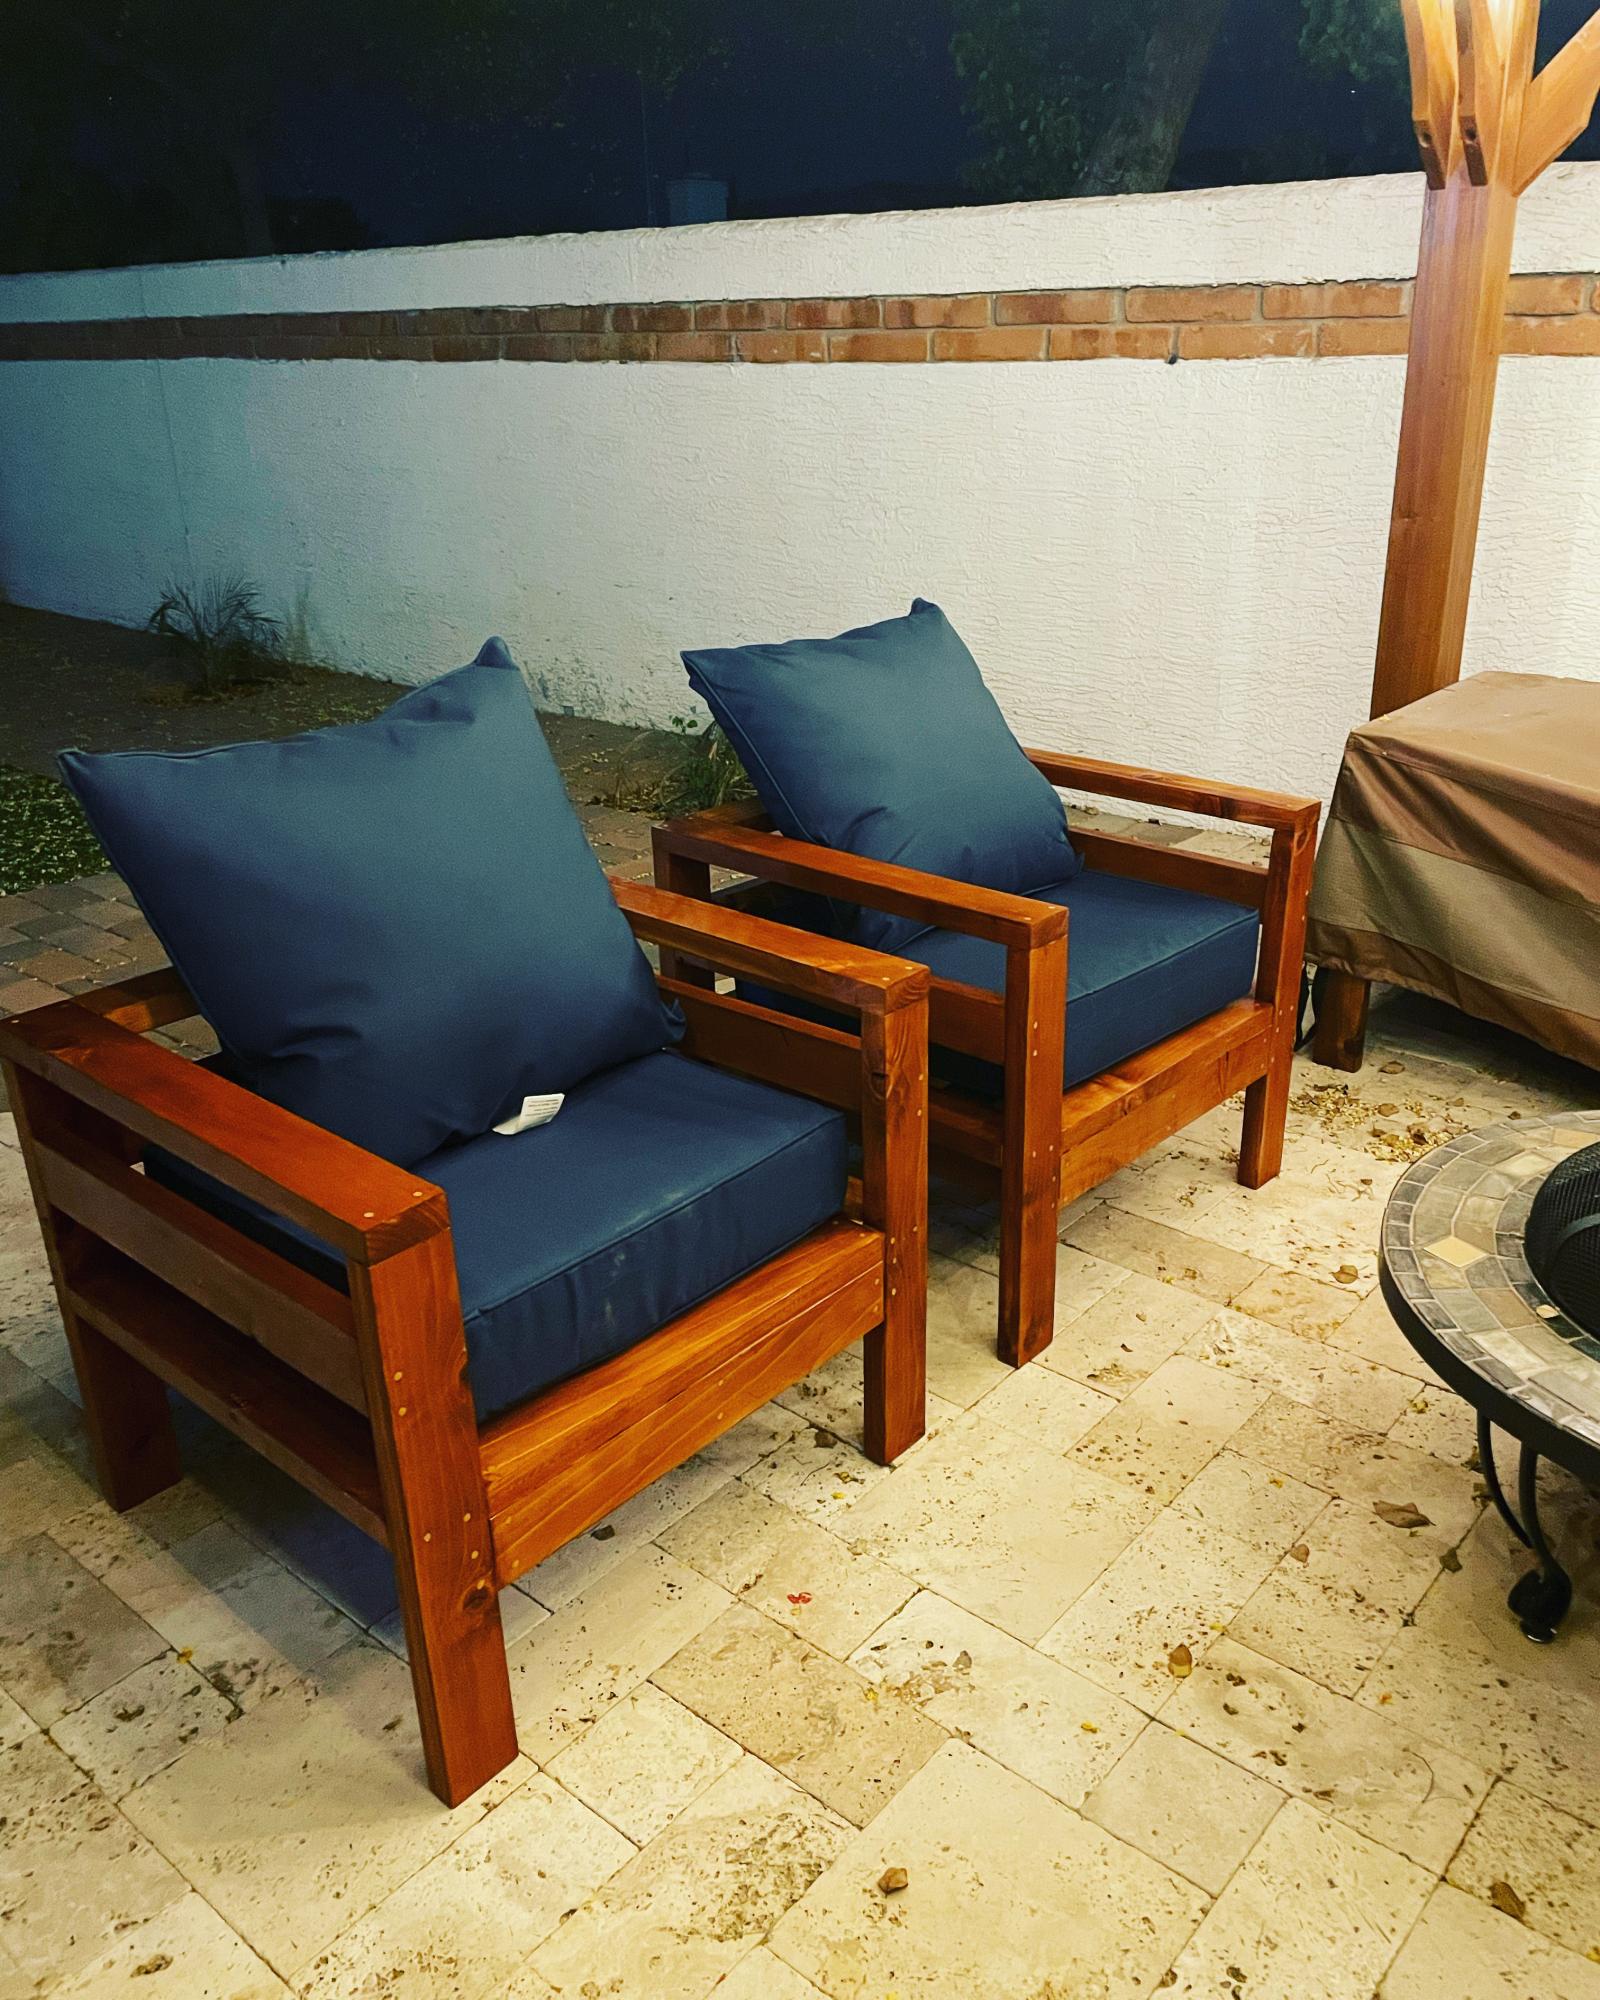
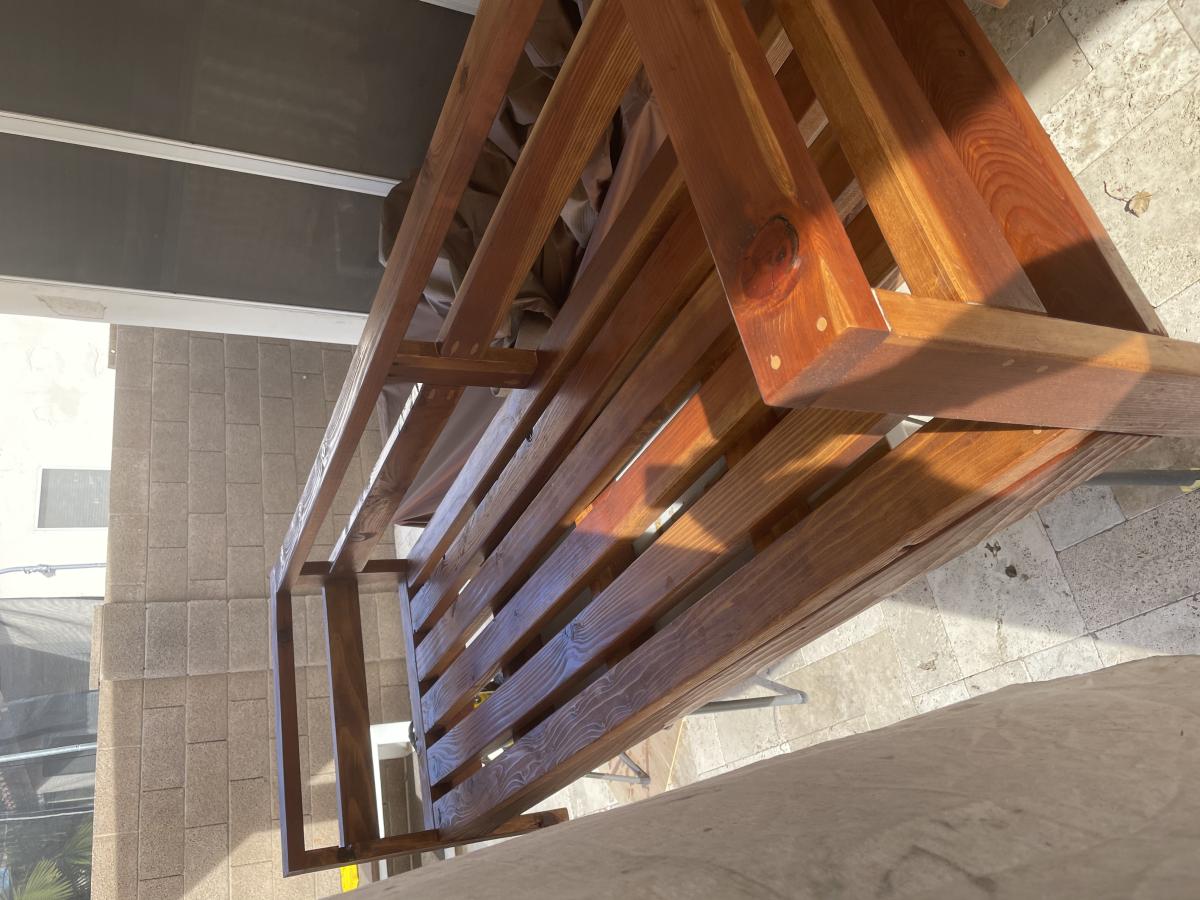
We needed some additional seating in the backyard so I built 6 Adirondack chairs for the fire pit and the bench using the plans that you have shared on Facebook. They turned out really nice and so far they have been a big hit!!

Thanks!!

Comments

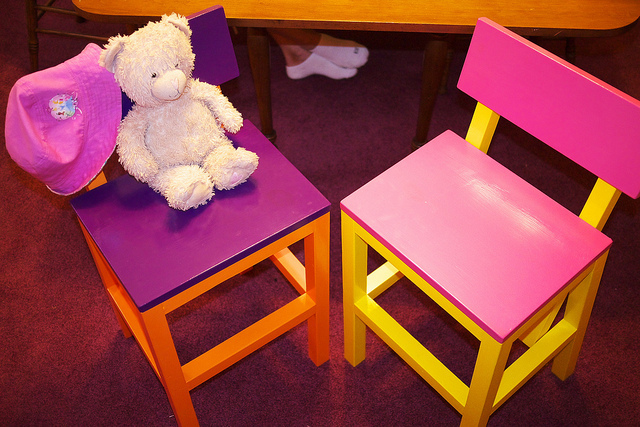
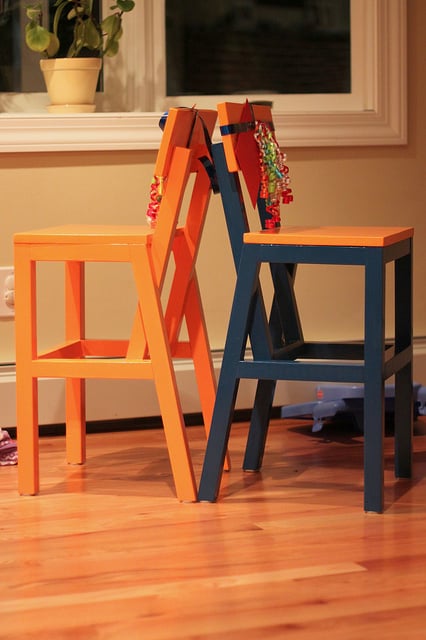
Harriet Higher Chair

Submitted by glennj on Sun, 07/17/2011 - 08:04

Well I decided for my first project/projects to make chairs for my girls. They turned 2 and 3 last month. I also made a couple of chairs for friends of ours who have twin boys that also turned 3. Once I got the hang of it making the chairs didn't take to long but painting seemed to take forever. But I love how all the chairs turned out.

Built from Plan(s)
Estimated Time Investment
Afternoon Project (3-6 Hours)
Recommended Skill Level
Beginner

Comments

glennj

Mon, 07/18/2011 - 15:45

I am happy I made them too. The are super sturdy. Toddlers climb all over them and when they aren't looking adults sit on them. No problems. I am making a couple more but a little taller for our kitchen.

Rustic X Console Table

Submitted by weav3887 on Mon, 09/28/2015 - 04:46

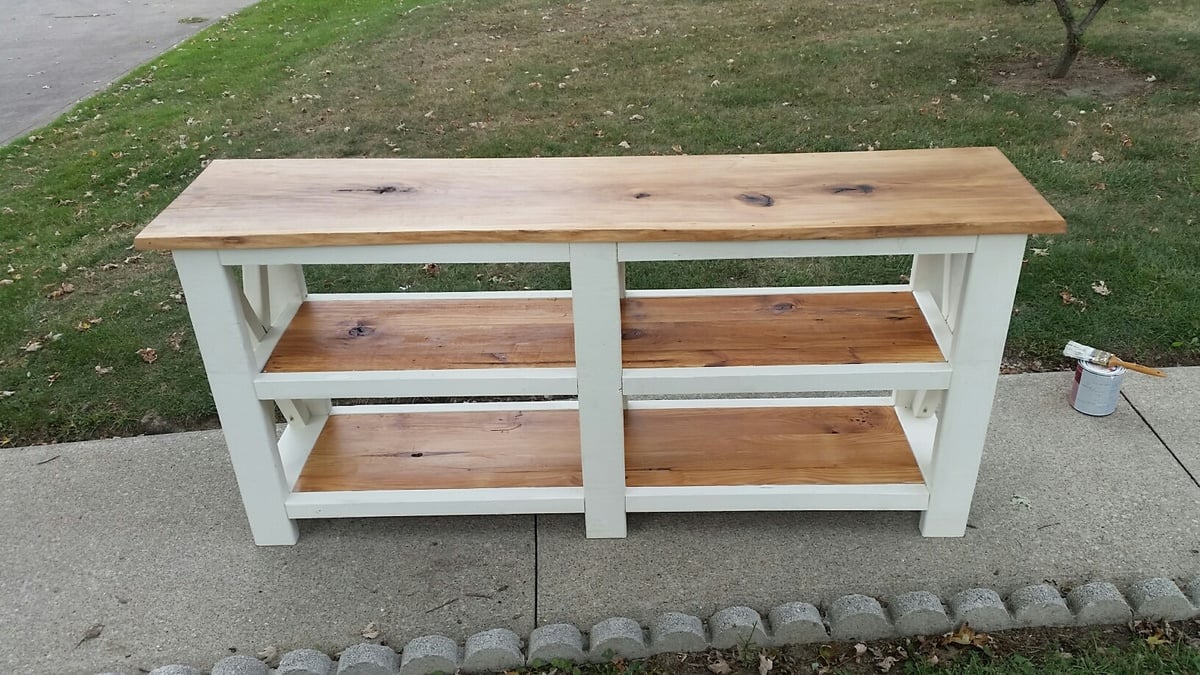
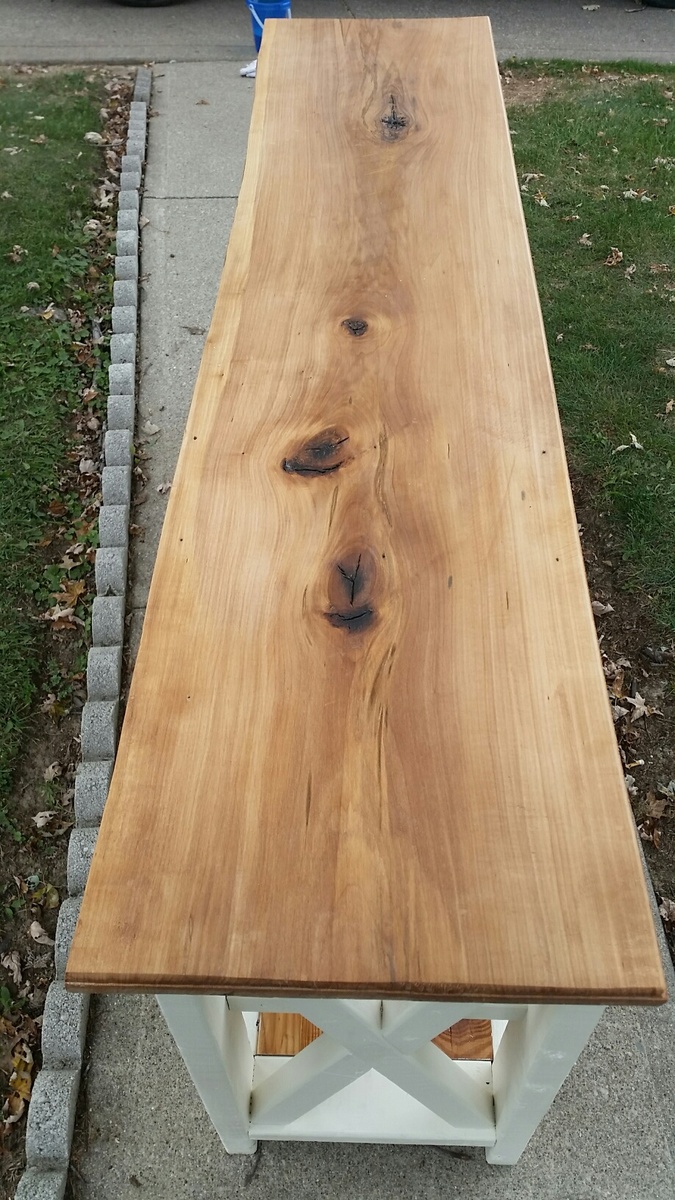
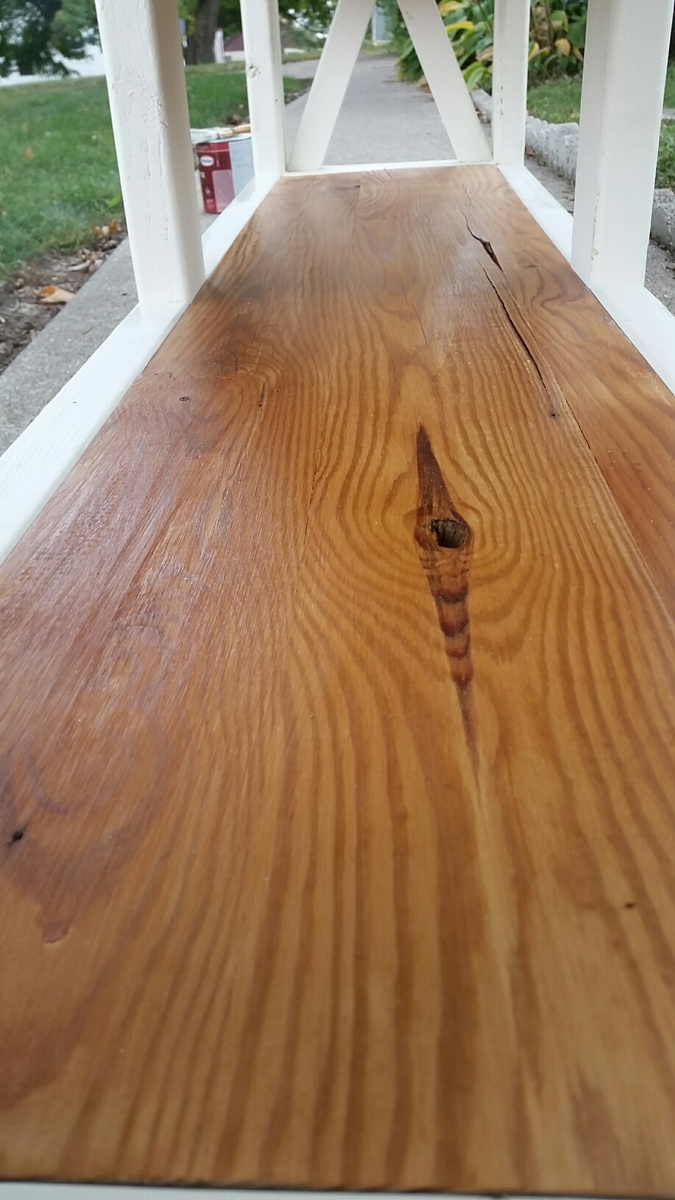
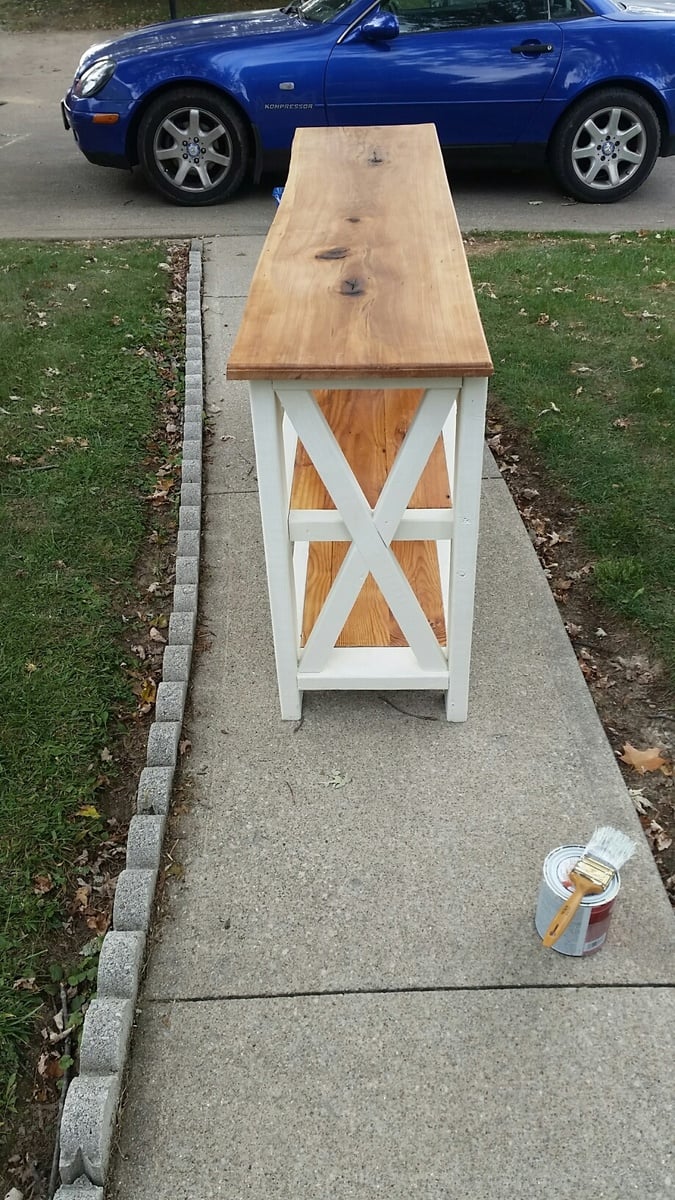
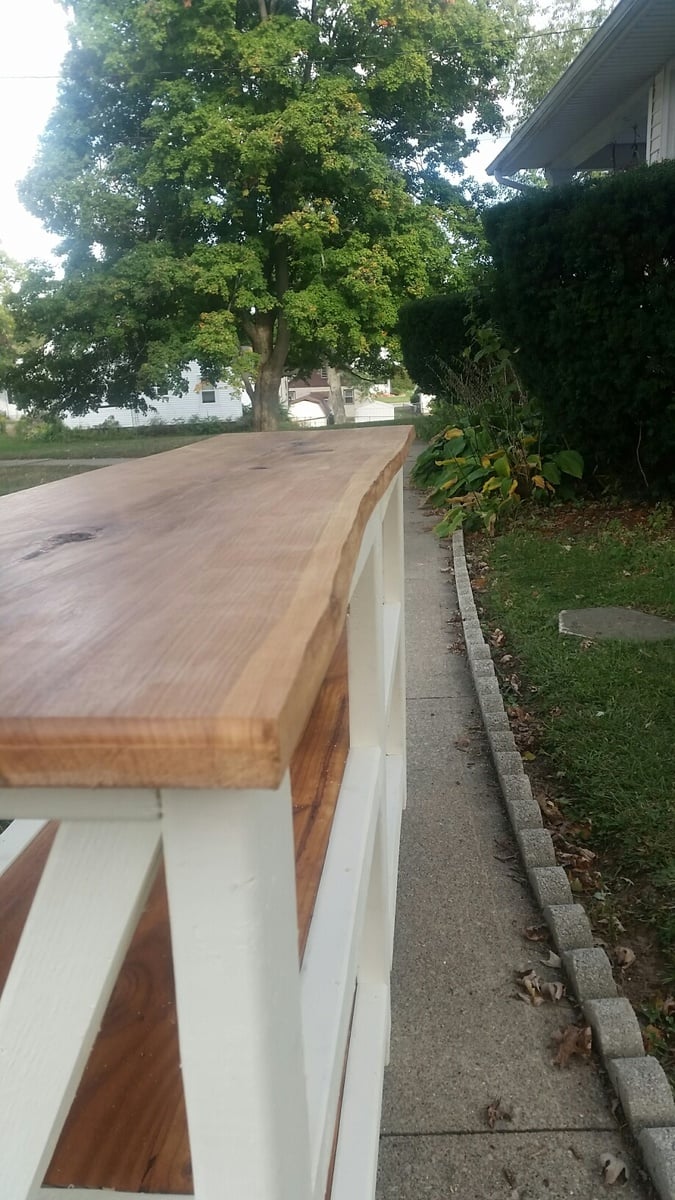
I followed Ana's plans to a T except my length is 10" shorter. Top shelf is a 1" x 15" solid Oak amish cut board.  I left a live edge on the front as I really liked the flow of it.  The bottom two shelves are 100yr old pine plank boards that a friend of mine tore out of his attic. 

Built from Plan(s)
Estimated Cost
I already had the wood for the shelves and stain. Spent $25 on paint, screws, and 2x4s.
Estimated Time Investment
Weekend Project (10-20 Hours)
Finish Used
Minwax Oak
Recommended Skill Level
Intermediate

Comments

DIY outdoor chairs for our firepit

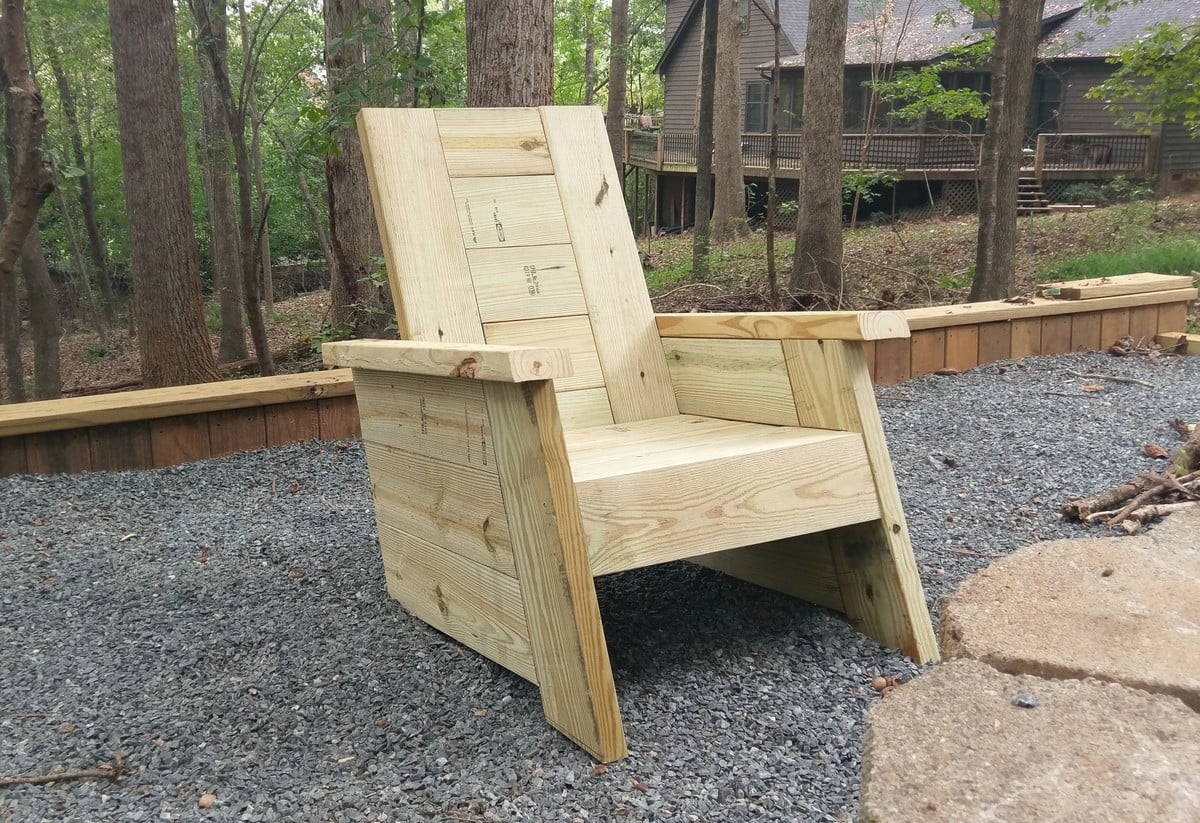
Here is one of the new chairs I'm building for our new fire pit.  They are made out of four pressure treated 2x6s (and one 2x4), and have a comfortable 18" seat depth, 19" seat width, and 110 degree angle for the backrest.  

More information, and a link to our plans are located on our blog, FamousArtisan.com

Estimated Cost
$50
Estimated Time Investment
Day Project (6-9 Hours)
Finish Used
None yet.
Recommended Skill Level
Intermediate

Comments

Tryde Coffee Table

Submitted by dreamer43 on Sun, 07/24/2011 - 01:35

Tryde coffee table made from a combination of pine and recycled wood from old pallets.

Built from Plan(s)
Estimated Time Investment
Weekend Project (10-20 Hours)
Recommended Skill Level
Beginner

Comments

Tryde Media Console with doors

Submitted by blawson972 on Wed, 08/21/2013 - 15:04

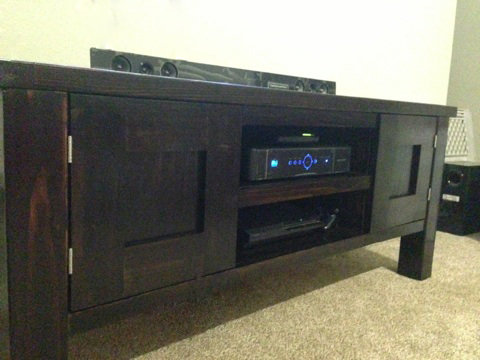
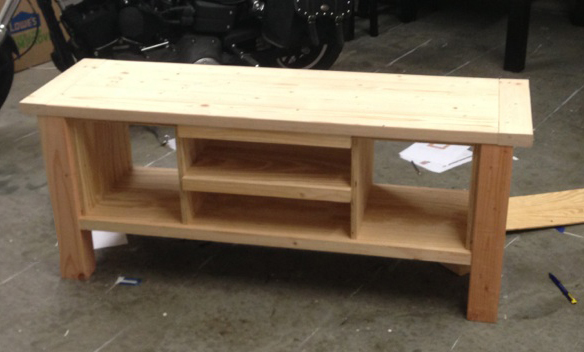
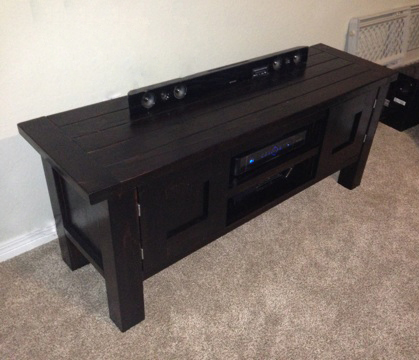
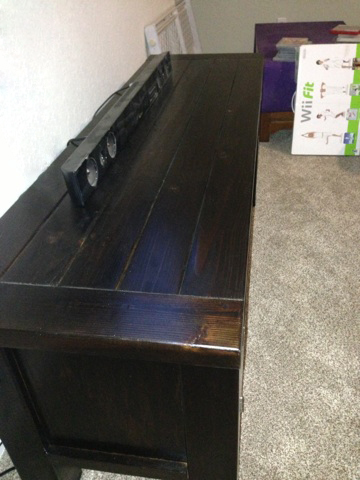
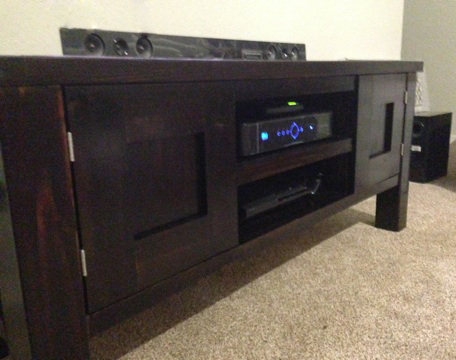
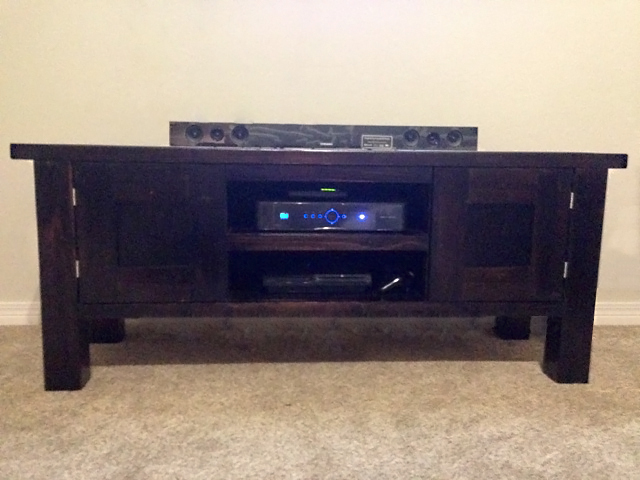
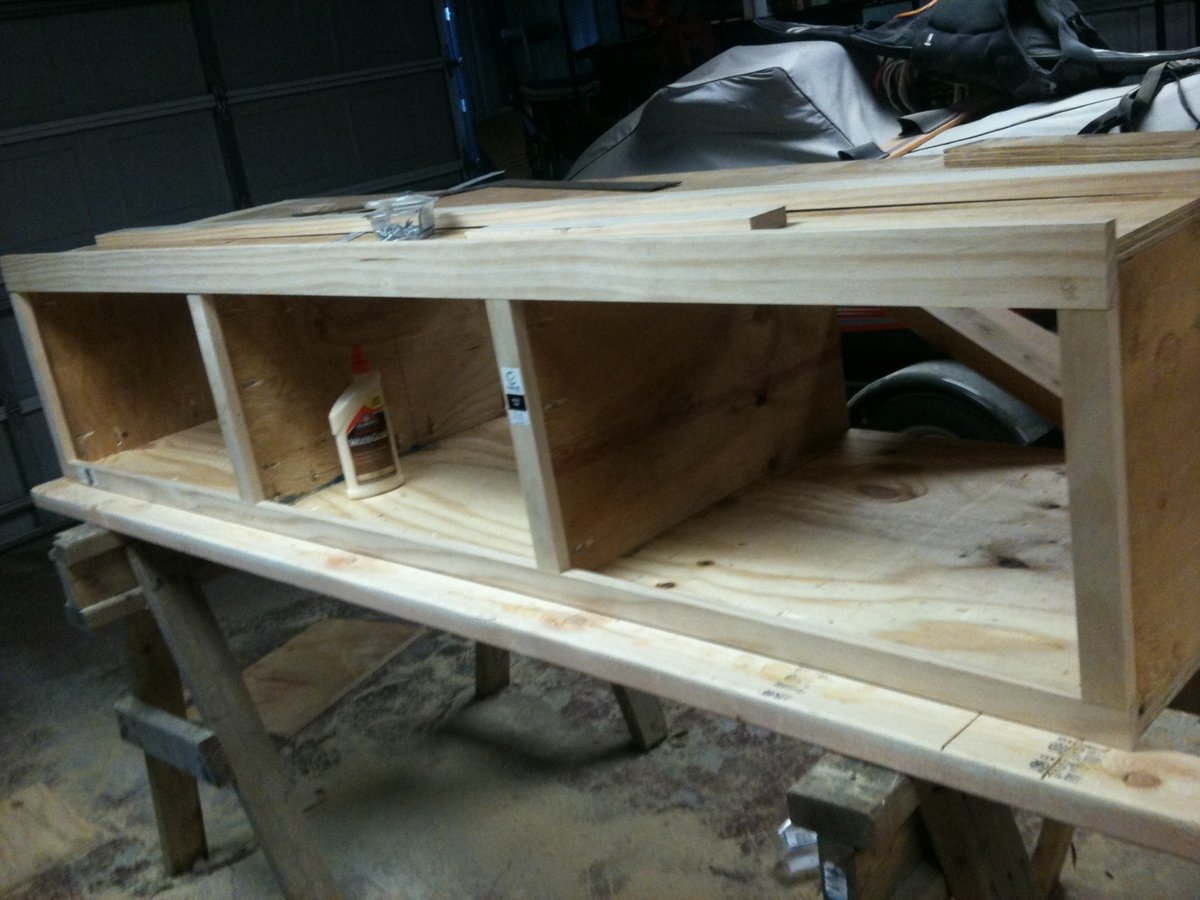
This was my second project. It took a little longer than I wanted because I don’t have a table saw :( I didn’t trust Lowe’s to cut the plywood for me since it needed to be perfectly square and they only guarantee their cuts to be within 3/4" so I had to wait to go to my dad’s house to borrow his, but other than that it went pretty fast!

I kept to the plans for the most part, but I added some trim and cabinet doors. I knew that at my house the inside of that cabinet would be a hot mess in a matter of days, so I wanted to have a way to cover it up! I just used 1x4’s to frame the doors and leftover scrap 1/4" plywood from the back for the faces. I used a router to rabbet out the doors so I could inset the plywood instead of it just sticking off of the back. They turned out pretty good considering they were my first and I had never used a router before! Overall, I am really happy with this one! I’ll be making the matching pieces this weekend - the coffee table, end table, and entry table.

Built from Plan(s)
Estimated Cost
$75-$80 + stain/poly
Estimated Time Investment
Weekend Project (10-20 Hours)
Finish Used
I used Minwax pre-stain wood conditioner, 2 coats of dark walnut oil based stain, and 2 coats of polycrylic in clear satin. It turned out great!
Recommended Skill Level
Intermediate

Comments

Craftsman Style Playhouse

Submitted by aerialc on Fri, 10/02/2015 - 11:57

I mainly followed ana's plans for this playhouse. Instead of a plywood roof I used cedar shingles. I also added plexiglass to the windows.

Built from Plan(s)
Estimated Cost
$450, including deck.
Estimated Time Investment
Weekend Project (10-20 Hours)
Finish Used
Ready Seal - Dark Walnut
Recommended Skill Level
Intermediate

Comments