Community Brag Posts
OUTSIDE FARMHOUSE TABLE
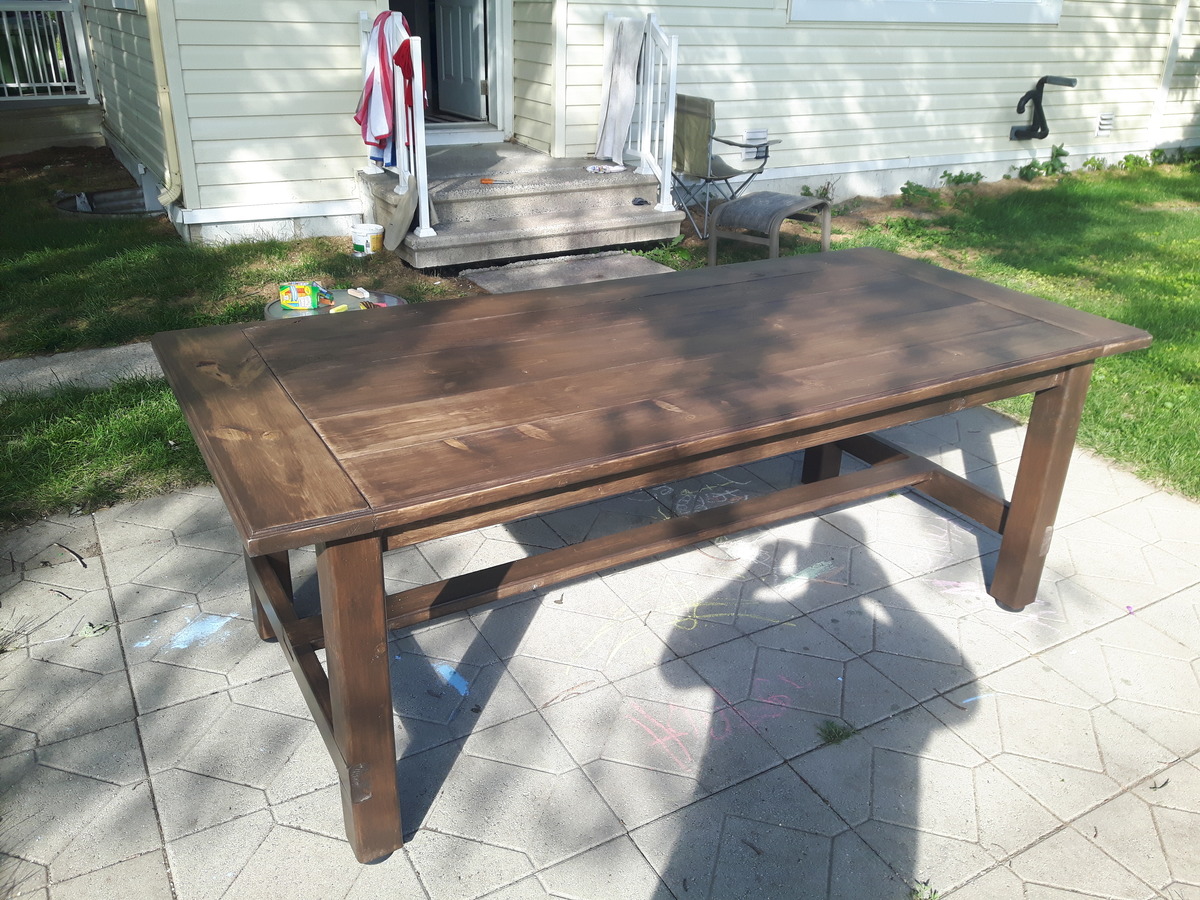
We just recently moved and we need a dining table for outside. I wasn't happy or interested in the high cost of a low quality crappy steel table set. So i went out and bought the lumber and built the table.I noted that it took me a week to build this table. If I had the weekend dedicated to building it, it would have only taken me the weekend, but life got in the way and it took me a solid week. I used treated lumber for the legs of the table and went with untreated for the rest. I applied some Behr Weatherproofing stain. I thought it turned out great. The only problem i had with the table was that in the plans they are made for a 4X4 that is actually a 4X4. The ones i acquired was 3 1/2 X 3 1/2. It did not cause to much of a problem I just added an extra inch on the skirt. I also was not a big fan of having the feet of the table in direct contact with the ground. Especially on those rainy days. ( Which we have been having a lot of this season) So i went out and I got some Hockey Pucks. Yup some good ol' Canadian hockey pucks. I centered them and screwed them in. Not only do they elevate the table they act as a good grip to the patio stones. By the way this was my first build ever. Excited to get the benches done now.
Rustic small island
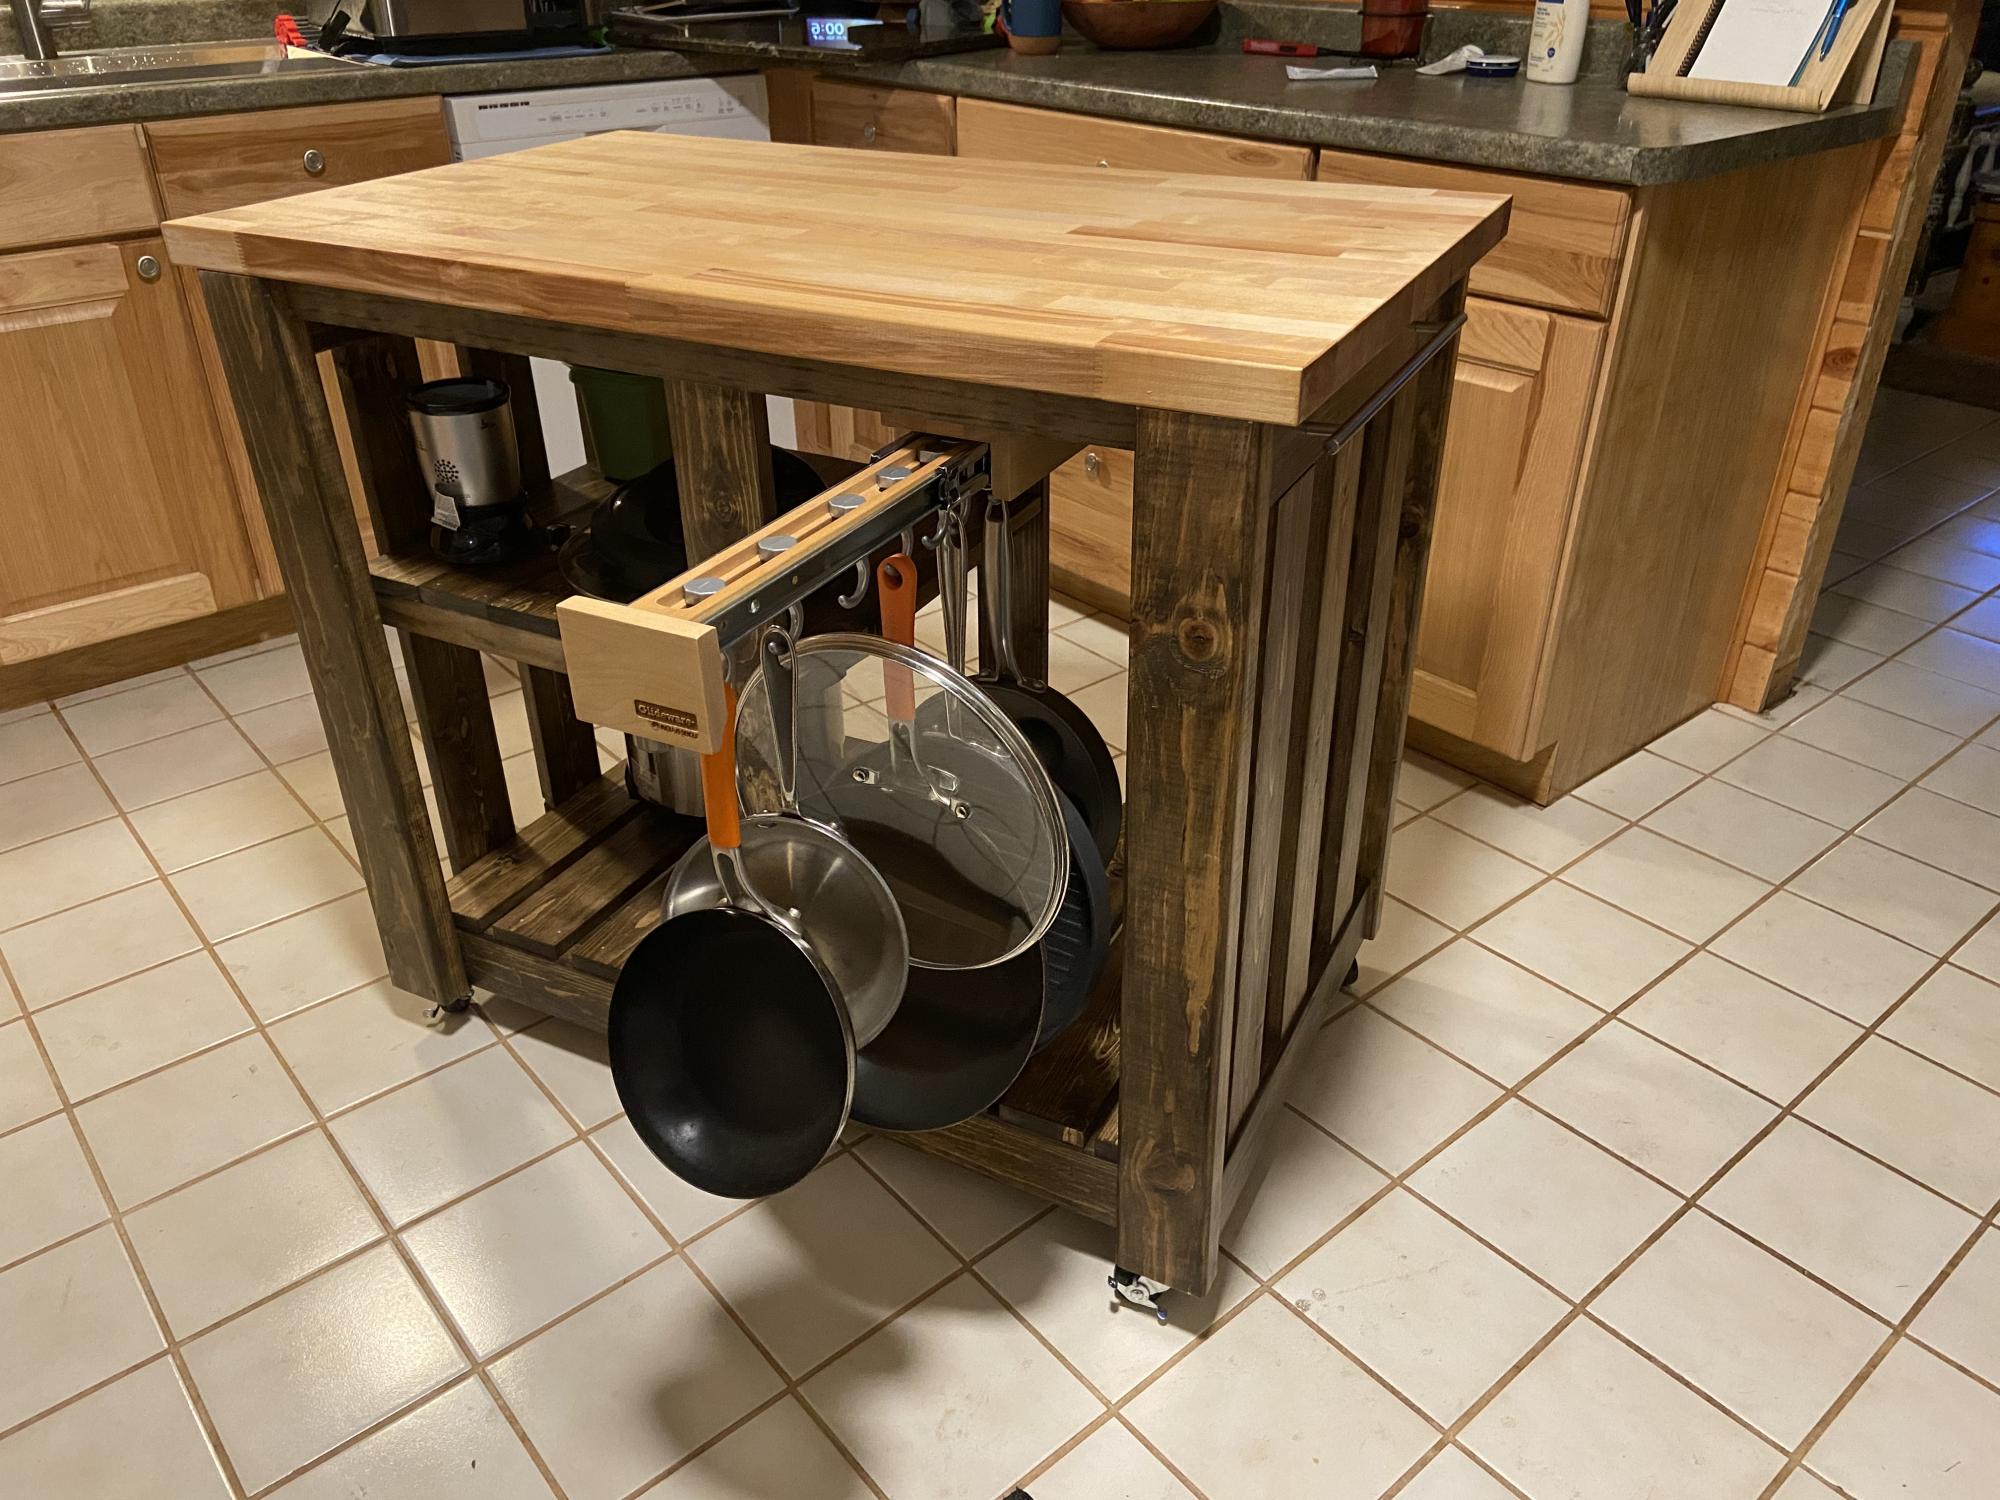
I have actually made this island several times and modified the size each time. I really like this and it fits my kitchen well. Thank you for the inspiration
Comments
Weatherly patio sectional seats 6
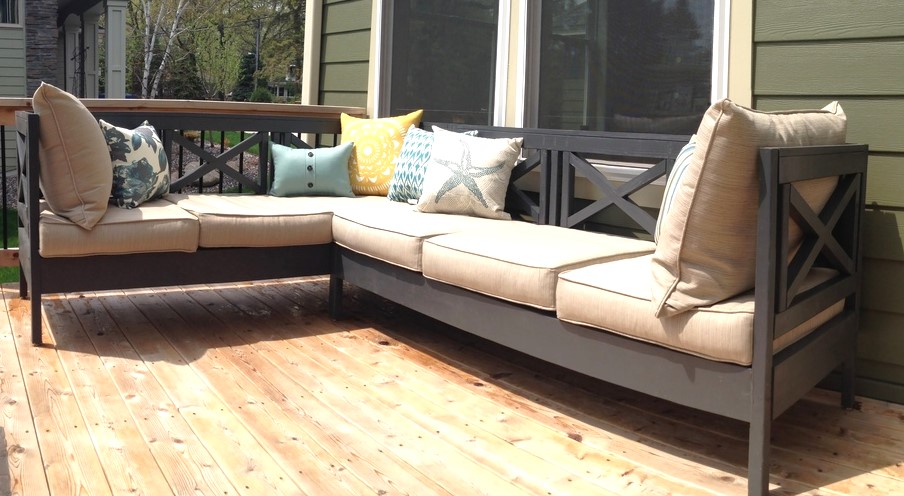
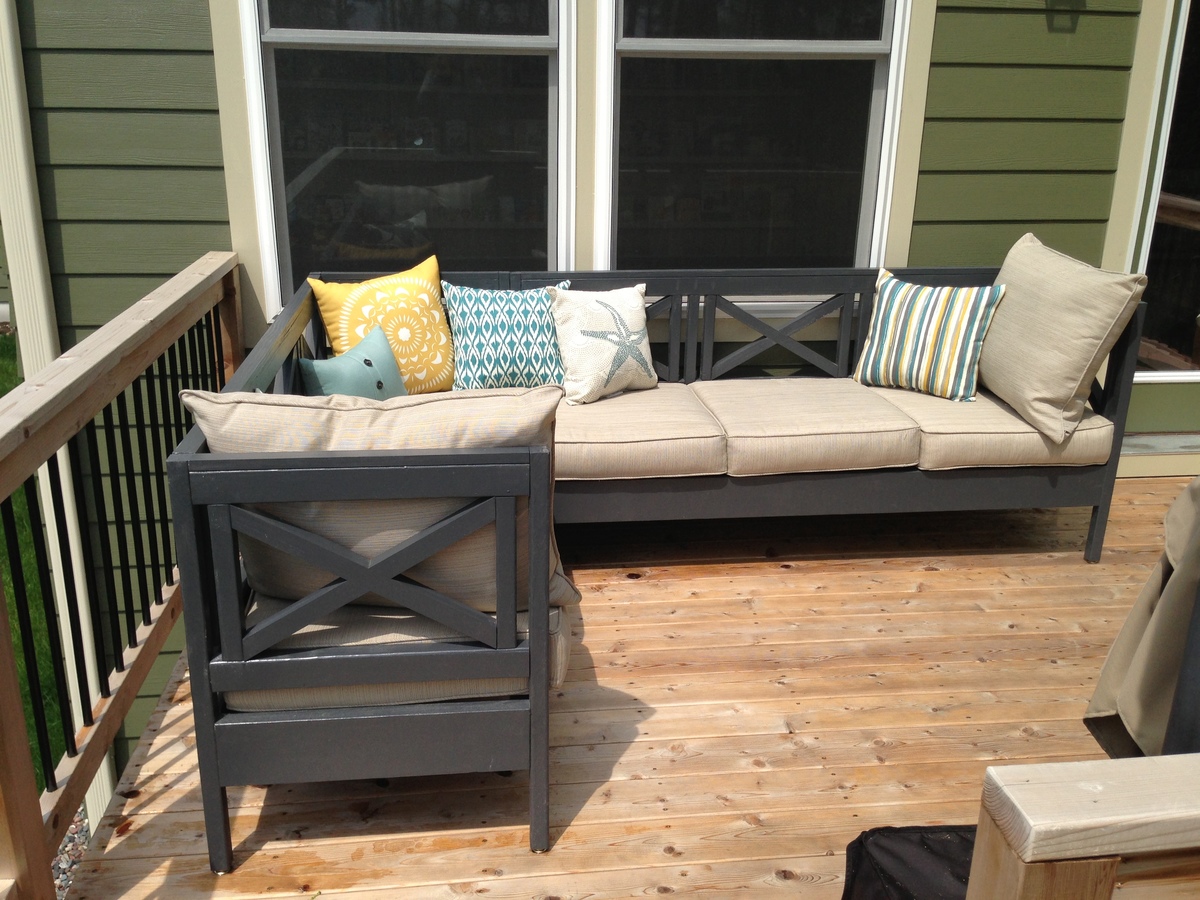
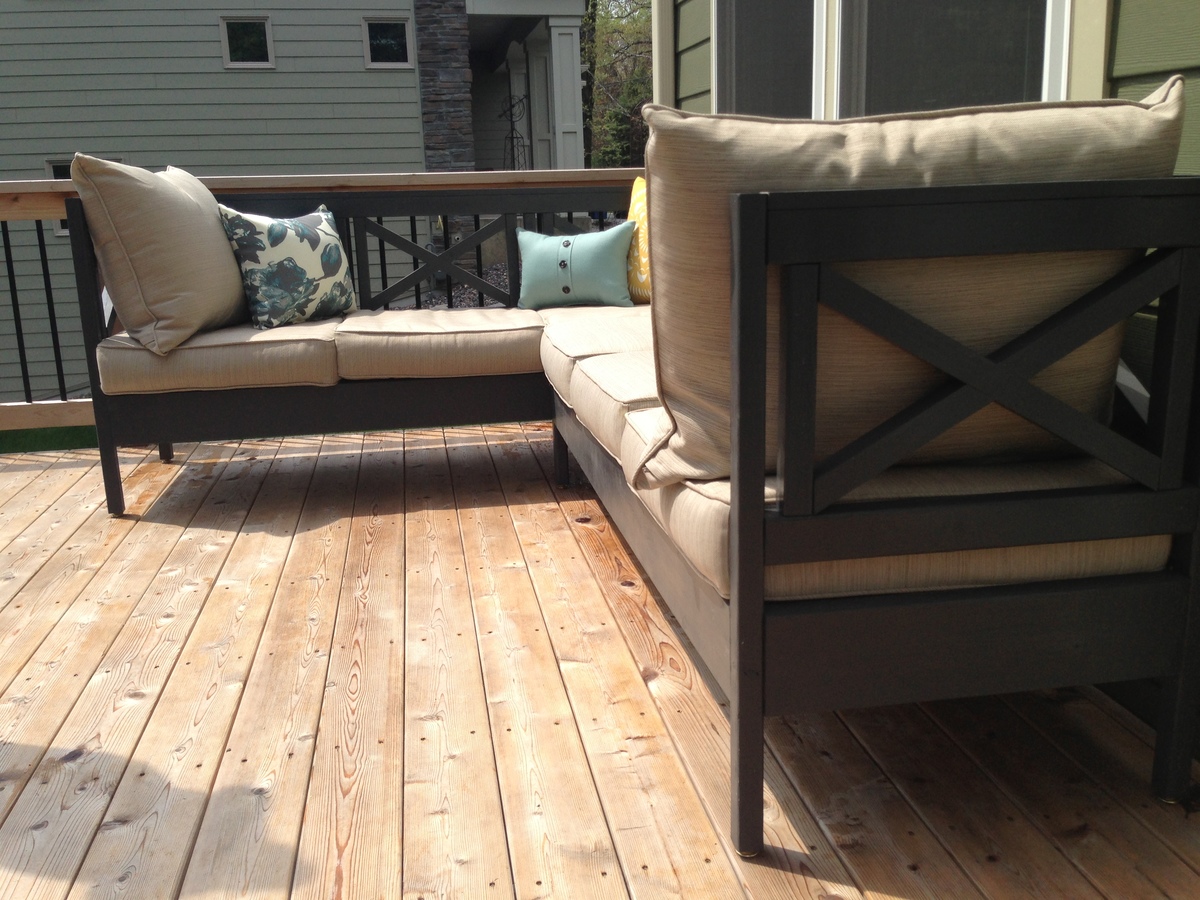
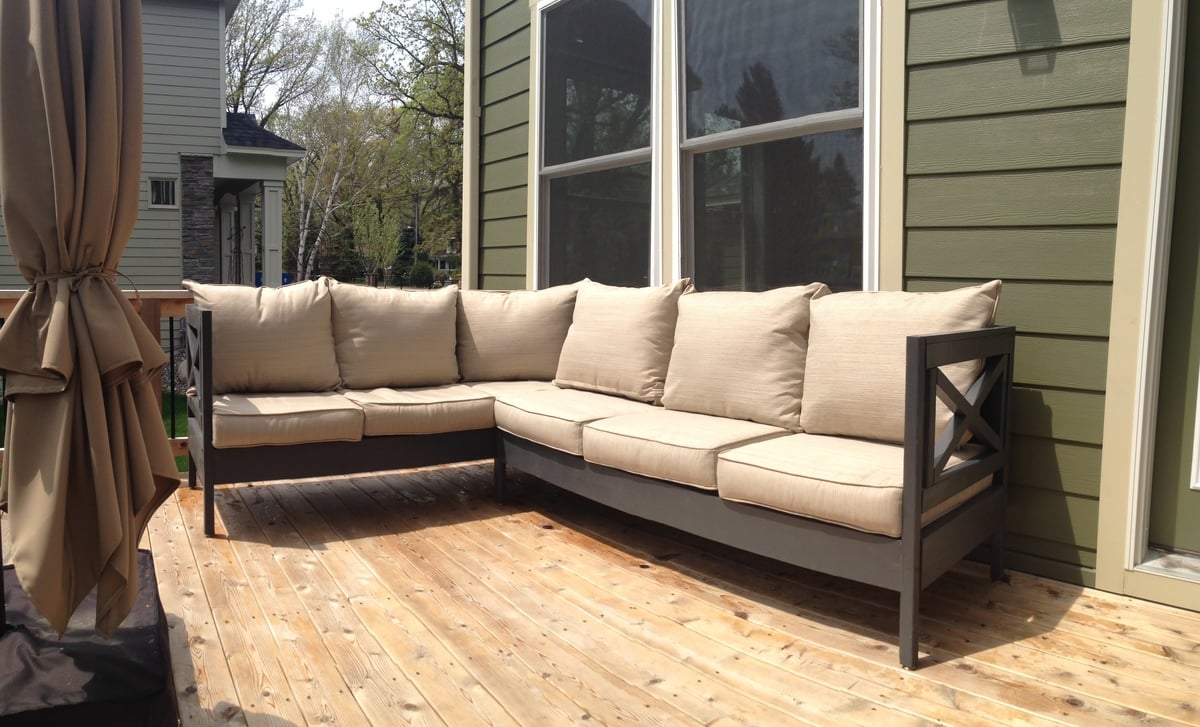
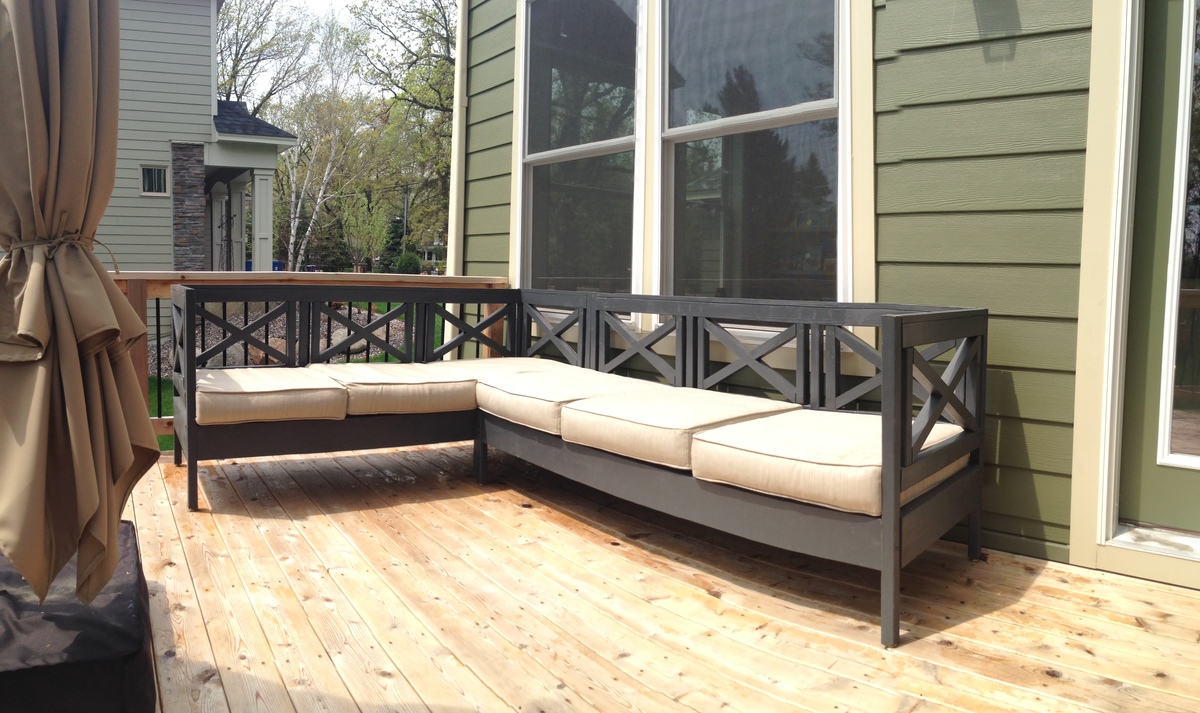
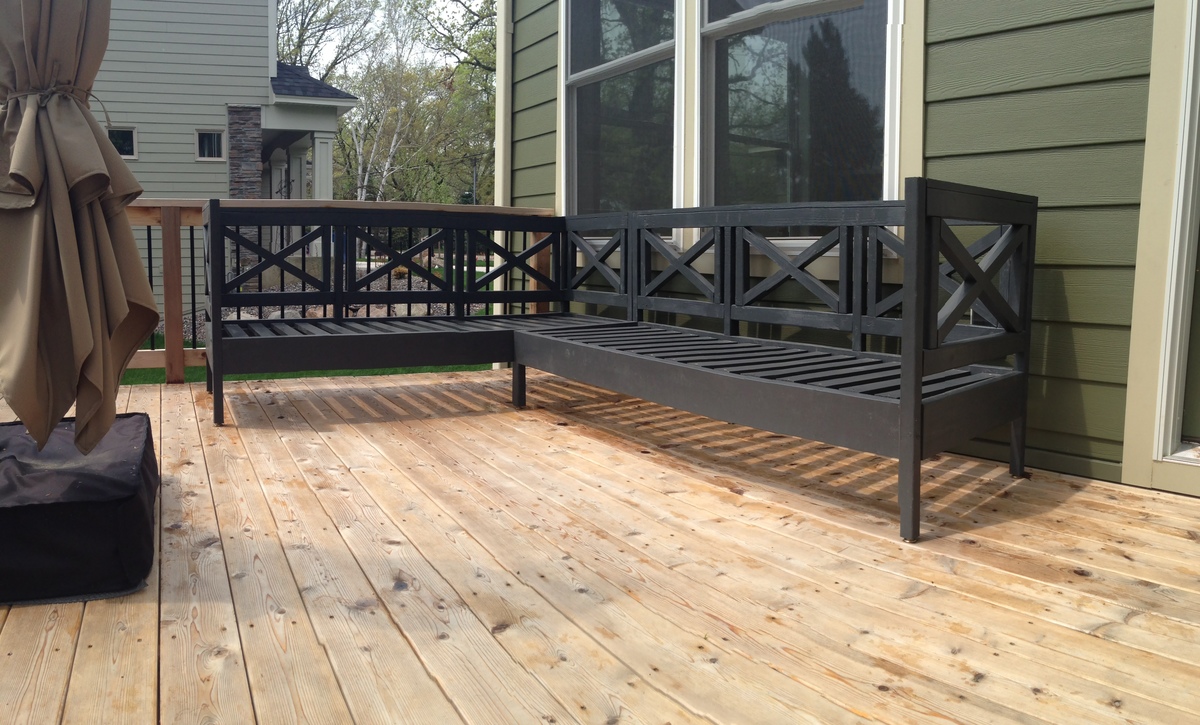
We made two Weatherly Sofas and referenced the Weatherly Loveseat instructions for making one side of one of the sectionals armless. We were able to return several pieces of wood from the original wood list, so save your receipts if you're building something similar. After we placed it on the deck, we used two 5/16" carriage bolts with disc washers and nuts through the aprons to connect the two pieces of the sectional. ***General Advice*** There are a LOT of repetitive cuts in this so make use of cutting jigs to speed up the cutting process. This will allow you to simply cut, slide the next piece into place, and cut again. On a project of this magnitude it will save you a couple of hours. Paint before assembling. You end up painting more sides than necessary, but it goes faster than painting after assembly and your finished product looks better, too. If you are using a soft wood, finish brads will work fine when constructing the x's (as opposed to the finish nails recommended in the plan). *** Price Breakdown *** Wood $162.95 Screws, Hardware, Feet $27.77 Paint $38.58 Wood filler $17.13 Seat cushions w/ matching back cushions purchased from Lowe's (allen + roth 46.5-in L x 25-in W Natural Chair Cushion) $360.31 Pillows purchased from Target and West Elm $119.24 *** Duration of Each Step *** Purchasing wood: 90 min Straight cuts: 90 min 30* cuts: 70 min Assembling Xs: 60 min Sanding: 3.5 hrs Painting: 6.5 hrs More Assembly: 3 hrs Wood Filler: 60 min Final Assembly: 6 hrs Touch-Up: 15 min
Comments
Sat, 05/18/2013 - 18:57
Tips for cushions and pillows
My cushions are 25 inches wide and they are wedged in there REALLY tight. 24-inch cushions would fit much better.
In one of my pictures, you can see "back rest" pillows that use the same material as the seat cushions. If you want big cushy cushions like this, you will probably want to modify the plan so the seat is deeper. The cushions look great, but I've decided to leave them off for actual use.
I have been sitting out on the patio for HOURS reading a Pride & Prejudice spin-off and it is sooo cozy. Highly recommend this project if you want a comfortable luxurious sectional for your patio without spending big bucks at Pottery Barn!
Kitchen Cabinets
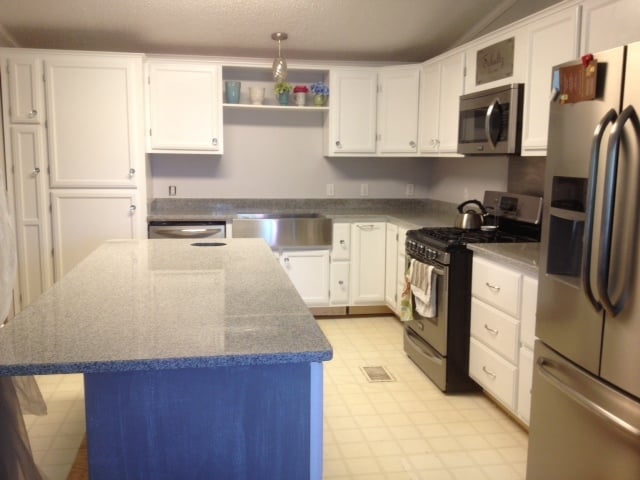
Here is a pic of kitchen cabinets I built using Ana's plans.
Comments
Tue, 04/07/2015 - 11:40
Beautiful!
If you lived near me, I would hire you. If you can do this, your funk tire buying days are over ! Awesome job!
Mon, 05/04/2015 - 12:00
Kitchen Cabinets
Thank you, this was my first Kitchen remodel. I am not sure if I want to do this for hire. I may just build the cabinets but not sure if I want to install anymore.
Mon, 05/04/2015 - 12:03
Kitchen Cabinets
I still have to install the back splash and flooring. Going with a knotty pine flooring. I will distress it and I am going to install vintage Common Rose Head nails at the butt joints of the flooring.
Outdoor Sofa and Table
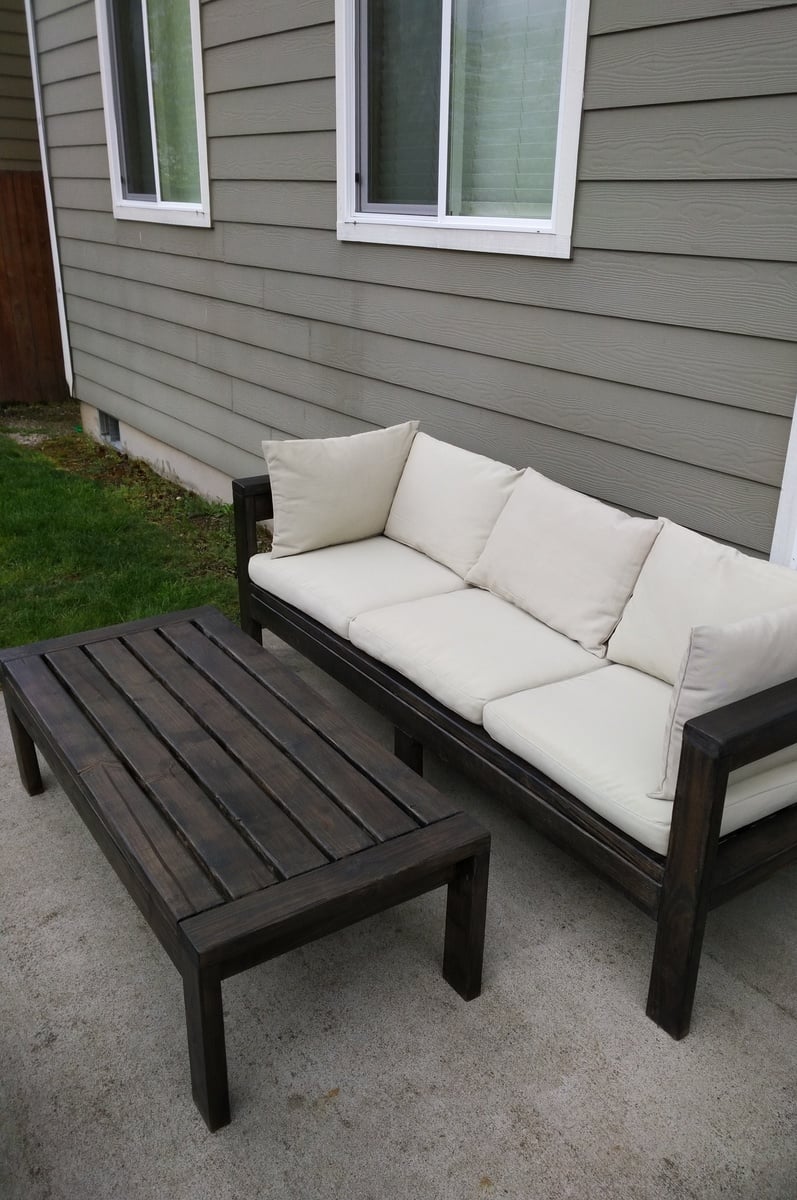
I enjoyed making this outdoor sofa and table combo from Ana's Ryobi series. An inexpensive and easy project that we just love! All construction grade 2x4.
Airondeck Chairs and Bar
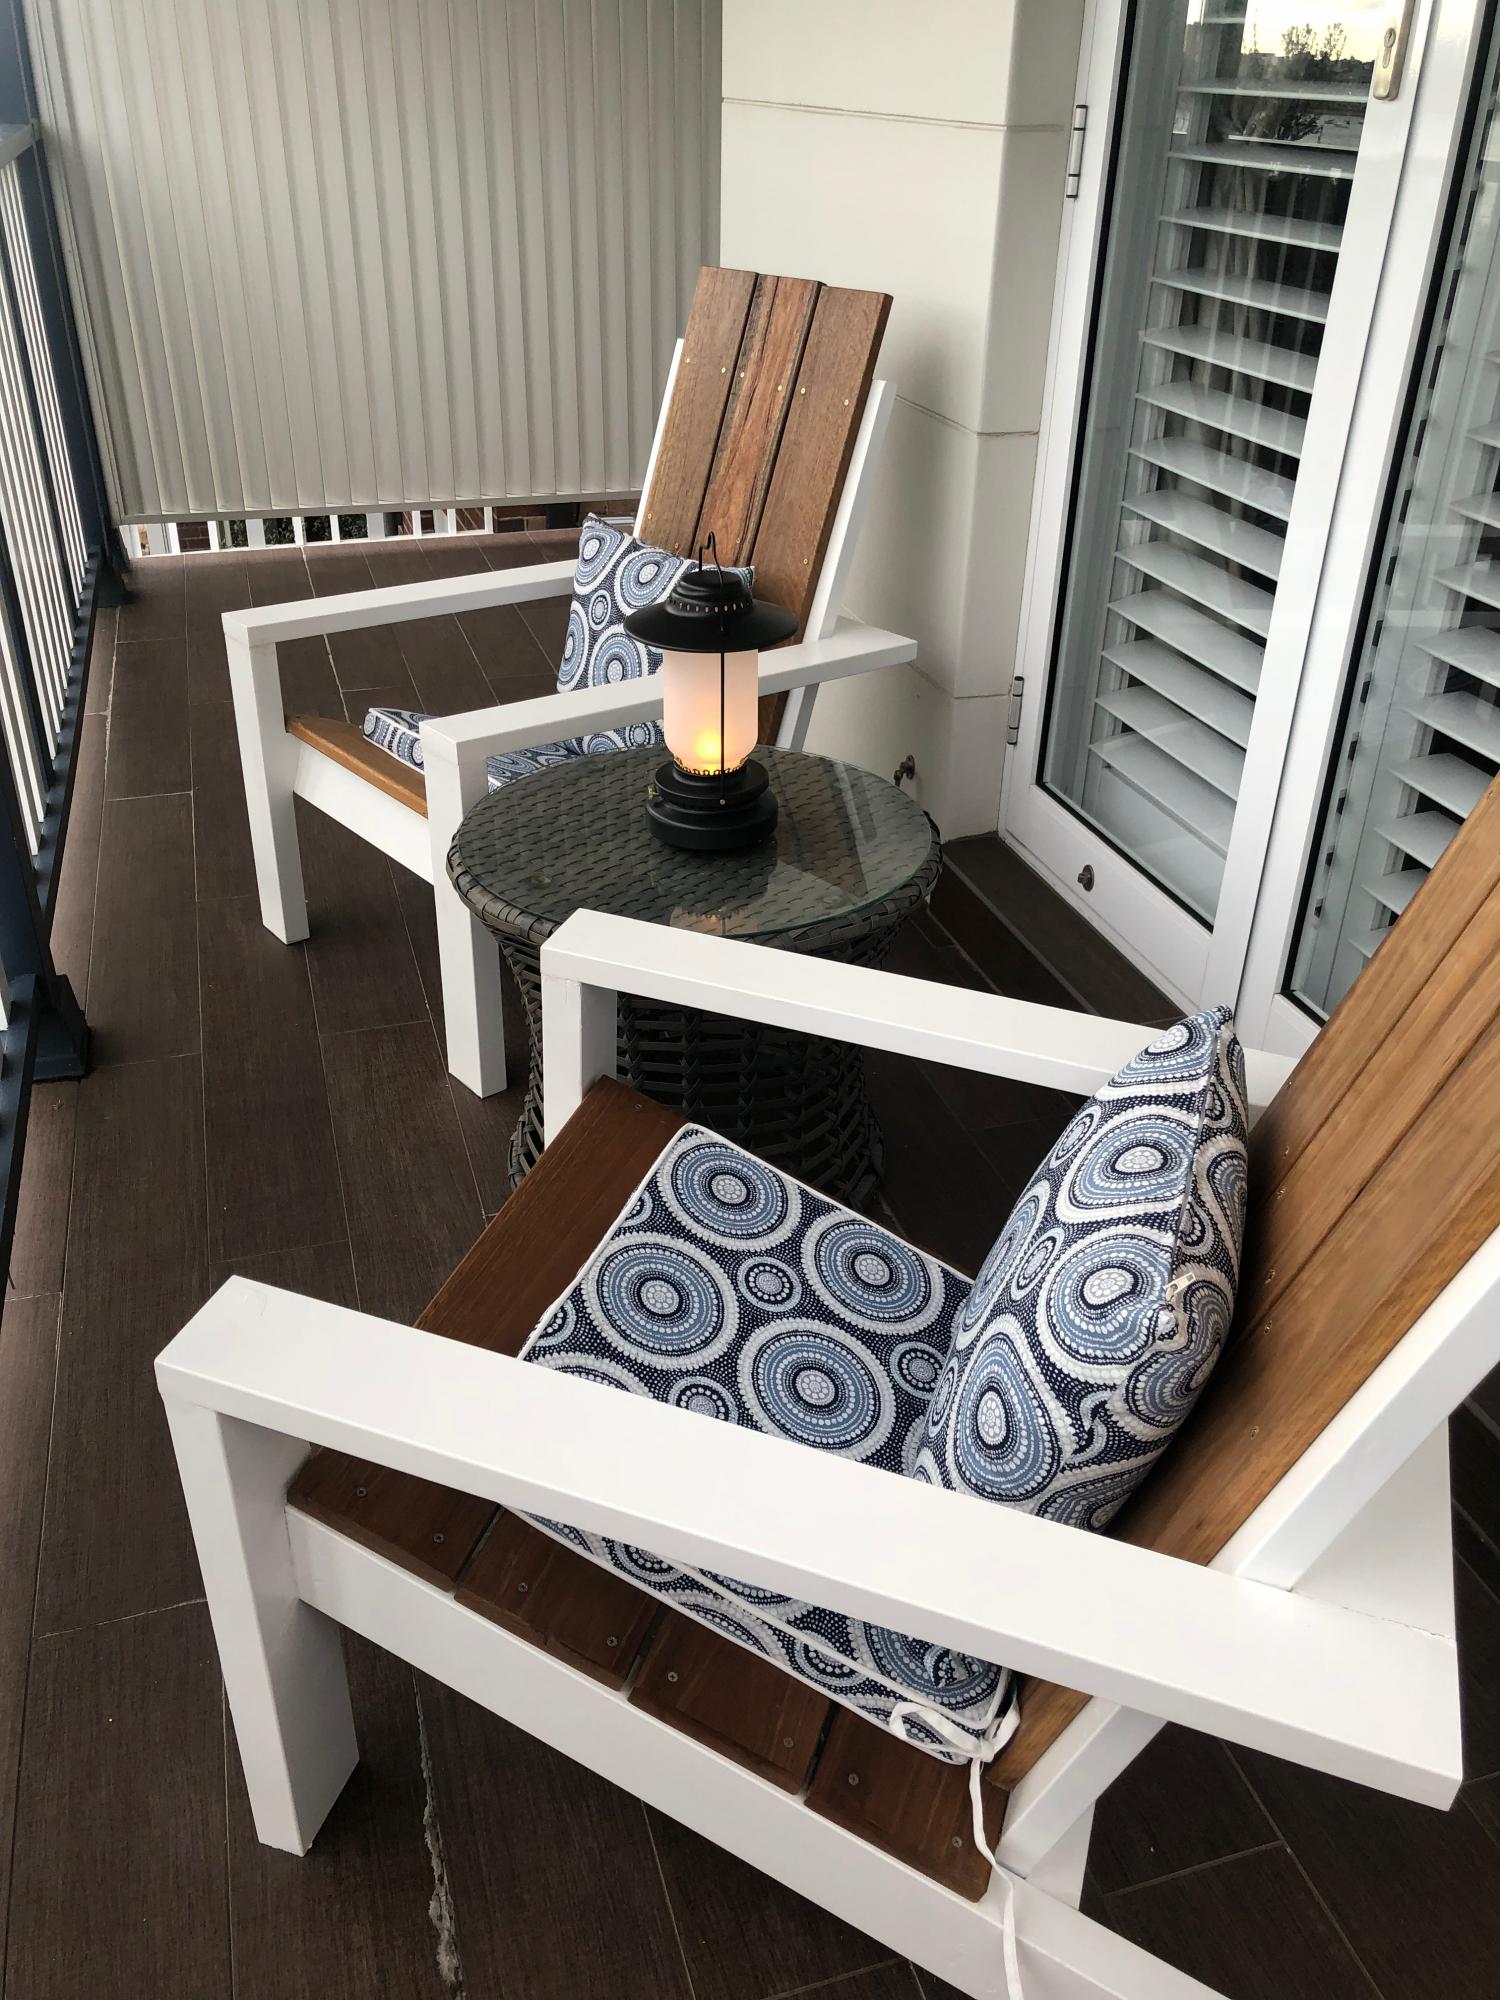
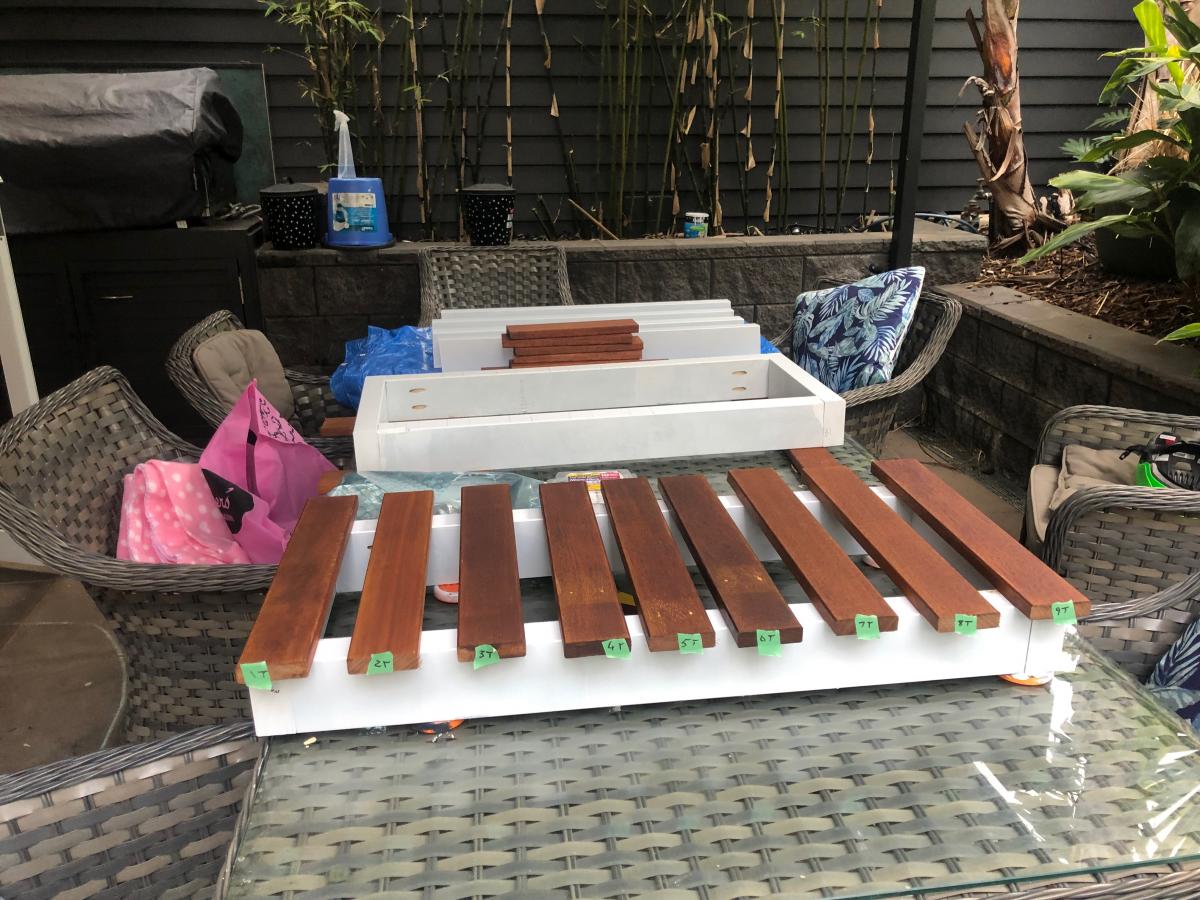
Lockdown here in Sydney has been going for over 100 days now, so in-between home school and quietly going insane, I thought I would make something for the house in the hopes that at some point we may be able to have people back in our home and enjoy entertaining again. The Deck chairs are to replace some horrible plastic ones we had on our balcony. Now my wife and I can enjoy a glass of wine while looking out over our bay in style! The bar was made from leftover timber I had and the deck chairs are made from 2x4 Treated pine (bits painted white) and NSW Spotted gum - which is a hardwood. The bar is also made from 2x4 treated pine and Merbau ( another hardwood) . I have put a few bronze hooks on the front to hold tea towels etc when entertaining. They are both fantastic additions and we love them. Thank you for saving my Sanity Anna!
Comments
Mon, 10/04/2021 - 16:38
Thinking of you!
Those are gorgeous, we are thinking of you and hoping for sanity and peace! Thank you for sharing.
My First Project
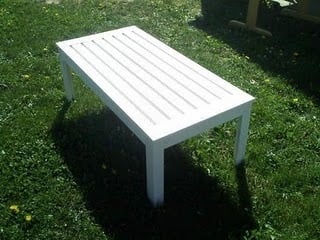
Summer 2010 My first building project!
I did not intentionally leave the bottom shelf off. When I bought the lumber, I didn't realise you could buy 6' boards. So I ran a little short. Woops, lol. But I think I like it better this way.
I selected beginner project because it was my first project and it turned out great! the only thing I ran into was that I bought the wrong length of boards so I didn't have enough to finish the shelf. lol.
Storage hutch with cushion

I used the plans from Mimi's Storage bench to create my own foyer storage. I narrowed the width to fit my space, but otherwise kept the plans nearly the same. You can read more about the details on my blog:
http://magic-blue-smoke.blogspot.com/2012/12/foyer-storage-part-1.html
http://magic-blue-smoke.blogspot.com/2013/02/foyer-storage-part-2.html
http://magic-blue-smoke.blogspot.com/2013/02/tree-hutch-part-3.html
http://magic-blue-smoke.blogspot.com/2013/03/final-bench-post.html
http://magic-blue-smoke.blogspot.com/2013/03/bench-painting-for-real-th…
http://magic-blue-smoke.blogspot.com/2013/03/tree-hutch-top.html
http://magic-blue-smoke.blogspot.com/2013/03/foyer-furniture-finally-co…
http://magic-blue-smoke.blogspot.com/2013/04/making-bench-cushion.html


Comments
Tue, 05/21/2013 - 06:42
Thanks! :) I probably should
Thanks! :) I probably should have mentioned the color - Aubusson Blue (Annie Sloan).
painted buffet
I basically just followed the plans on this site. it is really a pretty simple build but it helps to have a second person and it is very time consuming.
Comments
Mom End Table
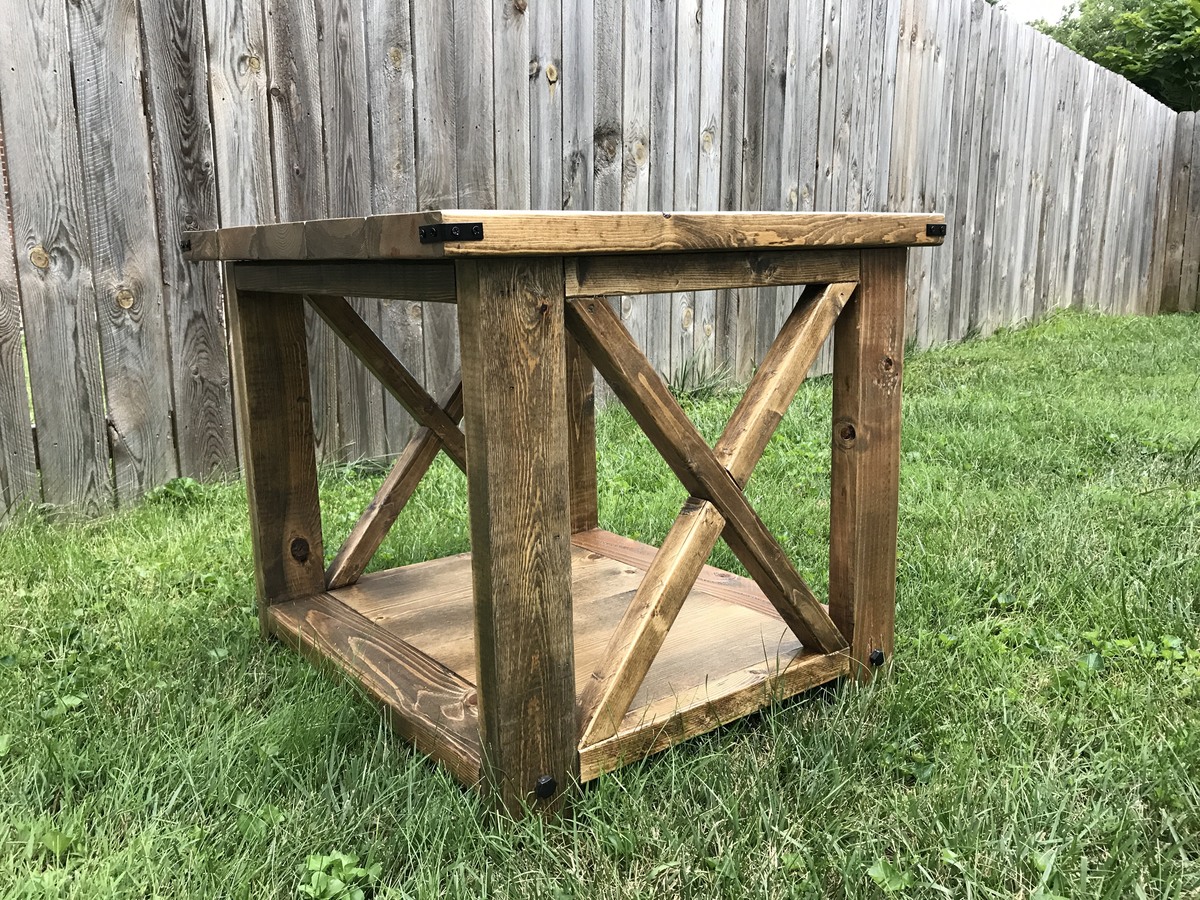
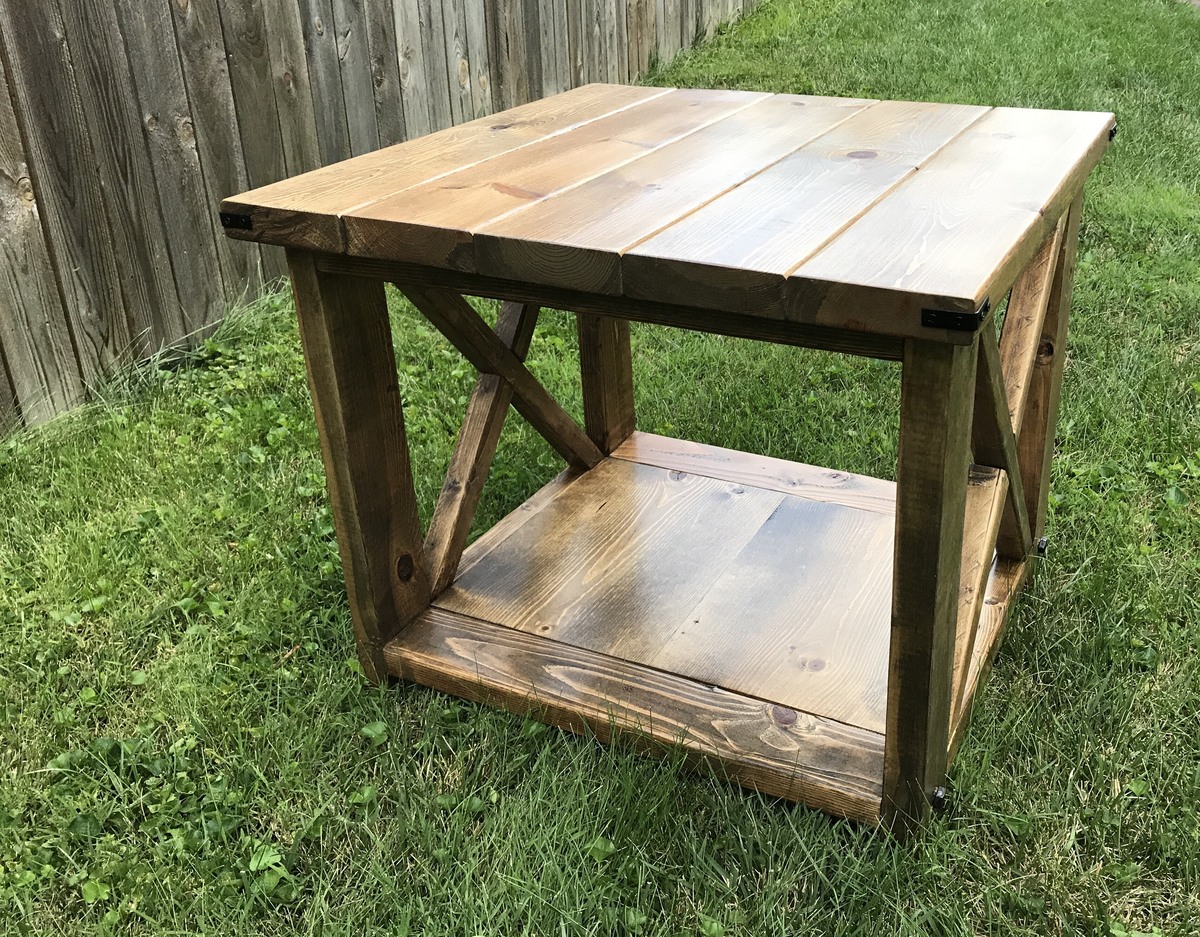
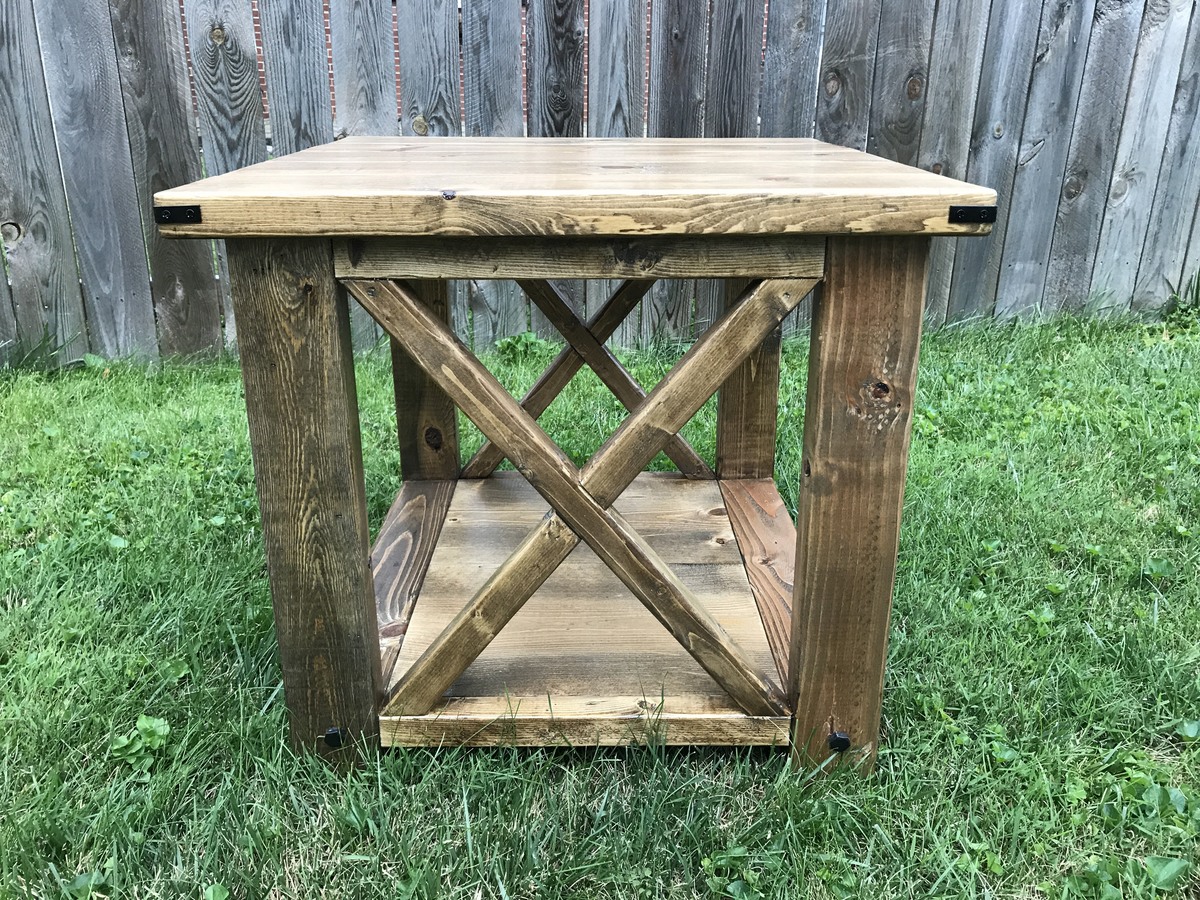
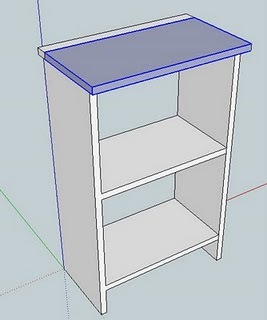
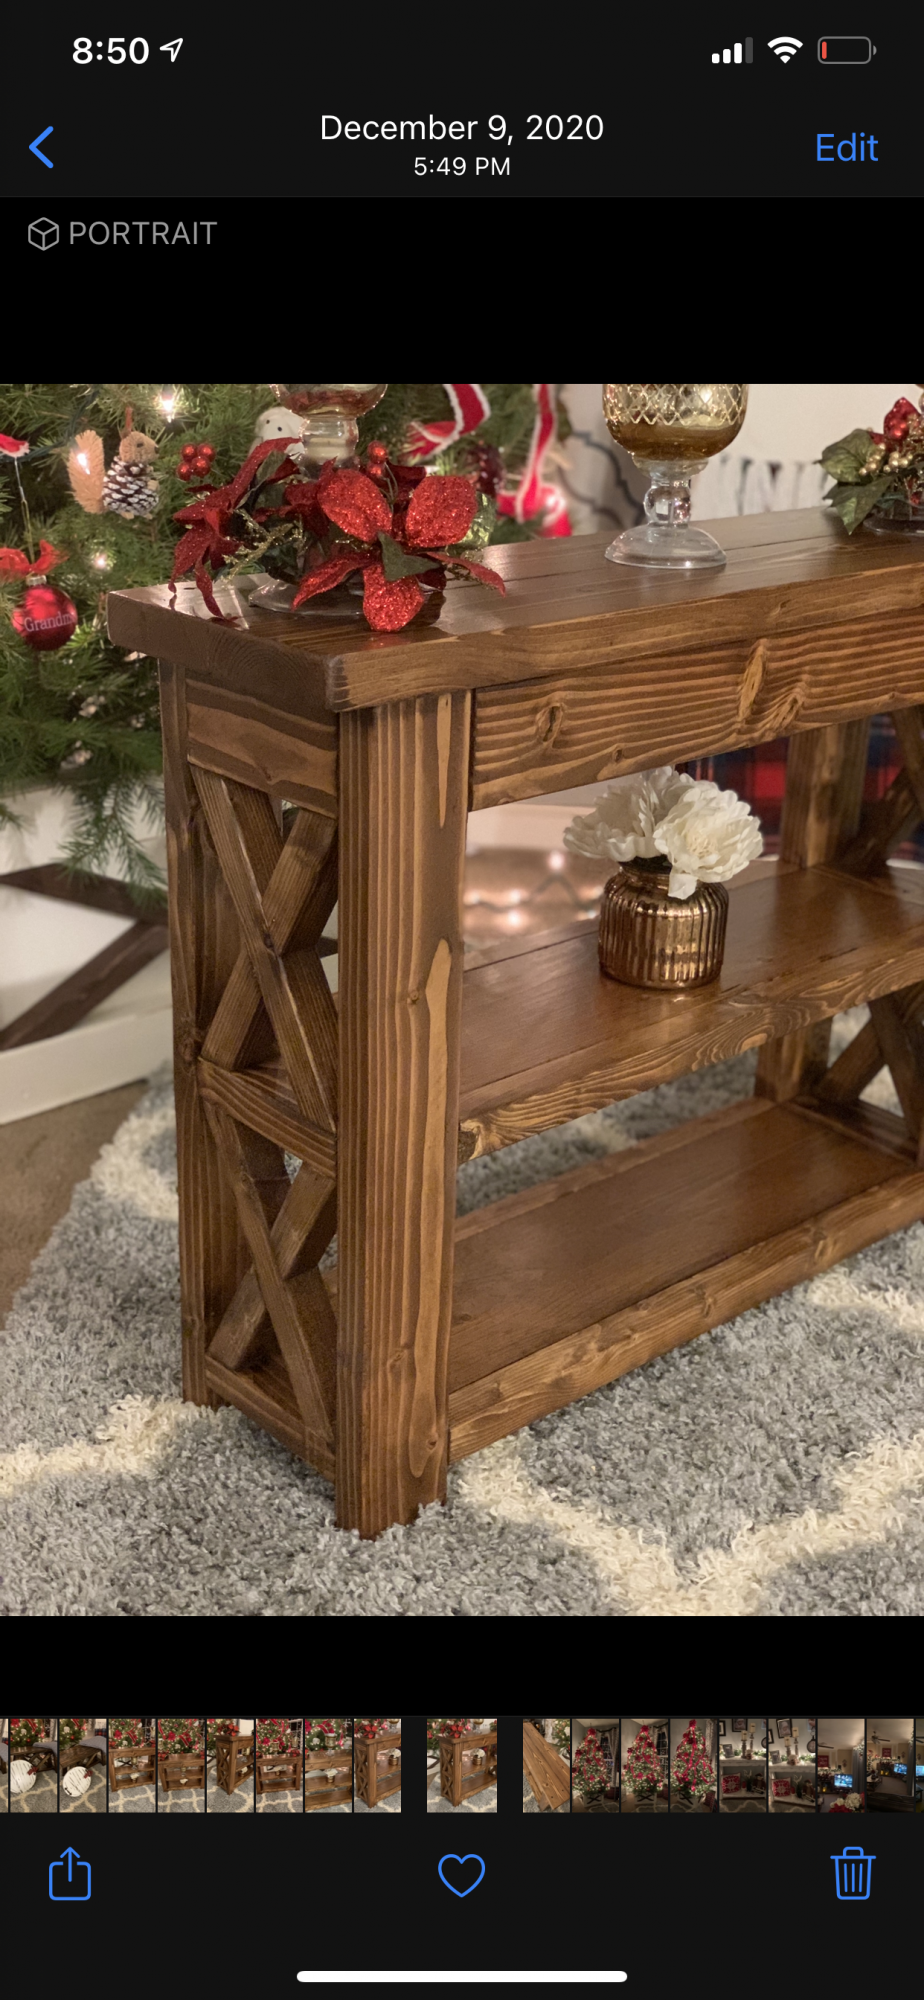
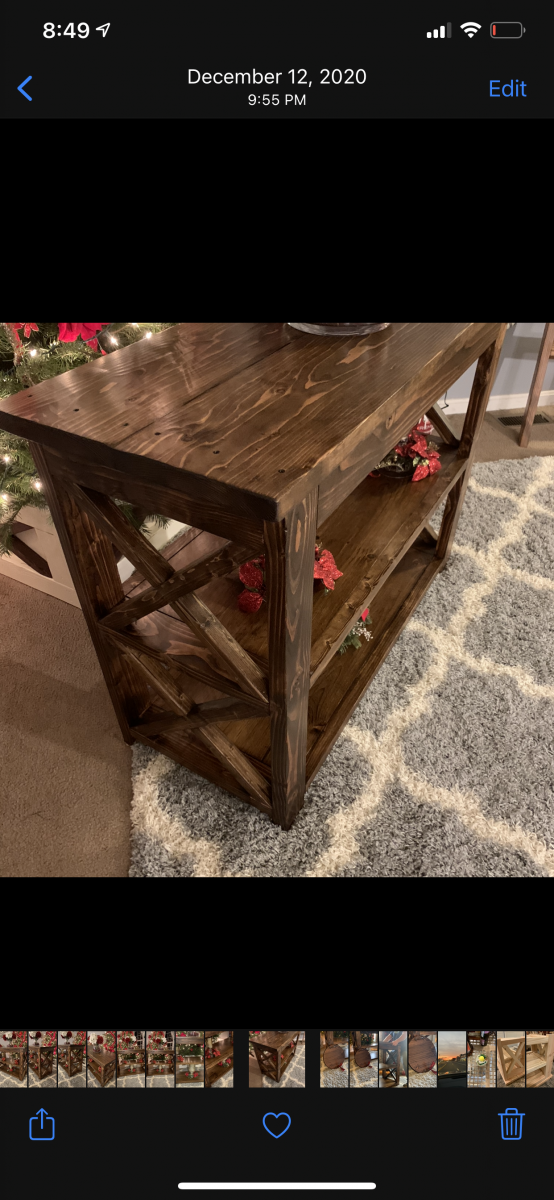
Finished the X end table, turned out great.
Locker Hack – Bring New Life to a Vintage School Locker as a Funky Sideboard

I have several furniture projects that in my blog pipeline :) After finding Ana-white.com a while back and getting inspired by some of her projects. I’m tackling all sorts of my own DIY furniture projects! This straightforward locker transformation is one of my fav’s! Ward and I found this gem at a antique store’s going out of business sale. We got it for $120. I then spent another $310 on lumber (I bought Fir which is WAY more than say … Pine or Poplar).
I have a tutorial on my blog that goes in detail, unfortunately I never take enough pictures and I only got one before picture.


Chicken Run
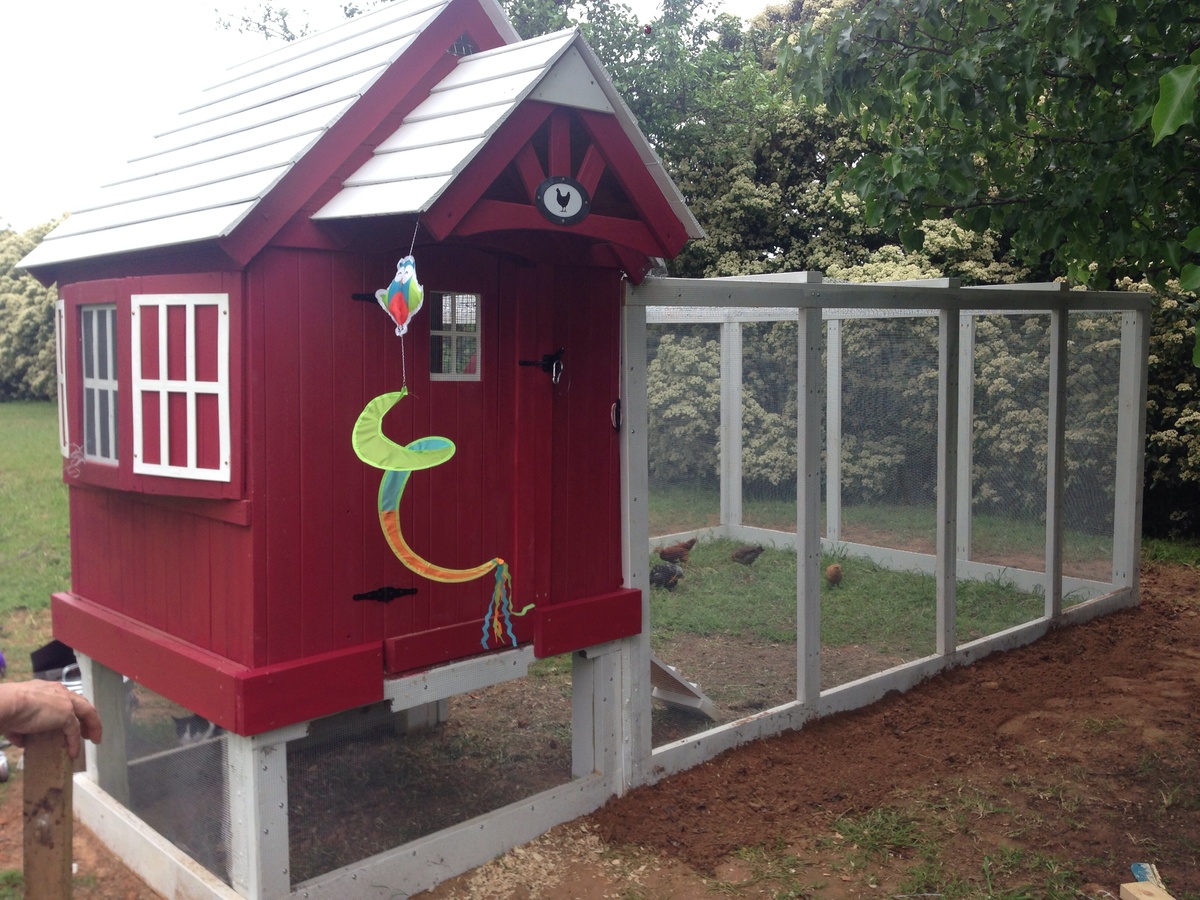
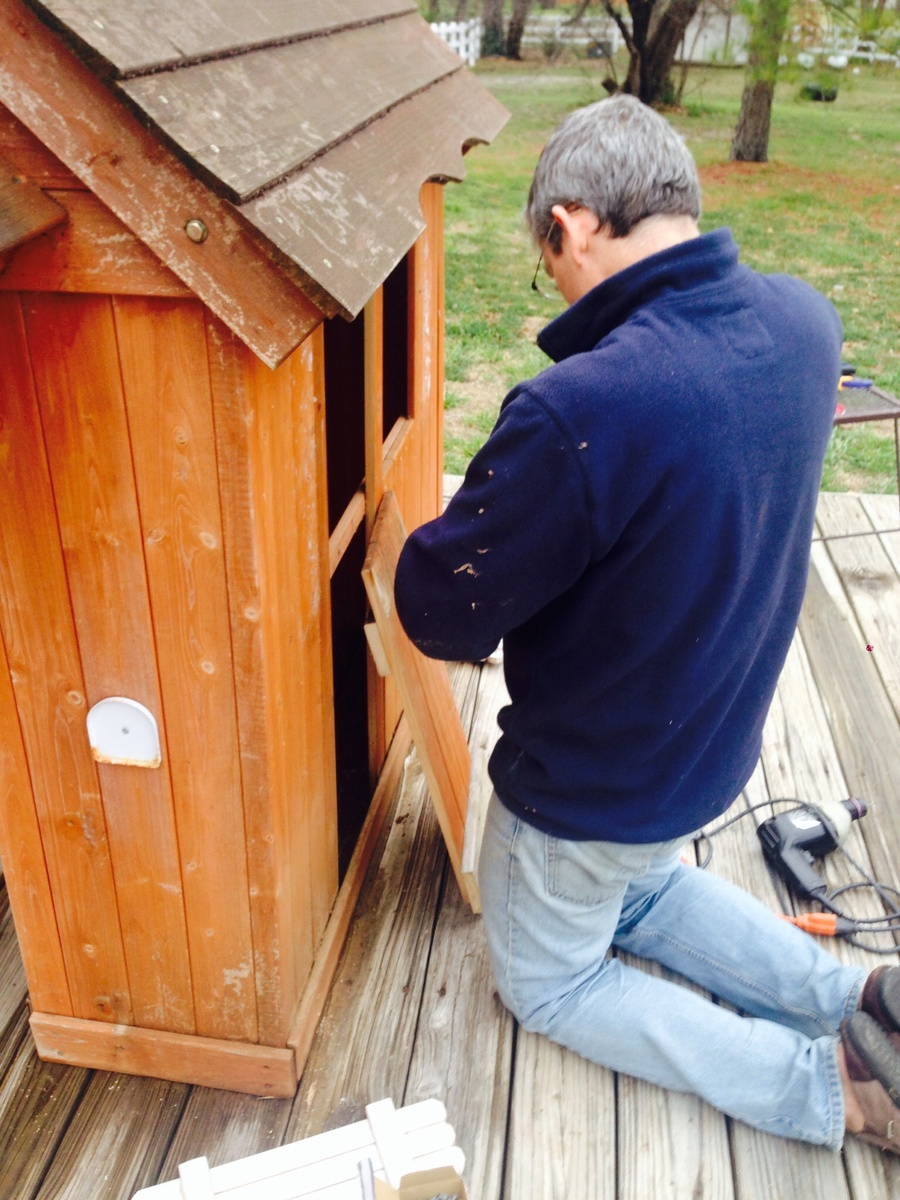
We built this coop from an existing playhouse and used Ana's plans to build the run! So easy and turned out perfectly!
Comments
Cooler stand
Large cooler stand built for a huge cooler. I wanted to be able to take the cooler out, so it oversized for the cooler, with slats on the bottom to hold the cooler for draining without water sitting on a solid surface inside.
L Shaped Patio Couch

One day project with hubby! Wanted a wood set, but couldn’t find a reasonable price. Bought tools, wood, supplies, and cushions for under the cost of one online!
Easy Clip Art Rail
This was really easy and provides a place for DS to display his artwork.
Disassembled clothespins spray painted navy, green, and khaki.
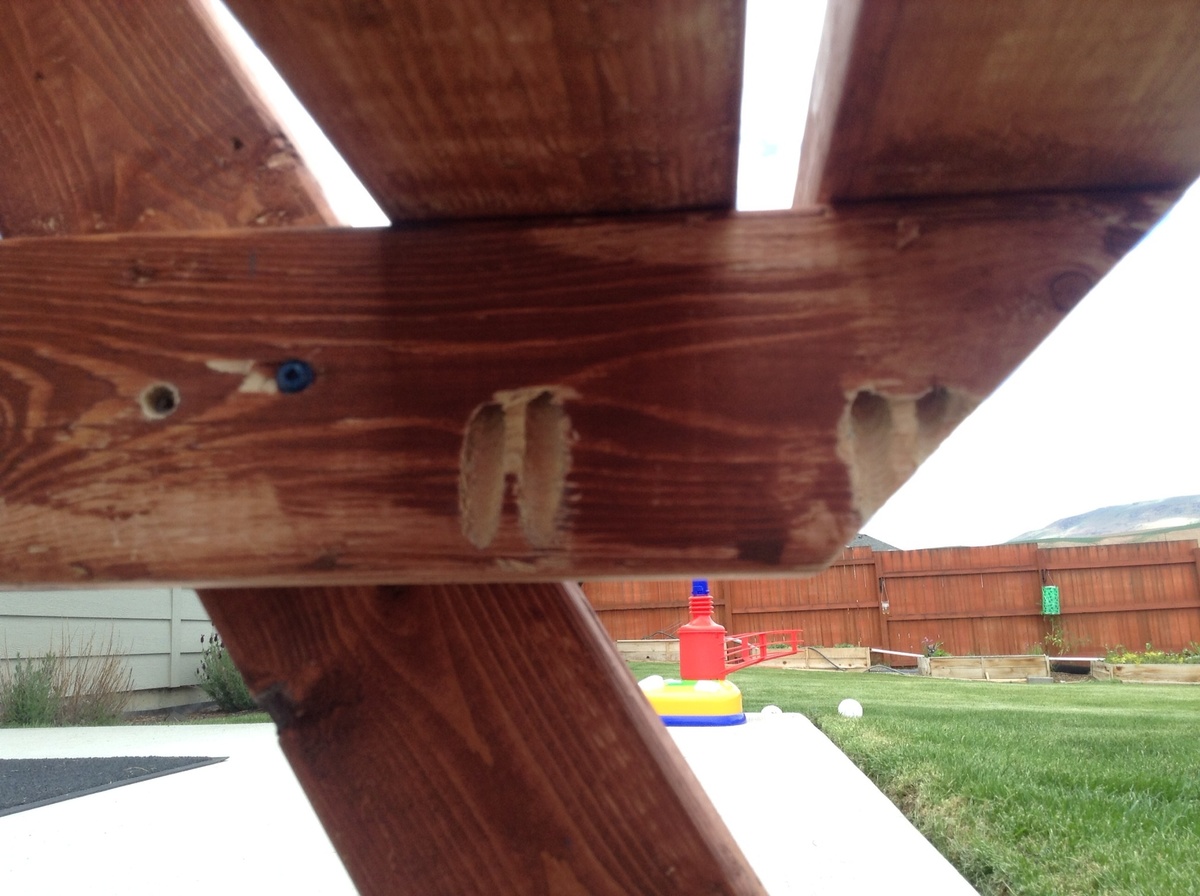
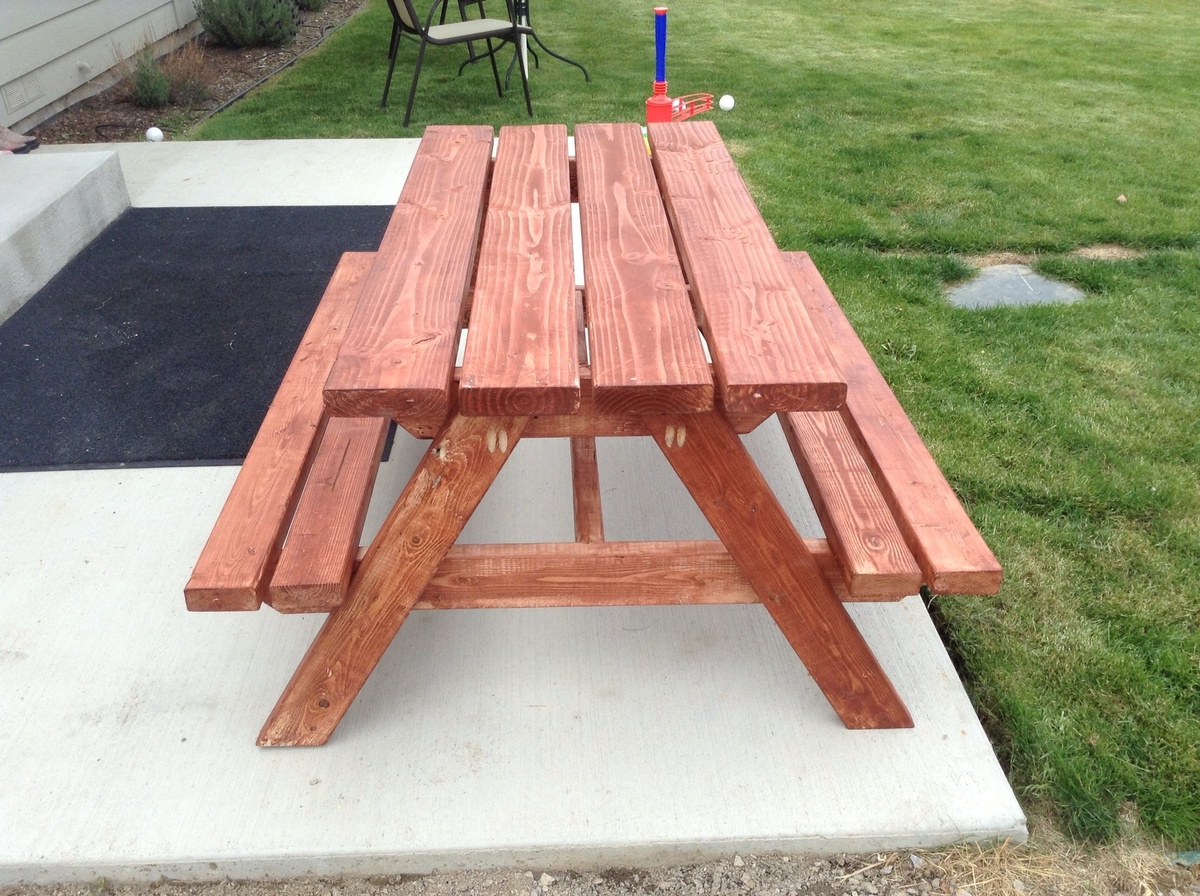
My bigger kids picnic table
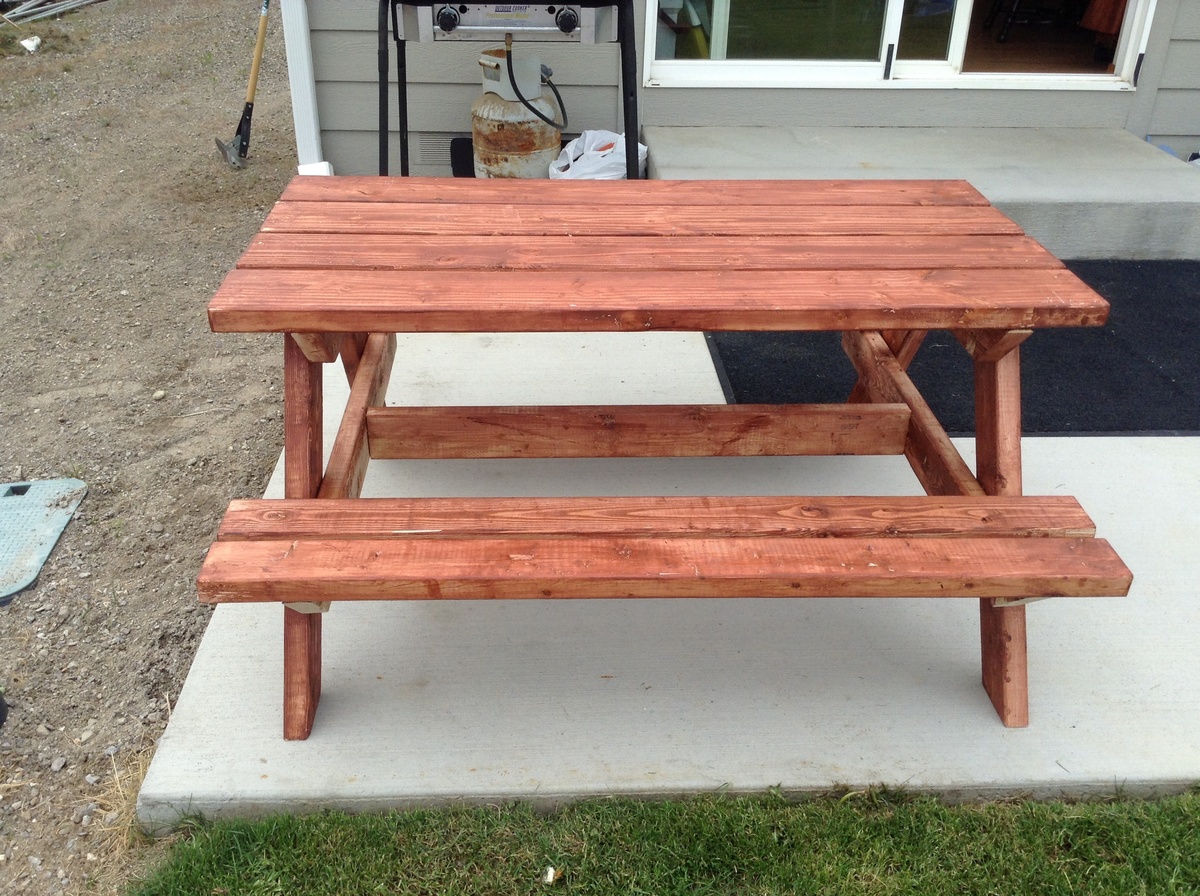
We finally got our grass green and back yard clean, after all that work the lop sided blue little tykes picnic table stood out like a sore thumb. This was the perfect table to fit our back yard make over.
When Ana says read all comments she means it. Cherie posted "if you plan carefully you really only need 5-2x4's instead of 6. Cut 2-2x4's in half for the seats. Cut 2 legs and one seat support from the third 2x4. Repeat for the fourth 2x4 and finally cut the bottom suppport and the 2 table supports from the 5th 2x4. Just plan carefully." I still bought 6 2x4's but only used 5.
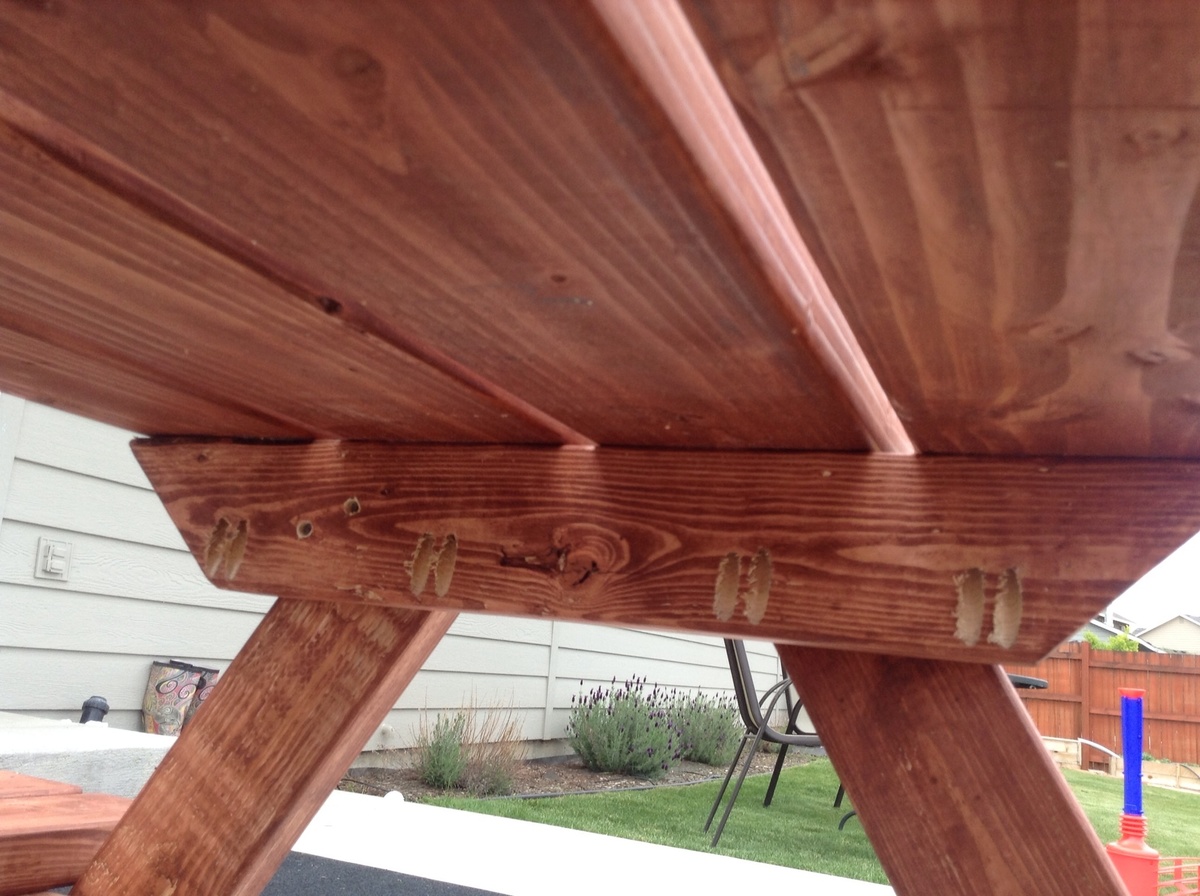
I did pocket holes on almost all the joints. I put the table on risers and was even able to use a pocket hole to add the seat boards. I did have a bit of a problem with the table top supports, I am not sure what others did but I cut mine at 45 degrees and they still wasn't enough to get the measurements the plans had. I just left it and marked where it would have been. I had some scraps from a fence pickets I ripped for my $10 raided garden bed left,over that I used as a spacer for my table top and seat boards, made it so easy and they are perfectly spaced. They are just over 1/2 an inch but It worked great.
http://ana-white.com/2010/04/plans-bigger-kids-picnic-table.html
Pallet Wine Rack

This week's project was a wine rack that I built for my aunt.
Blog: http://www.lanebroswoodshop.com/2015/04/pallet-wine-rack.html
YouTube Video: https://www.youtube.com/watch?v=NUB6UEaLXtE


Comments
Ana White
Mon, 04/06/2015 - 16:25
Thanks for sharing!
Thanks for sharing! Excellent!