Community Brag Posts

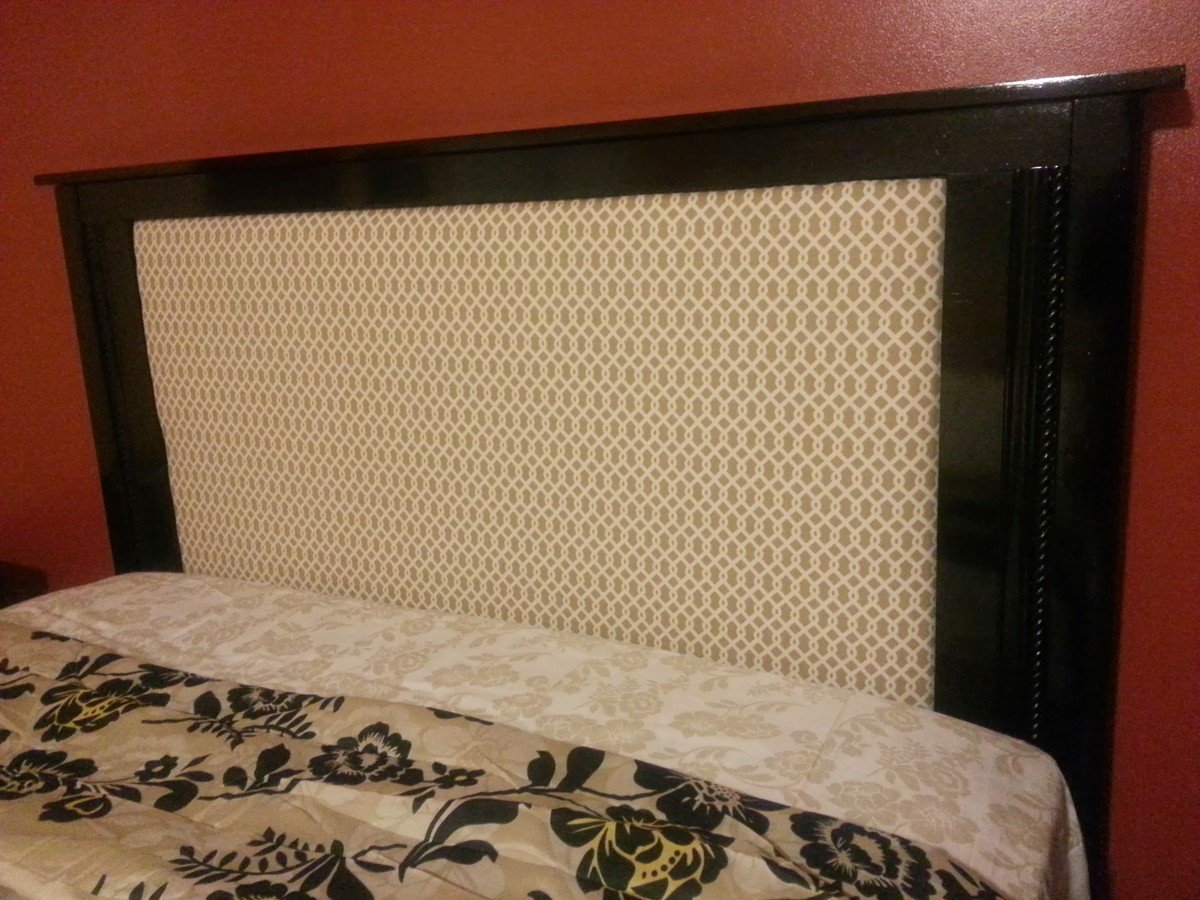
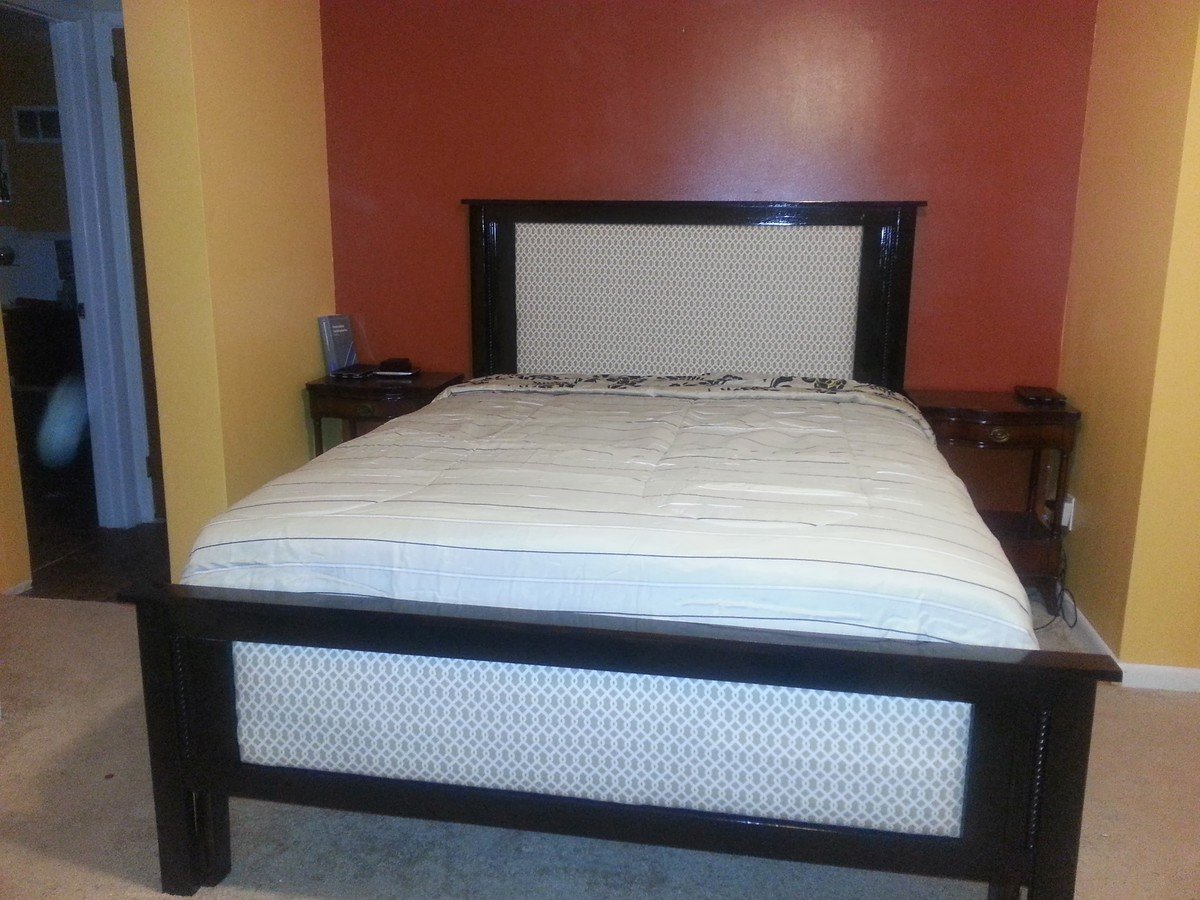
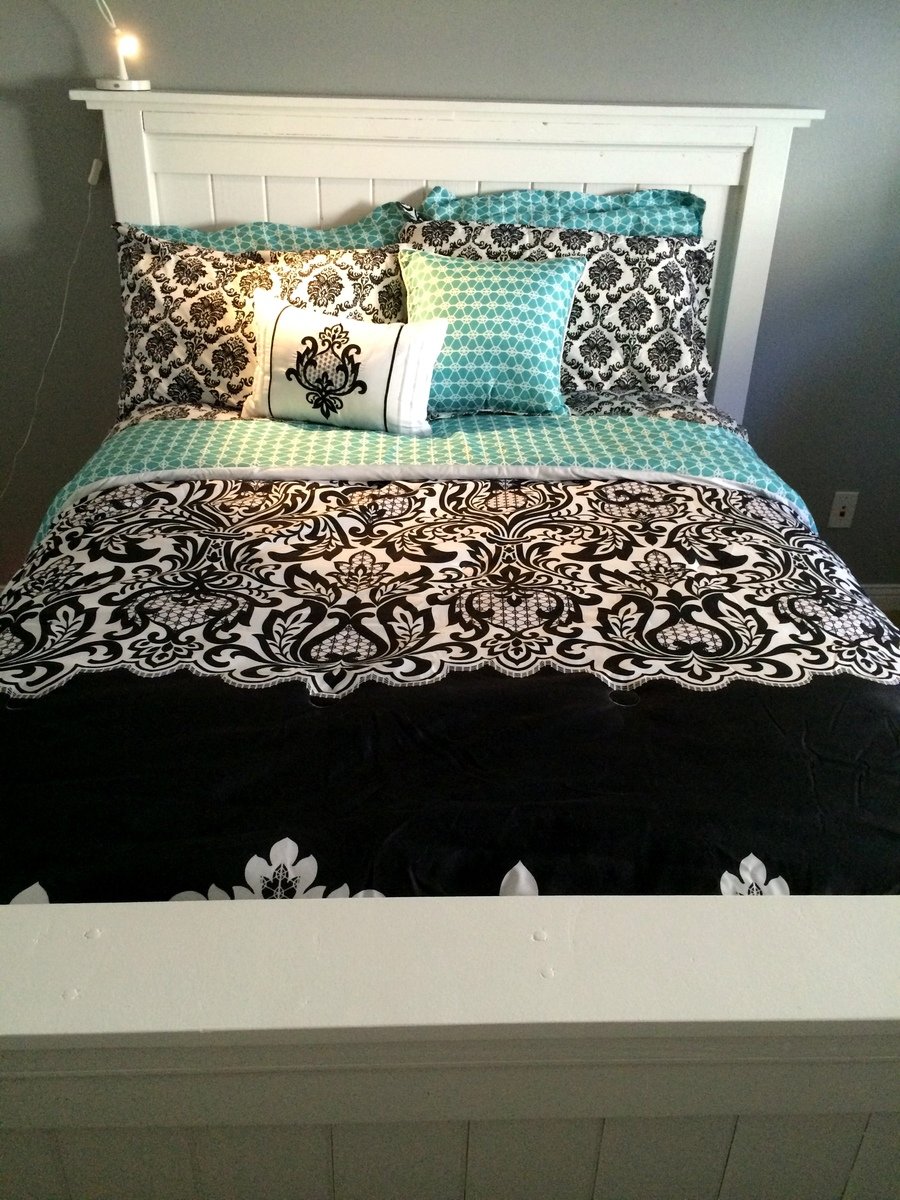
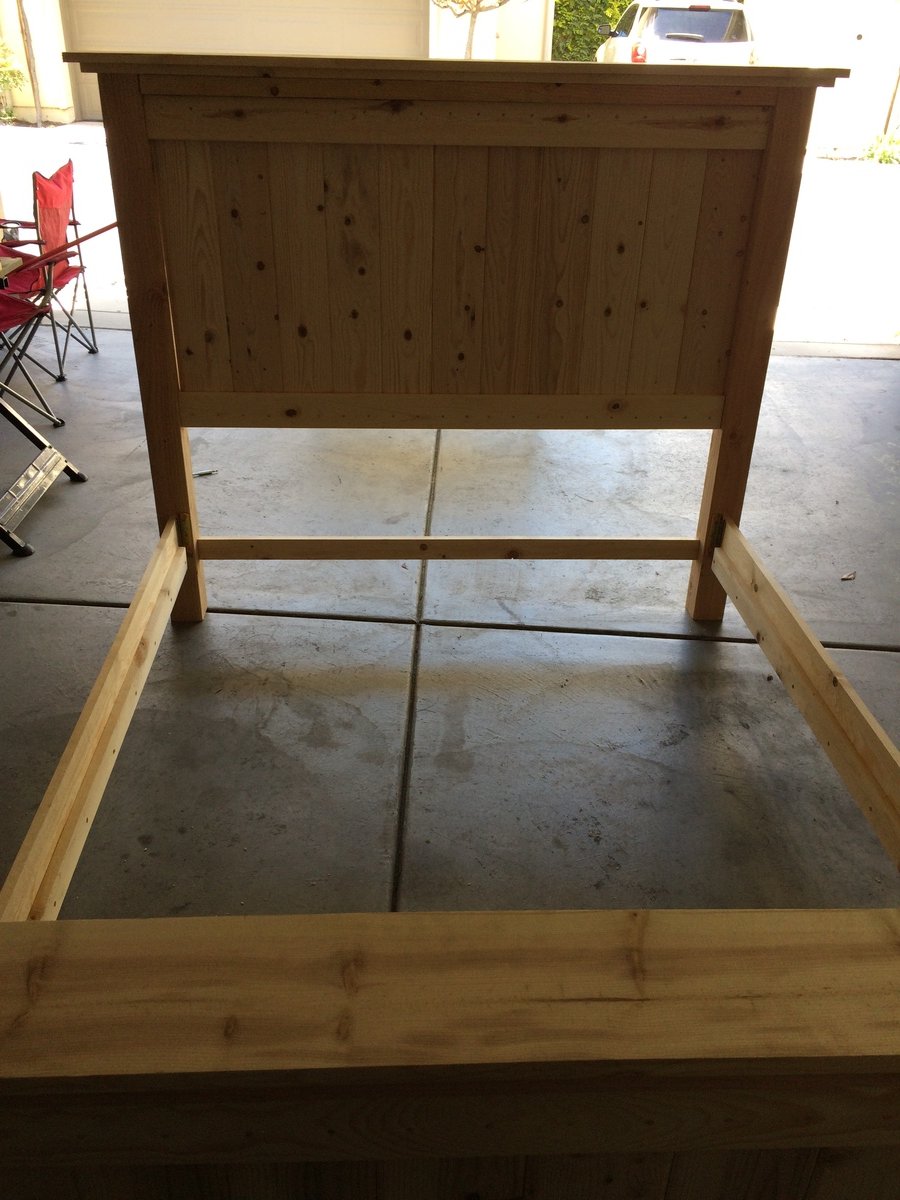
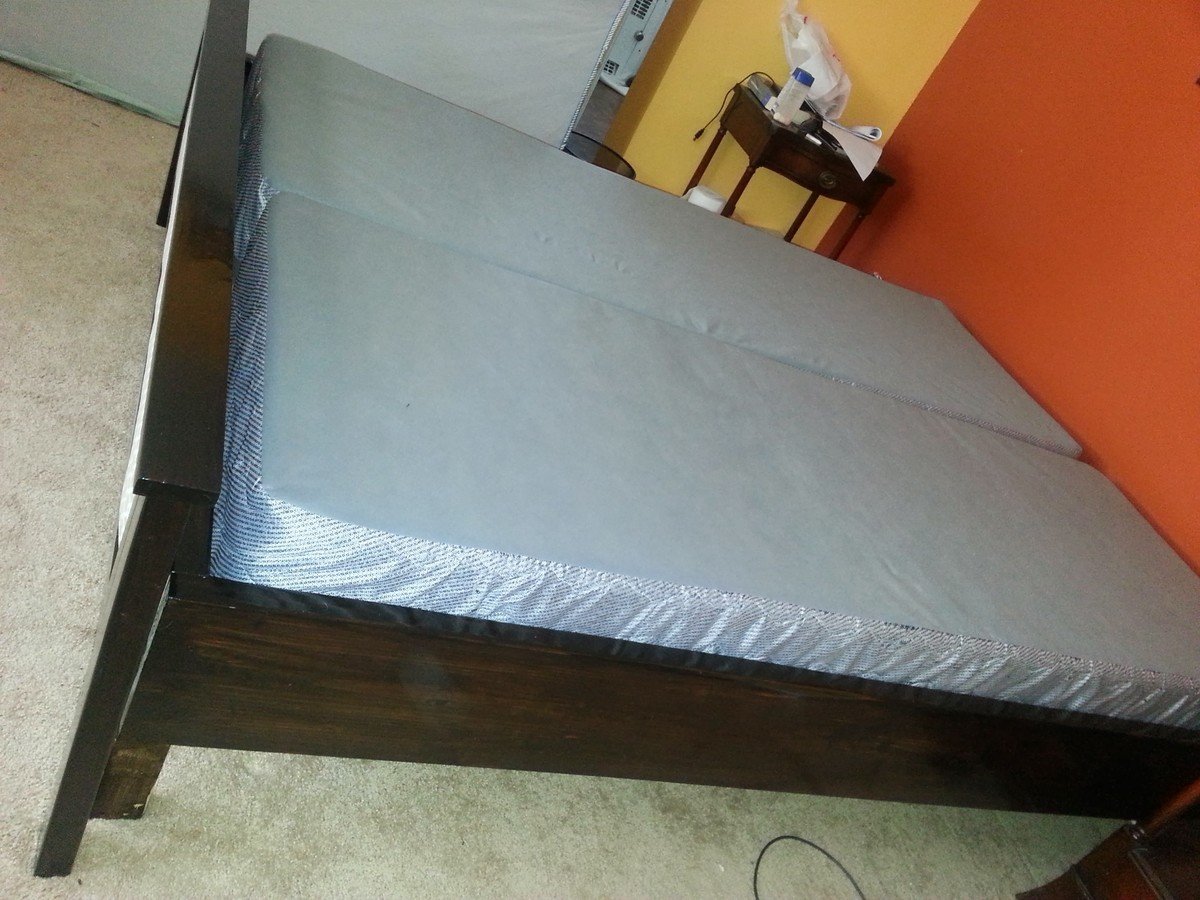
Farm house queen bed modified for box spring
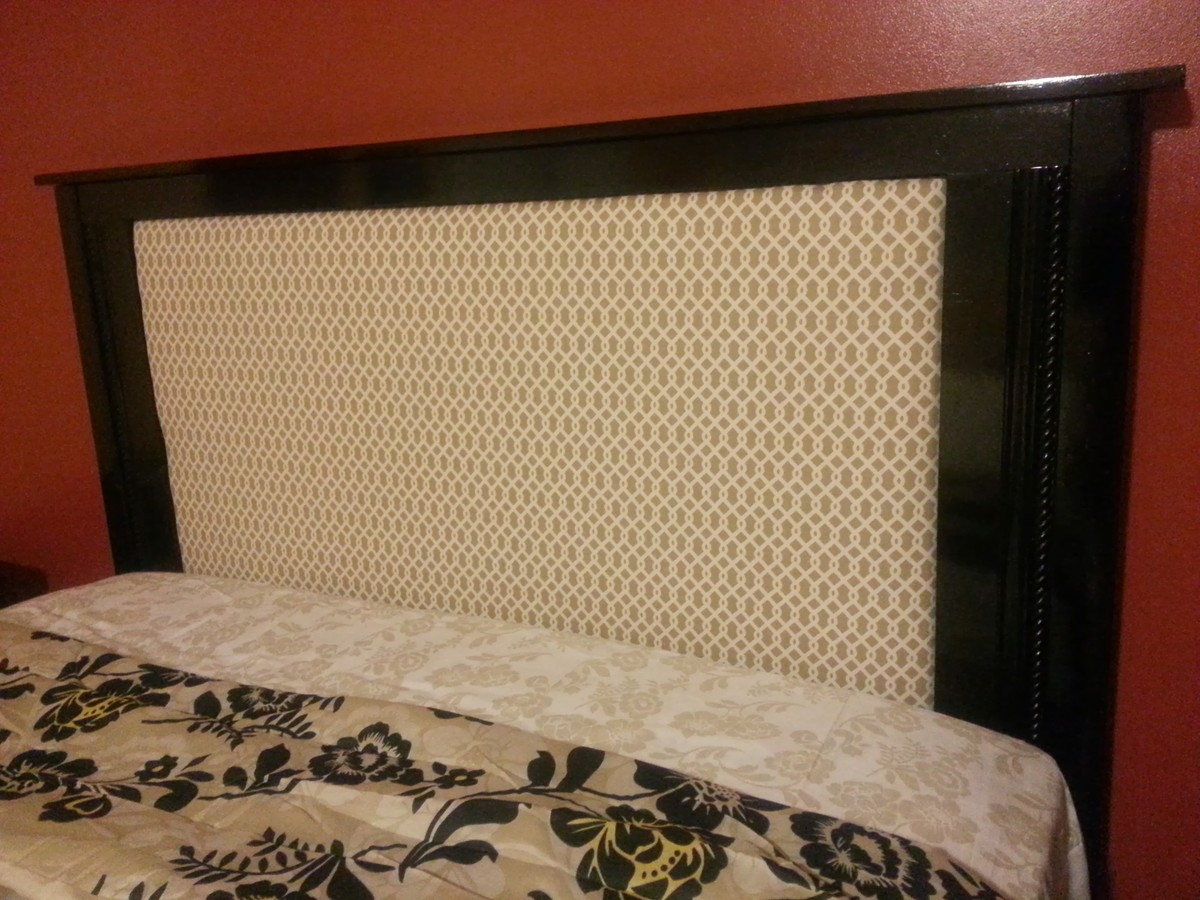
This bed was built completely out of necessity. Our old 30 year old bed (including mattress) had given me my last backache. A new bed and mattress set was too expensive so I decided to build the bed and spend the saved money on a mid class mattress. So glad I did! What I built seems waaaay better than what we could have afforded. And it only took me a long weekend plus a few days waiting for stain and polyurethane to dry. Plus the return trips to HD to purchase new lumber after making wrong cuts and the cheap furring strip I bought at first continuously split on me.o t

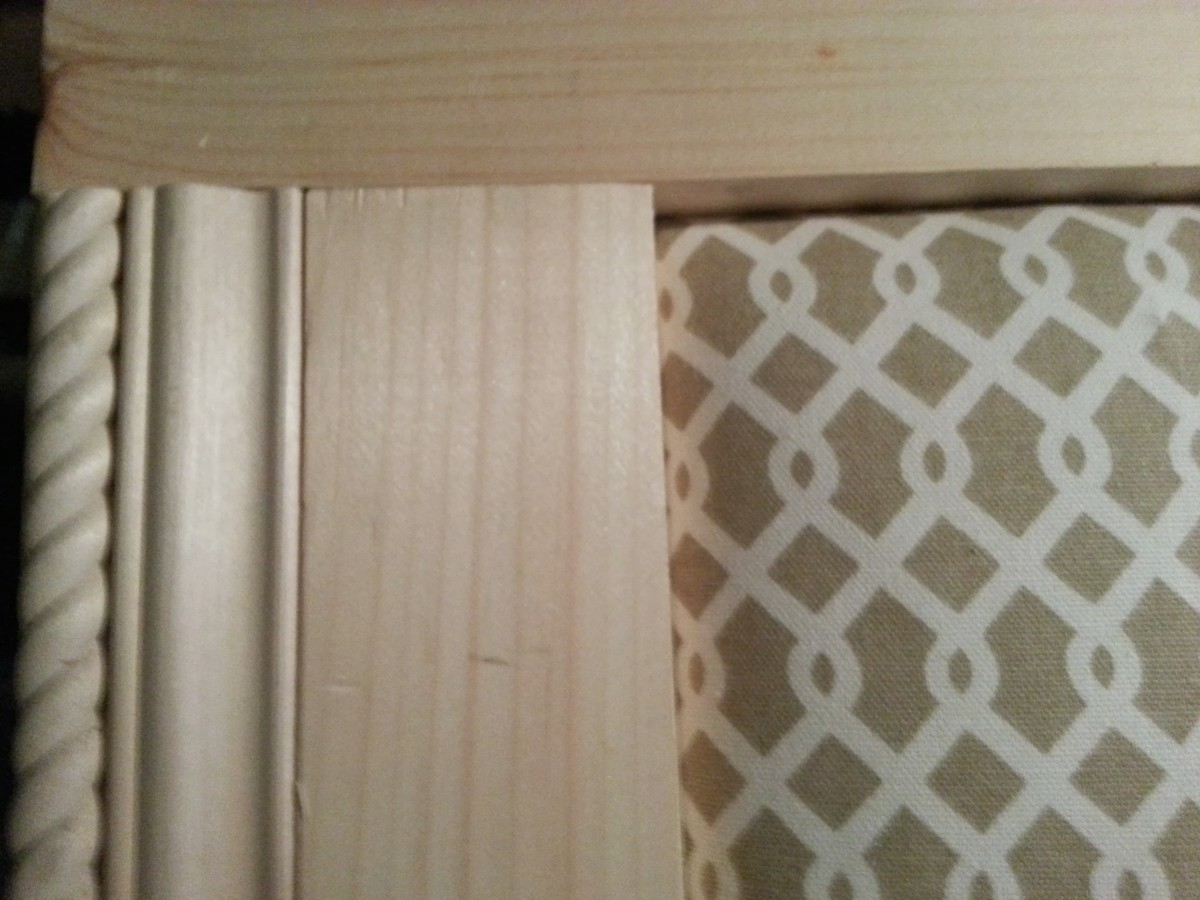
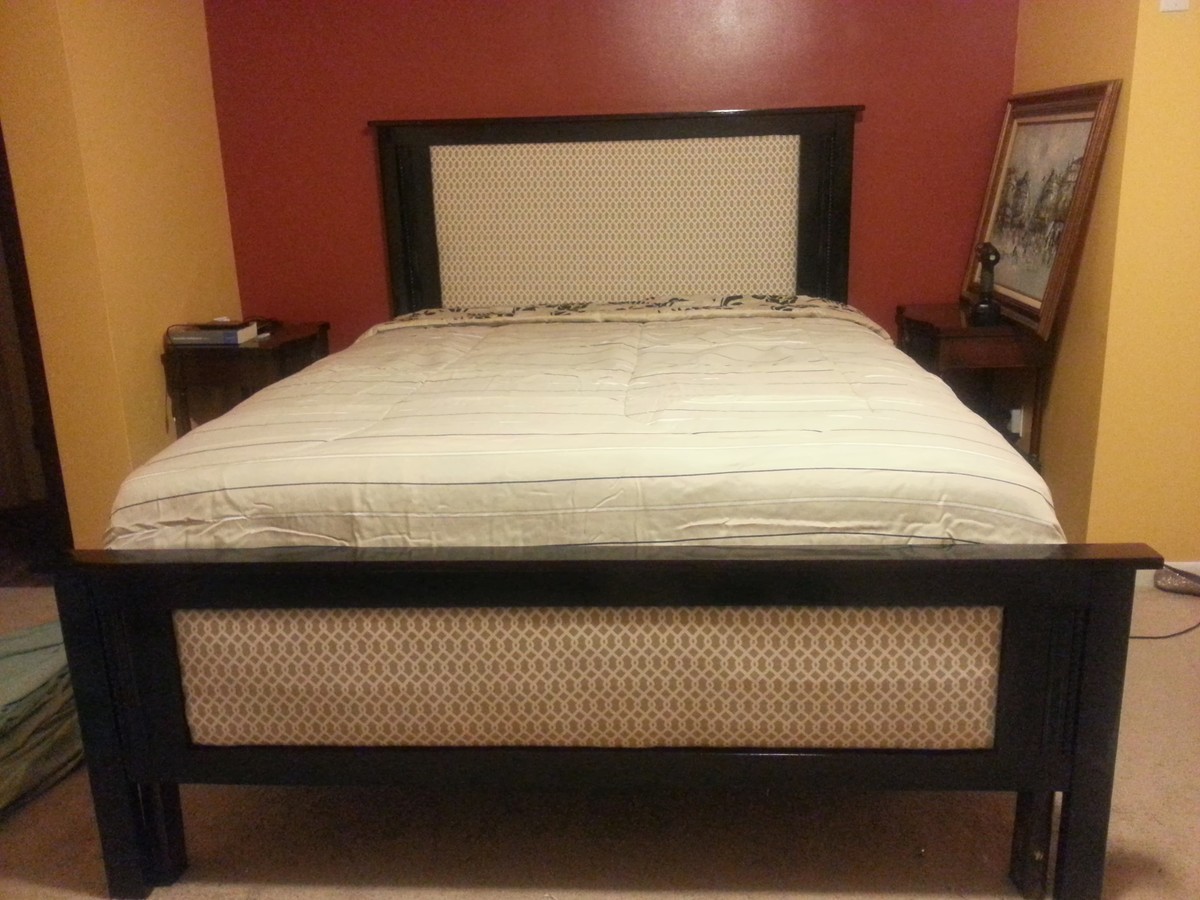
I wanted the box spring to fit inside of the frame as much as possible. I realized the farm house queen bed plan plus the platform bed plan that I was using did not do that a bit late. By then I had already glued and screwed on the side rails. So I just flipped the frame around and decided to go with that side. Later I realized that the inside width of the bed was 57!! (60 - 3 for the frame) so I needed to return to the store to get new wood for the frame since what I cut already was 3 inches too short. My already built headboard and foot board also would not fit like the plan suggested so I needed to improvise. What you see is mainly my improvisations as a result of many, many mistakes.

My bed has two sets of legs. I did not trust the headboard and footboard legs as I could not attach them as described so I added a set to the frame itself. I also made the upholstery so that I could easily change it by unscrewing it from the head and footboards.
Estimated Cost
$90. Less than $70 initially but went up with the addition of trims and mistakes. Already had fabric and foam.
Estimated Time Investment
Week Long Project (20 Hours or More)
Finish Used
3 coats of Minwax polyshades in satin followed by Minwax gloss polyurethane. I applied it using foam brushes.
I would have liked it to be lighter. Just as I thought the color was good - after 2 coats - I spilled half the can of stain onto the foot board. Was forced to brush that in and add another coat to the headboard.
Recommended Skill Level
Beginner

Comments

moosmani

Fri, 01/10/2014 - 20:10

Oh my! I had to giggle about your experience, especially the last part when you were forced to put on another coat after spilling half the can! Been there, done that. You did a great job at improvising and I'm impressed you could keep the cost so low. I really like the dark color. Great job!

moosmani

Fri, 01/10/2014 - 20:09

Oh my! I had to giggle about your experience, especially the last part when you were forced to put on another coat after spilling half the can! Been there, done that. You did a great job at improvising and I'm impressed you could keep the cost so low. I really like the dark color. Great job!

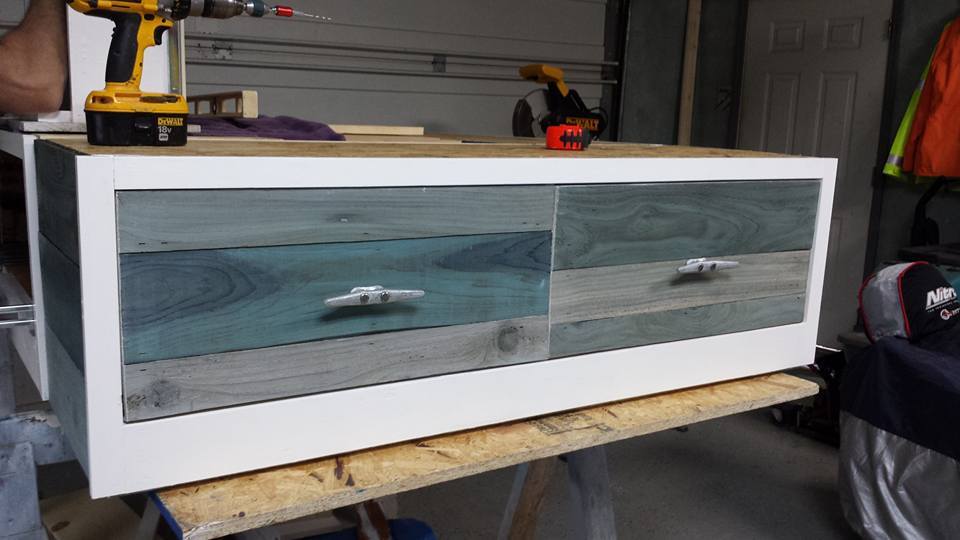
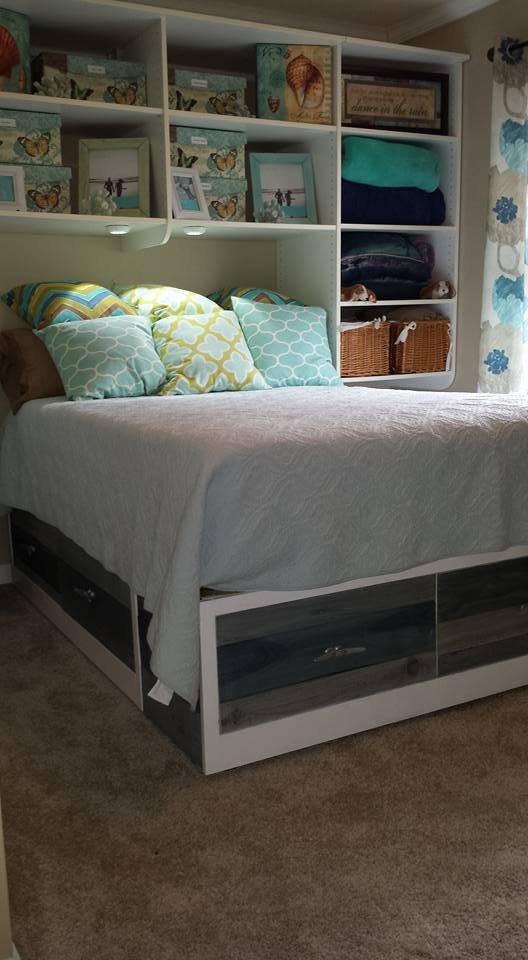
My project with coastal theme

Submitted by Anonymous (not verified) on Sat, 04/02/2016 - 08:12

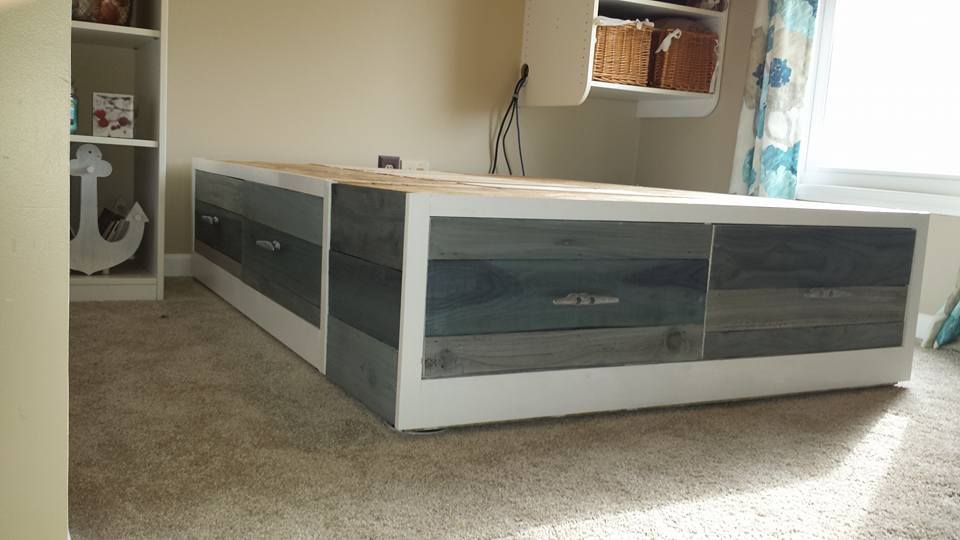
My Brandy Scrap bed with drawers, with a coastal theme. Made from scrap left over from an accent cedar wall. Originally stained with vinegar and steel wool and added some white wash and blue wash for color!

Estimated Cost
$200
Estimated Time Investment
Week Long Project (20 Hours or More)
Finish Used
Vinegar and steel wool with white wash and blue wash
Recommended Skill Level
Starter Project

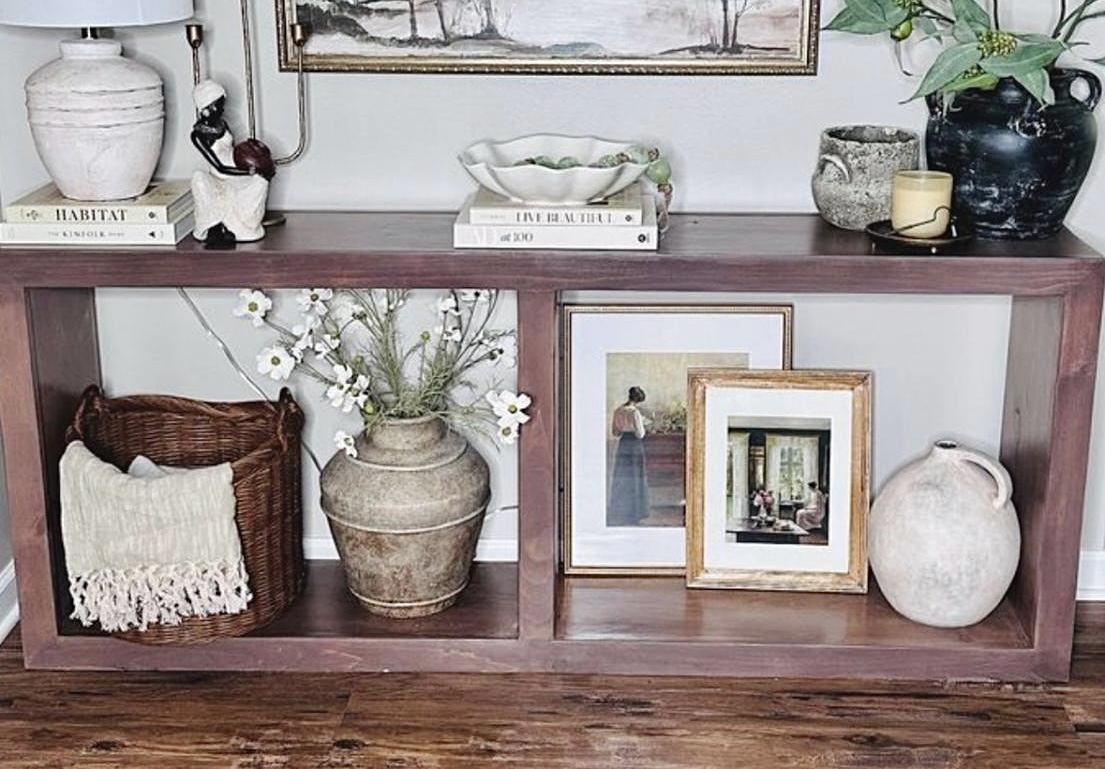
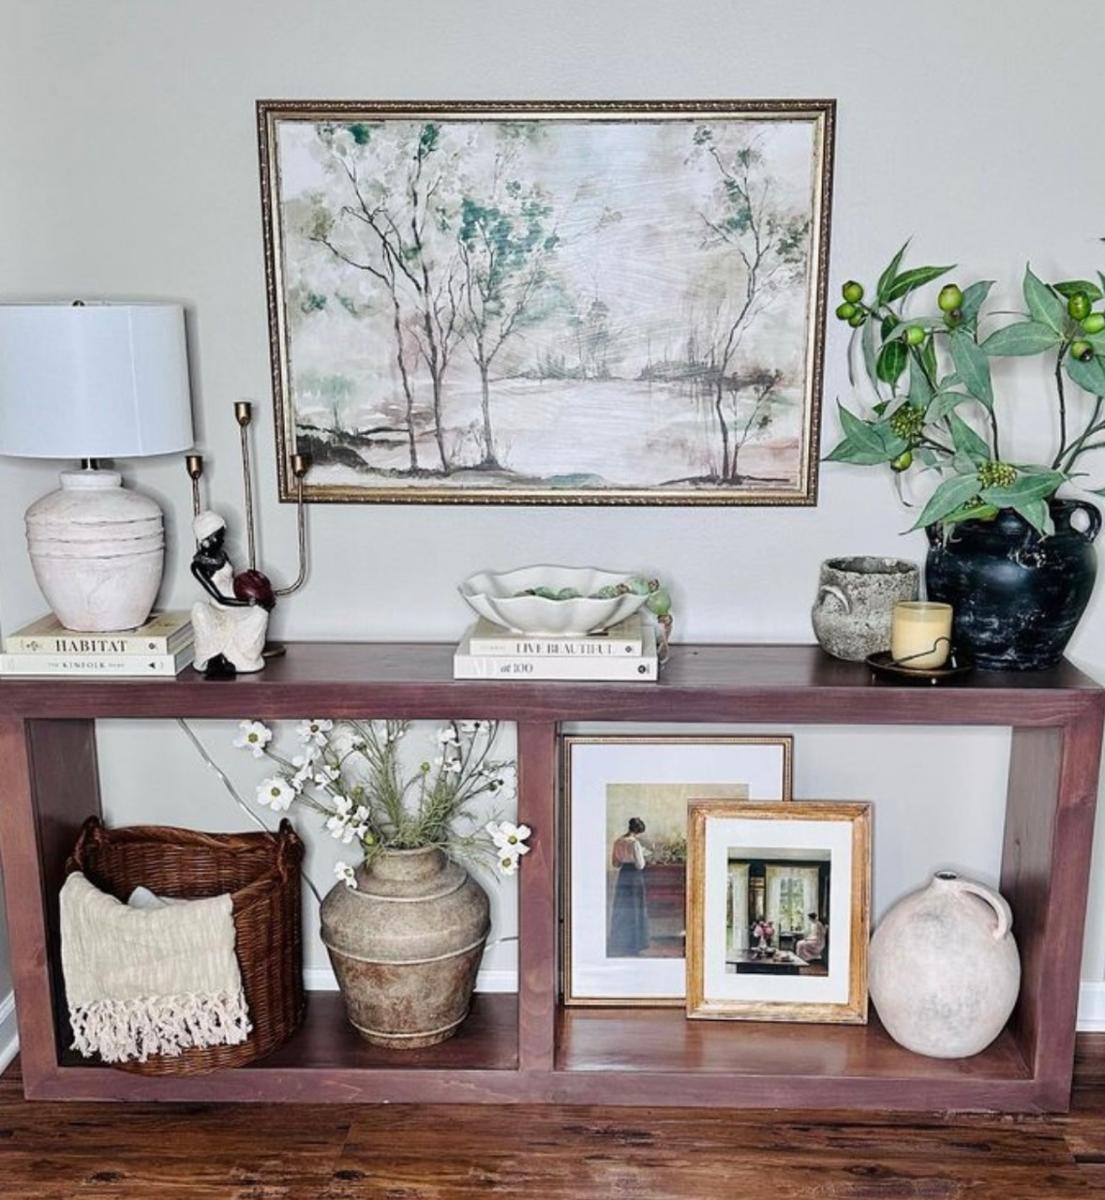
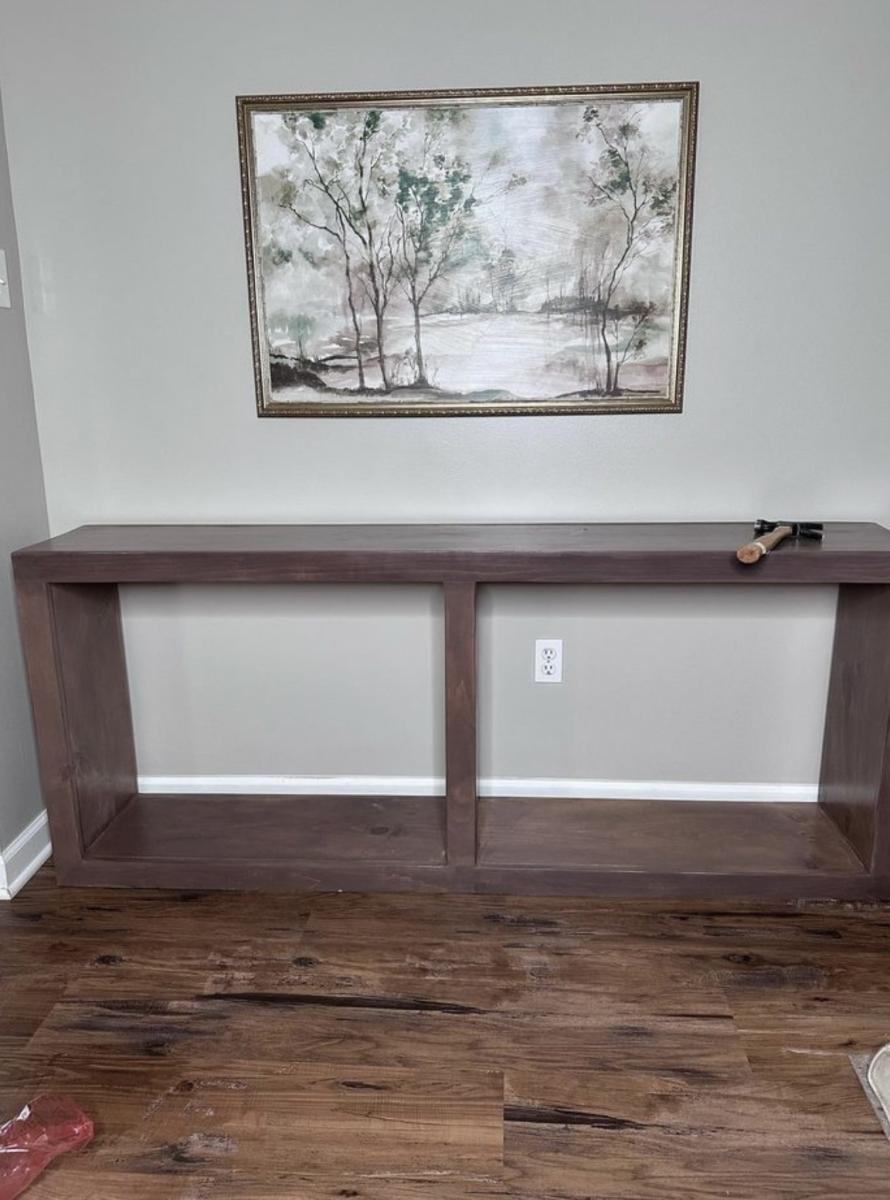
Waterfall Framed Grand Console Table

Submitted by Anonymous (not verified) on Sun, 08/06/2023 - 14:00

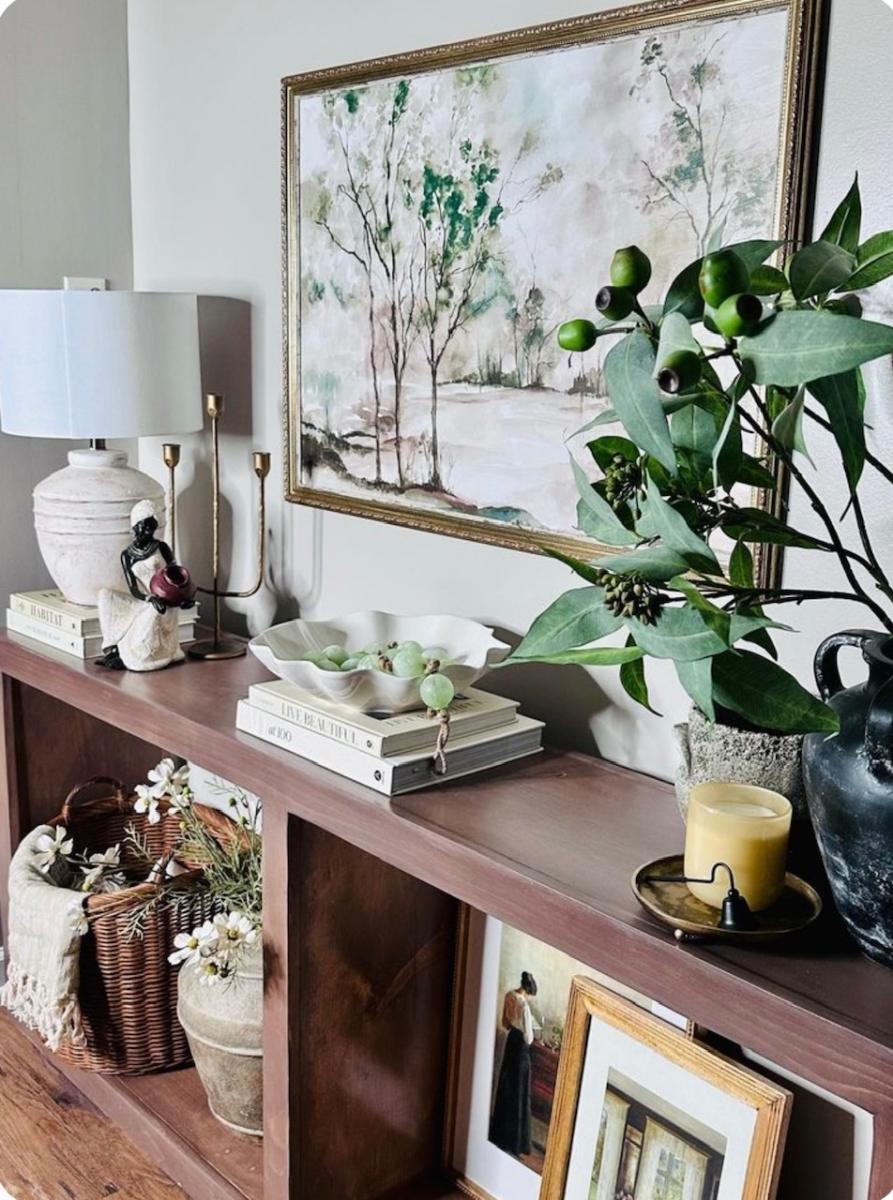
Stunning Waterfall Console Table Build by lipsticksandsawdust on Instagram

Comments

Easy Kitchen Island

Submitted by khewatt on Fri, 03/23/2012 - 19:35

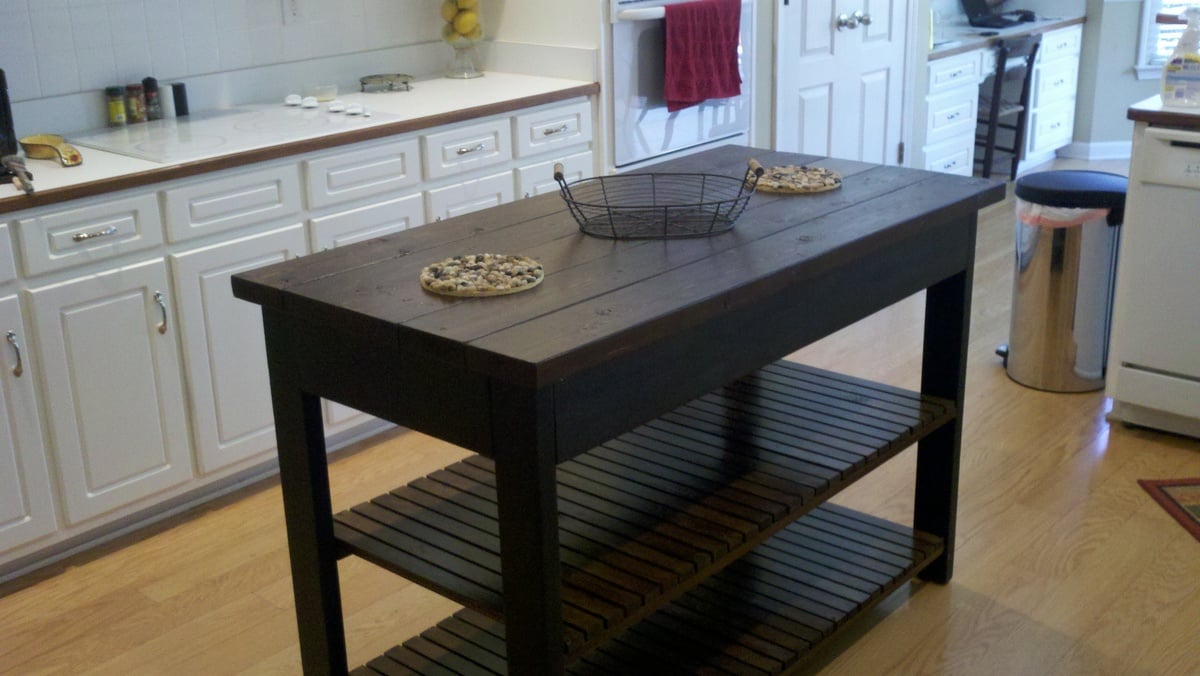
An easy to build and very sturdy kitchen island. My father and son constructed the island itself. I stained and painted the island. The construction was relatively easy. Painting and staining were easy, but time consuming because of dry times.
Built from Plan(s)
Estimated Cost
$125
Estimated Time Investment
Weekend Project (10-20 Hours)
Finish Used
Stain- Minwax Wood Finish- color: special walnut
Paint- Behr Premium Plus Flat Enamel- color: Beluga
Polyurethane- Minwax
Recommended Skill Level
Beginner

Comments

Barn Beam Ledge - First Project!

Submitted by divertete on Sun, 01/12/2014 - 13:00

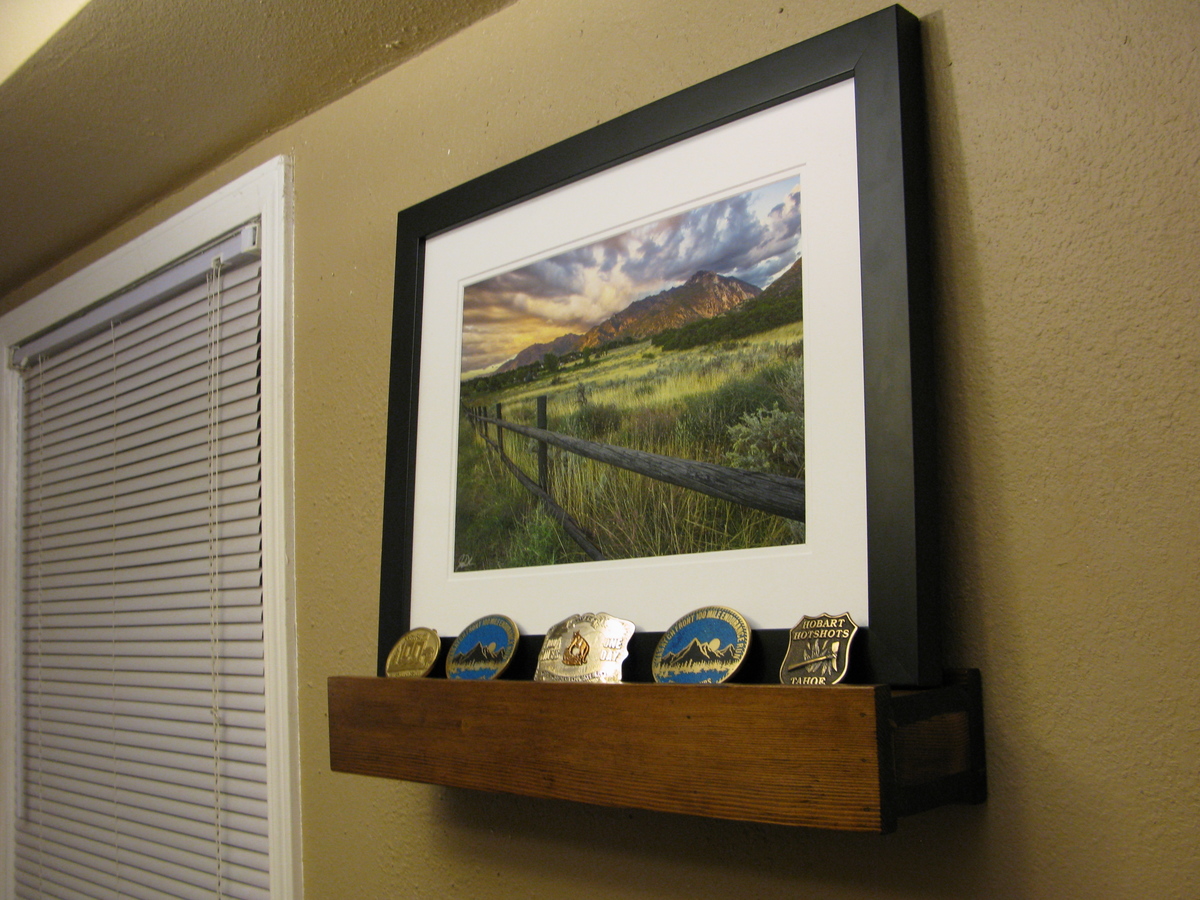
This was my first project since shop class in 7th grade (20 years ago)! Picked this beautiful shelf as a Christmas present to my husband to show off his hard-earned trophies from his ultramarathons (100+ miles of running). Next time I would make it a bit longer, and use end grain on the sides for a more even color. Came together easily, and can't wait for my next project! Picture is from Jay Dash Photography, of the Wasatch Mountains in Utah.

Built from Plan(s)
Estimated Cost
$30 (including supplies)
Estimated Time Investment
Afternoon Project (3-6 Hours)
Finish Used
Minwax conditioner followed by Minwax dark walnut stain (one coat), and semi-gloss poly
Recommended Skill Level
Starter Project

Comments

Barn Door Entertainment Center

Submitted by Anonymous (not verified) on Mon, 04/04/2016 - 19:27

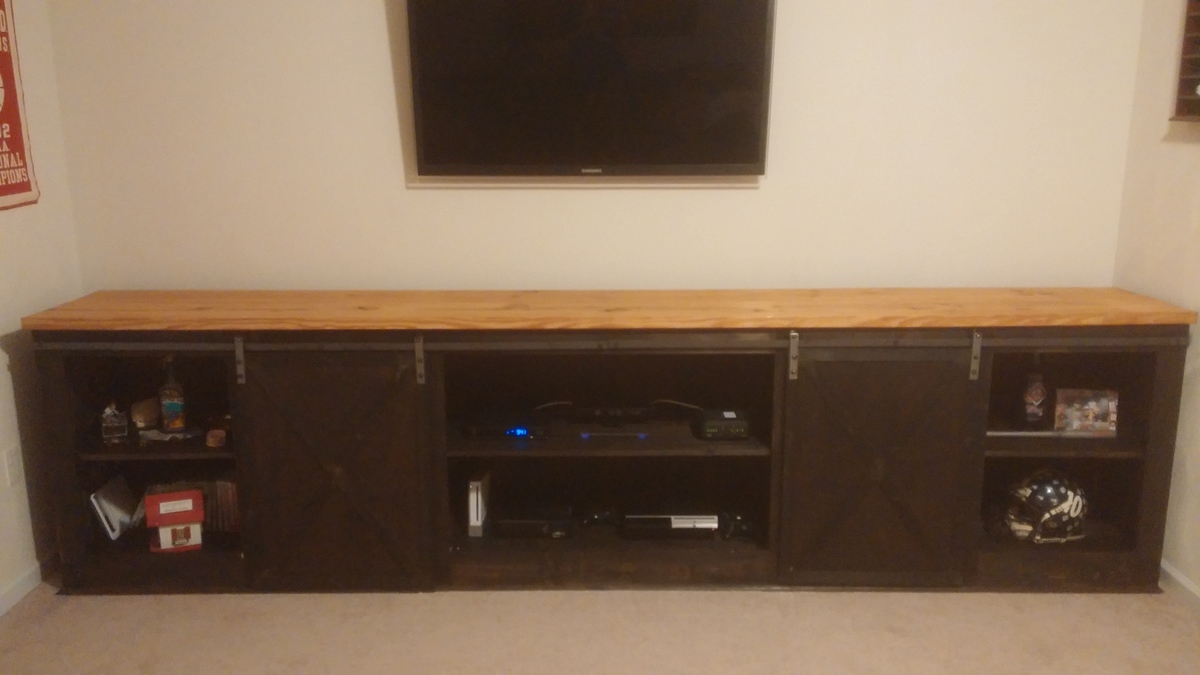
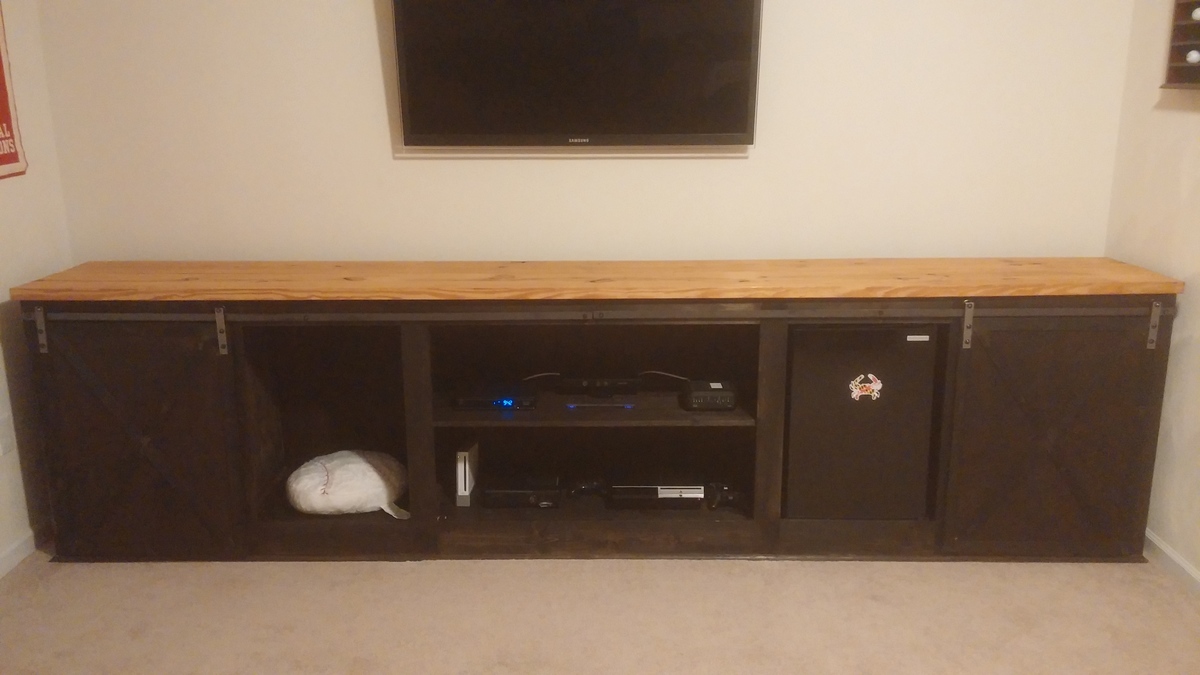
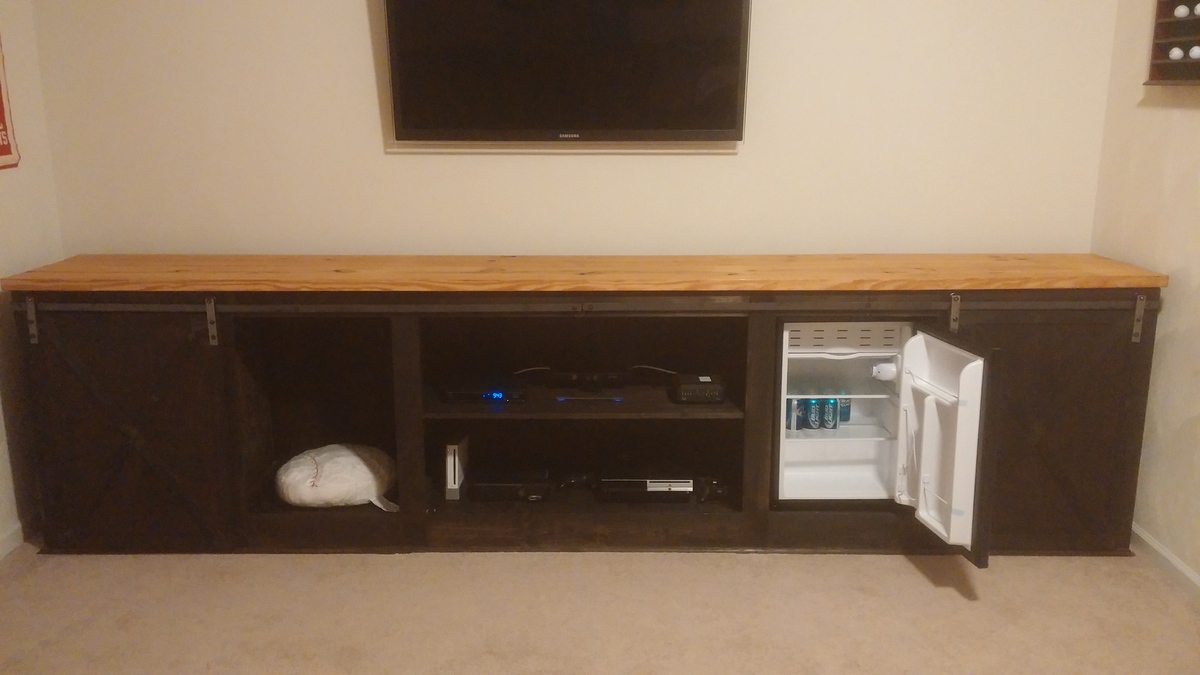
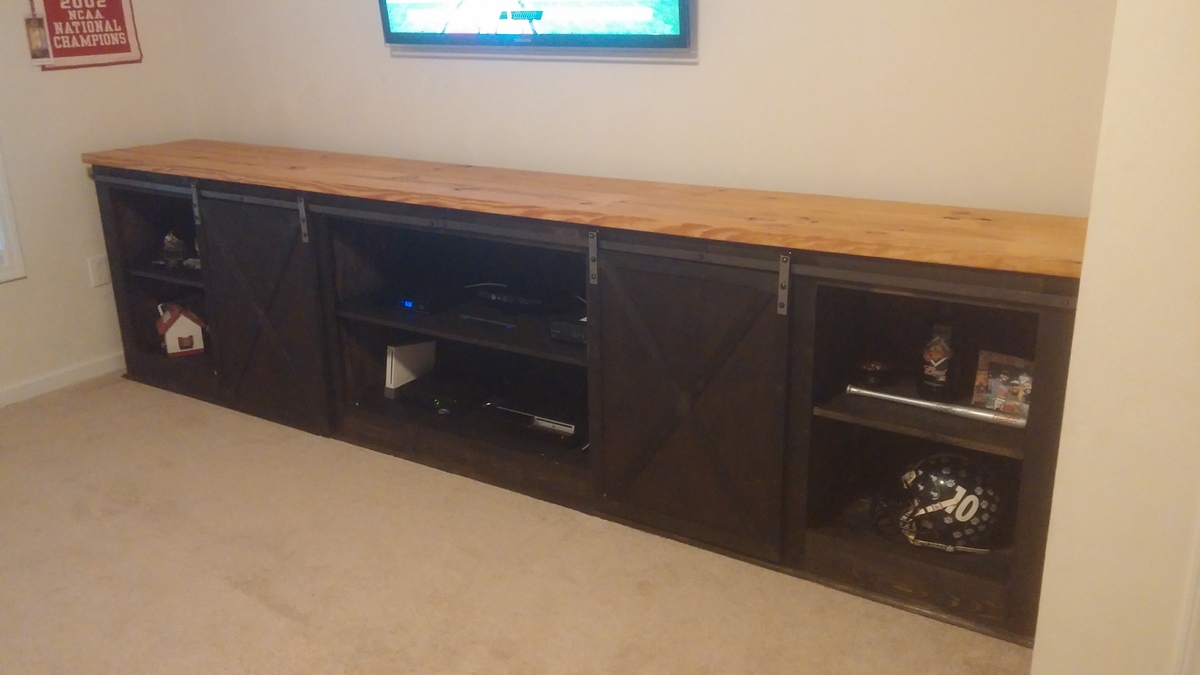
I took the Grandy Sliding Door Console plans and added another middle section to make the entire plan fit the nook in my man cave. I manipulated the plans to have openings without shelves to fit a mini fridge and an area for blankets (currently in the wash). Total length is 12 ft and height is 37.5 inches high (36 inches + the top). I tried to stain it to match another table in the room and it worked out pretty well.

Built from Plan(s)
Estimated Time Investment
Week Long Project (20 Hours or More)
Finish Used
Minwax Ebony for the face/base and Minwax Colonial Maple for the top.
Recommended Skill Level
Intermediate

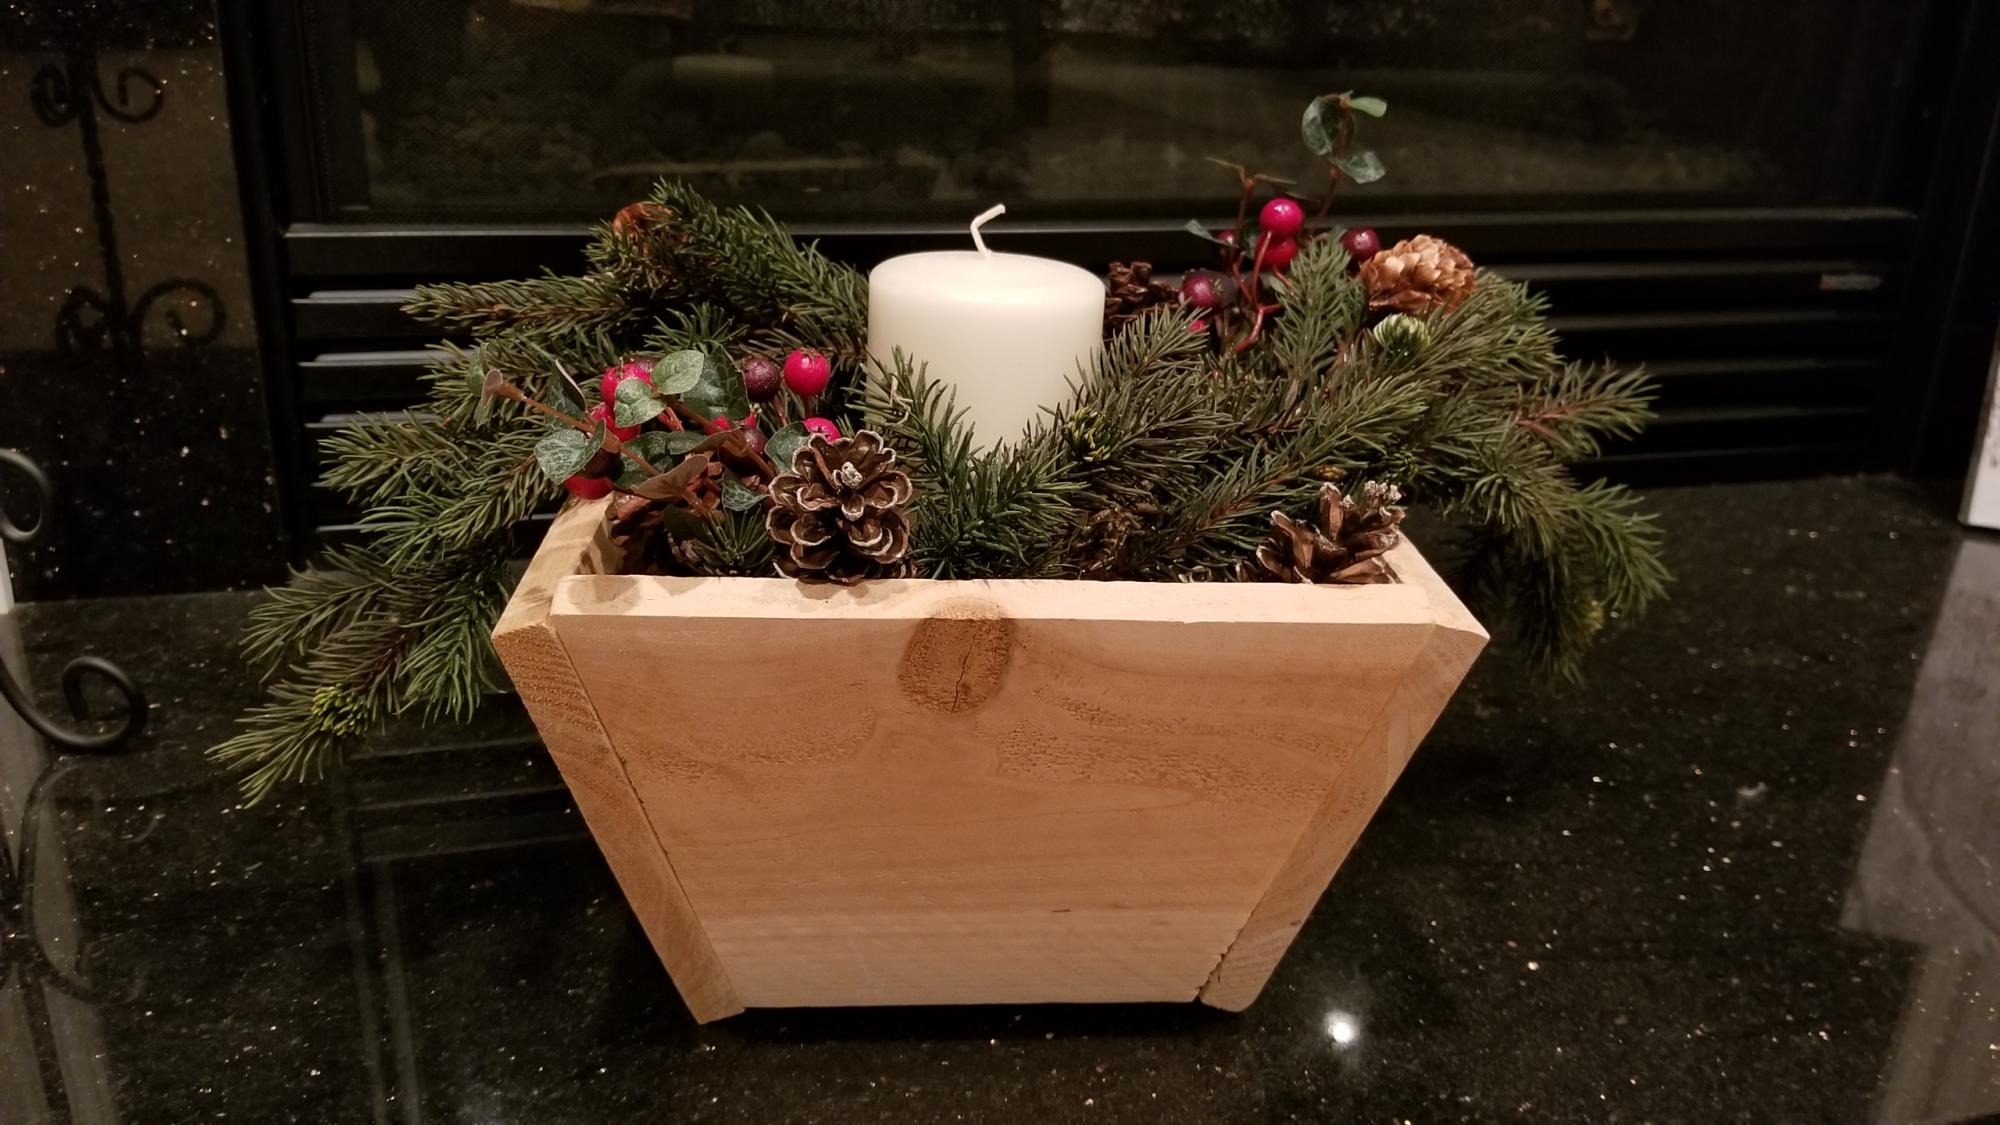
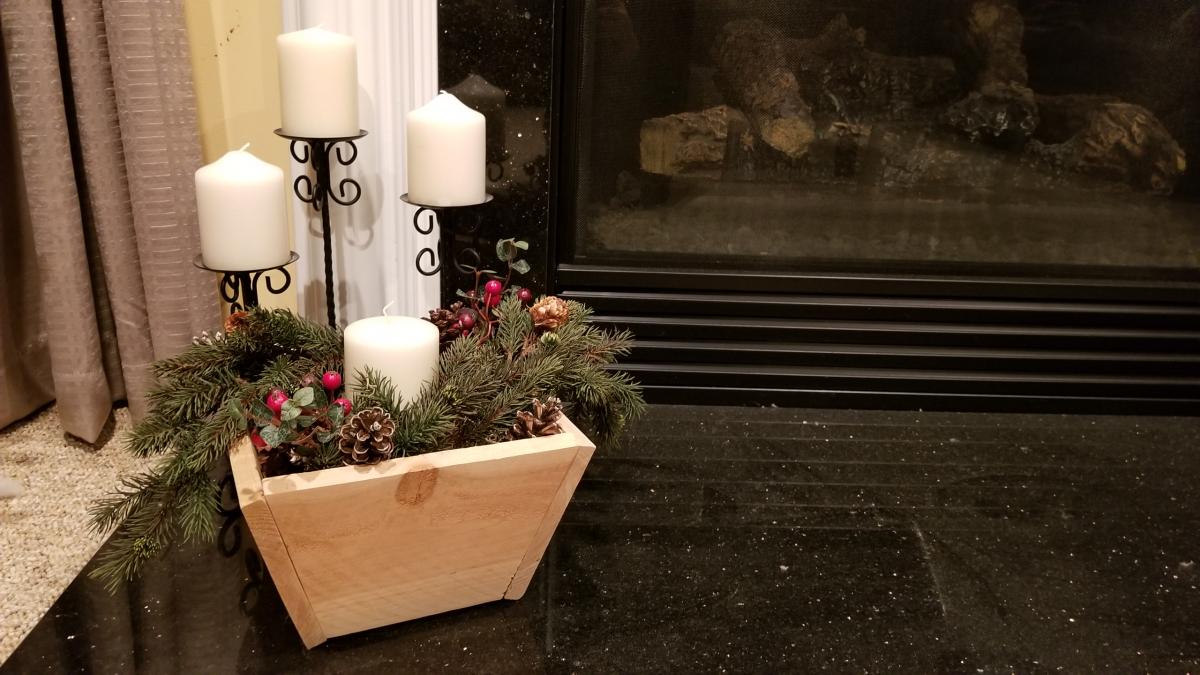
Christmas Cedar Planter

Submitted by LampAtFeet on Tue, 12/10/2019 - 19:21

I loved the plans for the cedar planter. It was a quick build and it's such a versatile item. I left the wood natural to give it a more rustic look. I'm planning to make a longer planter to use as a gift basket for Christmas gifts. 

Estimated Cost
$2
Estimated Time Investment
An Hour or Two (0-2 Hours)
Finish Used
Wipe on satin polyurethane
Recommended Skill Level
Beginner

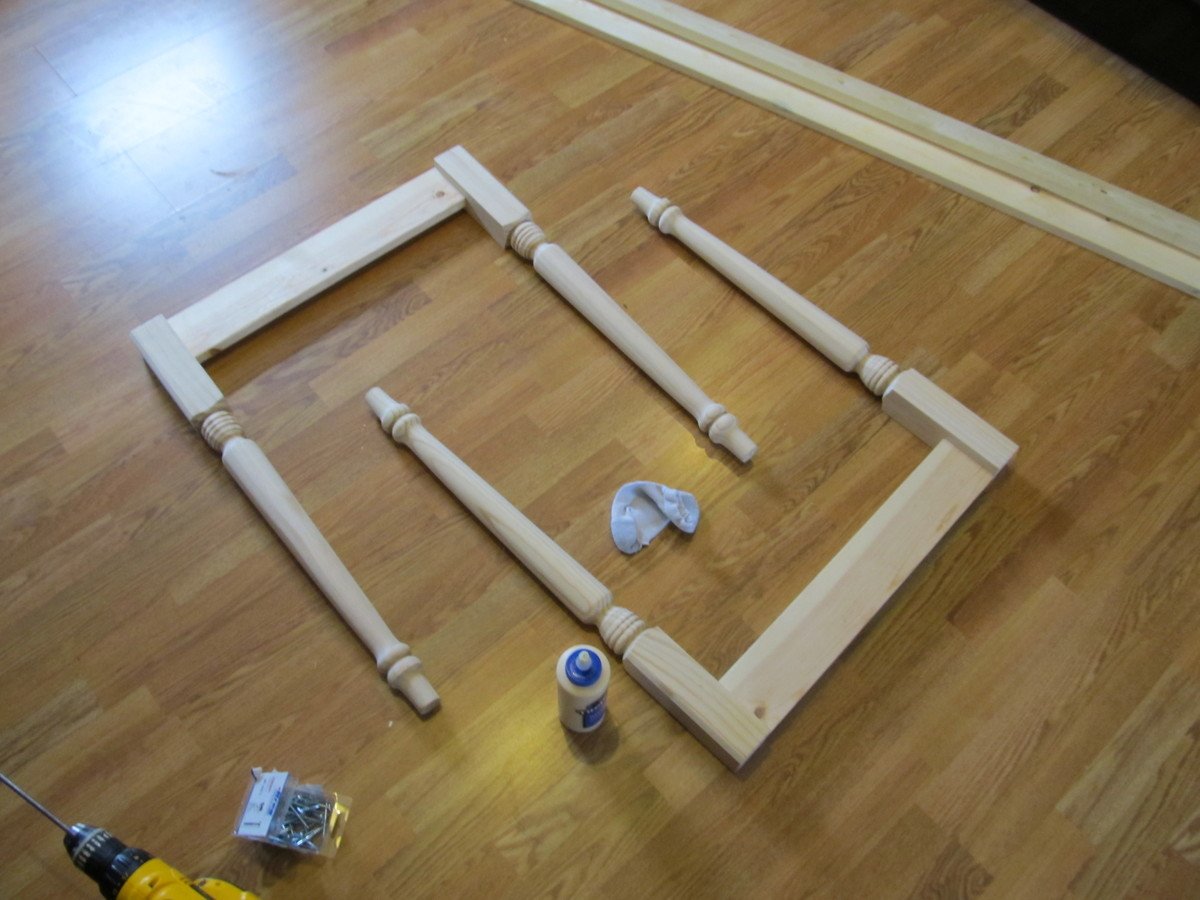
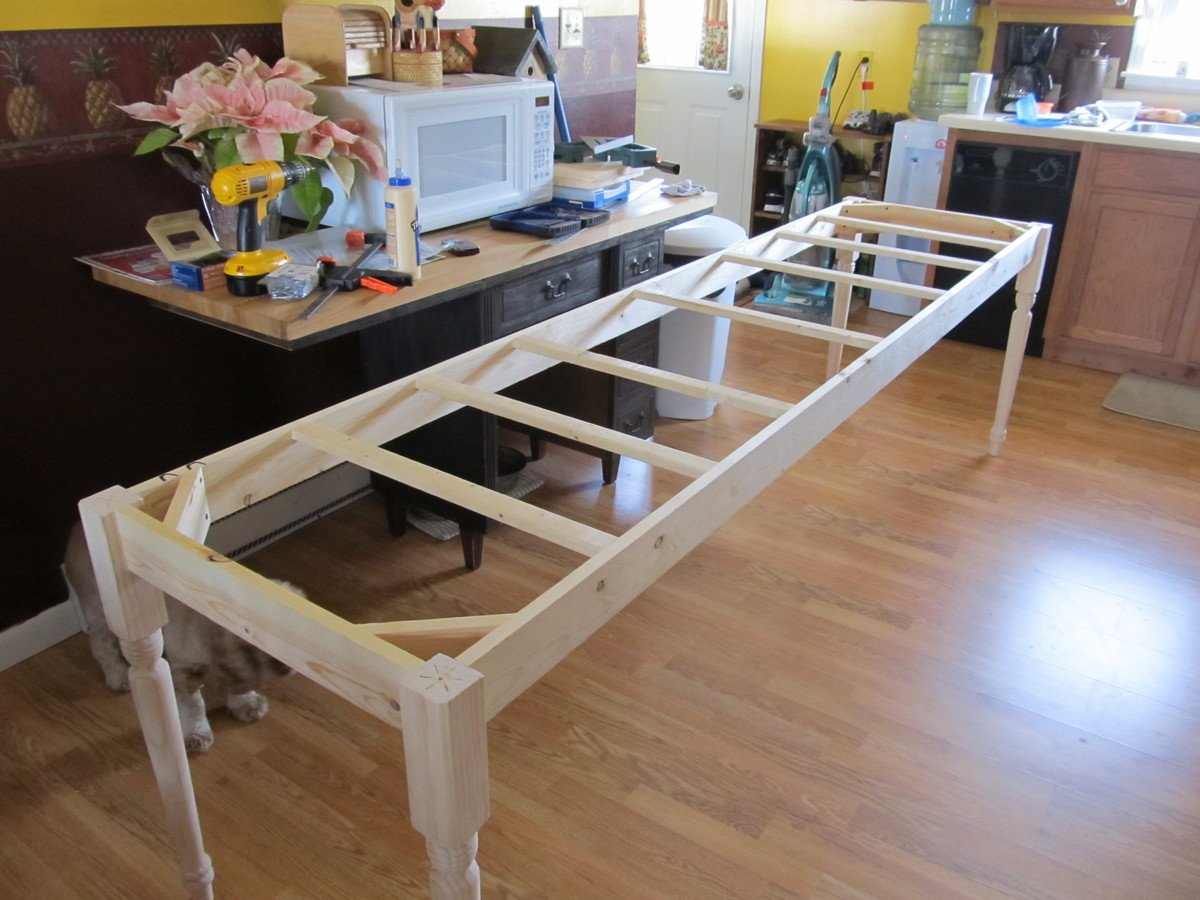
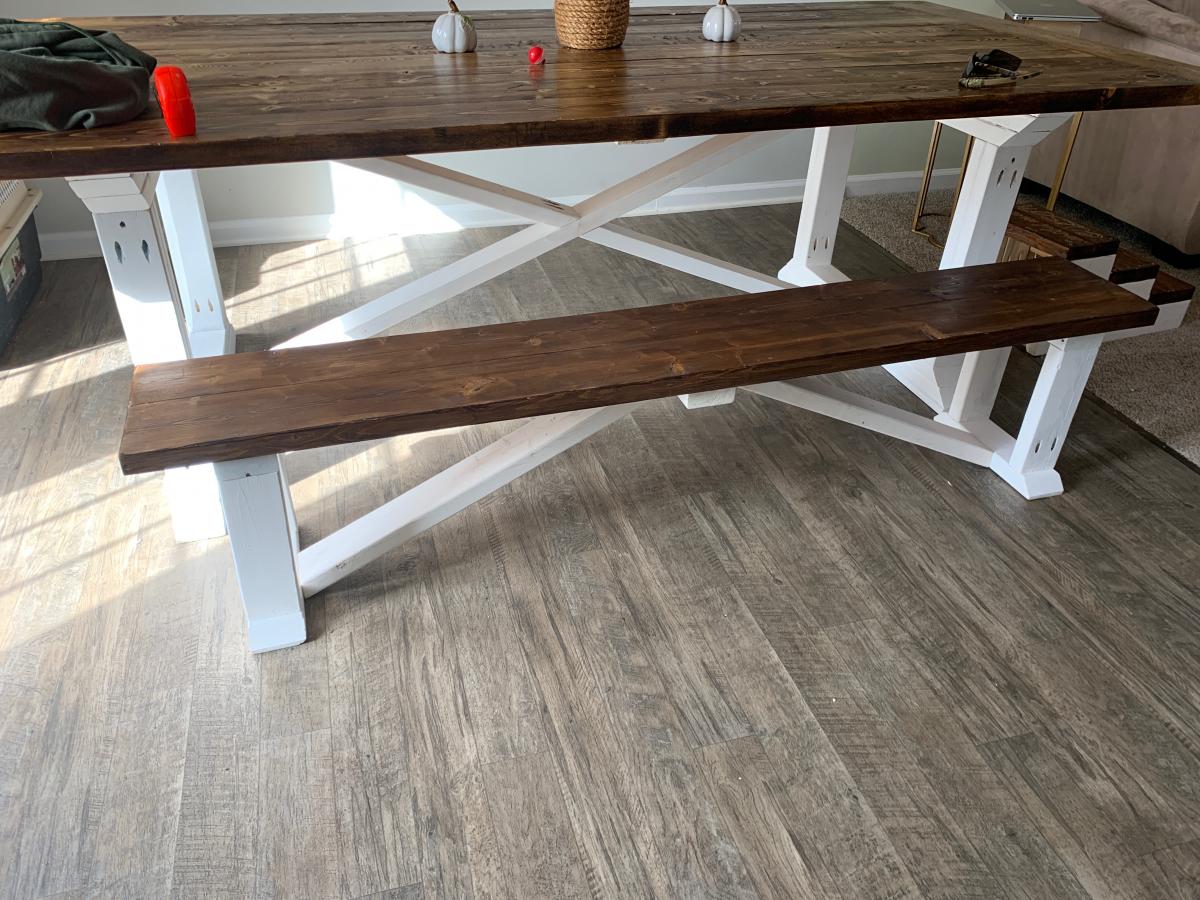
Whitney's Turned Leg Farmhouse Table

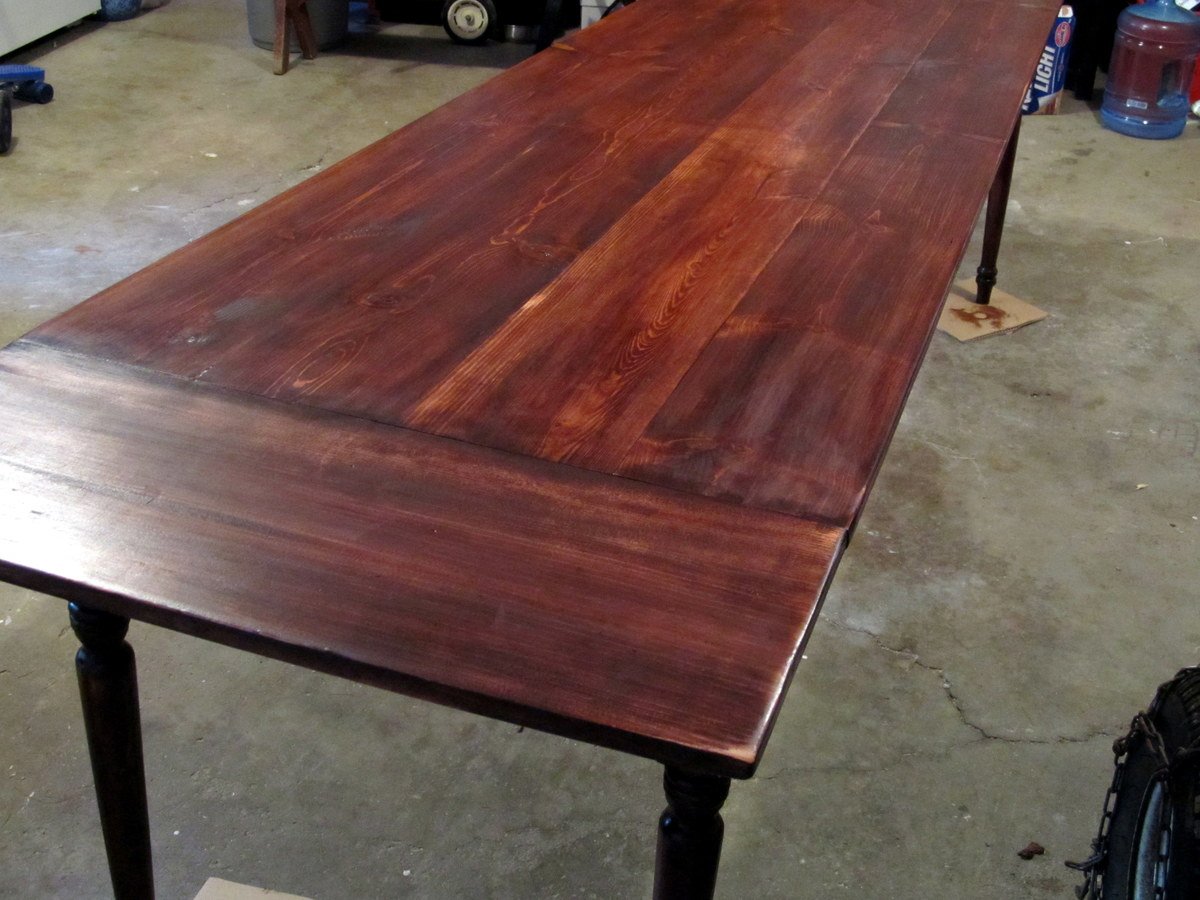
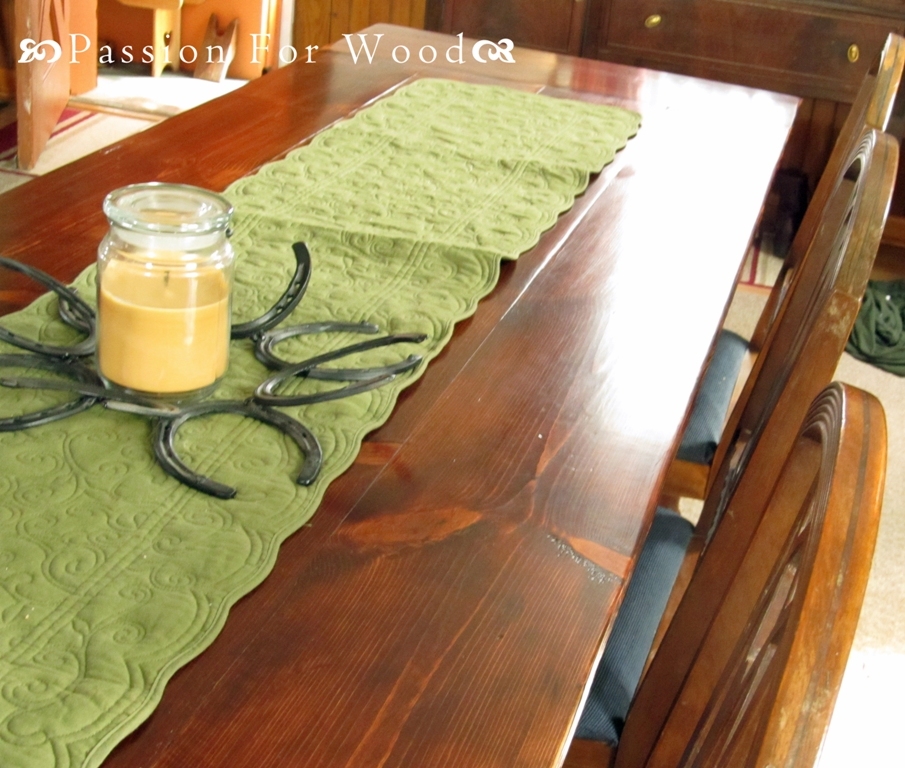
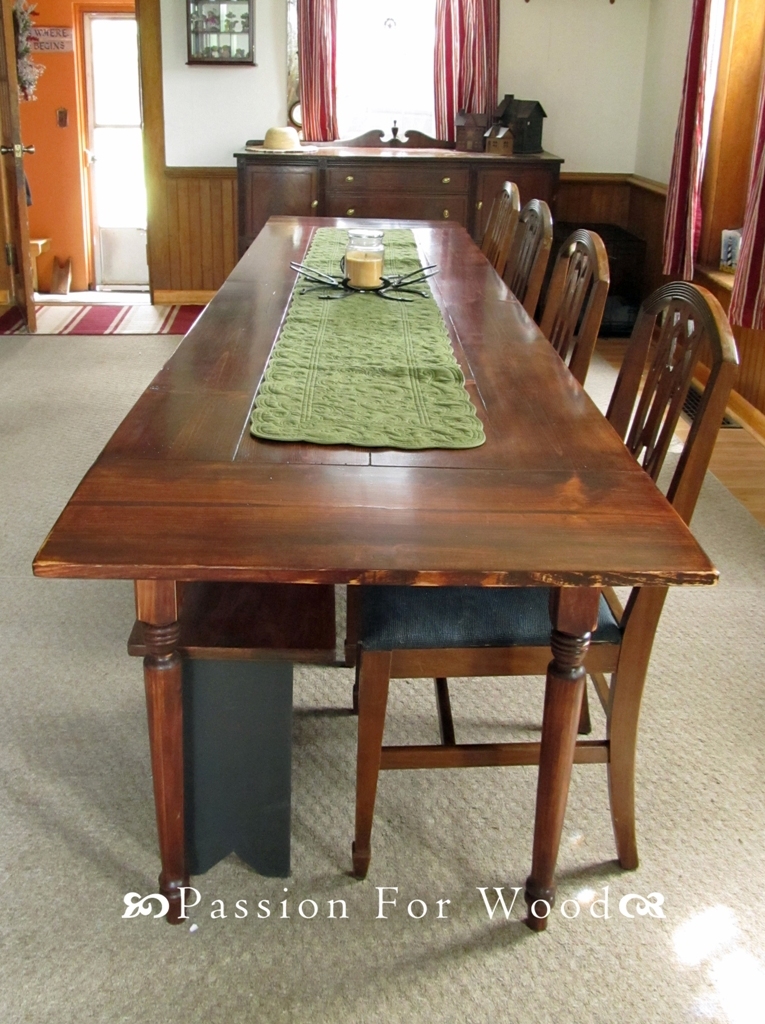
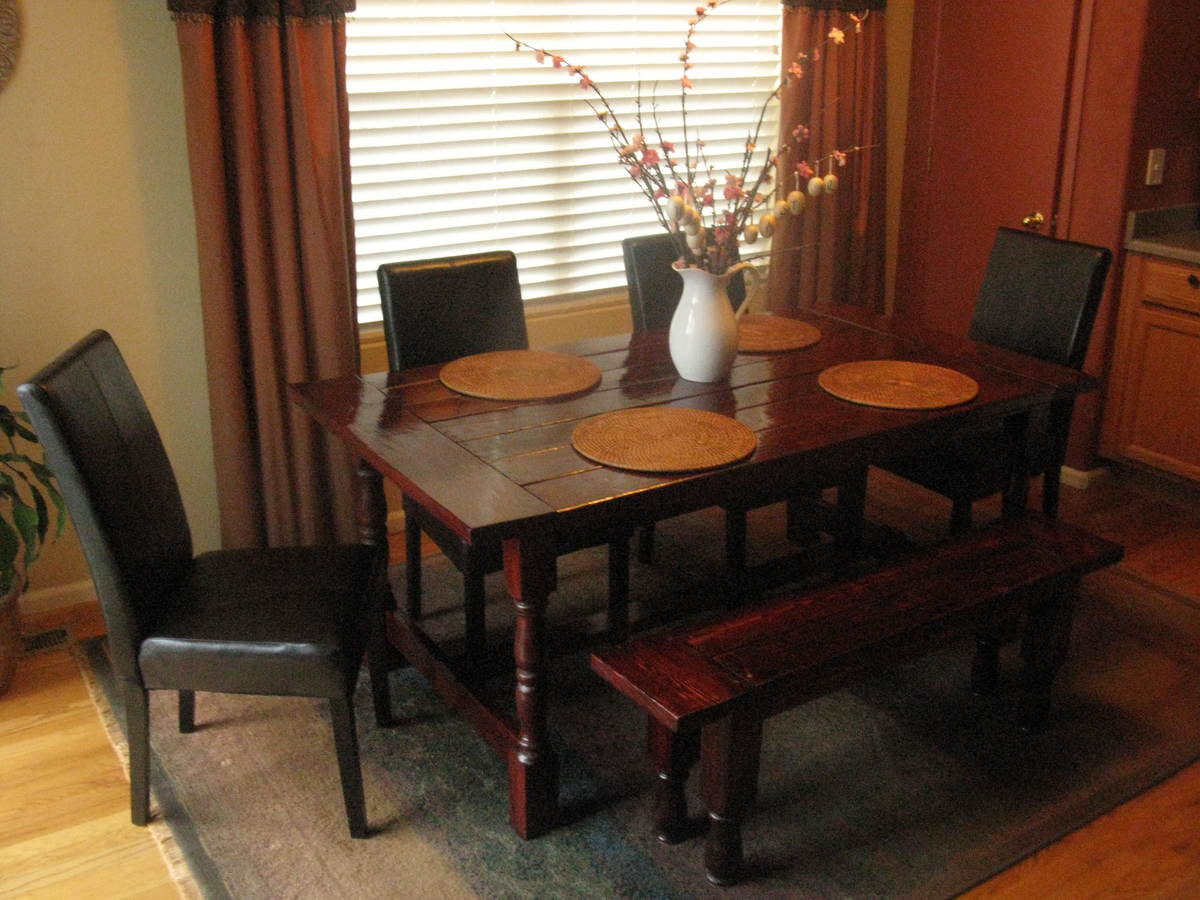
I worked up the plans in my head for about a year before my mother finally got around to having me build her 10 foot farmhouse table. That's right, this bad boy is TEN FEET LONG! And it was one of the simplest things to construct!. I used 8 foot 1x8's for the length of the table (used 4, making the table 29" wide) and 1x12's for the breadboard ends. We also splurged and purchased turned legs for $15 a piece at Blue. It really made the table extra special. Totally cost, with finishing supplies came in under $150.

Things I would change if/when I do a table of this size again:
1) I would never make a BB end so large again. I would stick to a 1x6 or smaller. With such a large size we worry about children putting too much pressure on the ends.
2) I will make the legs removable. It was a bear trying to get this table into the house. Thankfully the width was just narrow enough!
3) I won't tackle this in the winter months! Construction of the table took only a few hours but finishing in freezing temps took weeks waiting for warm-ish temperatures.

Built from Plan(s)
Estimated Cost
Less than $150
Estimated Time Investment
Weekend Project (10-20 Hours)
Finish Used
Sand, sand, then sand some more! 2 coats of Minwax Mahogany Gel Stain. 2 coats of poly on legs/base. 4 coats of poly on table top with 0000 steel wool sanding between coats
Recommended Skill Level
Intermediate

Comments

Square Modern Farmhouse Table

Submitted by Cheli on Wed, 01/15/2014 - 08:57

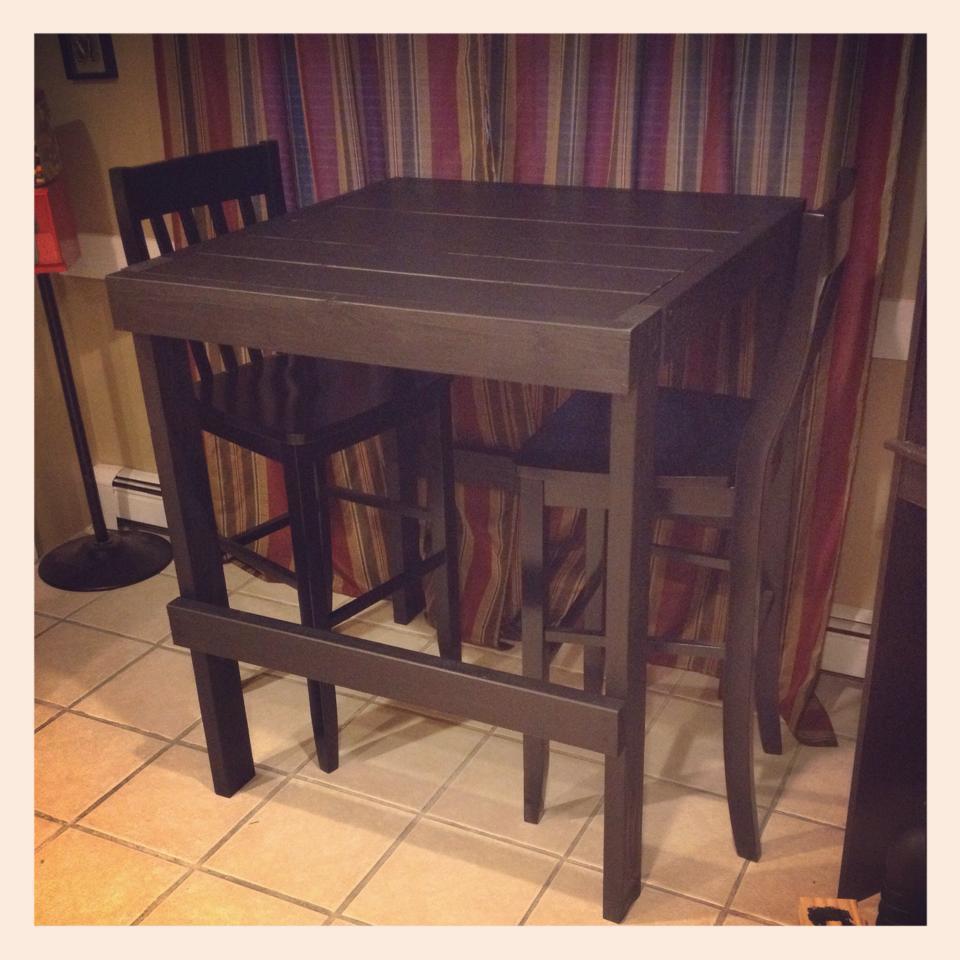
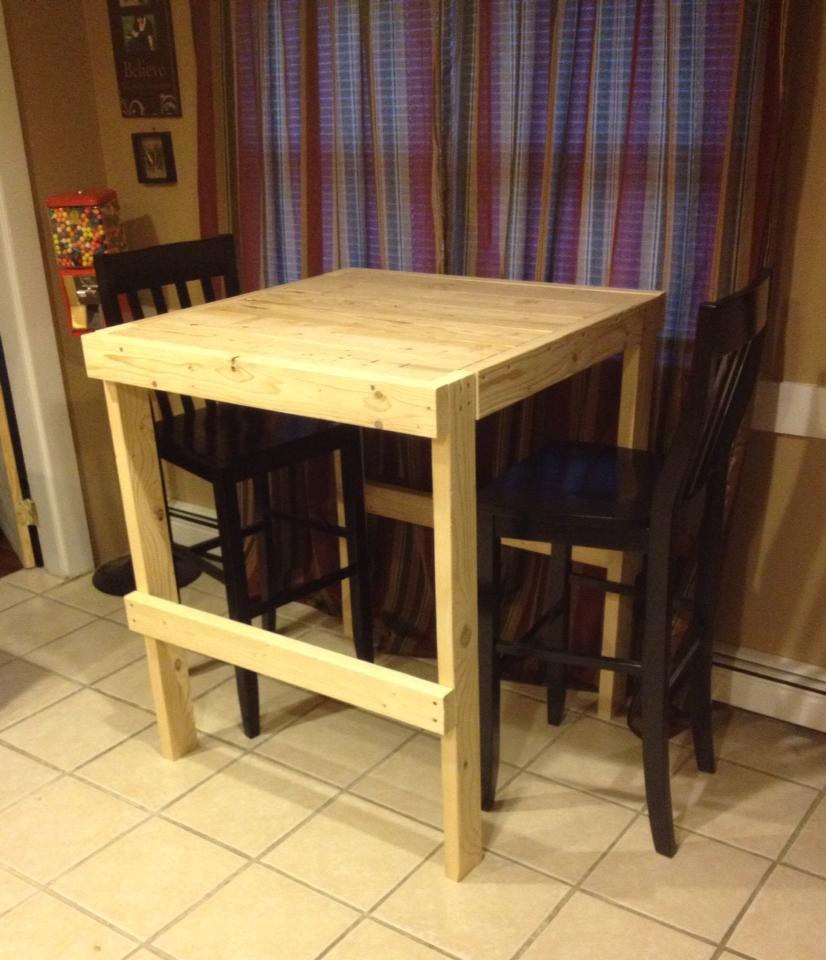
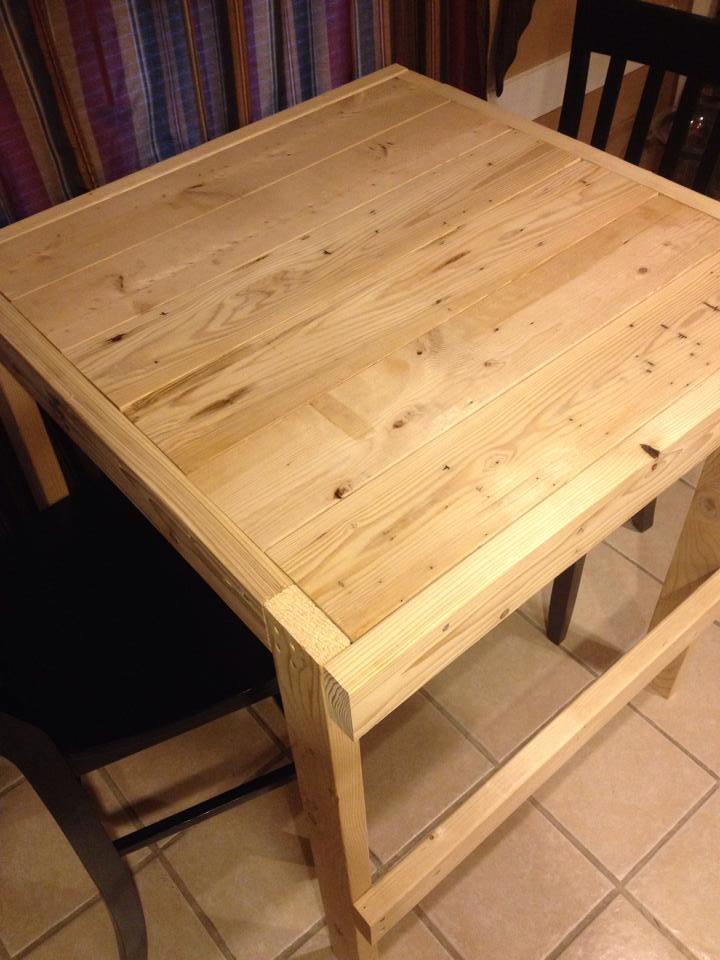
I modified this pattern to use with tall bar stools I already had. I built it 42" high and added a foot bar along the bottom for added stability since it's tall. The foot bar is only across the front and back so the stools can still slide in on the sides.

This table is exactly what I was looking for and I couldn't be any happier with how it turned out.

Estimated Cost
$50 (This cost doesn't include the paint I already had)
Estimated Time Investment
Afternoon Project (3-6 Hours)
Finish Used
I painted with three coats of black eggshell paint. I haven't put a finish on it yet but I plan on using a couple coats of Minwax urethane.
Recommended Skill Level
Beginner

Dining Room Table

Submitted by RetroFit on Thu, 04/07/2016 - 18:18

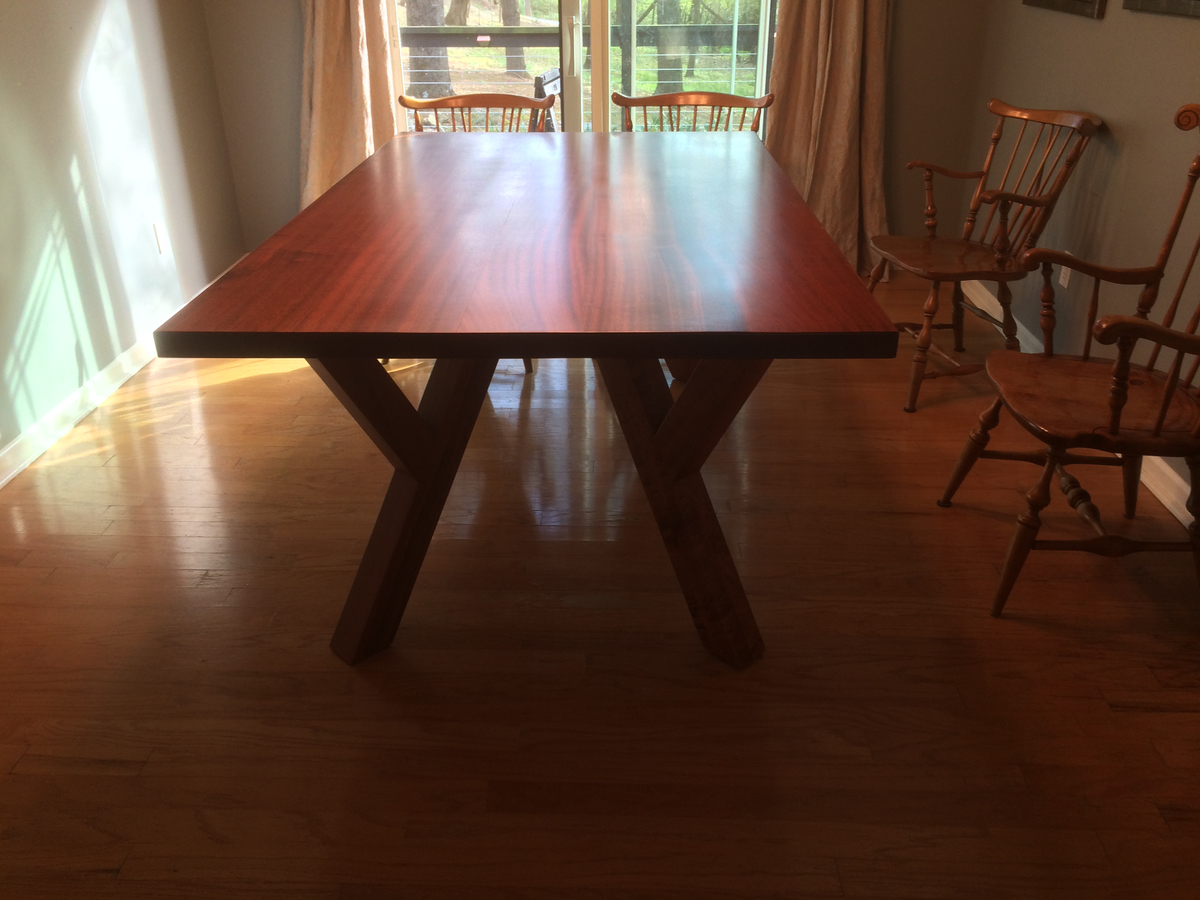
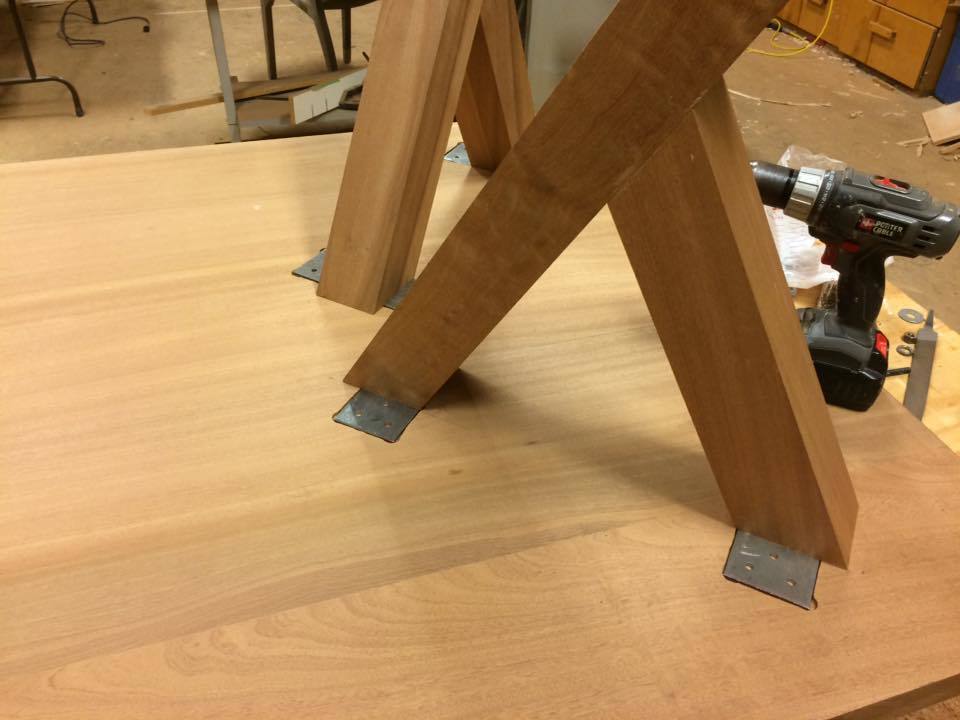
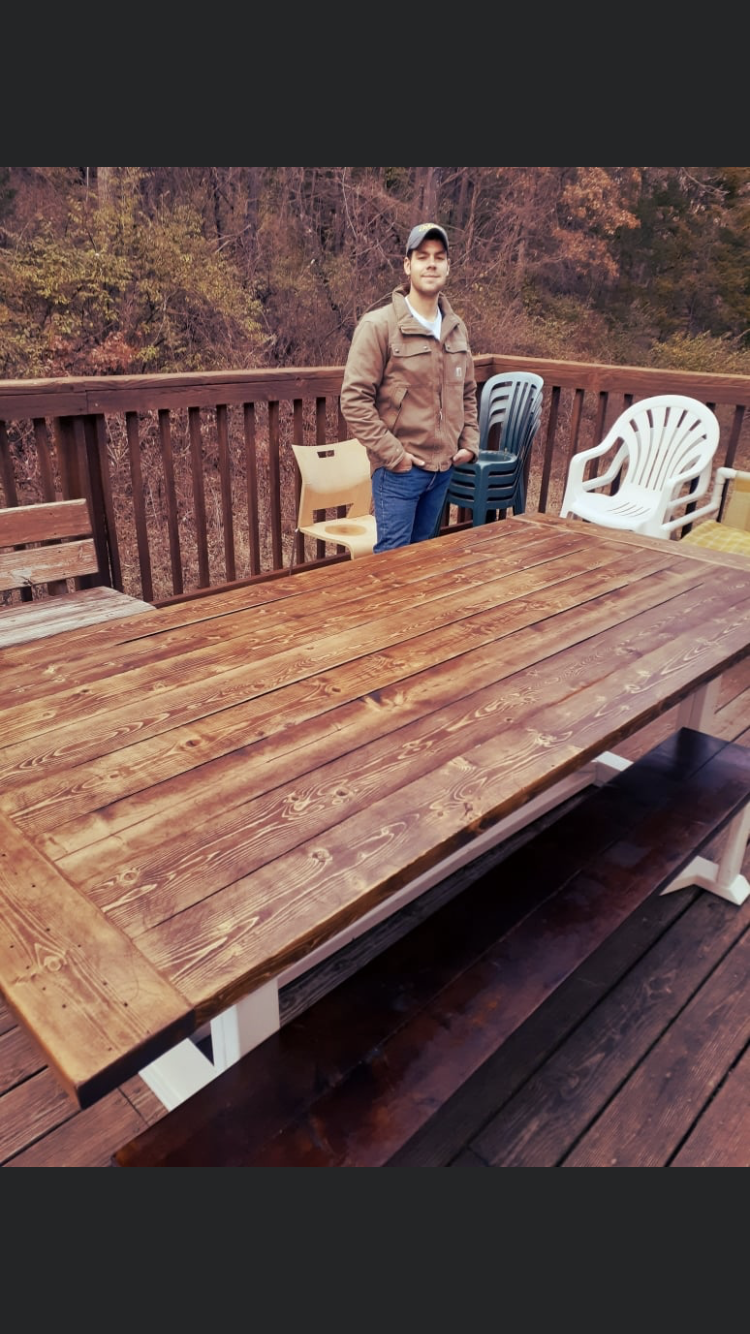
This is our first real furniture project. We wanted a large enough table to be able to sit 10 people comfortably around without the table legs getting in the way of the people on the corners. We are really happy with the way this turned out. Each leg was joined with a double floating mortise & tennon. The overall dimensions are 47" wide by 80" long by 31.5" tall.

Estimated Time Investment
Week Long Project (20 Hours or More)
Finish Used
Danish oil and Polyurethane.
Recommended Skill Level
Intermediate

Comments

Brandiville

Sun, 04/10/2016 - 04:26

I would be very interested in the plan for this table. Do you mind sharing? It is beautiful!

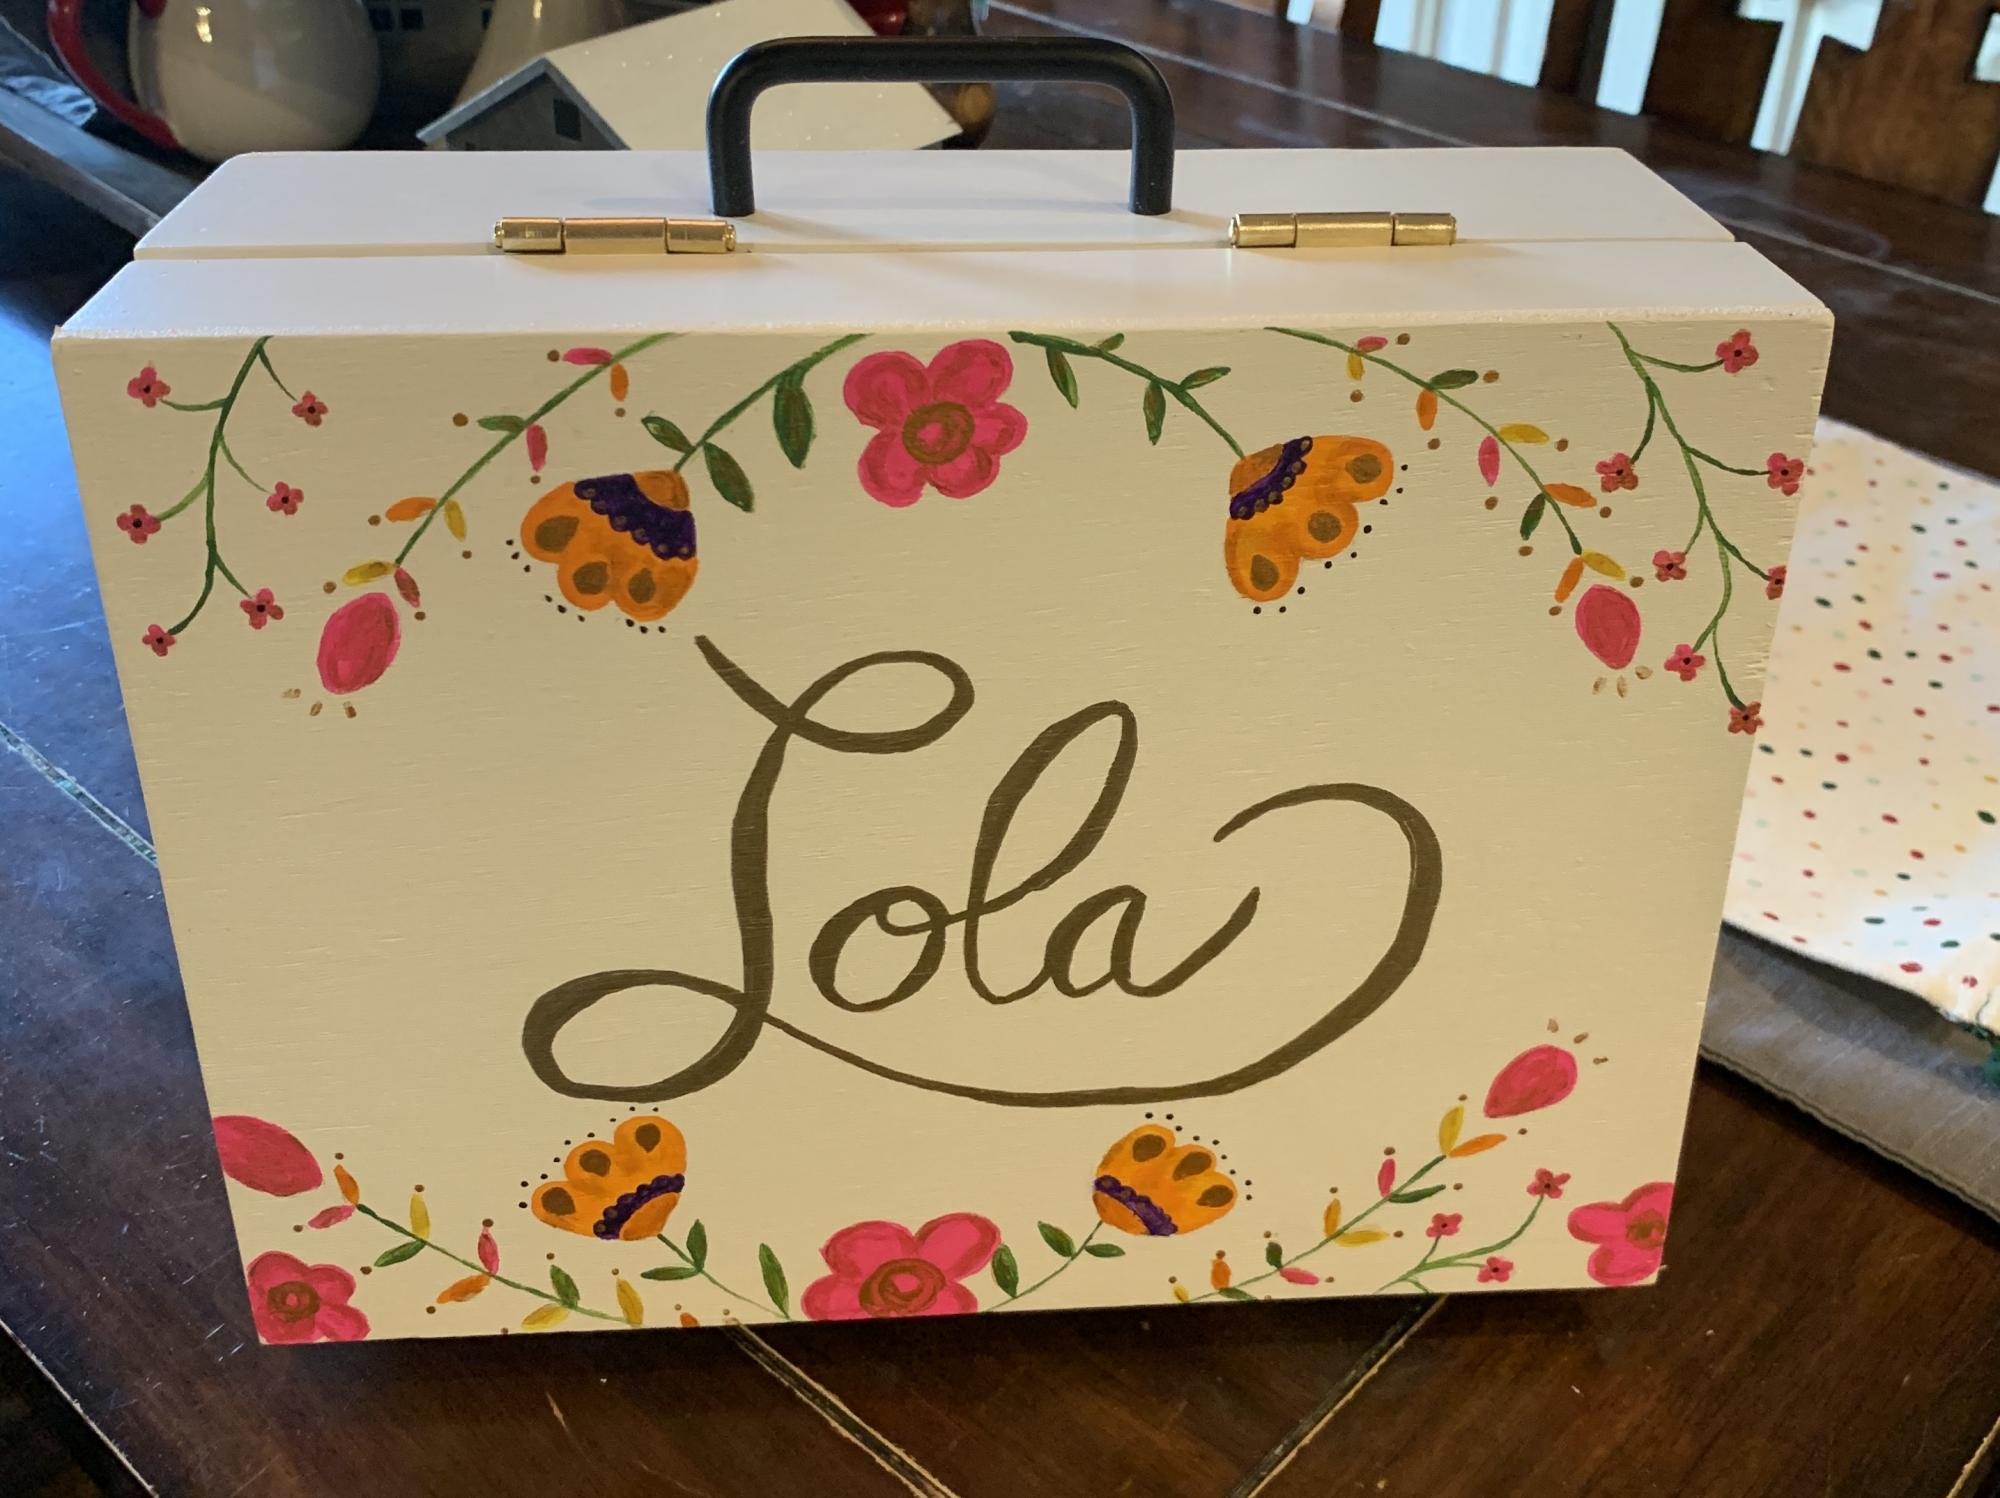
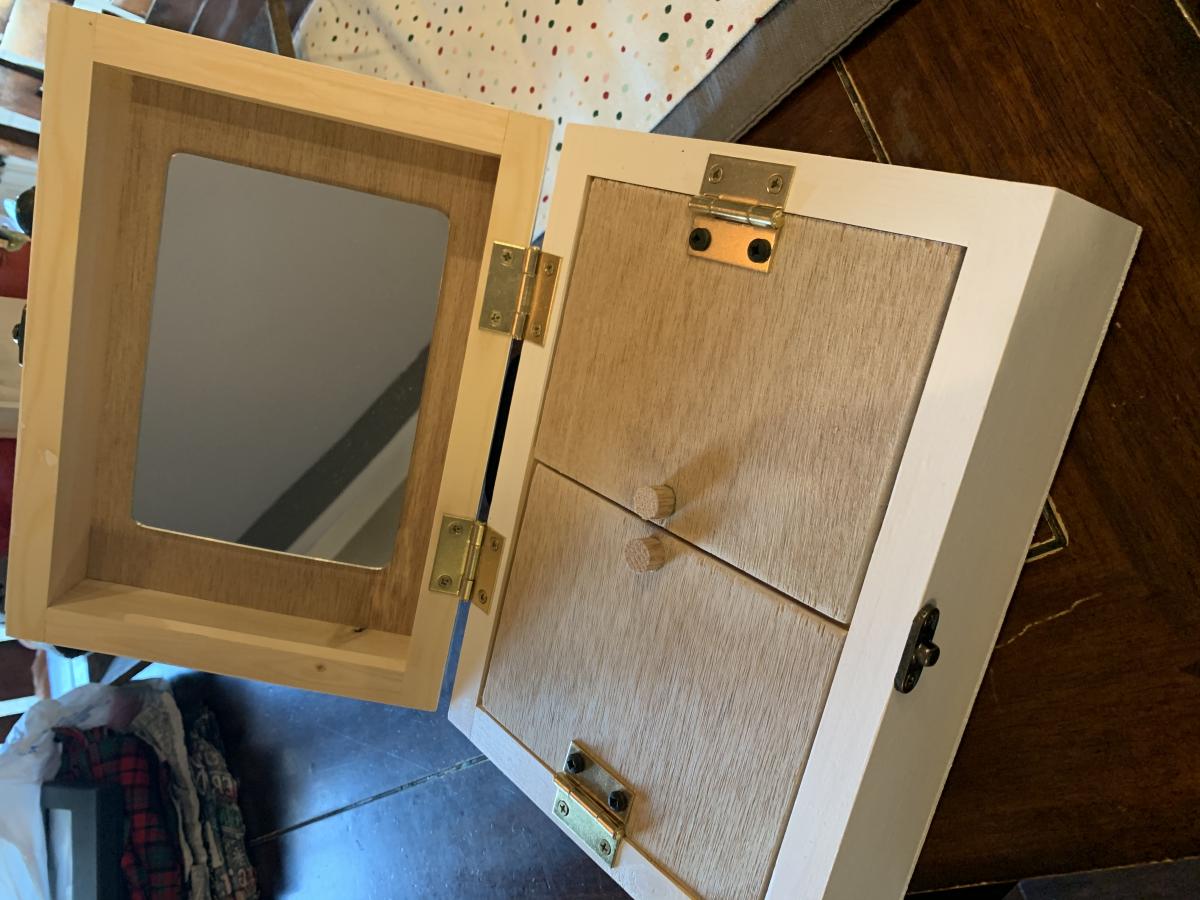
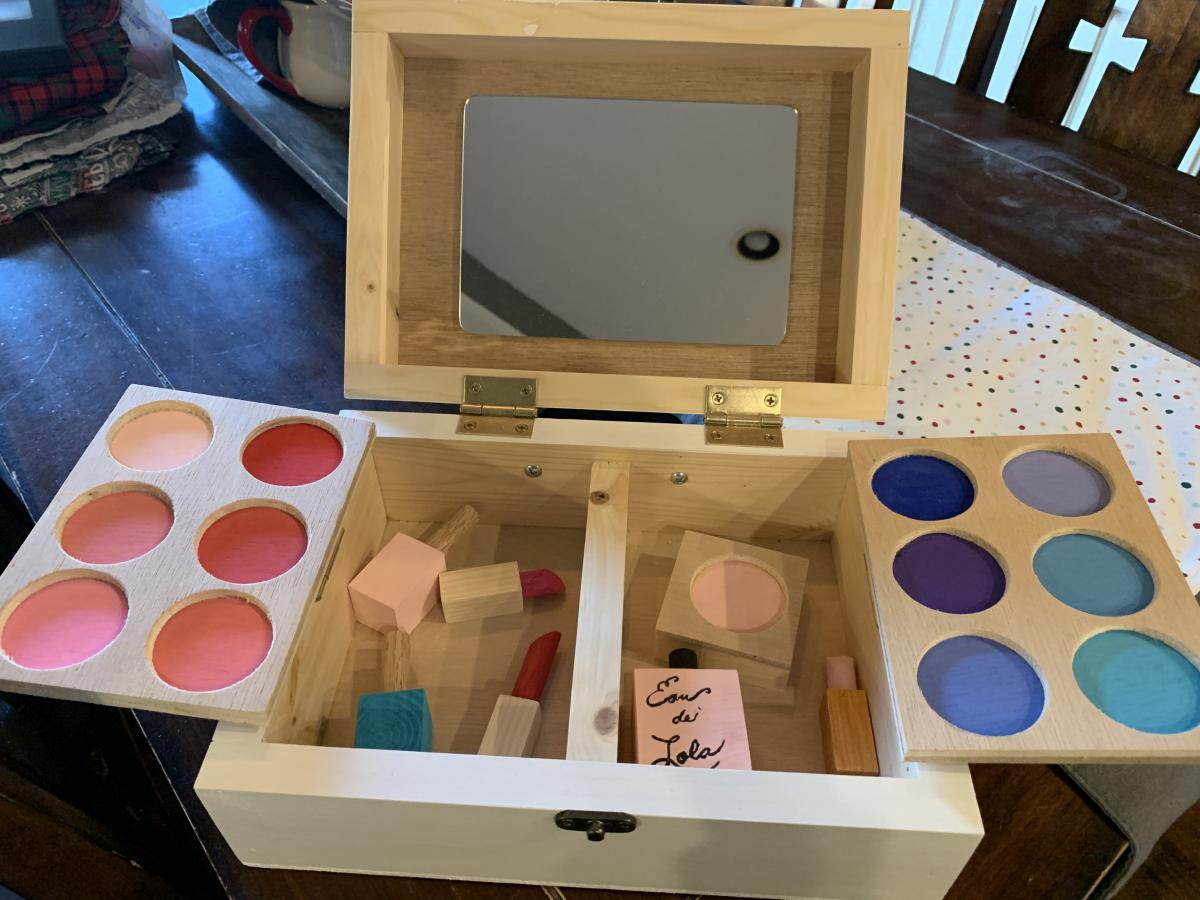
Toy makeup set

Submitted by mandee on Sun, 12/15/2019 - 15:23

I made this for my almost 2 year old niece for Christmas this year. 

Built from Plan(s)
Estimated Cost
50
Estimated Time Investment
Weekend Project (10-20 Hours)
Recommended Skill Level
Intermediate

Lazy Bench

Submitted by Anonymous (not verified) on Sat, 08/19/2023 - 10:53

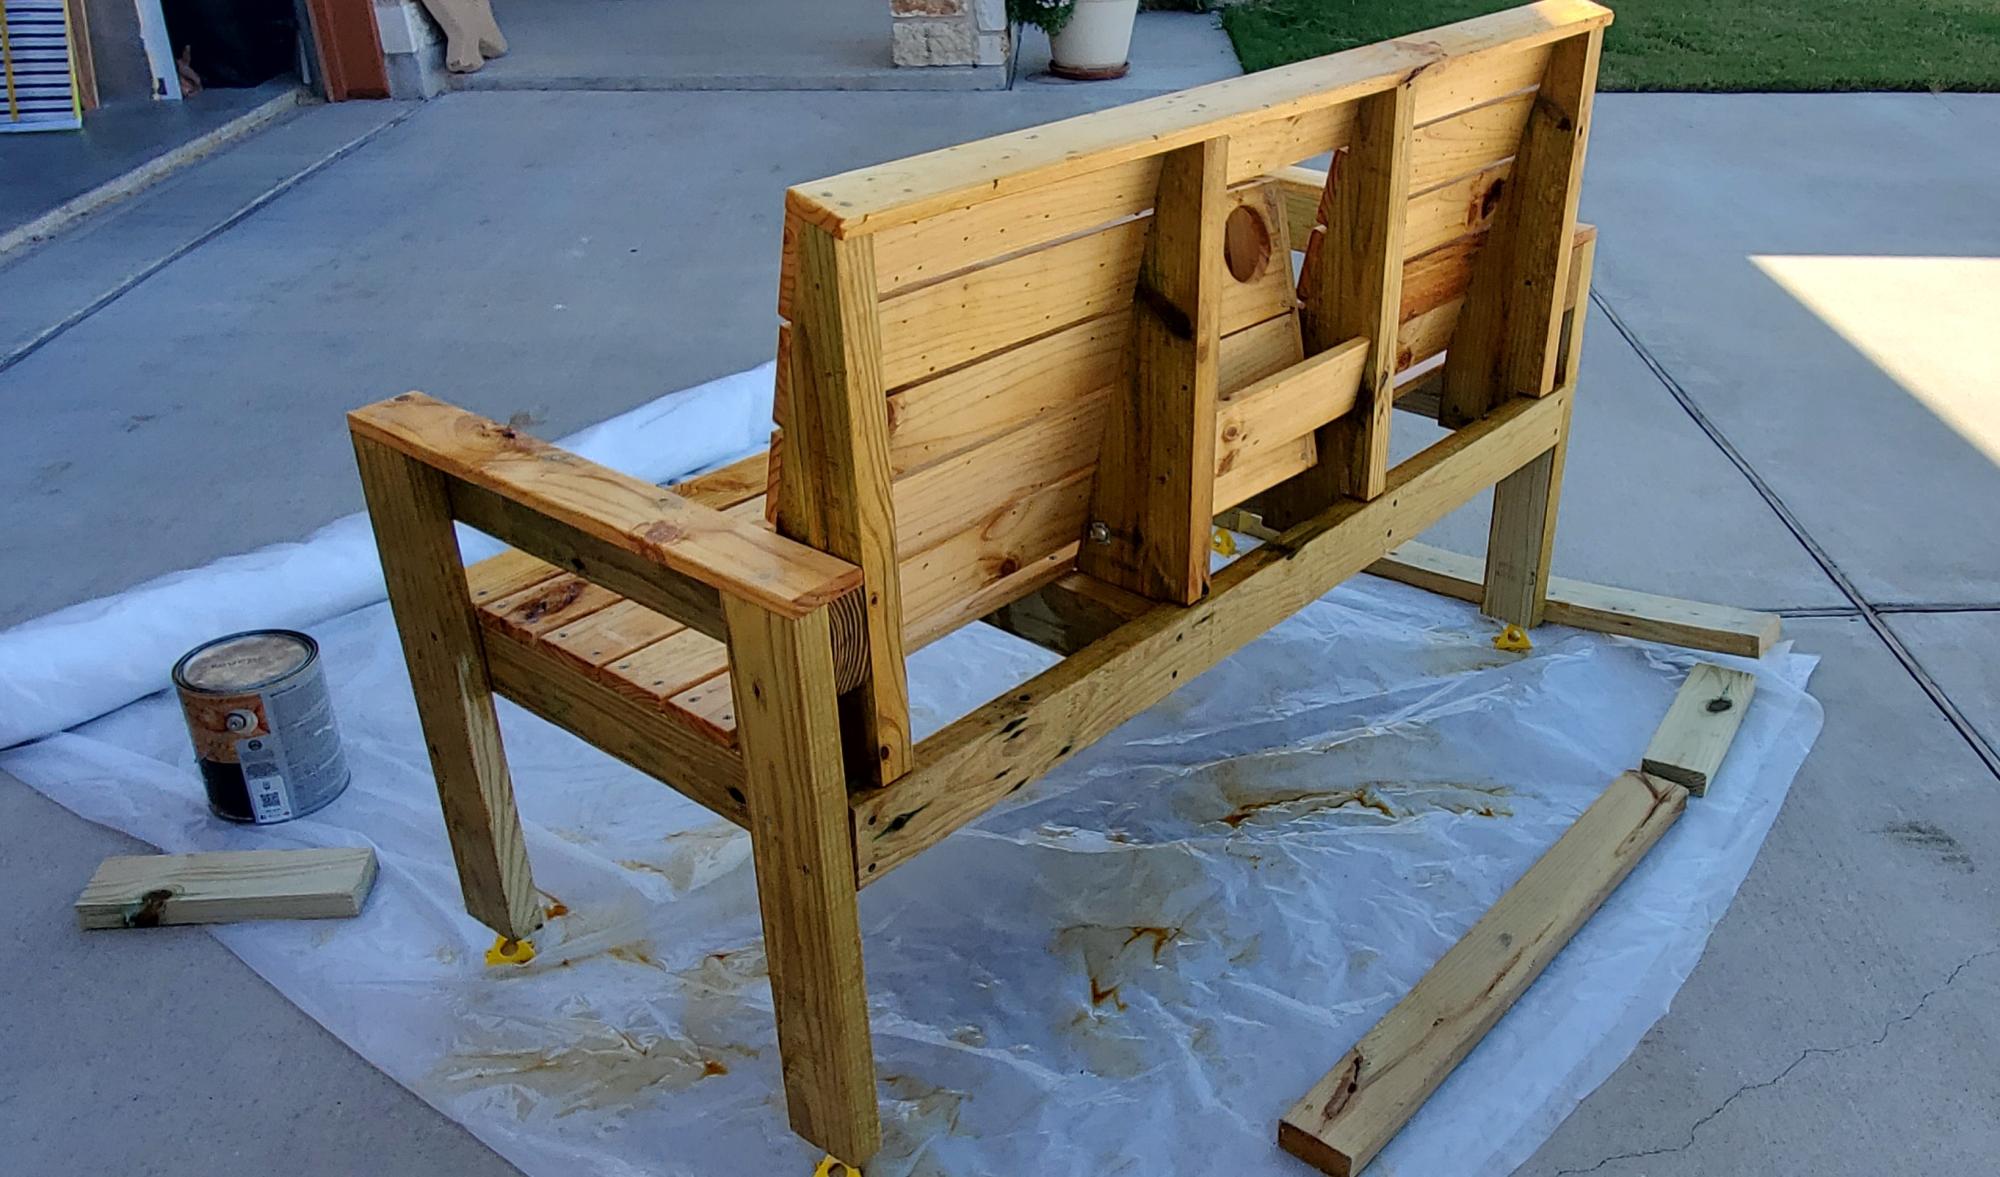
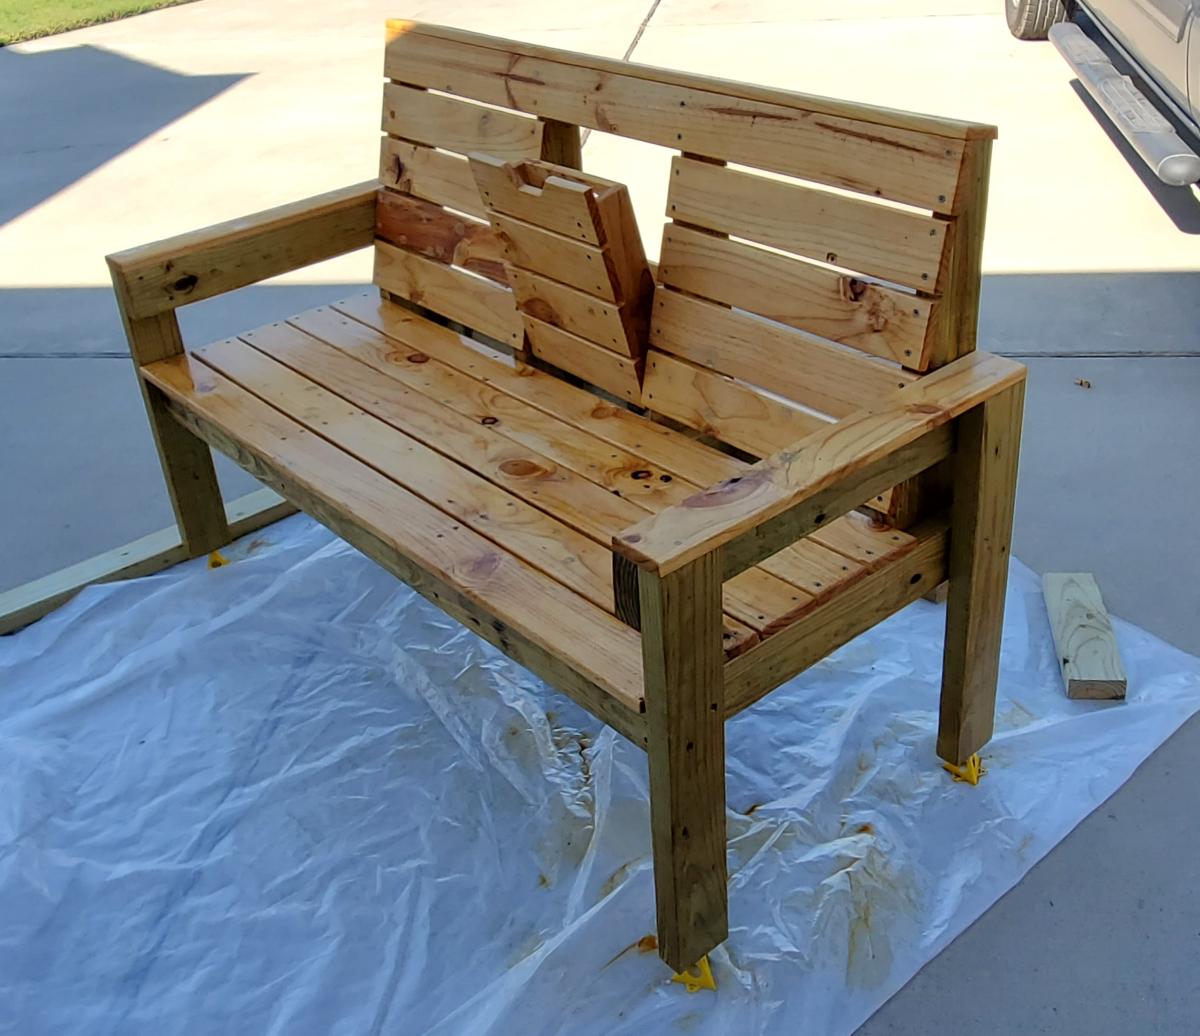
Built this Lazy Bench over the course of one weekend. Had to make some modifications to the way the arm rest / cup holder moves, but overall happy with how it turned out.
When I build this again - I gave this one away as a donation to our local Catholic Radio station - I'll make a bigger point to make sure that all four of the back supports are exactly the same, and that I pre-drill the carriage bolts that secure the cup holder before I start assembling.

UTtanker

Gopher Hole Puzzle

Submitted by mtairymd on Fri, 12/20/2019 - 09:09

This is a fun little puzzle that goes by the name of Golf, Nine Hole and, my favorite, Gopher Hole Puzzle. The goal is to fit all six pieces into the box. The possible combinations make it pretty challenging.

Estimated Cost
$5
Estimated Time Investment
Afternoon Project (3-6 Hours)
Finish Used
Oil & Paint
Recommended Skill Level
Beginner

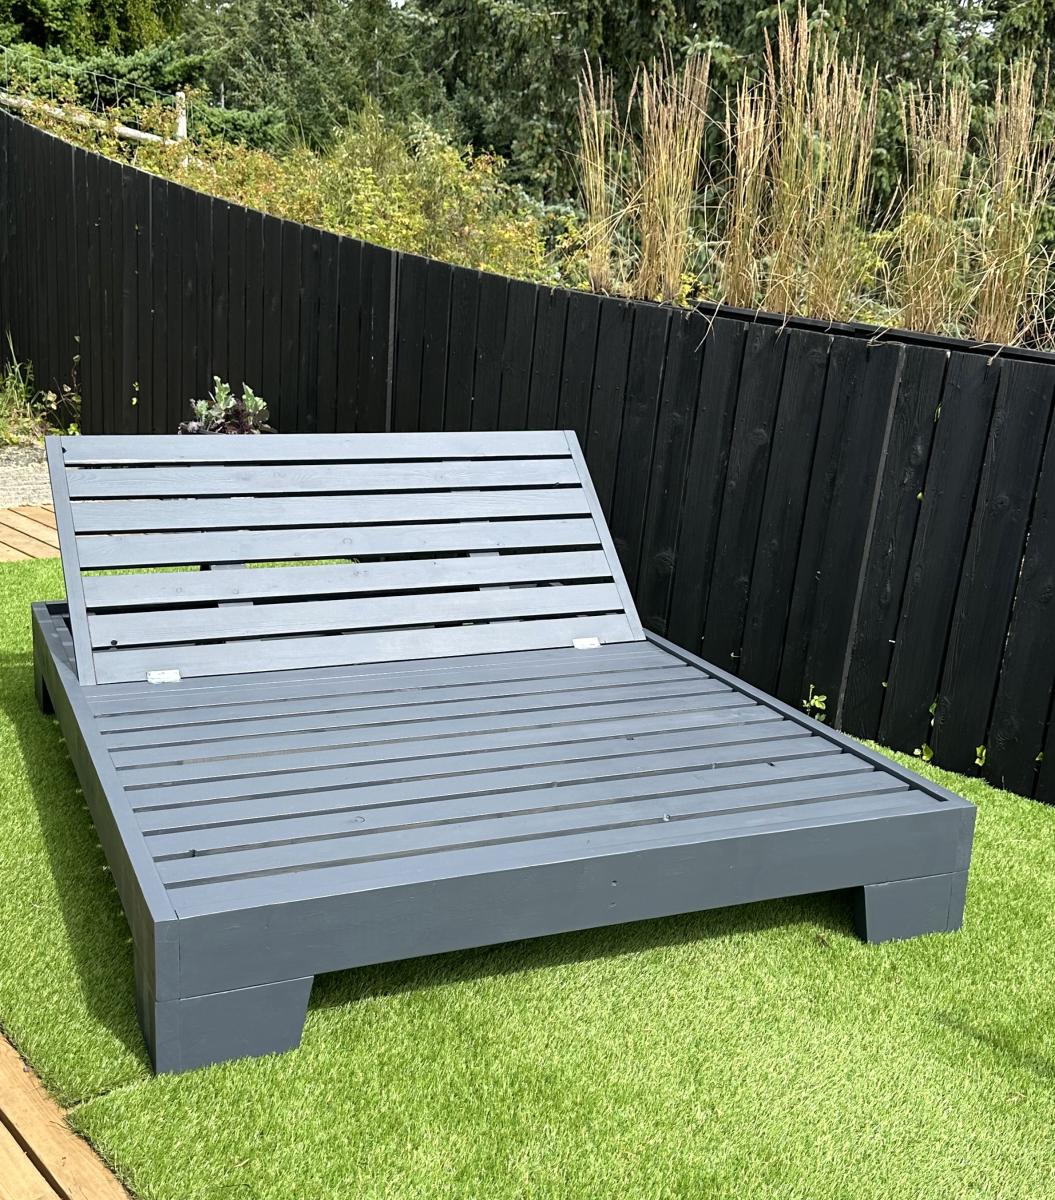
DIY Double Queen Size Lounge

Submitted by Anonymous (not verified) on Sat, 08/26/2023 - 12:13

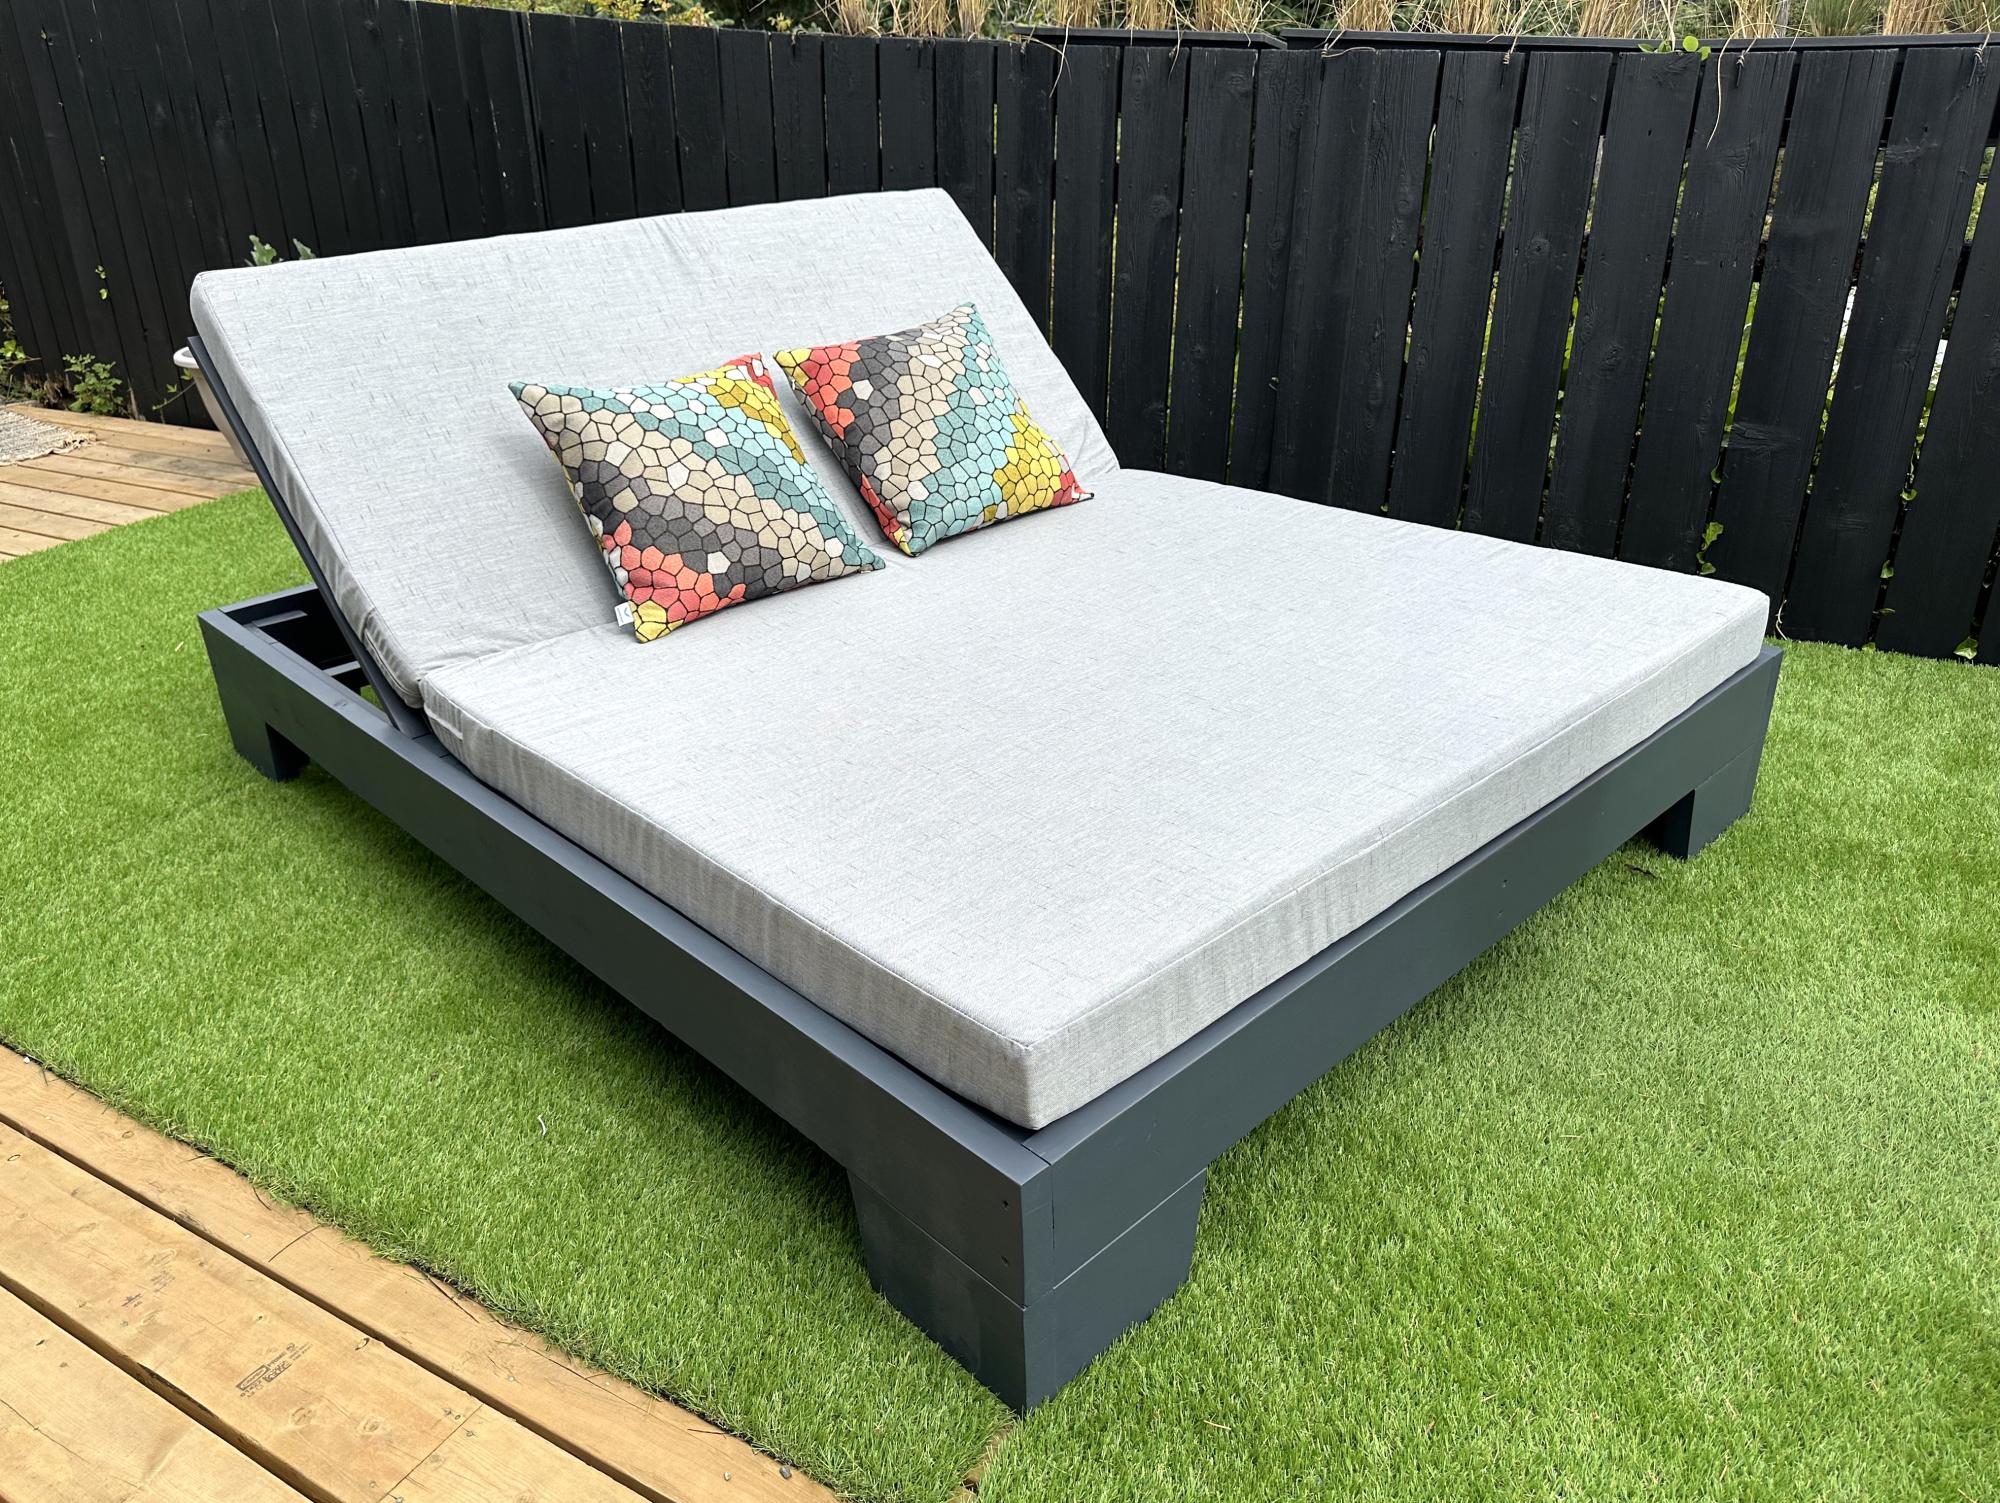
A friend asked me to build her a durable queen sized lounger for beside her pool. I used this platform style and added the multi-adjustable tilt. The lounger looks amazing and will double as a spare queen size bed for guests.

Mary Wikene

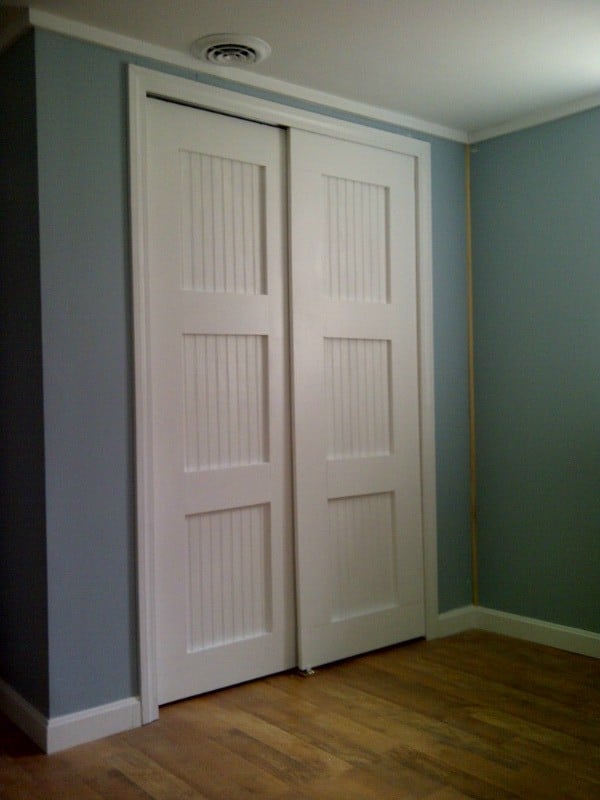
bypass closet doors

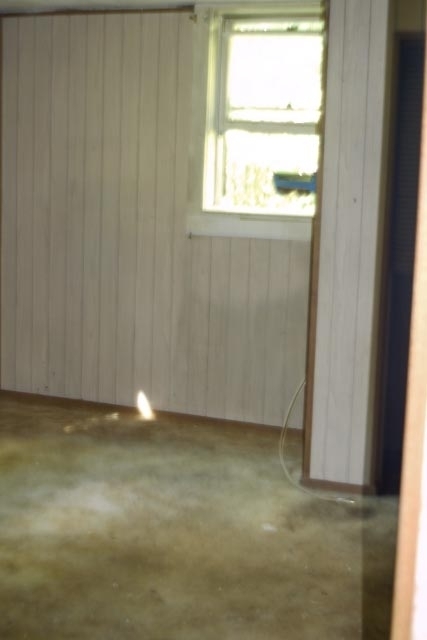
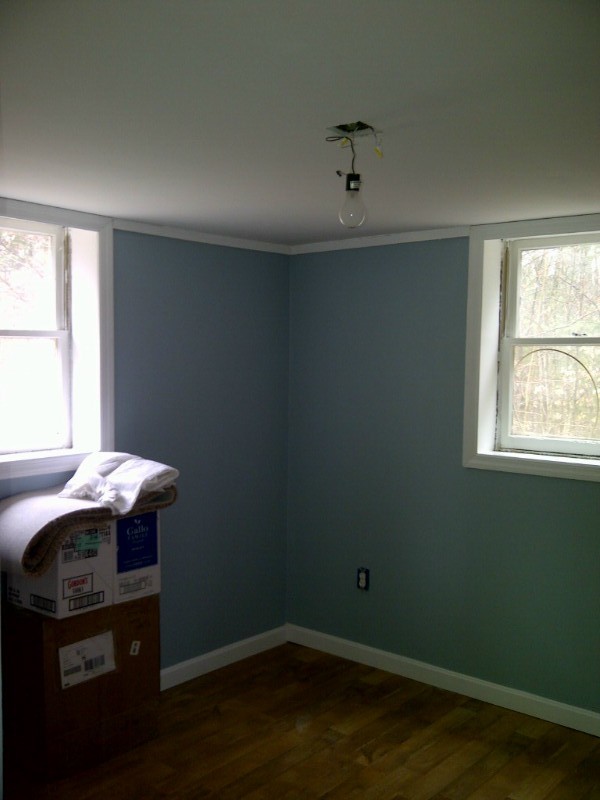
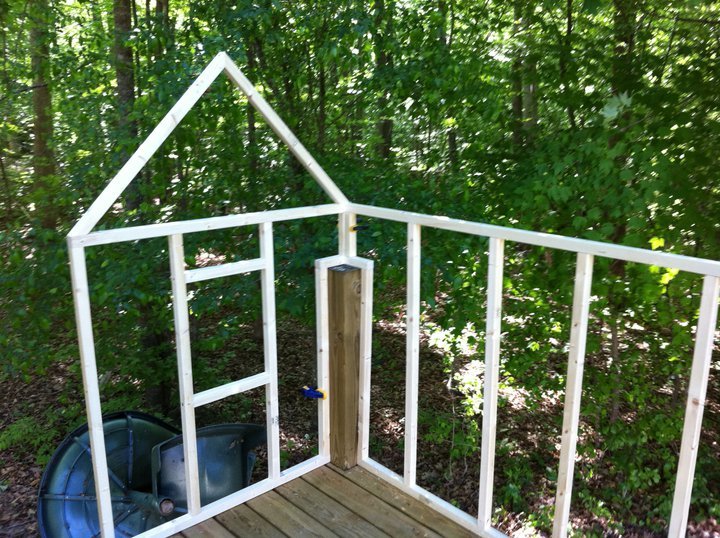
About 6 months ago the husband and I purchased a foreclosure for dirt cheap, hoping to rehab it into something livable. It turned out to be a total gut job. So much of the budget was blown on the big stuff--roof, electrical, water, plumbing, that we've really had no choice but to figure out how to do much of the work ourselves with occassional assistance from my son-in-law, a general contractor who lives 400 miles away.
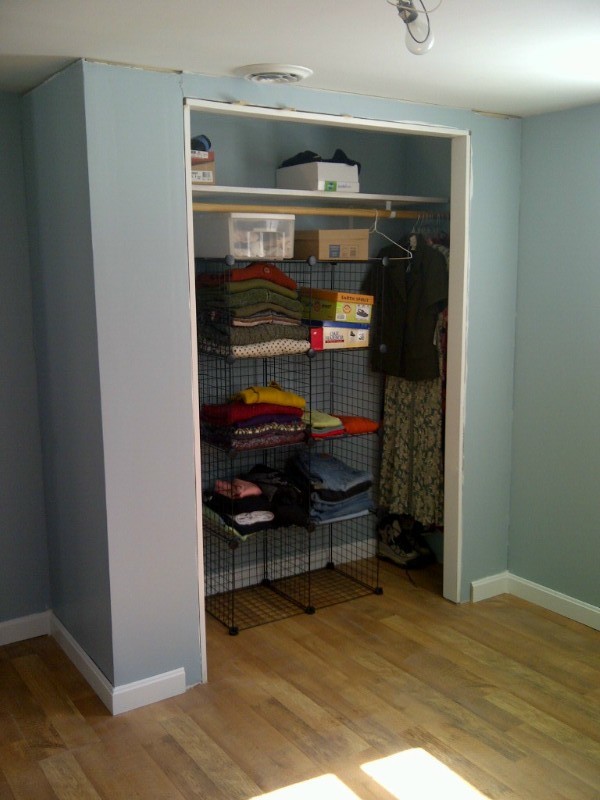
Although he did most of the basic sheetrocking I decided that I was going to build my own closet. After all, how hard could it be. I got it framed out and sheetorcked. Between the low ceilings in the room and the fact that I mismeasured the door frame height, I wasn't able to put in standard doors. But that's okay, I think I like these better.
Thank you, ladies, for giving me the courage to tackle some of these jobs that need doing. I've learned a lot of new skills, done things I never thought I would ever do...and love the feeling that so much of myself is going into making this house my home.

Built from Plan(s)
Estimated Time Investment
Afternoon Project (3-6 Hours)
Finish Used
behr semigloss white paint.
Recommended Skill Level
Beginner

Comments

Debi_G (not verified)

Wed, 04/04/2012 - 15:38

I love these doors. This is now on my to-do list!

Farmhouse Table

Submitted by Bob_Ross on Sun, 01/19/2014 - 18:18

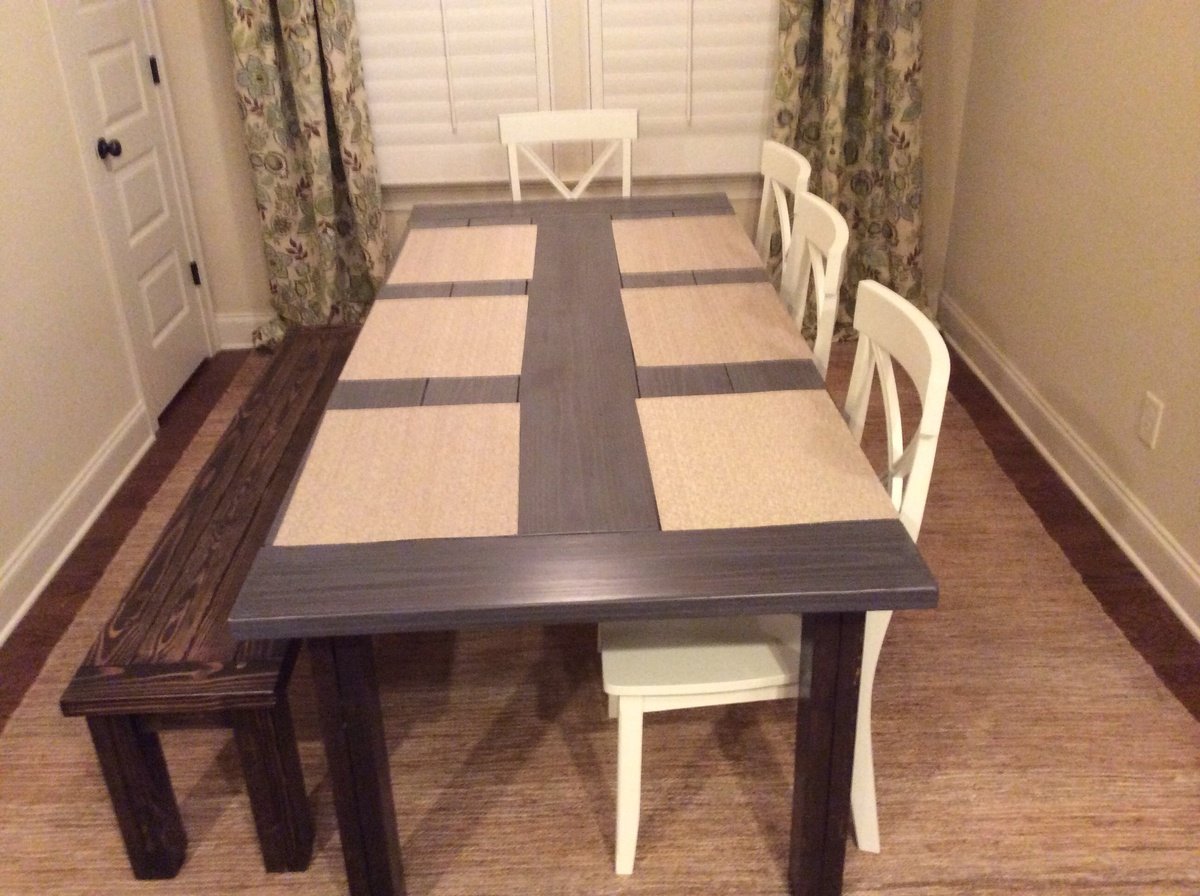
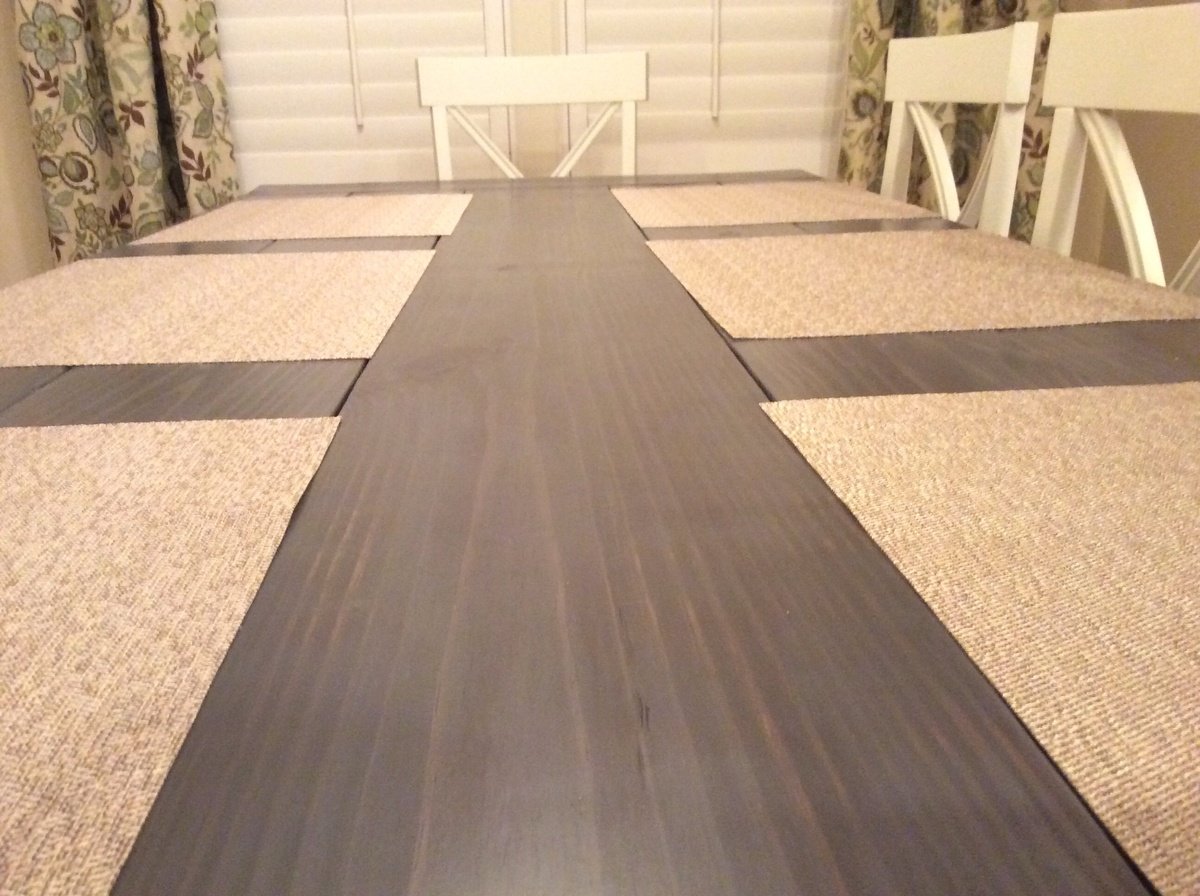
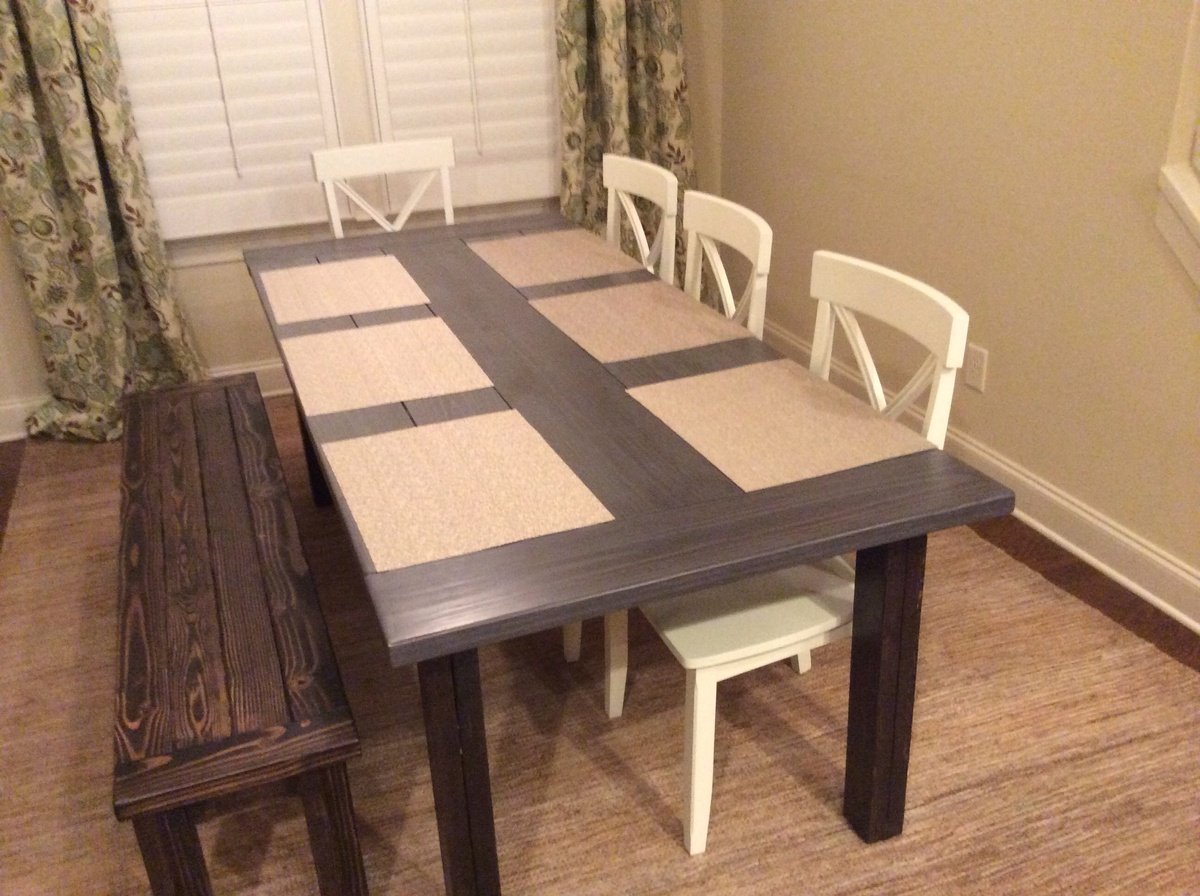
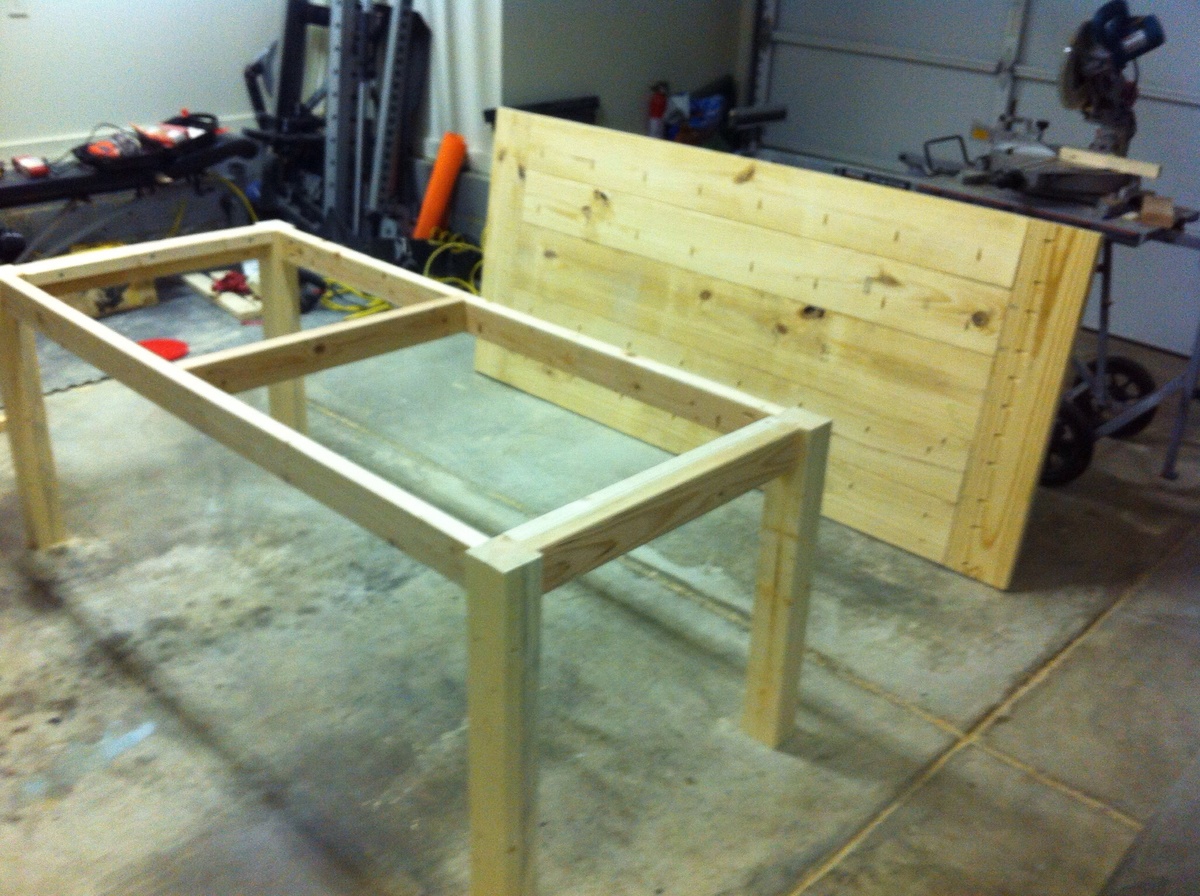
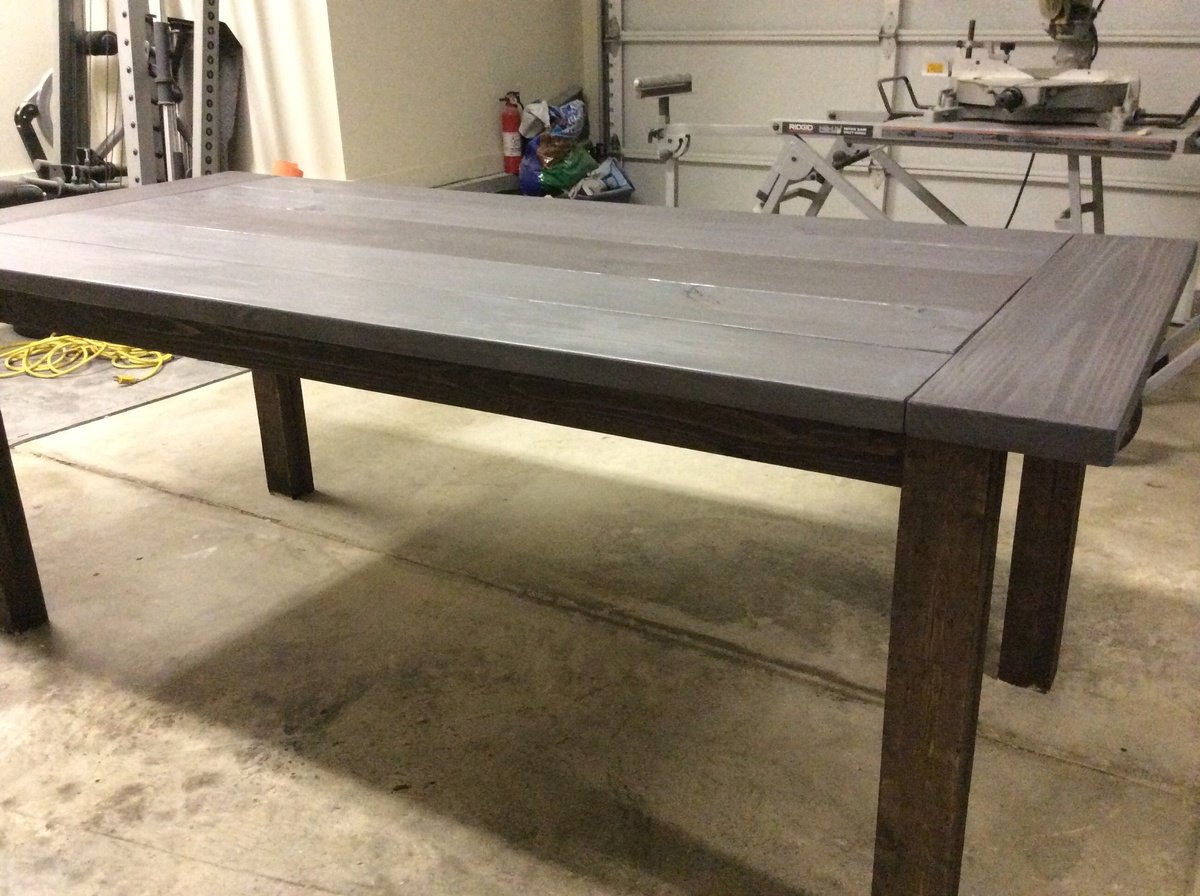
I finished this project a few weeks ago, and it started to keep me busy during the Christmas break. My wife had wanted a new dining room table and this was pretty easy to build after the X Console Table.

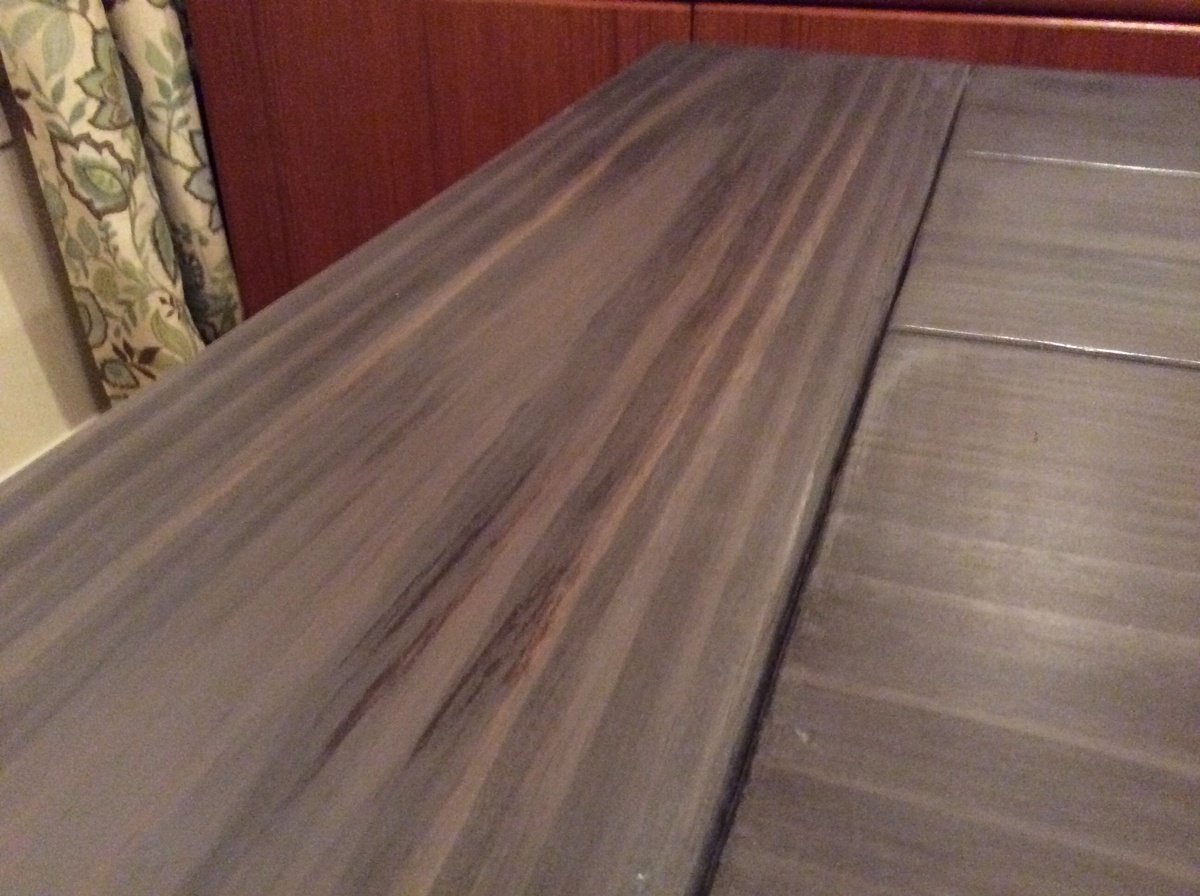
For the stain, it was a combo of Rustoleom Kona down first, and put it on darker on the middle plank and bread board ends. After that I did a few coats of Minwax Weathered Gray, and then a few coats of poly.

Estimated Cost
120
Estimated Time Investment
Week Long Project (20 Hours or More)
Finish Used
Rustoleom Kona and Minwax Weathered Gray and Minwax Satin Poly
Recommended Skill Level
Beginner

Comments

Bob_Ross

Mon, 01/20/2014 - 18:30

Hey Ashley,

We found the chairs on overstock, and they were a great deal! Ours are the antique white.

Bob

Horse Tack Storage Shed

Submitted by Anonymous (not verified) on Wed, 08/30/2023 - 09:09

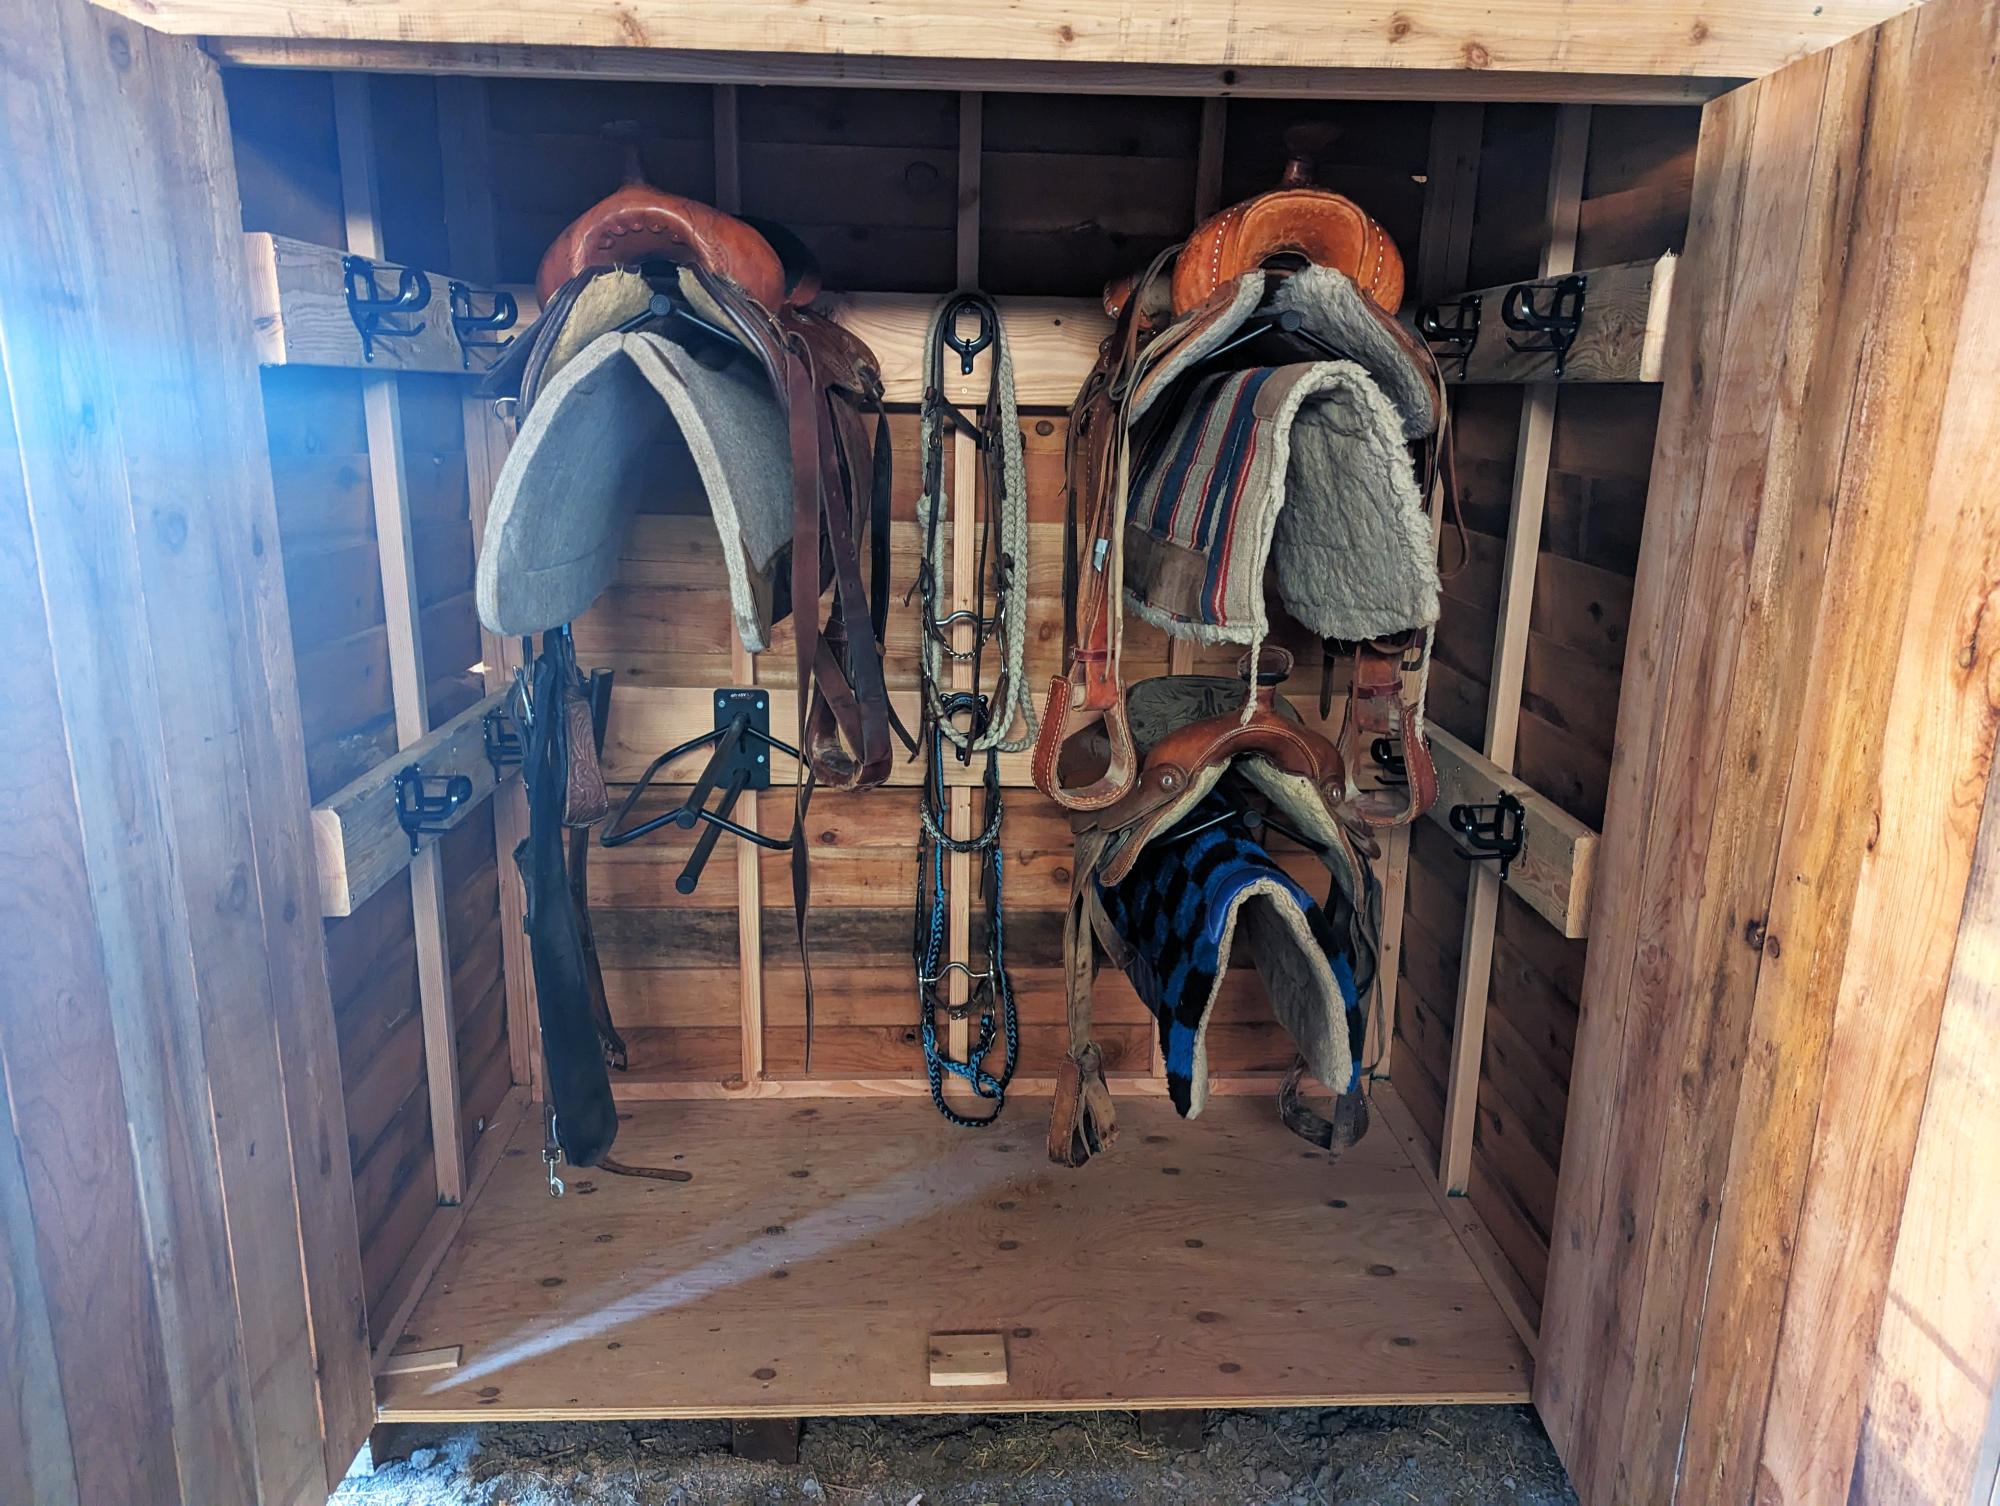
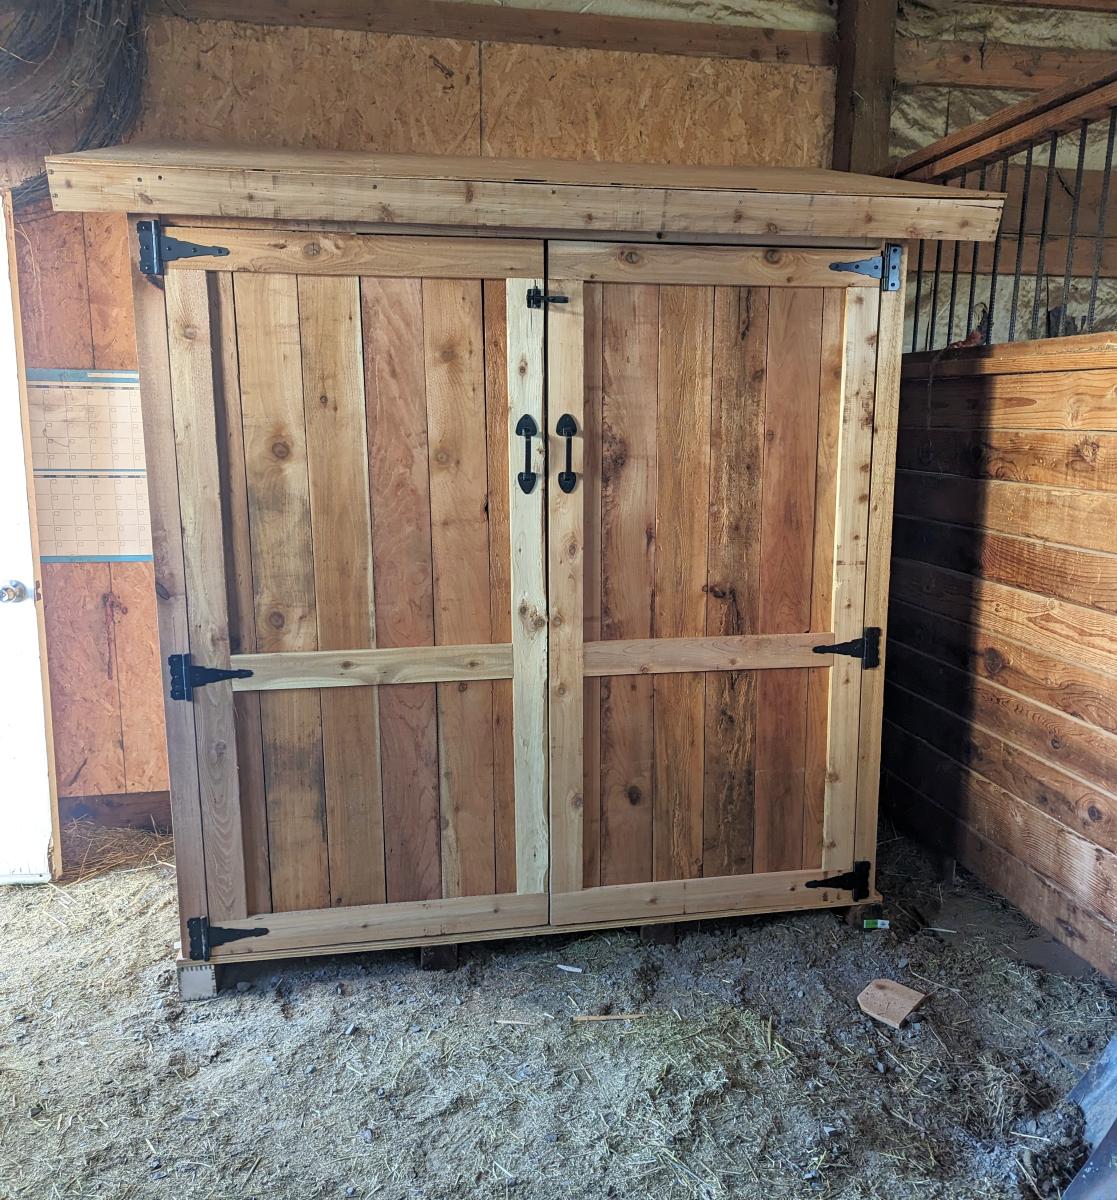
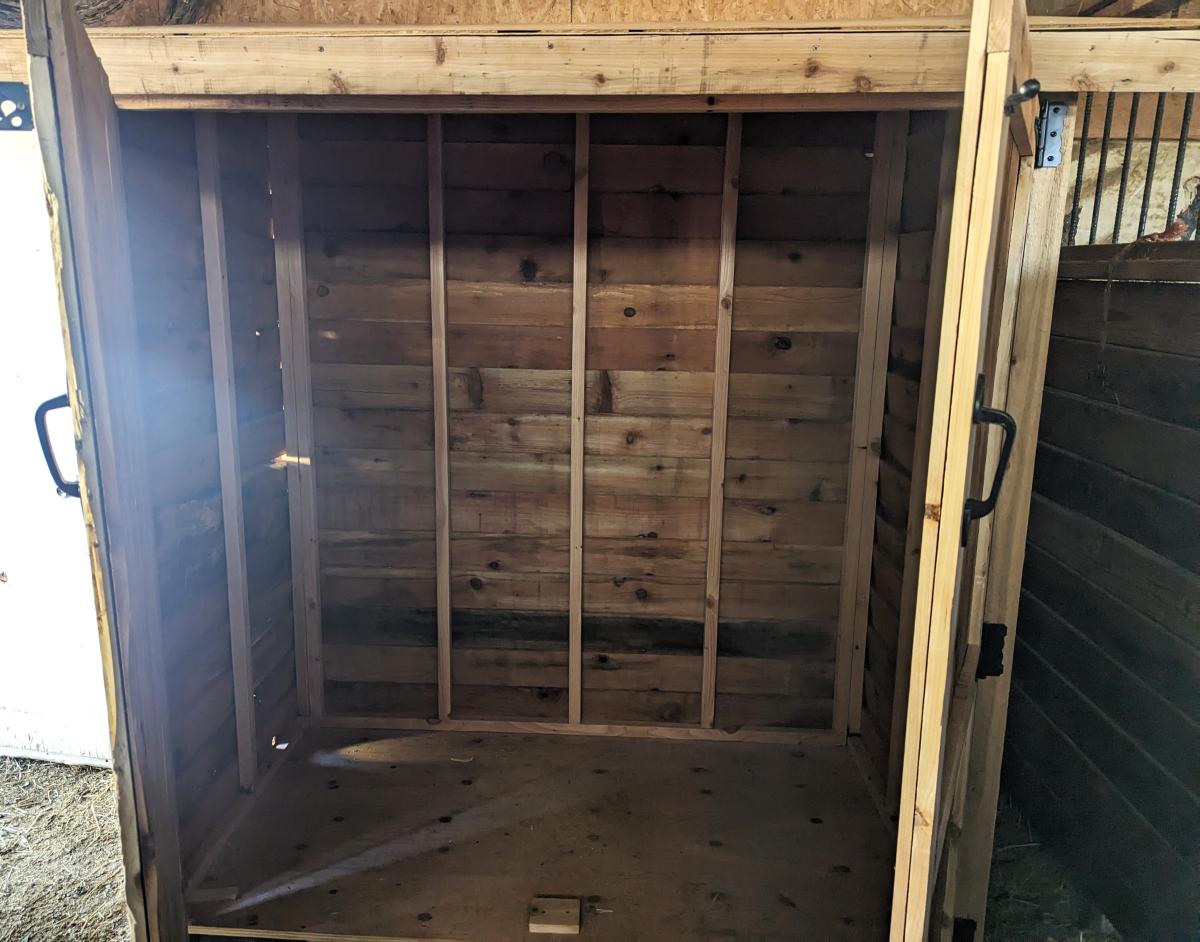
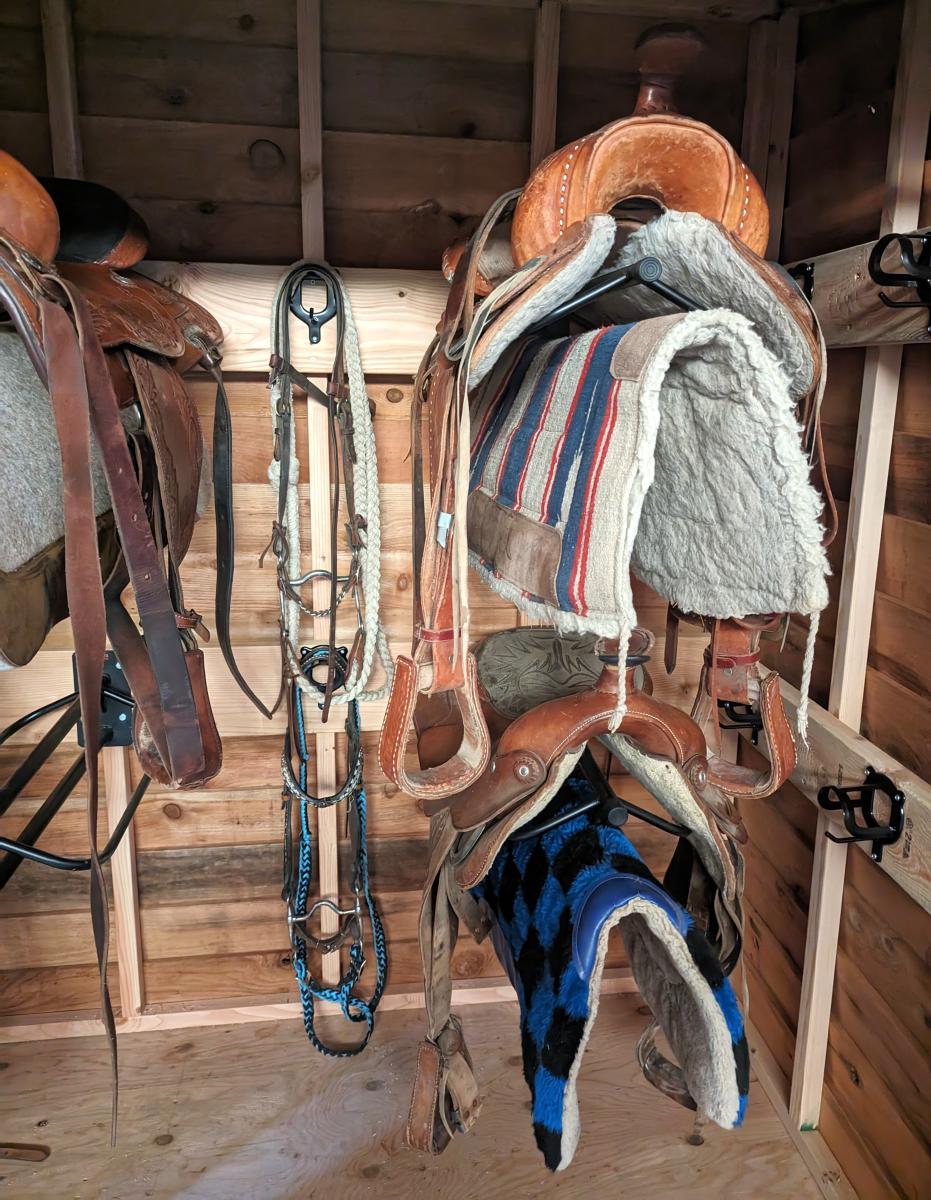
We have been in need of a place to store our horse tack for several years, and finally got around to it. We modified the small cedar shed with a little extra support and added saddle racks and bridle hooks. Super pleased with how it turned out!

Gabi Johnson

Built from Plan(s)

Comments

Seasonal And Holiday
Back