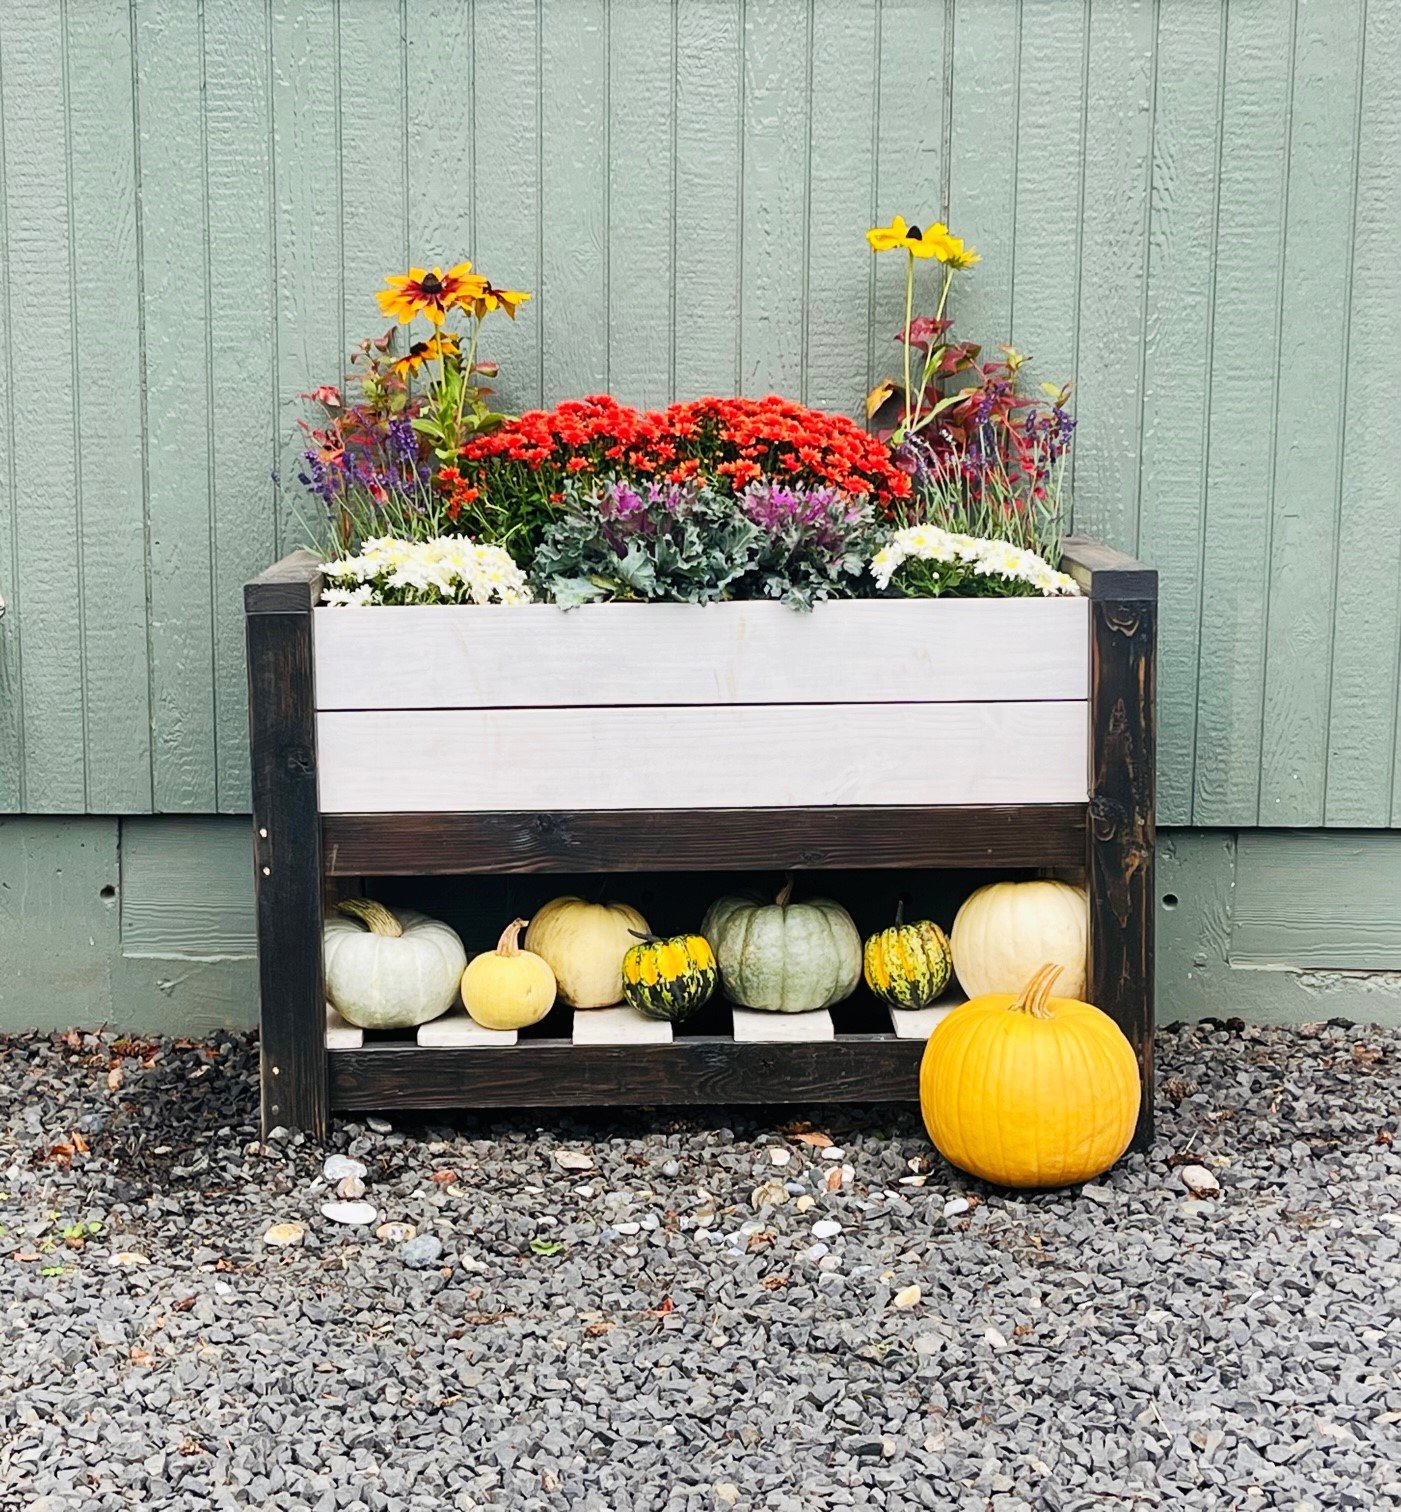
Fall Inspired Privacy Planter
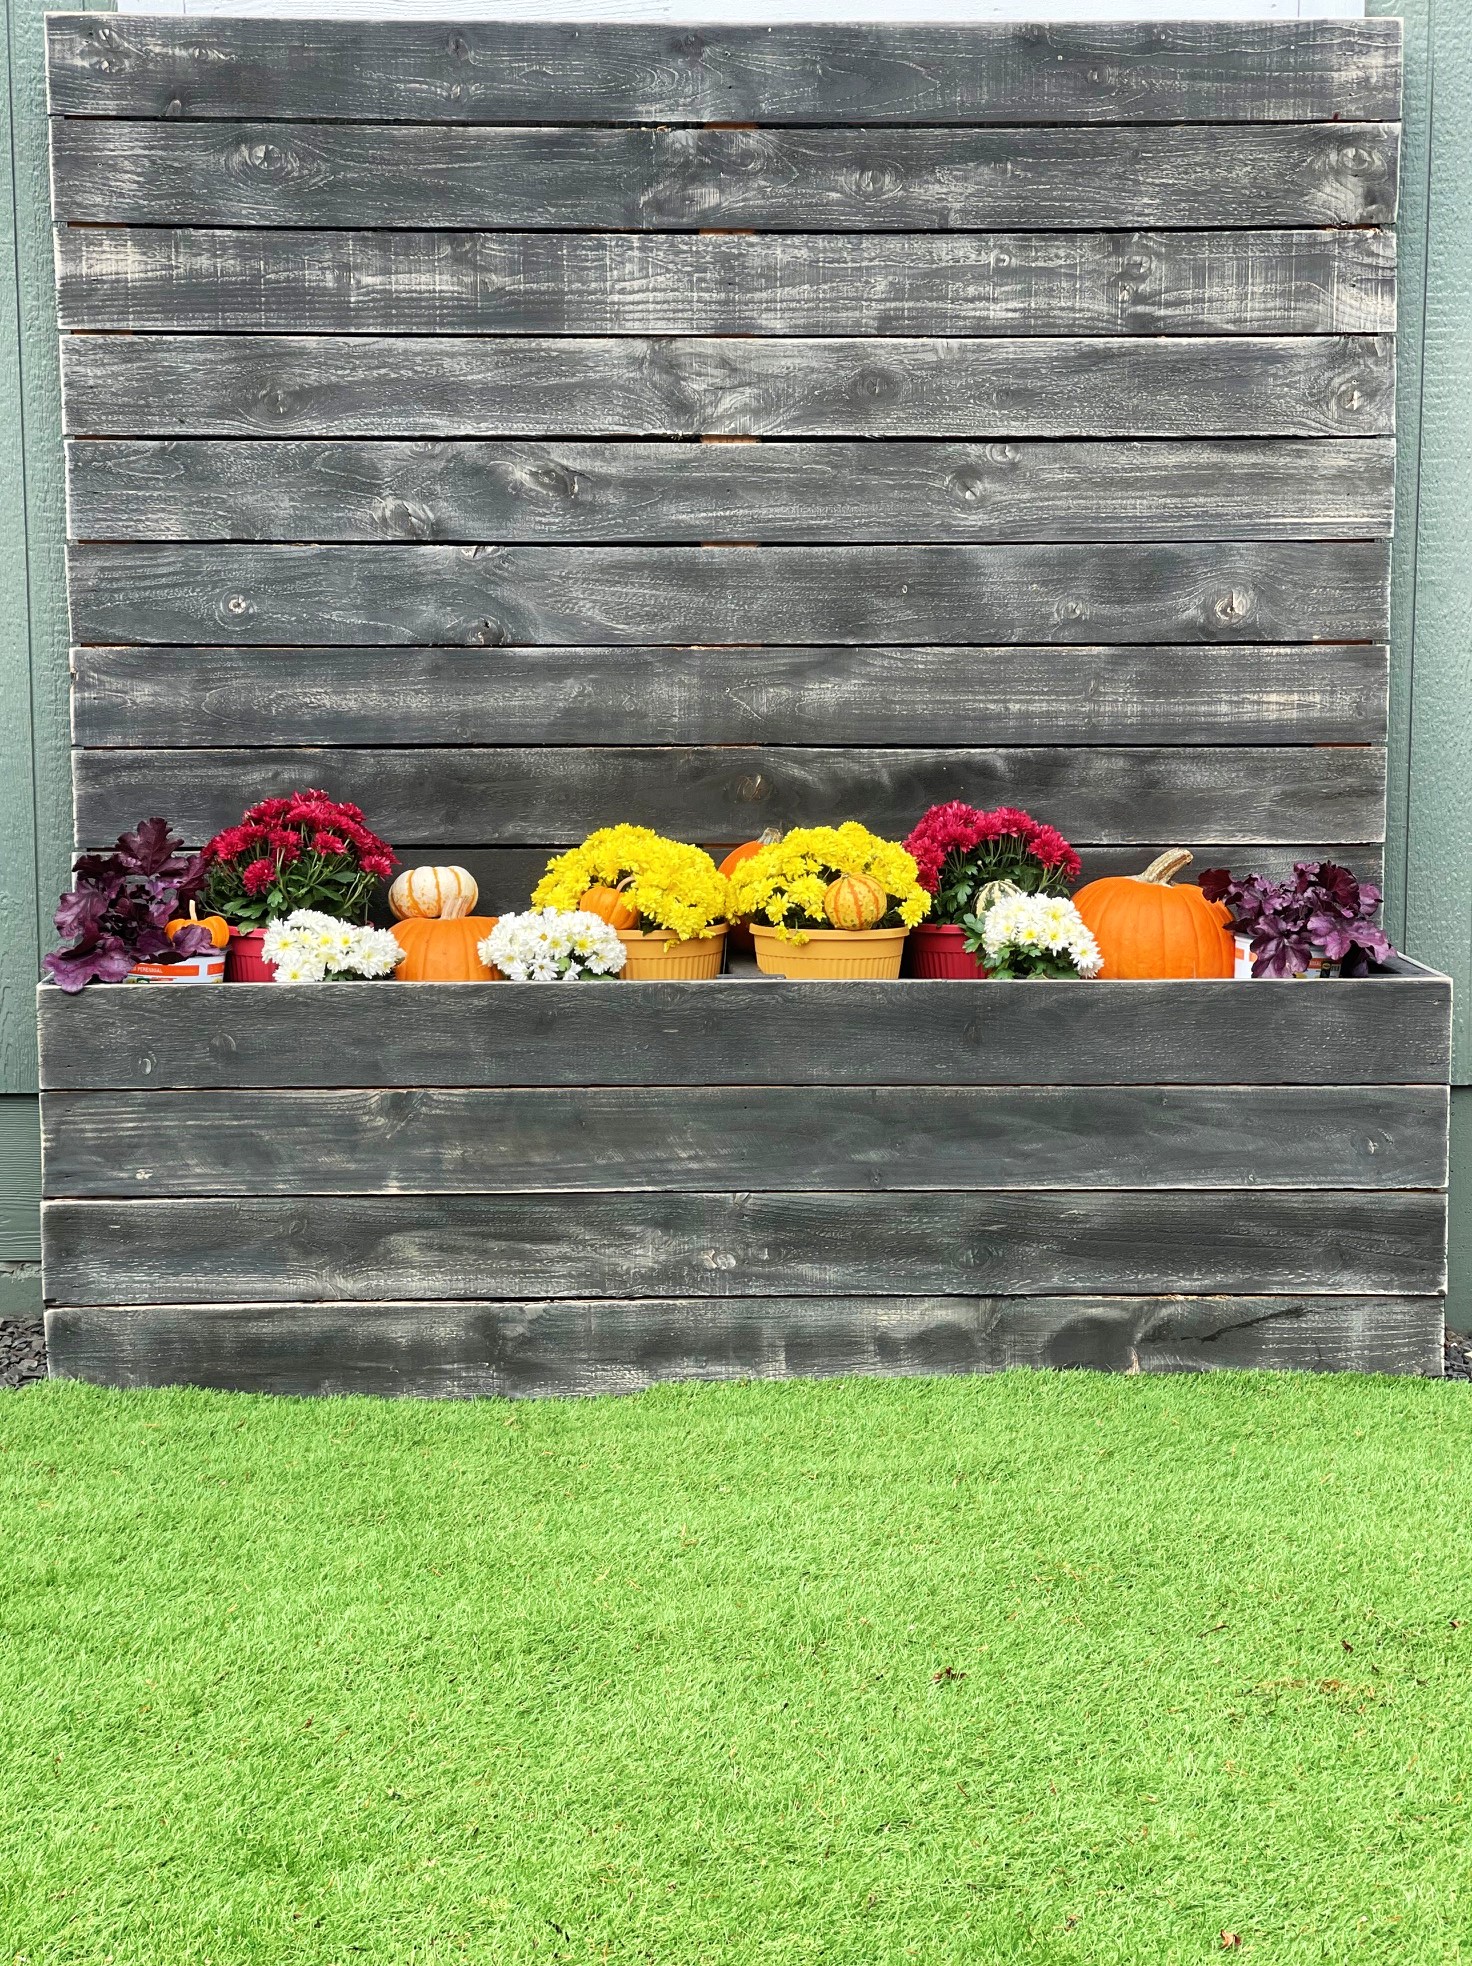
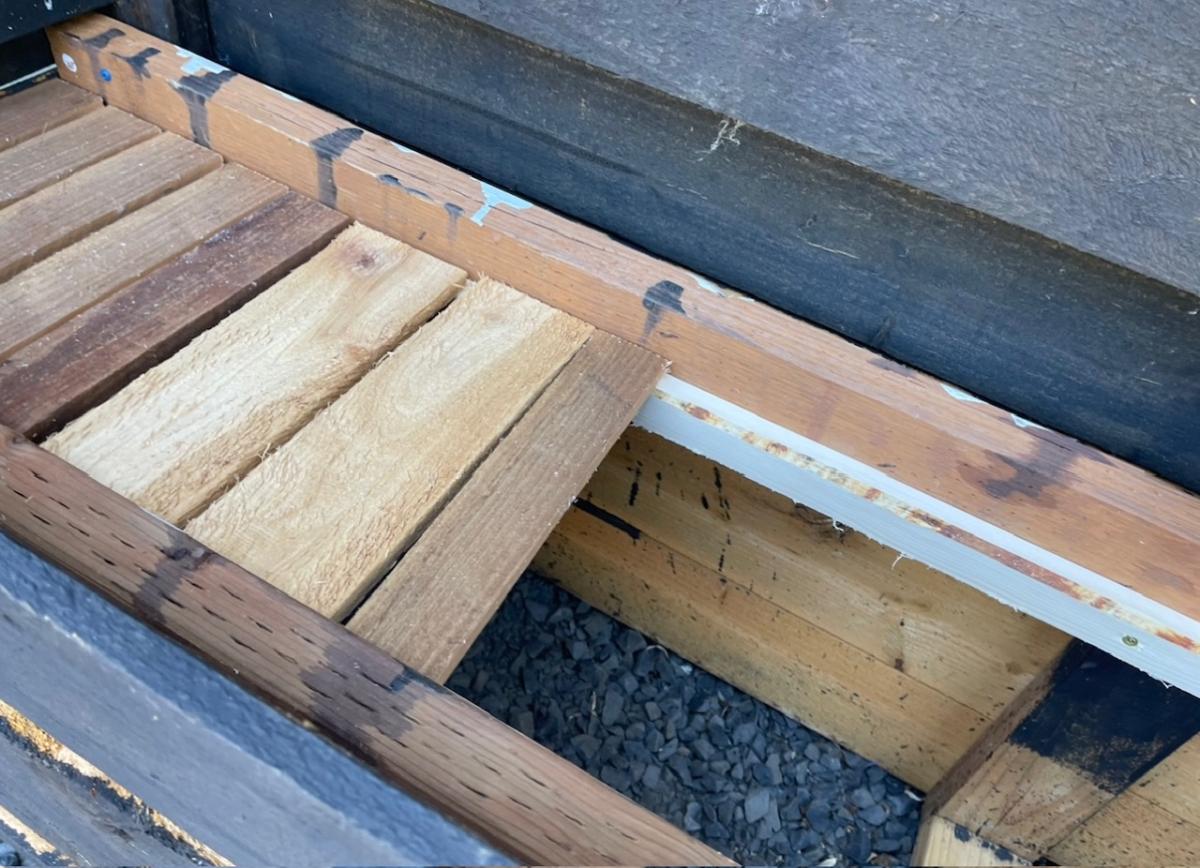
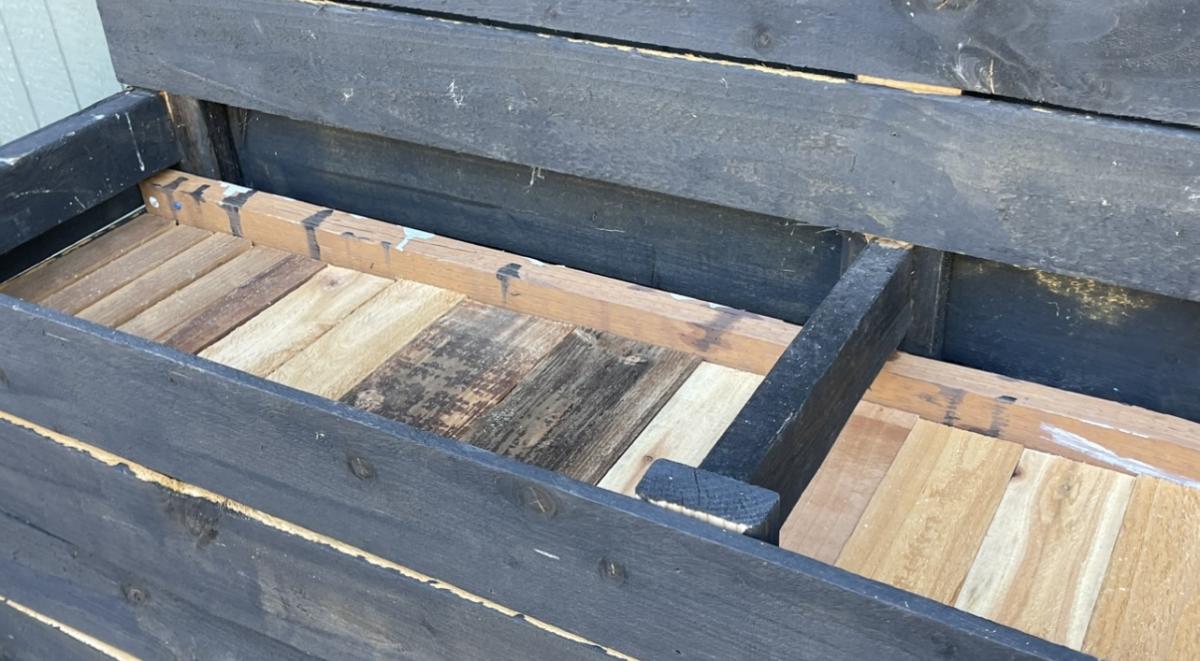
Love this privacy planter and how easy it is to switch up between the seasons. I build a false bottom to make it easy to just set plants on it.
Built from Plan(s)
Seasonal And Holiday
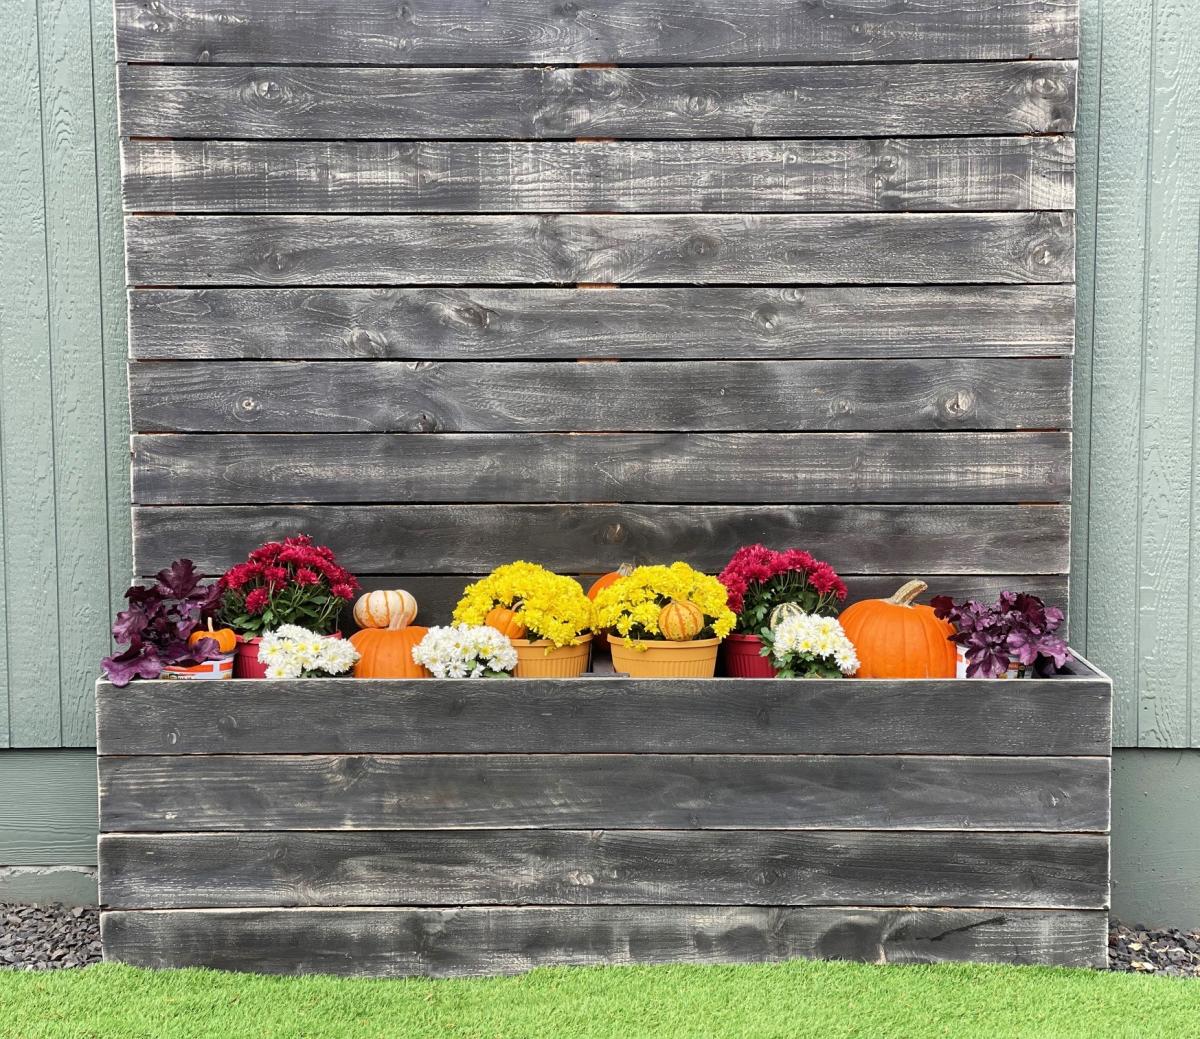
Love this privacy planter and how easy it is to switch up between the seasons. I build a false bottom to make it easy to just set plants on it.
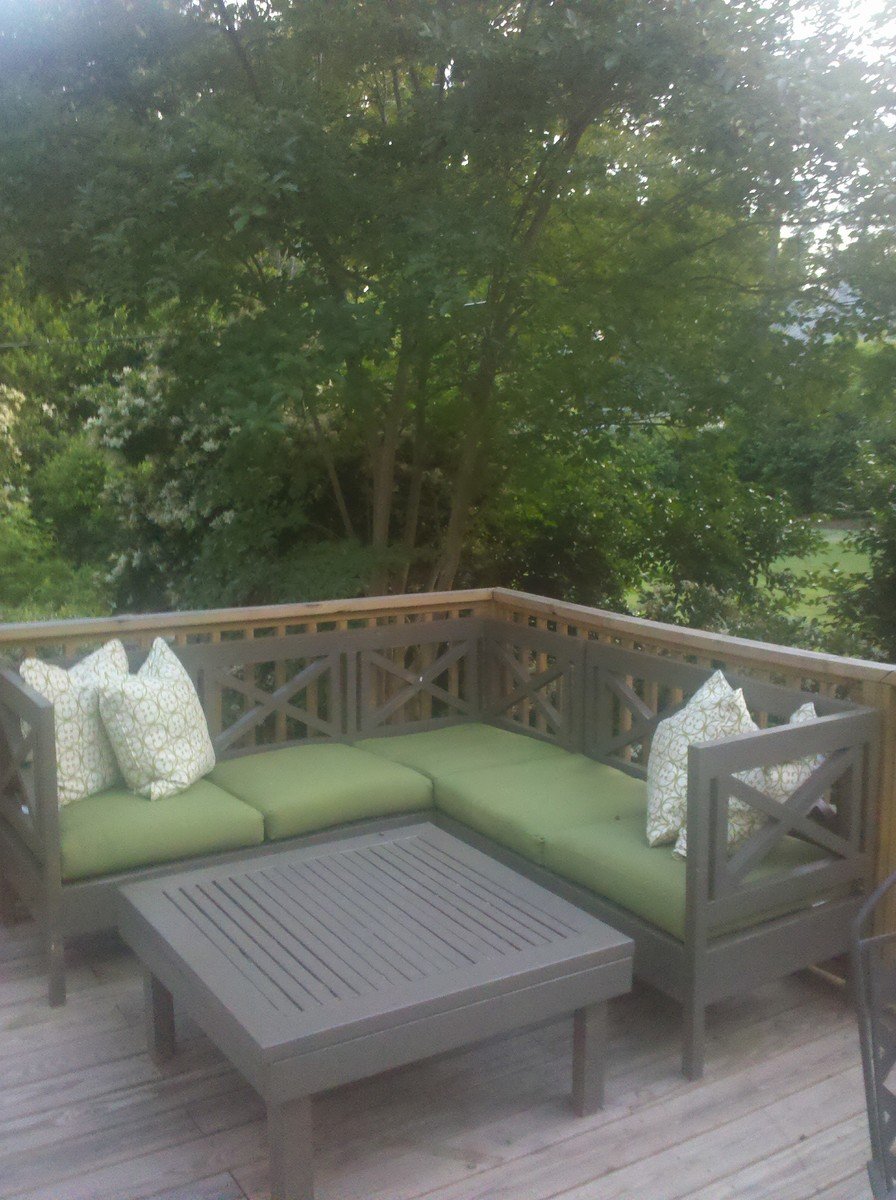
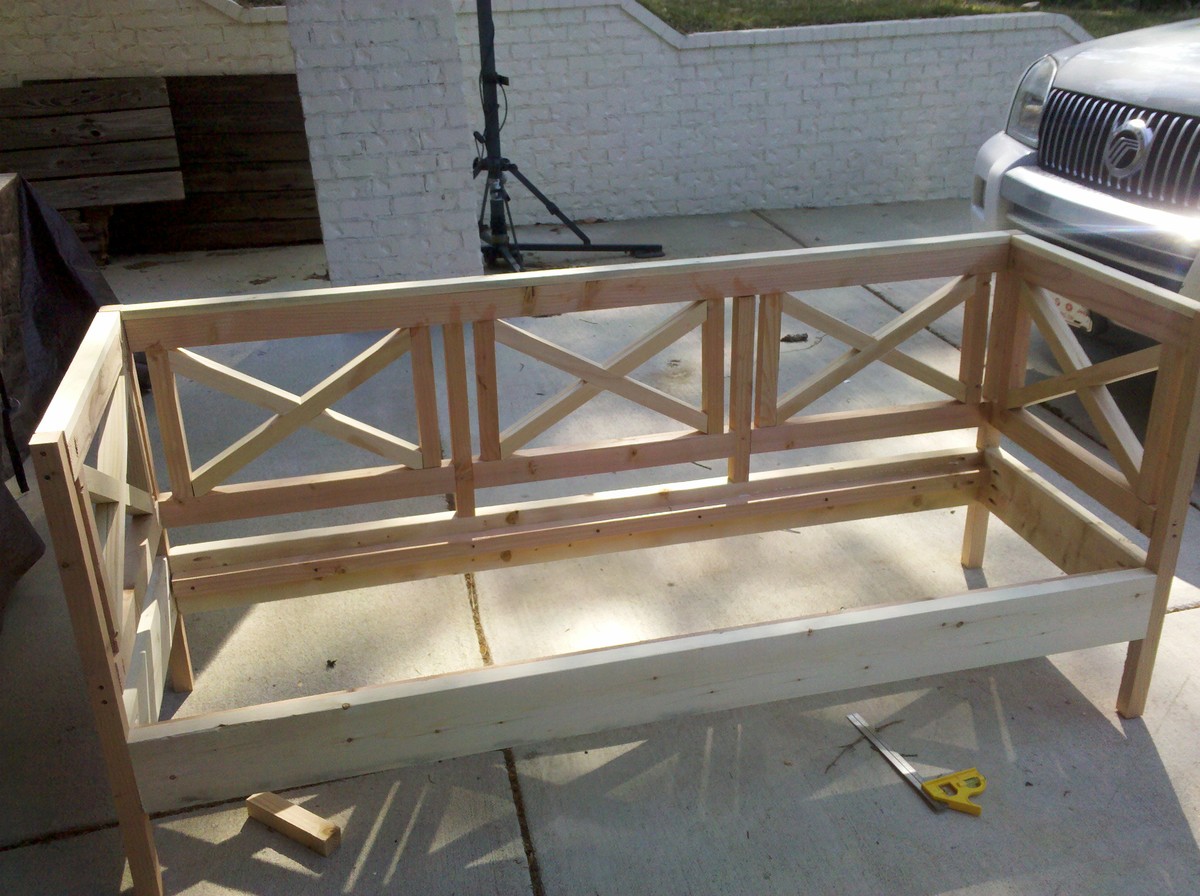
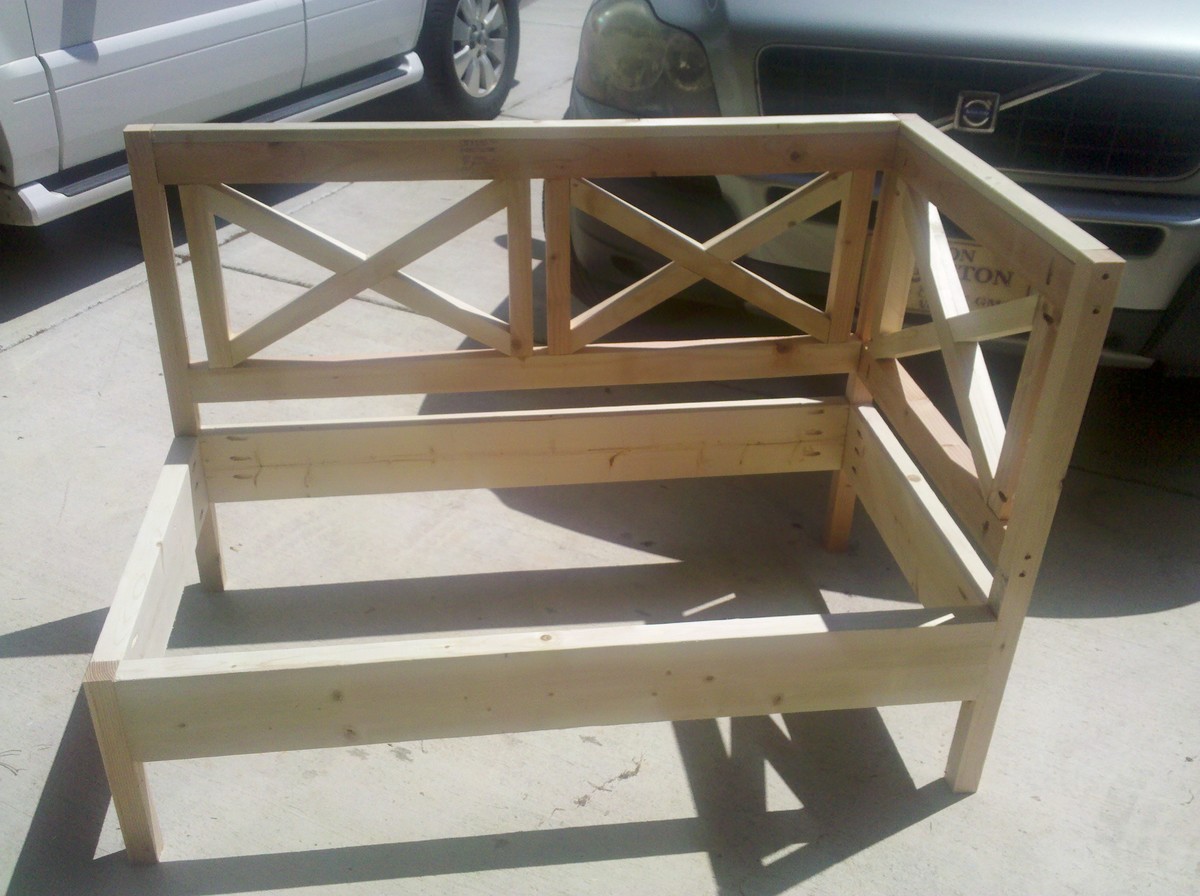
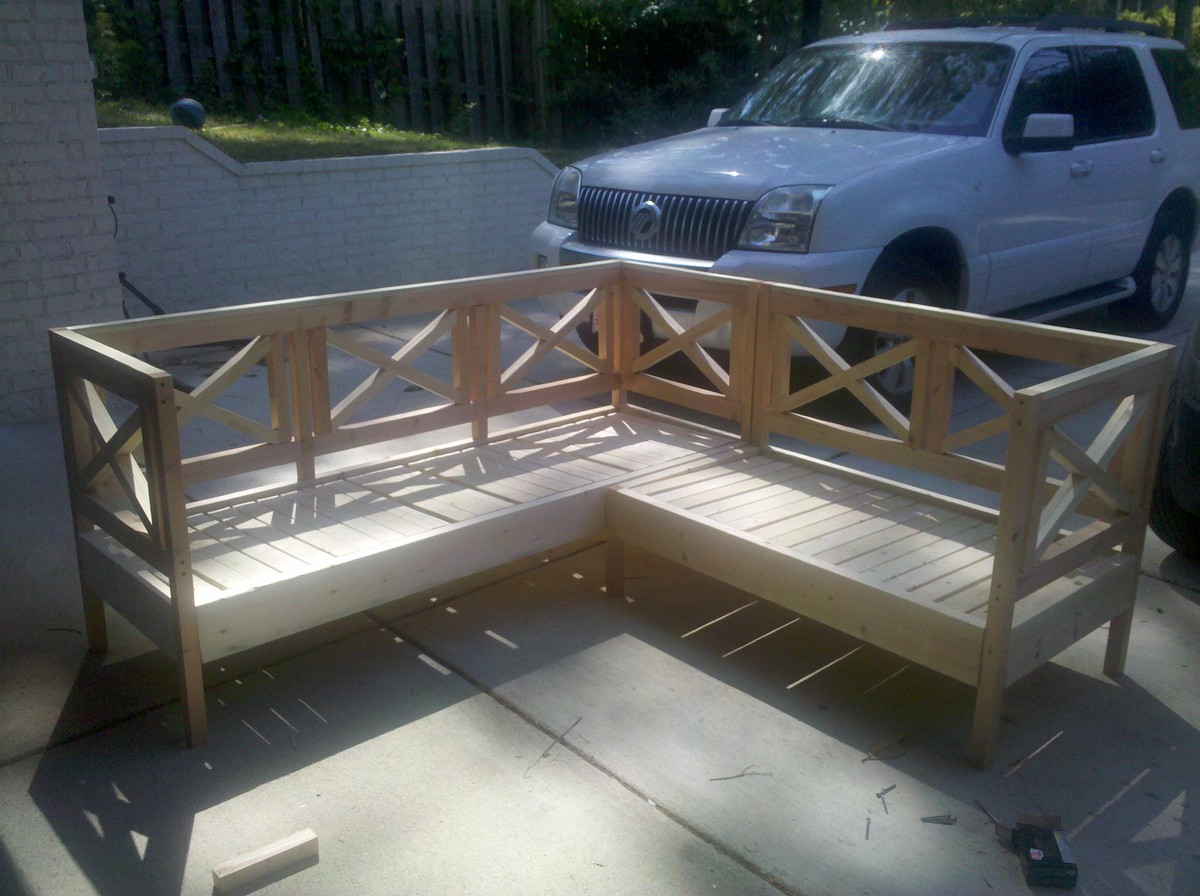
We have really been enjoying our new Weatherly Sectional that I built with Ana's fabulous plans! I love the way it fits perfectly in the little corner of our deck.
I only made a few simple modifications:
1. I added an arm to the loveseat, as we wanted an "L" configuration and not a "U"
2. I added at least twice as many 1x3's for the seat slats, as I wanted to be able to sit on the furniture when the cushions were stored inside. I put about a 3/4" space between the slats for water drainage.
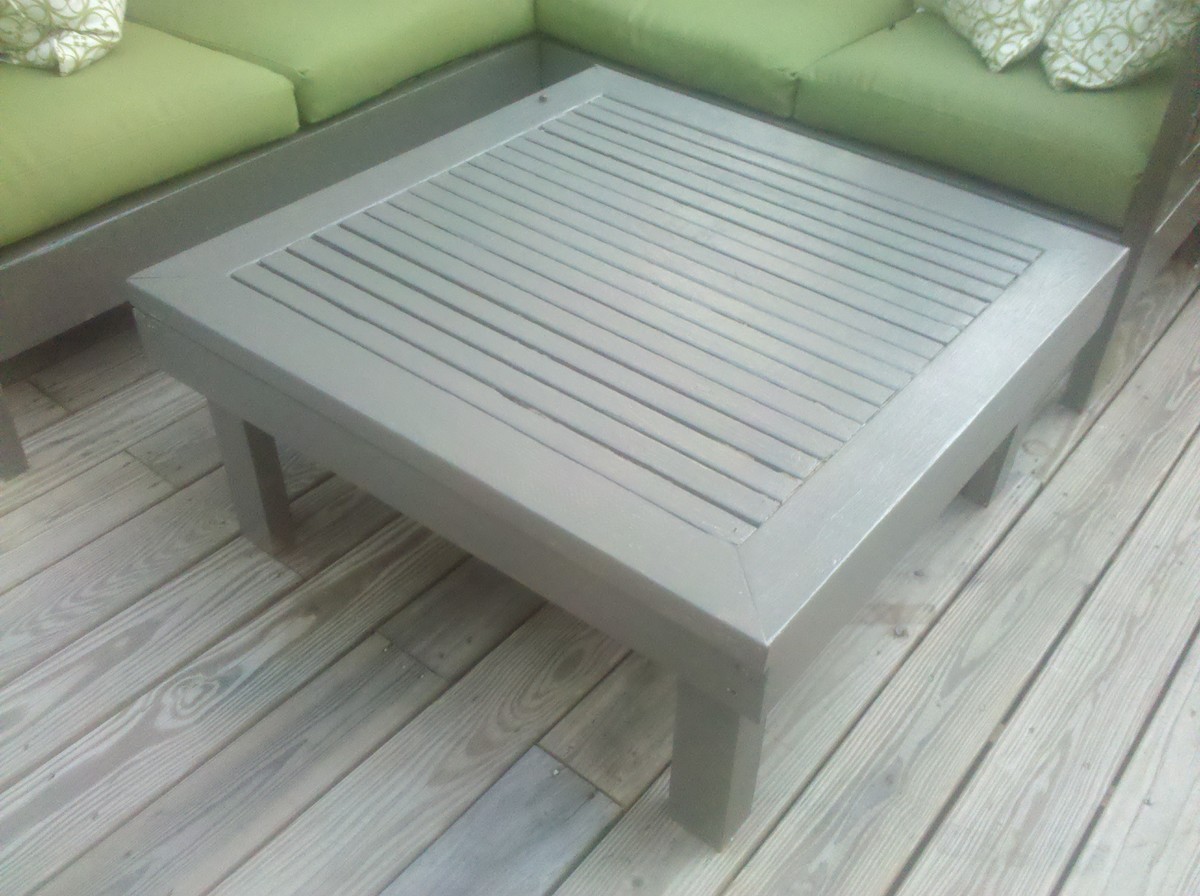
I made a 36" x 36" ottoman/coffee table out of scraps & it fits perfectly.
I bought the cushions from the Improvements catalog and they fit great. They are not as nice as the ones from RH, but they were about $40 each and were 20% off with free shipping. Here is the link: http://www.improvementscatalog.com/deep-seat-chair-cushion-24-1-2f2-22x…
Thu, 08/23/2012 - 00:35
You actually make it seem really easy together with your
presentation but I to find this topic to be actually something
that I feel I'd by no means understand. It seems too complex and extremely vast for me. I am looking forward in your subsequent publish, I'll attempt to get the grasp of it!
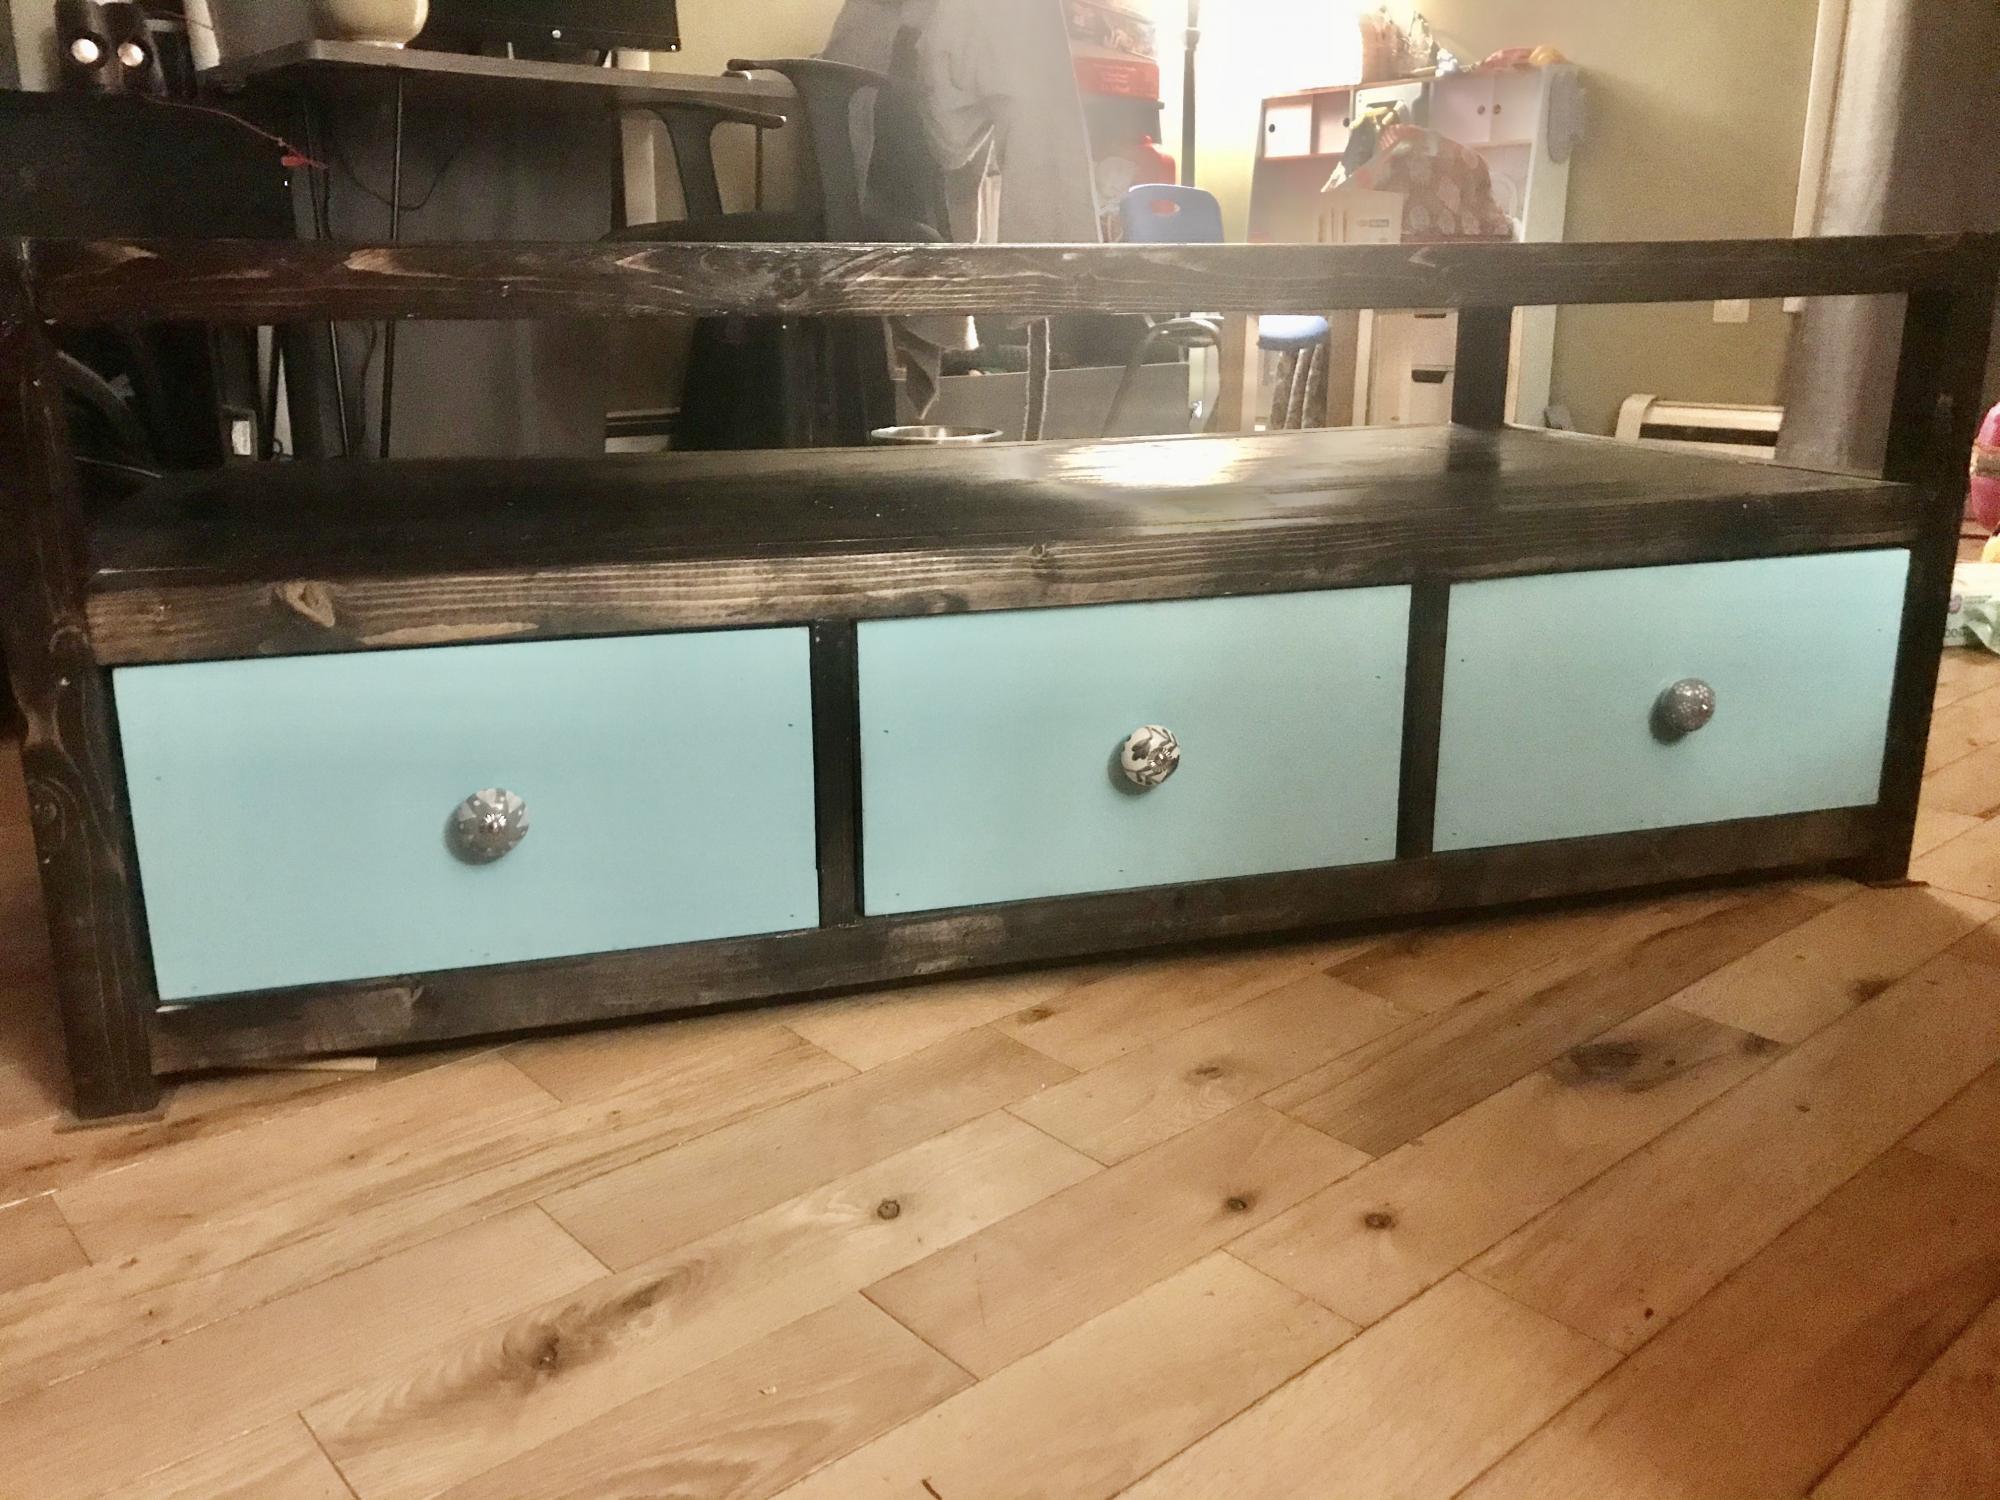
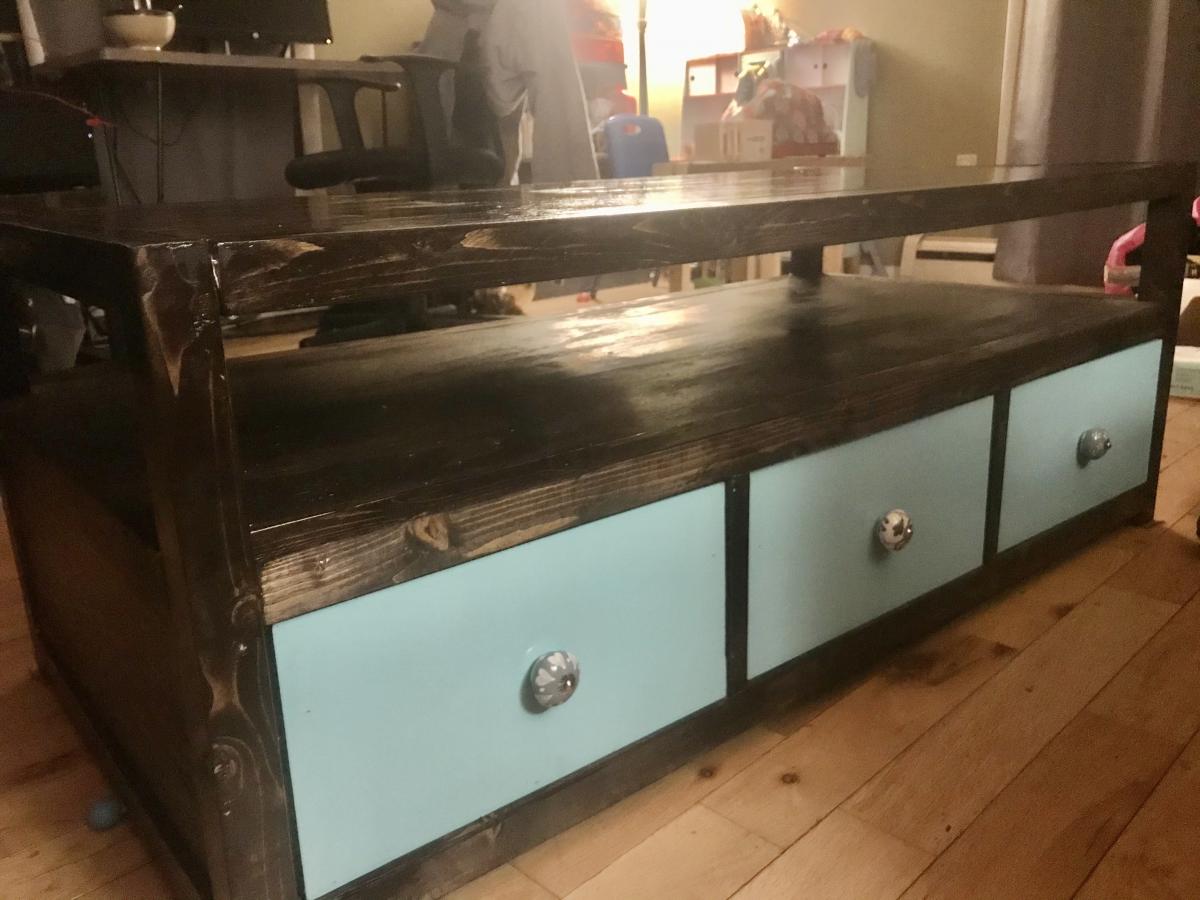
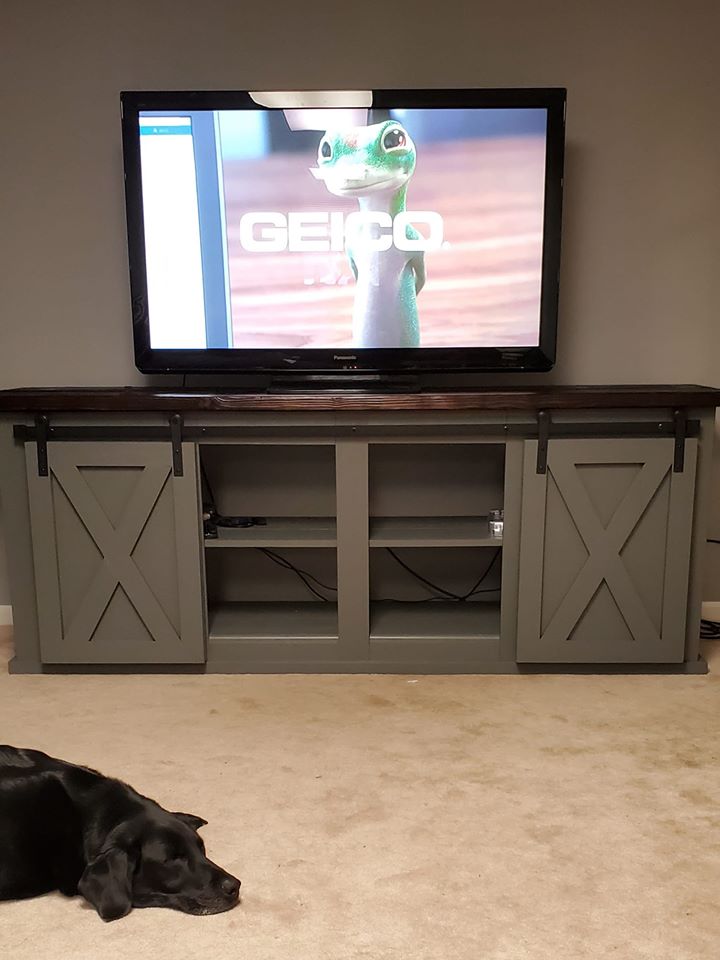
Ended up skipping the drawer slides as I made the drawers too wide. Not as tricky a project as I expected, and we’re thrilled with result!
For my first grandchild.
Grace Y.
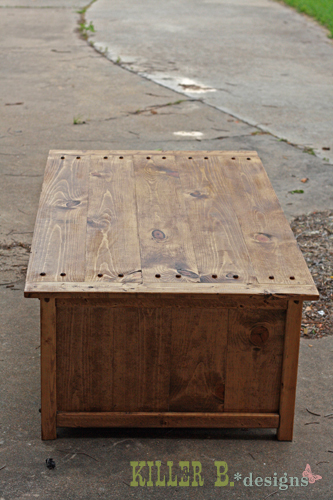
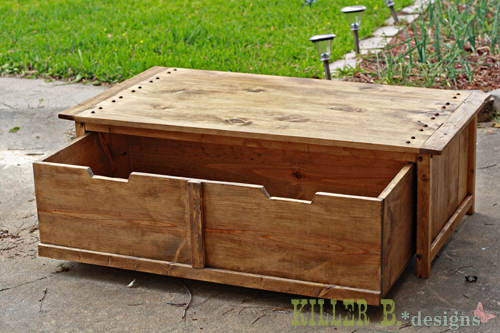
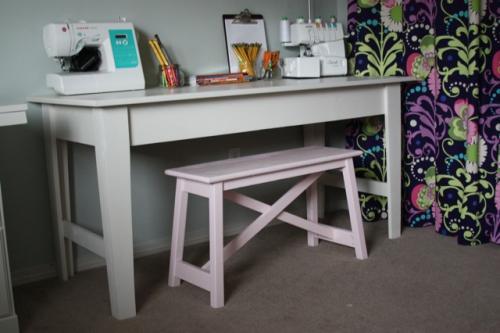
After posting about my 20 Second Tidy Up table I built on my blog, a local reader commissioned me to build one for her too! I used a Kreg jig for the top and sides, as well as the 2x2 frame supports. I also added some L-brackets to the sides for added stability. This thing is solid! Since Lowe's doesn't carry fixed-wheel 1 5/8" casters I used an epoxy putty on them so they only roll in one direction. It keeps the trundle from bumping into the sides and being hard to open. Love the table, and so does Christine!

Sun, 04/29/2012 - 20:12
I've only built a couple of things for sale, and came up with a basic pricing method that I'm happy with right now. I start with cost of all materials, then charge $10/hr for how long it takes me to build, sand & finish. Cost was $80, and it took 7 hours from start to dried poly.
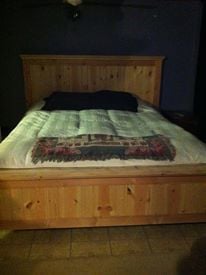
I have always wanted a farm bed and didn't think I could make it but here it is
Thanks for posting this great project.It took about 5 hours. I used a Kregg Jig to build it and I love it. I have built a lot of other things with it sense.
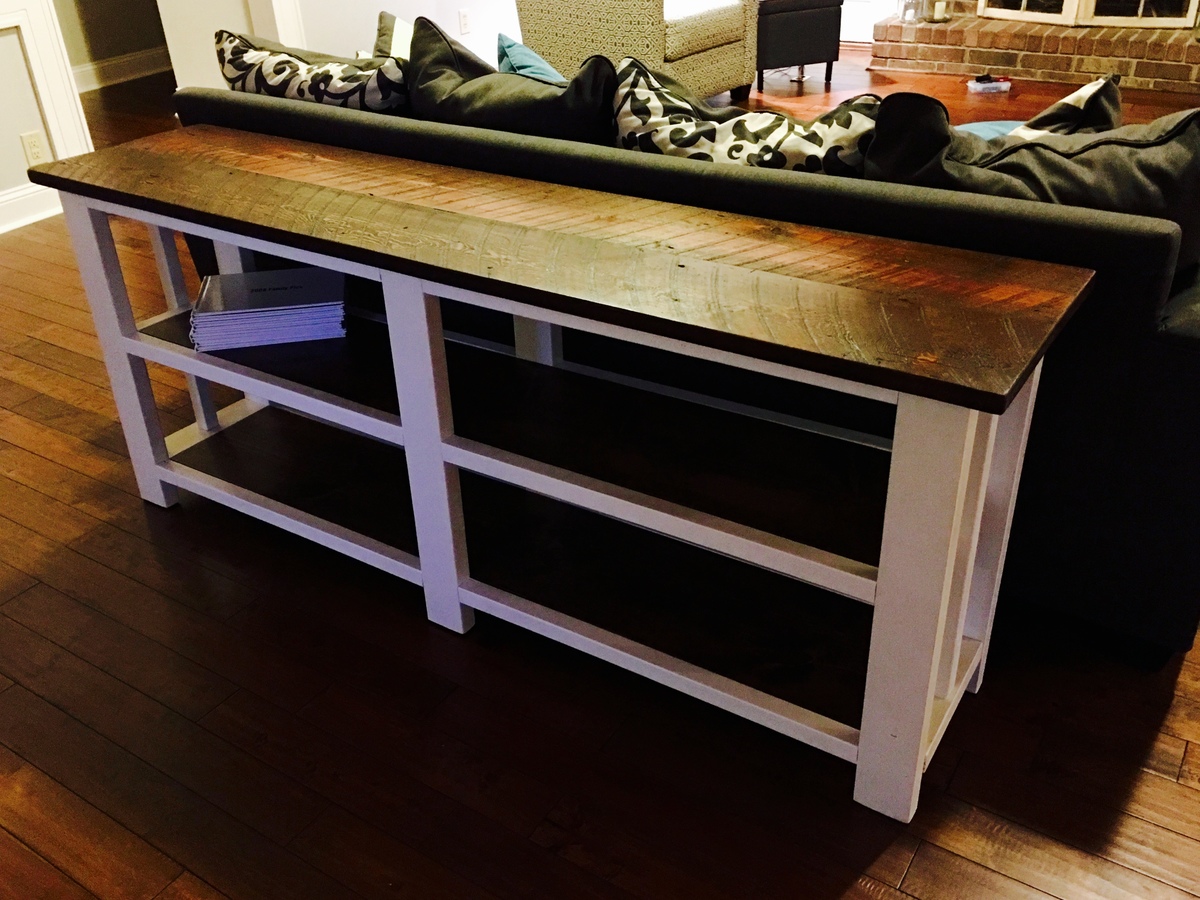
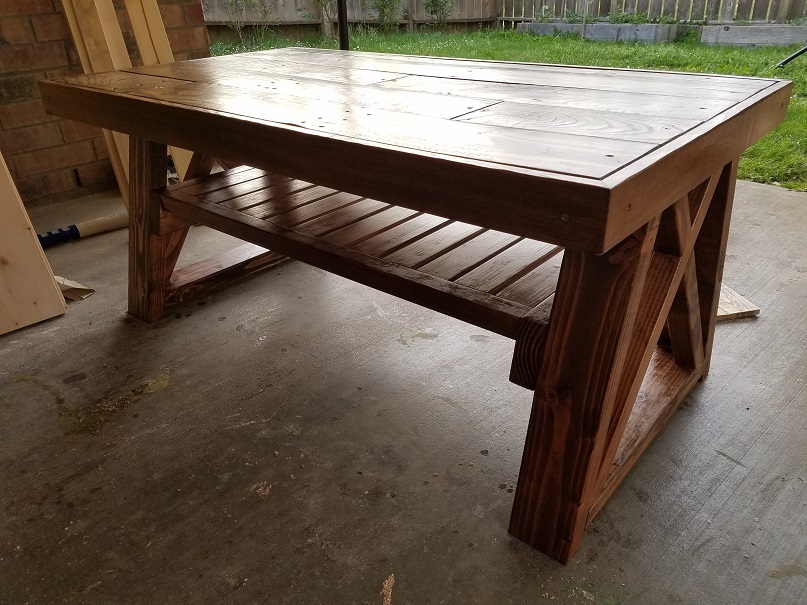
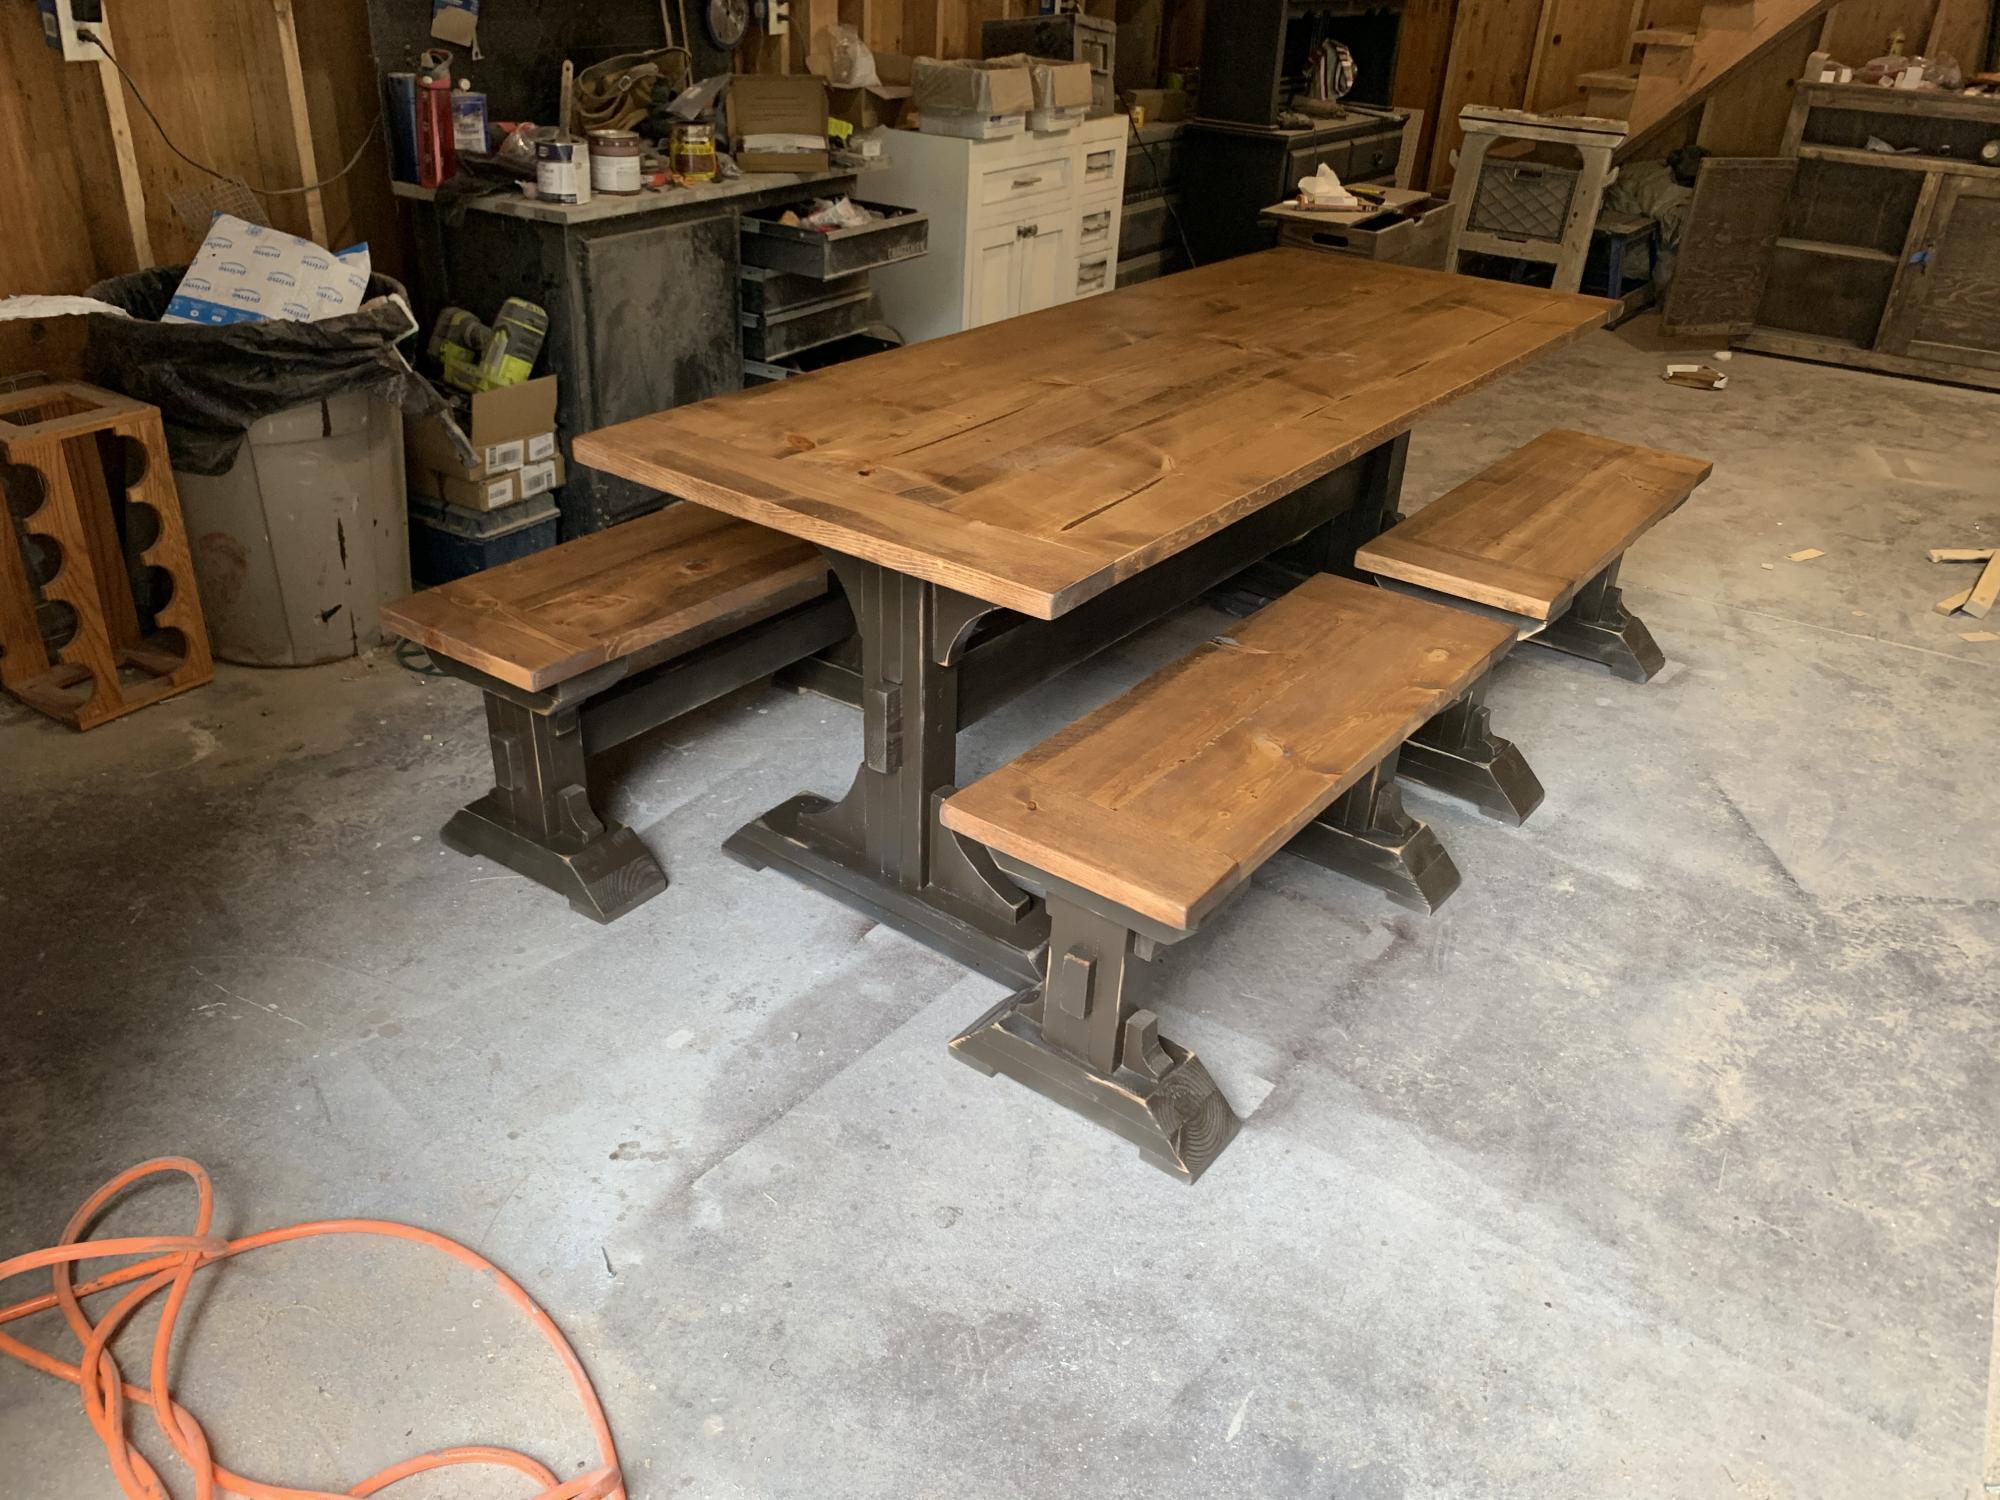
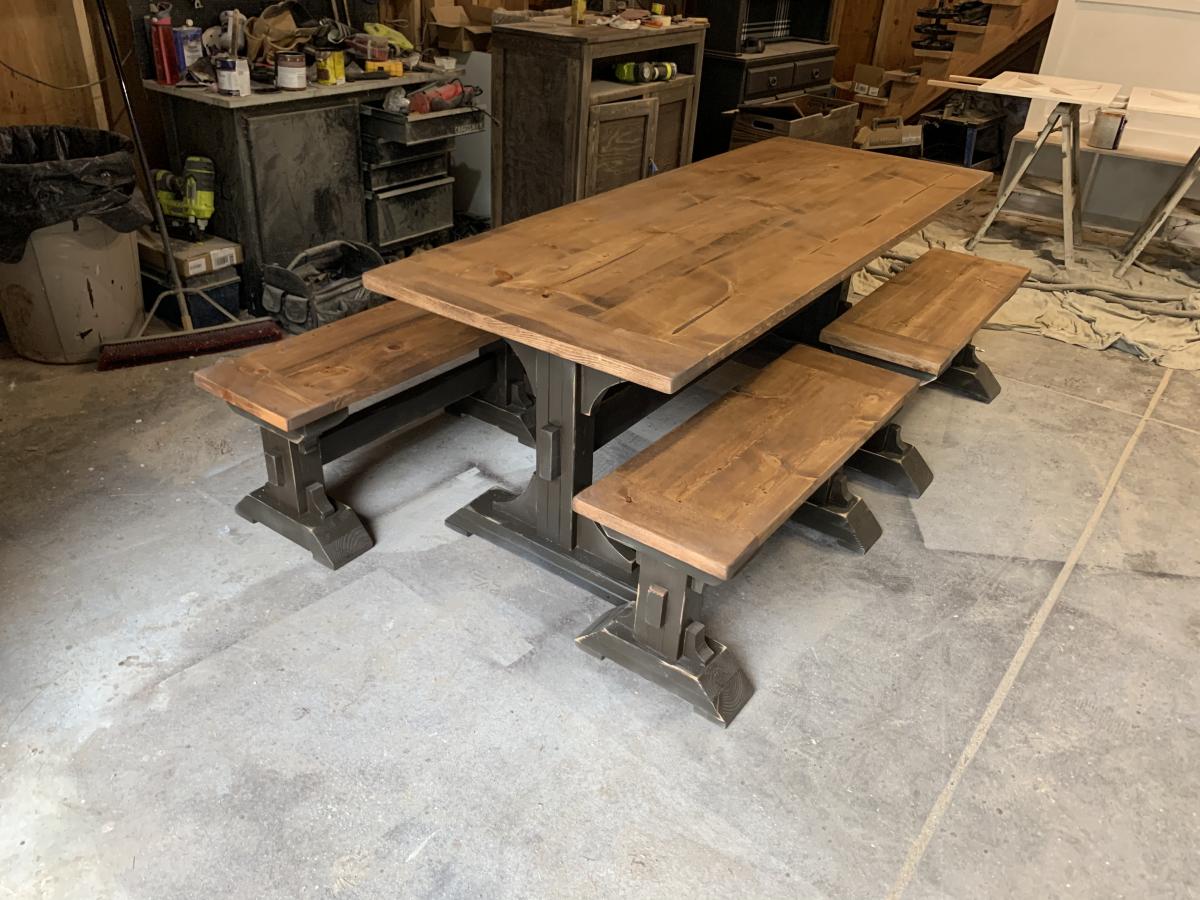
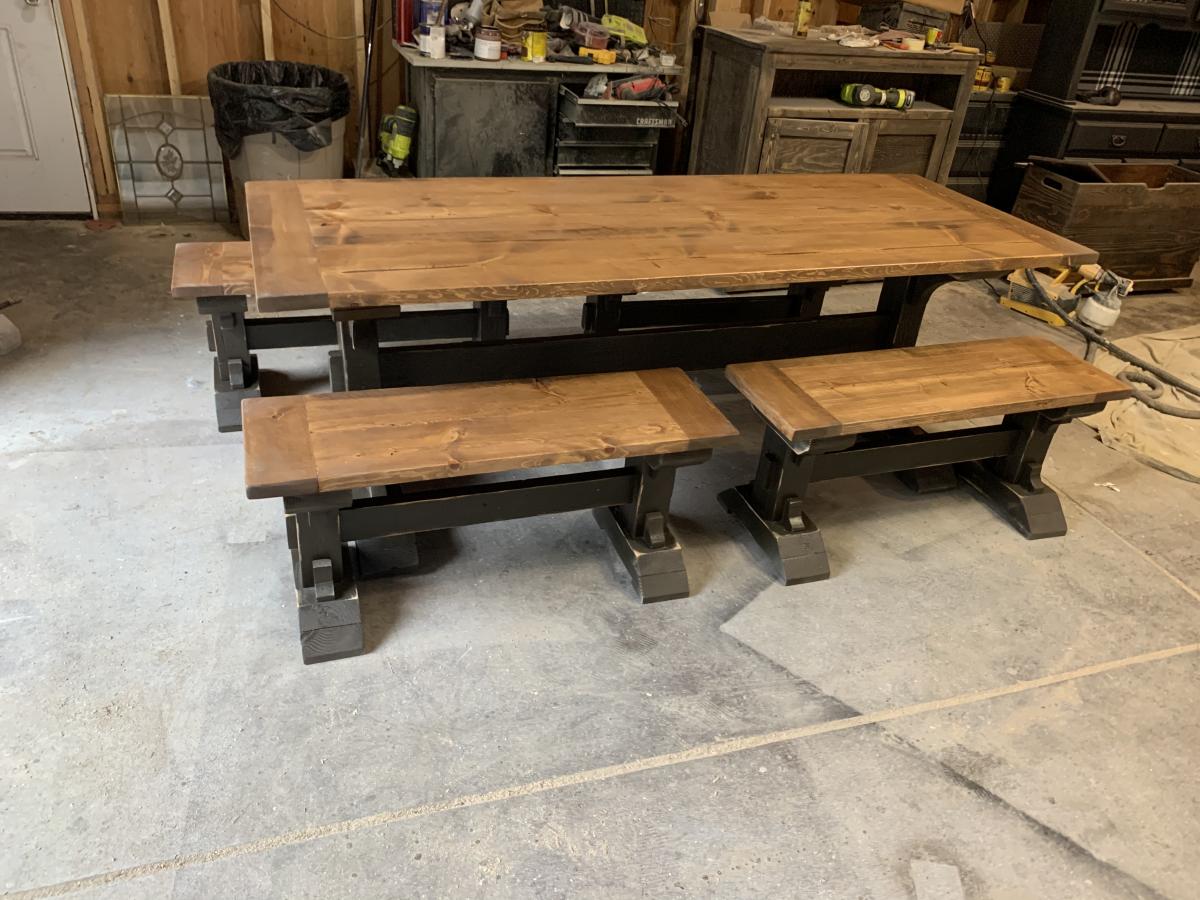
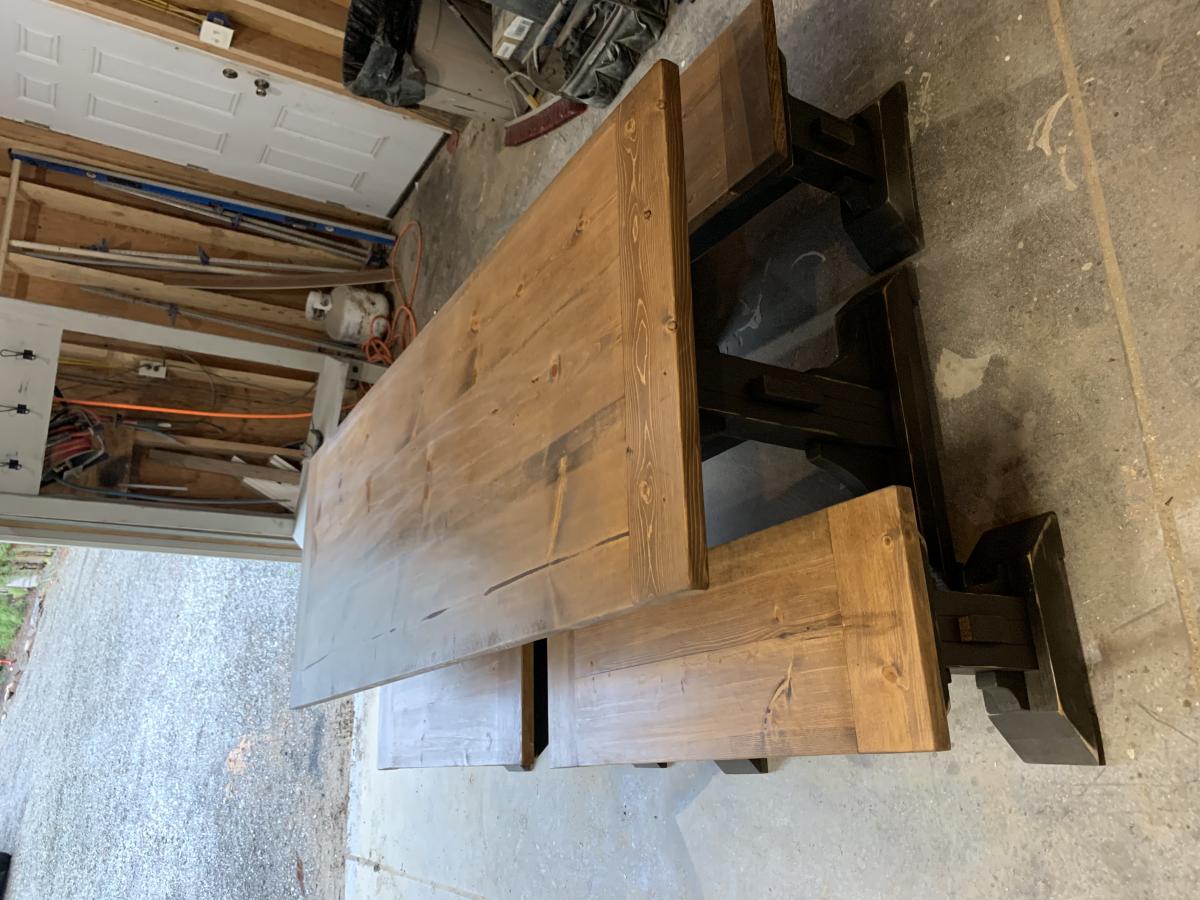
I took the Rustic X Console plans and used some rouch sawn pine and hemlock from a reclaimed lumber yard. We left some of the character (nail holes, saw marks, imperfections) in the table top for a more rustic look.

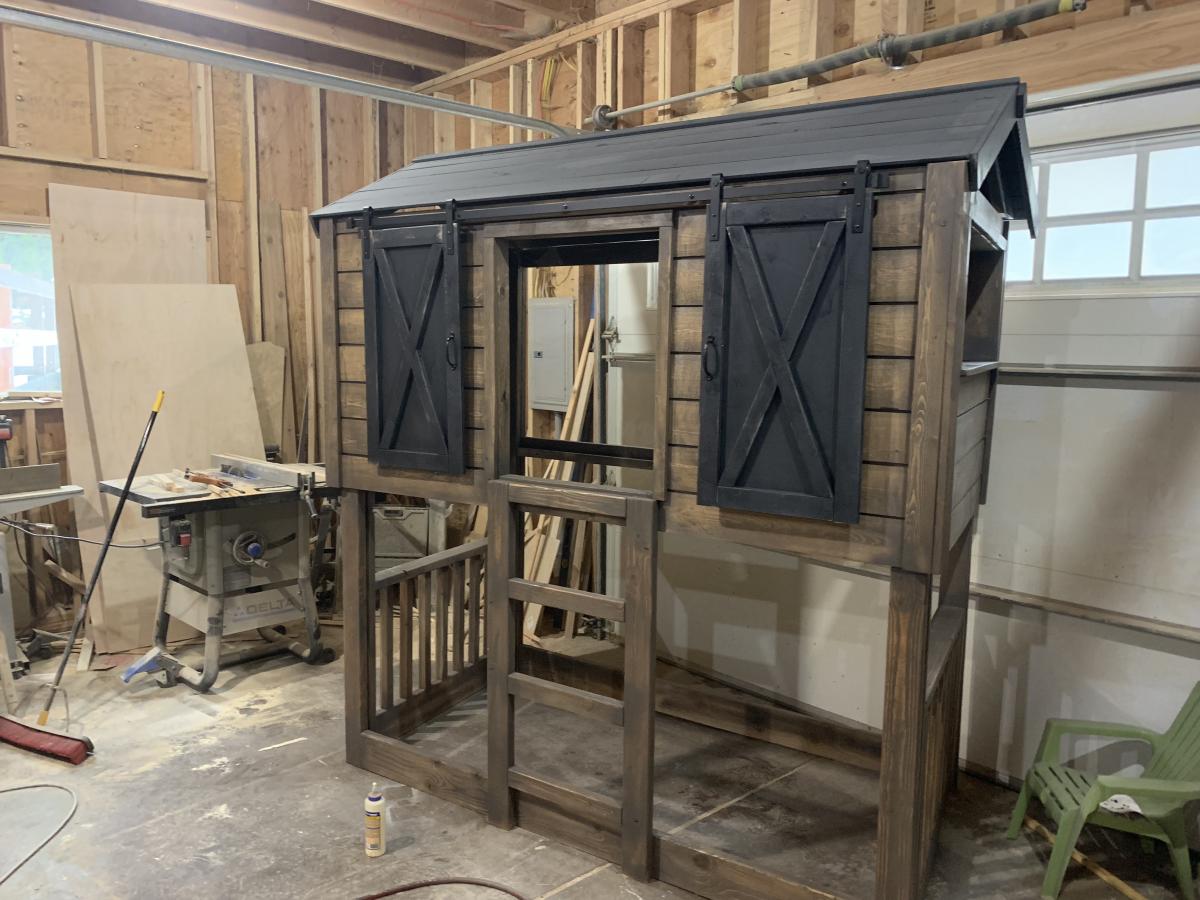
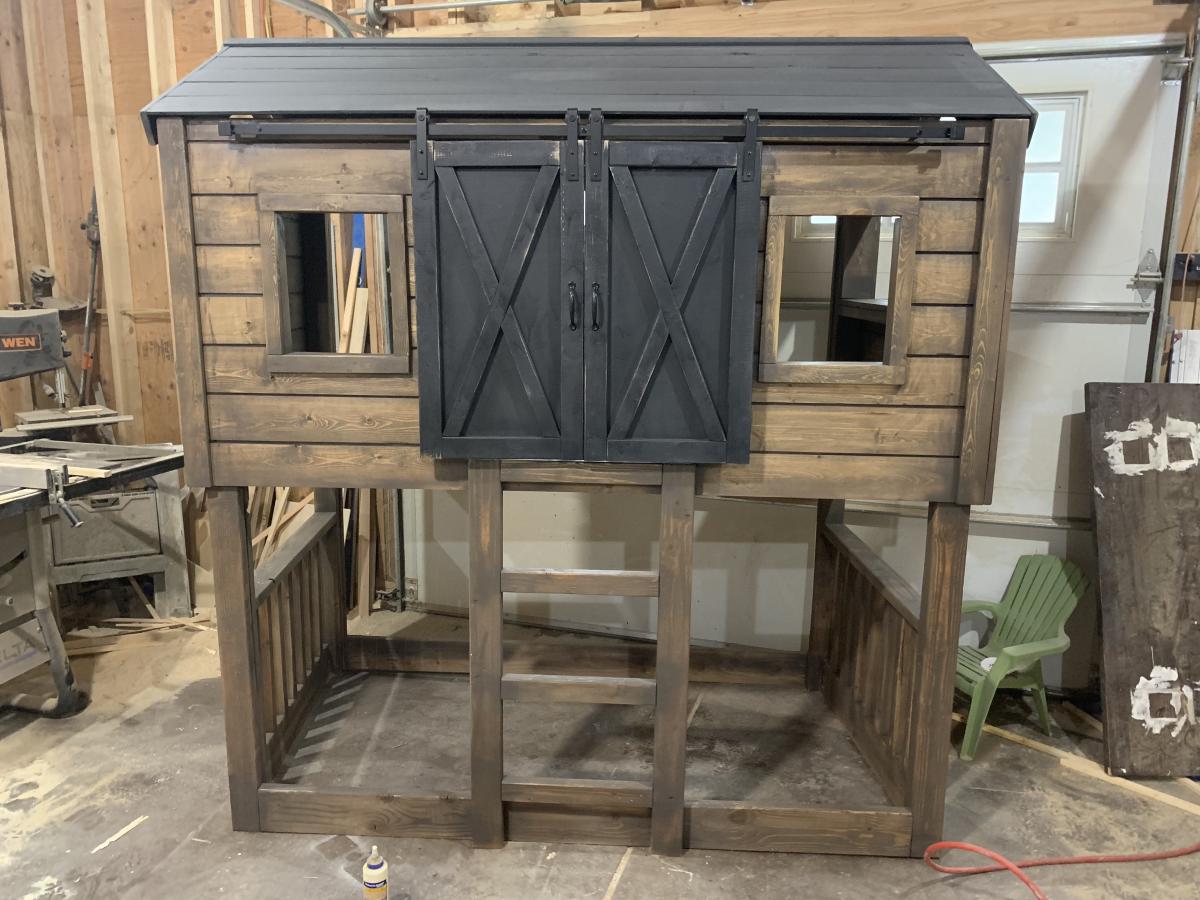
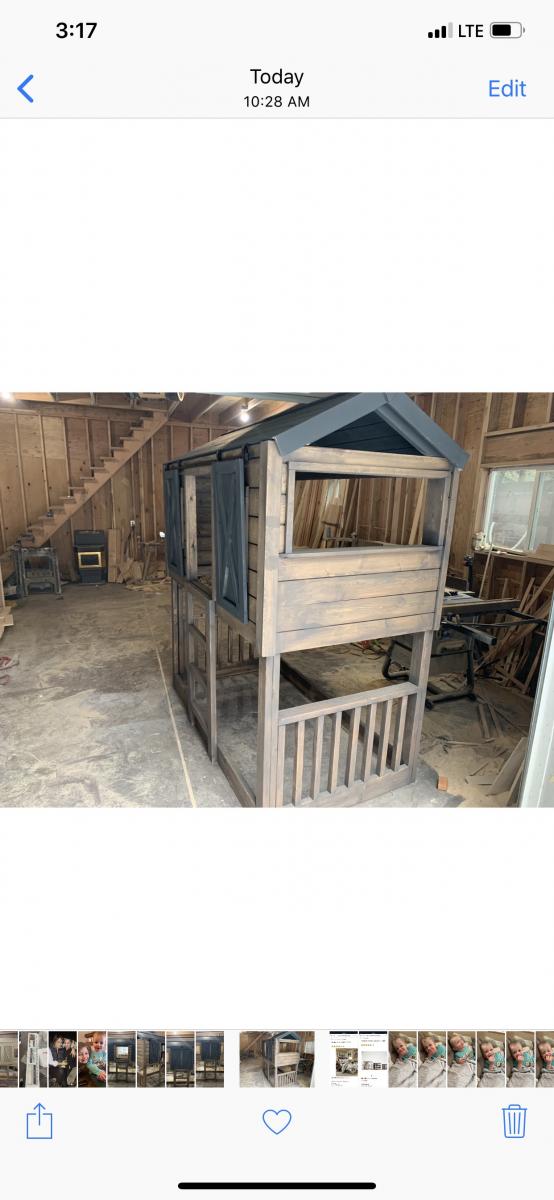
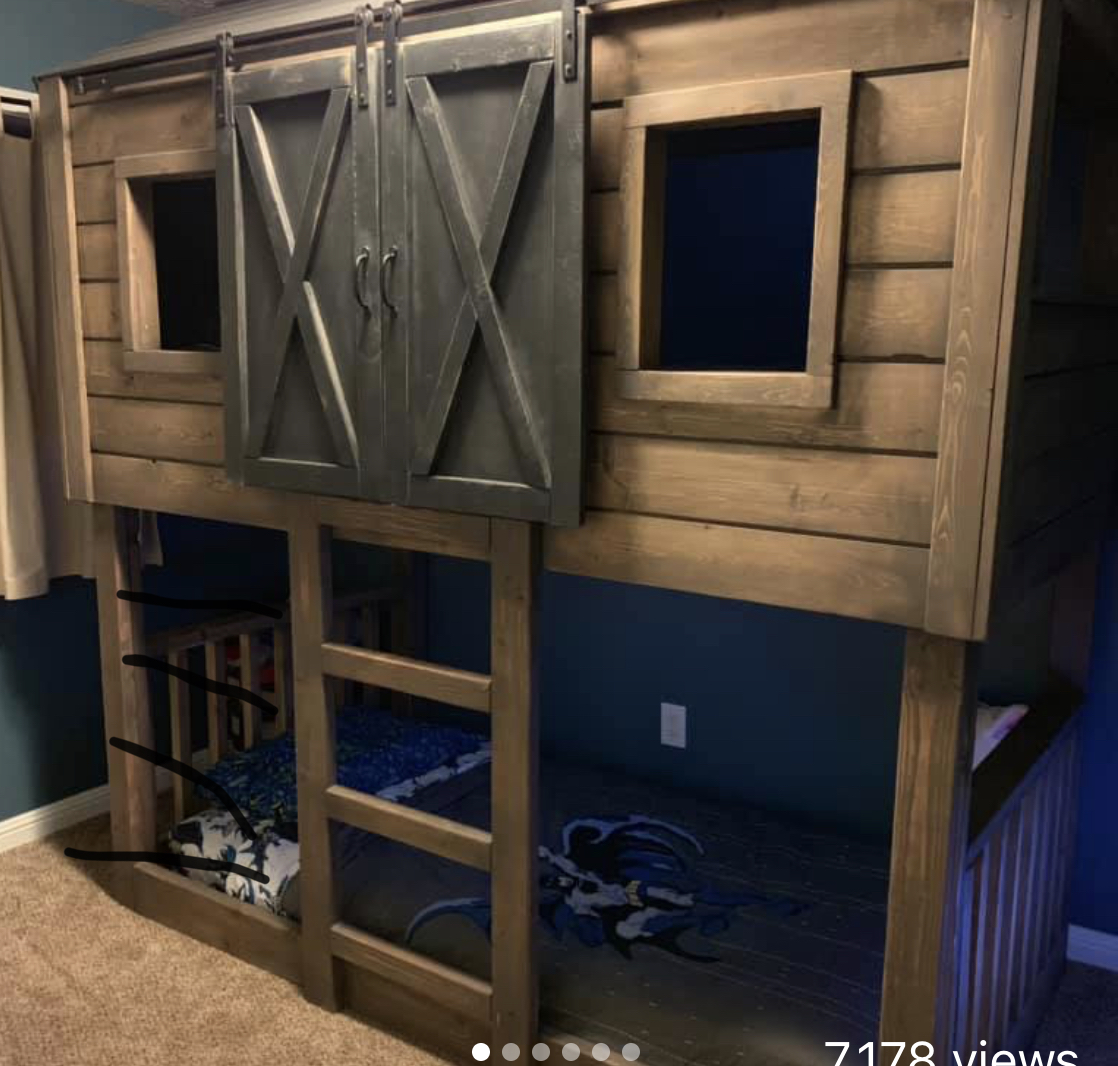
Hand made kids fort bed

Tue, 02/18/2020 - 19:16
This is perfection! And exactly what my boys have been asking for. Any chance you have your modifications? Thanks!
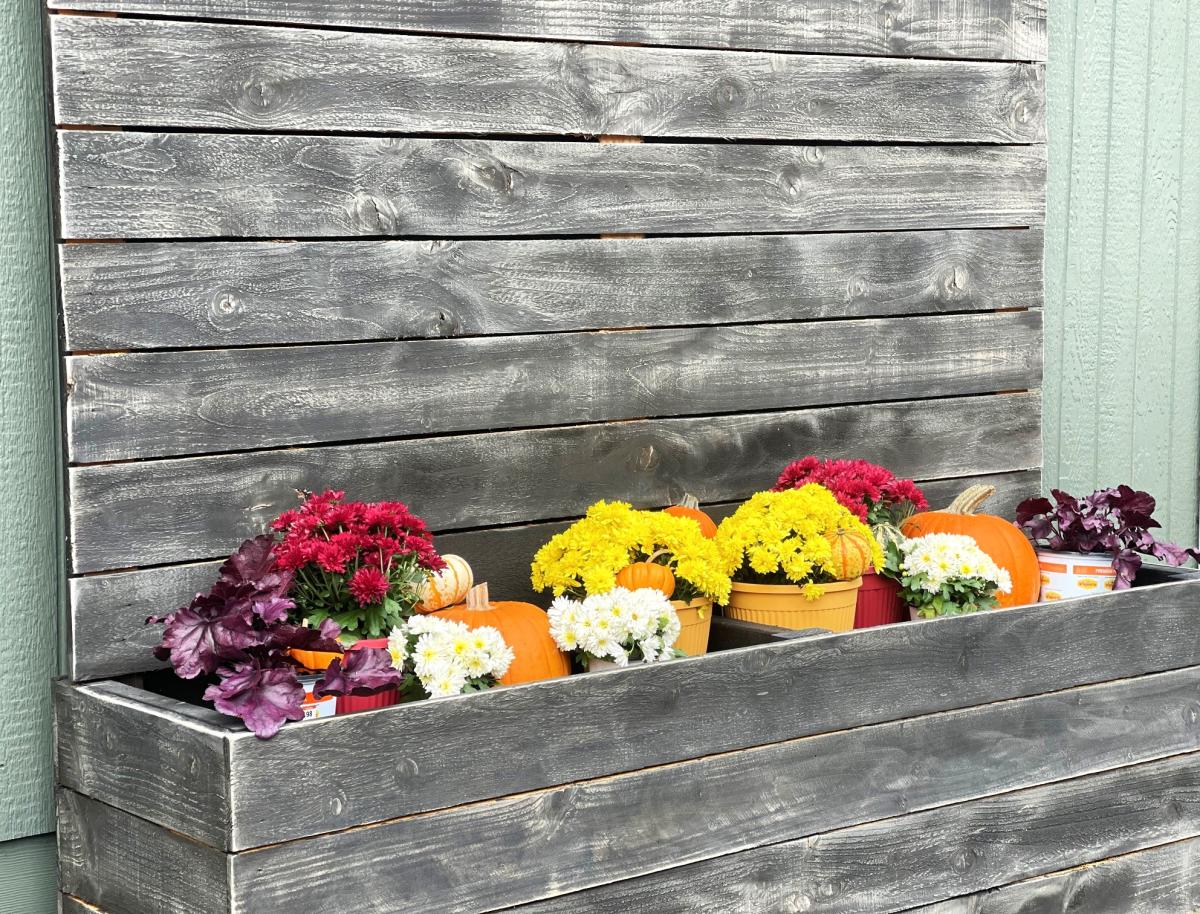
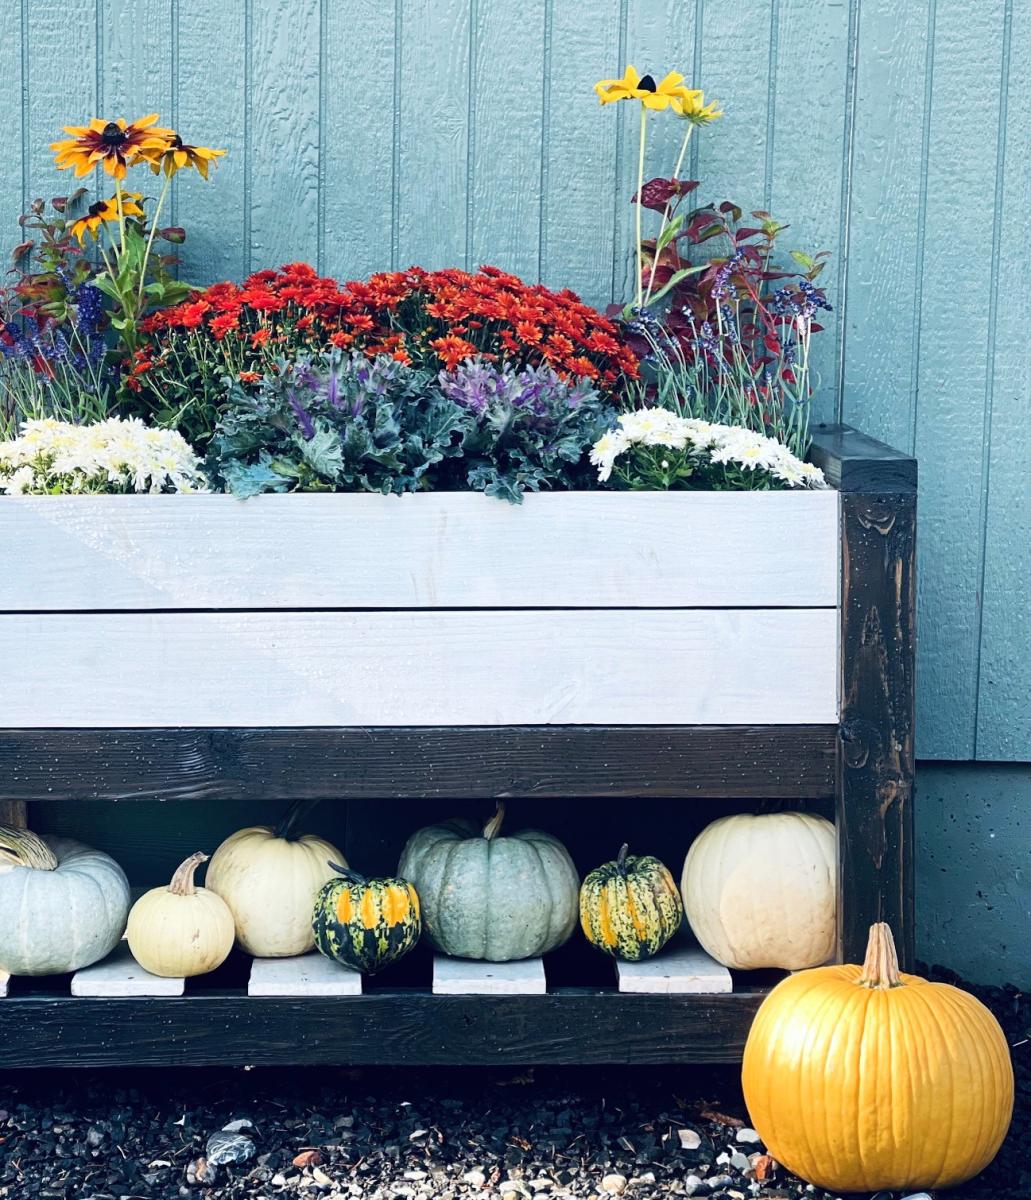
Switched out all my summer plants for fall, love it!


Project took me about 6-8hrs with cutting and assembly (each). I used Home Depot's Top Select Pine. I will be giving it a distressed look this week with Minwax's Dark Walnut!

Mon, 05/07/2012 - 05:48
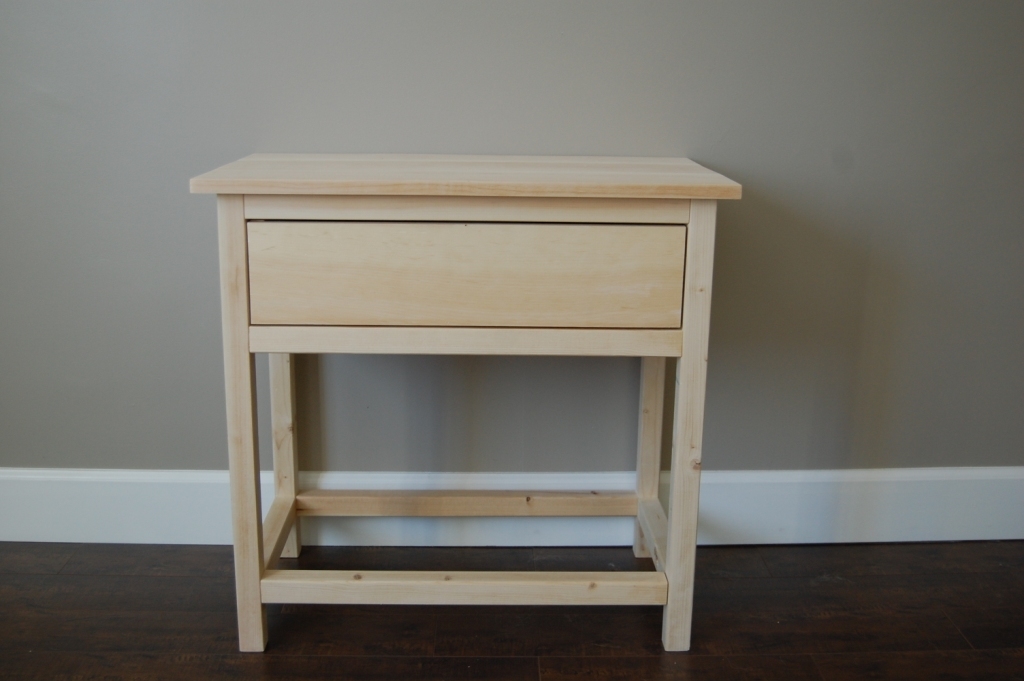
Just finished the 2 Kentwood nightstands and they look like yours in this picture (untreated pine). Wow, these took a long time to do. I'm dreading the thought of finishing the insides of these. I also built shelfs inside. Can you post pictures of your finished nightstands. Any tips on finishing? Did you poly? I'm going to use a Minwax mahogany gel stain, but unsure of what to do after that.
Tue, 05/15/2012 - 13:49
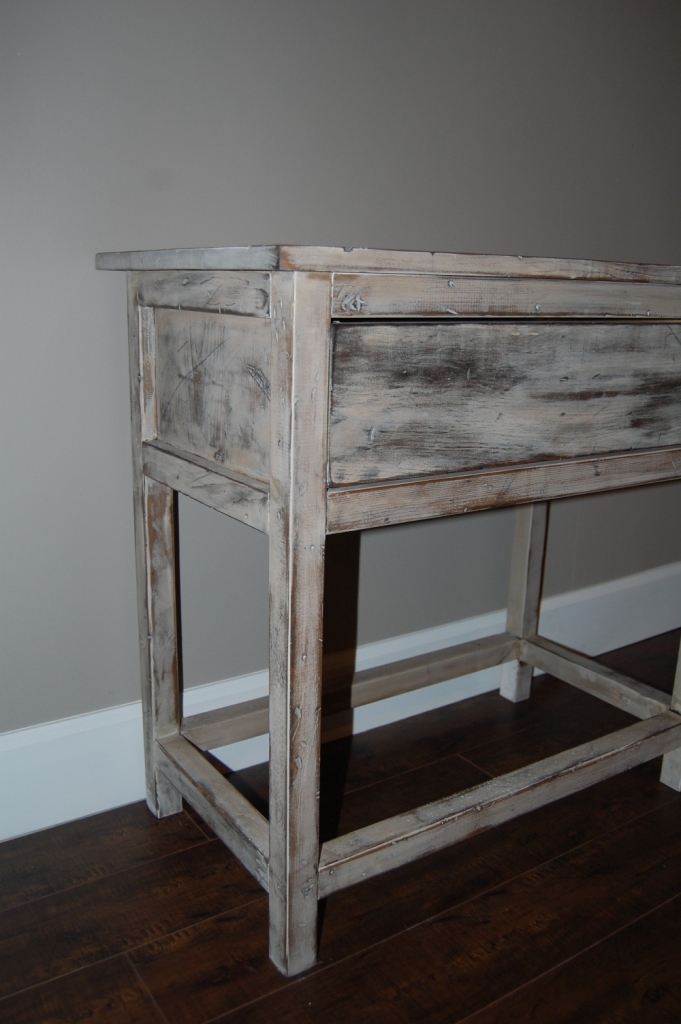
Yeah, no kidding, it did take longer than expected. I ended distressing the tops and sides of the nightstands and the technique I use is...
1. Spay the surface with water. I use a regular misting bottle. This will soften the wood even more to allow the make for easier distressing
2. I used a combination of screws, hammer, chisel, and screwdrivers to make my indentions.
3. I do light coats of Minwax dark walnut on the wet surface to allow the stain to absorb deep into the wood and not on the surface.
4. Since oil and water don't mix the wet surface will not hold the stain on the surface but deeper into the wood.
It seems to work for me. Let me know what you think!

My precious second granddaughter loves her tower!
I made a few mods:
1. Eliminated the curvy top: no band saw.
2. Used piano hinges for strength.
3. No need for anti-tipping legs; just lower the platform to lower center of gravity.
4. Kreg-Tool a MUST. Didn't like the KregTool white plastic hole plugs.
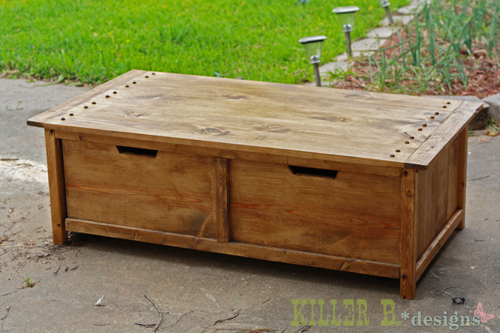
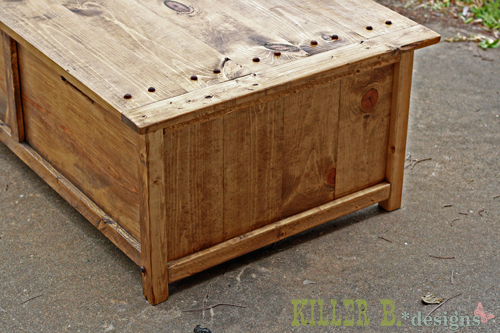
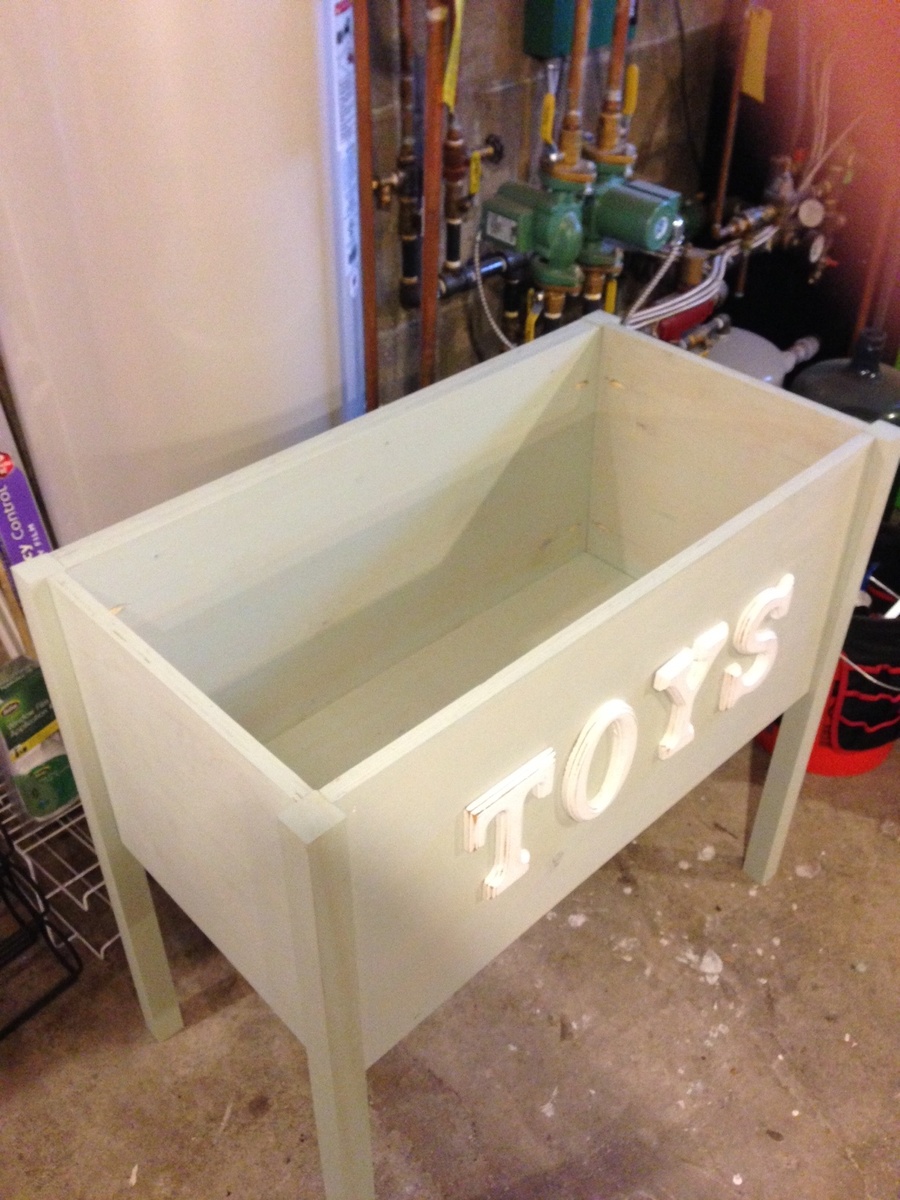
PS I built my precious FIRST granddaughter a toy box to match her bedroom furniture.
And a Cradle Boat:
http://www.clcboats.com/shop/boats/rowboats/dinghies/baby-cradle-pram.h…


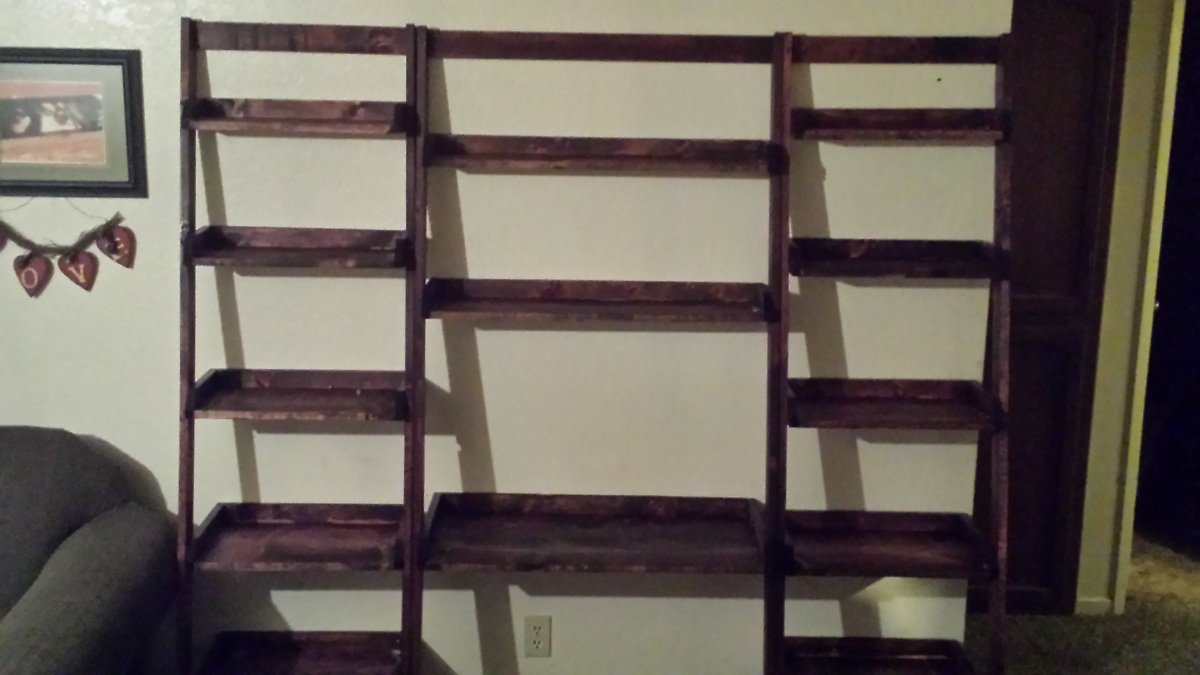
I have refinished wood, but this was the first time I ever built something from scratch with my own two hands. I have always loved ladder shelves and loved the idea of having a ladder style desk. I looked for plans and couldn't find any. I had to get rid of an old desk and the day I threw it out, I found Ana White's plans. For nearly the same price as the particle board ones sold at stores, I figured I could buy all the tools and materials to do it myself and customize it....and then i would have the tools to use on future projects. As a beginner with no technique or skill, working between overtime hours, it took me about 2 weeks to finish. I had to work on it in stages. Cutting the boards all the exact same length was by far my biggest challenge. I even had a Home Depot employee cut me two extra pieces and he couldn't even get them perfect. A stop block really would have made this a lot easier. I stuck very closely to the plans except I made my book shelves 18" wide to accommodate my printer. I also added a slide out tray under the desk shelf (not in picture). I made quite a few mistakes, but the finished project looks amazing in my living room. I should have taken another picture after it was all set up with my desk supplies. This picture doesn't do it justice. I love it so much, I may just build another one to serve as an entertainment center on the opposite wall.
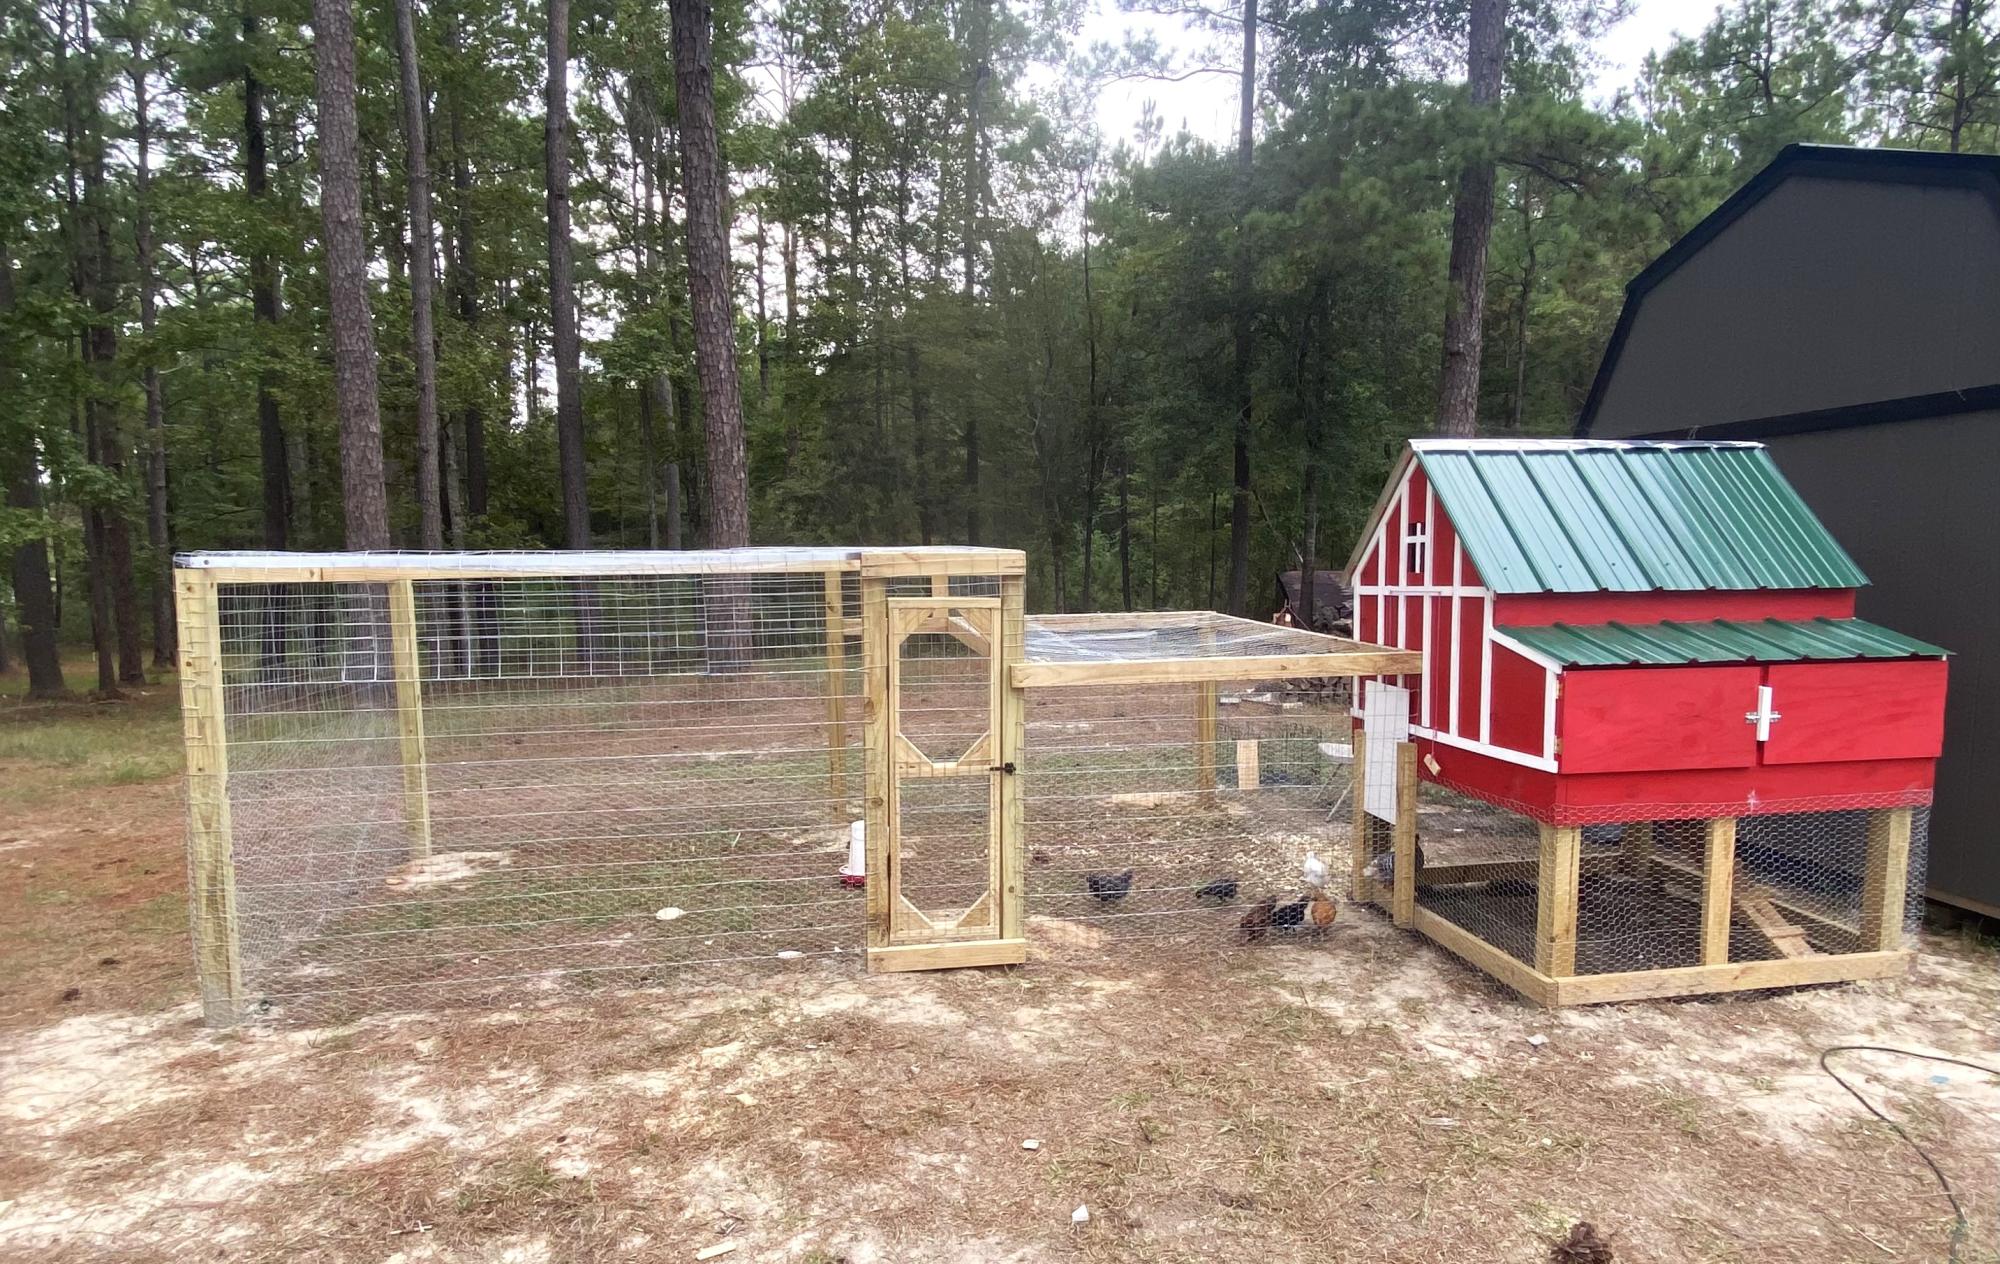
Small coop with run. Awesome plan.
Jinks hill farms

Built 4 of these, slightly narrower and thinner to fit all 4 next to a kitchen island. Decided to skip the false ends and use fabric sprayed with scotch guard instead of leather. I did the woodworking and my talented wife did the painting and fabric work. Very pleased with how these turned out.

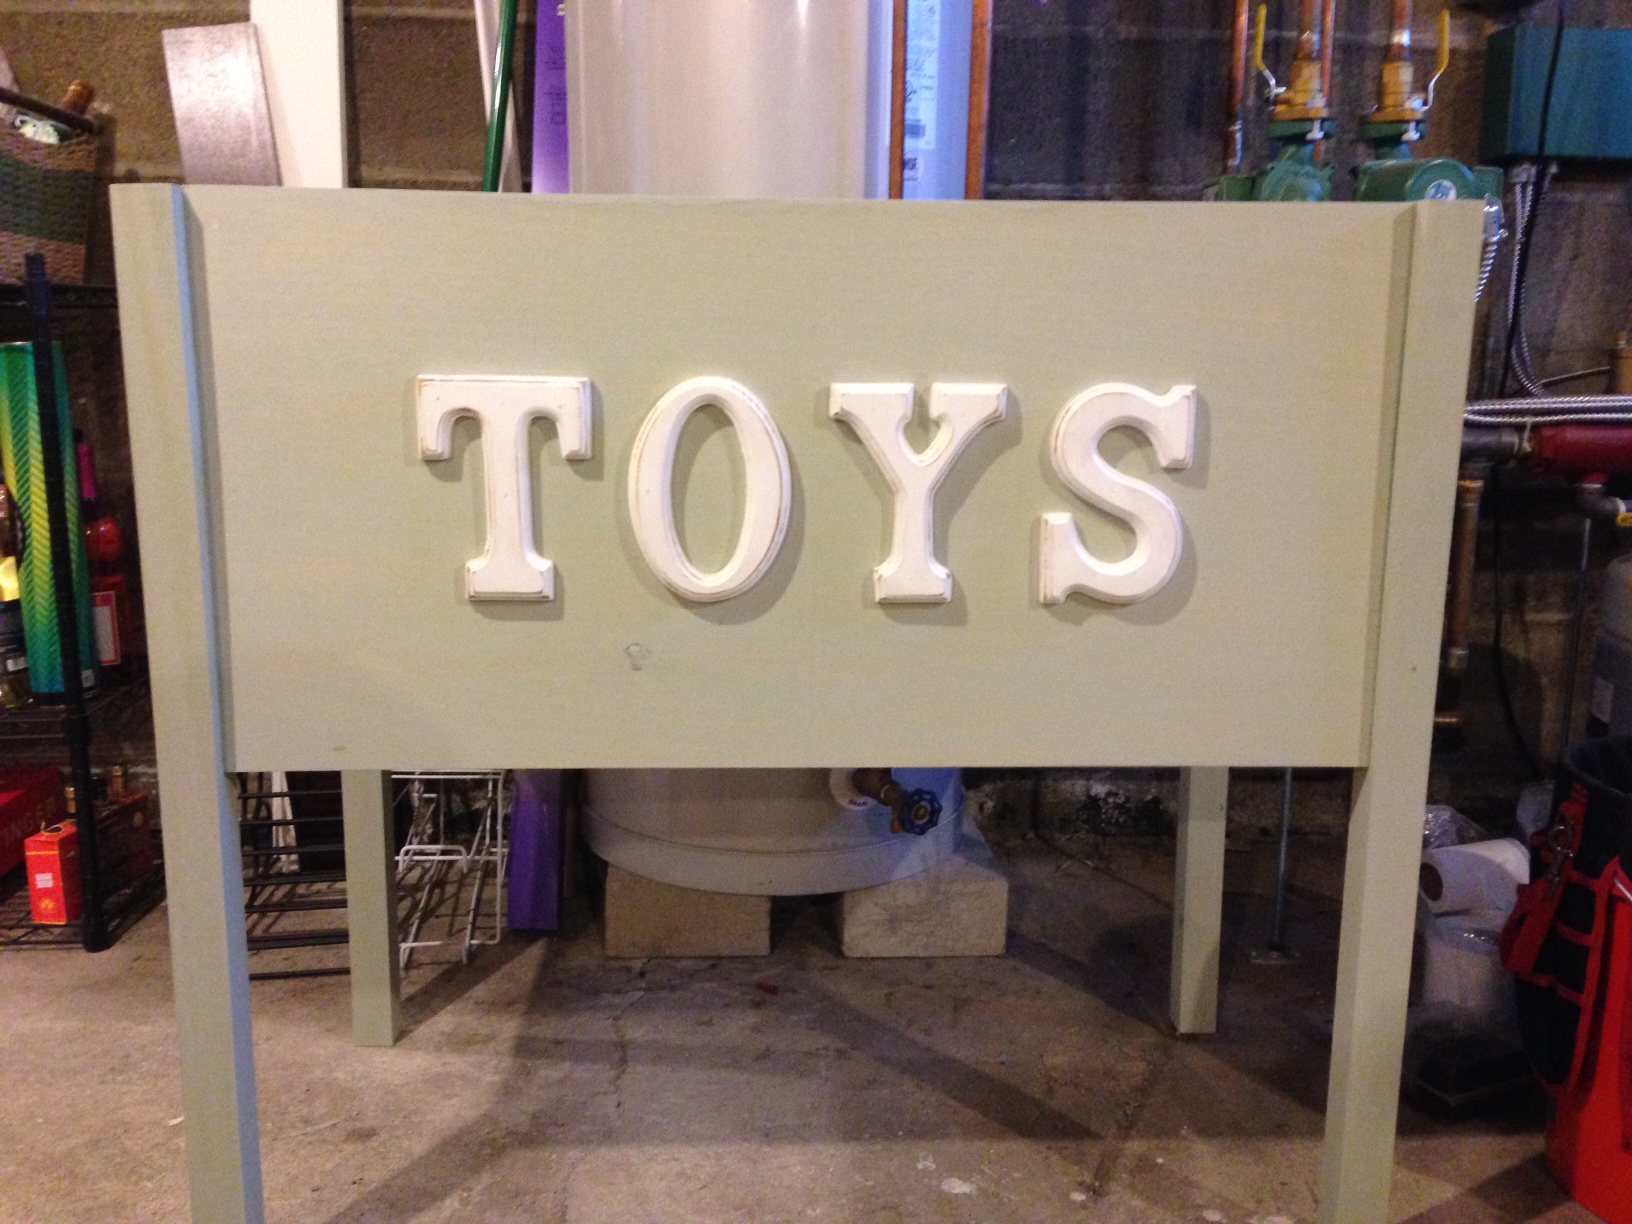
My best man (and his wife) are expecting their first child and this was my very first project. The Kreg Jig is great but you need a right angle clamp to put this box together. I stained the project using Minwax white tint base in their driftwood color, I'm not a big fan of the color on the entire box but it serves it purpose as being gender neutral for any future kids. I bought the letters at a crafts store and painted them white and then sanded off the edges and rubbed Danish Oil on it to give it the "distressed" looked.

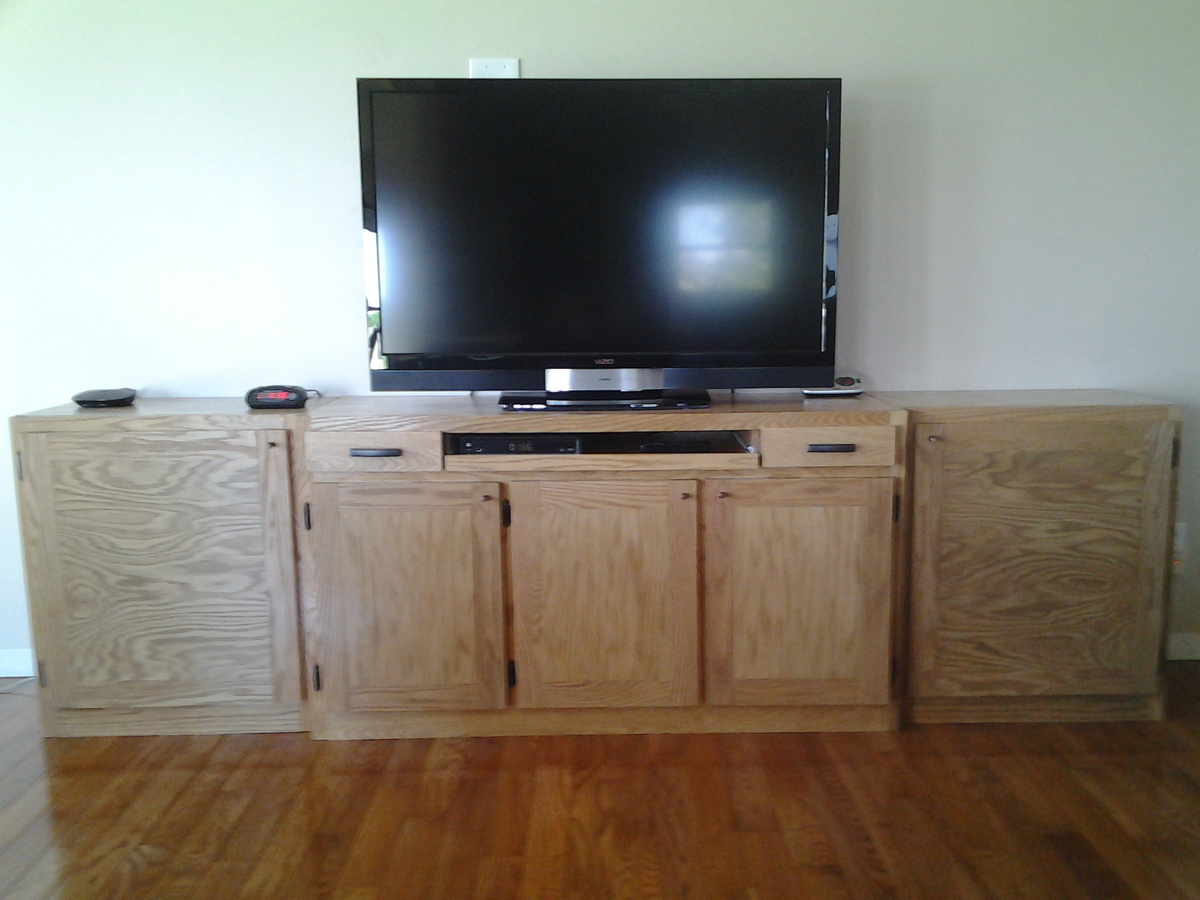
Oak Plywood and Oak Trim
We just love your work and detailed plans!
Hubby and I built the Console Unit and now the Base Units and plan to add on the hutches. We built the units only 30" tall vs. the 34-1/2" height from the plans. We used oak plywood and oak trim and finished it with a Minwax Fruitwood Stain and Minwax Polyurethane Seal. My hubby loves to make You Tube videos and made one of our work and posted it at:
https://www.youtube.com/watch?v=YtB6LK1xEHg
Keep up the great work and we plan to post more pics!
Built by Renee Boone
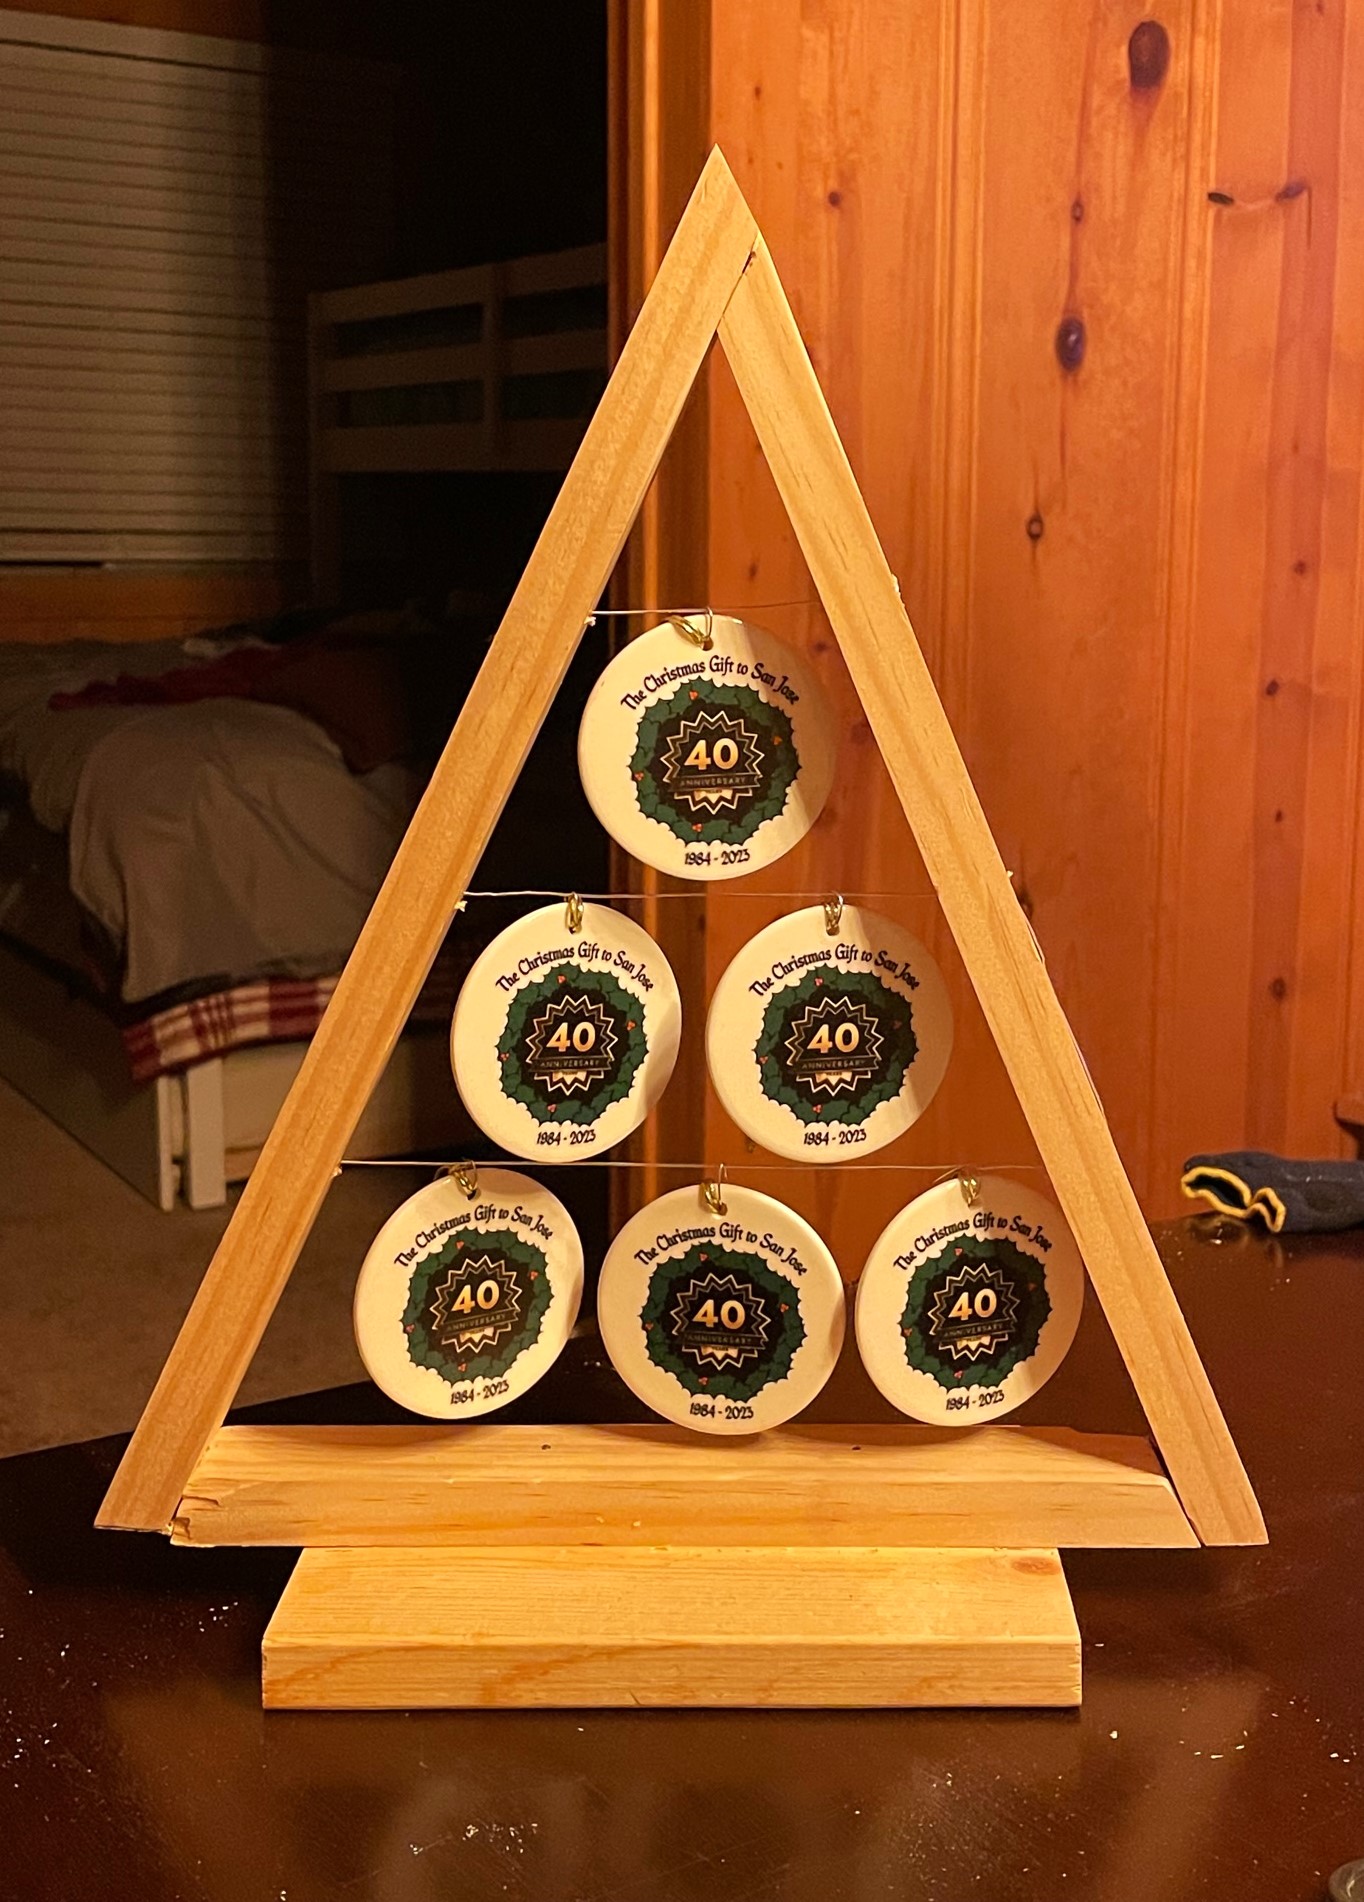
I made 15 of these ornament trees for our church's Christmas banquet. We adjusted the height to 14". I locked the wire in place with 8 x 3/4 screws that were countersunk. I plan to paint the trees gold.
Don Fugate
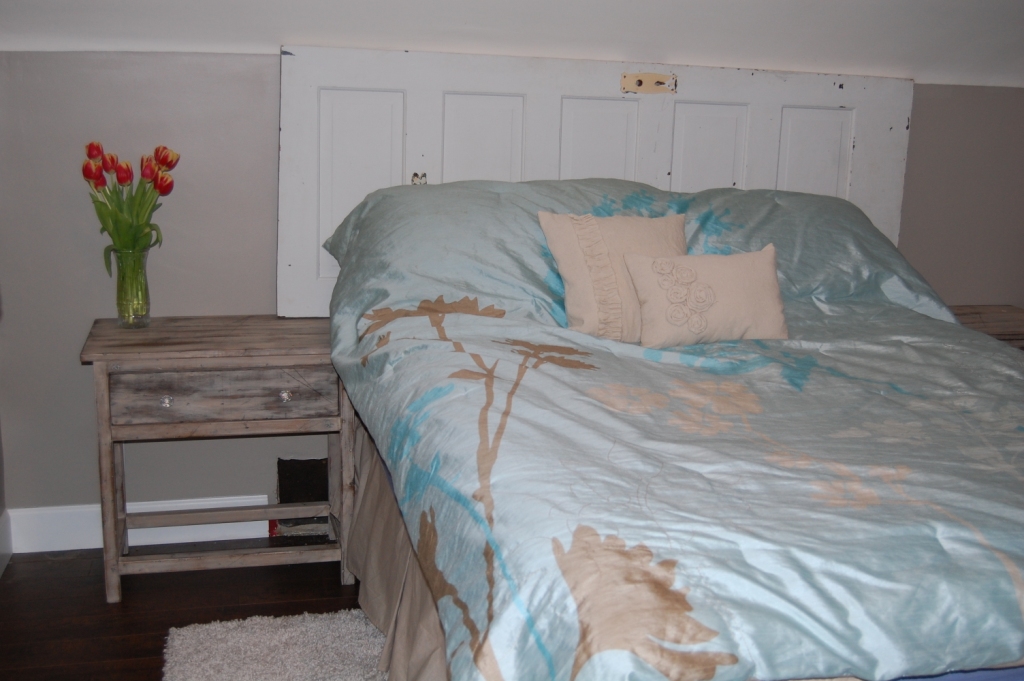
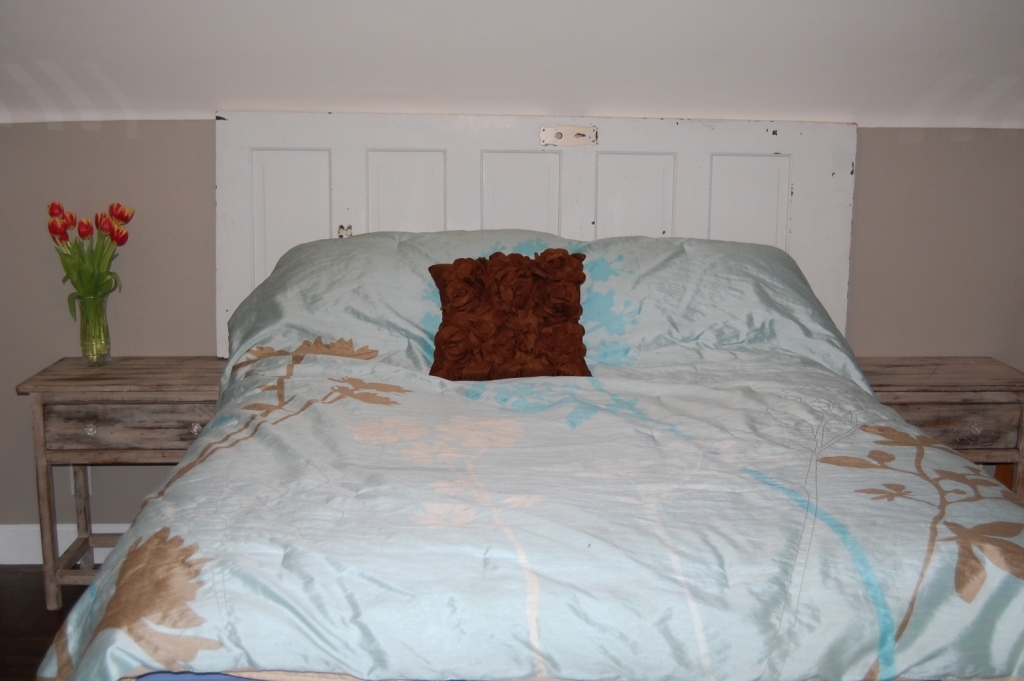
We have been using TV trays as bedside tables for two years. The room is a work in progress... I was waiting to find the perfect pieces...or a plan to build the perfect pieces! So glad I found that plan here. Too impatient to wait for nice weather to head outside, I built this in February on my kitchen floor. It was a little messy and a little dusty, but I am a lot happy with the result :). Cheers.