Community Brag Posts
Wine Bottle Lamp
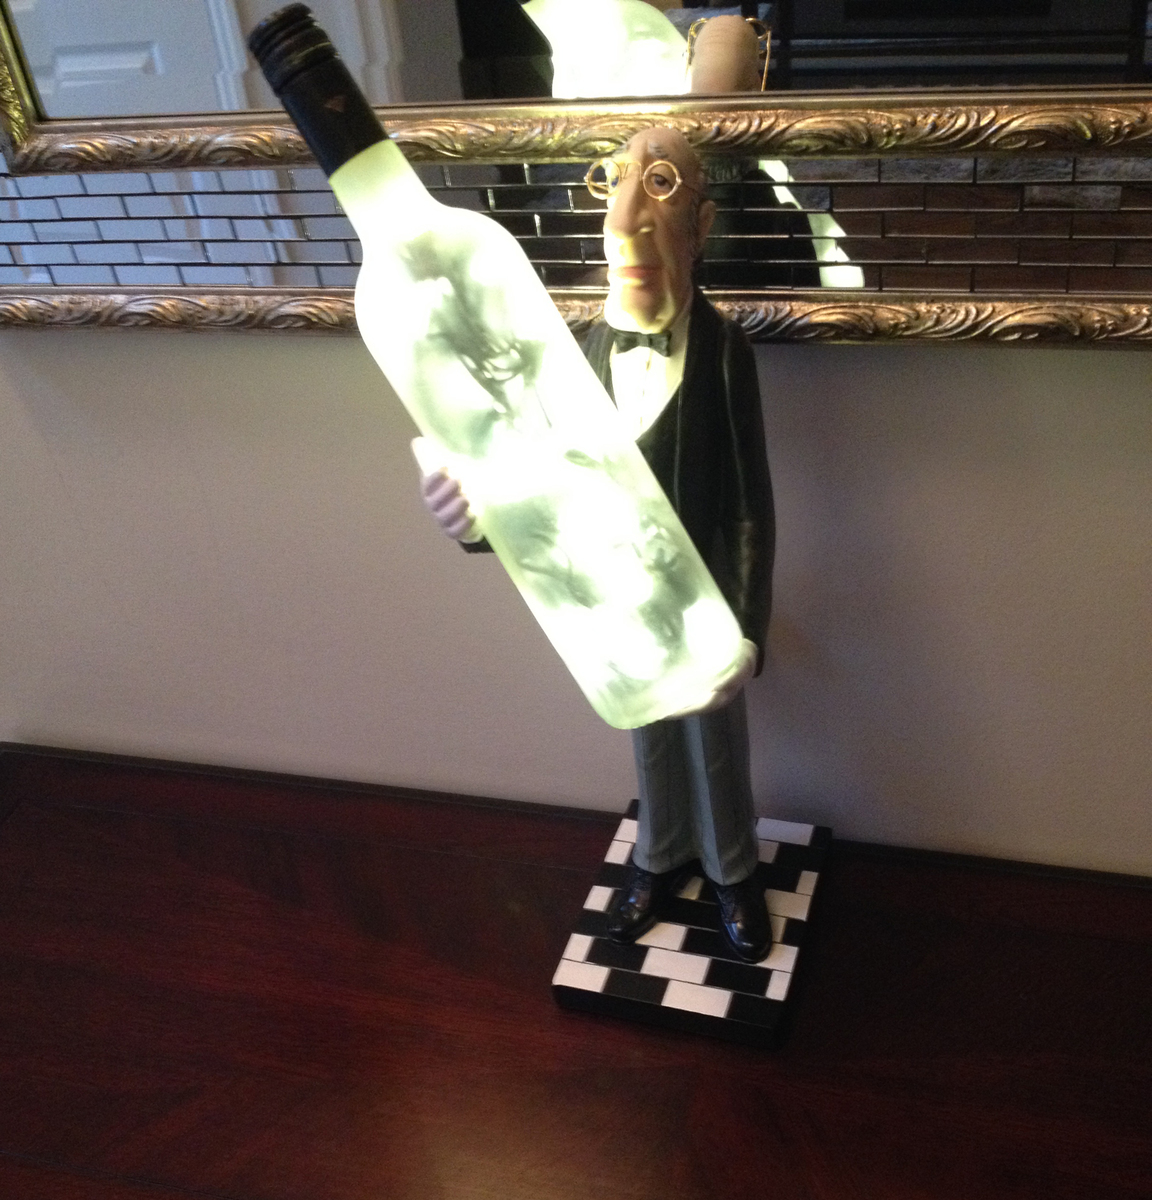
Learn how to take an old wine bottle and convert it into an accent light figure. Use it in your kitchen, bedroom, bar and more. With just a few tools you can be on your way to creating something cool.
The tools you will need to get started are:
Power Drill
3/8 diamond drill bit (ask your home improvement store for bits made for glass)
If you find the lights are too hard to push through, then you can drill a 1/2 inch or 5/8 drill bit.
String light (25-50 LED lights)
Rustolem Glaze finish
Wet Sponge or access to a water hose
Here are some quick steps to use.
1) The first thing you will need to do is dampen the area where the hole will be drilled. When you cut through glass, it heats up really quick so you have to cool it down with a wet sponge or run cool water over it in between drilling.
2) Start off by slowly drilling an indent into the bottle. The drill bit will wobble around but once you get the groove in there, it will anchor itself and go through smooth.
3) Drill in increments, then wipe down to cool bottle and continue drilling again. The entire process to drill the hole through the bottle took me 5-7 min. Once the hole has been drilled, wipe it down with a sponge to get any loose glass chips off the bottle.
4) Take you LED lights and push in one bulb at a time into the hole drilled in bottle. You can use a coat hanger from the top (neck) of the bottle to pull the wires up.
5) Once all the wires are in the bottle, then tape up the remaining wires on the outside and the neck. Grab your glaze and spray it on. Be sure to do this in a well ventilated area and wear a mask.
6) Once done, grab a 2 sided male extension cord from your home improvement store and plug it in and wash it glow.
Note: Although LED lights emit low heat, you may want to create some kind of ventilation for your bottle. I drilled another small 1/4 hole near the middle to allow for any built up heat to escape. You can also take a sharp tack and pierce the lid of the bottle.
To view the video tutorial please go to https://www.youtube.com/watch?v=5yvgzacdJMQ or visit http://respaceit.com and go to the "how to" section.
Let us know what you think!
John Deere Toy Box
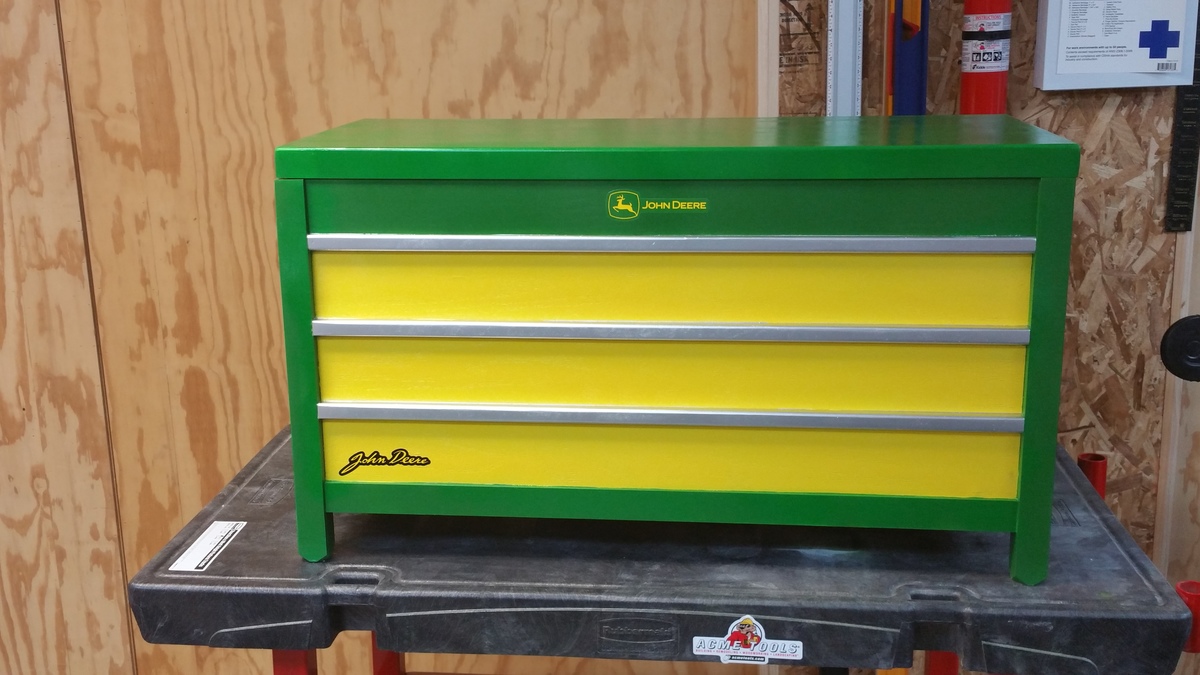
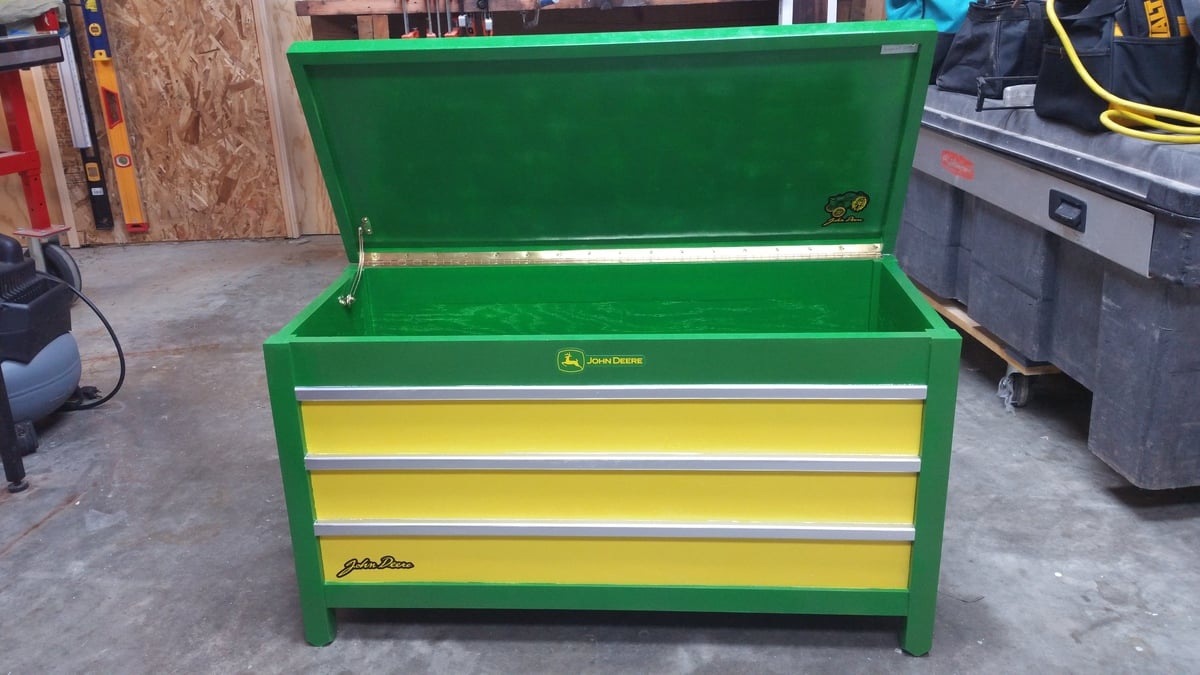
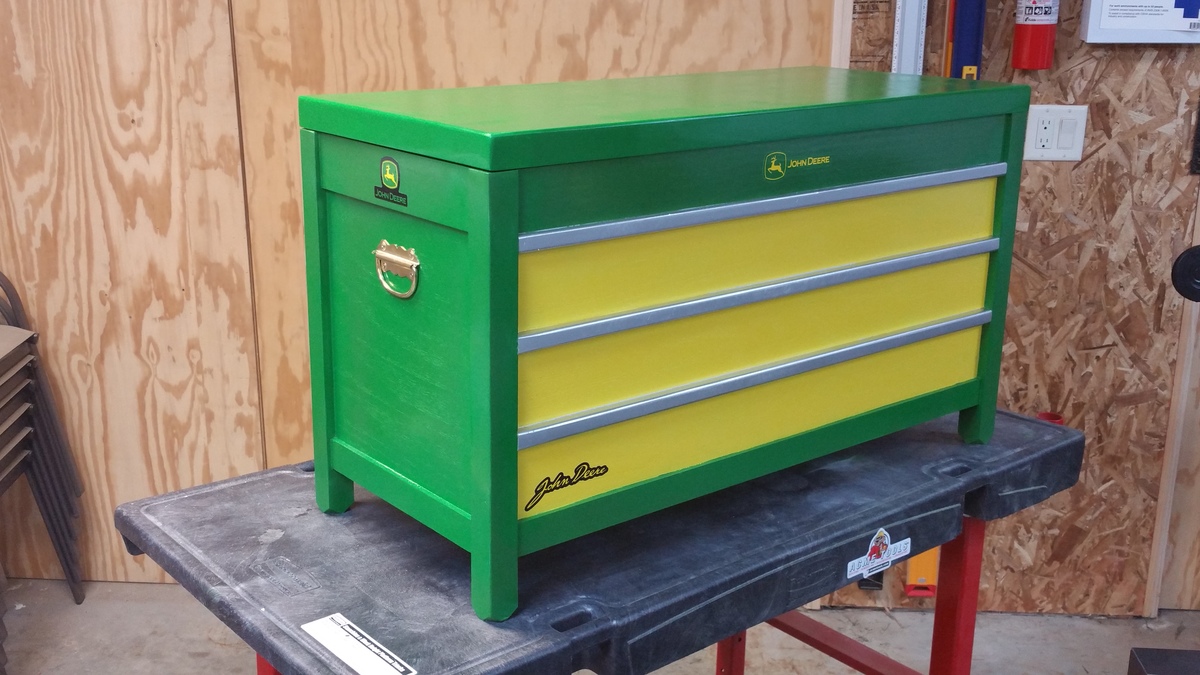
I built this toy box for my nephew, who is into Tractors, using the plan provided by Ana. I made some modifications to the lid mostly, other than that the differences are cosmetic. I thought the plan was super simple and easy to use!
Comments
Sideboard/Game Console
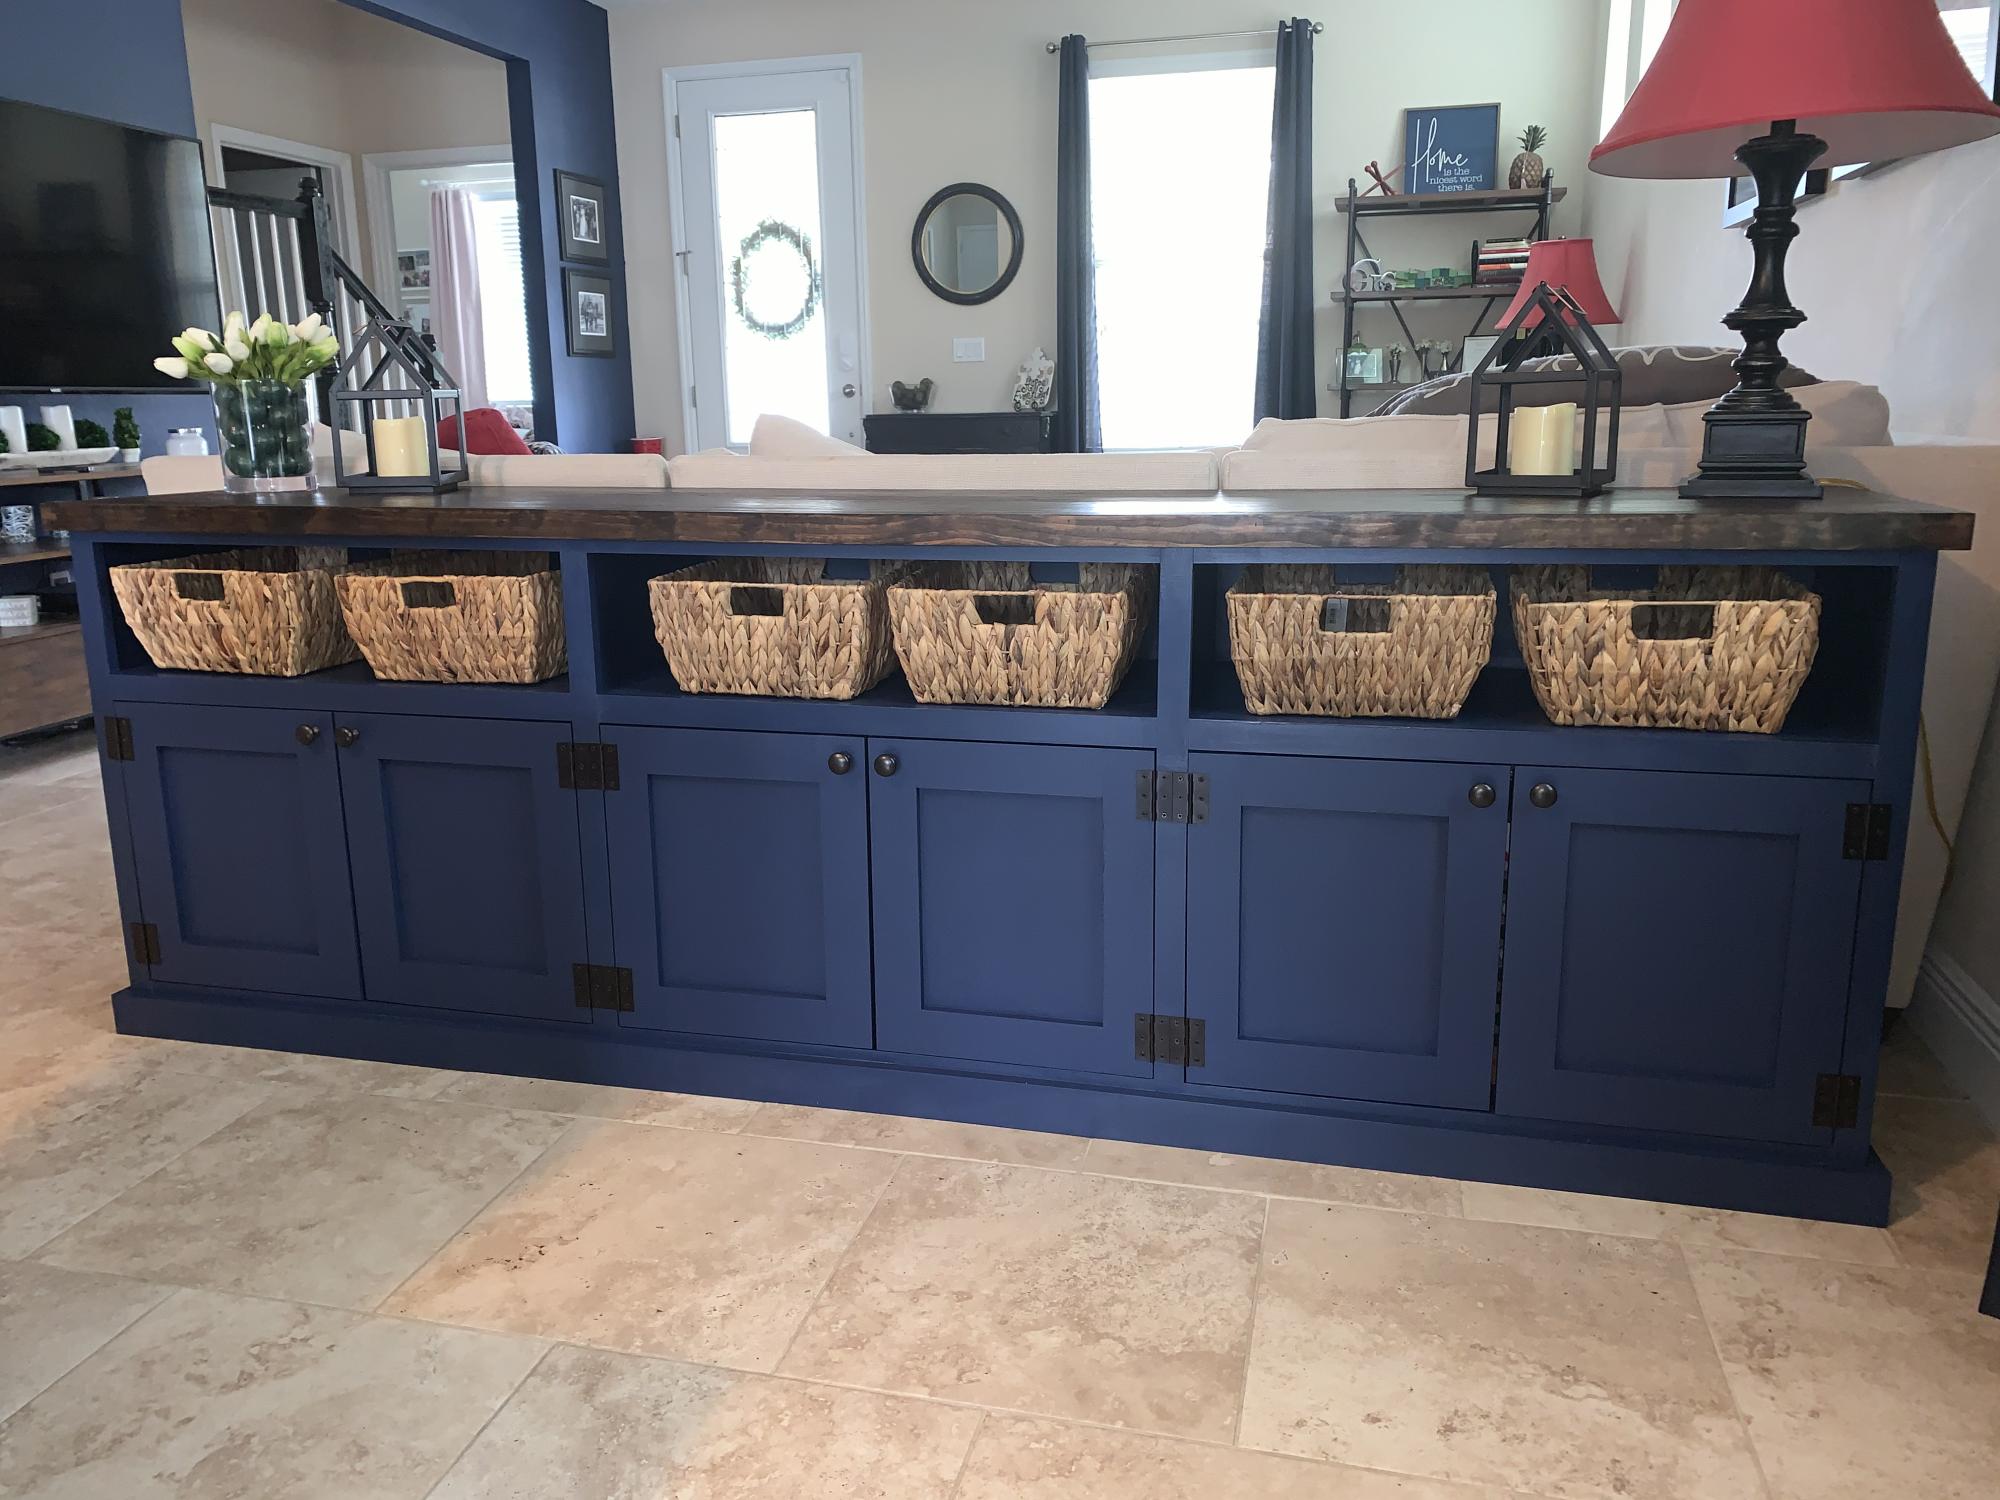
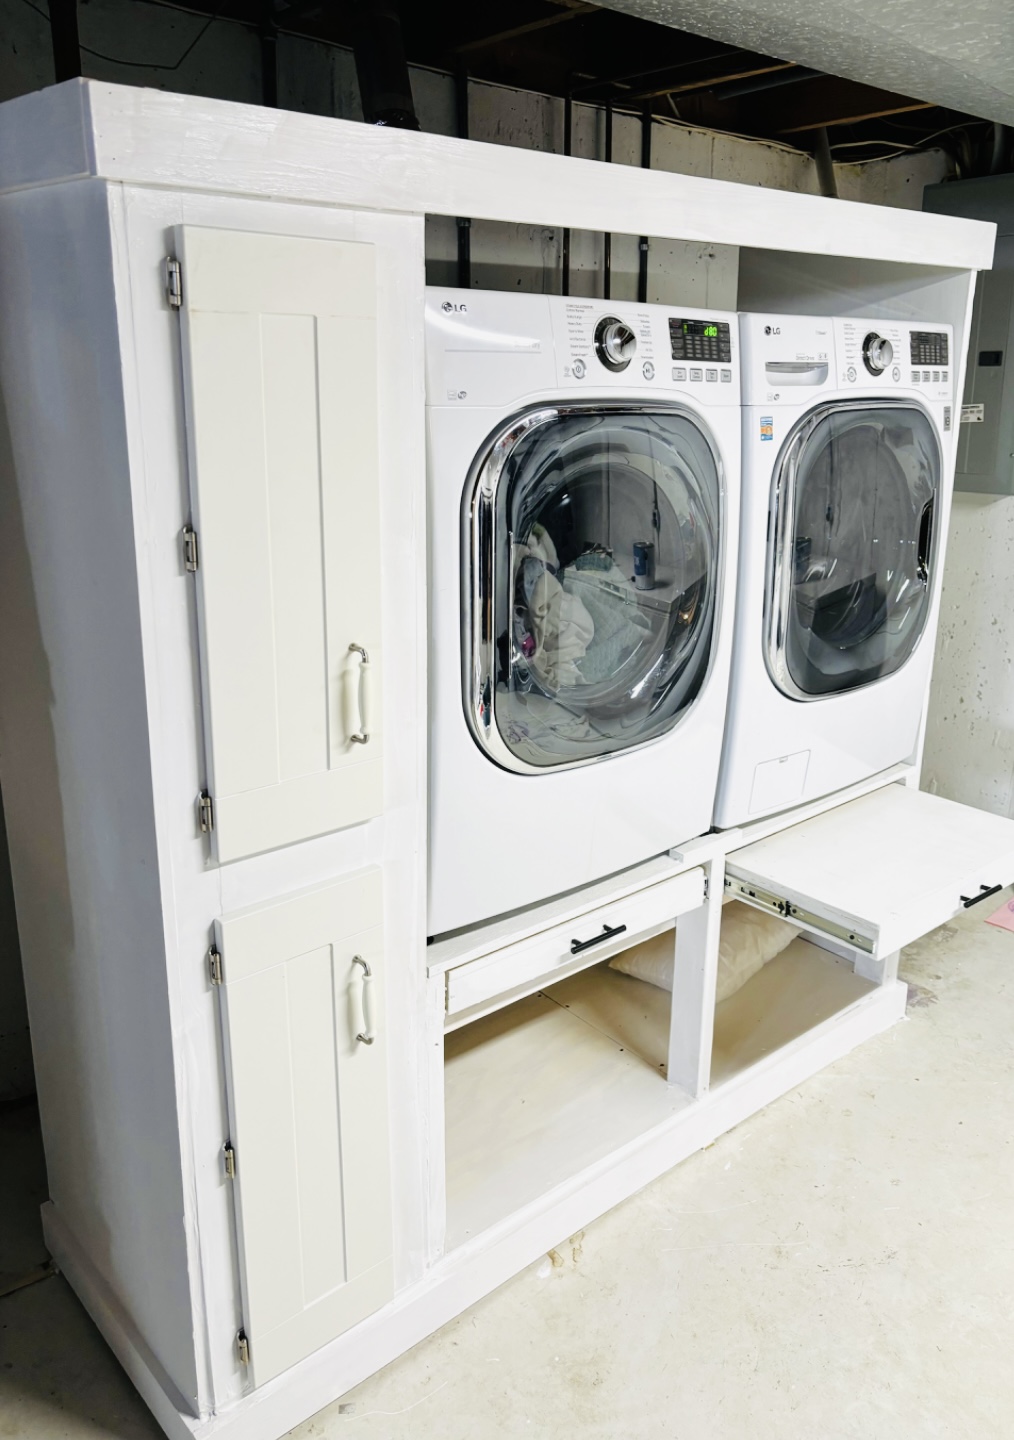
Used the plan for a double-entry console to make a triple cabinet to go behind the couch and serve as a board game console and sideboard for the dining room.
Lowered the total height to 34 in to fit behind the couch. The total length is 8 feet.
For the plywood top I edged them then pine boards to make the top look more like a solid piece of wood and stained it.
Comments
Rustic Coffee Table
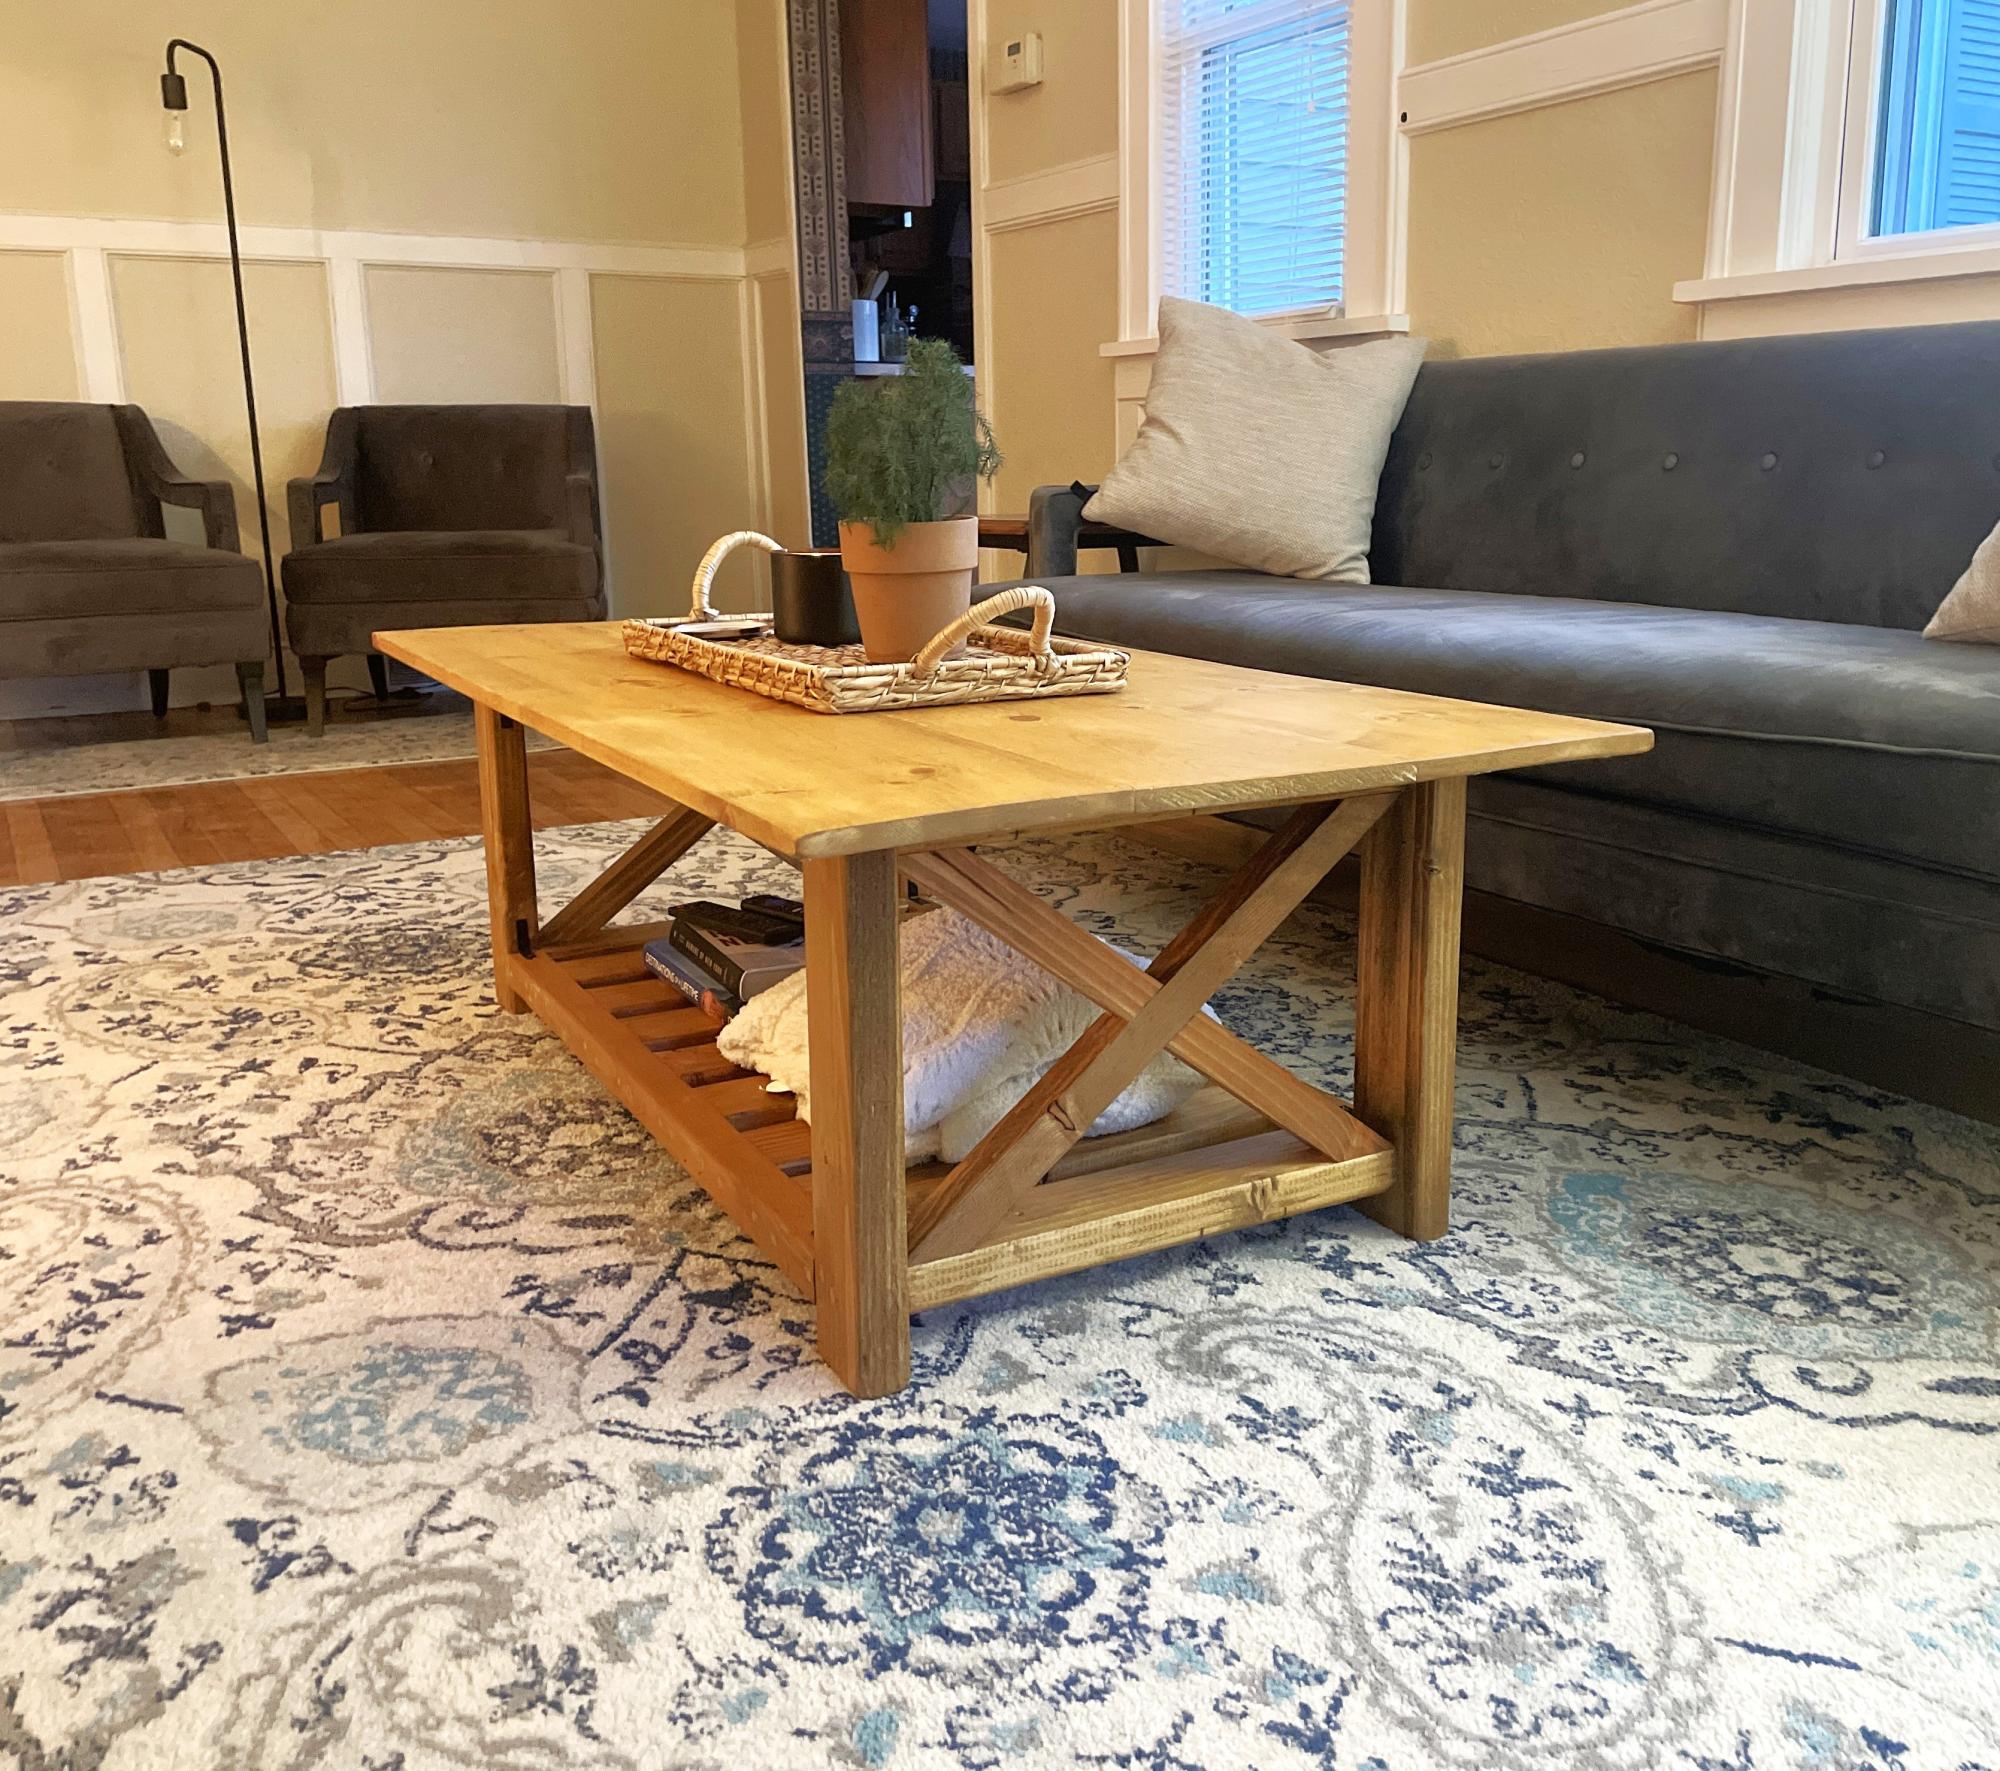
Coffee table! Golden oak stain on pine lumber.
Jack Hutchinson
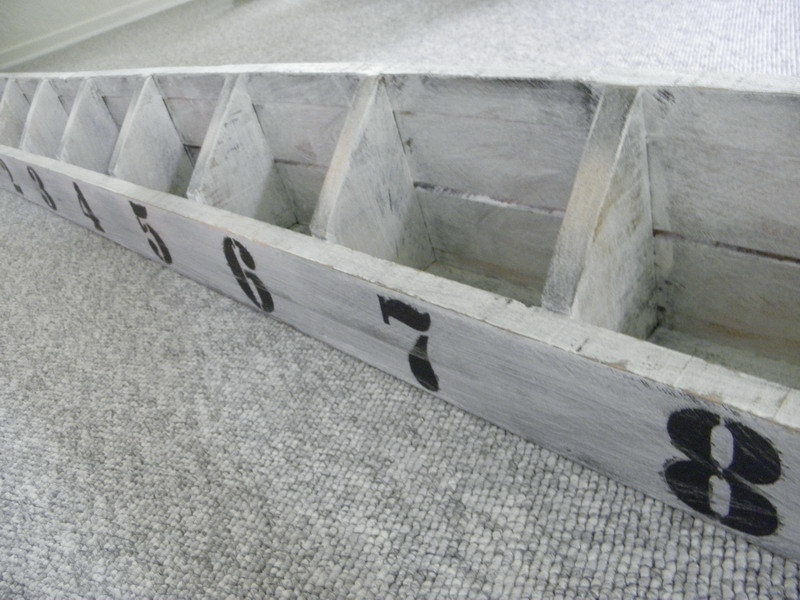
Numbered-cubbies-wall
My first build from this fantastic site, but not last.
Twin storage captain bed
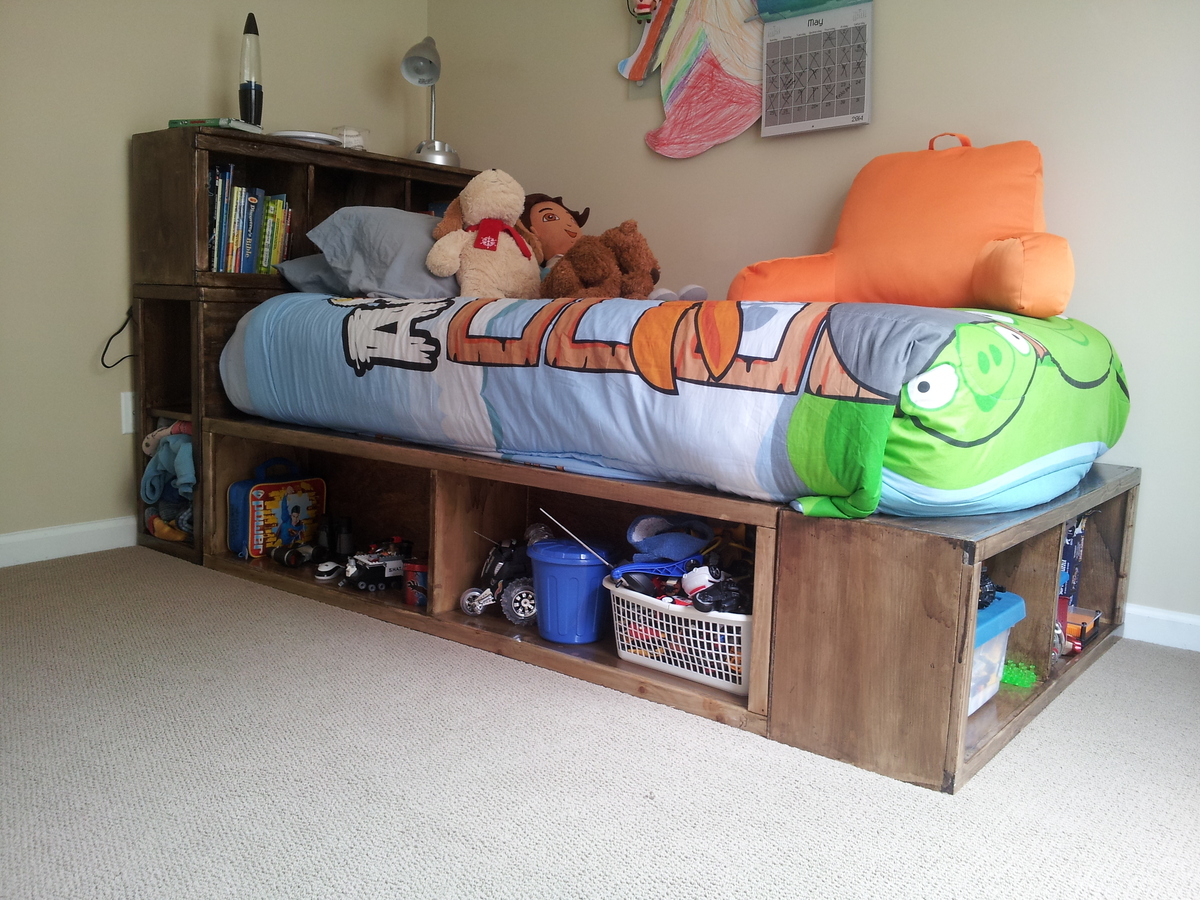
Son's bed (age 9) first build and he loves it! I'm pretty psyched too!
Doll bunk beds
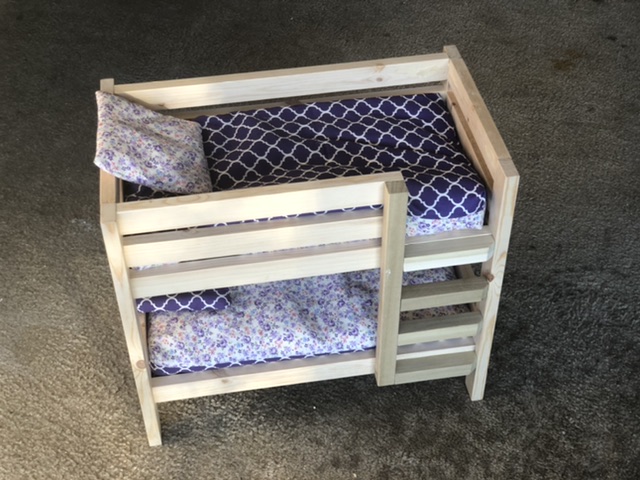
I altered it a little bit since I could not find a 1x1 anywhere near me. I used a square dowel and I placed the ladder steps on the outside. The square dowel was a little big so i notched the right side. I also cut the left side of the ladder to not block the bottom. I may try a trundle later on. It’s not painted yet but she wants it a light pink. Maybe tomorrow we will do that.
Modified Farmhouse Bedside Table
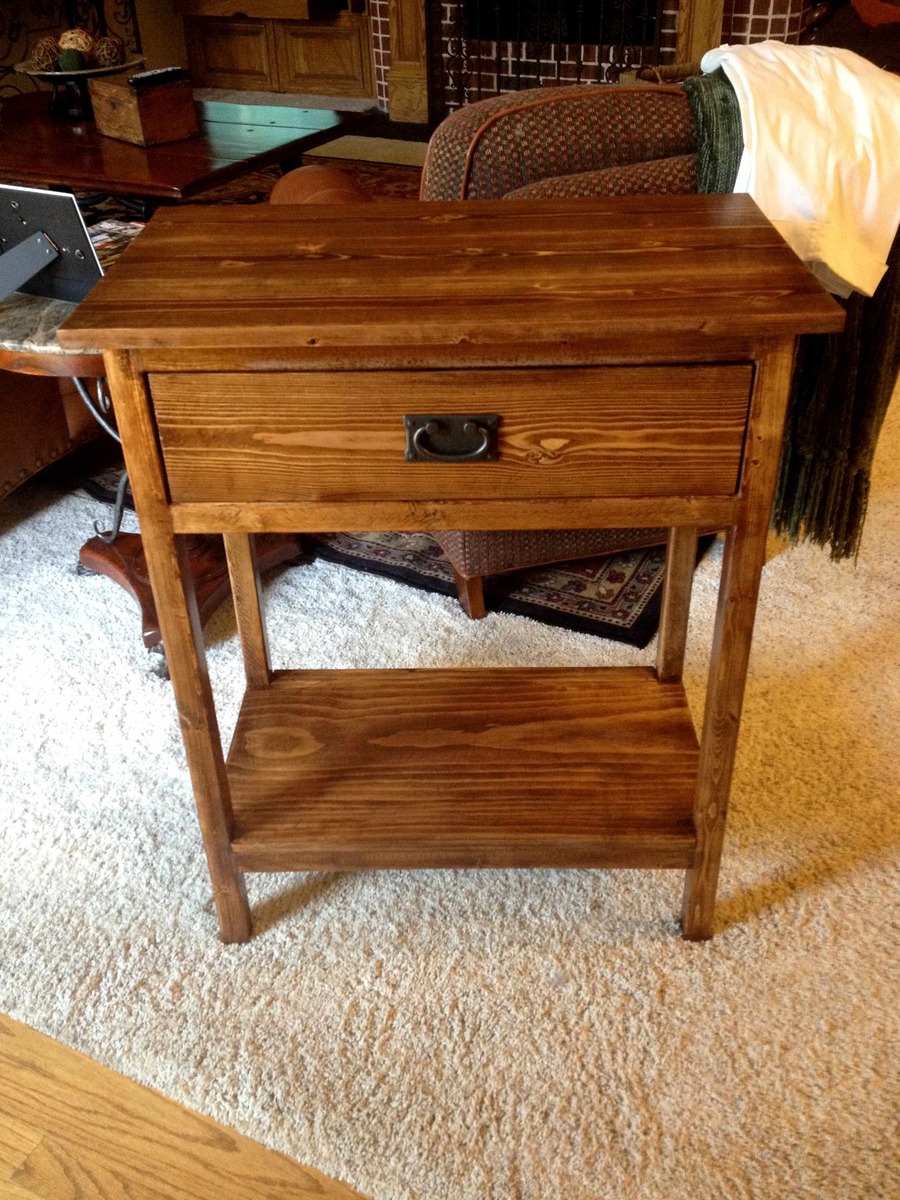
I have tried submitting this 3 times and each time it got deleted... so forgive me if this is short.
But for this table I followed the plan, only I left the legs about 7 inches longer to make the table taller. I did this because my plan was to use this in my bathroom for additional storage. Some things I will say about the project:
Make surre you get the straightest, flattest 2x2's possible. Most likely these will be furring strips, so pick them wisely. If you have access to better 2x2's or can cut your own I would suggest it. When you join them you will have little gaps because the edges are rounded, and they won't be flush. To counter-act this problem I filled them with wood filler in layers, and sanded it flush before I stained.
As for the finish I didn't stain the inside because I ran out of my mix, and I also didn't see a huge reason to because I knew I would be the only one opening the drawer. I did however seal the unstained area because it keeps the moisture content more consistent, which prevents warping. I used 3 coats of stain, keeping each on for a good amount of time. and gave a light sanding between the 1st and 2nd coats. I then applied Minwax wipe-on poly. This was VERY easy to use and I would recommend it for beginners.
The last thing you might see is the tape on the slides. This is teflon tape. I put it on the inside and the drawer, and it makes the drawer slide like glass. It makes a huge difference, and I would recommend it to anyone.
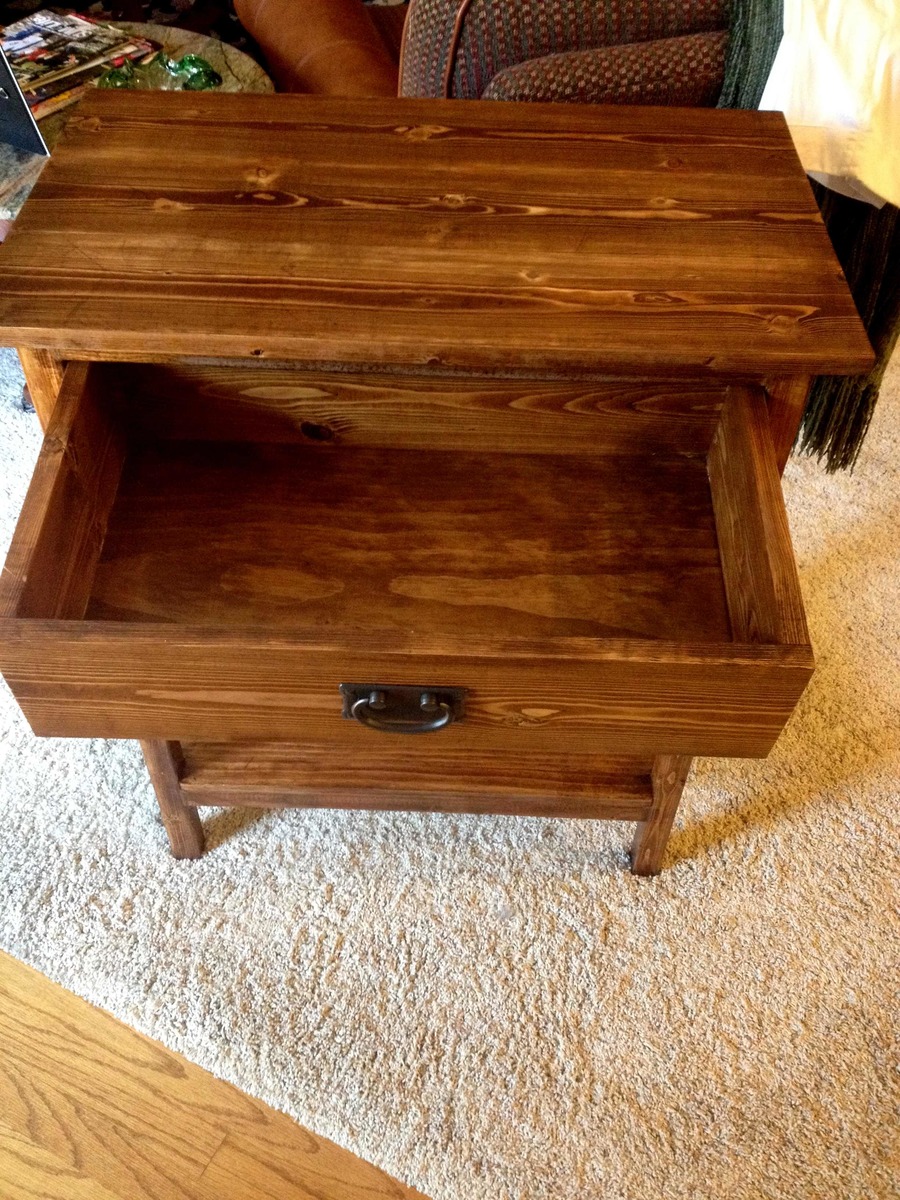
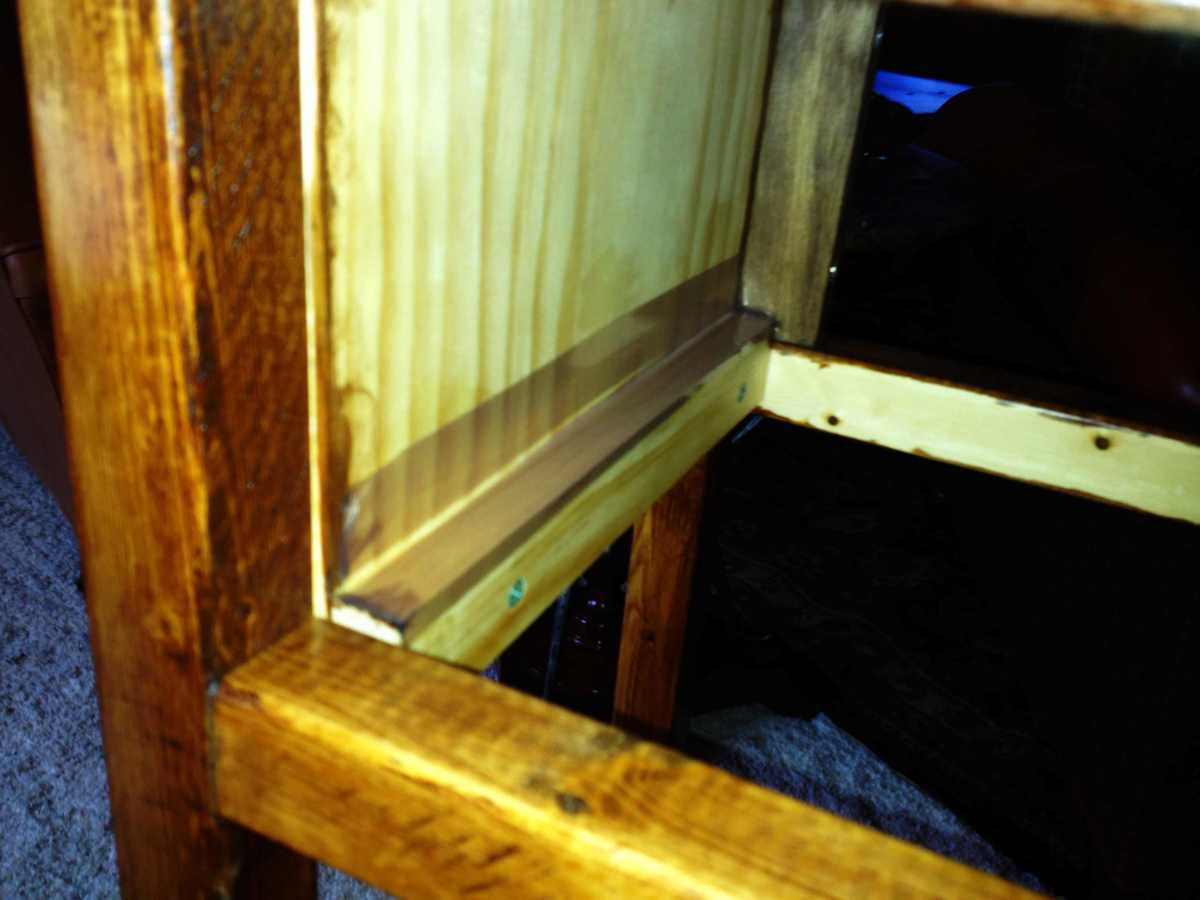
I then used Minwax Wipe-on poly (Satin) to finish. I used wipe-on because it doesn't leave many brush strokes, and was good for beginners I had read. It worked out well.
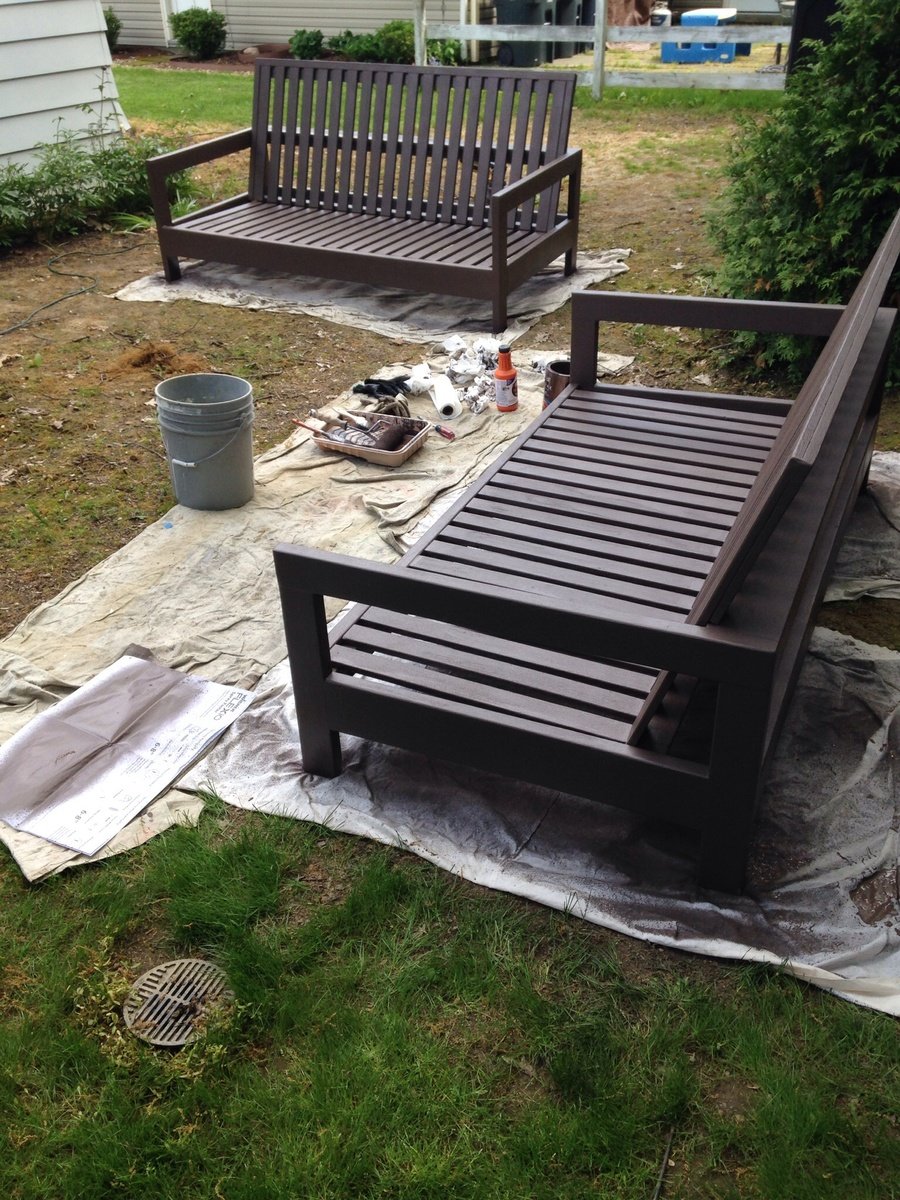
Outdoor patio couches
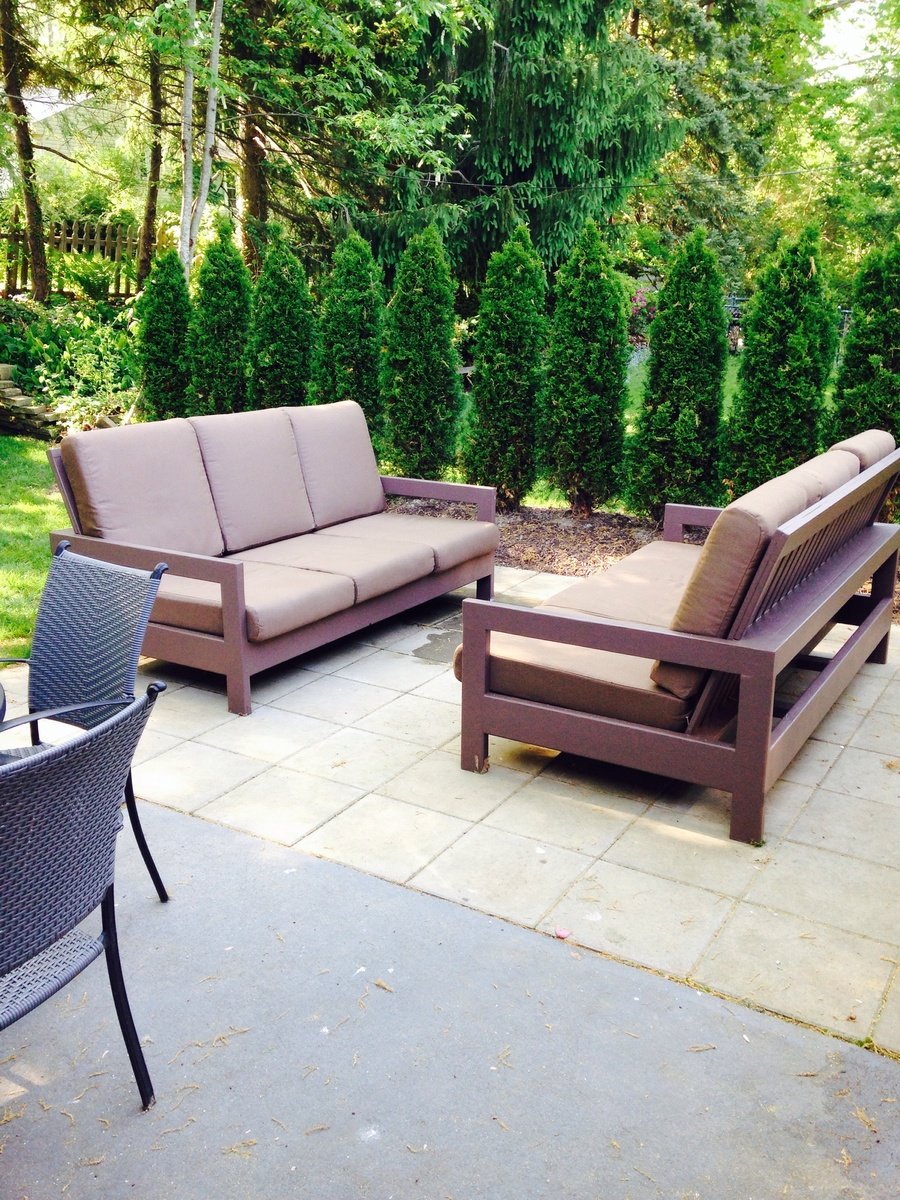
Love this design! We had to adjust the plans to fit a different cushion from Restoration Hardware. The couches turned out great and we had a party the day after the paint dried! Thx Ana-white!
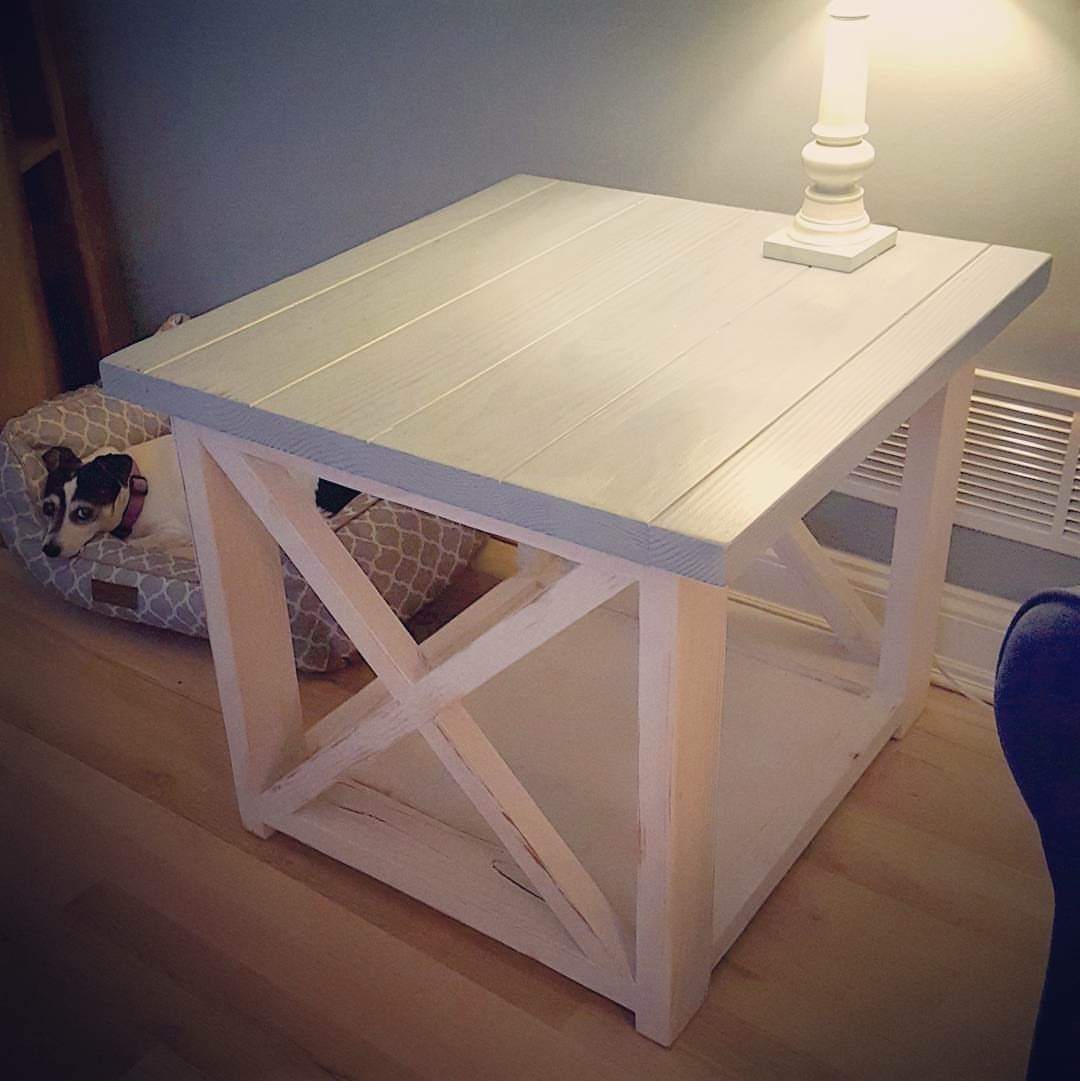
Rustic X coffee and end tables
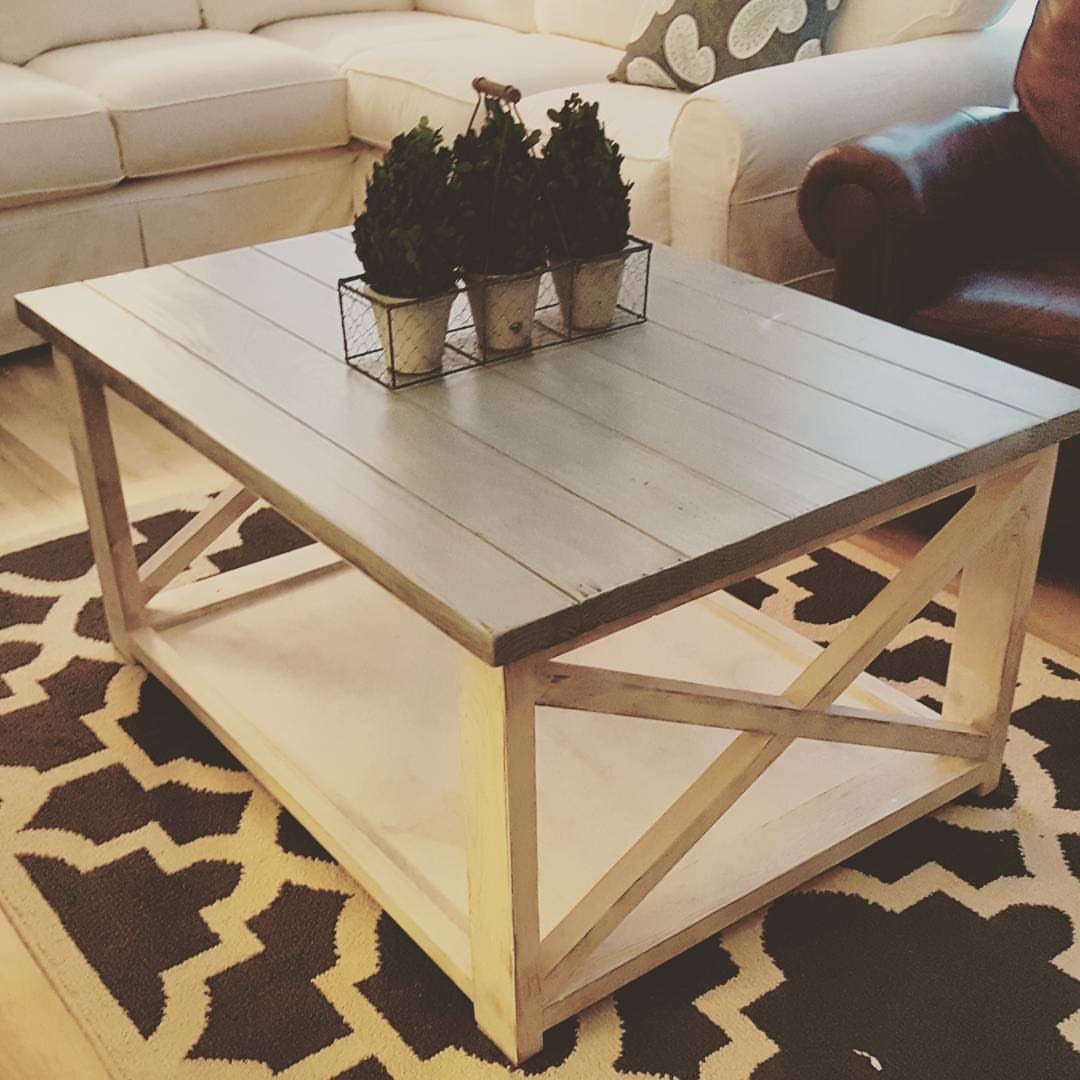
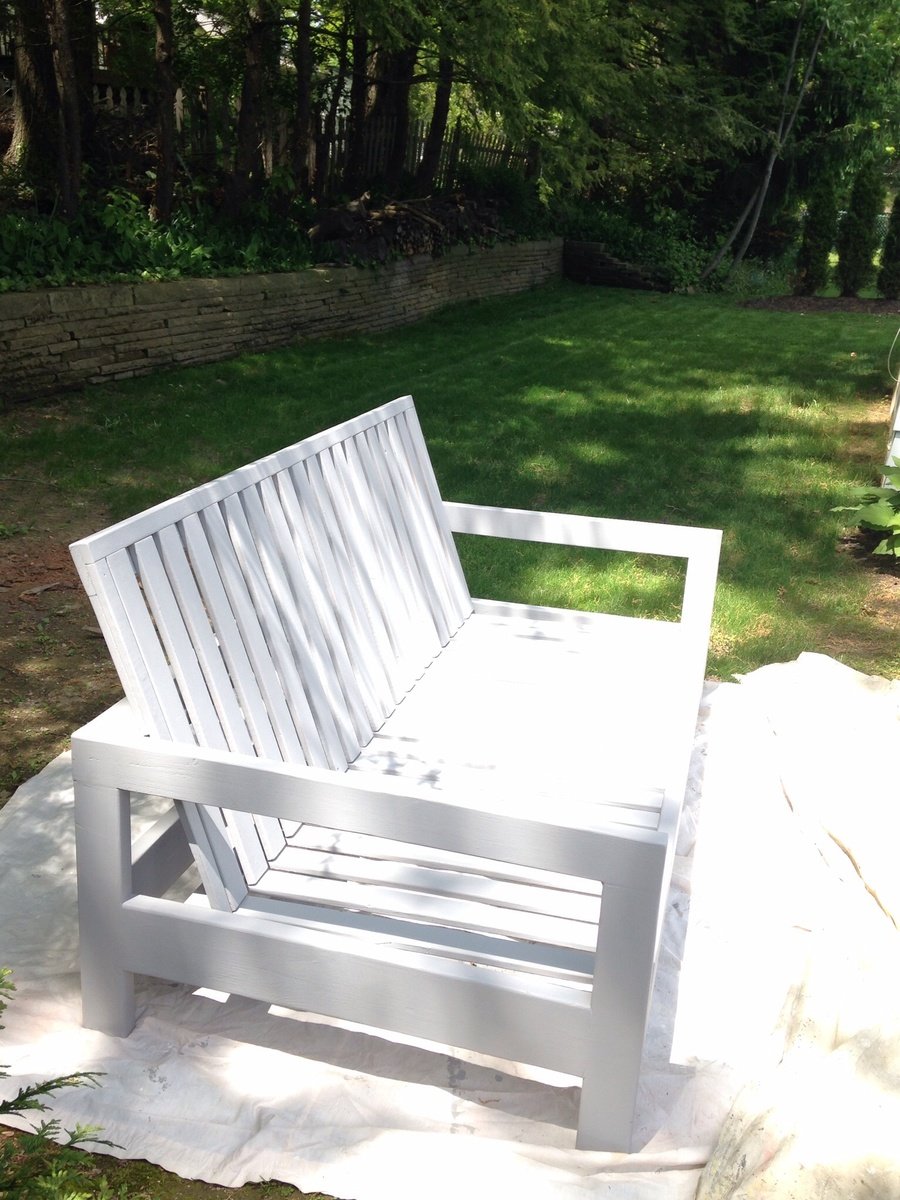
I really appreciated the build article. I customized the sizes and used plywood for the bottom shelves. I oxidized but painted with milk paint then sanded to distress. I also only painted one coat to still see some grain. I top coated with water based poly.
Farmhouse end table
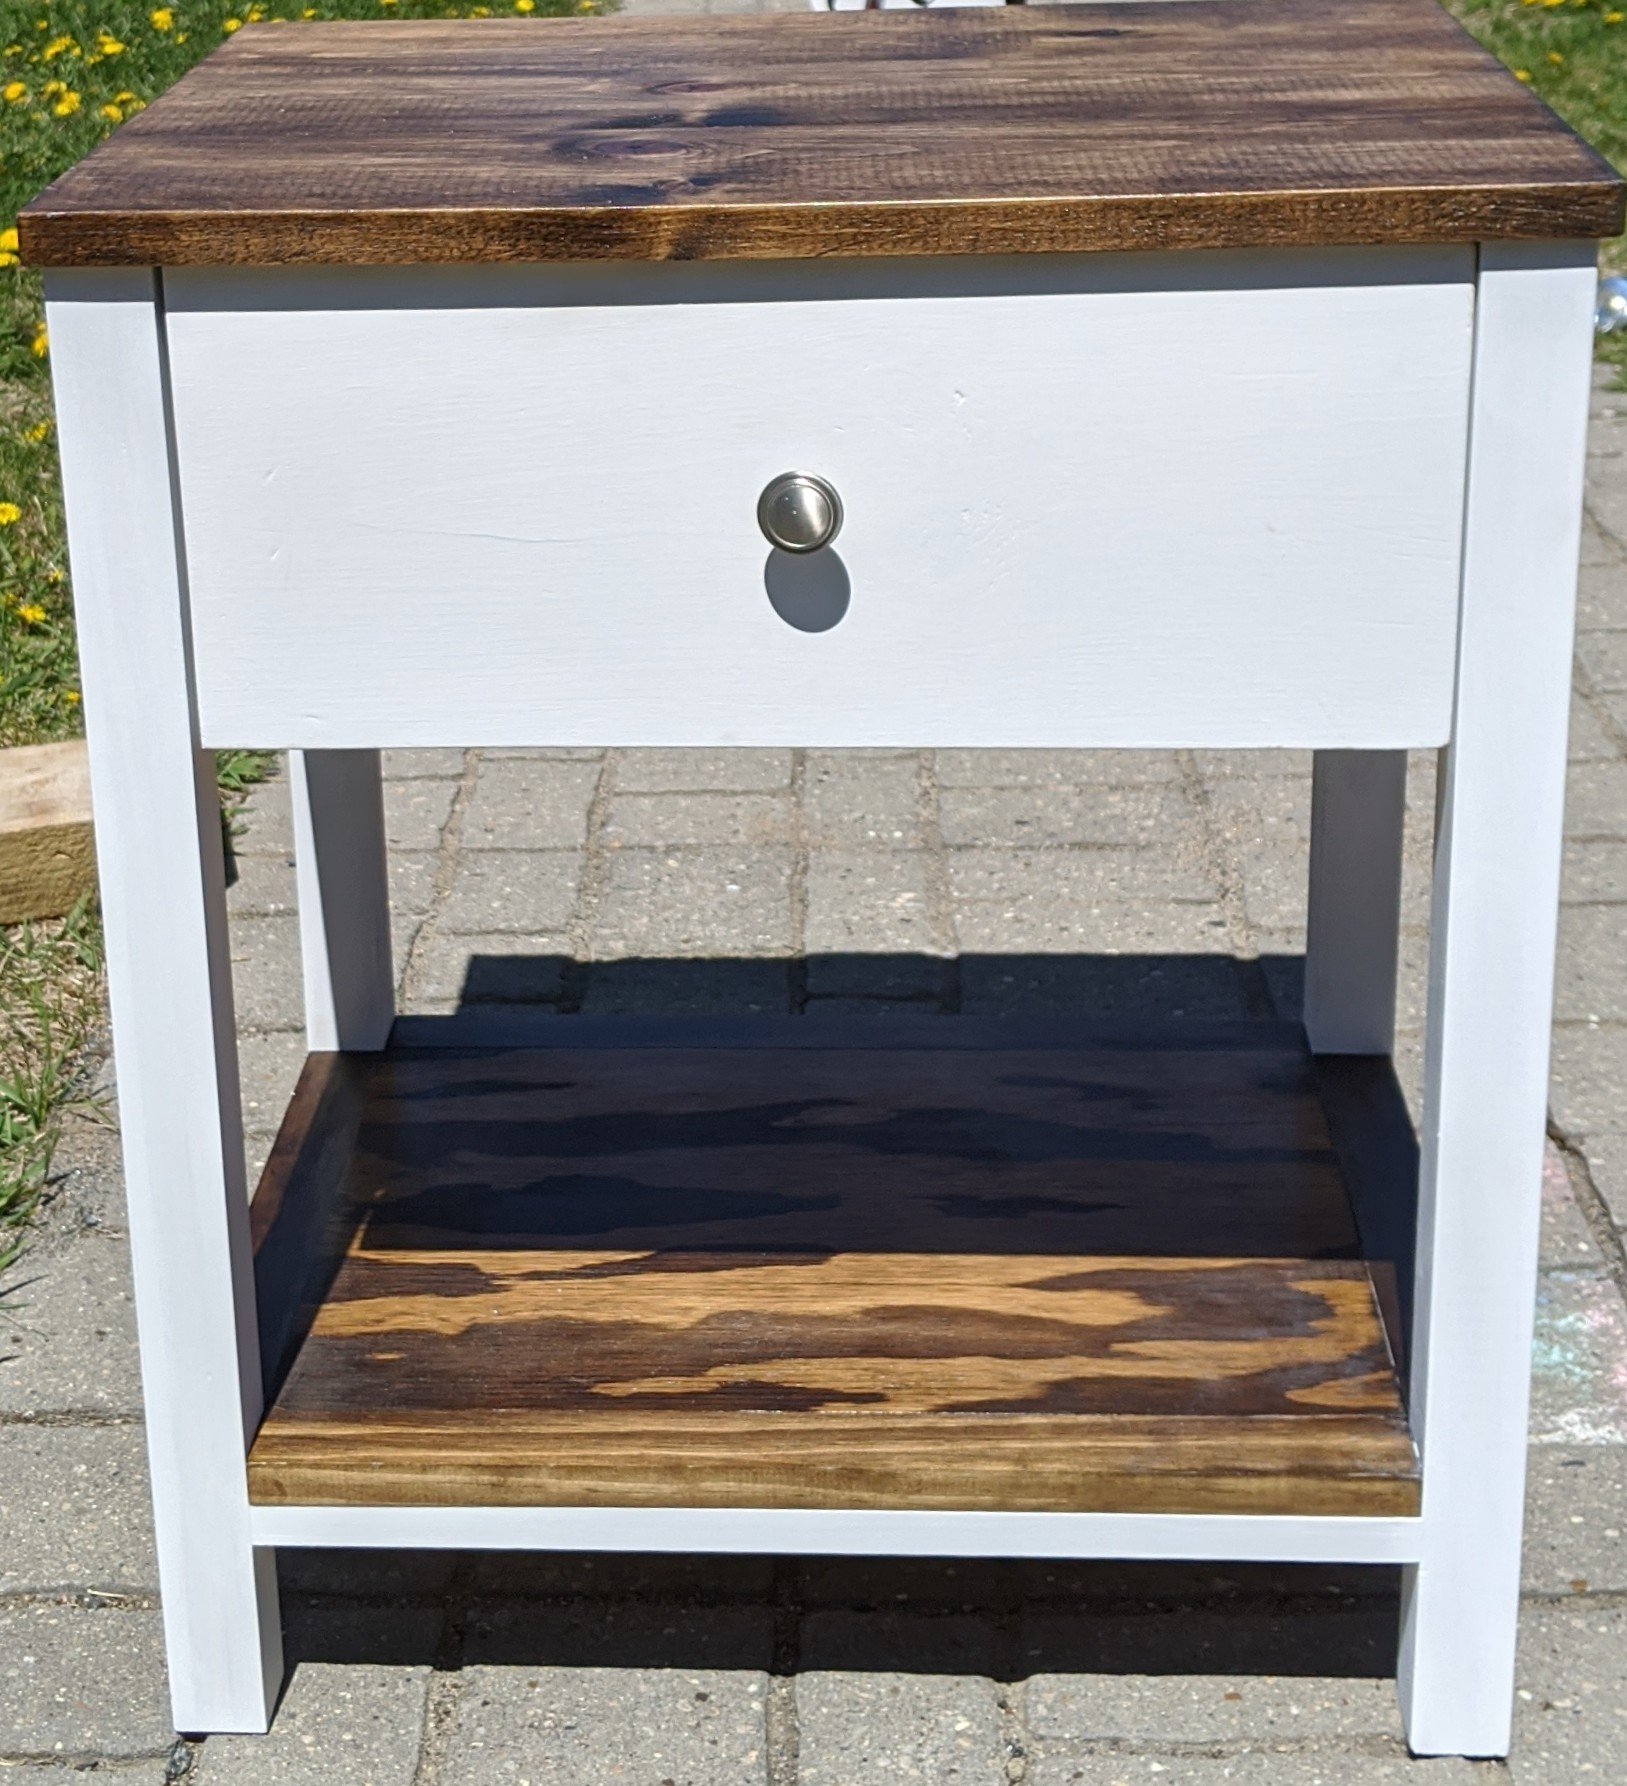
I made this based on a plan here and modified it to my preferences and needs. It was my first time working with drawer slides and it wasn't as bad as I was afraid of. Pleased with the results.
Coffee and Drink Station
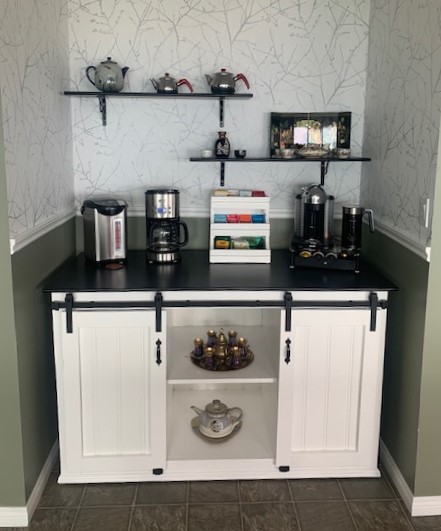
Using Ana White's plans, I created a coffee station where there used to be a roll top desk,,,
Dan's Jelly Cupboard
This was my first project. I used wainscoting for the door backing. I was happy with it for a first project.
Modified Shepard Kitchen Island
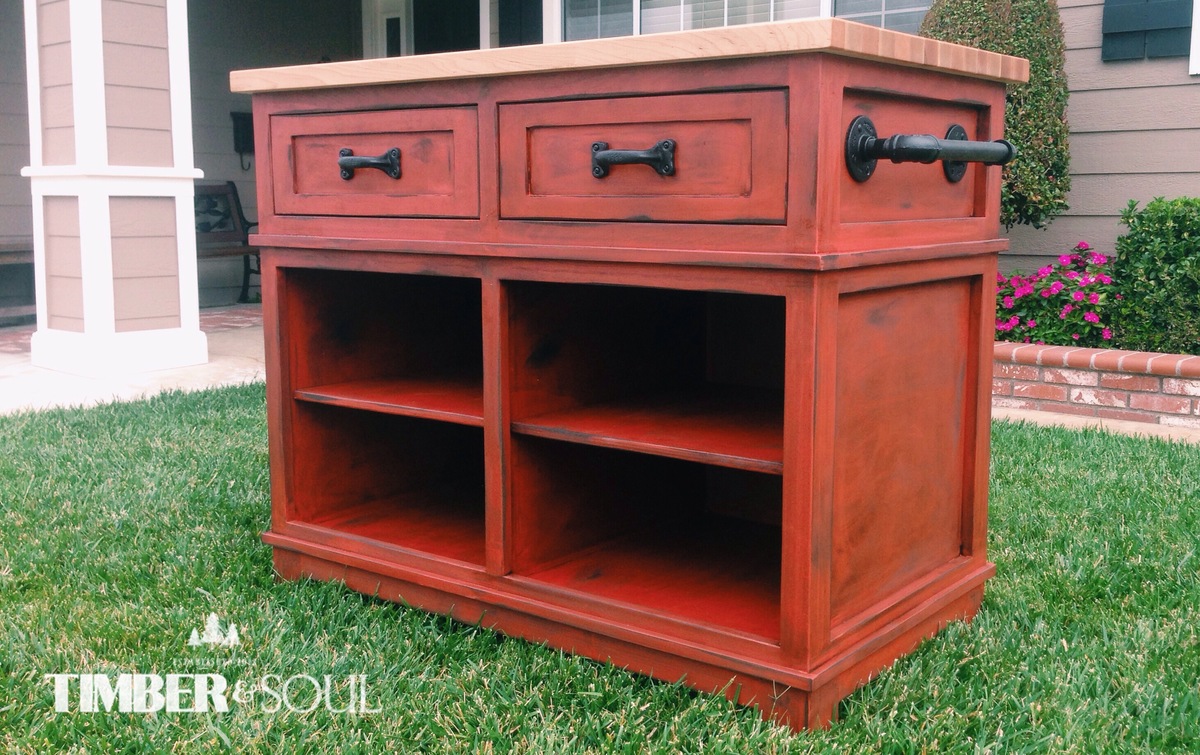
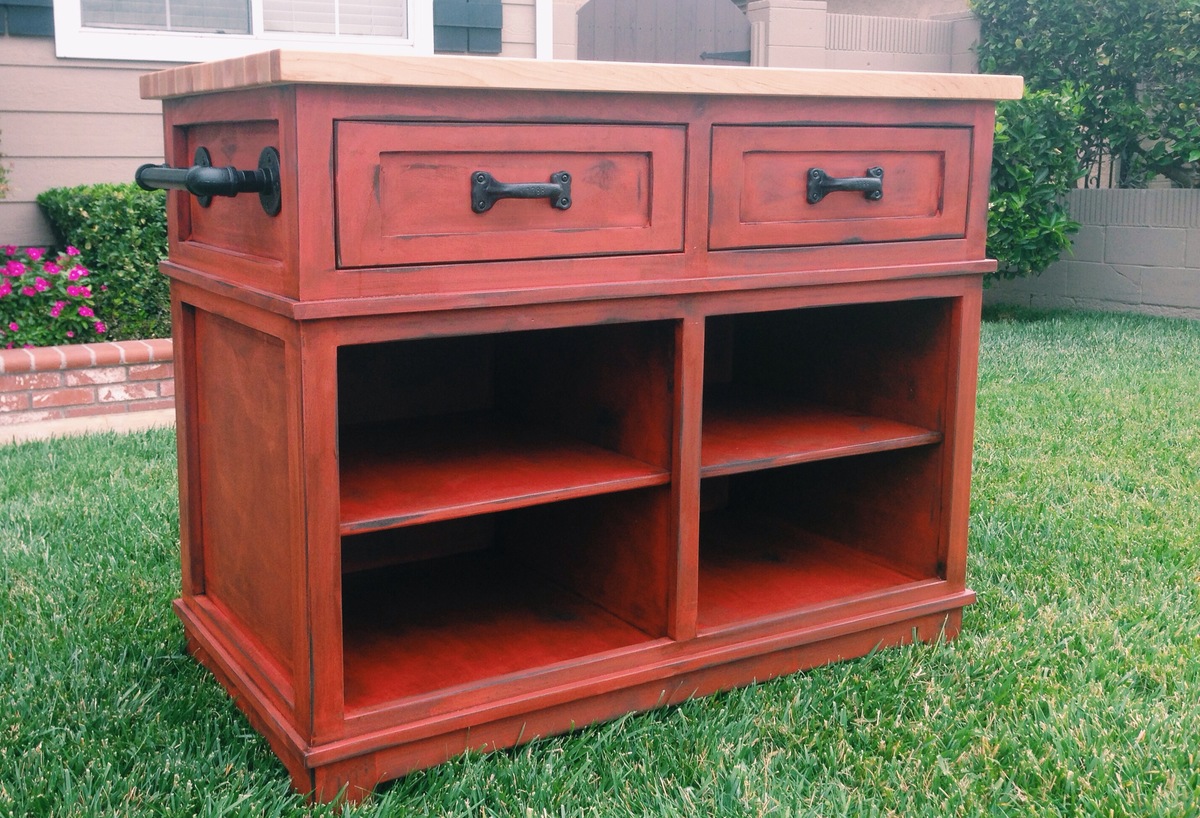
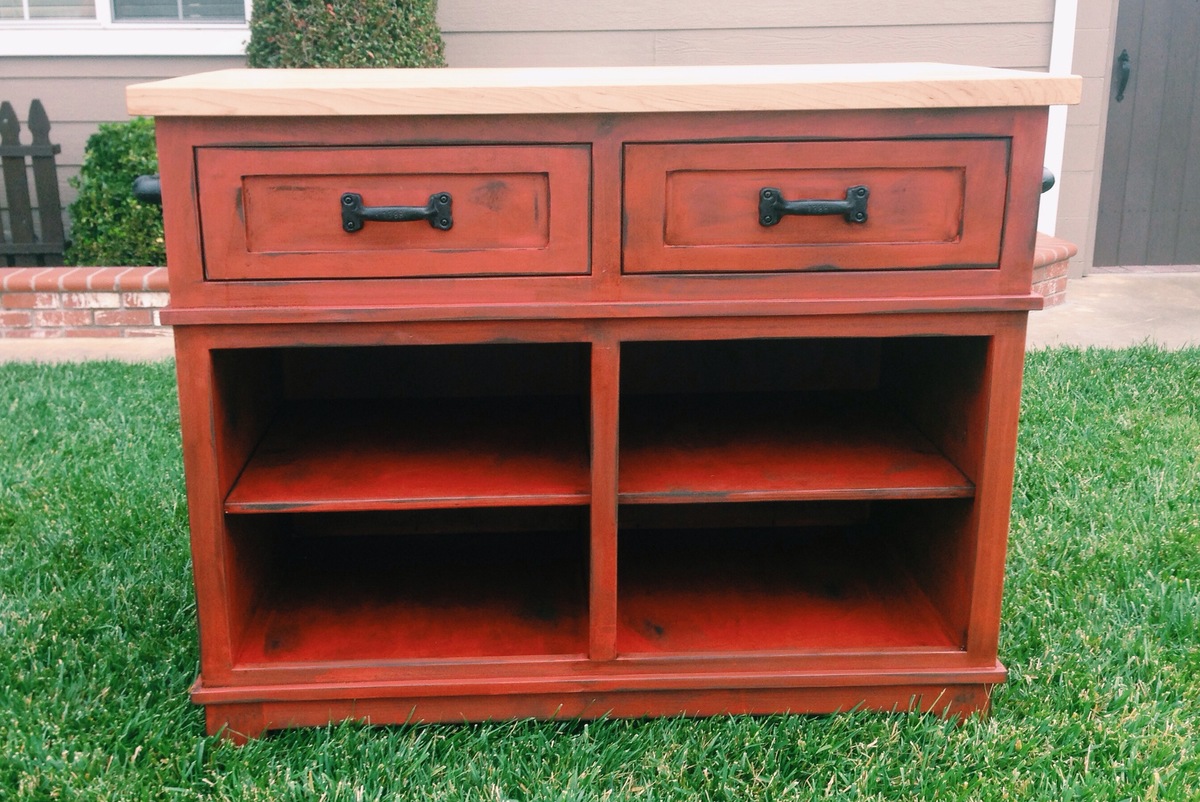
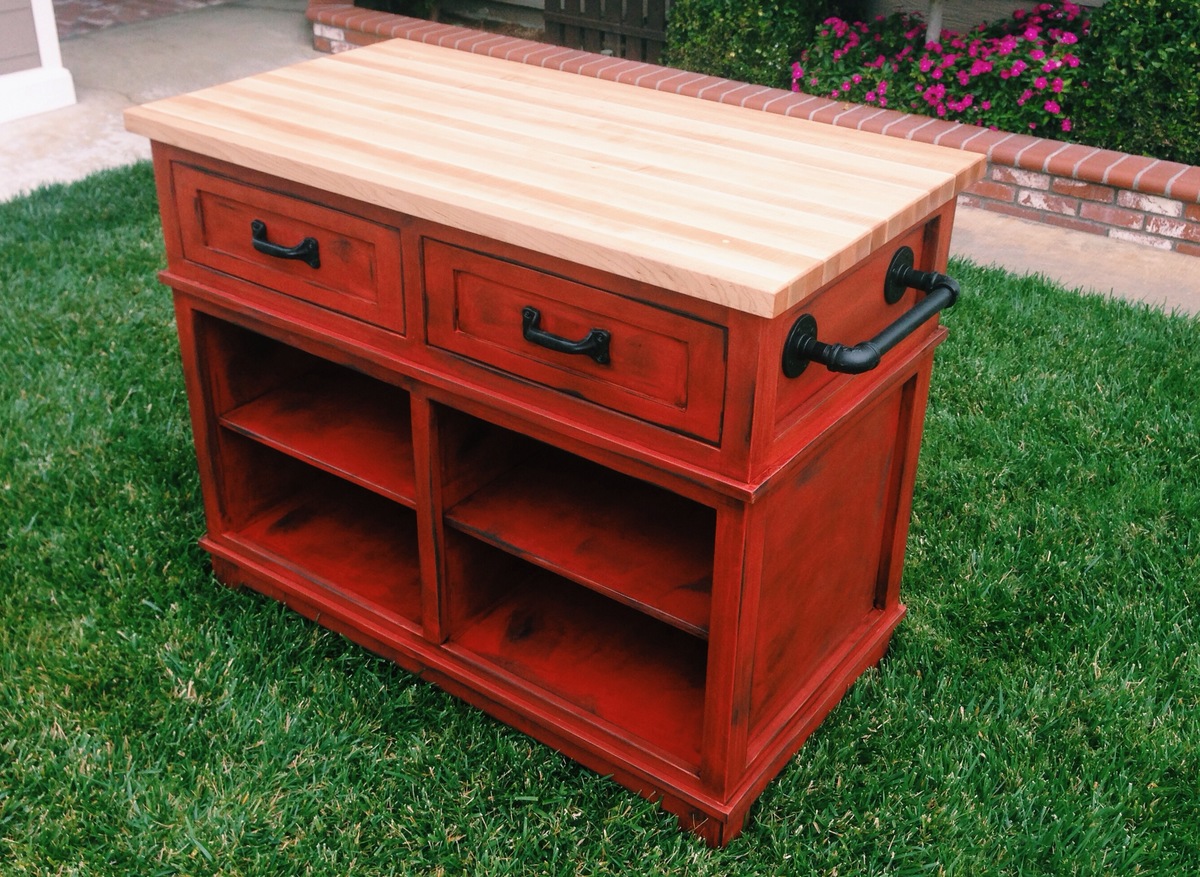
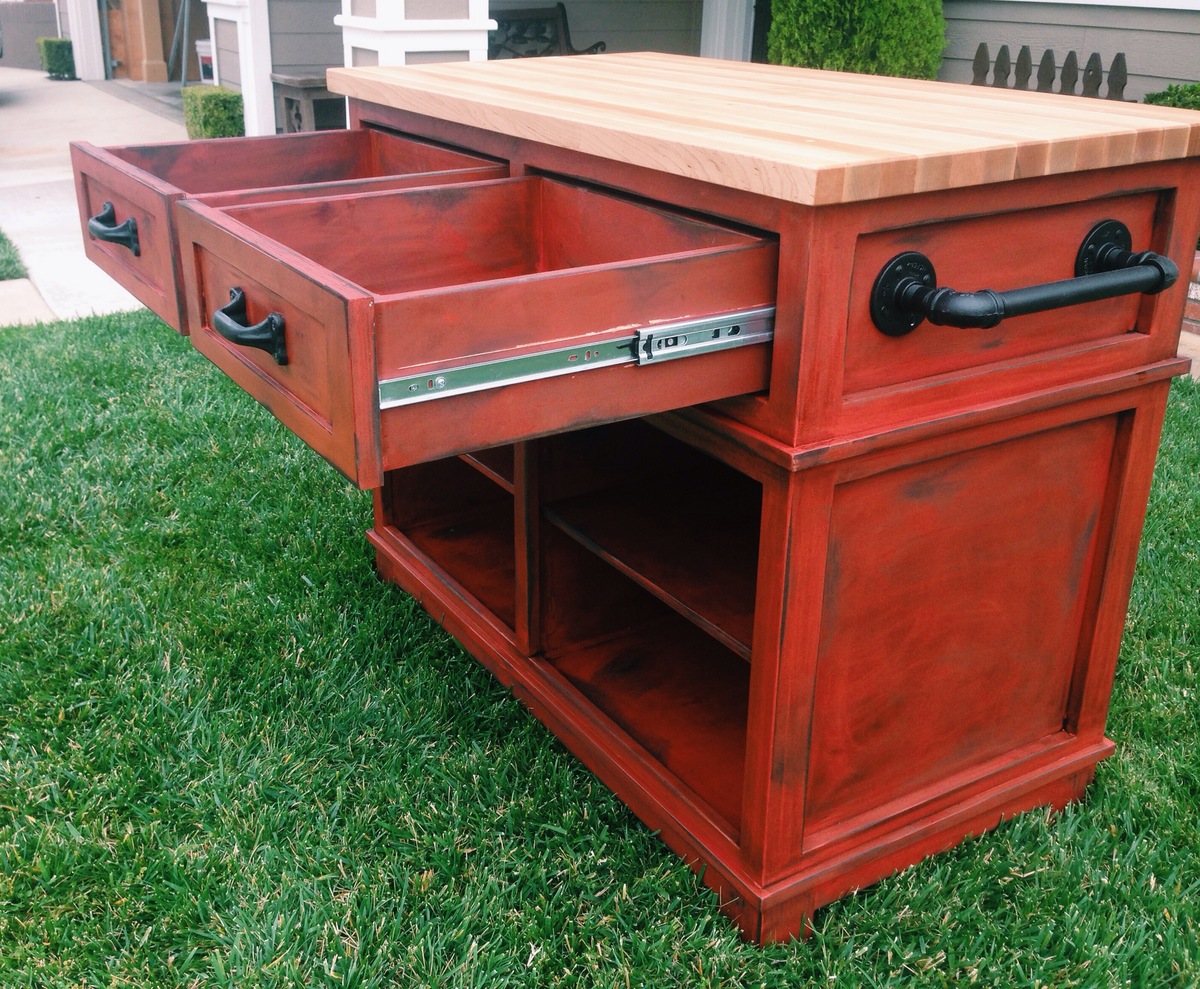
I built this butcher block kitchen island from Ana's shepard kitchen island plans. I did however modify the dimensions and design to fit my needs.
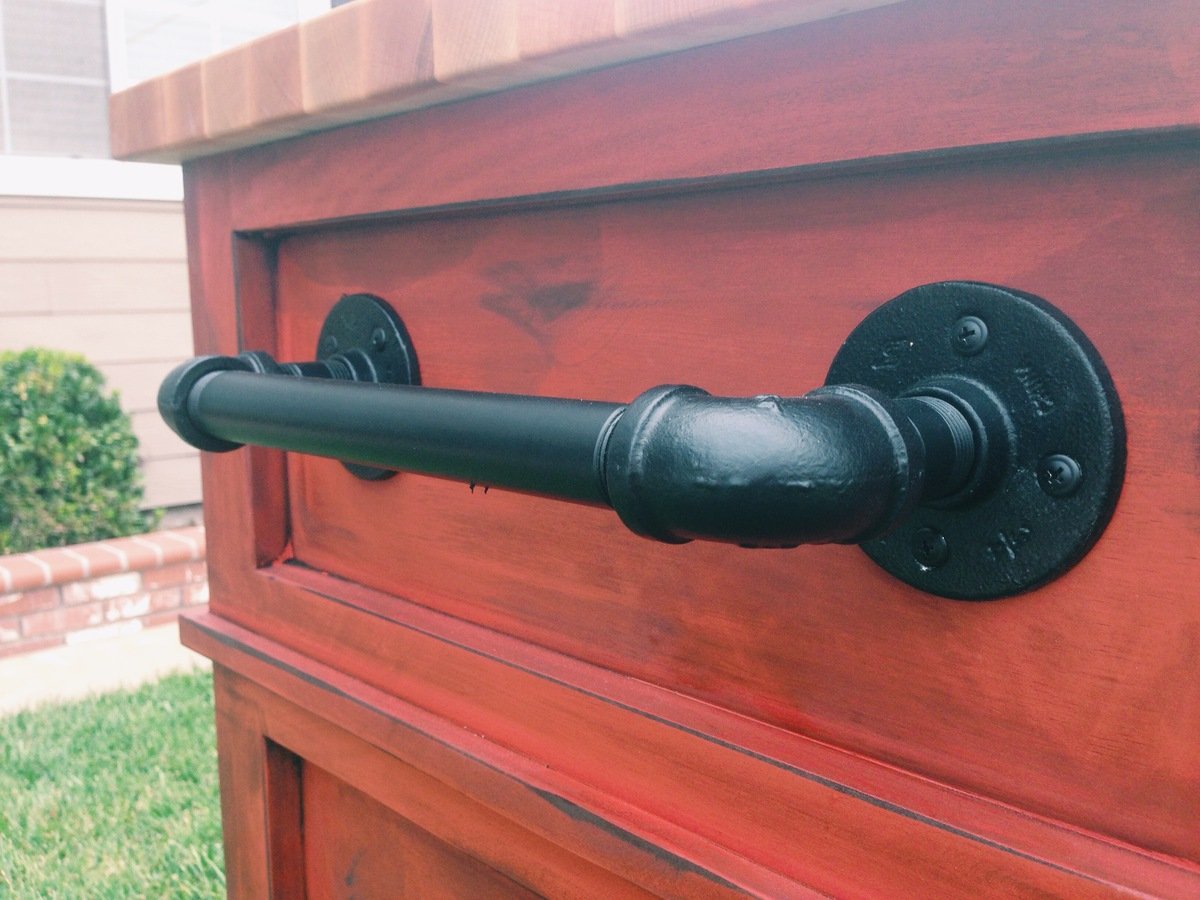
Instead of cabinet doors I wanted an open design so I built adjustable shelves. The drawers are slightly smaller than the plans give to allow extra shelf room. I used full extension drawer slides. The plans have the total kitchen island height at 42" which I felt was a little to tall for the average person so I built this island at 37" tall. The top is an edge grain butcher block top built out of hard maple and sealed with mineral oil. http://timberandsoul.wix.com/timberandsoul#
Comments
Thu, 05/29/2014 - 11:20
Another Beauty!
Love the finish and hardware on this one! Great job Timber & Soul!
In reply to Another Beauty! by Ana White Admin
Thu, 05/29/2014 - 18:06
Thank you Ana. We should
Thank you Ana. We should collaborate.
Paoli Patio Furniture Made Easy
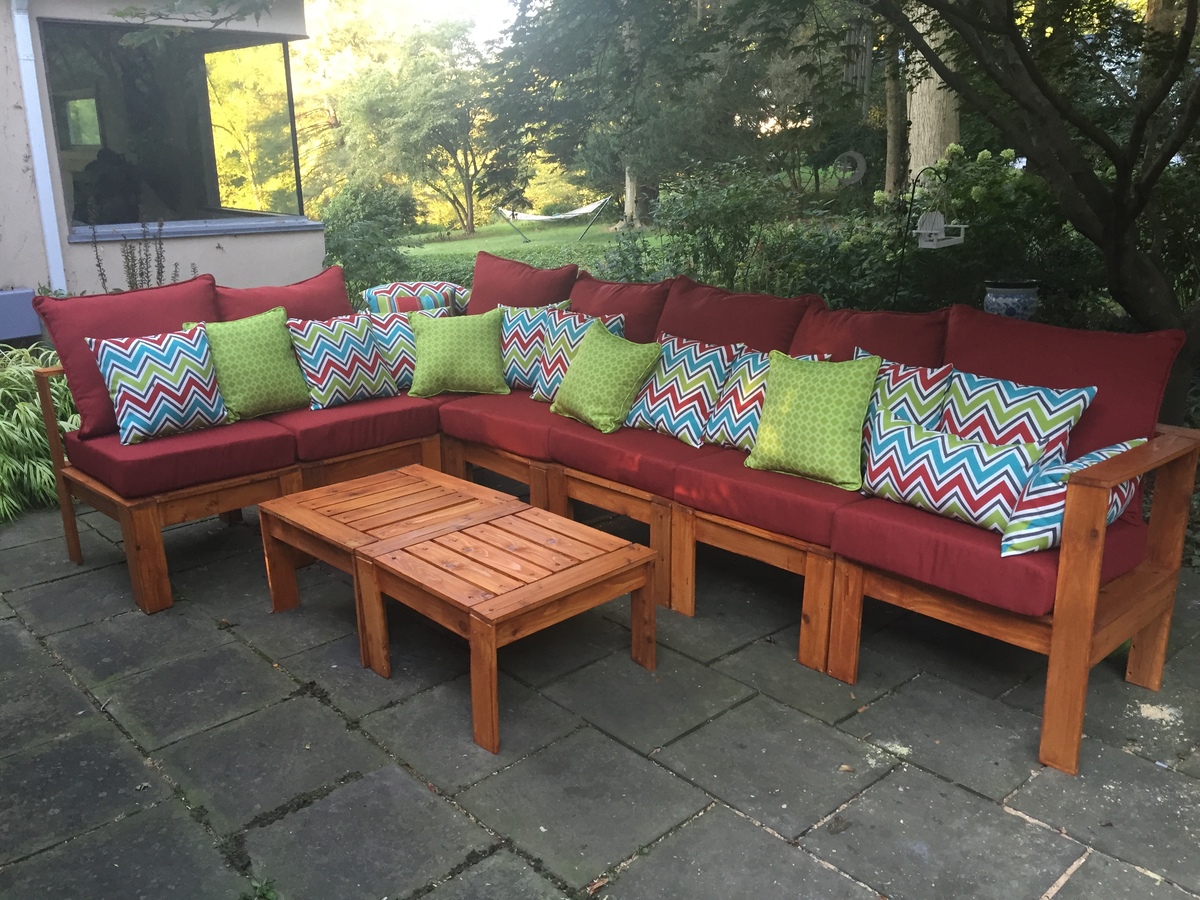
A huge thanks to Ana, her inspirational blog, and her clear and easy-to-follow plans for convincing me that I could take on and complete this project. I had lots of fun doing it!
Cluckingham Cottage

Cluckingham Cottage wasn’t built in a day, but it WAS built by a DAME!
A-frame instructions were pretty helpful considering the builder knows nothing about construction. I made a few modifications to accommodate my 5 chooks + 2 bantams . Sturdy and tight structure.
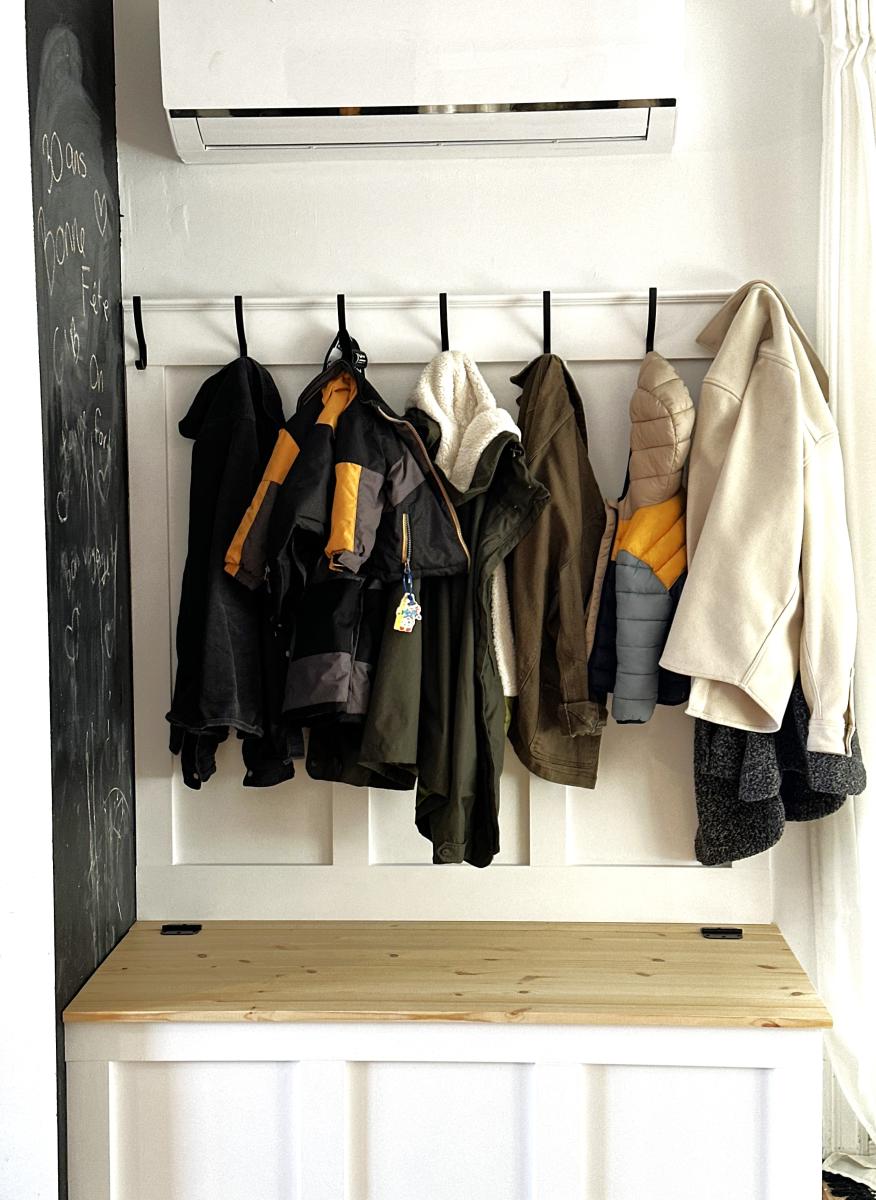
Board and Batten Hall Tree
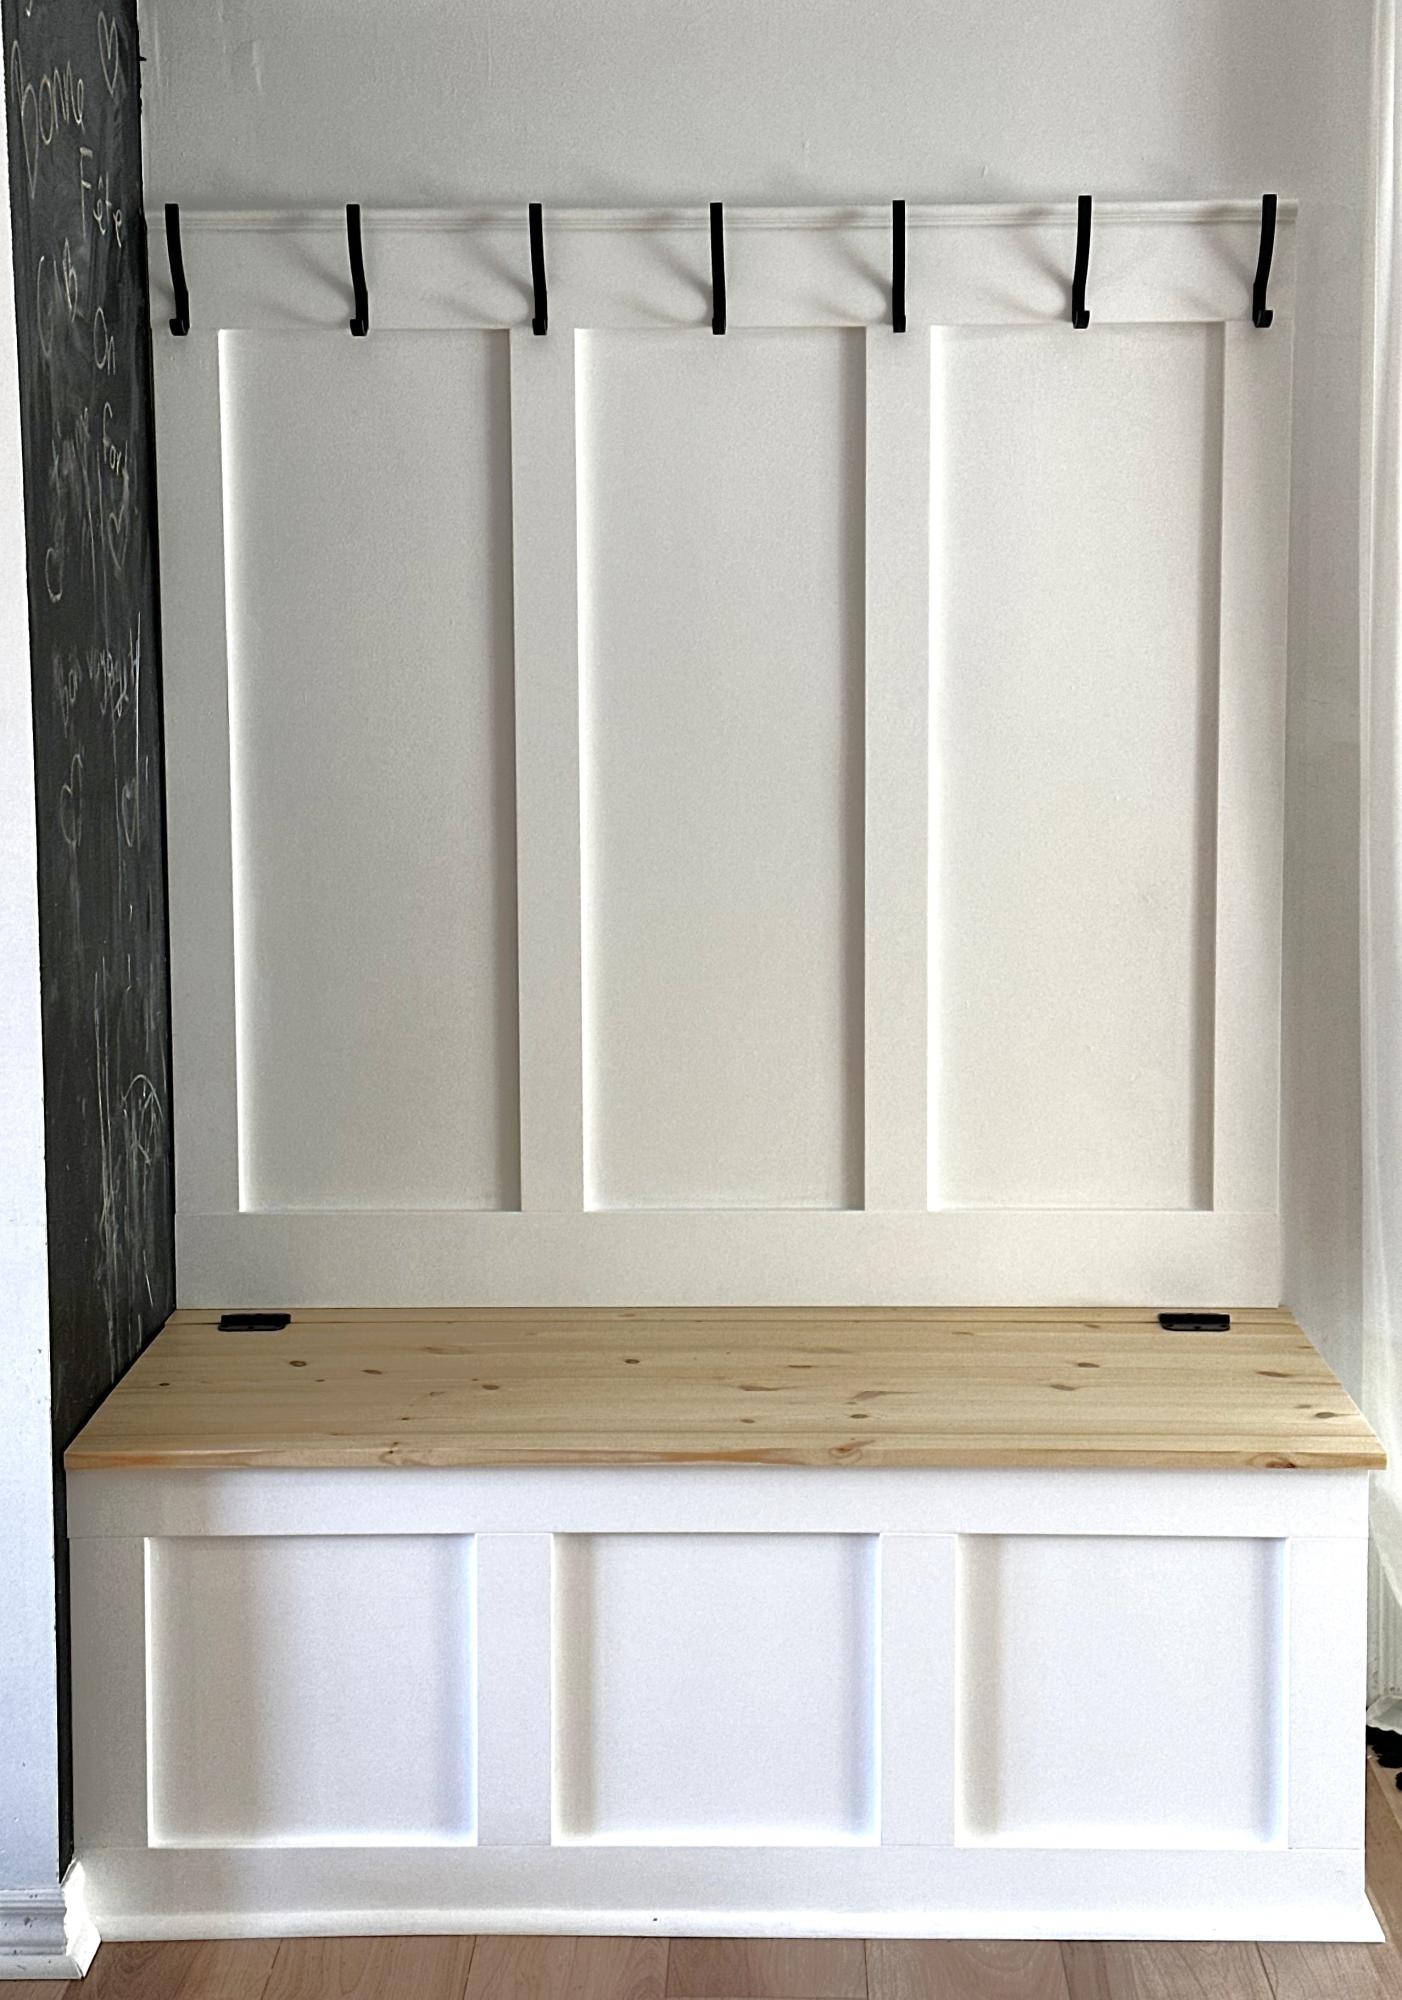
Just love this and there is storage inside the bench.
Sylvie
A gift for Gracie

Project: was great fun
Labor: 2 hours -- 15 year old son helped. He loved it.
For: Gracie/ age 4. Also, the rest of us.
Lumber: mostly 2 by 6 Why? Gracie needs a partner
Thanks: to Ana, and all
Level: just beginner.
Hope: to do more projects inspired by Ana and other

Comments
Tue, 09/04/2012 - 17:45
teeter totter
This Looks like a terrific teeter totter! Seems the kids are having fun on it! I would love to make this for my house. I love the blue and red together. Very nice!!!
Tue, 09/04/2012 - 17:47
This looks like a terrific
This looks like a terrific teeter totter!! Very nice and it looks like the kids are having a ton of fun! Also love the blue and red!
Sat, 10/20/2012 - 06:37
Teeter Totter
I love it. Makes you want to jump on and have fun.
The kids are sure having fun. What a great gift for Gracie
and the whole family.
One of a kind. Great Job!
Sat, 10/20/2012 - 06:47
Teeter Totter
I Love it. Great gift for Gracie and the rest of the family.
The tennis balls are a great accent to the blue and red.
Makes you want to hop on and have fun.
Great Job Rodney
Modern farm bench
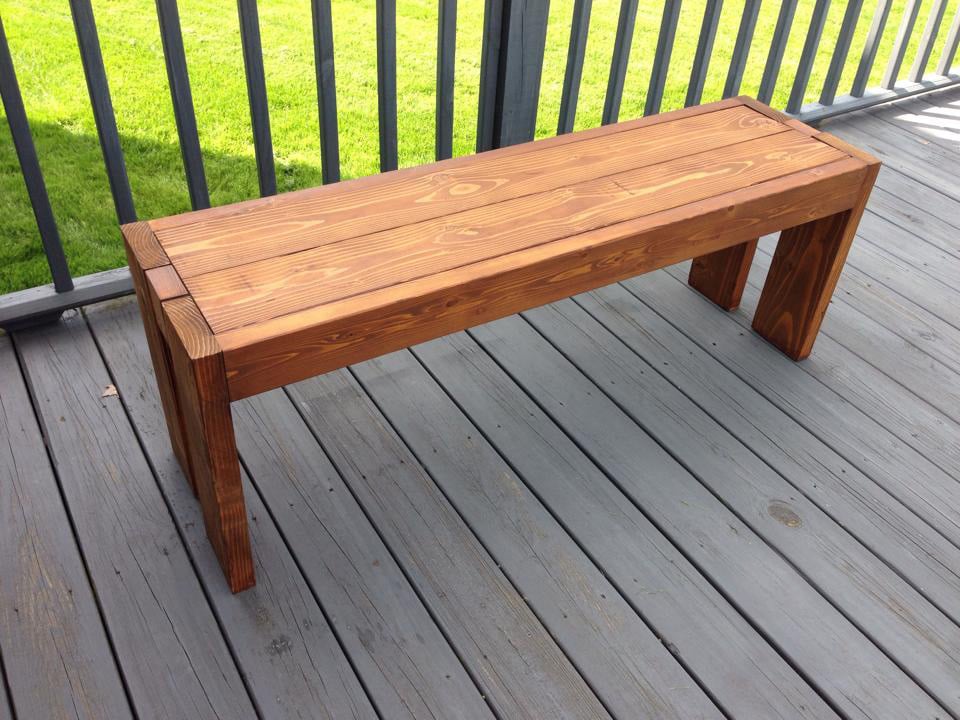
I've built a few projects from Ana's site, but this was my first try at something intended to hold people! It came out very well, and is living out on my deck. It's the only piece of deck furniture I have that's heavy enough to not blow around when it's windy. Thanks, Ana!
