Community Brag Posts

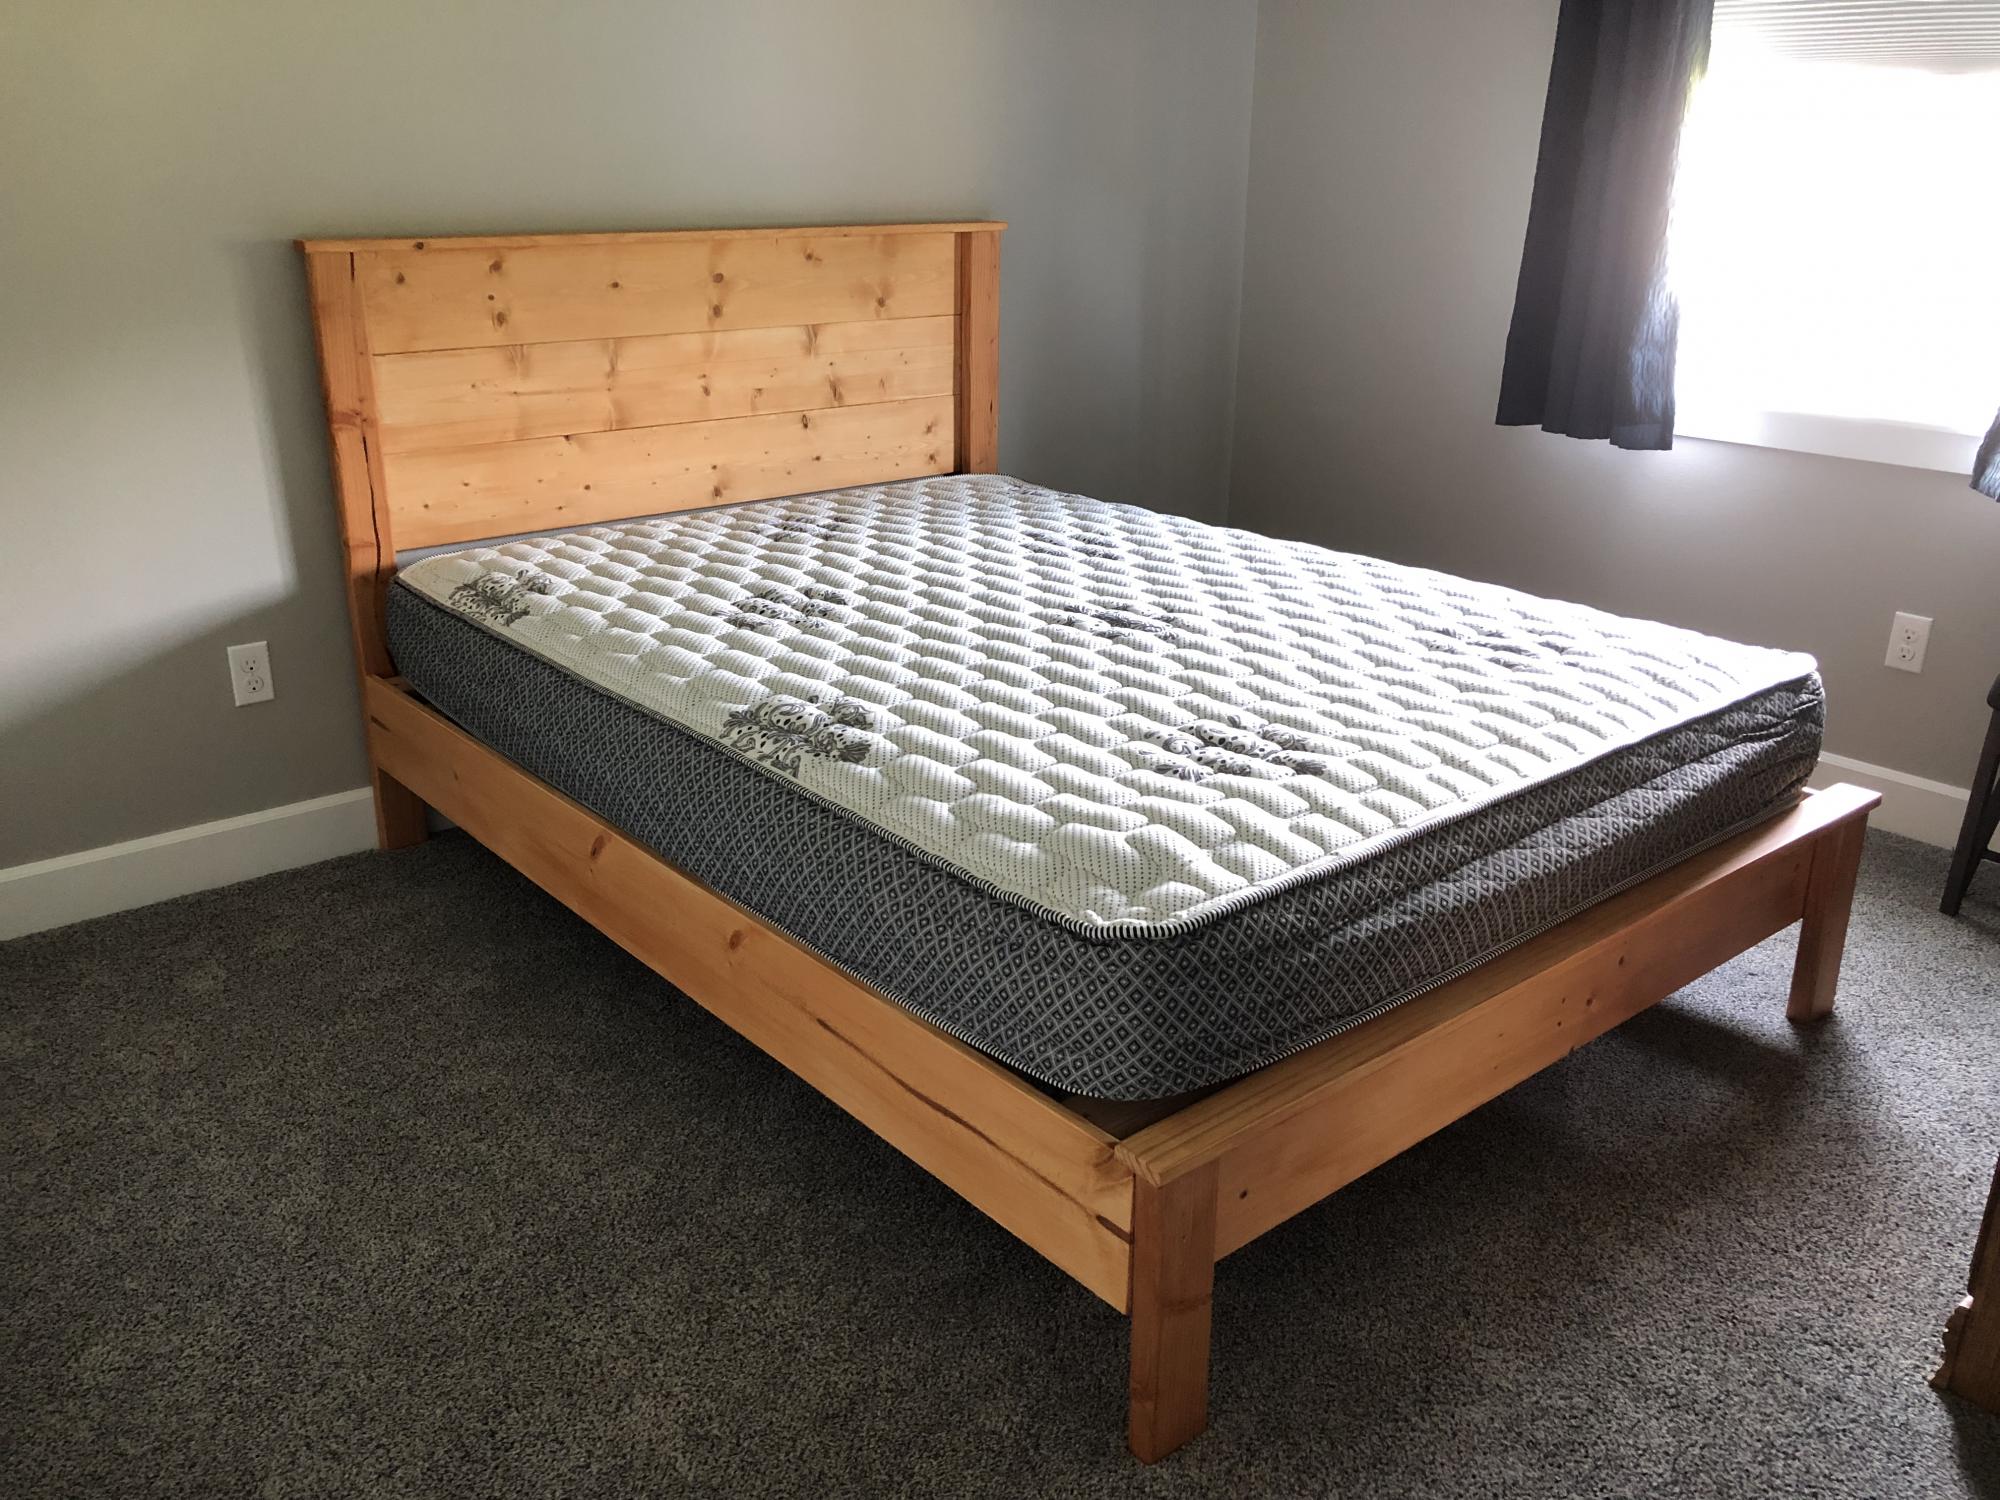
Fancy Farm House Bed

Submitted by jlouki01 on Sat, 08/24/2013 - 18:27

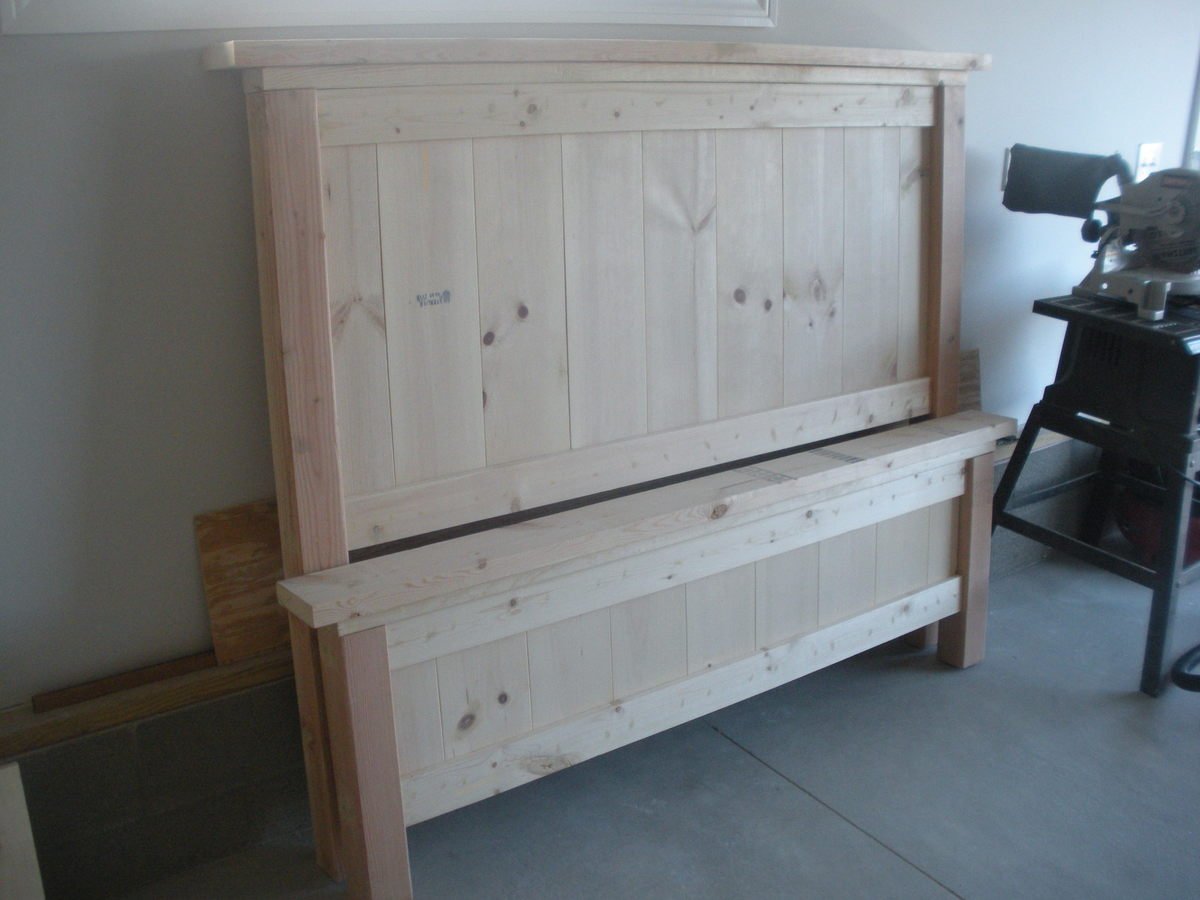
My son has been wanting a bed for a while now, We threw out his falsa-wood bed and I decided I liked this plan. I think I got the entire bed built in a few hours. There were a few details that would snag a rookie wood worker but just be creative in finding solutions. This bed is designed to be rustic.

I uploaded a very cheap assembly system that I used. I think total cost was less than 5.00 for two bolts and a couple washers.

Built from Plan(s)
Estimated Cost
150
Estimated Time Investment
Day Project (6-9 Hours)
Finish Used
Rust Oleum Black with burnished edges. Treated edges with Walnut stain.
Recommended Skill Level
Intermediate

farmhouse table

Submitted by AmeriKeren on Sun, 07/31/2011 - 13:12

We used Ana's plans to build this Farmhouse Table for our summer cottage in Maine. We distressed it with all sorts of tools, blackening it with a blowtorch, having my daughter tap dance on it, creating wormholes with my Dremel tool and hand painted the name of our cottage on the ends. It turned out great, and we are enjoying many great meals of Lobster looking out on to the harbor!

Estimated Cost
Less than $200
Estimated Time Investment
Weekend Project (10-20 Hours)
Finish Used
Mini wax Jacoban stain; with satin Mini was poly
Recommended Skill Level
Beginner

Comments

pairett

Sun, 07/31/2011 - 20:29

Great job! Whenever we get to build this table, I would like to paint our last name at each end. Thank you for the idea!

Beach dresser

Submitted by dmather82 on Mon, 08/26/2013 - 14:43

This was my second project. Just finished today. I've never done anything like this before so the drawer slides specifically were difficult. I ended up picking up a kreg drawer jig and it was a piece of cake! I initially wanted a minwax water based blue stain but the small amounts of wood filler residue on the drawer faces would not accept the stain and in a period of frustration I broke out some leftover blue paint. Luckily I think it looks better!

Estimated Cost
$200
Estimated Time Investment
Weekend Project (10-20 Hours)
Finish Used
Semi gloss blue paint
Recommended Skill Level
Intermediate

Modified Wide Cabin Dresser

Submitted by bcarter_1 on Tue, 10/30/2018 - 04:32

We modified these plans to make this, liked the sides.

Estimated Time Investment
Week Long Project (20 Hours or More)
Recommended Skill Level
Intermediate

Comments

Em's Picnic Table

Submitted by dbck on Wed, 08/03/2011 - 10:06

This was my first project - and it came out GREAT!!! Since our table saw lost its guard, I was too scared to use it. So I cut most of the wood by hand with our saw and miter box. It took FOREVER! But all that sweat was worth it. I love that I hand made something for my daughter. Thanks Ana!

Built from Plan(s)
Estimated Time Investment
Week Long Project (20 Hours or More)
Finish Used
A few cans of spray paint.
Recommended Skill Level
Starter Project

Comments

Kitchen Island

Submitted by Tonyjoe on Wed, 08/28/2013 - 18:22

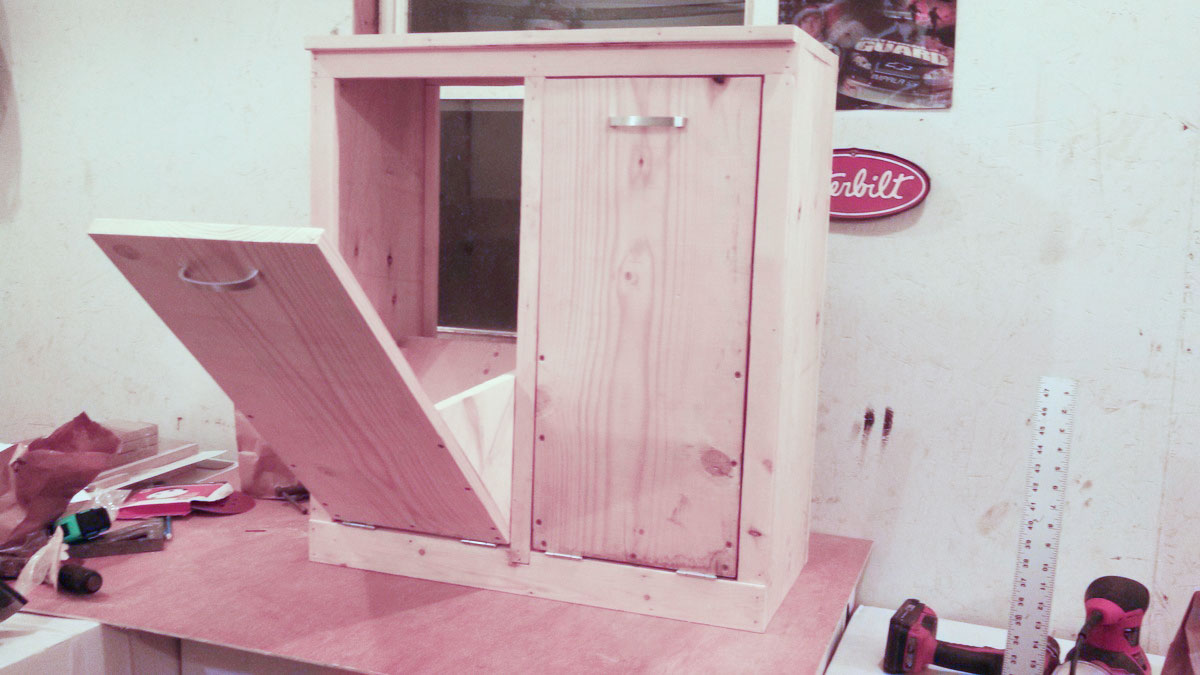
For my island we wanted a place to put the trash can so it was out of the way. We added a wider board to brace the side the can would go on to keep stuff from falling into the shelf area. Took my wife and I about 12 hours total to make.

Built from Plan(s)
Estimated Time Investment
Weekend Project (10-20 Hours)
Recommended Skill Level
Beginner

My Julia Nightstand

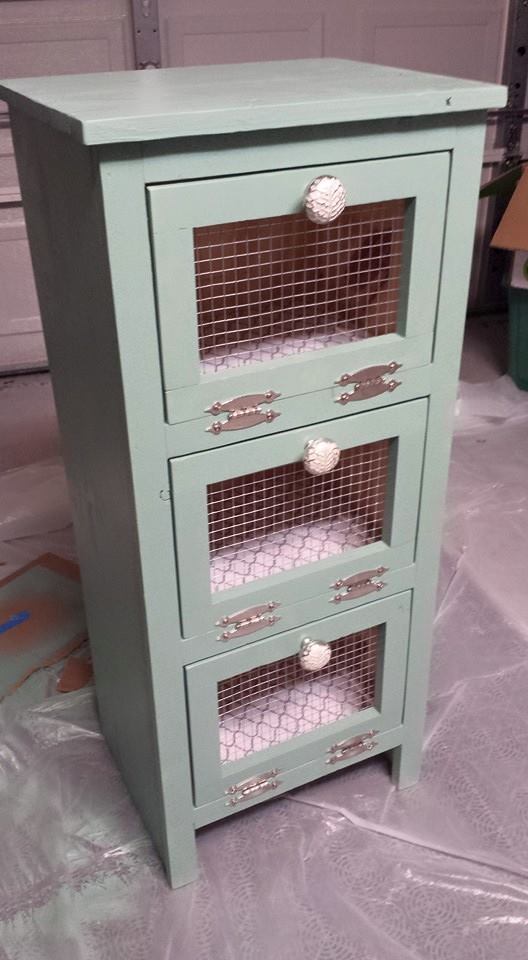
I decided it was time to use up some of the leftover materials from previous projects.  This little nightstand is a mix of spruce, mdf and plywood.  I constructed the little "feet"  from a stair baluster that I cut up and drilled a hole into the top to add a piece of dowel before gluing to the table leg. 

Built from Plan(s)
Estimated Time Investment
Day Project (6-9 Hours)
Finish Used
Painted a soft white and finished with a clear coat in a satin finish.
Recommended Skill Level
Beginner
Comments

Fancy Farmhouse Bed to attach to existing frame

Submitted by Kboshers on Wed, 11/07/2018 - 10:00

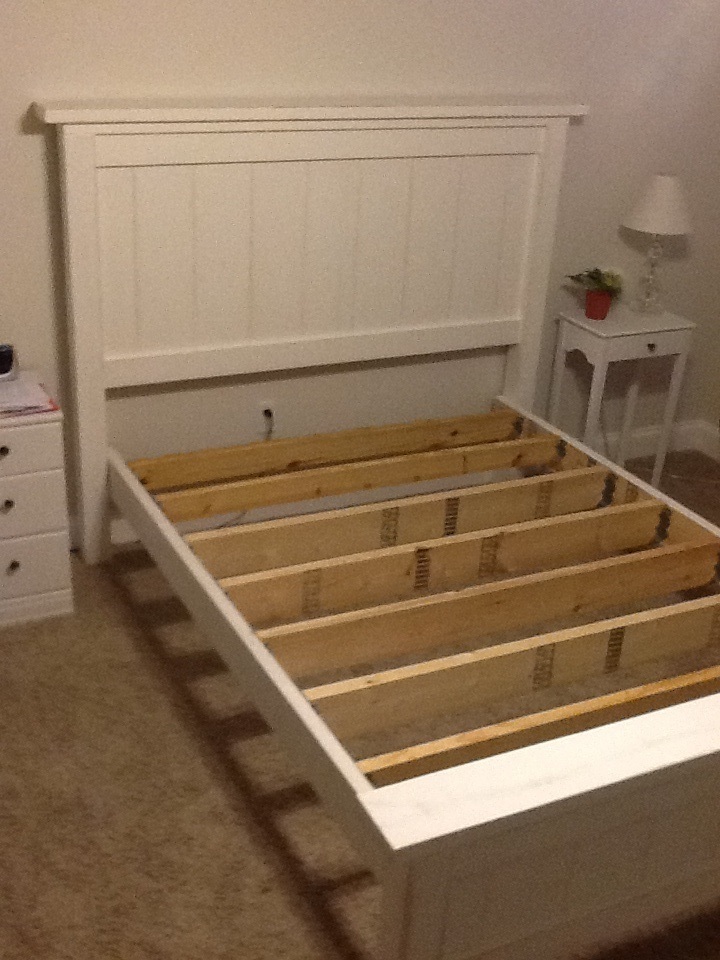
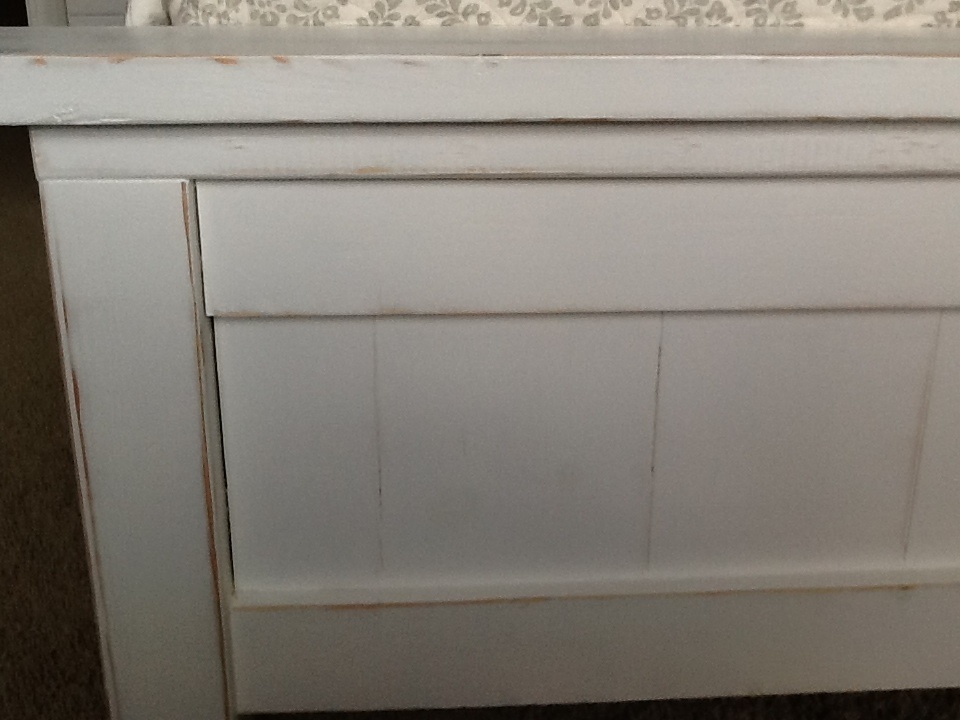
This was a fun and quick build!  Because I had an existing bed frame (and didn't want to headboard to stick out past the mattresses) I narrowed this by eliminating (1) tongue and groove board and changing the "legs" to 2 x 6 boards instead of the 2 x 4's in the plan -- overall width ended up at 76-1/2".  Before framing out the tongue and groove, I cut the exposed tongue off of the last board so the frame would attach better. After getting it all together, I wished I had used a 1 x 4 (or perhaps even a 2x4) as the very top piece so it hung over the moulding more.  I painted it with Old-Fashioned Milk Paint in Tavern Green and sealed that with Howard's Citrus Shield.  The wax turned it a little too John Deere green so I'm thinking I'll go back with a Burnt Umber Wax to darken the color a little.  Overall this was a great project that got me back in Dad's wood shop and refueled my love of building things.  I'm searching out my next project now.

Built from Plan(s)
Estimated Cost
Boards were just about $40 but mouldings almost doubled that price to just around $75 total (I had all the needed fasteners). There were much cheaper moulding available in narrower widths, but I wanted them to be more substantial.
Estimated Time Investment
Afternoon Project (3-6 Hours)
Finish Used
Milk paint and wax
Recommended Skill Level
Intermediate

Rustic barn style door

Submitted by Anonymous (not verified) on Fri, 08/05/2022 - 03:59

Using cedar fence slats, my son and I built this barn style hanging door for a space between two rooms in his partially finished basement. We planed each fence slat to achieve a smoother surface and to join the boards together. We finished it with a liberal amount of butcher block oil and beeswax to keep the wood from drying too quickly. We think it turned out beautifully!!

Comments

Redwood Lounge chairs

Submitted by redhead_61 on Sat, 08/06/2011 - 21:48

Did you know they make 3.5 inch redwood fence posts. I was thrilled when I found that out. I used them for this project here: http://ana-white.com/2011/08/raised-raised-planter-bench and had some leftovers. I need good outdoor wood in my harsh climate and so made these with the leftovers.

I actually added 3 inches to the legs so I could have them tall enough to eat at my table with.

Estimated Time Investment
Afternoon Project (3-6 Hours)
Finish Used
Behr Waterproofing Wood Protector
Recommended Skill Level
Starter Project

Easy Peasy Workbench to Get the Job Done

Submitted by logansam54 on Sat, 08/31/2013 - 16:14

This bench was made from the plans for the Workbench to Get the Job Done....and we did get it done. About $50 in lumber and a few hours work. The only change we made is we used 3/4" plywood for both shelves to only use one piece of ply. Next to paint it turquoise! Thanks to my friend Richard Ramirez...he did most of the work! Next I'm going to make 2 more not as wide and without the bottom shelf so I can roll my shop vac under one and my trash can under the other.

Built from Plan(s)
Estimated Cost
$50
Estimated Time Investment
Afternoon Project (3-6 Hours)
Finish Used
Final finish will be paint
Recommended Skill Level
Beginner
Comments

Medickep

Sun, 09/01/2013 - 06:45

If I may make a suggestion, you could screw a 2x4 flat to the back, which willow you yo drills holes across it for screwdrivers, chisels punches and what not!

DIY Wall Mounted Concealed Jewellery Organizer

The idea for this project (and the final image that you see) came from the Whiskey Drink Studio ! Cheers to them for the original design. 

So, this is a really fun project that has to solve the following problems: 

  • Be a handy place to store jewellery
  • Feature a custom layout / organization system 
  • Be concealed, meaning it shouldn't be directly obvious it's a container, or if so that it contains jewellery
  • Be mounted on the wall (just because where else would you really put it)
  • The cover should be a painting on a canvas or another form of artwork. I mean not really SHOULD, but this was the original idea, you can modify it for your purposes
  • Should be styled to match the decor and interior design

Great, lets start with the:

Materials 

Materials for the concealed jewellery organiser

The sizes are entirely up to you, but if you're going to be using a canvas as a cover, you should first pick the size of your artwork and then scale everything else to size. 

They go as follow: 

1 x A3 Canvas Painting (420mm x 100mm)

1 x Same size hardboard cover (420mm x 100mm)

2 x Wooden Boards (420mm x 100mm x 50mm)

2 x Wooden Boards (287mm x 100mm x 50mm)

1 x Bundle of nails 

1 x Bundle of screws

1 x Bundle of screw hooks

1 x Magnetic catch set

3 x Standard cabinet hinges or 1 x Piano Hinge

This a very very beginner level build, so we're using the easiest techniques possible. Advanced users, who want to make the strongest box possible, can use alternative materials and methods. 


Step 1: Assemble the box

step 1 assemble the box - start with the frame

So, very straightforward, just start building the box, starting from the frame. In the GIF above you see how we put the shorter boards in between the longer ones and just nailed them together. 

If you want this to be extra strong, you can use corner braces on the inside. 

attach the hardboard

After the frame is ready, flip it on it's face and nail in the hardboard. The hardboard should be thick enough so it holds the screw hooks and your jewellery. It should also be pretty sturdy and well attached to the frame so use plenty of nails (well, don't go overboard).

Step 2: Attach the cover

step 2, attach the cover

Take your canvas (or whatever other cover you picked) and mark equidistant locations on the lower back side. Take your measurements and mark the same locations on the bottom of the frame. Put the two together and see if they match. 

Now screw the hinges in the cover and then, into the frame. 

At this point the door should open and close, lining up perfectly. 

Step 3: Screw the hooks

step 3 add the hooks

The next step is to think about the internal layout. Using a pencil plan and divide your space to represent your needs for storage. Then simply screw the hooks in. 

Step 4: Attach the magnet catches

step 4: magnet catches

The last part is attaching the magnet catches. They will hold the cover tighly close, with no accidental falls and issues. This can be substituted for a hydraulic arm, but we chose the simplest options. 


Special thanks to Rachel at Whiskey Drink Studio for the inspiration ! 

Check out the full tutorial over at my blog - DIY Wall Mounted Jewellery Organiser

Estimated Time Investment
Day Project (6-9 Hours)
Recommended Skill Level
Beginner
Comments

Grandy sliding console

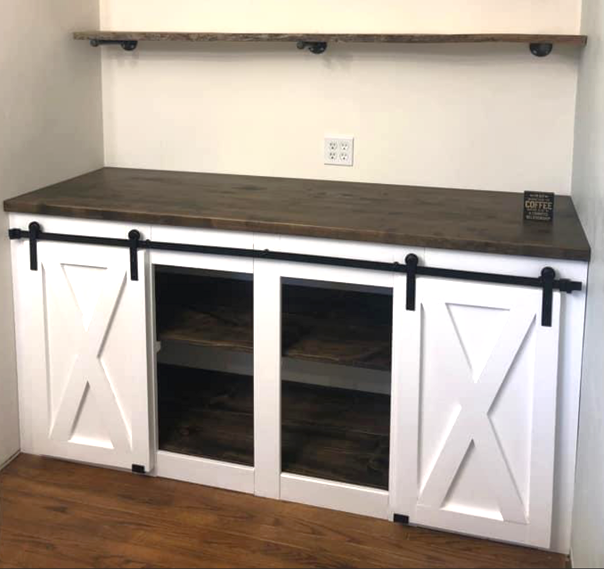
Submitted by Brad Wills on Mon, 11/19/2018 - 14:51

Finally took the time to use a lot if my scrap pile.  This one is a bit of a beast to manhandle around the shop, but well worth the finished project!

Built from Plan(s)
Estimated Cost
150
Estimated Time Investment
Weekend Project (10-20 Hours)
Finish Used
Valspar dark walnut stain. Under Behr Flat white paint. Distressed then cleared with valspar poly.
Recommended Skill Level
Intermediate

My Modern Outdoor Patio Collection

Submitted by hannahclou on Tue, 08/09/2011 - 12:43

It's summertime and I wanted to be able to sit on my screened in porch with my husband with a cold drink and enjoy the nice weather. But...we had a less than cheery porch and not to mention no porch furniture. So, I started a mission to bring a little excitement to our porch and give us an outdoor area to entertain and enjoy! With some bright-colored paint, my carpenter's square, and a little patience okay..a lot of patience, I think I nailed it! I made 2 accent/ottoman tables, 2 outdoor lounge chairs, an outdoor lounge love seat, and the Hudson Outdoor table. I also bought 4 cushions on sale at Walmart in colors that match my bright patio set perfectly!

I modified the outdoor lounge chair in to a love seat by doubling the dimensions of the: back tie-in, seat frame supports, front and back aprons, seat back supports and seat back bottom support, using a 1x4 back tie-in instead of the 1x2, adding an extra seat frame support in between the front outside and inner support, and used 10 back boards and seat boards instead of 5.

I think now I'll go back to the porch and enjoy the afternoon with a nice cool iced green tea and finally get to relax on a porch with furniture on it!

Estimated Cost
$80 wood + $ 40 paint + $ 60 cushions = $ 180 patio set!
Estimated Time Investment
Week Long Project (20 Hours or More)
Finish Used
Rustoleum Apple Red and Sun Yellow and a Rustoleum Clear Gloss sealant
Recommended Skill Level
Intermediate

Comments

Display Cabinet

This is similar to a display cabinet I found online. I got the dimensions and created my own version. We added a under cabinet light to the top to give it a little bit of an elegant look. We changed it up from the original one by adding beadboard to the back and the door inserts. The shelving on the top and bottom are adjustable for different sized display items.

Estimated Cost
$200
Estimated Time Investment
Week Long Project (20 Hours or More)
Finish Used
This is sprayed with latex paint and antiqued with briwax light brown color.
Recommended Skill Level
Intermediate

Mimi's Storage Bench as Toybox

Submitted by ematurne on Sun, 10/25/2015 - 10:34

My husband and I decided to make a personal gift for our new niece.  Everyone loved it, and we are currenly making another one.  The first time took us a LONG time...the second time went much faster!  We used nicer wood than suggested, which raised the cost. I used Sherwin Williams paint colors (buy the samples from Lowes...it was more than enough paint and only $5!) and the stencils came from a craft store. Can't wait to try more projects!!!

Built from Plan(s)
Estimated Cost
$120 for nicer wood, but you can do it cheaper.
Estimated Time Investment
Weekend Project (10-20 Hours)
Finish Used
Sherwin Williams paint (sample cans from the Color Pizzazz card, see below) and I sprayed a polyurethane coating from Michaels to protect the inside painting.

Turquoise- Reflecting Pool
Gray- Accessible Beige (it looks gray)
Yellow- Classic Yellow
Coral- Coral Reef

Michaels- Plain Wooden Letters and Stencils- Birds, Tree, Chevron, Bicycles
Hobby Lobby- You are my sunshine

Stenciling: I got really good at stenciling on the very top of the box (the last thing I did!) and I realized that your roller should have almost NO paint on it. It is cheaper to buy a door roller from Lowes. Also, the thicker stencils work much, much better (the ones from Michaels).
Recommended Skill Level
Beginner
Comments

Farmhouse table with pocket holes

I followed the plans with the exception of cutting off ~19" in length to get the table down to 5.5' in order to better fit my space.

Unfortunately several of the 2 1/2" pocket screws did pierce the top - nothing too terrible or noticeable, but disappointing.  My wife says it just adds to the rustic feel, so that works.

One thing I did that I notice other people not doing: I ripped off ~1/4" from the edge of all boards for the table top.  This gets rid of the "crumb catcher" spaces between the planks which come rounded.  By ripping off the rounded edge, the boards will fit more flush and you won't have such an issue with crumbs getting in between the boards.

Estimated Time Investment
Weekend Project (10-20 Hours)
Finish Used
Minwax Classic Gray Stain (set for 15 minutes), applied with sponge brush AFTER using Minwax Wood Conditioner, and Minwax Wipe-on Clear Satin Poly (2 coats), applied with clean cloth
Recommended Skill Level
Beginner
My bag dispenser, made from scrap pieces of maple and pine

Submitted by Anonymous (not verified) on Fri, 08/26/2022 - 13:13

I went looking at plans for a bag dispenser, and I found Ana White's. Nice, simple design! The top, front, and bottom are made from a recycled maple table top. The sides are made from 1 x 3 boards that I glued up. Works exactly as I hoped!

Built from Plan(s)

Comments

Leaning wall shelf

Submitted by Lady Goats on Thu, 08/11/2011 - 11:05

This was one of those projects that you just don't want to start because you don't have time to finish it, kinda thing... And I still started it. UGH! haha. I had 2 days before I was going to leave for Vegas, and the first of the 2 days was half over already... But I still managed to get it finished, painted and IN before I left! I threw random stuff from throughout my house on it, and still haven't decorated it how I'd like to... But I will! Eventually...
Estimated Time Investment
Day Project (6-9 Hours)
Finish Used
Gloss White by Olympic
Recommended Skill Level
Intermediate

Work bench made from old junk

I built this work table from some old junk that was going to be thrown away - a church pew, a wooden box light fixture and some plywood that was in my parents' garage. I didn't follow any specific plan, I just had an idea of what it needed to look like from some work bench plans I saw on Ana-White.com. It cost me nothing to build it. I even re-used the old steel screws from the church pew. It's not very pretty to look at, but it is sturdy and it will be a great space for me to store my tools and work on future projects. Thanks Ana White for your awesome website and for inspiring me! I never would have thought I could take some old junk and figure out how to built something like this. It's an awesome feeling!
Built from Plan(s)
Estimated Cost
$0
Estimated Time Investment
Afternoon Project (3-6 Hours)
Finish Used
none
Recommended Skill Level
Beginner