Coffee or Game Table Hayrake Style
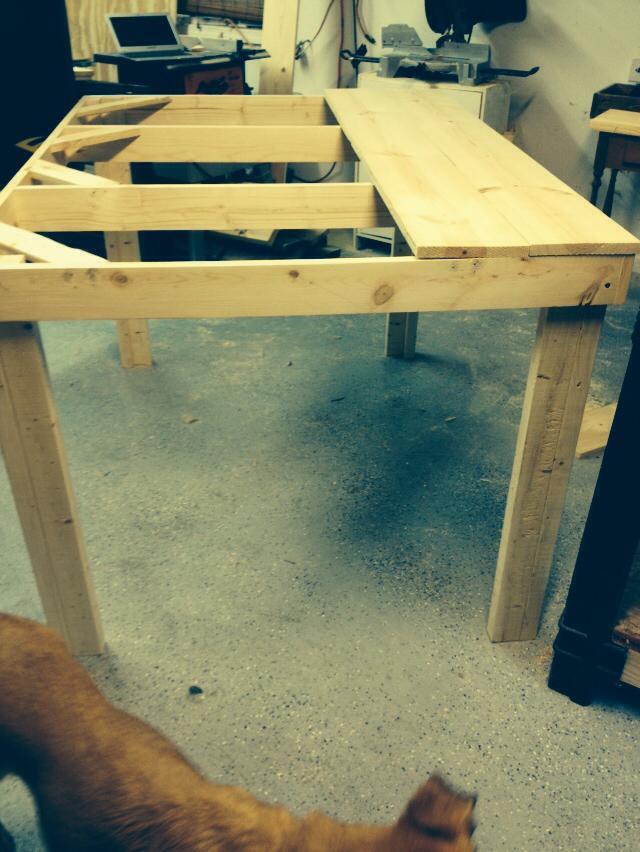
The better half wanted a coffee table for the rec room to use for snacks and board games. I had seen the use of a hayrake stretcher on tables so, since I like to experiment, give it a try on this table.


The better half wanted a coffee table for the rec room to use for snacks and board games. I had seen the use of a hayrake stretcher on tables so, since I like to experiment, give it a try on this table.


Hey, y'all. Here is how our milk paint dining table turned out. We are proud of it. Keep checking the blog and I will have more pictures of our complete dinning room flip posted.
Thanks,
Kira
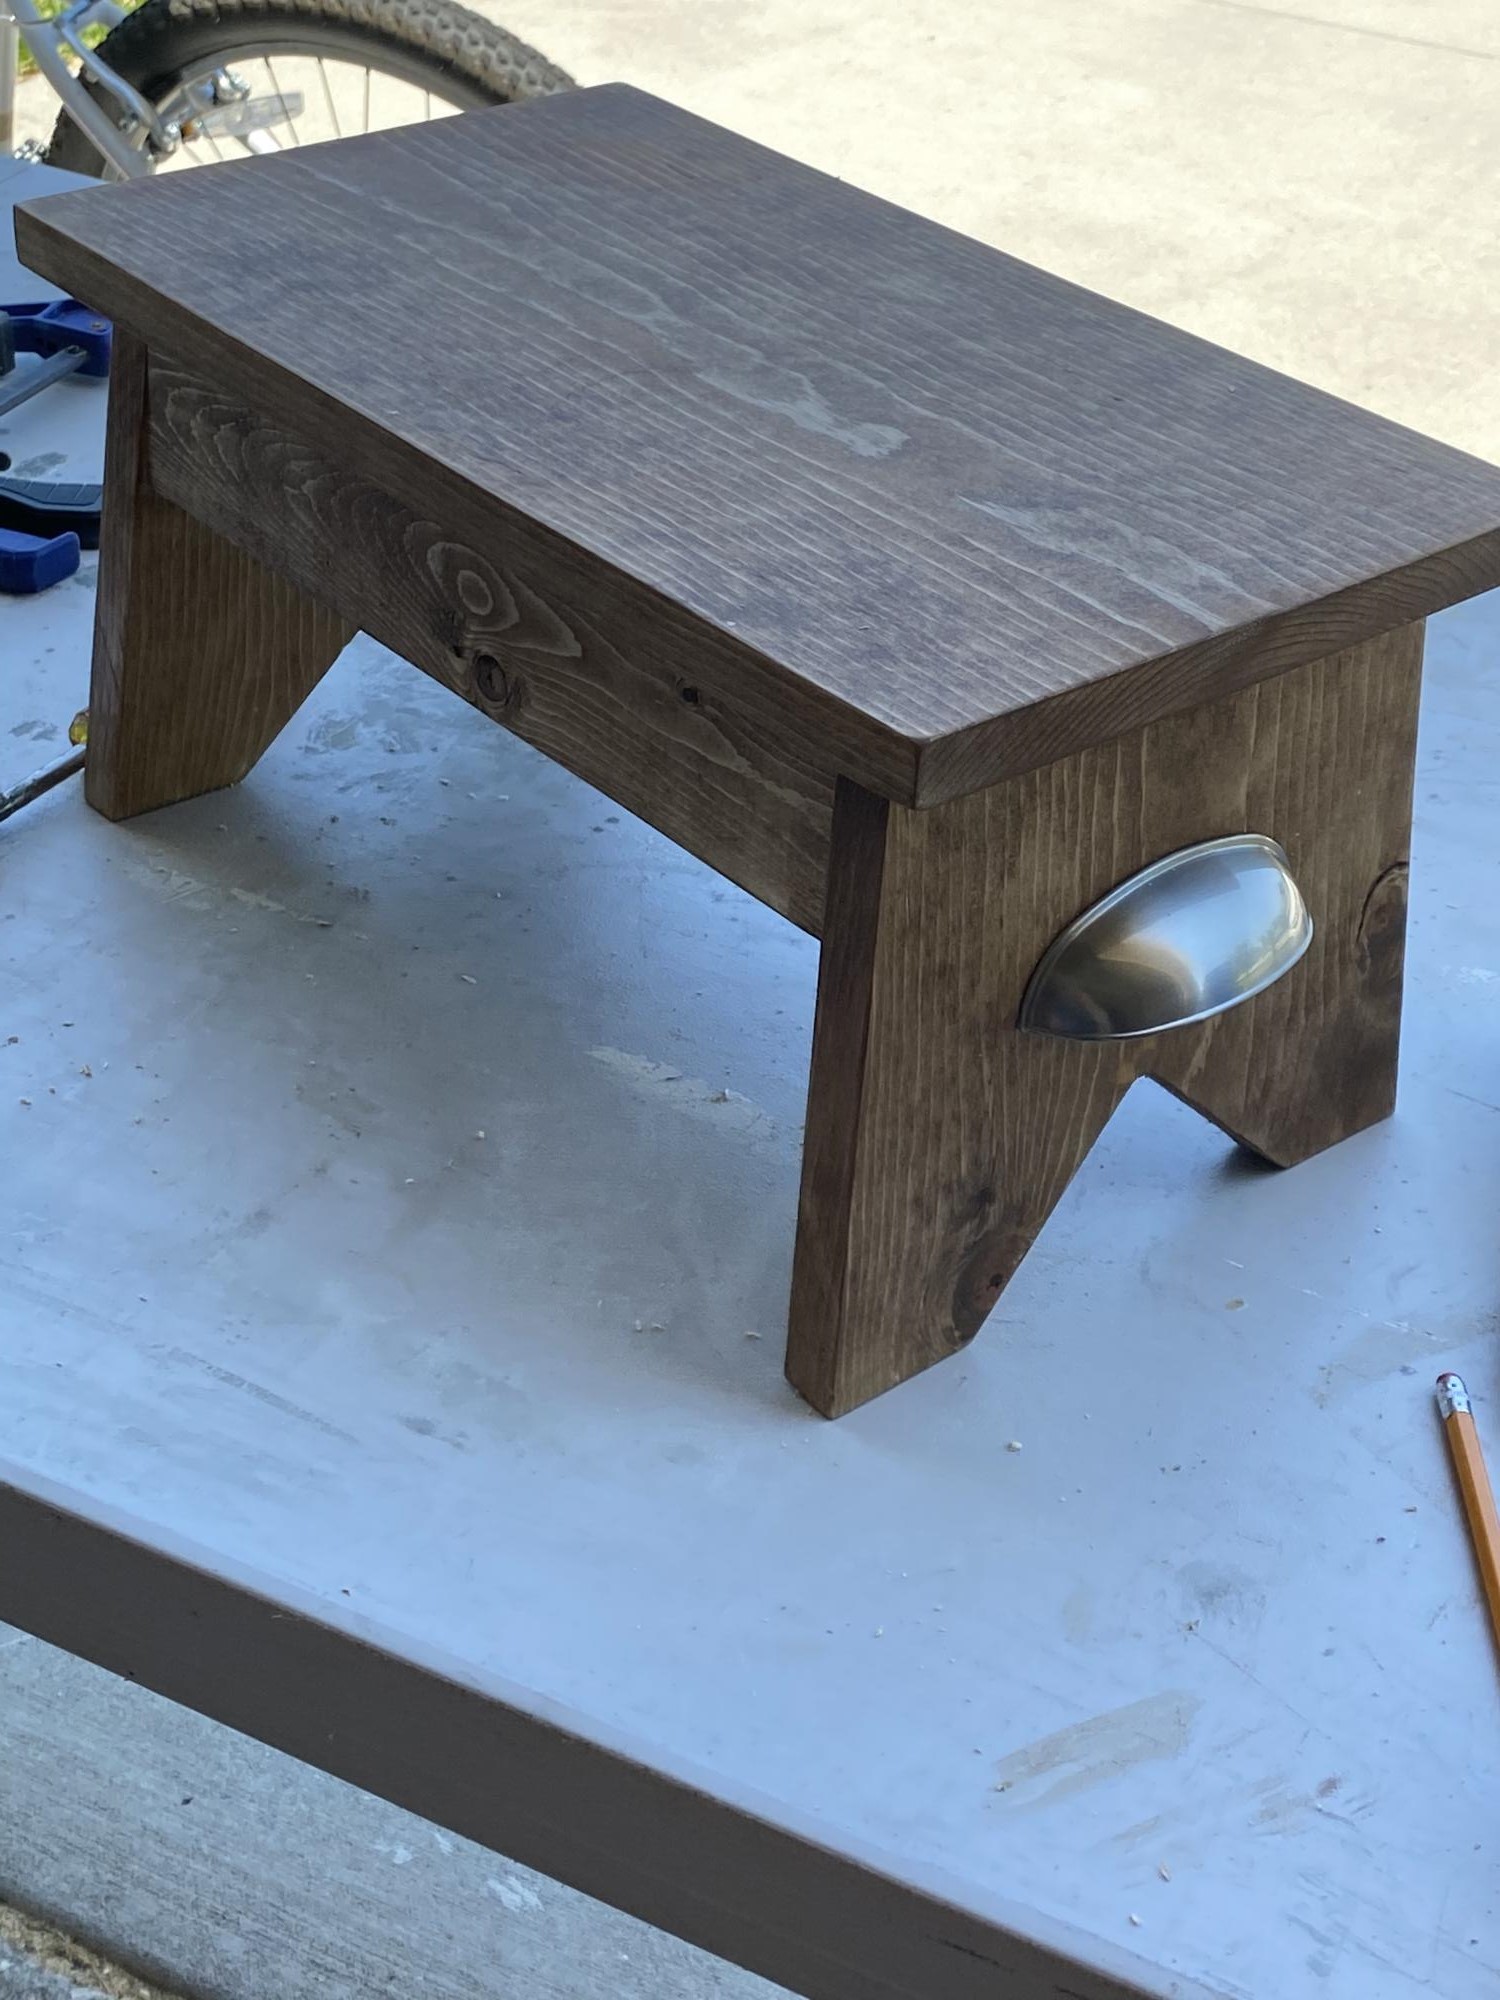
Love, love , love this step stool. It’s perfect and relatively easy to make.
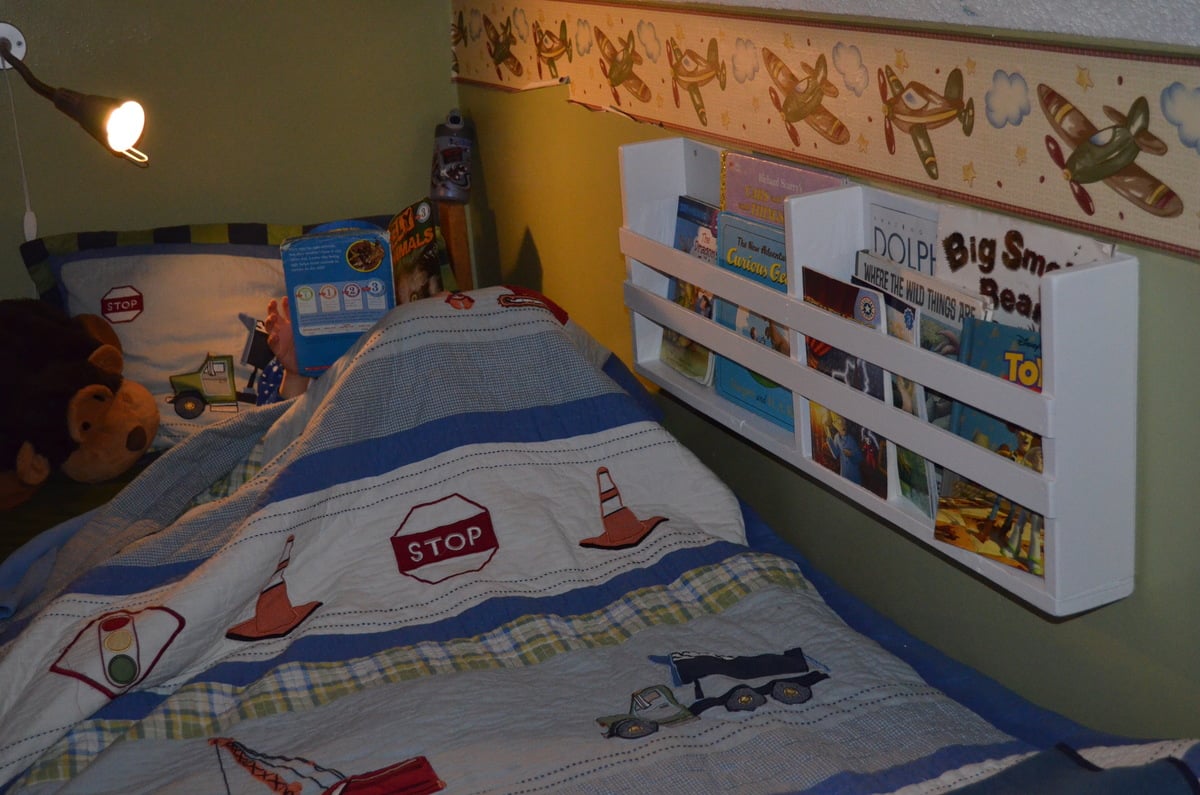
We needed a small space book shelf that my kids could have next to their beds. So we searched the internet for a shelf. We found one that is similar to this one and we made our own plans and built them. It was so simple and our 2 boys, 5 and 7 helped make them with us. I then found it here! Easy and simple.
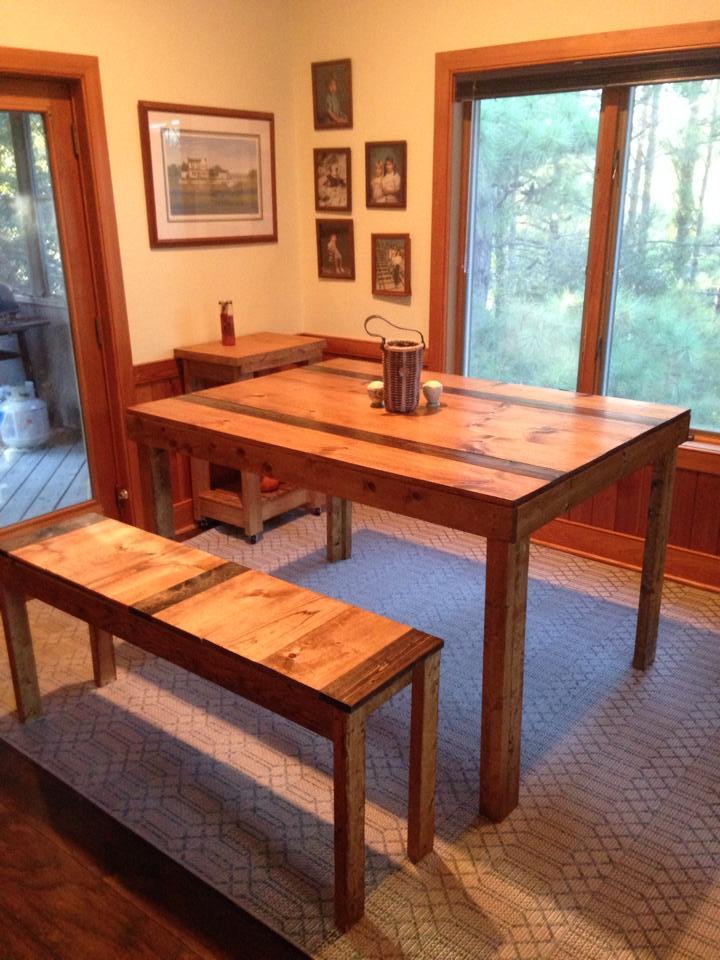
Modeled after the rustic table. I made it smaller and taller. I used Pine boards and golden oak stain and also jacobean stain. The legs can come off by unscrewing them.
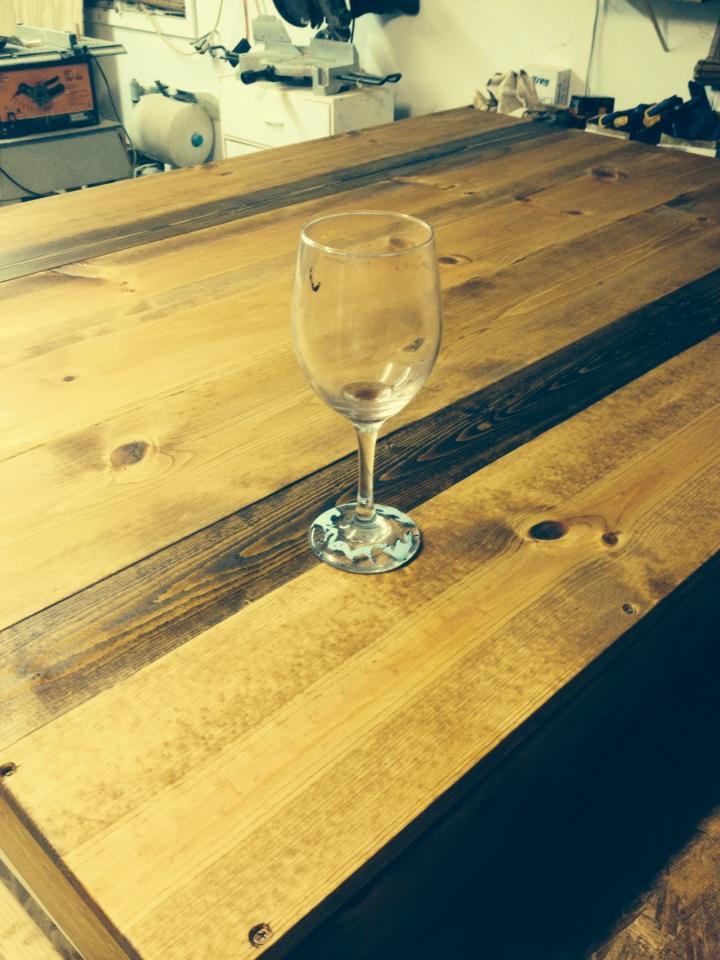
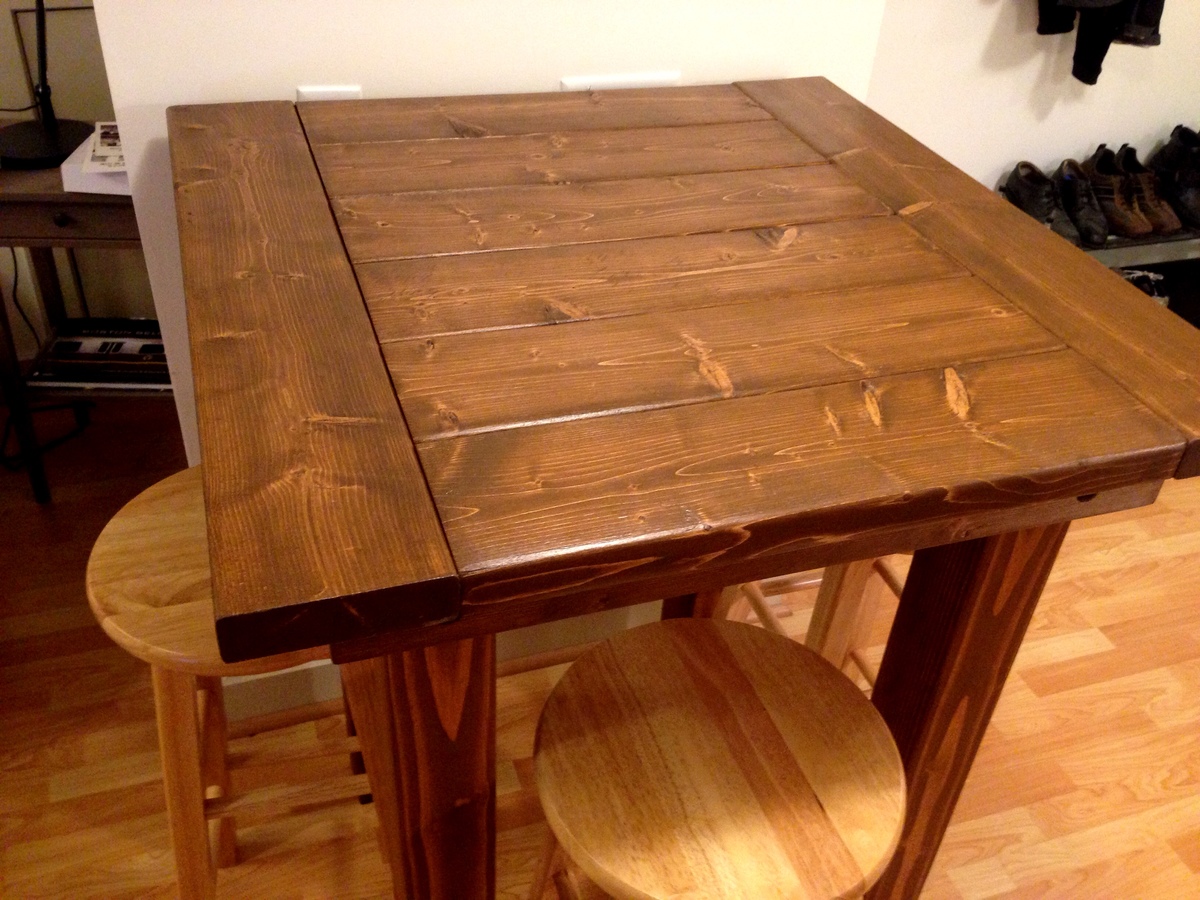
A full write up of this build, including photos & dimensions, is here: http://imgur.com/gallery/YyawW
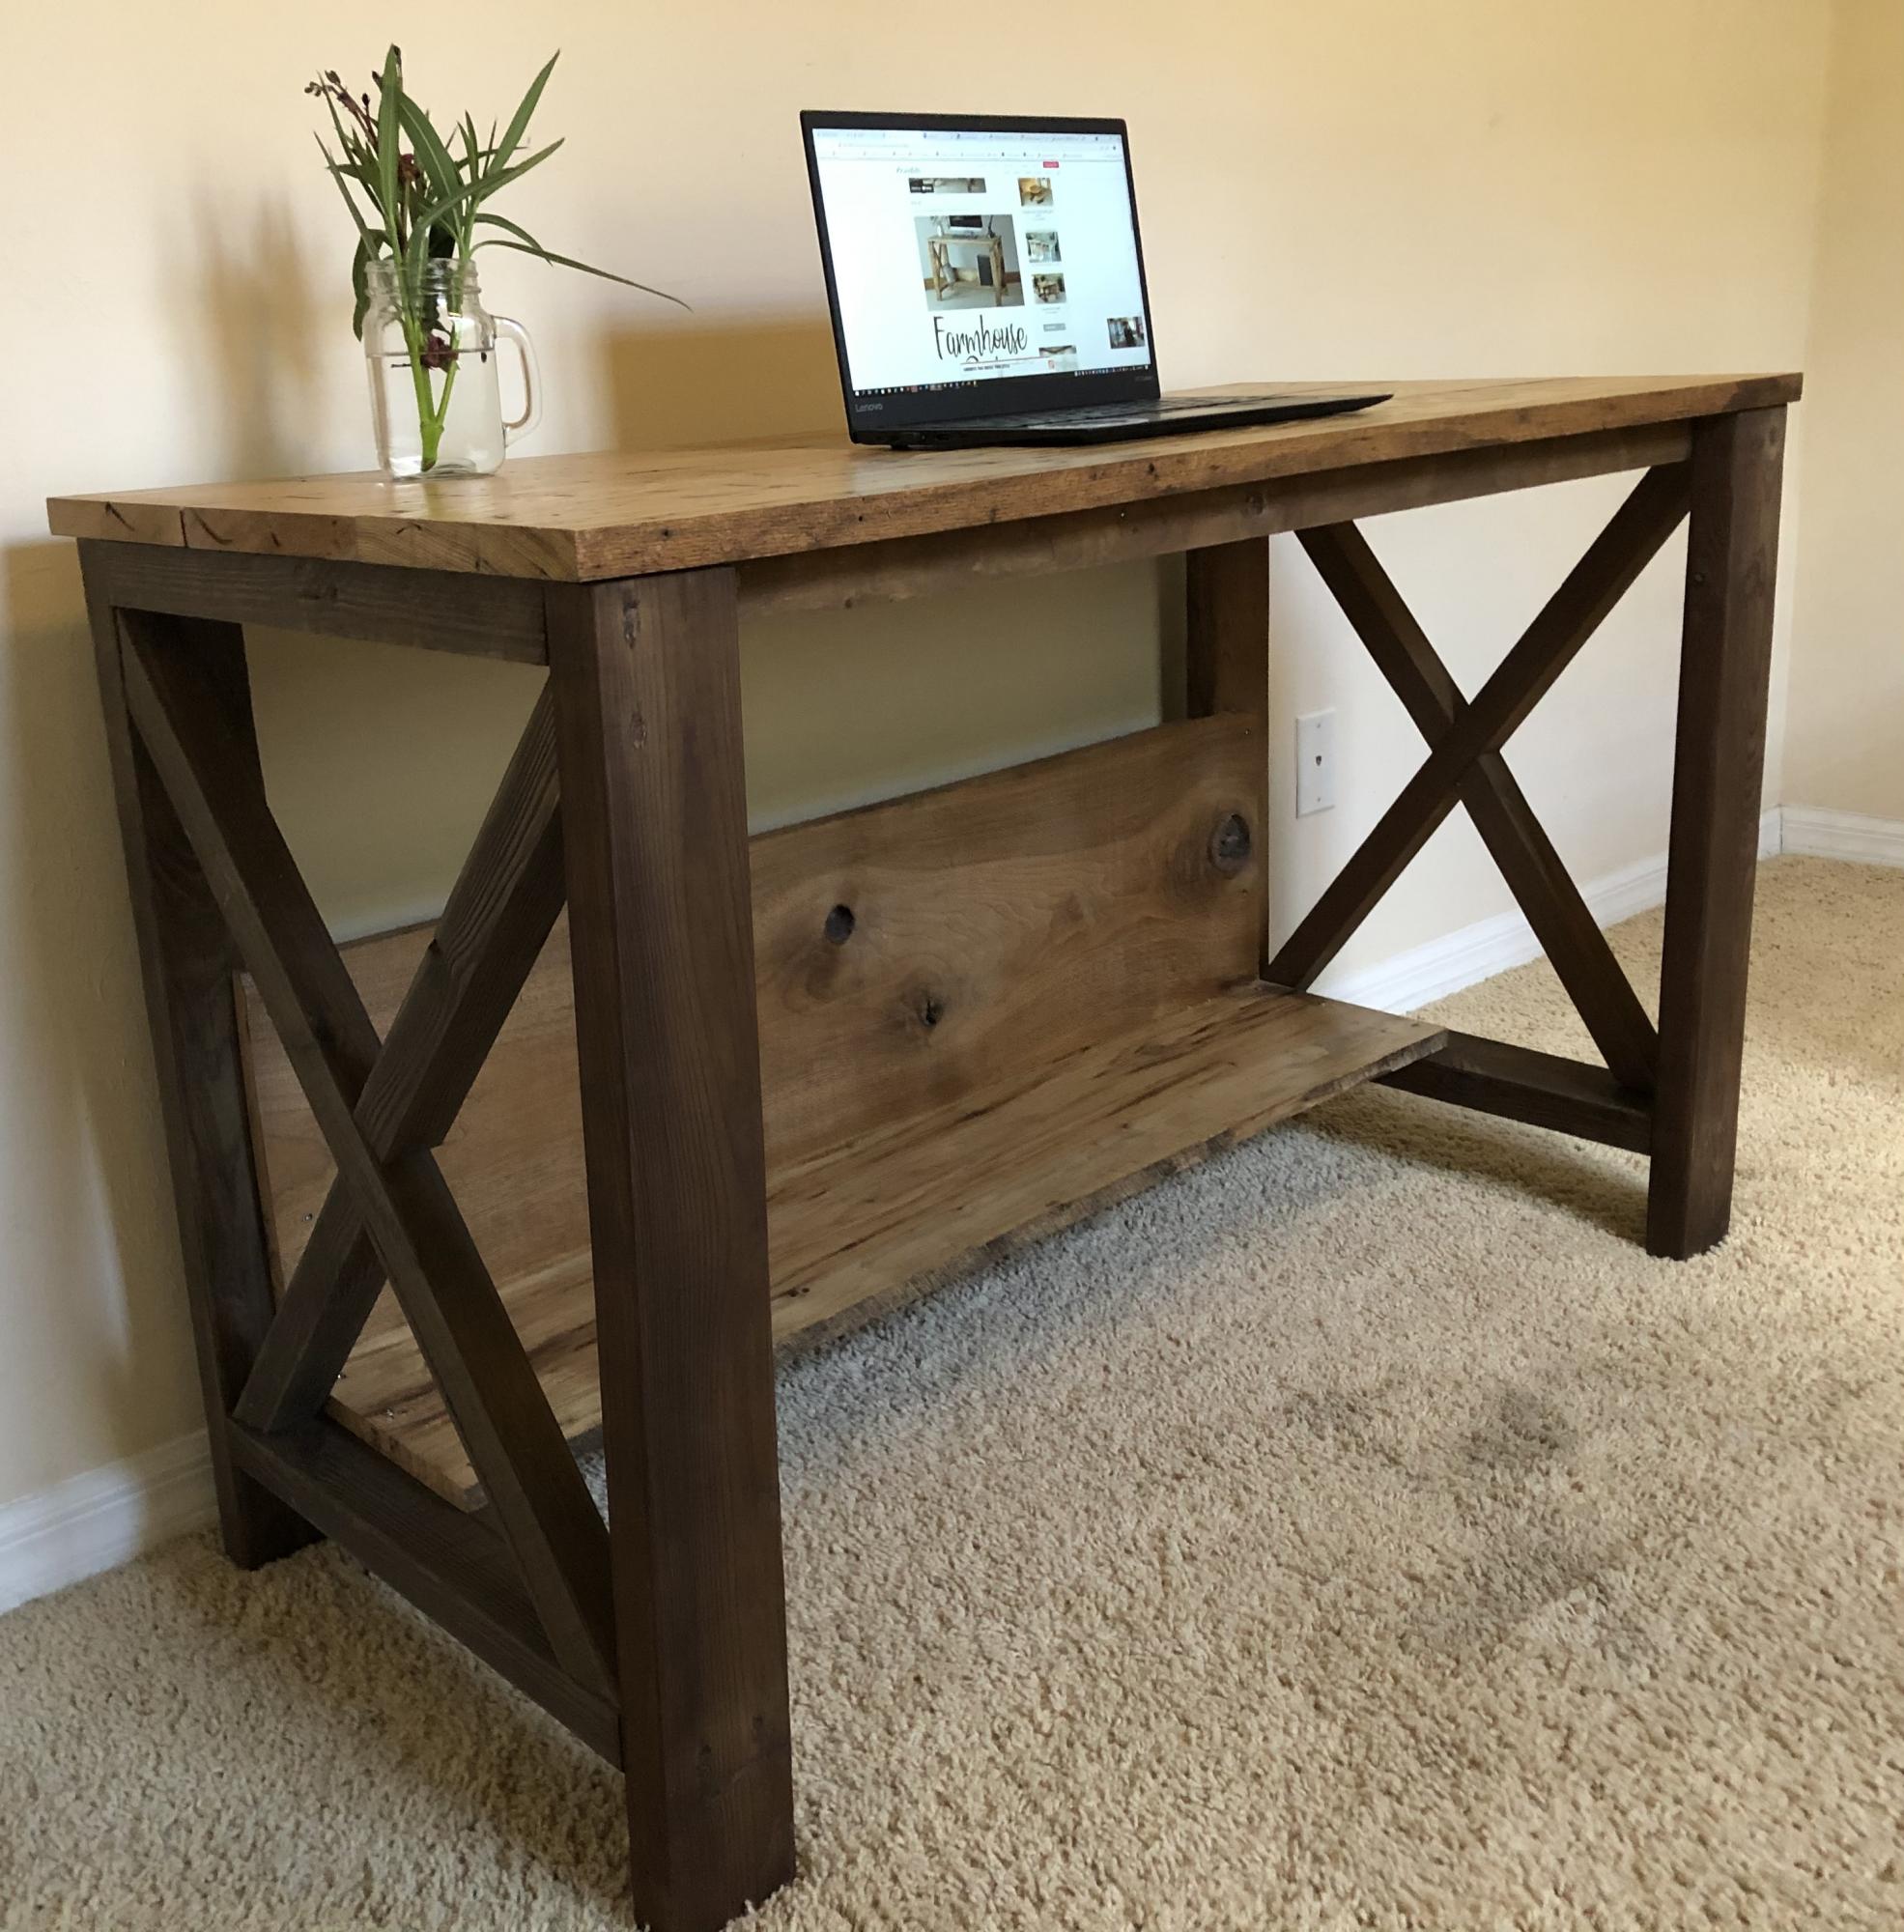
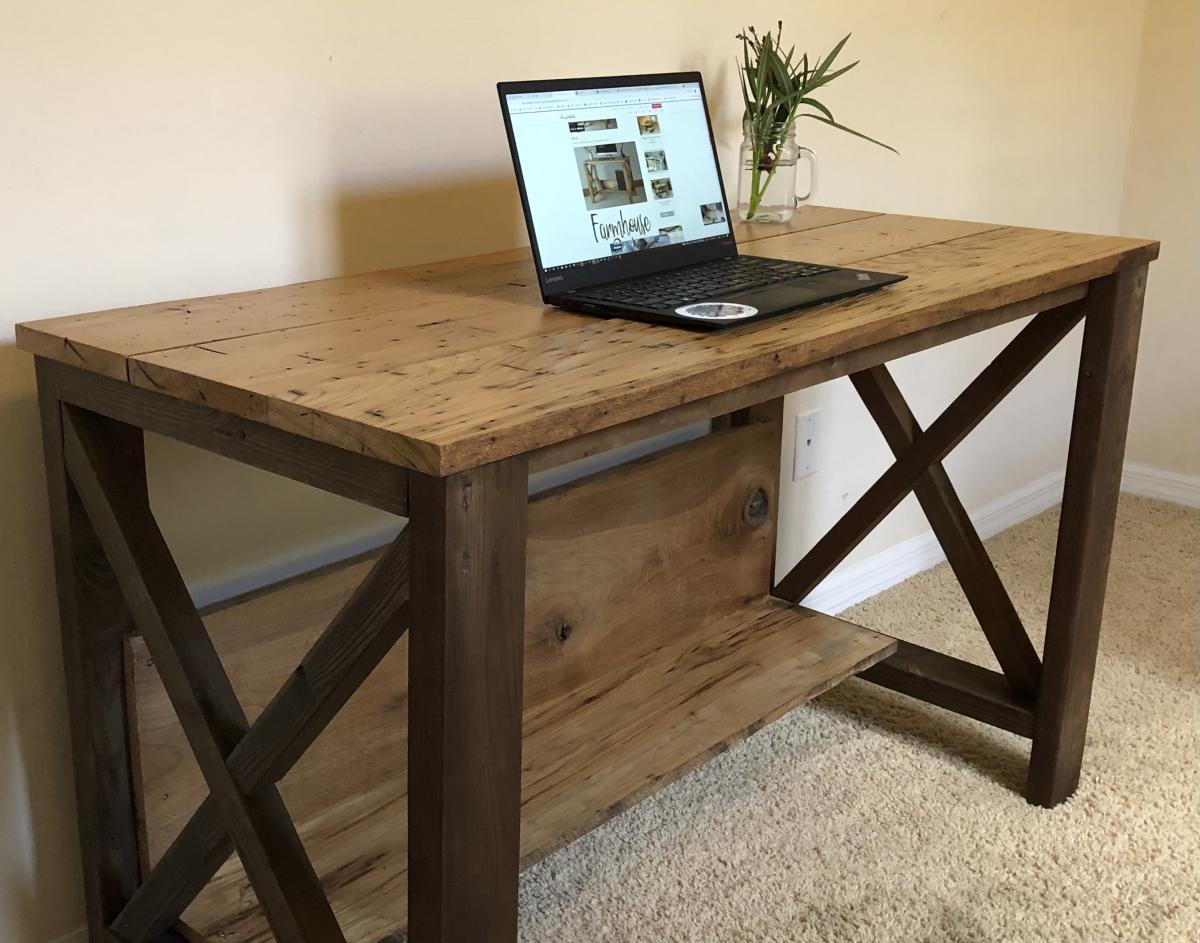
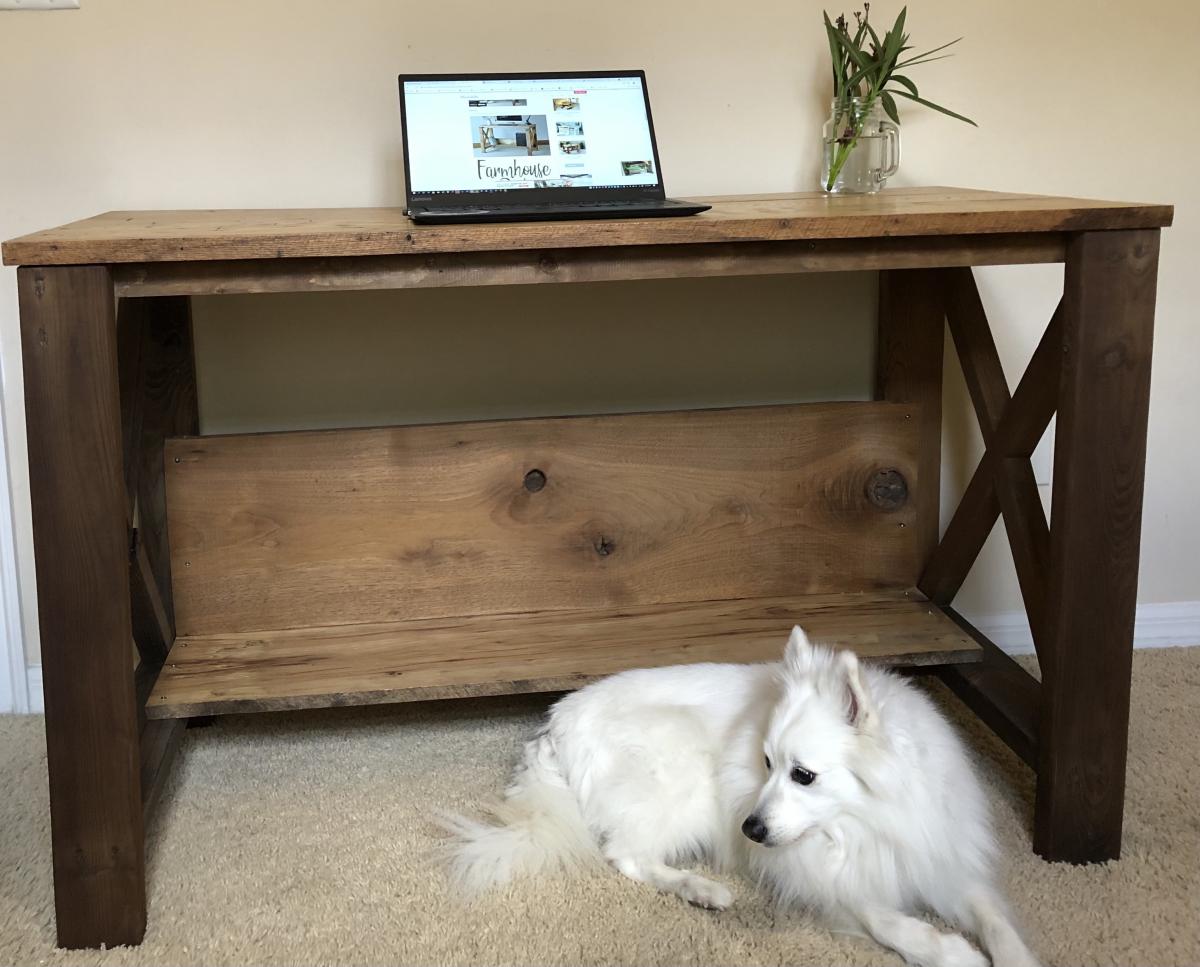
I just completed my first build (#AnaWhiteFarmhouseDesk). It has a ton of mistakes, but they are my mistakes to learn from.
1. Measure twice cut once not measure once cuss twice.
2. Cutting 2x4s in half does not make a store bought 2x2. Which is really 1 1/2 x 1 1/2. Who determined that we would measure wood (used in carpentry which requires very precise measurements) and just round up? Awwe, they'll figure it out!
3. Steelwool & vinegar stain with a black tea conditioner provide a beautiful aged wood appearance, but when using different types of wood it is nearly impossible to match (maybe even store bought stains are like that, too.)
4. When your 95 yr old grandfather (how freakin' cool is it that I have a 95 yr old grandfather... With a planer no less) tells you to catch the "wormy Chestnut planks" on the other side (okay... I'm bragging about getting my hands on wormy Chestnut for my desk top) remember to bring you own PPE because at 95 he doesn't require ear protection and doesn't give a frog's fat a$# if sawdust shoots in your eyes & nose... What's the problem???? He never had a new pair of shoes until he was in the military serving in world war 2 so what's a little sawdust?
5. Sometimes you just need to ask for help from your trusty uncle! Thanks to my uncle Nathan (Lord do I love this man!) I finally, with his help, completed the build by assembling the desk top yesterday. I was so afraid of screwing up my gold desk top (aka wormy Chestnut)
6. Mistakes... Do not fear them, but rather embrace them because that is life's playground where learning happens.
7. Learn from others. Thank you Ana White, Woodworking for beginners members FB group and YouTube!
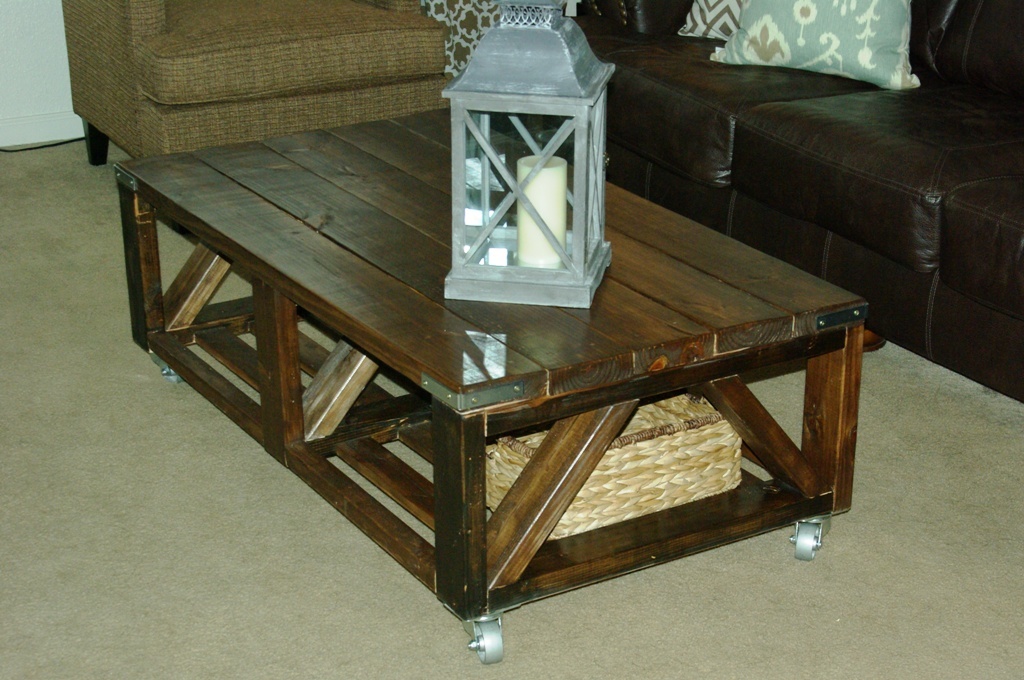
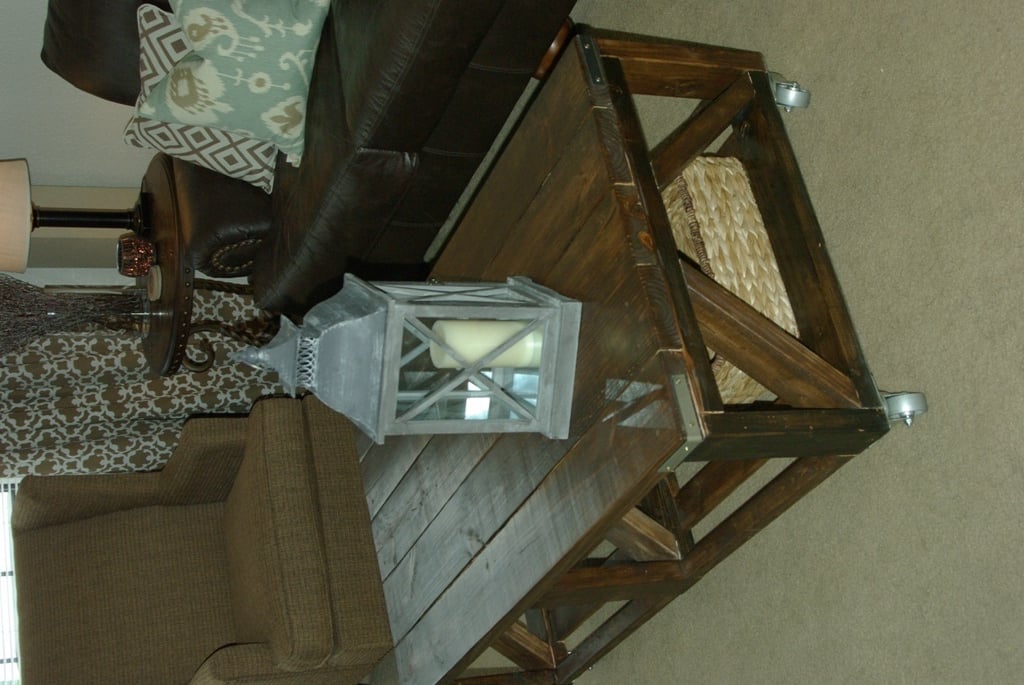
I used all metal casters on my table for a more industrial look! This table is huge so make sure you measure the room you are planning on putting it in! For more info & pics check out my blog: http://builditwithbrooke.blogspot.com/
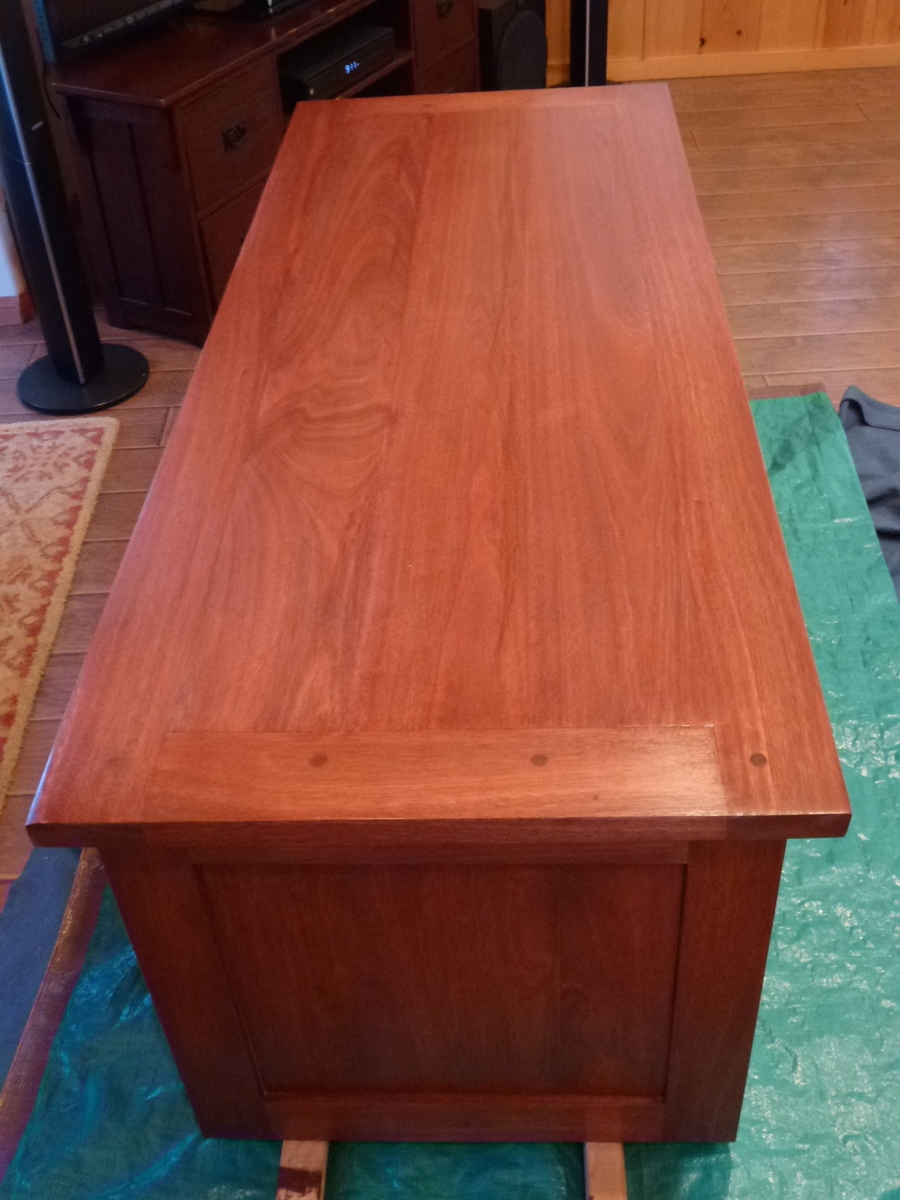
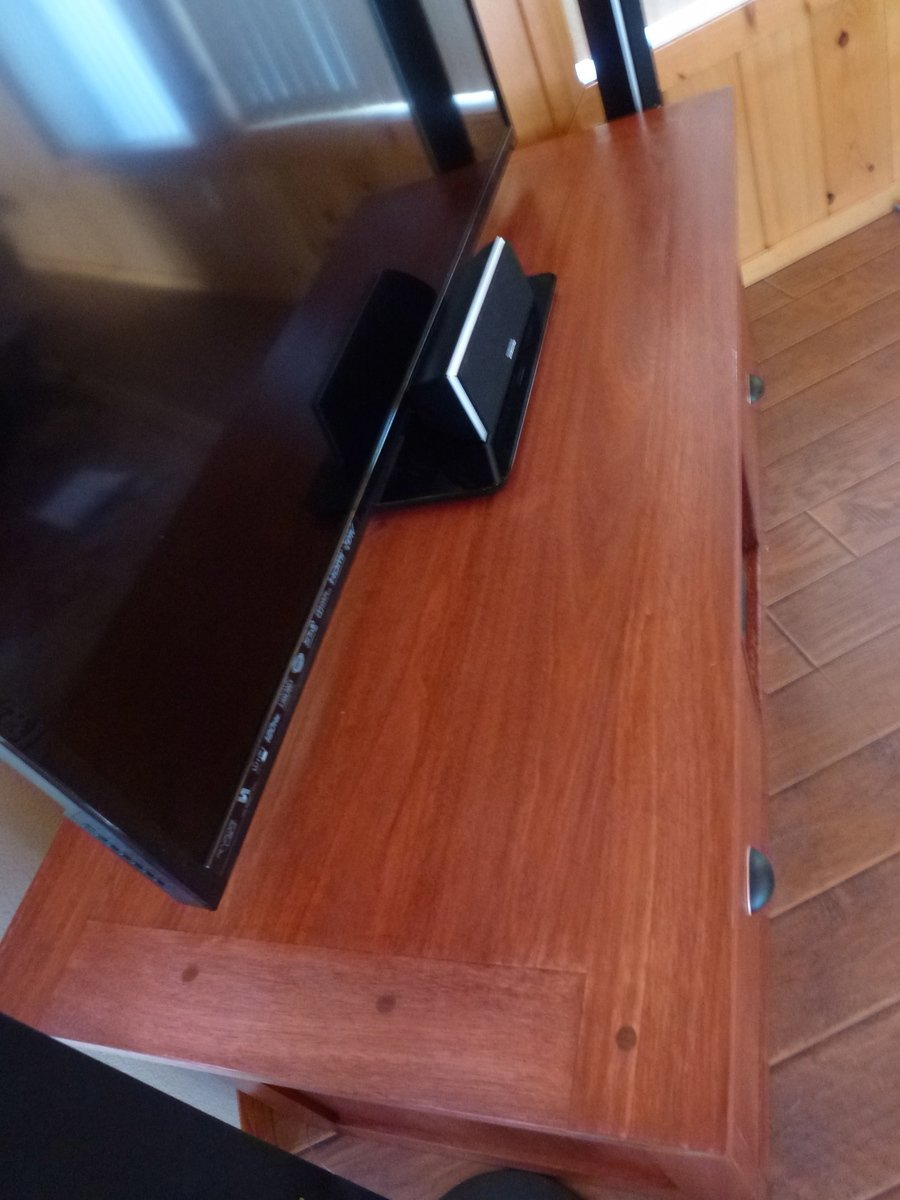
The design of our planked entertainment center is a compilation from various designs offered on Ana White; Planked Sideboard http://ana-white.com/node/4682 & Media Center http://ana-white.com/2012/04/plans/rebecca-media-center-console-piece. This is the 1st piece in our collection of 6 being made in the Farm House style for our Great Room and Dining Room. We considered this to be our “practice piece” in preparation for the remainder of the collection with many important lessons learned.
The wood used was Red Grandis, which is plantation Eucalyptus and has just recently been made available in the U.S. Red Grandis is being sold in California to replace Mahogany due to the environmentally unfriendly agriculture practices of many Mahogany producers. While highly recommended by our local hard-wood retailer, we were reticent as we couldn’t find much information about Red Grandis on the internet. And, while we don’t completely know how it will stand the test of time, we found it to be very user friendly, and it cut, machined, drilled & stained very well.
This was our first attempt at making drawers. While it took some re-cutting / re-routering, we are pleased with the final result and have gained some cautious confidence for the next pieces. We did learn, in our hands at least, that the Rockler 45° Lock Miter Router Bits provided a much more reproducible drawer corner than the Rockler Drawer Lock Router Bit - 1" Dia x 1/2" H x 1/2" Shank .
This was also the first time that we have used Miller Dowels and we were very impressed with their ease of use and outstanding fixation. Additionally, I called the Miller Dowel company a couple of times for information and found them to be very accommodating and informative. Based on our experience, we would recommend that you consider them for your next project. One tip that we learned along the way was to put shipping tape around ( 5”strip above, below and each side) the dowel before you cut off the tip as it, apparently, lubricates the flex saw and protects the finished surface from being damaged while removing the tip.
Mon, 02/16/2015 - 10:08
This is the first of six pieces that we plan to build using the planked/farmhouse style design.
Tue, 02/17/2015 - 14:27
Wow! This is really nice! I love the stain that you chose!

Ana,
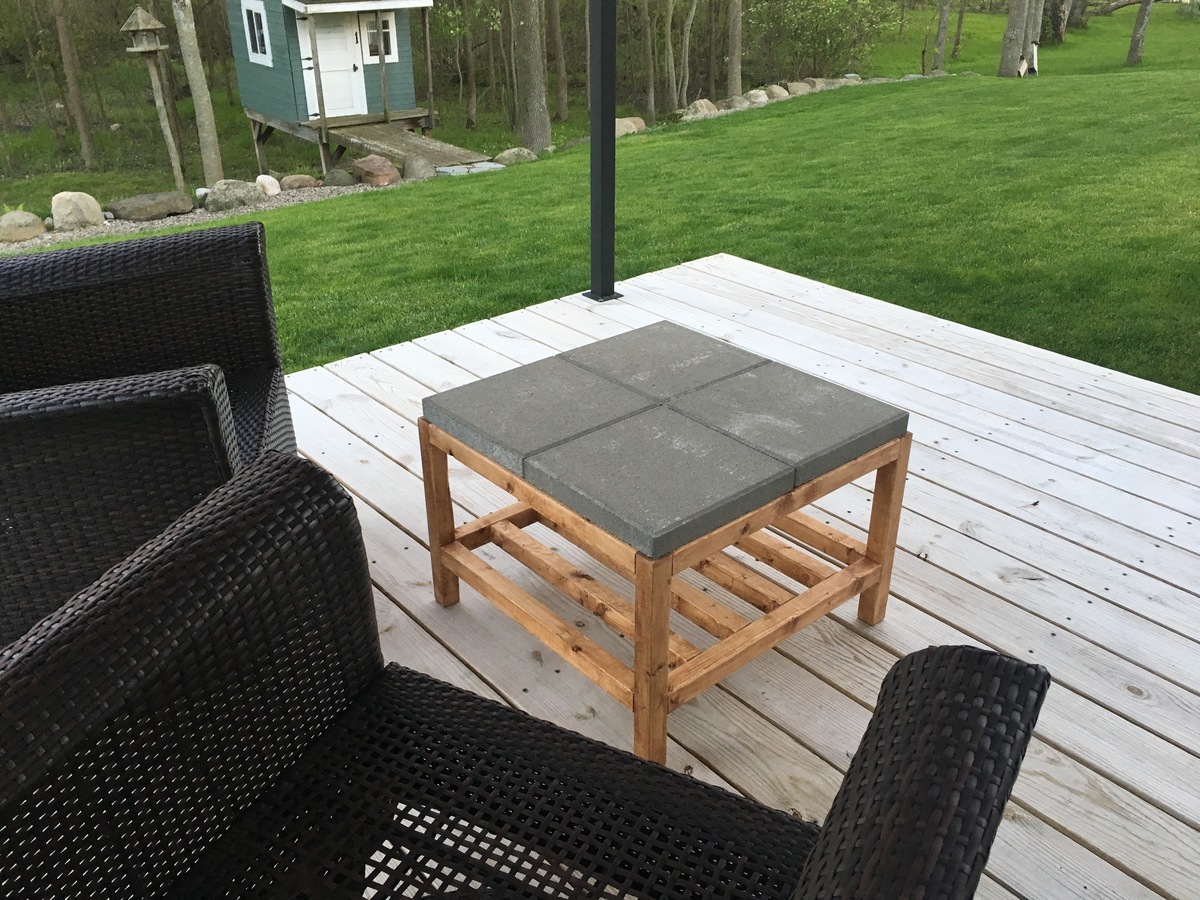
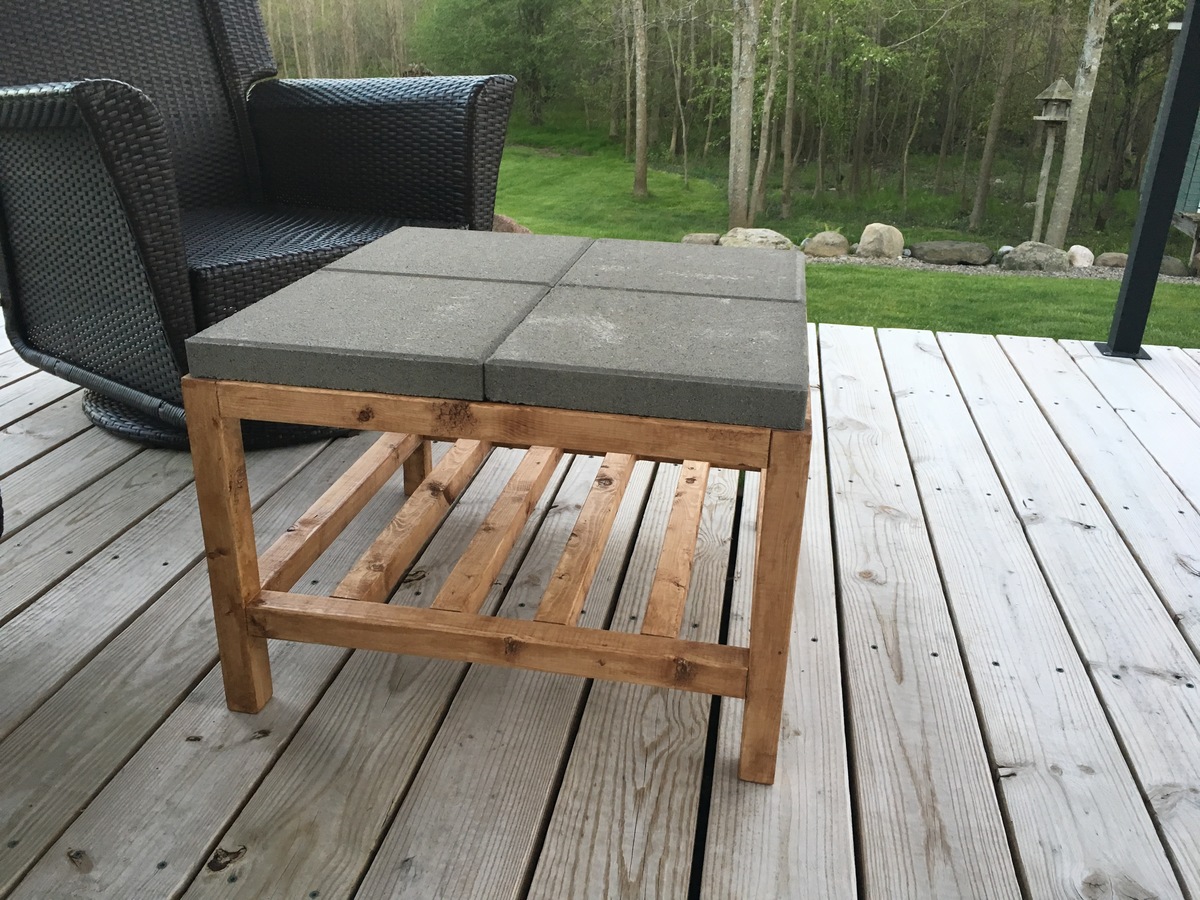
I was looking for a Mother's day project that I could build with my 14 year old son. When I saw your share on Pinterest, I figured this would be perfect. There were a limited number of pieces (in terms of sizes/lengths) and the construction was pretty basic.
We purchased our pavers at Lowe's and found that they only sold 11 7/8" pavers (after our build). However, the 1/4" reveal around the border of the pavers turned out to be a terrific little detail. You would think it was on purpose.
As always, keep up the great work and sharing.
WoodworkCity
Wed, 09/13/2017 - 07:12
Hi Ana,
Could you please tell me if you sealed the pavers.
Thanks so much for all the inspiration you have given me!!! I am going thru a very difficult time and don't see it getting better anytime soon, you helped me find myself and my passion. When I feel like I can't take another day, I go to your webisite and find one of your projects. Building gets my mind off of everything and a little break in all the worring. I just can't thank you enough!
Thank you Ana, Susan
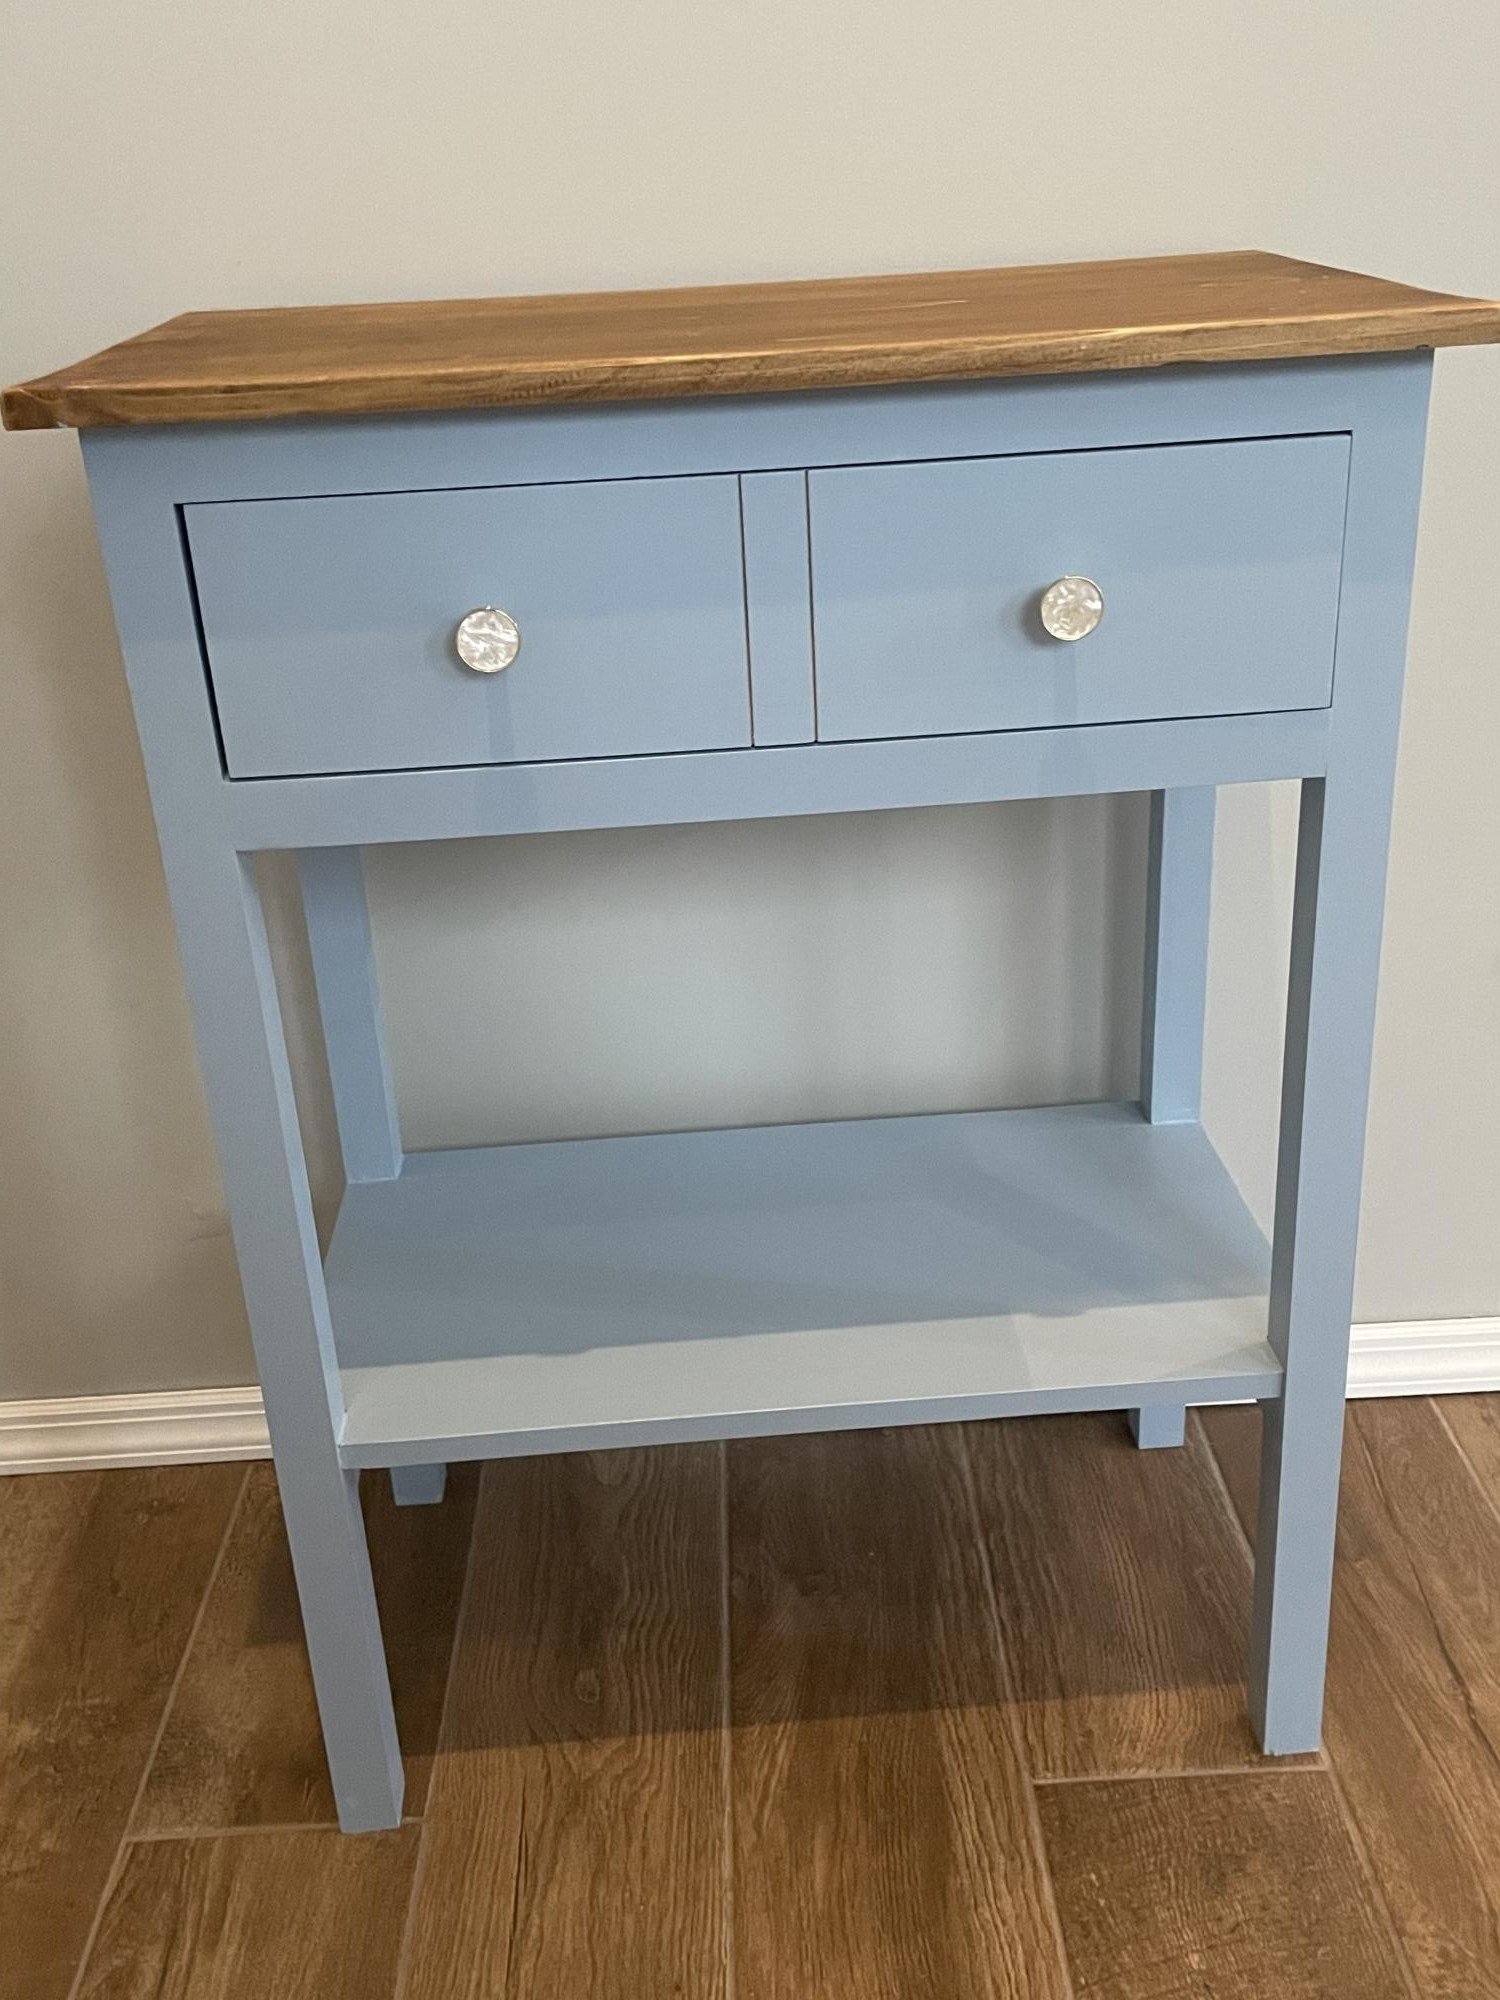
Adjust the height slightly. Easy to follow plans, quick project.
Fri, 05/28/2021 - 10:44
Love the hardware and two tone finish! Thank you for sharing:)

I built this play workbench for my son's 2nd birthday present. He (and his big sister) couldn't be more thrilled with it! It was built in one evening after the kids went to bed. Only the pegboard and top piece were attached the morning after because of the paint of course. Now my big man can work next to me in the garage all spring and summer long.
I linked a blog below which was my model of inspiration for this project but I modified it to suit the size we wanted. I used premium pine studs (3 1/2" x 1 1/2") that had a beautiful natural red hue to them and a 18" x 24" cut piece of plywood pegboard which was painted with some spare blue paint. 2 1/2" deck screws were used for all attachments and drilled flush with intention of being exposed for a rugged look. The bench measures 24" wide, 17" deep, 41.5" tall from the back with a 19.5" tall countertop.
My wife and I had a lot of fun getting creative with what to add to it.


I couldn't find a kitchen hutch to fit my space/needs so I modified this bedside table plan. I widened it 3 inches then extended it up! Now I have room for all my cook books! I love it!
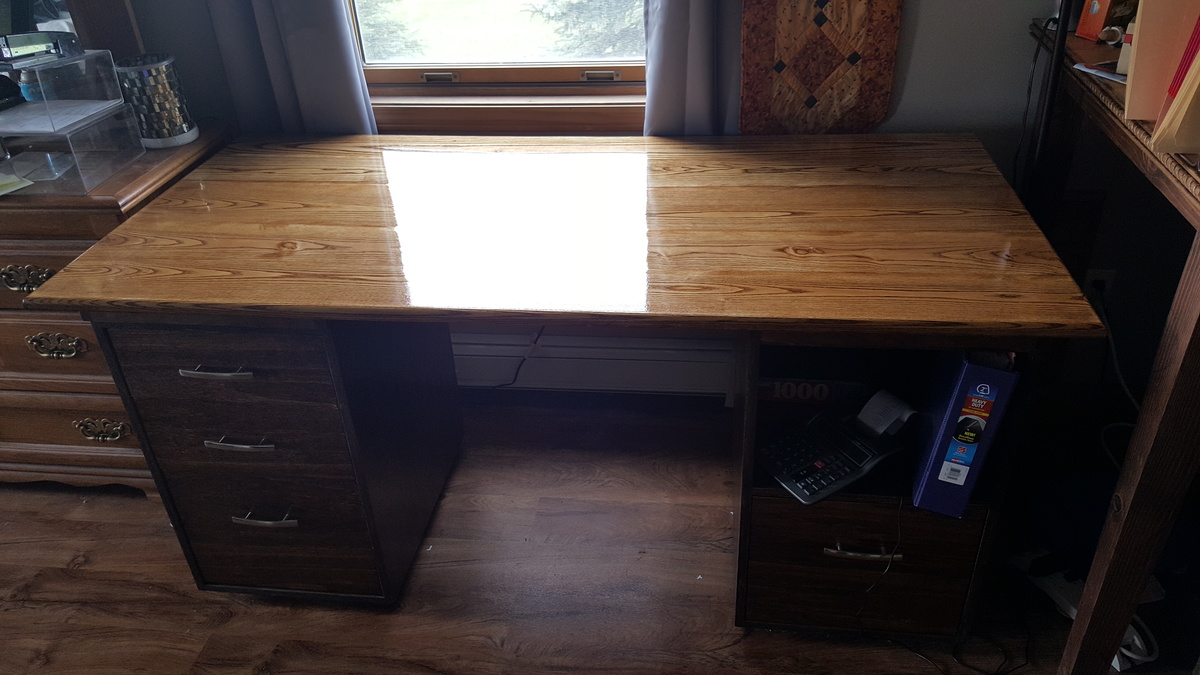
Thank you Ana for all of your woodworking plans. I have made several now and this desk is my latest. I stuck with the plywood for the file cabinets and went with an ash top panel made from 8" wide boards in order to practice some jointing and planing. The stain is minwax honey finished with 7 coats of poly. Again, thank you.
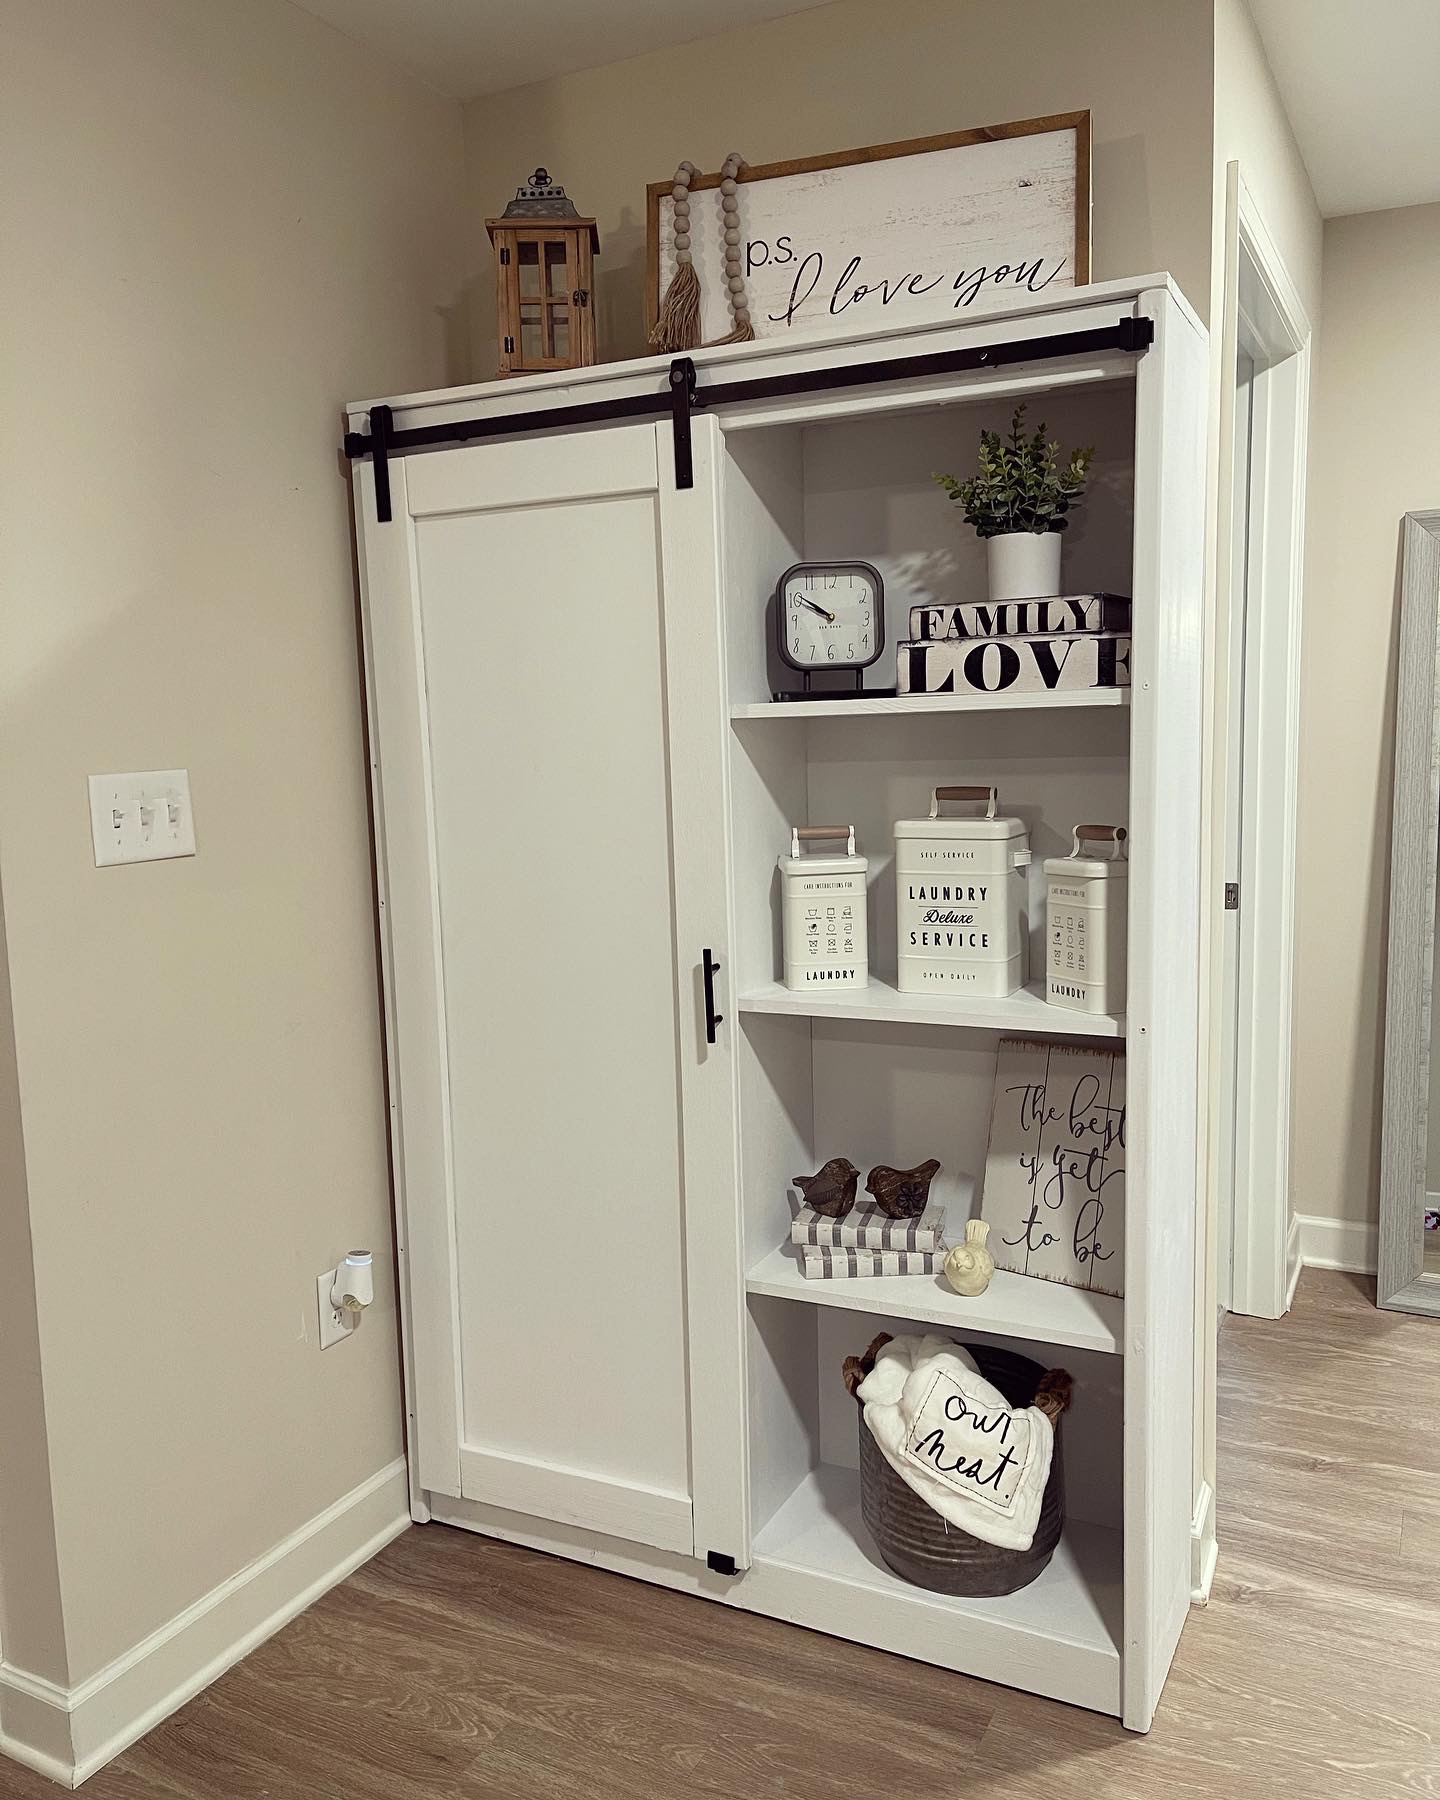
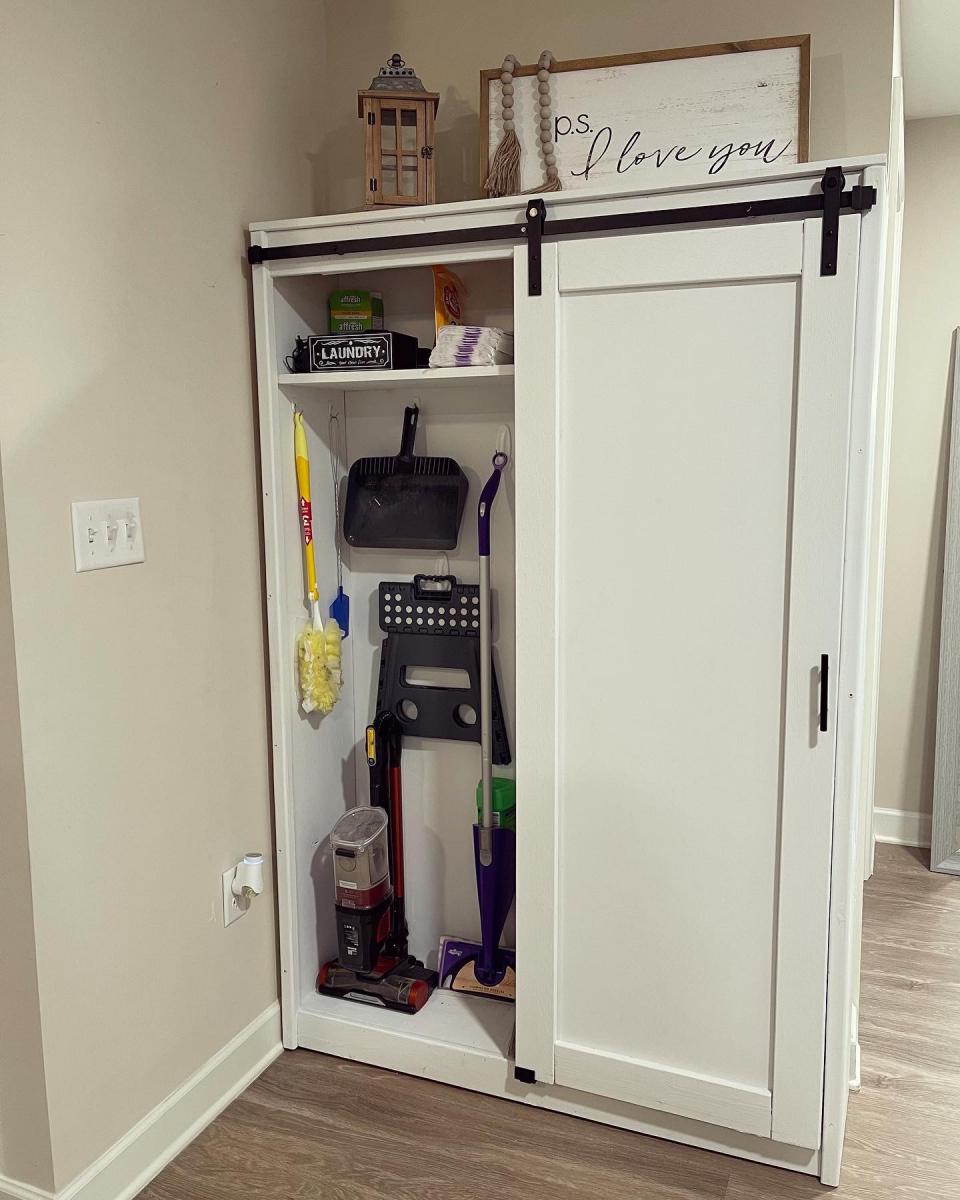
We mainly followed the plan but made some adjustments because we wanted the “ugly” side to be able to house brooms and mops and we cut the width down just a tad. We absolutely love how it turned out!! And we definitely needed this in our space!
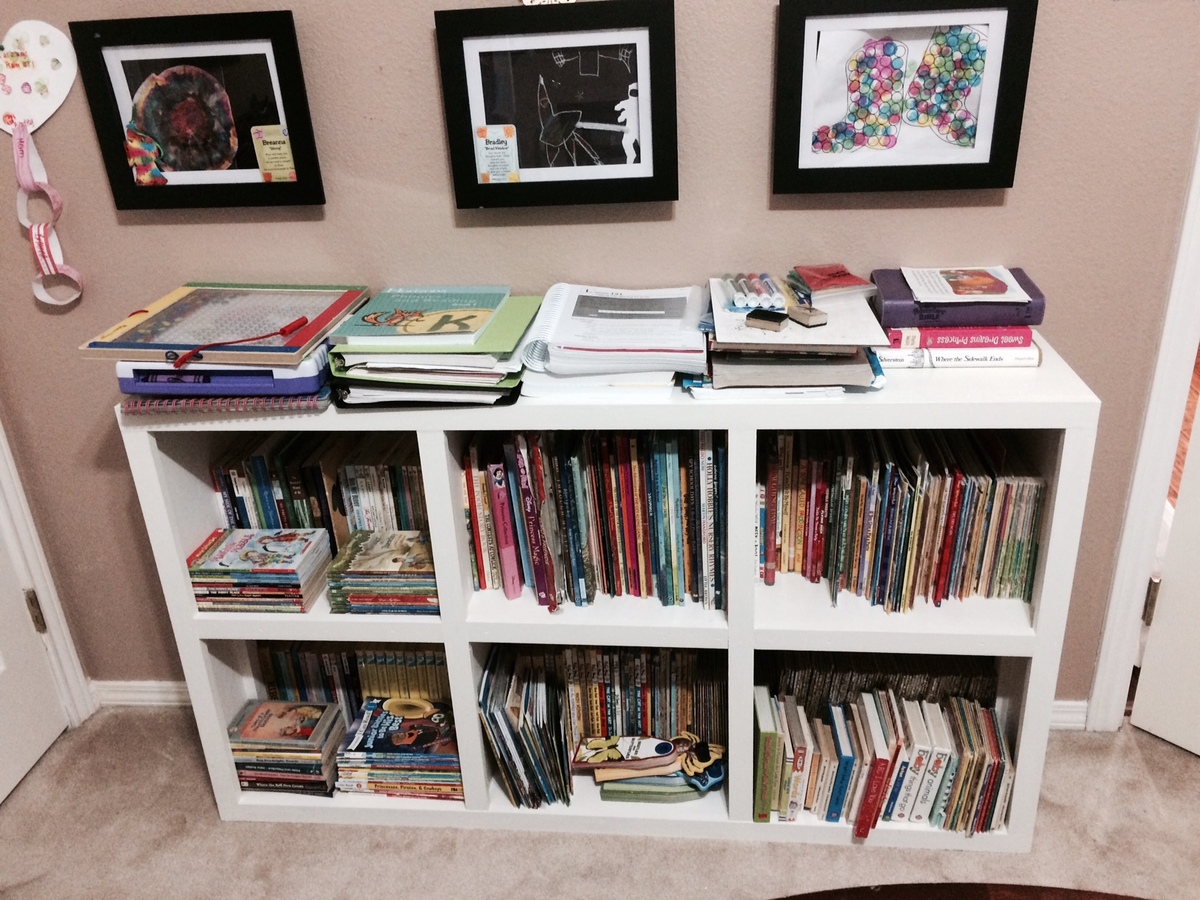
Very quick and easy project. Used the plans but adjusted the width and used pocket hole screws. We made ours 54" wide. After building the entire box and horizontal shelves with pocket holes you can secure the vertical pieces with brad nails. Start with the top row first and you can secure all of those with brad nails. Then use pocket holes on the top of the bottom vertical pieces because it won't really show. You won't be able to nail it since the top vertical piece will be in the way.
I put some extra 1x2 scrap pieces on the bottom of the shelves for extra support but it would probably be fine without it. We just knew we were going to be loading this thing up and wanted it to last forever and it's not visible anyways.

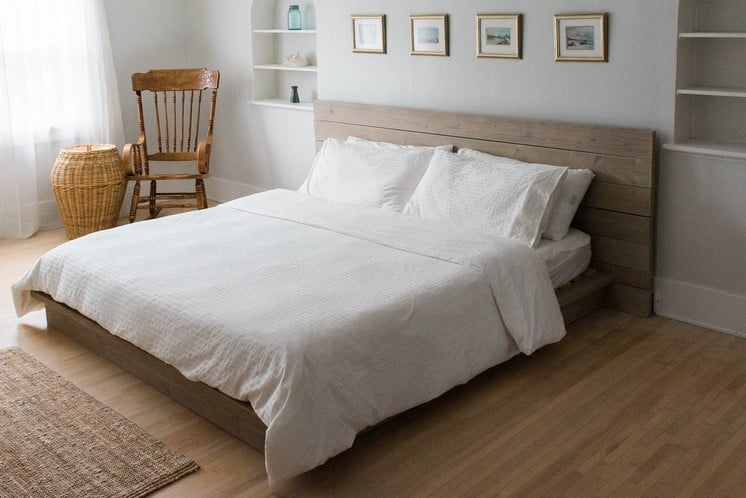
We loved this bed much! And others loved it so much that the people who purchased our home requested to keep the bed frame as well. I guess we'll be building it again. We used a vinegar/steel wool solution to oxidize the wood and then sealed it with a natural finish (rubio-monocoat 'cotton white'). Thank you for these plans!
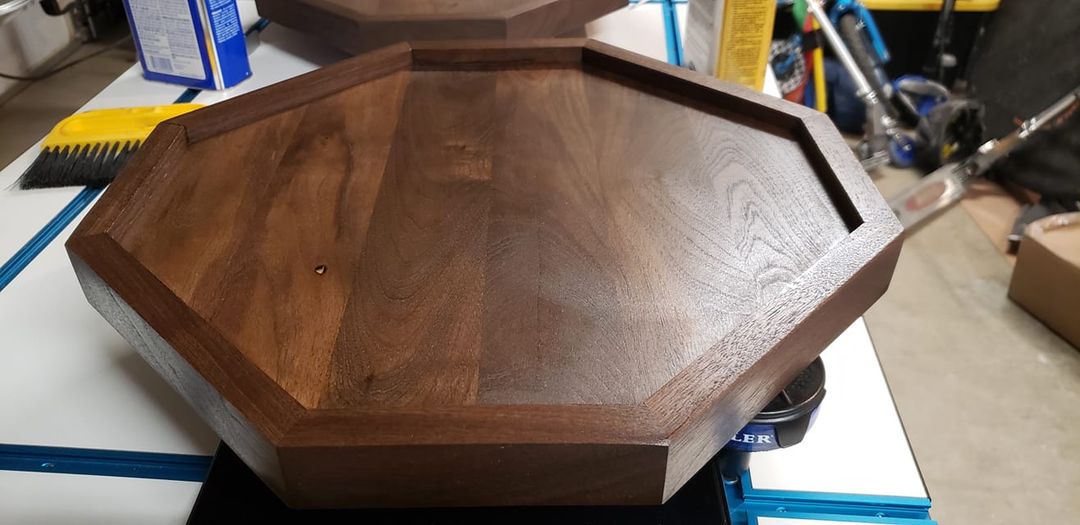
1st time working in walnut, 1st time using my miter saw for more than 90 degree cuts!
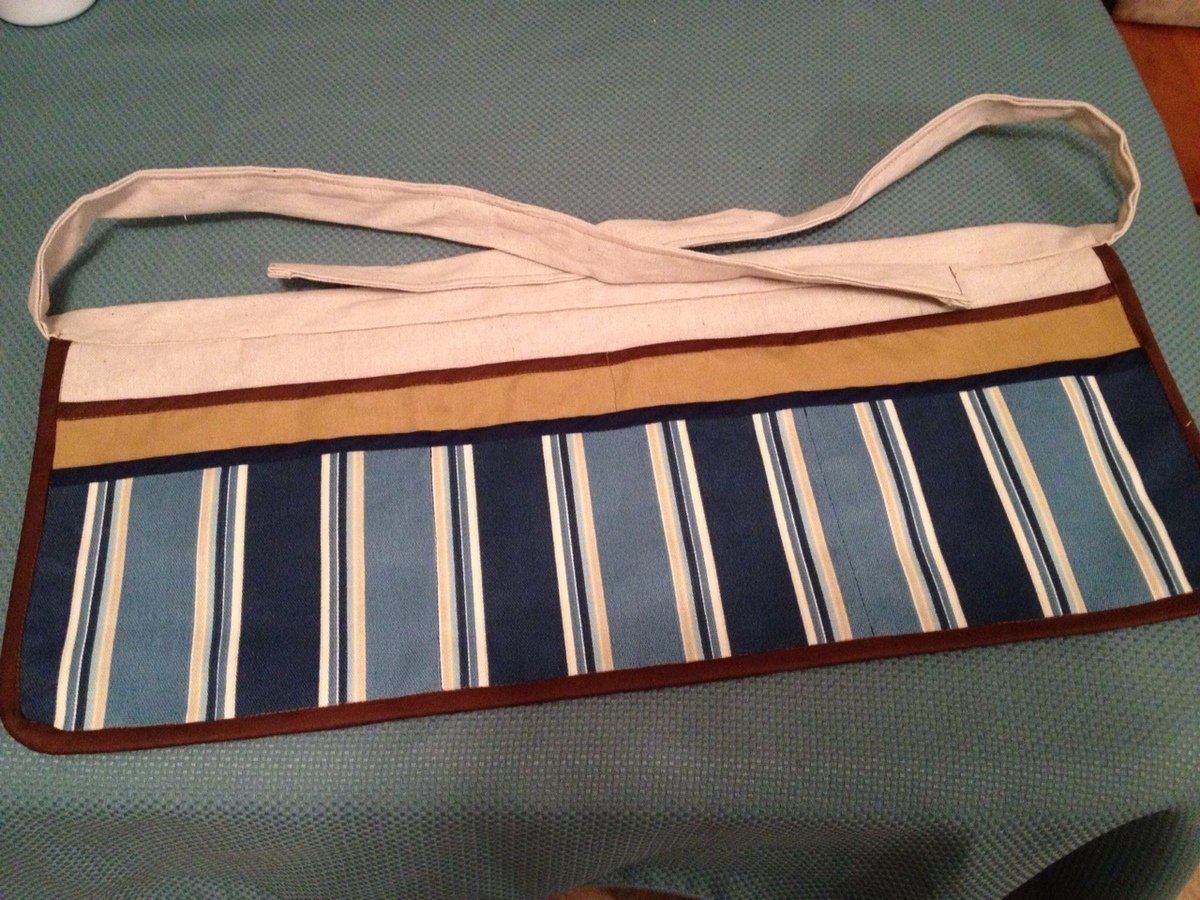
I belong to a crafters group that had an evening workshop to make garden and workshop aprons. I chose this one from Ana White because it had exactly what I needed (namely big pockets and not too long).
I used outdoor fabric for the striped and solid brown pockets, bias tape (purchased at the local craft store) and a regular drop cloth from the hardware store. I was hesitant that this apron might not hold up to tools, nails, etc. but once I finished it, I think it will work great because the pockets are lines with the drop cloth fabric. The apron came out very sturdy feeling.
The project itself is pretty easy. The only hiccup you might have is if you've never applied trim/bias tape to a project before. That isn't hard either but you may want to look at a Youtube video or two on how to apply bias tape (trim) before starting. I bought my bias tape ready made at the craft store. It will be in the sewing notions section by the thread usually. I used the double fold version of bias tape because I think it's easier to use.
Hello Everyone! This is my FIRST brag post here on Ana-White.com - but not the first project that we've built from her awesome plans. :)
We have an unfinished basement that desperately needed some shelving because 1. It's our workshop in the Winter and 2. We don't have an official 'storage' room in the basement of our split level home. When I saw these plans I immediately thought they could be modified to fit our space and get my stuff off the floor!
I modified the plans just enough to fit our space. After reading through them completely, I realized for an 8 ft wide space (beside the stairs) I only needed three supports for the shelves. Easy! The only trick was fitting the shelf into the space AFTER installing the shelves. Because I had walls on two sides (unlike the tutorial) I couldn't do the shelves as the last step.
I LOVE how these turned out! They are a strong as a ladder (we tested them... :)) and they hold everything I need them to, and a little bit more. It's a definite improvement on my previously messy, cluttered, saw-dust covered space ... :)
Comments
stemar61
Sat, 11/02/2013 - 12:37
Hayrake plan?
I would love to build a hayrake style table like this. Are there any plans available?
In reply to Hayrake plan? by stemar61
Jake
Sat, 11/02/2013 - 14:21
Hayrake Table Plans
I did not have any plans. Just built by feel. However go to this link
http://www.thedesignconfidential.com/2013/03/coffee-or-game-table-hayra…
where I have posted much more detail on my building process including some extra pictures. Interesting build. Good luck and post your results when finished.