Two-Toned shabby chic 4X4 Truss dining Table and Benches
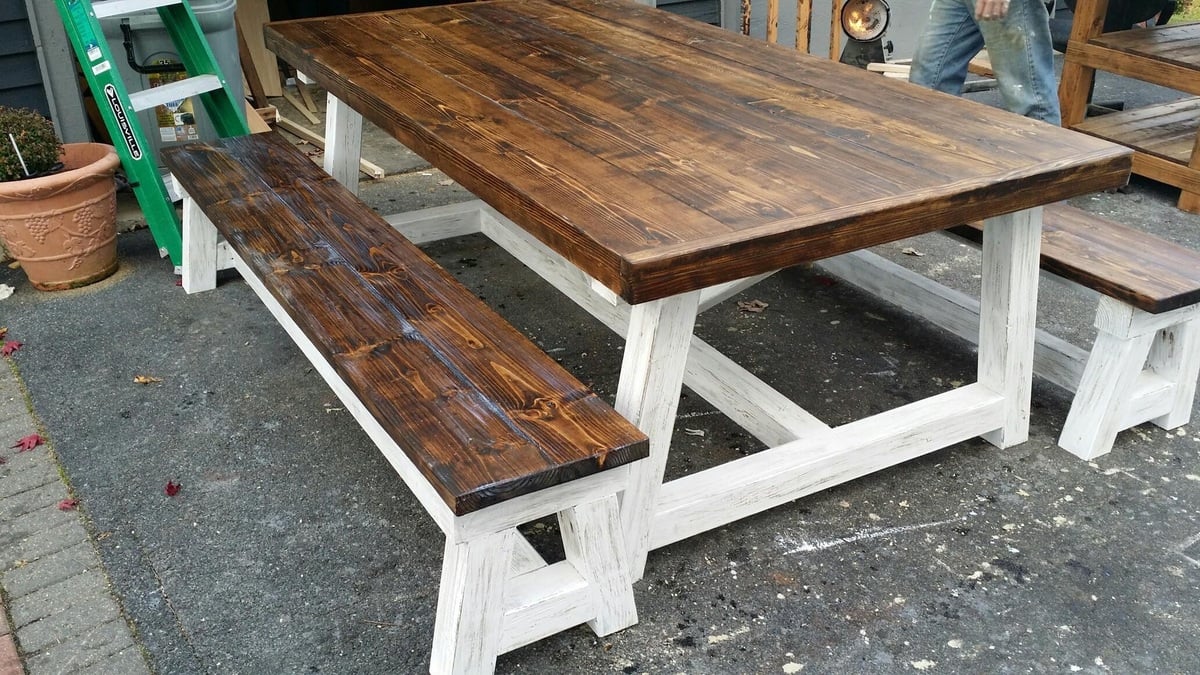
4c4 truss with dark walnut top 4" thick, base stained dark walnut with white wash and shabby etching.
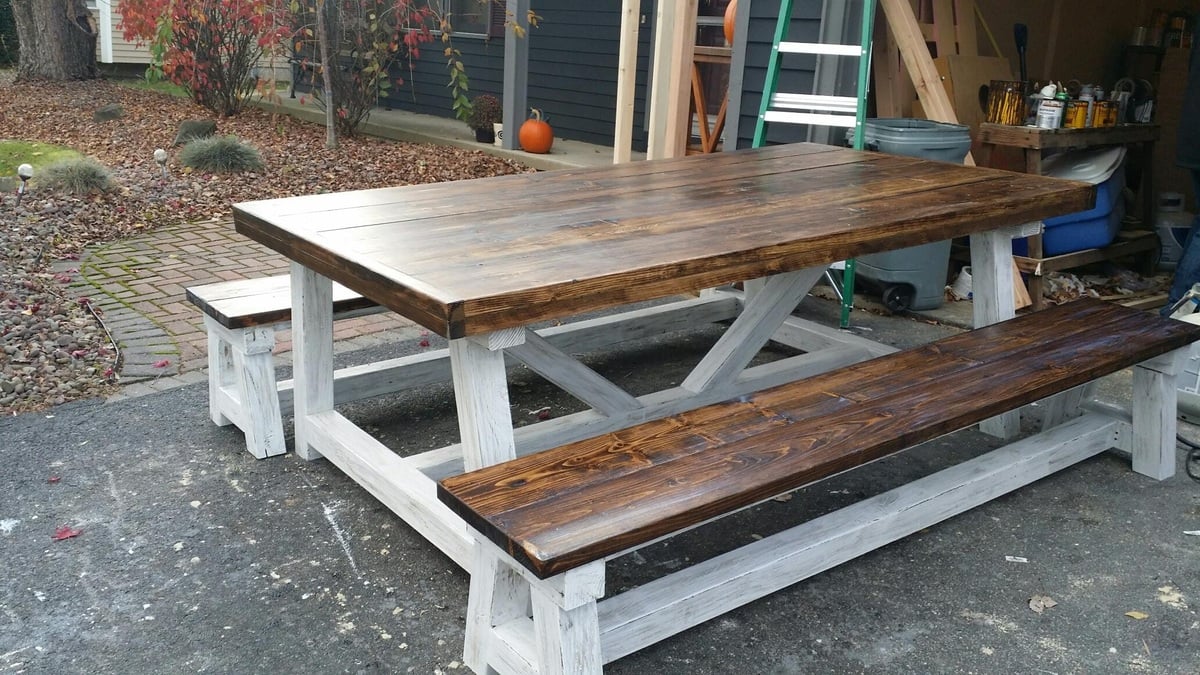
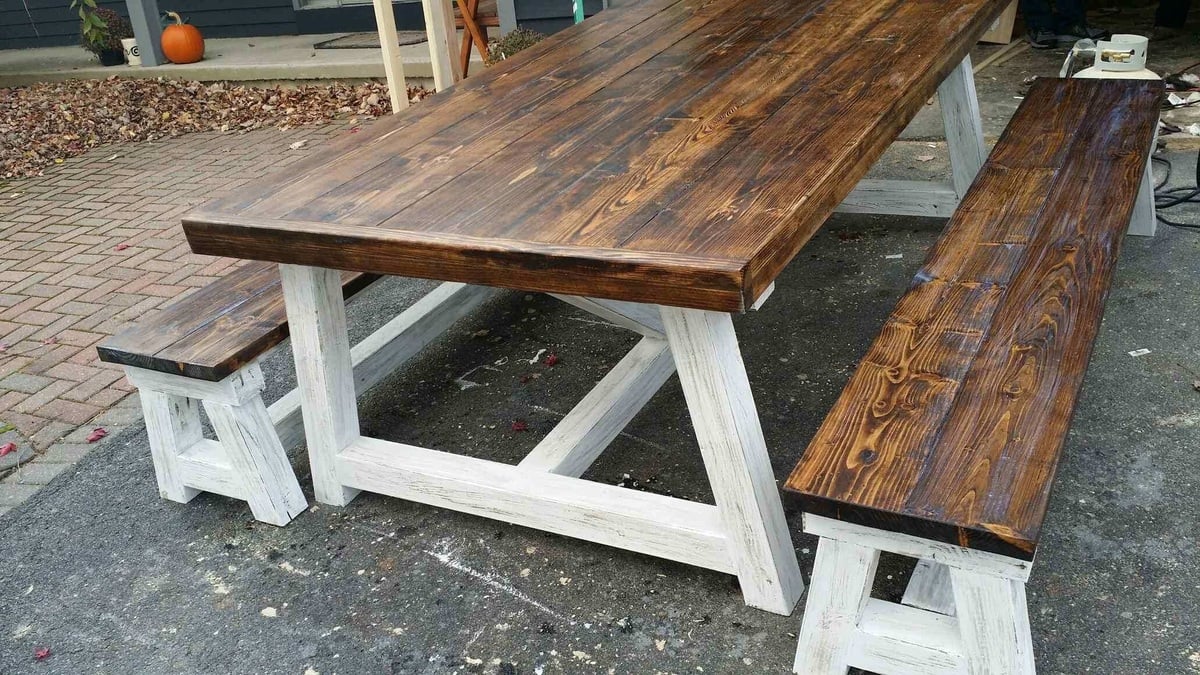

4c4 truss with dark walnut top 4" thick, base stained dark walnut with white wash and shabby etching.


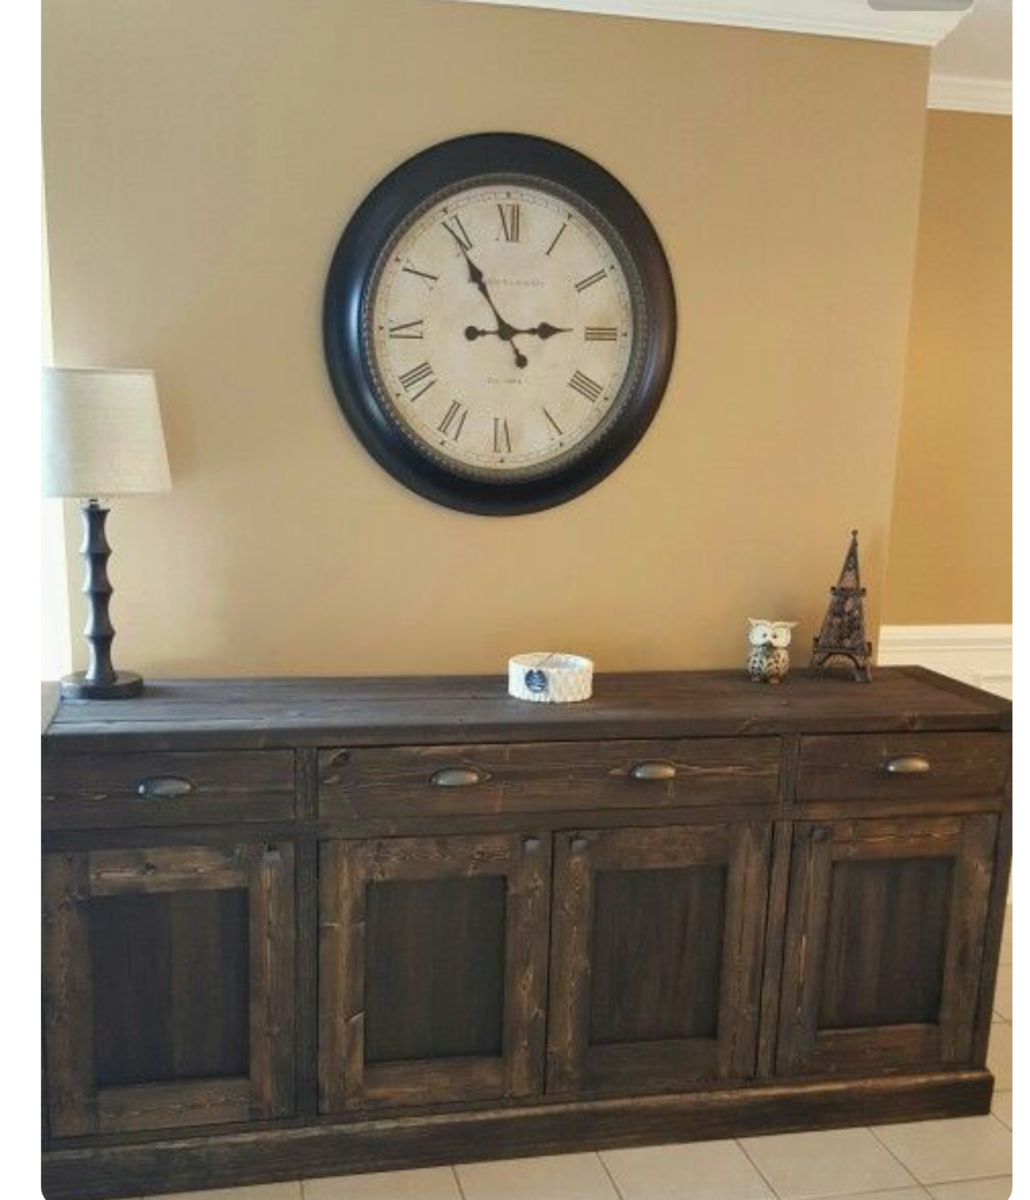
My husband built this buffet table as a mother's day gift, for me. It matches my farmhouse dinning table, that he also made from Ann white's plans. He Installed soft closing drawers. It took him about 17 hours.

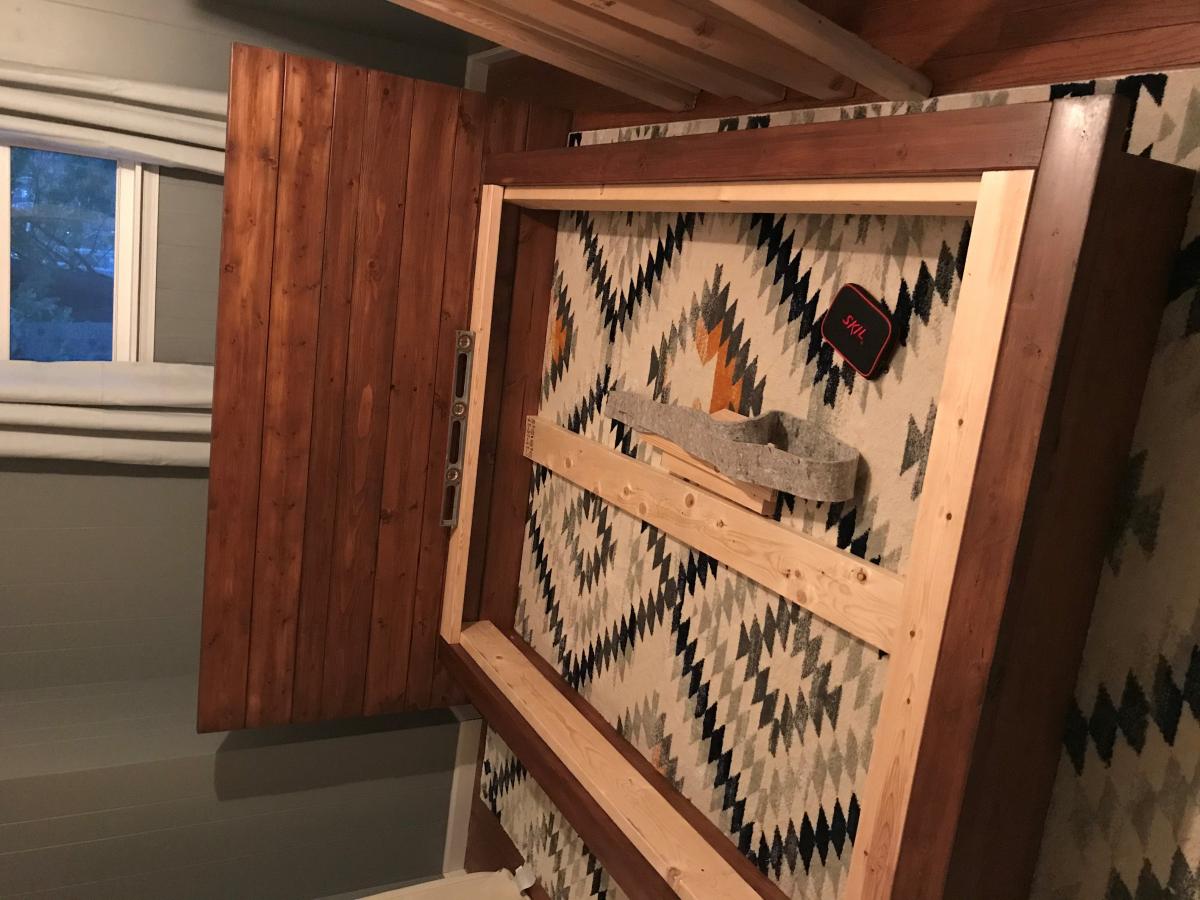
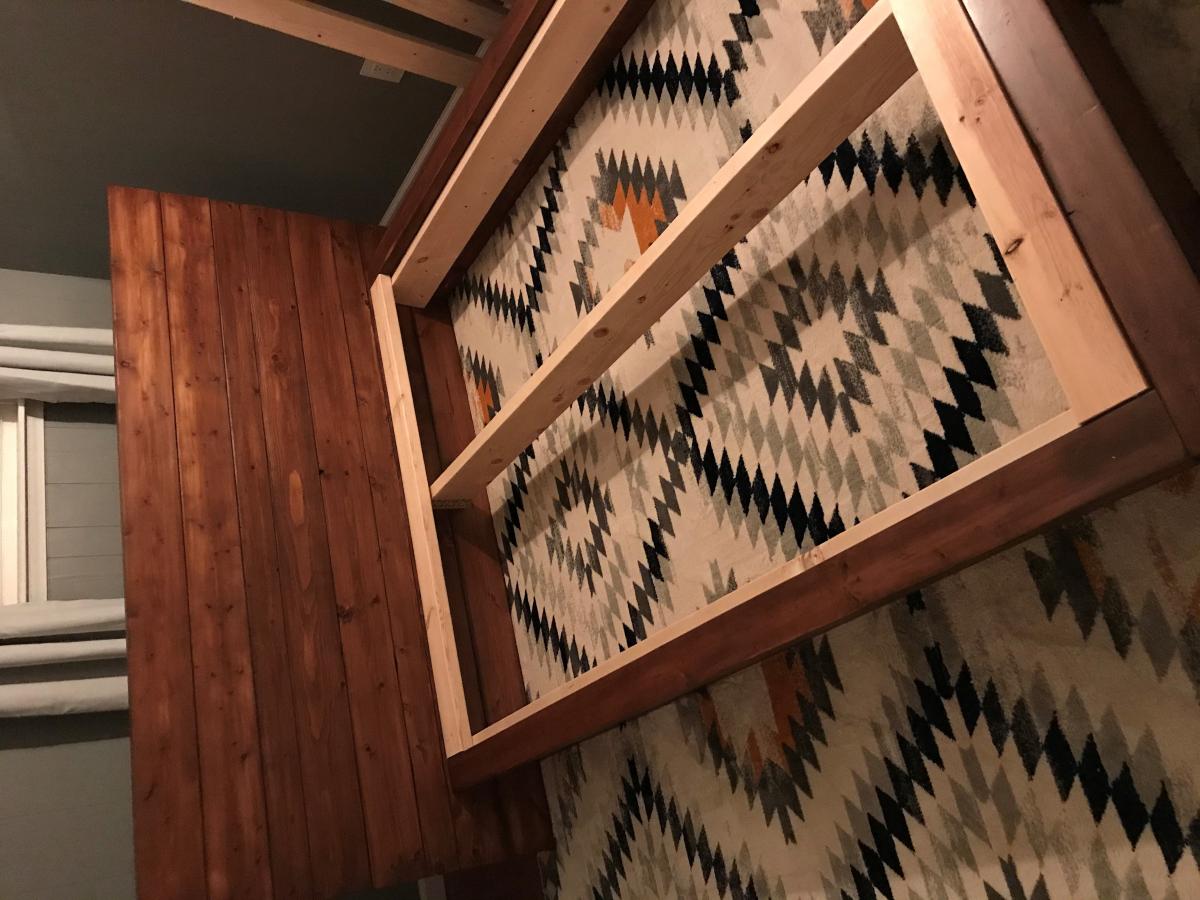
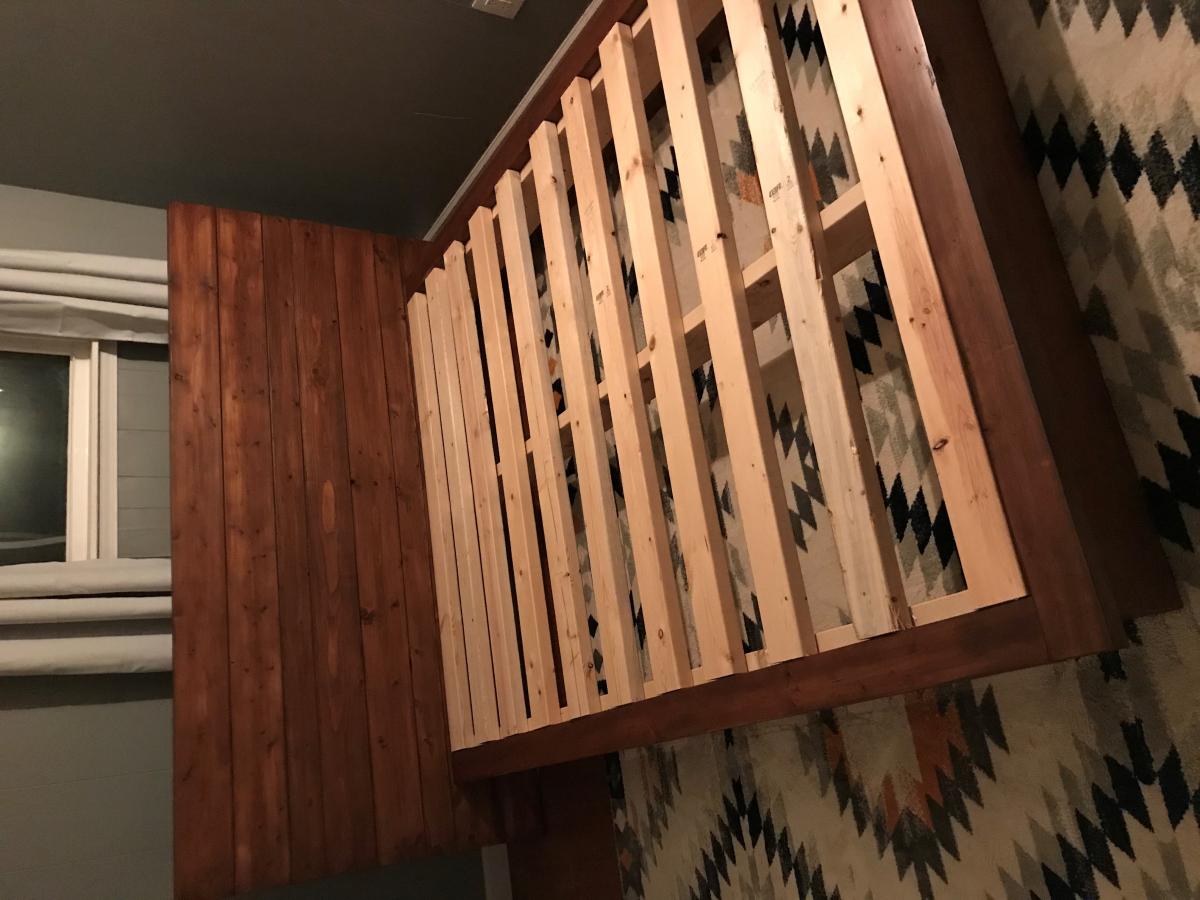
I built a modified version of the rustic modern 2x6 platform bed. I used 2x10s (instead of 2x6s) for the sides and feet to raise it up a little. I also added another 2x6 to the headboard to make it taller. If I had it to do over again, I'd probably use 1x for the headboard as it's incredibly heavy. The entire bed is immoveable without being deconstructed so it's going to be a challenge when I move. Overall, I'm really pleased with the result.
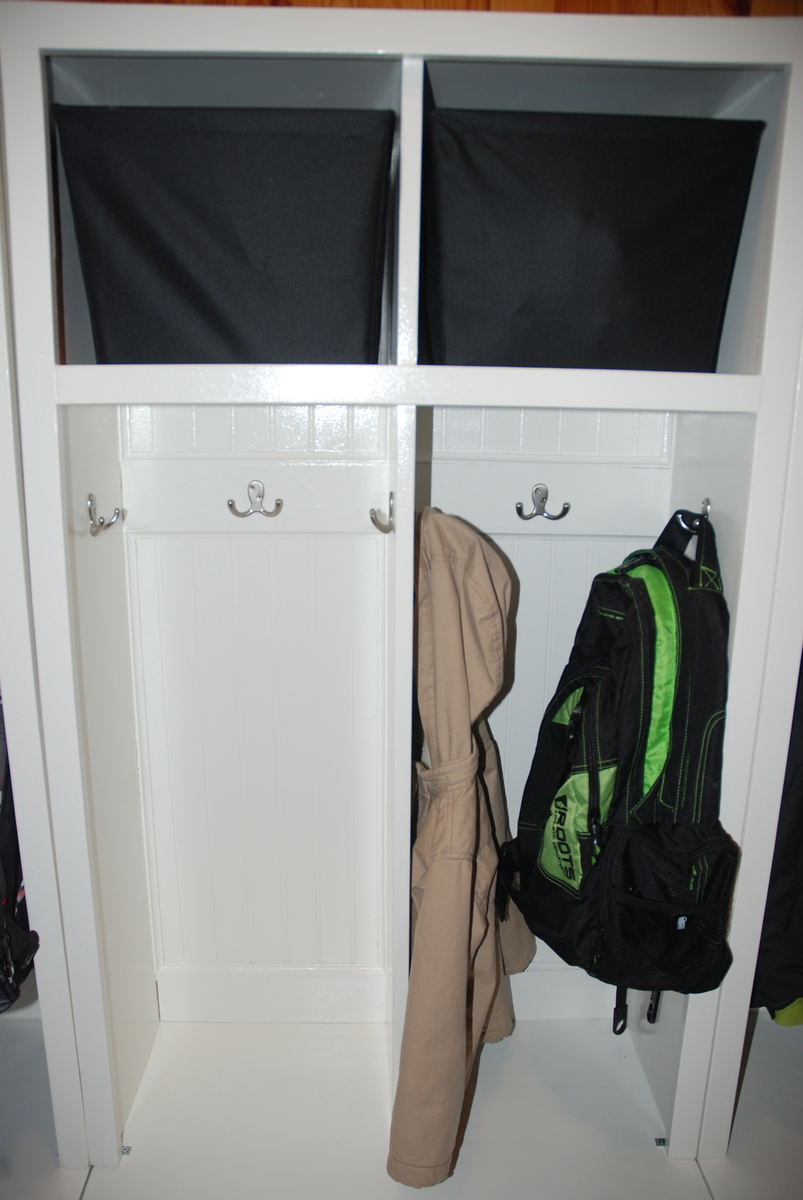
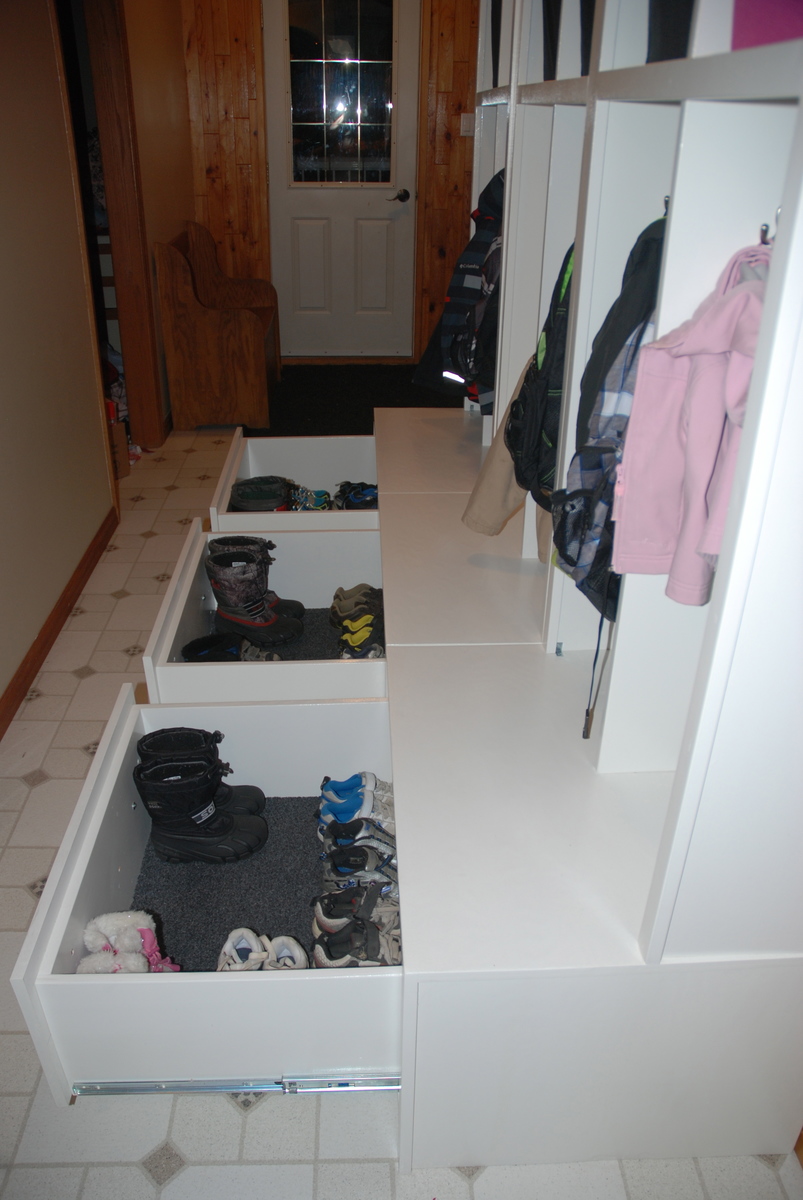
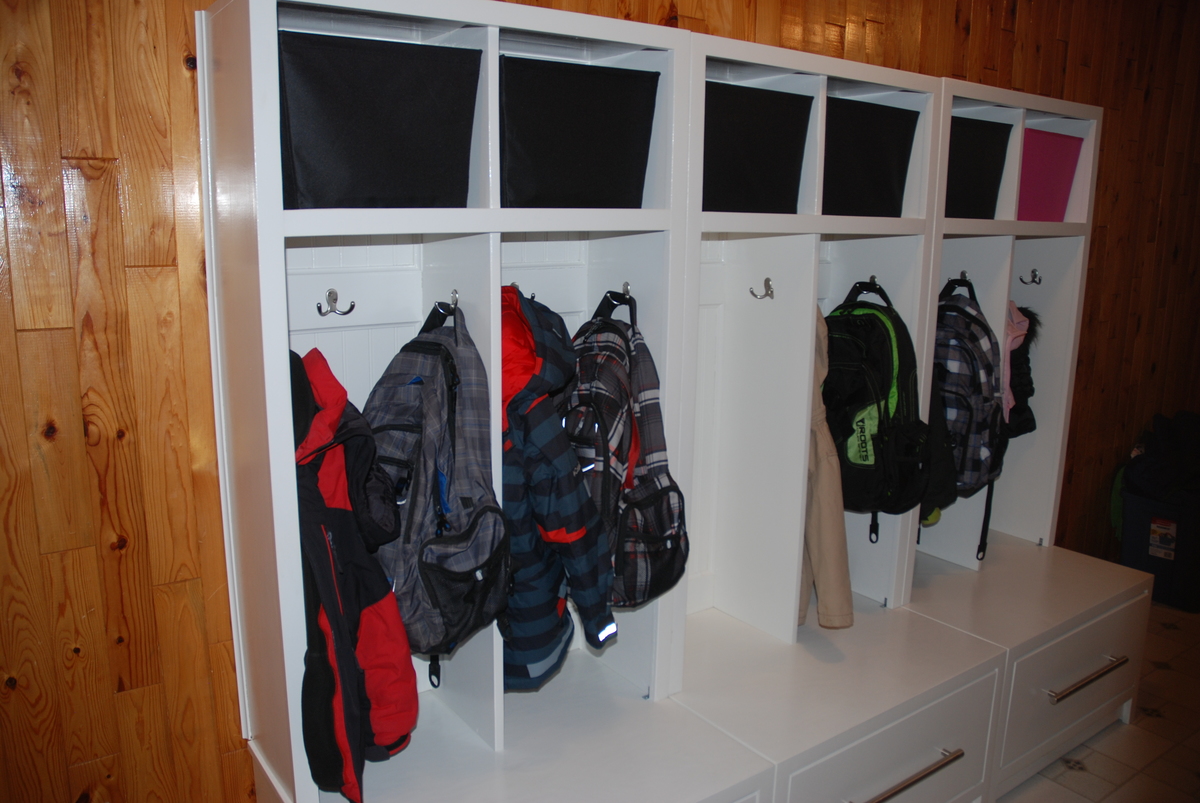
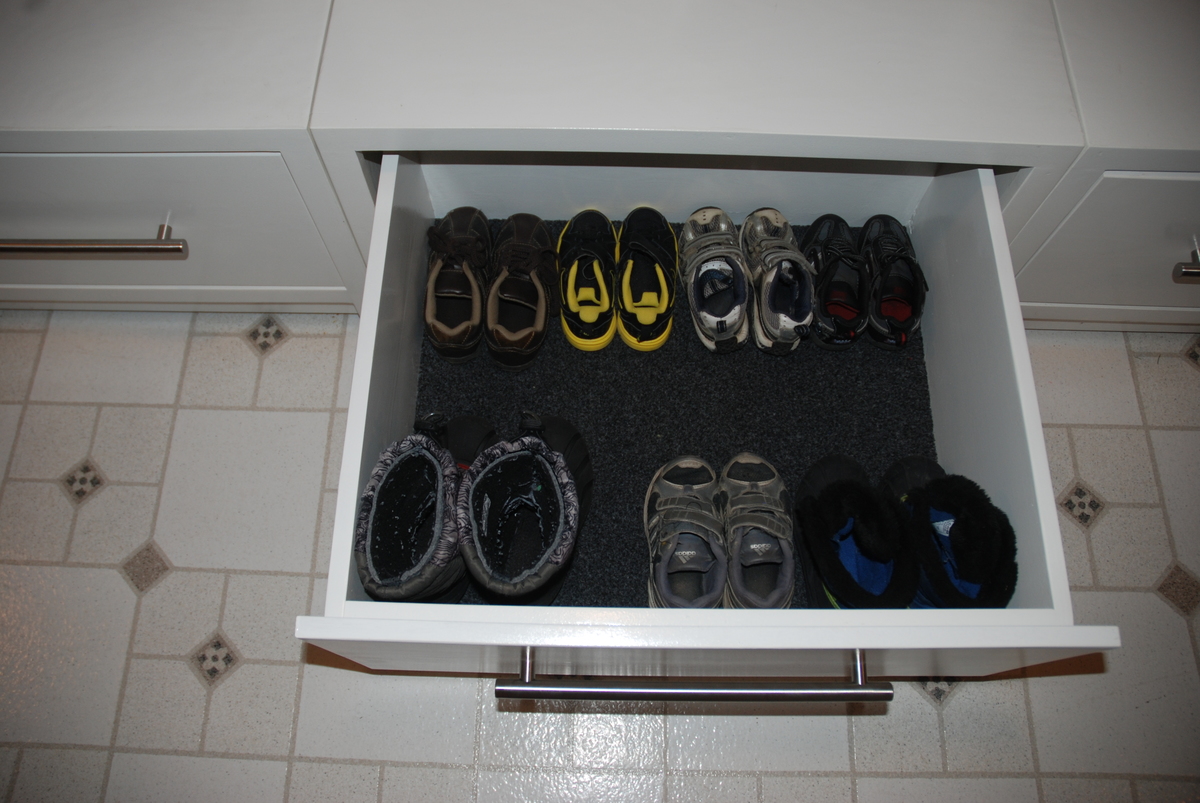
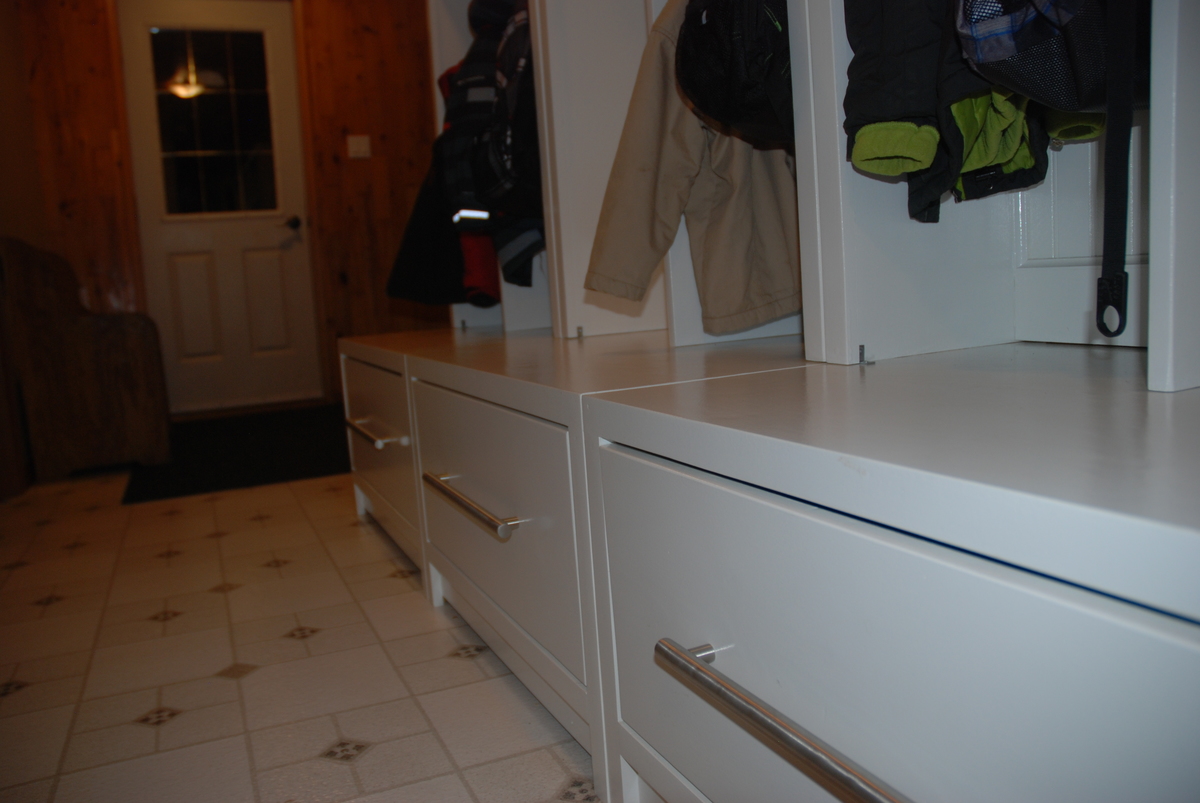
As a mom of 5 children, my entryway was always a mess. I decided that I was going to take things into my own hands and figure something out. I found Ana's site and I saw that Ana had this Entryway system and decided I was going to make it. So one day, I went to town and bought the material came home and started to build. I also decided, I wanted to dress the hutches up a bit, with bead board and a trim. I think that it turned out awesome. With 4 boys in the house I ended up using a heavy durable slide and cut my draws a little bit smaller. I added an entryway carpet with a rubber bottom on it in the drawers, to keep them cleaner. My children love them so much and it has helped us organize and keep the entryway cleaned.
Sun, 01/20/2013 - 22:12
Nicely done! I especially like the idea of putting entryway carpet in the drawers to keep them cleaner.
Mon, 01/21/2013 - 01:59
This is amazing! I am a mum of 4 and i am so over the morning "can't find my shoes" panic every morning! I would love to have something this big, but i don't have the room inside and our garage isn't mouse proof (kids school bags and mice just seem like it might be a bad combo). Am going with something a bit slimmer for an empty closet we have and i am definitely borrowing the carpet idea. Just a quick question, re painting... Was the paint gloss, matte? And with the poly, has it made it go yellow at all? .... oh i am so excited to get mine done!!!! Thanku for sharing!
Thu, 01/24/2013 - 11:14
Thank You, I love walking by and looking at them and seeing how my entryway looks now. It was totally worth all the work. As for the paint, I used the aura in egg shell. Then the clear coat was clear and did not yellow the paint at all. I went to my paint store and asked him for a clear coat that did not yellow. I can get you the name if you would like? Thank you again.
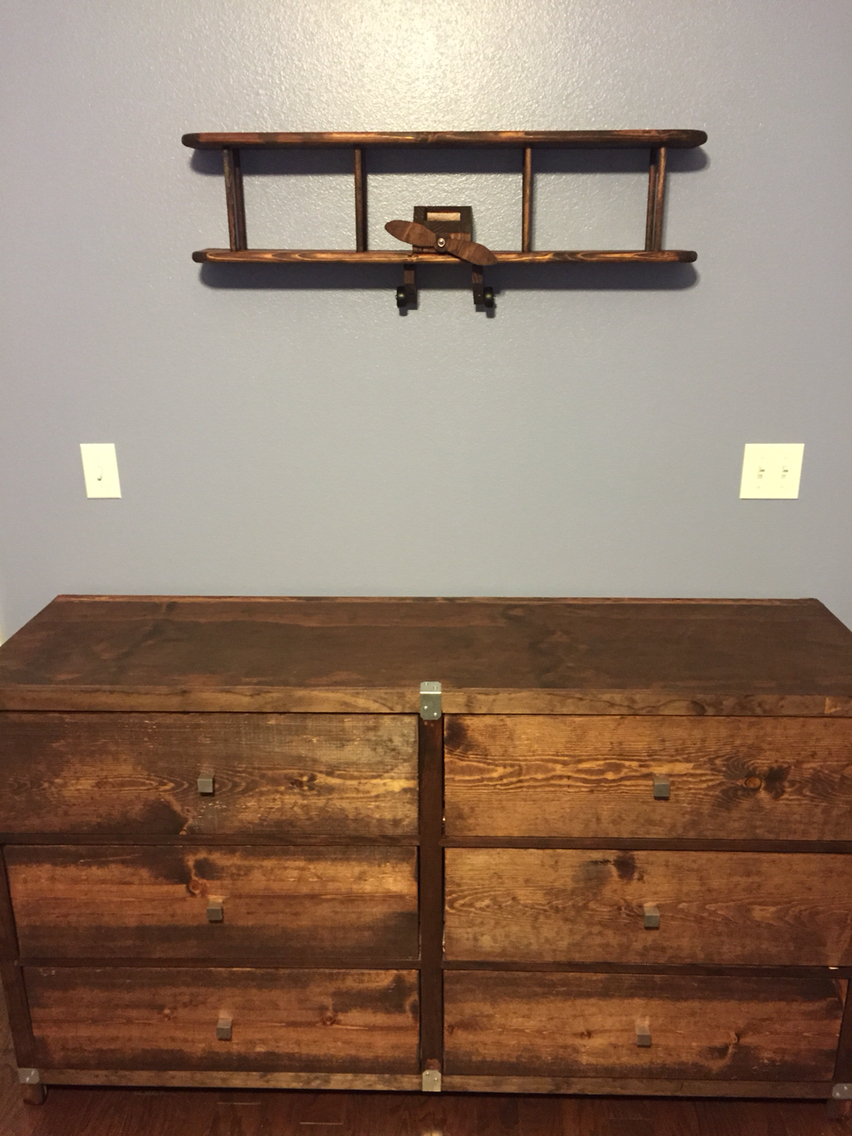
This project is built from a/b sanded plywood, pine select trim, and pine 2x2 furing stirps. I was a little scared to do the drawers as i have not had great luck with them in the past. But after watching some videos and reading the tutriol for the slides i tackled it and it came out great. I didnt want the wheels so i made the side 2" taller and it worked out great.
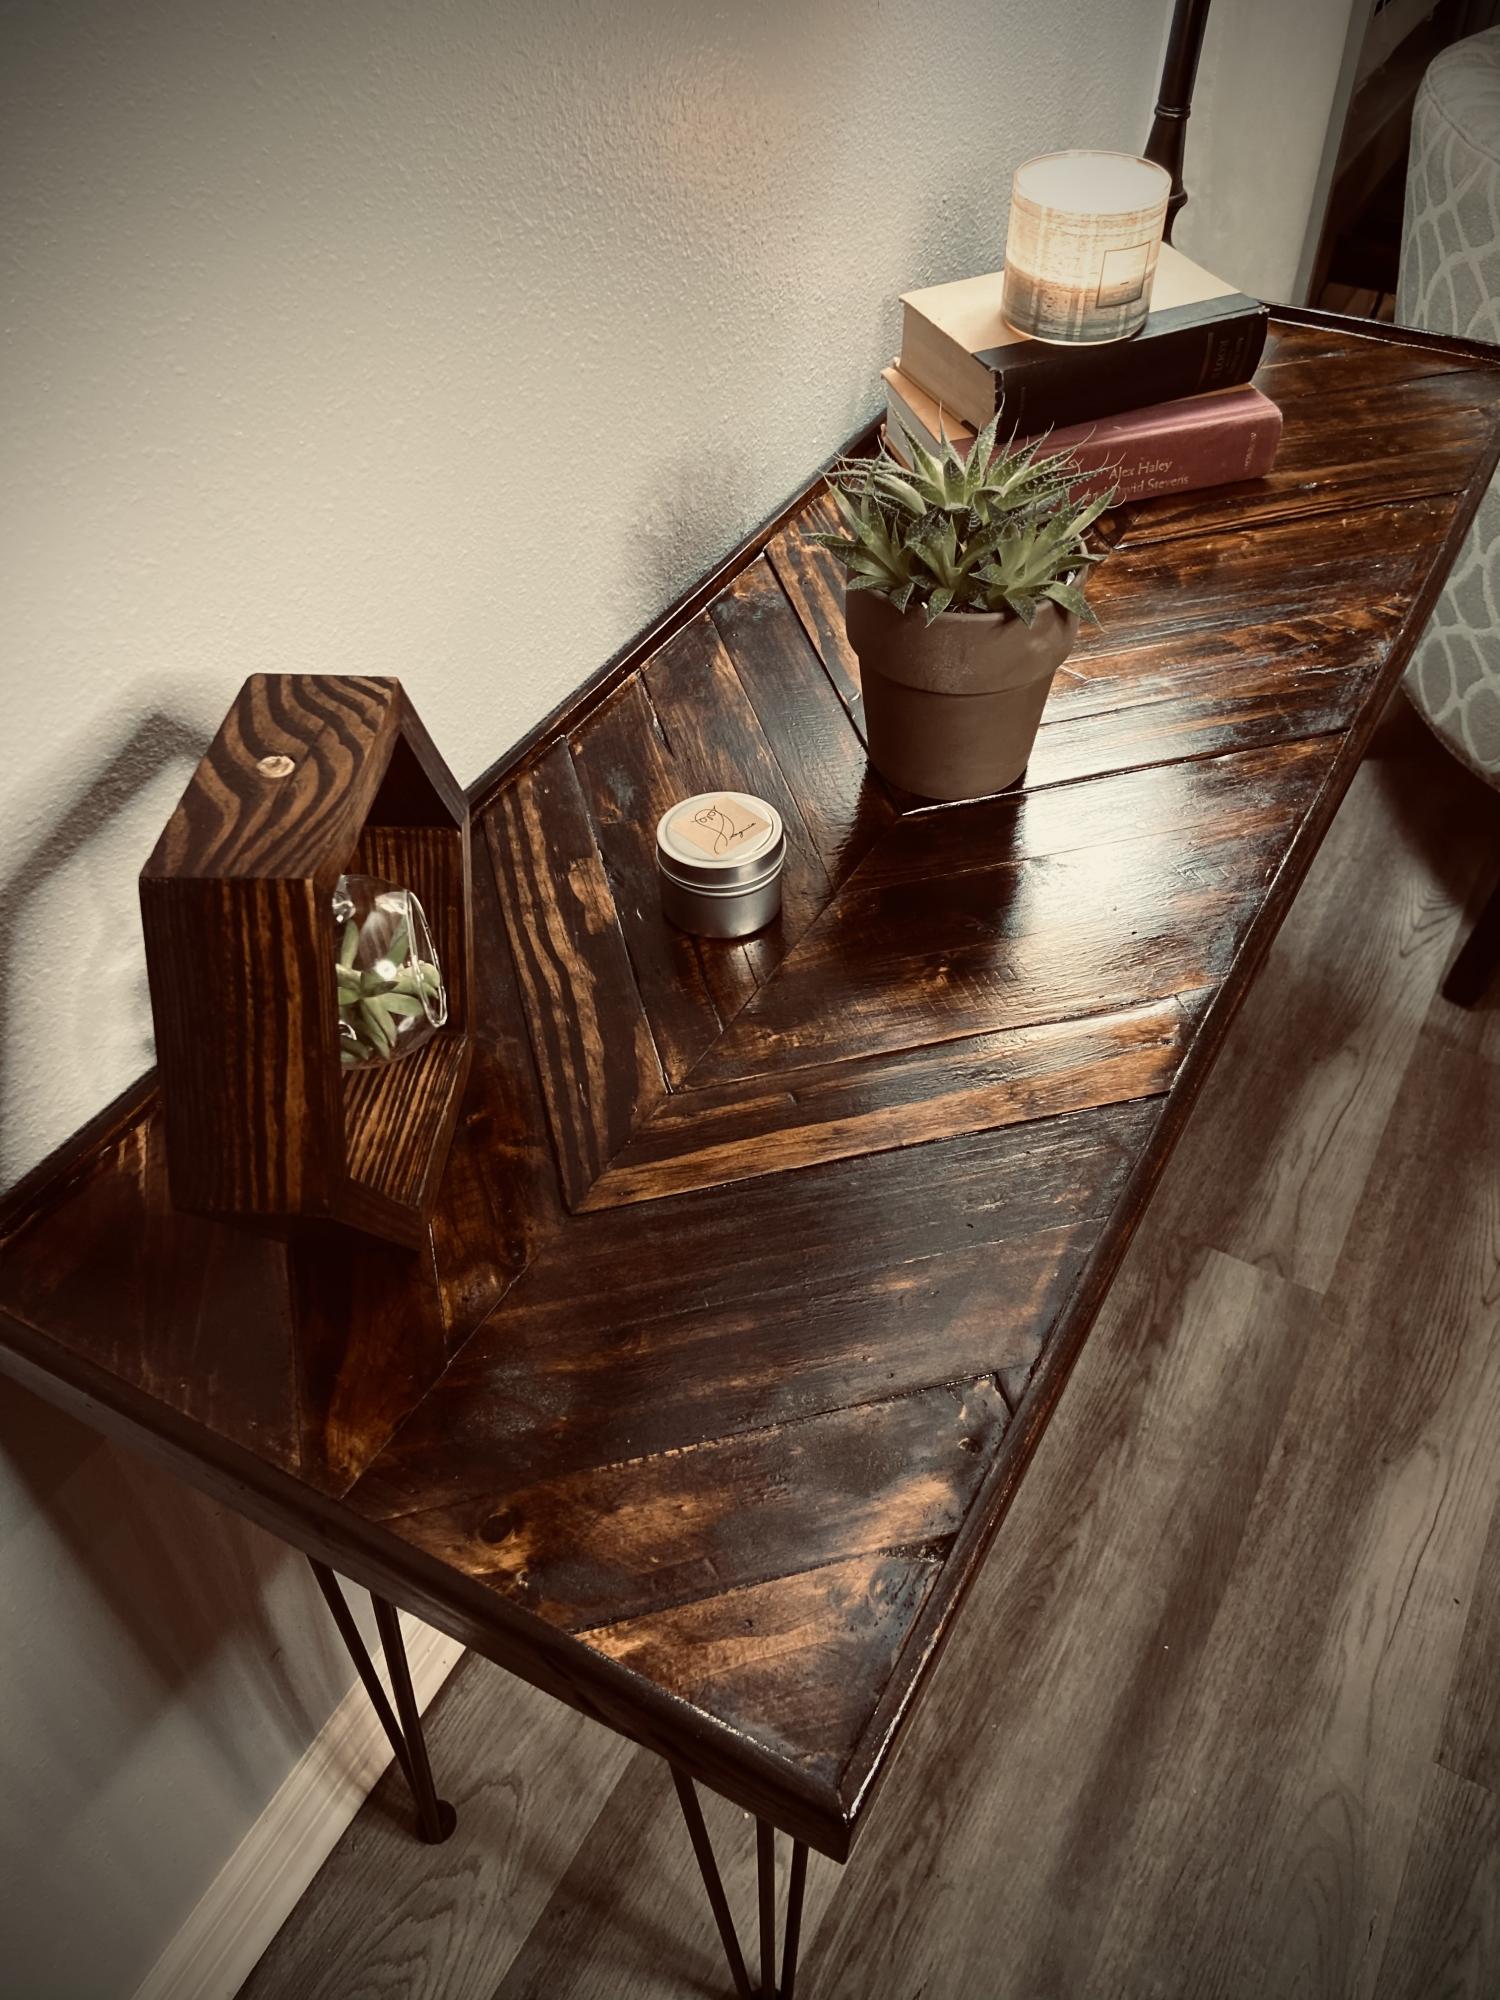
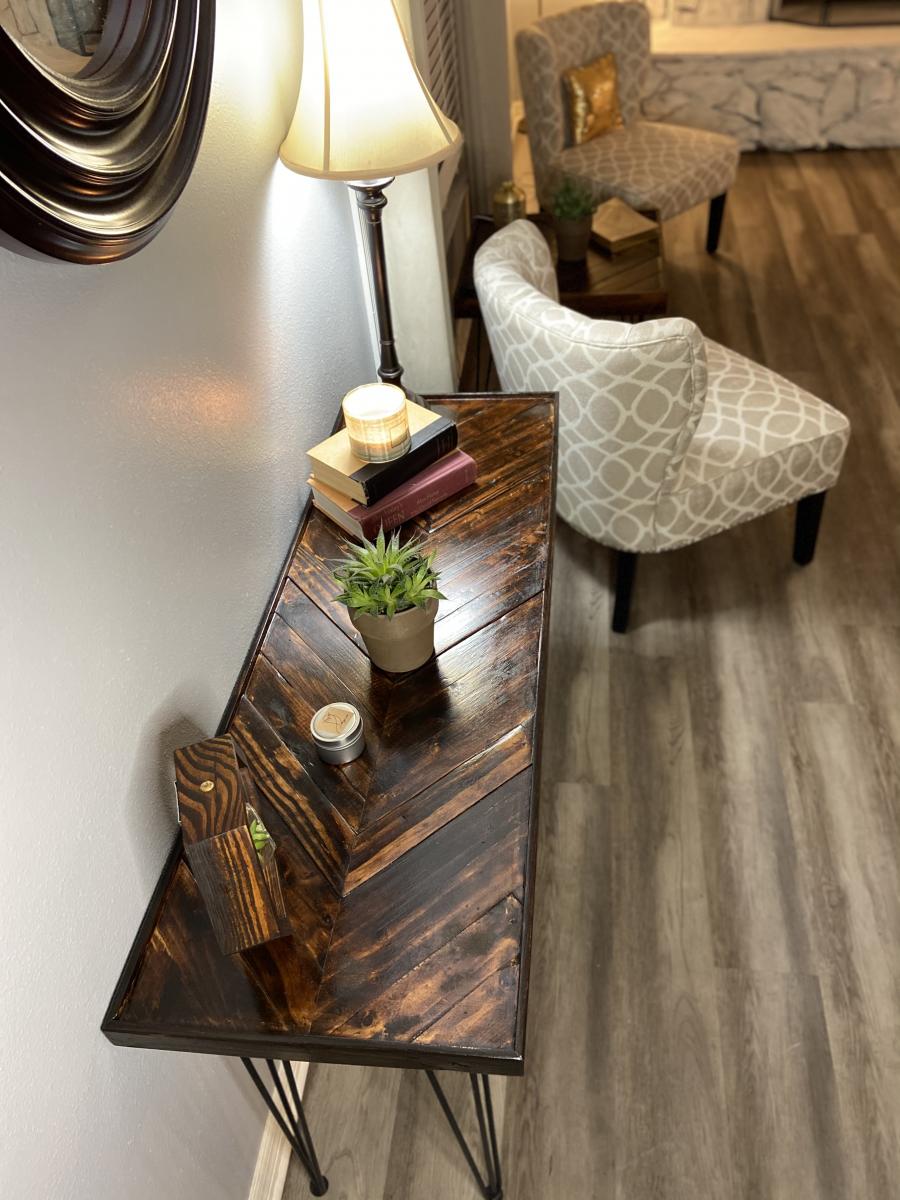
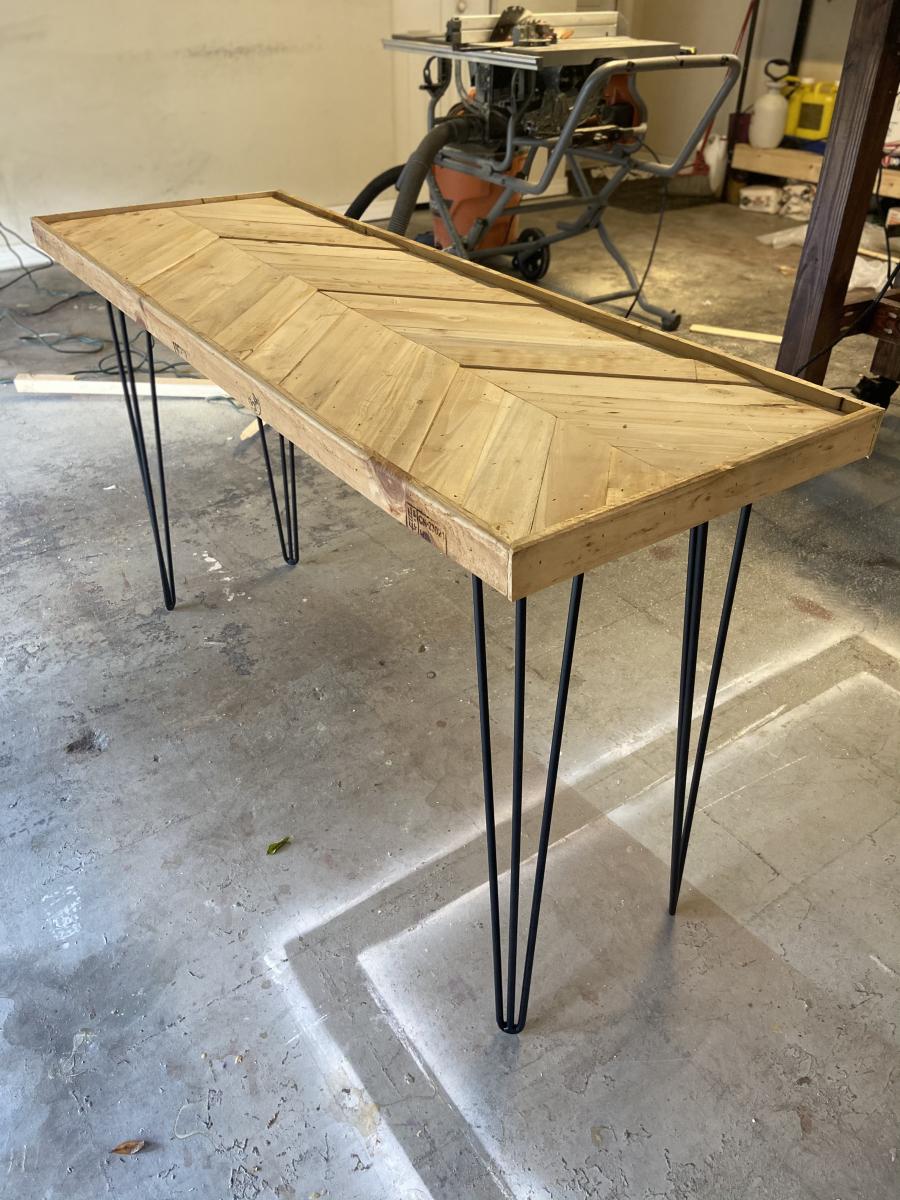
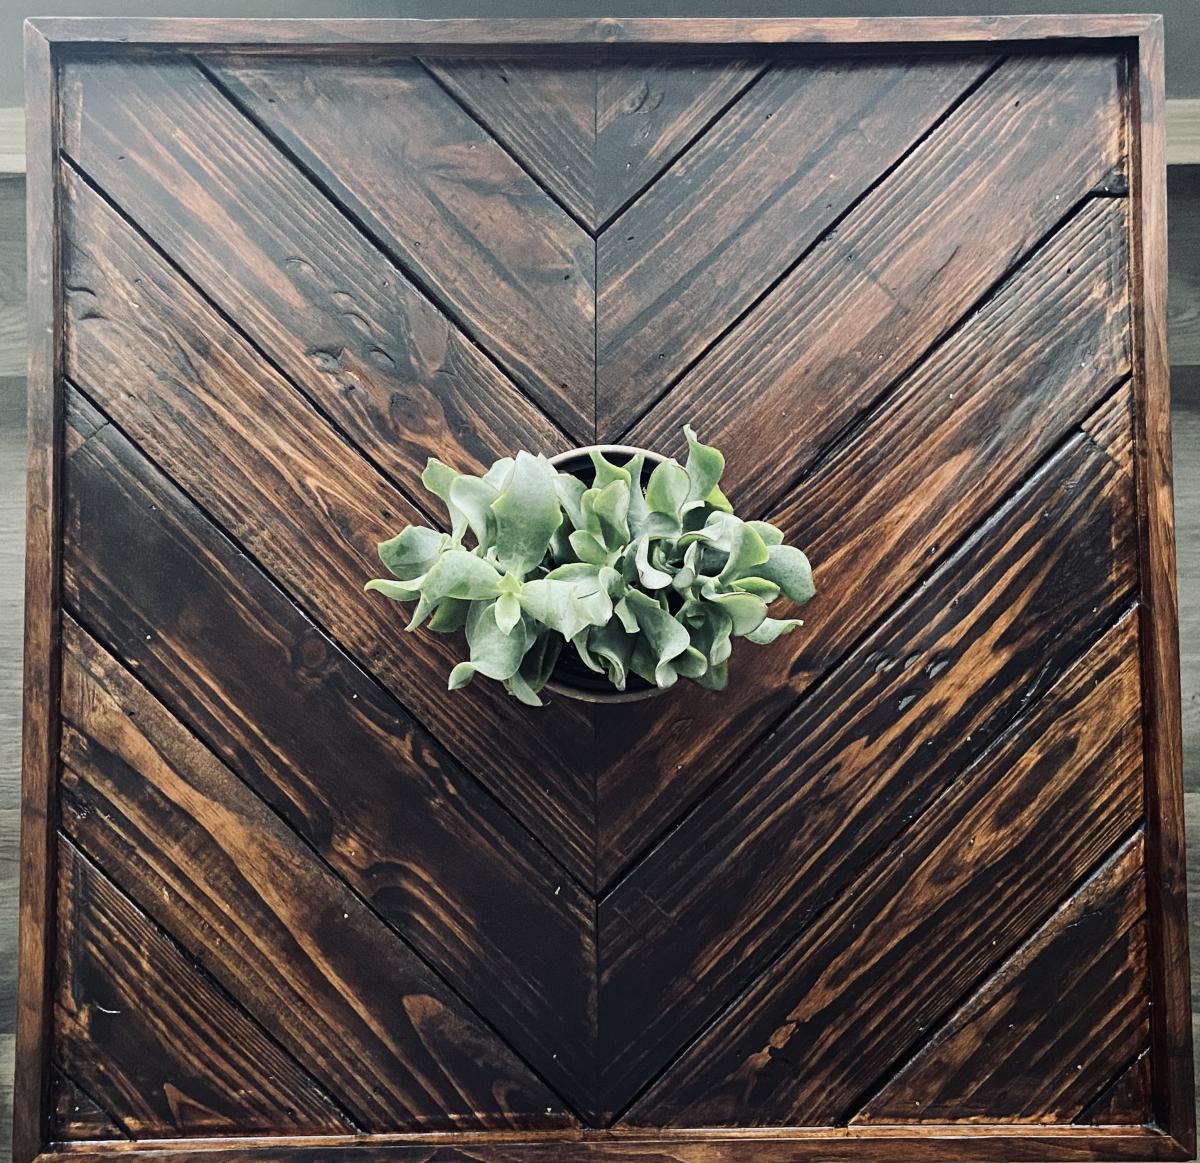
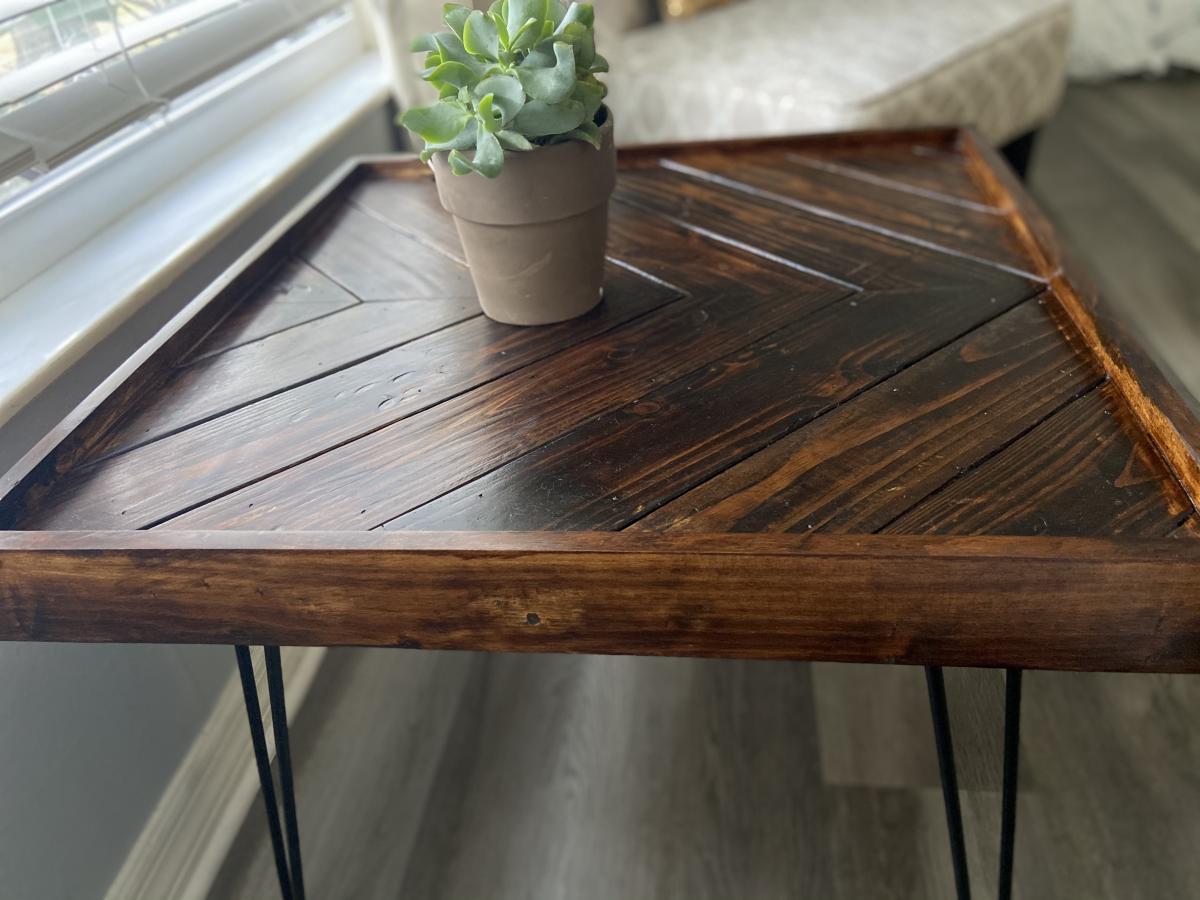
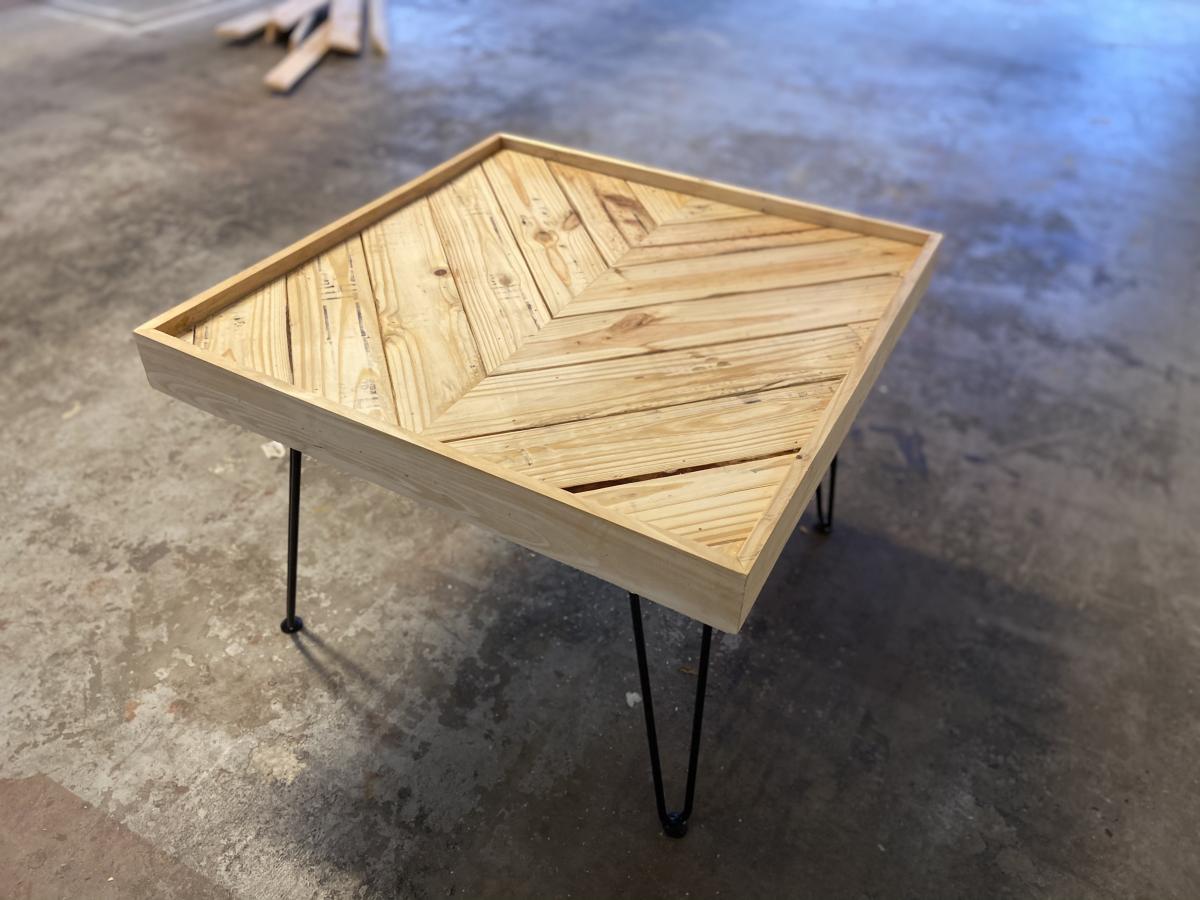
Amazon had an awesome sale on hairpin legs and I couldn’t pass them up. We had a few unused pallets, so I just created this beautiful table console and side table. Happy creating y’all!
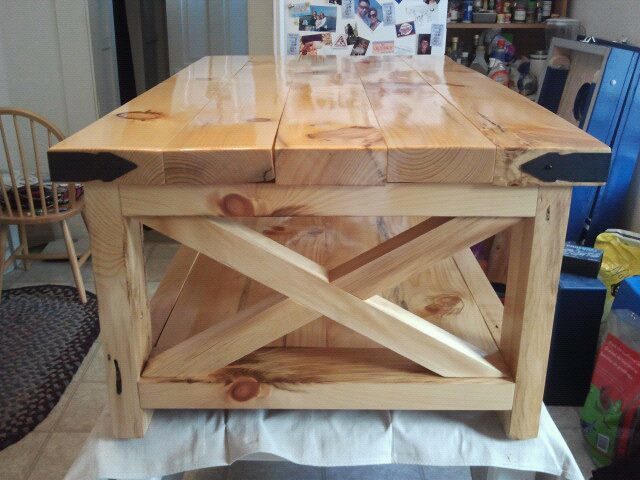
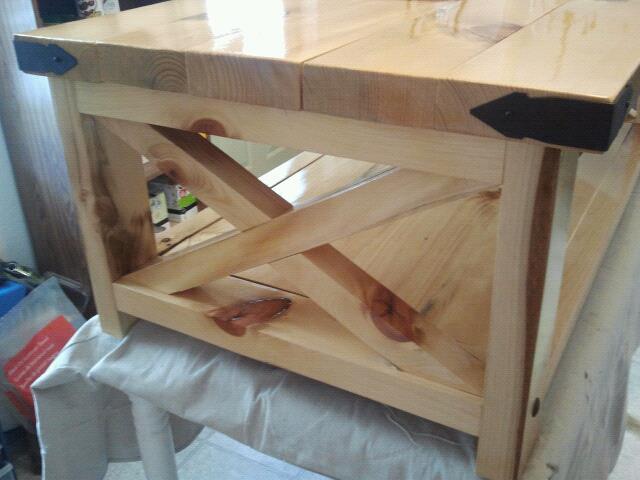
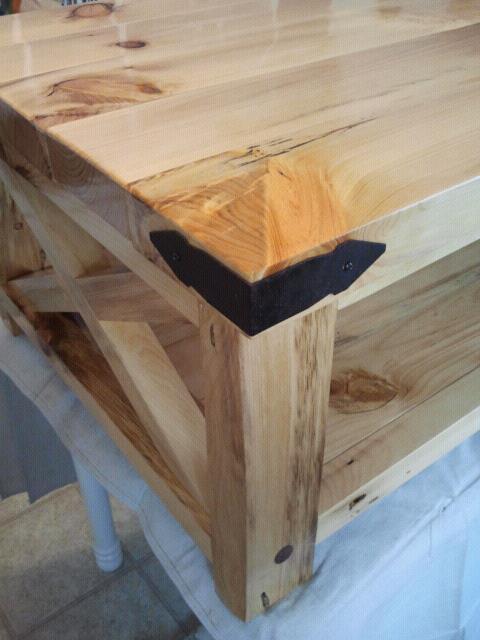
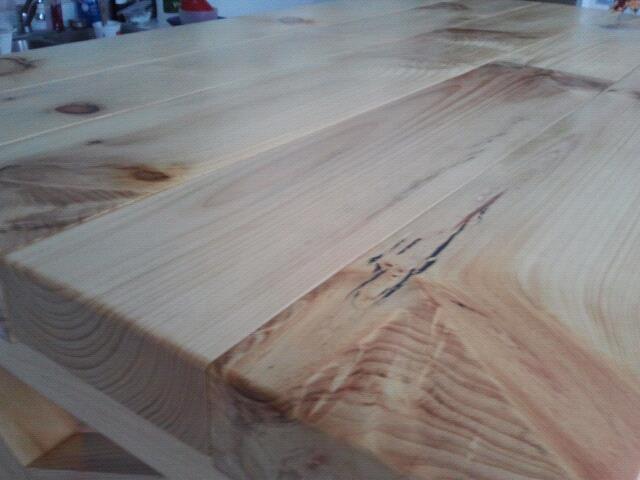
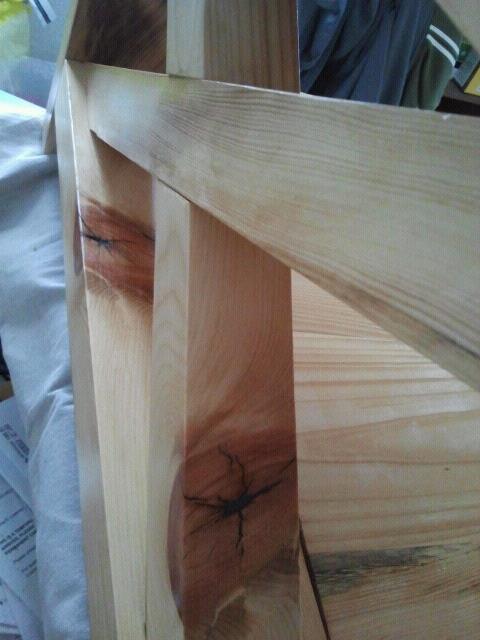
This is my first real woodworking project. This is my version of the Rustic X coffee table. Was made from raw lumber, not what you normally buy at a lumber store. Made of White pine. It wasn't planed either haha. That took me lots of extra time sanding and evening things out. But I do love the knots! After everything was assembled, I used an ebony wood filler in some of the cracks around the knots or any slight splits to add more to that rustic look. I sure to love the fact I made that decision! After that set up for a few hours, I used a natural stain. Only one coat. I sealed it with about 4 coats of glossy polyurethane. I definitely made some mistakes and learned from them. Although, I have to say the Kreg jig is my most favorite tool! If you don't have one, GET ONE! Best invention ever. I am actually onto my second project. I am making the matching end tables out of the same wood, same tree, so they will all be identical. I cant wait to get them all finished and displayed in my living room!
Mon, 01/21/2013 - 20:18
You did a beautiful job for your first project, I love the finish. I love my Kreg jig too, it was my Christmas present to myself. I used the little single jig to build a project, man what a difference the upgrade makes!
Mon, 01/21/2013 - 20:33
I love the idea of using the contrasting wood filler! Brilliant...I am for sure going to try that on a future building project.
Tue, 01/22/2013 - 00:29
WOW! This is GORGEOUS!! Great job, I'm impressed... and jealous ;)
Tue, 01/22/2013 - 18:18
I got both the corner brackets and clavos (wrought iron nails) off of ebay. I looked for for quite some time to find them too! They come in pairs. I bought enough to do all 3 tables. Very good quality too. I was very impressed. Here is a link... hope it work.
http://www.ebay.com/itm/Decorative-Rustic-Iron-Mexican-Corner-Bracket-L…
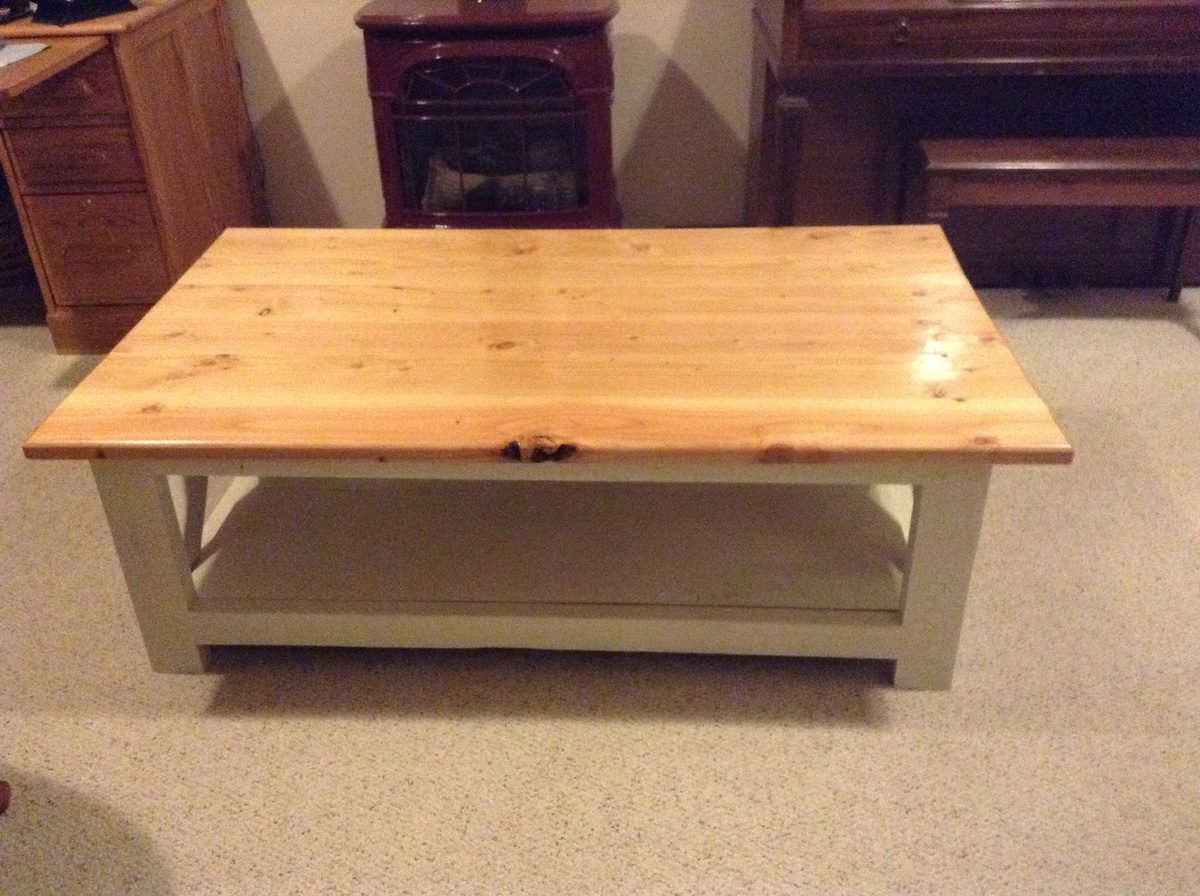
A rustic x table for our cottage!
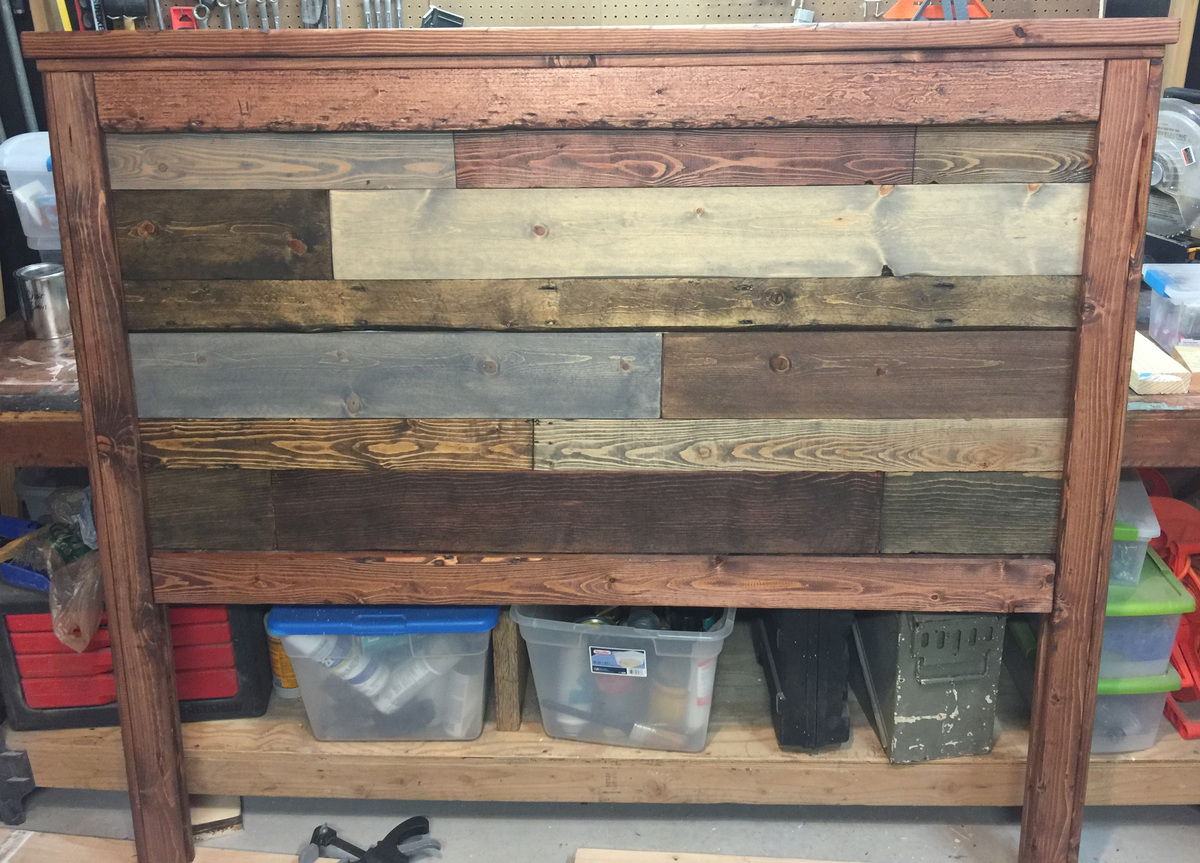
I used wacman's idea for faux reclaimed lumber to make this headboard by using a saw to score lines in the long boards to make it appear to be smaller pieces ( http://www.ana-white.com/2017/01/DIY_furniture/farmhouse-faux-reclaimed… )
I played with different stains, mixing some, overlaying others. I darkened the "seams" in the boards with some java glaze
The 1x3s and 1x4s were from the bottom of the stacks at HD, so they had lots of gouges, nicks, and imperfections that were perfect for the "rustic" look. Had to do a bit of sanding, but overall the "ugly" lumber ended up looking great.
One change to the plans I'll make next time. the top & bottom 1x4 boards end up getting covered by the final trim 1x4s. Next time I'll use 1x3s for the trim pieces so that a bit of the top/bottom 1x4s show.
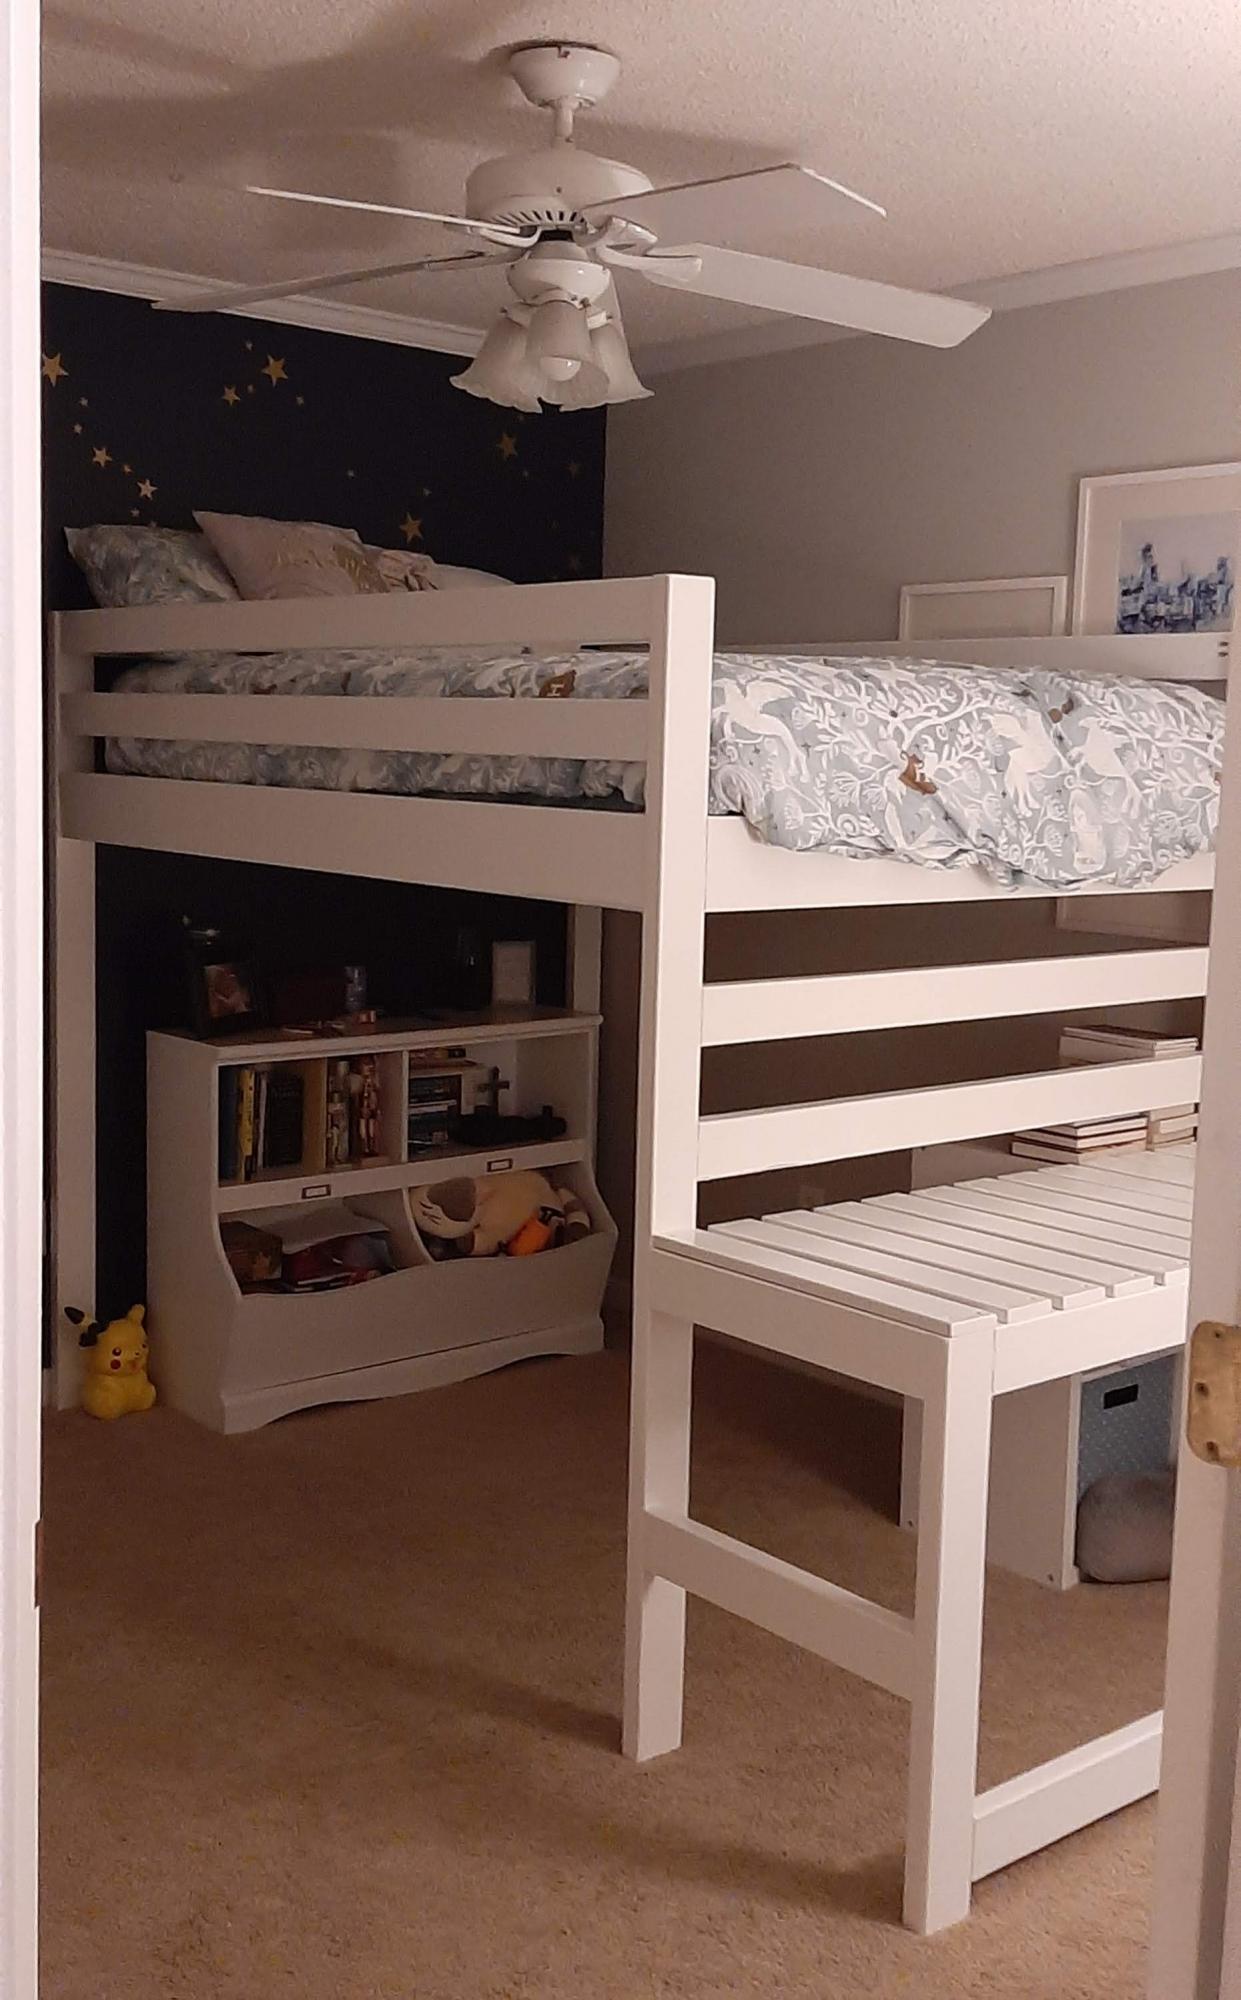
Our 10 year old daughter has a small room so we decided a loft bed would be ideal, as it would open up some needed floor space. However, spending $1000 on a loft bed from a store was inconceivable, so we were THRILLED to find this camp loft bed plan on Ana White!
My husband modified the plans to accommodate a full-size mattress, added two inches of height to the underside, and removed the stairs.
Cost of wood was just under $300 as prices are high in our area at the moment. Still far less than any store would offer a bed of this size and configuration, so still a win!
The build took two full weekends. He had to be able to disassemble the piece in the garage in order to take it upstairs to reassemble in her room.
It was painted white with Kilz Interior Sealer and Stain locker. It was a HIT and now our son wants one too! :) Great project that affords her SO much more floor space for her books and eventually a chair underneath.
Fri, 12/11/2020 - 05:48
Would it be possible to share the modifications I would love to make this for my daughter. The twin size is too small. Thank you in advance
Mon, 07/11/2022 - 23:46
How did you do the slats? I am trying to make an oversized loft bed and nervous about the supports for under the mattress
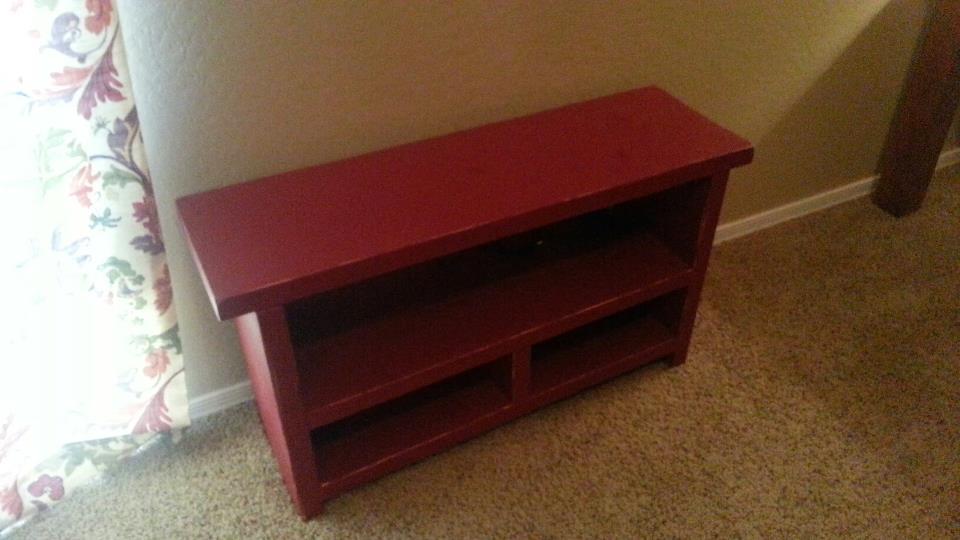
I made the kids bench with 2x rather than 1x because i'm a pretty big guy and wanted to be able to actually sit on this and not be worried. This was my first woodworking project since middle school.
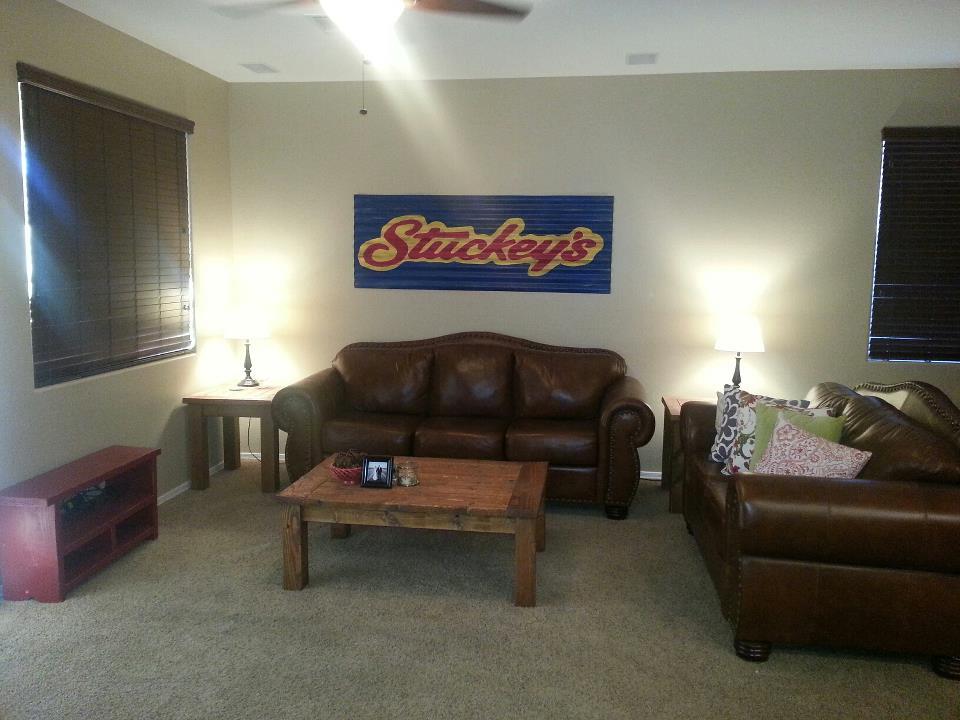
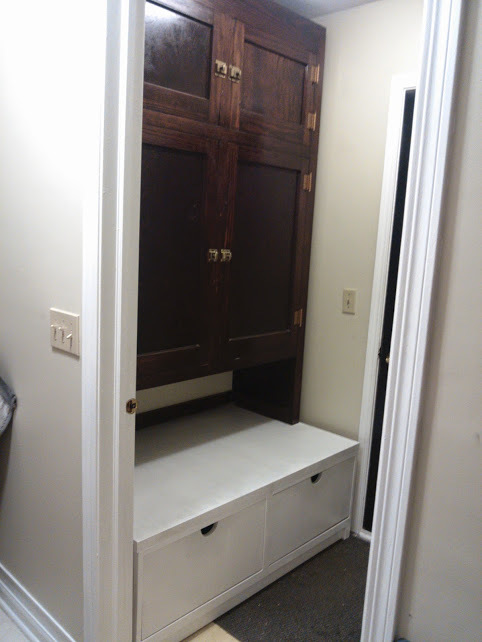
The drawers were my very first project! I have never built anything before and I loved how deep the drawers were here. I'm really thankful my dad helped! Super happy with how it turned out!
I picked up the hutch at an old barn sale for $65. It's perfect to hold all of our coats and stuff and the shoe drawers are super deep and hold ALL our shoes. Here's our story... http://onblissstreet.blogspot.com/2014/11/mudroom-makeover.html
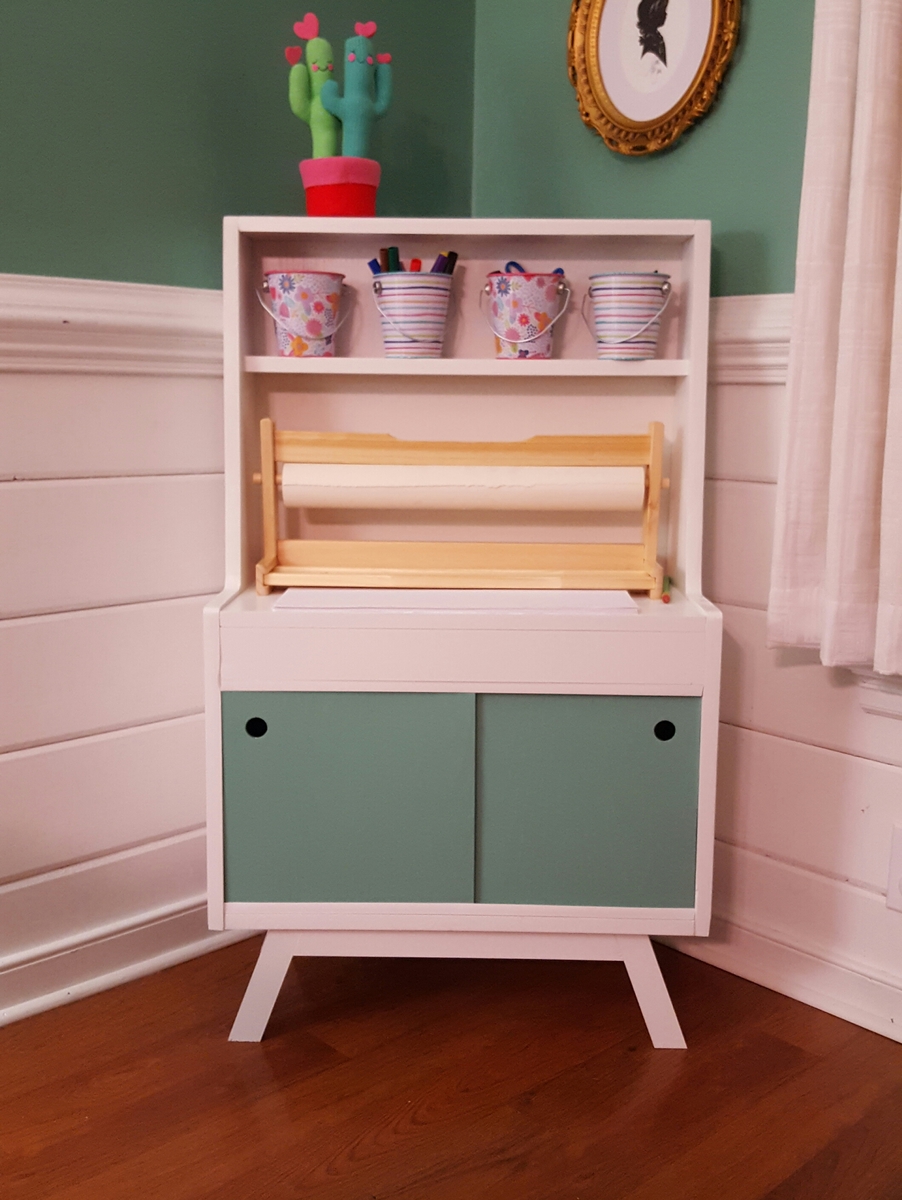
We decided to turn this little retro play kitchen into a kid art station. It's so adorable.
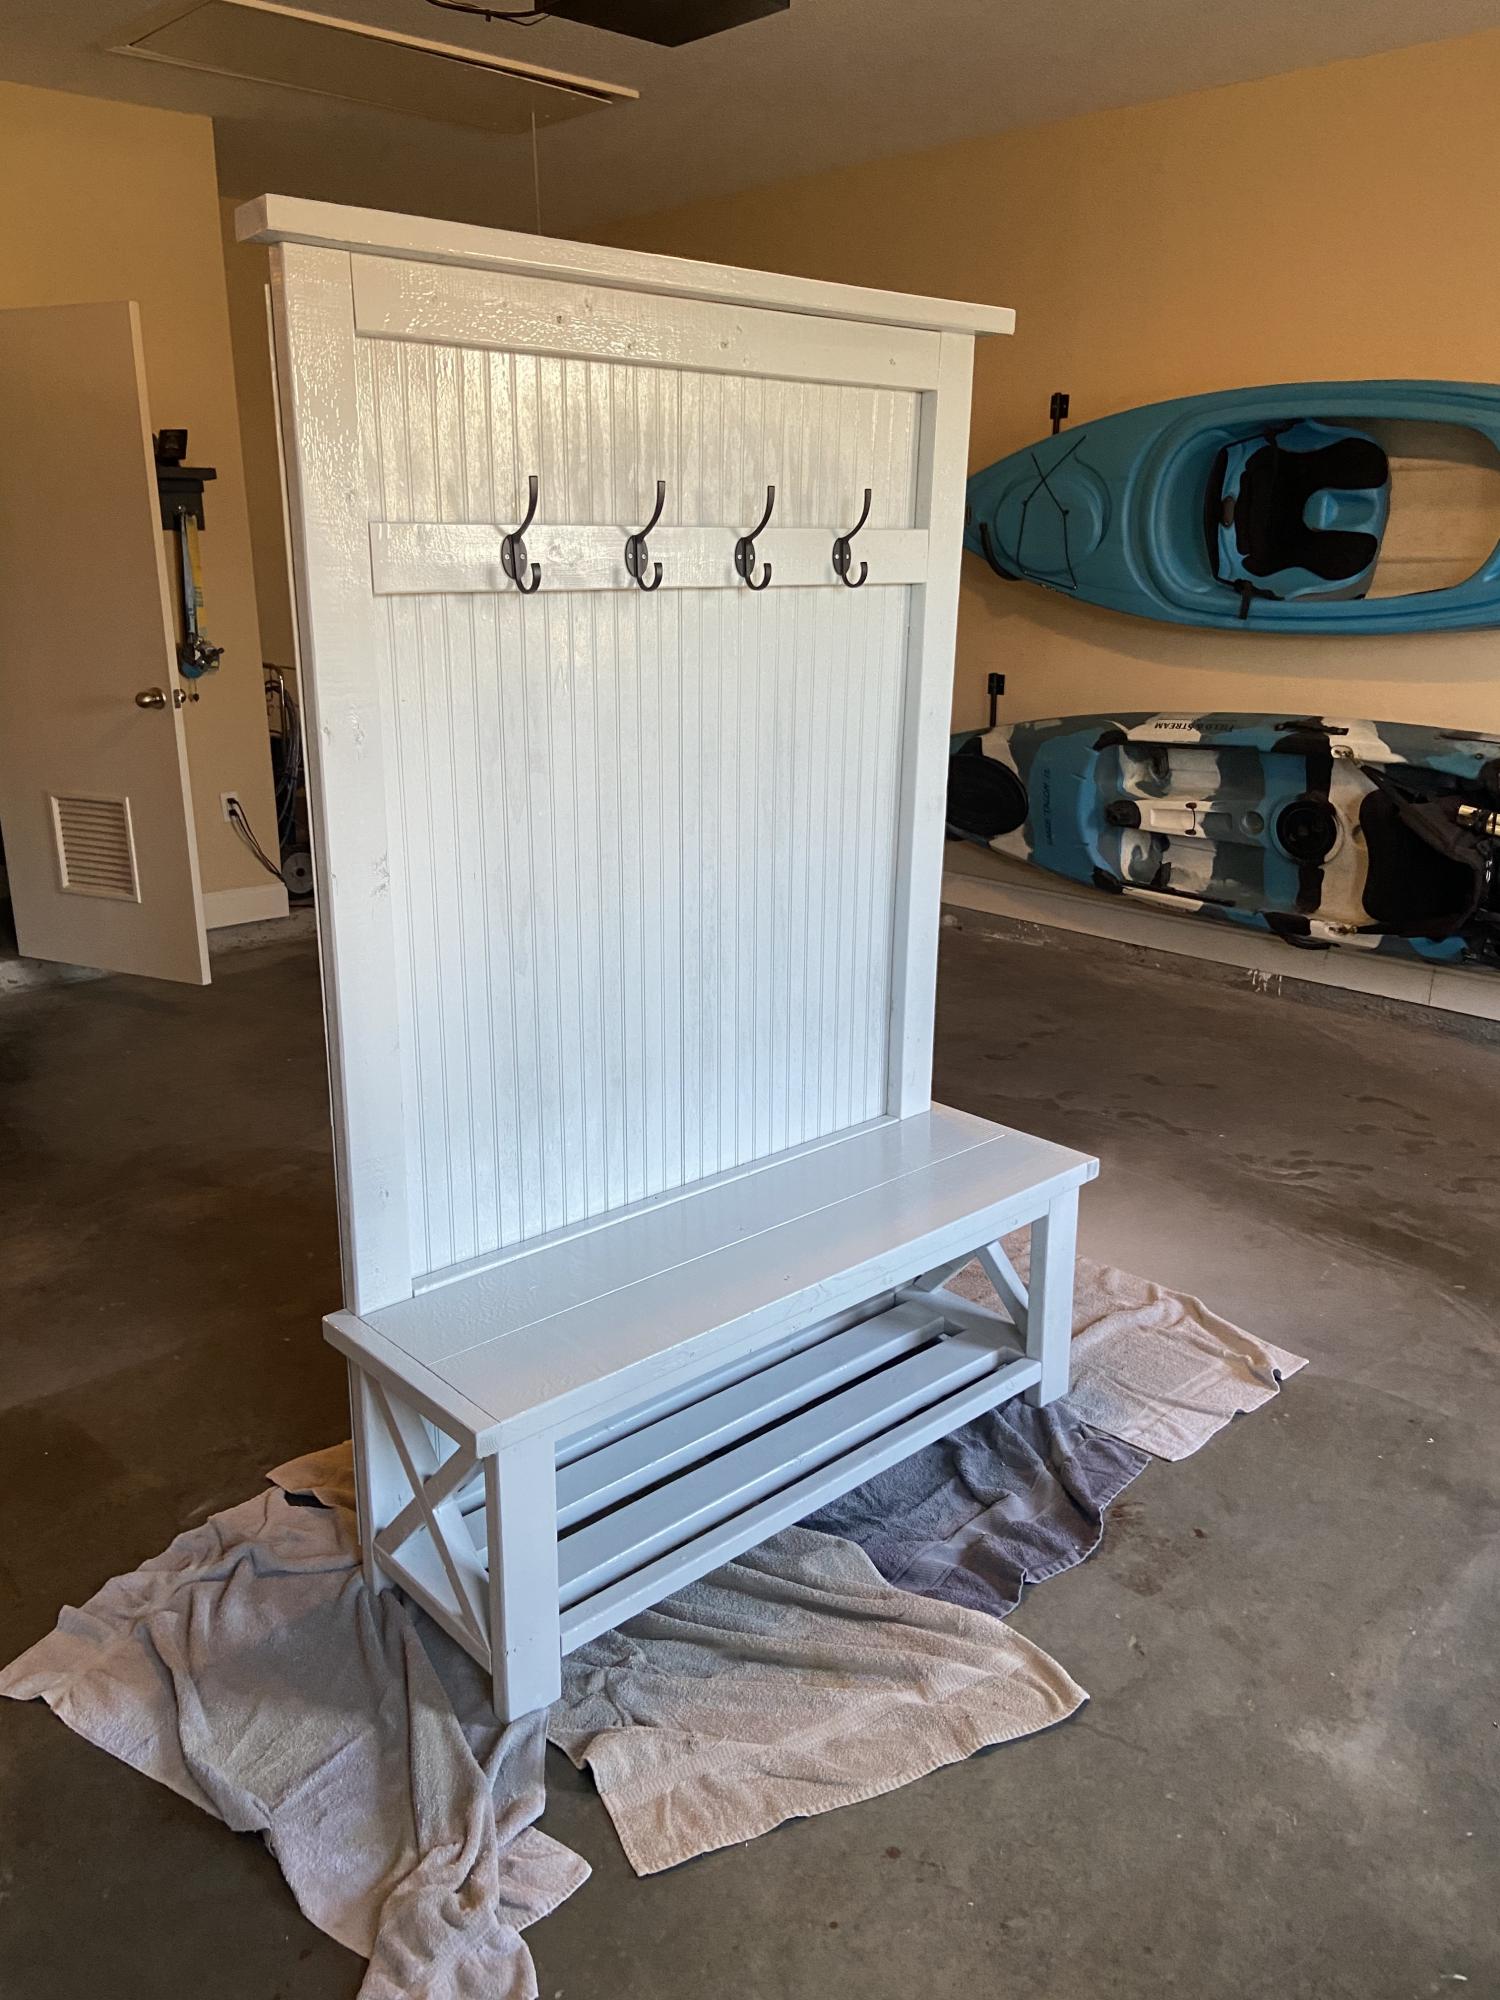
quick build, turned out solid
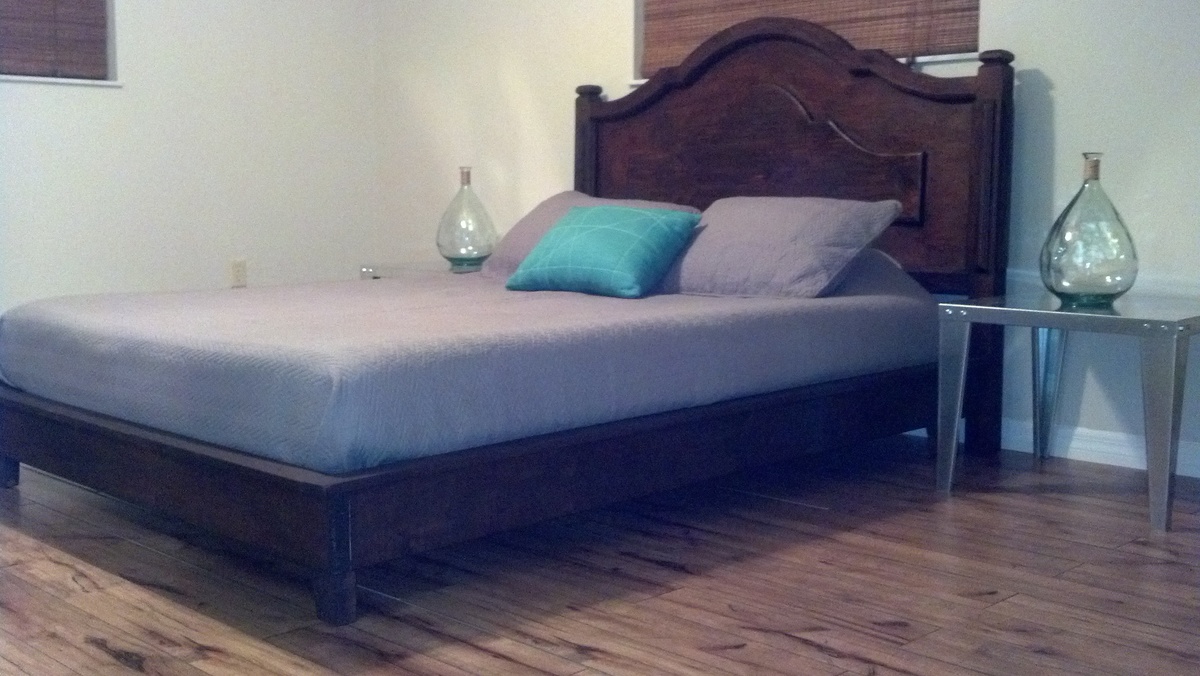
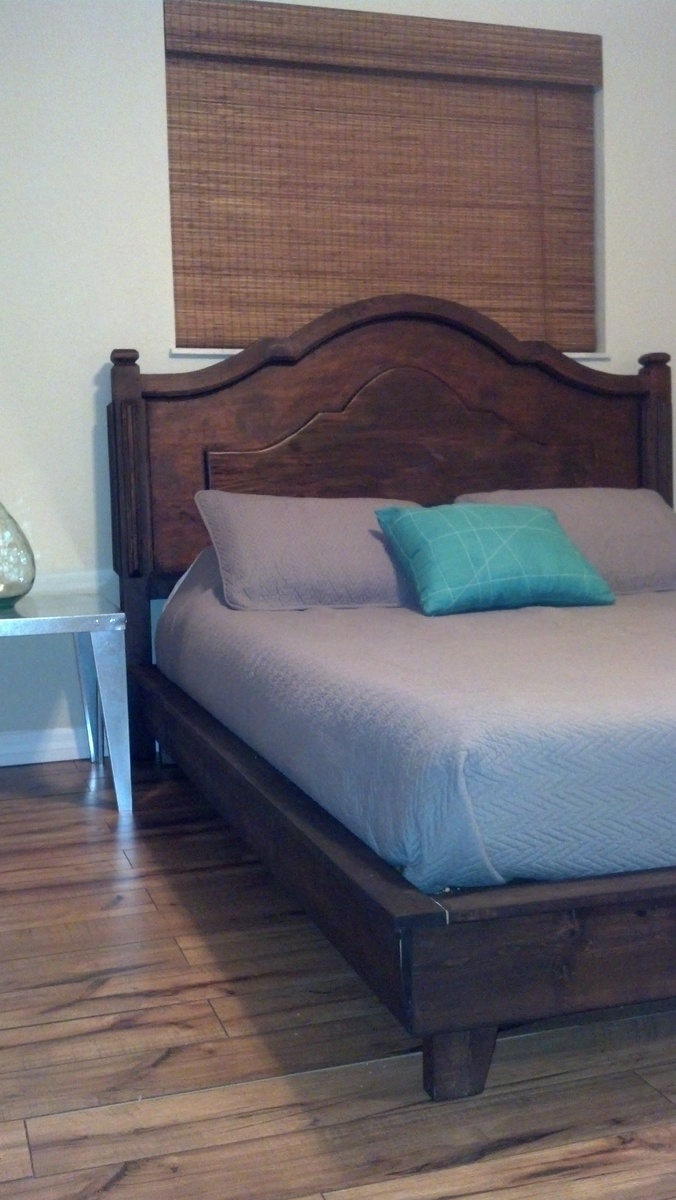
Hailey Platform Bed - Queen size
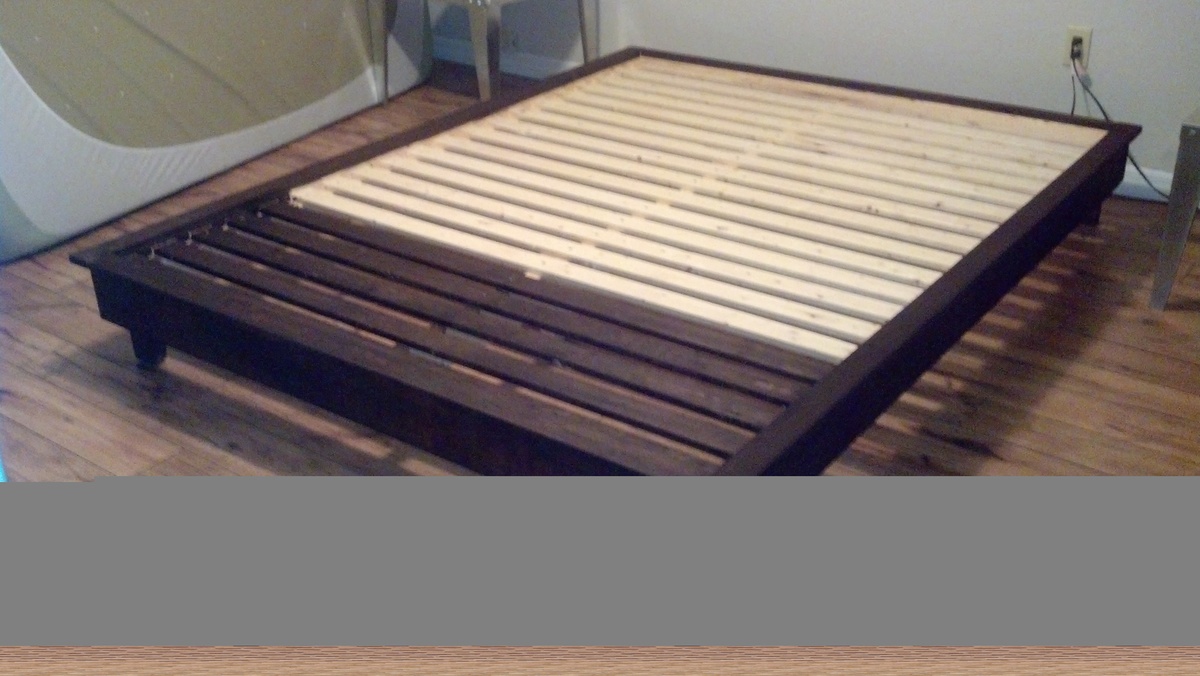
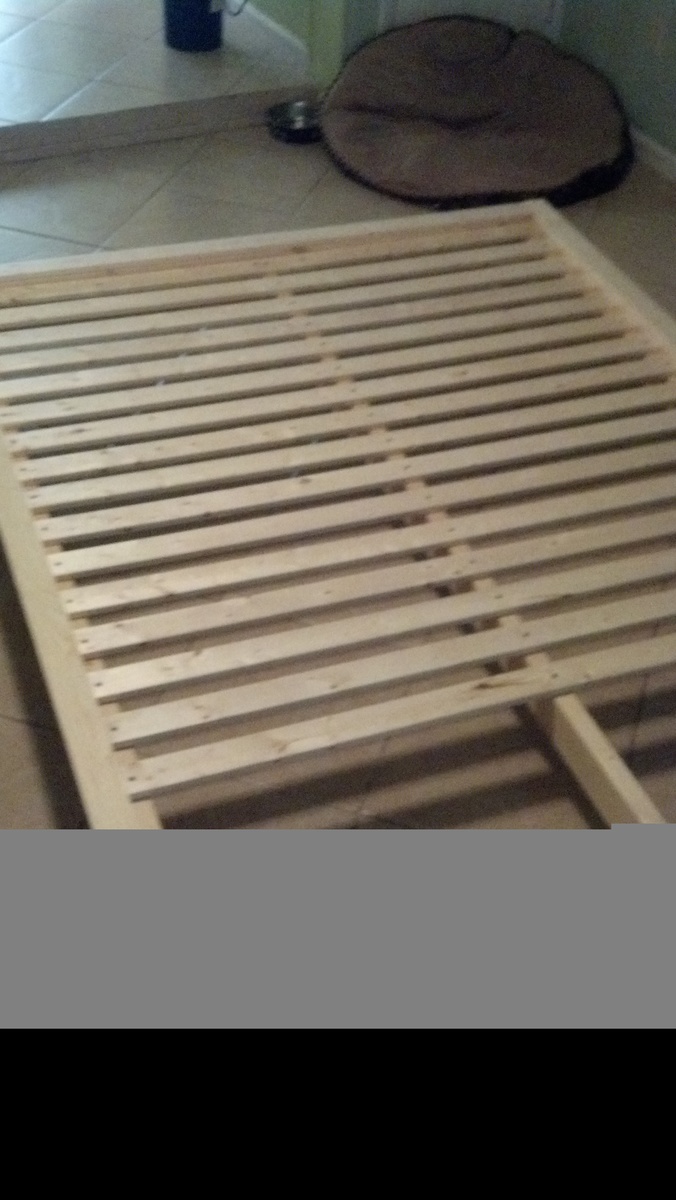
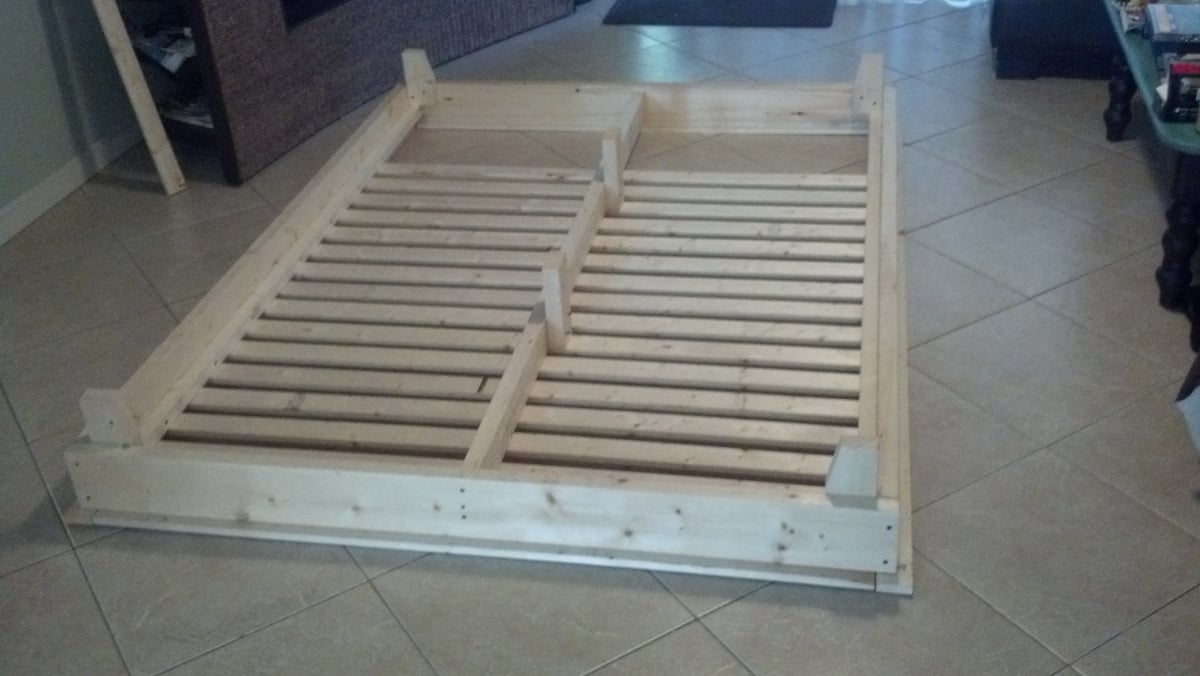
This was my first furniture build! I am very pleased! My husband was too! :) I learned some things along the way. It took longer than I had hoped, but I kinda expected it since it was my first project. I made a classic rookie mistake.....I ran out of wood by not planning ahead. I didn't calculate the slat spacing (and the plans don't specify) before I started them and I had already finished laying 75% of them. I wasn't about to go back, pull 'em all up and redo the spacing. So, I went out the next day and picked up some more wood. Not a big deal, at least I know our butts won't fall thru the cracks! :) So, how do you like the two-toned staining? It was such a pain to stain it after it was put together! After doing a few slats, I realized how silly that was to spend all that time and waste my stain when the bottom is ALWAYS covered. Ya know what I mean?! So, I stoppped, let it dry, and put it in the room. I already had the headboard. It was a cheap find on Craigslist. I just stained it to match the frame.
So, the other learning aspect was where to place the screws. I don't have a Kreg jig. I used a countersink bit for every screw and had to place them on the outsides. The plans are designed for Kreg jig users. Got plenty of practice using the drill, changing bits, countersinking, etc.! We don't have one of those quick change thingy's. It's on my list the next time I hit up Lowe's!
I love the new bed frame! It was so nice to get off the cheapy metal thing that's so noisy. And nice to get rid of the boxspring! We are sleeping soundly now. Lots of compliments on it too! Project 1 finished and looking forward to my next one! Thanks Ana. :)
Fri, 01/25/2013 - 14:01
Very, very nice! I enjoyed seeing your pictures and reading about your build.
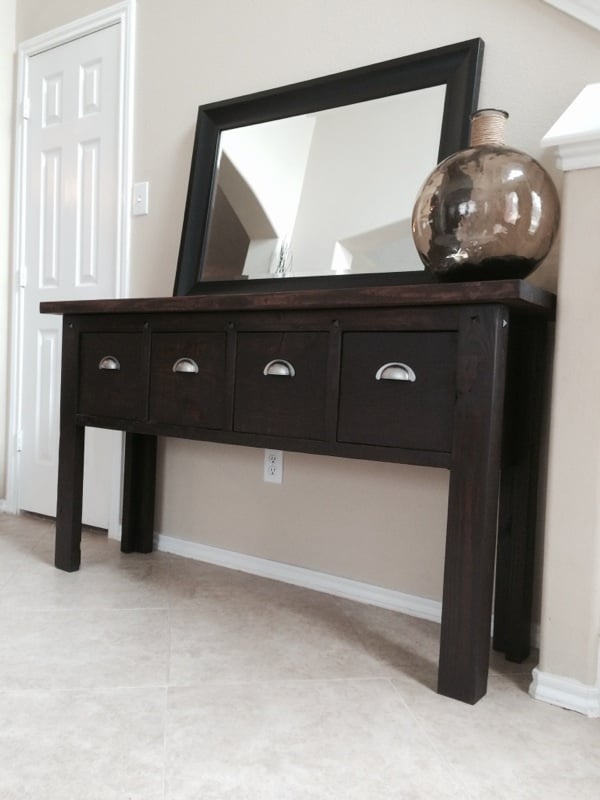
My husband built this in his spare time and I stained it, makes a great addition to my foyer!
Mon, 11/24/2014 - 12:06
Very nice! I love the handles that you chose! Nice work!
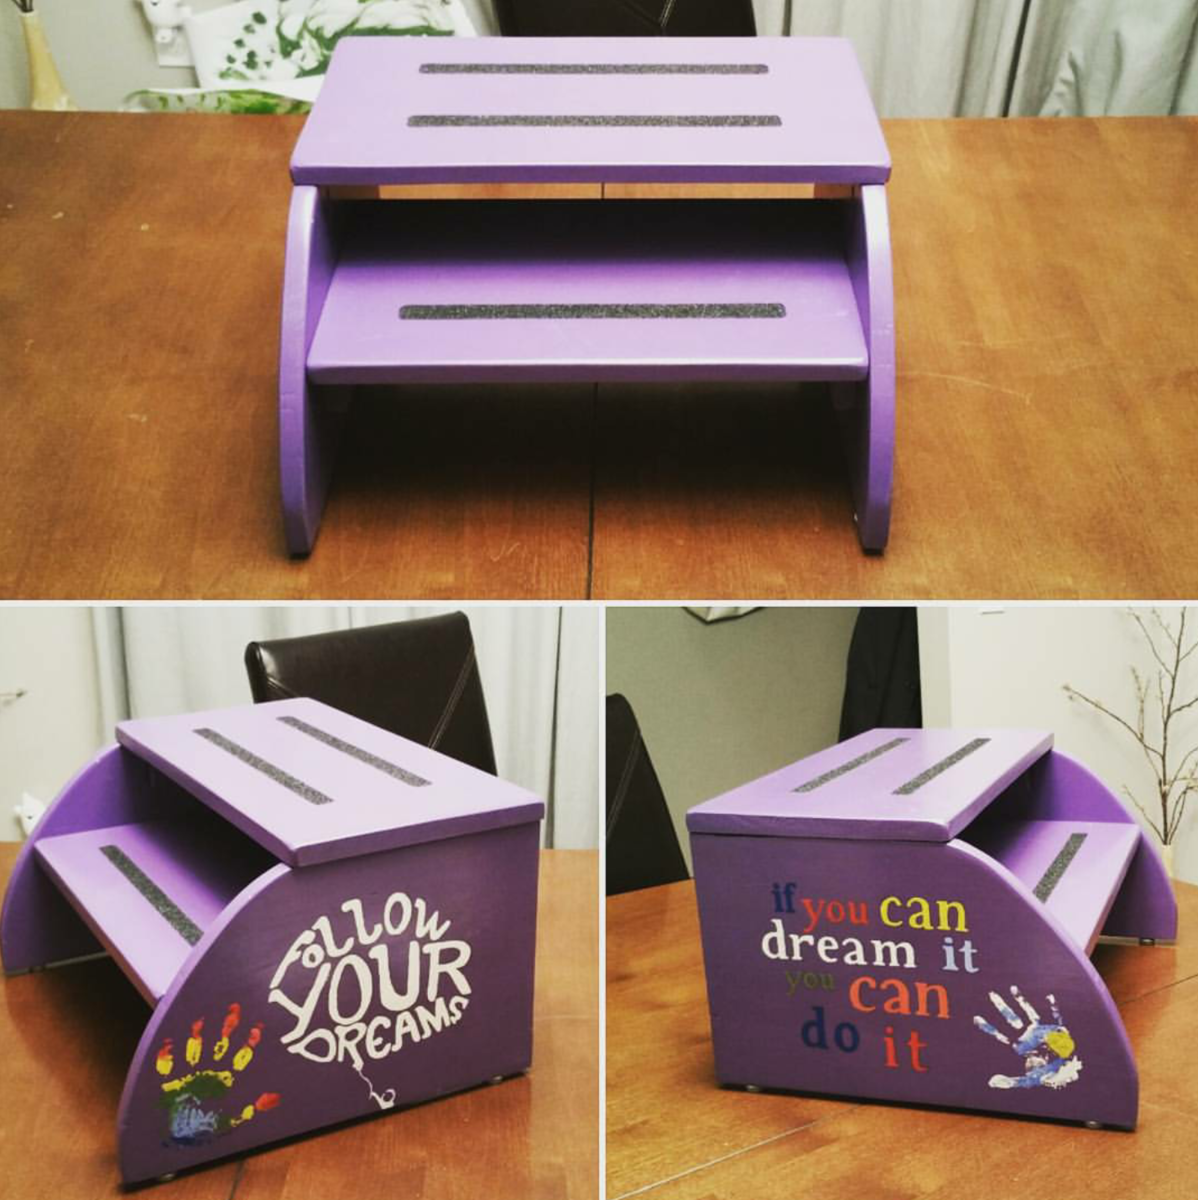
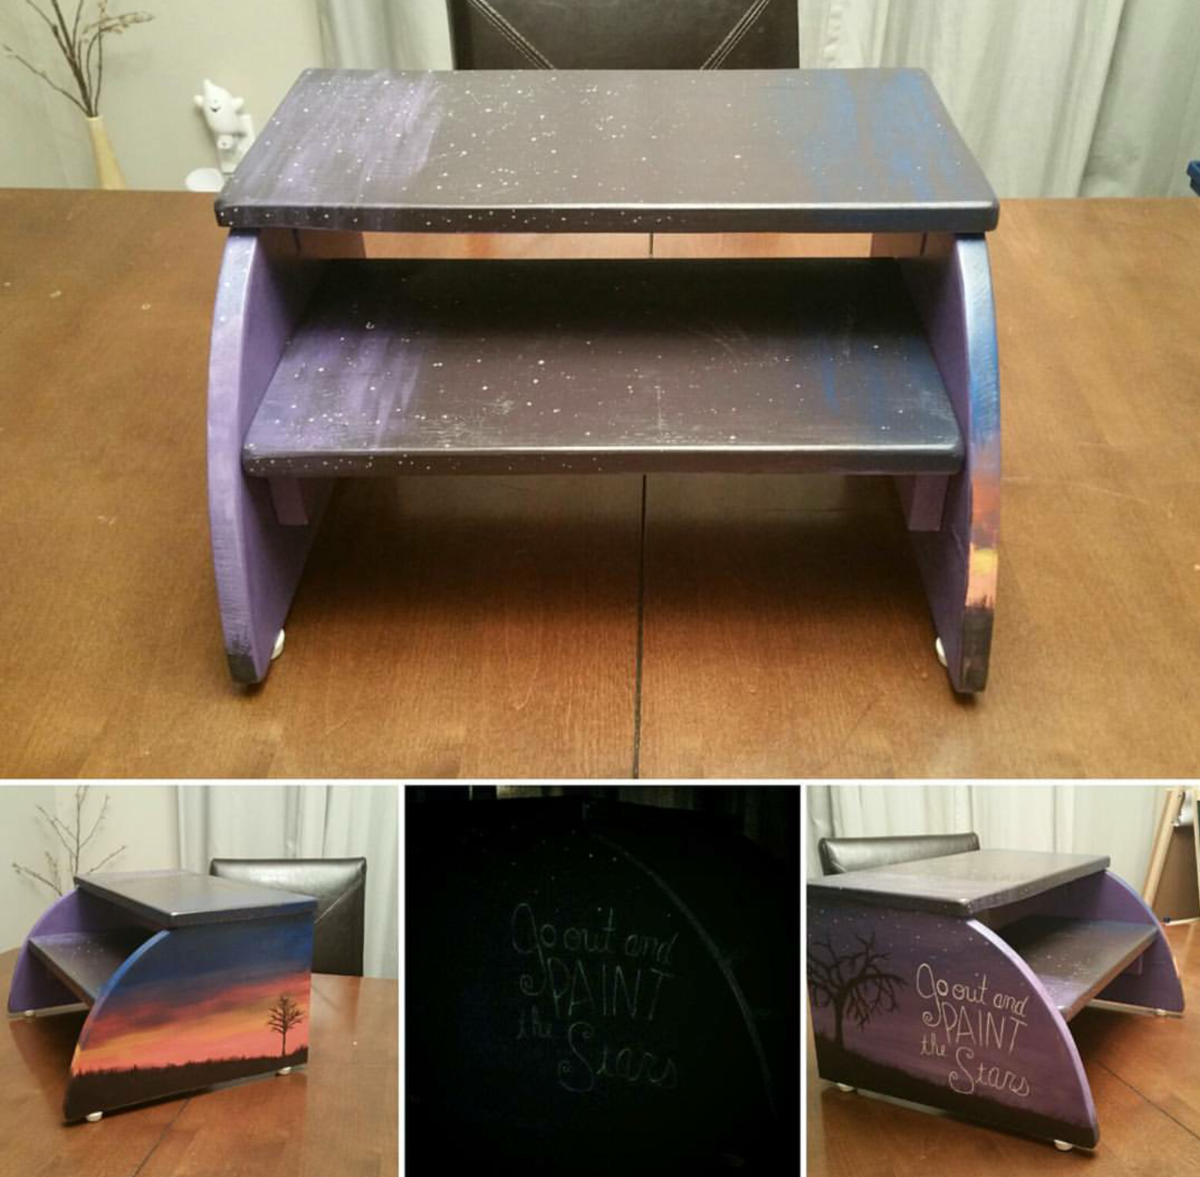
Step stools I built for my kids to use. The second one I actually used glow in the dark paint for the lettering and the stars. Took me longer to paint since everything was hand drawn / written. Total time for the project would have been a few hours if it wasn't for the paint and poly added.
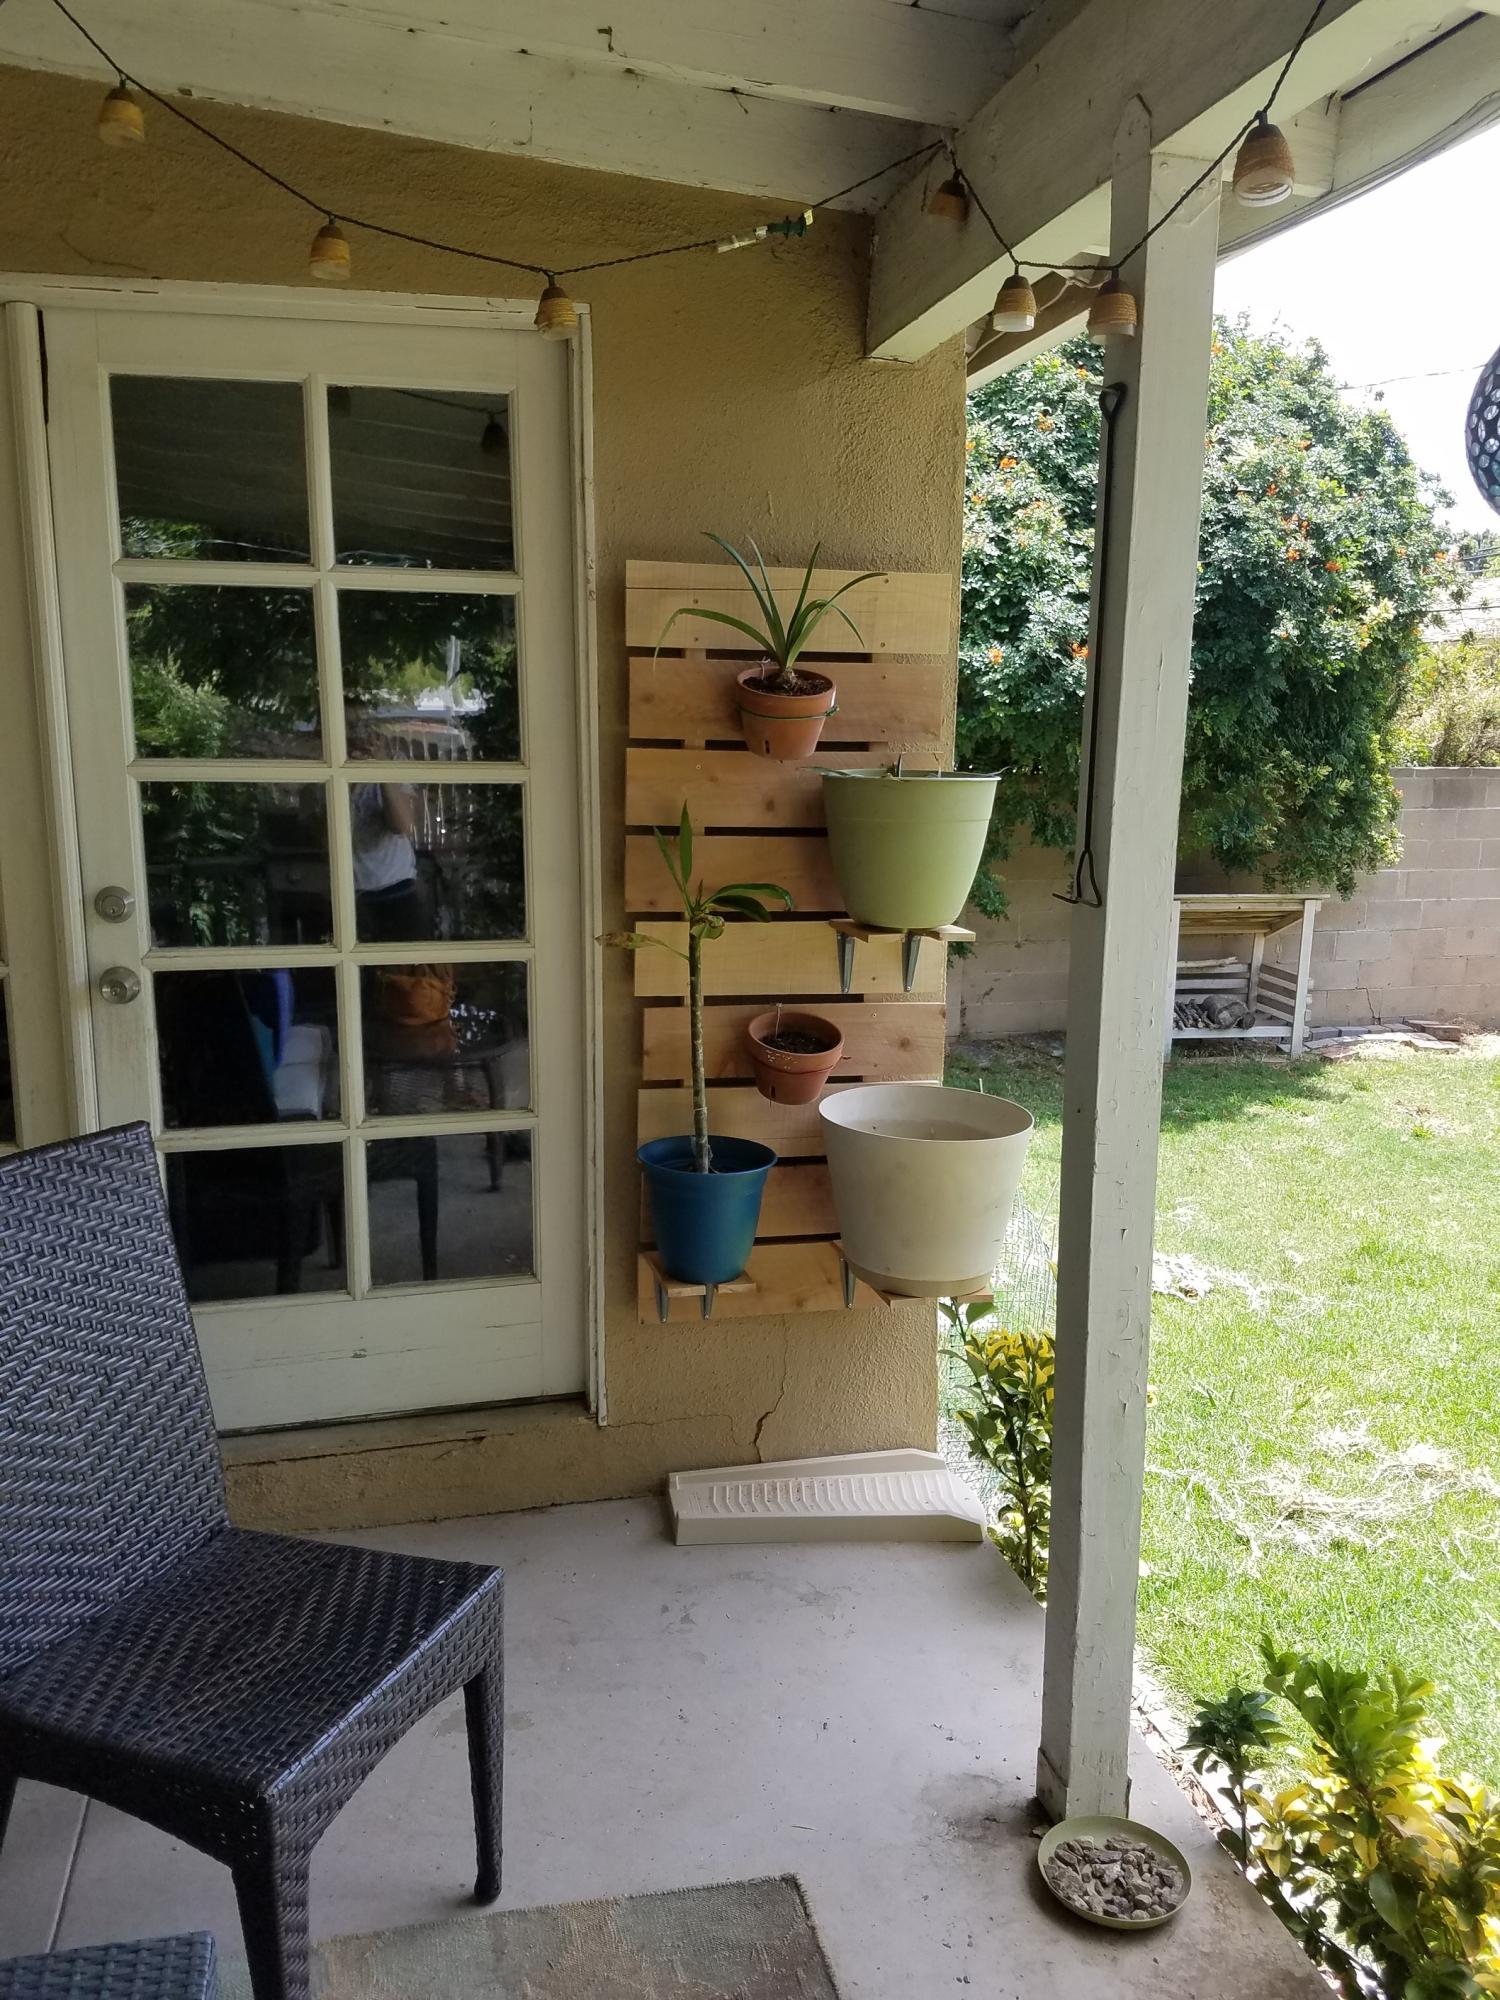
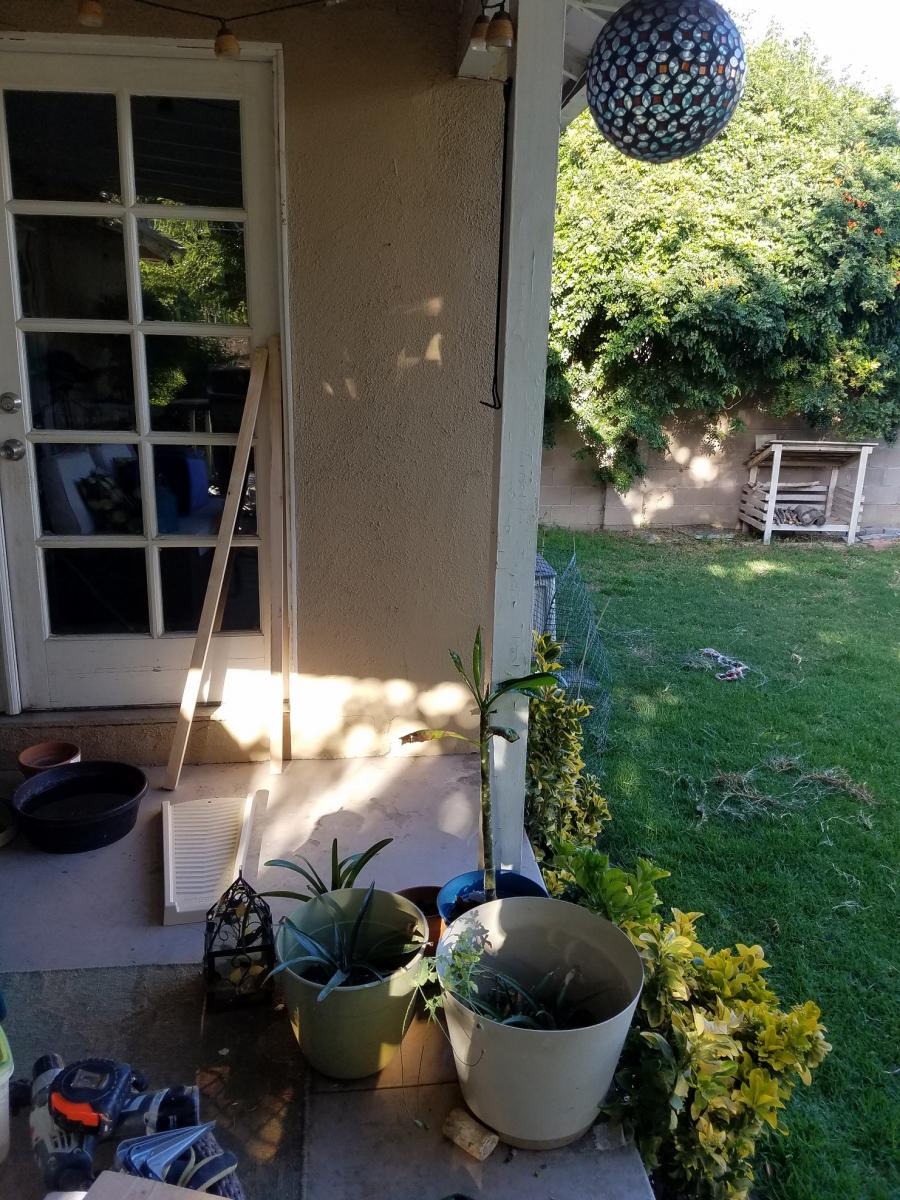
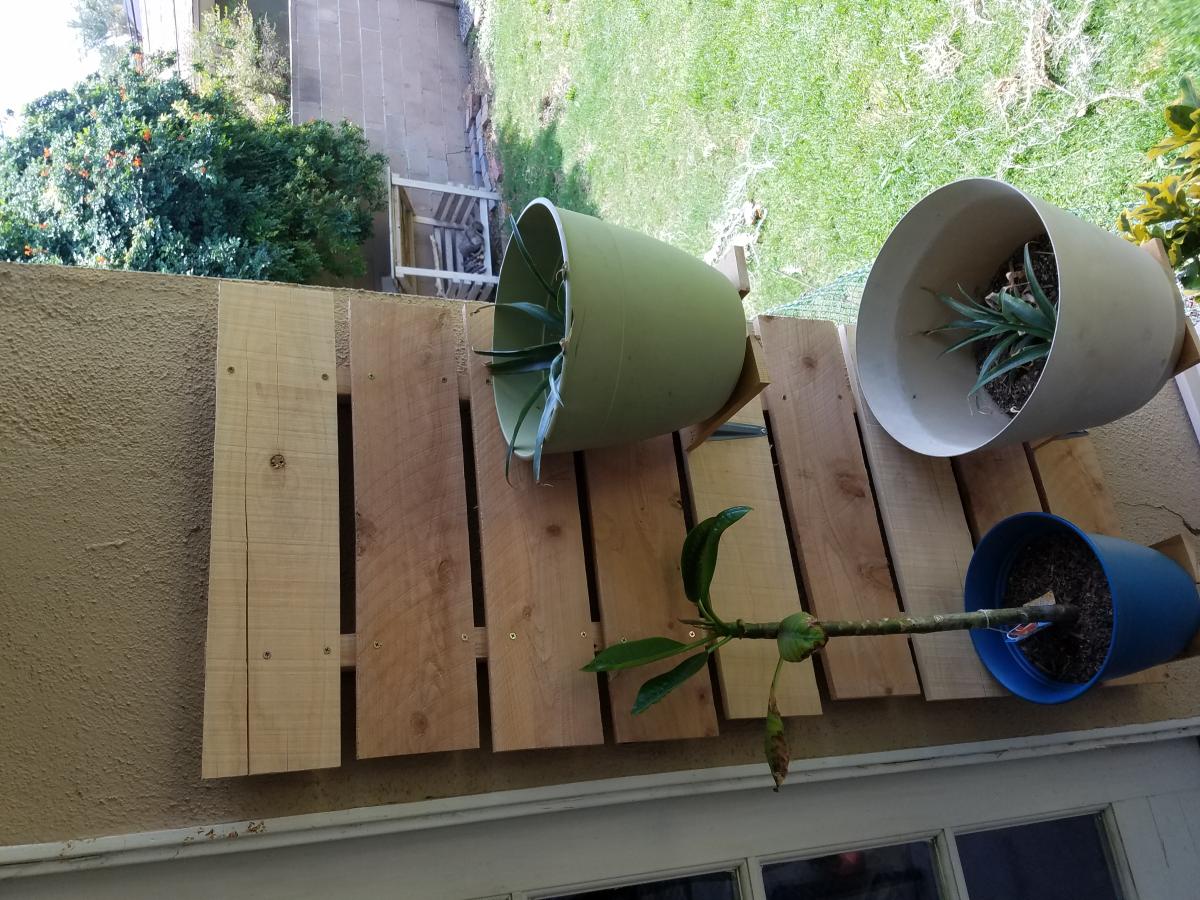
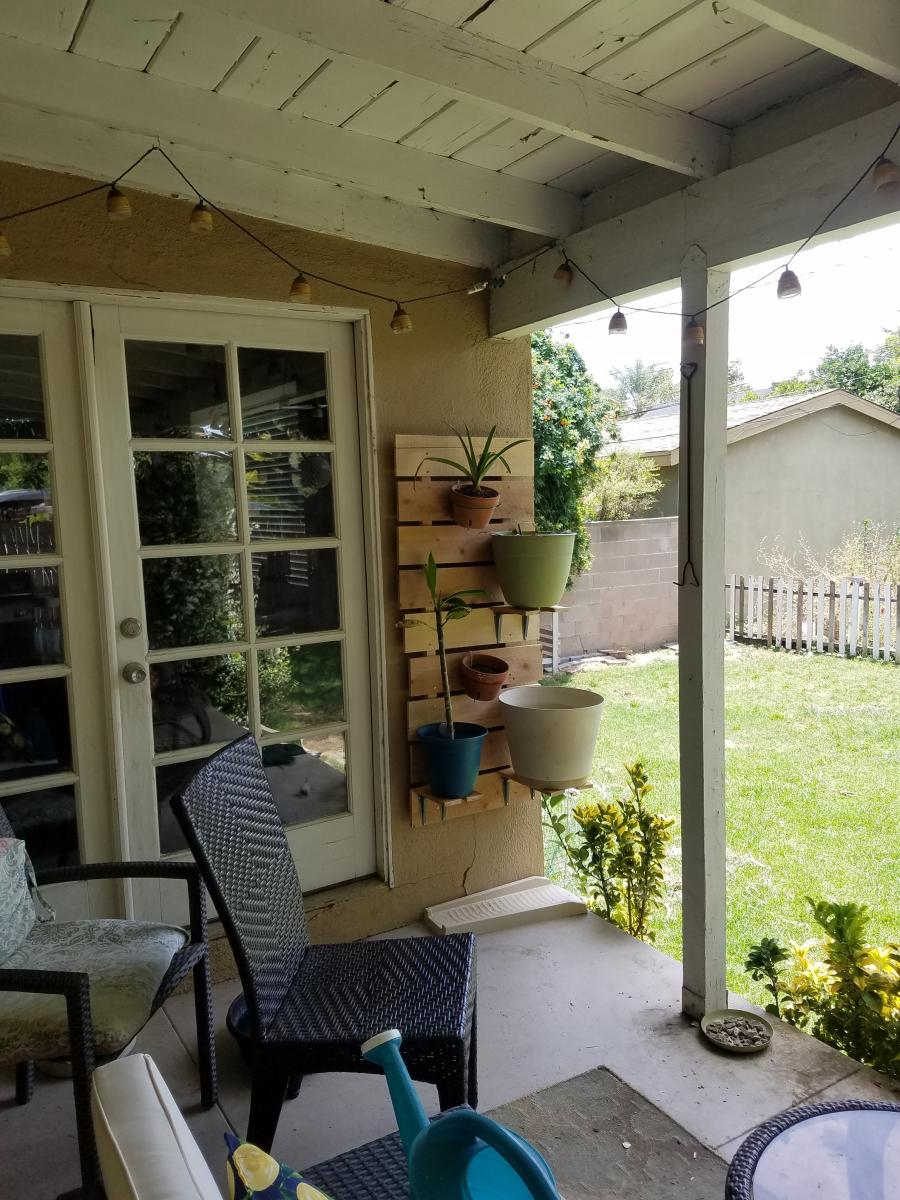
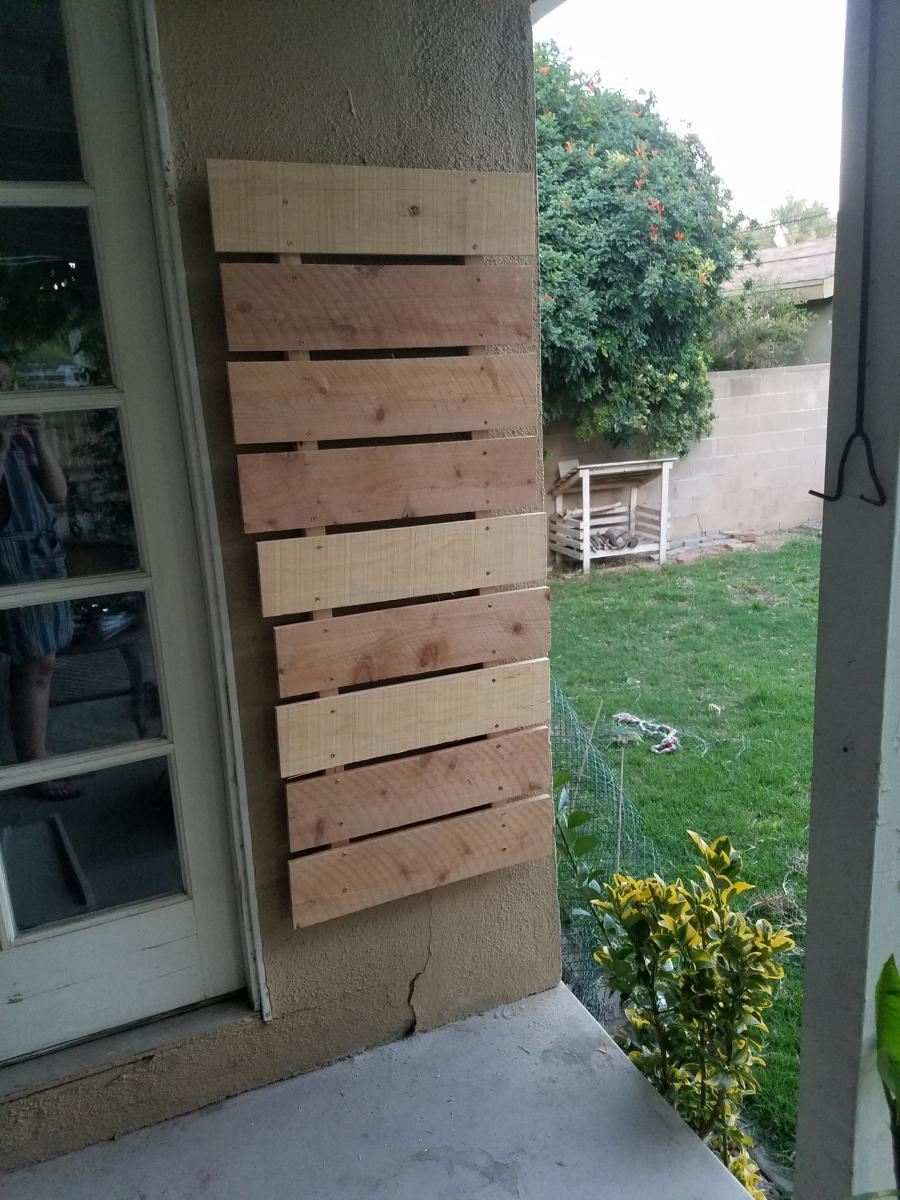
Built a plant wall out of cedar planks to get our planters off the ground. Not pictured, but I also ran a drip line up to each plant so now they're maintenance free!
Love the look and ease of this plant wall.
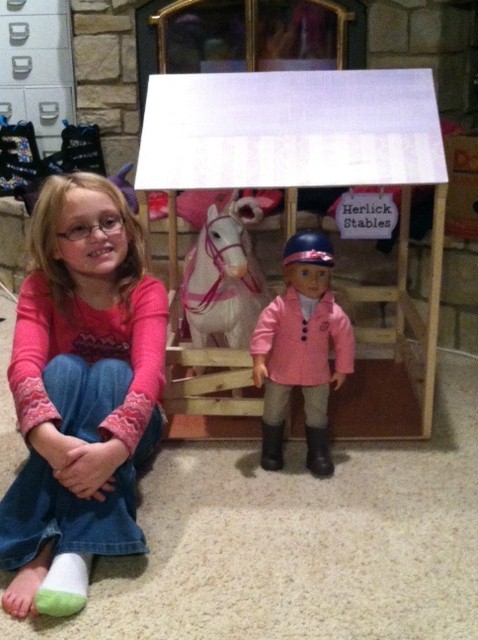
Followed the plans, a decopage floor and roof, and a sign for the stable.
Sat, 01/26/2013 - 18:37
Very cool project. My daughter really liked it and the cost was under 20.00.
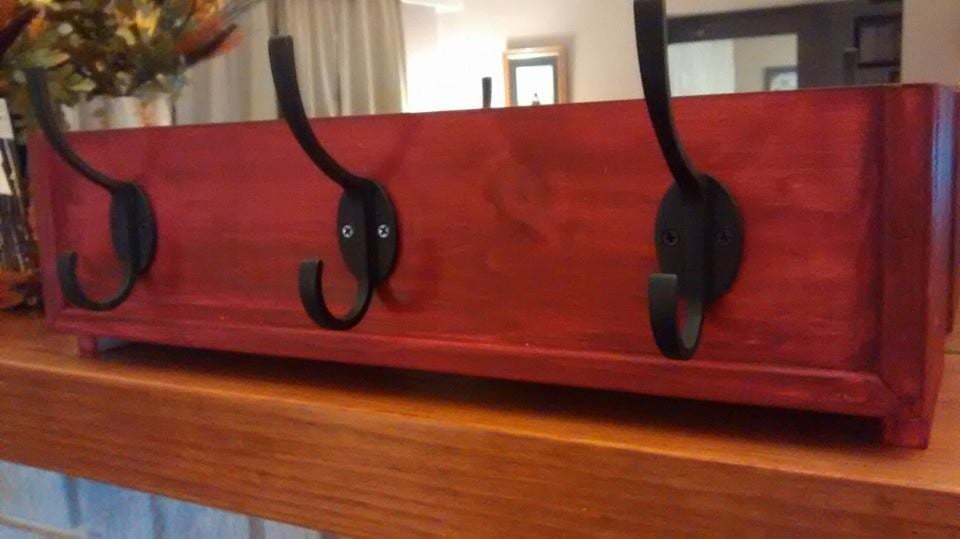
I loved the look of the DIY Stocking Holder, and decided to use it as inspiration to design my own. I basically built a box using scrap 1x6.
The front and back boards were cut to a length of 22" (that was the length my scrap would allow), while the side pieces were cut to a height of 6 1/4" to allow for a 3/4" legs on ends. The bottom piece for the box was cut to a length of 20 1/2". I then sanded all pieces 150 and 220 grit sand paper.
Using 1 1/4" inch finishing nails and wood glue, I attached the 6 1/4" side pieces to the 20 1/2" bottom piece (allowing clearance on the bottom for the 3/4" legs), and then attached the 22" front and back boards. I then cut trim to fit the front of the box. Finally, to keep a rustic look, I applied one coat of a dark burgundy paint. I really wanted the grain of the pine to shine through. After allowing the paint to dry, I attached the hooks.
It turned out to be a quick, simple, and fun build. I can't wait to hang our stockings and fill the box with pine branches and other decorative christmas items.
Comments
Ana White
Tue, 11/11/2014 - 16:02
Love your choice of finish on
Love your choice of finish on this!
thewoodbuilder
Tue, 11/18/2014 - 04:55
Choice of finish
I know right, i think looks even more amazing when seen in person. I did 2 chairs to match as well. which i will load up now. :0)
army1soldier
Wed, 05/20/2015 - 20:19
frame
How did you frame this in to give it the thick look?
army1soldier
Sun, 05/10/2015 - 16:23
nice table
Did you frame in the while thing with 2x4 to get it looking so thick?
adklima
Tue, 01/10/2017 - 06:22
Thickness of Table
How did you get it so thick? Is this doubling up the 2X4's to make it double the thickness?