Camp Loft Bed with Added Book Shelf and Curtain.
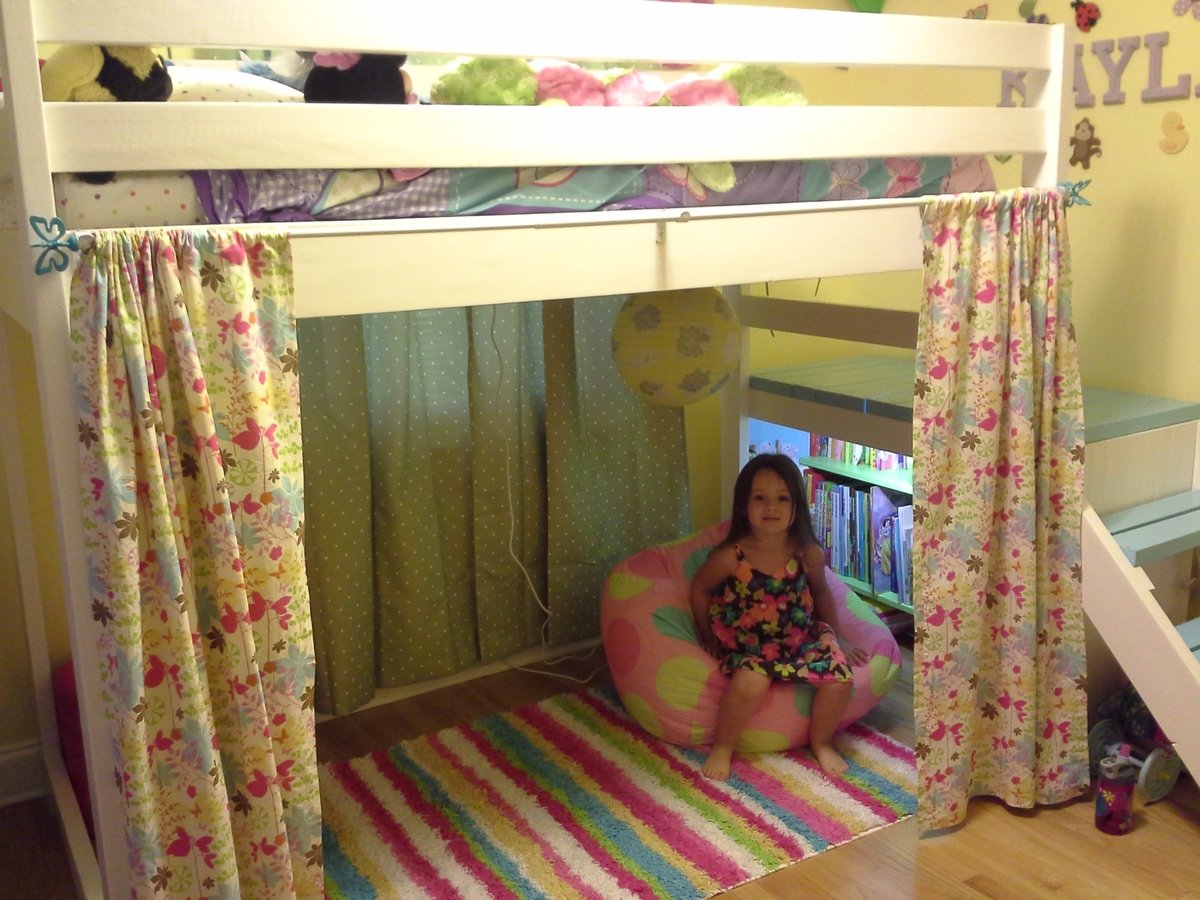
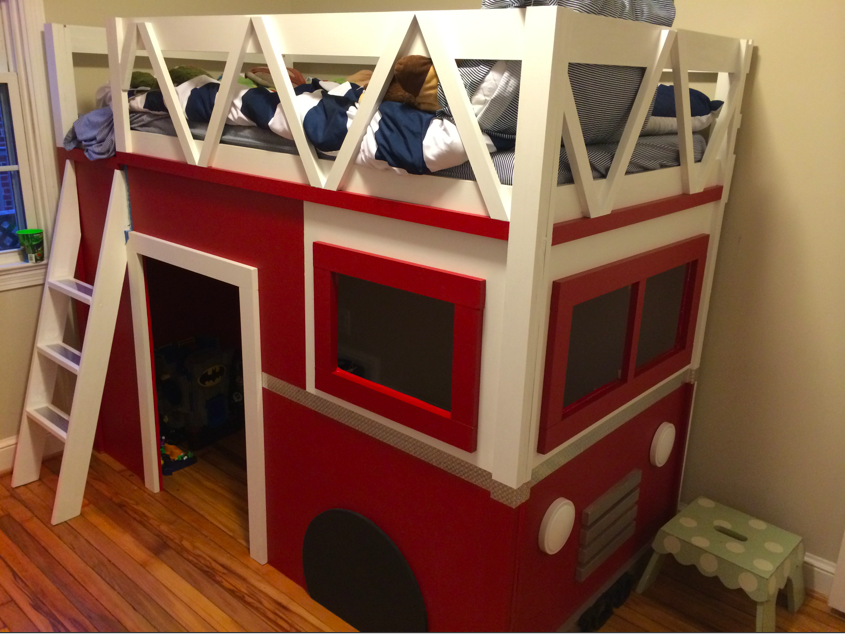
My daughter is 3 and though her room isn't terribly small, I thought this project would be awesome all the same. I wanted to do the doll house bed, but I figured this bed would grow with her more and I liked the platform at the end so I just added a curtain and called it good.
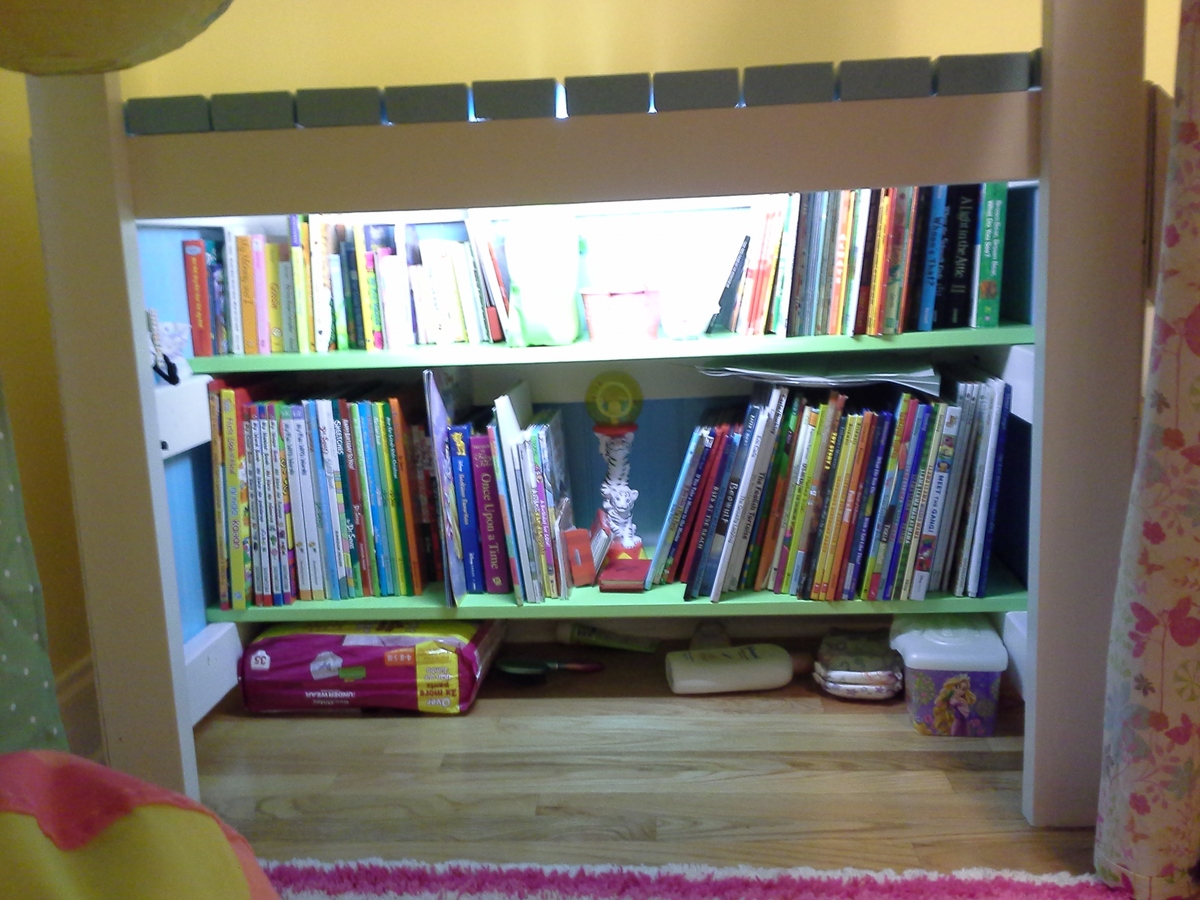
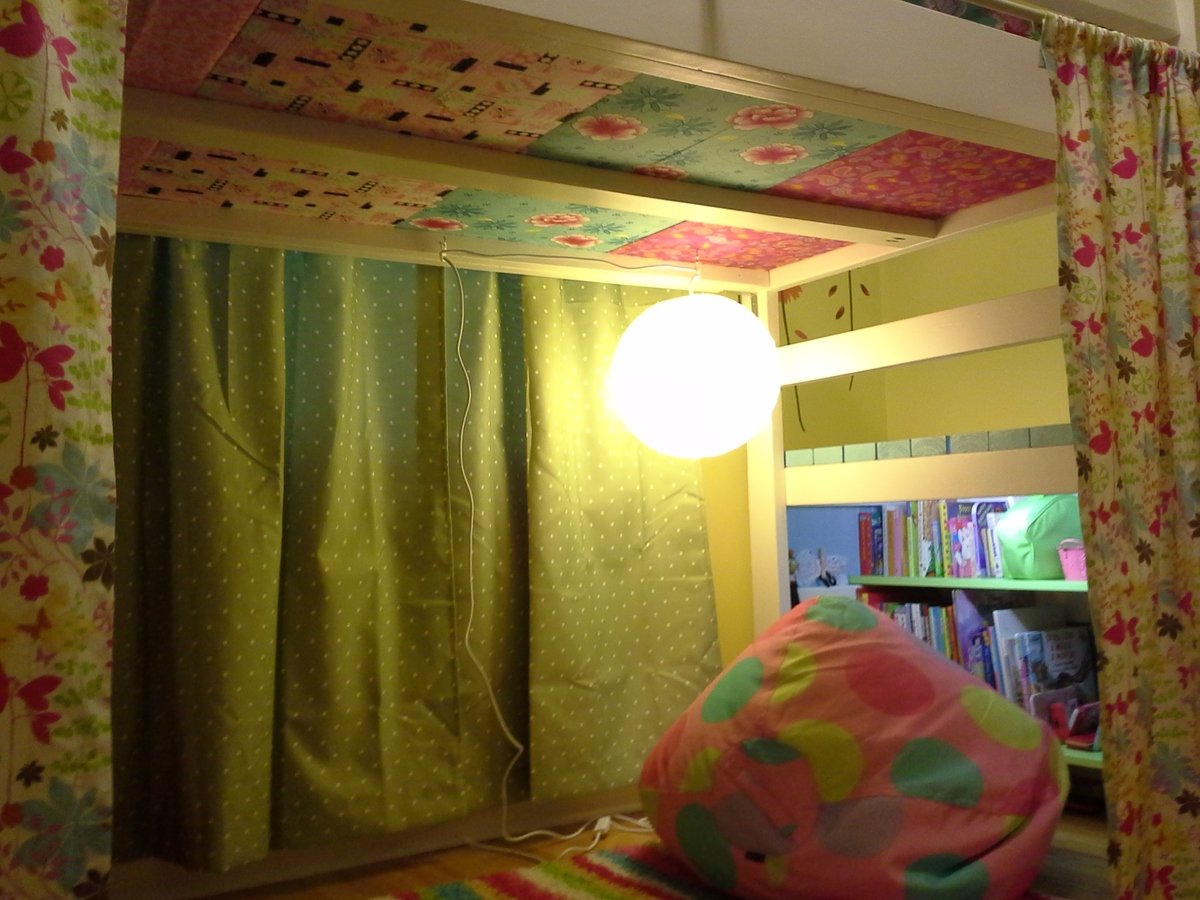
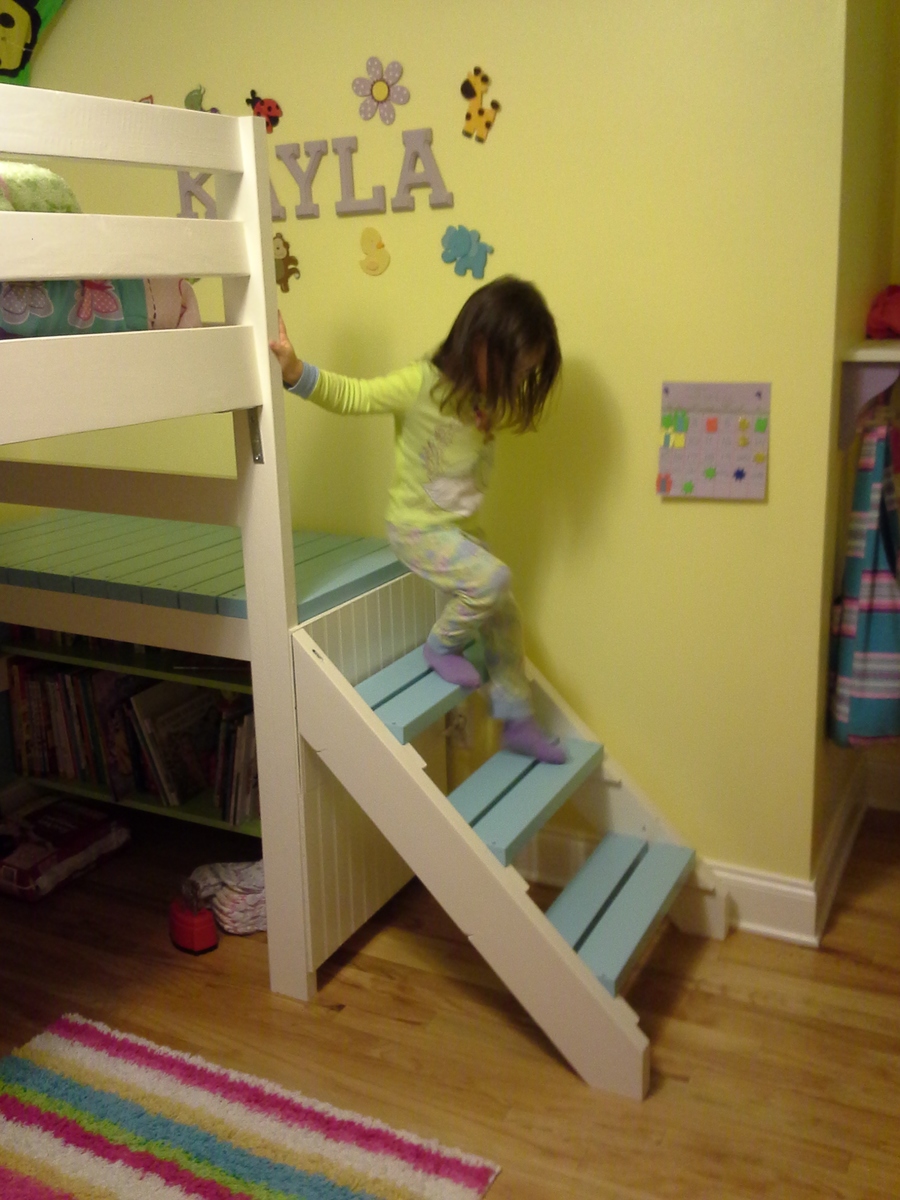
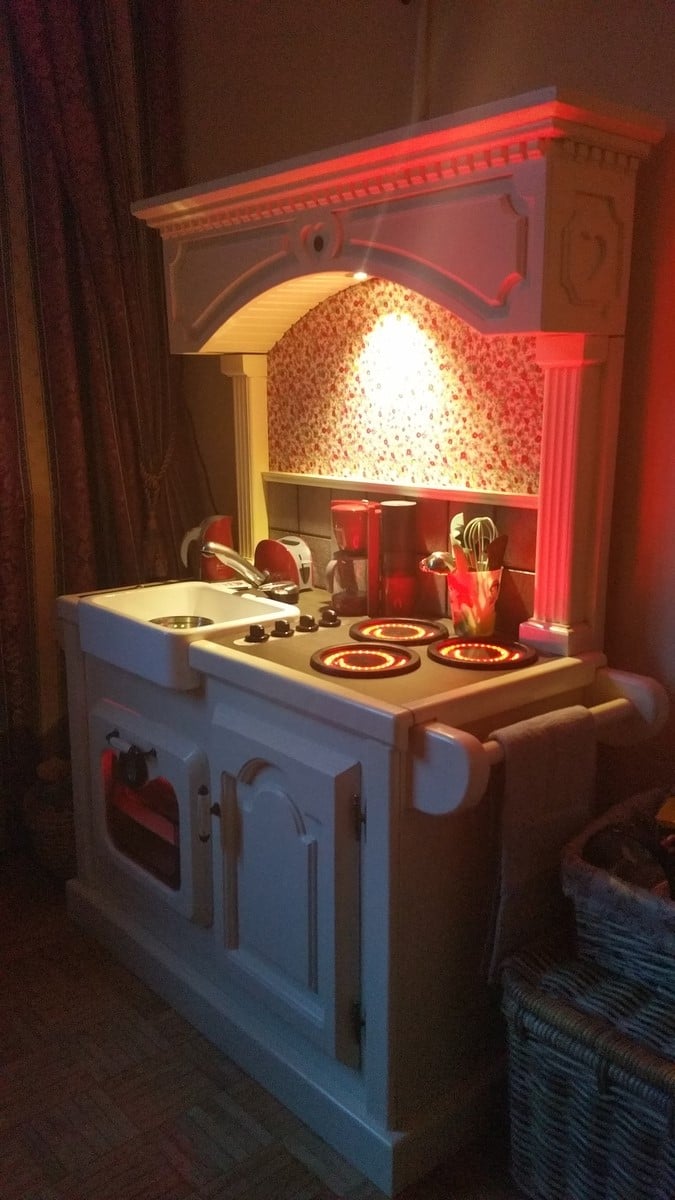
The book shelf is by and large my favorite part of the project. I just added some more 2x4's, a sheet of 1x10 and some left over bead board paneling that I had and used left over paint from her play kitchen that I had previously repurposed from an old entertainment stand. I added an inexpensive, small fluorescent light to the book shelf, out of sight, and found this great, inexpensive paper lantern.
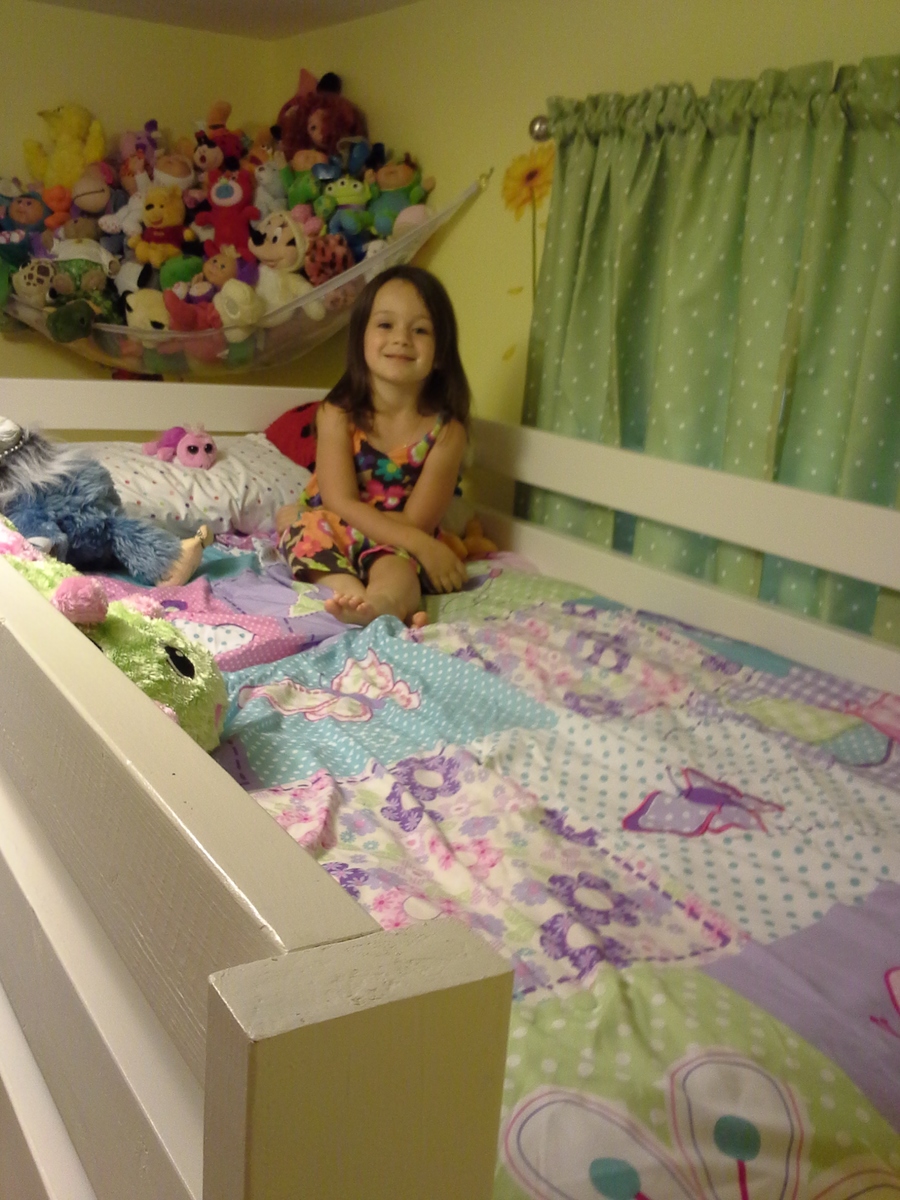
I also added a support beam down the middle of the mattress area and used some 1 in MDF board that I had from another bed and wrapped it in fabric (which ended up being a little pricey, but she loves her ceiling)
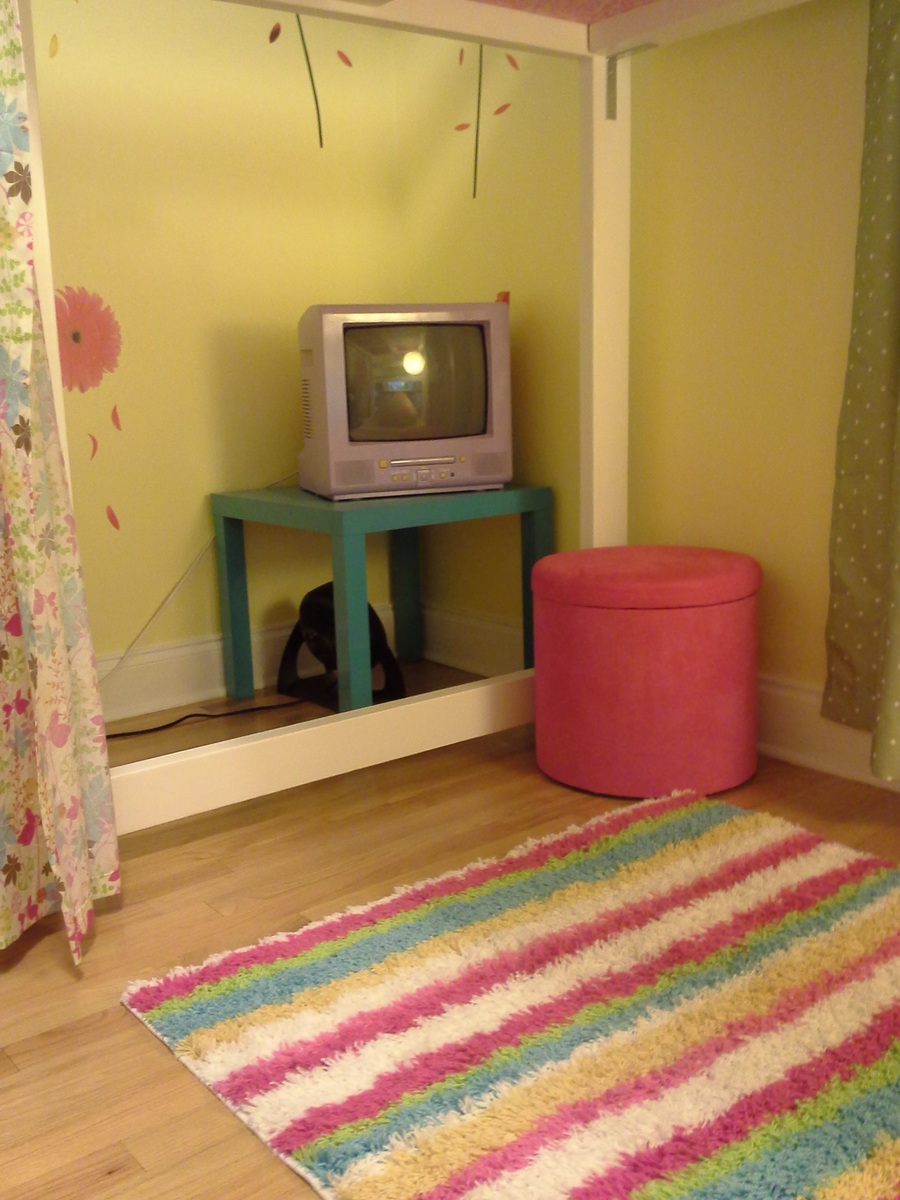
Because she is so young, I pushed the bottom of the bed against the wall instead of building a railing off the platform because I was afraid she would fall as she still gets up in the middle of the night. This worked out because the space that was left at the head of the board fit her TV stand and laundry basket without leaving a foot print on the actual area under her bed. With the curtain up (and almost always closed, as insisted on by the primary tenant) it really is like a clubhouse under there. I can't even begin to go into the hours she spends under there with her books; who doesn't love that?!
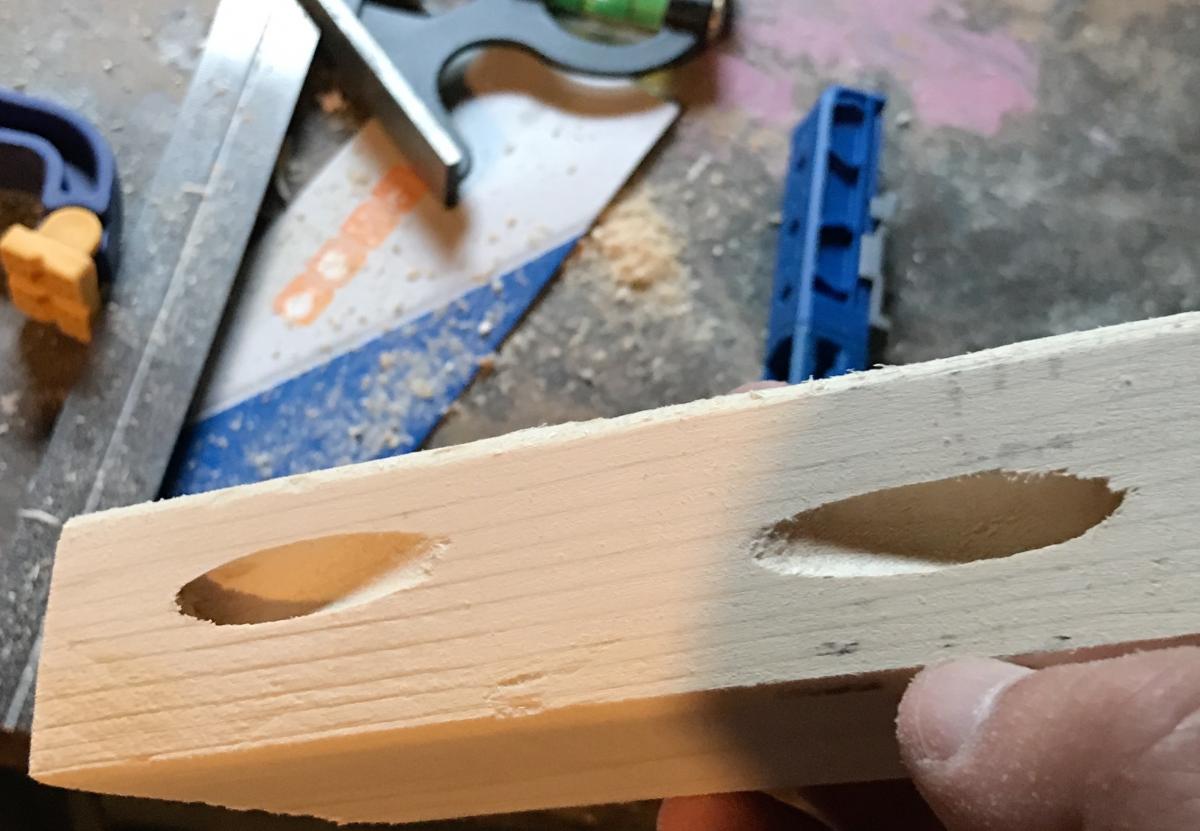
This was my first "from scratch" projects and I learned a few things. 1. Don't strip screws inside of pocket holes. 2. Sand more than you think you need to, especially if you plan to paint. 3. Staining might be a faster way to go, 2 coats of primer and 2 coats of paint takes a lot of time if you want to avoid runs. I would say painting took twice or three times longer than the building! 4. I may avoid lumber from the big box stores from now on, or be much much more careful in picking it out, but I had a 3 year old running circles around me as I was picking it out, so I guess I can cut myself a little break.
Finally, price wise I would say I spent more than I thought I would at first. Lumber was more expensive than a lot of posters mentioned, which is strange, because I thought NC was supposed to have cheap wood. But just for the lumber, I would say I was at or a little over $100. I would say all together I spent between $150 and $200, but I added a good bit, and honestly, fabric isn't cheap either, and I bought about 9 yards all together. With that being said, I think this bed was well worth the investment. I couldn't have gotten something like this for anywhere near that price in a store.
Oh, and I built the entire thing completely alone as my husband was out of town when I got the bug to do this. It didn't come out perfect, but every project I do is an improvement from the last and it's for a kids room! As long as it is sturdy and safe, and it definitely is, and is still attractive, then that's all that matters. My daughter loves it!










Comments
tommirhea
Wed, 09/12/2012 - 13:11
Amazeballs!!!!!
This is wonderful!!! I kind-of wish i would of seen this before I made my daughter her farmhouse bed-but I love that too. I can only imagine how special your daughter feels :) I bet your husband was pretty impressed as well!
I also want to say I appreciated you points. I too have found that painting is tedious and I too have stripped my screws before!!!!
Robohead
Wed, 09/12/2012 - 23:03
Very Nice!
You did a great job with this bed. I really like how you did the "ceiling". And yep, no matter how much you spent to build it, there is no way you could buy a bed like this for that amount of money. I also built this bed (with a 2nd bed below it) and when all was said and done, it came in at around $200. More than I had planned, but far, far less than if I had went to a furniture store (which I will probably never do again thanks to this site).
angip (not verified)
Thu, 09/13/2012 - 09:01
You did an amazing job!!!
I love your loft bed. As much as I love the white with the blue steps. I may just stain mine! This will be my first big wood working project, I will be more comfortable with my husband or friend helping me on this one.
nickonchuks
Sun, 01/27/2013 - 20:14
Painting?
I want to make this bed and paint it similarly to you (white with some colour on the platform) but I am pretty sure I could not build this bed and then move it into my daughter's room after the fact. I am pretty sure I will have to do all the final assembly in her room, but I don't want to paint it in her room, either. At what stage did you paint? Would it be wise to paint all your pieces before assembly?
Tsu Dho Nimh
Mon, 01/28/2013 - 07:45
Paint before assembly
Paint pieces, assemble carefully, then touch up any nicks and dings.
It's far easier