Community Brag Posts

Birthday Seesaw

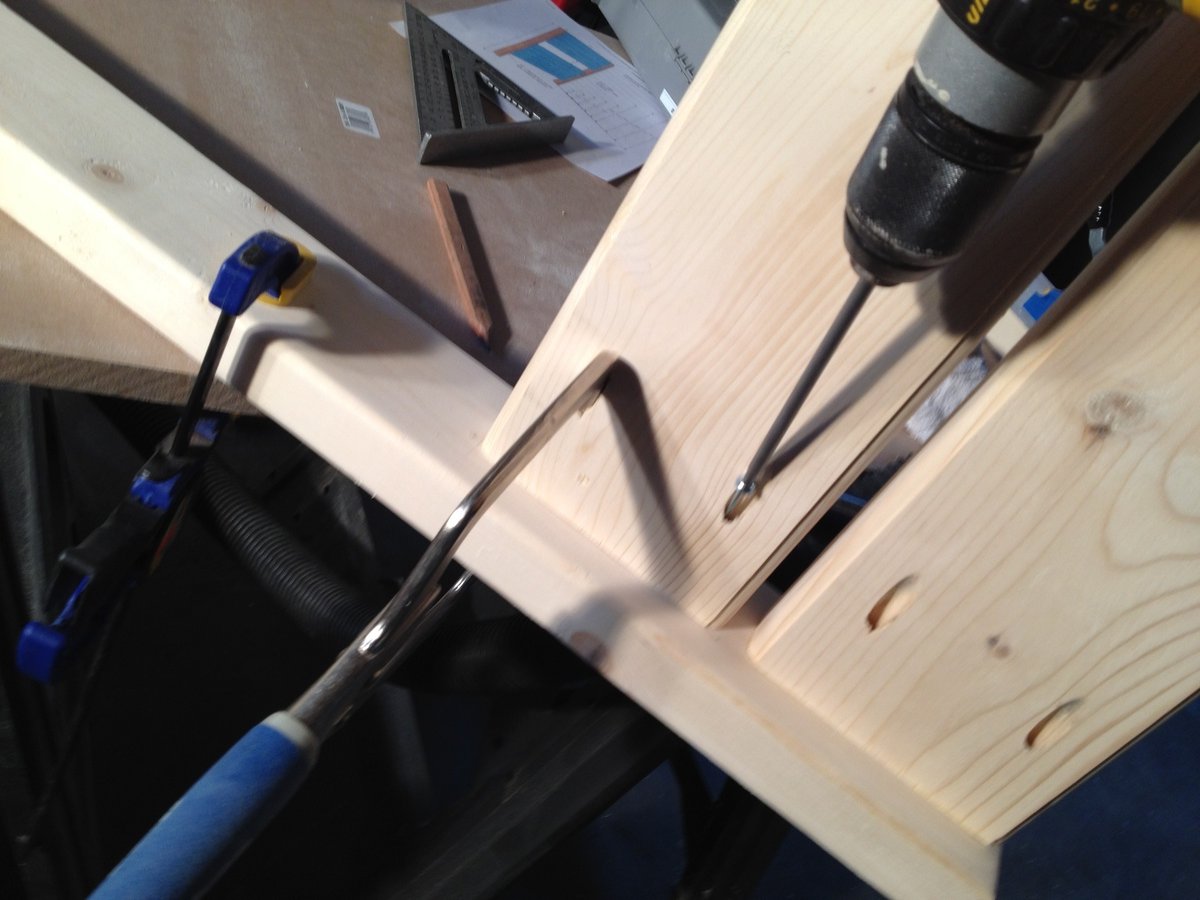
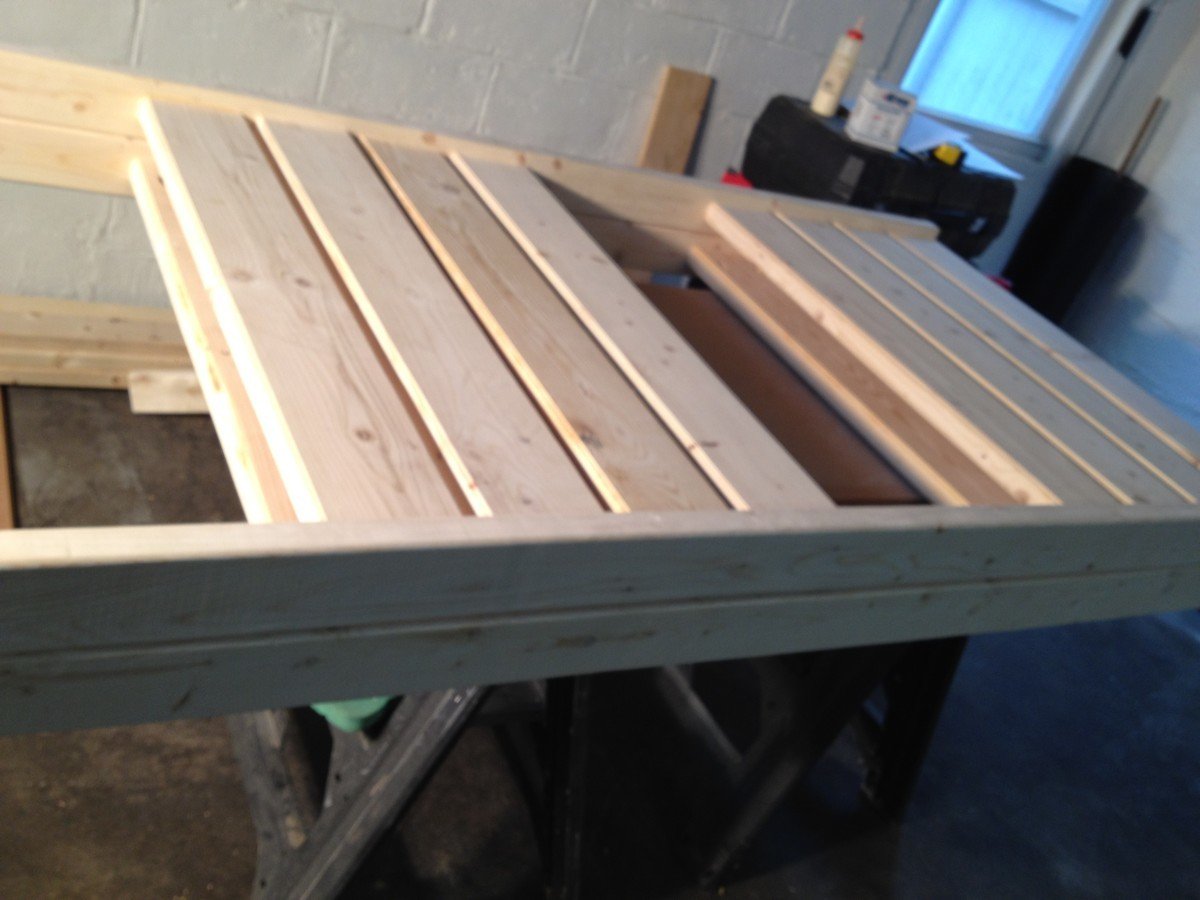
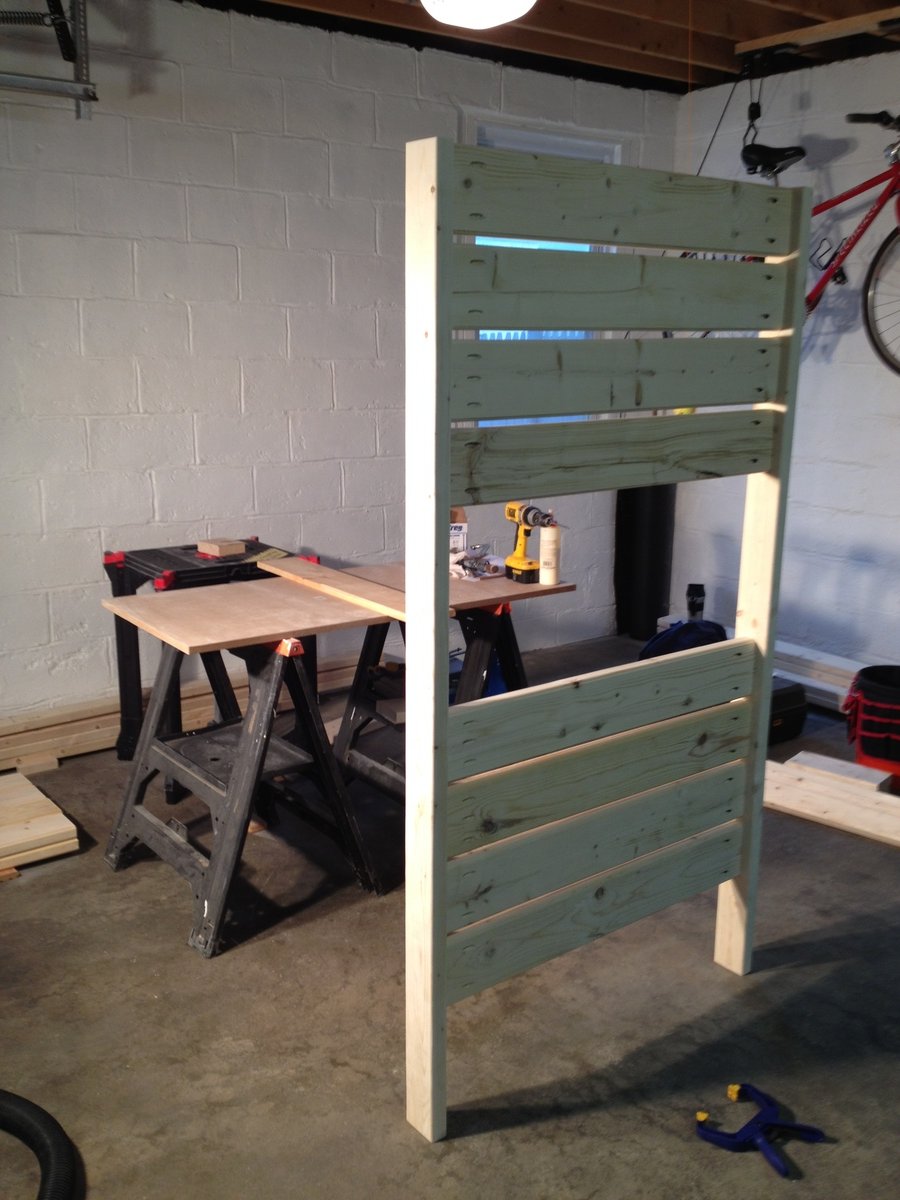
I decided to build this for my kids while they were at camp for a week this summer. It was easy and very inexpensive. They love it!

Estimated Cost
$30 (including paint)
Estimated Time Investment
An Hour or Two (0-2 Hours)
Finish Used
Valspar 12 Oz. Everglade Glen Satin Spray Paint
Recommended Skill Level
Beginner

Planters

I loved this project! First time I got to use my kreg jig!! Which I would recommend to any builder. Took me a few hours. Not sure how I'm going to finish them yet!

Built from Plan(s)
Estimated Cost
$20 for both. I had some scraps left over from previous projects
Estimated Time Investment
An Hour or Two (0-2 Hours)
Finish Used
Haven't decided on Minwax walnut stain, or a yellow paint.
Recommended Skill Level
Starter Project

Coffee Table/ Rustic table

Submitted by KathaKon on Mon, 08/01/2016 - 08:08

That was my first real handmade project after just reading and following Ana Whites story and her diy projects for a while.

I´m coming from Germany and it took quite a while to "translate" all the lumber measurements to the german equivalents, since we don´t have the same ones. So I just took the similar lumber sizes I could find in a hardware store (Baumarkt), all in all 23 € for pine lumber plus wheel casters for 30 € each, which was the most expensive part of the project. I modified the size of the table as well and am very proud to present you my first project: my very first industrial coffee table for the home office.

I made the stain myself, by the way!

Here is the summary:

- one layer of black strong coffee (3 table spoons + 500 ml hotwater)

- 2-3 layers of steel + vinegar solution (sanding a bit inbeween)

- 2-3 layers of spar varnish (sanding a bit inbetween)


Hope you like it;) and thanks a lot to Ana White for being so creative and delivering loads of beautiful diy projects for woodwork lovers all over the world!


Looking forward to my next project!!!

Built from Plan(s)
Estimated Cost
aprox 160 €
Estimated Time Investment
Weekend Project (10-20 Hours)
Finish Used
stain + spar varnish
Recommended Skill Level
Beginner

Cedar Planter-Canadian Tropical

Submitted by NBMOM4 on Sat, 05/23/2020 - 04:58

My first ever building projects. I just wanted some nice planters, then i tweaked to make it bigger and made a herb garden one. I've always been creative and handy but never really got into working with wood. I am so happy to have come across your site as i now have a garage full of wood.. THANK YOU!

PS I have had several neighbours comment on how awesome these look!

Estimated Cost
$15
Estimated Time Investment
An Hour or Two (0-2 Hours)

Comments

mamasue72

Tue, 07/04/2023 - 07:08

I was just looking at making it bigger! Love the small but love the big version too. Looks like you have room for one more box😊 well done! Love the color!

Kentwood Vanity

Submitted by Anonymous (not verified) on Wed, 01/31/2024 - 08:19

I used the plans for the Kentwood Nightstand to make a Bathroom cabinet to hold the Vessel Sink. I made it taller and wider and used a Butcher block top treated with Tung oil and Spar Varnish.
I also changed the doors to 1/4" Overlay double doors with a Sash latch. Much nicer, and sturdier than what you can buy and less than $100- in materials (Excluding the Sink and Faucet) And of course, it's wood, not pressboard.
It came out great and I am not a very experienced wood worker!

Judy H in Idaho

Farmhouse table

My 19 year old son made this for me in an afternoon. I did the finishing and used an oil based outdoor stain. I would try a different finish next time. One coat did not seem enough, and two coast were tacky. I love the finished table though. We will use it outside on our patio. I am considering having my son build another using better wood for the kitchen.

Built from Plan(s)
Estimated Cost
$100
Estimated Time Investment
Afternoon Project (3-6 Hours)
Finish Used
Superdeck- Exotic Hardwood Stain, Walnut
Recommended Skill Level
Beginner

Simple toybox

Submitted by Terah on Sun, 05/04/2014 - 00:44

This took me almost a week as I'm 8 months pregnant and have a very busy toddler! I love the way it turned out, and so does he :) I was able to consolidate a toy bin, a small box of toys, stray toys, and a small bench toy chest full of toys all into this one, huge toy box!

Built from Plan(s)
Estimated Cost
$70
Finish Used
Behr ultra premium plus (paint & primer) satin enamel in delicate mist, 2 coats
Recommended Skill Level
Beginner

Rustic coffee table

Submitted by jsutton78 on Wed, 08/03/2016 - 09:50

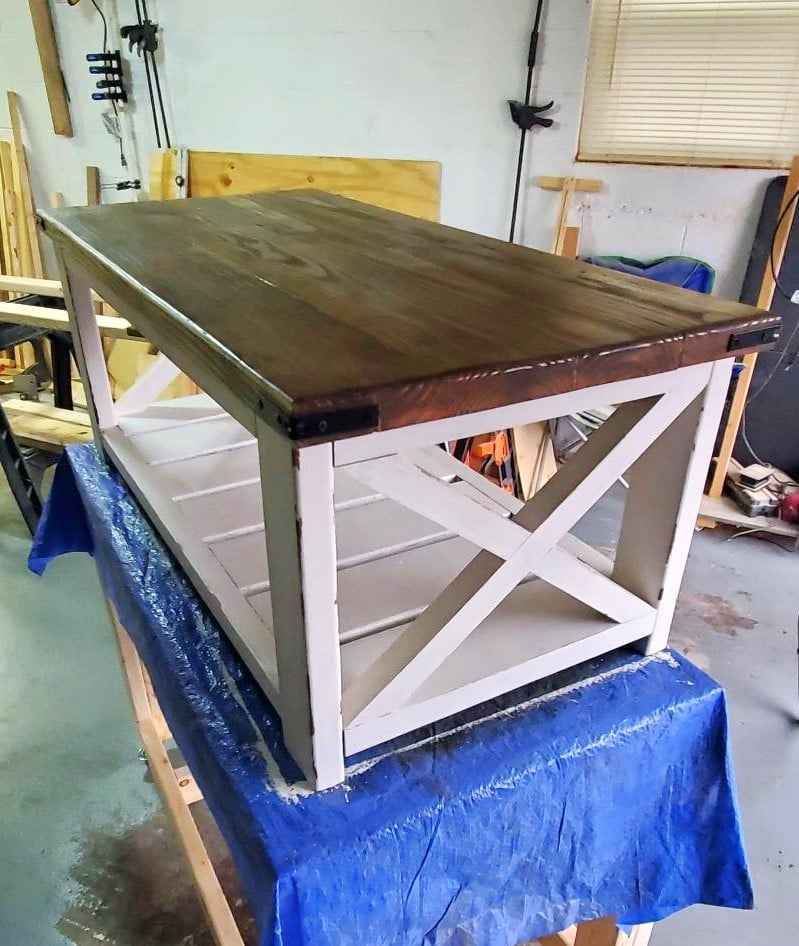
This is a coffee table built out of pine, doug fir and redwood.  I mistakenly bought redwood for the top, but I think it came out pretty nice!  I had the "x" but decided I liked the look better without it.

Built from Plan(s)
Estimated Cost
$100
Estimated Time Investment
Afternoon Project (3-6 Hours)
Finish Used
Special walnut stain, poly gloss.
Recommended Skill Level
Beginner

Tommy Bookcase

Submitted by shastacoke on Wed, 07/18/2012 - 09:59

This is the mini version of the Tommy Bookcase. I am using this piece as a storage bench in the bathroom. I loved what we did with the Tommy Bookcase, so we made a mini and used the leftover trim and moulding to make this piece. I love cherry wood, but it can be very pricey. We used cherry plywood to save on costs.

Estimated Cost
$50
Estimated Time Investment
Afternoon Project (3-6 Hours)
Finish Used
I used a semi-gloss polyurethane finish on this piece. I sanded it down before I added it. I did 2 coats because this is in a bathroom and we were worried about spills on it. I did 1 coat, sanded, then applied the 2nd coat. The reason 2 pieces of trim look more red, is because those pieces of trim had aged for a longer time than the rest of the wood we used. That is something to consider when using cherry. It will age and turn this gorgeous red color. We love it!!
Recommended Skill Level
Intermediate

2 Rustic X consoles with drawers and one with an extra shelf

The one with the extra shelf is 3" taller than the one in the plan and I also took 3 inches from the bottom shelf as well as lowered it. The X's for the taller one were very challenging but turned out pretty good and I chose to use wood guides underneath instead of purchasing metal ones. the drawer fronts are 1x12's and sides are 1x8's. I used my router to cut a grove to hold the plywood bottom and added a support in the center. I have a dovetail joiner but haven't learned how to use it (hopefully will learn soon).
Overall I am very pleased with the way these turned out. I plan on making some with single drawers with the left over wood!
Thanks Ana I couldn't have done any of this had it not been for your site!!!

Built from Plan(s)
Estimated Cost
$120.00 each
Estimated Time Investment
Weekend Project (10-20 Hours)
Recommended Skill Level
Beginner

Comments

Benchwright Farmhouse Table

Submitted by Tom_H on Mon, 08/08/2016 - 11:58

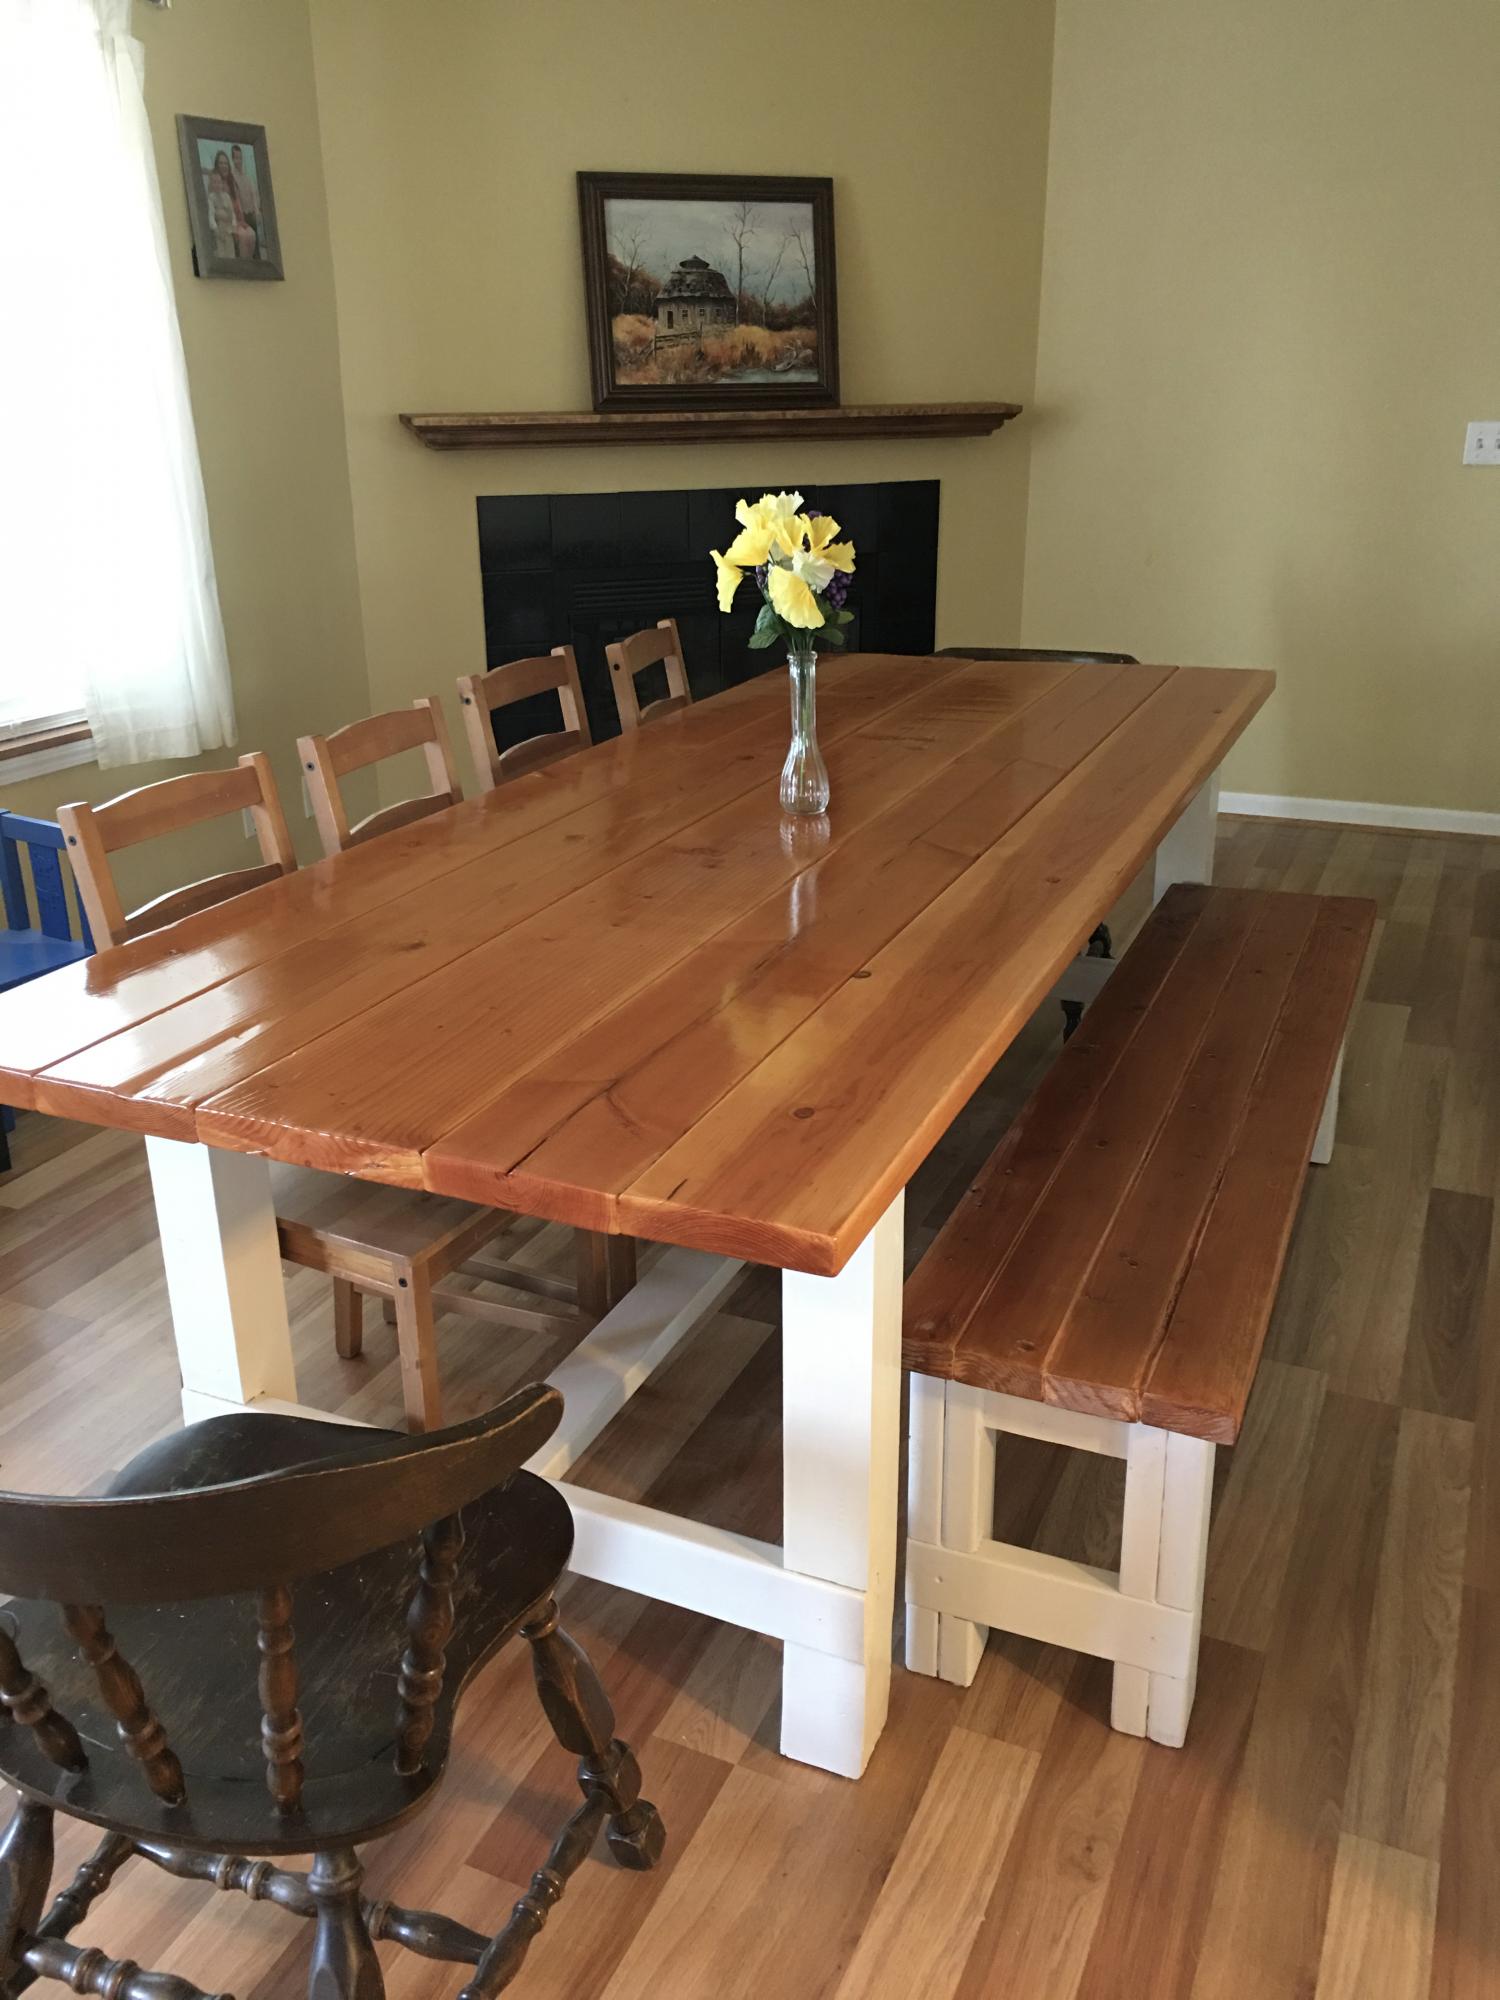
Put together mostly in accordance with the Ana plans, but this one is one 1x6 wider than the original plans with aprons, legs, breadboards, etc. widened as necessary.  Also, the table-top is connected all from the bottom so I could avoid having to patch a bunch of nail holes on the top (lots of screws and pocket holes to pull it all together that way).  I'd highly recommend a Kreg jig for the table, as it allows for most of the screwed connections to be hidden. 


We're moslty just happy to have a rock-solid table that's easy to clean with our 3 and 5 year old boys.  The table this is replacing was a hand-me-down antique that was quite shaky.


The matching benches will be coming along as well, but most of my stuff is put together after the kids go to sleep, so takes some time.


I didn't use wood conditioner prior to the stain - as I read from a good source that the gel stain will essentially do the same as conditioner + traditional stain, and somewhat wishing I would have, as there are a couple blotched areas I'm not happy with, but I'll probably notice them more than anyone else.

Estimated Cost
~$250-$300
Estimated Time Investment
Week Long Project (20 Hours or More)
Finish Used
Sanded 120, 180, 220
Minwax Hickory Gel Stain - 2 coats.
Minwax oil-based poly - 3 coats brushed underside; 3 coats brushed + 2 thin spray coats on top
Poly sanded between each coat.
Recommended Skill Level
Beginner

Turned Leg Dining Table

I made another turned leg table... this time on accident! Lots of finishing details on my blog. http://whitneysworkshop.blogspot.com/2012/07/the-accidental-table.html

Built from Plan(s)
Estimated Cost
Under $100
Estimated Time Investment
Weekend Project (10-20 Hours)
Recommended Skill Level
Intermediate

Comments

A dream come true!

Submitted by elizchube on Sat, 05/10/2014 - 14:35

After searching for many months to find the perfect potting bench, it was clear I would have to create it myself. We finally used my moms old photography sink, that was lonely in our shed, to good use. My hubby and I just adjusted the dimensions to drop in the sink. It turned out so much better than I could have ever expected.

Estimated Time Investment
Day Project (6-9 Hours)
Recommended Skill Level
Beginner

Comments

Rustic Farmhouse Table

Submitted by Anonymous (not verified) on Fri, 08/12/2016 - 13:13

First table I've made! Love this plan!! 

Estimated Time Investment
Week Long Project (20 Hours or More)
Recommended Skill Level
Intermediate

Large Tic Tac Toe Board

Submitted by JamieLynn on Tue, 05/26/2020 - 09:43

Took some liberties with this one and combined with another plan. My first stencil project.

Built from Plan(s)
Estimated Time Investment
Day Project (6-9 Hours)

Comments

Myron3

Wed, 05/27/2020 - 08:28

I love this. Functional but also decorative. Would you mind sharing the plan for your version?

Kentwood Nightstands

I really enjoyed making these nightstands (I made a pair). They were pretty easy to make, and I'm 7 months pregnant! I highly recommend the Kreg Jig - they made building these nightstands super easy and efficient. They're really sturdy too! If I can build them, anyone can! I'm still unsure about the finish; I may sand them down again and re-stain them a different color in the future.

Check out my blog link for the full play-by-play!

Estimated Cost
$70 per table
Estimated Time Investment
Weekend Project (10-20 Hours)
Finish Used
Rustoleum Ultimate Wood Stain in Dark Walnut, sanded down with 60 grit sandpaper and distressed, followed with 3 coats of Rustoleum Satin Polyurethane.
Recommended Skill Level
Beginner

Comments

Lori Hall

Sun, 06/02/2013 - 19:08

I'm not sure what you ended up deciding about the finish but I really like this version, please share how you did this. Thanks!
Lori Hall

Sun, 06/02/2013 - 19:17

I'm not sure what you ended up deciding about the finish but I really like this version, please share how you did this. Thanks!
jhavinga

Tue, 05/20/2014 - 13:33

The finish is awesome, have been searchin around for some inspiration for the next project and just found it! great job and thanks!

-Justin

Farmhouse twin bed

My husband made this adorable bed for our daughter, and used plans from Ana-white.com. I love how it turned out!

Estimated Time Investment
Weekend Project (10-20 Hours)
Recommended Skill Level
Beginner
Back