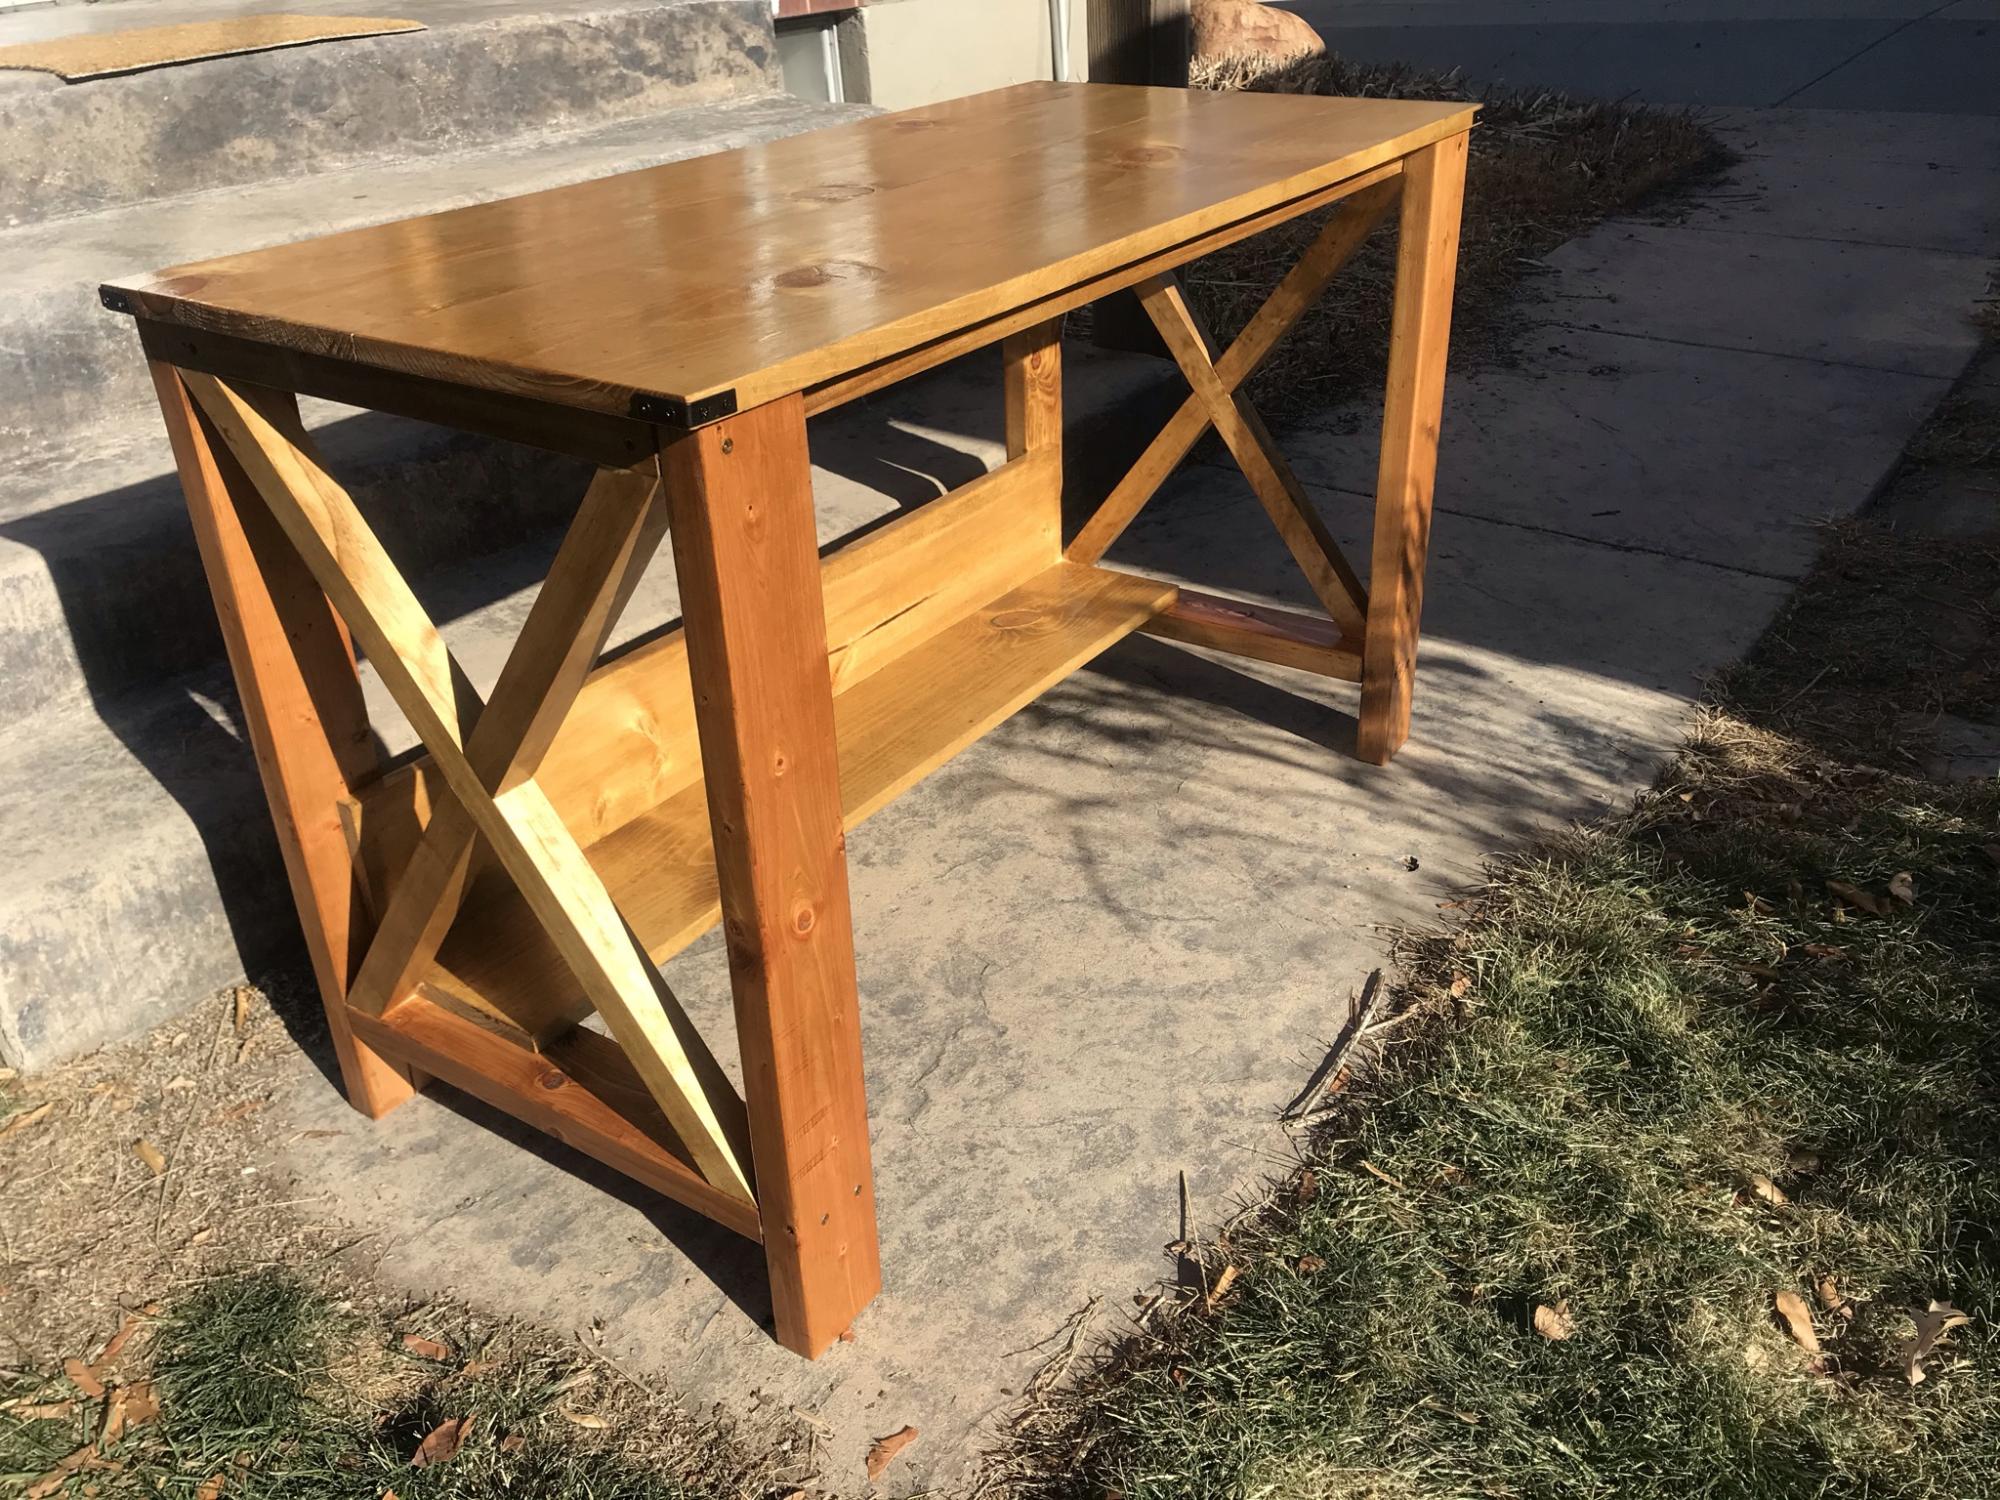
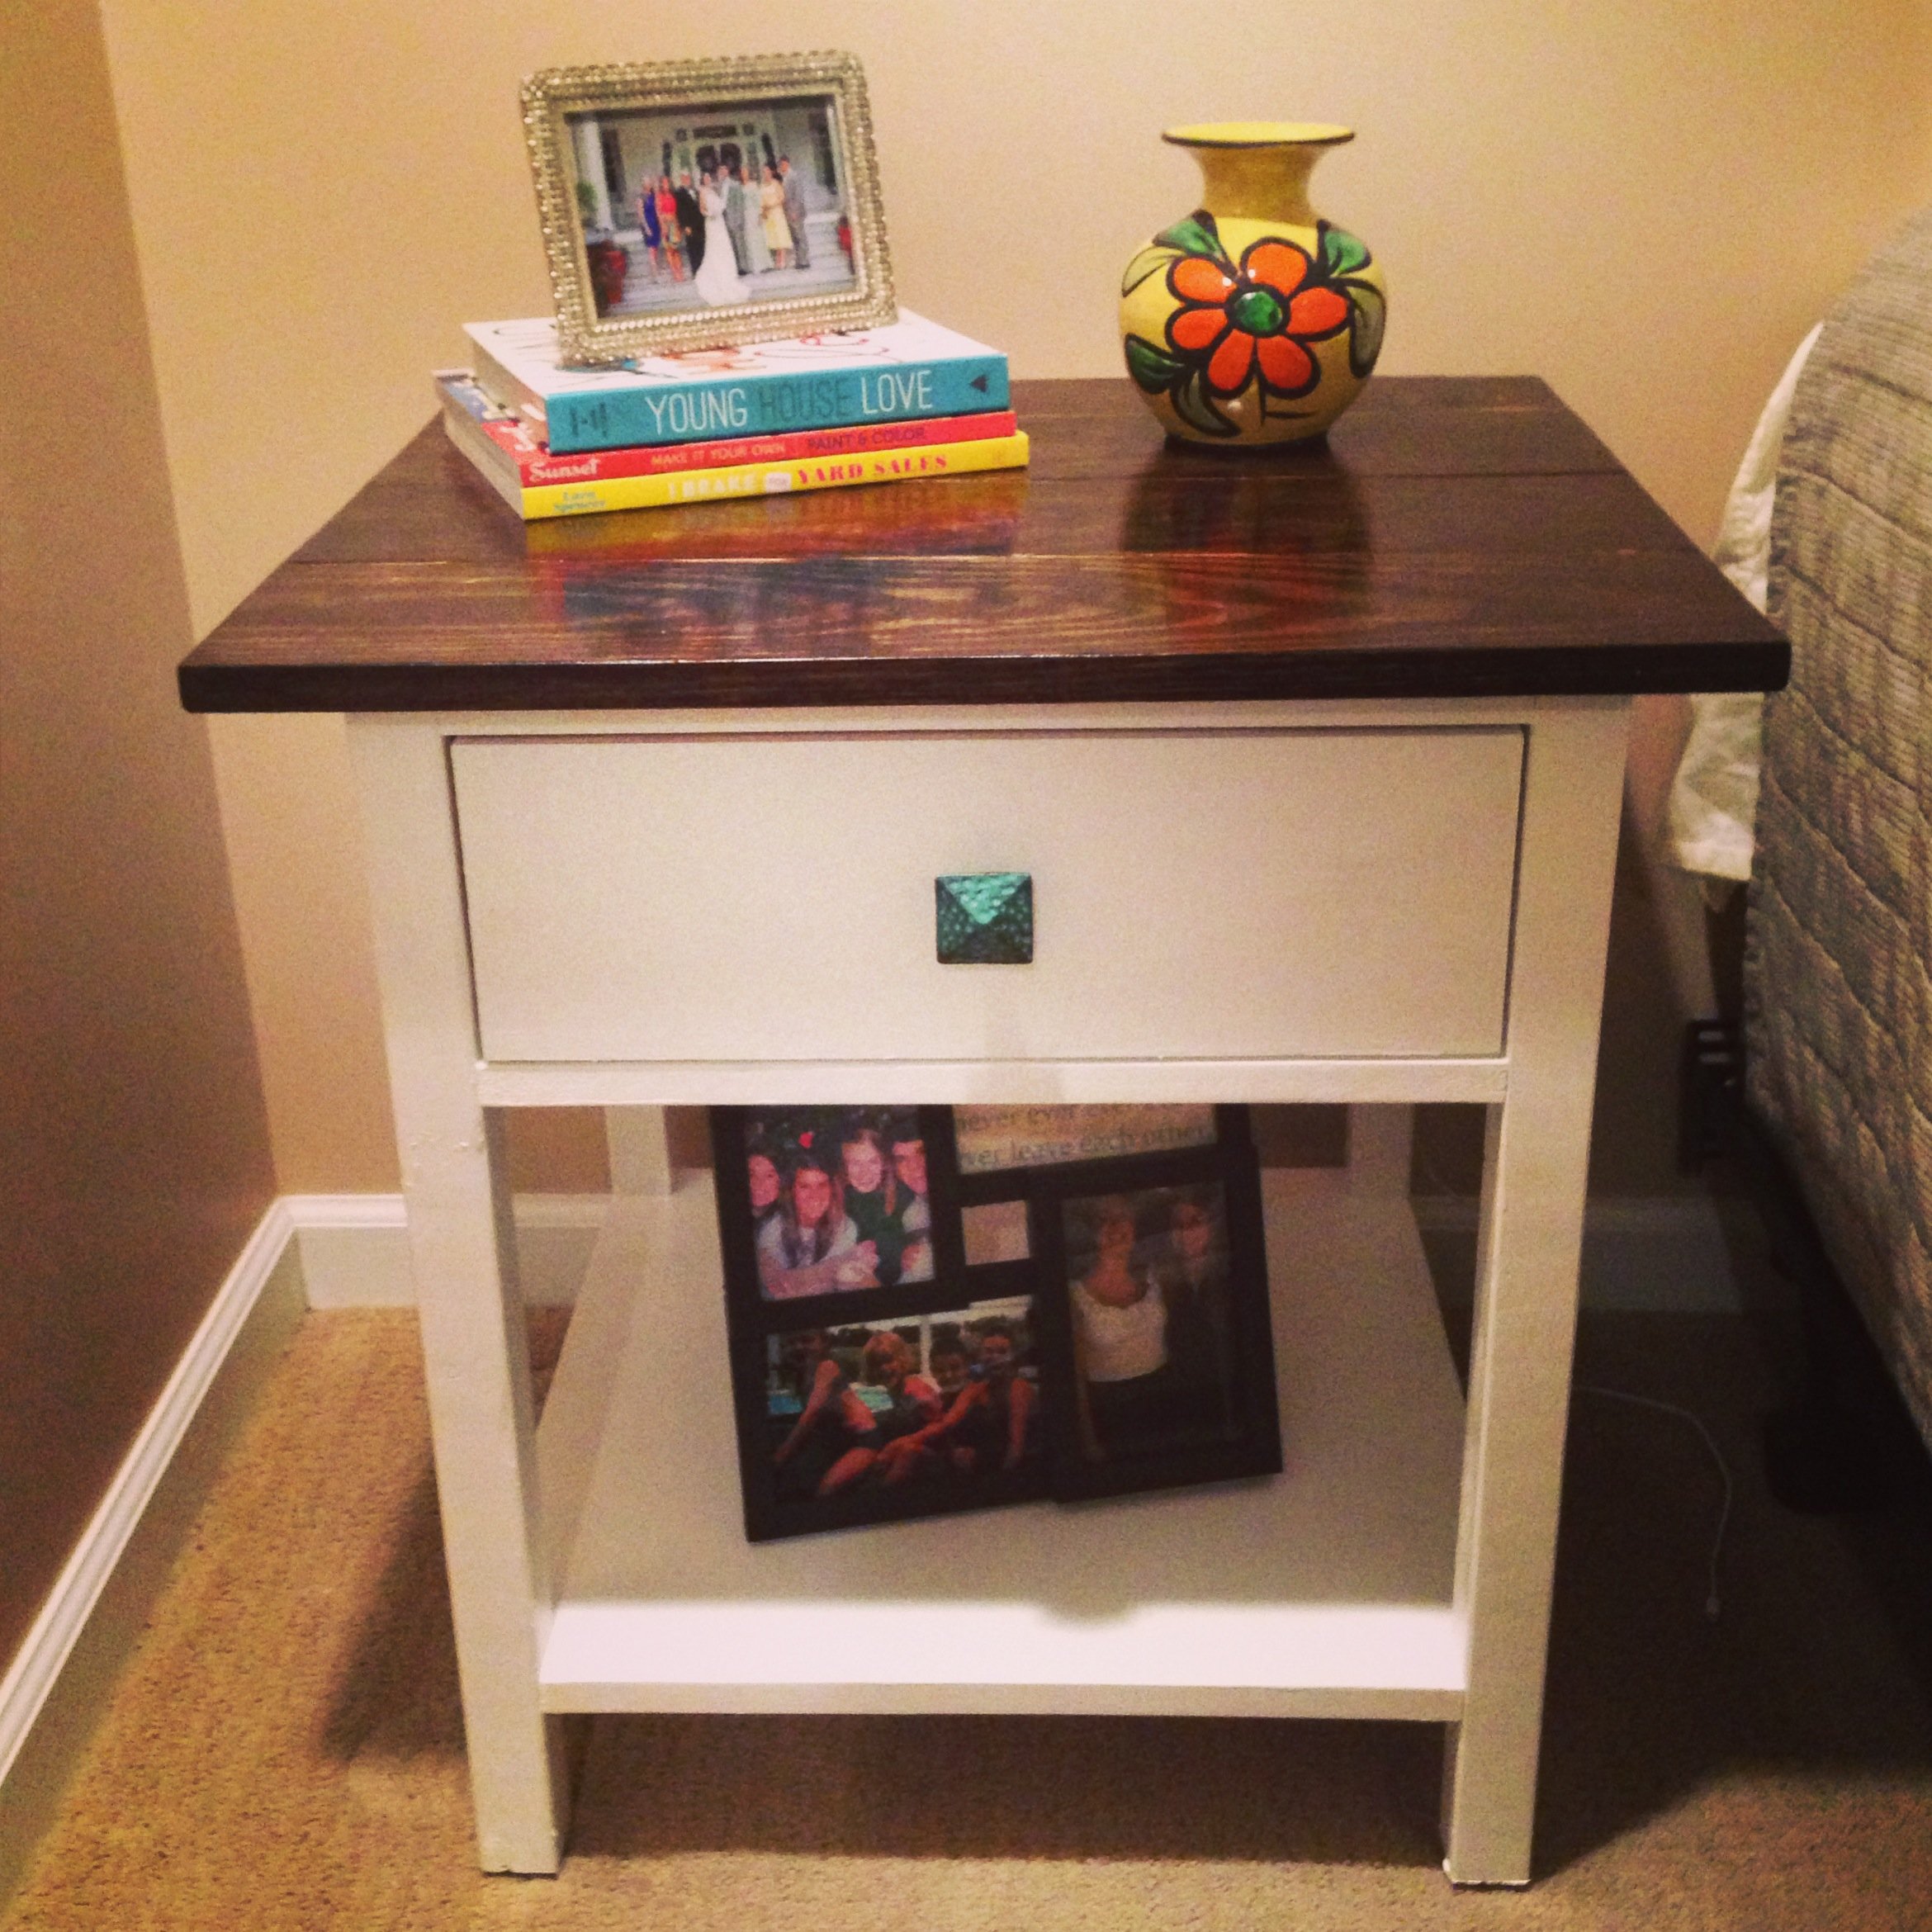
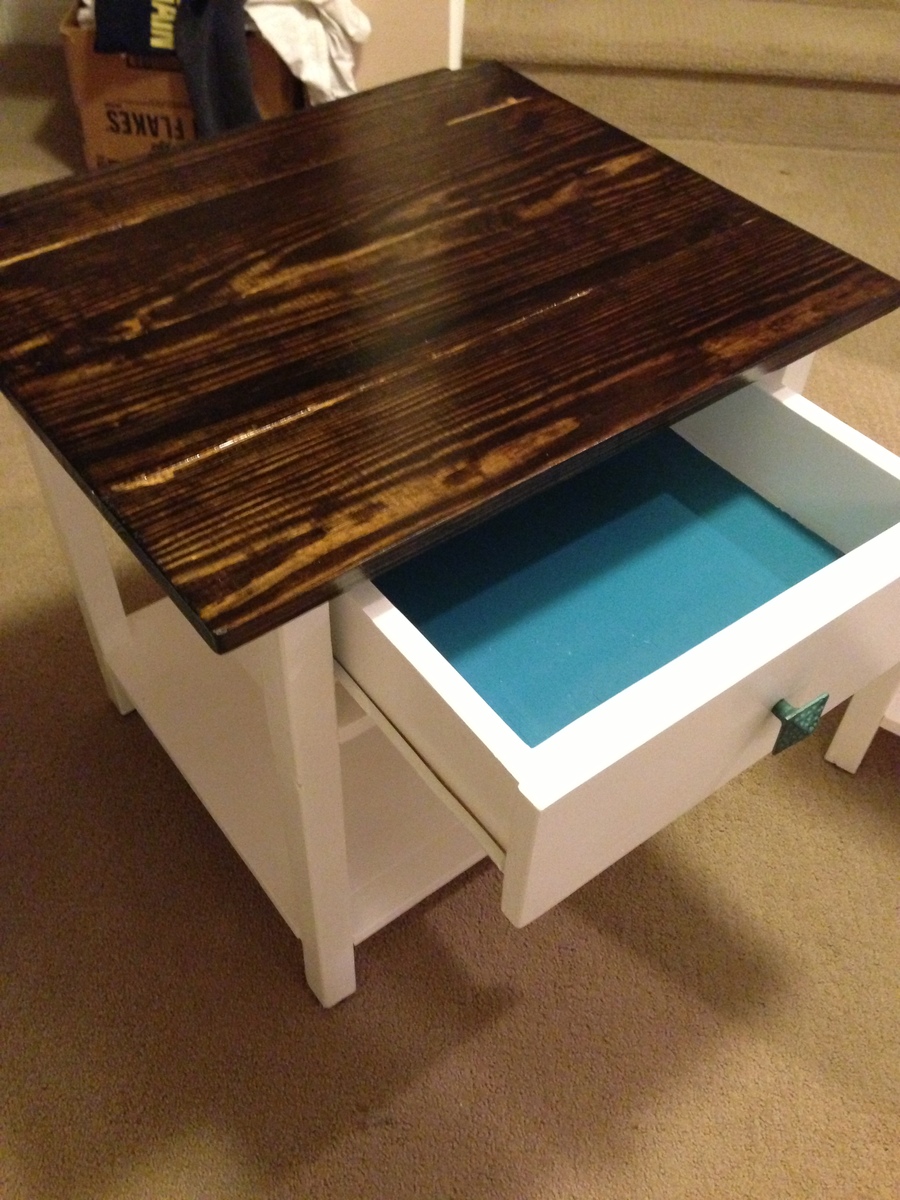
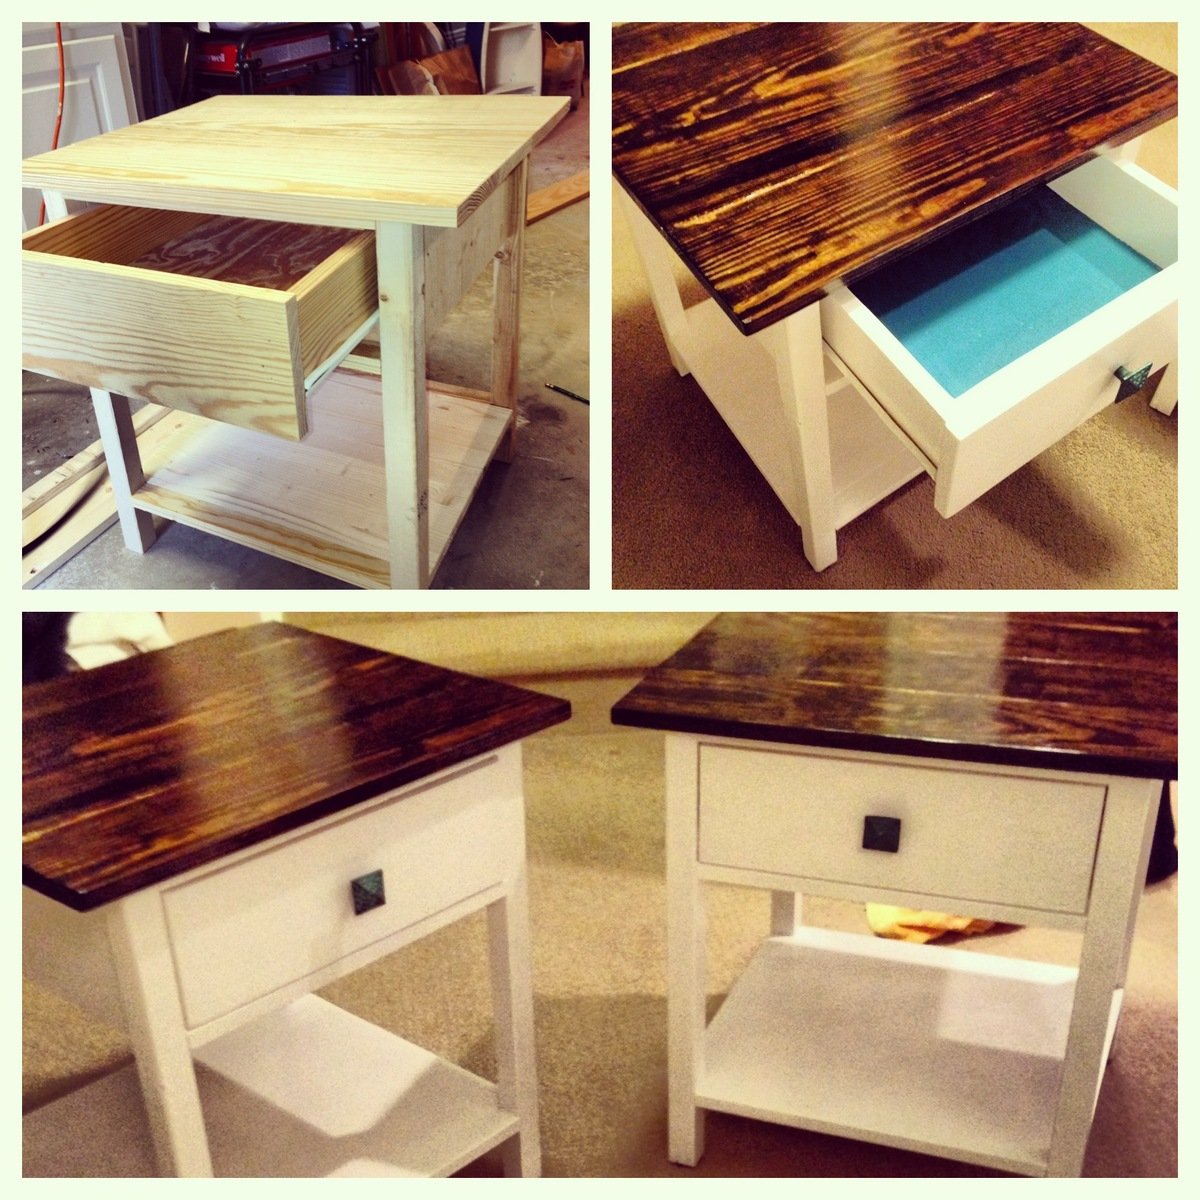
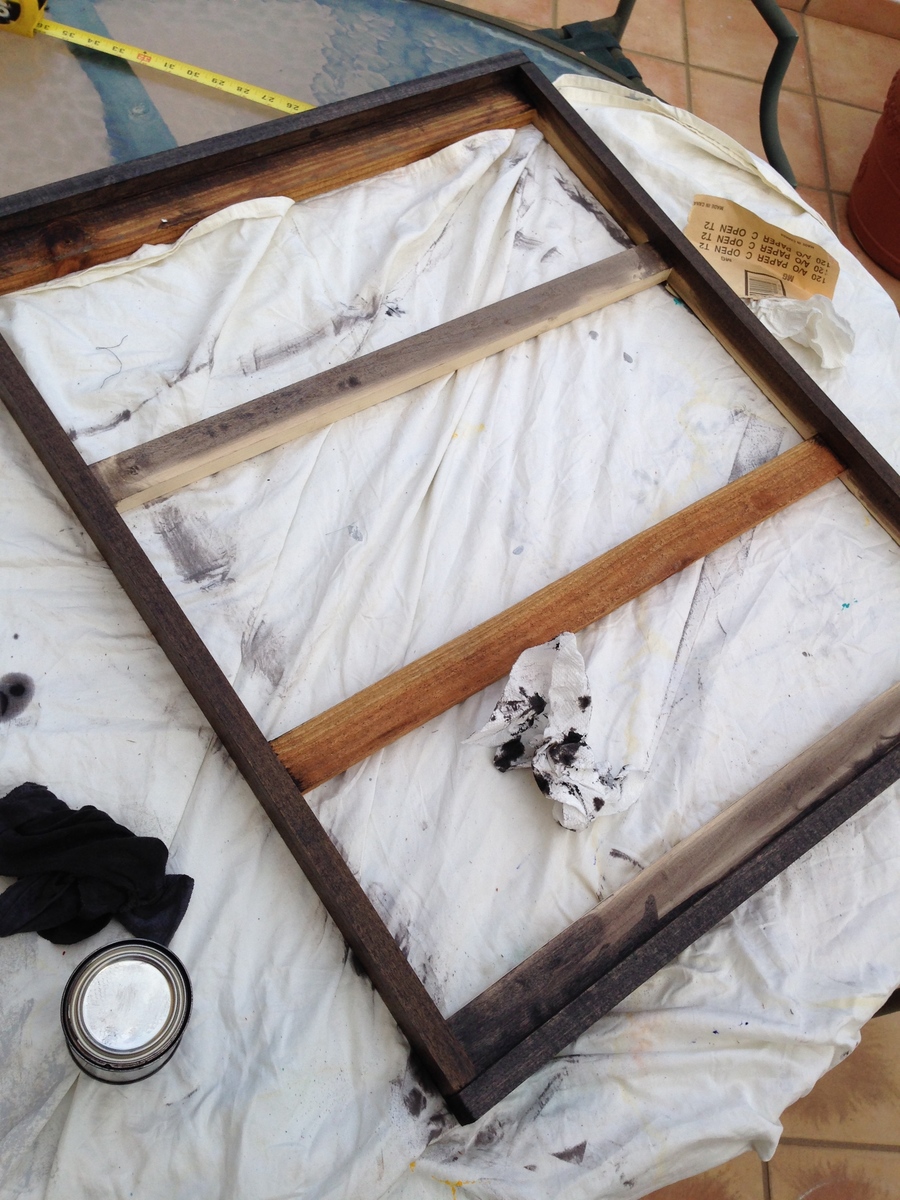
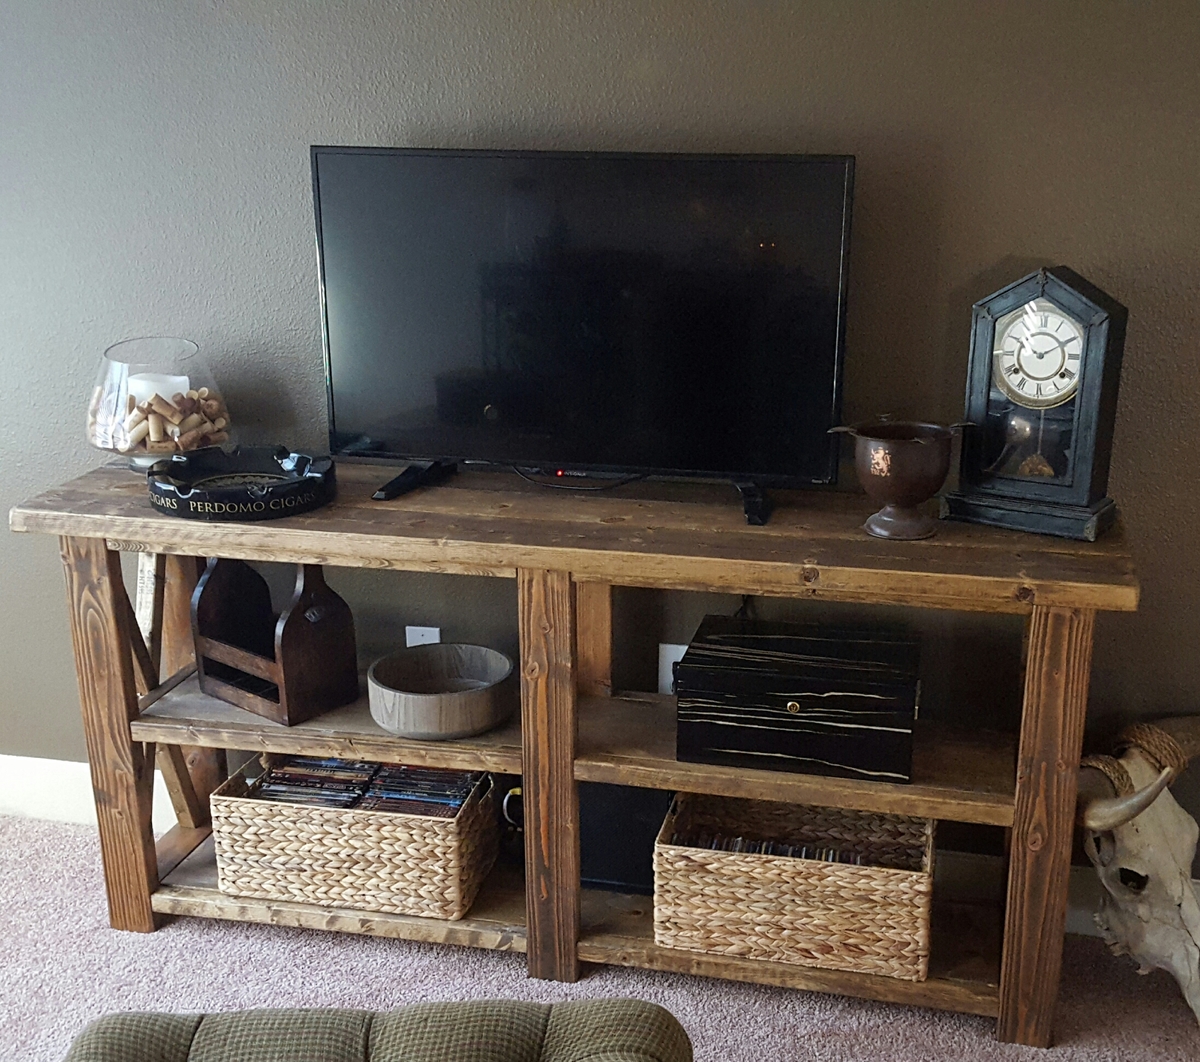
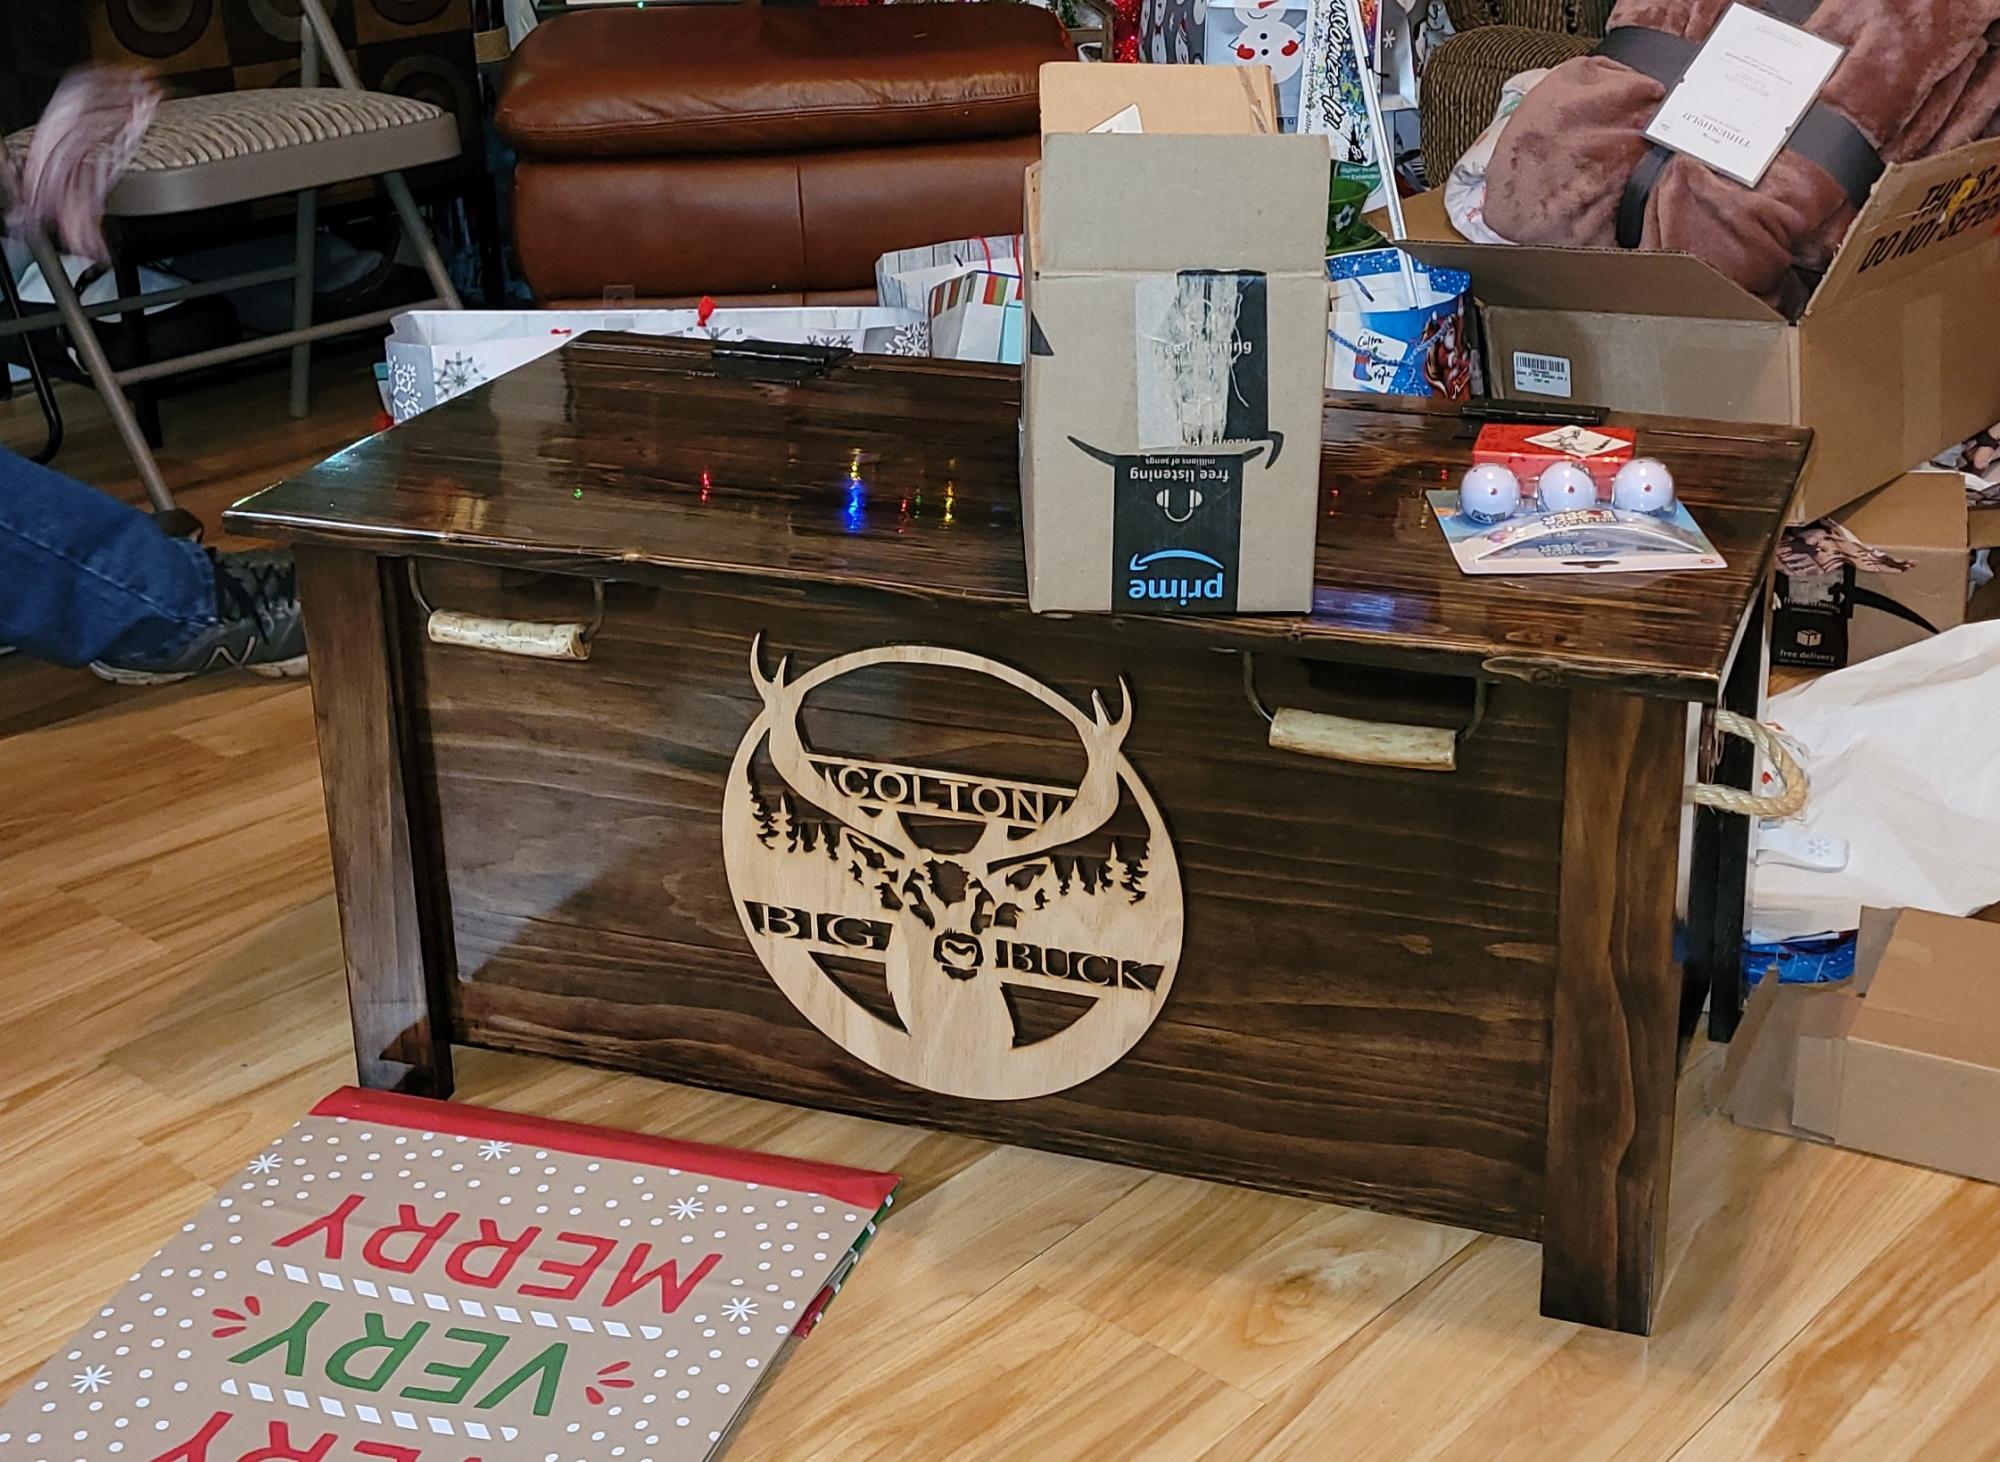
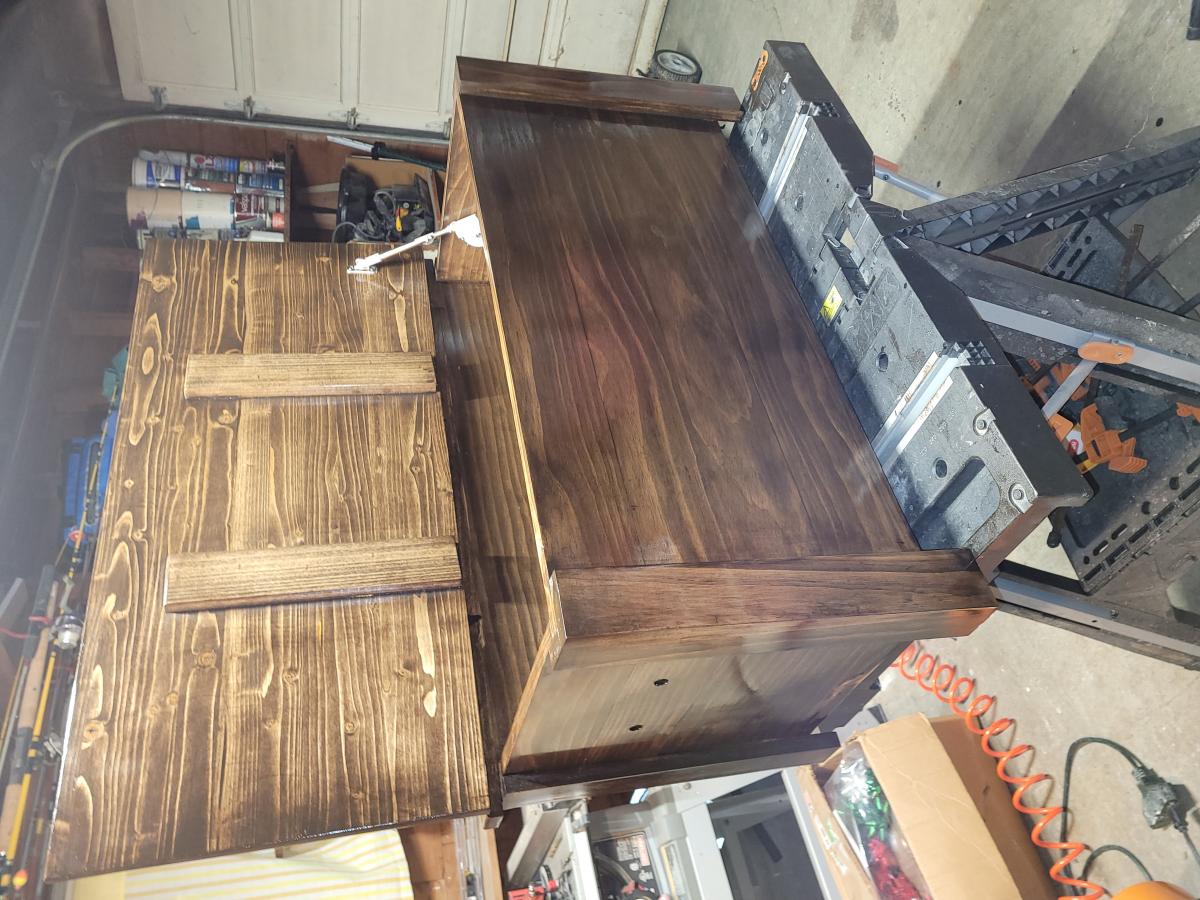
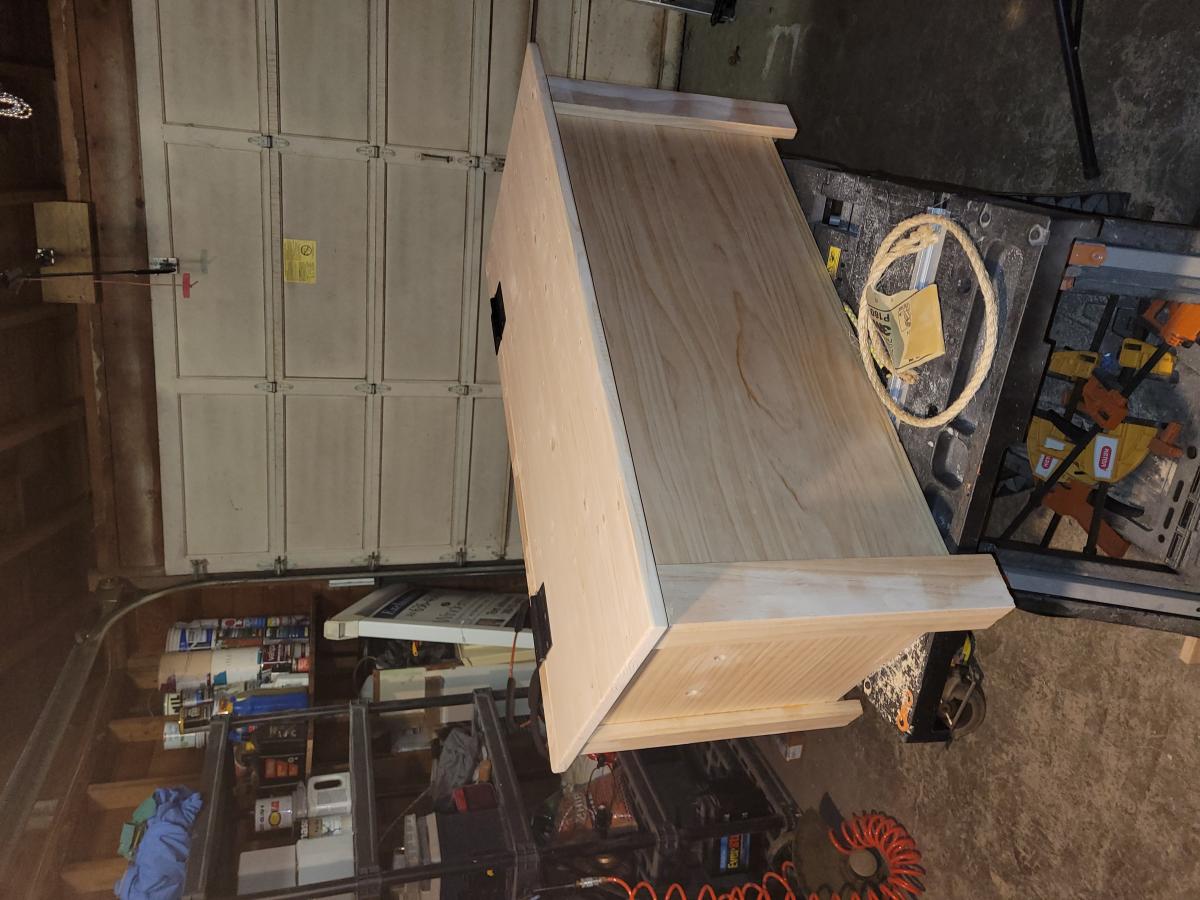
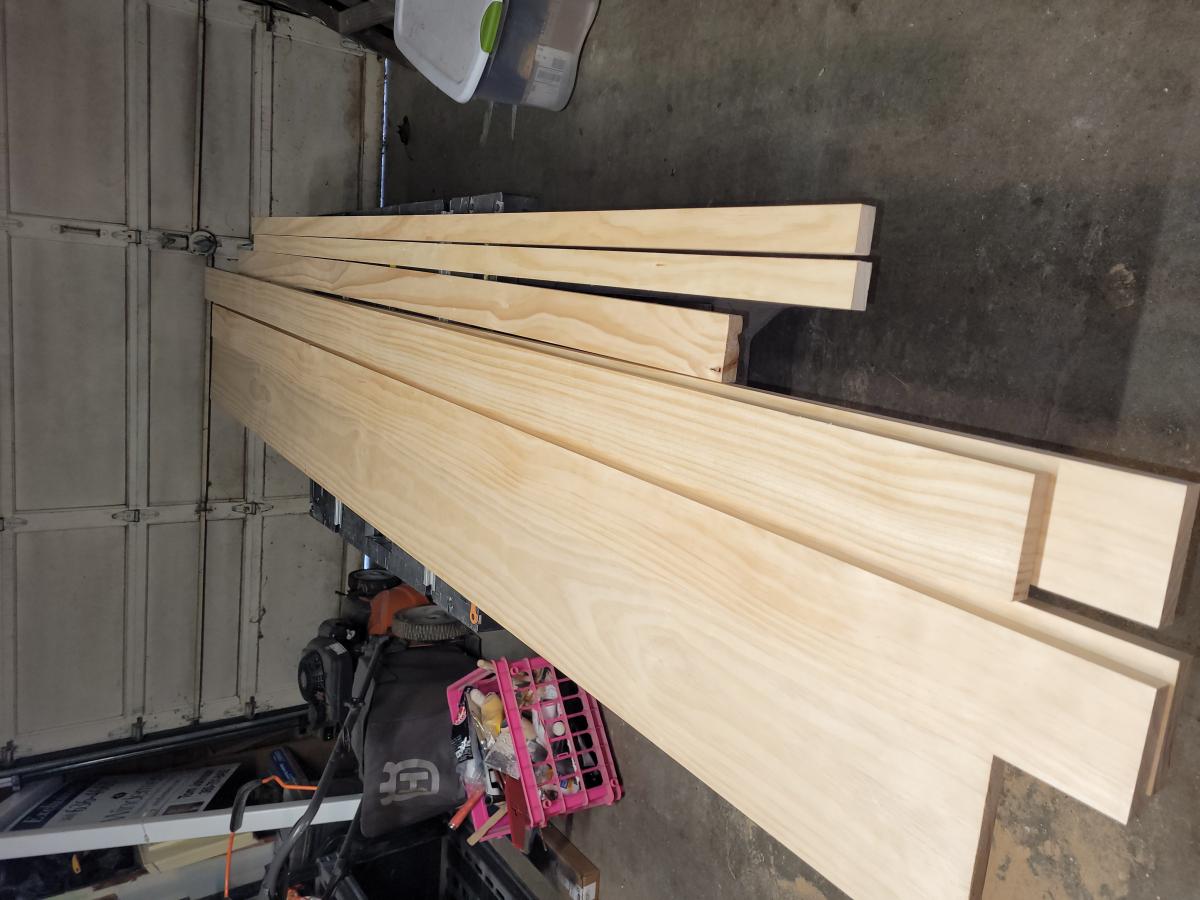
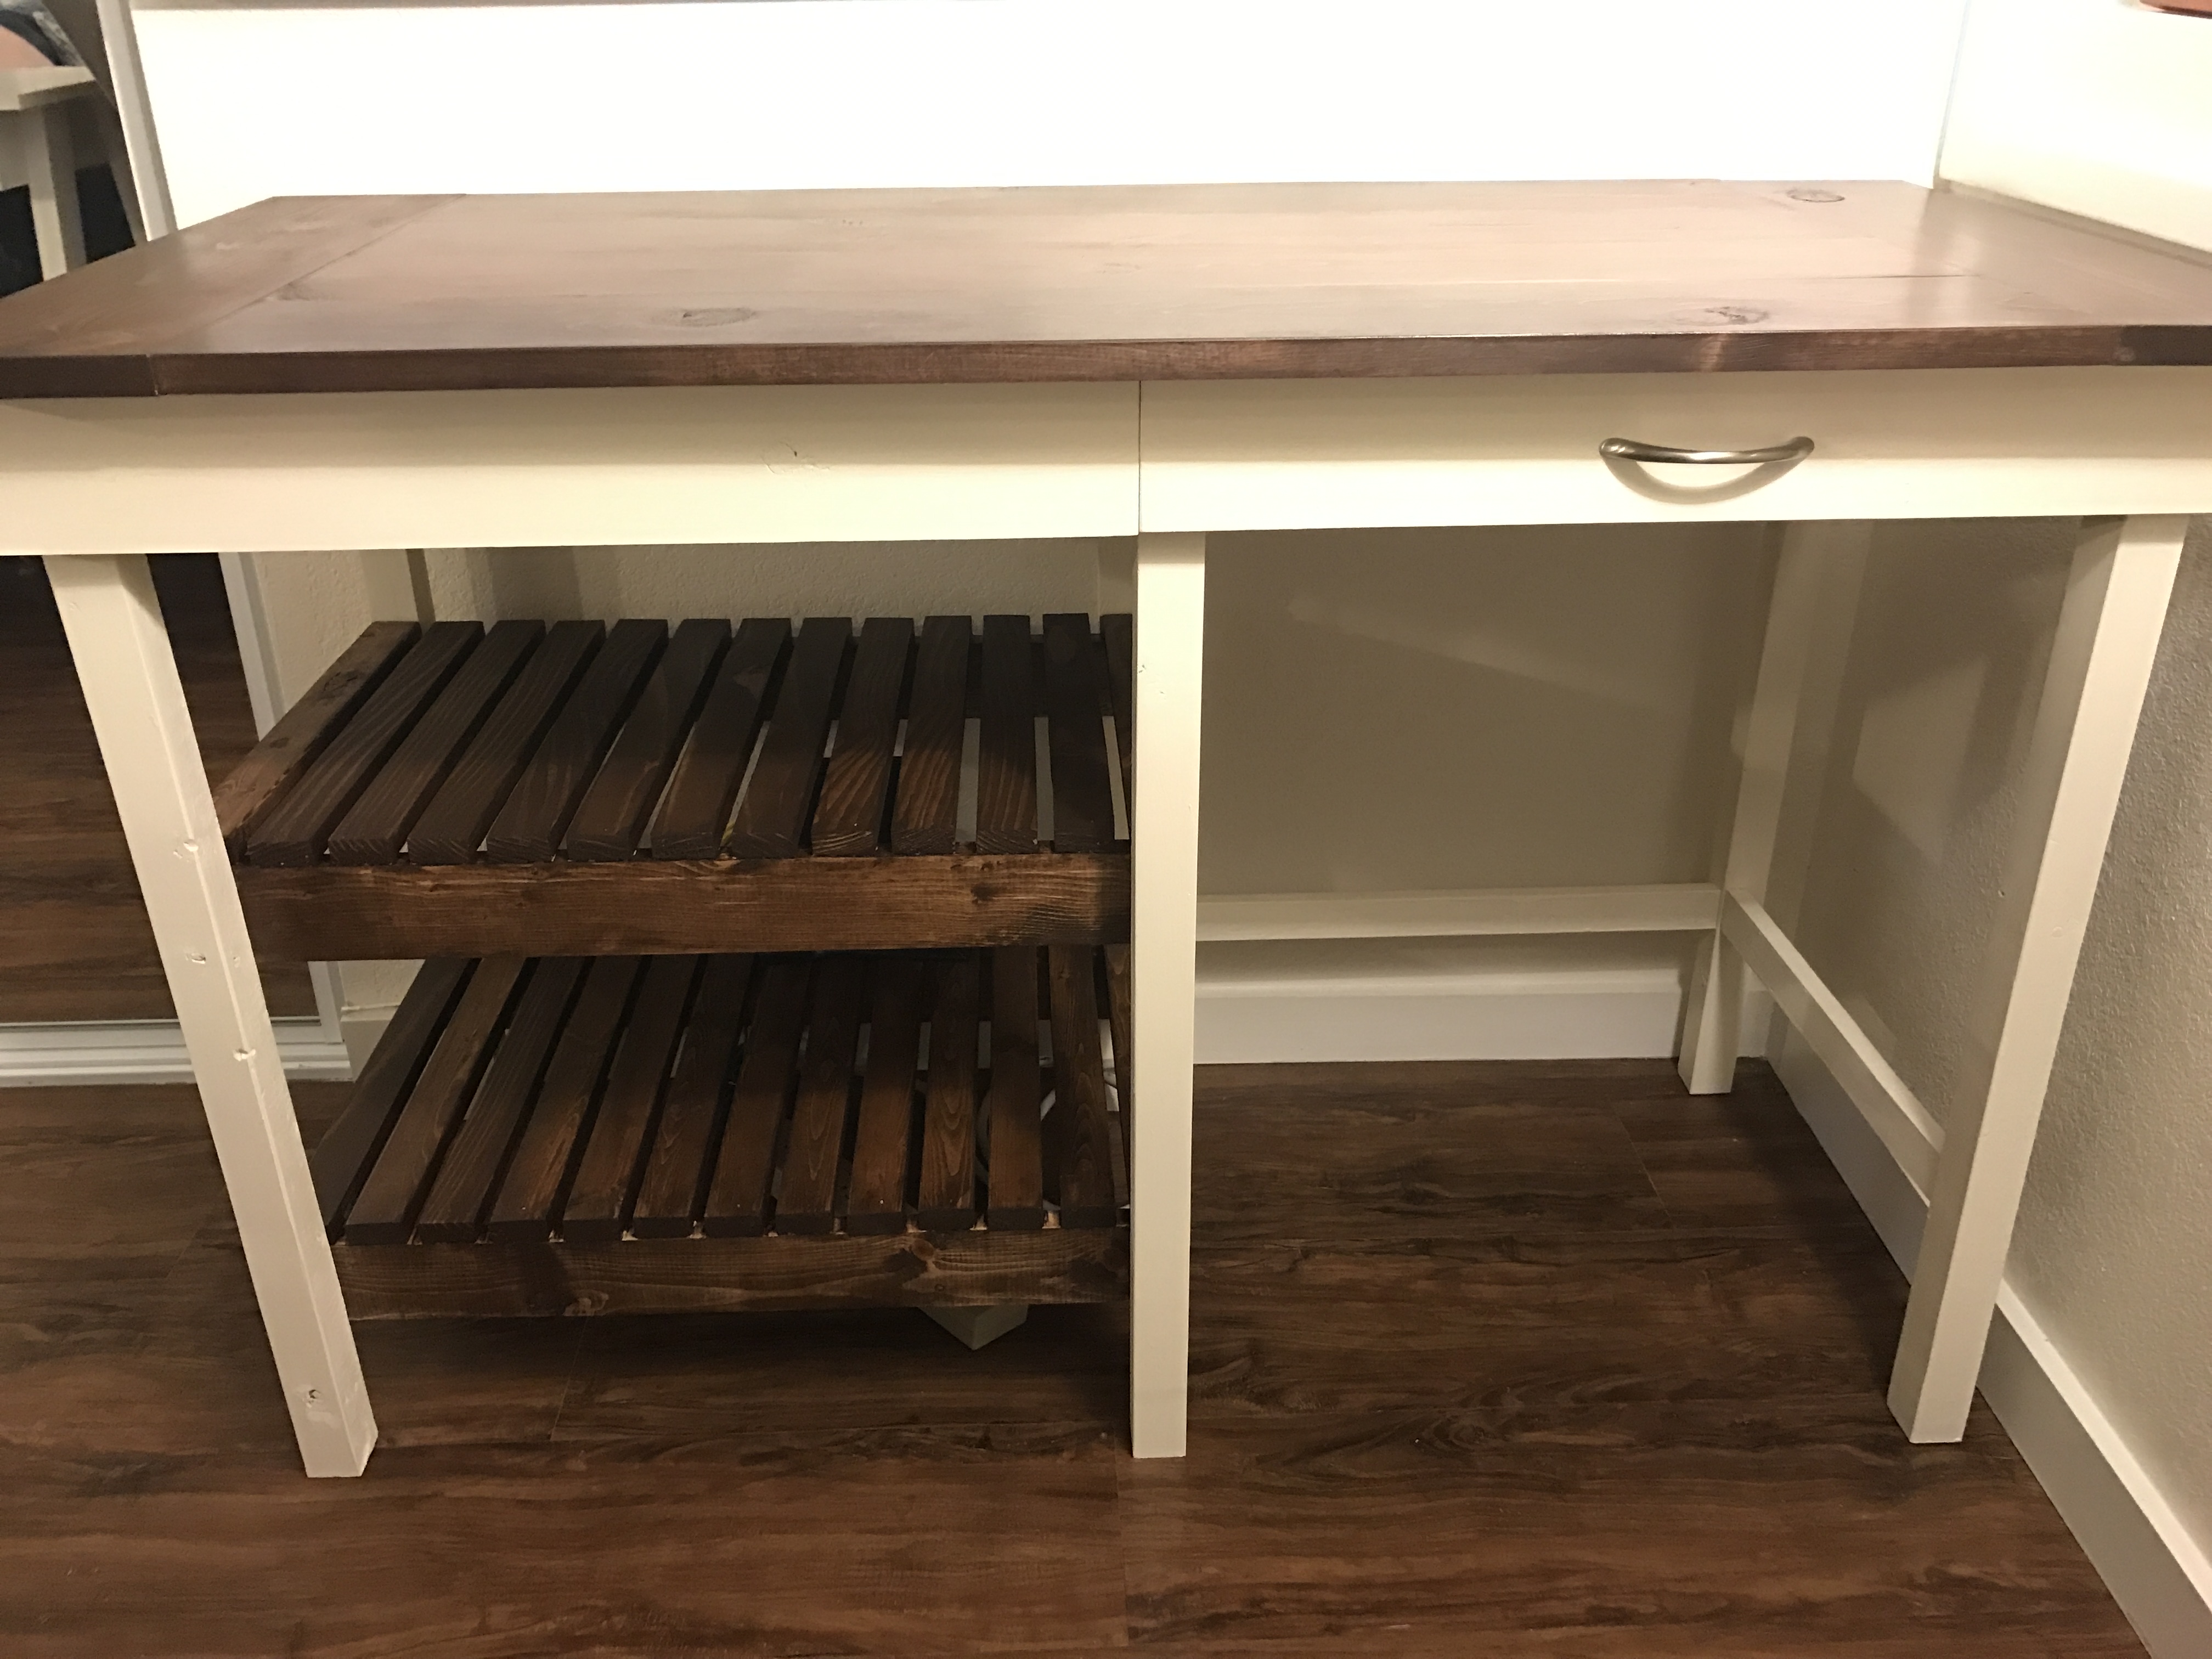
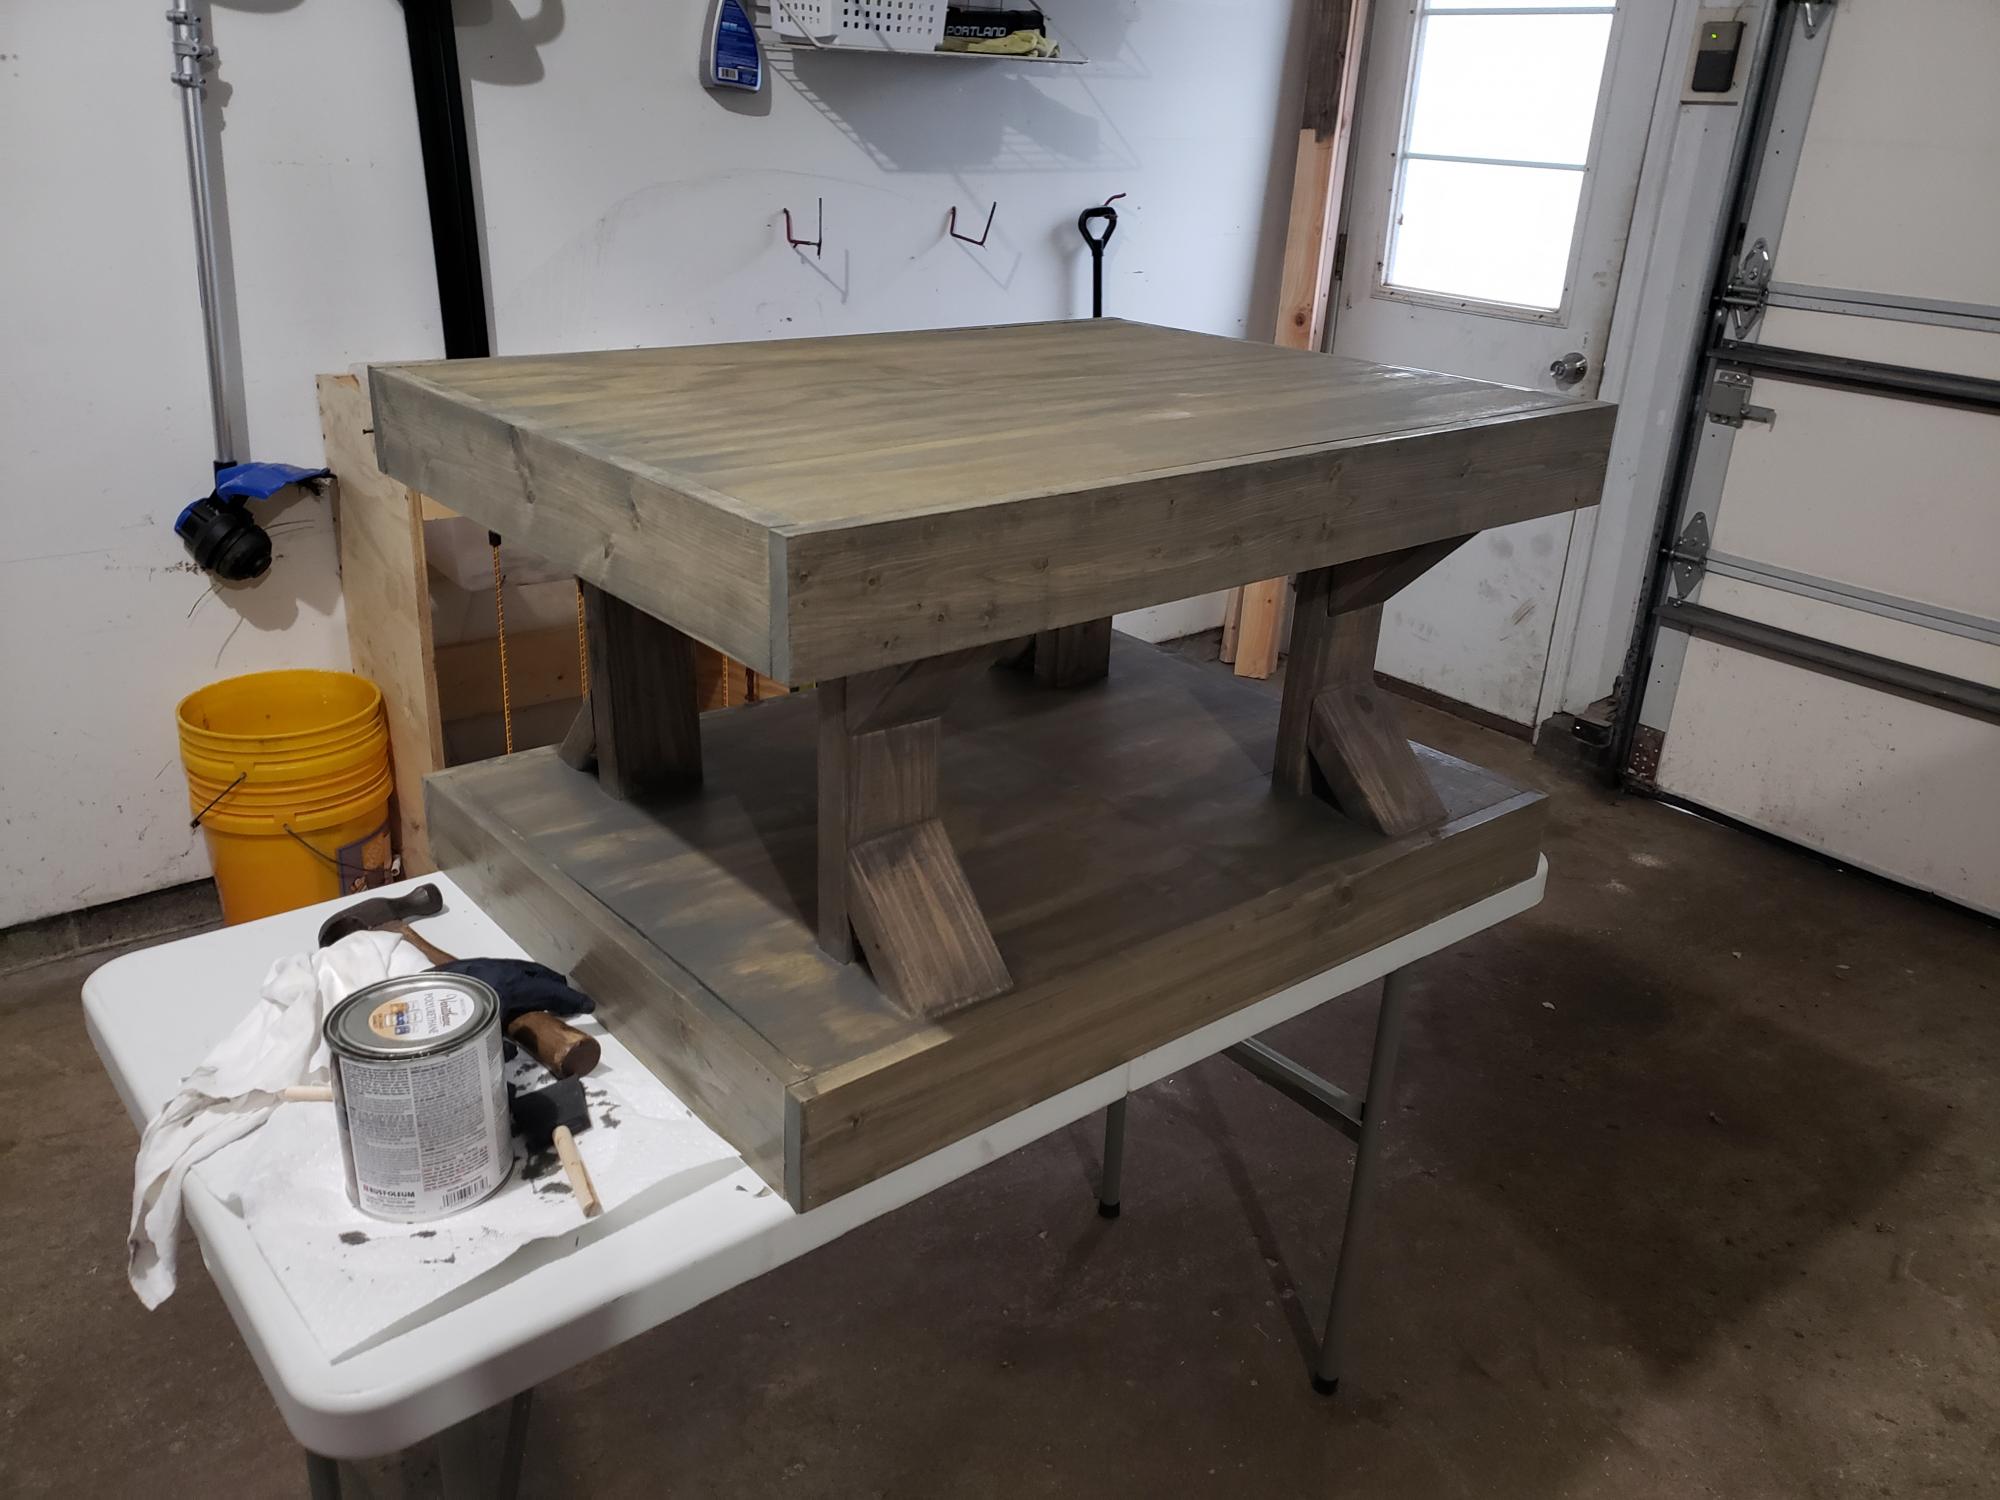
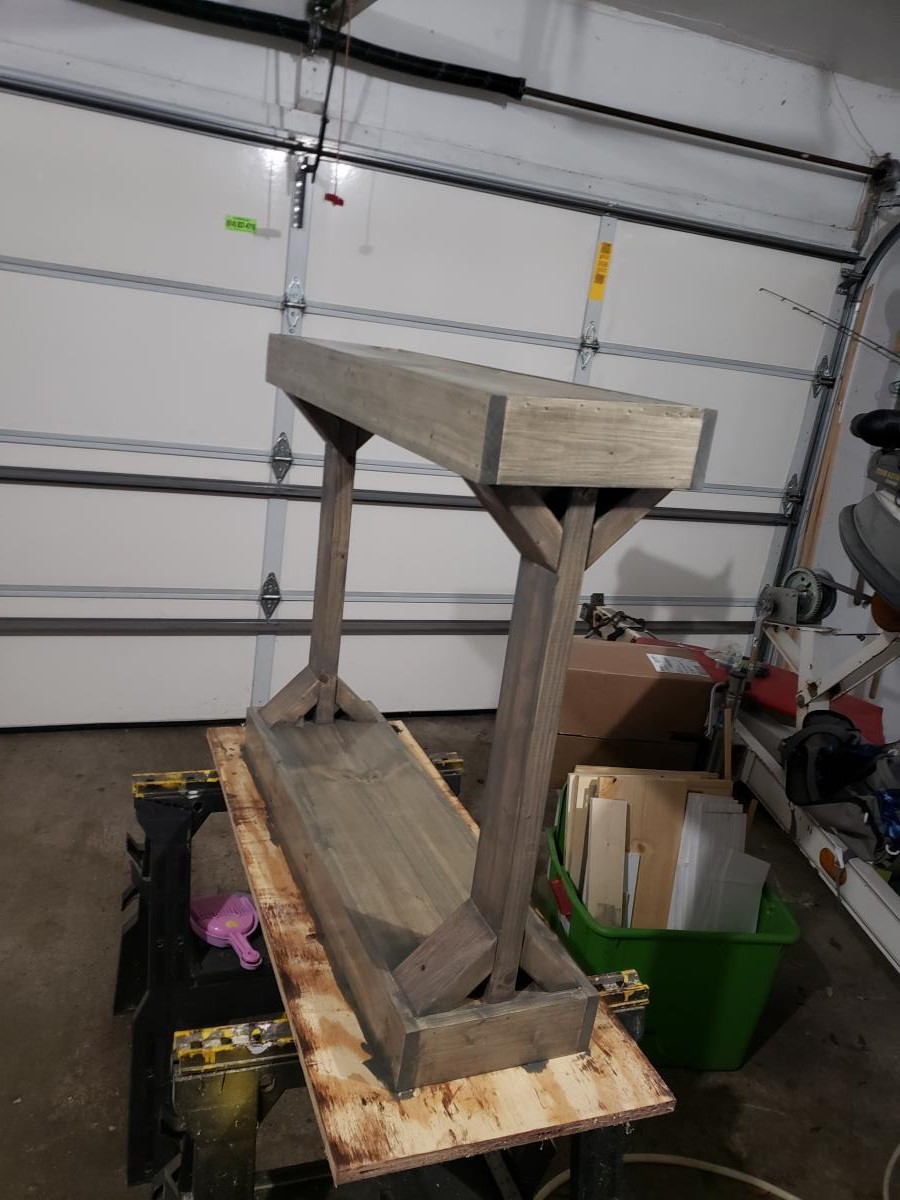
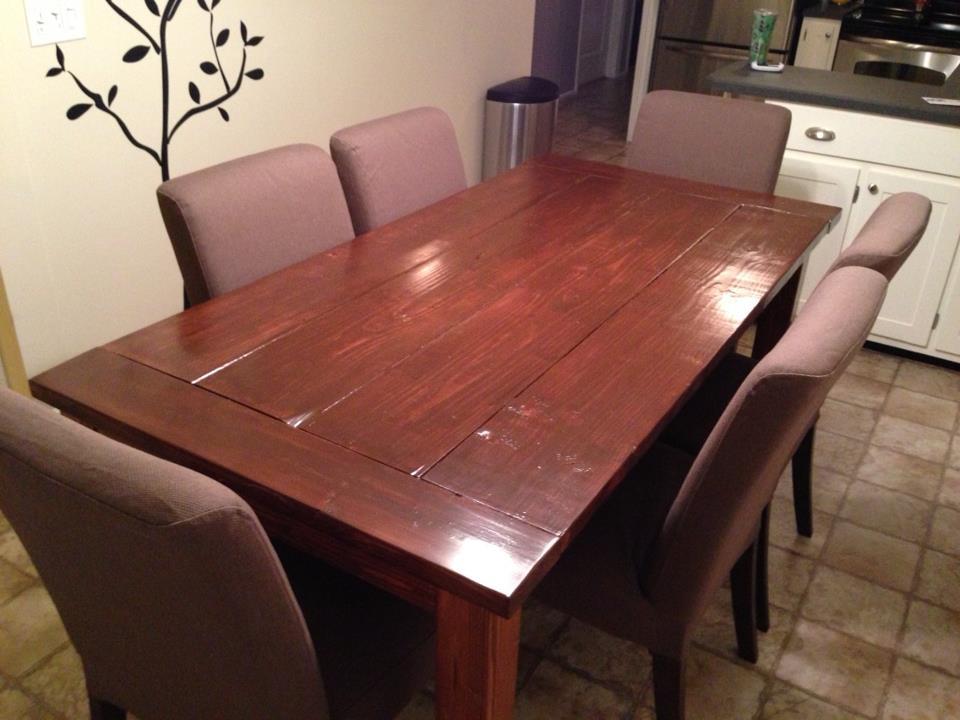
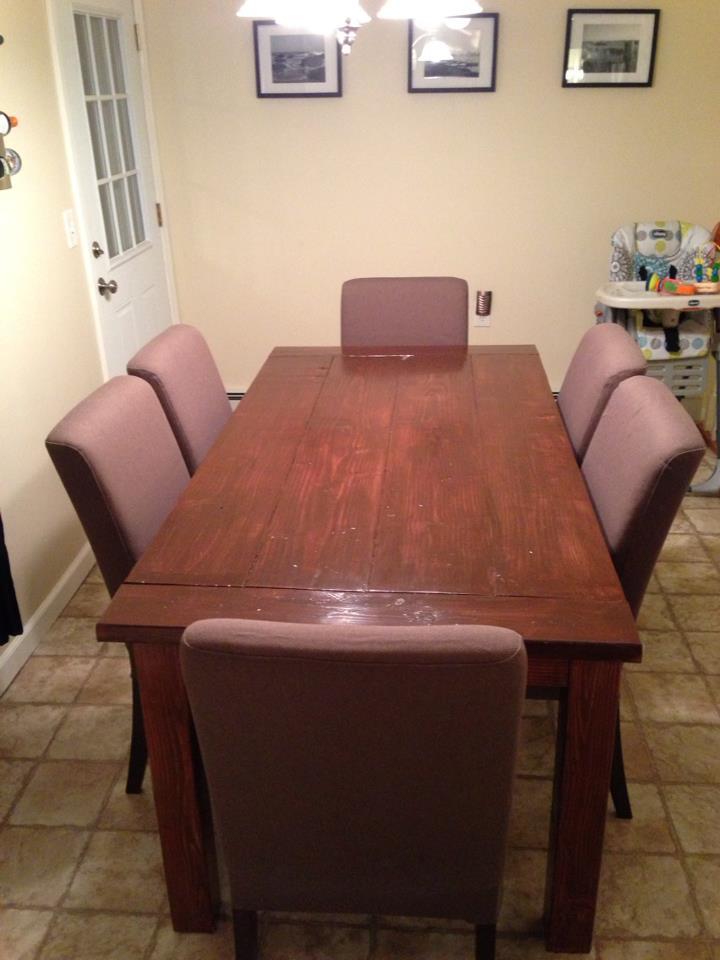
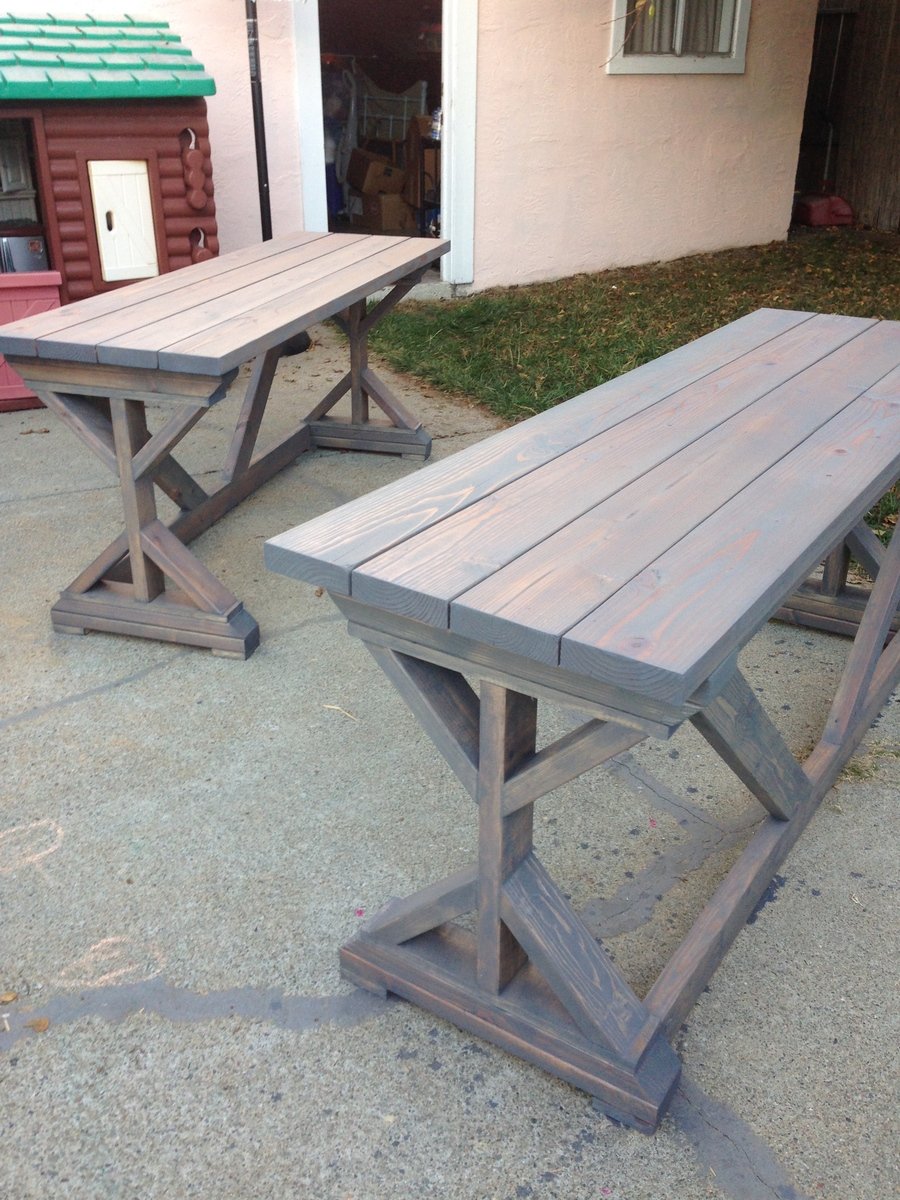
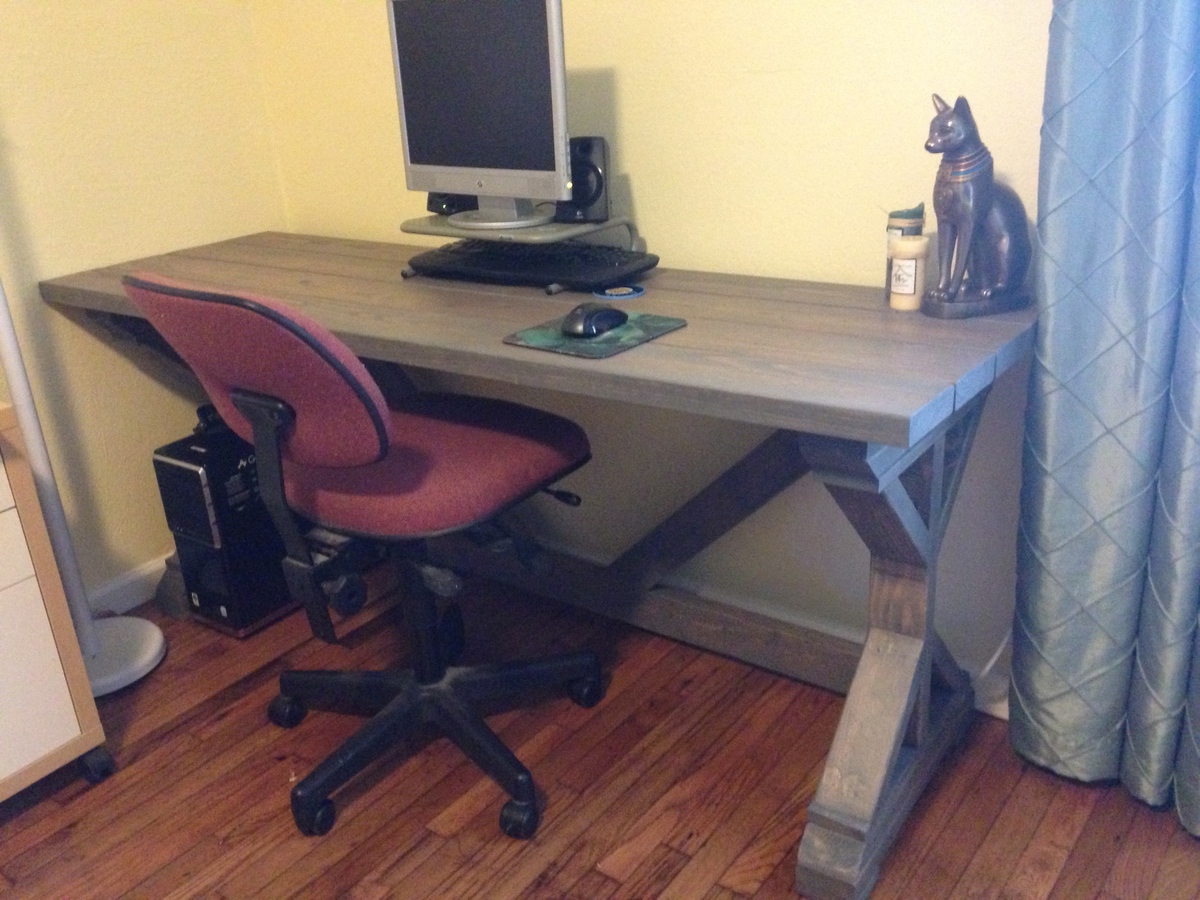
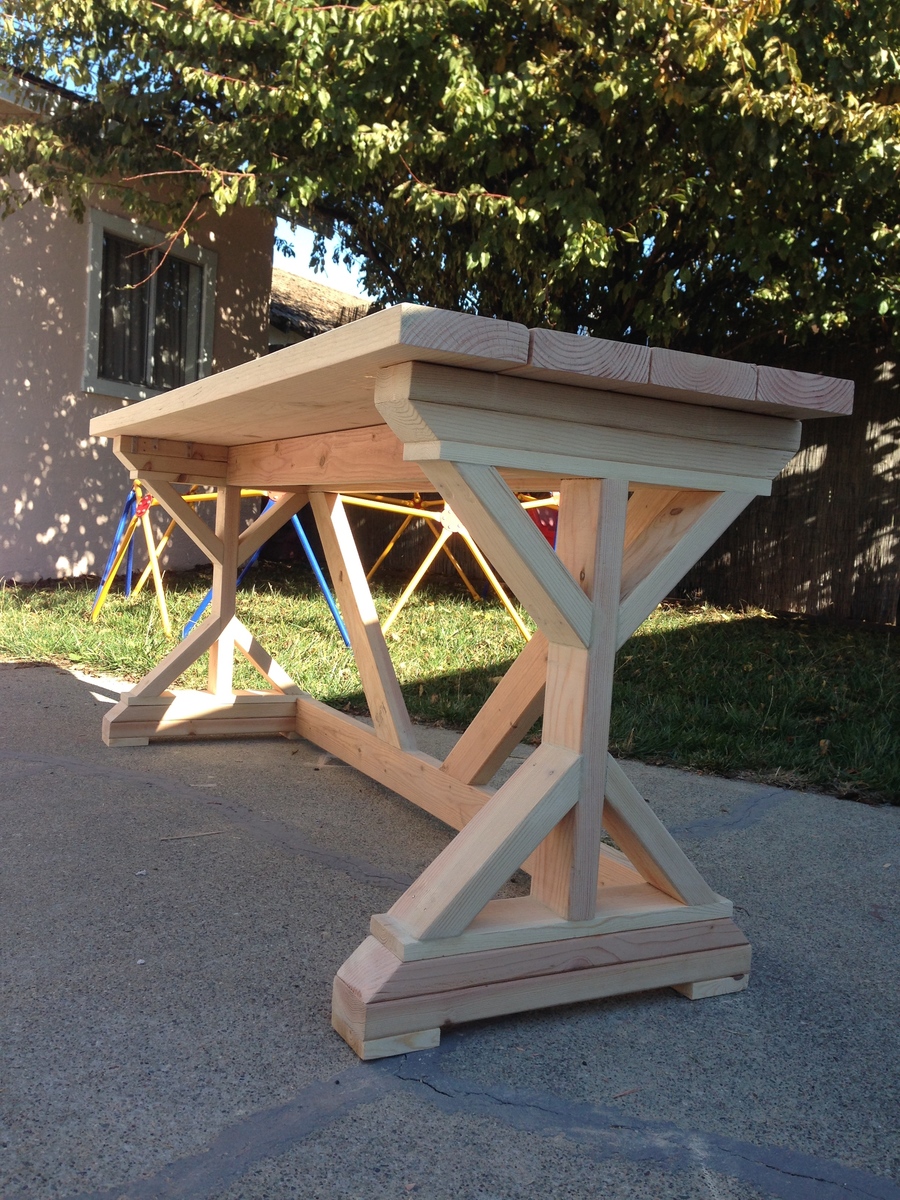
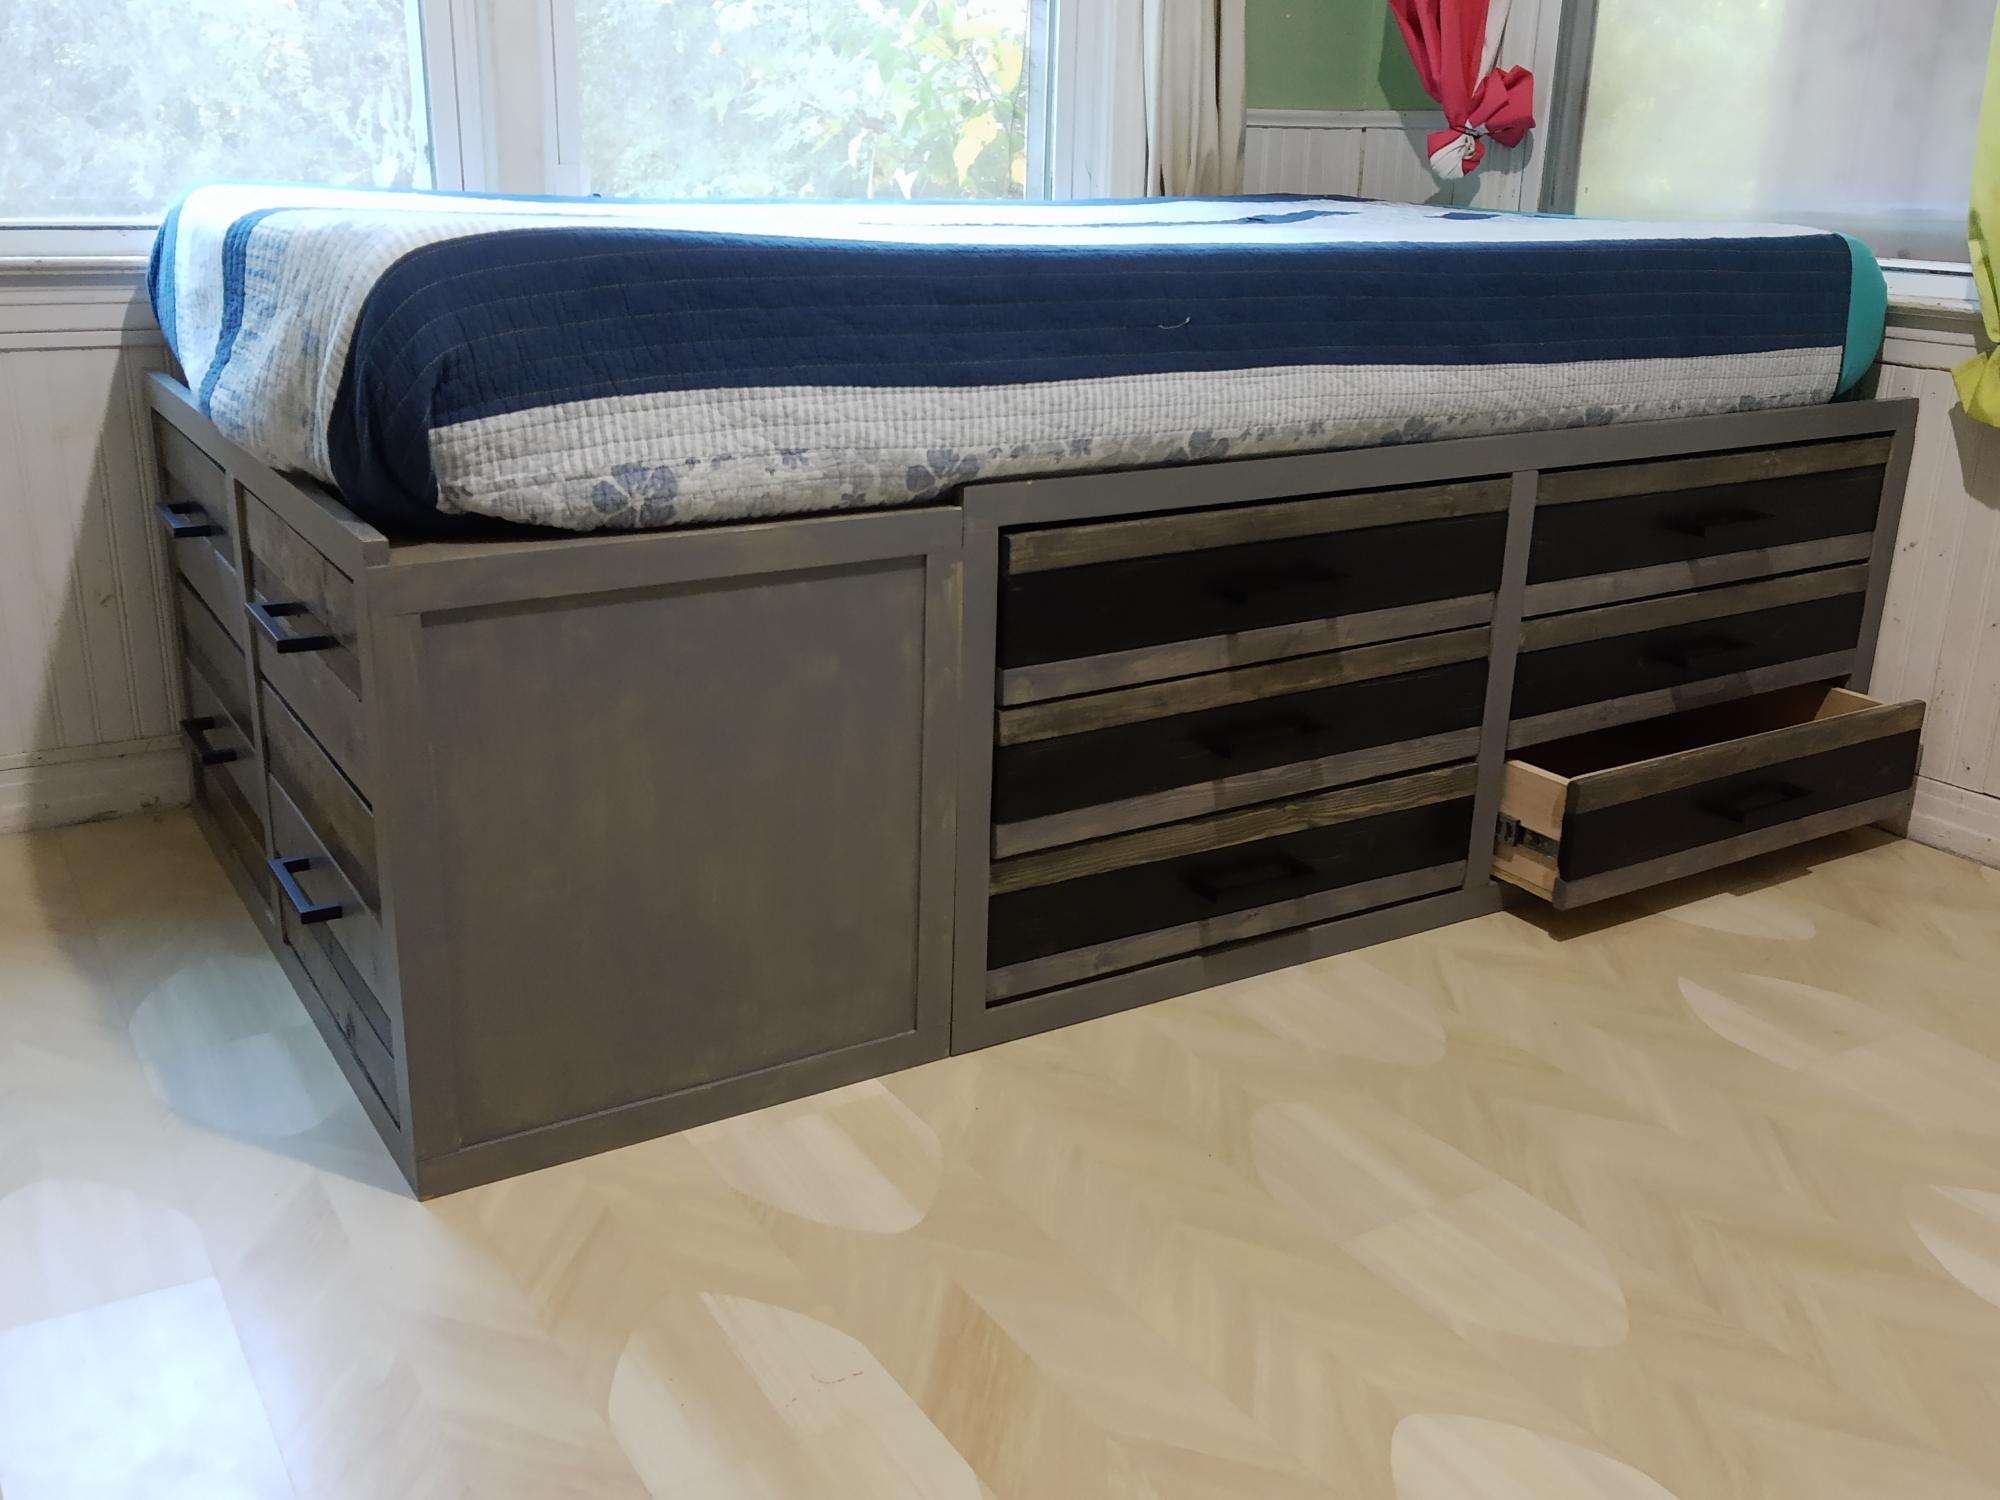
This was my husband and I's first building project. The plans were very easy to follow, with exact dimensions and lists of materials needed. We are really pleased with how they turned out and are about to build a matching king size Farmhouse bed to go with the Farmhouse bedside tables.
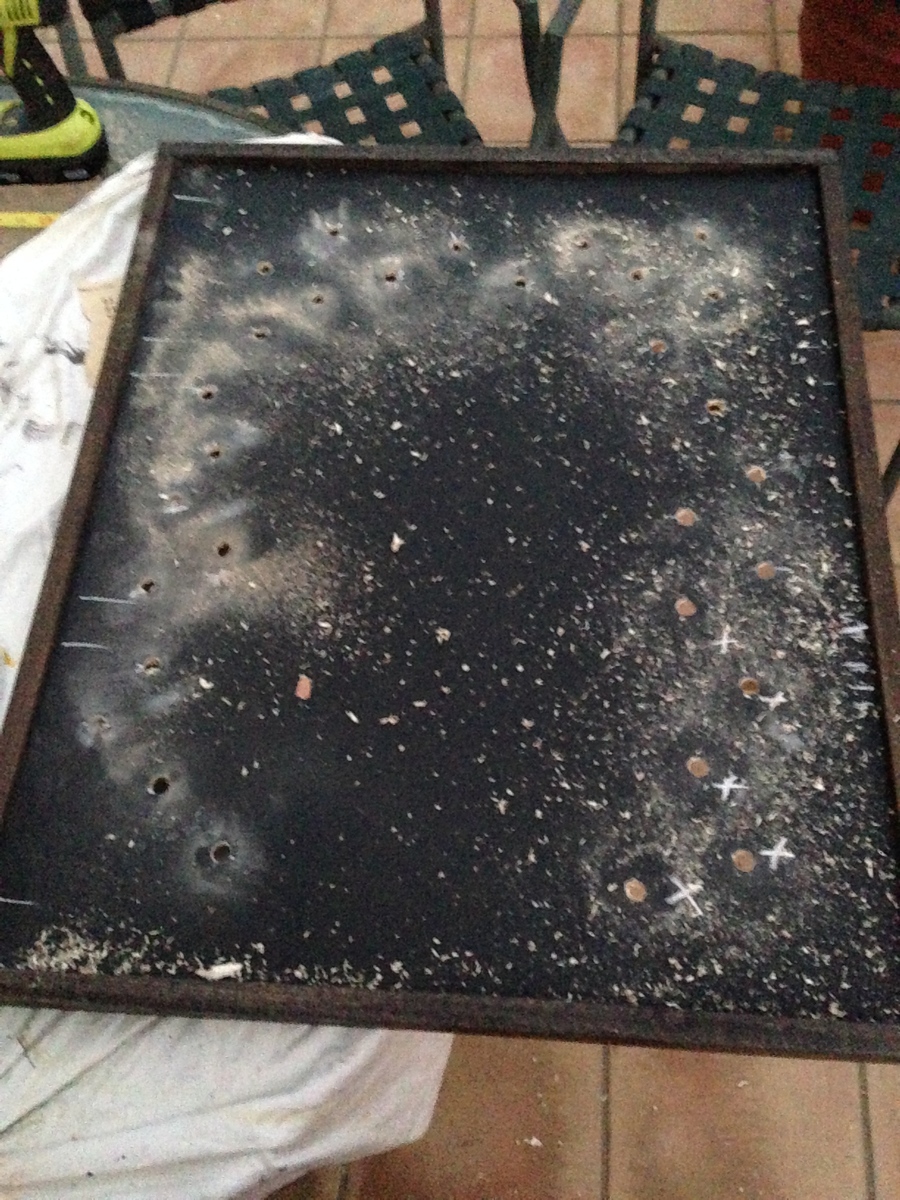
The pocket hole jig was optional, but it definitely helped make the finished product much more sturdy and professional looking. Since that cost about $100, it raised the total price of the tables, but now we can use that on any project. We highly recommend it!
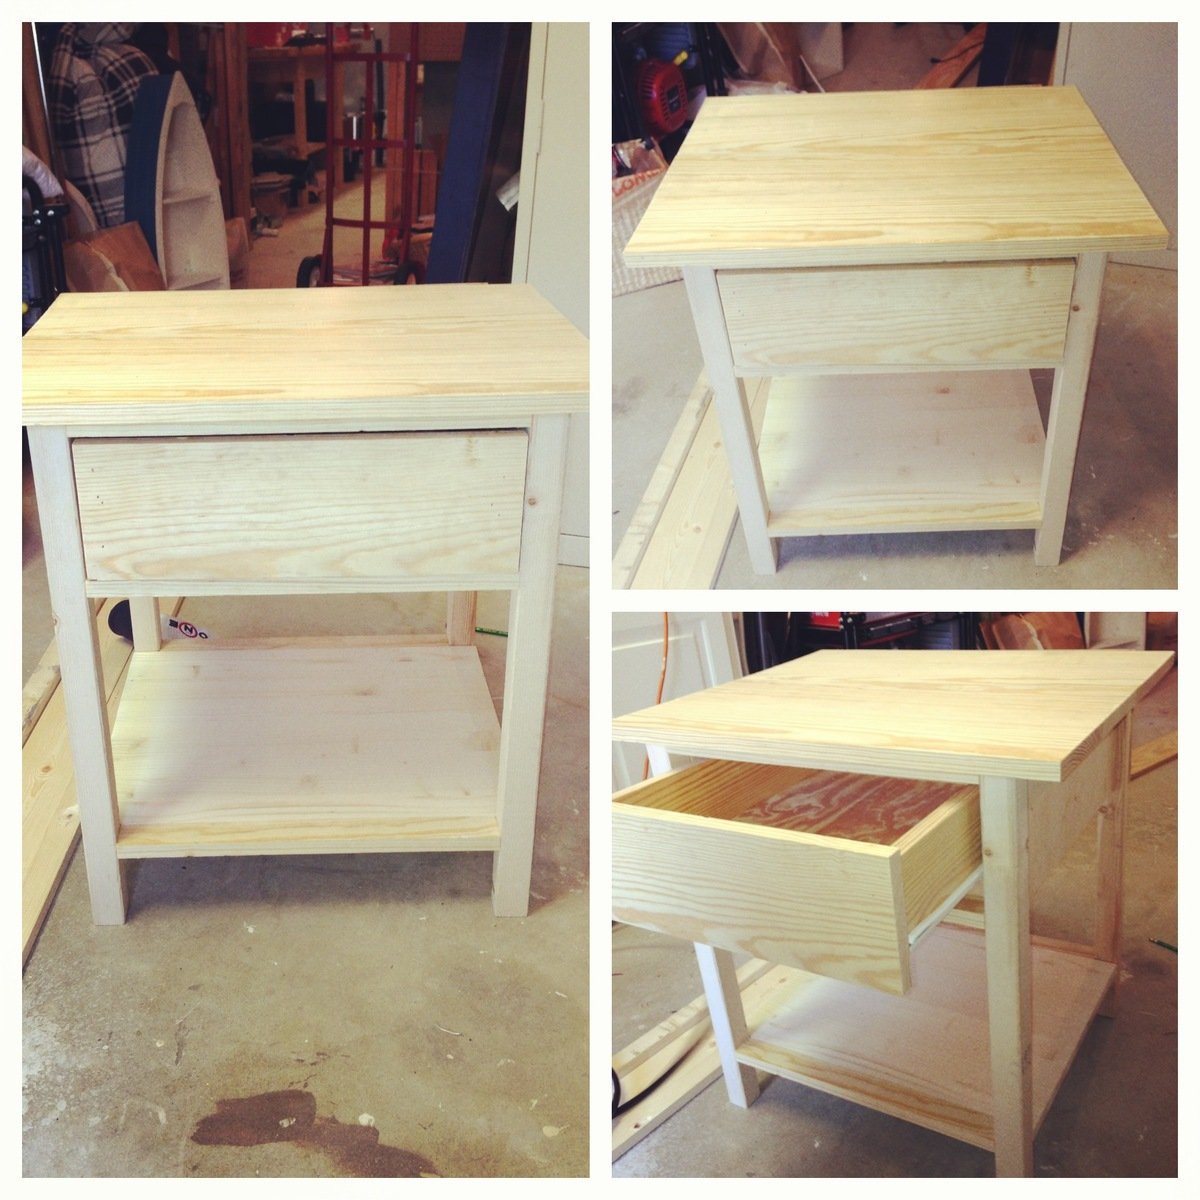
We built both of these in about 2 weekends.
**Also, the plan we followed was for the bedside table in Ana White's published book of plans. It may differ from the plans that this post links to**