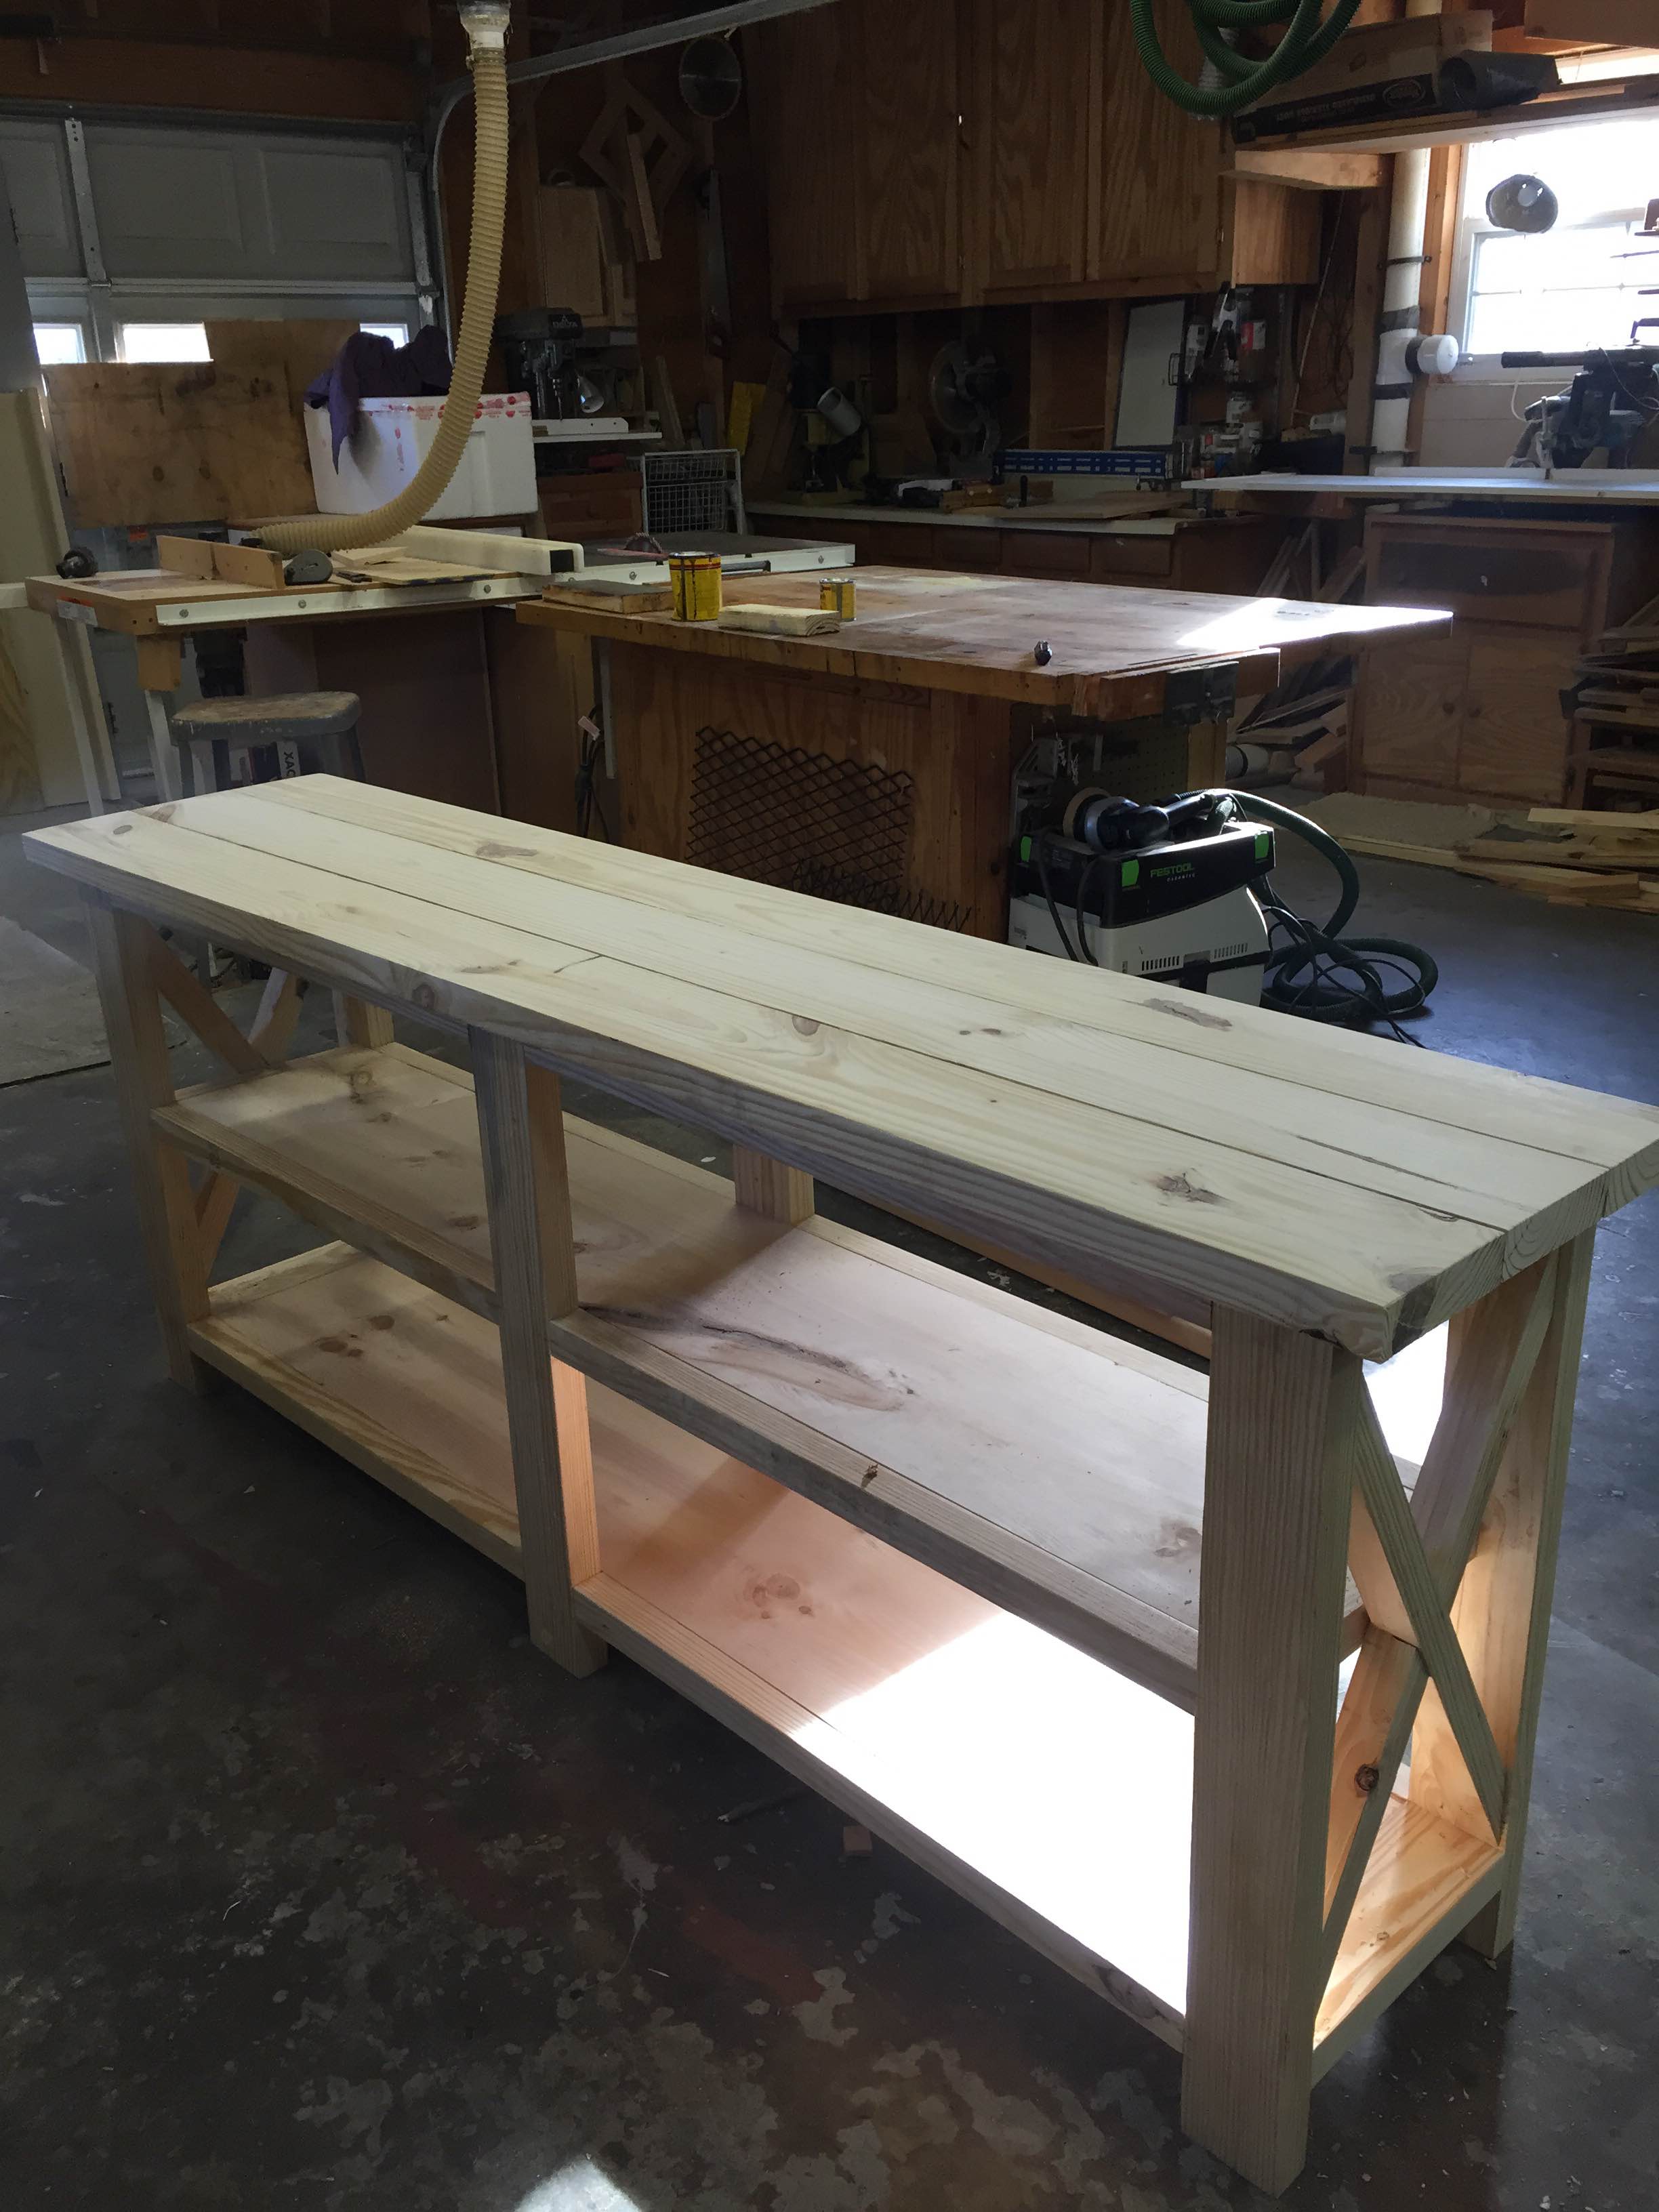
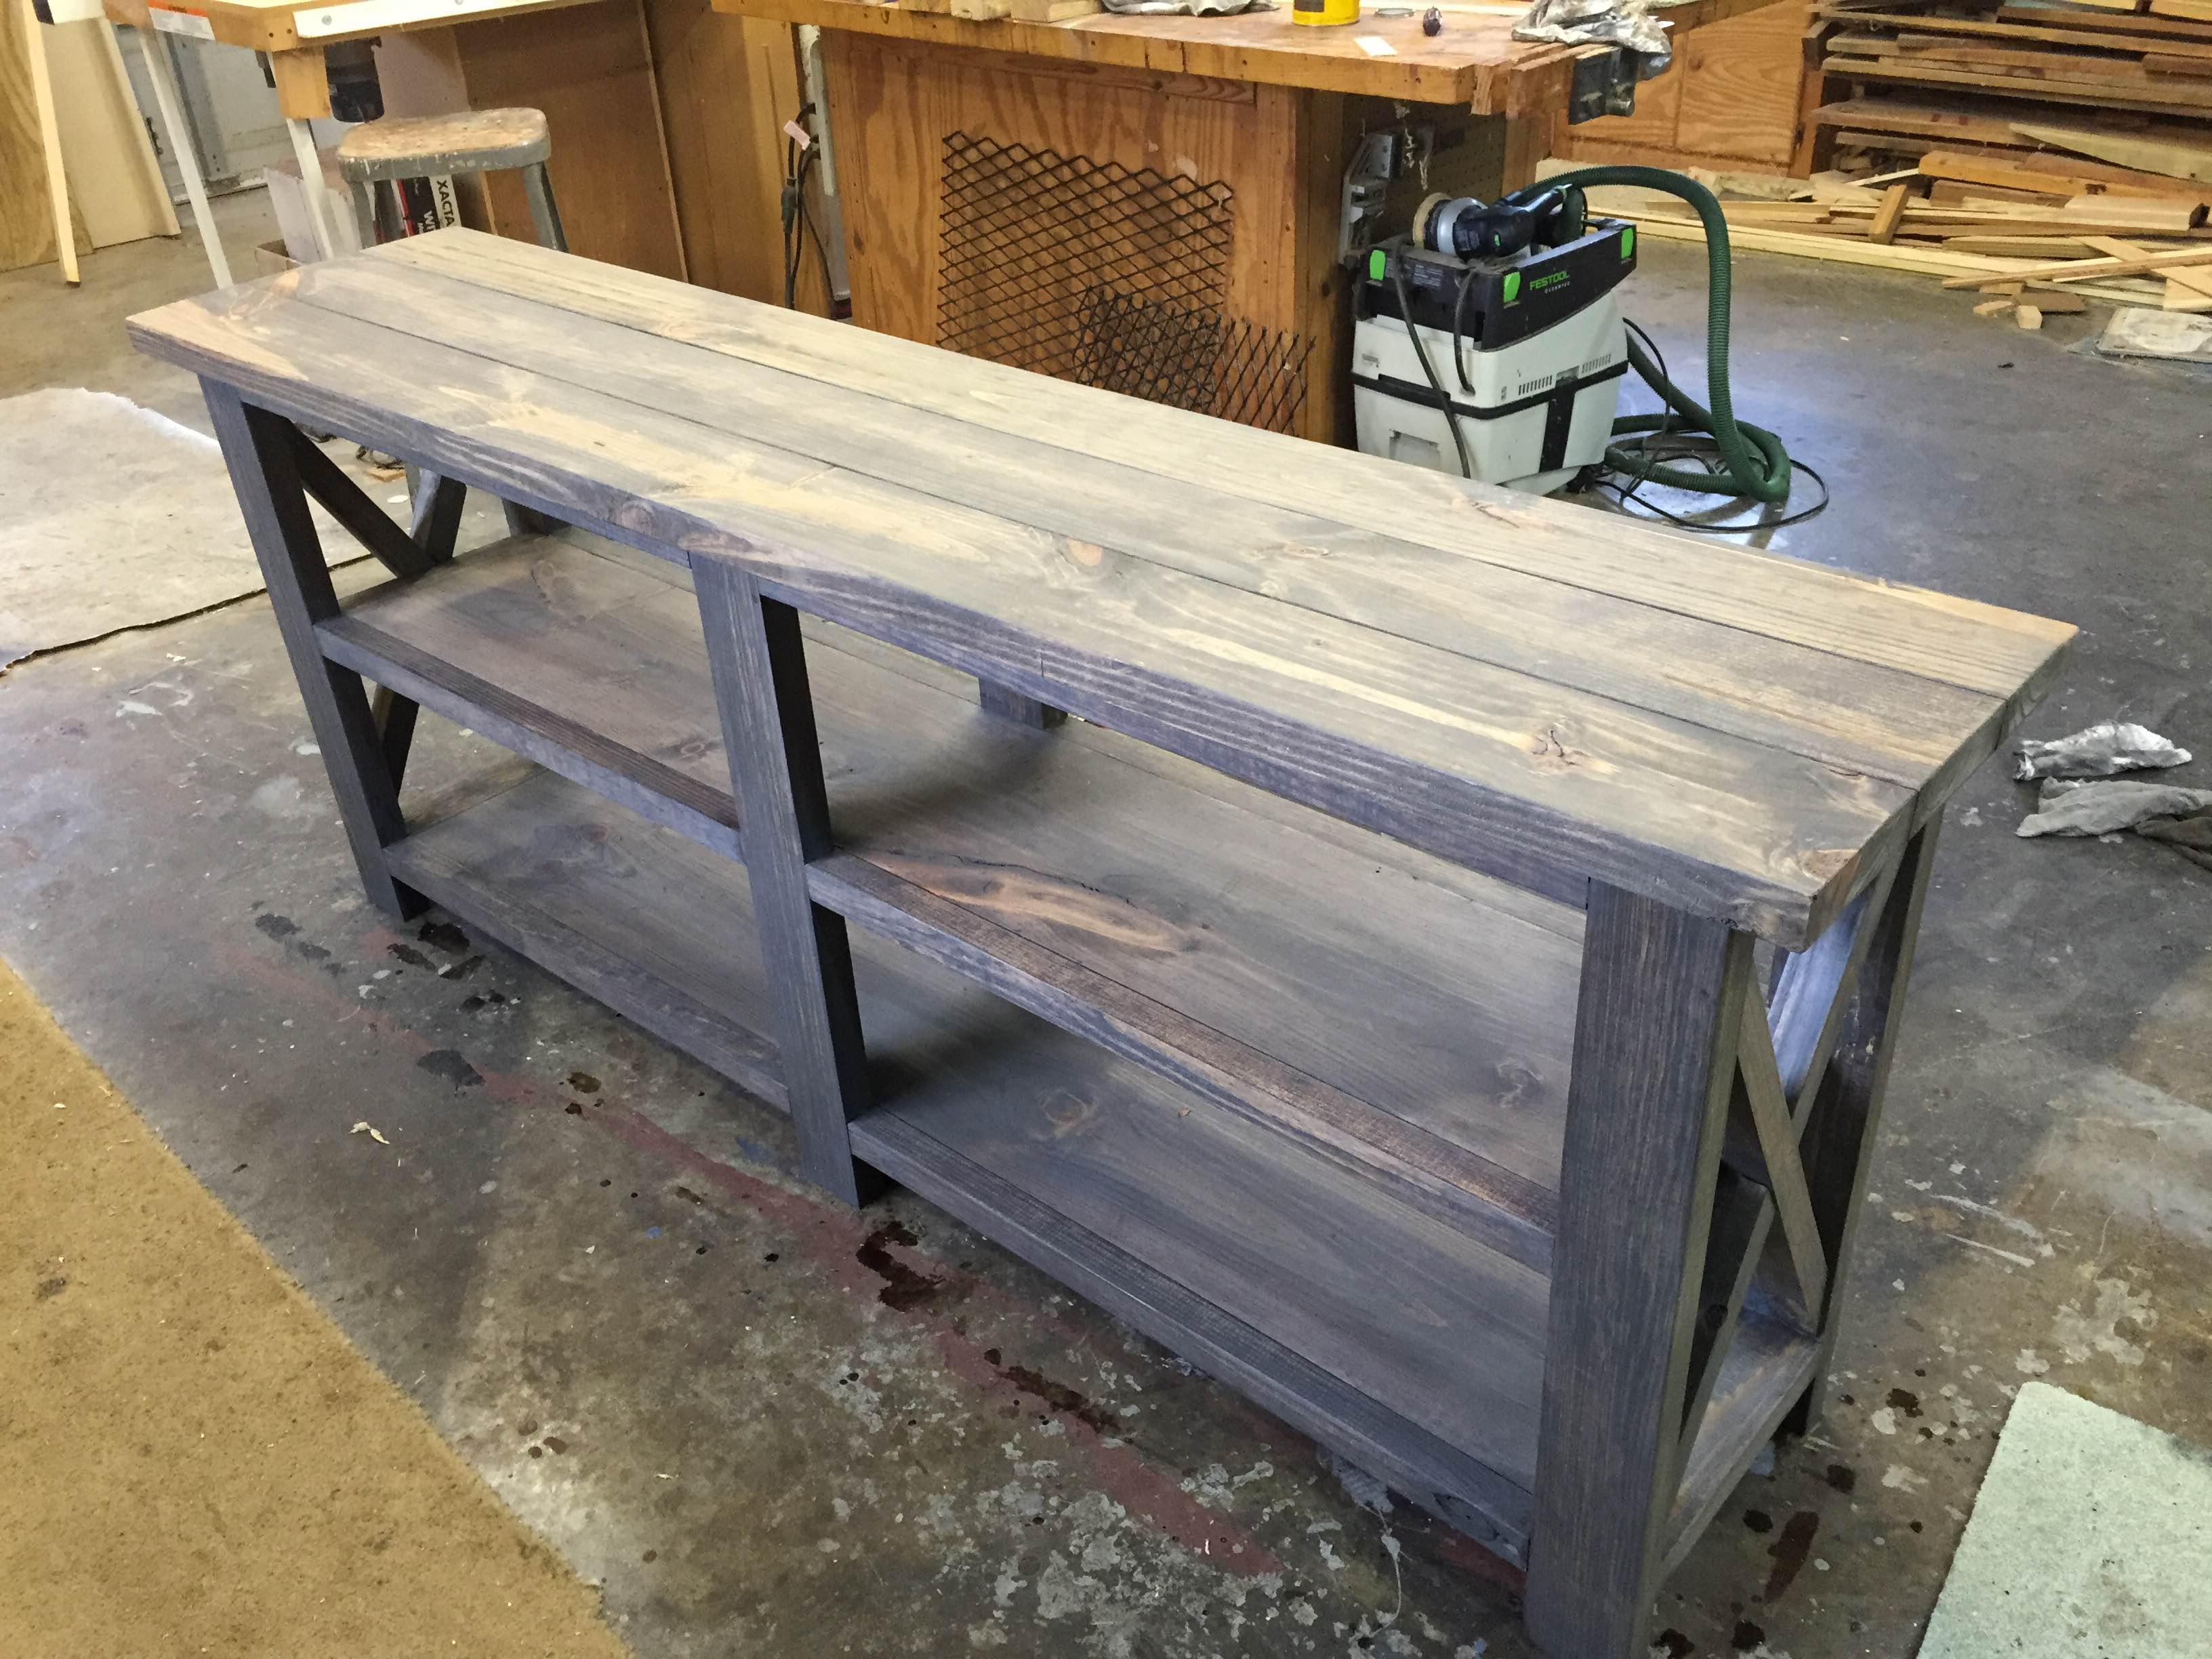
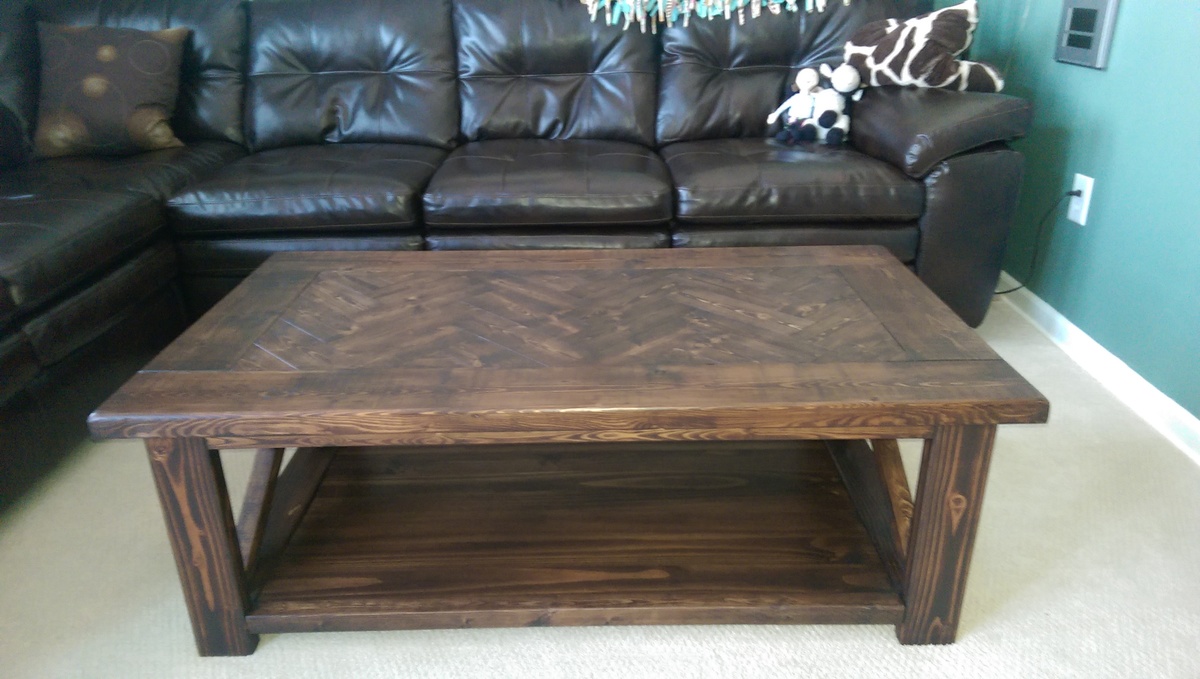
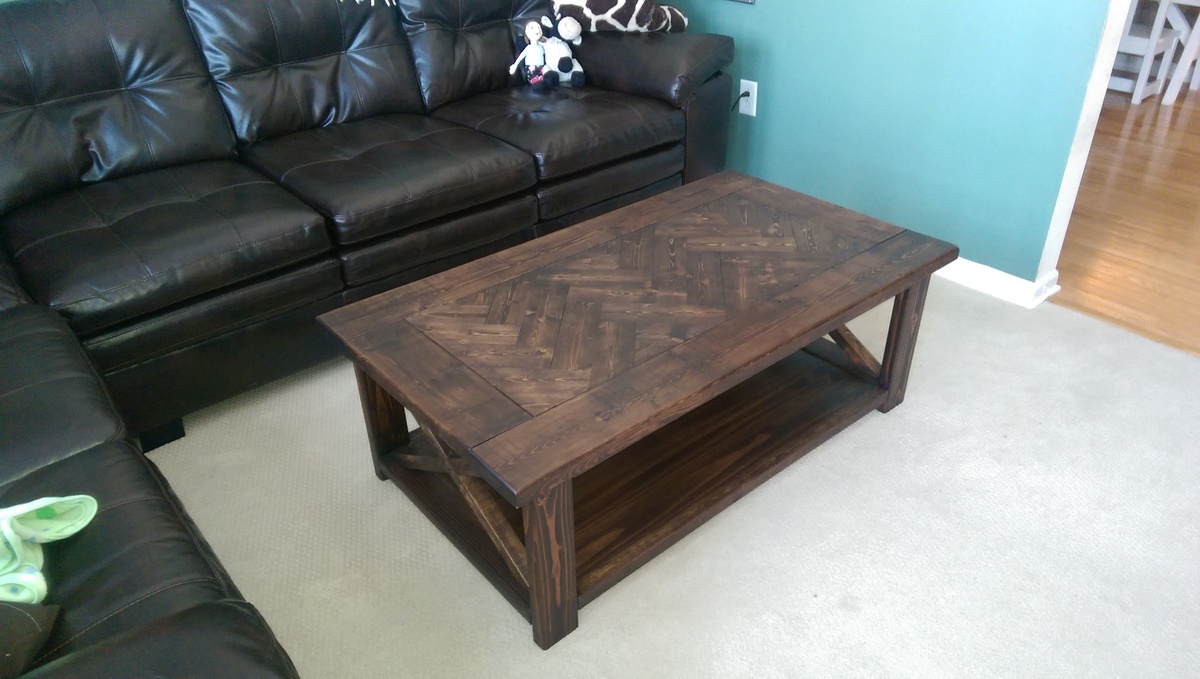
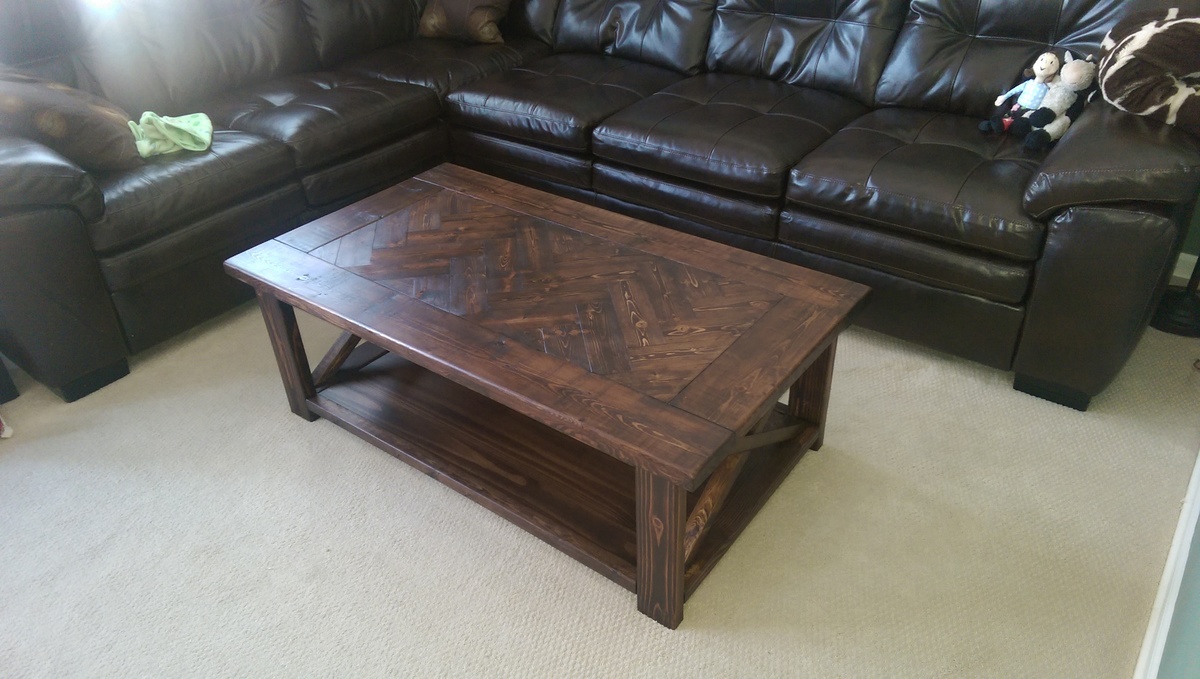
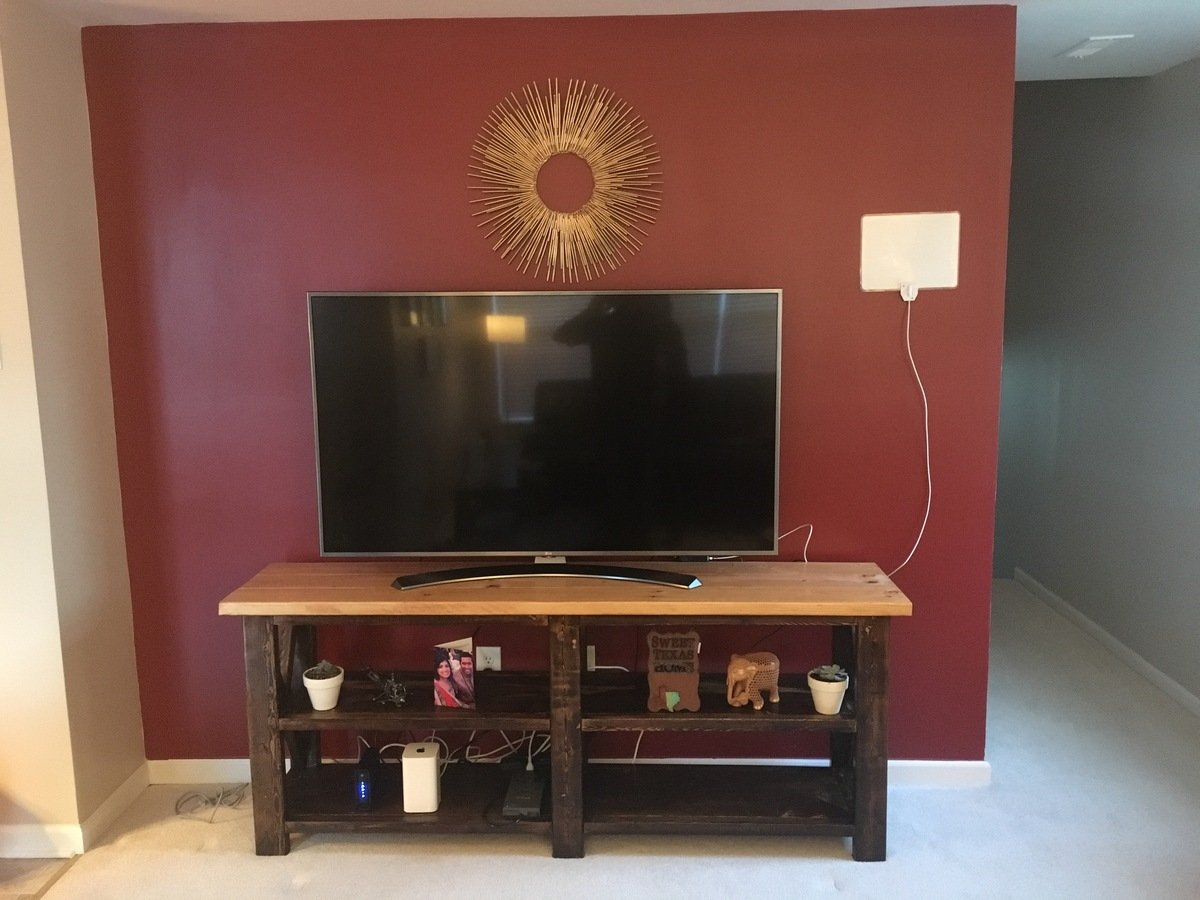
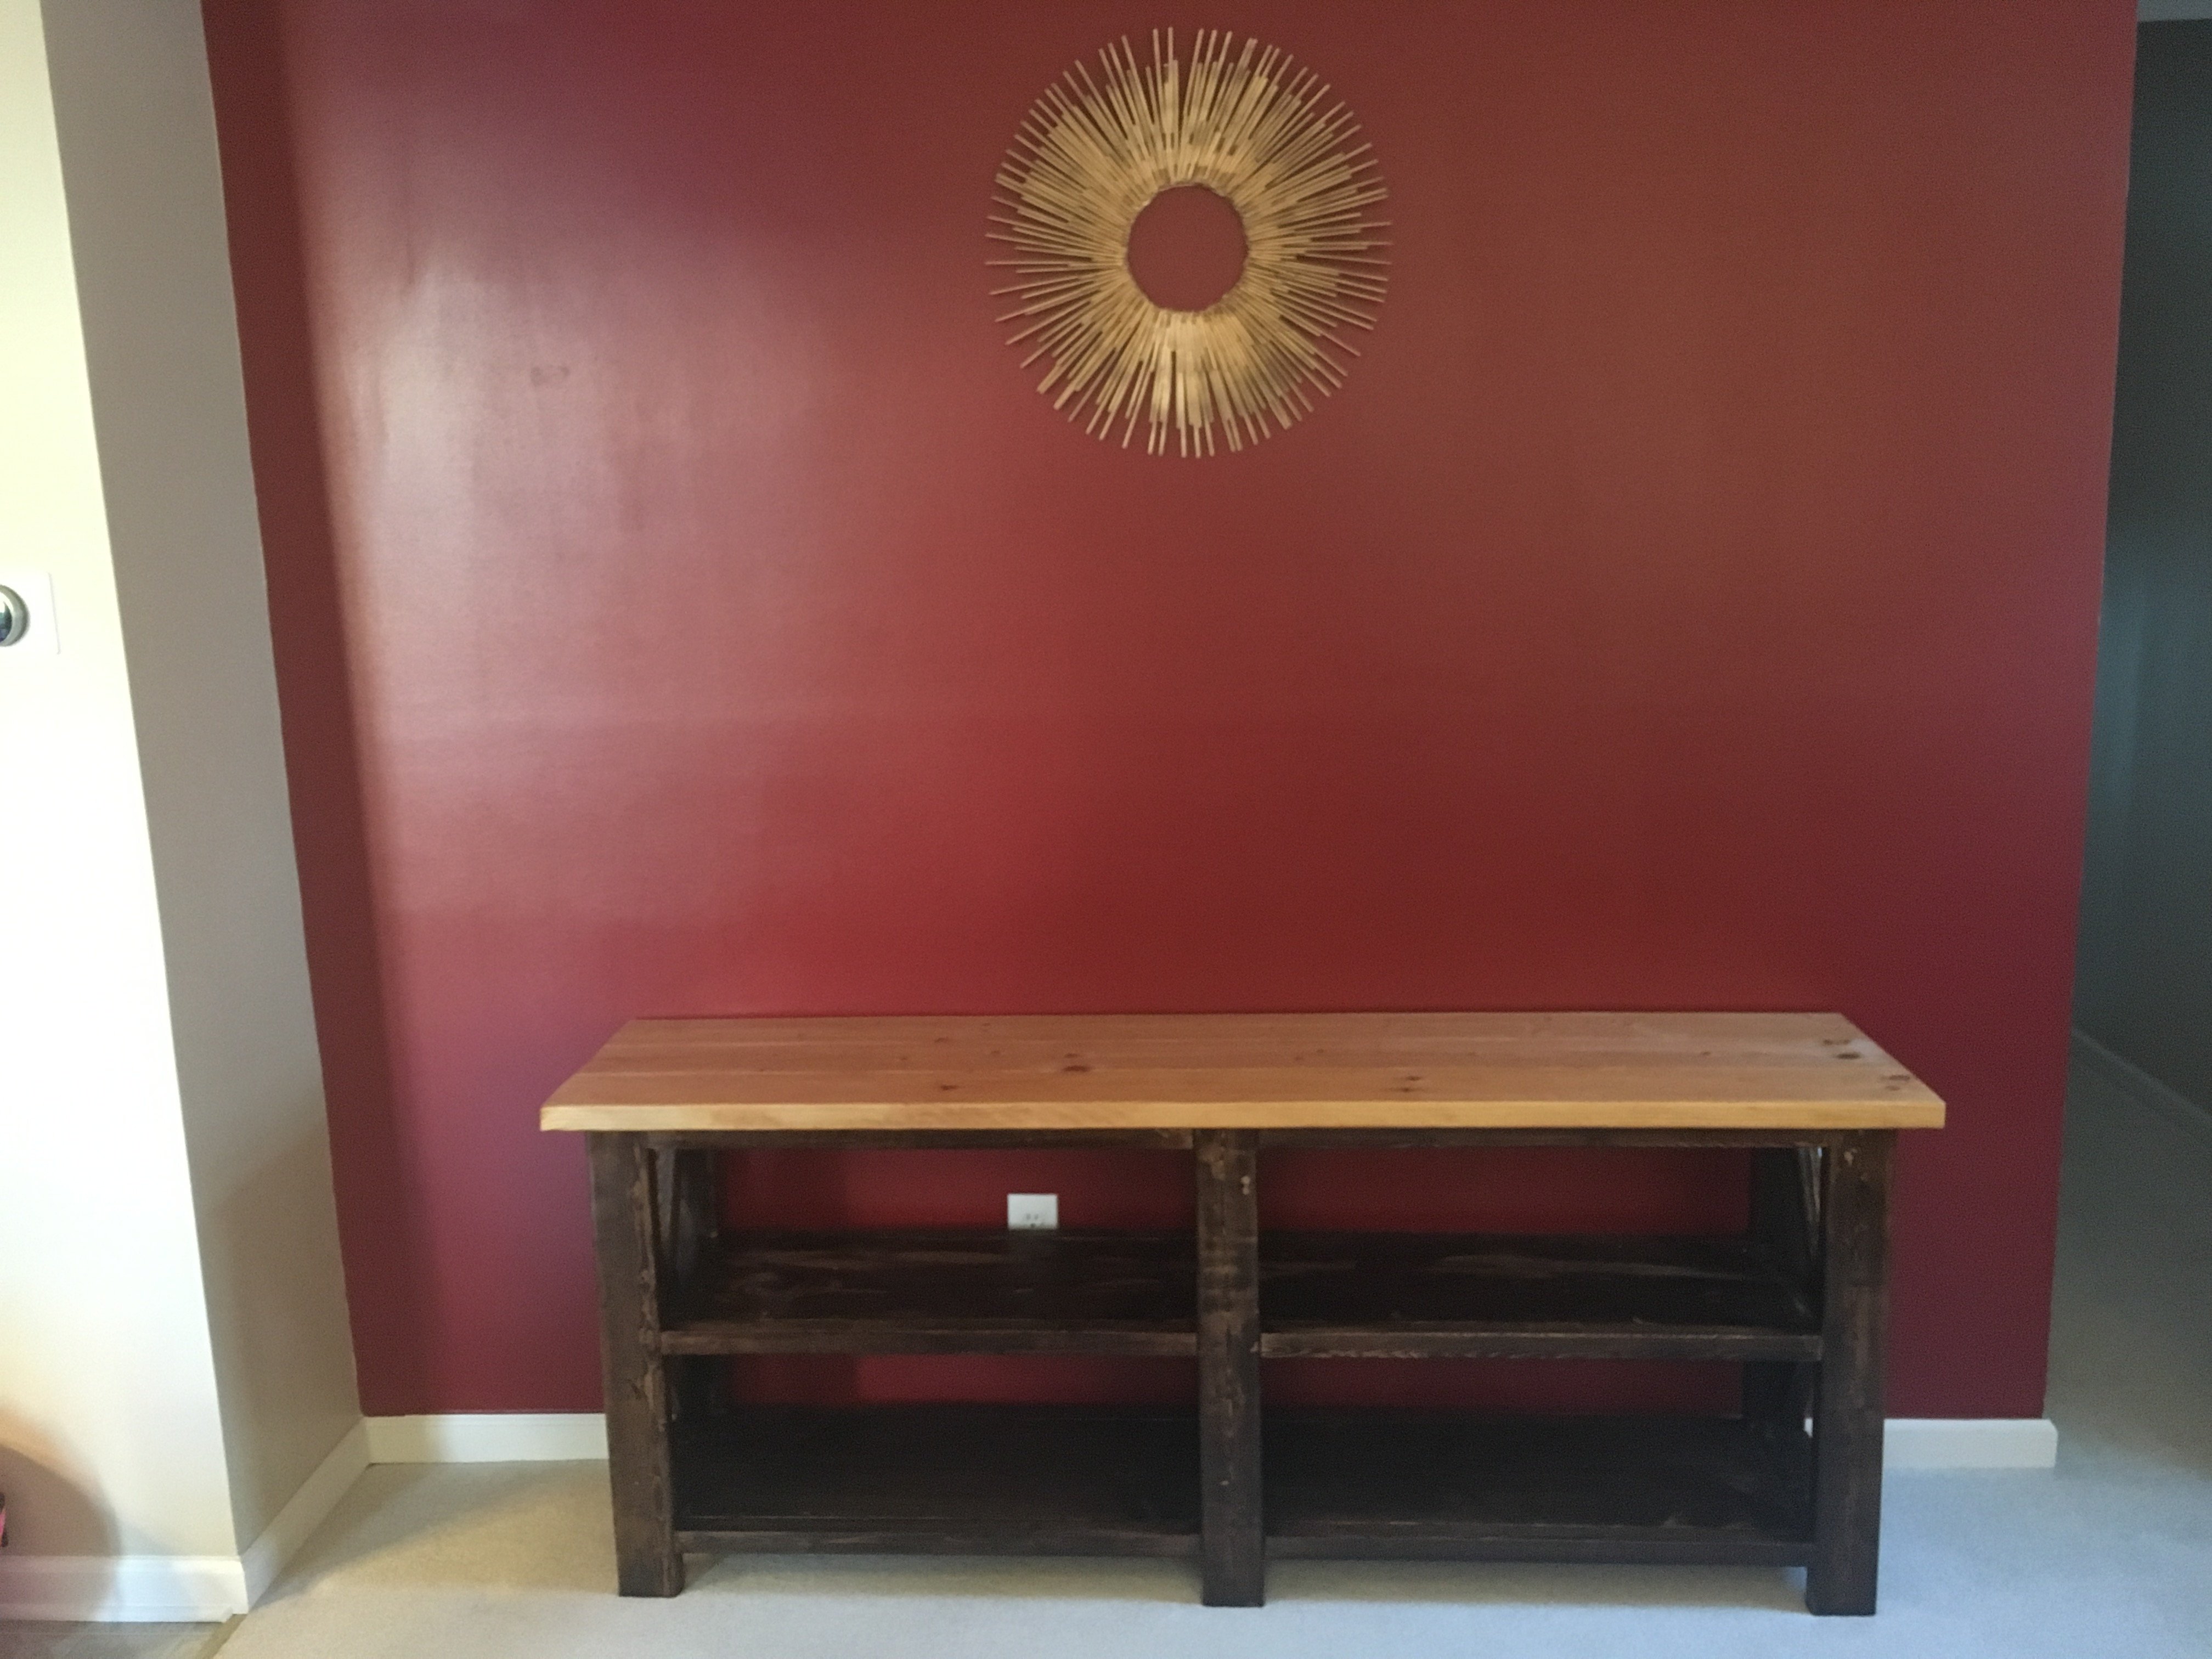
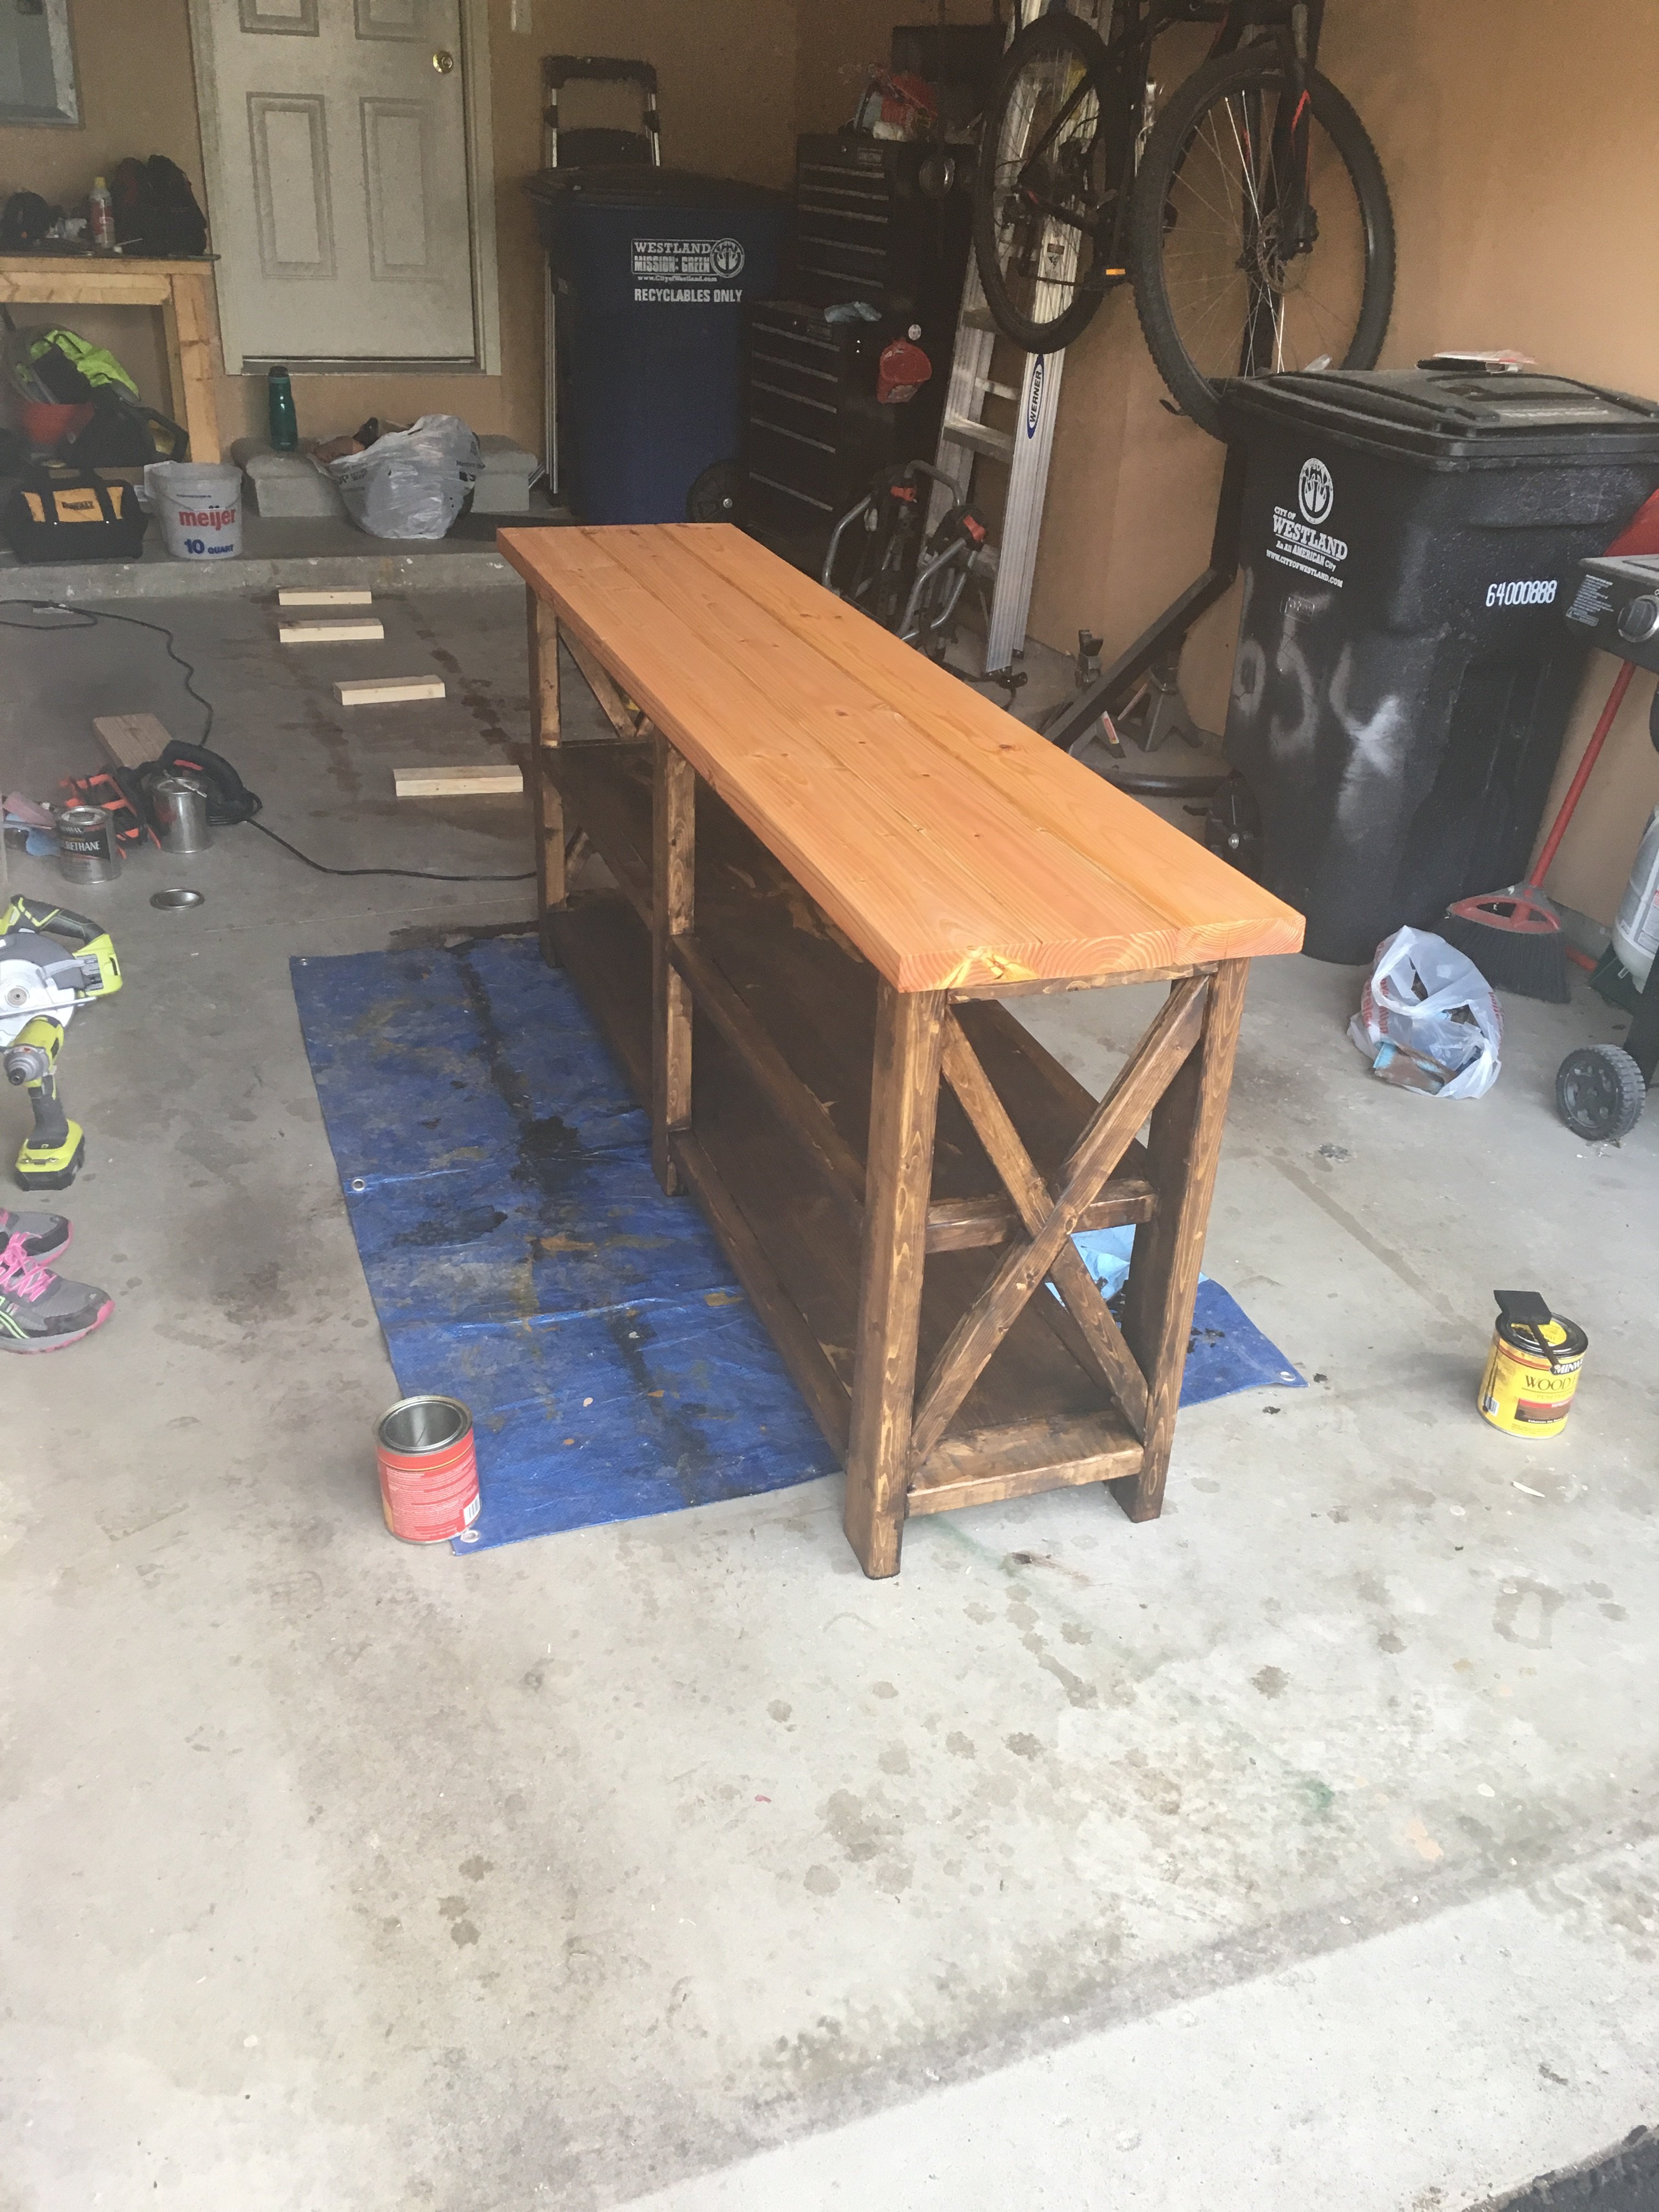
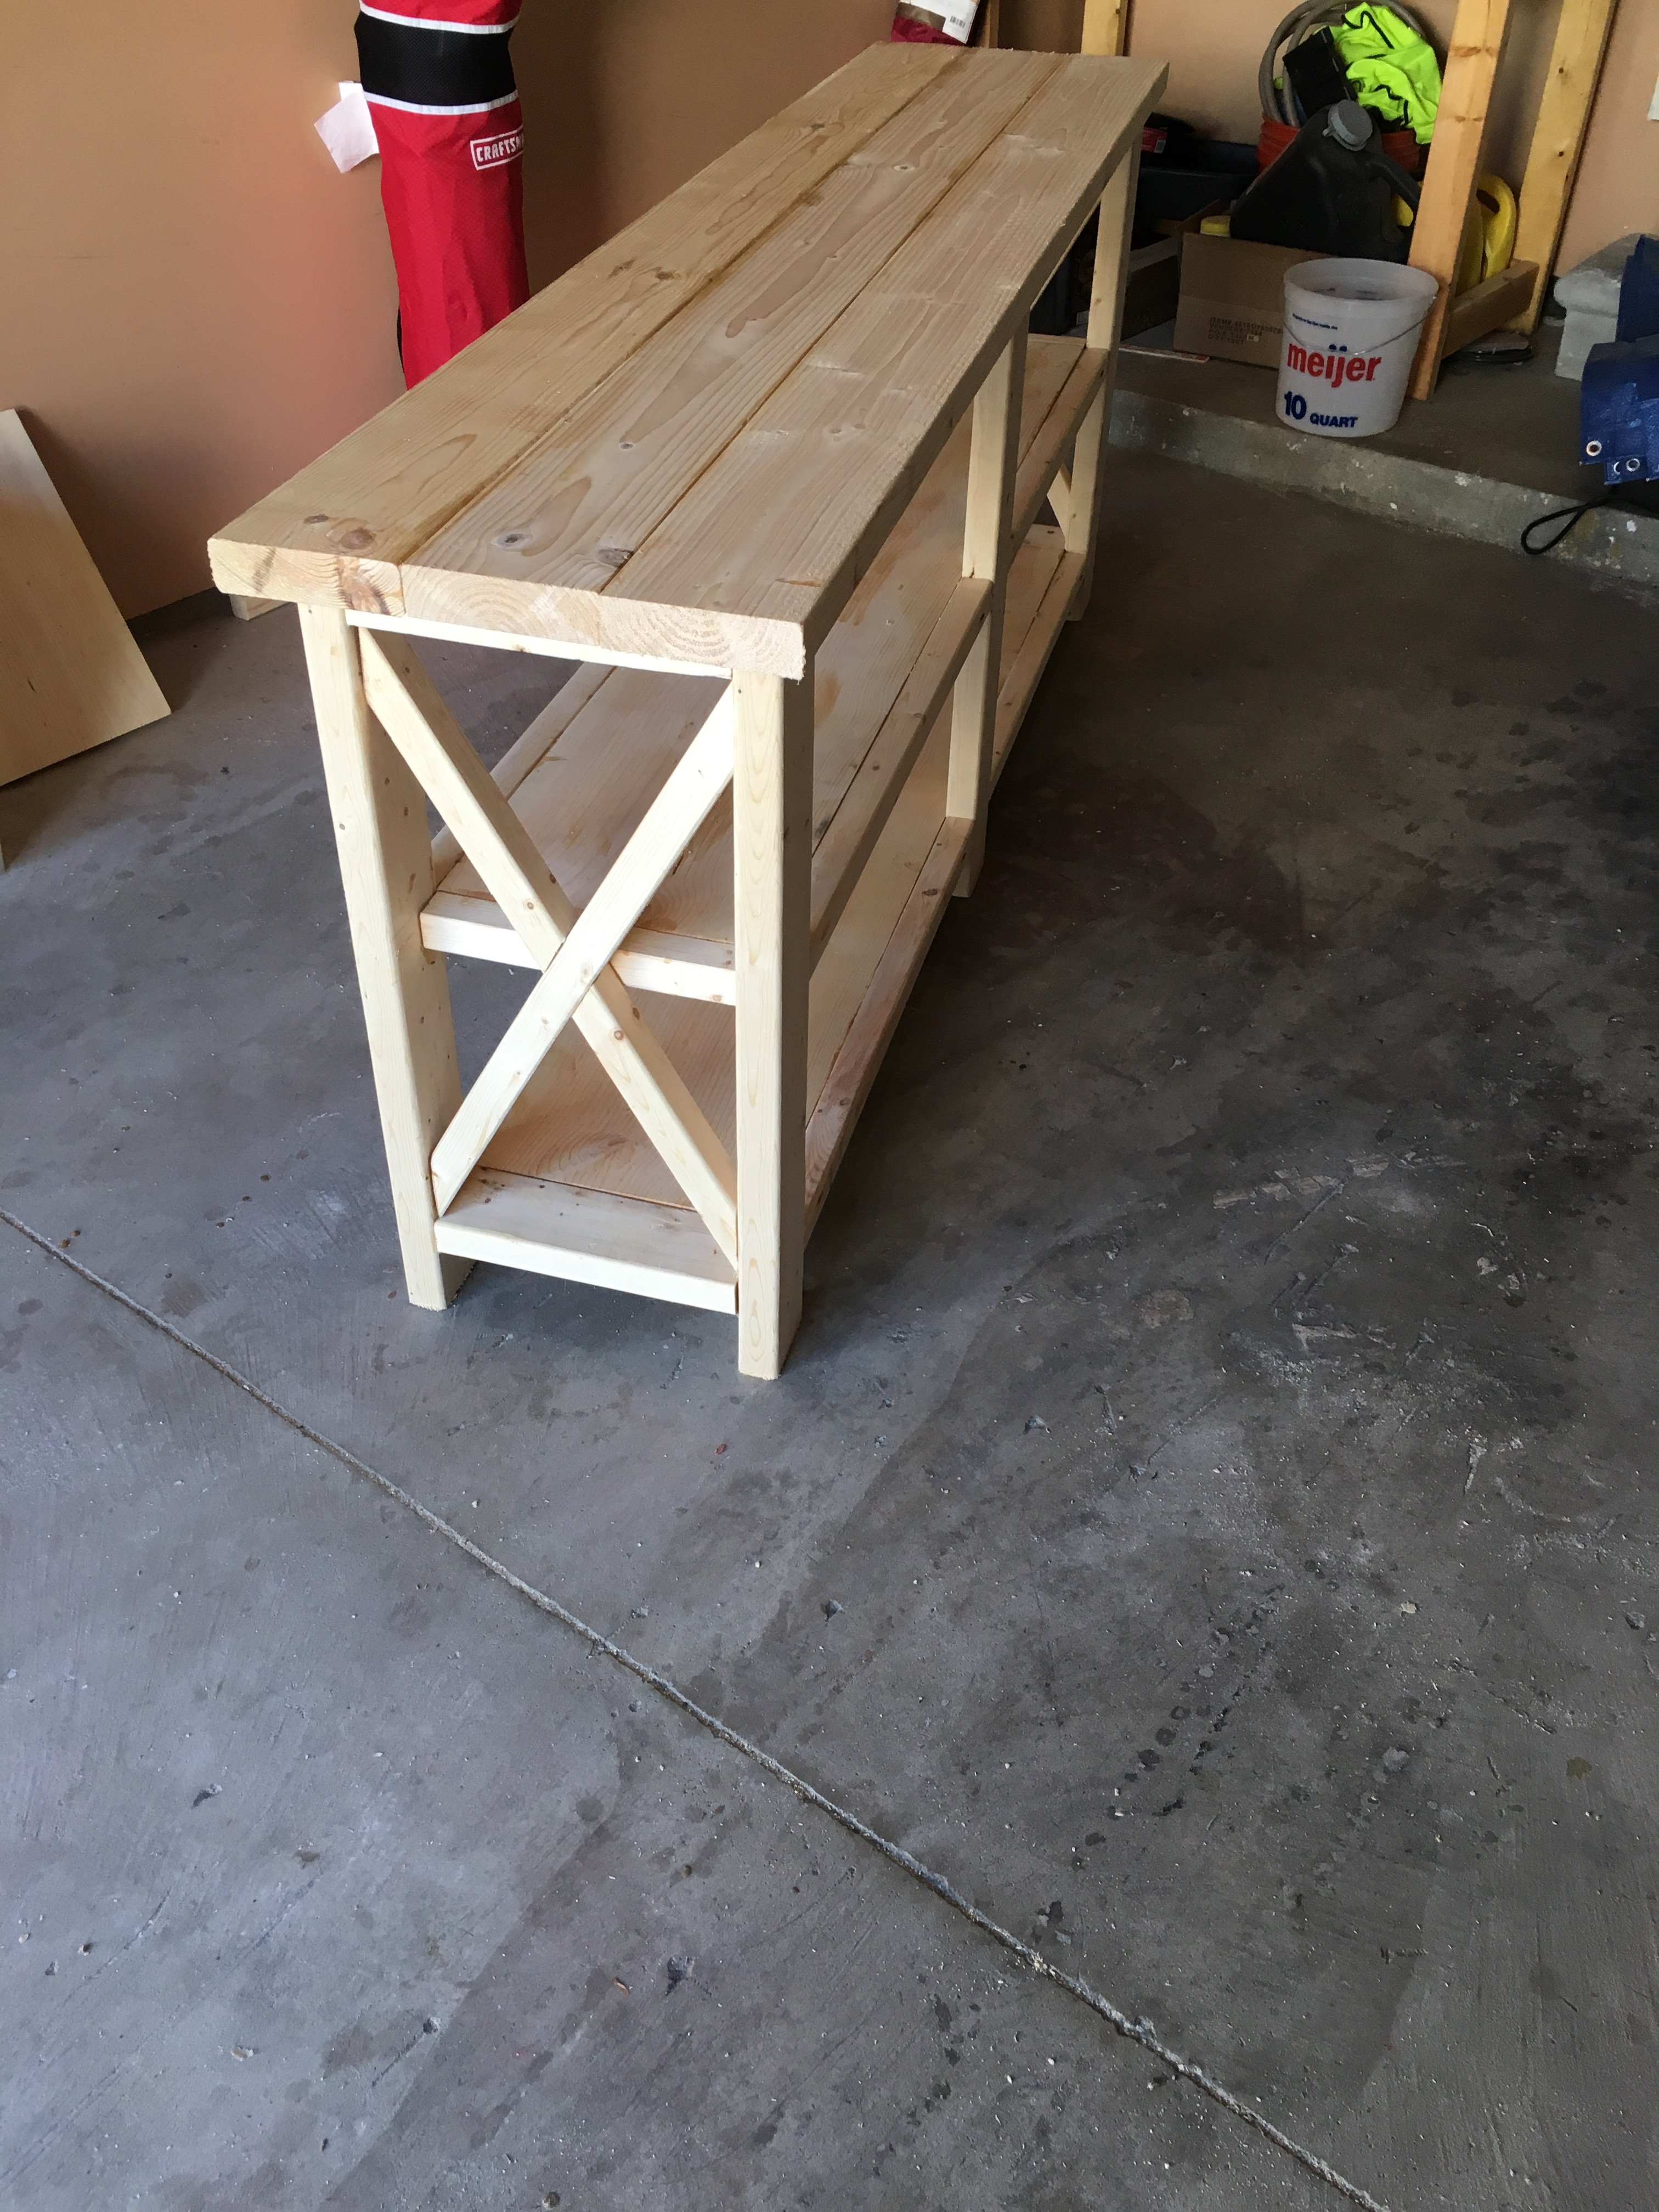
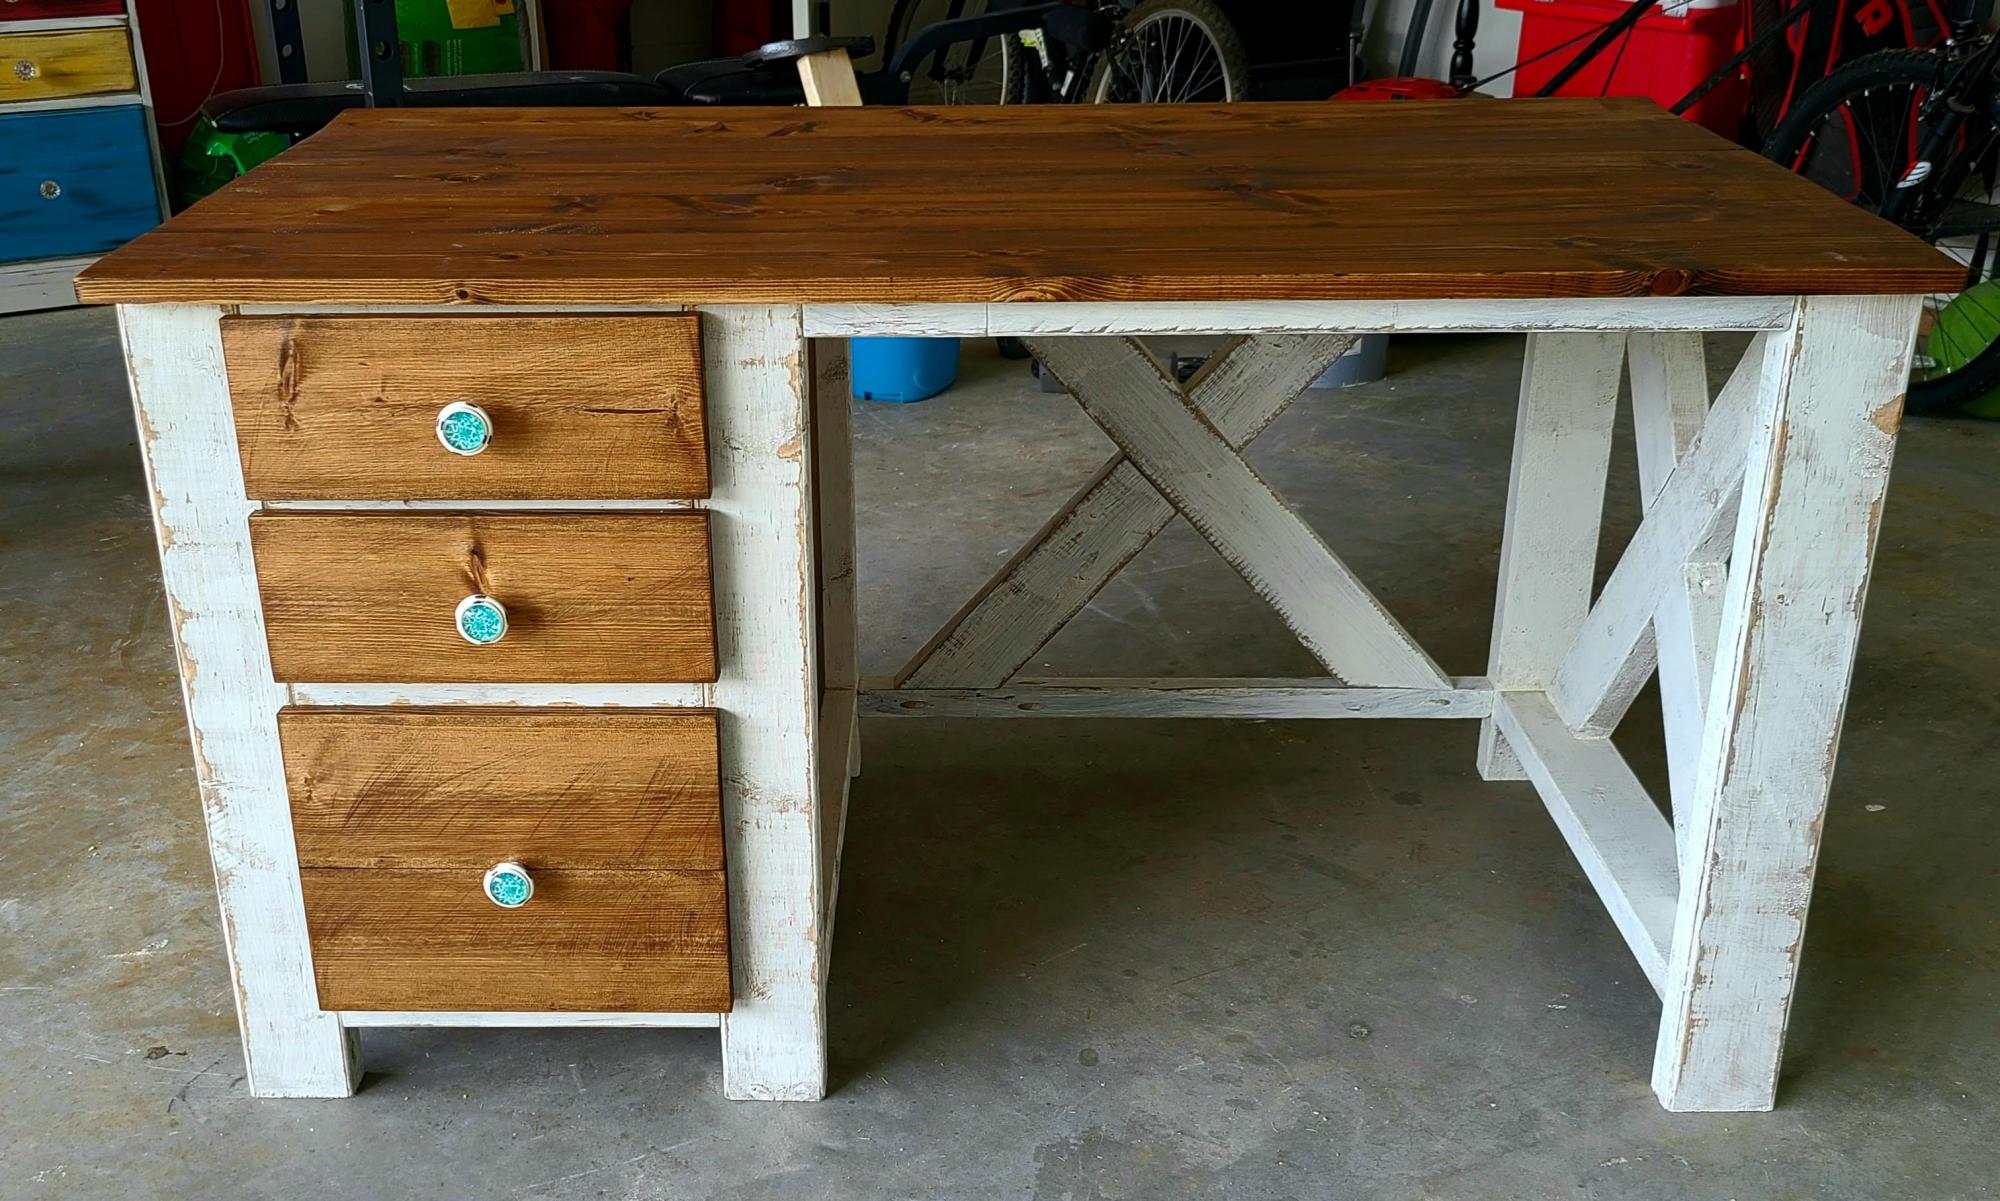
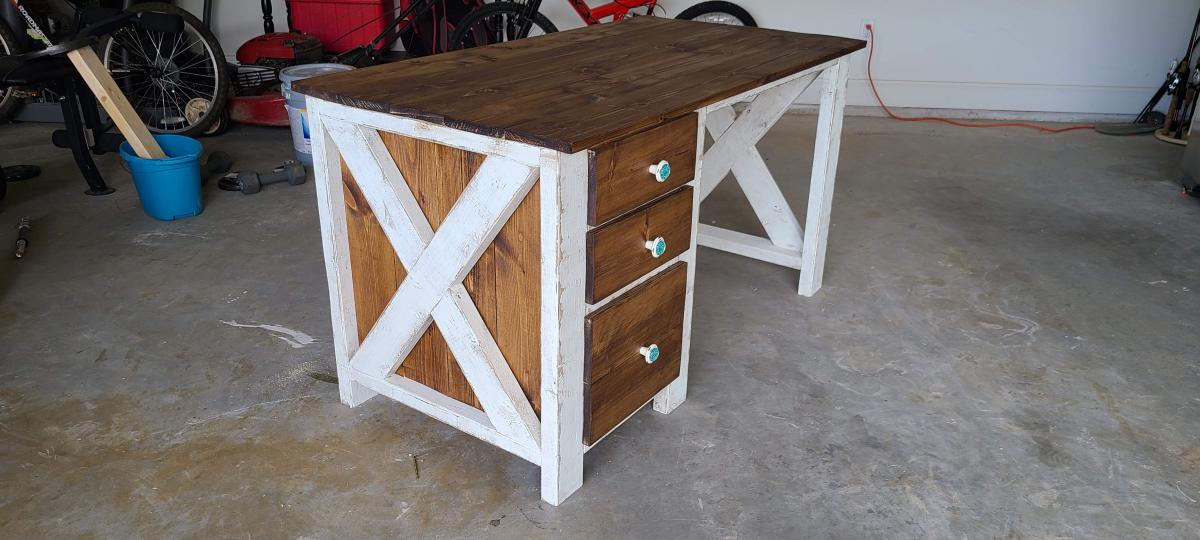
Rustic X Console
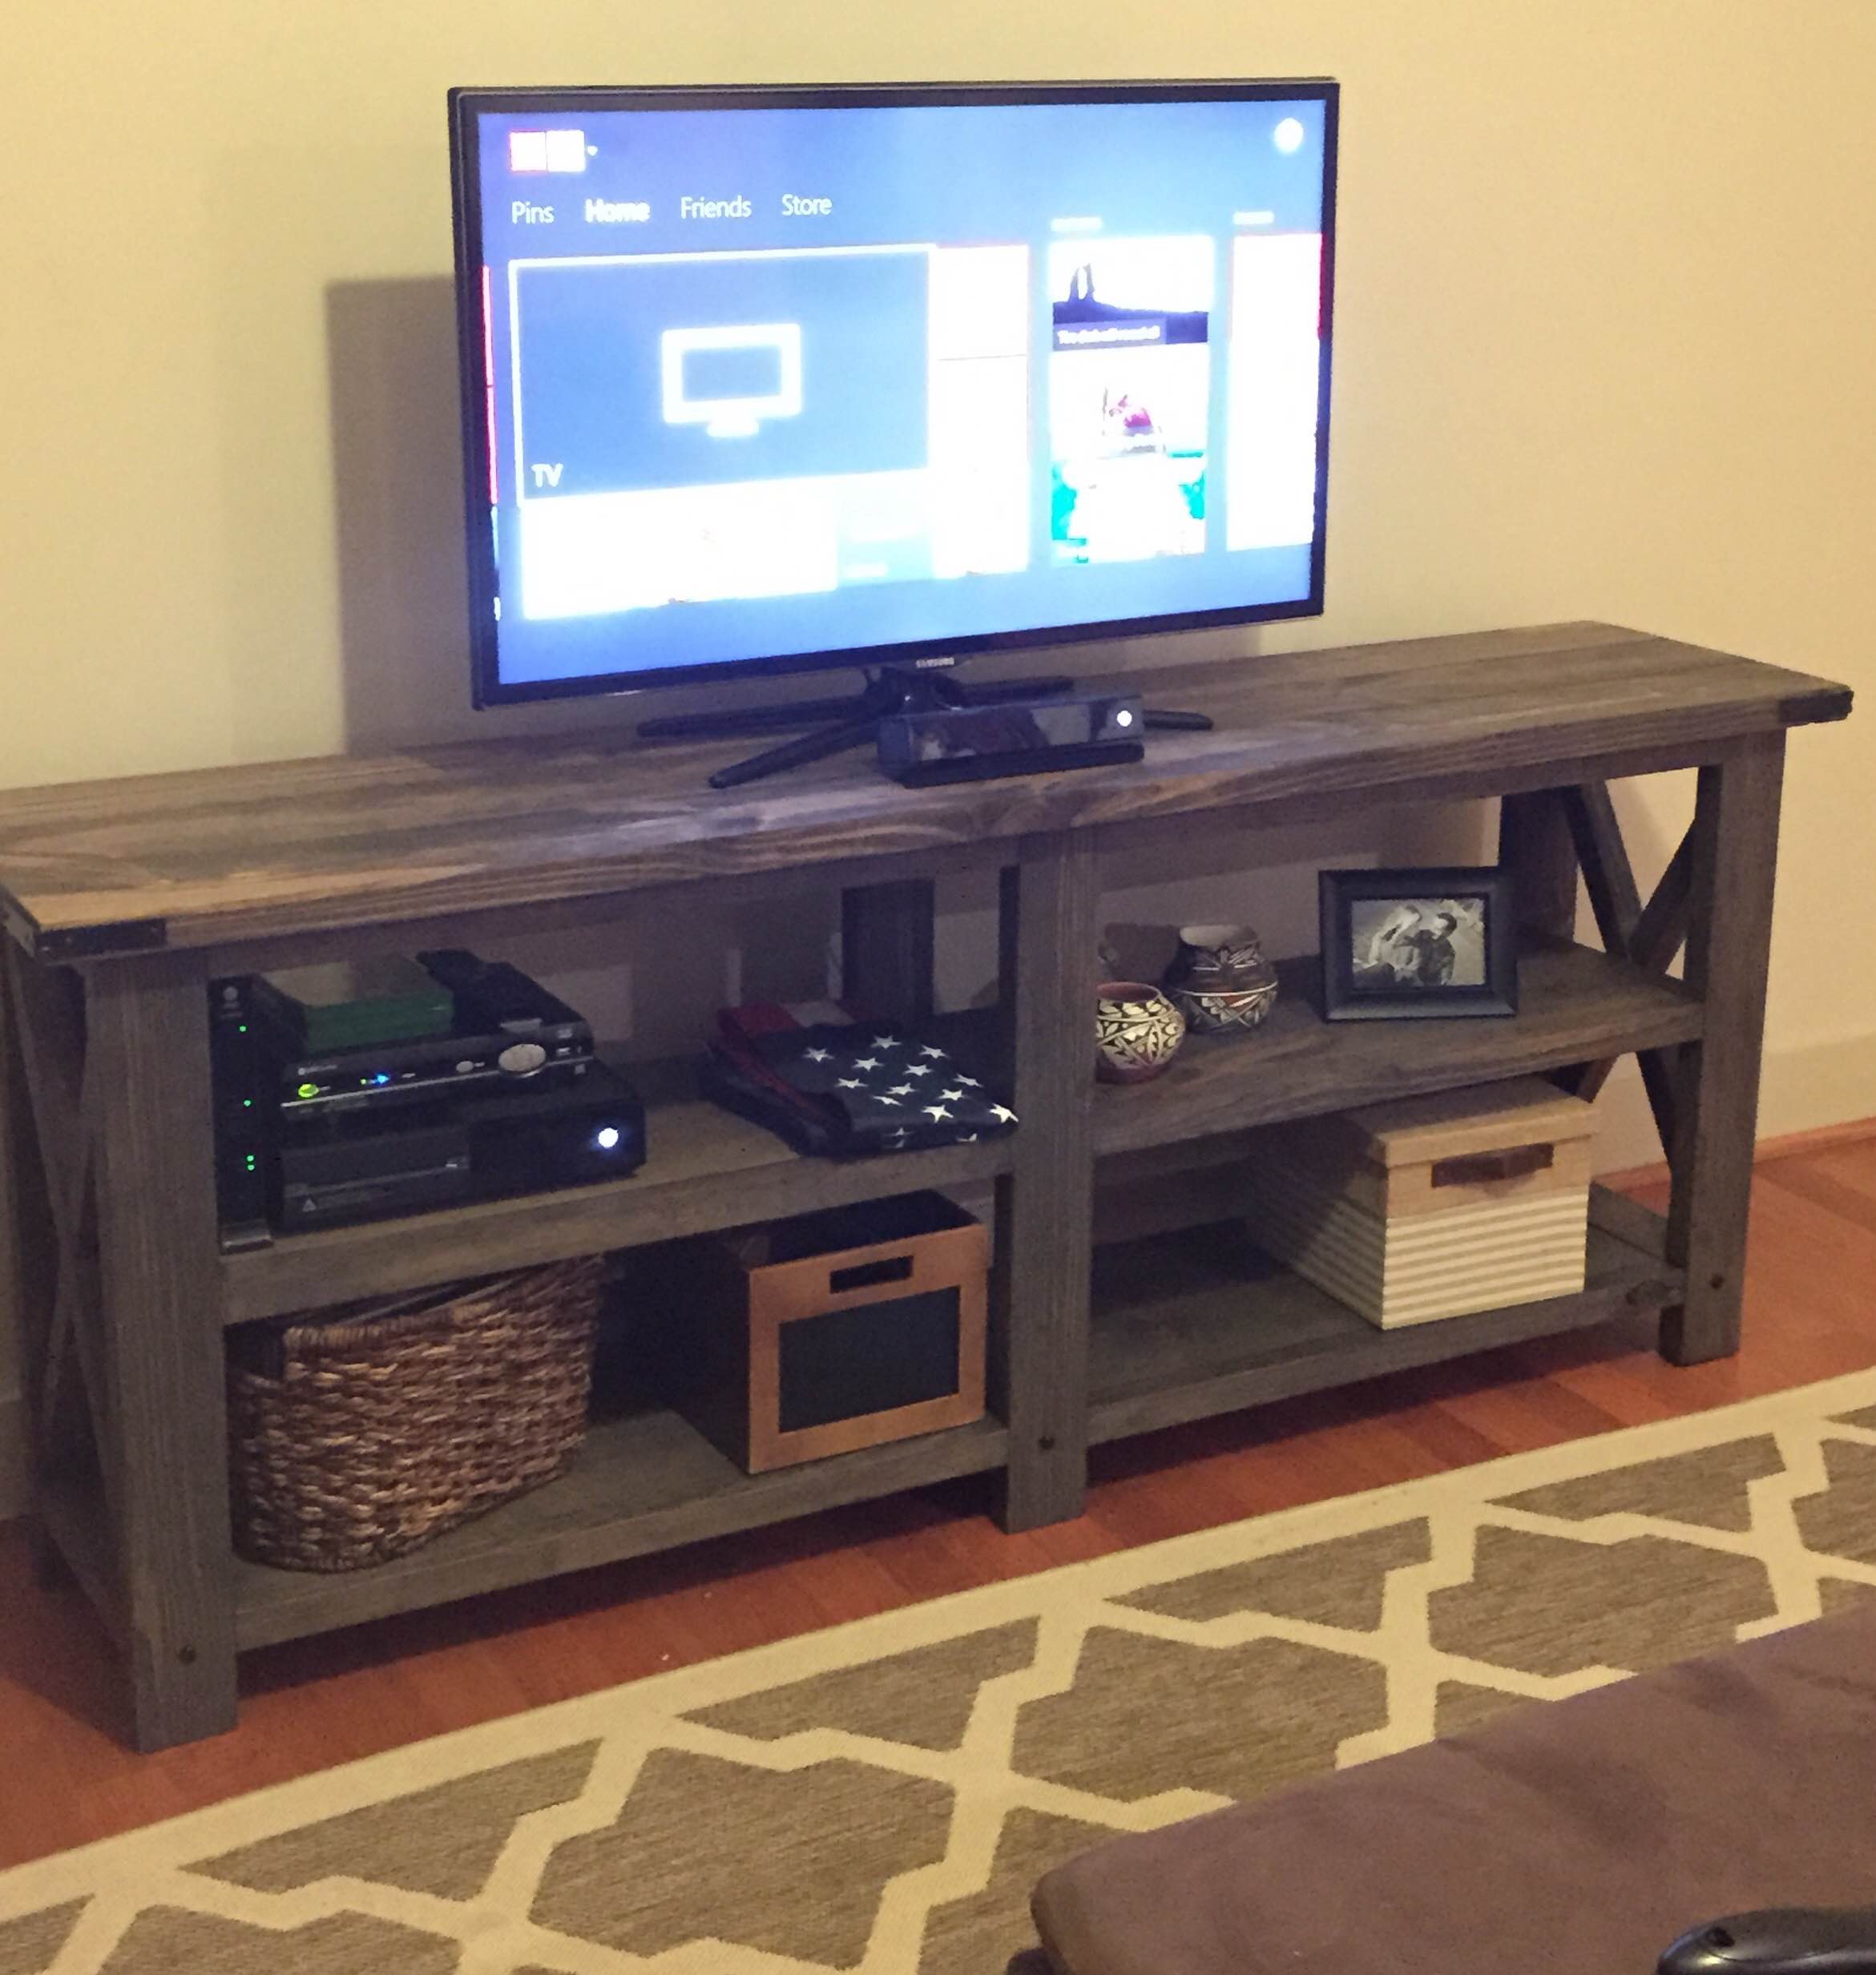
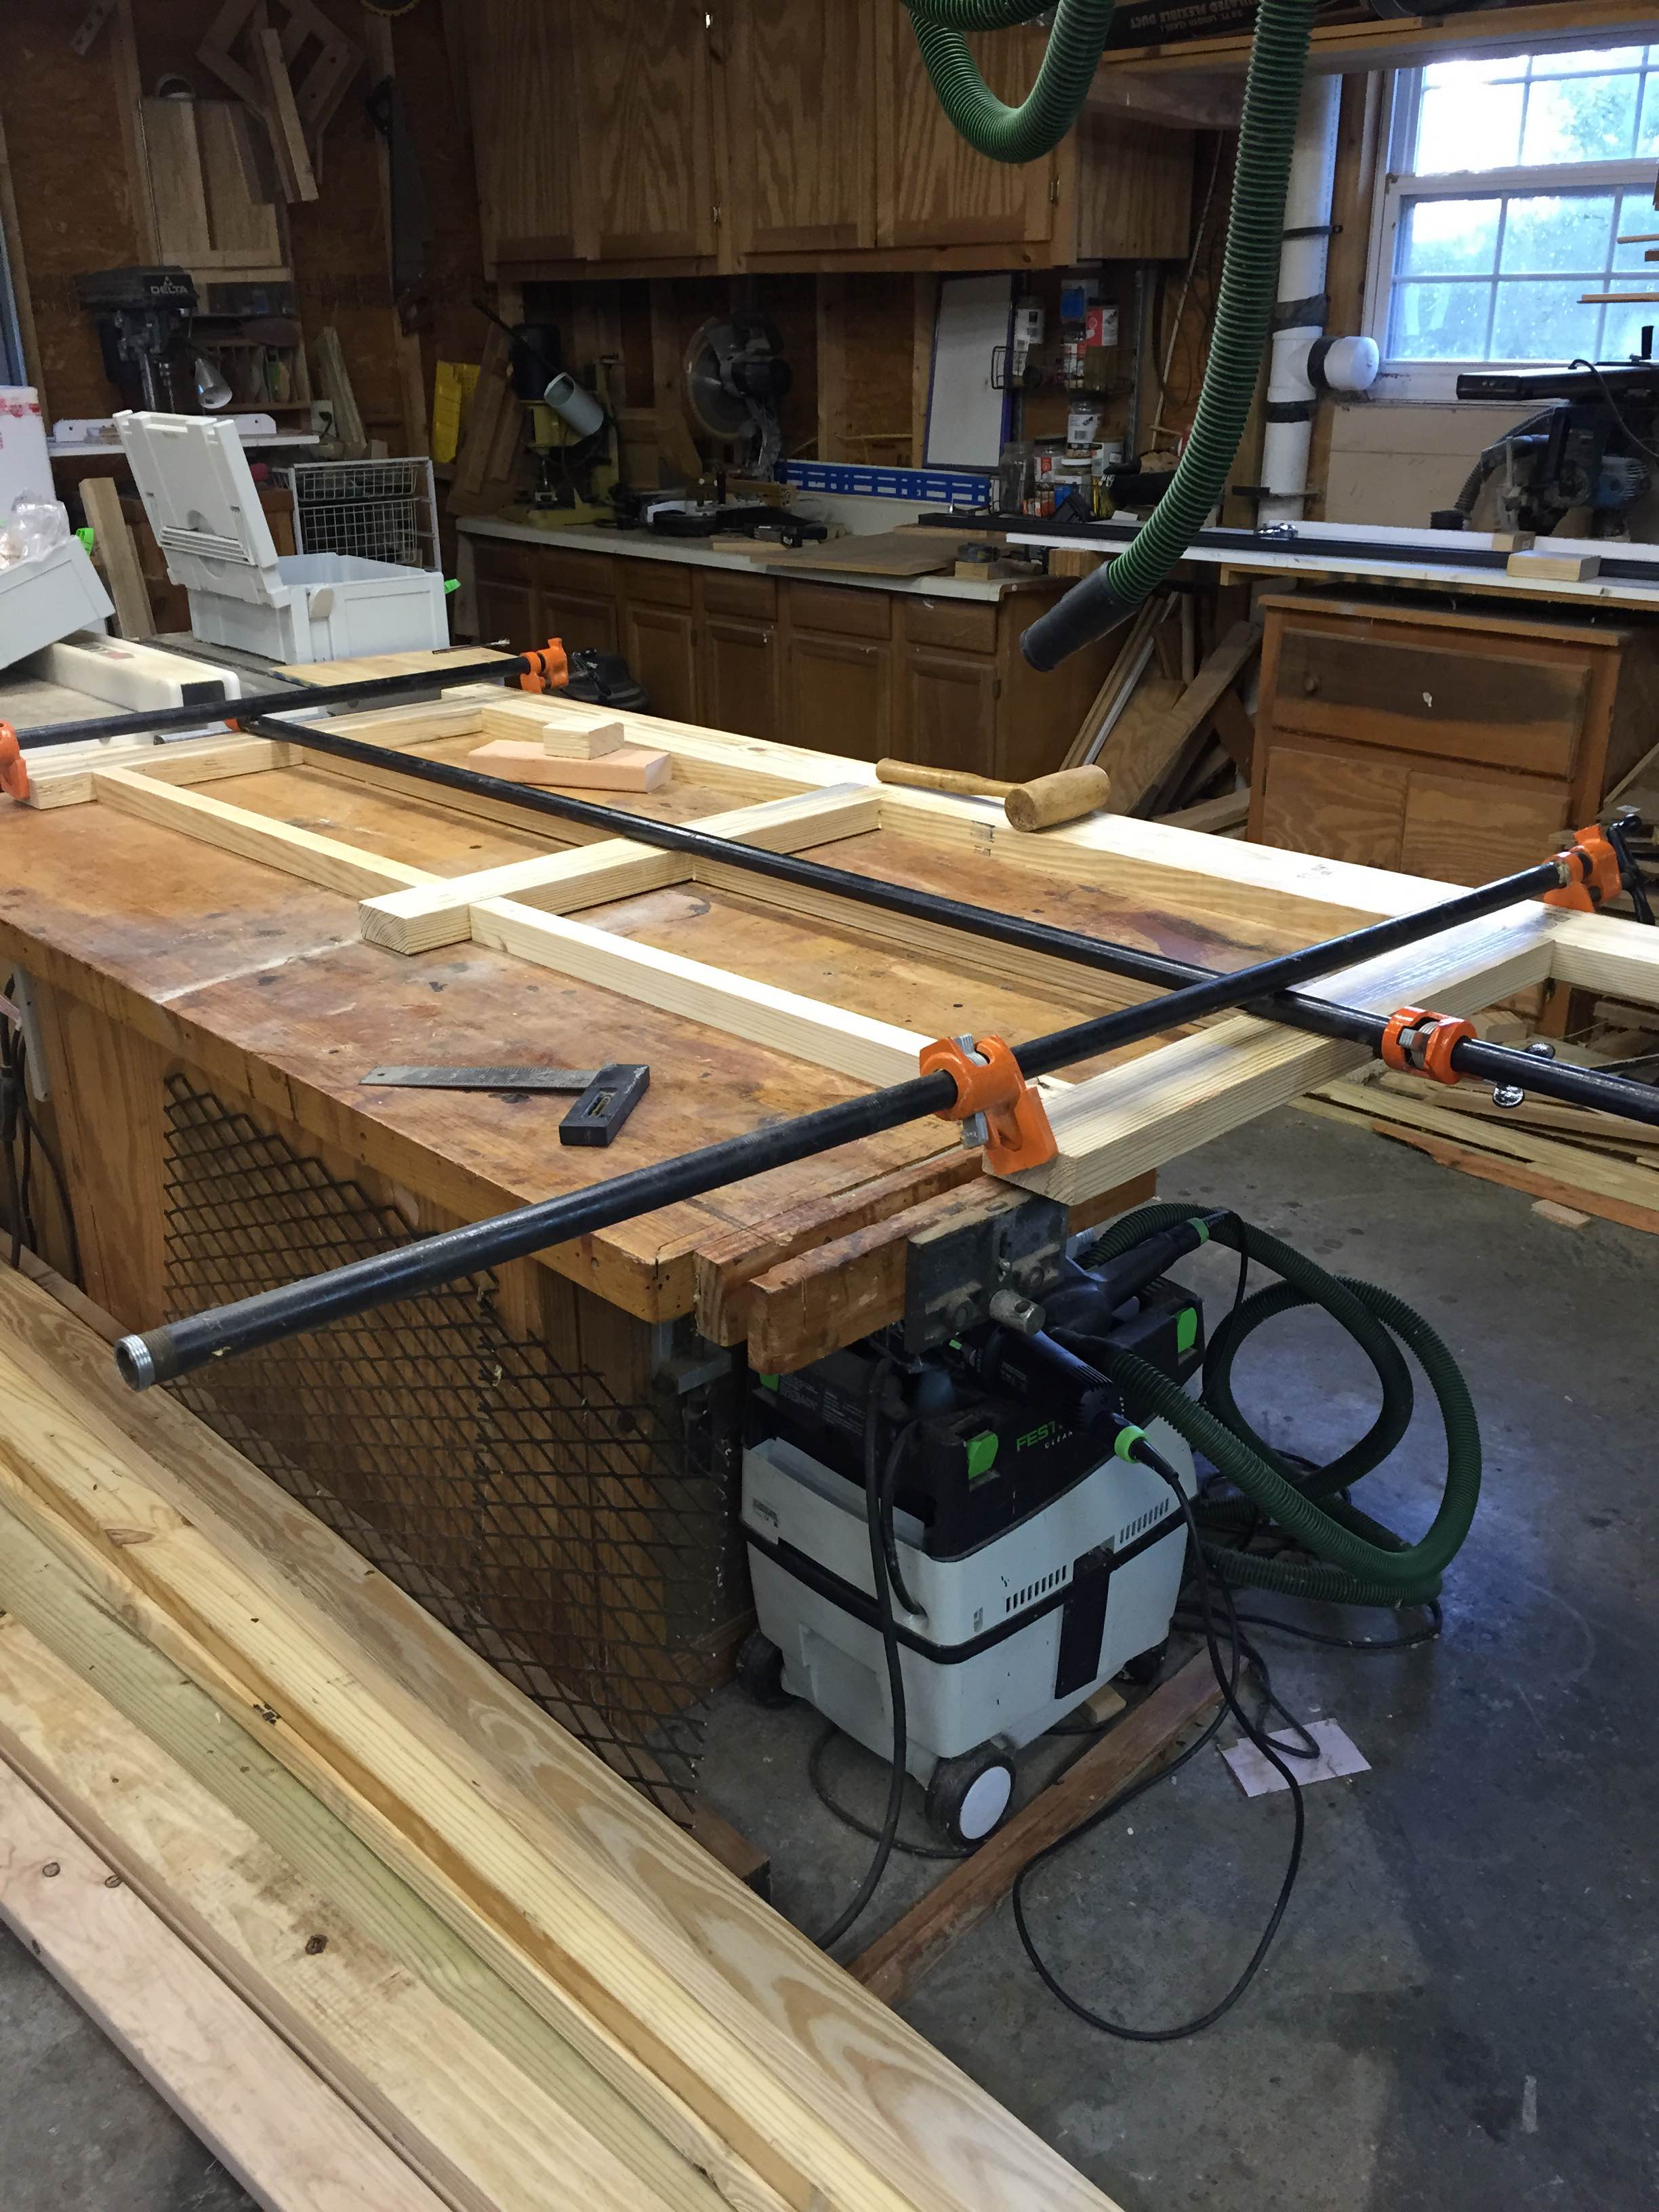
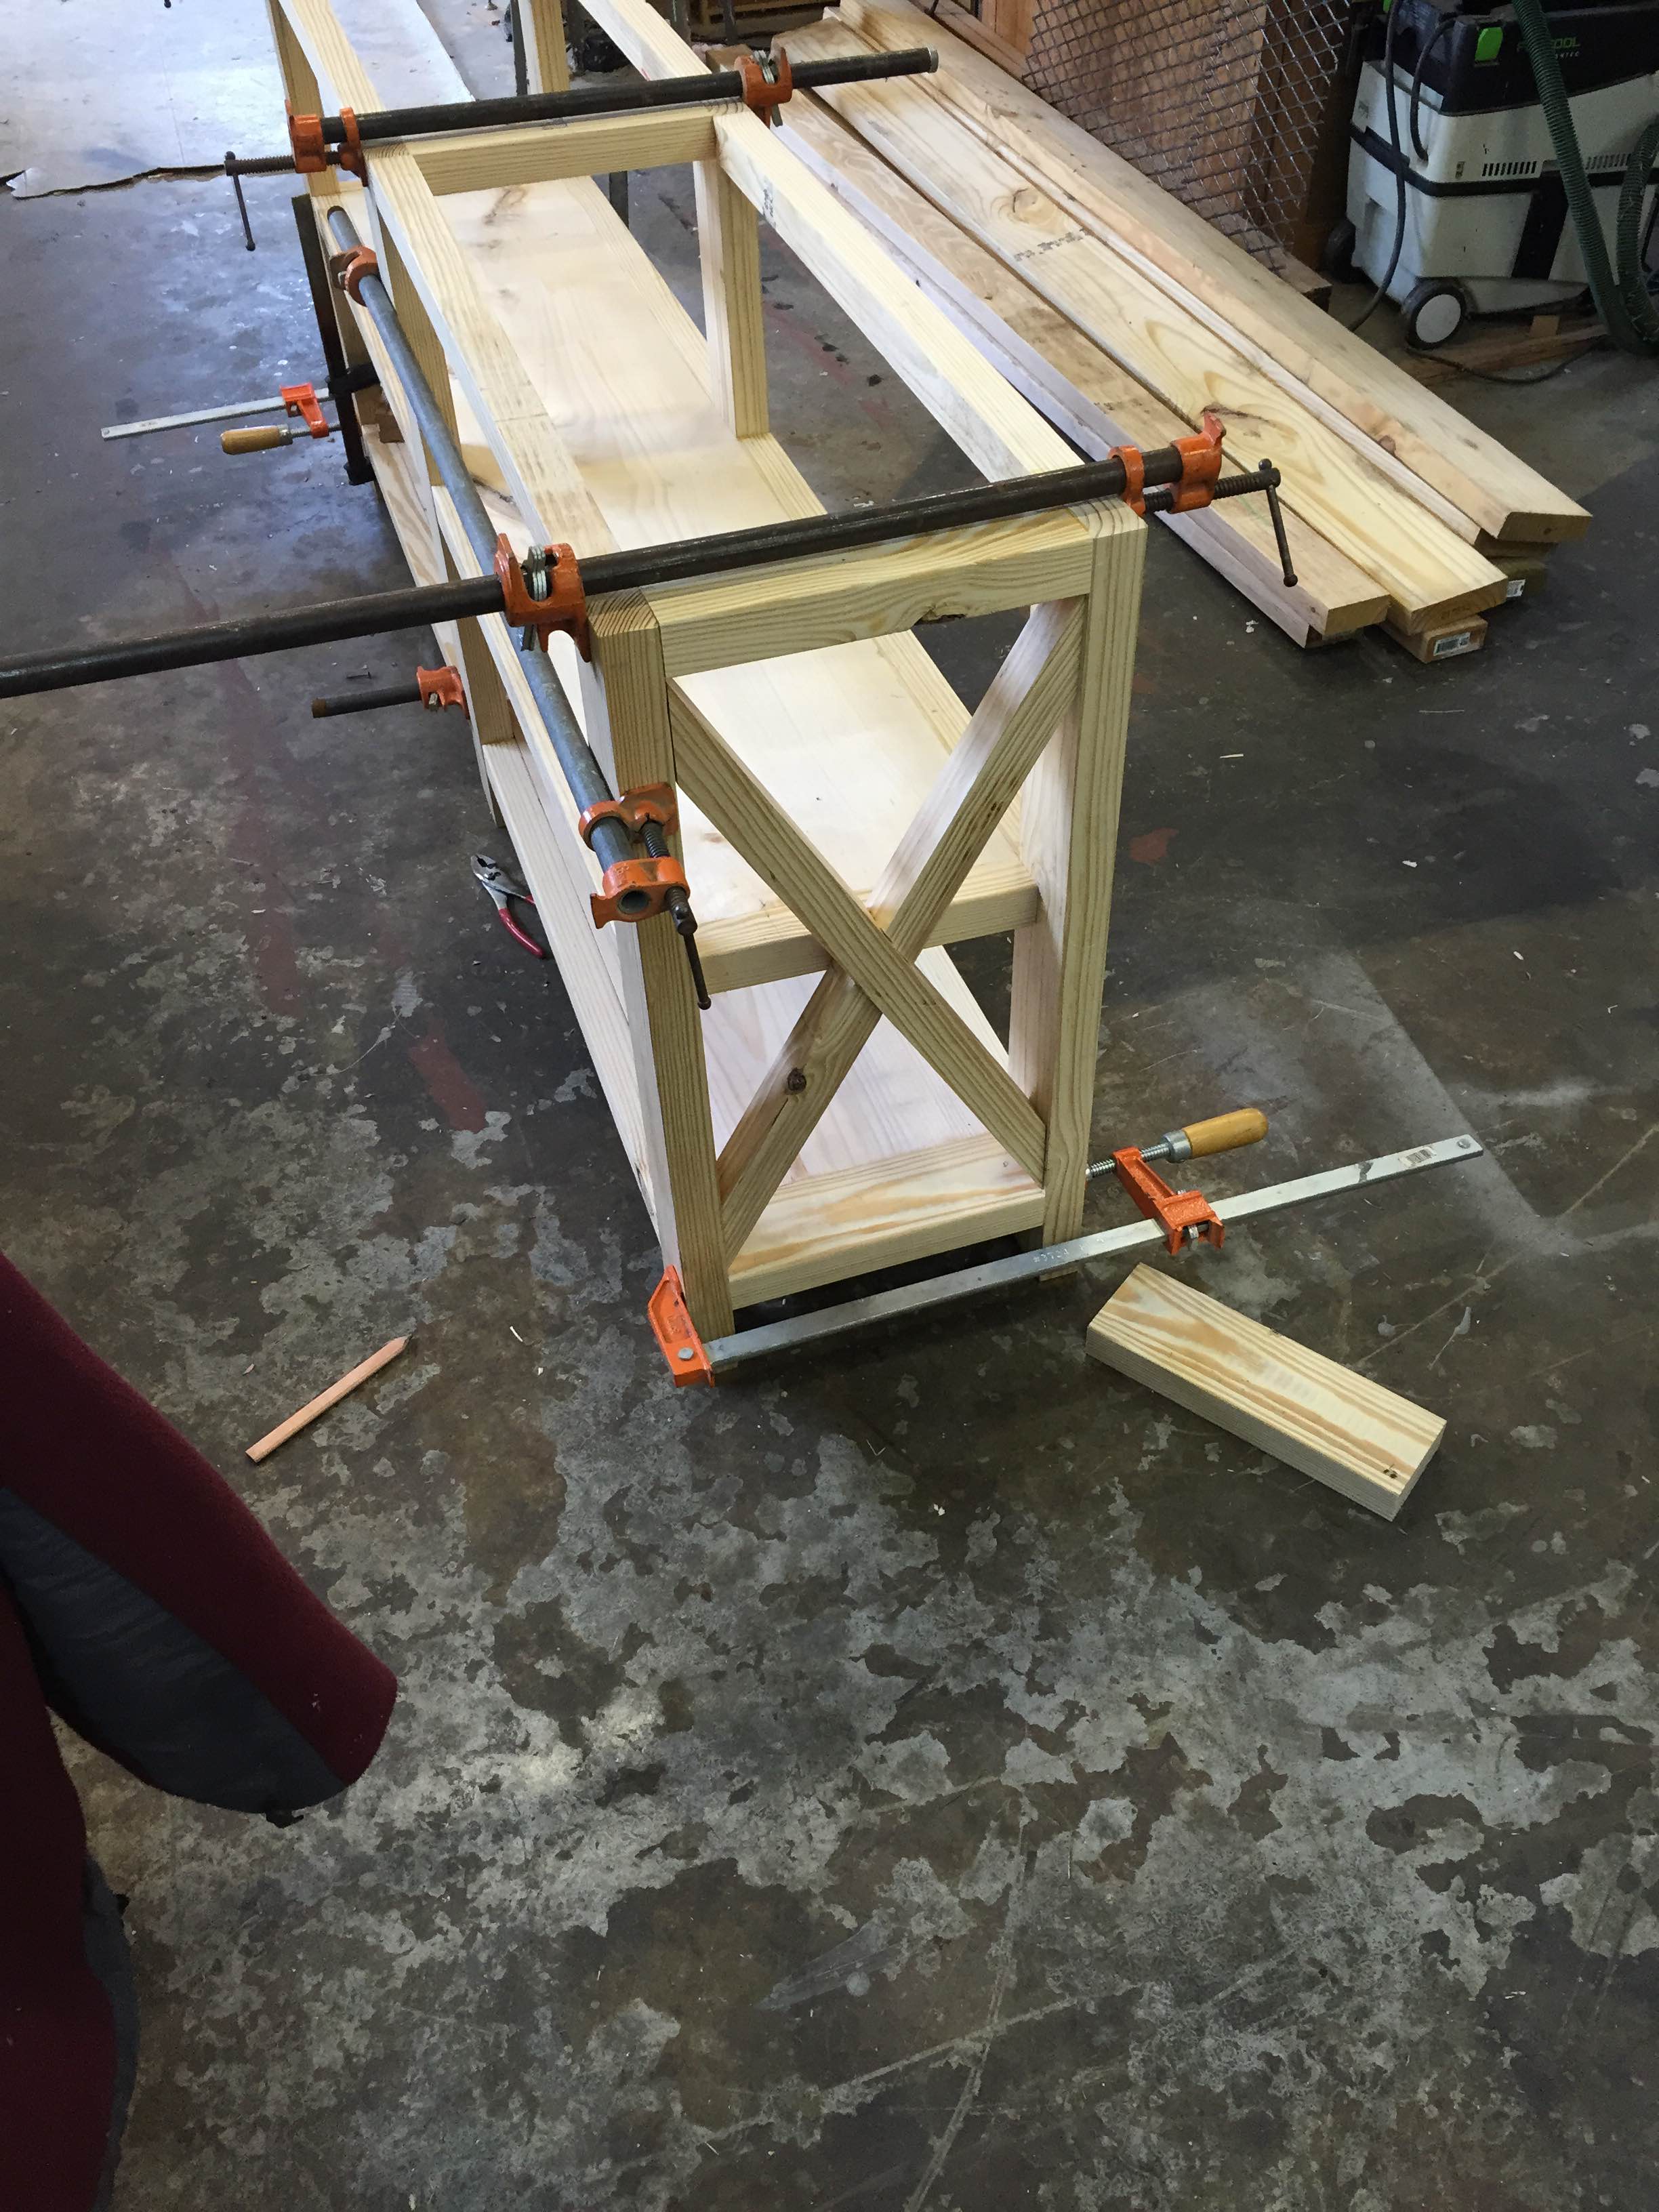
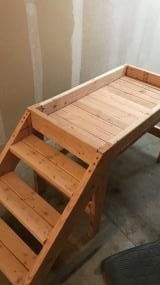
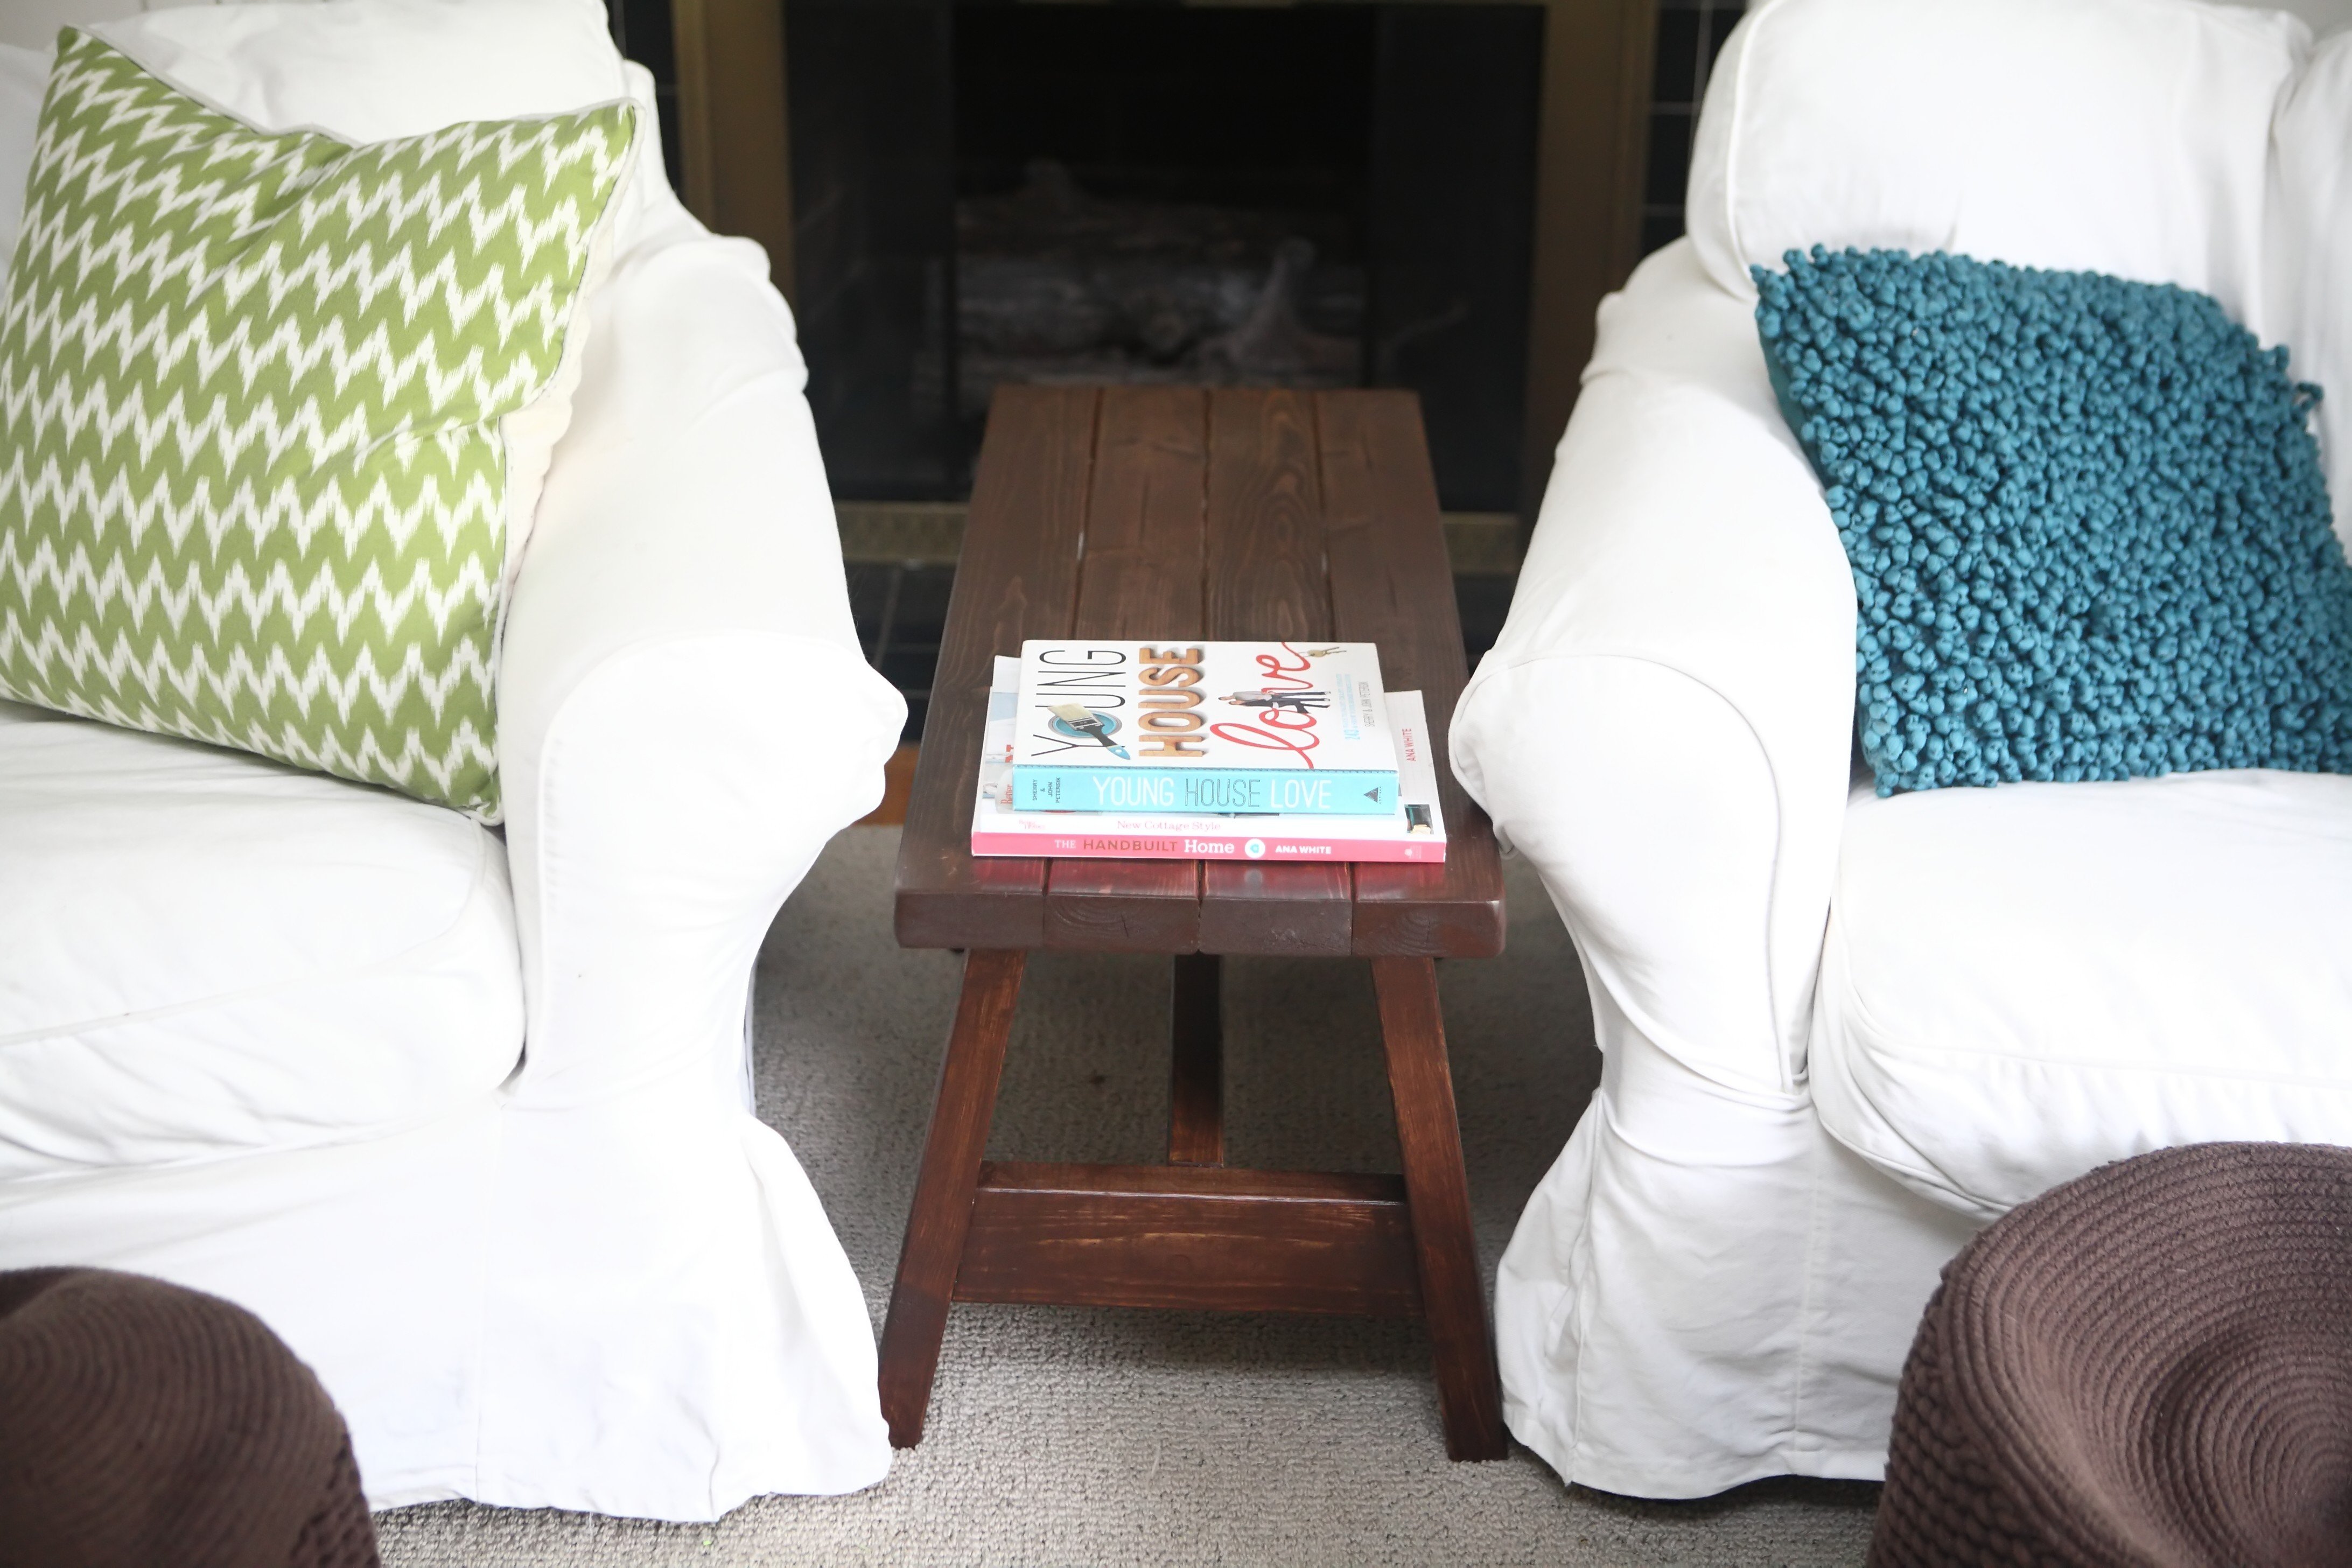
My dad and I built the Rustic X Console table this past weekend based off of the plan! The only differences were that we used the Festool Domino tool to attach everything together instead of the Kreg Jig and our Xs are two pieces that we chiseled out to fit together. This plan is awesome and it turned out great!
Built from Plan(s)
Estimated Cost
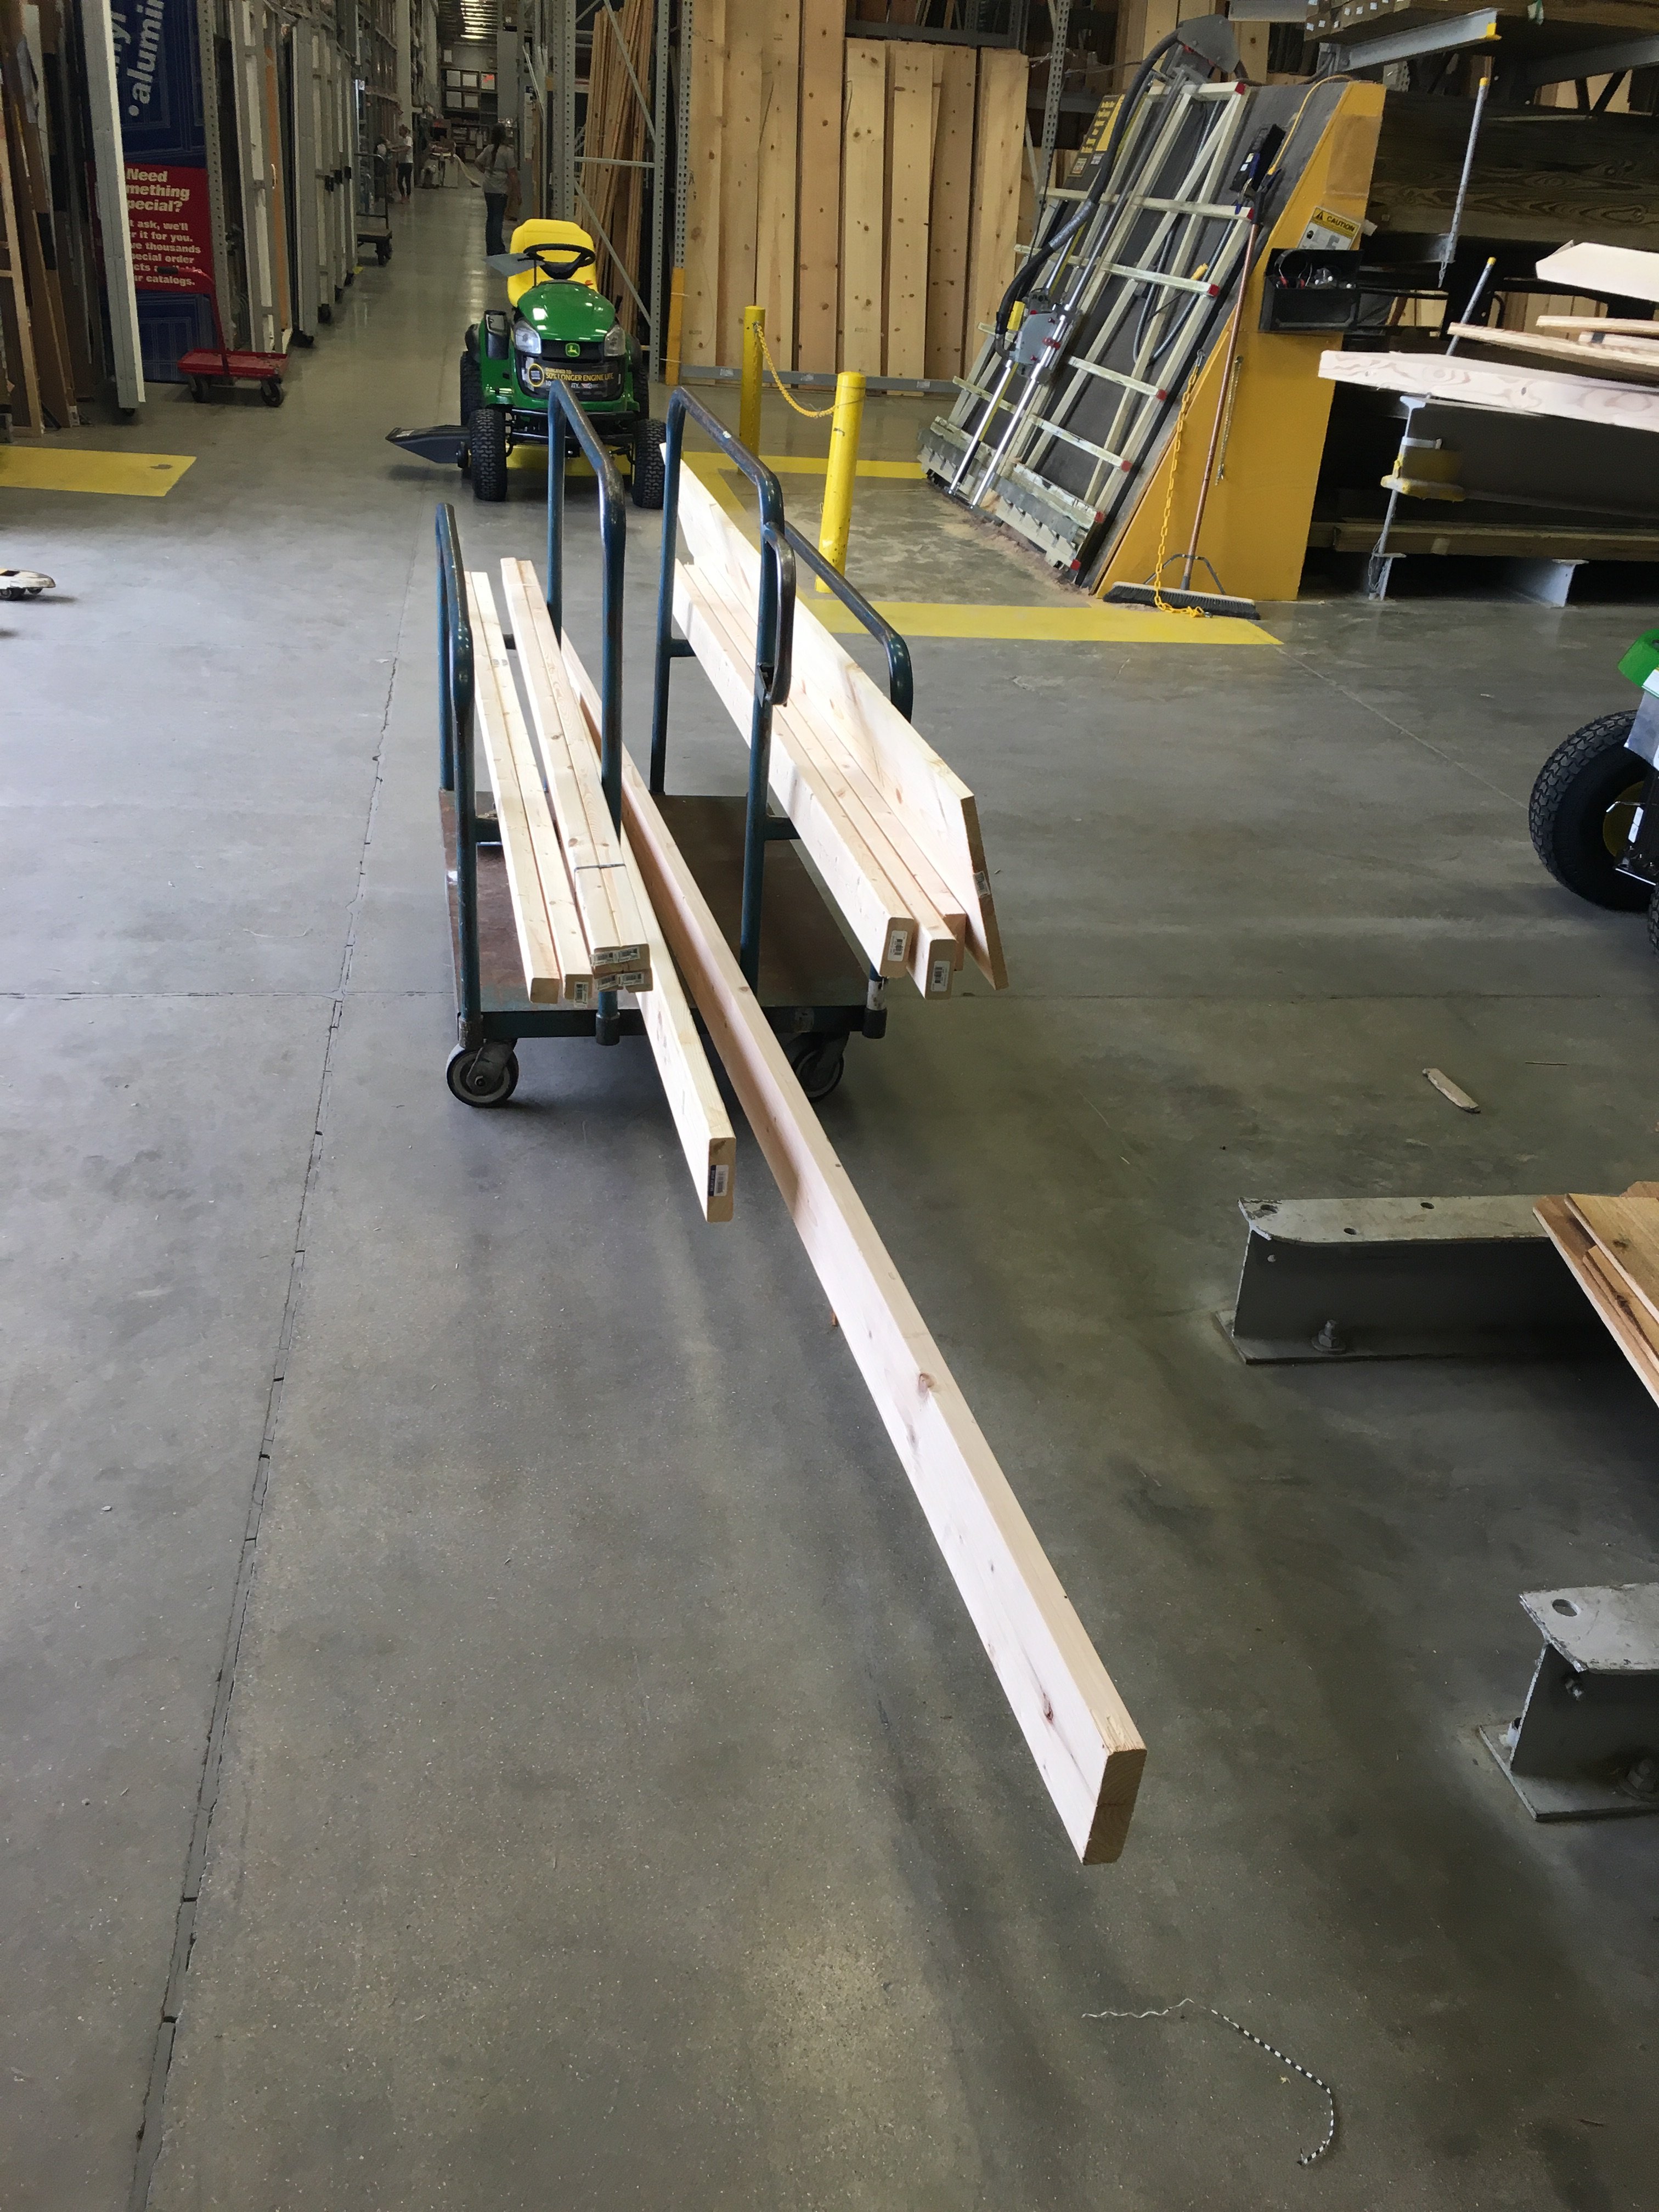
$75
Estimated Time Investment
Weekend Project (10-20 Hours)
Finish Used
Minwax Dark Walnut and Classic Gray
Recommended Skill Level
Intermediate


Comments
Ana White
Mon, 03/02/2015 - 16:00
Wow that looks awesome!
Wow that looks awesome!