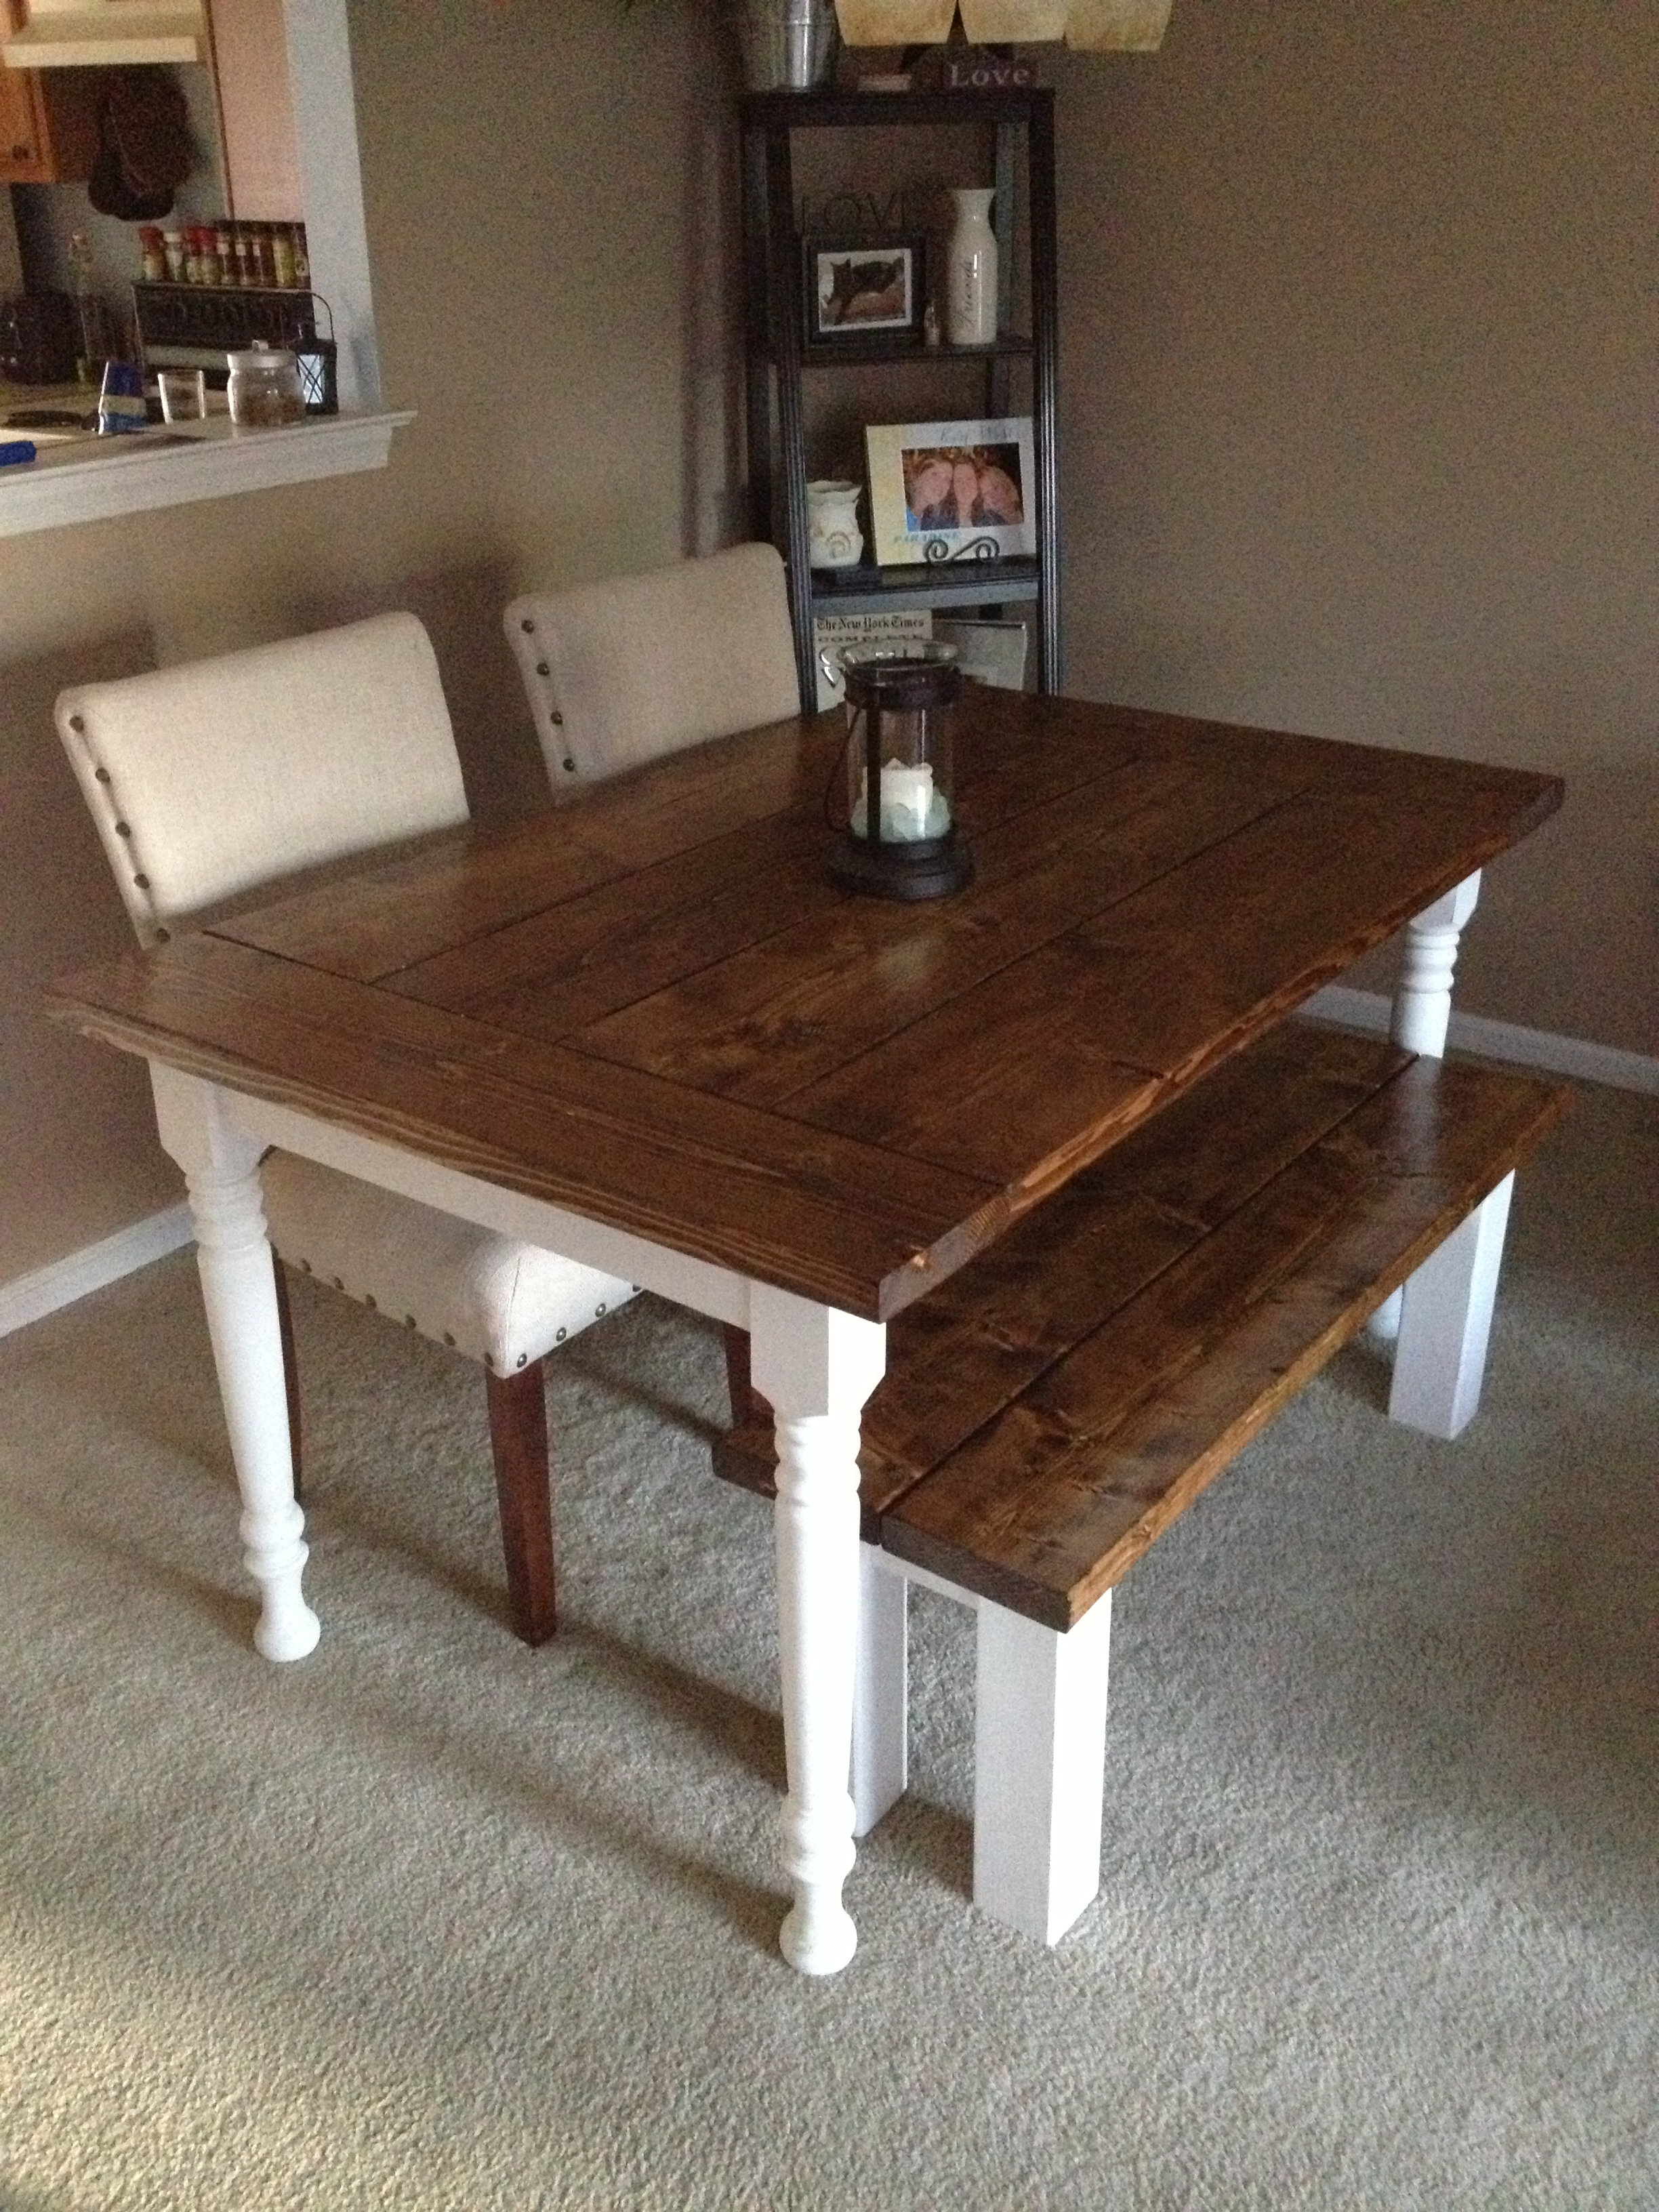
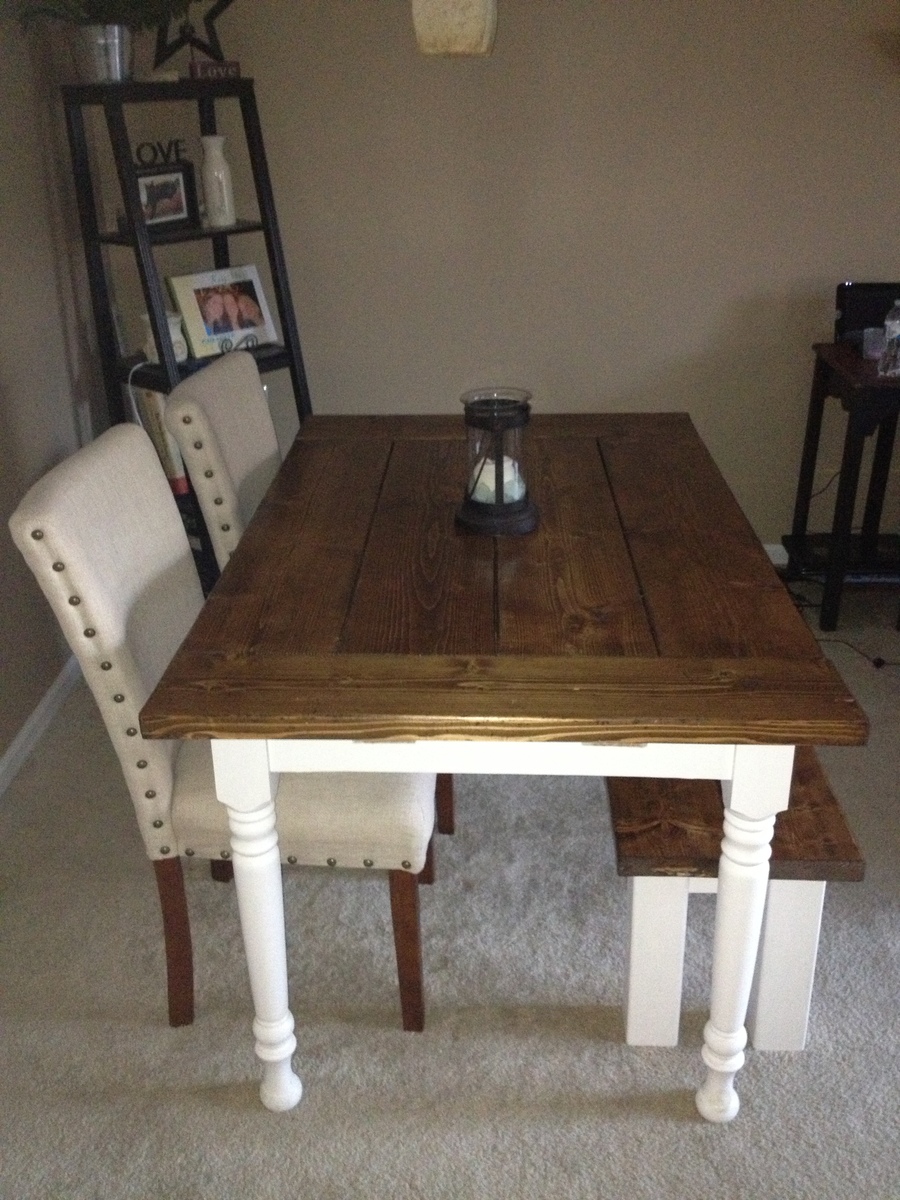
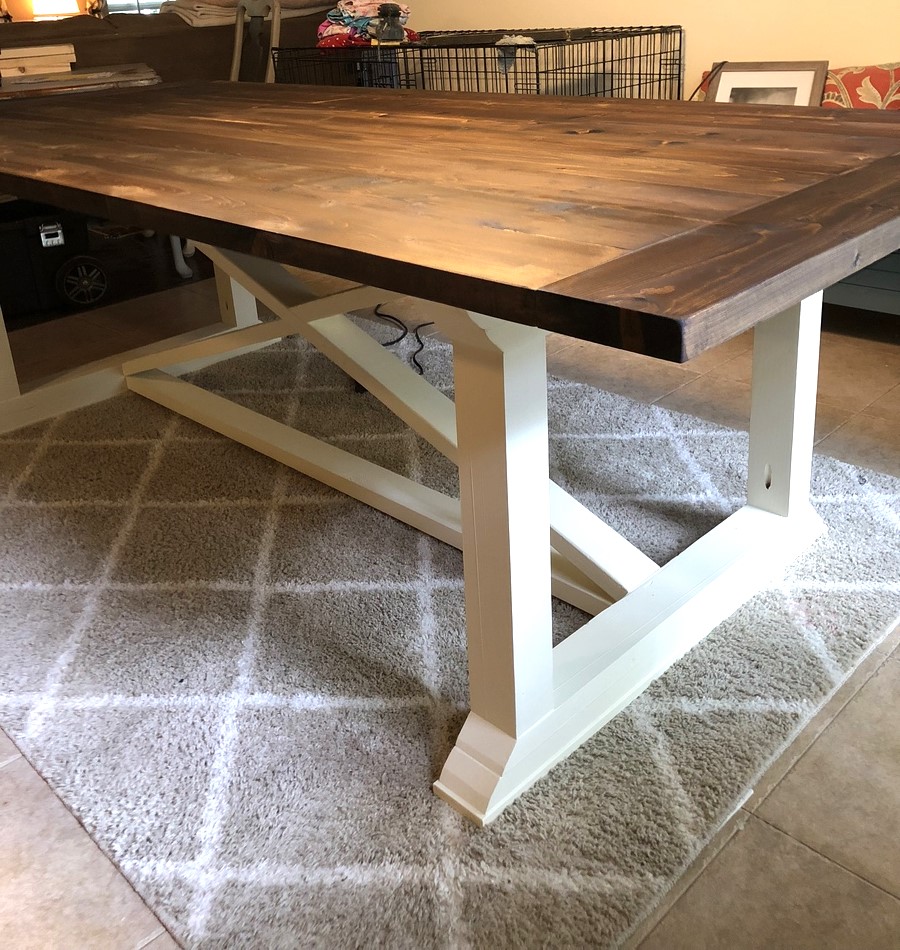
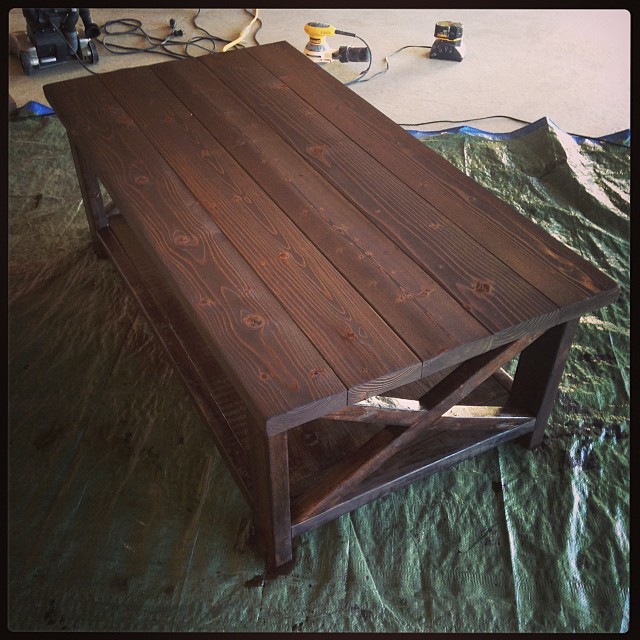
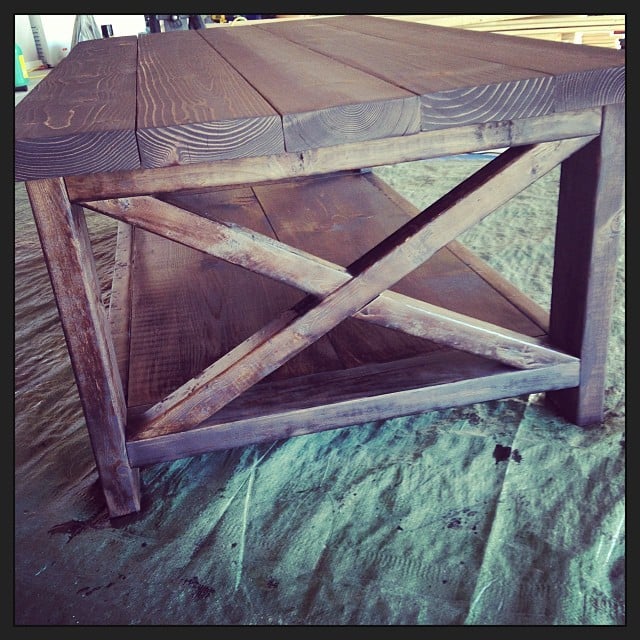
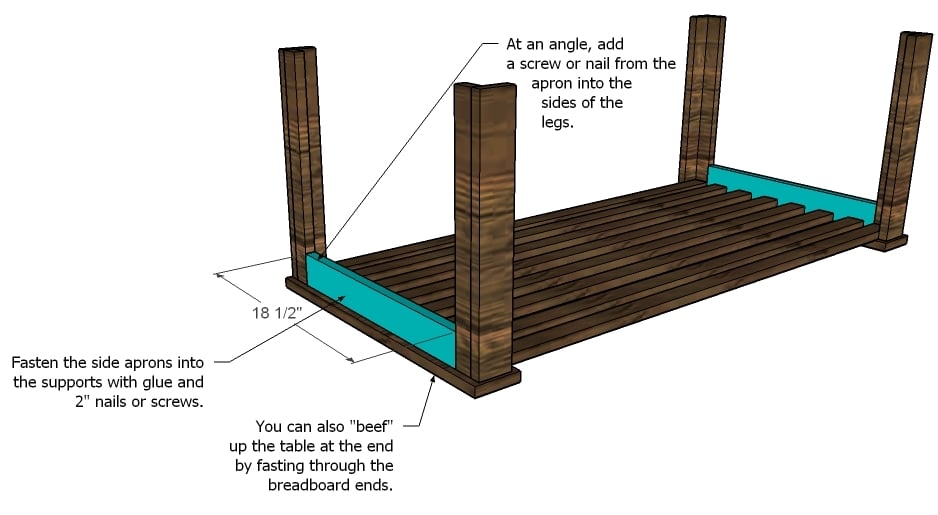
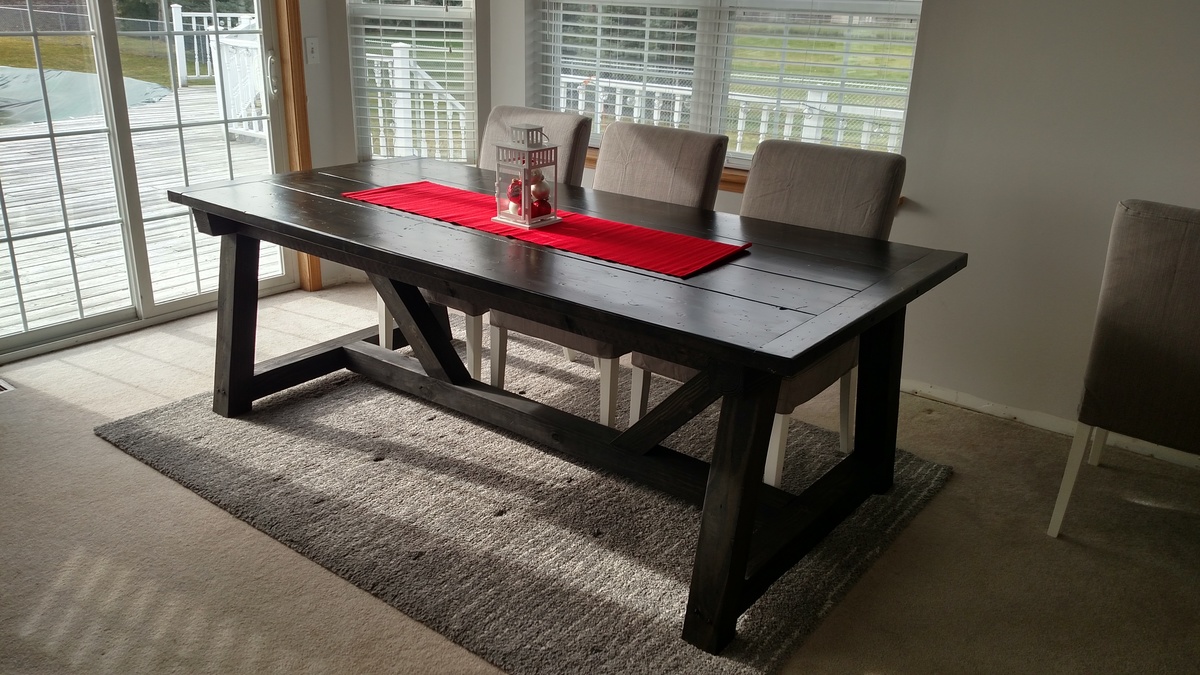
Farmhouse Truss Beam Dining Table
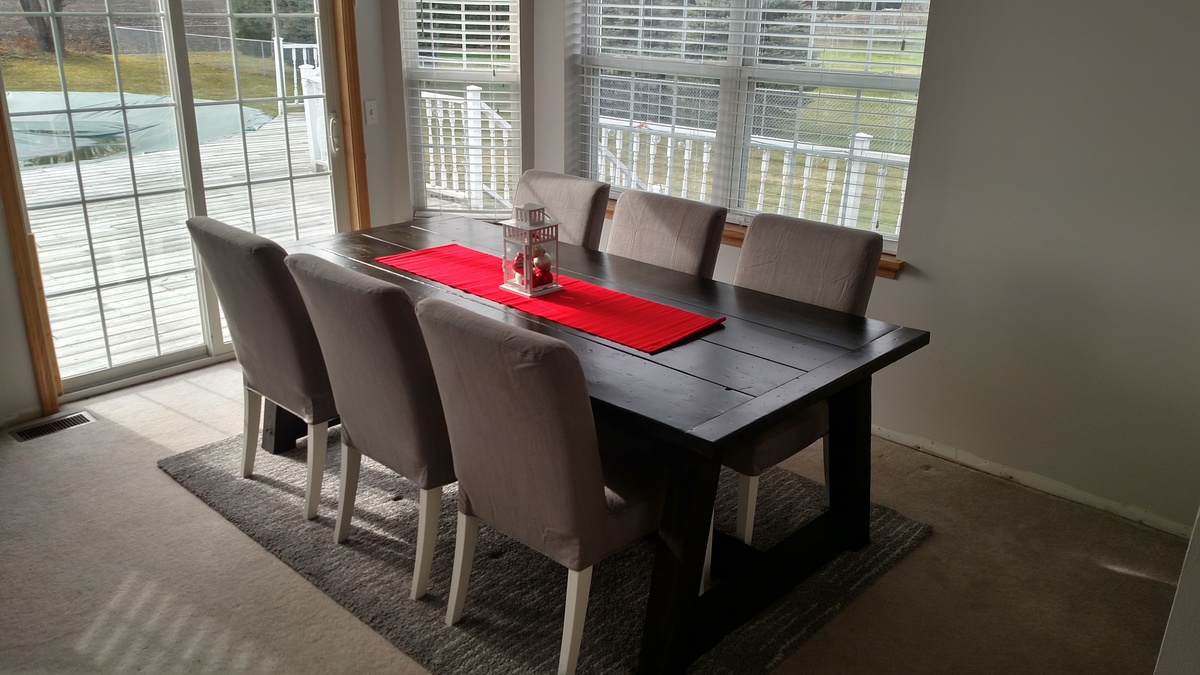
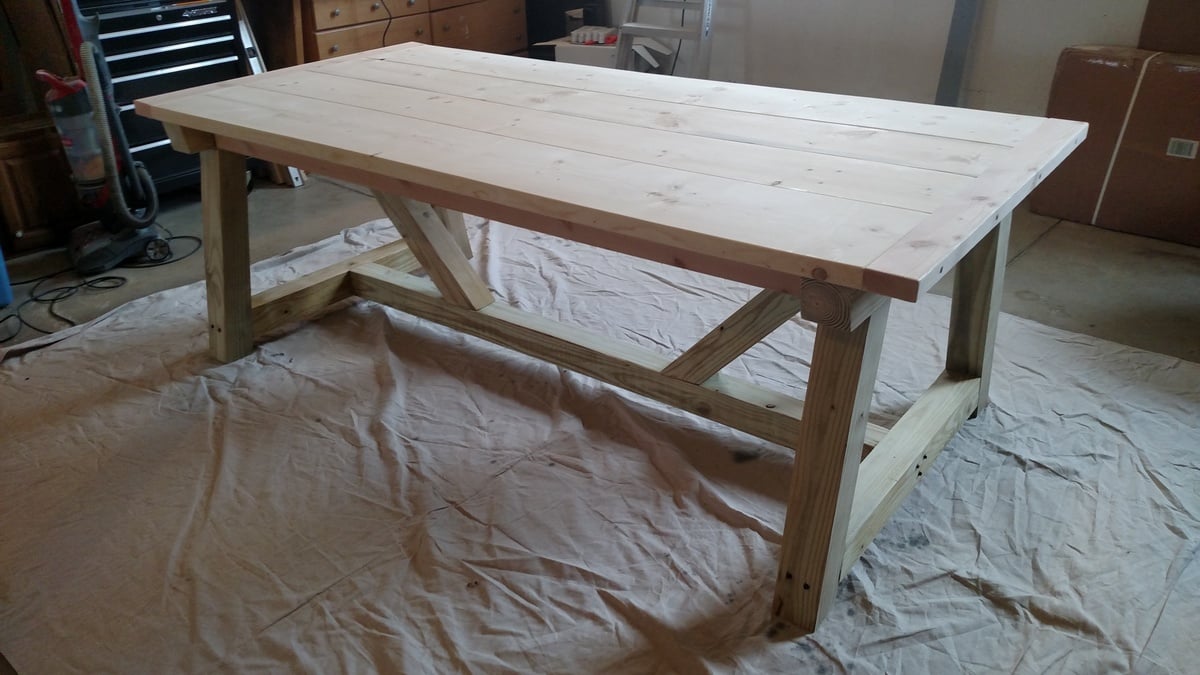
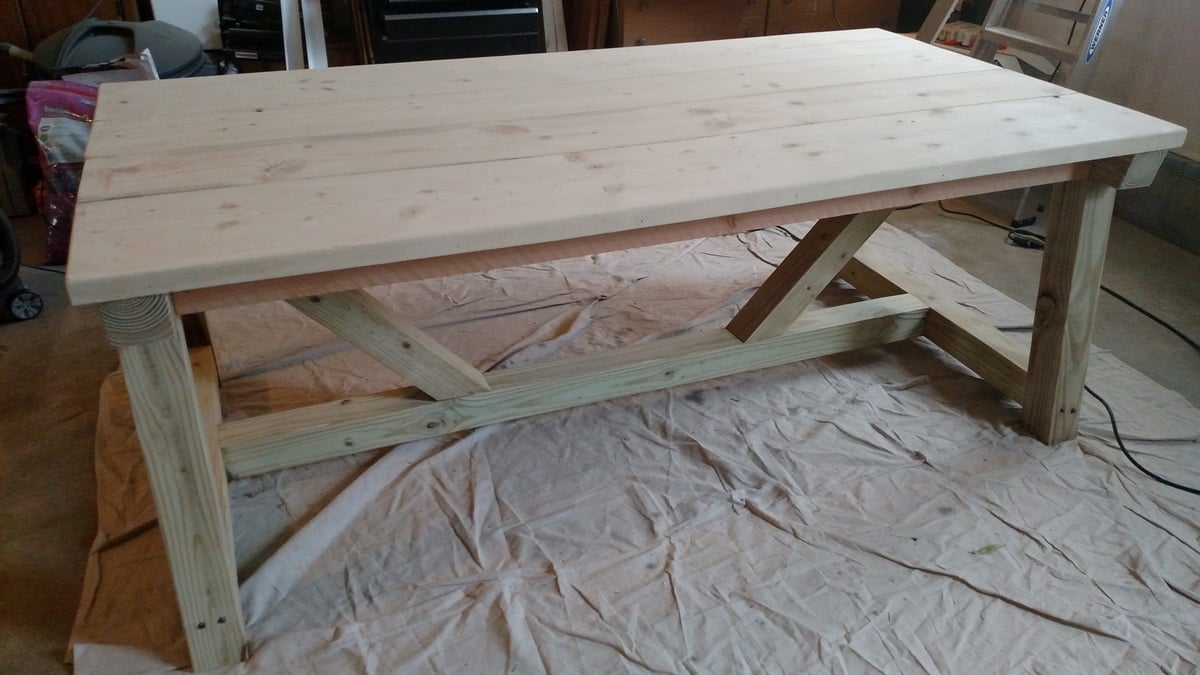
I changed some of the original dimensions so that it better fit my dining area. My table top is 41" wide x 87" length. To accomplish this width I used 2" x12"s for the outer boards and 2"x10"s for the two inner boards. My inside supports were all cut to 72" (6 ft) so that we could comfortably seat 3 chairs on each side. I used 2"x4"s instead of 2"x10"s as the breadboard ends (just personal preference). I used 6" lag style screws to assemble most sections and I left the heads (black in color) of the bolts exposed for a more rugged apppearance. The top was secured through the bottom of the 4x4 using counter-sunk 4" screws and 2" pocket screws for the 2"x4" cross boards. I distressed the entire table and sanded smooth.

Built from Plan(s)
Estimated Cost
All together I would put the price around $230-$250 to complete.
Estimated Time Investment
Weekend Project (10-20 Hours)
Finish Used
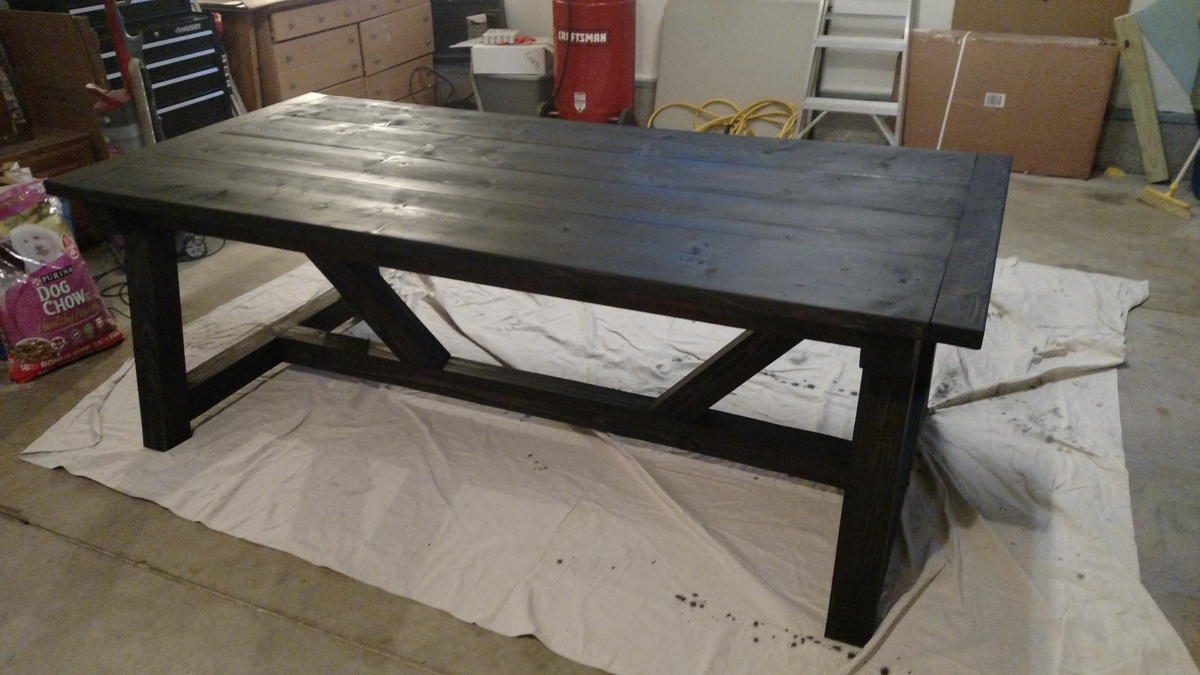
Finally the stain is Minwax Ebony and 3 coats of Minwax Helmsman (Satin) from Home depot. Must sand between each coat.
Recommended Skill Level
Intermediate