Community Brag Posts
Pub Table

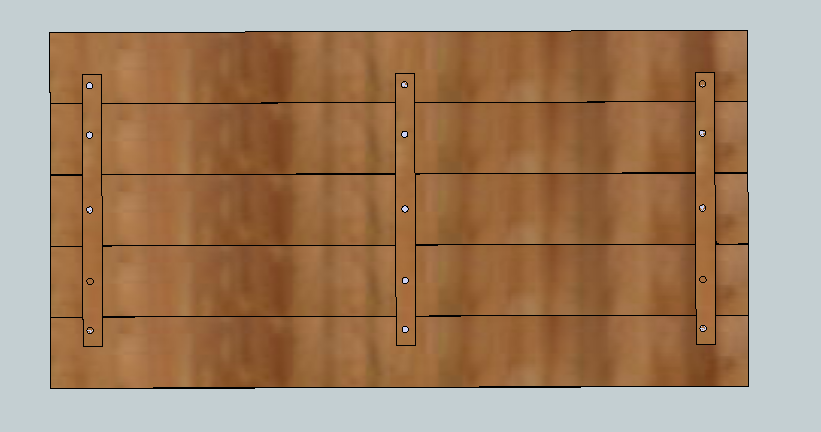
This was my first build so I learned a lot!!! I love this table but looking back I know more now than I did then and would have done things a little different. I would have plancked the top using my Kreg Jig Jr. and looked for straighter boards at Home Depot. I also altered the design for the look that I wanted, a rustic one. The table is 44" square and stand 43.5" tall. I also mitered the corners of the top outside boards wanting to give it a more finished looked. It took me about 3 days of nap times to build. We use it almost every night to eat dinner. I found the chairs at Habitat for Humanity and have plans to build a few more. My Husband thinks I should paint the table and distress to match the chairs, but that has not happened yet. All together I had a great time and learned a ton.


Comments
Fri, 10/10/2014 - 19:13
I love the smaller version of
I love the smaller version of the table! Awesome!!!!
simple outdoor chair
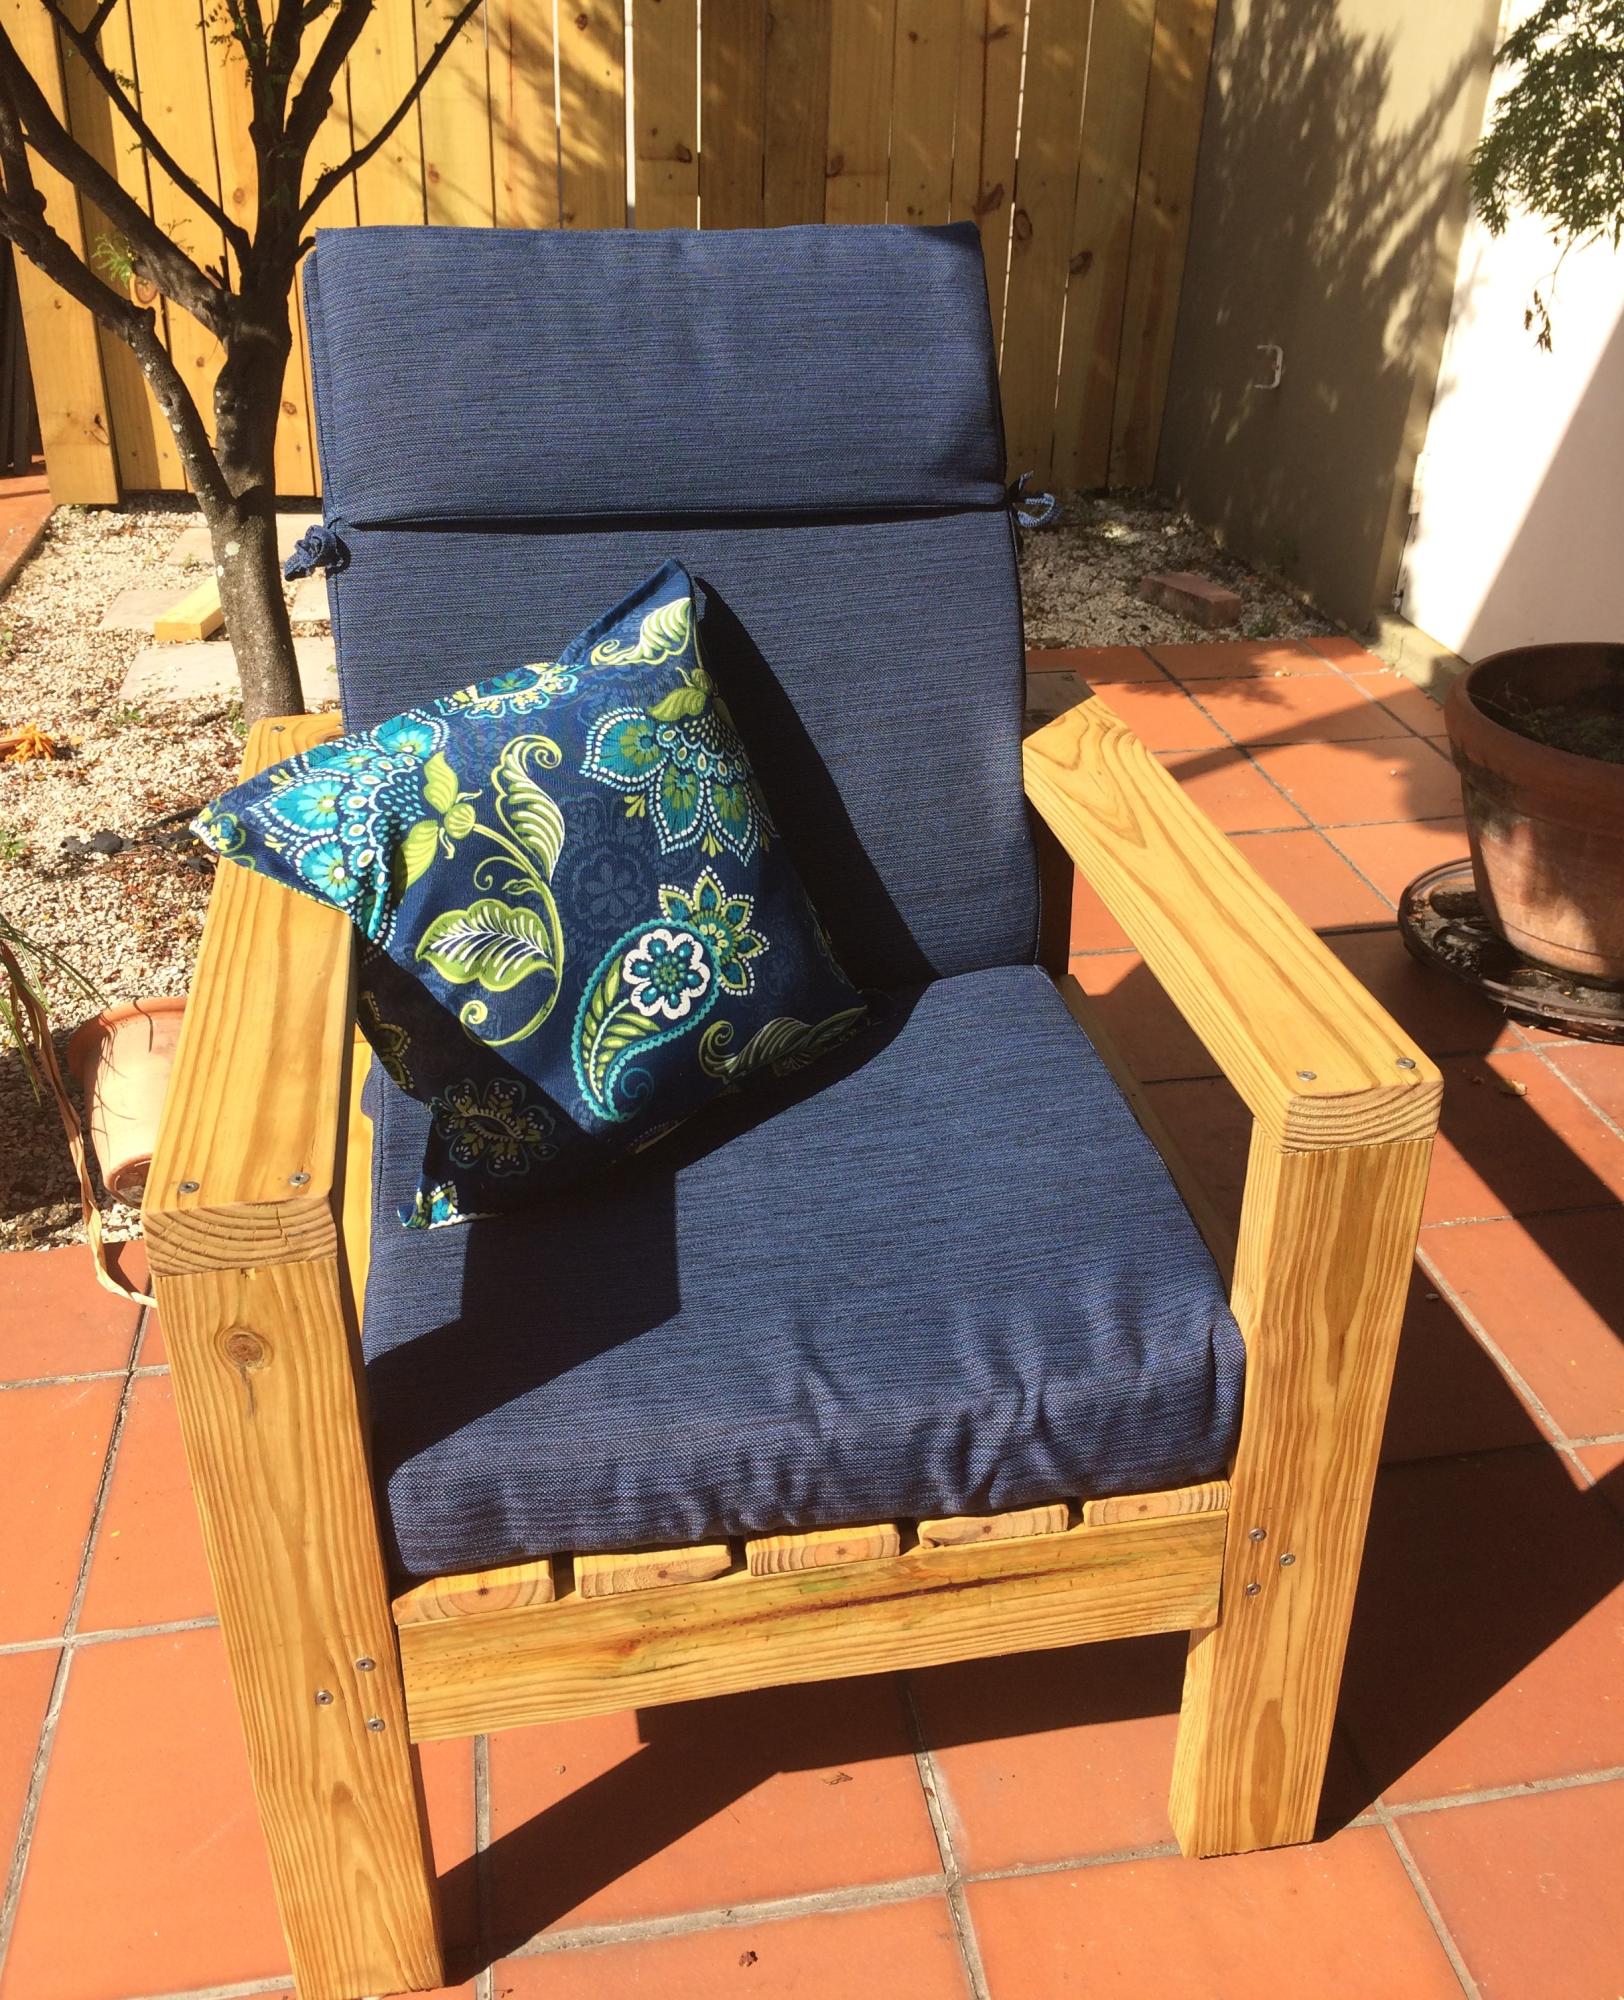
This was my first chair. I made the arms and base with 2x4's. I added a 2x4 apron in the front and back and 1x4 apron to the sides. My next chair I will try to use the Kreg for the arms, the base will be hidden with aprons, so it doesn't matter. The slates are 1x4 as the instructions provided recommended. I got the cushion from Lowes for $50
spar urethane - clear satin
Cabinet
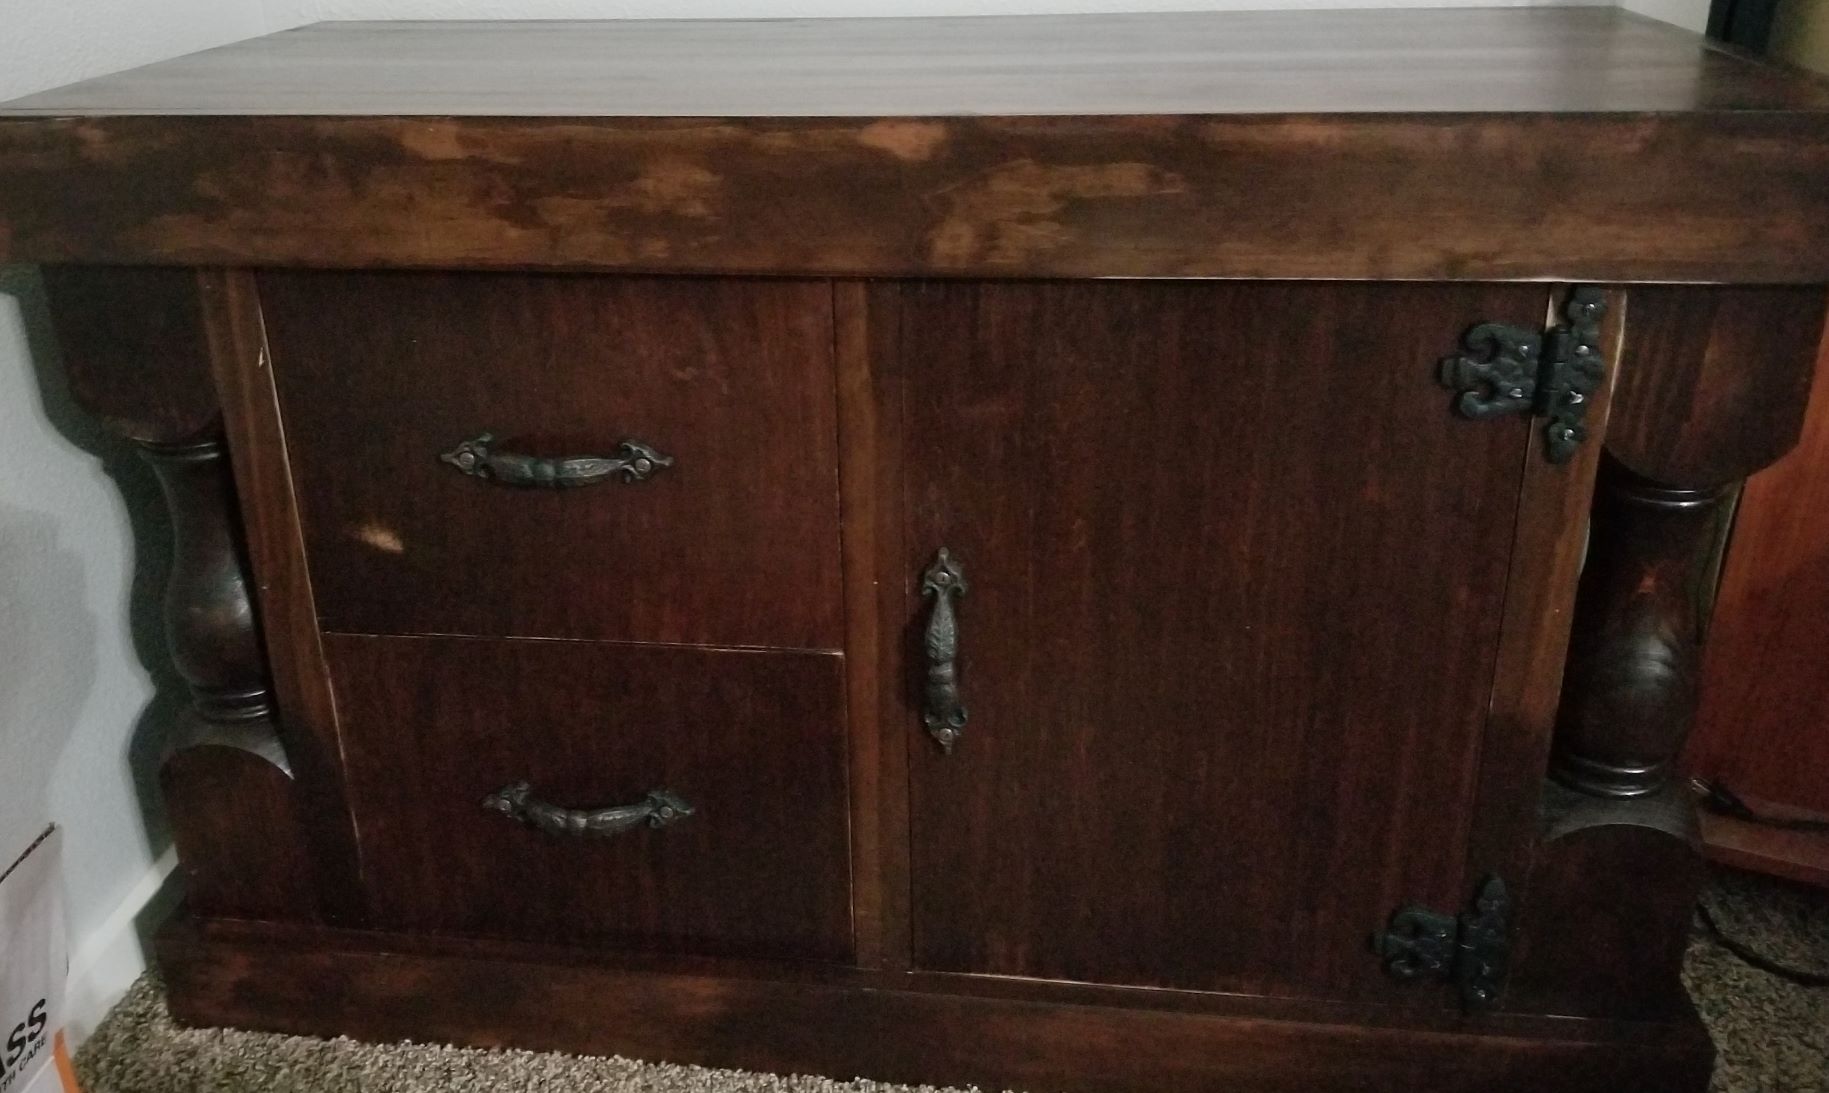
Here is the cabinet I built for our home office. I used the top and bottom design from the Console Table, but since I live in Texas where there is lots of humidity, I cut one piece from maple plywood.
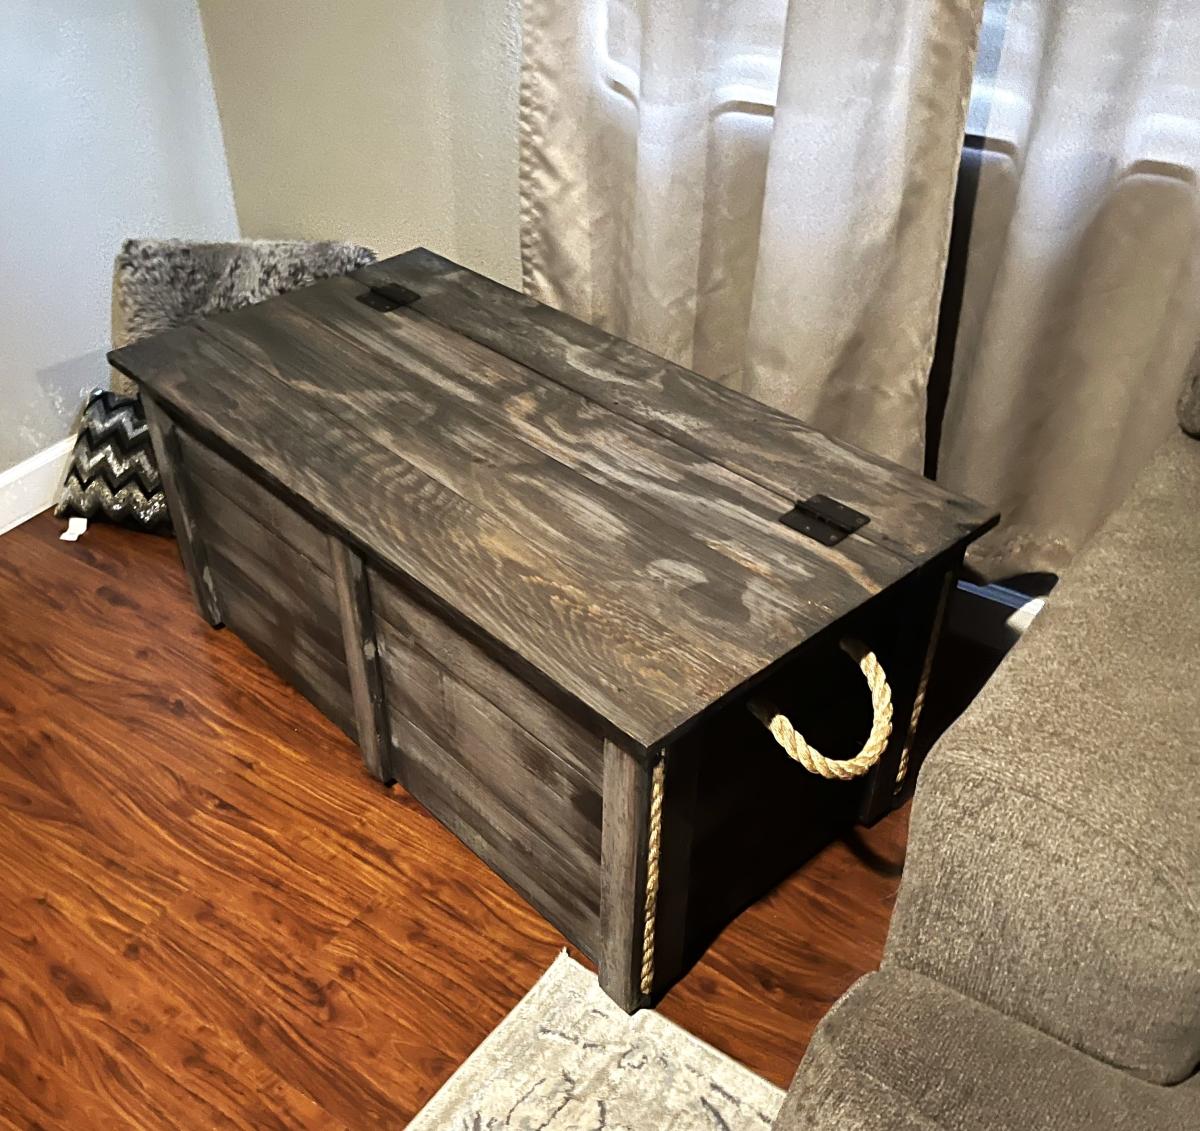
Rustic Toybox
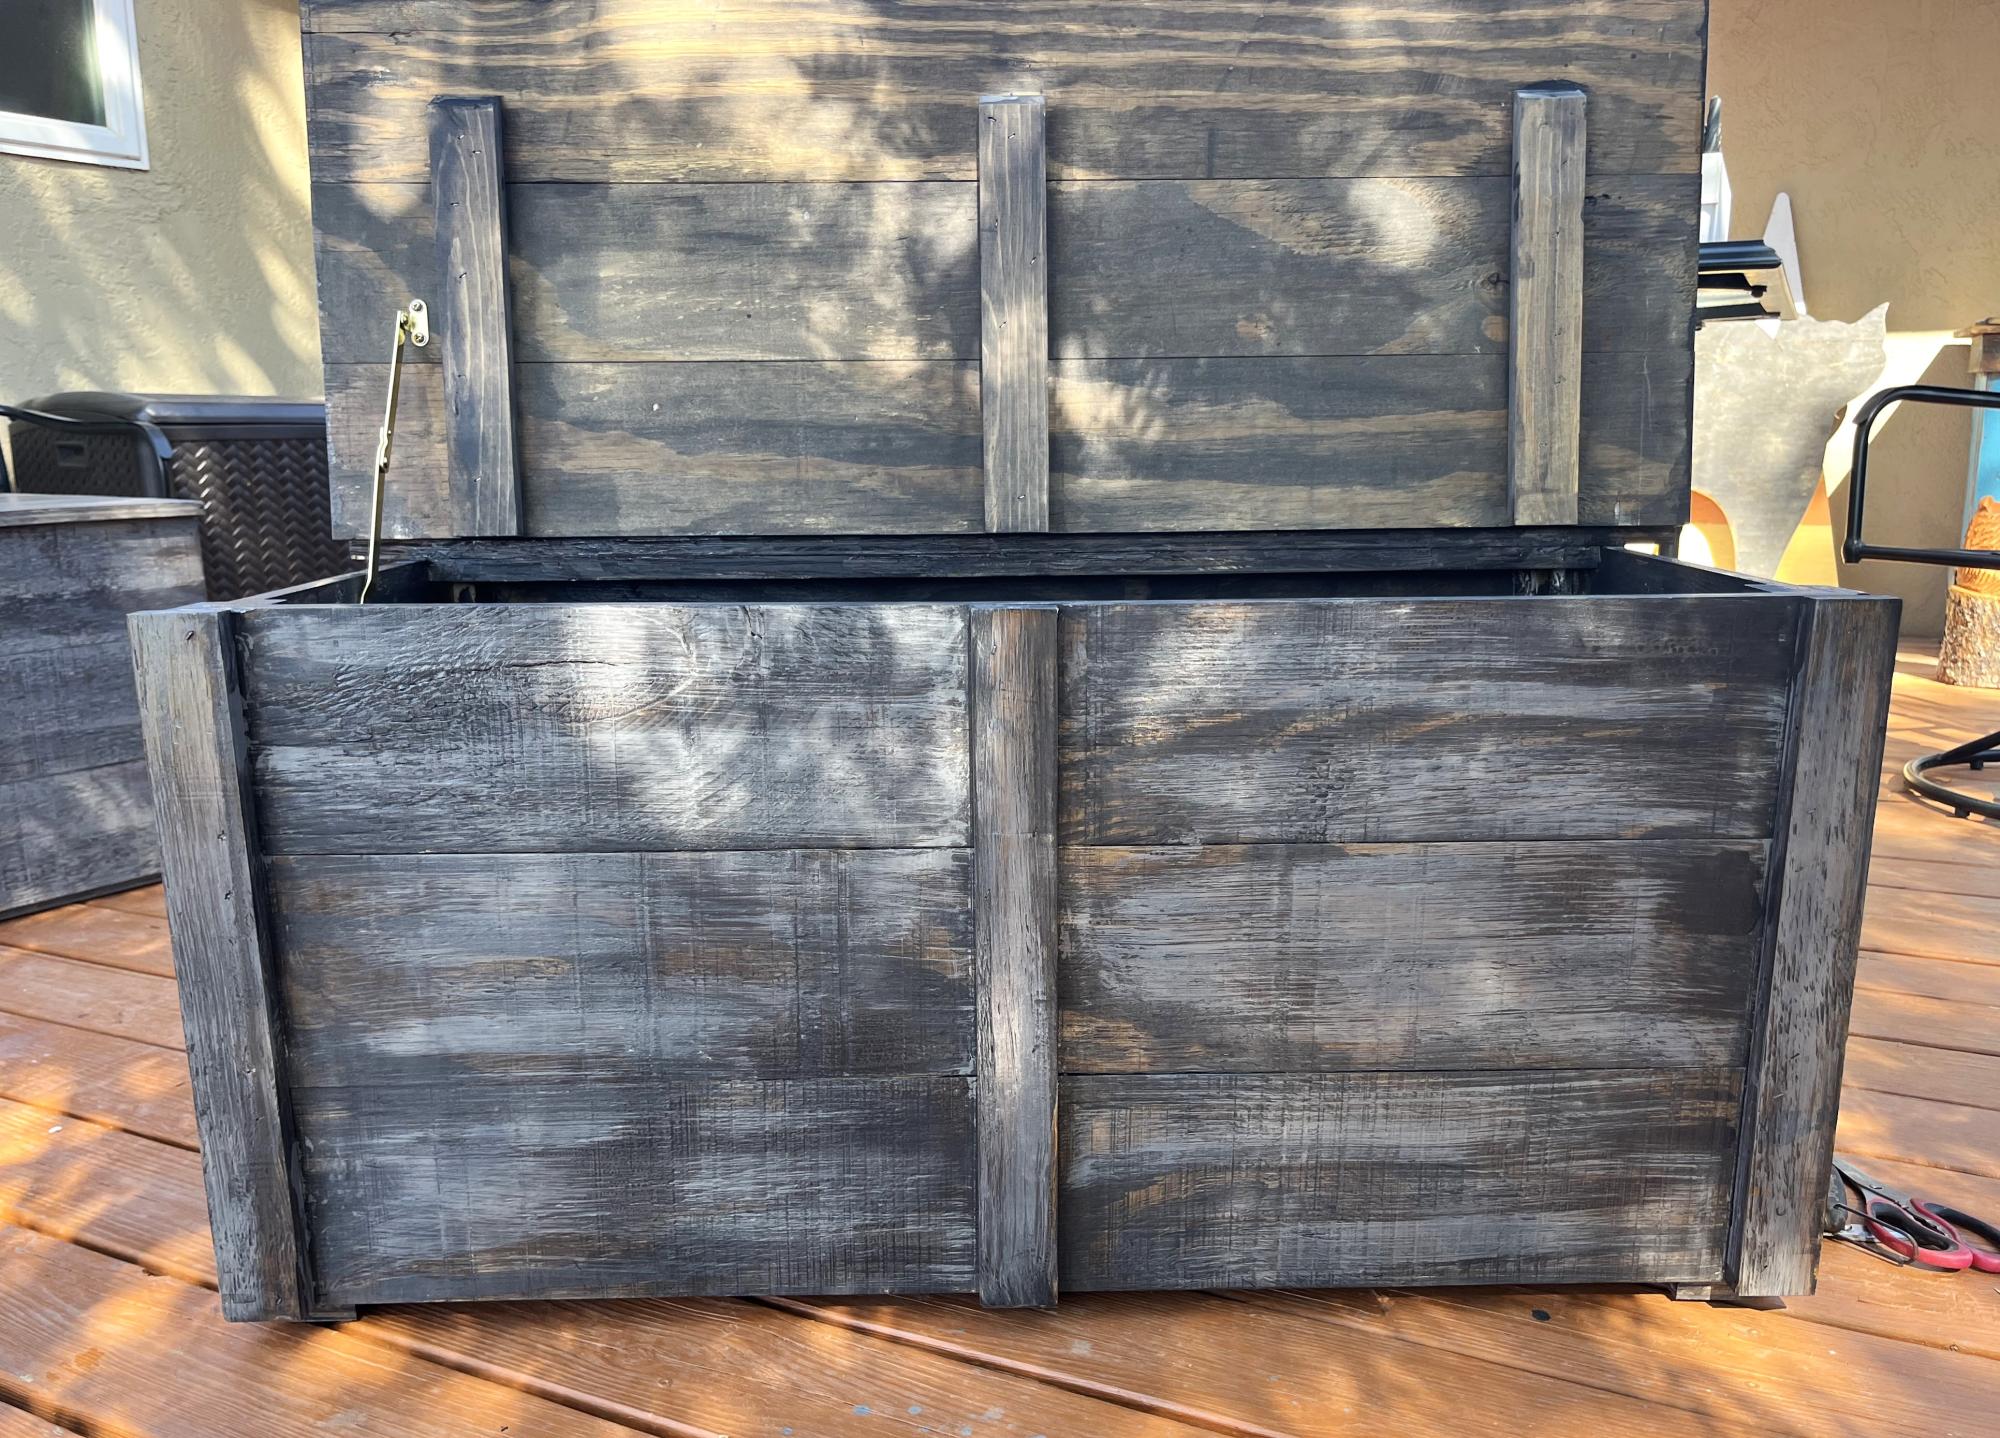
Toy boxes for the twins. Thanks for the inspiration. - Bobby Jimenez
Clara Table and $4 Chairs

Hi there. I did the Clara Table and $4 Stackable chairs for my daughter for Christmas, going with a yellow and grey theme. Total cost for the wood was $25.


Mini Version of Haley Simple Shelf
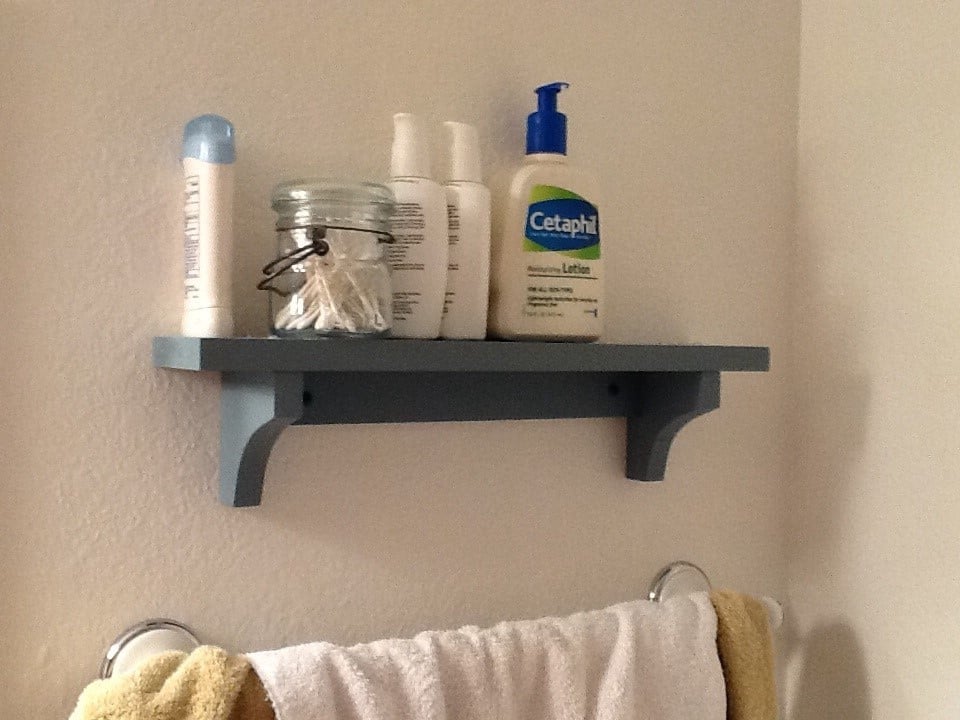
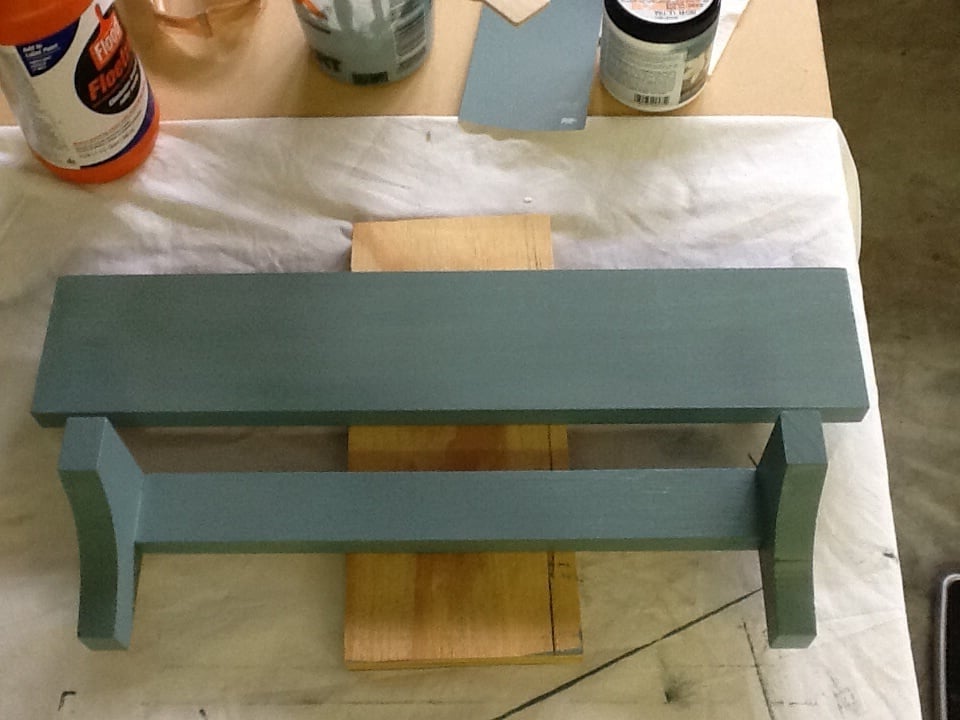
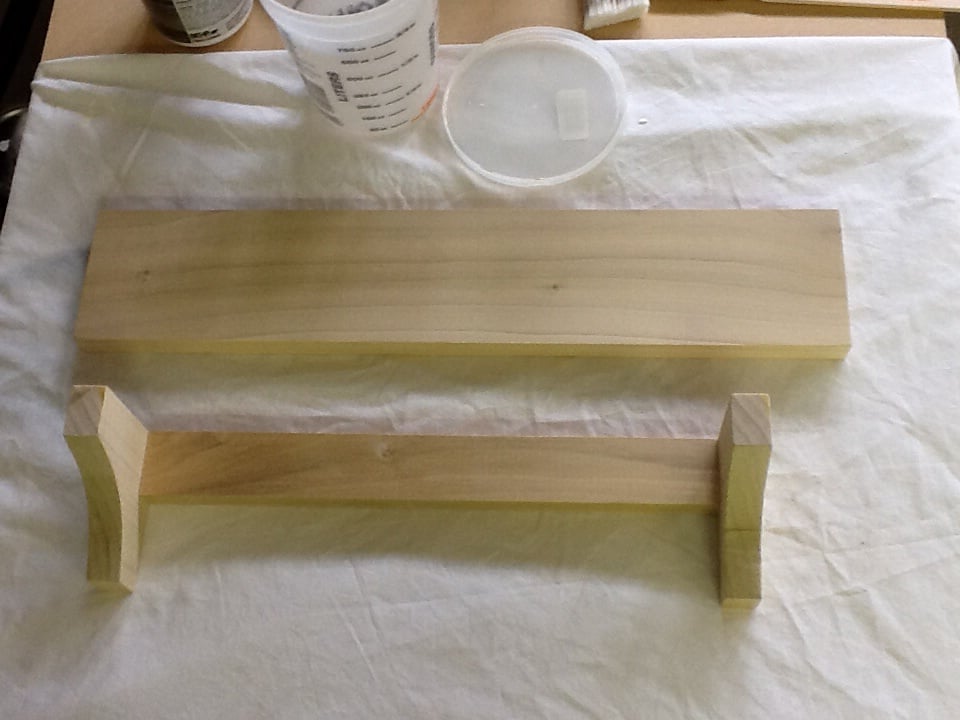
I made a mini version of the Haley Simple Shelves as my first project from this site. I had only practiced with the Kreg Jig before making this, and learned that you should not make any project too small, or your Kreg holes won't fit.. Hence I had to face screw the shelf onto the frame. Nevertheless this was fun to make, I love the color (Peacock by Behr) and best of all, it gets stuff off the bathroom counter!
Comments
Sun, 10/05/2014 - 17:53
Glue?
Hi!
No.. I did use pocket holes and screws to attach the rear support (1x2) to the arched sides, but couldn't use pocket holes to attach the top to the back, hence face screwing the top on. Kreg screws are very strong without the pockets too.
Farmhouse Sidetable
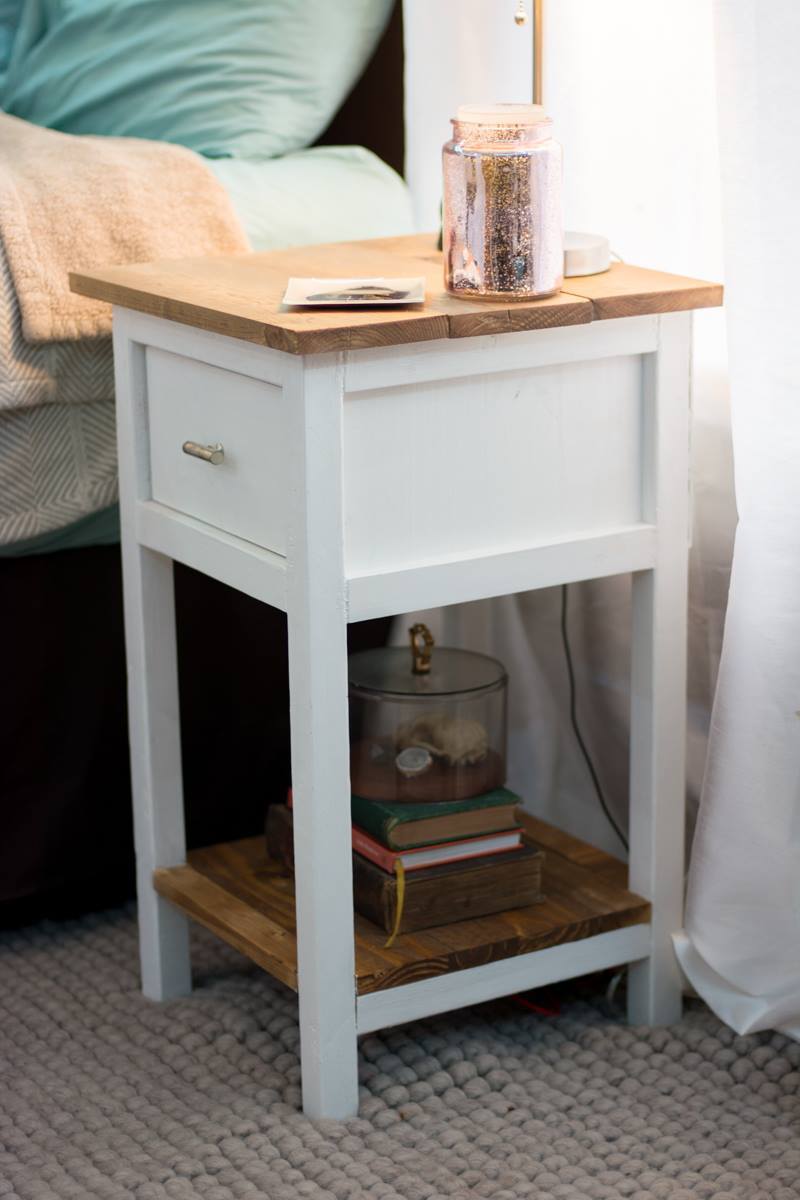
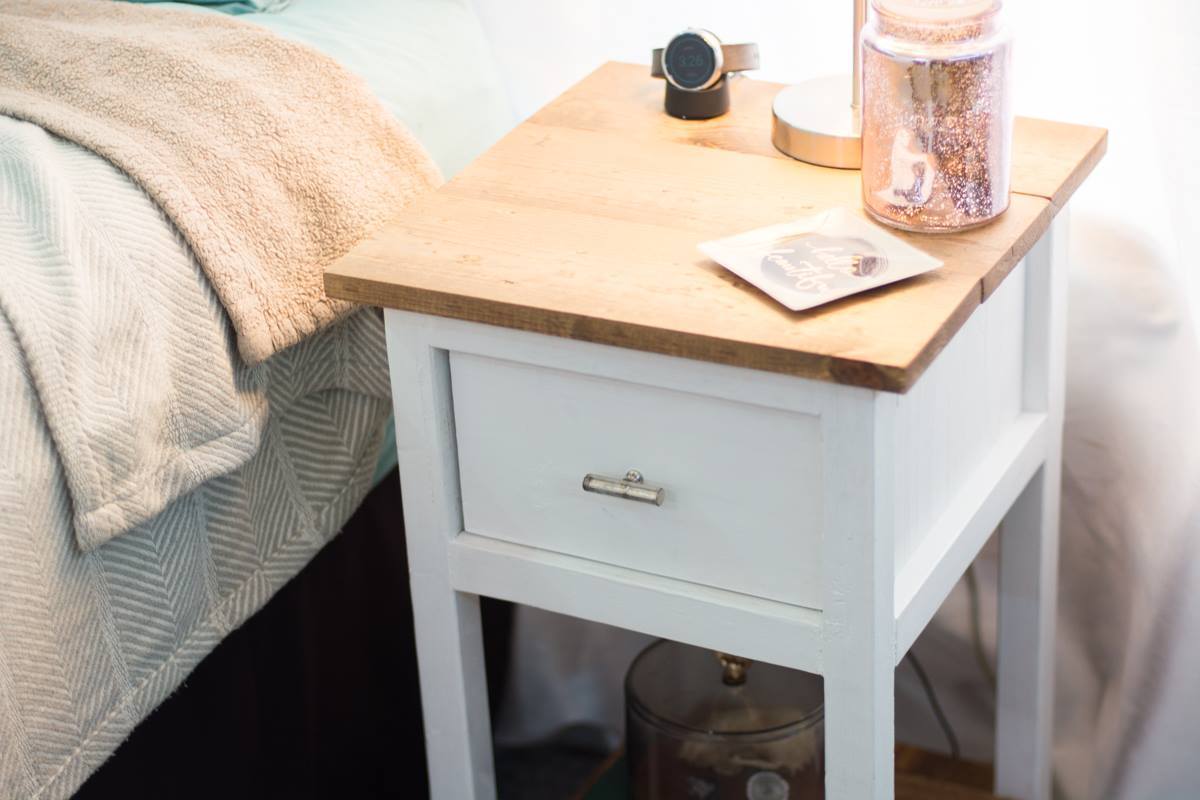
This is the second thing i have ever built and I am SO excited with the result! This has inspired me to take on new ambitious woodworking projects. Love it, thanks for the free plans!
Comments
Rustic X Desk
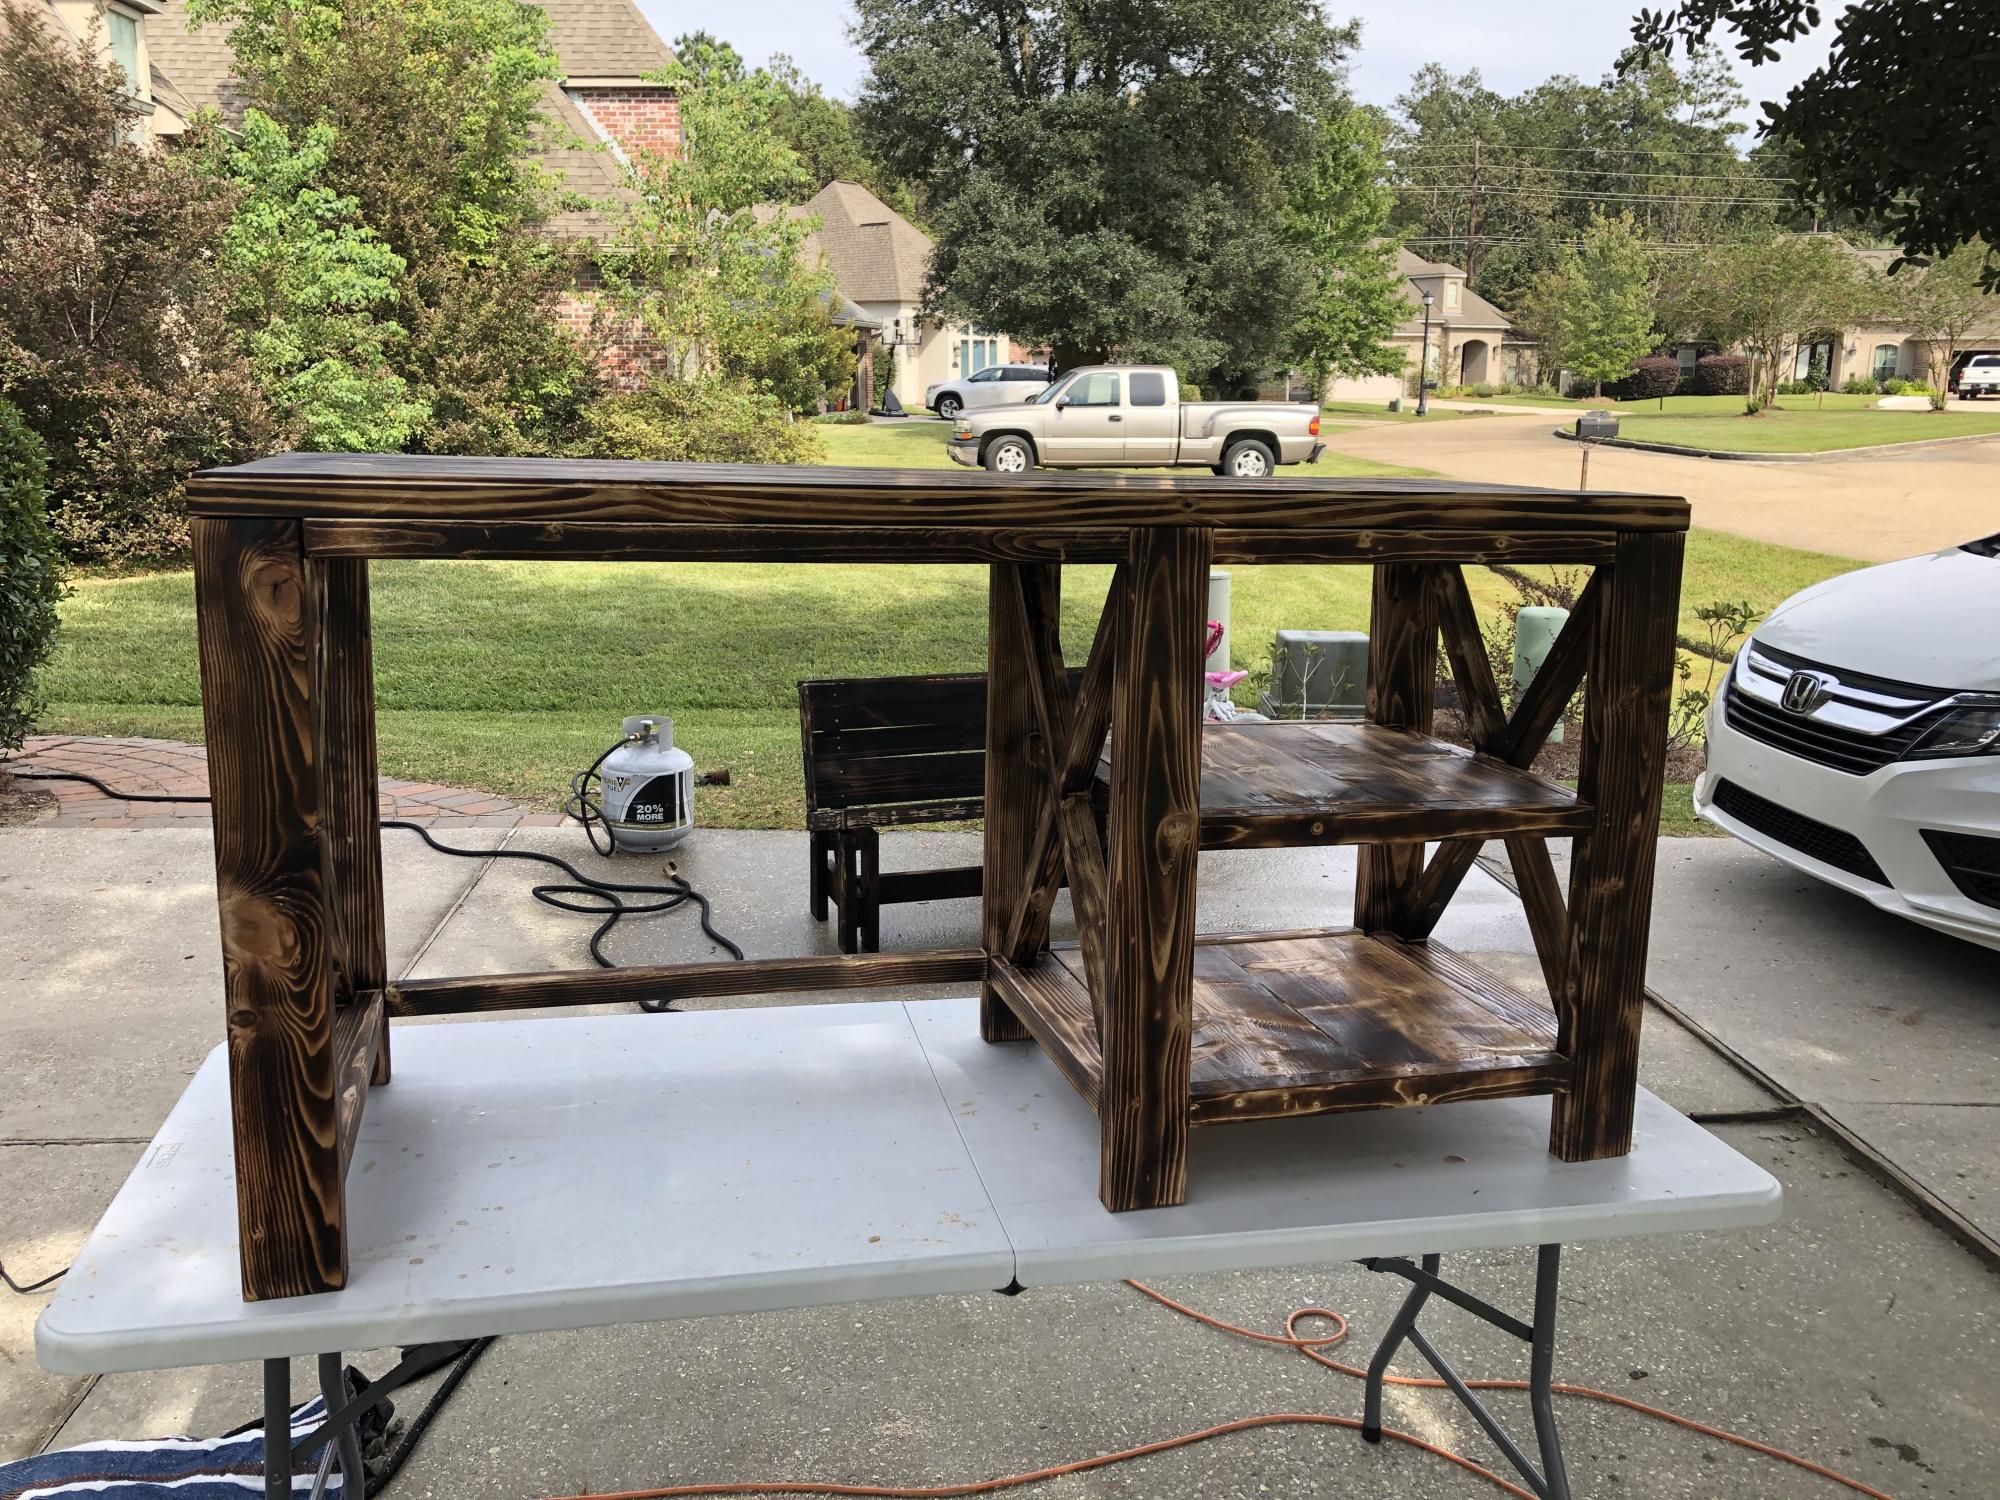
Decided to lightly char this one with a propane torch and then apply a wipe on poly.
Comments
Loft Bed
My husband used Ana's plans for the Loft bed and then added his own touch. My daughter loves it. It turned out great. Thank you Ana.. So much cheaper to build it yourself.
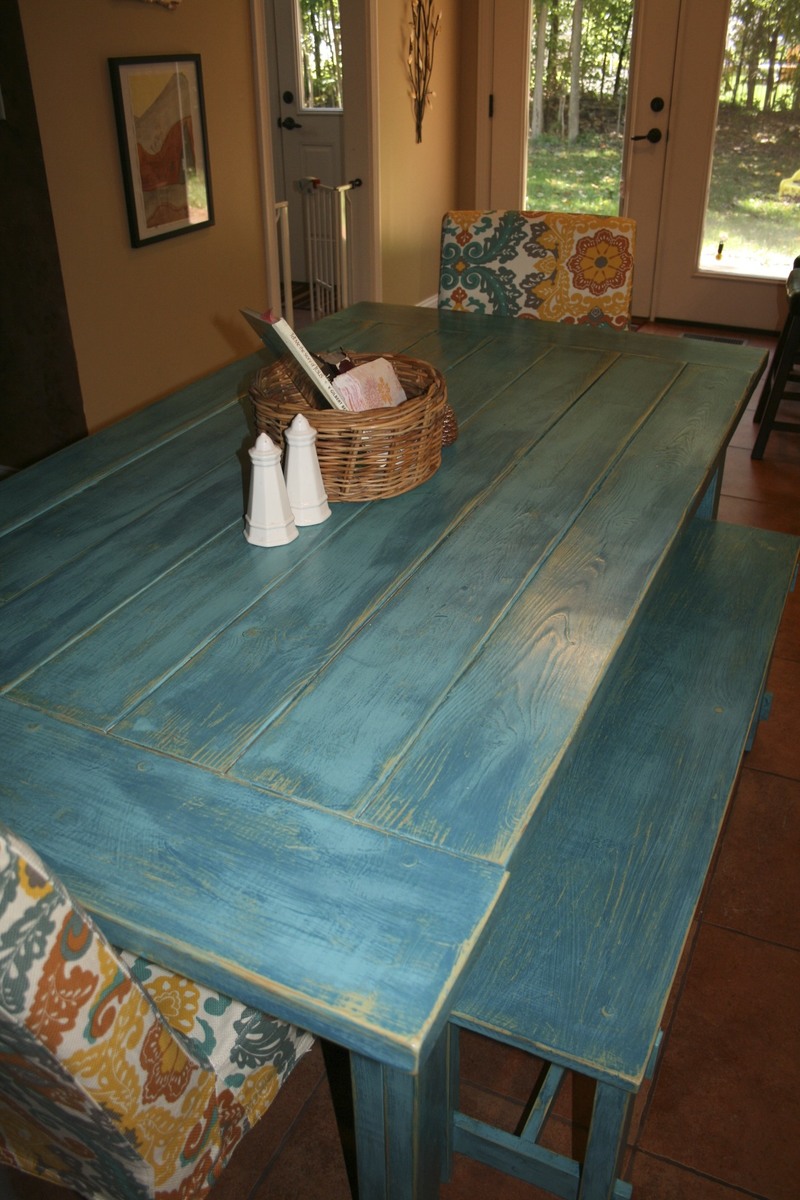
Tuscan Turquoise Farm Table and Rustic Benches

I had a lot of fun building this table and these benches for our Tuscan-themed kitchen. The weathered turquoise gives the surroundings a pop! Thanks, Ana, for the inspiration and for sharing the plans! The benches were built according to the plan, but I did modify the table without the runner underneath so that side chairs could be pushed in.
storage bed toychest conversion
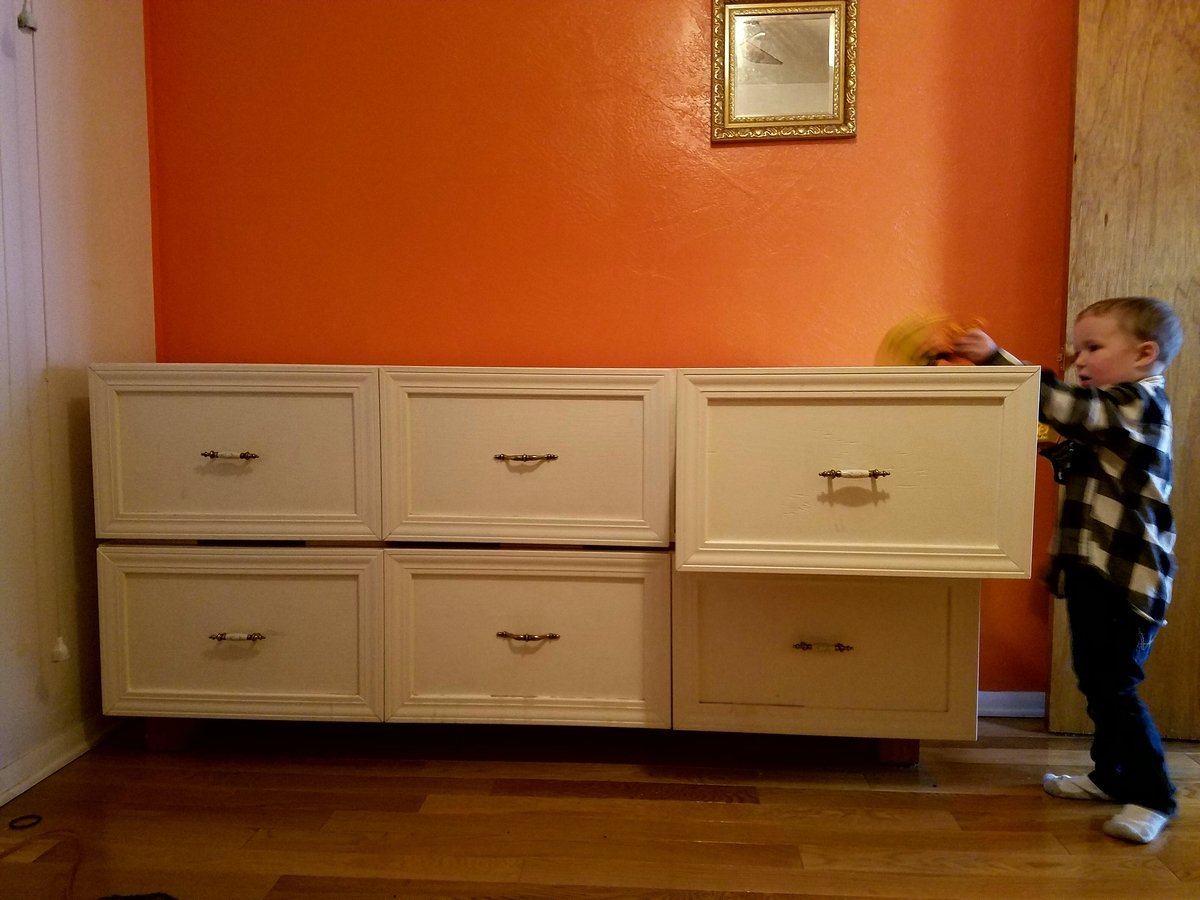
A few years back, I built a twin version of Ana's Farmhouse Storage Bed for my step-daughter. After she moved out, I converted it to a huge toychest for my three-year-old.
I would have left it as a bed, but with a quality mattress it was so high I was afraid he could get hurt if he fell out.
The conversion is simple. Remove 24 screws, reconfigure, add back the screws in different places. The support blocks become feet for the chest, and the slats become spacers under the top part.
He loves being able to get his toys out himself, and I love that he can put them away by himself. A big upgrade over plastic storage boxes on high clost shelves!
Once he's a bit older, I'll probably turn it into a bad again.
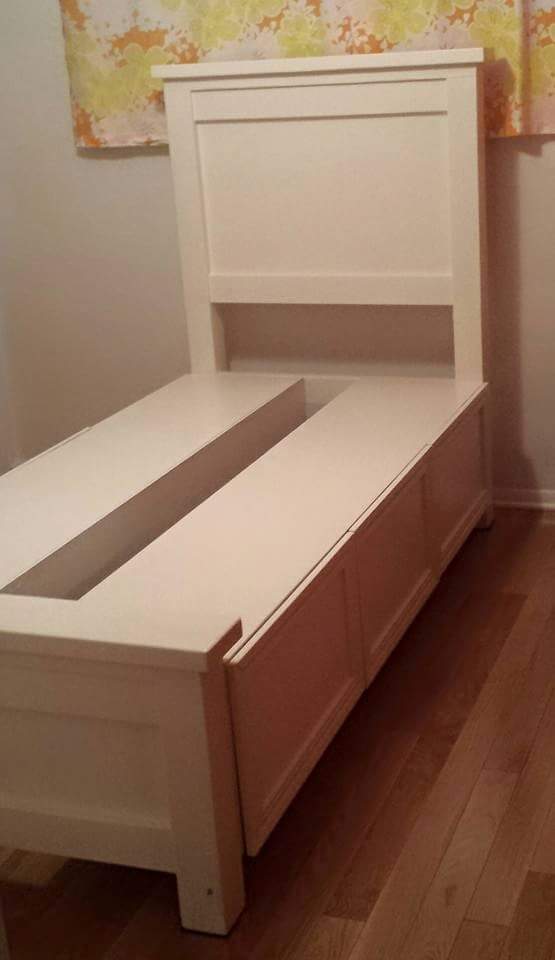

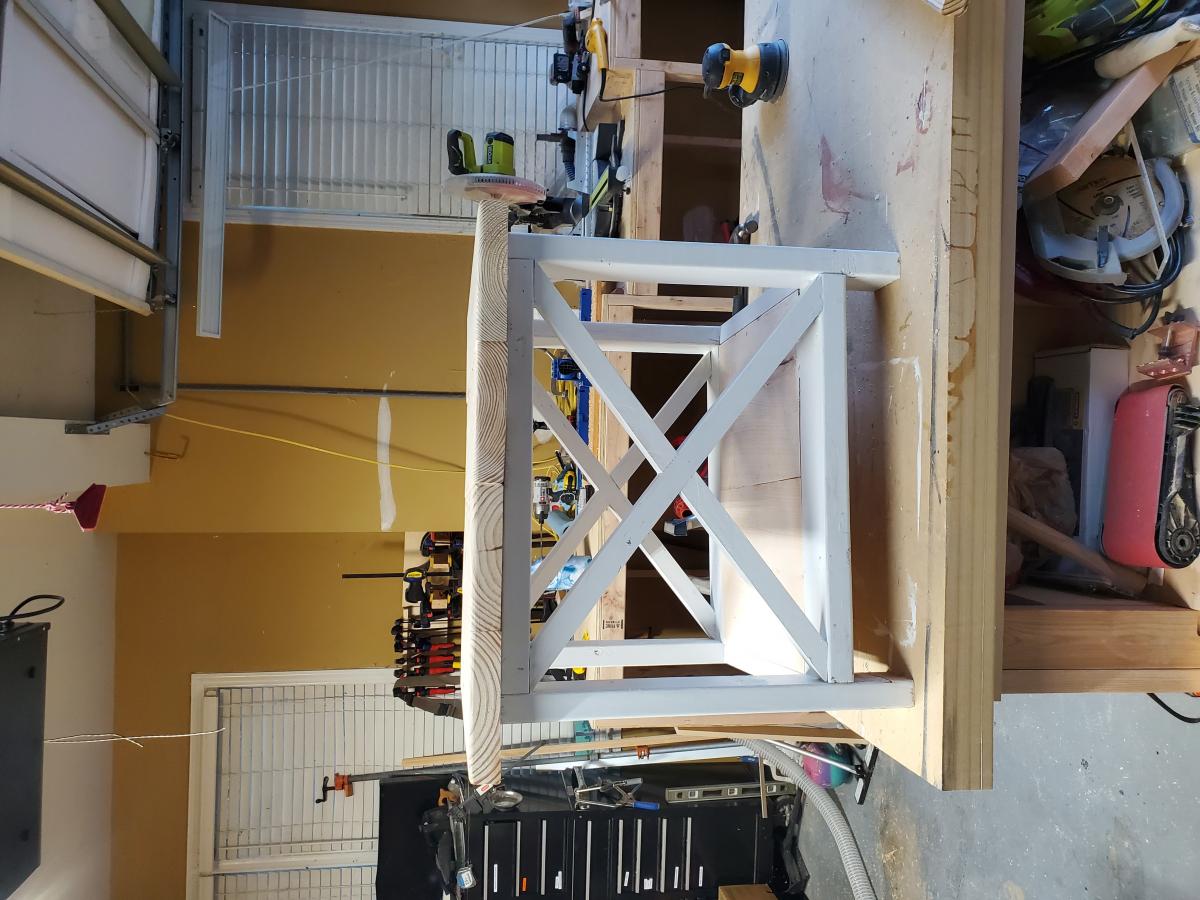
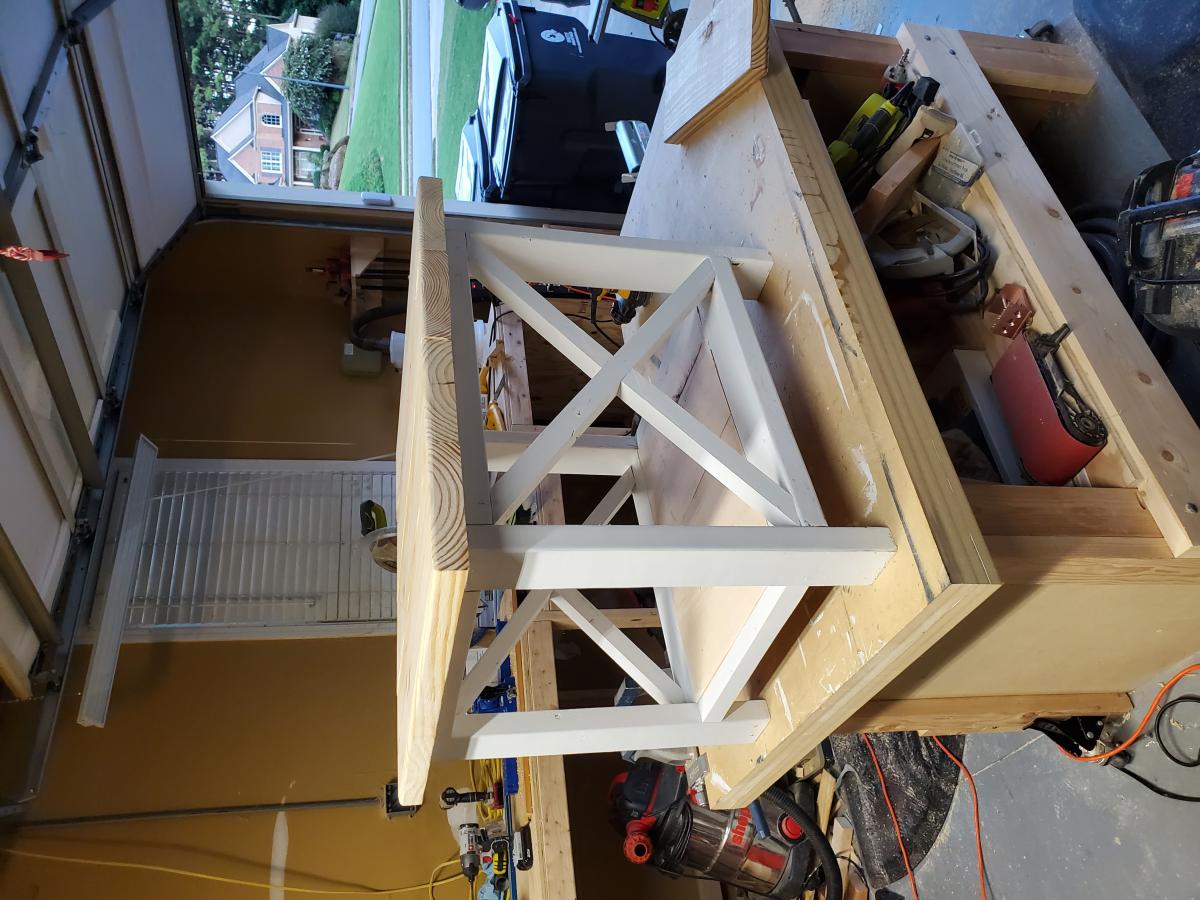
Rustic x end tables
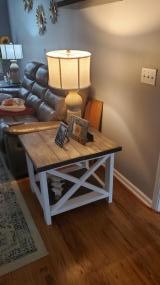
This was a weekend project using pocket hole screws pine wood and a regular stain and wax coating
Picnic Table Benches
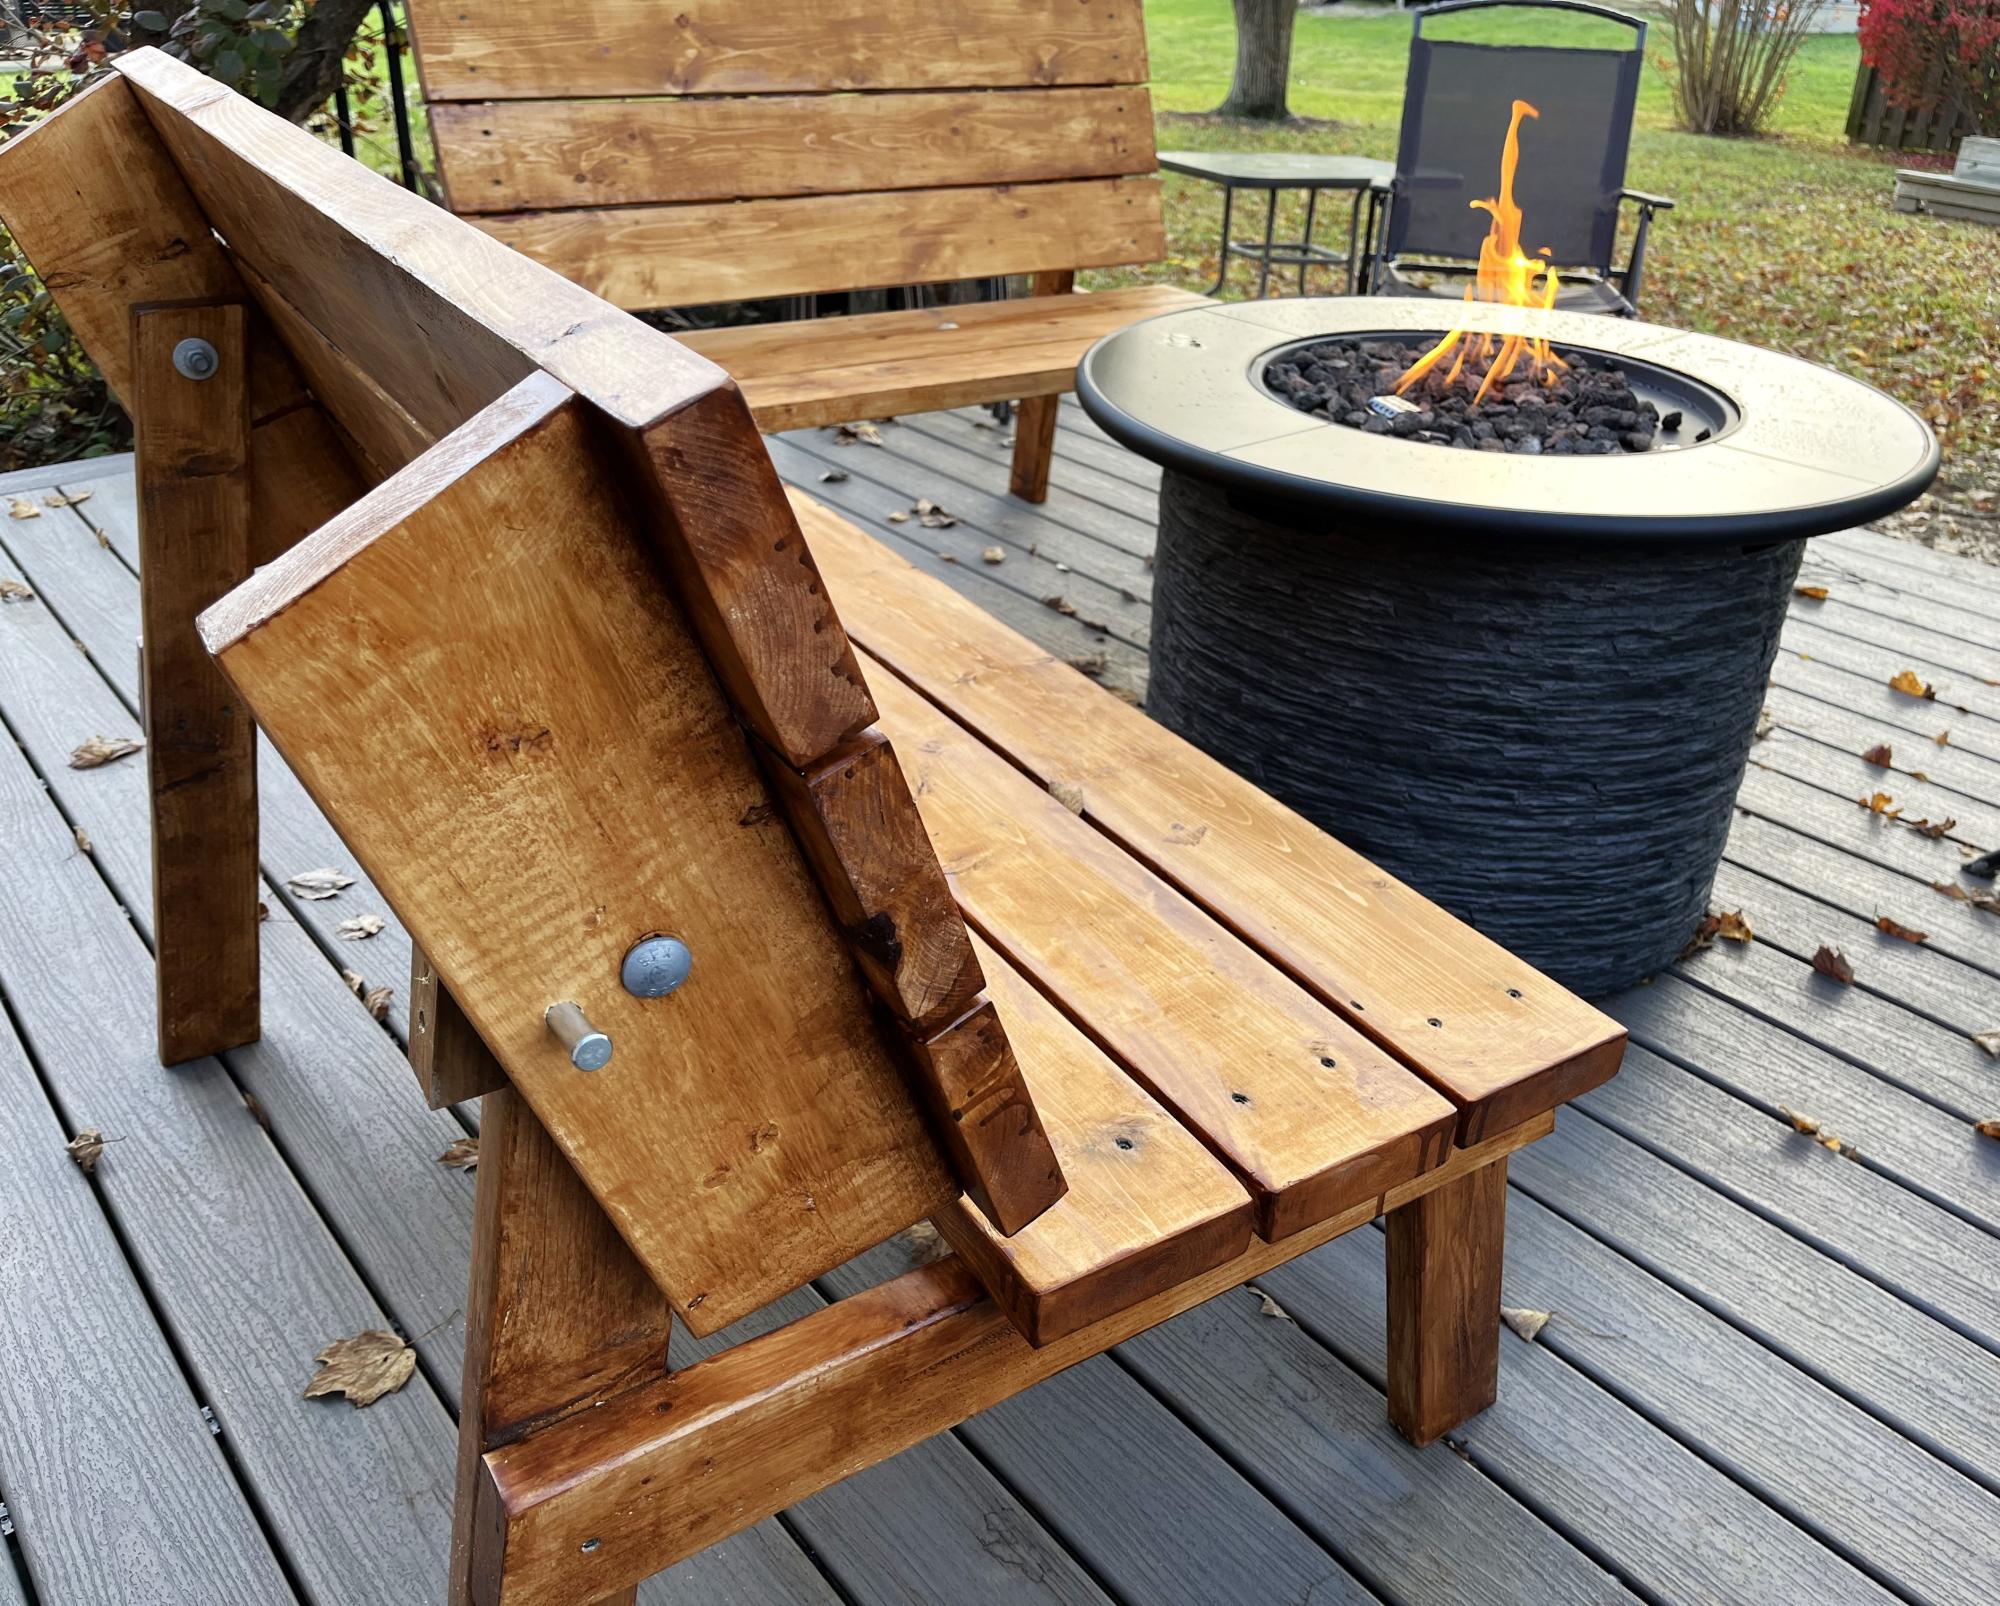
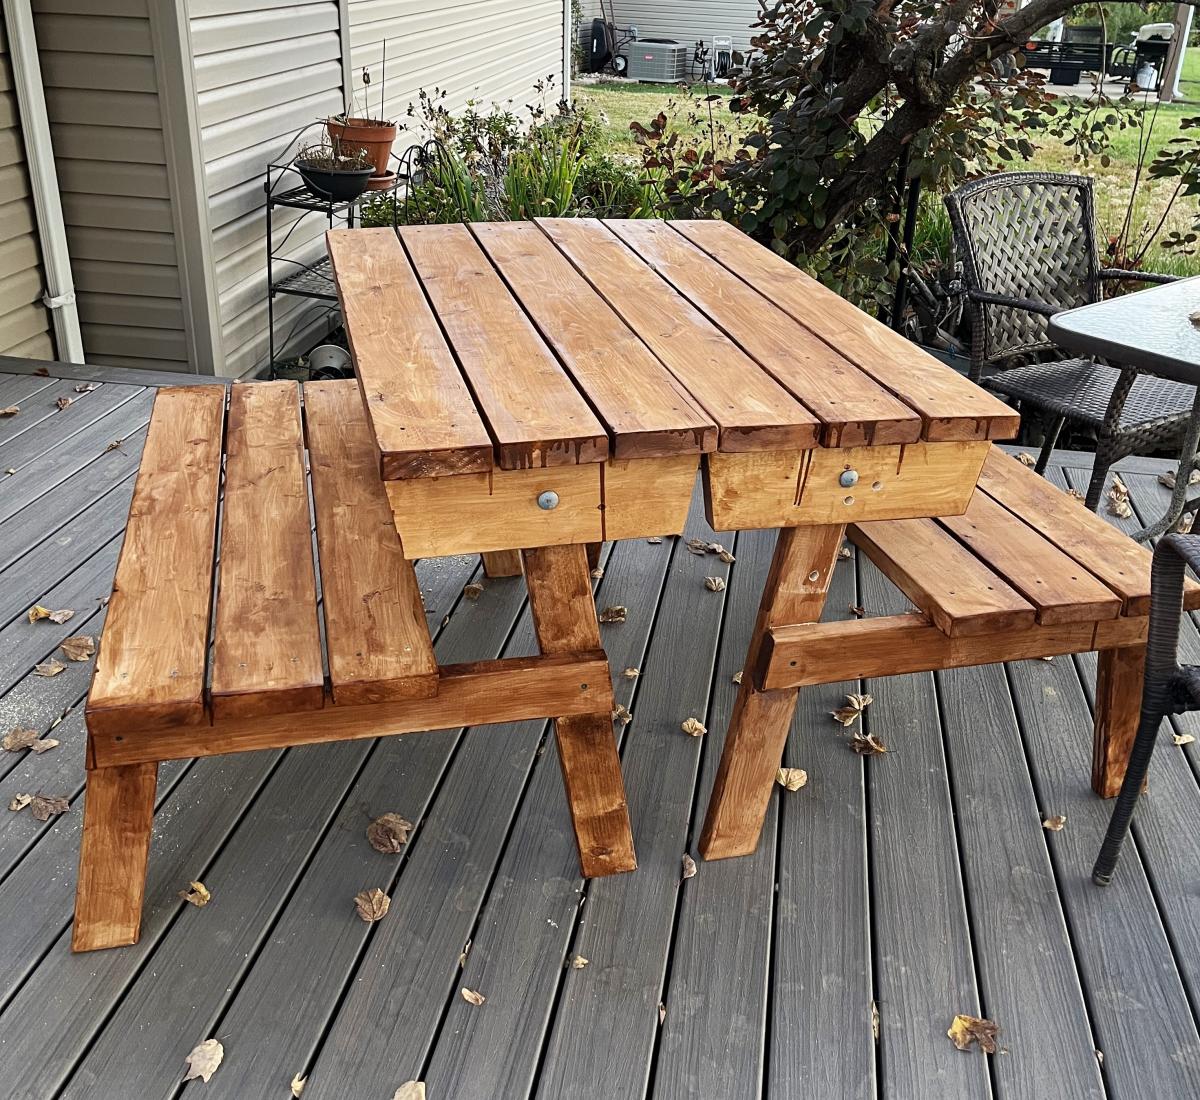
Love Ana’s plans. Wanted something simple as I’m new after building this deck.
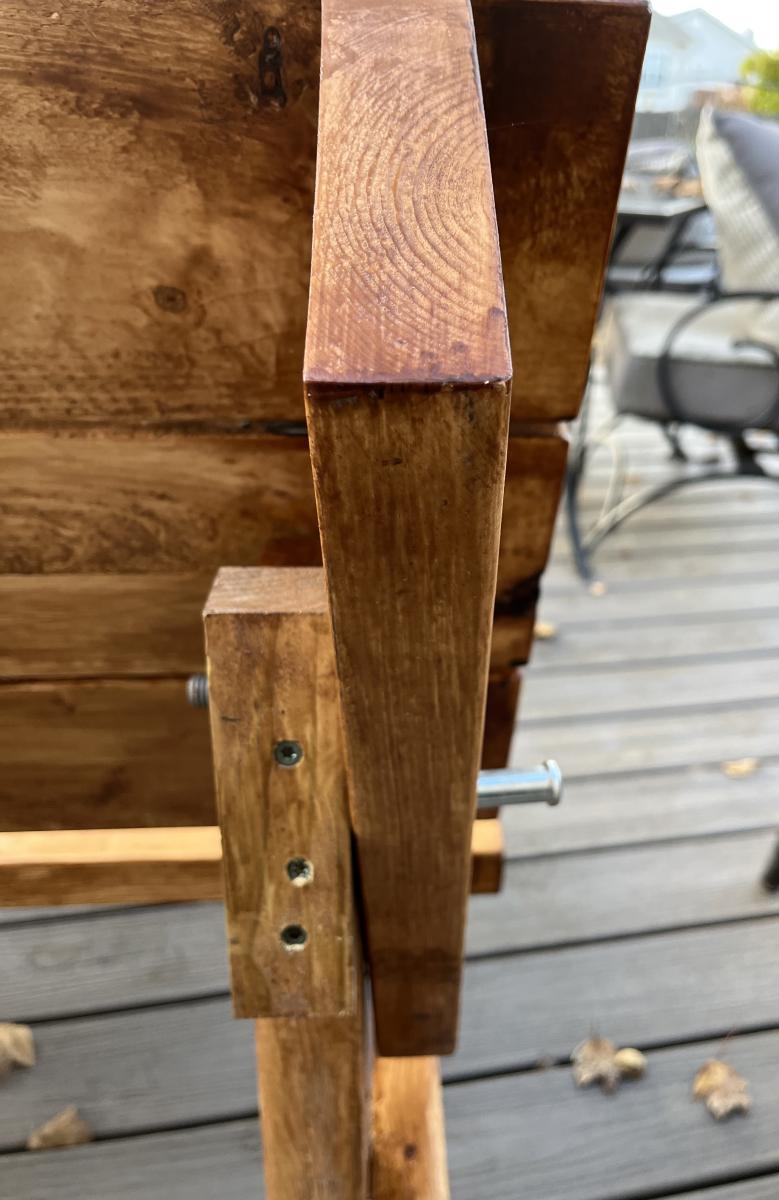
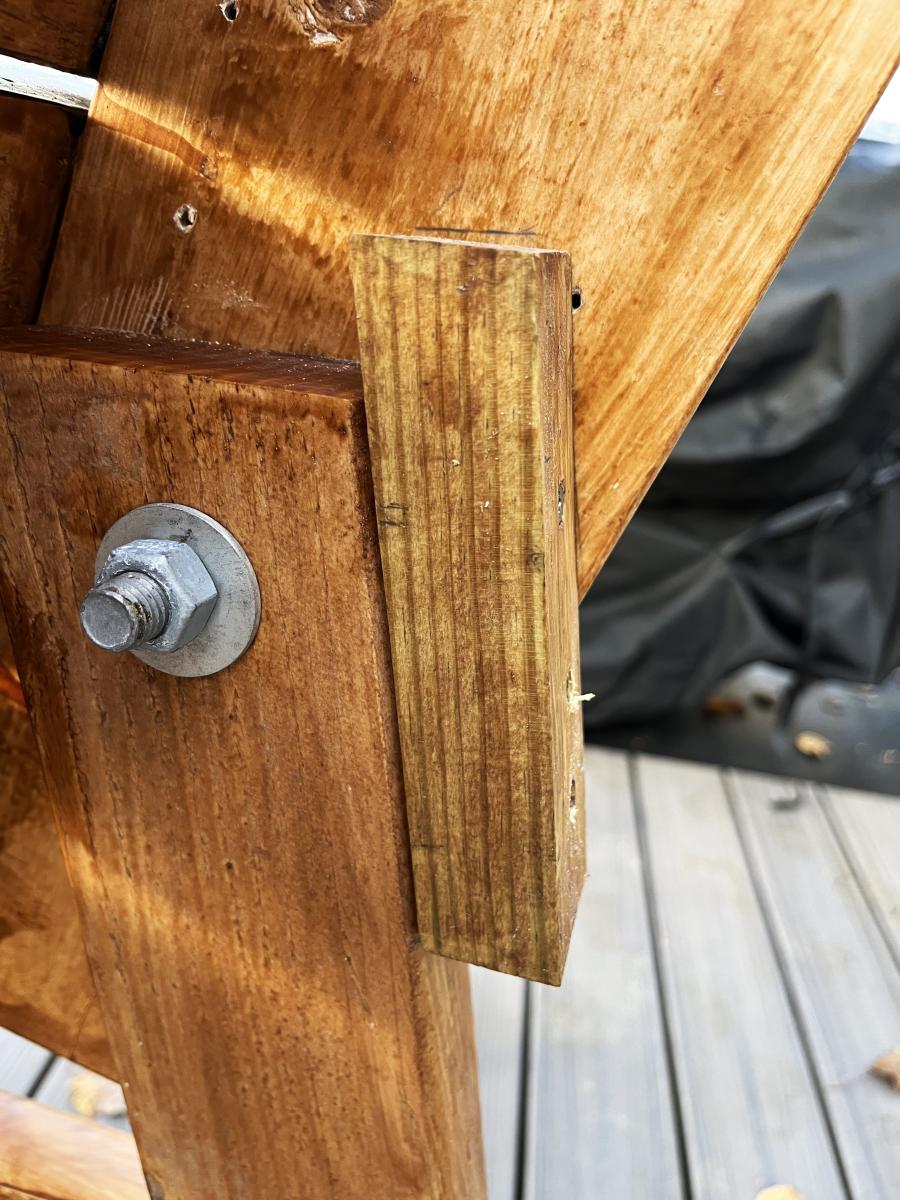
The addition of the small scrap allows a single pin to work for the picnic table and very comfortable bench position. This has been a big hit. Thank you, Ana. - Jim
Daybed With Three Trundle Drawers For Storage
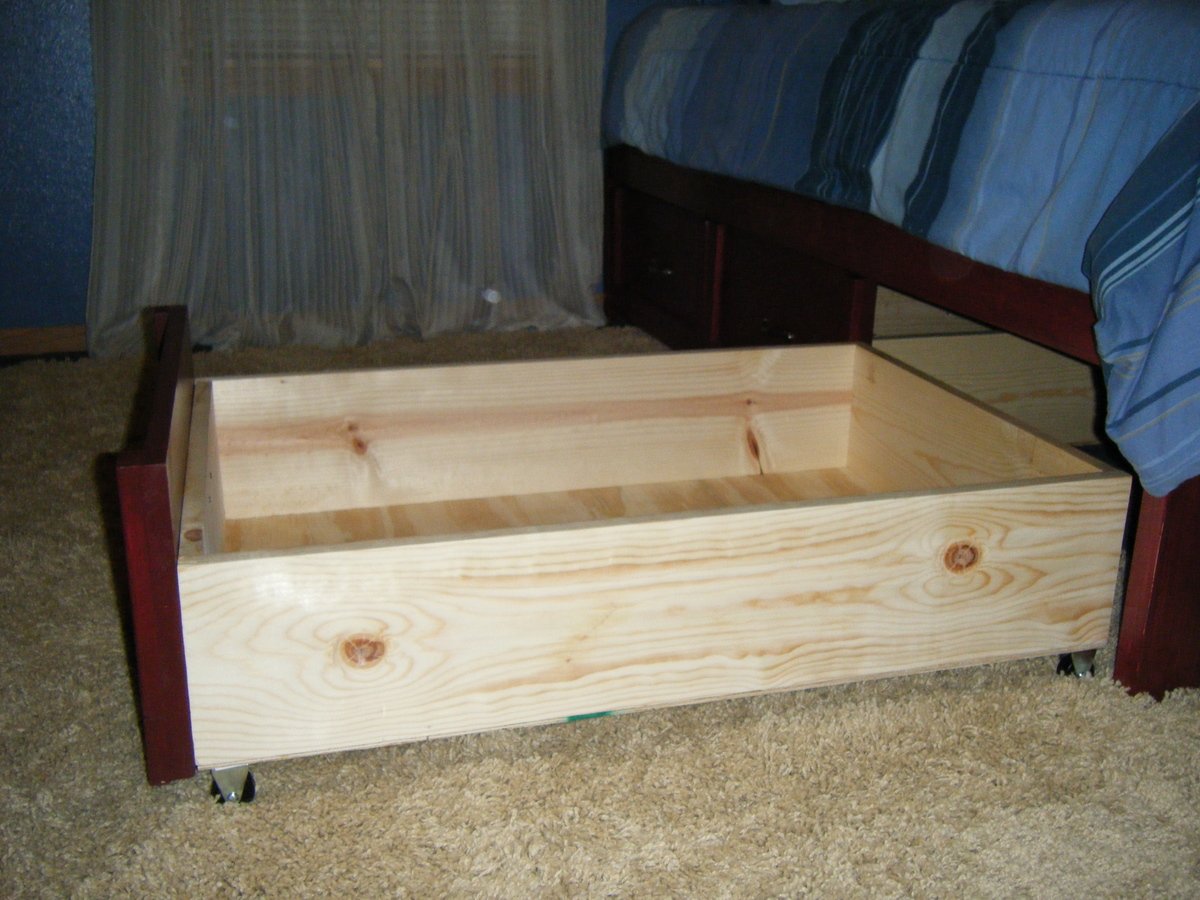
This was my first ever project! I had never even operated a circular saw before this--so if I can do it, so can you!
I made this for my son for his 13th birthday. Because he was getting older, I thought it was time for him to have some nice things in his bedroom. I felt that what he had before was "junky." I couldn't find anything that I liked on craigslist that was also in my budget, so I did a Google search on how to build your own bed, and I ended up here on Ana-White.com!
I had a lot of fun making this project. It's definitely a confidence booster. There is A LOT of storage in this bed as well. Those drawers hold so much, that I was able to eliminate my son's dresser, and still have room left over.
Now for some technical details. For the caster wheels I used 1 3/4" wheels, but if you can't find those, 2" wheels would also work.
For the drawer bottoms, I used glue and brad nails. I found an inexpensive hand-powered staple gun that works with staples or brad nails. I wanted it to hold well, so I spaced the nails a couple of inches apart.
For the drawer pulls, I bought six 1 3/4" screws and drilled all the way through both the drawer face and the board behind it. On Ana's post, she mentioned that you could put the handles on the drawer faces before attaching them so that you would only have to drill through one board, but I wanted to have the option of changing the pulls in the future.
That's it! I am really happy with the way this bed turned out, and my son was very excited that he had such a cool bed that his mom built for him herself. To go along with this bed, I also built a Large Cubby Bookshelf With Adjustable Shelves Happy building!
Two tone rustic table
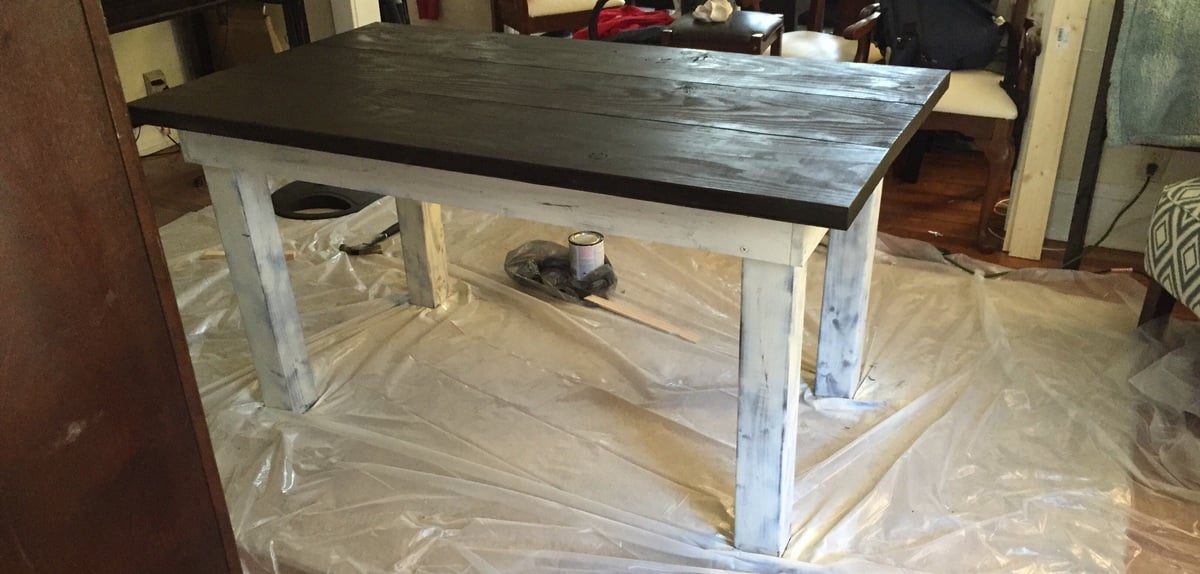
I used three 2x12s for the top and 4x4s for the legs. Everything else pretty much the same. Final table size 36"x60". Longest/hardest part was sanding and staining
Top: Rust-Oleum Stain Kona
Barn Door Console
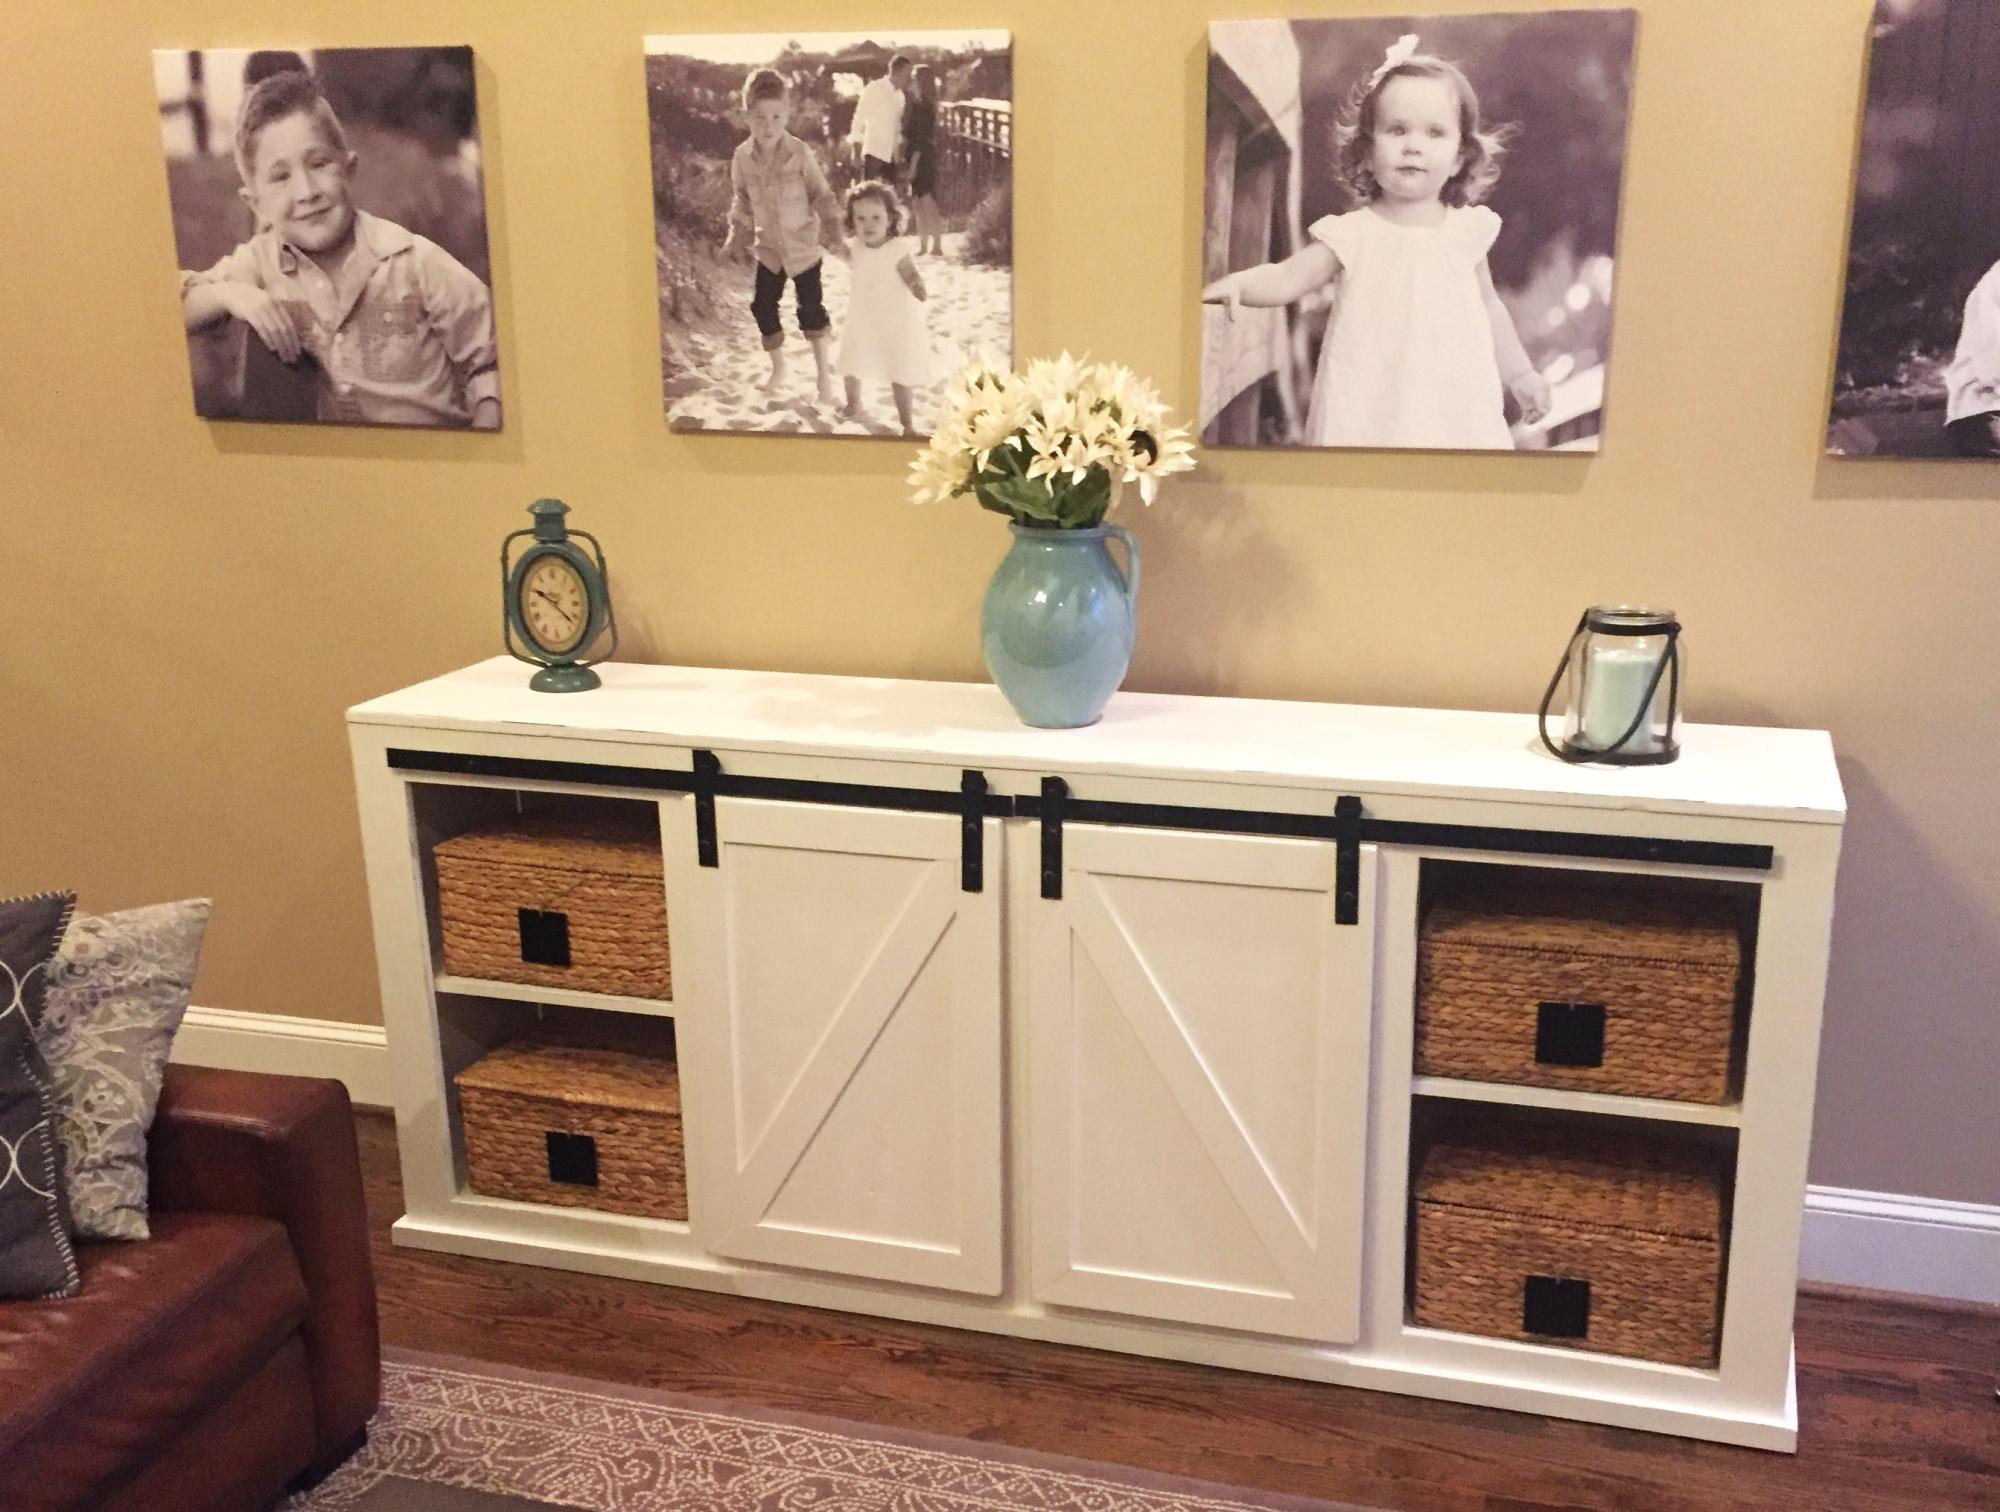
made from poplar and pine. Painted with a coat of black paint then painted with 3 coats of valspar furniture paint in white. I then sanded all the edges to bring the black thru. The hardware is made from a metal bar and wheels made with pulleys from home depot. I even weaved the baskets myself!
Just kidding about that last part.
Comments
Mon, 01/23/2017 - 20:47
You had me on the baskets lol
You had me on the baskets lol! Great job, this is a beautiful piece!
Outdoor Deck Tables
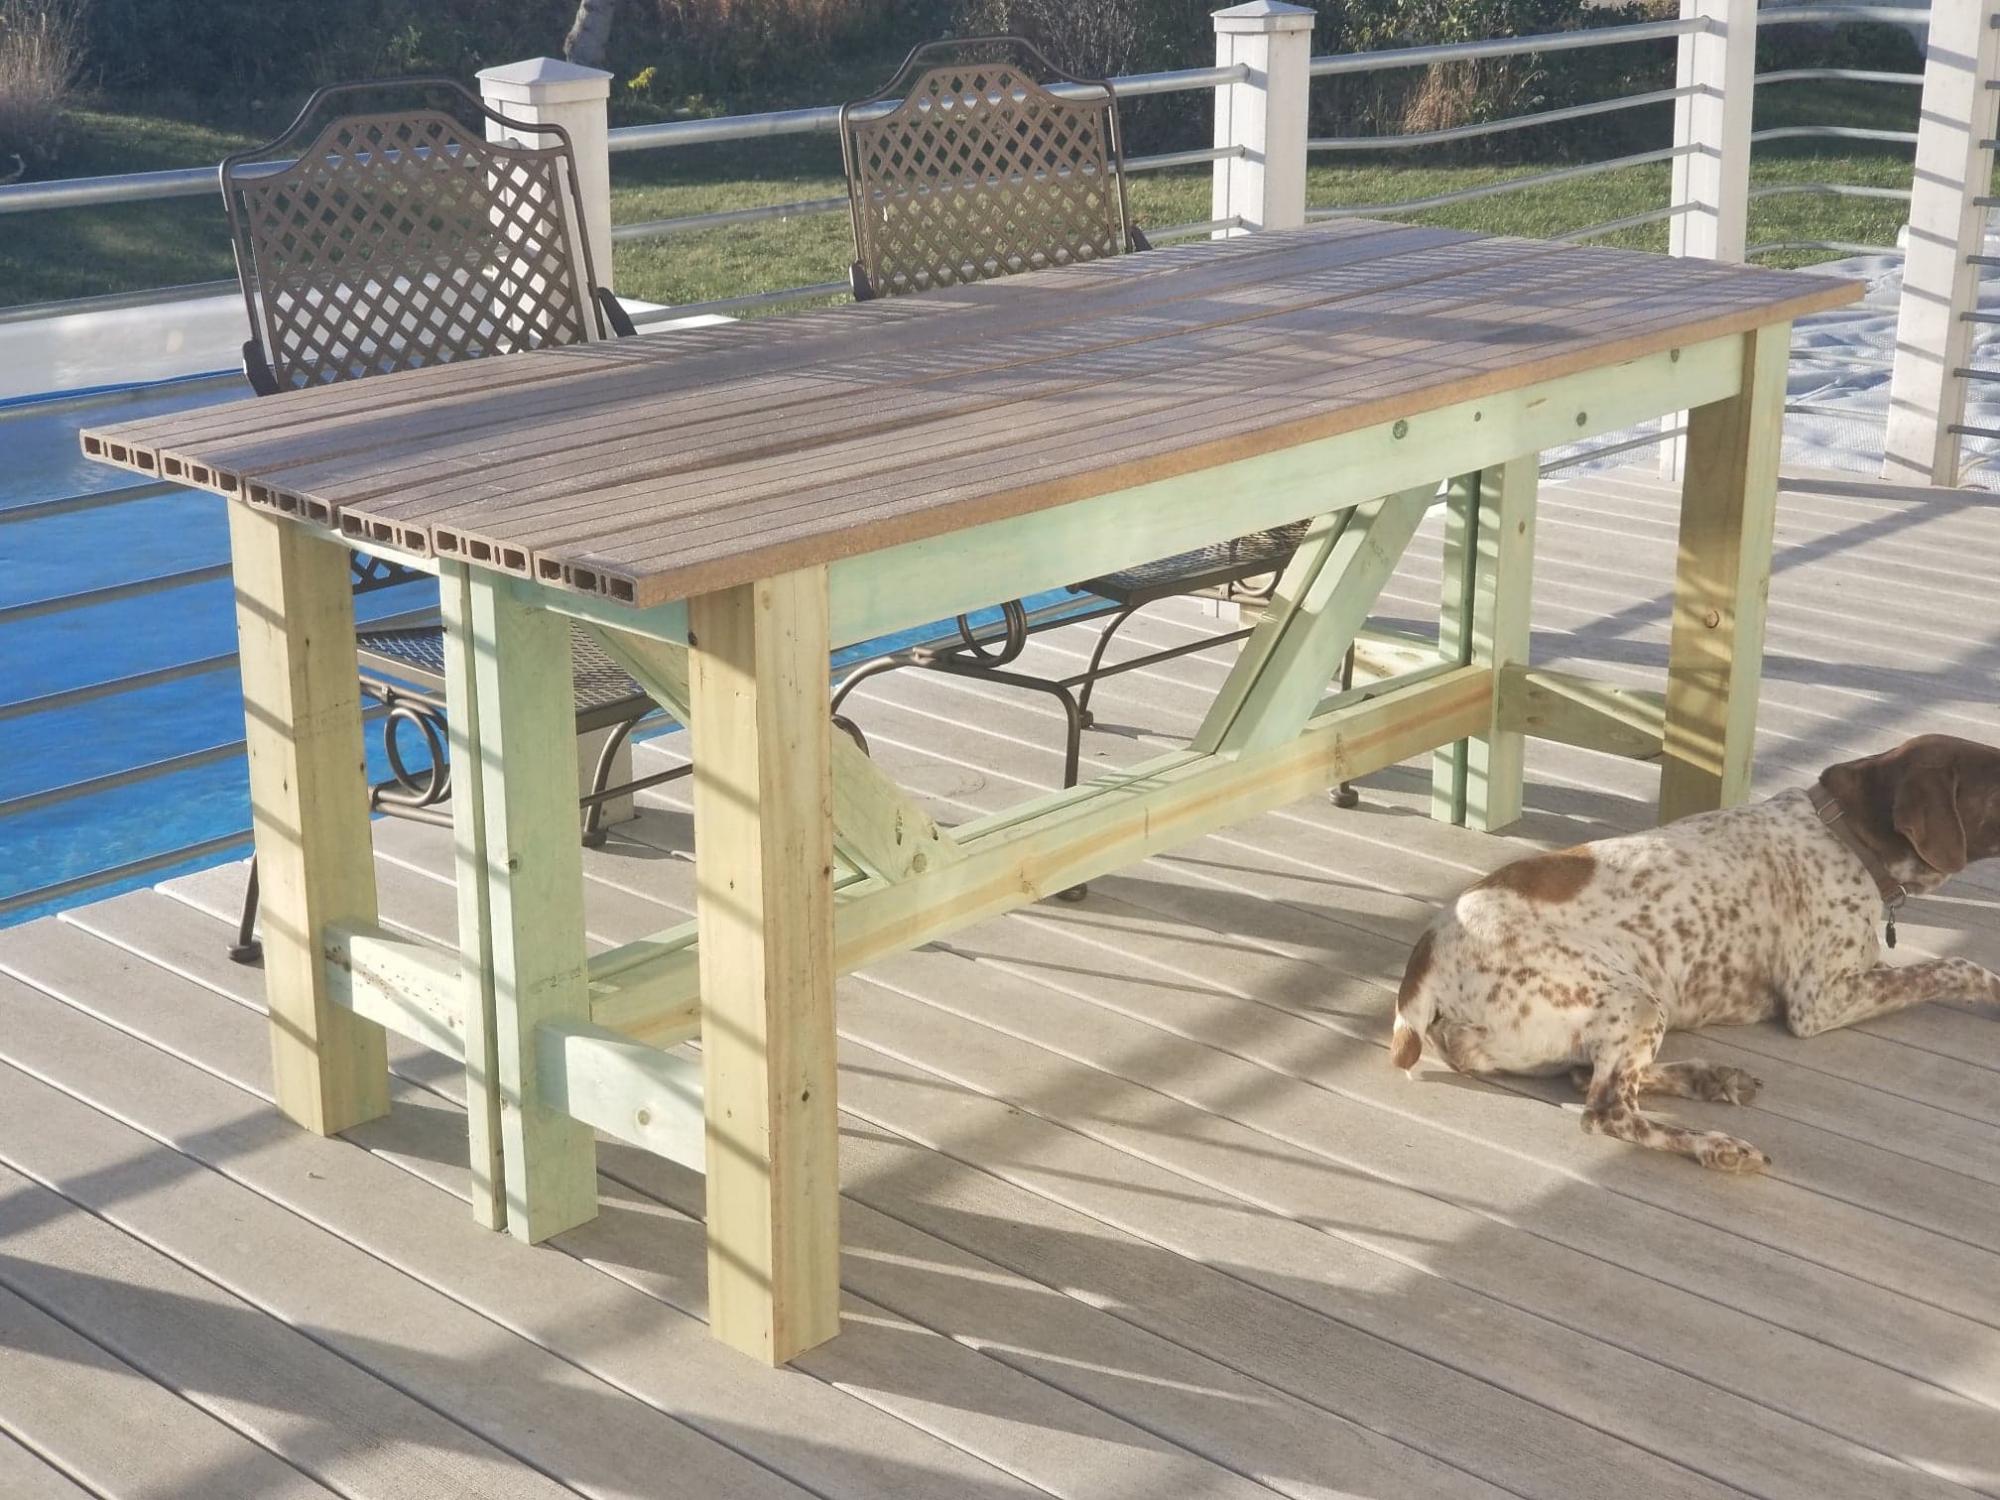
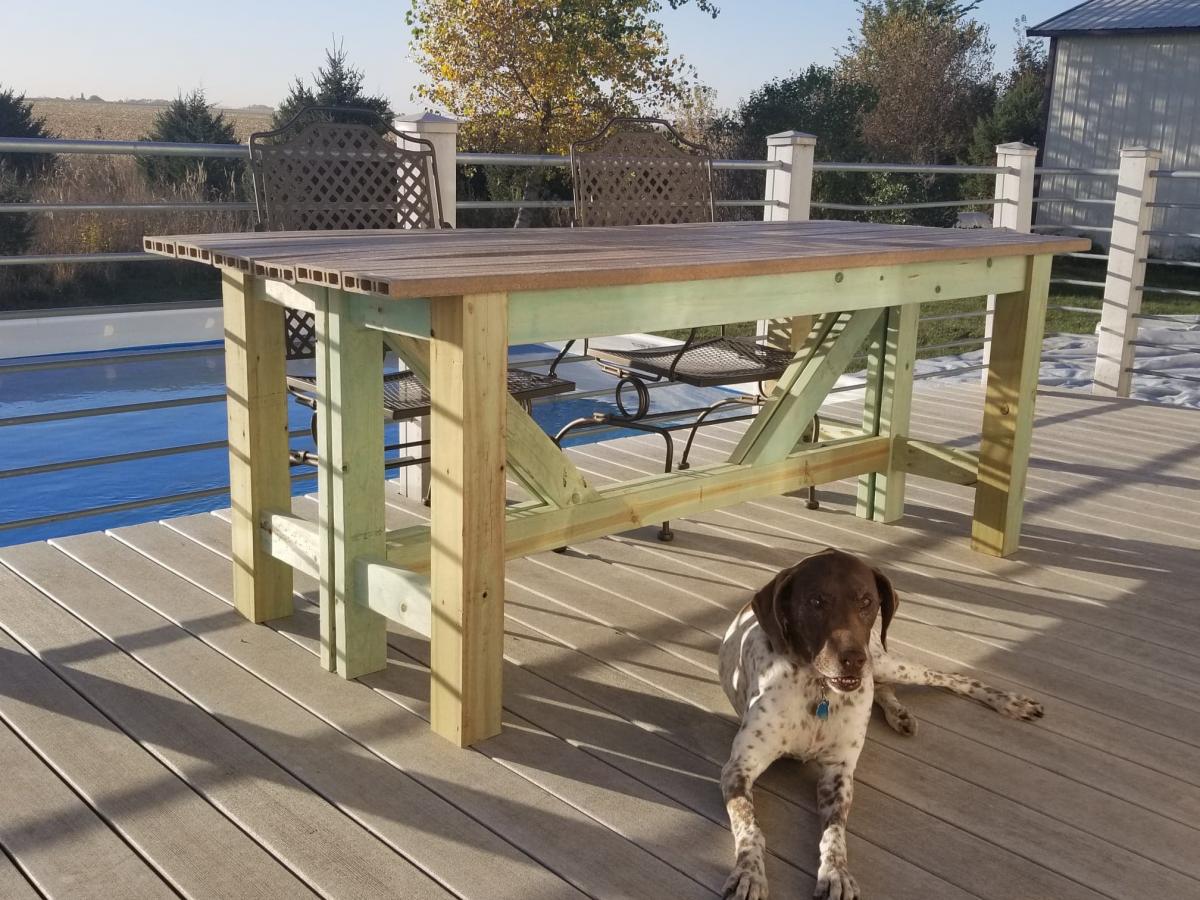
My wife and I were looking for a dining table for our deck. We looked at a few to purchase but could not decide. I wanted something that would not take up a lot of deck space. When the Facebook post for the "Outdoor Bar Table" came up, it inspired me to try to build a similar table. I already had purchased a Kreg HD pockethole jig for a project I never got to (At least yet), so I figured construction would be pretty simple.
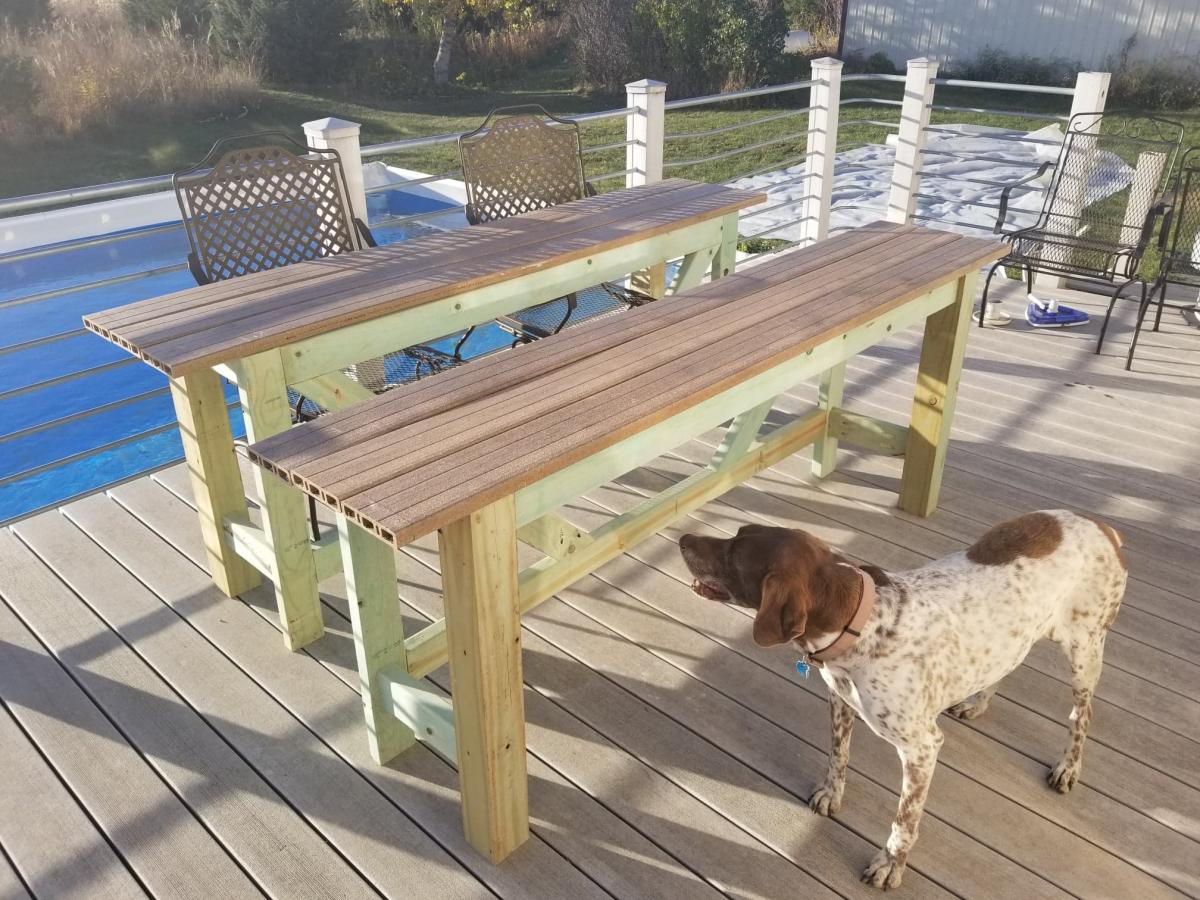
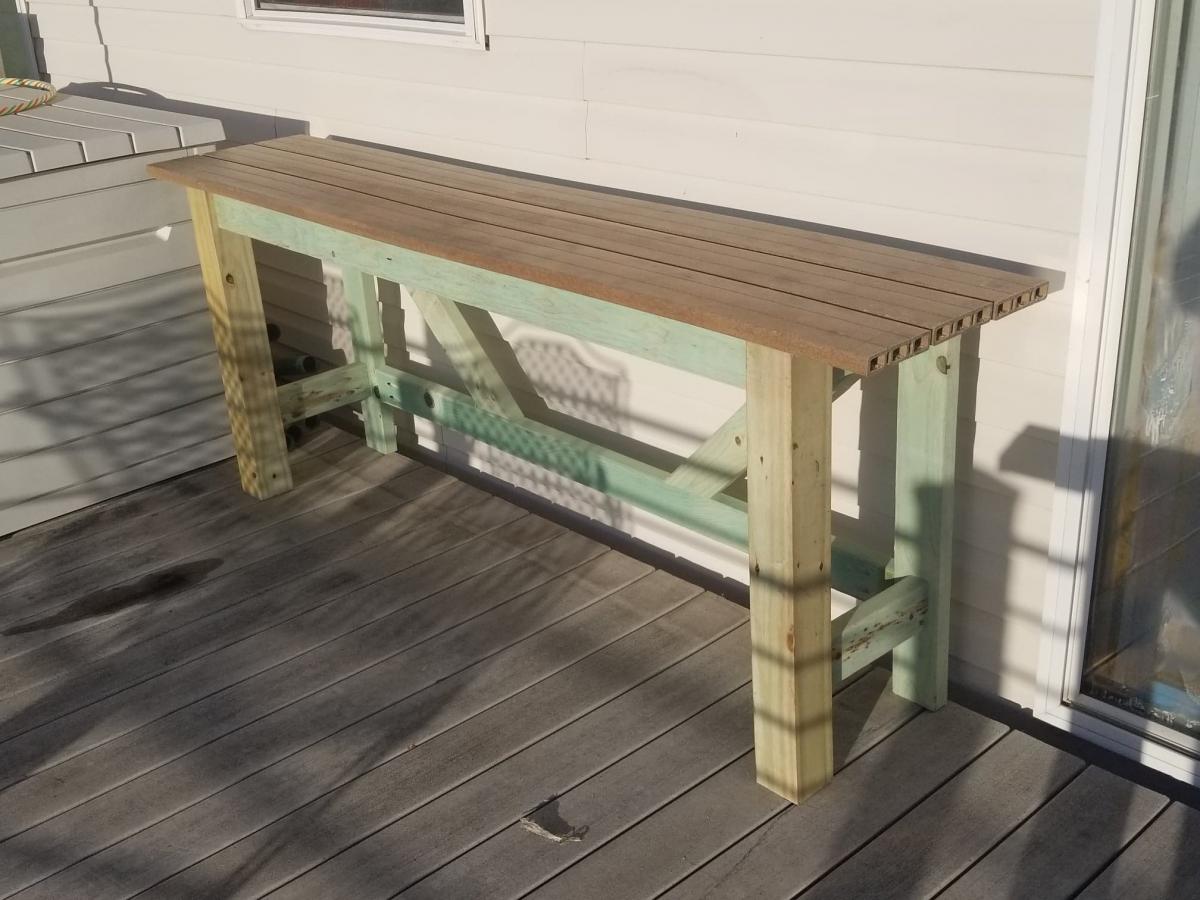
I should say my tables are loosely based off of Ana's plans, they served as a good reference. I lowered the table to 30" to match our existing deck chairs. I decided to actually build 2 half tables, so that when we were not using the table they could be set to the side of the deck. The back of each table is constructed with 2x4s so when the tables are put together it maintains the 4x4 look.
For the tabletop I had extra composite deck boards that I never used for the deck, so the depth of each half table was based on using 3 deck boards, with a 1/4" gap between each deck board. I used the same hidden fastener method I used on the original deck, so the deck boards are secured from under the table.
This being my first pocket hole project, there are a couple of small mistakes. 1) On the 45 degree trusses cut all 4 at the same time, then did the pocket holes. I missed the fact that I needed to drill 2 of the pocket holes on the opposite side. 2) I built the 2nd table back on top of the 1st table back so they matched. but I got mixed up when assembling the 2nd table so the pocket holes that should have been on the side facing the other table back, are facing the opposite side.
I did use Treated lumber for the table frame, and some of the pieces were still pretty wet, so we will wait until next year to paint the base.
We really like how they turned out, and that we still have almost all of our deck space when the tables are in the "Stored" locations.
Comments
Mon, 10/12/2020 - 09:54
Perfect for outdoor dining!
I love your creation and the use of deck boards for the top, thanks for sharing!
Mon, 10/12/2020 - 20:50
I should say Thank You for…
I should say Thank You for all your sharing, which made this project possible!
High Loft with Desk
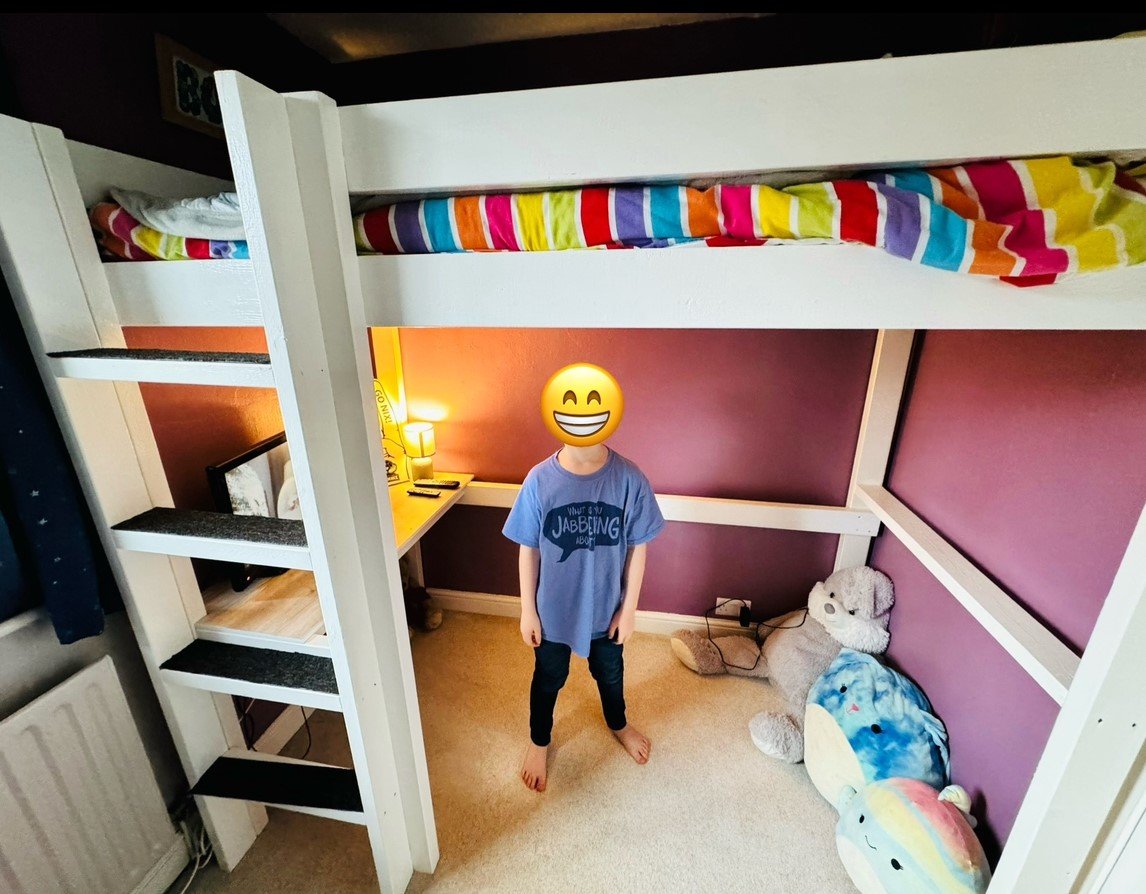
My sons tiny box room needed updating. He wanted something more grown up. The brief was "a high bed with a den underneath". As with all Ana White plans it was easy to follow and gave me the inspiration to build something bespoke to a very limited space. I have added a desk for him to do homework. He's over the moon with it. Thank you for the inspiration. - Harry
$20 Planter Boxes
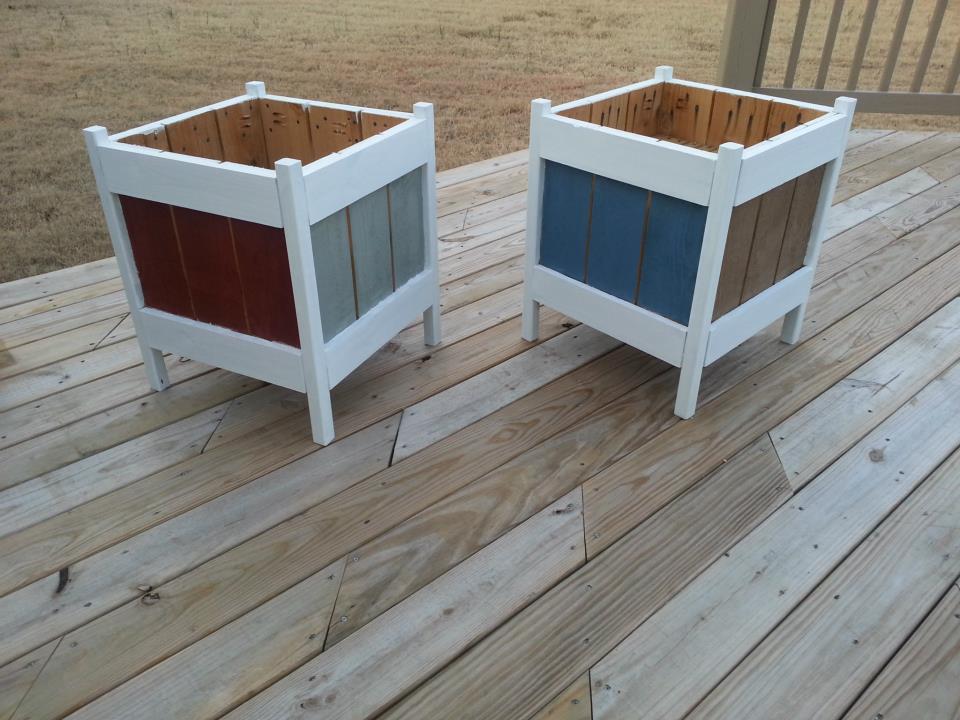
I built these as one of my first project with the Kreg Jig...It worked great! I stained them with the left over sample cans of my behr deck stains from when we were deciding what to put on the deck. They turned out to be great and the perfect size for our deck!
Comments
Boys Chrismukkah Tool Trugs
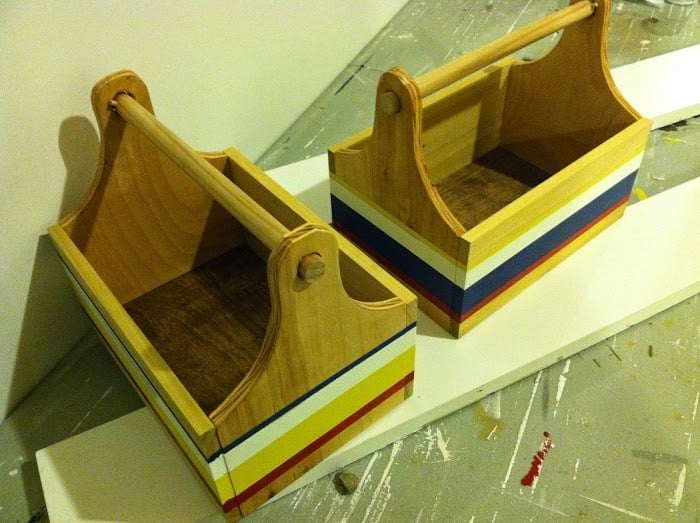
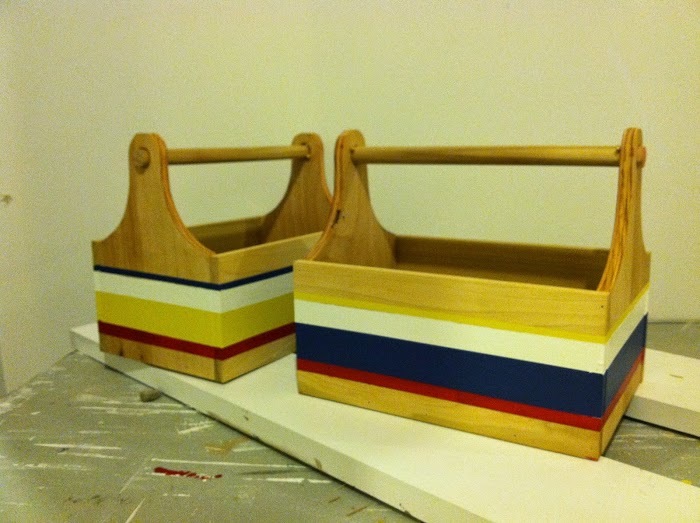
I did a near direct copy of the tool trugs from Jamie and Ana using some 1/2" birch plywood and 1/2" craft wood from Home Depot. I was really happy with the ipswich pine stain that darkened the wood and gave it less of an unfinished look.
