Community Brag Posts

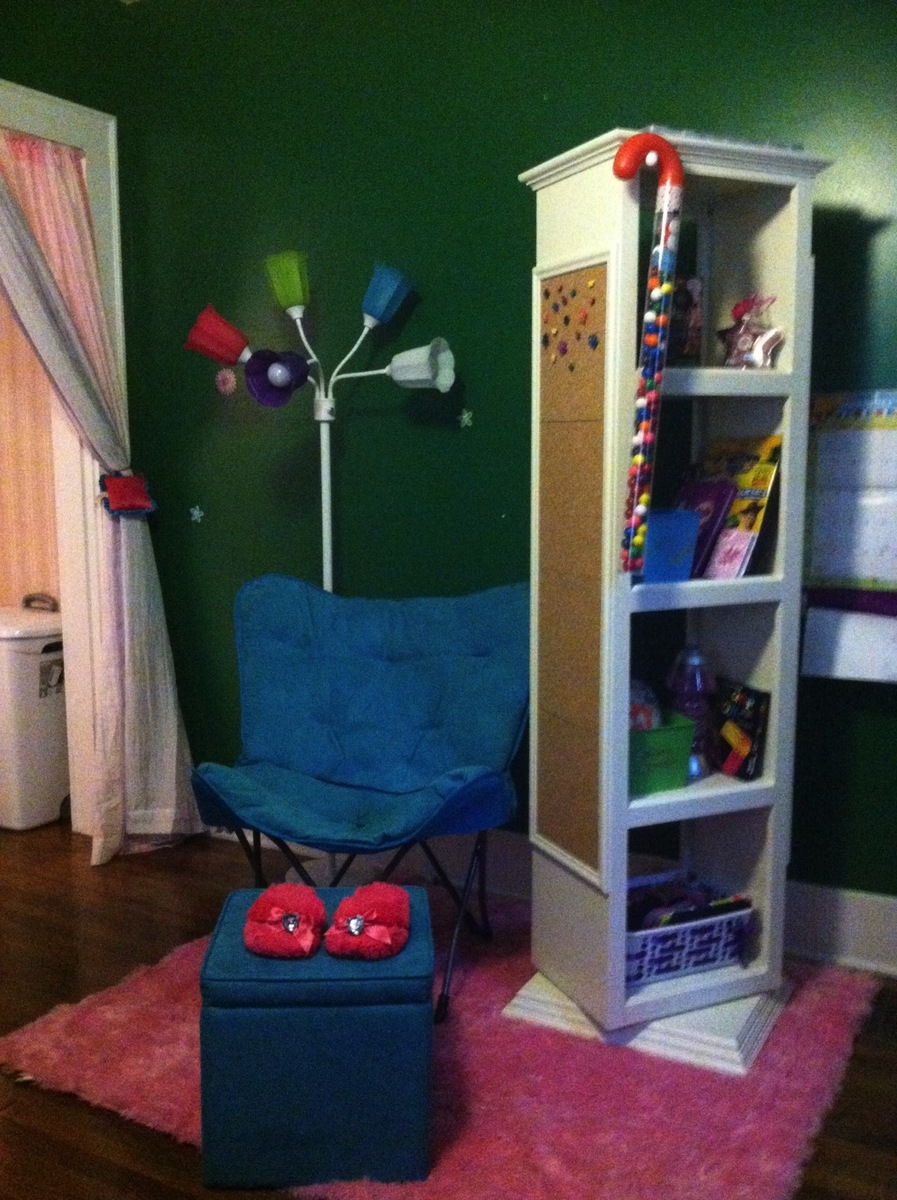
Swiveled Bookshelf with Mirror and Cork Board

Submitted by miki0225 on Tue, 01/01/2013 - 19:49

I saw a cabinet like this on Pottery Barn's website (for $600) and I knew I wanted to build it for my 12 year old niece and could do it cheaper. I have only built one other thing so I am a beginner. I do not recommend this as a first project because if it wasn't for my husband figuring out the "lazy susan" part and fixing a couple other "oops" then it would not have turned out as great as it did.

I started with the plans for the 5 Cube Tower Bookshelf and then went from there. I ended up with only 4 shelves because of a miscalculation on my part. I cut off the legs and added crown molding to the top. Used plywood for the 3 layered base and quarter round for the decorative look. The base is heavy, which I wanted because of the 2 pegs on opposite sides for hanging things (she's 12 and purses, scarfs, clothes...there is no telling what will be hung there). I added molding to both side of each opening so that as it spun things would not slide off. I have no explanation for the lazy susan because my husband figured all of that out.

The Cork board and mirrors were easy. I bought the cork in a pack of 4 squares at Walmart and the mirrors in a pack of 6 squares from Lowes. We placed and glued them on before adding the molding around the edge. Fyi: I tried to use the $5 full mirror from Walmart but it was to wide. I bought some cute buttons and cut off the loop part to glue flat metal tacks to the back. She now has decorative thumb tacks. I painted it white and then top coated it with polyurethane.

We absolutely love this and so does she. It is in her room and I think looks amazing. Can't wait to share my next projects that are almost complete.
Estimated Cost
$125
Estimated Time Investment
Week Long Project (20 Hours or More)
Finish Used
White paint and polyurethane
Recommended Skill Level
Intermediate

Comments

Mandy3689 (not verified)

Wed, 01/02/2013 - 01:19

So great! I just found this at PB Teens last night and thought NO WAY! For $600!!! I had exactly the same idea as you did.... Build a 5 cube tower and make it spin. Ana rocks! Thanks for sharing!

DIY Farmhouse Table

Based on Ana White's Instructions and Cut List, here was our purchase list:
(figures are rounded)
 
Heat Treated Wood:
$12 (4) 2x4@ 8 feet
$9 (2) 2x8 @ 12 feet
$6 (1) 2x8 @ 8 feet
$8 (1) 2x10 @ 8 feet
$55 | (1) 4x4 @ 10 feet **
**This was difficult to find.  We couldn't get it at Lowe's or Home Depot,
but found a small local wood yard.
 
Other Materials:
$9 | Rust-oleum Kona Wood Stain
$18 | Minwax Polycrylic
$10 | (2) Pocket Hole Plugs
$4 | 3" Foam Trim Roller
$8 | (2) 2.5" Pocket Hole Screws
$6 | 3" Wood Screws
 
Total Cost - $145
Estimated Cost
$145
Estimated Time Investment
Weekend Project (10-20 Hours)
Finish Used
MinWax Polycrylic 3 coats - Semi Gloss, but will be finishing it again in Satin (Maybe).
Rust-oleum Kona stain.
Recommended Skill Level
Beginner

Comments

Farmhouse faux reclaimed lumber headboard

Submitted by wacman on Sun, 01/29/2017 - 12:31

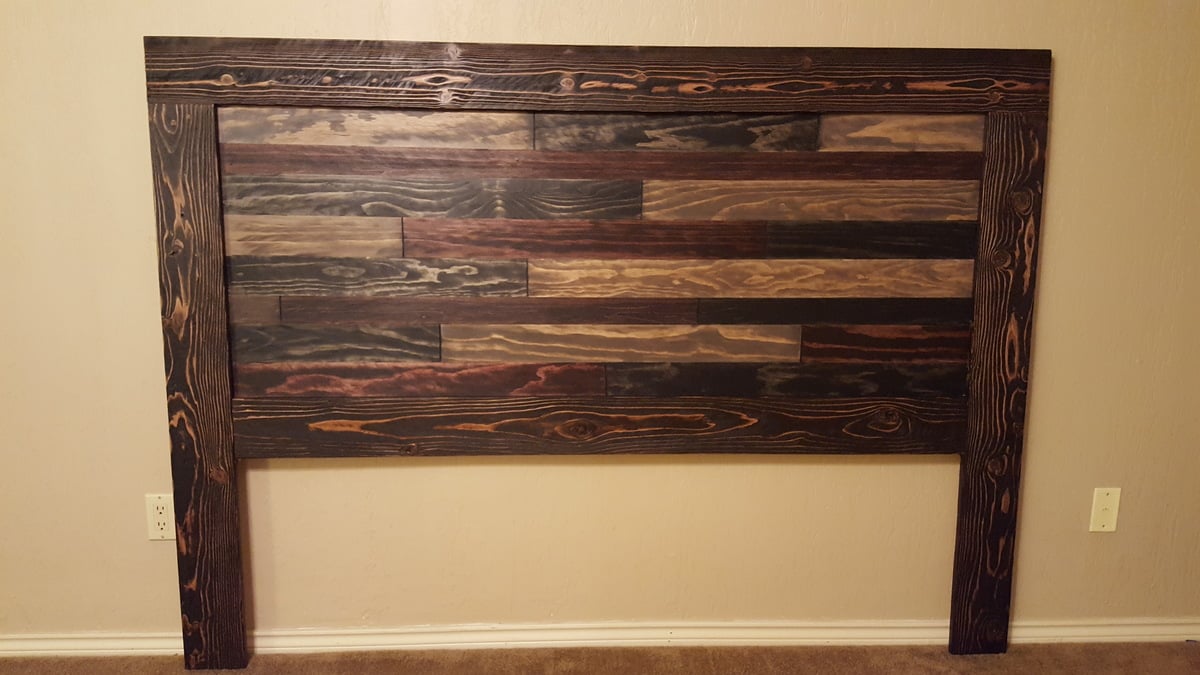
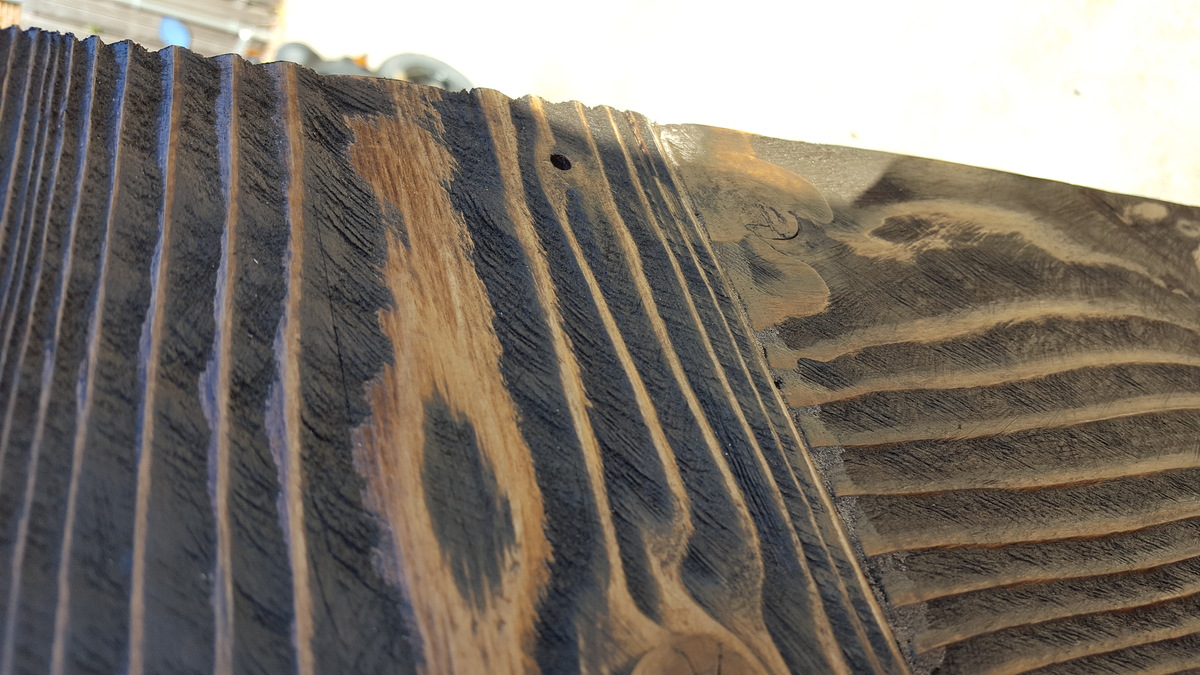
A simple headboard with new pine, distressed to resemble worn barn wood or other reclaimed lumber.  I used a wire brush drill bit to eat away at the soft wood of the outside frame, raising the grain and adding a tremendous amount of texture.  The inside planks are full-width boards that I scored with a circular saw to create false joints.  Each section was stained with a different hue to emulate individual reclaimed planks.  I coated with a layer of semi-gloss polycrylic and then a coat of clear cream wax.
Estimated Cost
$100
Estimated Time Investment
Day Project (6-9 Hours)
Finish Used
Minwax stains (espresso, classic grey, mahogany & ebony), Minwax semi-gloss polycrylic, American Decor Clear Cream Wax
Recommended Skill Level
Beginner

Outdoor Canopy Bed

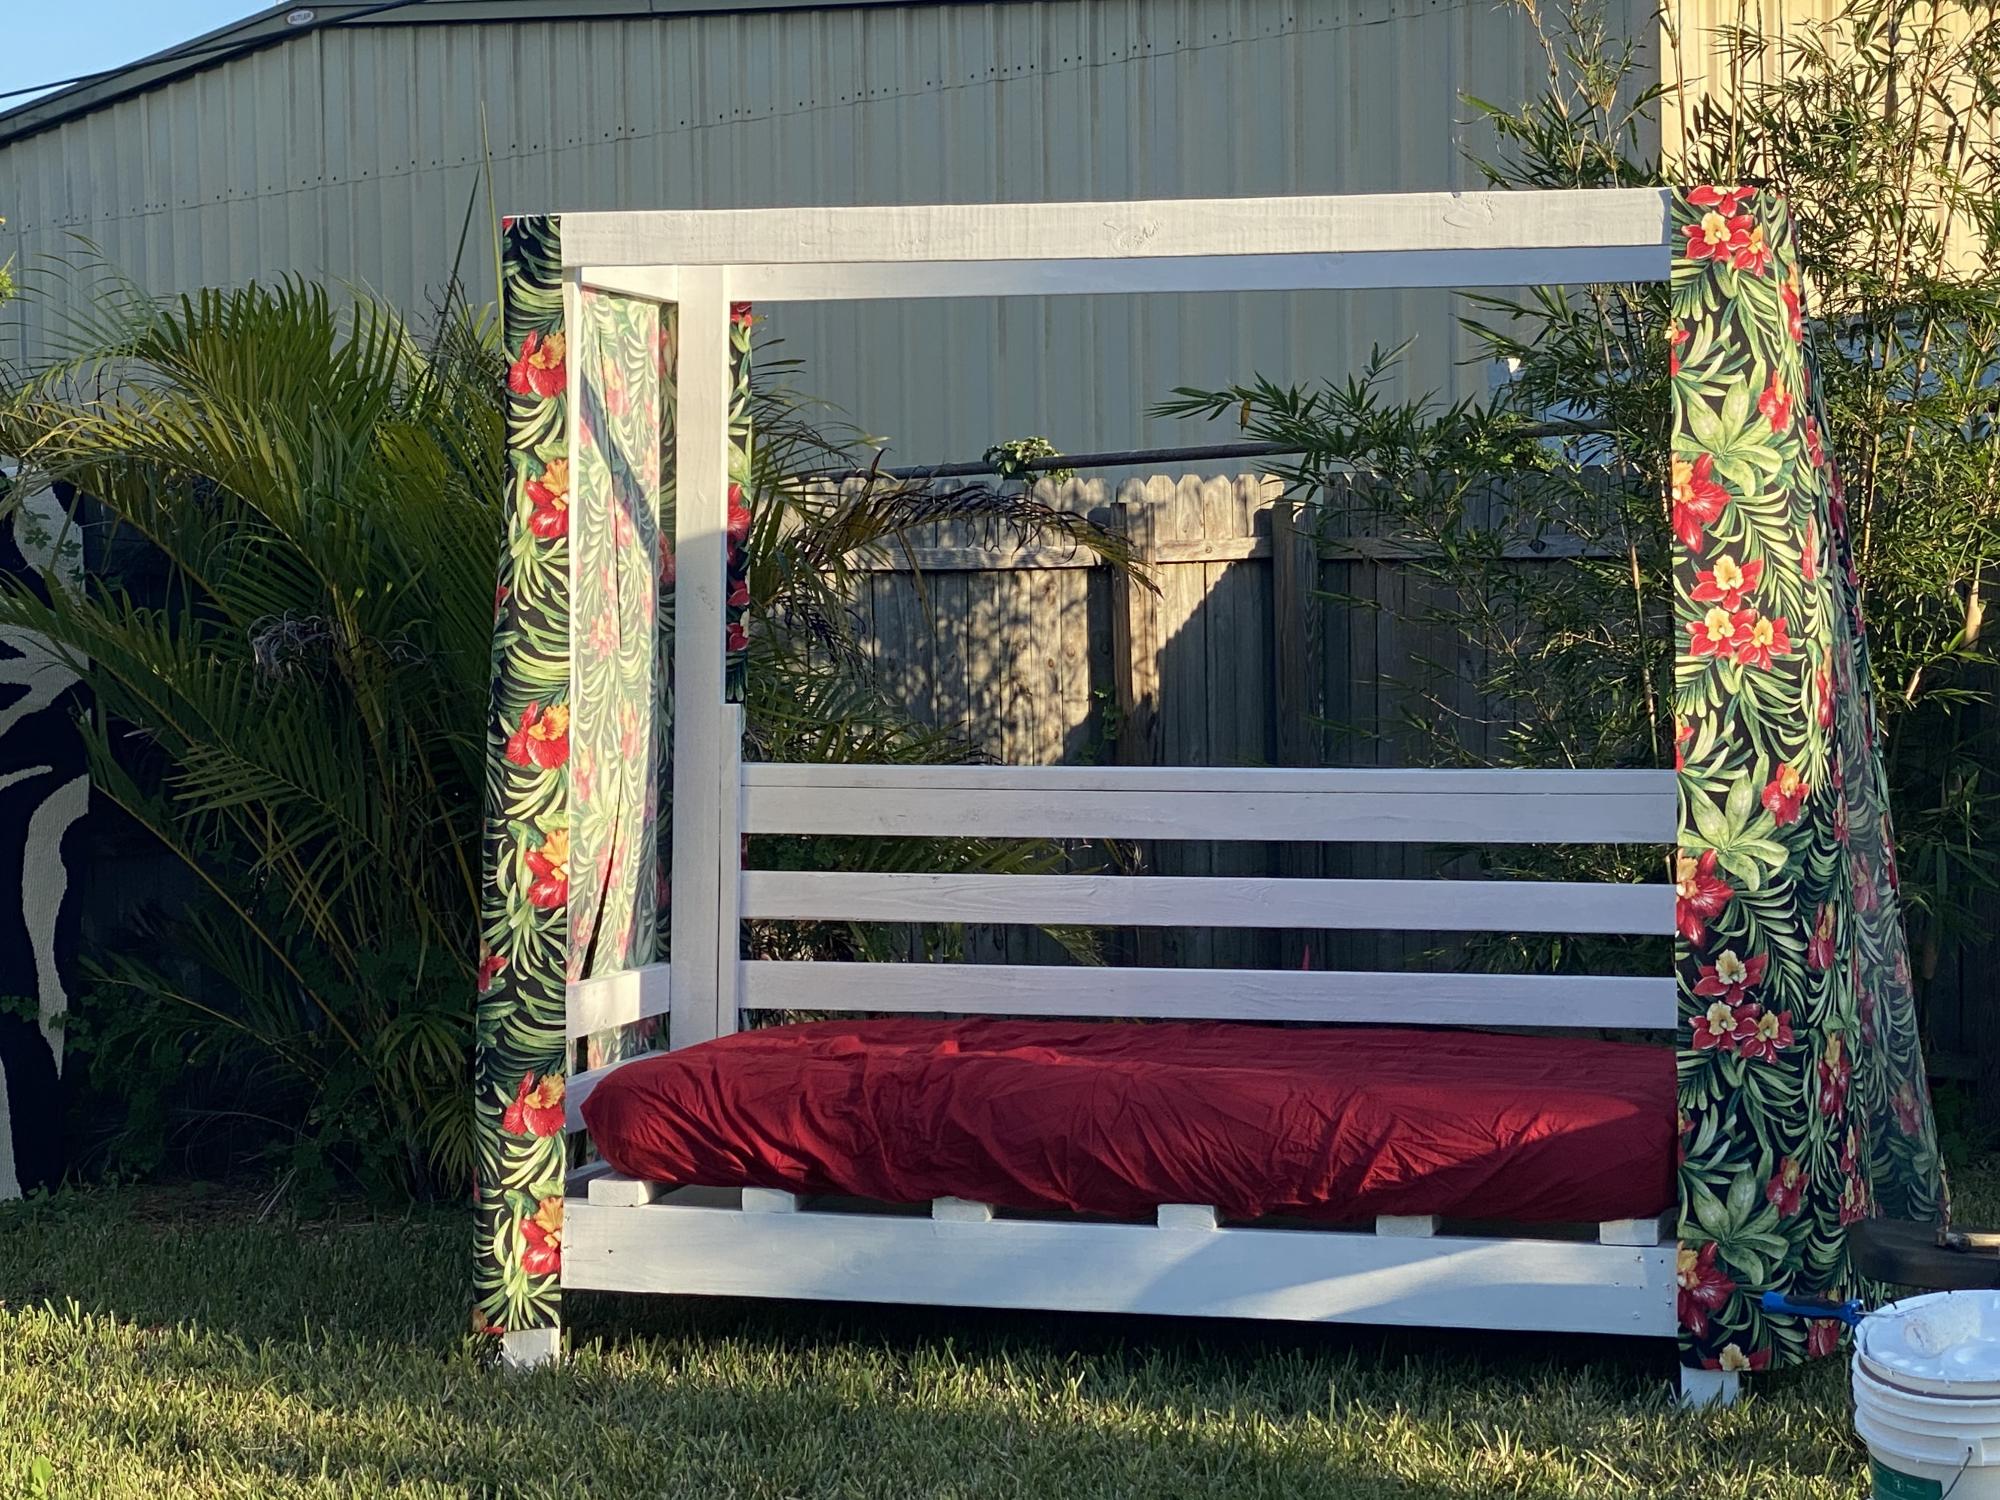
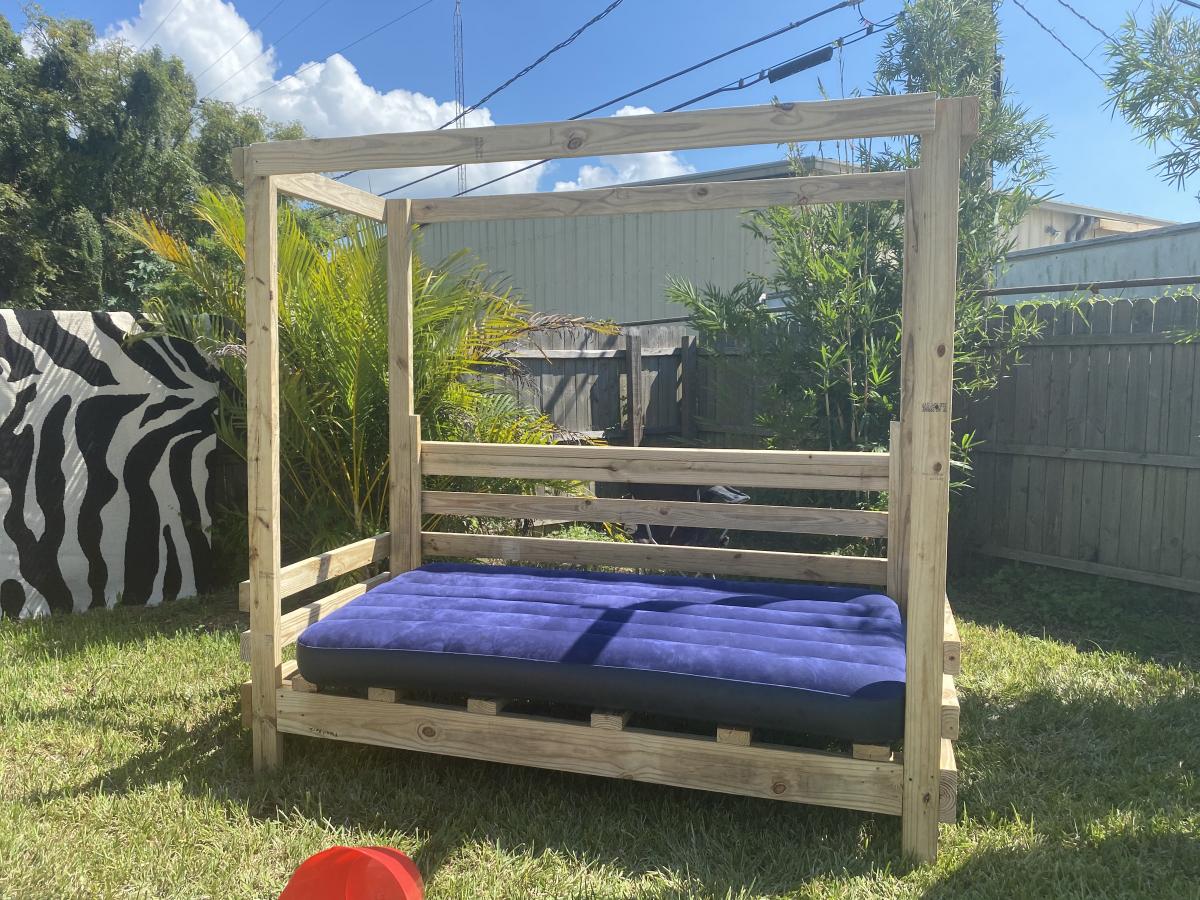
Completed this project last week off of the plans here under outdoor! I Love it and plans were soooo easy to follow!

Estimated Cost
150
Estimated Time Investment
An Hour or Two (0-2 Hours)
Finish Used
Painted white with exterior paint, outdoor fabric and twin size air mattress.

Comments

Train Table

Submitted by Nolan on Thu, 01/03/2013 - 08:42

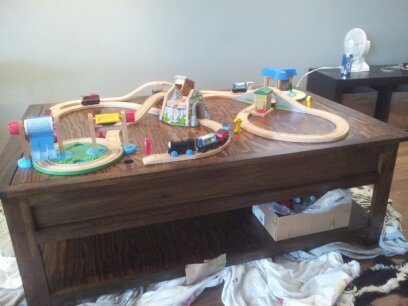
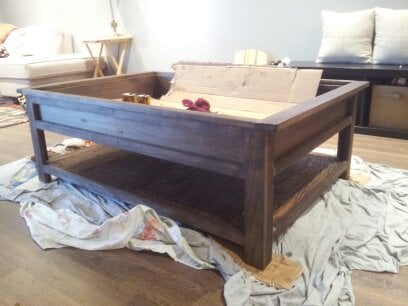
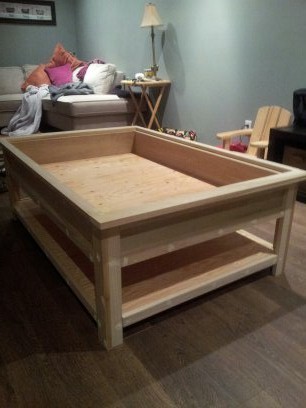
This was the first project I did from Ana, and the plans and directions were excellent. My son is 20 months old with a Thomas the Tank Engine obsession....I had told my wife I would make a train table for him for Christmas and this was the one she found. The little man was extremely excited on Christmas morning, and it turns out I ended up building a babysitter in the process.

Built from Plan(s)
Estimated Time Investment
Weekend Project (10-20 Hours)
Finish Used
I stained the project with Minwax dark walnut 2716 (2 coats). Each coat was rubbed on with a cotton cloth, and excess was then wiped off after 10-15 mins. I used Minwax fast drying satin sheen polyurethane (3 coats) to finish. I used a foam brush to apply the poly and sanded between coats with 400 grit sandpaper.
Recommended Skill Level
Beginner

Open Concept TV Stand

Submitted by zjlawlor on Wed, 10/22/2014 - 16:22

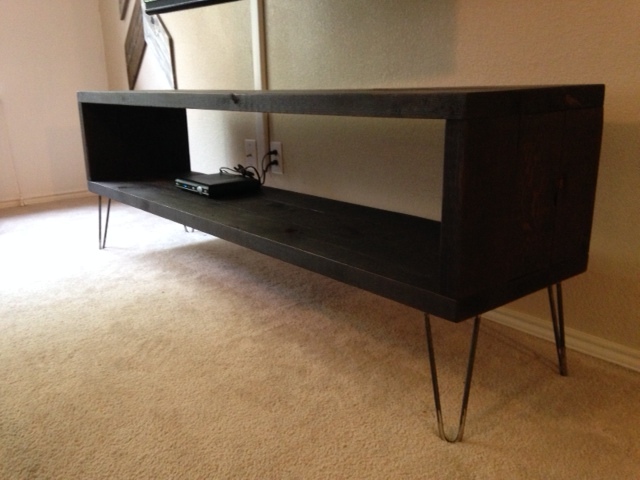
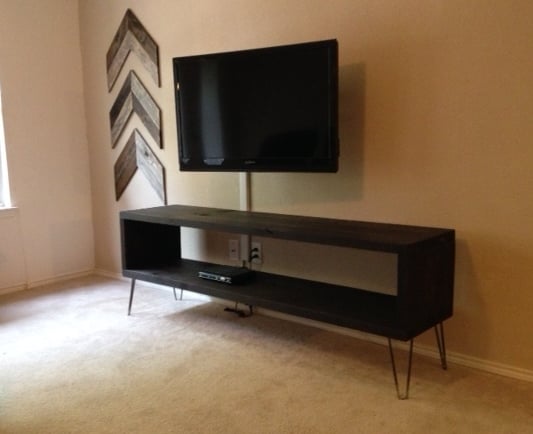
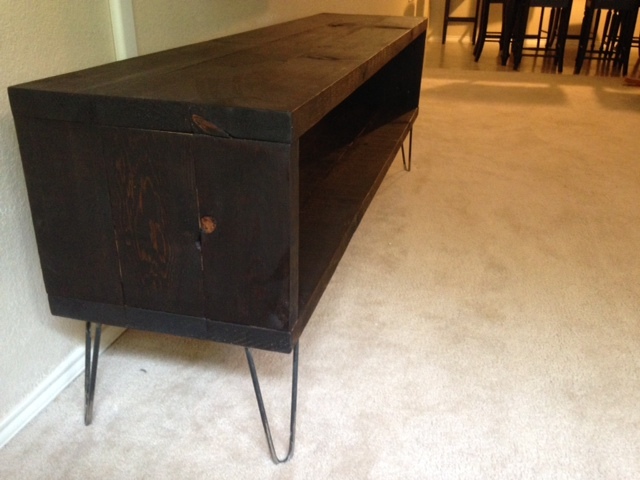
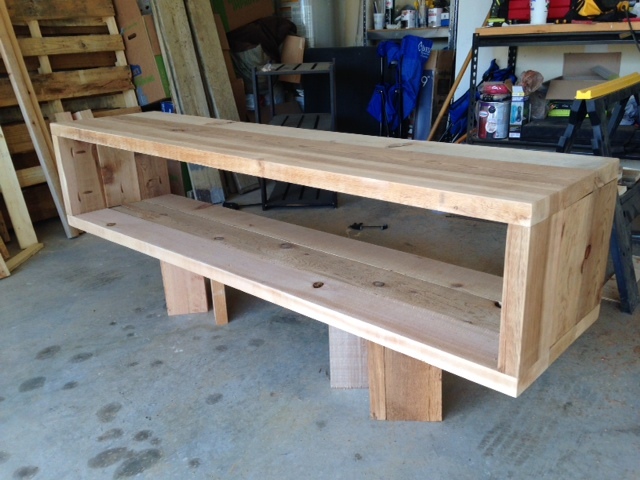
Saw a bunch of TV stands in this style on Etsy but they are just WAY too expensive. Found out I could simply order the hairpin legs from Etsy and build one myself. Much cheaper! I chose cedar. It allowed me to go the extra width I wanted (6 foot) and keep the project lightweight. It is a soft wood and prone to scratches and dents, but most of our other furniture is reclaimed and upcycled so I'm not worried about wear and tear. 

Estimated Cost
115$
Estimated Time Investment
Day Project (6-9 Hours)
Finish Used
Kona color stain with poly protective coat.
Recommended Skill Level
Beginner

Comments

Poker table

Submitted by Trishalado on Wed, 02/01/2017 - 07:27

Using the Benchmark Octagon table plans found here for the inspiration for our poker table we completely customized the top and modified the base to suit our needs! The dining top cover is yet to be finished but we are definitely thrilled with the result thus far especially seeing as though it was our first ever build! 

Estimated Cost
$500+
Estimated Time Investment
Week Long Project (20 Hours or More)
Recommended Skill Level
Intermediate

Comments

Modern Slat Top Patio Tables

Submitted by Indiri on Sat, 10/24/2020 - 17:36

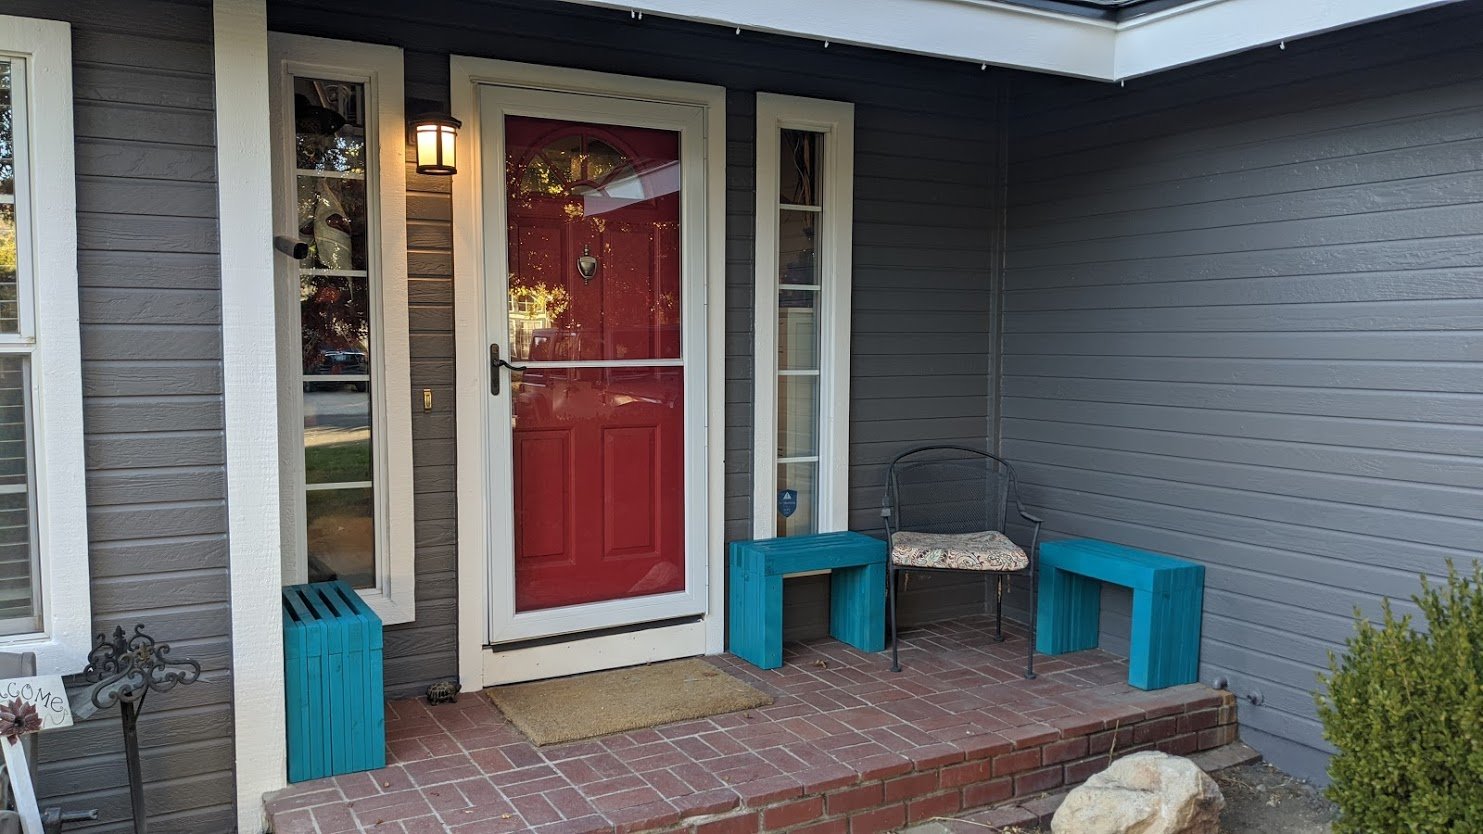
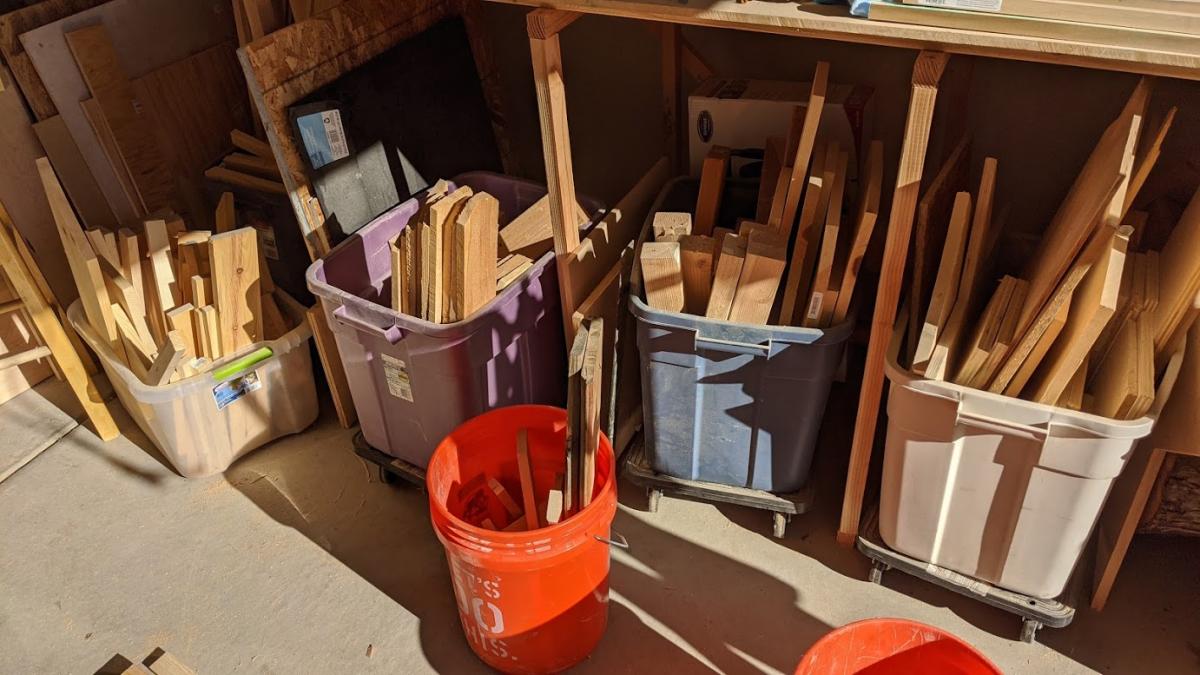
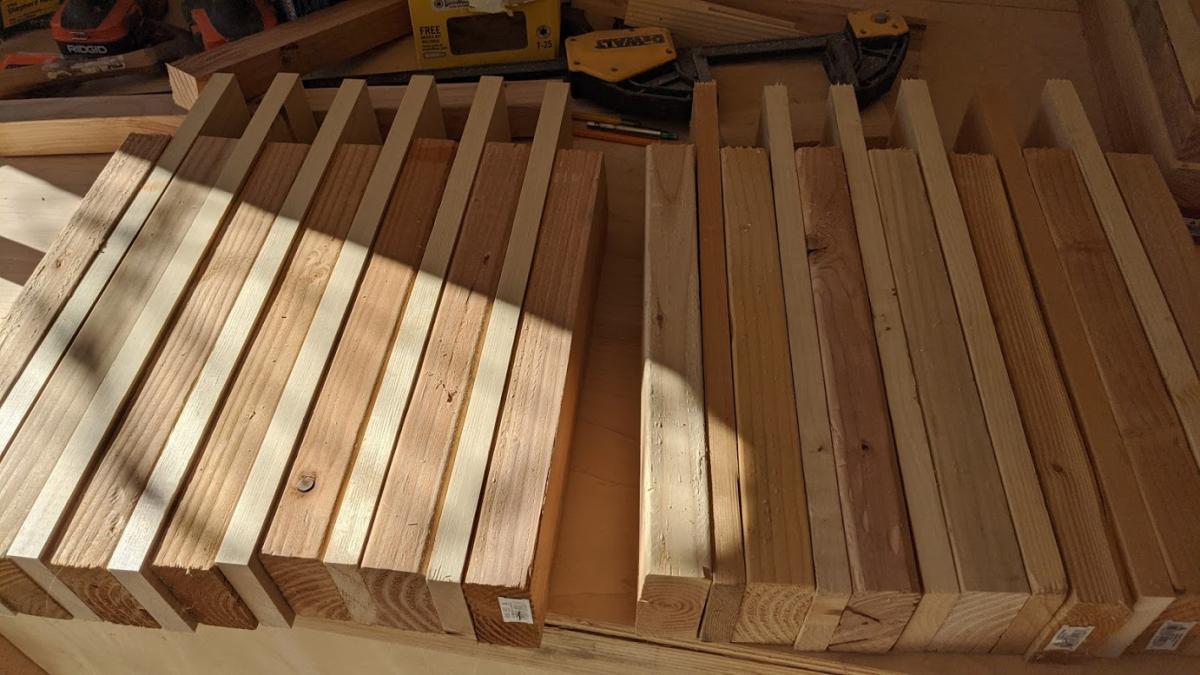
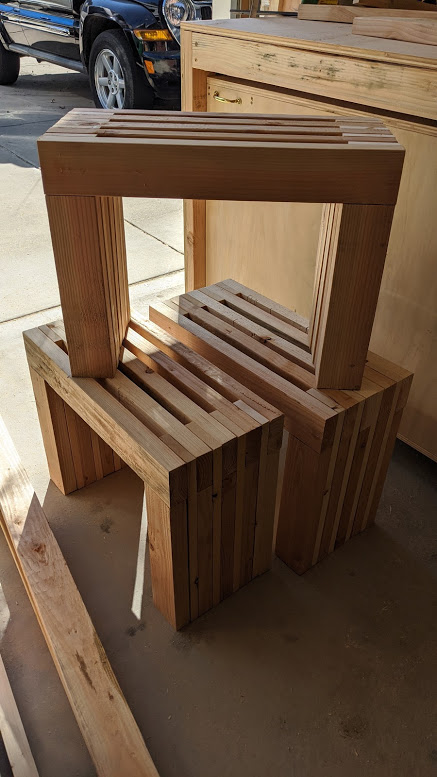
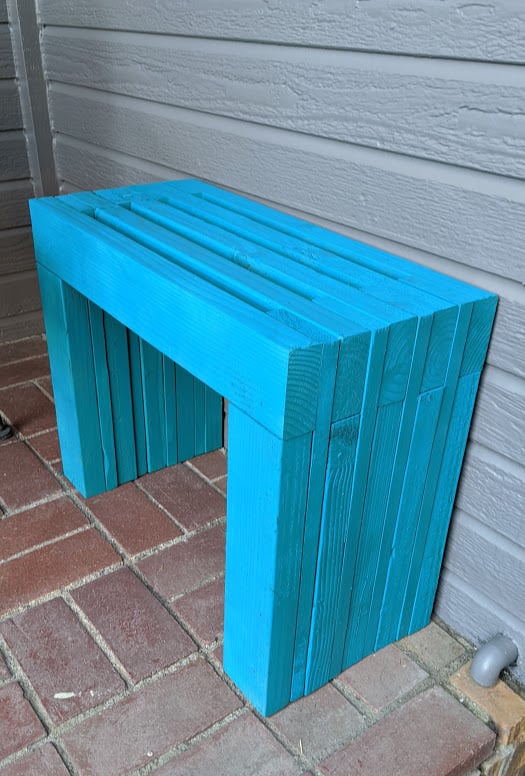
The little tables I had on my front step were super ugly and it was time for an upgrade. I raided my scrap bins for most of the parts and only needed to use 2 new 2x4s but overall it would probably be 7 or 8 - 2x4s and 6 - 8' 1x4s to make all 3 tables

Estimated Cost
50
Estimated Time Investment
Afternoon Project (3-6 Hours)
Finish Used
2 coats of spray paint (2.5 cans). With the slats being so close together it was the easiest way to get down in there.
Recommended Skill Level
Beginner

Map drawer for Erin

Submitted by Quartney on Fri, 01/04/2013 - 13:16

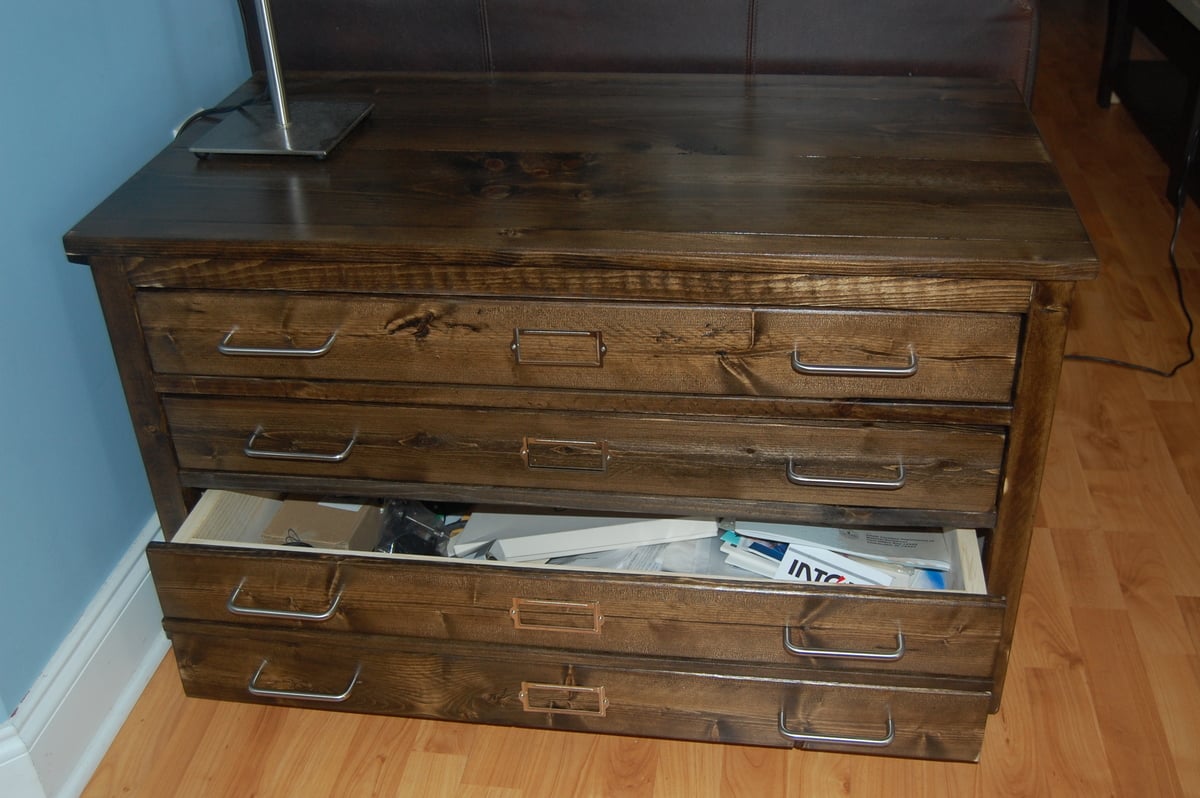
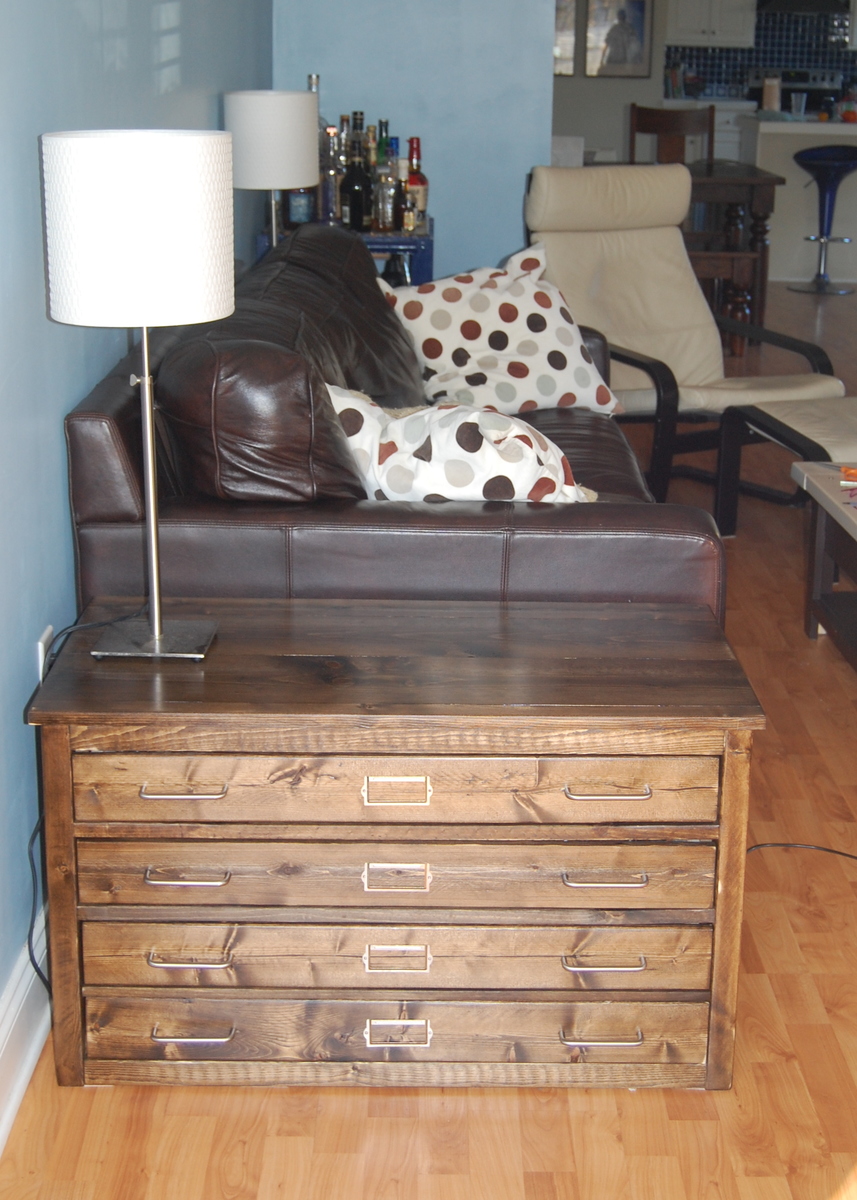
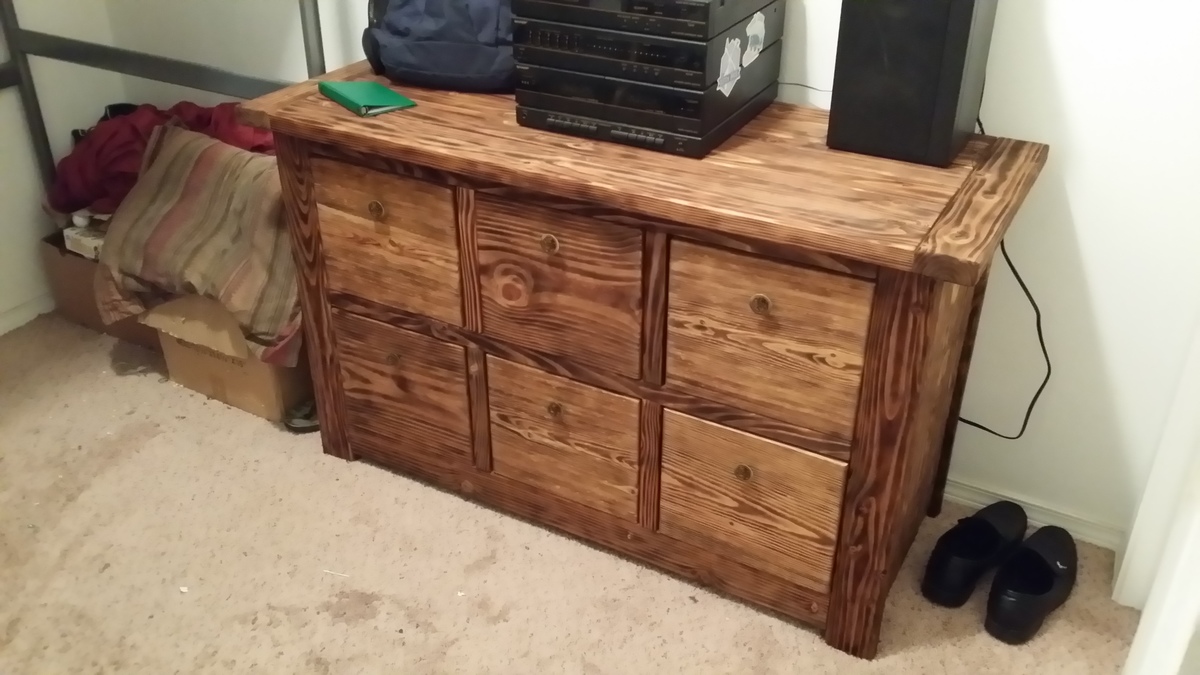
My husband needed a place to store his stuff--maps, yes, but also cords, hard drives, and other things he didn't want the kids to get into. I took the coffee table plan, essentially cut it in half, then raised it up to fit four drawers. The best part was that I only made three drawers--the bottom one is extra-tall to fit his extra-tall stuff, but it has false drawer fronts. I also opted to skip the caster wheels.

Estimated Cost
$160
Estimated Time Investment
Week Long Project (20 Hours or More)
Finish Used
Minwax Wood Finish in Jacobean
Recommended Skill Level
Intermediate

Comments

Bander

Fri, 01/04/2013 - 20:22

It looks wonderful. I have not yet attempted a project with drawers, are they difficult to get right?

Quartney

Sun, 01/13/2013 - 17:28

Thank you! Well, I've made one project with drawers that was fairly straightforward, and these drawers were more difficult, so I can't really say how hard drawers are! Like everyone advises, you have to make sure the drawer box is square ...

Rustic X Shelves

Submitted by Texjan on Sat, 10/25/2014 - 14:49

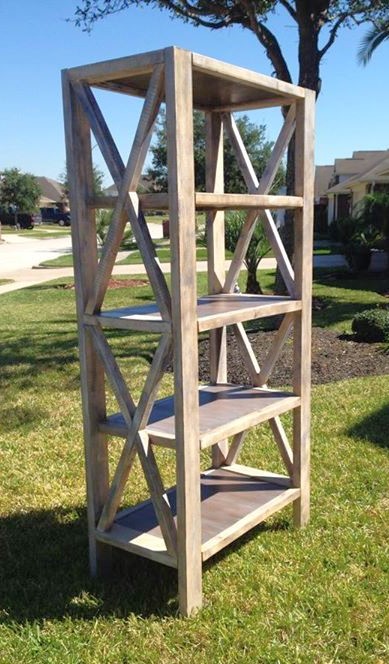
This project took a bit longer than I expected but the outcome was well worth it!  I would use the Kreg Jig plugs for the upper shelf because you can see the pocket holes.  I finished the inside shelves with American Walnut stain with a white wash.  The paint is American Paint Company in Uncle Sam, with dry brush of Shining Seas and Dark Wax.

Built from Plan(s)
Estimated Time Investment
Weekend Project (10-20 Hours)
Finish Used
Paint and Stain
Paint- American Paint Company Chalk and Mineral Paint in "Uncle Sam" with dry brushing of "Shining Seas" and finished with Dark Wax. The Shelves were stained with Minwax American Walnut stain with a white wash over that.
Recommended Skill Level
Intermediate

End of the bed storage bench

Submitted by Anonymous (not verified) on Sat, 02/04/2017 - 15:14

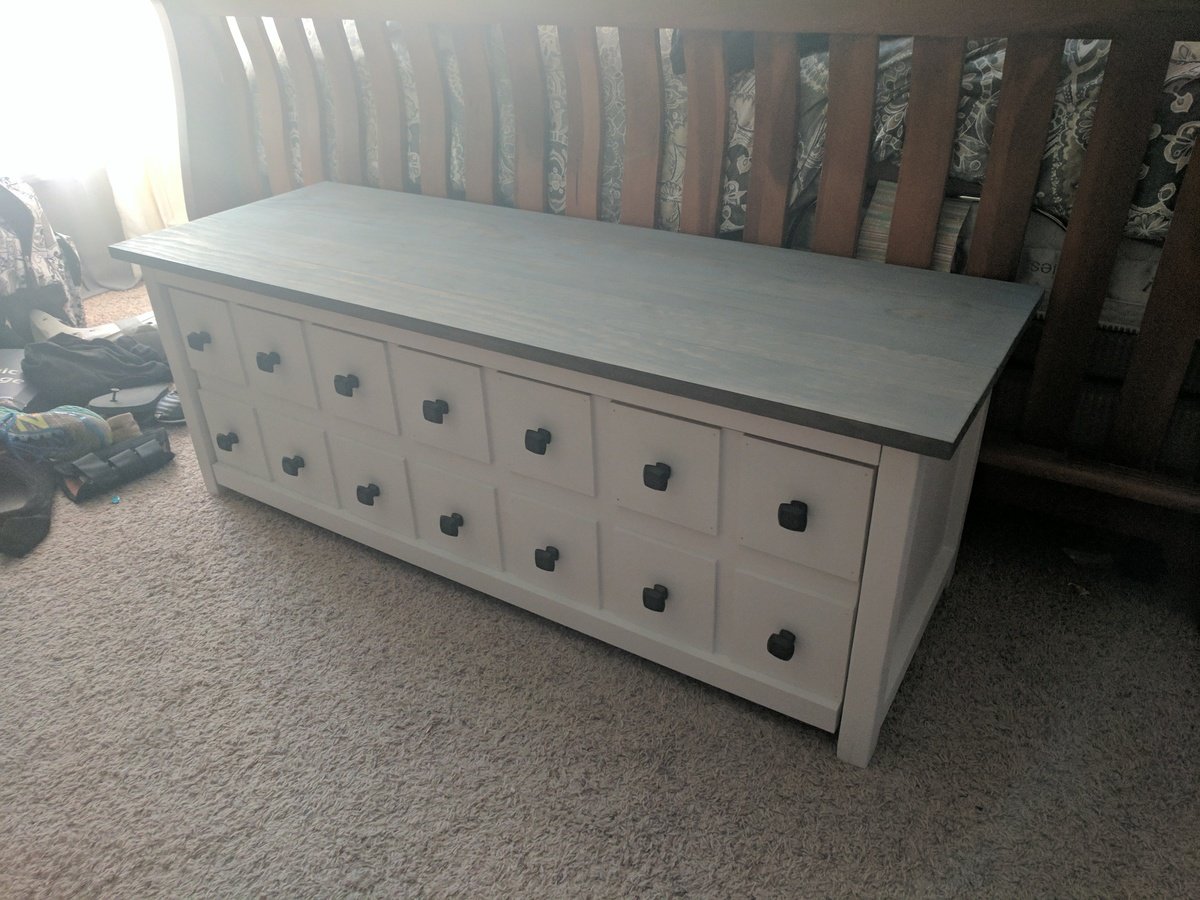
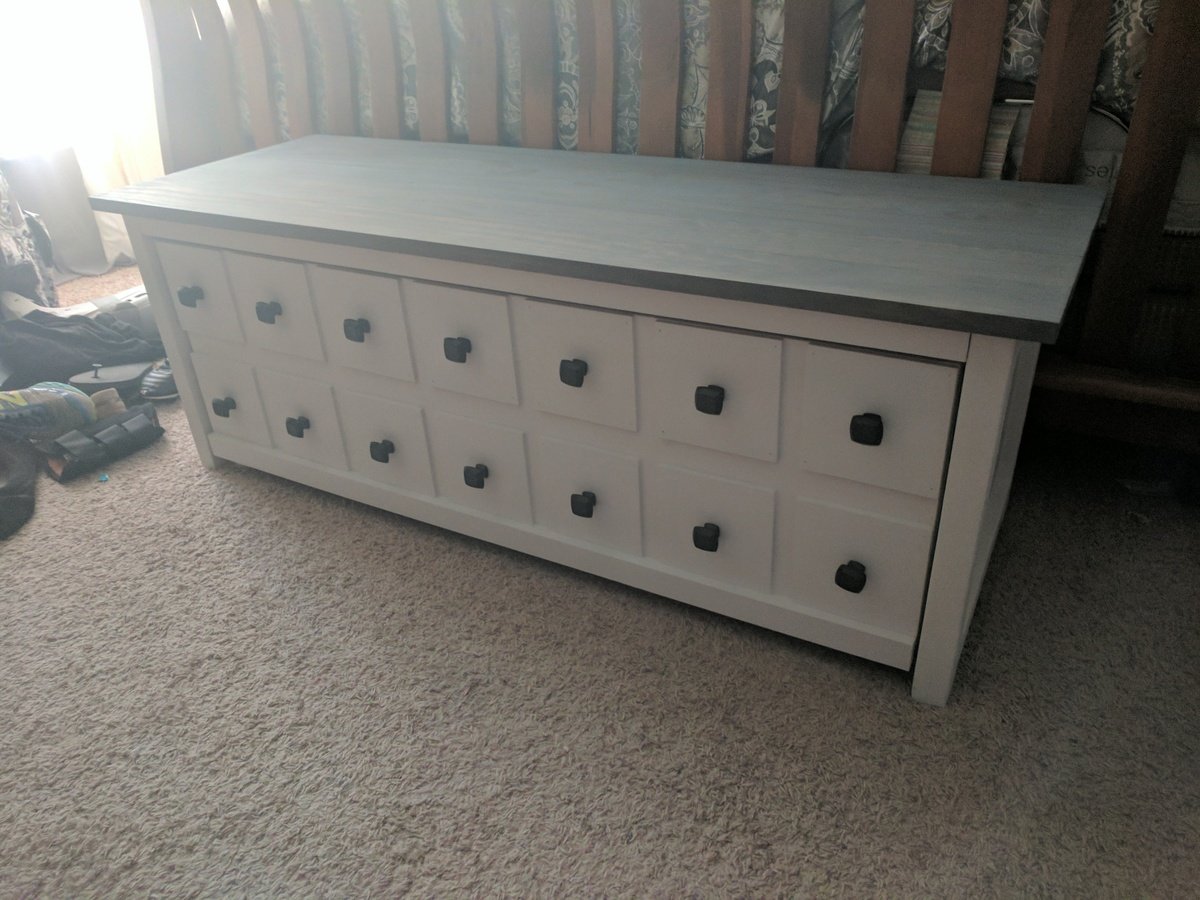
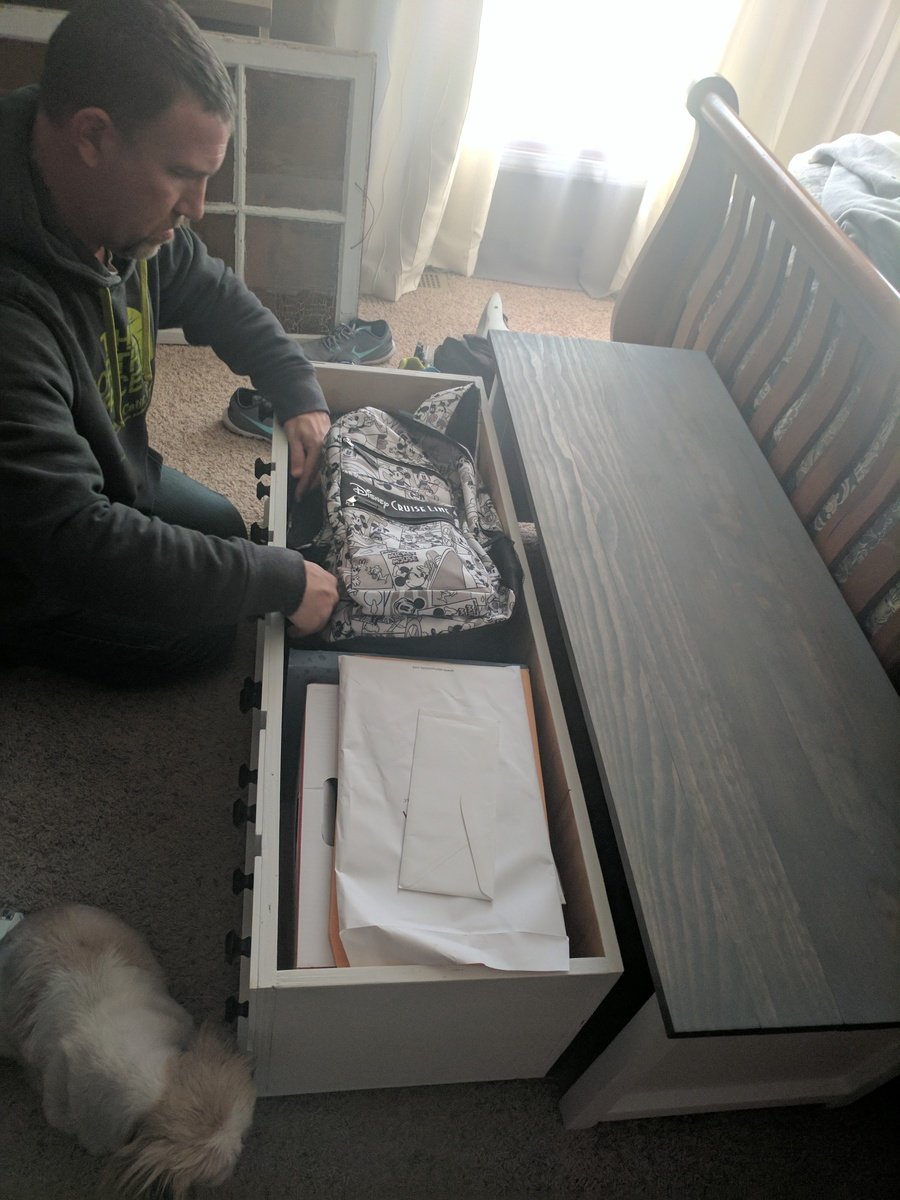
I changed up the dimensions to make a storage bench for the end of our bed. I wanted something different and couldn't be happier with the way it turned out. I stained it with weathered grey, then a coat of golden oak and then another of weathered grey. And painted the box with linen white chalk paint. I love the black knobs with the grey and white!

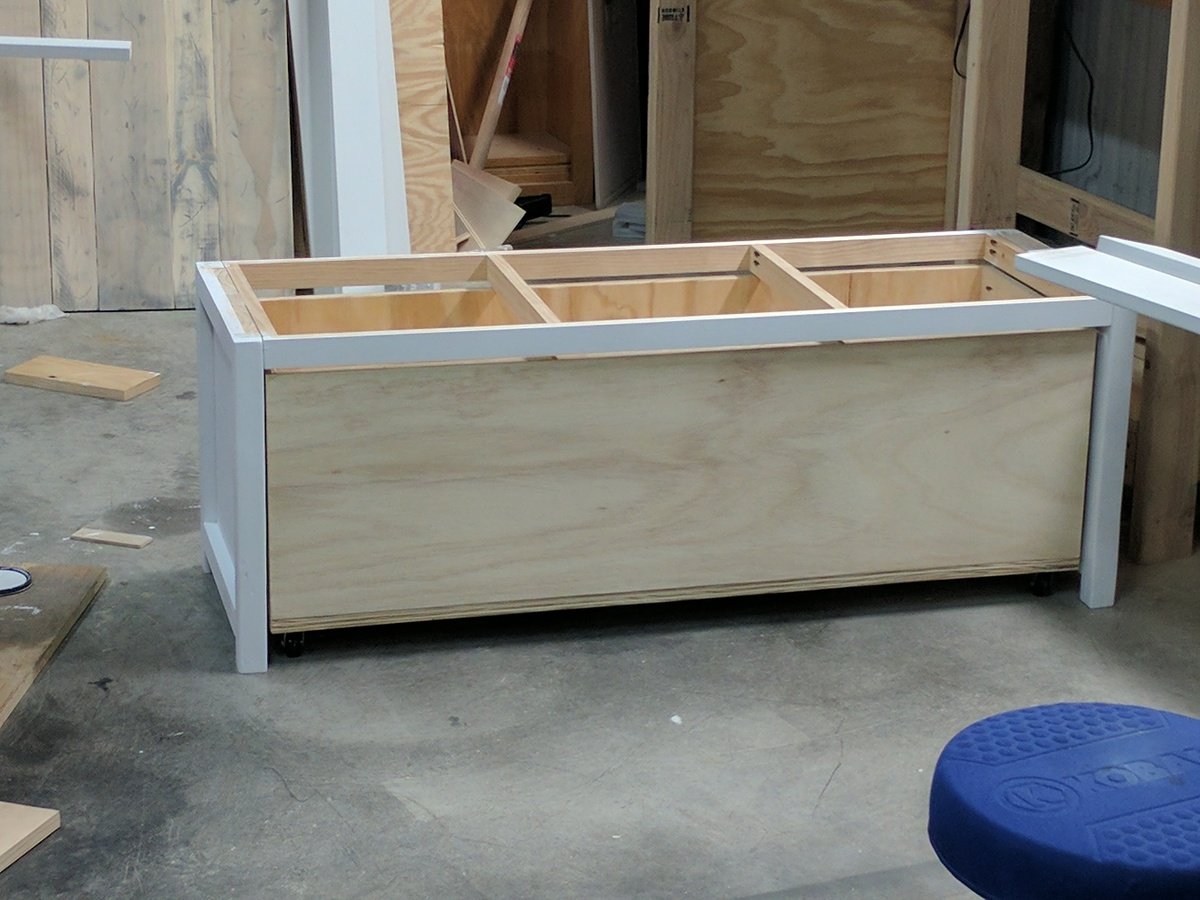
I only used 2x2s for the legs. I made the seat frame from 1x2s because of the warping I. The 2x2s. It made my life so much easier!

Estimated Cost
I used mostly scraps so it only cost me about $50 because of the knobs
Estimated Time Investment
Day Project (6-9 Hours)
Finish Used
Linen white Chalk paint, Rust-Oleum weathered grey stain and golden oak stain. Black knobs from home depot
Recommended Skill Level
Intermediate

Wine & Cheese Crate

Submitted by binamom on Fri, 10/30/2020 - 13:41

WE love these crates and have so much fun making them!

We have decided to sell these on Etsy and they have done well. we offer multiple stain colors as well as shou sugi ban.

(shou sugi ban traditionally involves scorching wooden boards with a torch or controlled fire, cooling the wood, softening the char with a wire brush, removing dust, and, if desired, topping the wood with natural oil)

Thank you for providing us with a source of income!

Estimated Cost
$14
Estimated Time Investment
An Hour or Two (0-2 Hours)
Finish Used
stain
brad nails
shlac
Recommended Skill Level
Beginner

Comments

First build - Modified media console

Submitted by bd on Sun, 01/06/2013 - 13:59

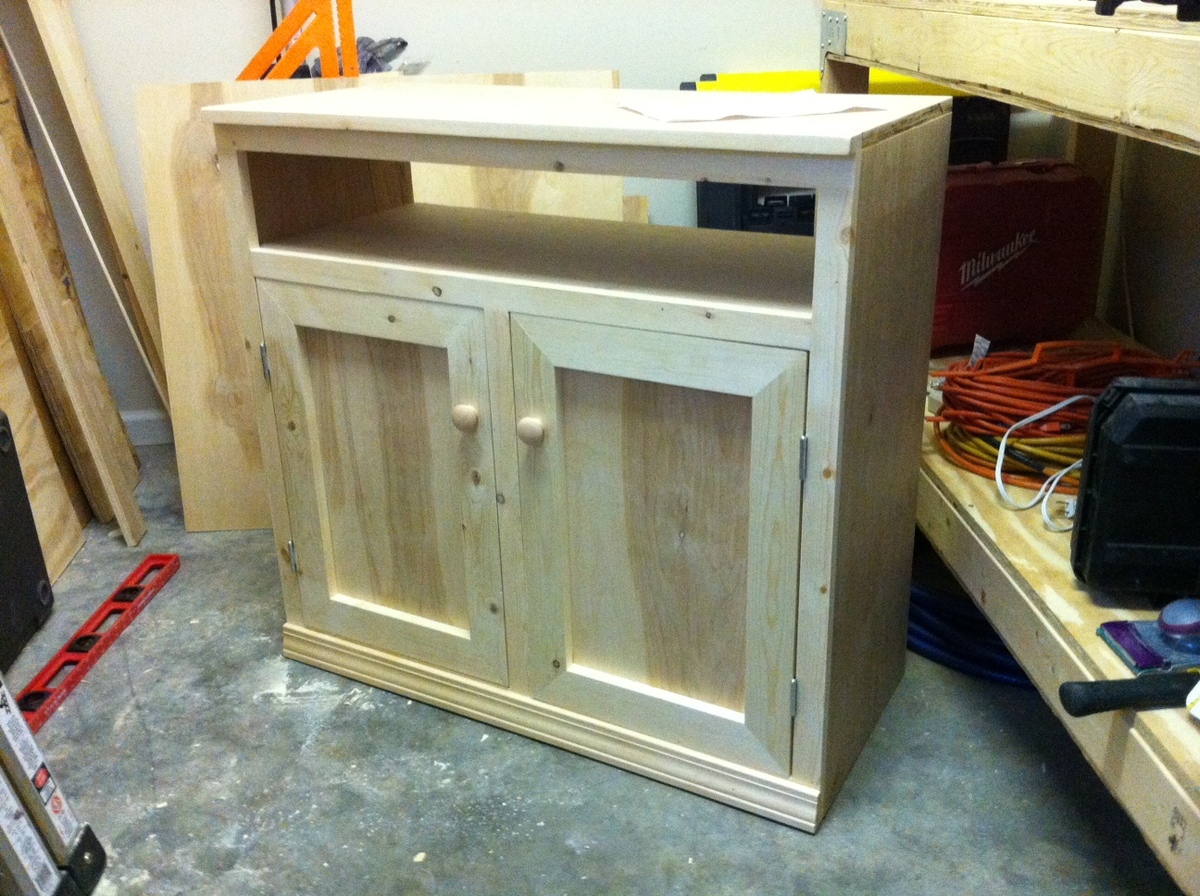
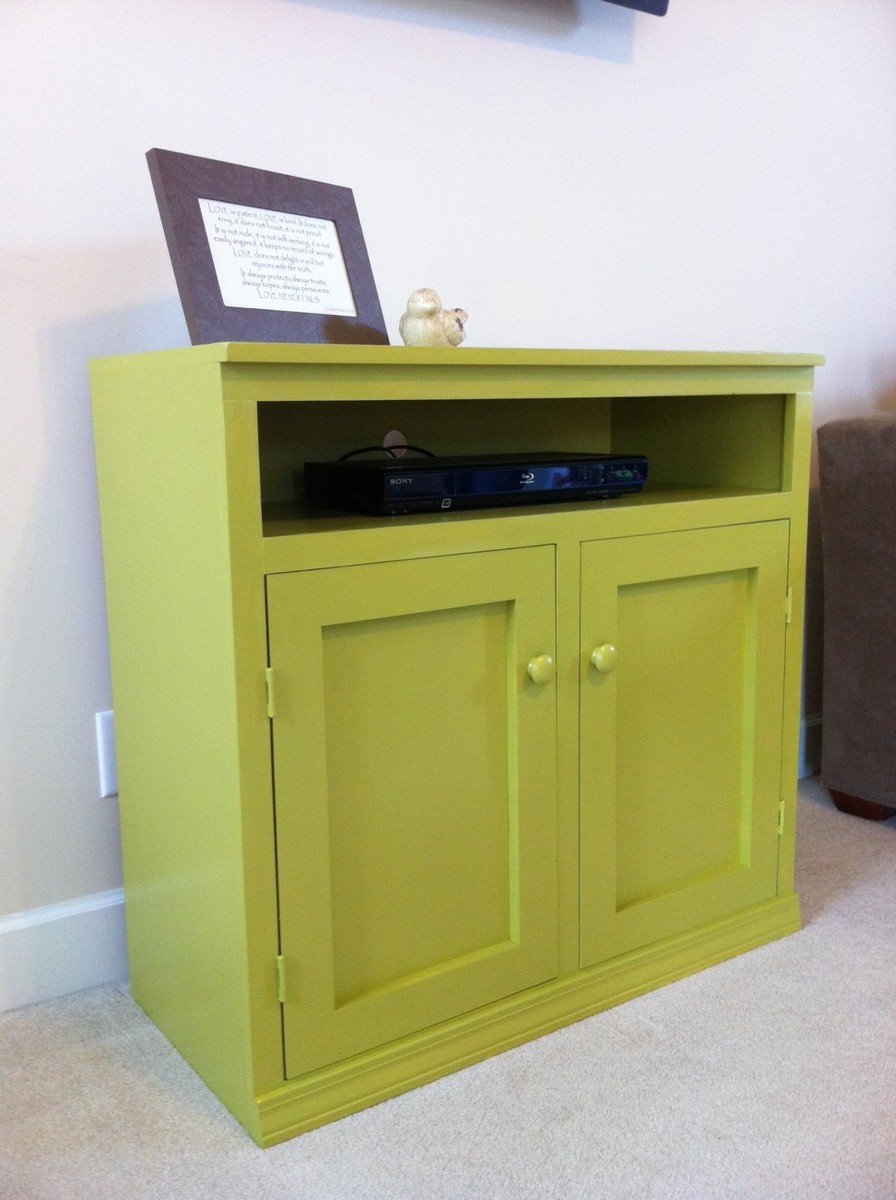
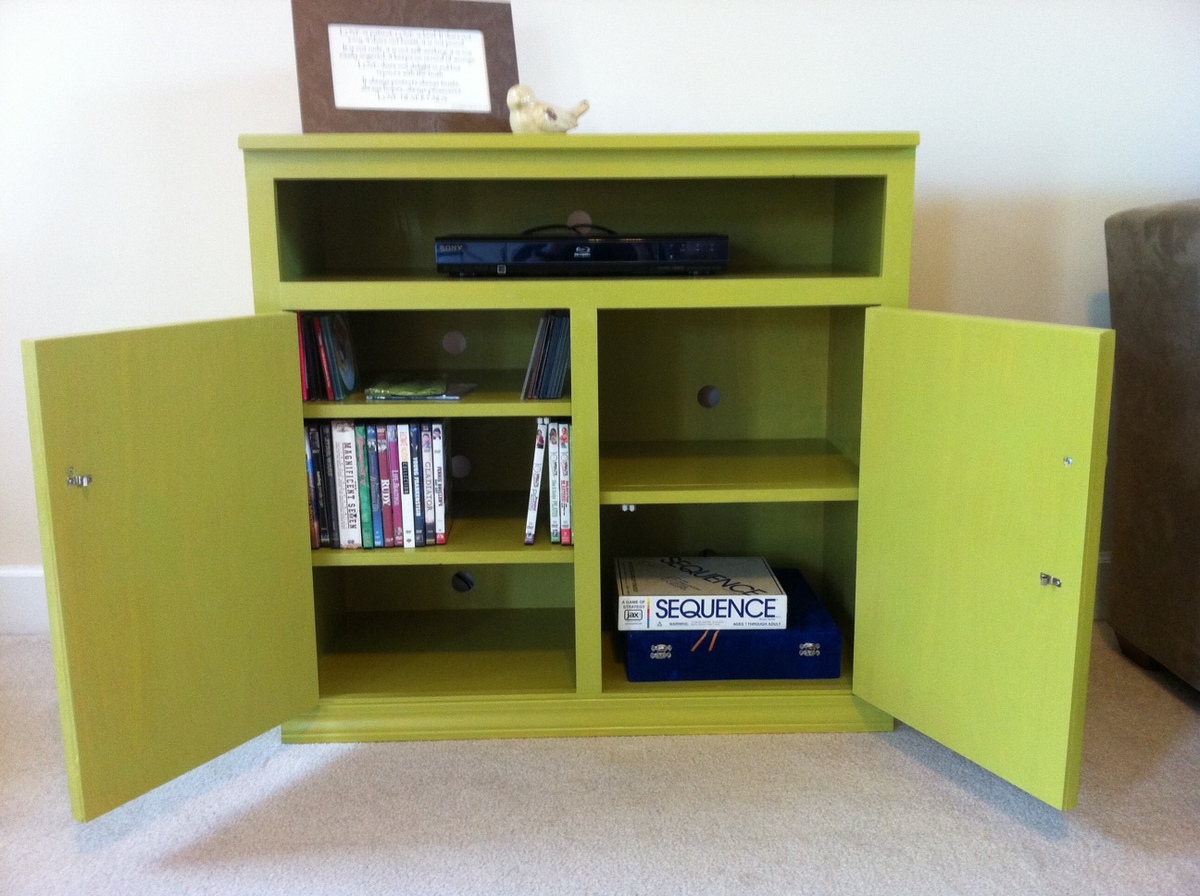
I wanted to learn how to make furniture, so I decided this "Rebecca Media Console" knock-off would be a good first project. I made it a little deeper (15in) and narrower (36in) because I only wanted the center piece to put the Blu-ray player and some DVDs, cds, games, etc. I also added some holes to each section so that I can run electronics to it in the future if needed.

Painted with Valspar "Gilded Pesto" and Minwax Polycrilic - both in satin.

I definitely learned a lot from this project and it was surprisingly fun! There several errors in it, but I wanted to post pictures to help others who may be interested in modifying the original plans.

***Sorry for the side-ways pics. I can't find a place to change the orientation***

Estimated Time Investment
Week Long Project (20 Hours or More)
Finish Used
Valspar - Gilded Pesto in satin
Minwax Polycrilic in satin
Recommended Skill Level
Starter Project

Comments

Bander

Sun, 01/06/2013 - 15:18

It looks great! To make the doors, did you just attach the face frame over a plywood piece of the same dimensions?

Also, where did you find that style of hinge? I have been unable to find those at my local big box stores.

bd

Sun, 01/06/2013 - 18:16

Thank you! That's exactly what I did with the doors. I didn't have the tools to make a rabbet, so I just cut the 1/4" plywood to size and glued/nailed it to the frame of the door. Seems to work just fine!

The hinge was at Lowes. I went there once and didn't find the right style hinges, but went another time and found the small section that had these 2" hinges. They have ones that are even smaller, but I thought these looked good and sturdy. They have 2 holes on either side of the hinge, if that helps. Good luck.

rhettar

Sat, 01/19/2013 - 05:17

You did a great job for your first project! Even the unfinished piece you have a pic of looks good. You even tackled doors, that is inspiring, because I haven't done that yet and my next project will have doors.

rhettar

Sat, 01/19/2013 - 05:17

You did a great job for your first project! Even the unfinished piece you have a pic of looks good. You even tackled doors, that is inspiring, because I haven't done that yet and my next project will have doors.

Bunk Beds

Submitted by Medickep on Wed, 10/29/2014 - 13:54

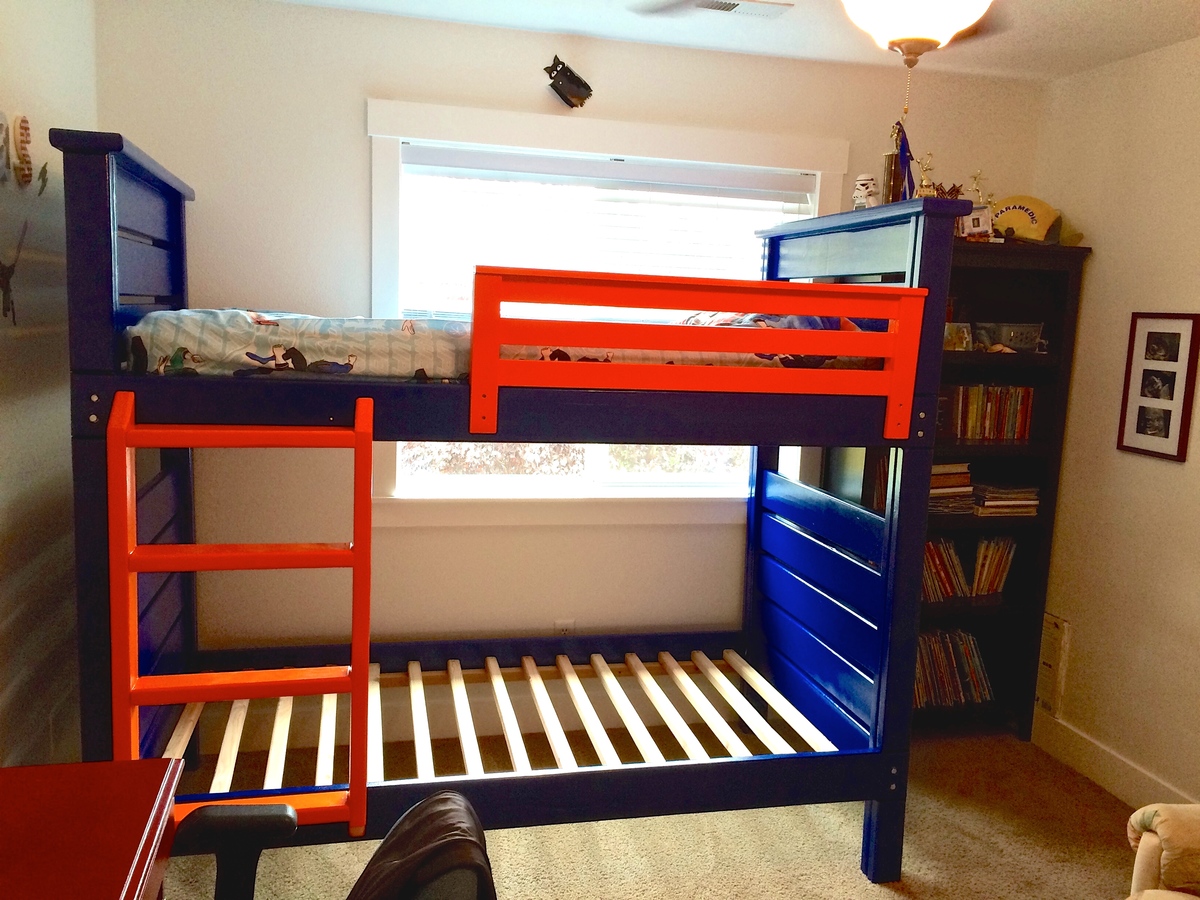
This was a fun and pretty easy project.  My oldest son has been asking for some bunkbeds for awhile now, so I was glad when I ran into these plans.  

The project was realitively cheap, but if I could do it again, I would have used nicer material to avoid some of the finishing work.  I built this in one day, but spent sevral weeks on the finishing work, which included two coats of primer and LOTS of wood filler.  I took all the edges through my router, so everything would have a nice rounded edge.  I also decided to put a cap on the headboard, footboard and rail to finish off the project a little.  I liked the look of thes being added.  

The original project does not include slats in the pricing and knowing that firrying boards were not strong enough for this task I really wondered what I was going to do.  Buying a ton of 1x2's can add up fast, so I decided to make them out of cheap 2x4's.  I bought a few 10' 2x4's that allowed me to get six slats out of each of them after I ripped them on my table saw.  They ended up being very sturdy 1 3/4" x 1 1/2".  

******If I was going to do this project again, I would mark the location of every screw, as I hit some of the screws holding the 2x6's of the headboard and footboard with the lag bolts I used to hold the main rails.  I would have also painted all of the pieces individually, put it together and than touched it up, as there were many hard to reach areas with the paint.  This would have improved the finish*******


Built from Plan(s)
Estimated Cost
120 in wood. 30 in hardware. 90 in paint.
Estimated Time Investment
Weekend Project (10-20 Hours)
Finish Used
I primed this with an oil based primer, twice and than painted it with rollers.
Recommended Skill Level
Beginner

Dumpster dresser..

Submitted by unclebones on Mon, 02/06/2017 - 14:51

Honestly think it needs a new name, because when all said and done works and looks great.
Going to be making another one at some point, and make some alterations to it to fit a need, and suggestions.
It took me longer then it probably would for some, but then again I am disabled and can only work for short bursts.
Hard to see in the photos, but i used brass knobs on the drawers. I also used briwax on the parts that slide, (the rail, and bottom of drawer edges..  works nicely..  

Built from Plan(s)
Estimated Cost
Dont remember, but it was very resonable with using mostly 2x4, and then pine wood for the drawers
Estimated Time Investment
Week Long Project (20 Hours or More)
Finish Used
Stain/seal
Recommended Skill Level
Advanced

Rustic X Coffee and End Table

Submitted by Liz325 on Mon, 01/07/2013 - 22:34

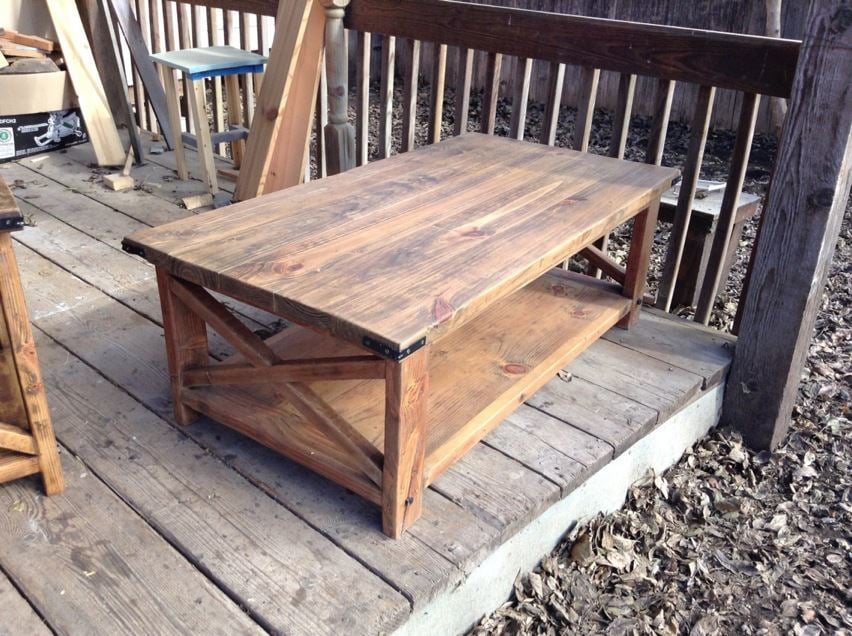
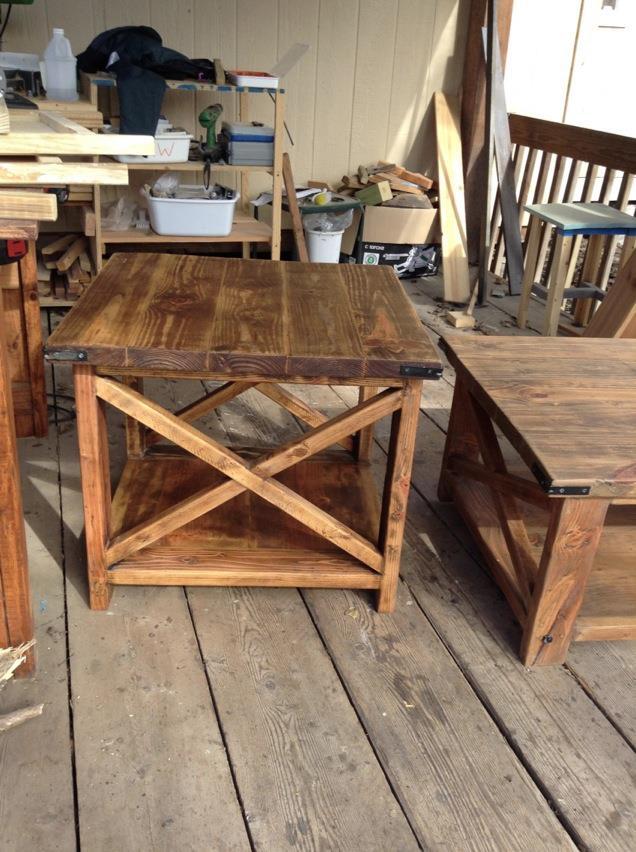
Made this for a friend of mine with the intention of doing the oxidized vinegar finish. Unfortunately, I didn't read the directions too well and ended up with an awful brassy red color. So I had to remove that (quite the task) and then stain. The end result is still something pretty rustic since the vinegar discolored the wood some. X's were tricky because my miter saw didn't cut that angle, but it worked out in the end.

Estimated Cost
$125
Estimated Time Investment
Week Long Project (20 Hours or More)
Finish Used
Golden Oak and furniture wax
Recommended Skill Level
Intermediate

Comments

madtom123 (not verified)

Tue, 01/08/2013 - 07:20

I love it! I like how the finish turned out. What are the black straps on the corners? I'm hoping to tackle this project after the Farmhouse bed.

Liz325

Wed, 01/09/2013 - 09:28

Thanks so much! The black straps are L-brackets spray painted black. They're just for decoration. There's bolts at the bottom of the legs too just like on the original plan post.

madtho

Wed, 01/09/2013 - 11:33

Thanks for the reply... L brackets....that's exactly what I was going to add to the farmhouse table but thought maybe you have found some sort of strap. I love the look and love em in black!

Angelique (not verified)

Wed, 01/09/2013 - 13:57

I'm in the process of making this table but this is the first big project I've started & I had a question about making the bottom shelf. In the directions it says to make the pocket holes in the 2x2s & screw into the 1x12 but how do you do that if you have different widths like that. I know how to do it if the pocket holes were made into the 1x12s & then screwed into the 2x2s but that's not what the plans call for. If you could clarify that for me I'd greatly appreciate it. Thanks!

Angelique (not verified)

Wed, 01/09/2013 - 13:59

I'm in the process of making this table but this is the first big project I've started & I had a question about making the bottom shelf. In the directions it says to make the pocket holes in the 2x2s & screw into the 1x12 but how do you do that if you have different widths like that. I know how to do it if the pocket holes were made into the 1x12s & then screwed into the 2x2s but that's not what the plans call for. If you could clarify that for me I'd greatly appreciate it. Thanks!

Liz325

Wed, 01/09/2013 - 15:11

I'm not sure how you would put pocket holes into the 2x2's. i definitely put mind in the 1x12's. My best guess is that's it's a mistake in the plans. If I remember correctly the image on either the end table or coffee shows the pocket holes on the 1x12's and that worked great for me. Hope that helps!

Angelique (not verified)

Wed, 01/09/2013 - 18:26

I figured that was the only way to do it but just wanted to double check. Thank you so much for the quick reply!

Rustic Headboard

Submitted by bjd on Sun, 11/02/2014 - 19:59

We finally bought a wonderful King size bed but couldn't afford a headboard.  After seeing this one on Ana's site I knew I could do it.  Purchasing a compound miter saw helped.  For some reason the thought of using a circular saw sets my teeth on edge.  I've found that using the much sturdier miter saw on a workbench has been a piece of cake for me!  I adjusted the plans for the width of our mattress/box springs and didn't go quite as high.  But I'm VERY pleased with the results!  And I swear we slept MUCH BETTER last night with the headboard installed...LOL. 

Estimated Cost
$75-90
Estimated Time Investment
Weekend Project (10-20 Hours)
Finish Used
minwax - early american three coats; polyurethane - 2 coats;
Recommended Skill Level
Beginner

Coffee and end table

Submitted by Anonymous (not verified) on Thu, 02/09/2017 - 19:18

Handmade pine tables with dark walnut stain

Estimated Time Investment
Afternoon Project (3-6 Hours)
Finish Used
Walnut stain
Recommended Skill Level
Intermediate

Small Cedar Shed

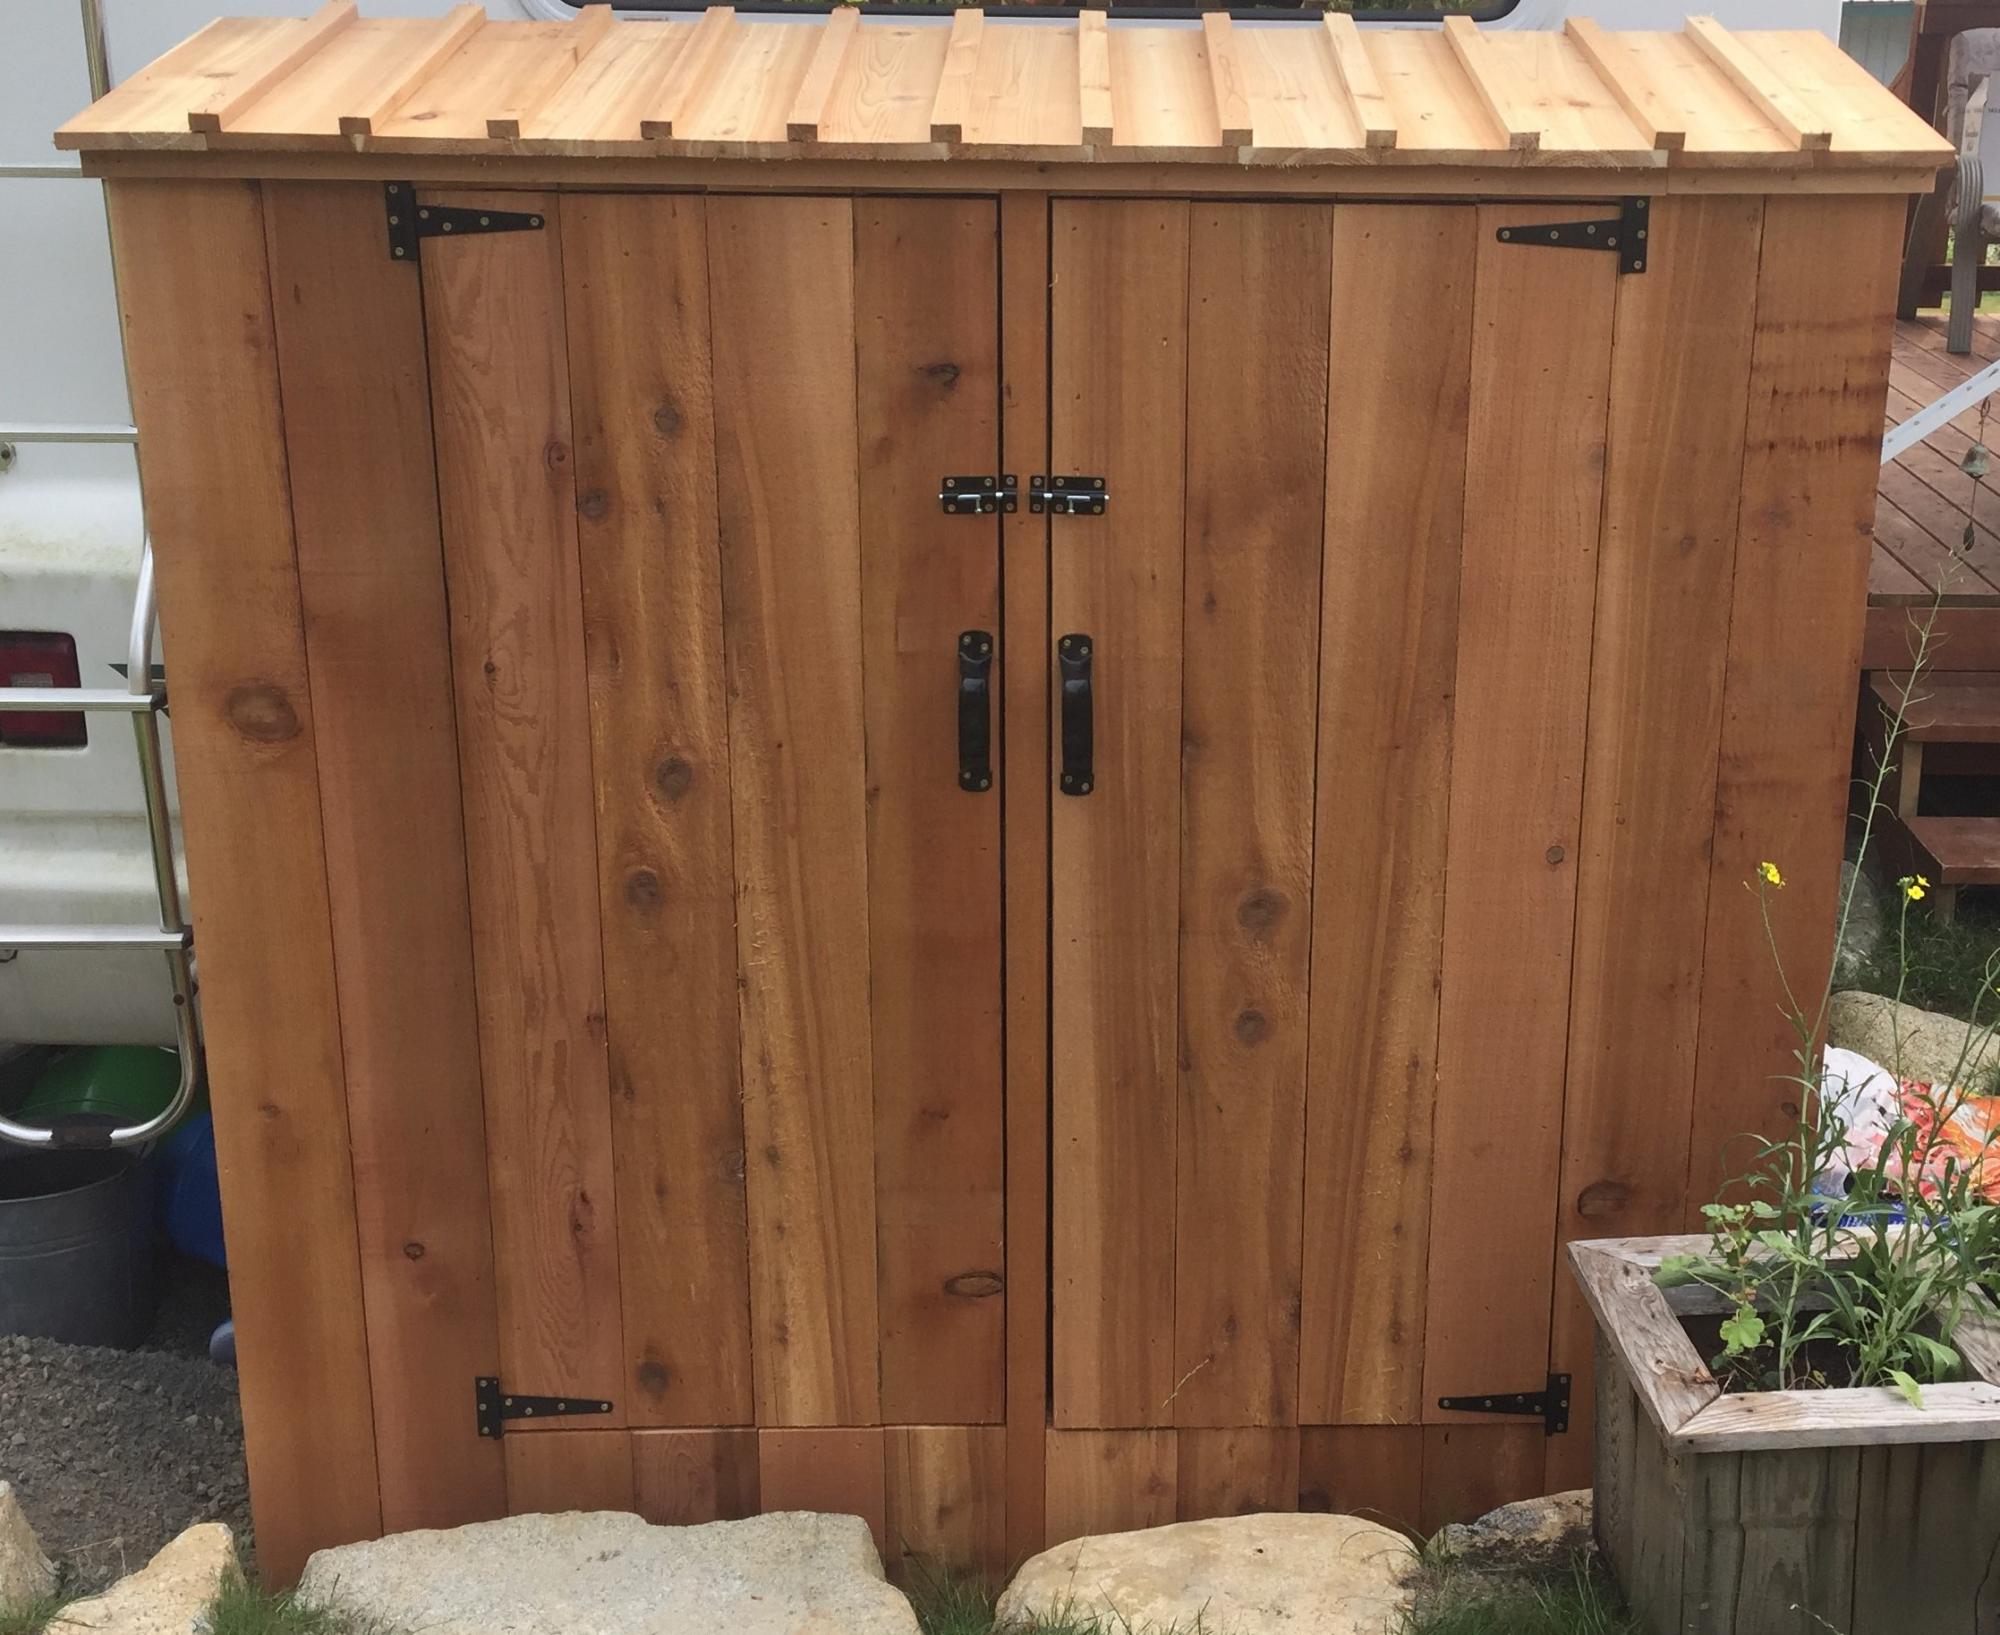
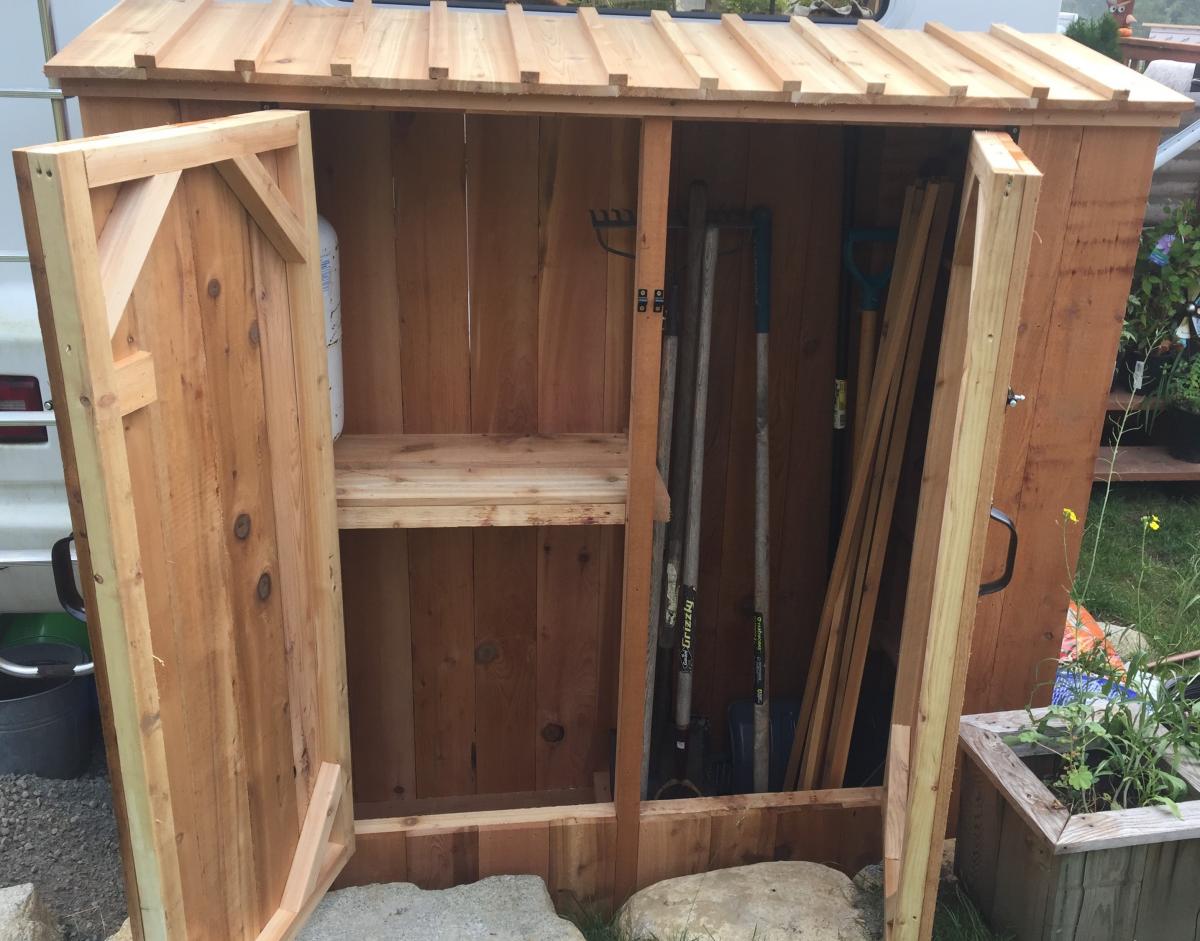
Here is our version of the small cedar shed. Had to raise the door up a bit to clear the rocks. All built from cedar fence boards and a few 2x4's

Built from Plan(s)
Estimated Time Investment
Afternoon Project (3-6 Hours)
Finish Used
None - age naturally
Recommended Skill Level
Intermediate

Comments

Ana White Admin

Fri, 11/06/2020 - 08:18

Love that you used all cedar fence boards, do you have an estimated cost for this project? Thanks for sharing!

Reclaimed Wood Bed

I was inspired by Ana's plan for a reclaimed wood bed. I went through the wood in my garage and was able to make this bed in an afternoon and for $0!

Tool List: Drill and screws, jigsaw (or handsaw), orbital sander (or sandpaper), nail gun (or hammer and brad nails), miter saw (or handsaw), polyurethane and a paintbrush.

Material list: 2 wood pallets, 2 – 4×4 posts cut to 54″, 2x4s and 2x6s to make the bed platform (I have a double bed so the finished product is 53″x74″), 1 – 2×6 cut to 57″ to make the ledge on the headboard.

Estimated Cost
$0
Estimated Time Investment
Afternoon Project (3-6 Hours)
Finish Used
Polyeurethane (satin finish)
Recommended Skill Level
Beginner