Adirondack Chair Home Depot Plans
![](/sites/default/files/20151216_163730.jpg)
I have made six of these so far. Starting to become an expert on this one. They look great in the yard and will look even better when I make the table to go with them.
Used the Providence Bench plans to create this little piece. My wife loves the simplicity and also the sturdiness of the build with the 2x4’s utilized in various dimensional orientations. Simple build- used Kreg Jig and Miter Compound.
Work station is 24” wide x 19” deep x 30” high bead board with 1 1/2” frame and 1 1/2” butcher block work top. No plans were used, picked the size we wanted and just went for it.
Fri, 01/13/2023 - 11:36
Awesome, so much function for the kitchen and looks great too!
I built this for my daughter's room one Saturday afternoon. She even helped me sand and paint it! Its perfect for little ones who love to read. Keeps the books from spilling over the floor when we're looking for her favorites at night.
Sun, 10/14/2012 - 10:18
Hi Ana,
I came across your kid's room bookshelf and my husband would love to make it for our nursery. Would you be able to give a few more details on how you when about constructing it? We would really appreciate it!
Thank you,
Nicole
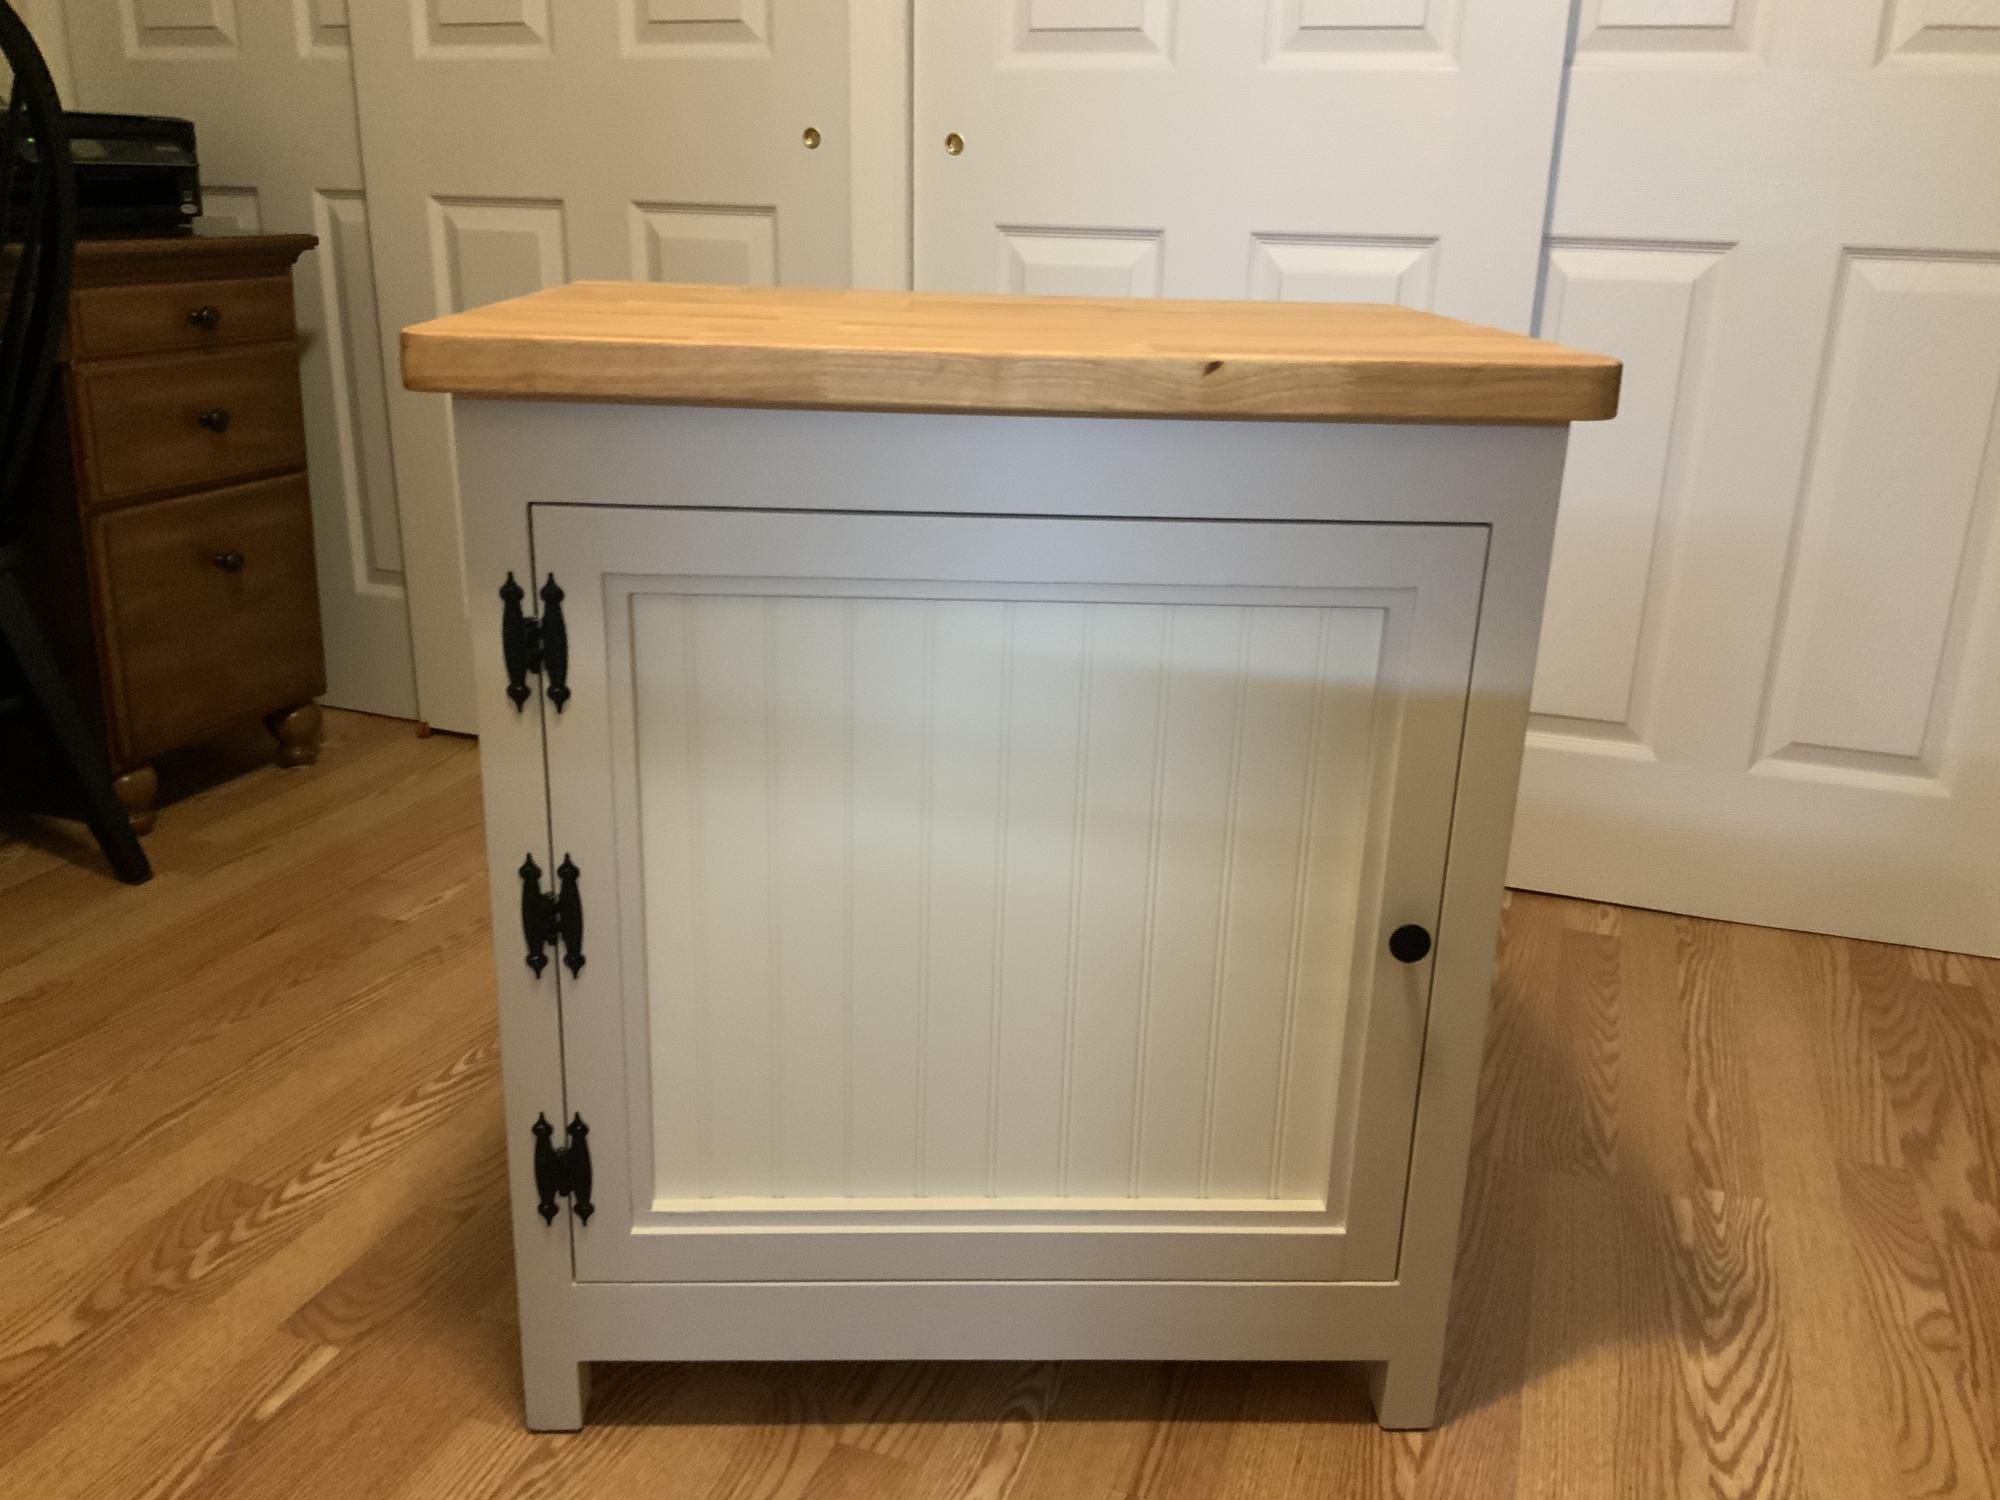
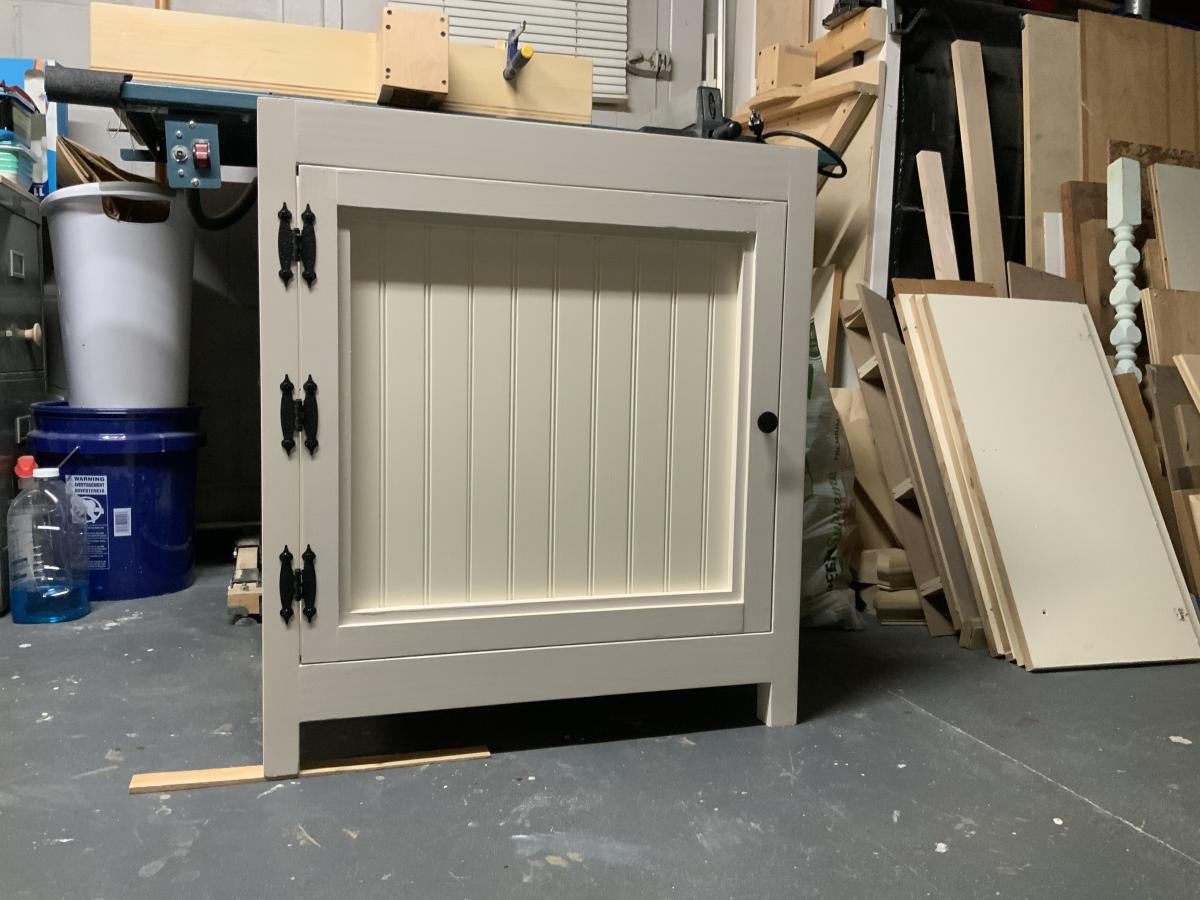
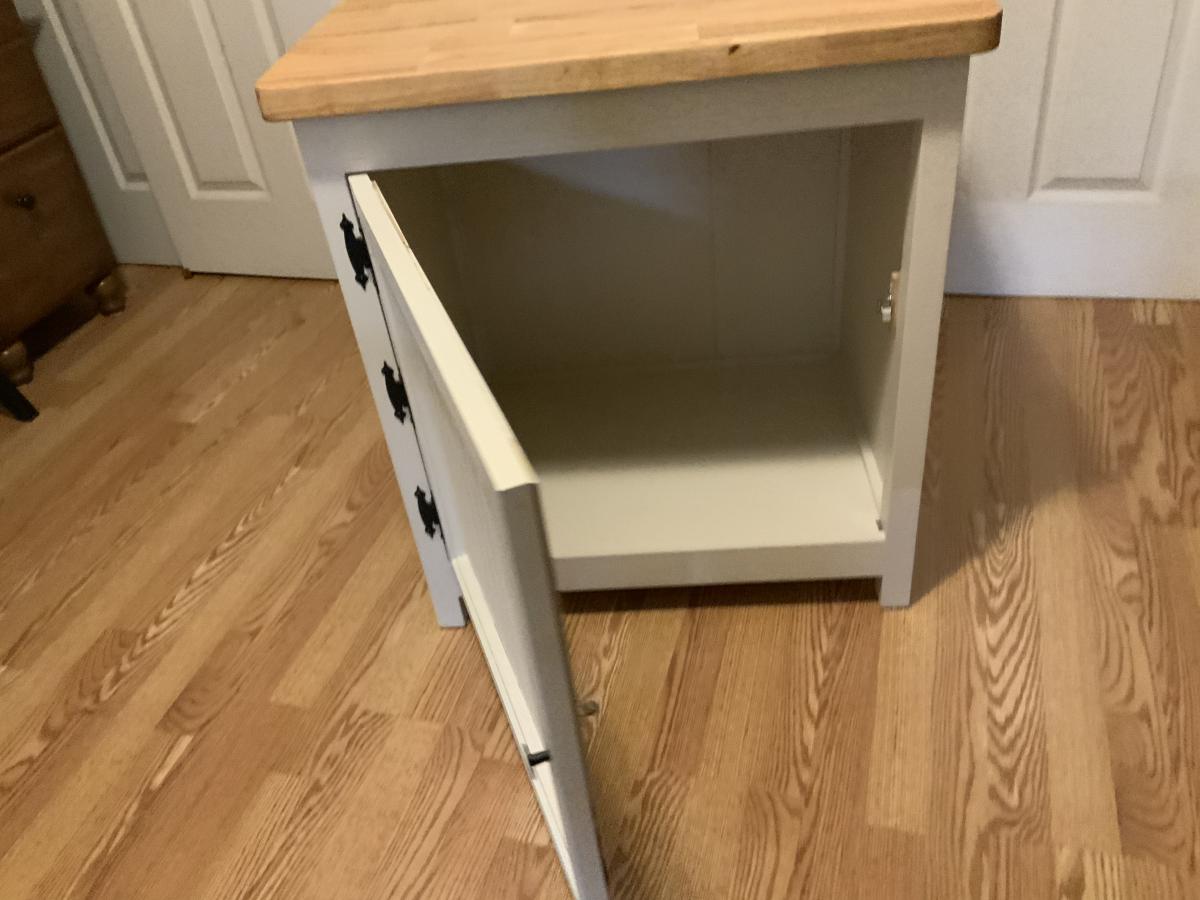
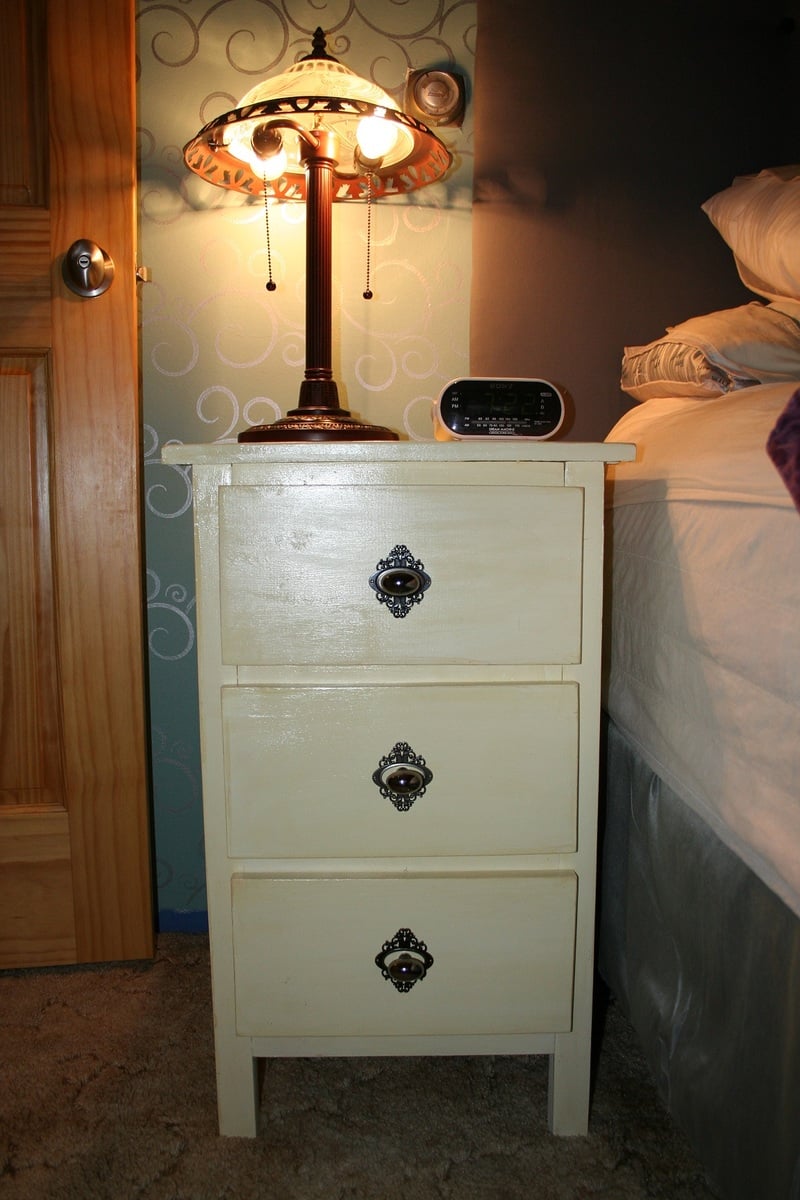
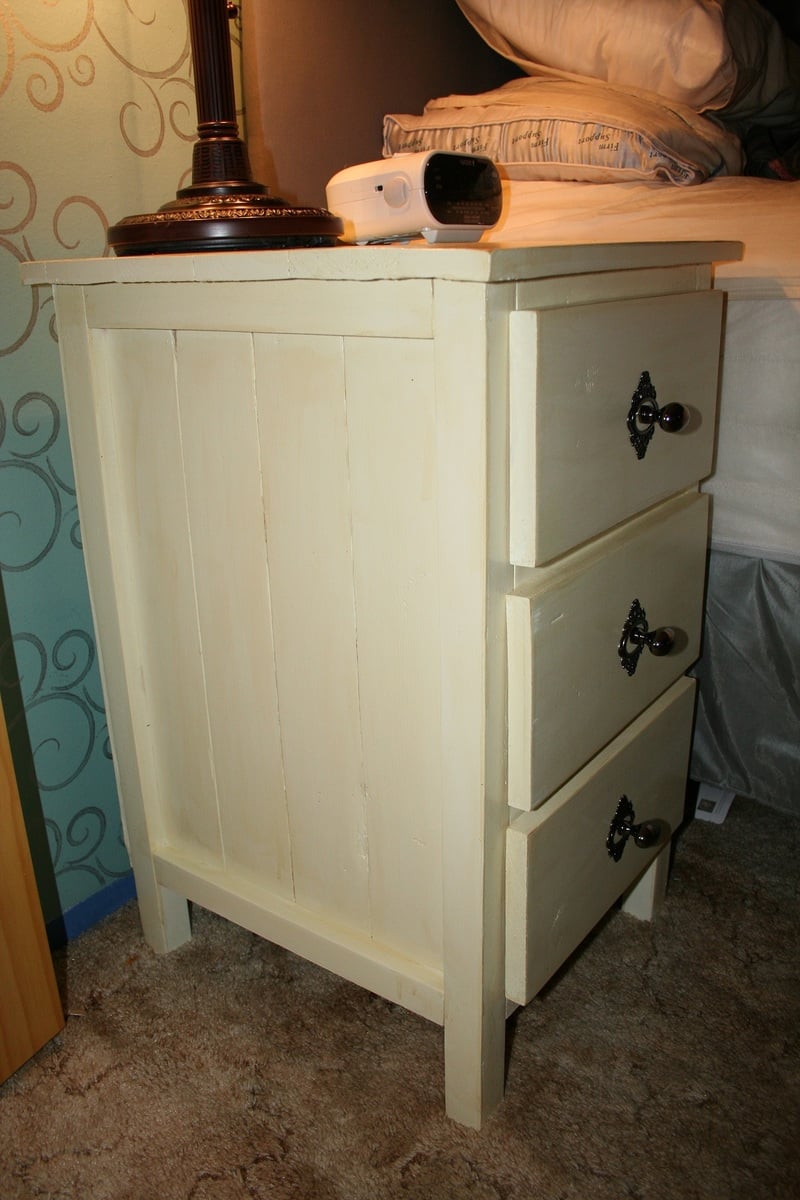
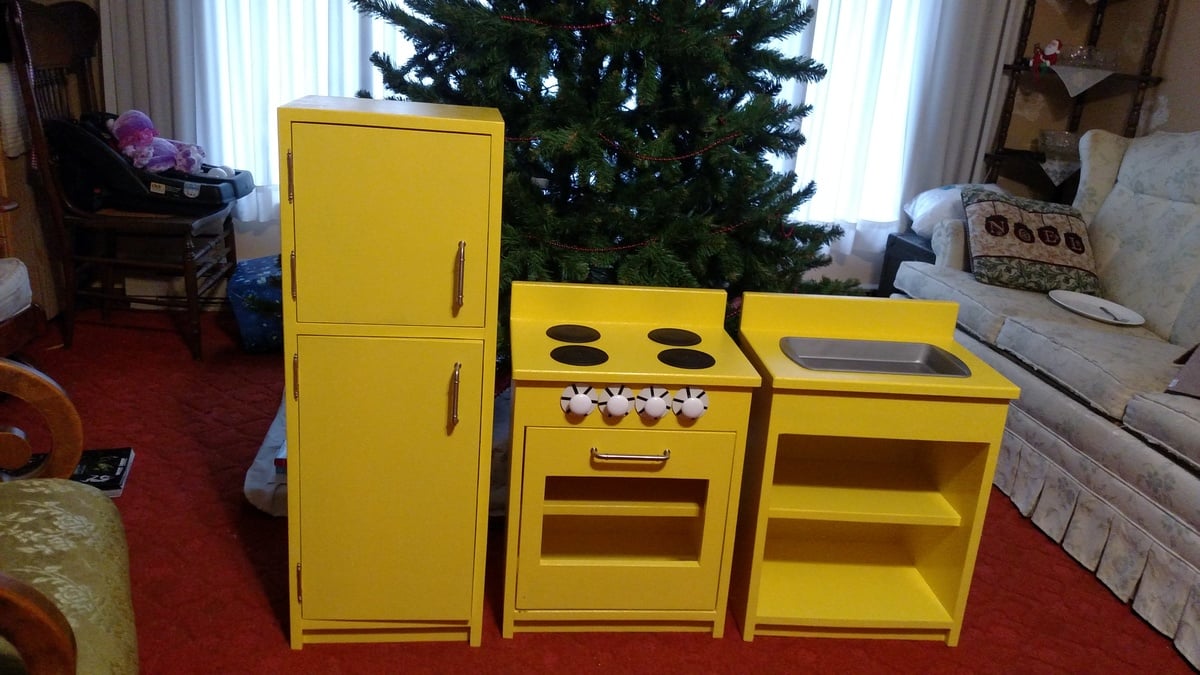
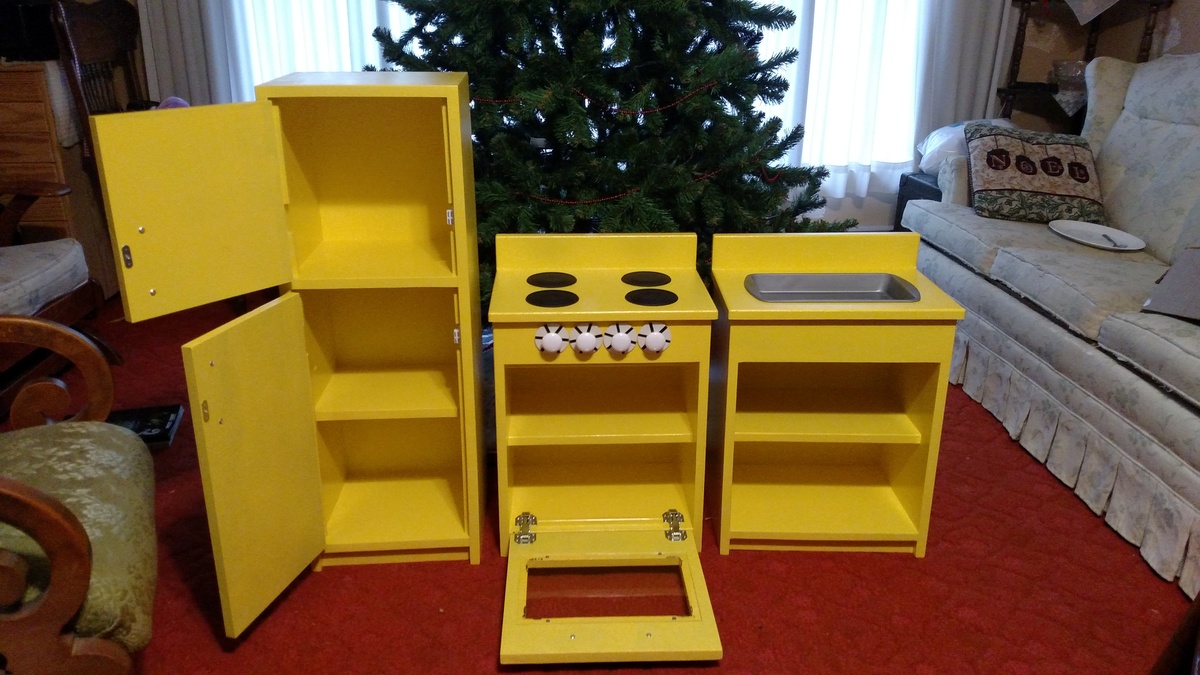
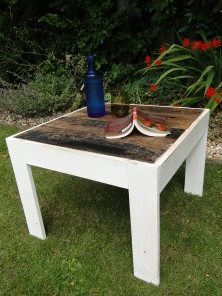
There was a cute little niche in the guest room my son and daughter-in-law stay in, probably designed for a dresser. With the addition of grandkids to our lives, I knew what they really needed was a changing table. On a trip to a popular home decor store, I saw a HUGE pile of lumber and shelves in a pile in the parking lot. I asked to see the manager who told me it was all being hauled away TO THE DUMP the following morning! I asked if I could take some off of her hands, and she said I could have all I wanted (a woodworker's dream come true!) I quickly put the seats down in my Pryus and stacked it to the ceiling! 3 trips later, and I managed to gather enough wood to make this project and many others, all for FREE! It's all 3/4" birch plywood. Most has deep scratches, probably from being thrown in a pile in the parking lot. Some of the scratches are too deep to sand (because of the birch veneer) so that is why I painted the top, sides and doors.
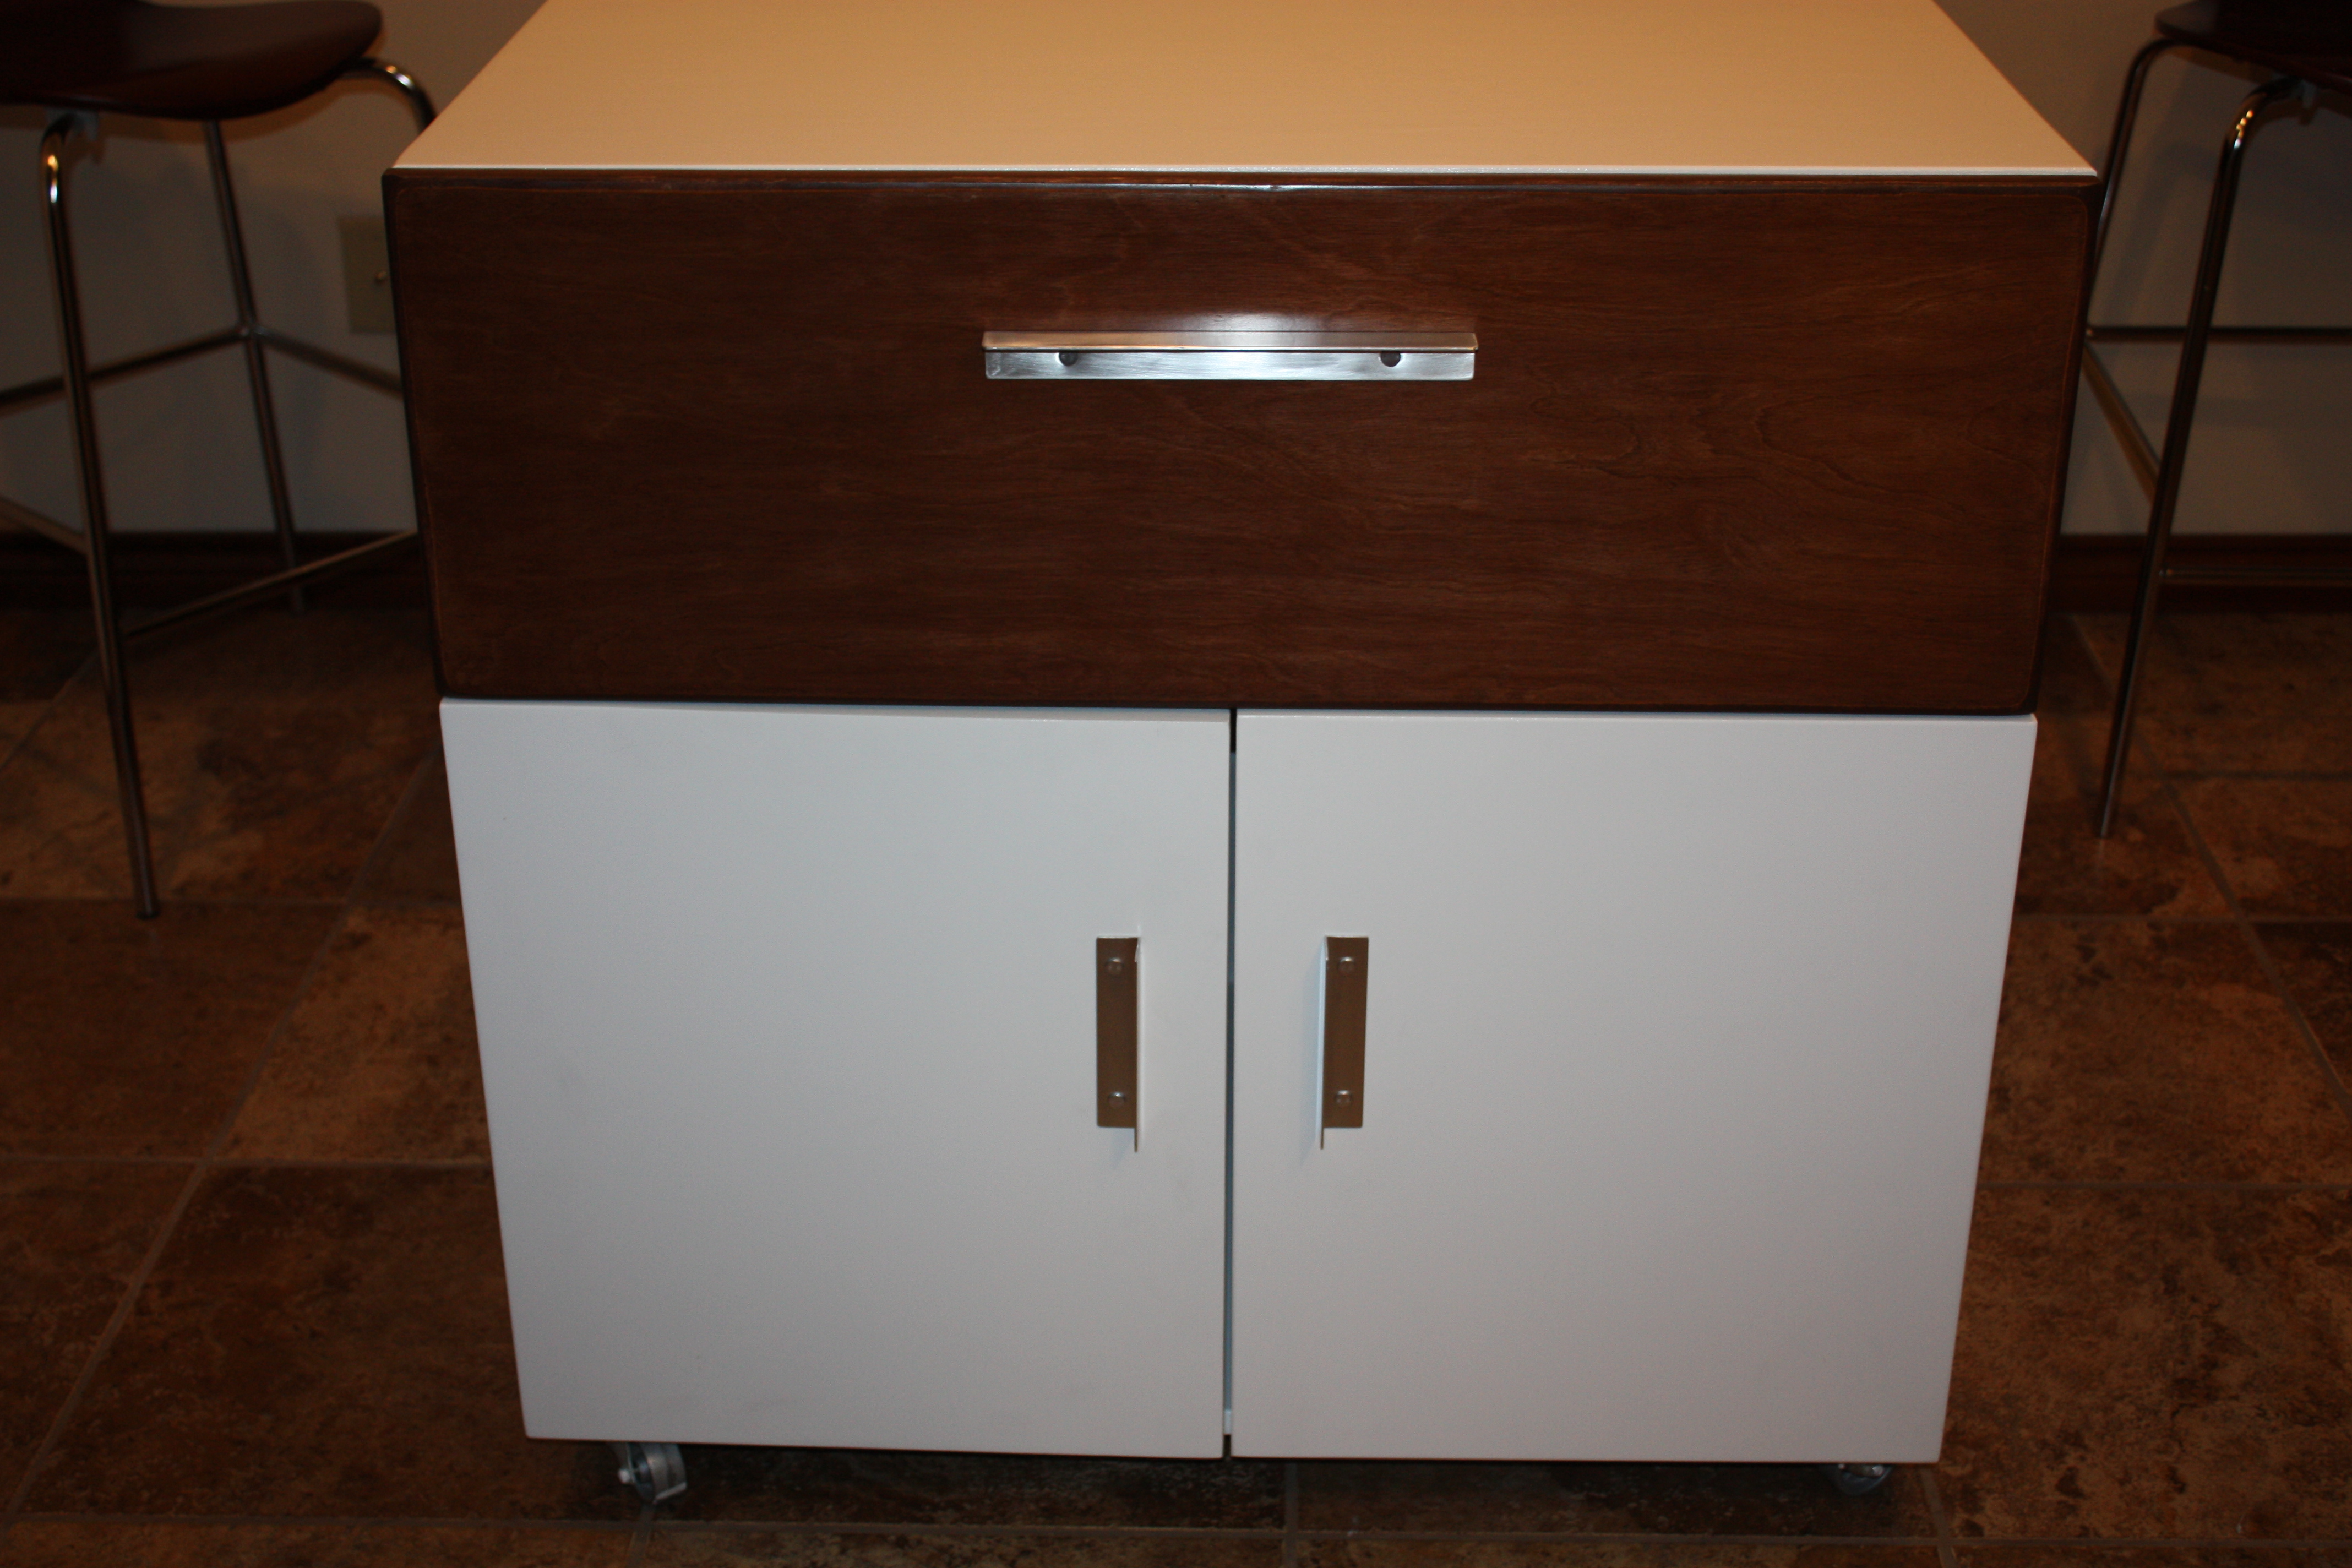
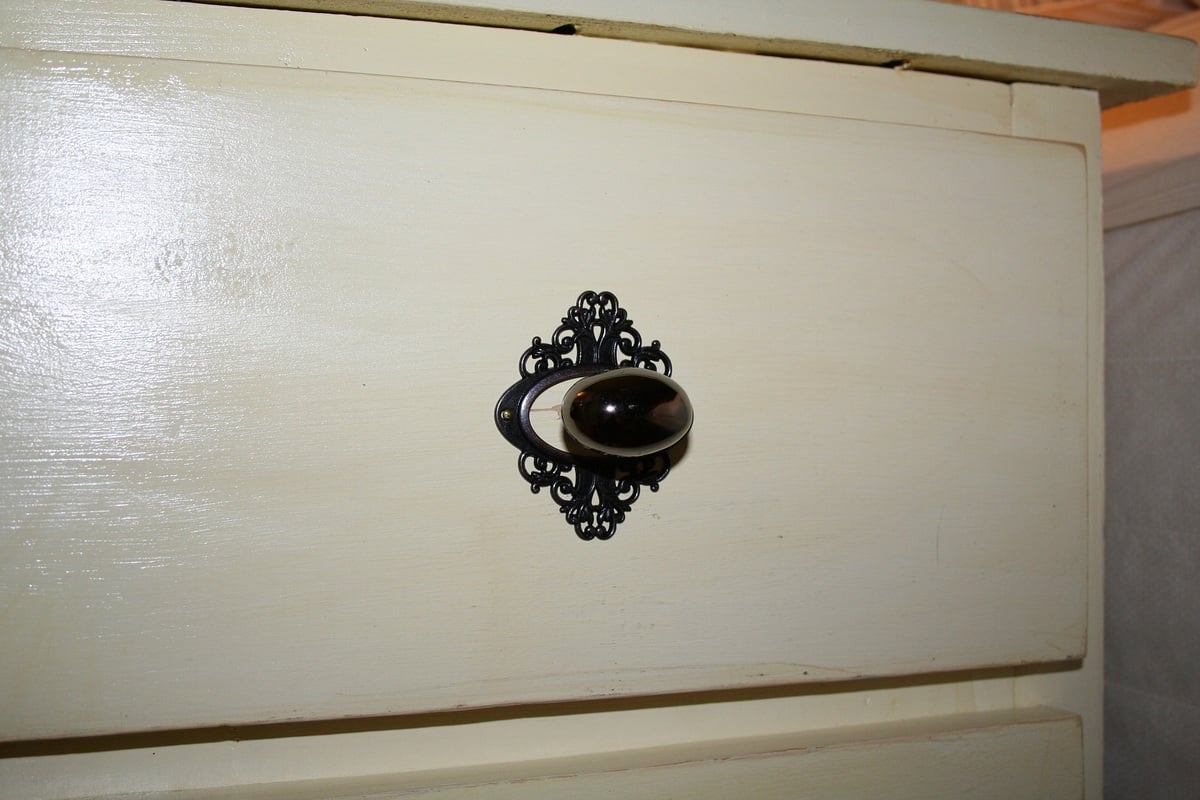
This was my first time making a drawer and these type of hinges. I also made the hardware and the legs. I love mid-century modern, so used a 1 X 4 and cut/sanded down a 1 X 1 at an angle for the legs (ok, honesty time, this was my 5th attempt! It took me awhile to figure out how to get the angle just right and make sure it was sturdy enough).
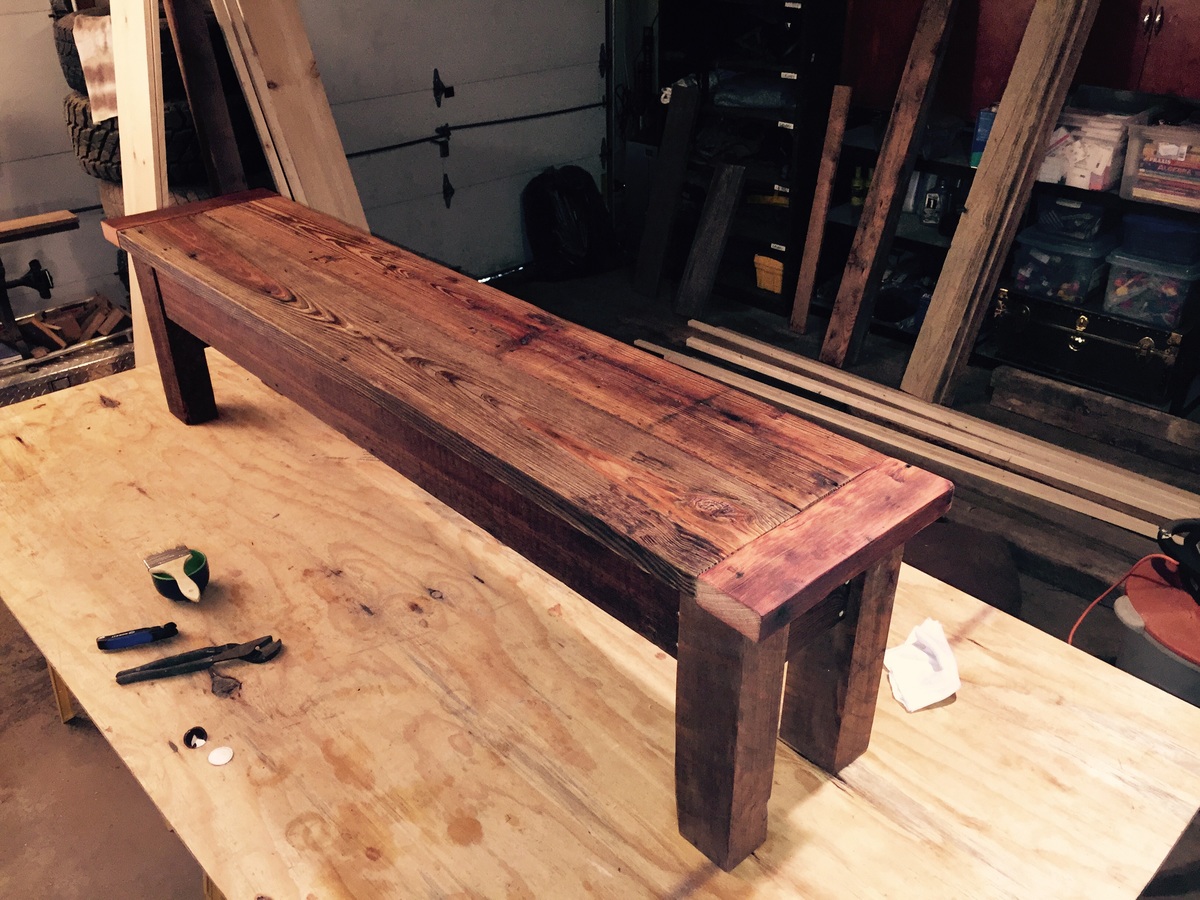
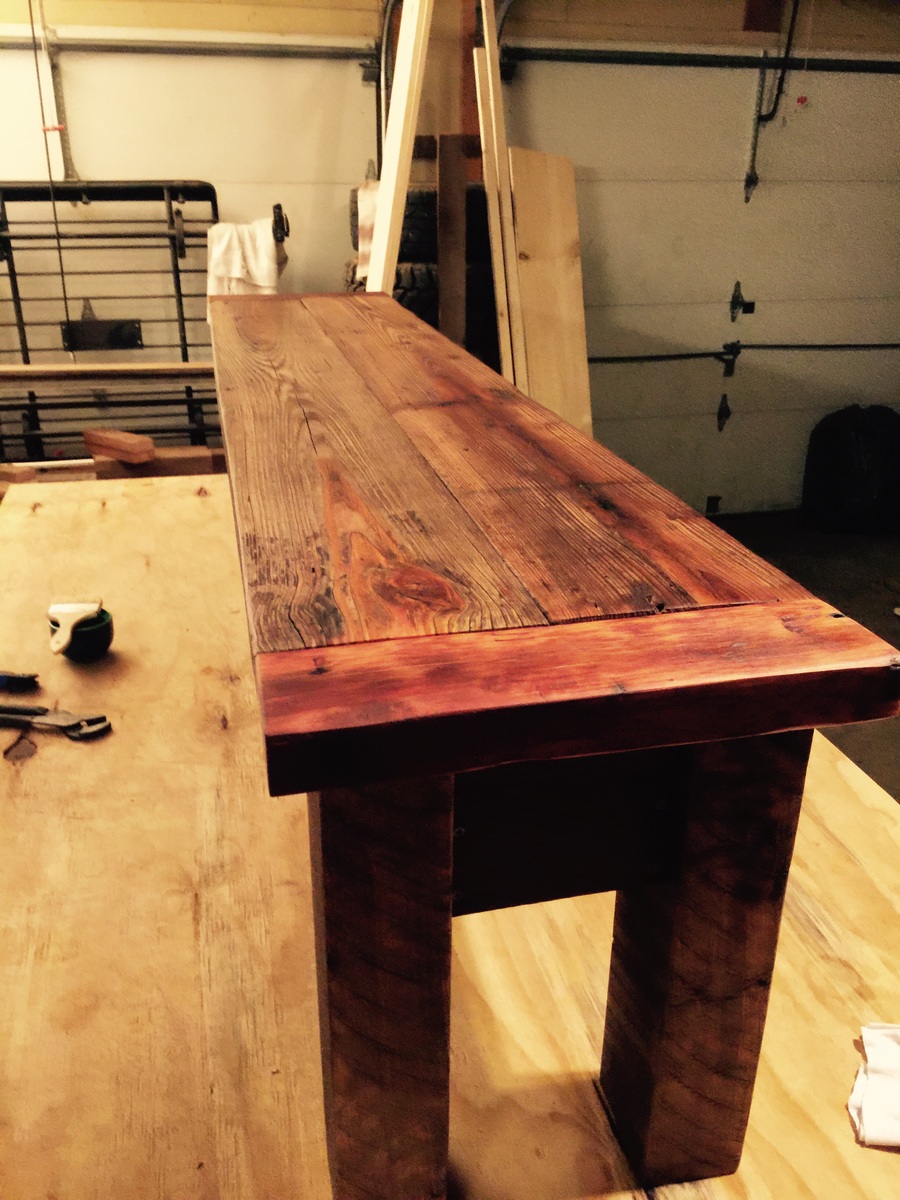
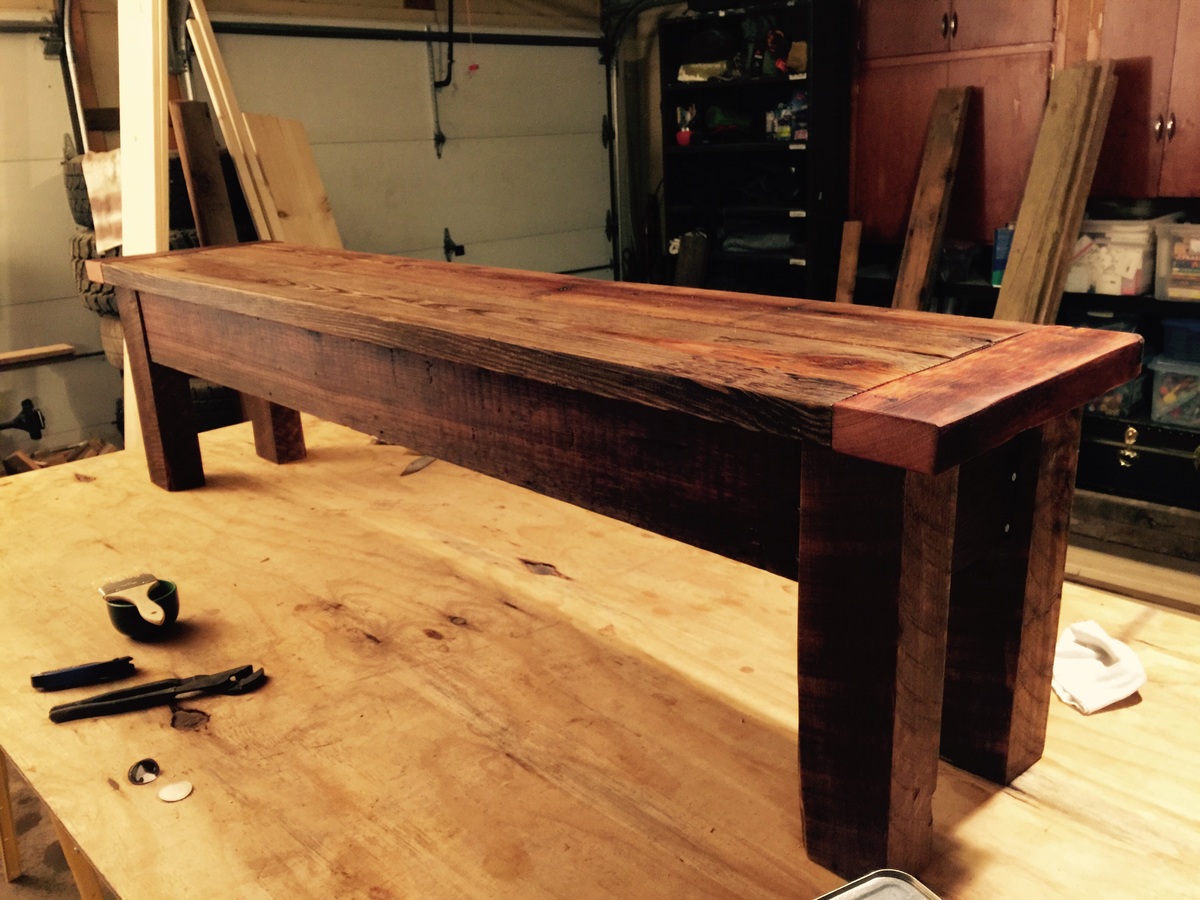
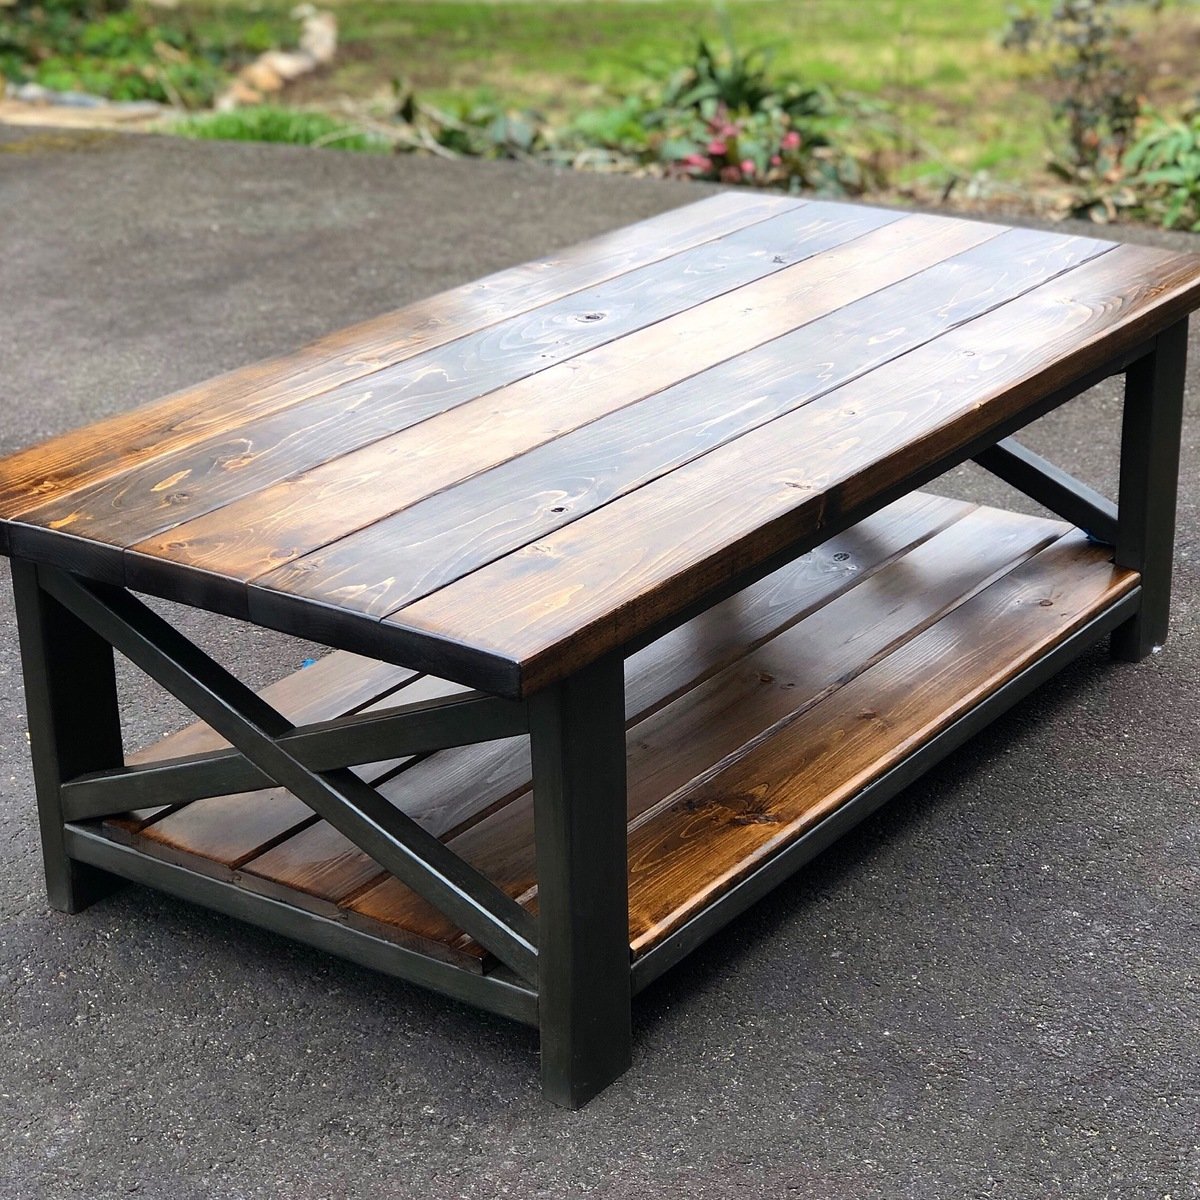
A big THANK YOU to my new KREG JIG, which I learned about in Ana's book. Without it, I couldn't have done this project!
I decided to build this for my wife for Christmas my times up and im not done yet but she loves it.
Love this adorable cart! Probably not as much as the recipient though
THANK YOU! This was a great idea. Our pantry is deep and narrow and it was impossible to know what canned items we had. Also, since the spacing between our shelves is 11", none of the tiered can organizers on the market would work for us (too tall). We added two tiers to your plan and cut the top tier in half (for my large cans of whole tomatoes!). We are very happy with how this project turned out.
My bathroom had no storage other than what is under the sink, and my hallway linen closet is TINY. So since I know I can find anything on Ana's site, I found a plan, and modified it a tad to get what I wanted =o) I am on a tight budget right now, so I built this using old plywood I had left over from other projects. Total cost approx 10 for the handles and hinges.
Wed, 10/05/2011 - 16:59
This looks great! The handles you chose look great!
Bulit this chair , It is a couple of hours that requires extreme concentration. But not to hard. All you need is a hand saw some rope and a Drill.
Mon, 10/07/2013 - 14:43
I like the design, but can you explain how the chair keeps from leaning all the way back?
Mon, 10/07/2013 - 14:56
The top is connected. so the longer pieces that touch the ground wedge into the bottom. IF that makes any sense. If you try to make one like I said, it will make you crazy at first until, You have the whole thing together. Good Luck
Fri, 10/25/2013 - 13:18
I love this idea, and I don't feel like spending ridiculous amount of money for chairs. Perú has the most uncomfortable chairs I have ever sat on in my life! From the pictures, I can gather a lot about how it's made, but what about measurements? Can you provide some guidelines? If I can get the wifey to approve the project, I'll shoot you some pictures of the finished project :)
"There is no such thing as a fool-proof system. Someone will make a better fool, tomorrow." @LoneWolffe JerewIndependentResearch.com
I used reclaimed cedar and oak ripped out of a 100 year old house. The bench was made to go with the farmhouse table.
Mon, 12/28/2015 - 11:19
I stuck to the plans as much as possible, but I wanted to make the bench from the same wood as the table I am in the process of building so ended up changing it a little.
Legs were made from rough cut oak posts measuring roughly 4"x3" that used to be roof timber. They aren't really all that straight, but I wanted to maintain the rustic look with the saw marked so I didn't plane them. The sides of the frame are made from cedar 1x5's that used to frame the doors of our donor house. The main part of the seat is made from 2x oak 2x8's, and the bread board ends of the seat are made from cedar 2x4's that were used for wall framing.
Sorry for for having to include this in a comment...it's my first post
Ana White inspired Rustic X Coffee Table finished with dark walnut stain and Annie Sloan graphite chalk paint.
This is a husband and wife project, well mostly husband...LOL. It's the same pattern as Ana's nightstand except we shorten the width to 17" and it fit perfectly in my bedroom. Thanks Ana white for this :)
I made this for my two granddaughters. I used can lids for the burners and an 8x10 baking pan for the sink. I made the stove knobs from ceramic drawer pulls with plywood disks for the dials. I added nylon bushings to let the knobs turn easily. I painted the outside with Rustoleum magnetic primer so that small magnets will stick. Unfortunately, the primer is black and the yellow paint did not cover well. (I should have sanded the primer before I painted with the yellow paint.) I used Kreg pocket screws and plugs for assembly. I used brads to attach the back. I glued all the joints. I recessed the toe kick 3/4"; it would have been easier (to sand and to paint) if I had placed it flush with the front face. It would have been easier to paint the interior before I attached the back. The plans were great. The girls love their kitchen.
Made using your simple grey vanity plans finished in antique white varithane poly stain, made the middle drawer a tilt out, and the vanity top is my own personal touch cut from a butcher block counter, used the cut off pieces to make the back splash sealed with varithane poly stain. Still a work in progress as I’ve yet to install the doors or middle shelf. Love the vanity thanks for the design!
Wed, 02/01/2023 - 10:24
Love the finsih choice and butcher block top! Thank you for sharing.
I wanted to try re-make this great design with my own twist. So I used re-claimed old roofing beams for the table top and then pine for the base. The plans on here are easy to follow and it turned out really well in the end Take a look at our blog for the full details http://remadeit.co.uk/
Child's Bench with Arbor
Inspired by Ana’s island plans with a few of my own tweaks.
After my niece Ella was so excited about the farmhouse doll bed I made for her birthday, (http://ana-white.com/2011/09/ellas-doll-bed) I decided to make a doll bed for her little sister's 5th birthday. I went with the bunk bed and it was so easy to make. It probably took only 3 hours of time total (including finishing/painting). Thanks, Ana, for making me so popular with my nieces!
The bed is super sturdy. The kreg jig was invaluable. I used "select" pine boards just so the finishing would be easier. I had to use a 3/4"x3/4" trim board for the 1x1, so it was a little more expensive. Total wood cost was about $21.
I used a gloss spray paint. I don't have girls, so I never realized how happy spraying something glossy bubblegum pink can make you!
There are a couple of errors in the cut list. There should be 4 1"x1"x19" cuts for the cleats. To fit all of the cuts in one 1"x1"x8', I made the 4 cleats about 16 inches each. Also, you can't get all of the cuts out of 3 1x2s. I didn't want to run back to the store, so I left out the middle side rails on the top bunk. I kind of like the more "mod" look! (and it's not like you need the rail for safety!)
My youngest was outgrowing her crib-turned-toddler bed, so I let her pick a bed for me to build, and this was her choice. Fortunately, it's a bed I've already built, so it sure made life easier. The plans for this bed are inaccurate, which I learned the last time I built it, so I was prepared for the modifications I would have to make. While I was at it, I made the headboard 4" shorter and the footboard an inch and a half taller (to hide the end of the mattress). I also trimmed out the dividers. All personal preference.
Wed, 10/16/2013 - 19:12
What is that wall color and where did you get the rug???? Your build is, as always, beautiful, but I absolutely LOVE that paint color on the walls. Would love to use that somewhere in my home.
In reply to What is that wall color and by Pam the Goatherd
Thu, 10/17/2013 - 11:47
Hi Pam! Thanks!
Comments
Ana White Admin
Wed, 12/23/2015 - 11:06
Love these!
Thanks for sharing, you have become quite an expert with this build!
jpbrannan
Tue, 01/05/2016 - 13:48
Plans
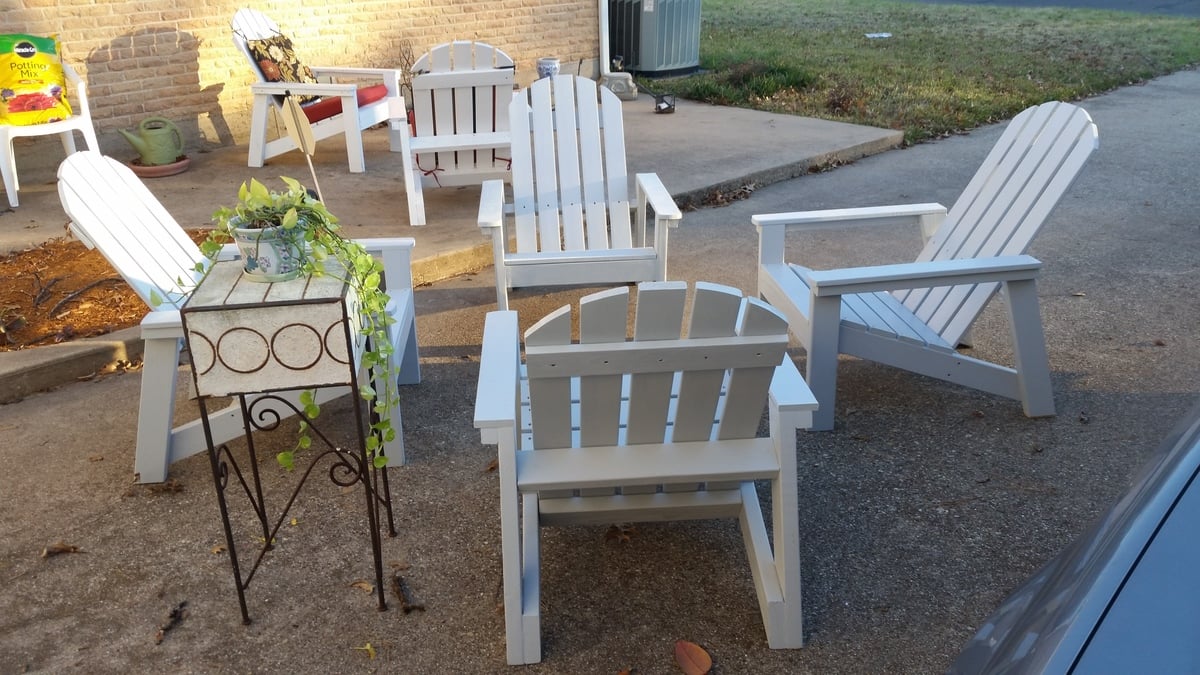
Hi Ana - We love the chairs design and the video. We bought all the materials, but are having difficulty without the plans. Is it possibe to share the plan or the link to the Adirondak chairs you built with Home Depot?
Thanks - Phillip
greckin
Tue, 06/14/2016 - 05:29
web address I found the plans on
http://media.blog.homedepot.com/wp-content/uploads/Ana-White_HD-Adirond…