Community Brag Posts

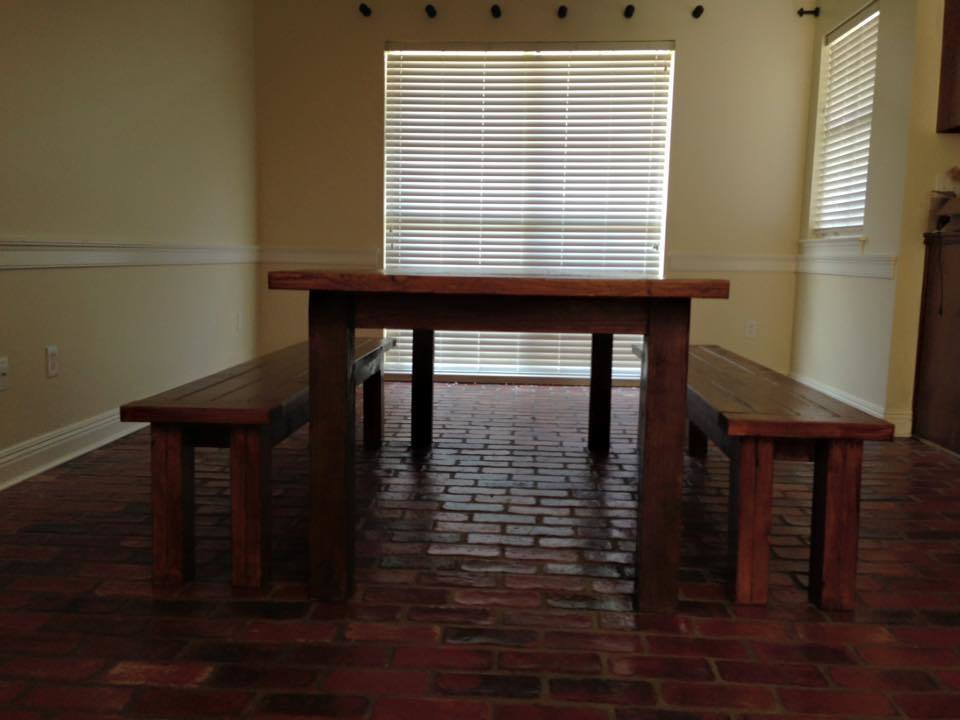
Whitney's Turned Leg Farmhouse Table

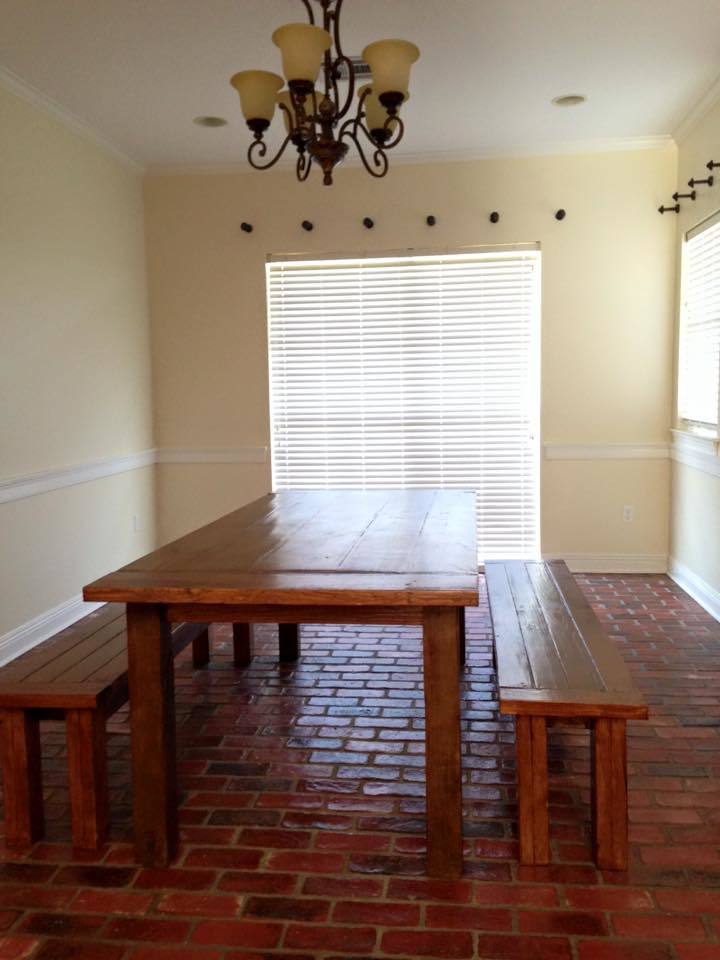
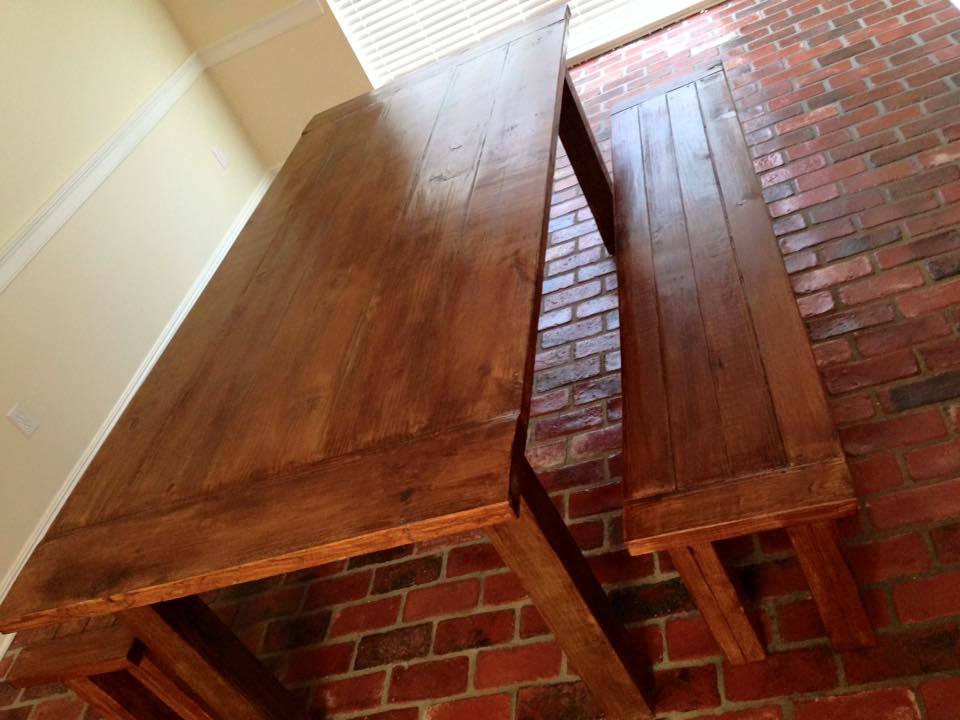
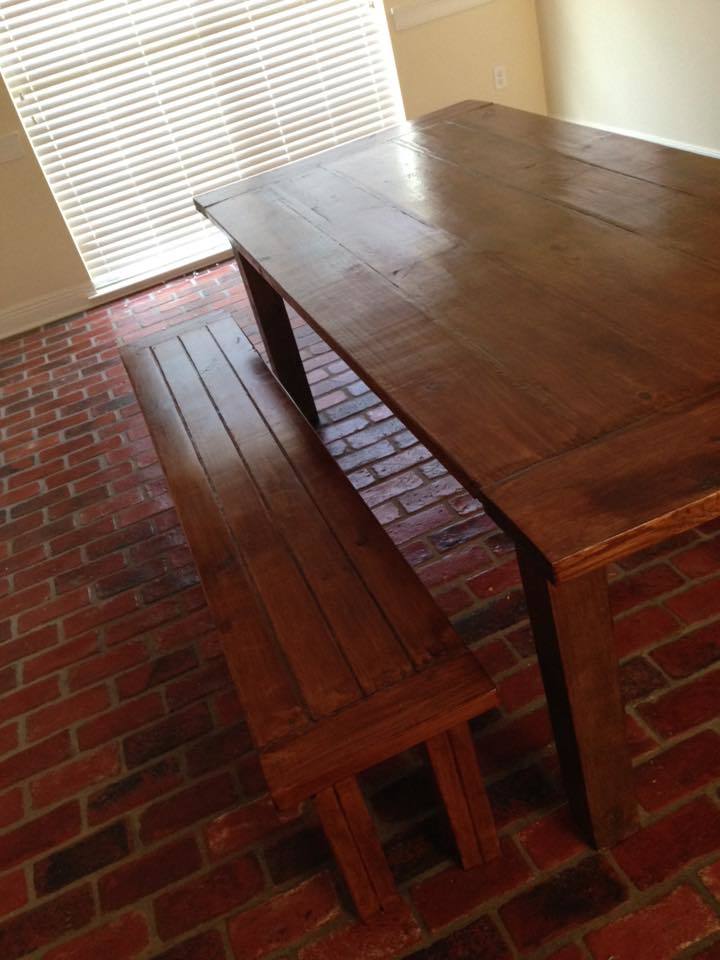
I worked up the plans in my head for about a year before my mother finally got around to having me build her 10 foot farmhouse table. That's right, this bad boy is TEN FEET LONG! And it was one of the simplest things to construct!. I used 8 foot 1x8's for the length of the table (used 4, making the table 29" wide) and 1x12's for the breadboard ends. We also splurged and purchased turned legs for $15 a piece at Blue. It really made the table extra special. Totally cost, with finishing supplies came in under $150.

Things I would change if/when I do a table of this size again:
1) I would never make a BB end so large again. I would stick to a 1x6 or smaller. With such a large size we worry about children putting too much pressure on the ends.
2) I will make the legs removable. It was a bear trying to get this table into the house. Thankfully the width was just narrow enough!
3) I won't tackle this in the winter months! Construction of the table took only a few hours but finishing in freezing temps took weeks waiting for warm-ish temperatures.

Built from Plan(s)
Estimated Cost
Less than $150
Estimated Time Investment
Weekend Project (10-20 Hours)
Finish Used
Sand, sand, then sand some more! 2 coats of Minwax Mahogany Gel Stain. 2 coats of poly on legs/base. 4 coats of poly on table top with 0000 steel wool sanding between coats
Recommended Skill Level
Intermediate

Comments

Square Modern Farmhouse Table

Submitted by Cheli on Wed, 01/15/2014 - 08:57

I modified this pattern to use with tall bar stools I already had. I built it 42" high and added a foot bar along the bottom for added stability since it's tall. The foot bar is only across the front and back so the stools can still slide in on the sides.

This table is exactly what I was looking for and I couldn't be any happier with how it turned out.

Estimated Cost
$50 (This cost doesn't include the paint I already had)
Estimated Time Investment
Afternoon Project (3-6 Hours)
Finish Used
I painted with three coats of black eggshell paint. I haven't put a finish on it yet but I plan on using a couple coats of Minwax urethane.
Recommended Skill Level
Beginner

Dining Room Table

Submitted by RetroFit on Thu, 04/07/2016 - 18:18

This is our first real furniture project. We wanted a large enough table to be able to sit 10 people comfortably around without the table legs getting in the way of the people on the corners. We are really happy with the way this turned out. Each leg was joined with a double floating mortise & tennon. The overall dimensions are 47" wide by 80" long by 31.5" tall.

Estimated Time Investment
Week Long Project (20 Hours or More)
Finish Used
Danish oil and Polyurethane.
Recommended Skill Level
Intermediate

Comments

Brandiville

Sun, 04/10/2016 - 04:26

I would be very interested in the plan for this table. Do you mind sharing? It is beautiful!

Toy makeup set

Submitted by mandee on Sun, 12/15/2019 - 15:23

I made this for my almost 2 year old niece for Christmas this year. 

Built from Plan(s)
Estimated Cost
50
Estimated Time Investment
Weekend Project (10-20 Hours)
Recommended Skill Level
Intermediate

Lazy Bench

Submitted by Anonymous (not verified) on Sat, 08/19/2023 - 10:53

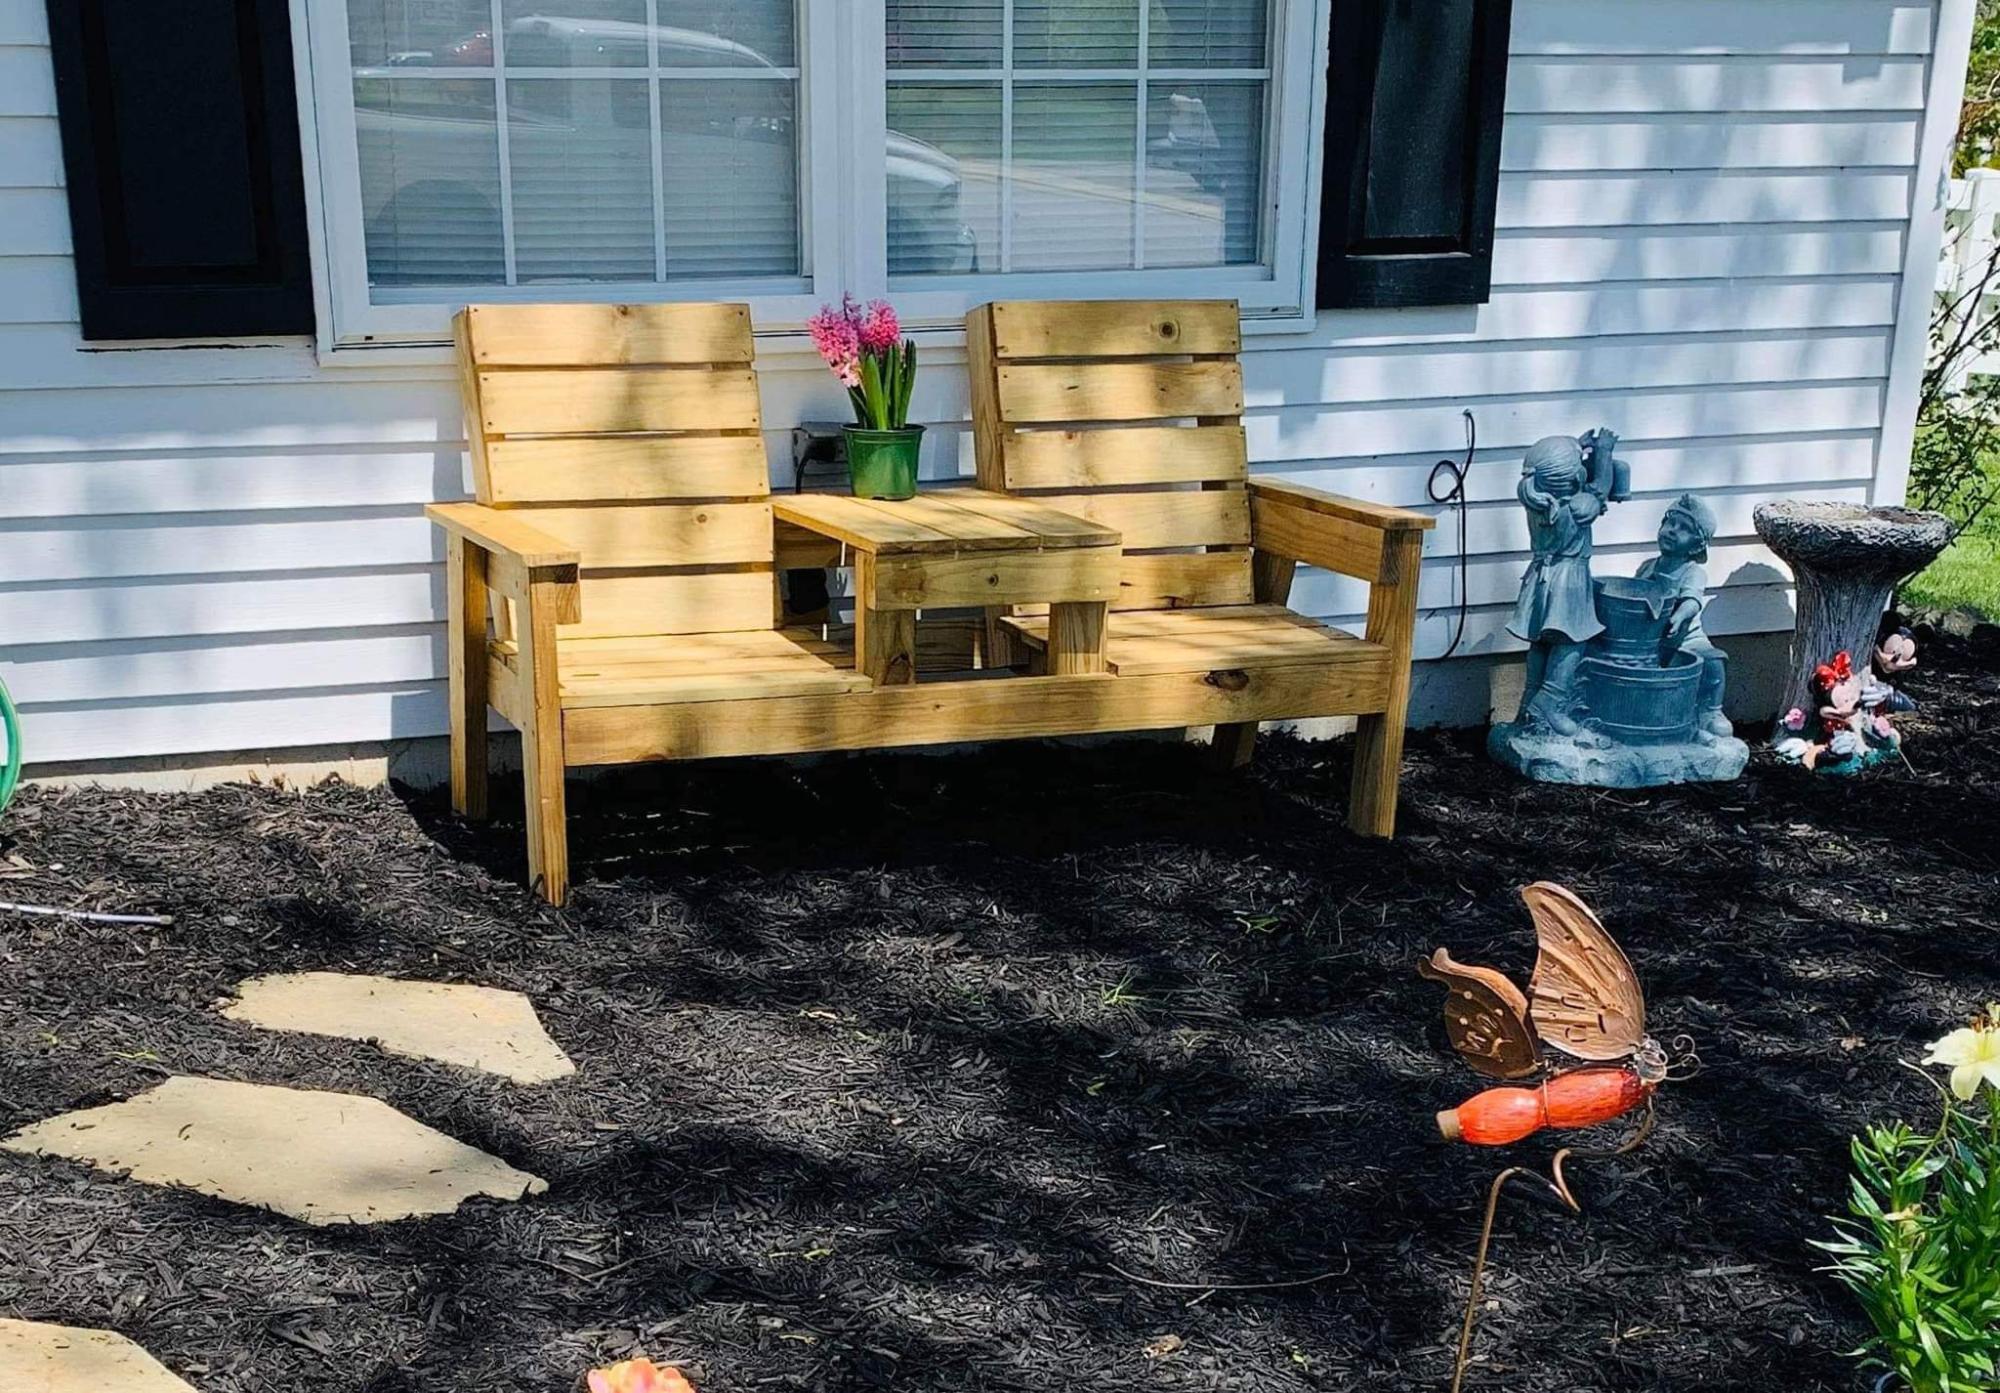
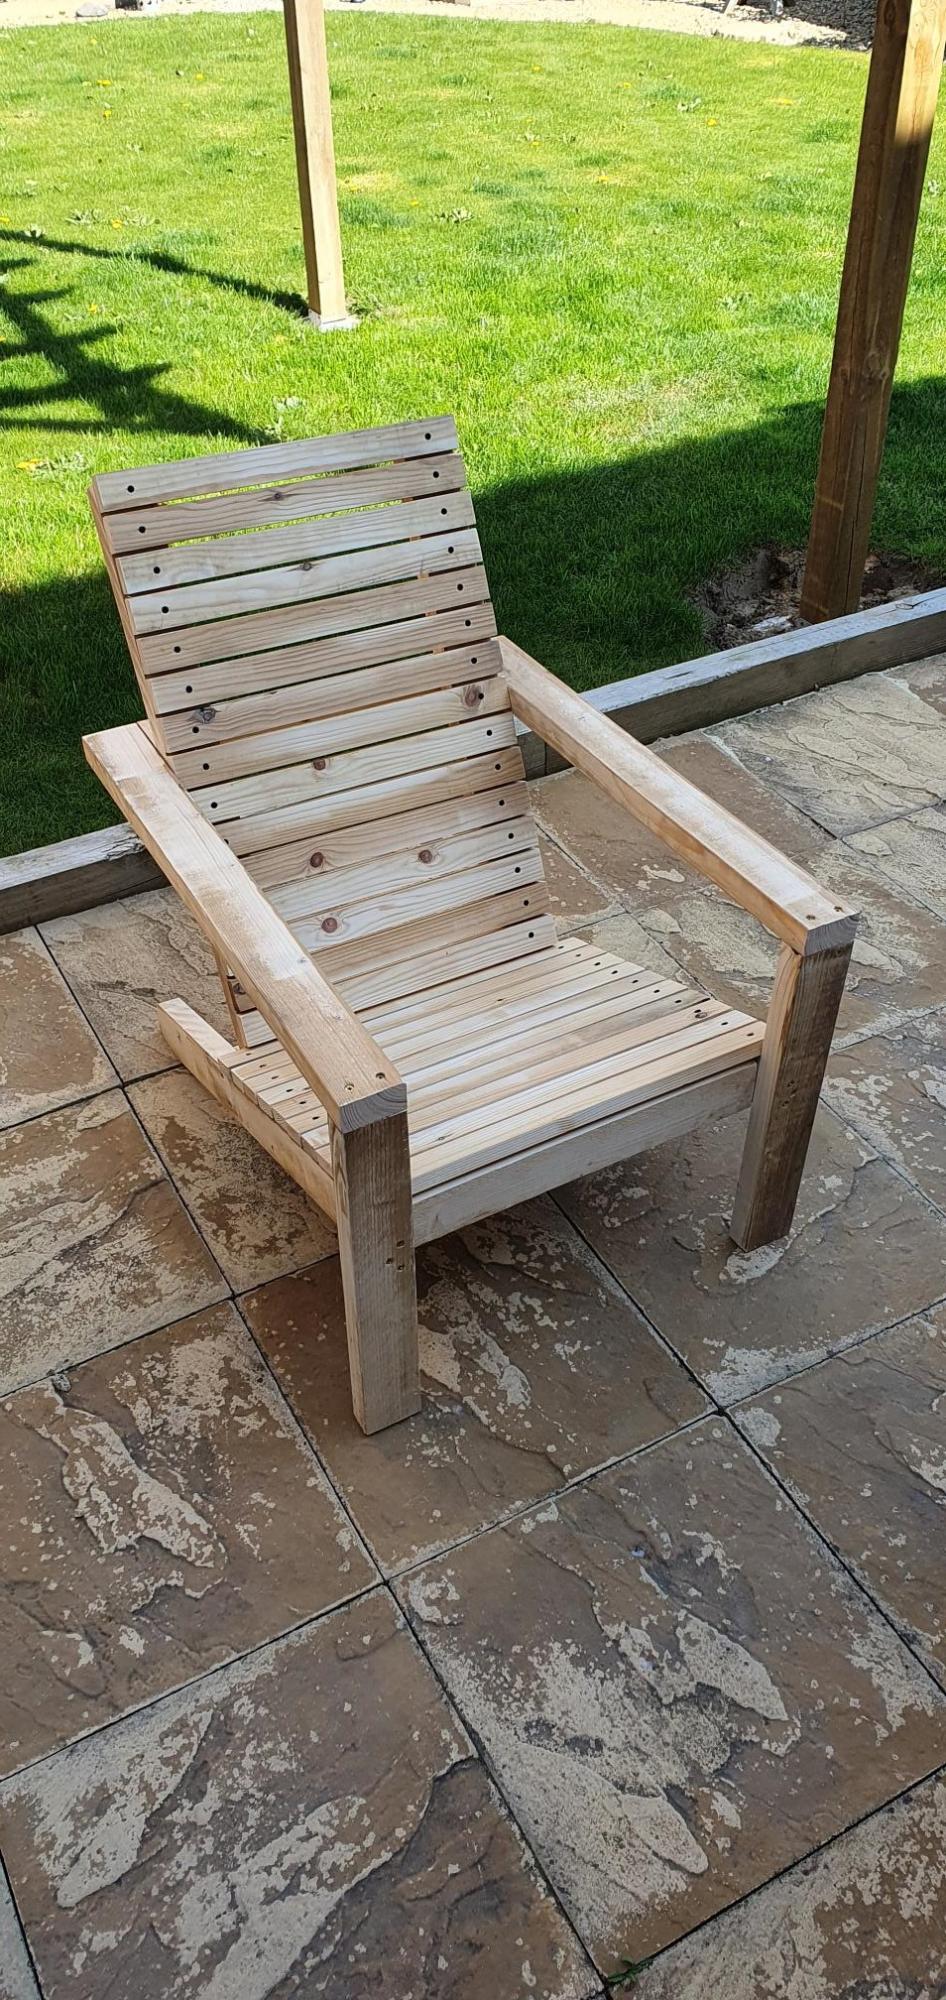
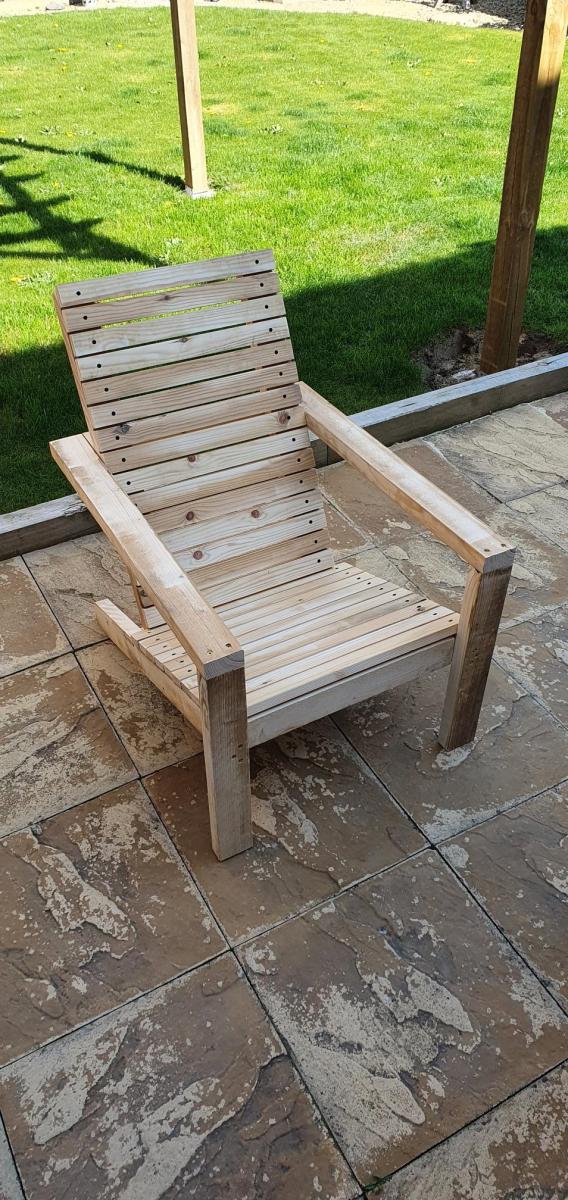
Built this Lazy Bench over the course of one weekend. Had to make some modifications to the way the arm rest / cup holder moves, but overall happy with how it turned out.
When I build this again - I gave this one away as a donation to our local Catholic Radio station - I'll make a bigger point to make sure that all four of the back supports are exactly the same, and that I pre-drill the carriage bolts that secure the cup holder before I start assembling.

UTtanker

Classic Bunk Bed with Sweet Pea Stairs

Submitted by e_hutch on Fri, 01/17/2014 - 19:03

I wanted a bunk bed for our daughters, it needed to be easily moveable like the "classic bunk beds." I also wanted stairs like the "Sweet Pea Garden" bunk bed because we have toddlers in the house. I modified the classic bunk bed to put the ladder on the end, then built the Sweet Pea stairs to fit to the opening (I think the only difference in dimensions was a 20" top stair. I didn't want the unfinished ends of plywood so I got 4'x16"x3/4" pine boards from lowes which happens to be the width of the stairs in the plan. Instead of using the 1x2's as trim on the ends of the shelves I put two of them together, one all of the way down the front of each stair and one resting on the top of the stair (screwed together) so I wouldn't lose lateral stability. I then spaced 2x2's in between to keep it "simple" looking instead of the heart shaped decorations from the sweet pea bed. I used some 1/4" paintable composite board to provide a backing to the stairs. I bolted the stairs on to the bed with some flat bar stock cut to size and 3/8' in hex bolts cut to length. I used pocket hole joints wherever possible and countersunk all other screws and used 3/8" dots from lowes to fill the holes. I painted it with a coat of primer and a coat of Glidden Trim and Door paint in antique white from the Easy Vintage Step Stool project.

Estimated Cost
$400
Estimated Time Investment
Week Long Project (20 Hours or More)
Finish Used
Glidden Door and Trim, Antique White
Kilz Complete Primer
Recommended Skill Level
Beginner

Comments

zaphod

Mon, 06/23/2014 - 06:39

This is absolutely beautiful! Did you modify the size for toddler mattresses?
I would love to do the same for my kiddos - is there any way you could send me your version of the plans? [email protected]

Thanks so much!

Gopher Hole Puzzle

Submitted by mtairymd on Fri, 12/20/2019 - 09:09

This is a fun little puzzle that goes by the name of Golf, Nine Hole and, my favorite, Gopher Hole Puzzle. The goal is to fit all six pieces into the box. The possible combinations make it pretty challenging.

Estimated Cost
$5
Estimated Time Investment
Afternoon Project (3-6 Hours)
Finish Used
Oil & Paint
Recommended Skill Level
Beginner

DIY Double Queen Size Lounge

Submitted by Anonymous (not verified) on Sat, 08/26/2023 - 12:13

A friend asked me to build her a durable queen sized lounger for beside her pool. I used this platform style and added the multi-adjustable tilt. The lounger looks amazing and will double as a spare queen size bed for guests.

Mary Wikene

bypass closet doors

About 6 months ago the husband and I purchased a foreclosure for dirt cheap, hoping to rehab it into something livable. It turned out to be a total gut job. So much of the budget was blown on the big stuff--roof, electrical, water, plumbing, that we've really had no choice but to figure out how to do much of the work ourselves with occassional assistance from my son-in-law, a general contractor who lives 400 miles away.
Although he did most of the basic sheetrocking I decided that I was going to build my own closet. After all, how hard could it be. I got it framed out and sheetorcked. Between the low ceilings in the room and the fact that I mismeasured the door frame height, I wasn't able to put in standard doors. But that's okay, I think I like these better.
Thank you, ladies, for giving me the courage to tackle some of these jobs that need doing. I've learned a lot of new skills, done things I never thought I would ever do...and love the feeling that so much of myself is going into making this house my home.

Built from Plan(s)
Estimated Time Investment
Afternoon Project (3-6 Hours)
Finish Used
behr semigloss white paint.
Recommended Skill Level
Beginner

Comments

Debi_G (not verified)

Wed, 04/04/2012 - 15:38

I love these doors. This is now on my to-do list!

Farmhouse Table

Submitted by Bob_Ross on Sun, 01/19/2014 - 18:18

I finished this project a few weeks ago, and it started to keep me busy during the Christmas break. My wife had wanted a new dining room table and this was pretty easy to build after the X Console Table.

For the stain, it was a combo of Rustoleom Kona down first, and put it on darker on the middle plank and bread board ends. After that I did a few coats of Minwax Weathered Gray, and then a few coats of poly.

Estimated Cost
120
Estimated Time Investment
Week Long Project (20 Hours or More)
Finish Used
Rustoleom Kona and Minwax Weathered Gray and Minwax Satin Poly
Recommended Skill Level
Beginner

Comments

Bob_Ross

Mon, 01/20/2014 - 18:30

Hey Ashley,

We found the chairs on overstock, and they were a great deal! Ours are the antique white.

Bob

Pallet Reclaim Swing

I work for a large manufacturing company that frequently has 'desirable trash'. Found 3 beautiful, heavy-duty pallets with beautiful wood on them. Took them home, took them apart, and got to work. The wife had been wanting a swing out near our children's playset so she could sit and watch them. Used Kreg pocket holes for everything that I could so as to hide as much hardware as possible.

*Side note regarding why I did the rope the way I did - the original post had mentions of it being a bit tipsy (particularly with little ones!). With this design, there's no flip front or back and the rope only gets tighter the more weight that is applied.

Built from Plan(s)
Estimated Cost
Almost free, only had to pay ~$30 for the rope.
Estimated Time Investment
Afternoon Project (3-6 Hours)
Finish Used
Olympic Cedar Naturaltone Stain, foam brushed on and wiped off with rags.
Recommended Skill Level
Starter Project

Horse Tack Storage Shed

Submitted by Anonymous (not verified) on Wed, 08/30/2023 - 09:09

We have been in need of a place to store our horse tack for several years, and finally got around to it. We modified the small cedar shed with a little extra support and added saddle racks and bridle hooks. Super pleased with how it turned out!

Gabi Johnson

Built from Plan(s)

Comments

Seasonal And Holiday

Ottoman Tray

Submitted by Milhouse on Sat, 04/07/2012 - 22:51

I have a large, square ottoman in my family room that looked empty and I didn't have anywhere to put a drink. The cheapest tray I could find that was large enough was $80 and it was damaged! So I slapped some boards together, and this is what I got. I love it! I joined a few boards together for the bottom, using my Kreg Jig, and attached a frame of 1x3's around the perimeter (I mitred the corners).

Built from Plan(s)
Estimated Cost
Free- made from scraps
Estimated Time Investment
An Hour or Two (0-2 Hours)
Finish Used
Minwax Provincial and a satin poly top coat.
Recommended Skill Level
Starter Project

Comments

Jewellery Cabinet

Submitted by dsteinberg on Wed, 01/22/2014 - 08:33

Modified the original plan a bit.

- Instead of using a wire door I used a board instead to give it a more closed look.
- Attached a mirror to the inside of the door
- Attached lots of hooks on the top piece of wood to hang more necklaces
- added a magnetic catch at the bottom and a rubber stopper at the top to ensure the door closes evenly and holds
- attached to dry wall with 4 toggle bolts

Built from Plan(s)
Estimated Time Investment
Afternoon Project (3-6 Hours)
Finish Used
- Brushed on black tea
- Brushed on solution of vinegar and steel wool that sat for 72 hours
- Vermont Natural Coatings Wipe on PolyWhey
Recommended Skill Level
Starter Project

Comments

Val Manchuk

Thu, 01/23/2014 - 09:15

Wow, did you ever do a great job on this project. The tea stain looks good!

Val @ artsybuildinglady.blogspot.ca

Knot Good with Wood

Thu, 01/30/2014 - 09:41

I'm actually building one for my wife right now, but was stuck on how I wanted to design the door. Your design is very cool. Can I ask what you used for the back and door...is is just wainscoating? And what did you apply to support the mirror on the inside of the door?

Thanks in advance!

dsteinberg

Thu, 01/30/2014 - 10:01

I am glad you like my design :-)

To support the mirror I used a combination of mirror tape

http://www.homedepot.com/p/Erias-Home-Designs-Mirror-Mounting-Tape-Squa…

and adhesive

http://www.homedepot.ca/product/lepage-pl-610-mirror-adhesive/827654

http://www.homedepot.ca/product/lepage-no-more-nails-all-purpose-clear-… (I used this one, it says not for mirrors but it didn't ruin the backing at all. The one above is probably safer to use)

As for the the back and the door, to be honest I don't remember the name of the board. I think I got it at home depot or maybe lowes. It came unstained and it was pretty thin. I cut it down to size for both. Sorry I can't be more help there. I did just check the home depot and lowes websites and couldn't find the exact panel. I am sure if you go and show them a picture they will be able to find it. The panel was around $15.

Let me know if you have any other questions!! Post a link here to yours when you are done, I would love to see it.

Knot Good with Wood

Fri, 01/31/2014 - 07:46

Excellent feedback, thank you! I found some small sheets of wainscoating at Lowes for around $10, and it's more than enough to do the job.

I'm heading to Home Depot after work today to pick up these other items so I can finish out this project. I figured if I delay long enough it will make a great Valentine's Day present.....

I'll be sure to post pics once completed. Thanks again!

-Brian

Knot Good with Wood

Fri, 01/31/2014 - 07:47

Excellent feedback, thank you! I found some small sheets of wainscoating at Lowes for around $10, and it's more than enough to do the job.

I'm heading to Home Depot after work today to pick up these other items so I can finish out this project. I figured if I delay long enough it will make a great Valentine's Day present.....

I'll be sure to post pics once completed. Thanks again!

-Brian

JoanneS

Fri, 01/31/2014 - 08:24

This looks beautiful! What did you use to add the "handcrafted by" personalization on your project? That is a very nice addition. Great job!

Chalkboard frame

Submitted by Kate_14 on Sun, 12/29/2019 - 08:39

I built these in different sizes. I added hooks on one to hang keys. I nailed hardboard with chalkboard spraypaint on the back.

Built from Plan(s)
Recommended Skill Level
Beginner

Sideboard

Submitted by emilyr on Mon, 04/09/2012 - 17:01

This project took me a lot longer than I wanted, but I love it. I worked a few hours each day and it seems I had to stop because I forgot one thing or another. I changed the way the top looked, I wanted to work with angles, so I framed out a 1x6 with two rows of mitered 1x4. It turned out better than I hoped, but I don't know if I will work with angles again... Like the plan says, it is HUGE!!!

Estimated Cost
About $100
Estimated Time Investment
Week Long Project (20 Hours or More)
Finish Used
Black paint for body and Red Mahogany Stain for the top
Recommended Skill Level
Advanced

Comments

Jessica H (not verified)

Sat, 05/19/2012 - 09:24

Emily, this piece looks awesome! What did you do on the doors? It looks like wire.
I also noticed that your estimated cost was quite a bit lower than Hillary's cost. How did you keep your cost low? I am wanting to make this piece but I could really benefit from a smaller price tag!!! Again, yours looks great!
bunk bed Converted

Submitted by Mamabear2 on Thu, 01/23/2014 - 10:26

My mom purchased a bunk bed set for my children at her house but since they were only 1 and 2 at the time, we separated them and used the rails on my sons single bed, then my daughters we converted into a twin size crib

Estimated Cost
50.00
Estimated Time Investment
Afternoon Project (3-6 Hours)
Finish Used
used a light stain to match the already existing
Recommended Skill Level
Starter Project
Back