Locker cabinets
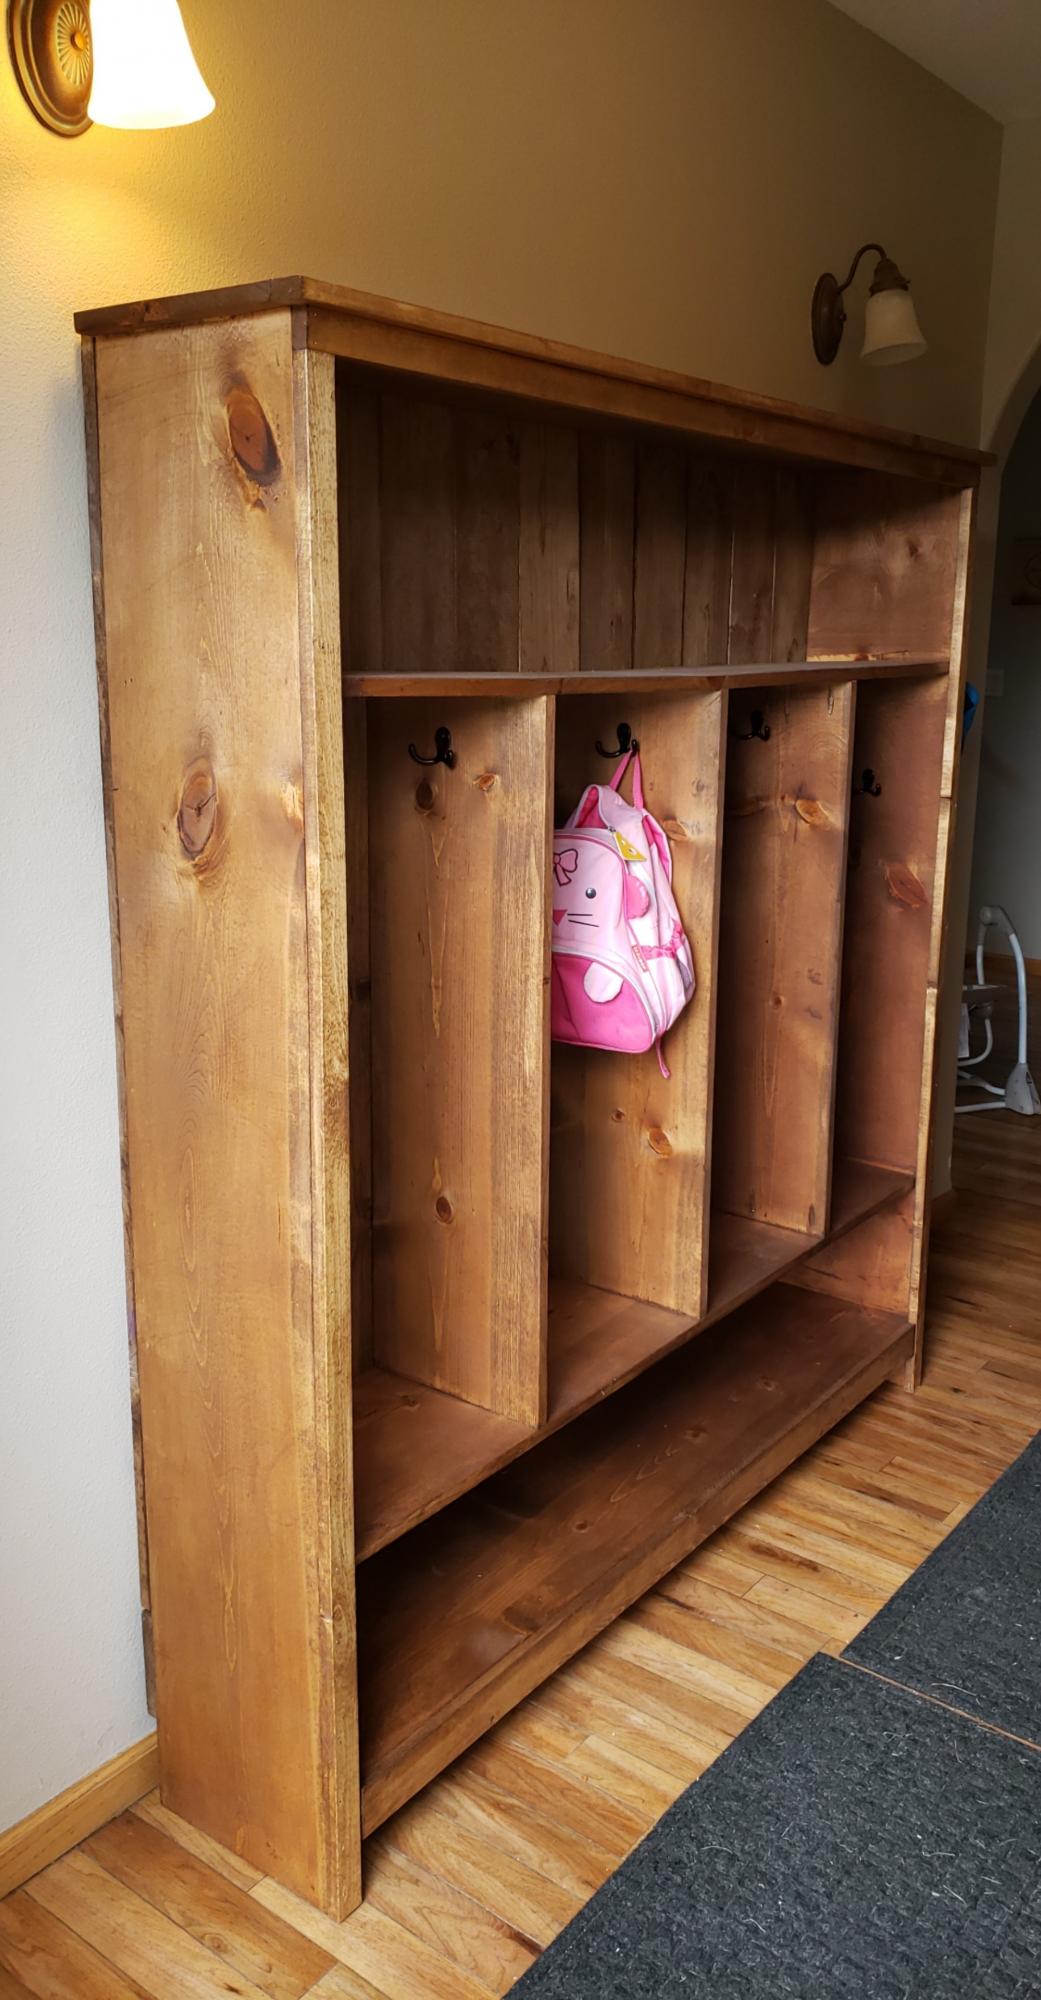
Modified the plans to make a fourth cubby, they turned out great!

Modified the plans to make a fourth cubby, they turned out great!
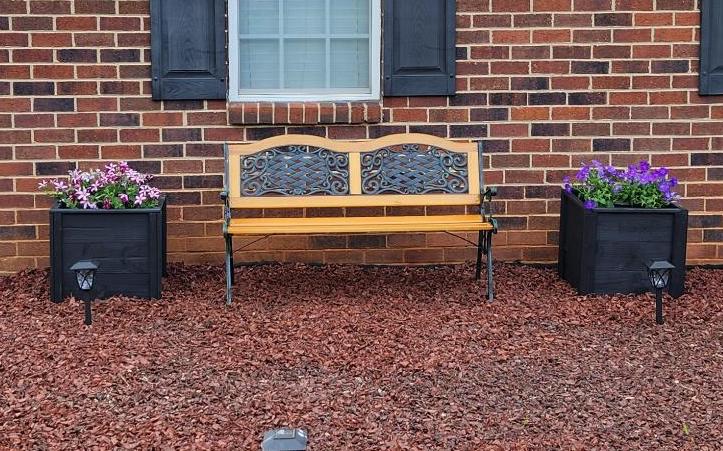
I made these for my Aunt. She loved them. Can't wait to do another Ana project!!
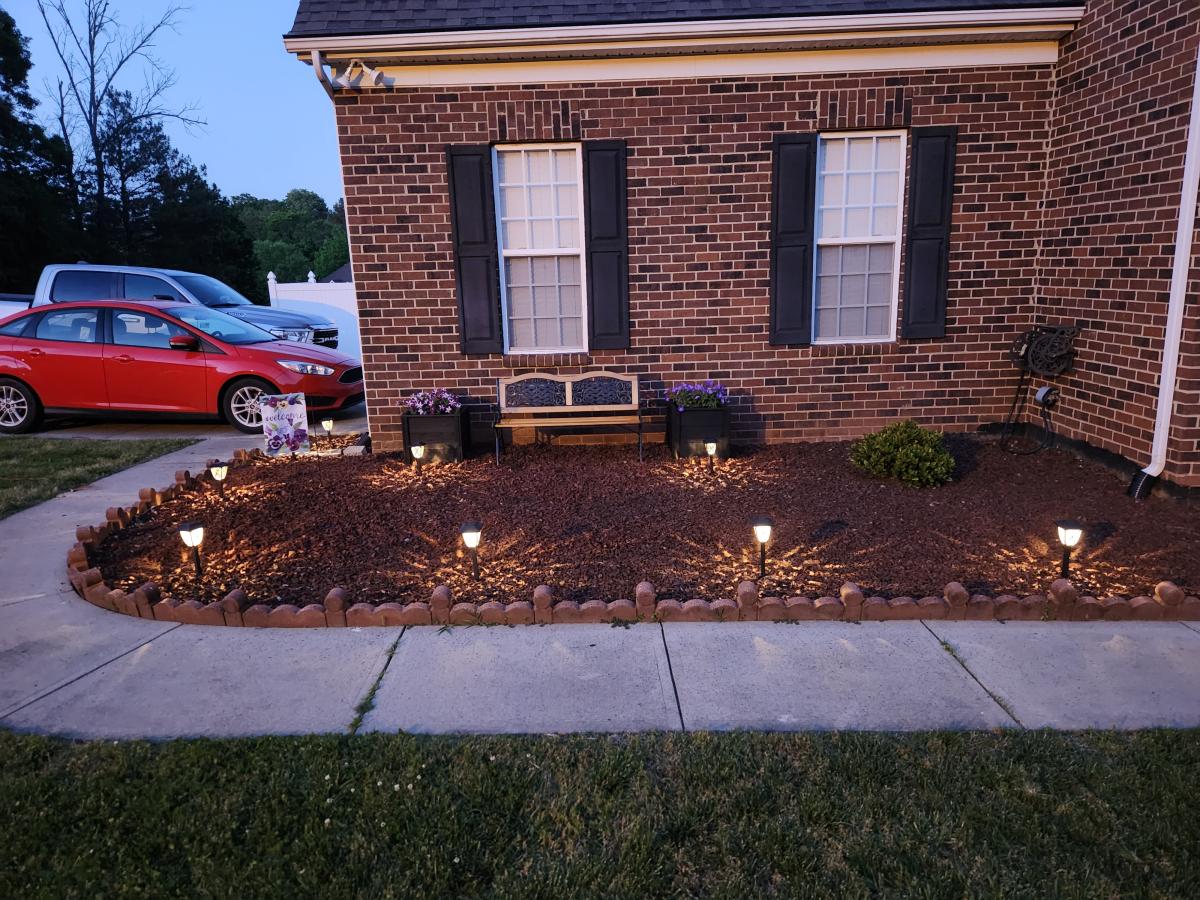
Mon, 05/08/2023 - 20:07
Very nice, I'm sure your aunt loves them! Thanks for sharing.
My little two year old is sleeping on this right now, hehe, which is so funny to see his little body take up only 1 square foot of it.
We got a queen mattress from a family member and I had been wanting to build this bed for a while so what better excuse. I had a TON of 1x3's from other projects so used those as slats instead of 1x6's as in the plan. I also used some other scraps up so my headboard part is shorter than in the plan which I also was fine with. It barely fits in his little 10 x 10 starter home room, but I am still pretty proud of it.
Sun, 01/07/2018 - 11:13
I am a beginner and I understand what to do until this point. I am confused by this. Can it be explained in another way: Thanks.
Construct the frame as shown, leaving a 3 1/2' overhand on the headboard end to secure the frame to the headboard. Predrill to at least 4 holes to in this overhang to ease attatching to the headboard.
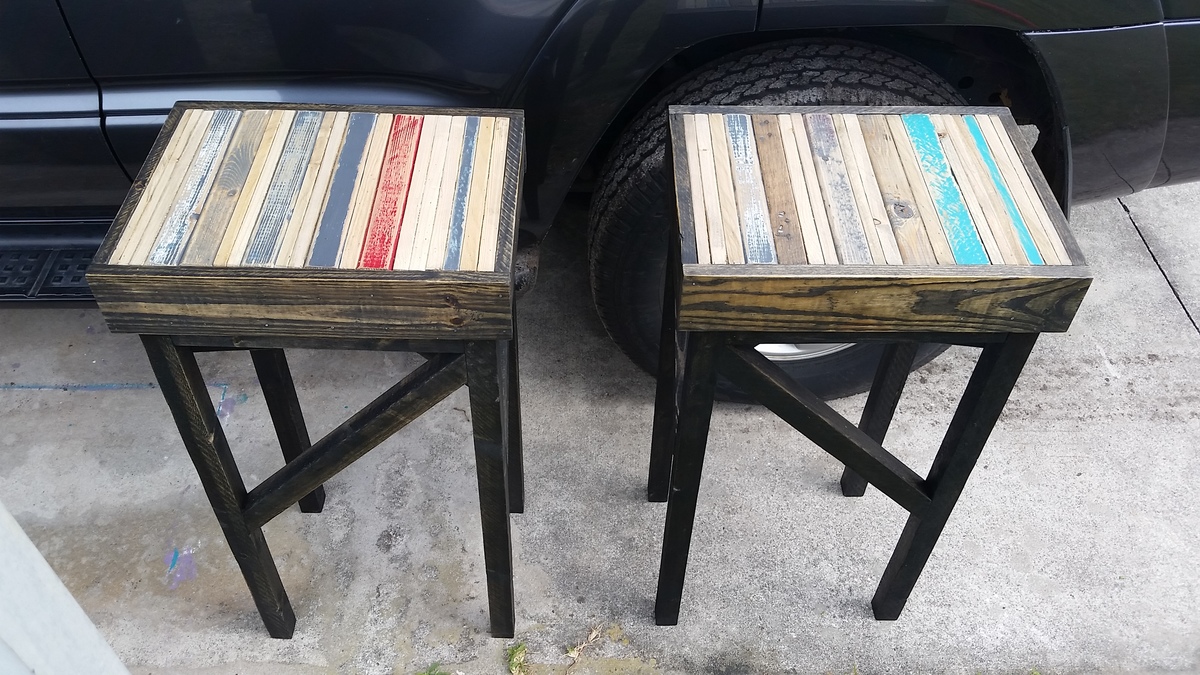
Wife wanted me to throw out all the scrap wood I had lying around. Instead I made some killer barstools. Fun look.
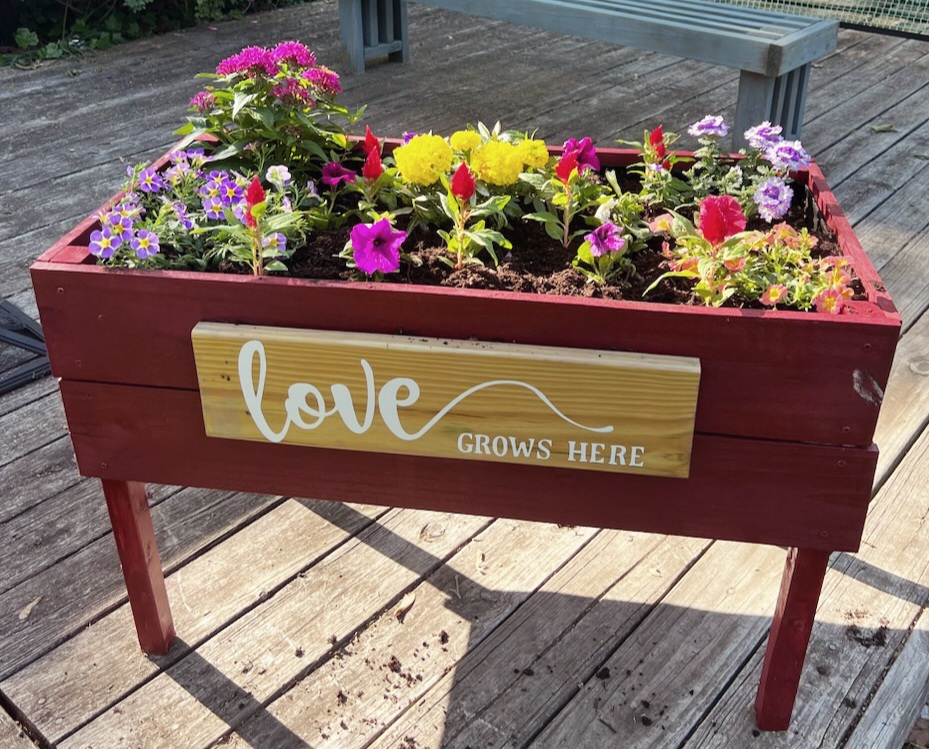
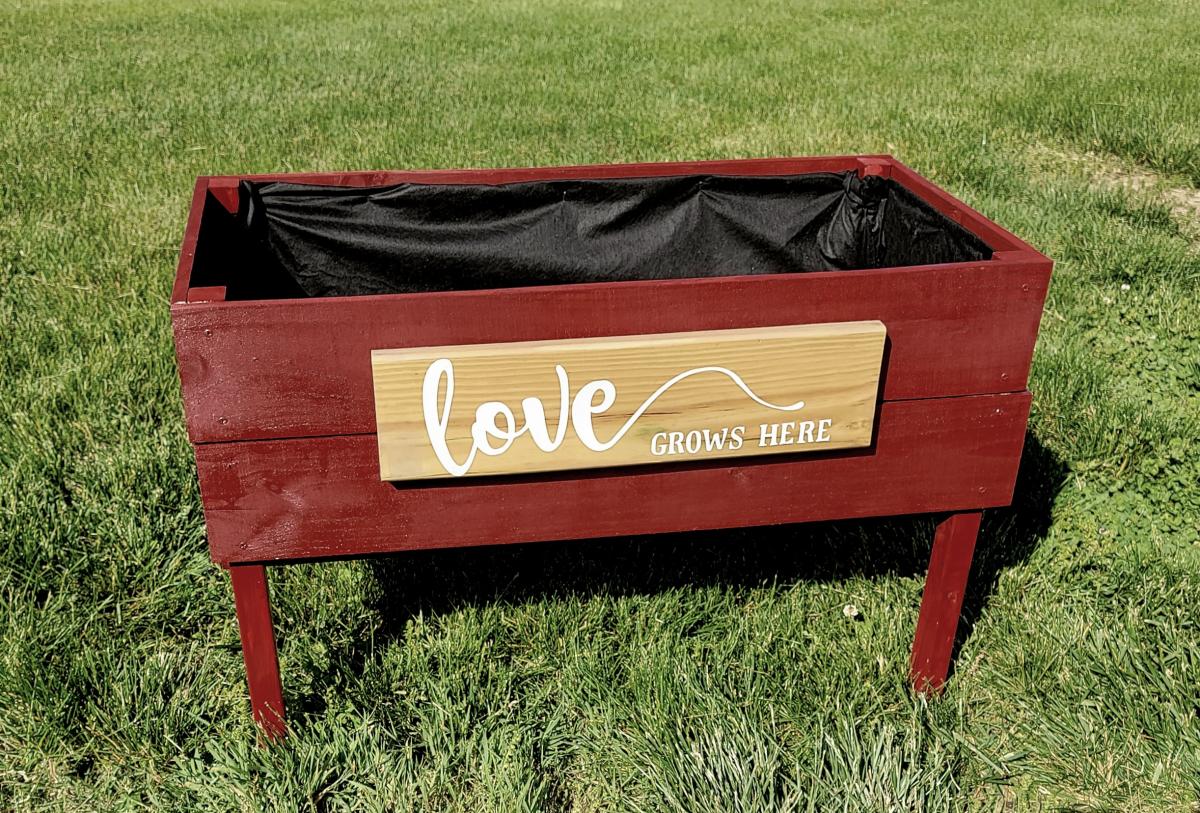
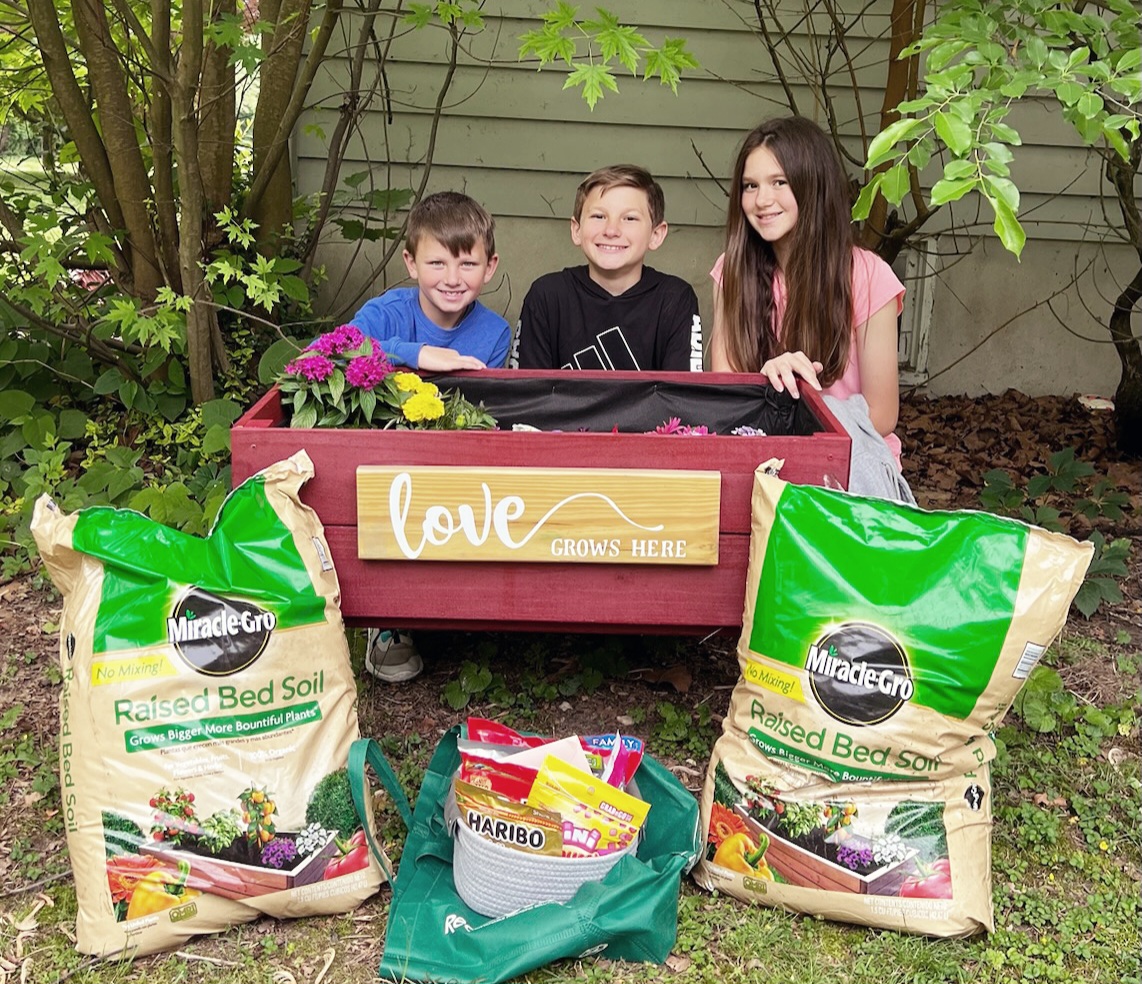
I helped my 3 grands make this for their mom for Mother's Day. They loved it and she was over the moon!
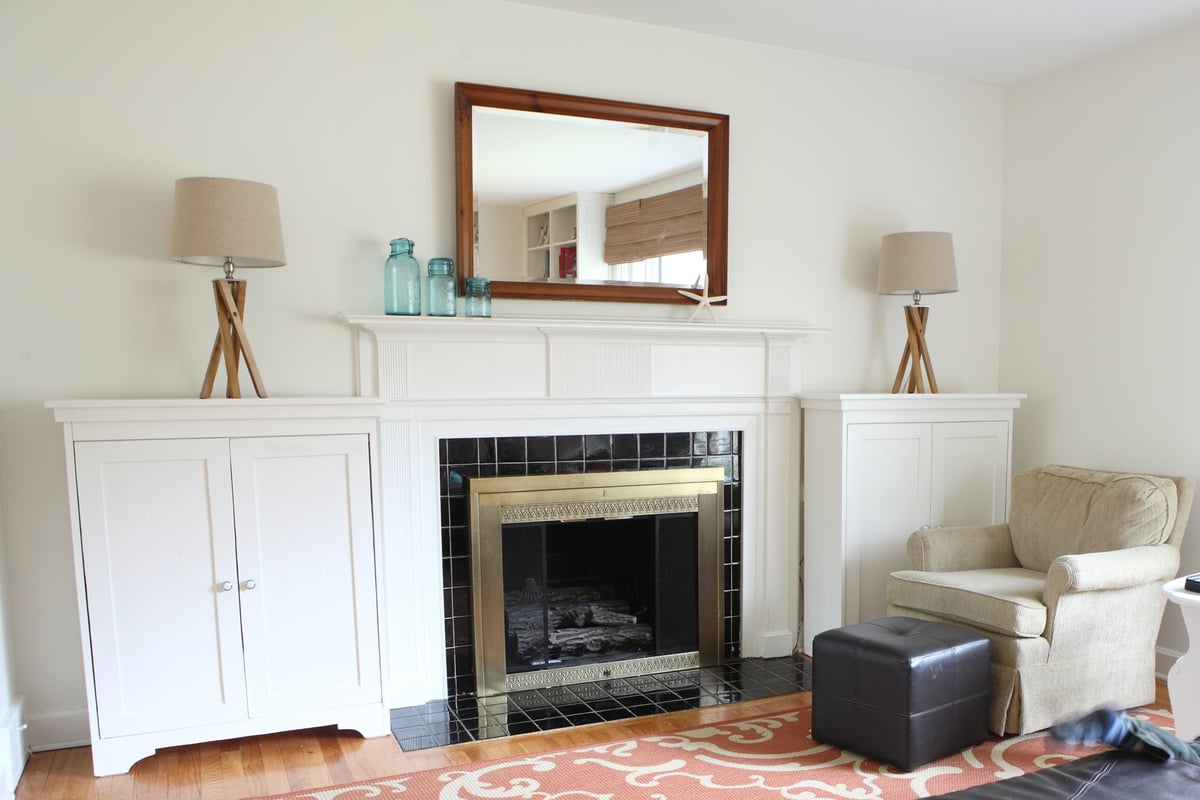
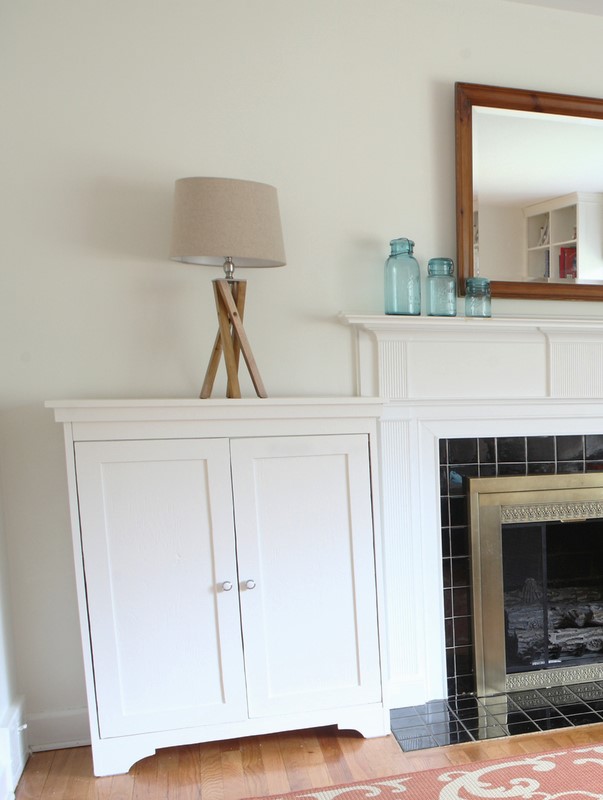
I made two smaller versions of the Simplest Armoire for either side of my fireplace.
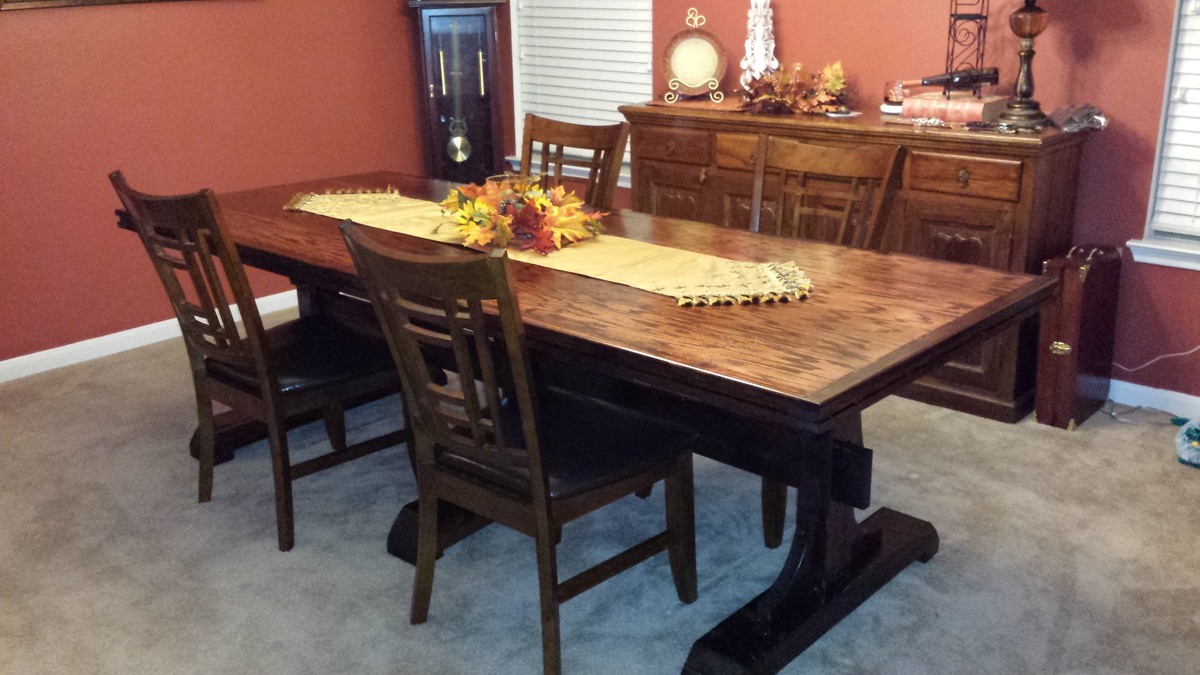
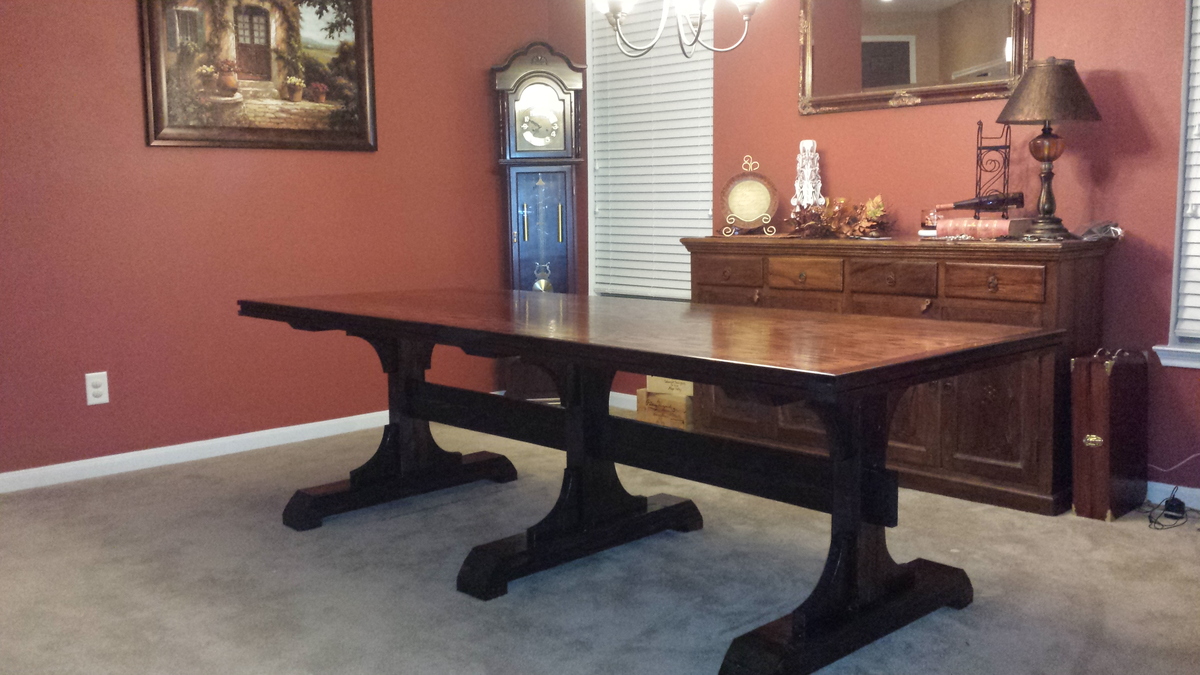
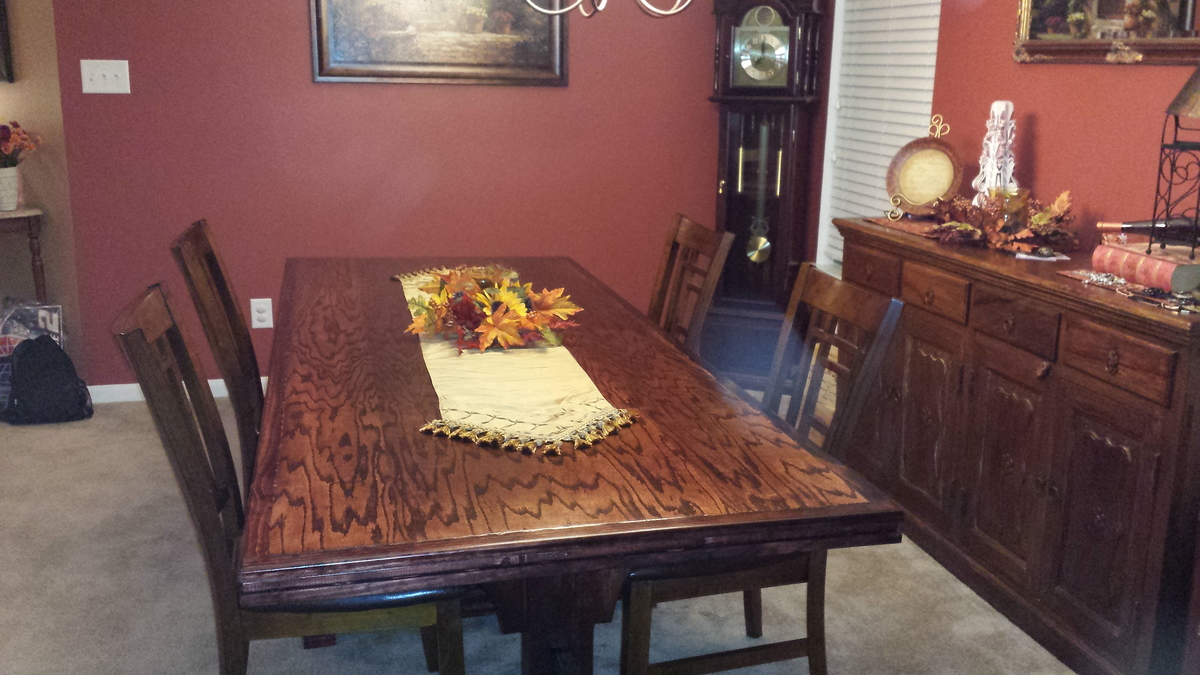
This beautiful table measures a little over 8ft x 3ft and made out of oak plywood and pine.
Instead of using individual slats for the main surface as in the building plans, I decided on one large 8ft x 3ft piece of oak plywood. I encased it in 2 inch pine and routed the top edge with a 1/4" round over bit.
I modified the queen size bed to a full and adjusted the dimensions of the bed accordingly. I used solid oak for the headboard posts and top boards. I used oak beadboard to match the Kentwood night stand I previosly made.
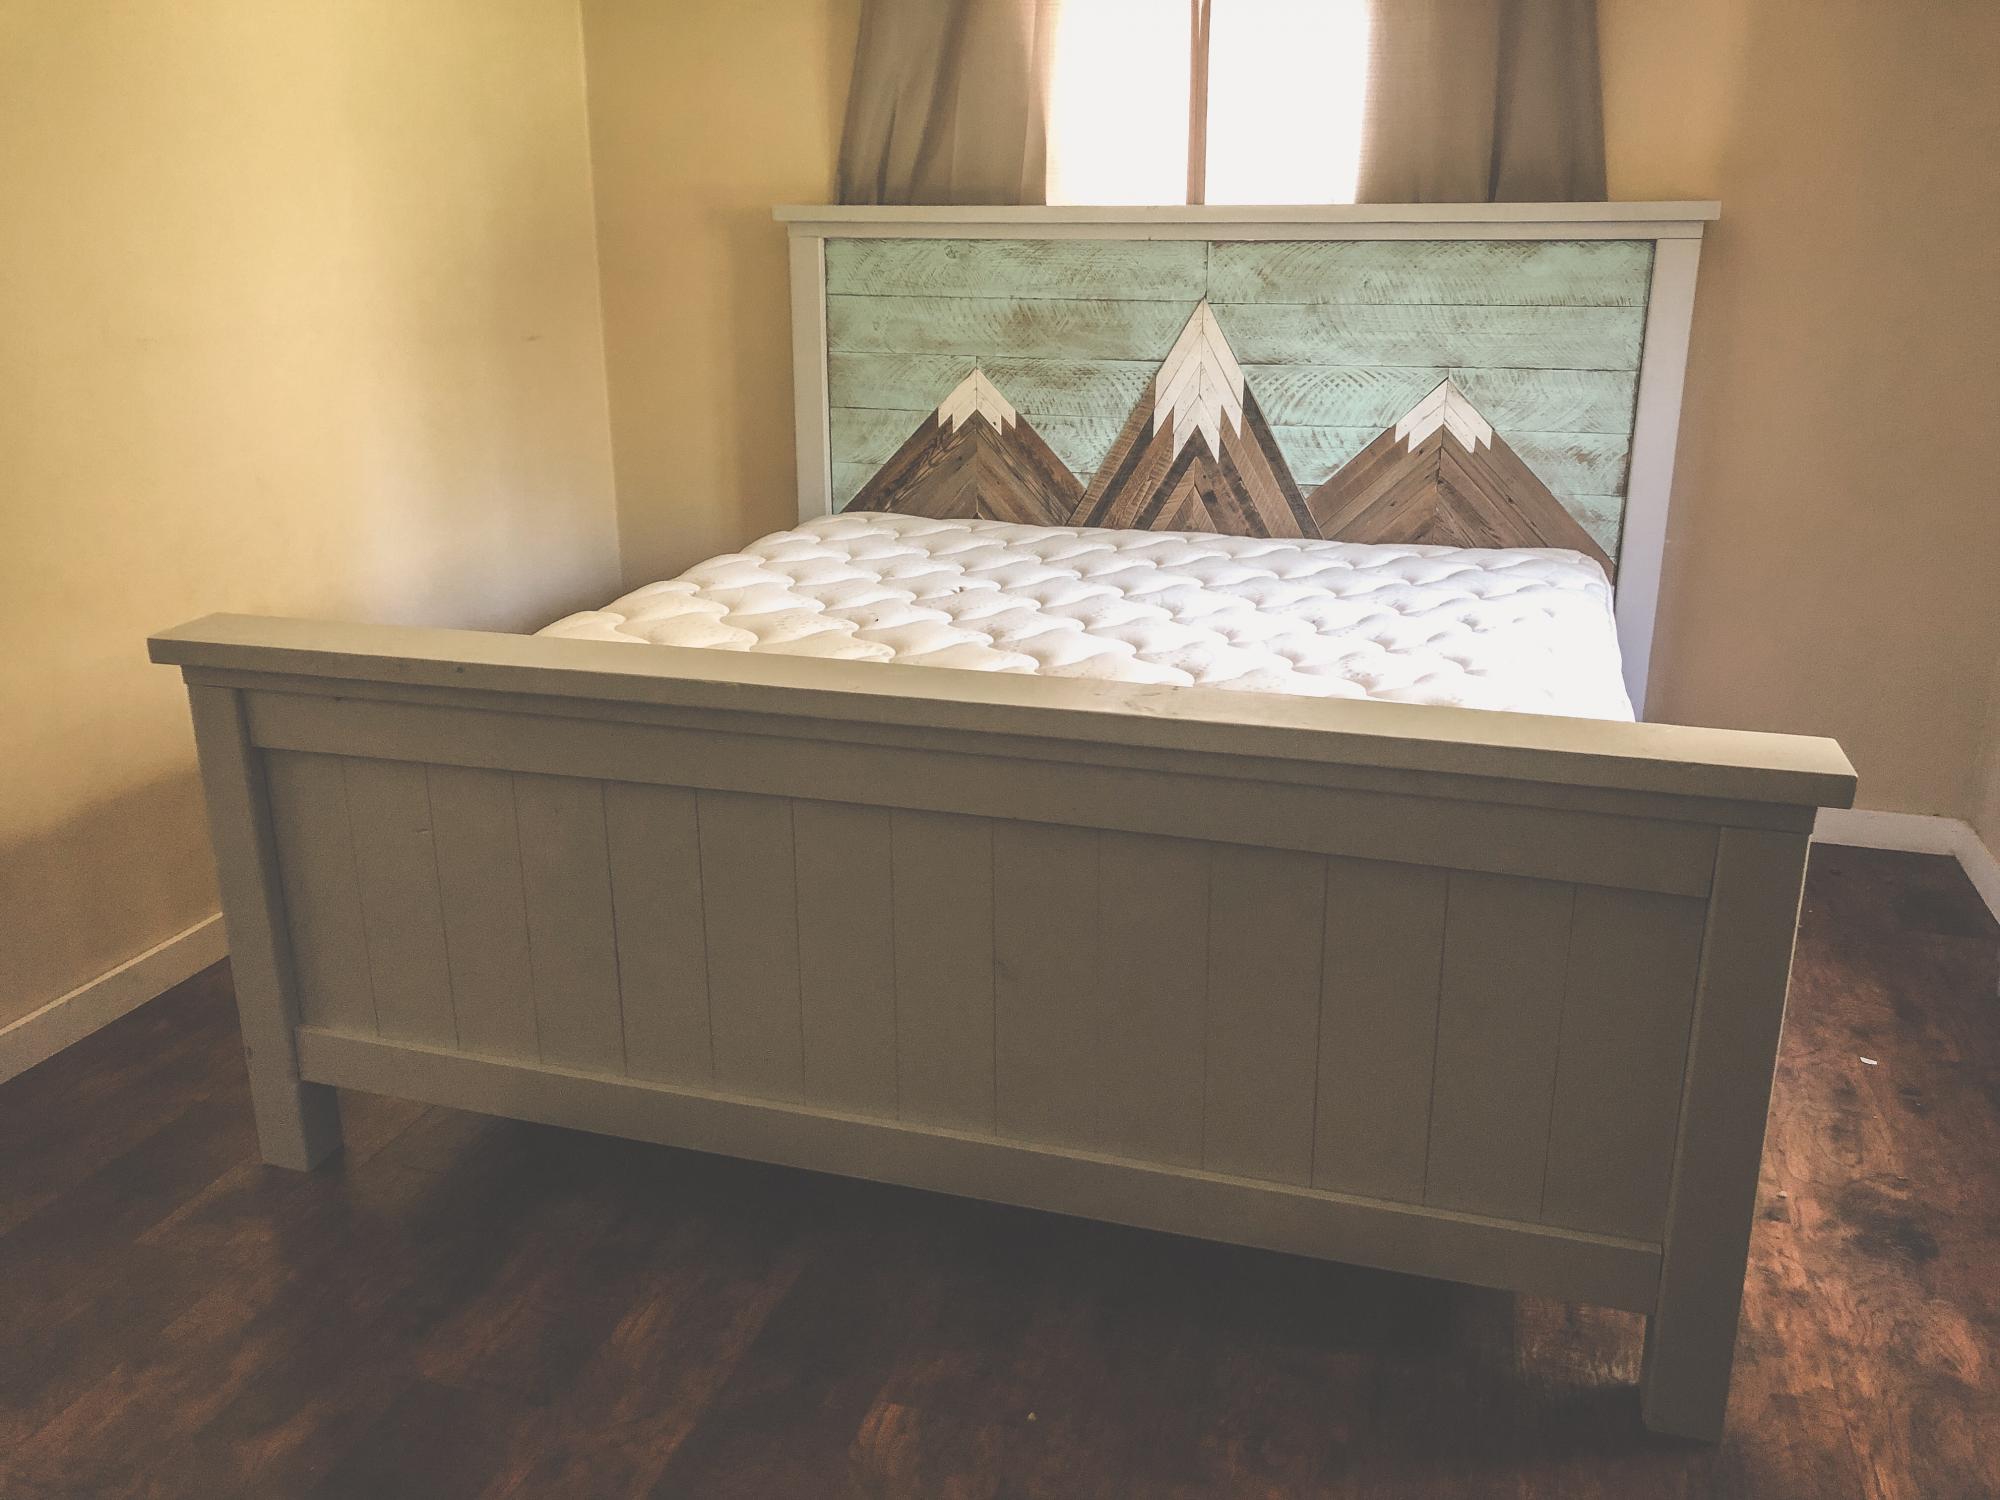
After numerous moves cross country, it was time for a new bed frame, so I was excited to find the time to try out the farmhouse king bed plans! I was lucky enough to get my hands on reclaimed lumber from an old dairy barn in the UP Michigan so that is what I used for the mountain design. I made the bed to plan, but replaced the headboard slats with the mosaic insert. I couldn’t be more thrilled with how it turned out!
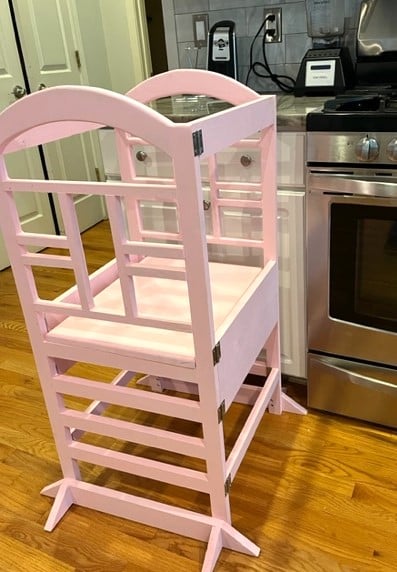
I loved doing this project. Having the space so open on the top half made me a bit nervous, so I used some extra pieces to fill in the sides. It took me longer than 6h to complete; but I had fun while putting it together, so things worked out well. Now I can't stop thinking about what to do next!
I used scraps, so these drawer organizers cost me nothing and took very little time. I painted the tops to match my cabinets, just because I could.
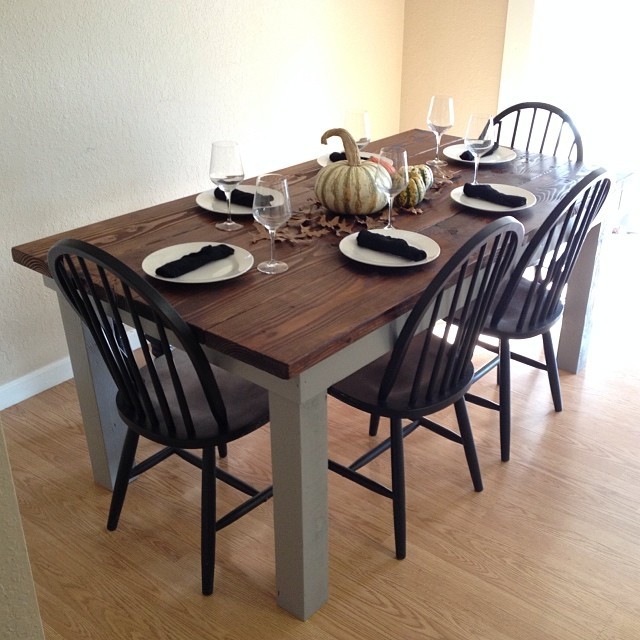
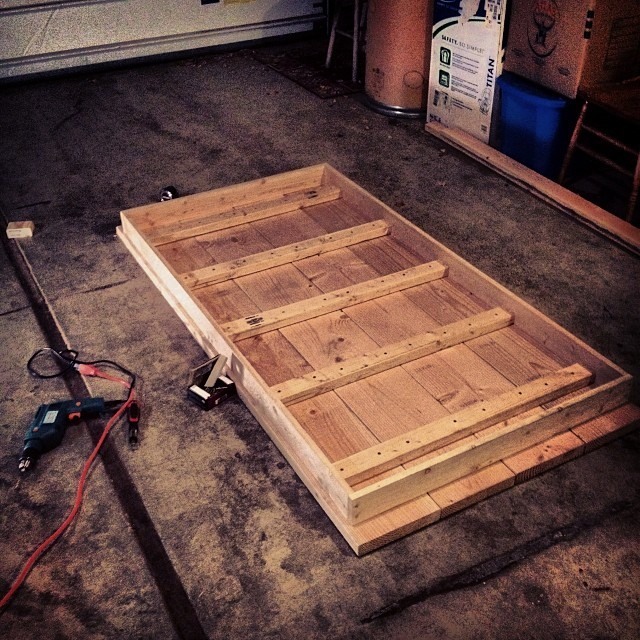
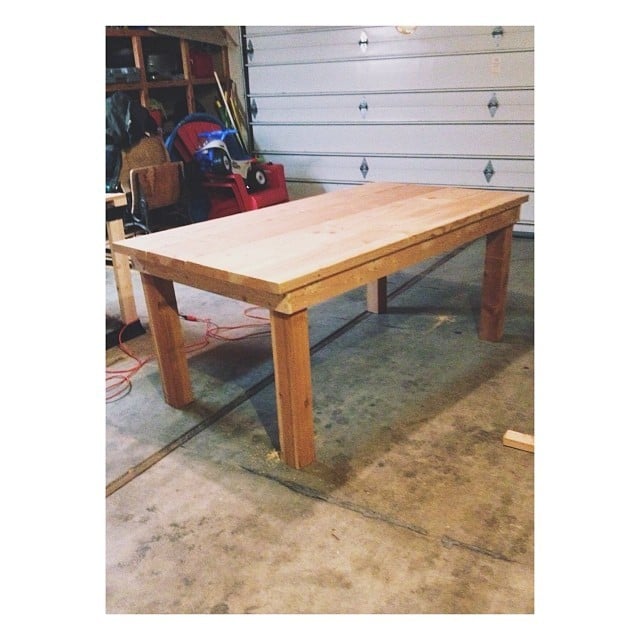
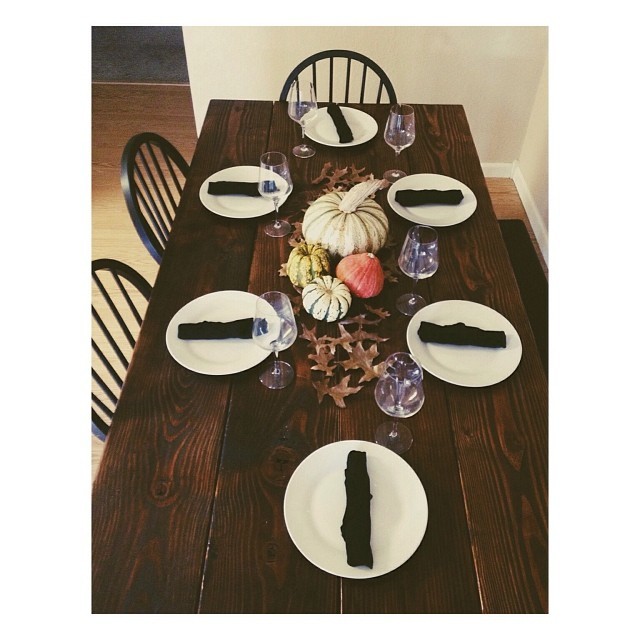
This was my first big project, so I opted to use these simple plans. I ended up making some changes on the fly at the lumber yard by switching the 2x4 legs out with 4x4s and the 1x10 top slats with 2x10s for added solidity. I also had to adjust the length of the table from 8' to 6' in order to fit into our dining nook. We painted the legs and skirts with Behr Anonymous Gray and the table top with Minwax Mission Oak Polyshades. We decided to use the 2 in 1 stain in the interest of time (needed to be done by Thanksgiving). The 2 in 1 didn't come out as well as I would've liked, but all in all it adds to the rustic feel of the table.... not to mention the process was an absolute breeze. The simplicity of the plans allowed me to make numerous easy adjustments to customize the table to our needs/wants.

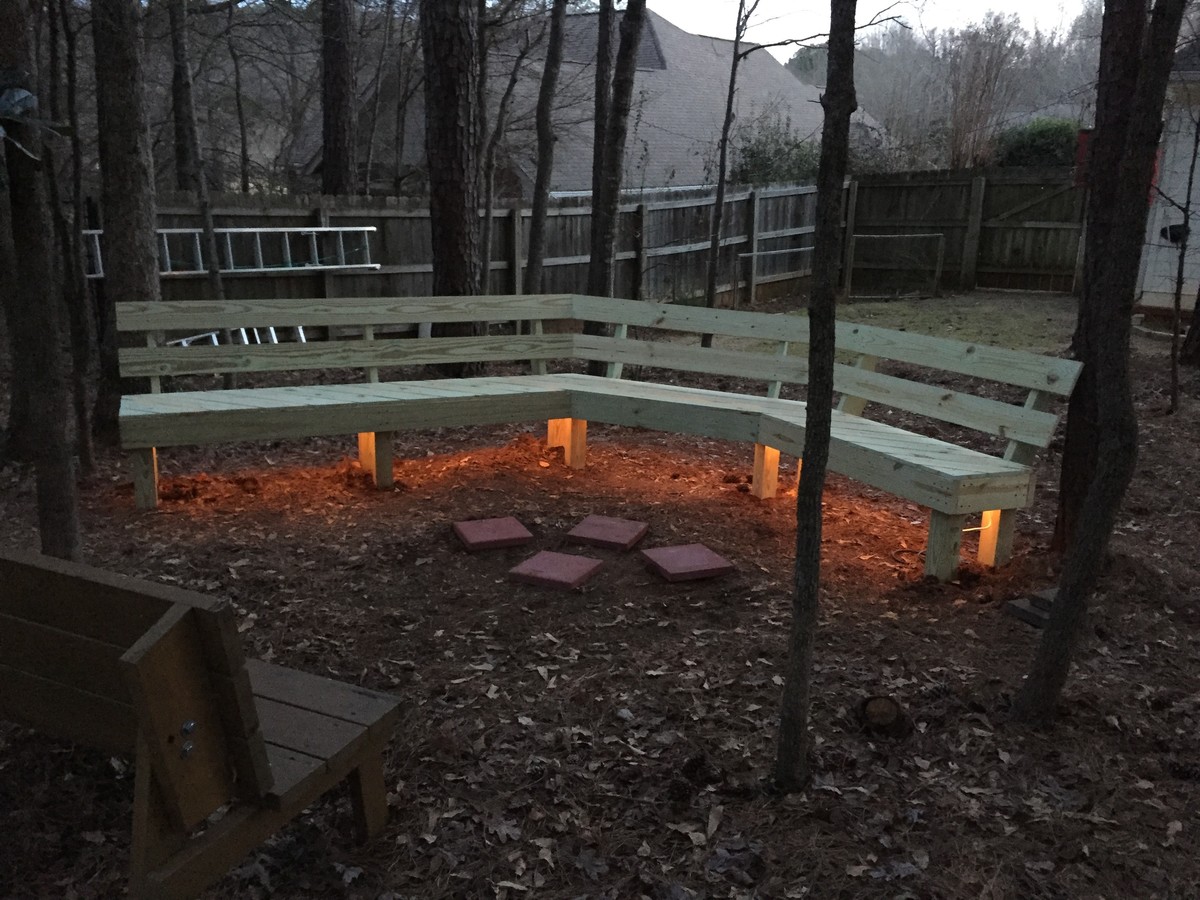
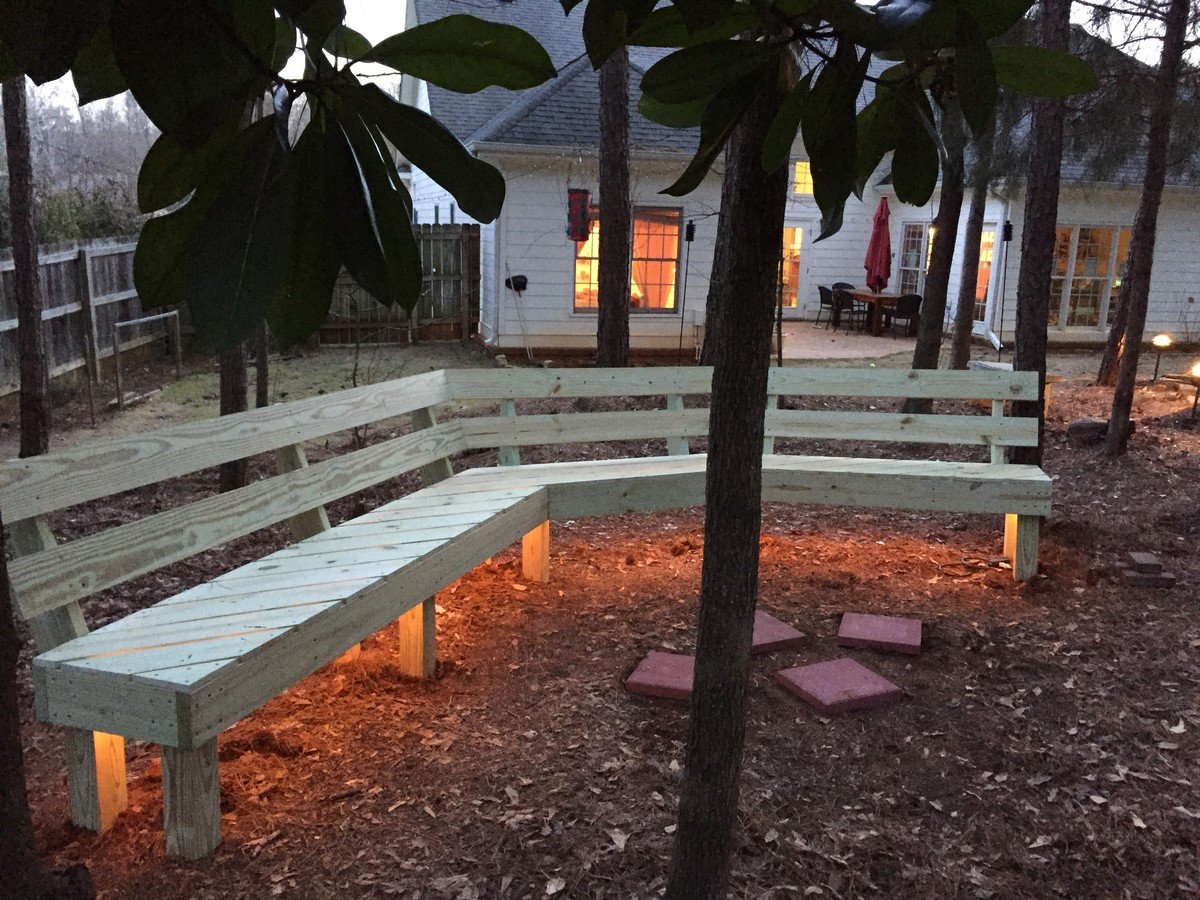
Modified the plans slightly to make a bigger bench, especially on one end. Added rope lights underneath for a cool effect.
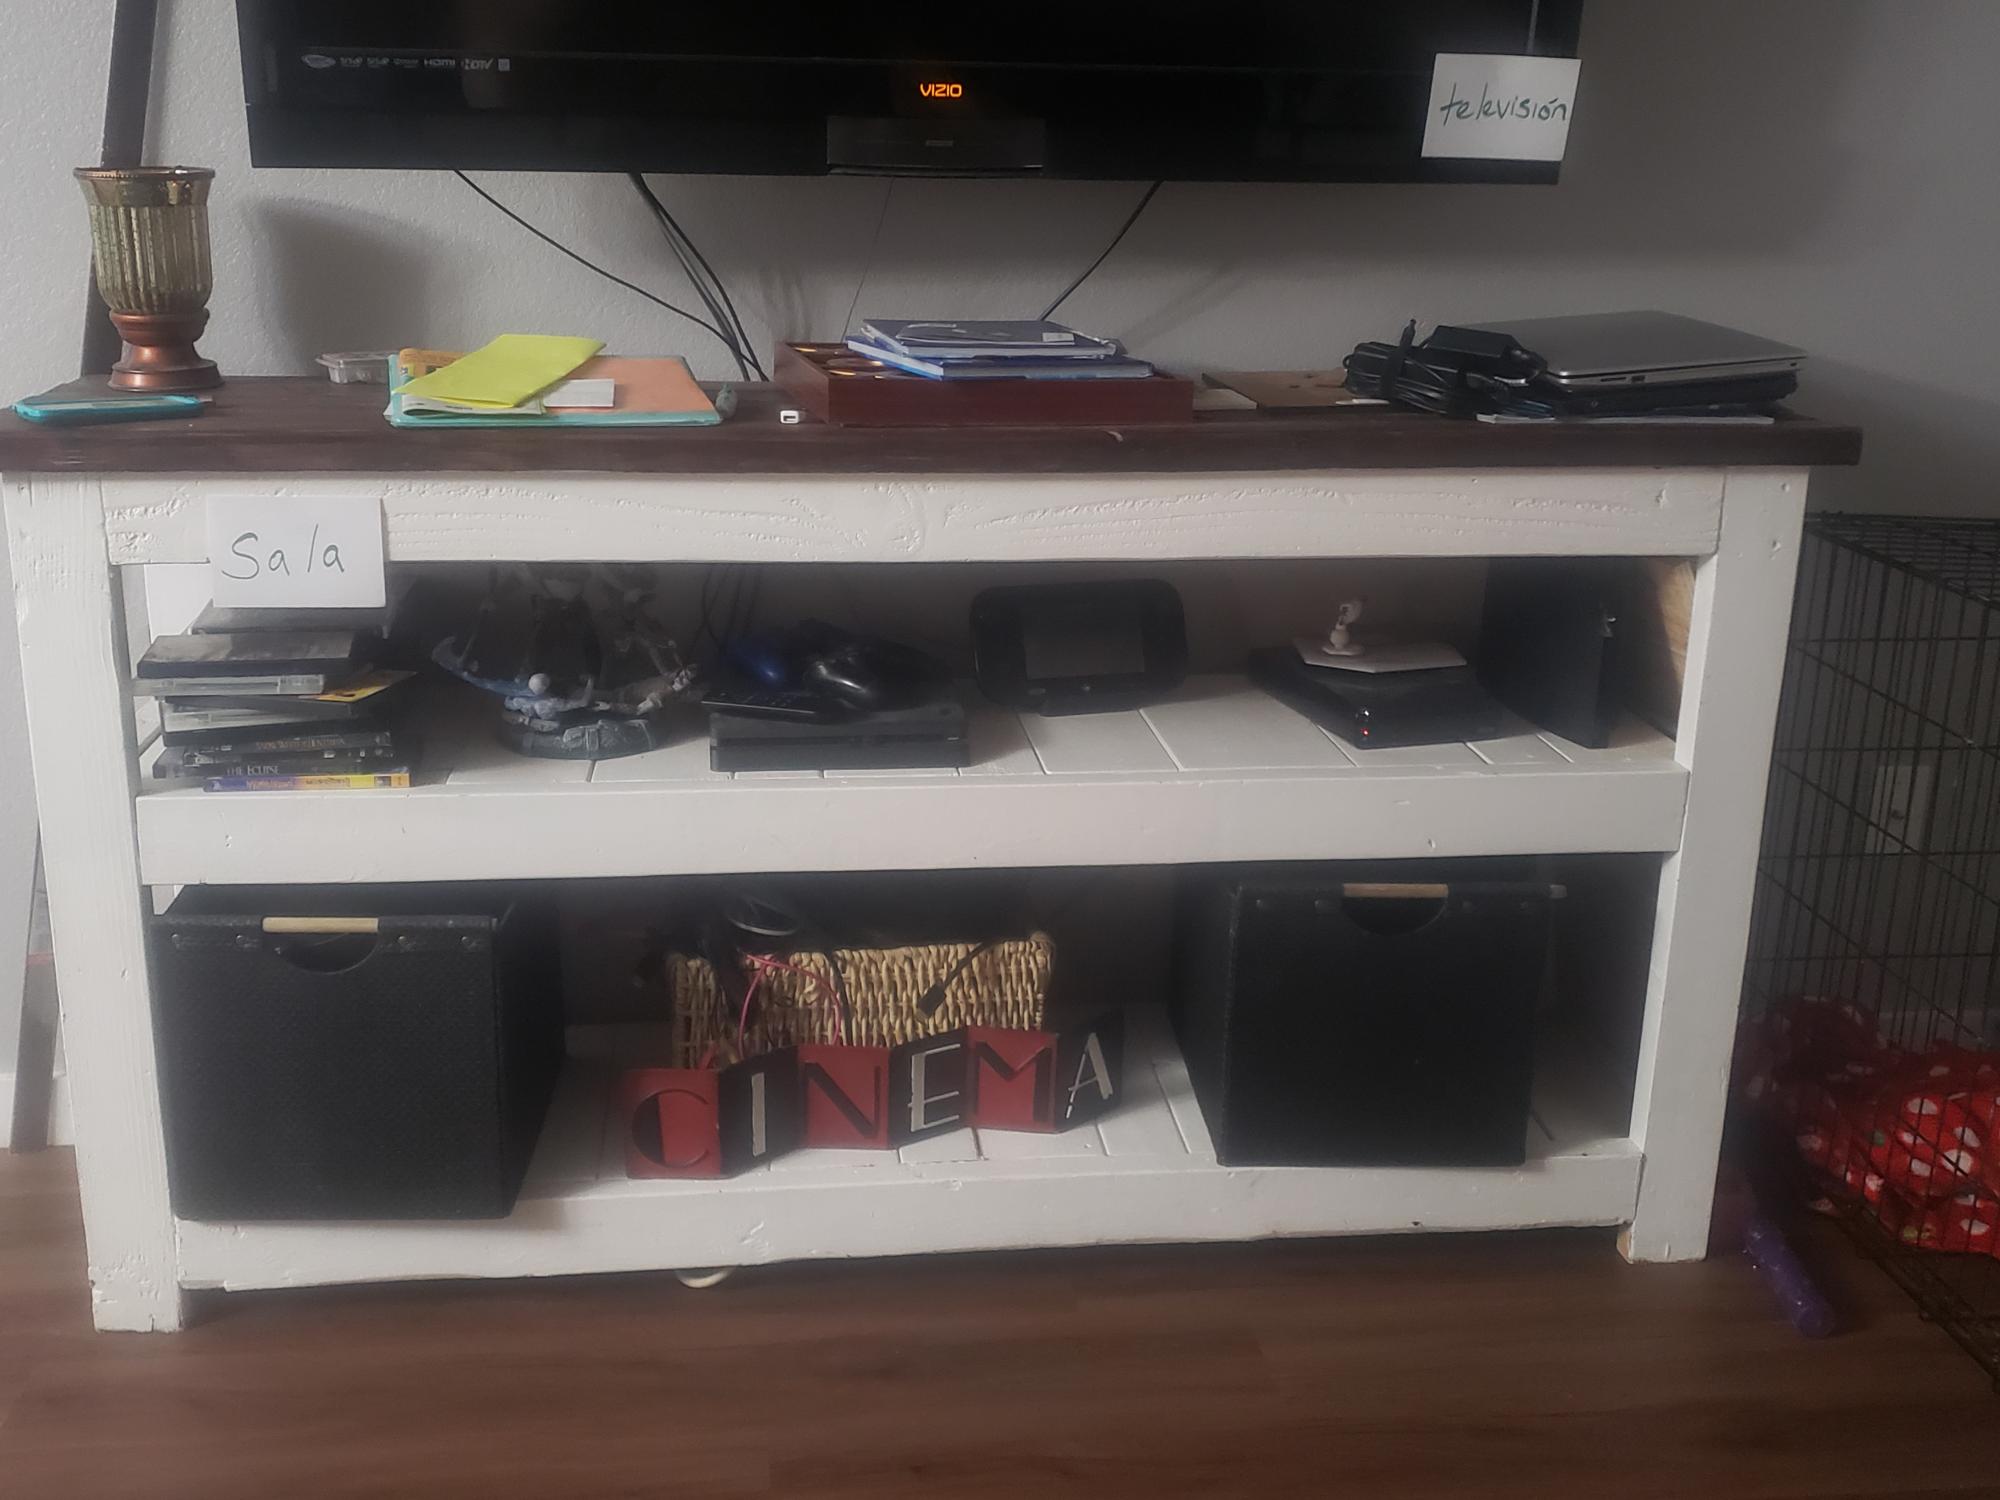
My husband broke out entertainment stand all out of glass. This is my very first project. All by my self. Inspired from being broke and have 2x4 laying around.

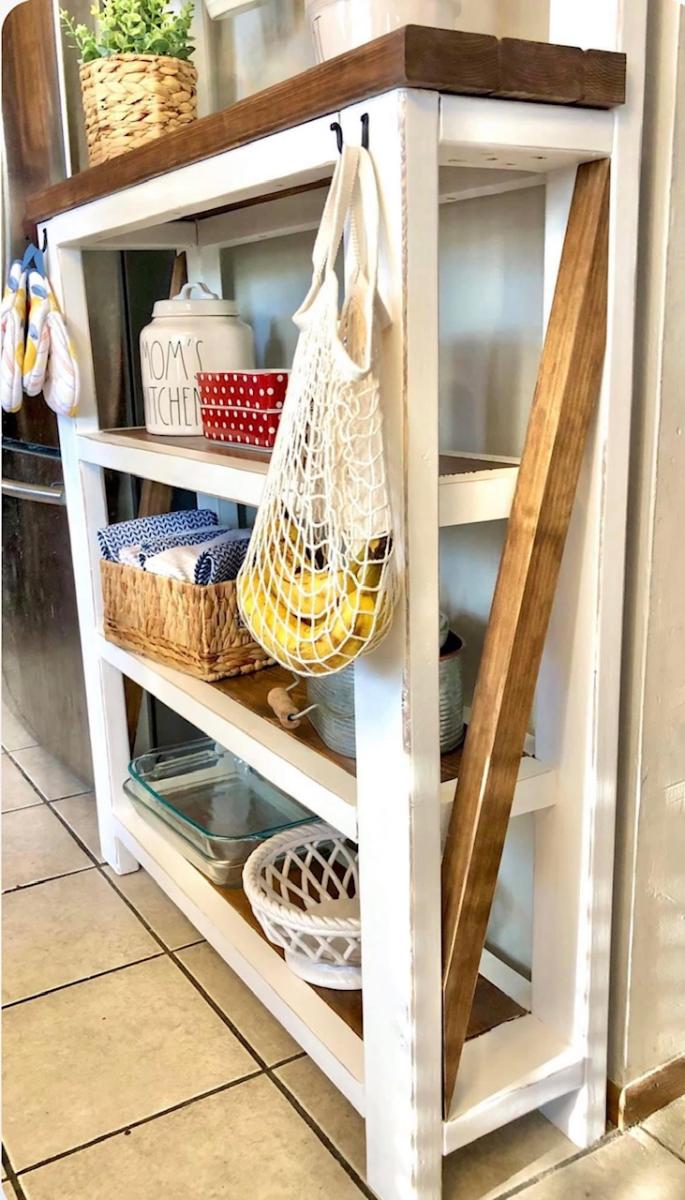
Thanks to you we were able to build my mom a shelf for her kitchen with a combination of two of your plans! My mom loved the top of the “Farmhouse Potting Bench” but also wanted shelves like the “Rustic X Console Table”. We combined the two and adjusted measurements to fit our wall space. We didn’t do a complete X on the side because we wanted it with one slant, but loved how it turned out over all!
Kayla


I modified the plans to make the top even with the counter, and added a cutting board to the top. The cutting board top is great for cutting veggies, then scooping the scraps right into the can. I also opted for the bead board instead of the raised panel on the door, and finished the door with quarter round to give it a more finished look. Finally I used trim on the base; I had to rip the trim to width to fit my 1x3 on the bottom.
Tue, 02/21/2012 - 16:45
Wow. I'm a little late, but this is the nicest trash cabinet I've ever seen. Nice work!
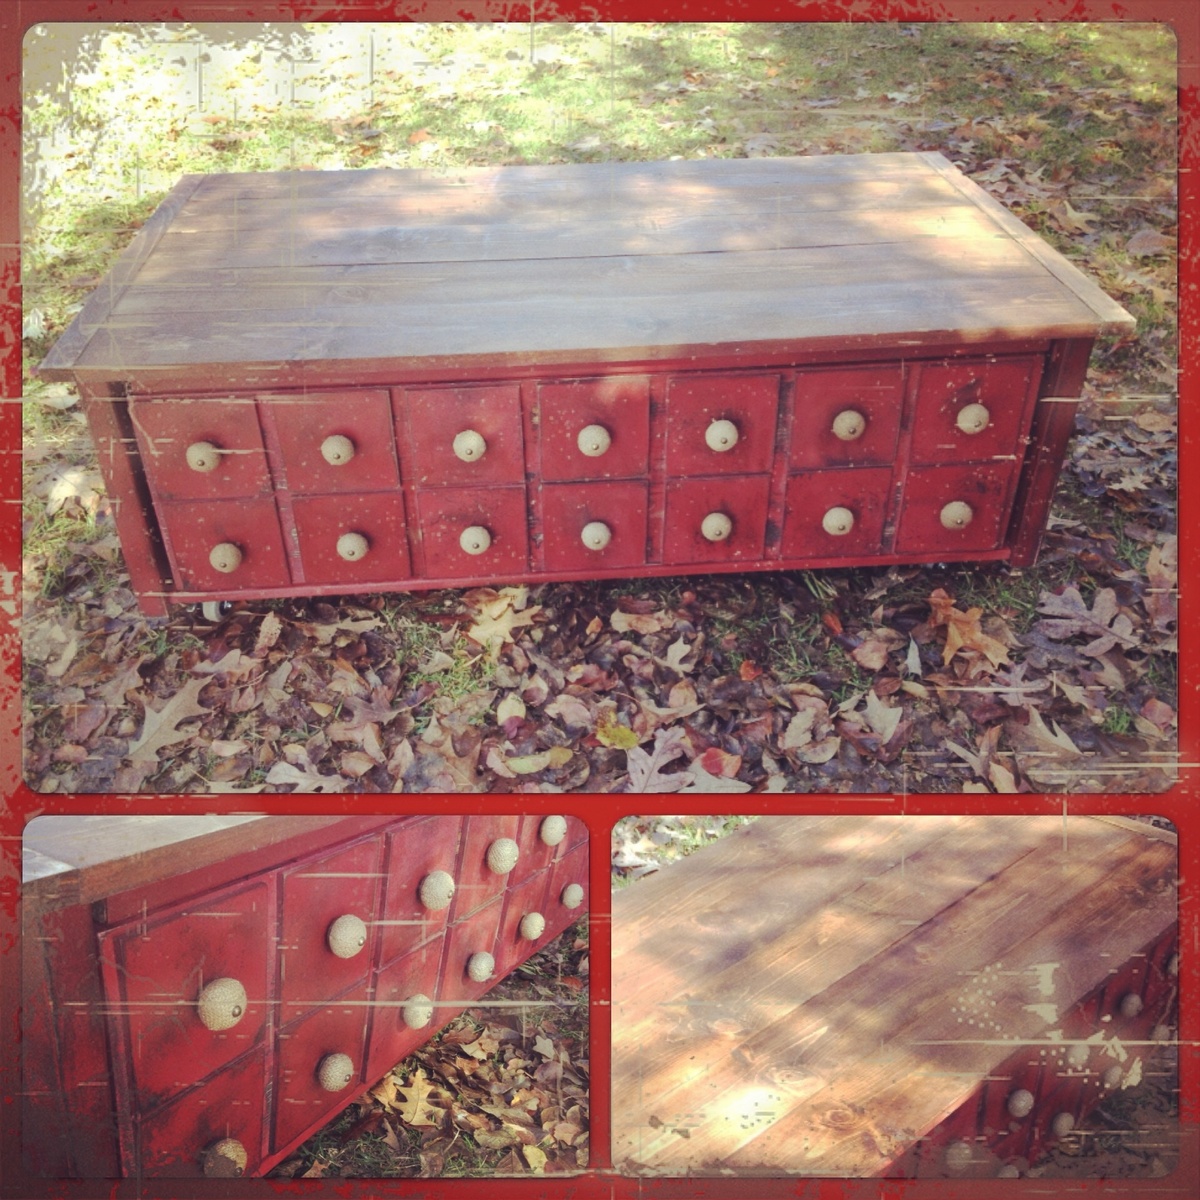
I built this apothecary style coffee table with a few modifications. I wanted the drawer to actually be attached to the table itself, so I attached two 1x3s (one on the front and one on the back) from the bottom inside of one side to the other, if that makes sense. I also attached a 1x3 to the bottom inside of each side vertically between the other added 1x3s for extra drawer support. I used my kreg jig for all of this. I then added drawer slides. I attached the casters to the new added bottom frame where the vertical and horizontal 2x3s meet and viola...an apothecary coffee table with a sliding drawer. I also added a planked back using some extra 1x4s I had in the shop. I wish I had taken a picture of the back, but I forgot! I am horrible at remembering to photograph all my projects, and this table has since gone on to be with a happy home!
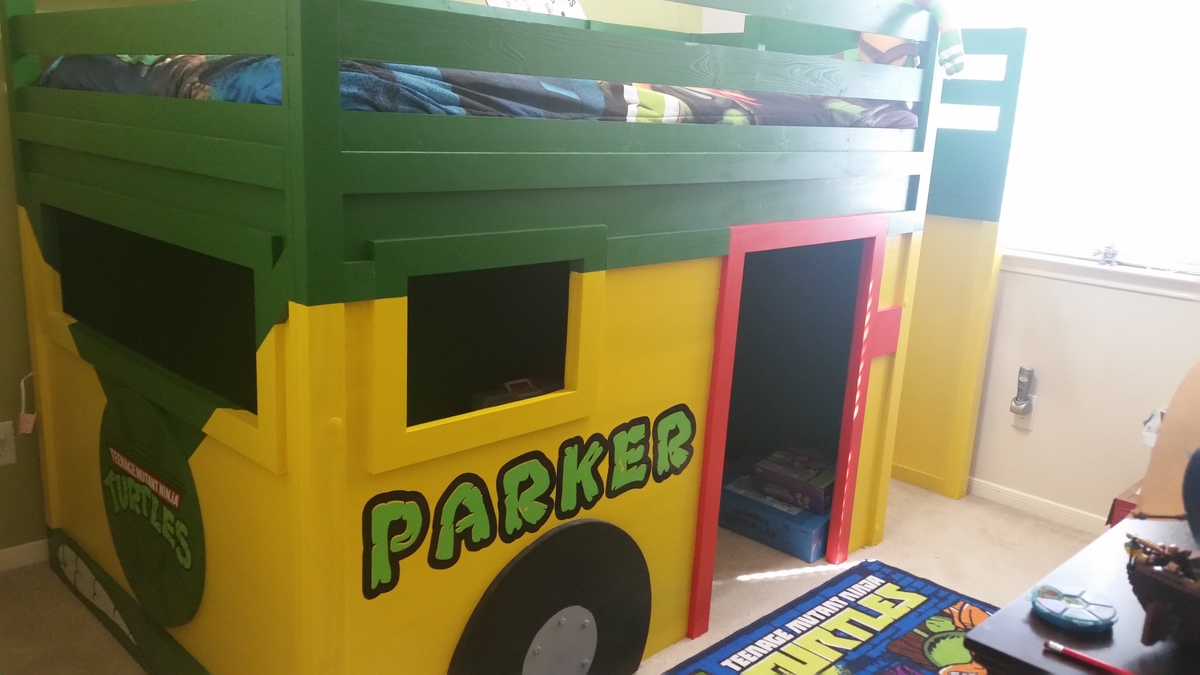
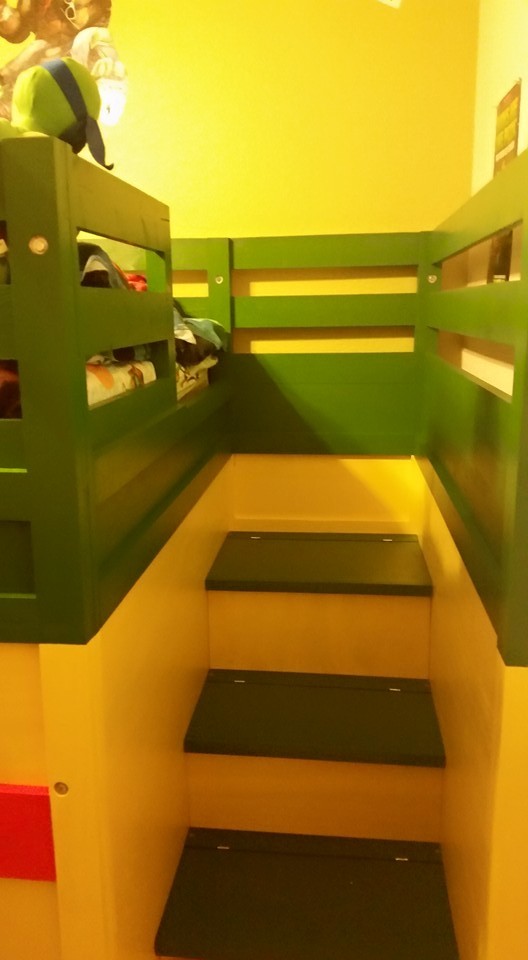
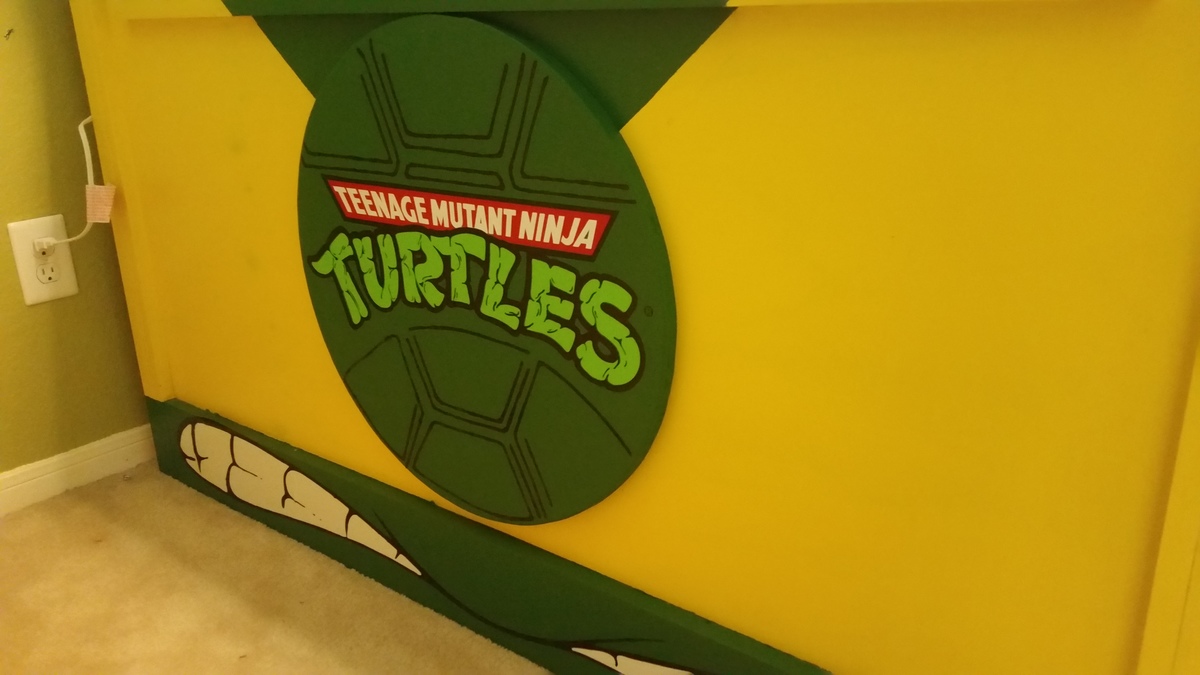
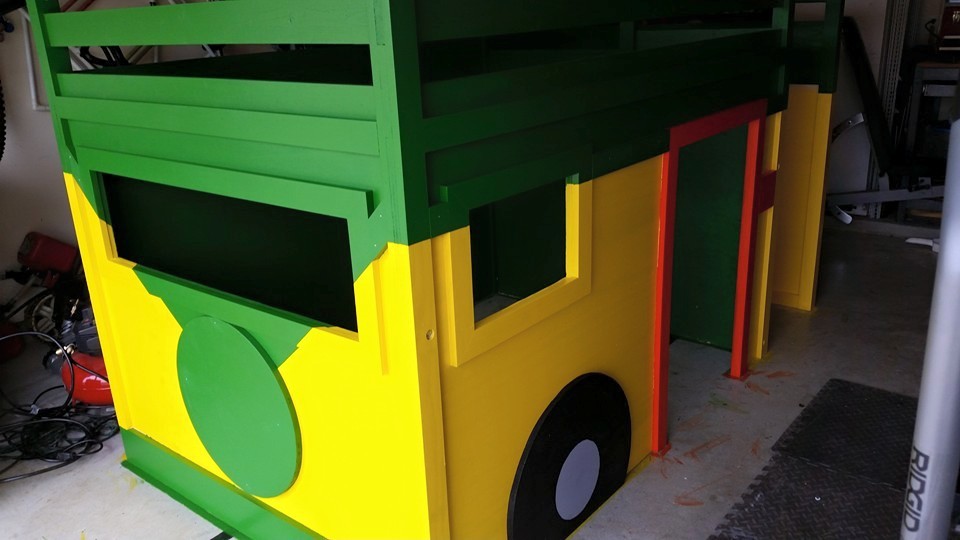
This project was a blast to build!!!! I modified the fire truck loft bed by changing a few of the exterior accent pieces. I also built it to fit a full mattress in stead of the planned twin. I did this by adding additional slates for support. I just recently was able to finish it completely when i found someone who could make the decals. Hope you all enjoy and feel free to ask any questions. Also I used cabnet grade plywood so mine cost was a lot more expensive.
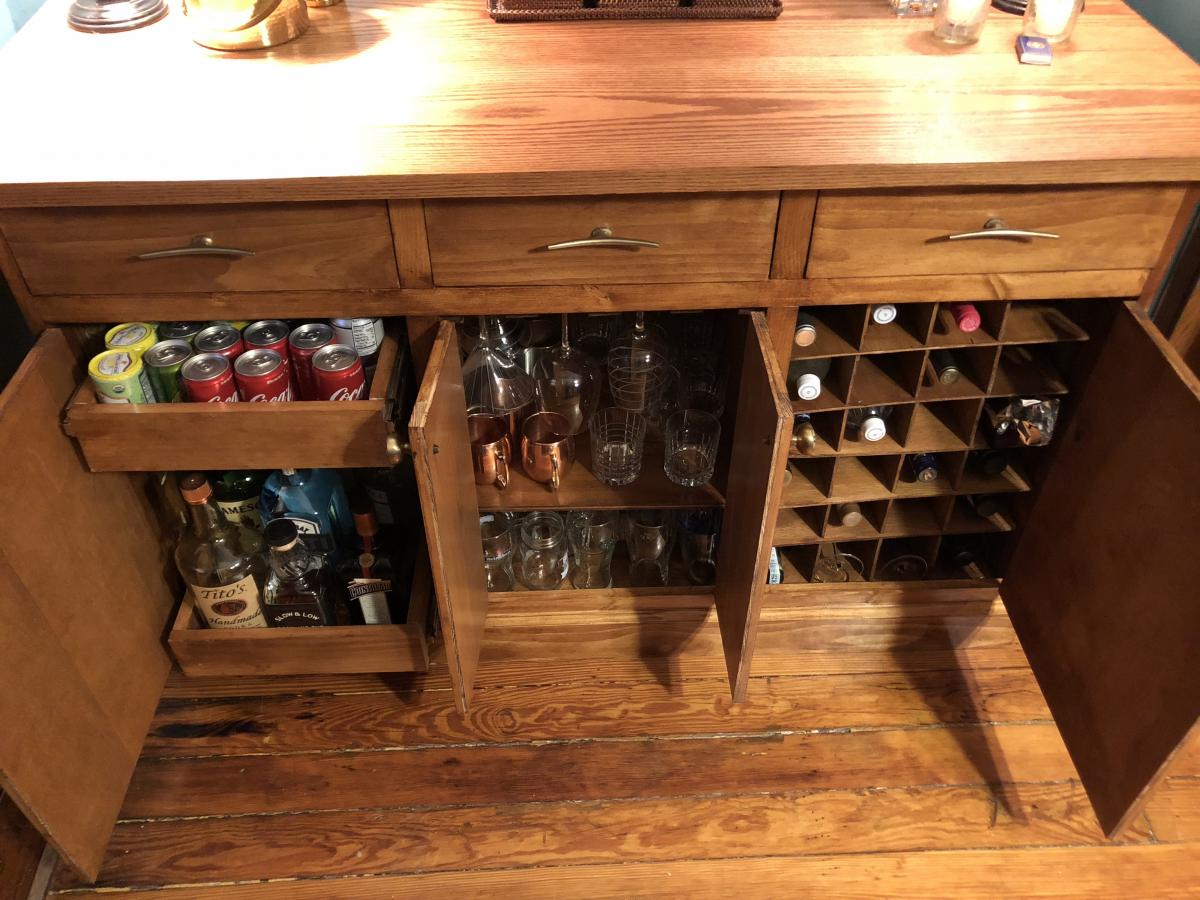
Made from a combination of Ana White plans to build the ultimate home bar! I used the Rustic Sideboard / Buffet Table and Modular Bar Wine Grid Hutch plans for this custom build
