Community Brag Posts

1st time project!

Submitted by The_big_al on Wed, 06/24/2015 - 19:10

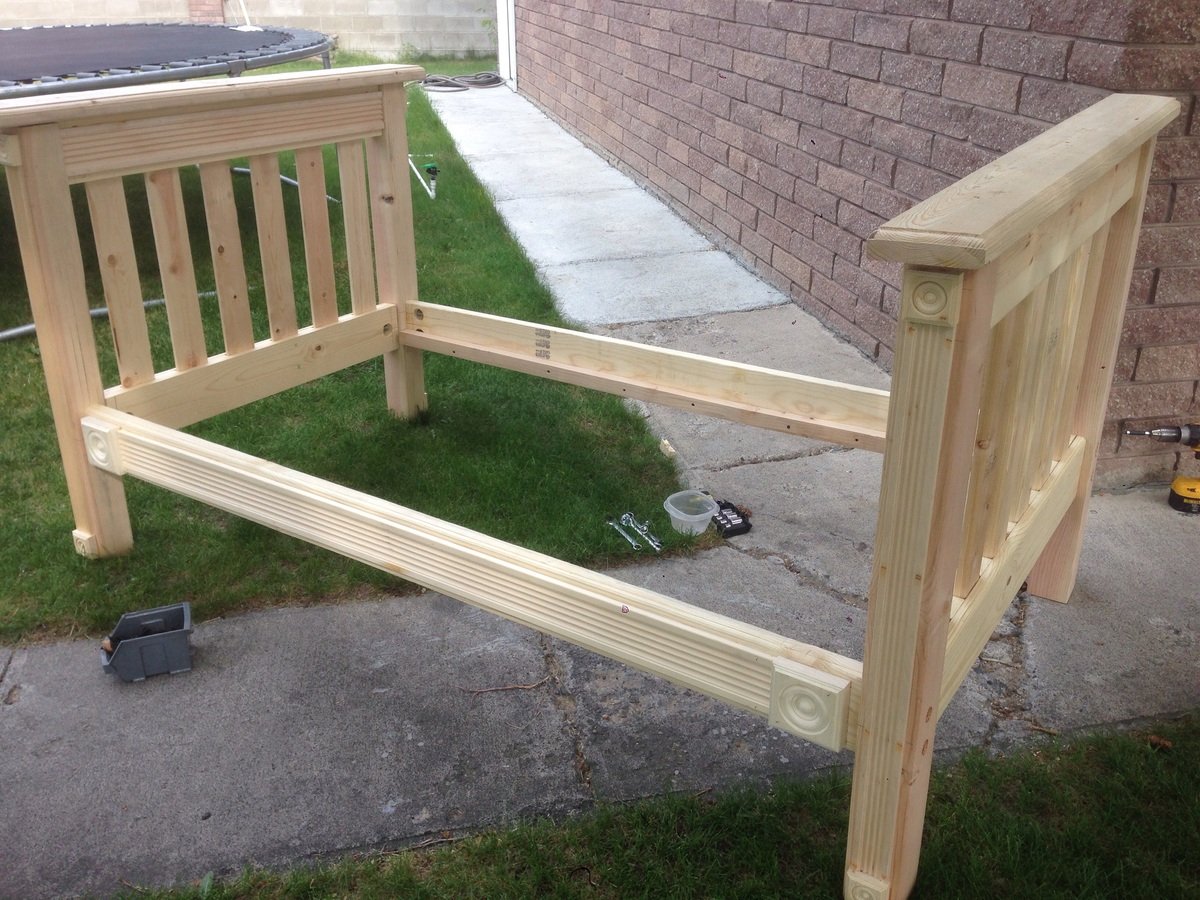
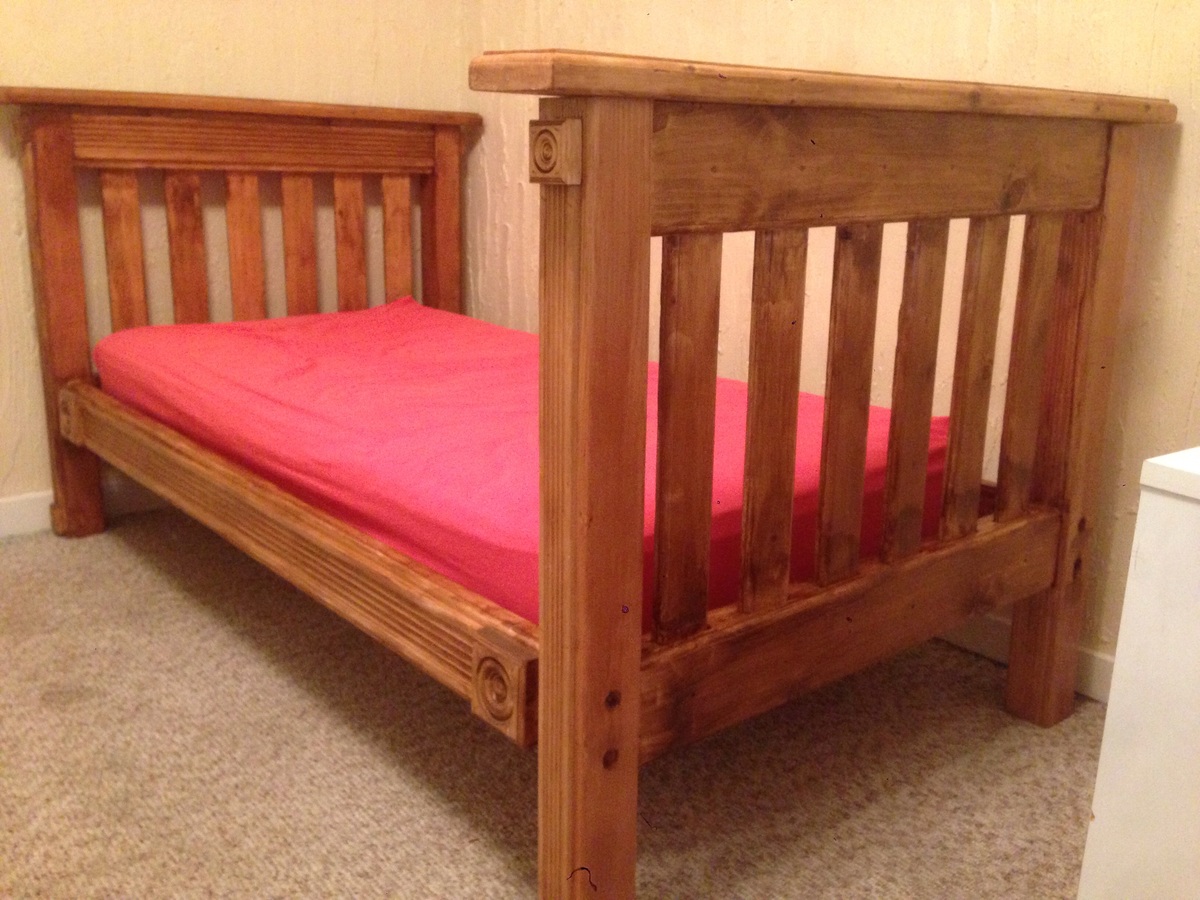
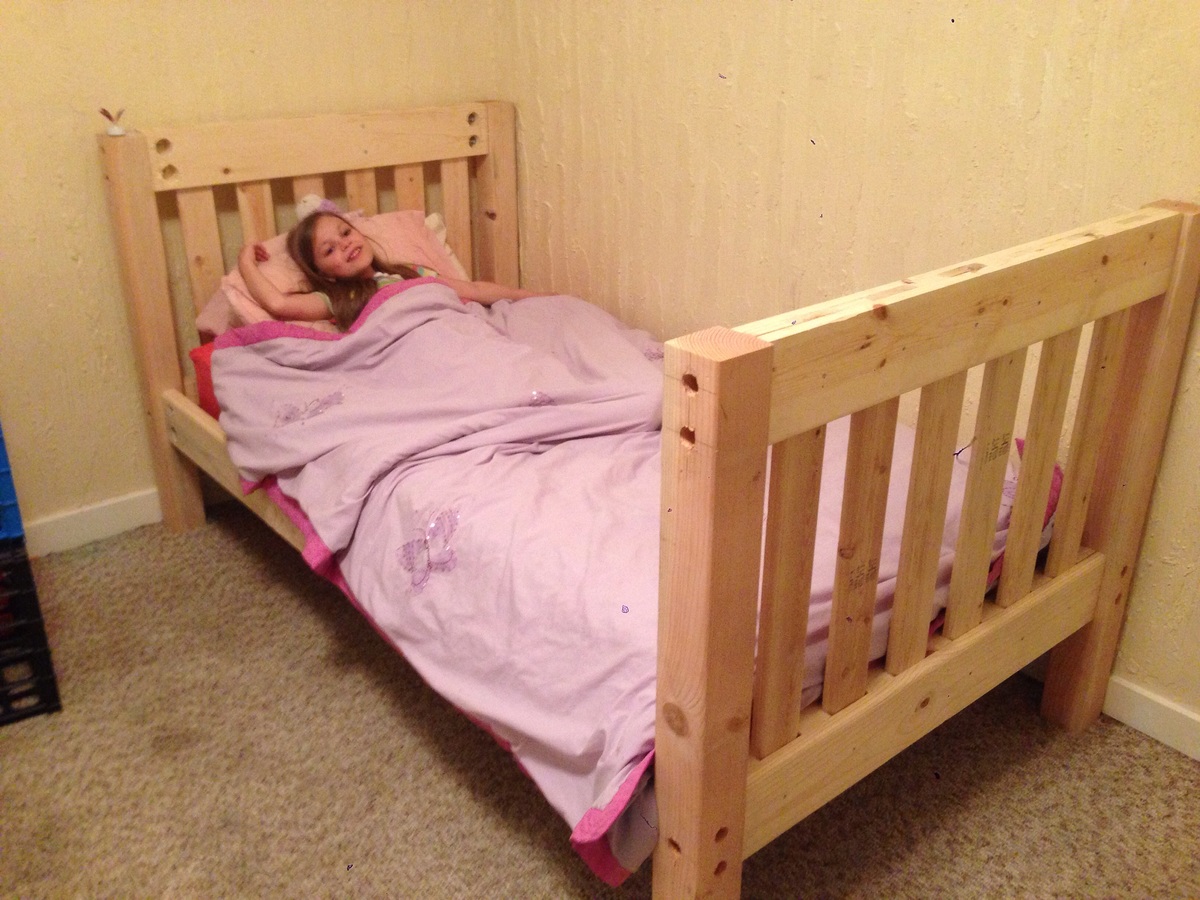
This was a pretty easy build. This was my first project and this looked like a pretty straightforward plan. I read over it several times before deciding what to do. I didn't like that it was held together using only screws. I anticipated that these beds will be moved several times over their lifetime and I did want to hassle with the screws stripping out the wood. Instead I used a 3/8 bolt and washer/nut set up so I could take the bed apart without worrying about stripping out the wood with screws. This necessitated drilling several large unsightly holes at the connection points. To help disguise this I trimmed it out using door casing and finished it out by staining the whole bed. The result was a classic look that will last my daughter's lifetime.

I will note that I changed a few parameters. I routed and the edges including the slats with a rounded corner edge. I used a 2x6 for the top cap of the head/footboards. With the addition of the trim work and bolt hardware, this did change the overall cost of the project. Total cost was probably close to $200. Had I stuck strictly to the plans I would have been closer to $100.
Built from Plan(s)
Estimated Cost
Because I changed a few parameters total cost was a bit higher. I think it was about $200 including hardware and stain.
Estimated Time Investment
Weekend Project (10-20 Hours)
Finish Used
The Simple Bed plans work great. They were easy to follow. They were also simple enough I could make modifications without too much issue.

To make the bed I made, I made two headboards (in anticipation of making a bunk bed). Instead of using screws to hold the bed together I used a 3/8 4" bolt and nut combo. 4 bolts to hold the 4x4 posts to the head/footboard and 8 (2 on each end) to hold the side rails. I countersunk the bolts into the posts to hide the bolt head. I drilled 1 1/2 inch holes on the inside of the side rails and headboards to access the bolts and attache a washer and nut. Once tightened,the bolts holding the posts to the headboard will never have to come apart. Only the bolts for the rails have to be left accessible to take the bed apart for moving. However I was then left with huge unsightly holes in the outsides of the side rails and the insides of the head/footboards. I was going to leave it thinking it wouldn't look that bad but after assembling the bed I realized how unfinished it would look. That is when I decided to add the trim work which not only really made the bed look finished it hid all holes I had to drill. I did leave the holes in the backs of the posts uncovered since access to them is needed for assembly and dis-assembly.

Dimensions for the holes were calculated based on using the 1x6's in the headboard and the 2x6's in the side rails. If you want exact dimensions I can give you those. Just email me, however it was simple enough to figure out where to place them. The trickiest part is getting the holes drilled in the posts to line up with the headboards and rails.
Recommended Skill Level
Intermediate

Love this nightstand

Submitted by ehrobson13 on Thu, 01/11/2018 - 11:39

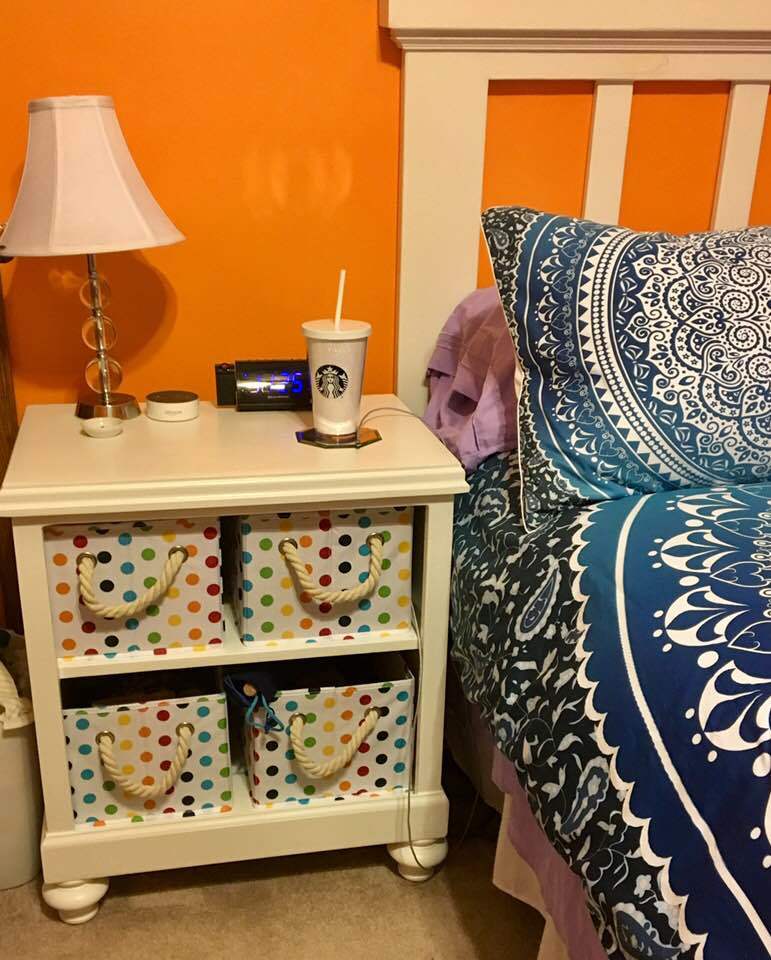
We were looking for nightstand that would match our new mantle moulding headboard and stumbled across these plans.  It was a cinch to build.  I adjusted the height and width up a bit, as we have a platform bed that is higher than most nightstands.  It turned out beautifully!  
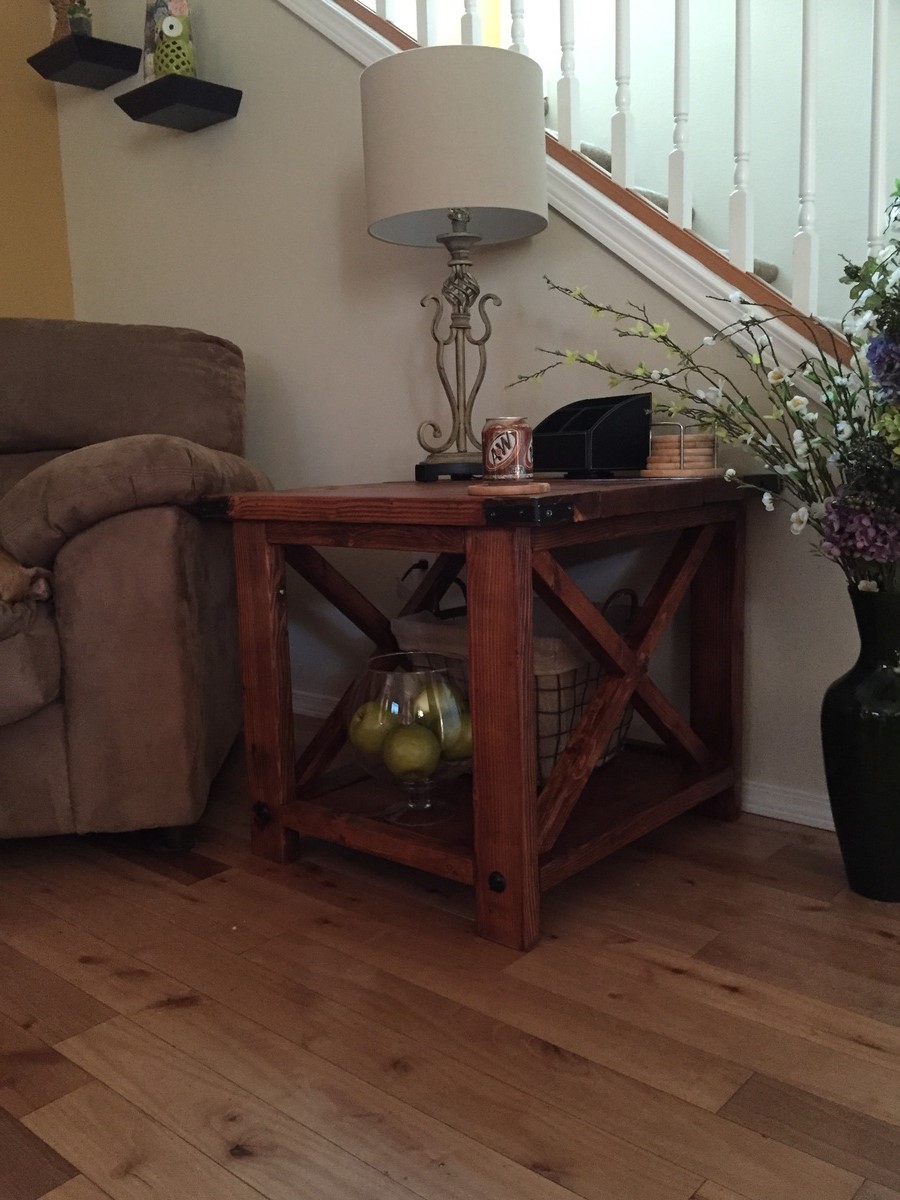
 

I also made a few modifications and additions, for my own purposes.  I cut out a square in the backer board and mounted a charging block to the underside of the top piece.  That way, my phone, kindle and fitbit charging cords can be tucked away in the storage bins and I don't have wires all across the top. And I purchased a piece of thin plexiglass that I'm using to protect the top of the table.  It looks great and will keep any coffee or water rings/spills from damaging the stand's surface.


Also, hardwood plywood is a BEAST.  Good gawd, the splinters are a nightmare.  You HAVE to have leather or some other really thick gloves.  But there are just some things that are tough to do wearing gloves. So for the second nightstand, we put a coat of primer on the sheet of hardwood before we even started measuring and cutting.  That has helped so much with the splinters.  


Built from Plan(s)
Estimated Cost
$85
Estimated Time Investment
Weekend Project (10-20 Hours)
Finish Used
2 coats of primer and 3 coats of latex semi-gloss
Recommended Skill Level
Beginner

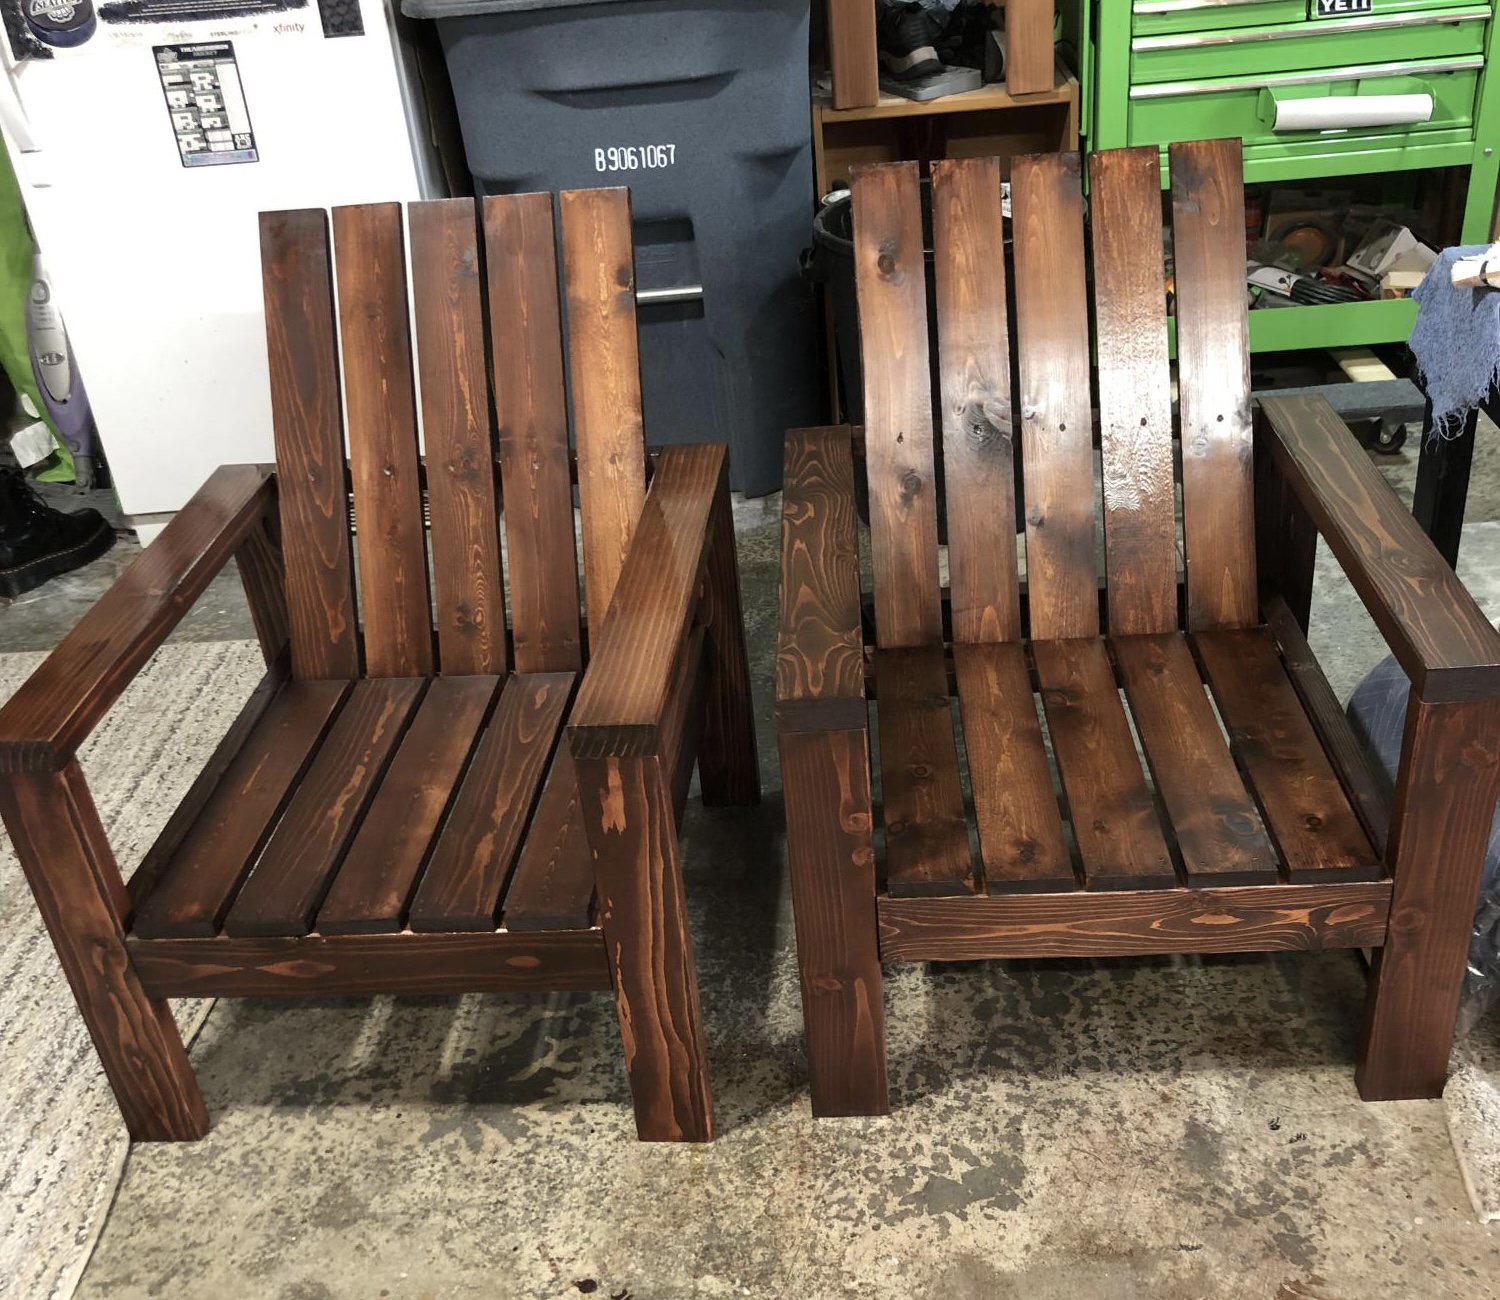
Lawn Chairs

Submitted by Anonymous (not verified) on Tue, 12/28/2021 - 12:06

Built these for my daughters new home

Built from Plan(s)

Comments

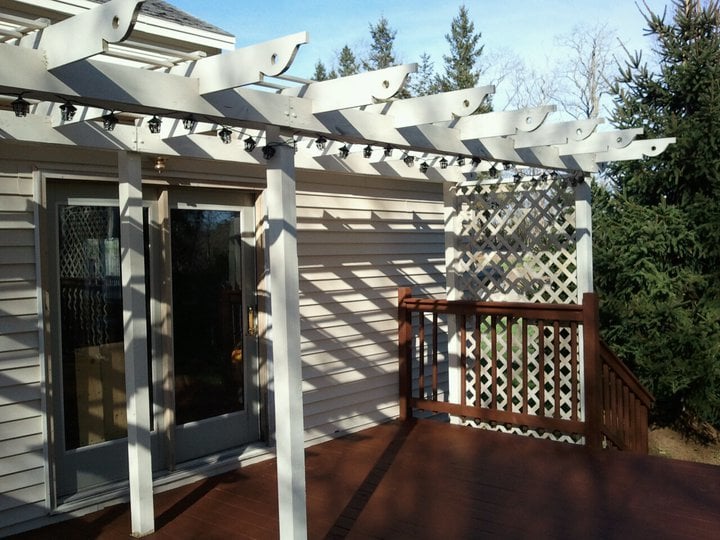
Modified Weatherly Pergola

Submitted by ColleenM on Tue, 05/10/2011 - 09:15

I've wanted a pergola for a long time. I liked some parts of the Weatherly Pergola, but needed some different aspects because of my deck, property and locale. I did some research, laid out a modified design and plan - and voila! Easy as pie - you just need 2 people (or more) because of the weight of the cross beams support. I did it myself using clamps, but I don't recommend it.
My current project is designing cabinets and a bar for an outdoor kitchen to go under the pergola! :D

Built from Plan(s)
Estimated Cost
$500
Estimated Time Investment
Weekend Project (10-20 Hours)
Finish Used
I used the same exterior paint that I used on the house, so it would not appear as this large dark looming thing on an already dark deck. It's a Valspar exterior satin paint, watered down to be more like a stain and sprayed on (2 coats).
Recommended Skill Level
Beginner

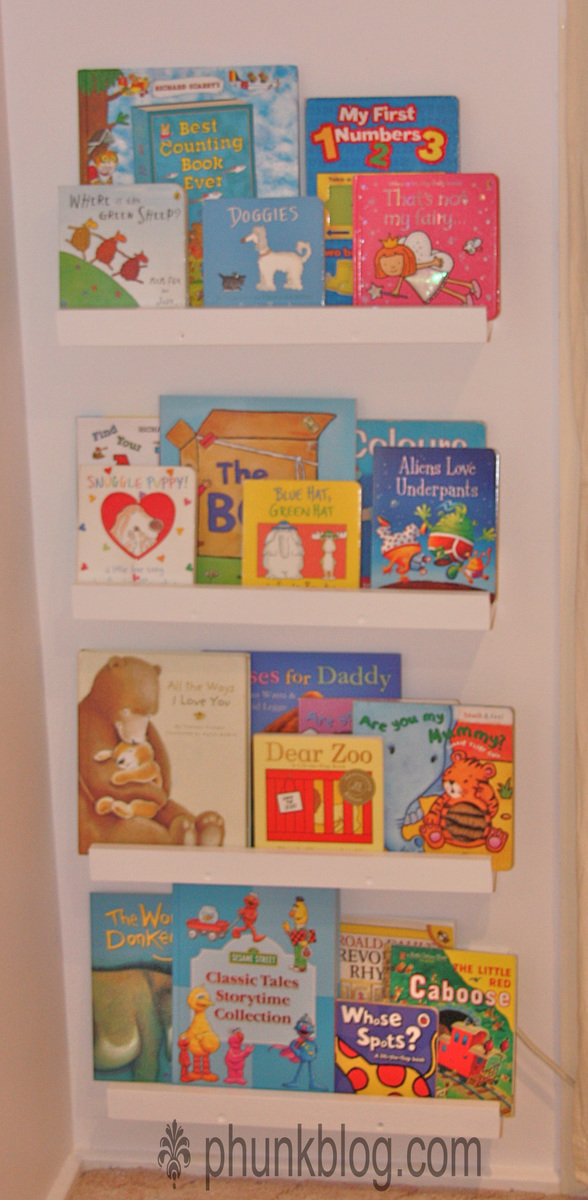
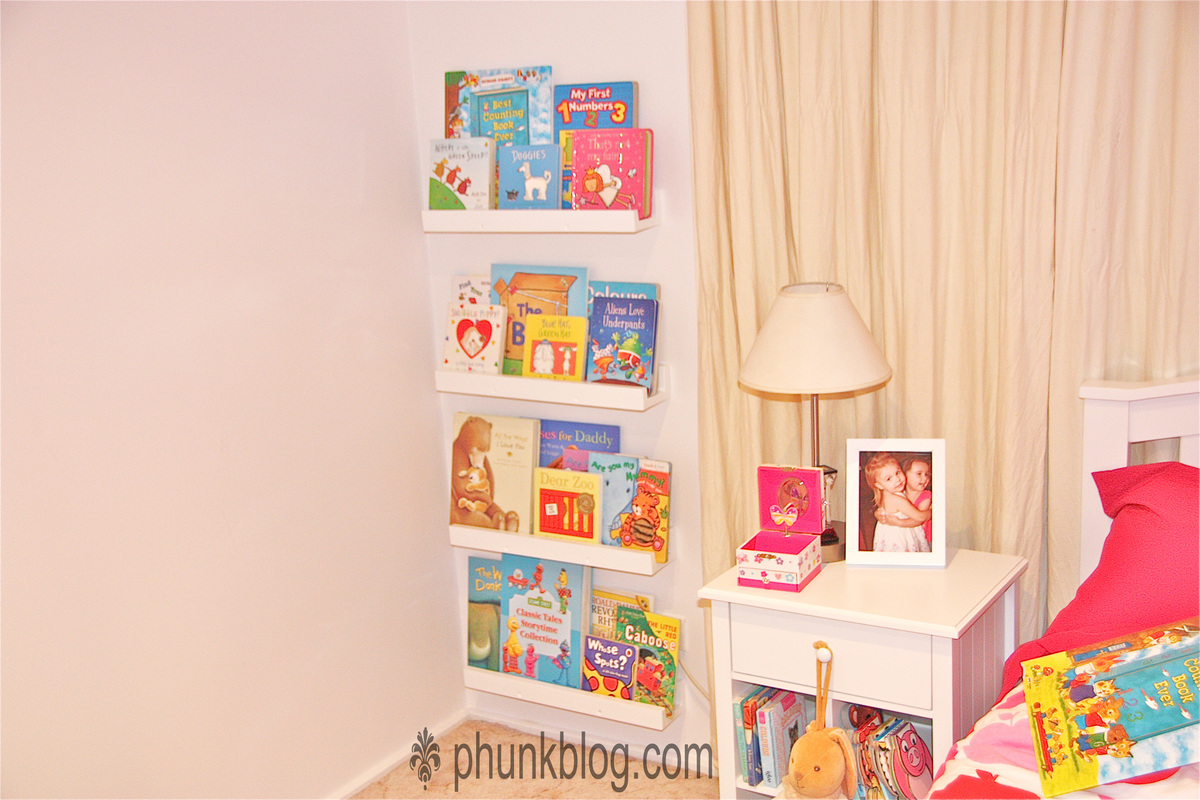
{mini} ten dollar ledges

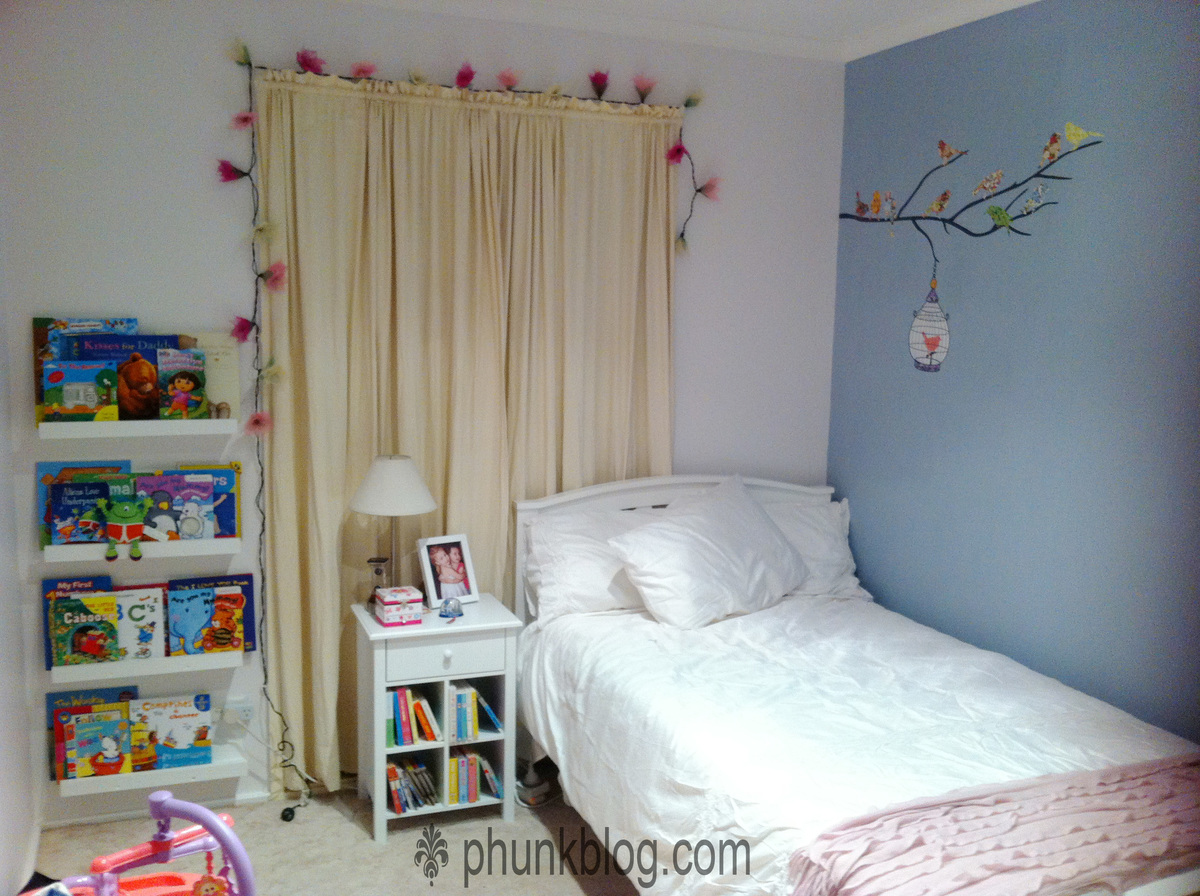
I knew I wanted some of these shelves in my daughter's room but it seems bedroom sizes in Australia are quite a bit smaller than the US! I couldn't spare a long wall to fill with books so chose this narrow space to the side of the window.

The length of time I took for this project was for several reasons:
* I was a total beginner!
* I had to cut all of the lengths of wood with a hand saw & sand with sandpaper wrapped around a block of wood.
* It took about 5 coats of paint to cover the wood properly.

I adjusted the measurements from Ana's plans to fit the smaller space & while daunted at first at the prospect of attaching things to walls, I was so thrilled with how they turn out. I'm looking forward to challenging myself with something a little more complex next (perhaps with some power tools this time to assist!).

Built from Plan(s)
Estimated Time Investment
Weekend Project (10-20 Hours)
Finish Used
Paint
Recommended Skill Level
Starter Project

Comments

Northwest Ohio Pergola

Submitted by russell_h on Sat, 06/27/2015 - 17:57

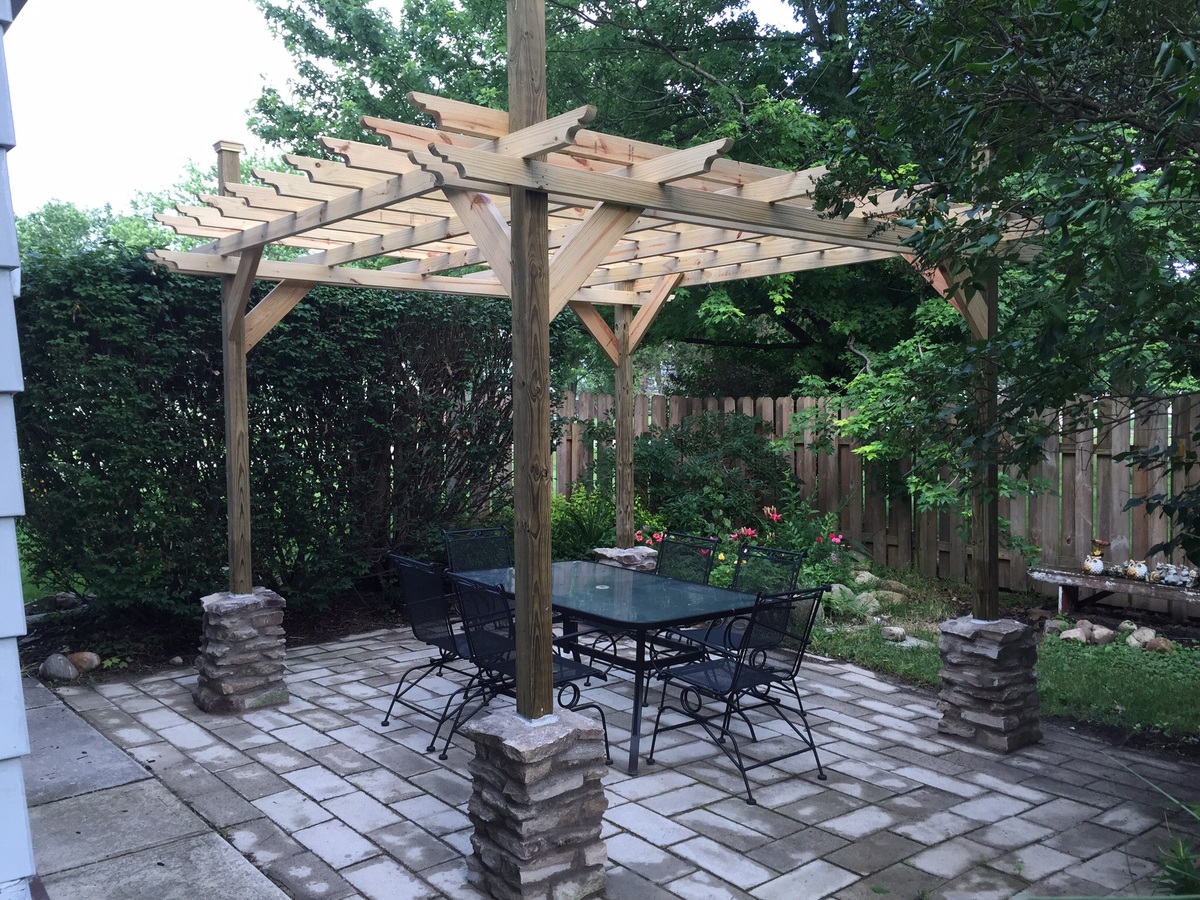
I used flat stone and a masonry circular blade for the base of the corner posts. I also used 2 x 4's for both layers of the top boards. It was a lot of fun to build.

Built from Plan(s)
Estimated Cost
$250.00
Estimated Time Investment
Week Long Project (20 Hours or More)
Finish Used
I will stain and seal in a year
Recommended Skill Level
Intermediate

Farmhouse Bed

Submitted by mwg10 on Mon, 01/15/2018 - 07:57

I made a few modifications. 

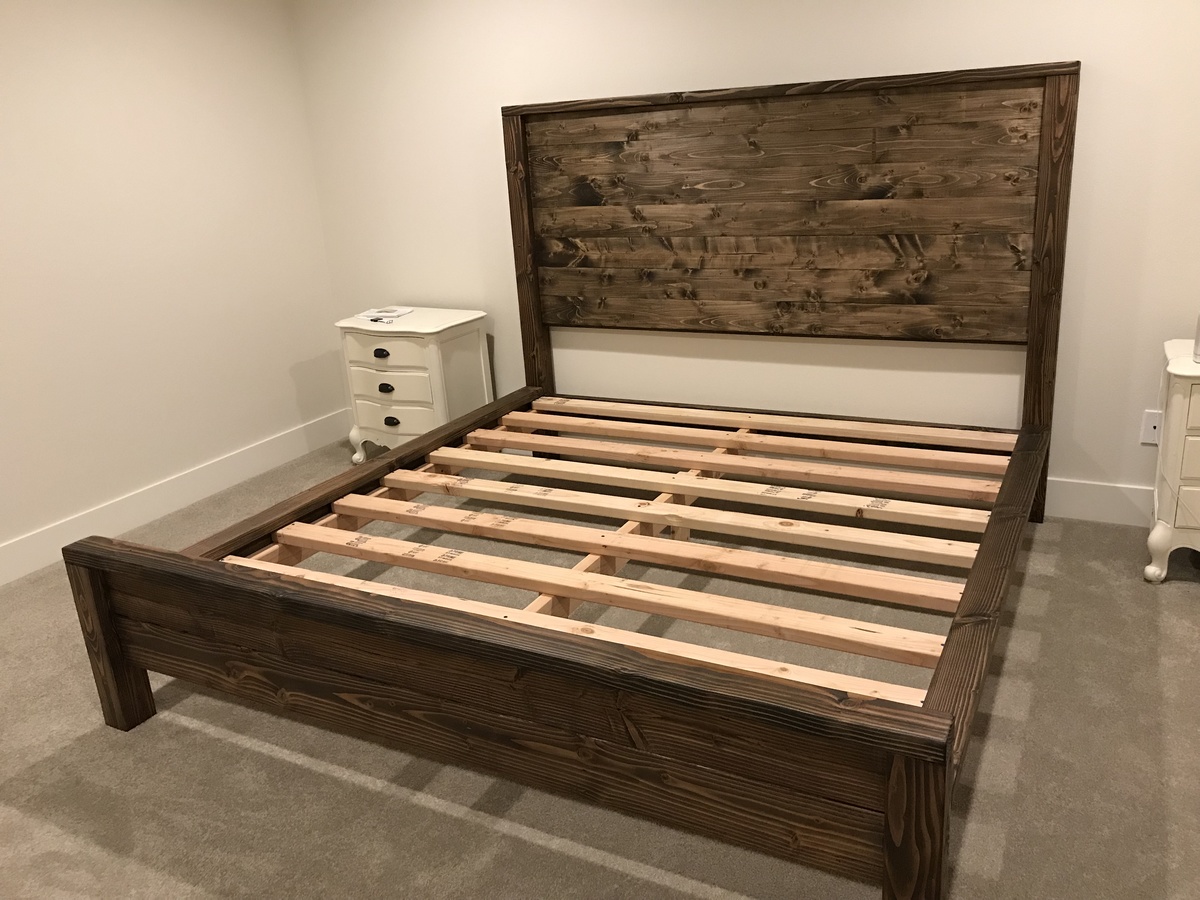
I used shiplap instead of tongue and groove, raised the footboard by adding an extra 2 x 6 & used jacobean stain.

Thanks Ana for putting the plans and video on your site.


Built from Plan(s)
Estimated Time Investment
Weekend Project (10-20 Hours)
Finish Used
minwax jacobean
Recommended Skill Level
Beginner

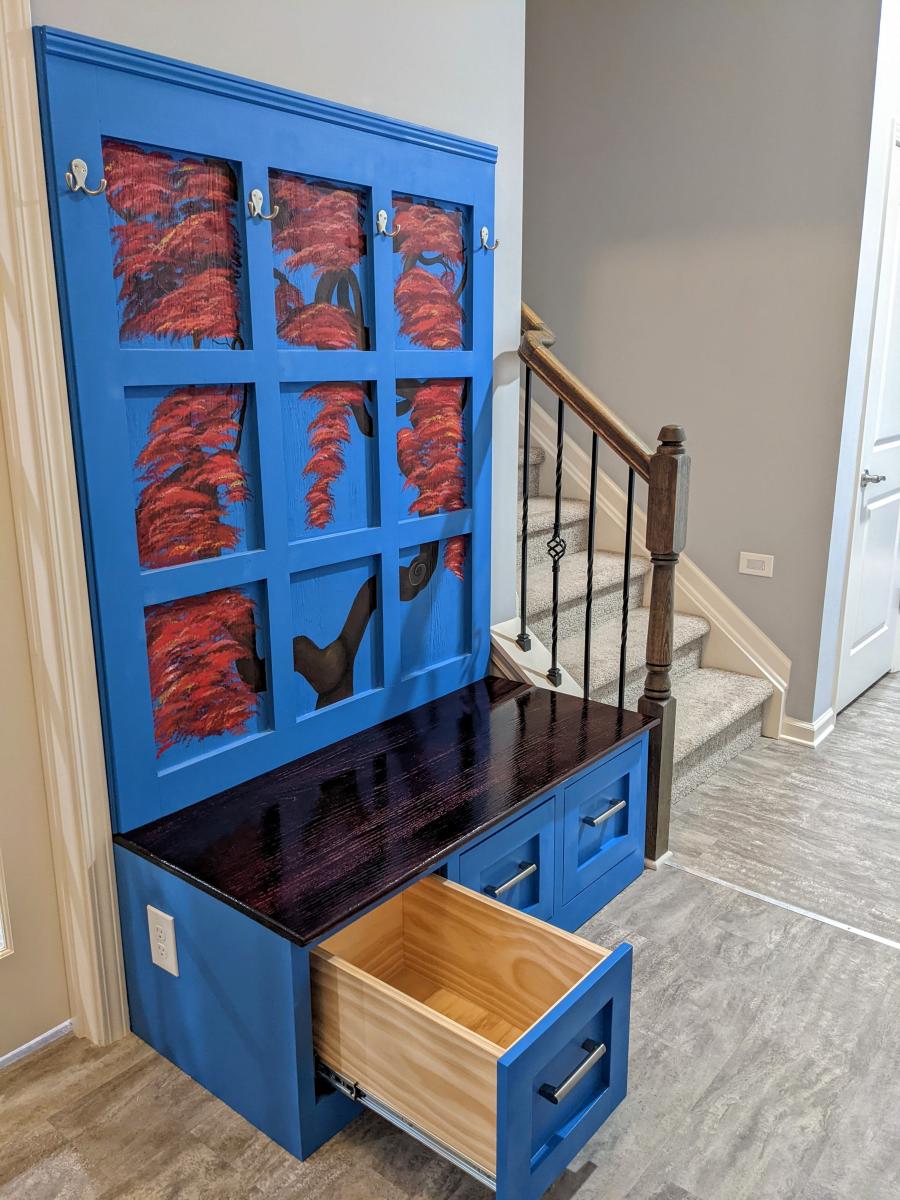
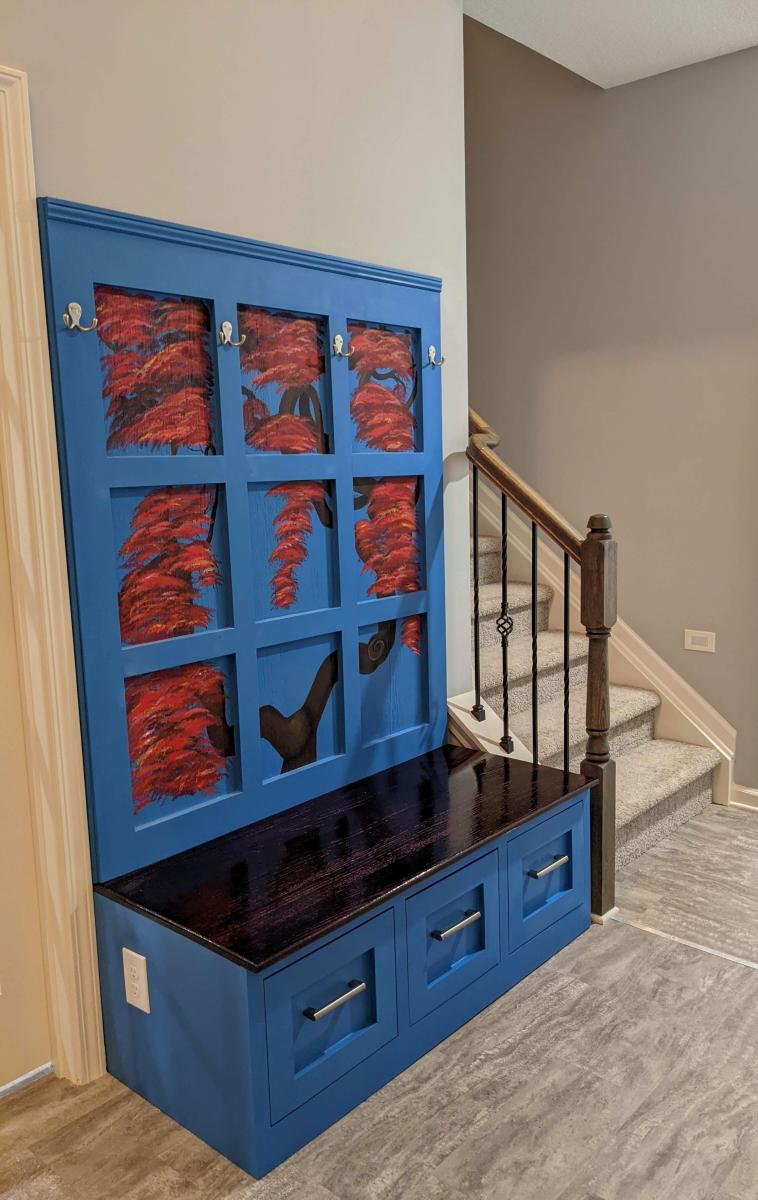
Hall Tree with Drawers using a combination of 2 plans

Submitted by Anonymous (not verified) on Fri, 12/31/2021 - 19:40

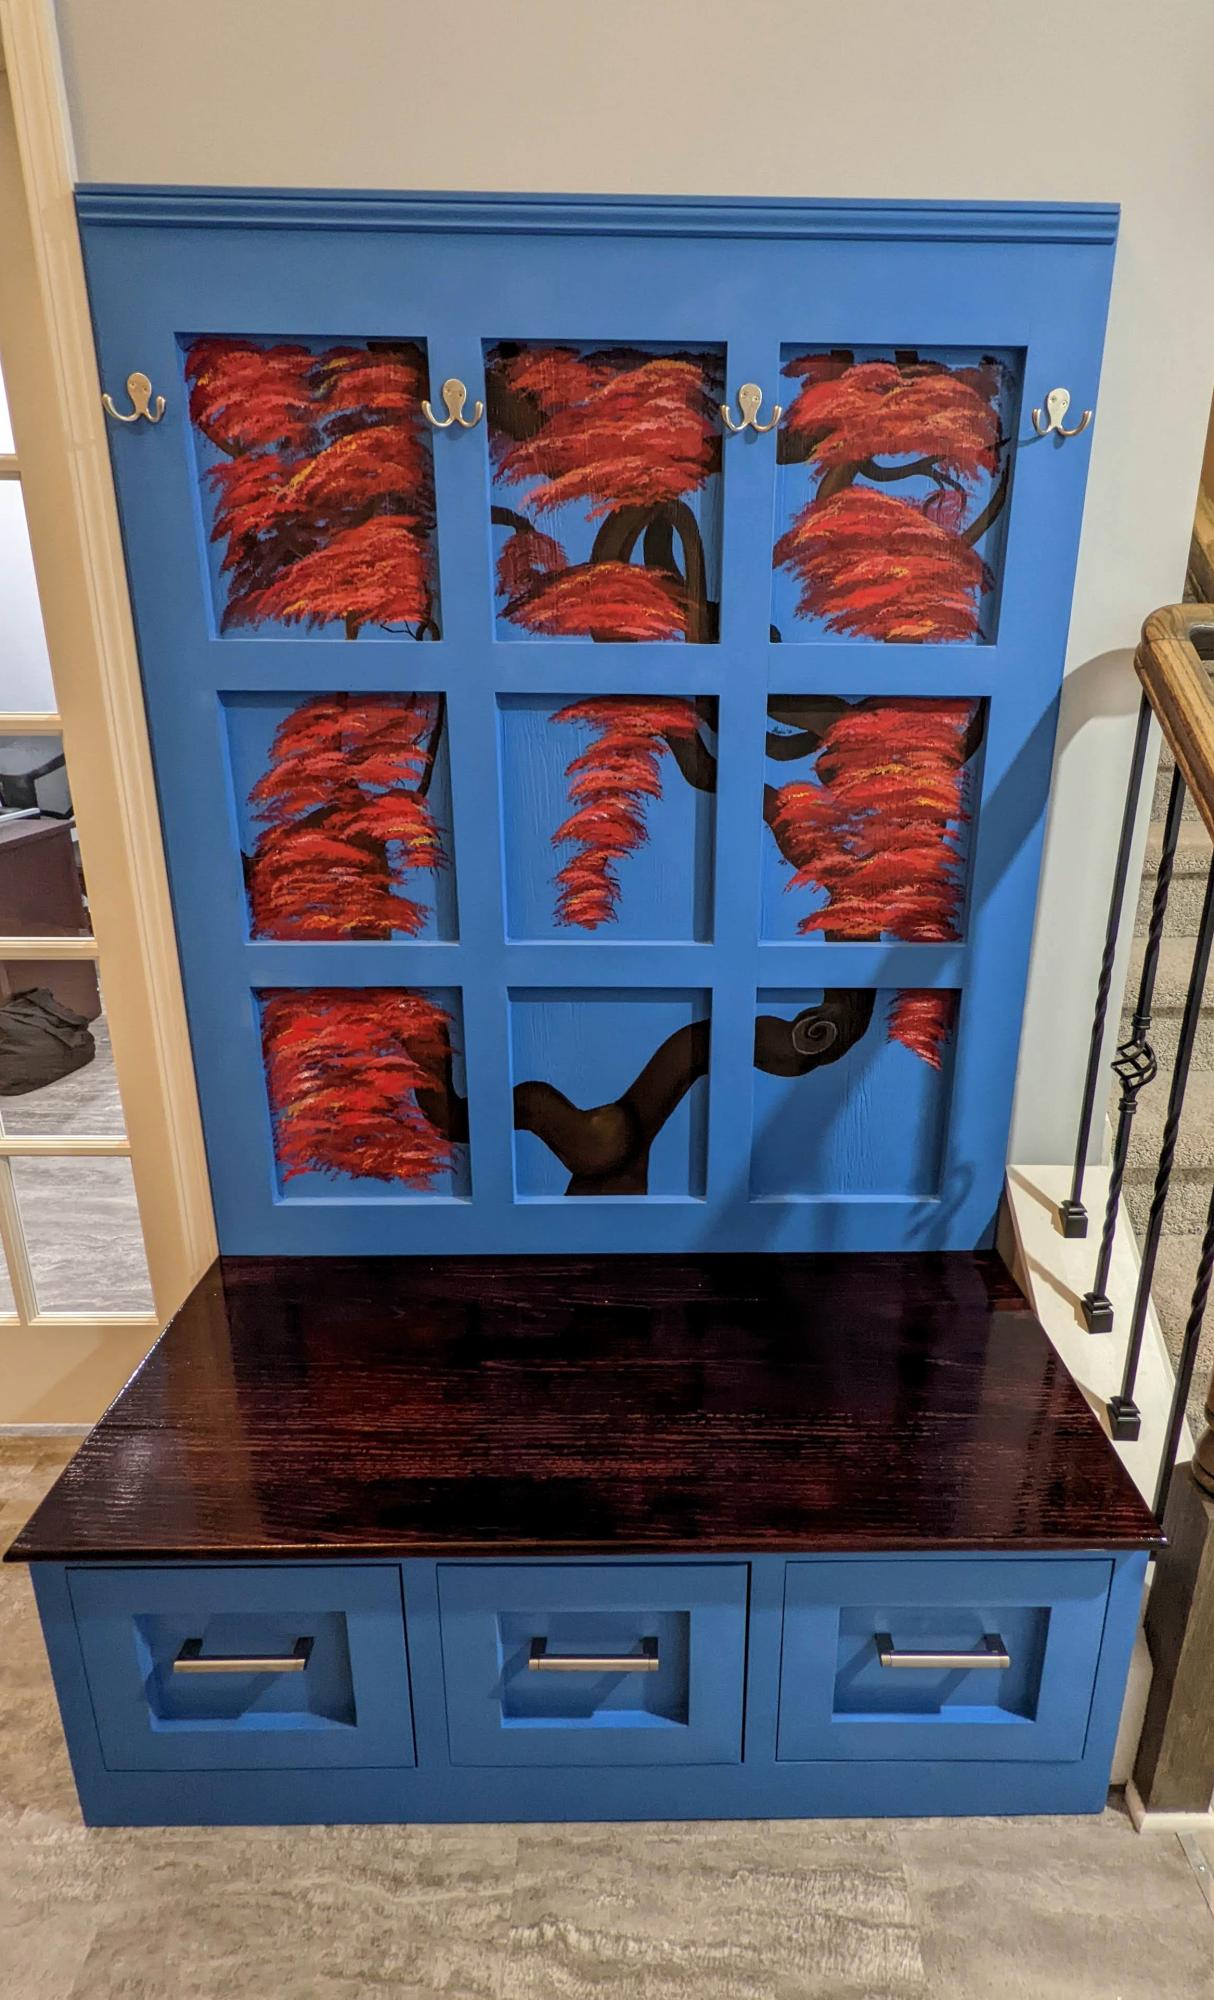
We had an empty area at the bottom of our stairs that was just calling for a hall tree. I love watching and learning from Anna's videos. I really liked 2 of her plans: the Farmhouse Hall Tree and the Mudroom Bench with Easy Drawers. I decided to combine them to make my own unique hall tree. Our teenage daughter used the "window panes" in the back to paint a Japanese Maple tree. I think it turned out beautifully. This is the first of Anna's plans that I've used, but I plan to use many more! Thank you, Anna for your amazing videos and desire to share your knowledge. We appreciate it so much!

Comments

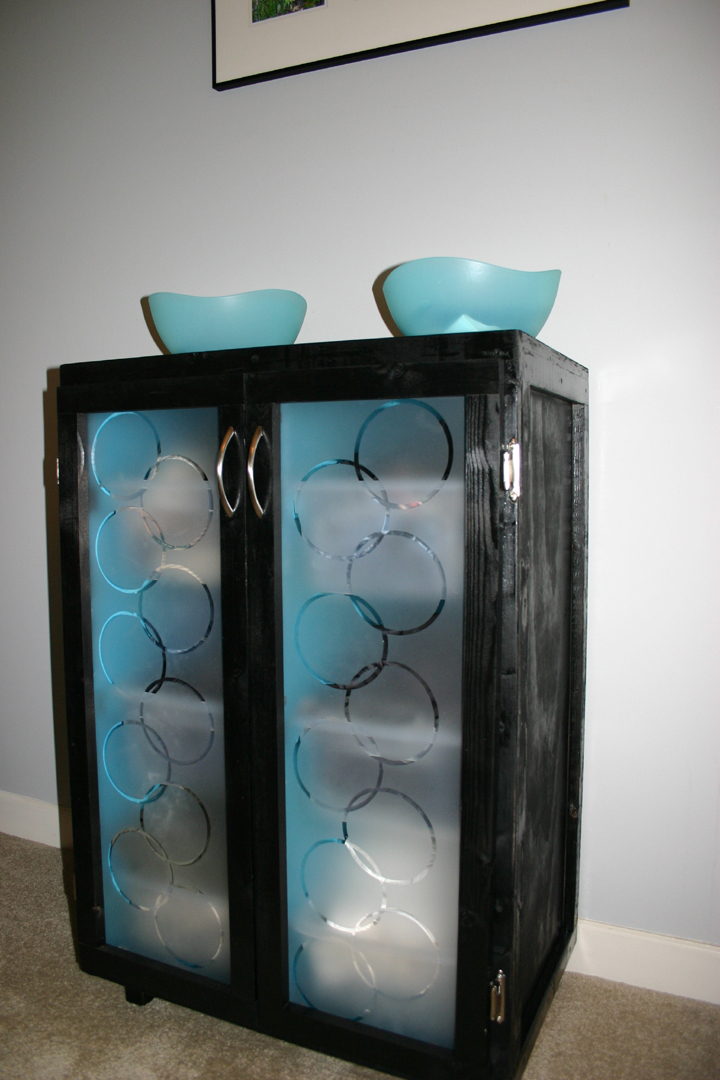
Fancy Laundry Basket Dresser

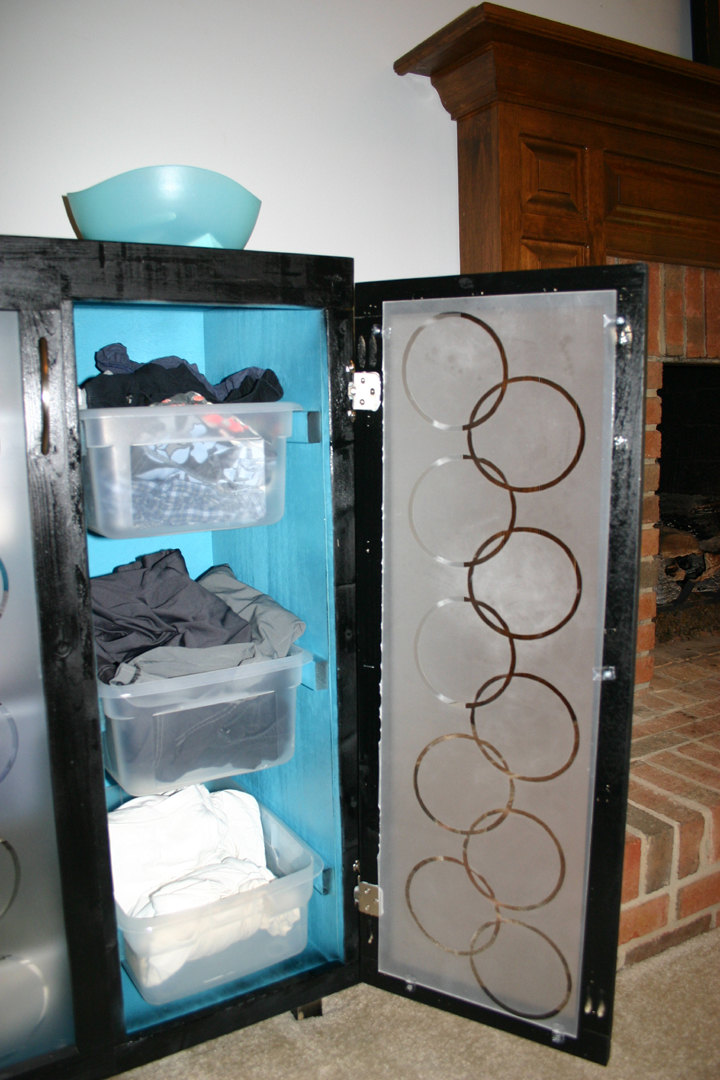
This has been on my to-do list for a long time. We have not had a dresser for years, and have used our closets for our clothes. In our old house, I had built a storage unit for our closet, and we used clear plastic storage bins for our smaller, non-hanging items. Then we moved to our current house. Which had nice closets, but the bins didn't work so well. But we made do, fully intending to change it when we had time. Six years later...I found the time. LOL.
When Ana posted the laundry basket dresser, I knew it would work for our current bins! But I wanted them out of the closet, and I didn't really want to look at them. So I thought about doors. Finally worked it out, and here are the changes that I made.
I made it to fit my bins. Added some legs. Added 1x2 trim all around to help hide the plywood and beef it up to help the doors. Added the doors(gotta love that kreg-jig!). I used Ana's plan for the basic glass doors for those, same as the ones I did for my kitchen.
When it came to the inserts, I knew what I wanted, but it just took a bit of time to get everything together.
The inserts are plastic-plexiglass. I LOATHE cutting that stuff, and we won't go into the detail and language that was involved with that part. Finally got two workable pieces. Used my xyron to make circular stickers, and laid them out in my desired pattern. Then sprayed with frosted glass spray paint(awesome stuff!). It gave it that modern edge that I wanted, and disguised the stuff inside.

Estimated Cost
~40
Estimated Time Investment
Weekend Project (10-20 Hours)
Finish Used
Valspar glossy black spray paint, valspar aqua
Recommended Skill Level
Intermediate

My workbench

Thanks for the work bench plans! Mine measures 3 feet by 6 feet. We have a single car garage so I put locking casters on mine to enable me to move it. Easier to clean, easier to access all sides then put it back in the corner. The frame is 2x4, the top is leftover ash flooring. The lower shelf is leftover 2 by (4s, 6s). I may add another layer of ash to the top but it's functional as is. Stands 36 inches tall.

Built from Plan(s)
Estimated Time Investment
Afternoon Project (3-6 Hours)
Finish Used
unfinished as of now. Planning a clear coat for top.
Recommended Skill Level
Intermediate

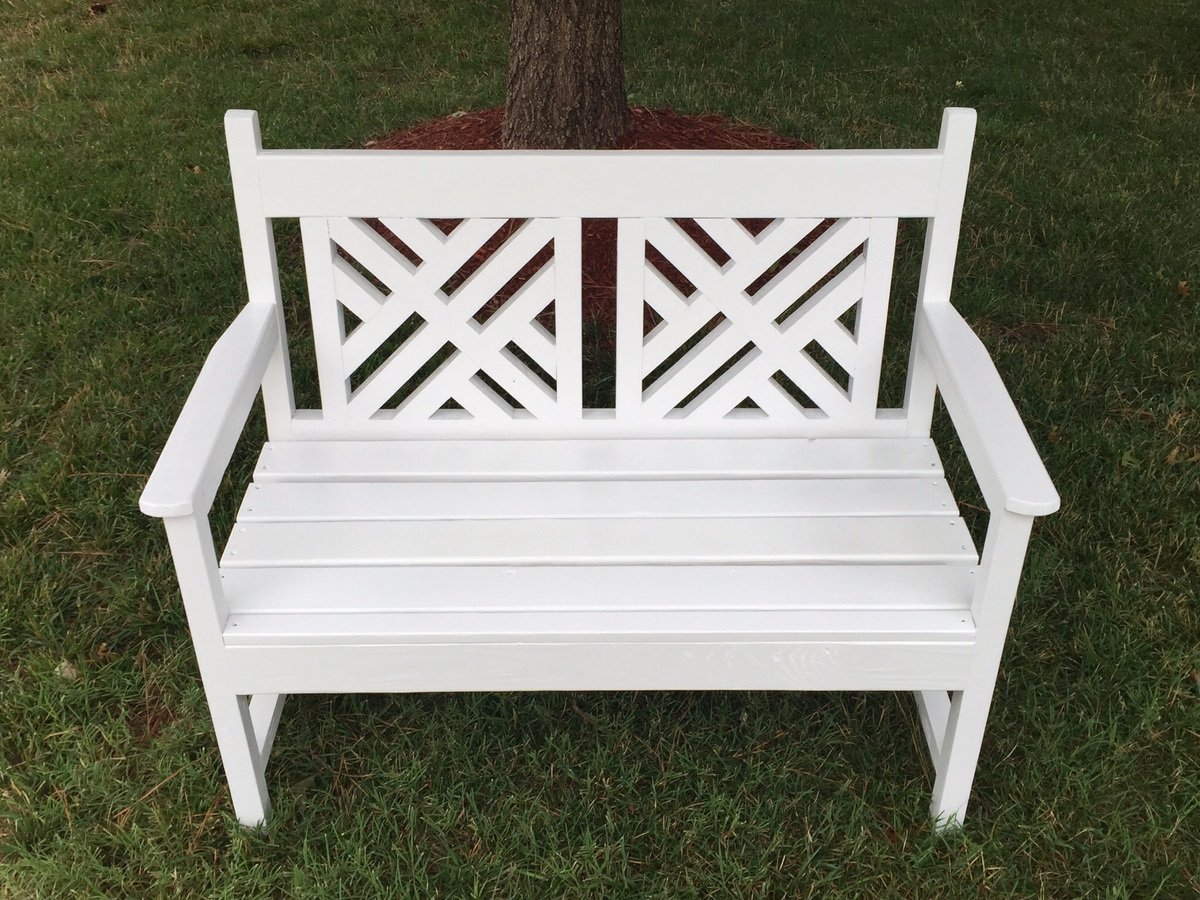
Woven Back Bench in White

Submitted by phantom1 on Tue, 06/30/2015 - 19:53

Great outdoor project.... Kids loved helping too....

Estimated Time Investment
Weekend Project (10-20 Hours)
Recommended Skill Level
Advanced

Quick basement shelves

Submitted by Panda on Thu, 01/18/2018 - 14:22

What a great project! This is my first Ana White project and definitely won't be my last!


I modified the garage plans to fit our basement. We have two beams the shelves needed to fit between, so I made the length 10' and bought 2x4s at 10'. Otherwise, I didn't do any modifications.


The wood was cut at the store for the lengths needed, making it super easy to come home and assemble! We secured the shelves to the basement supports and along the back wall. It's pretty secure and stable.


Overall this probably took a few hours (we took a break while constructing it). Next time I would make the shelves a bit deeper. 17" was fine, but a few more inches would have made the bins fit a bit better.


I am looking forward to making more!

Estimated Cost
$140
Estimated Time Investment
Afternoon Project (3-6 Hours)
Recommended Skill Level
Beginner

Bench

Had a small bench that the previous owners of our house left. It was all made from 1x. Wanted something a little beefier to match the bed I built. So came up with this bench. Made from all pine.

Comments

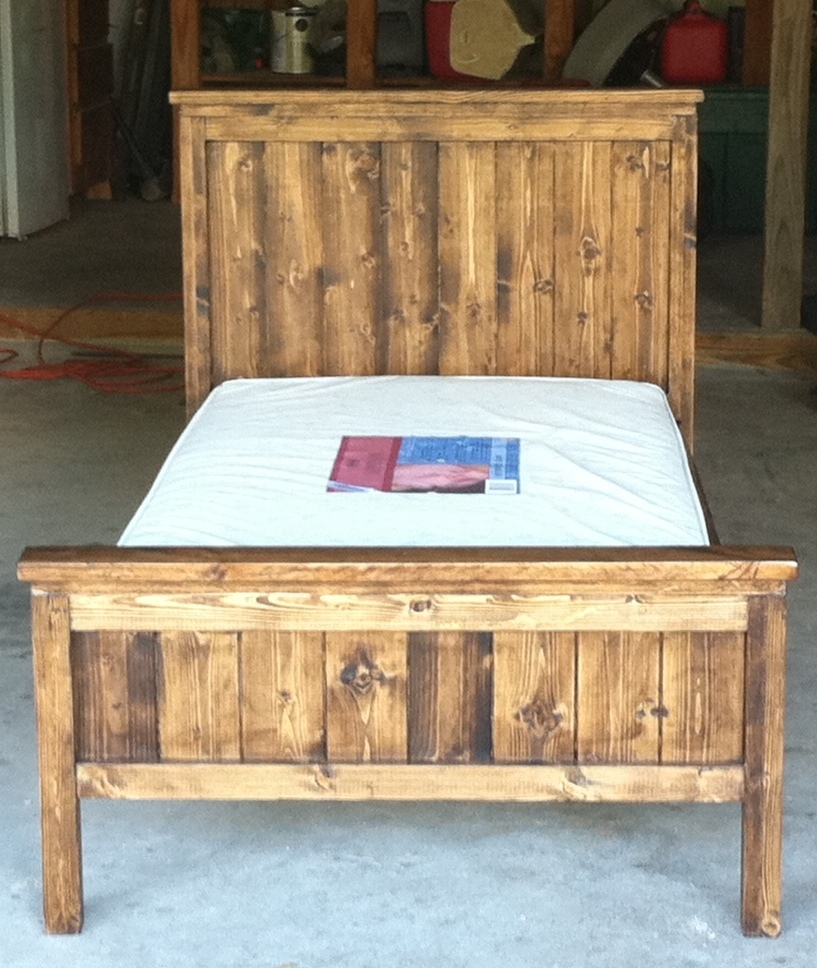
Farmhouse Toddler Bed

Submitted by candeanne on Sun, 05/15/2011 - 15:43

Farmhouse Toddler Bed, made by my father & I for my son Corgan. Adapted to 28" wide crib mattress from following adaptations in comments. My first project! LOVE this plan! Thanks so much Ana! This bed will last for a very long time.

Built from Plan(s)
Estimated Cost
$80 with wood + all supplies (my dad had all the tools needed)
Estimated Time Investment
Weekend Project (10-20 Hours)
Finish Used
Minwax Dark Walnut, one application. It looks darker/less yellow in person than in the photo.
Recommended Skill Level
Beginner

cottage bench with storage

My son used your plans to build this bench for his Eagle Scout project. It now resides at the University City, MO Head Start, along with over 90 books that people donated for the children. He couldn't have done it without this site! Thank you so much!

Estimated Time Investment
Weekend Project (10-20 Hours)
Recommended Skill Level
Beginner

Comments

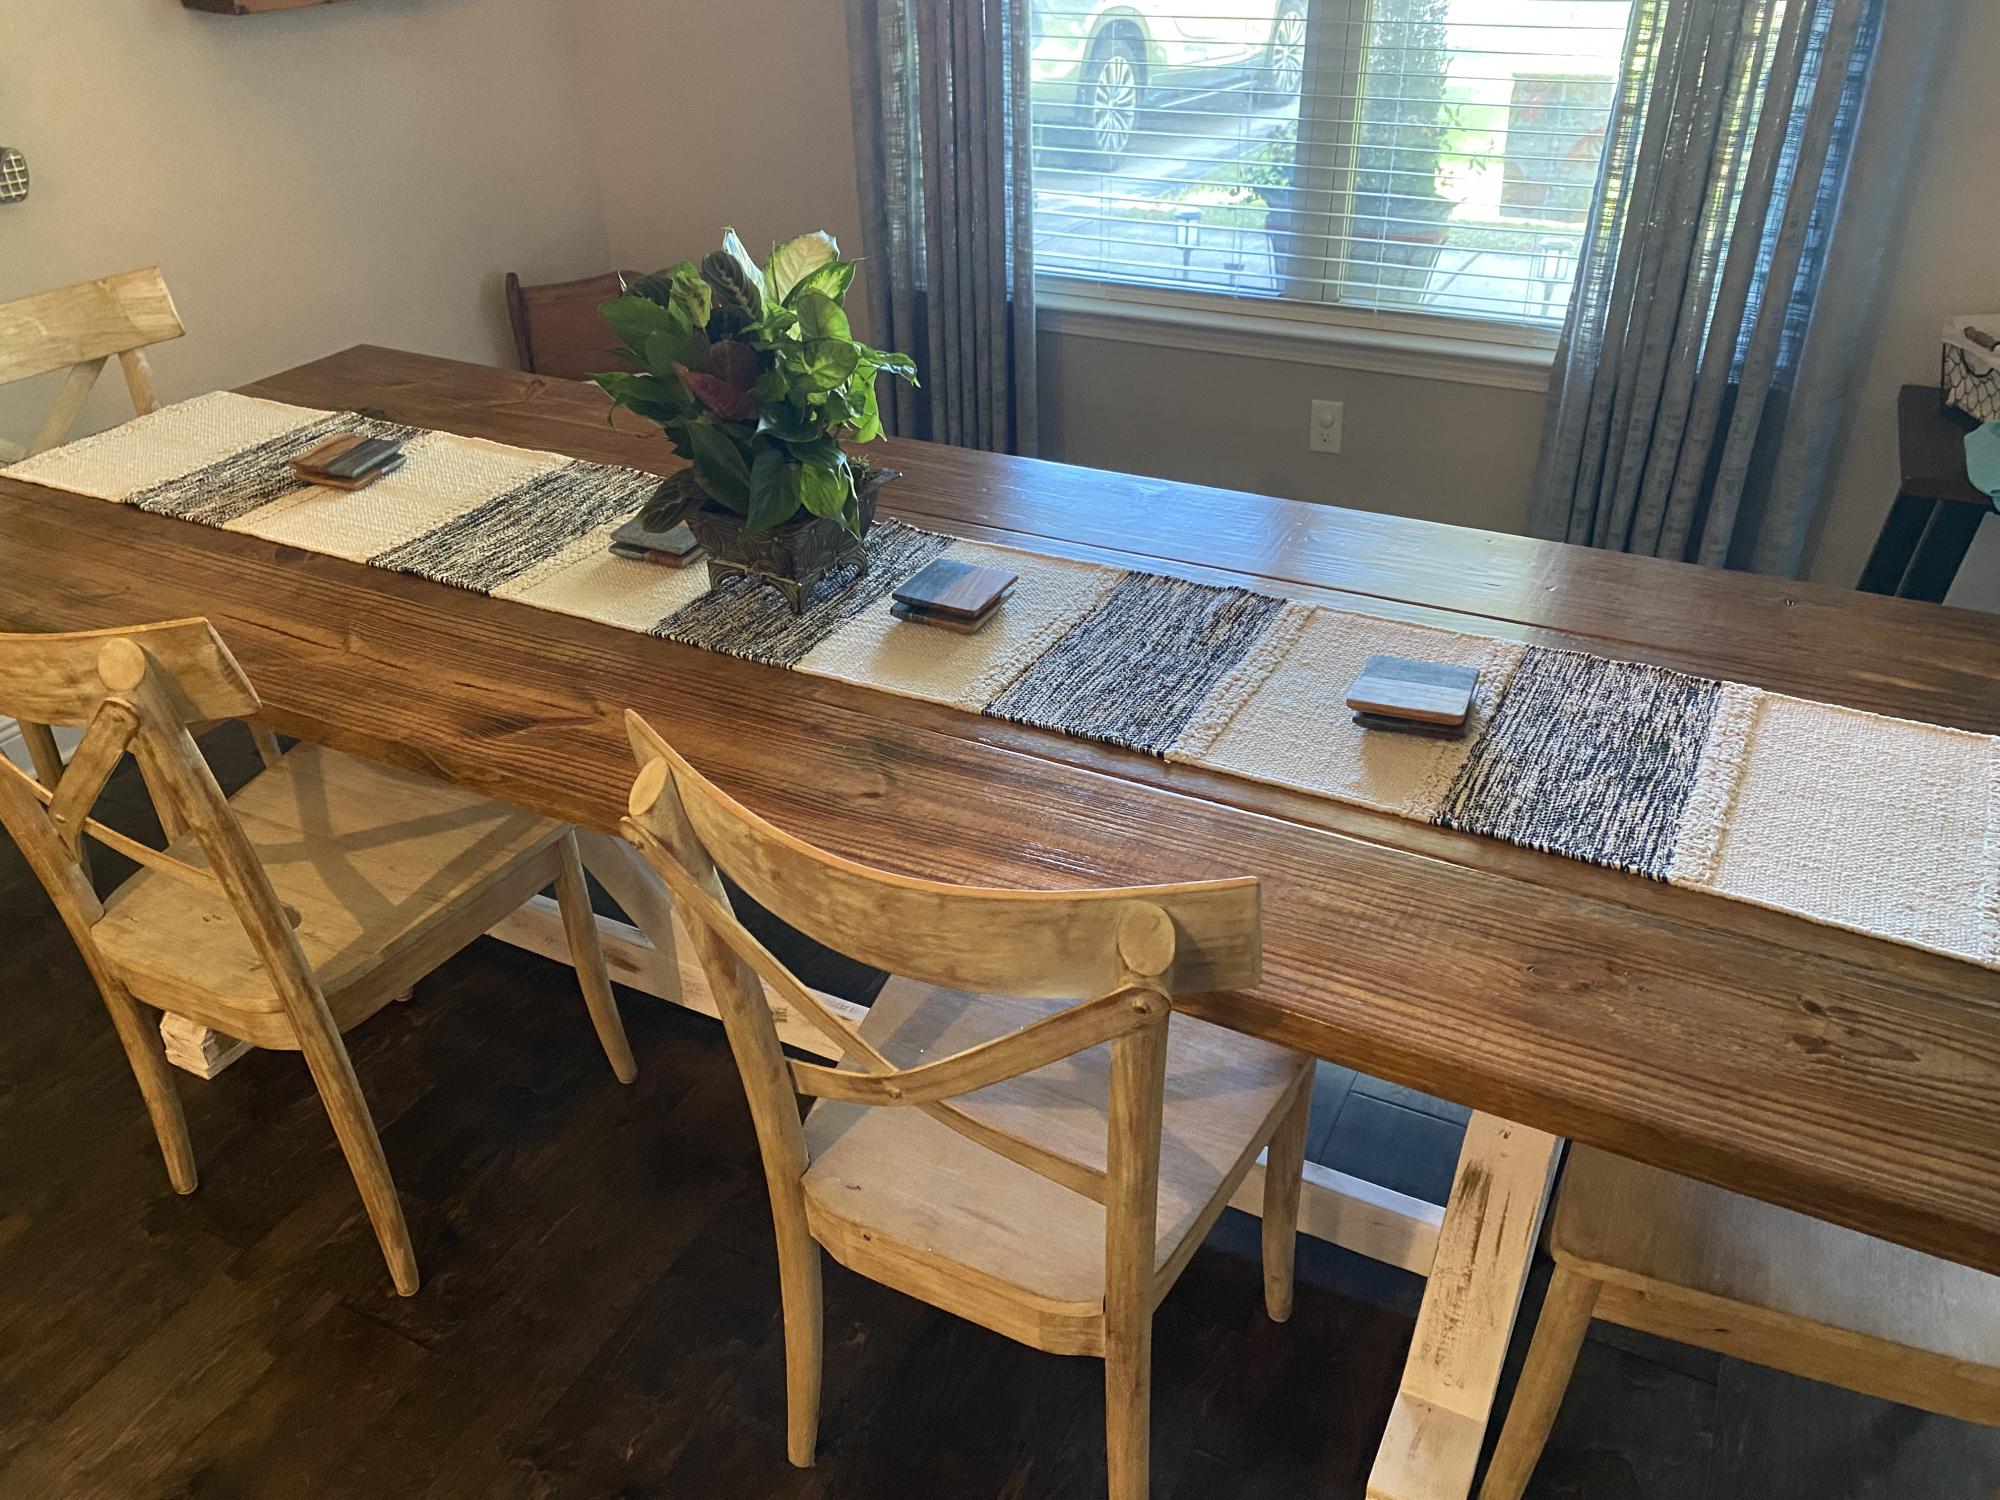
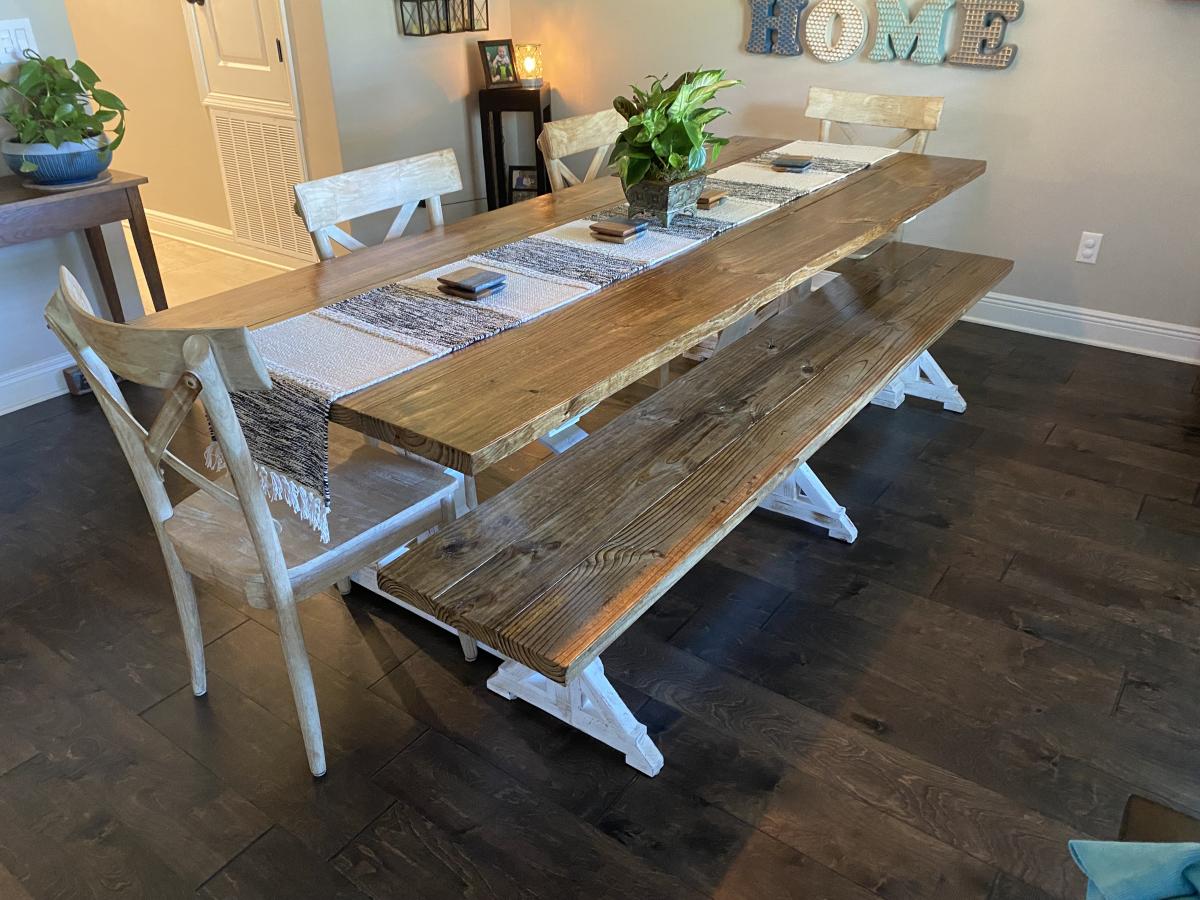
10.5' Farmhouse Dining Table

Submitted by ehays216 on Mon, 07/06/2015 - 06:20

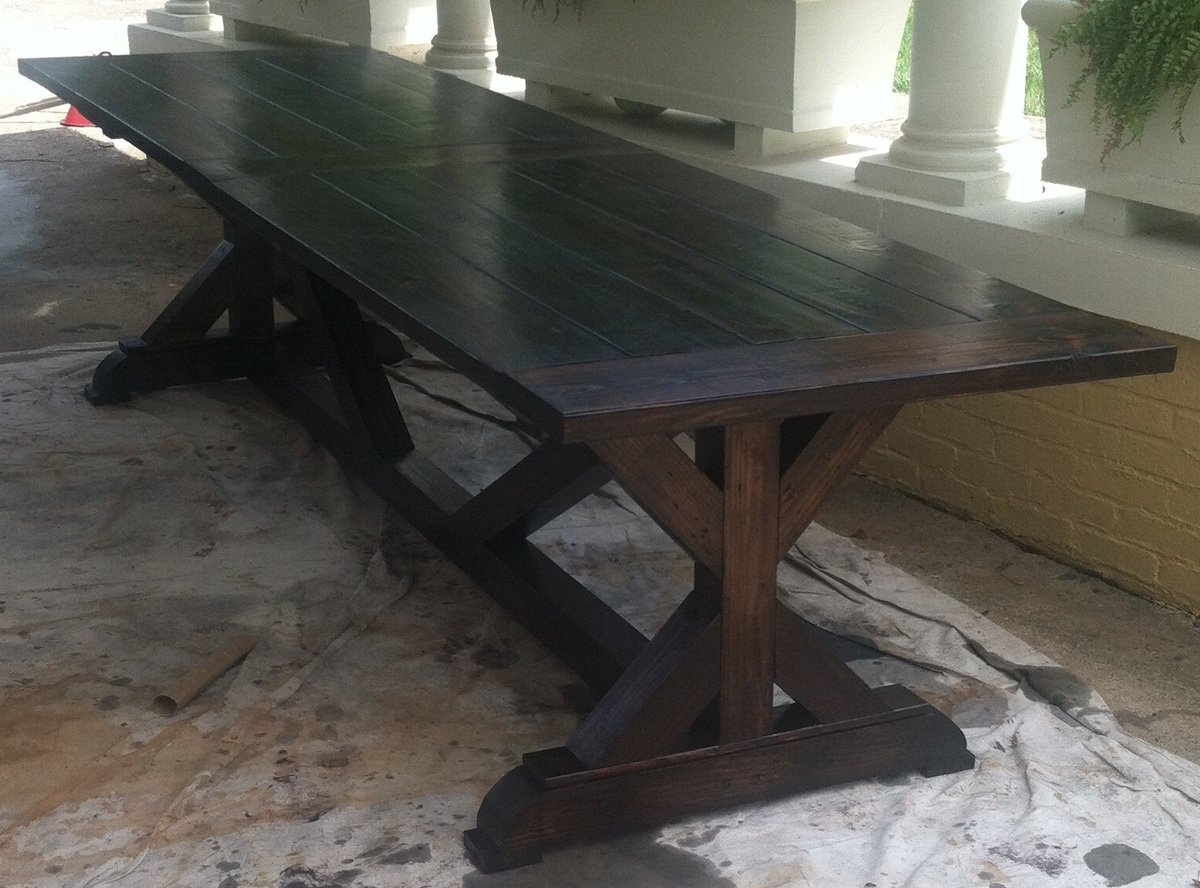
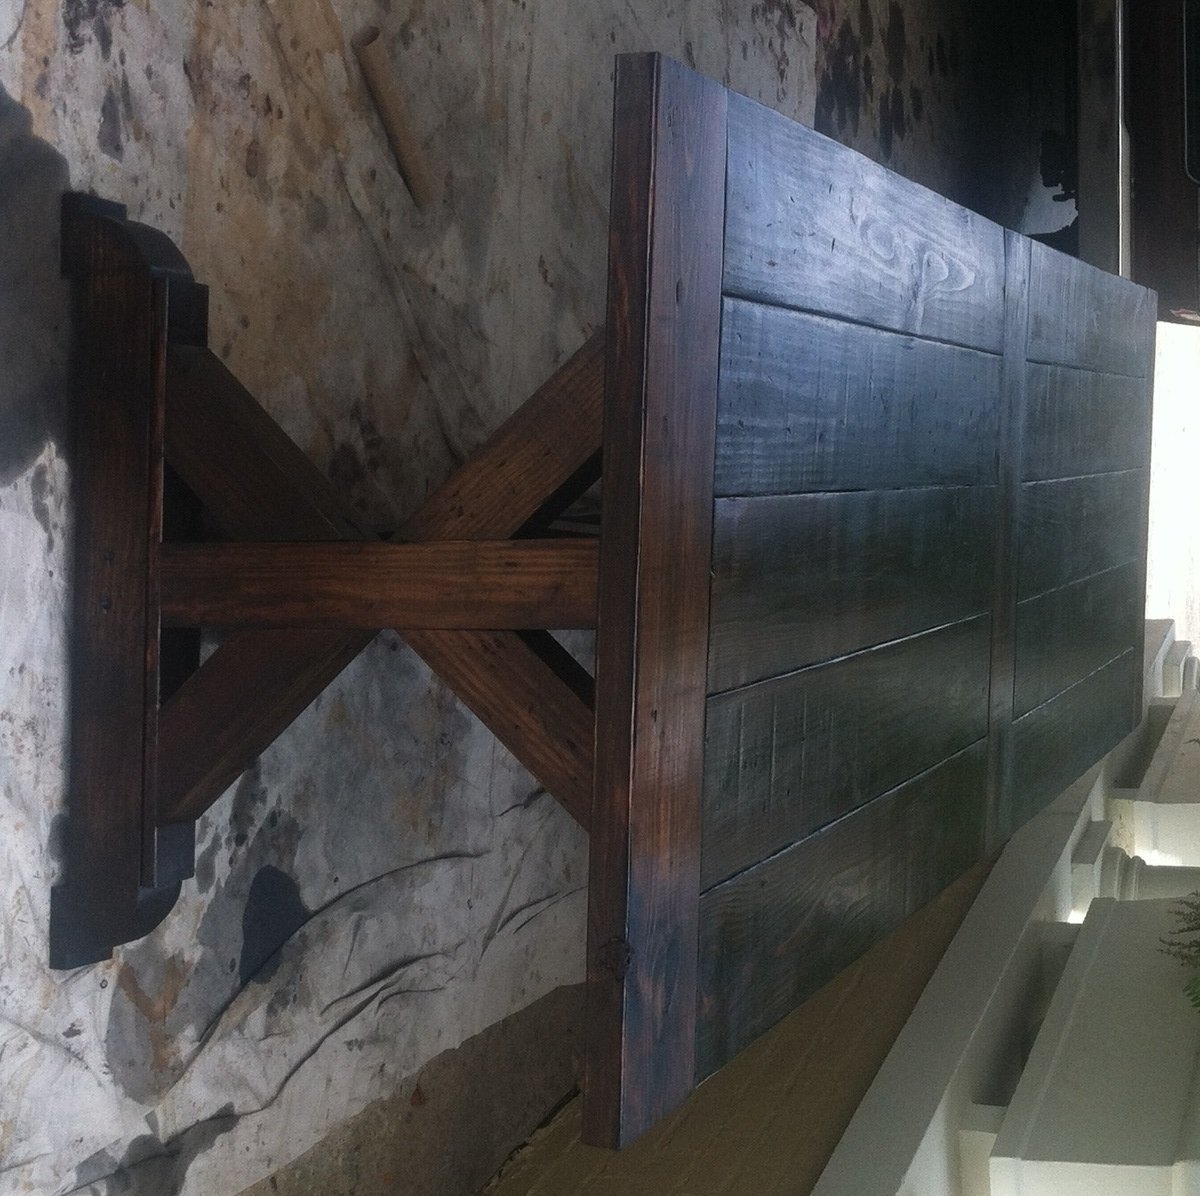
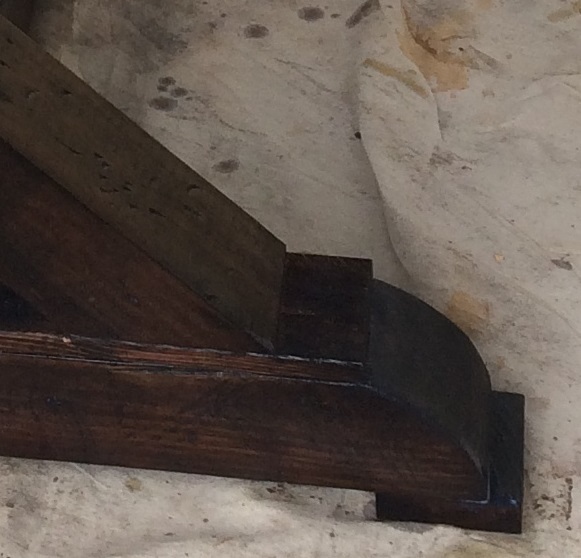
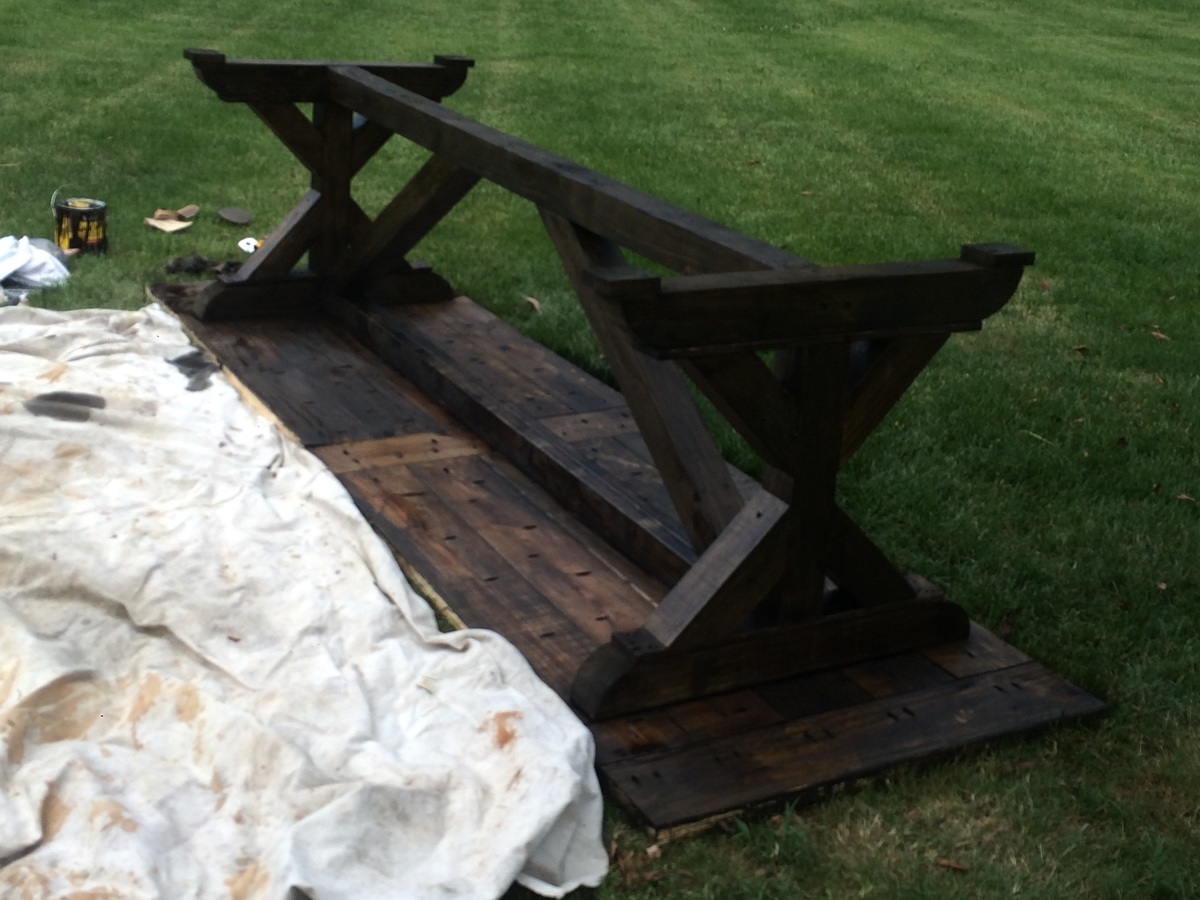
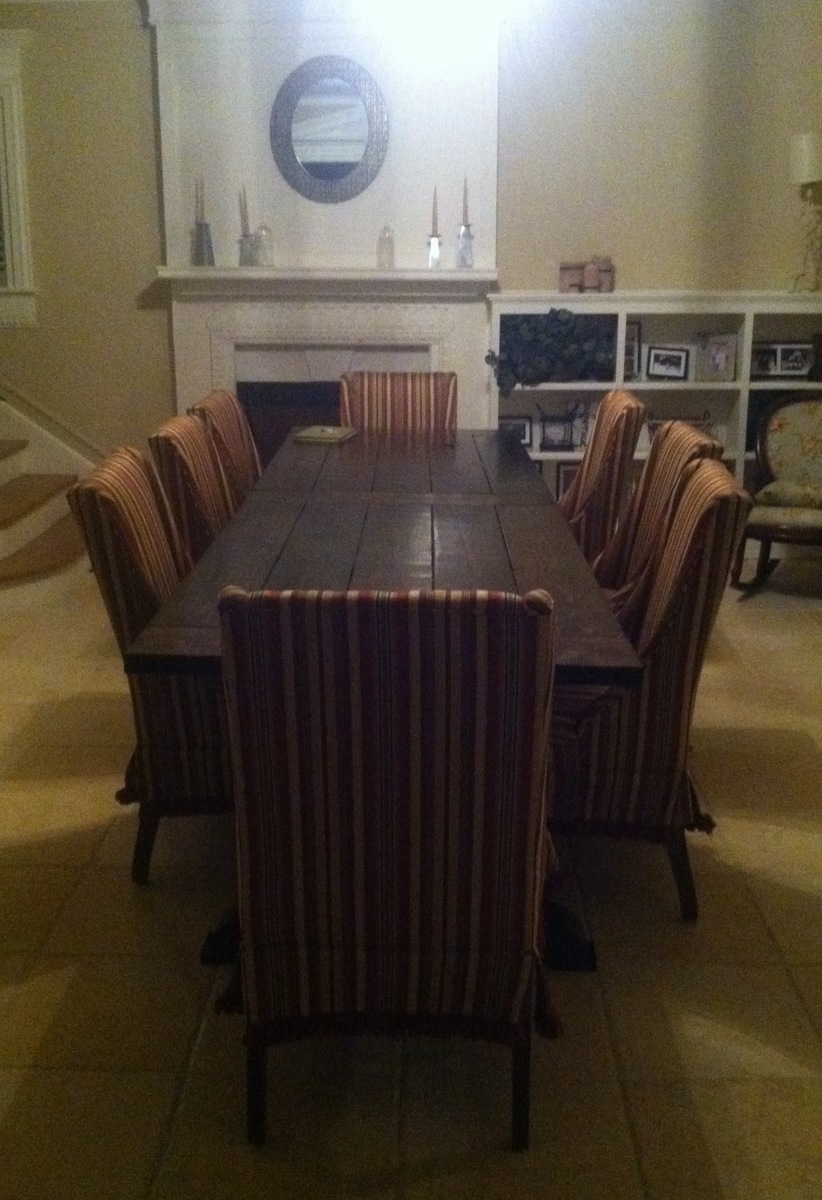
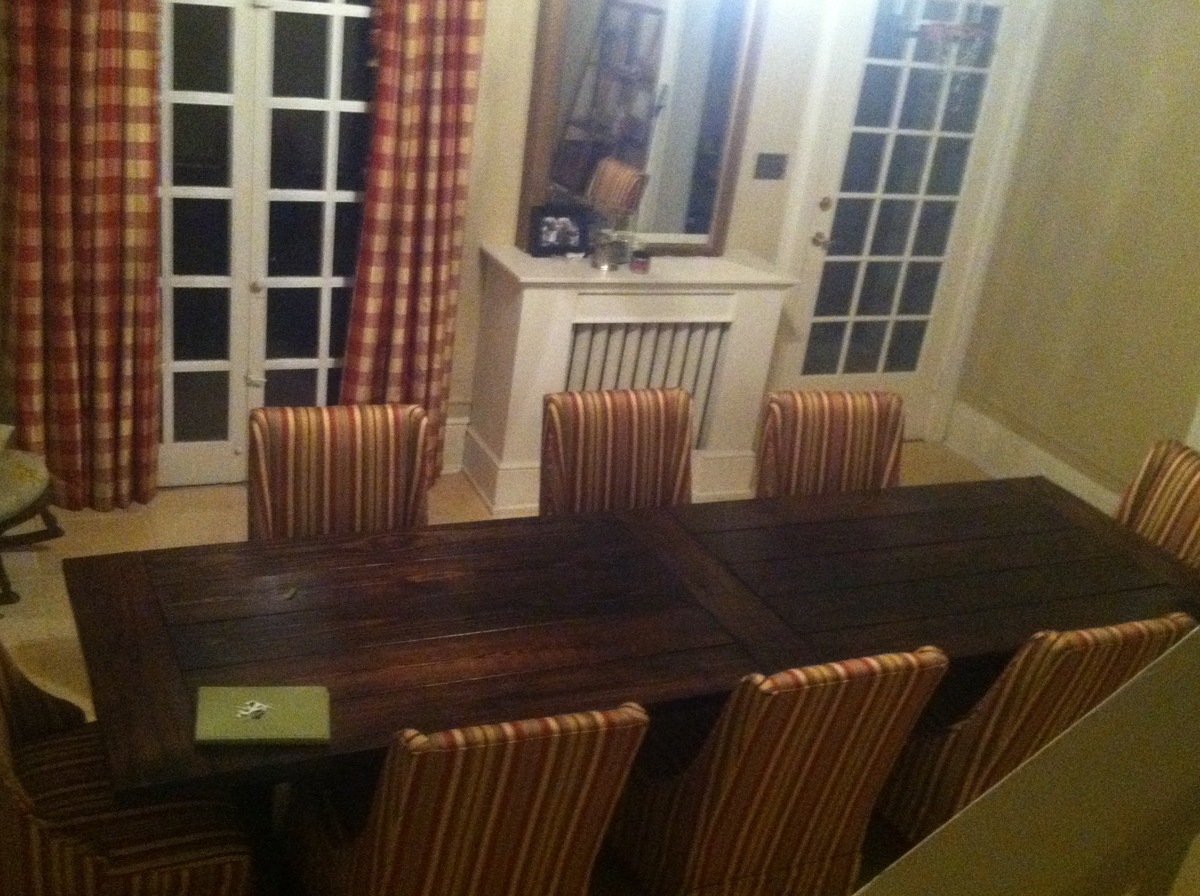
I built this 10.5' farmhouse table for my aunt and uncle's dining room. I modified the plans slightly to try and look more like the Restoration Hardware version, using 4x4's for the beams and side supports and rounding the sides of the side supports. I also modified the top by adding an extra sideways board in the middle. The rationale for this was that I was worried about finding boards at the length I wanted that were perfectly straight from end to end, so by adding the center sideways board I only had to find boards that were perfectly straight for about half the full length. Also, we liked the look of the extra board in the middle. My little cousins had fun helping me distress the wood with hammers and other tools laying around. We love the way it came out, thank you Ana!

Built from Plan(s)
Estimated Cost
300-350 including staining materials and hardware. I bought twice the wood for the table top boards due to the modified tabletop/ and length.
Estimated Time Investment
Week Long Project (20 Hours or More)
Finish Used
Minwax dark walnut with Minwax red mahogany on top of that. On the 2x8 boards, the dark walnut made a lot of contrast with the grain of the wood, and I was trying for a more evened-out color. The dark spots were almost black after one coat. Additional coats and the red mahogany helped even out the contrast and added color. We ended up really liking the final result, but in the future I think I will go back to using the black tea/ steel wool and vinegar method which is what I had been using in the past.

I used polywhey on top and applied several coats.
Recommended Skill Level
Intermediate

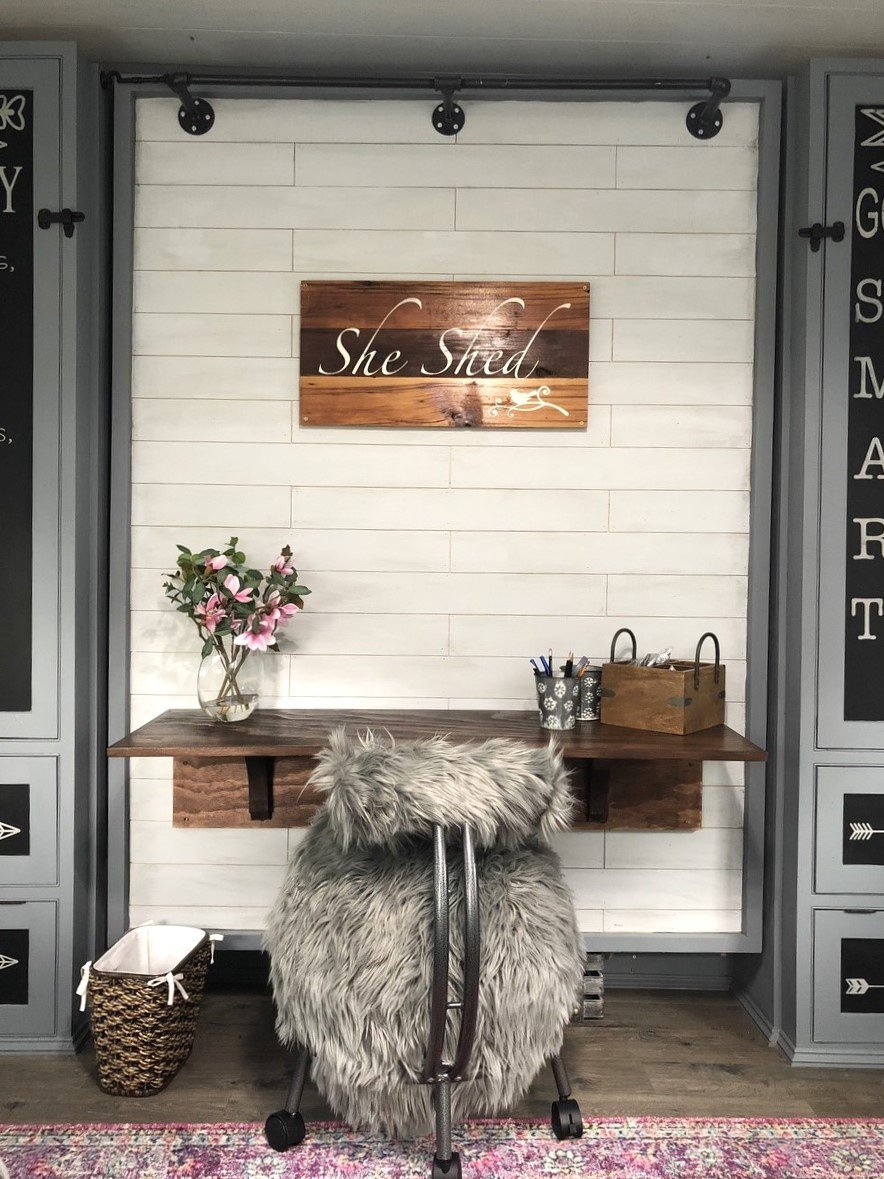
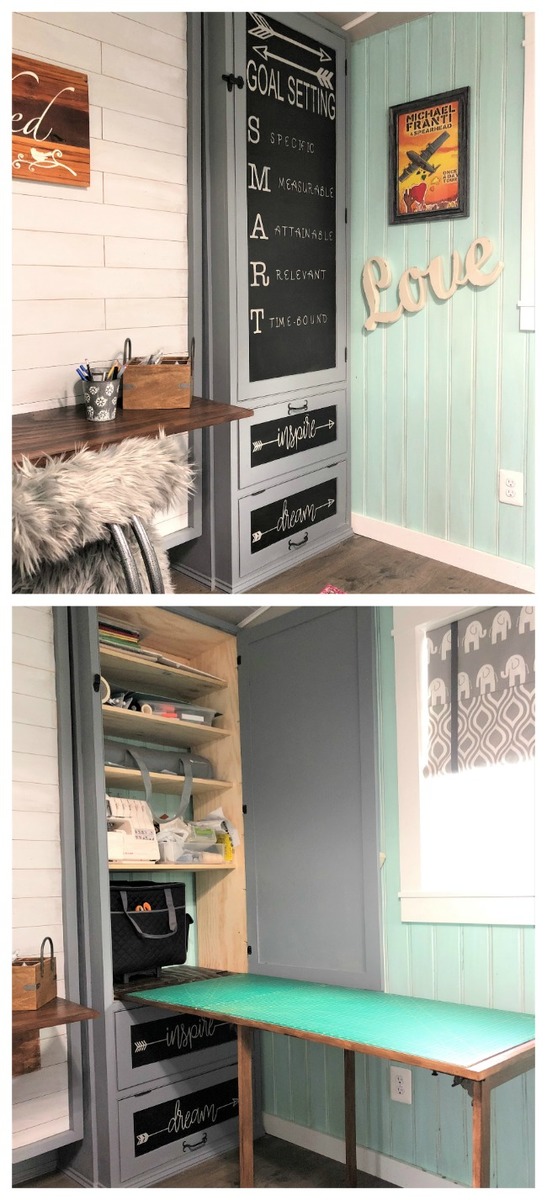
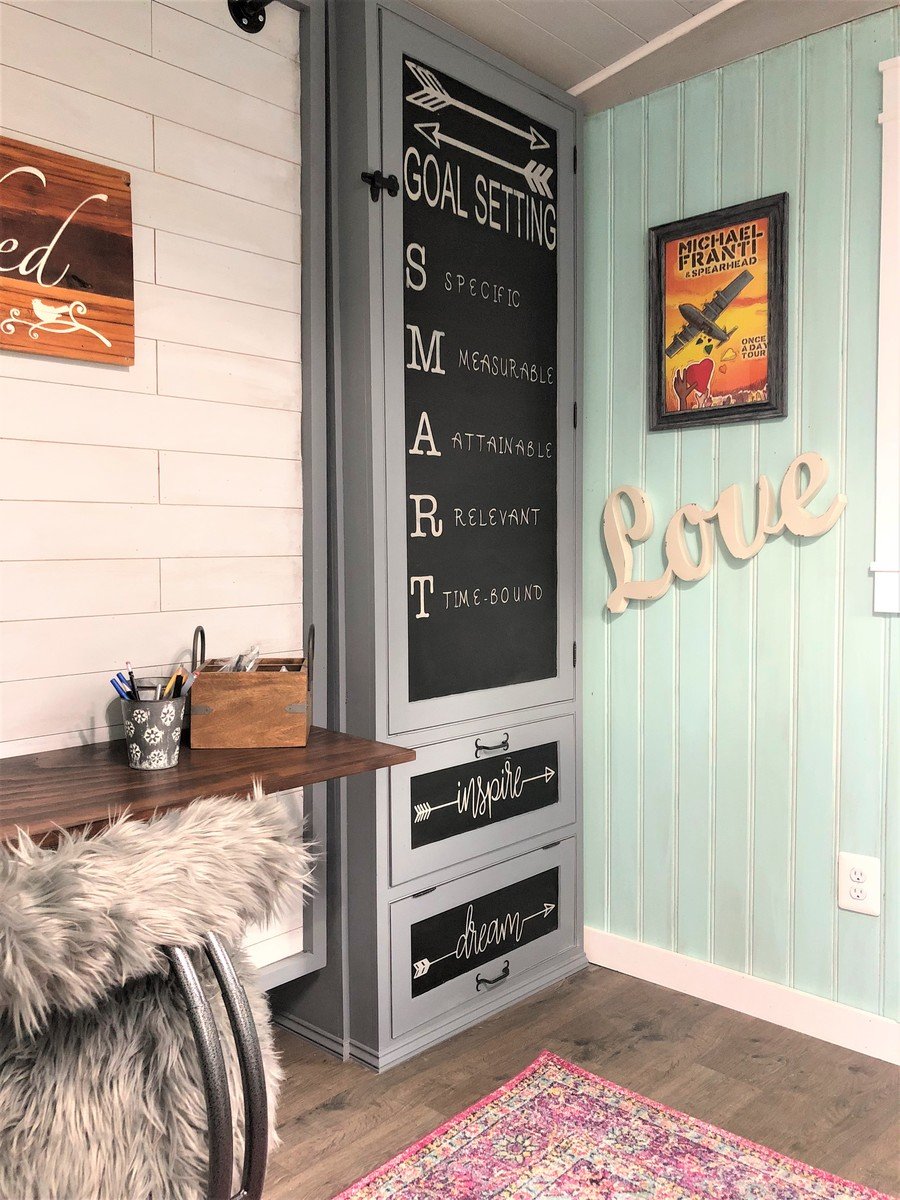
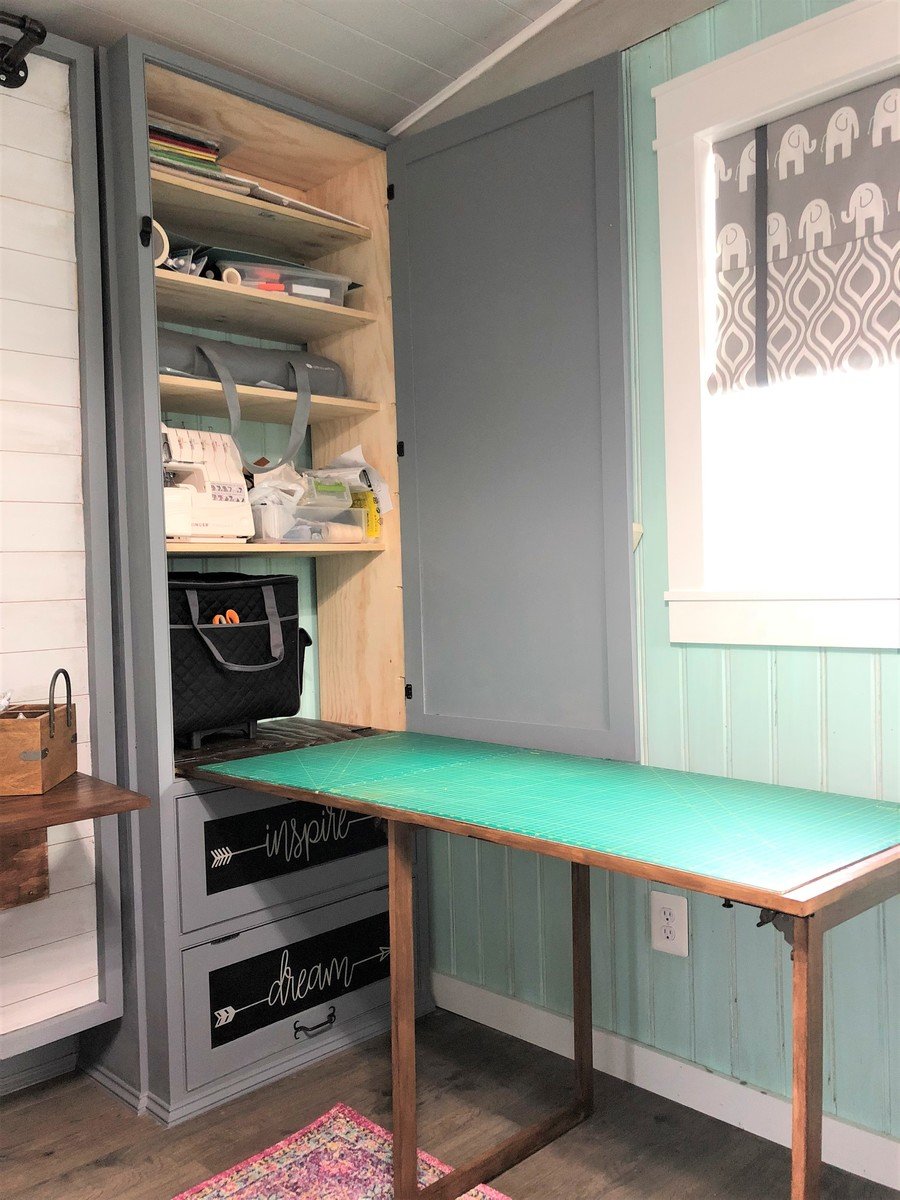
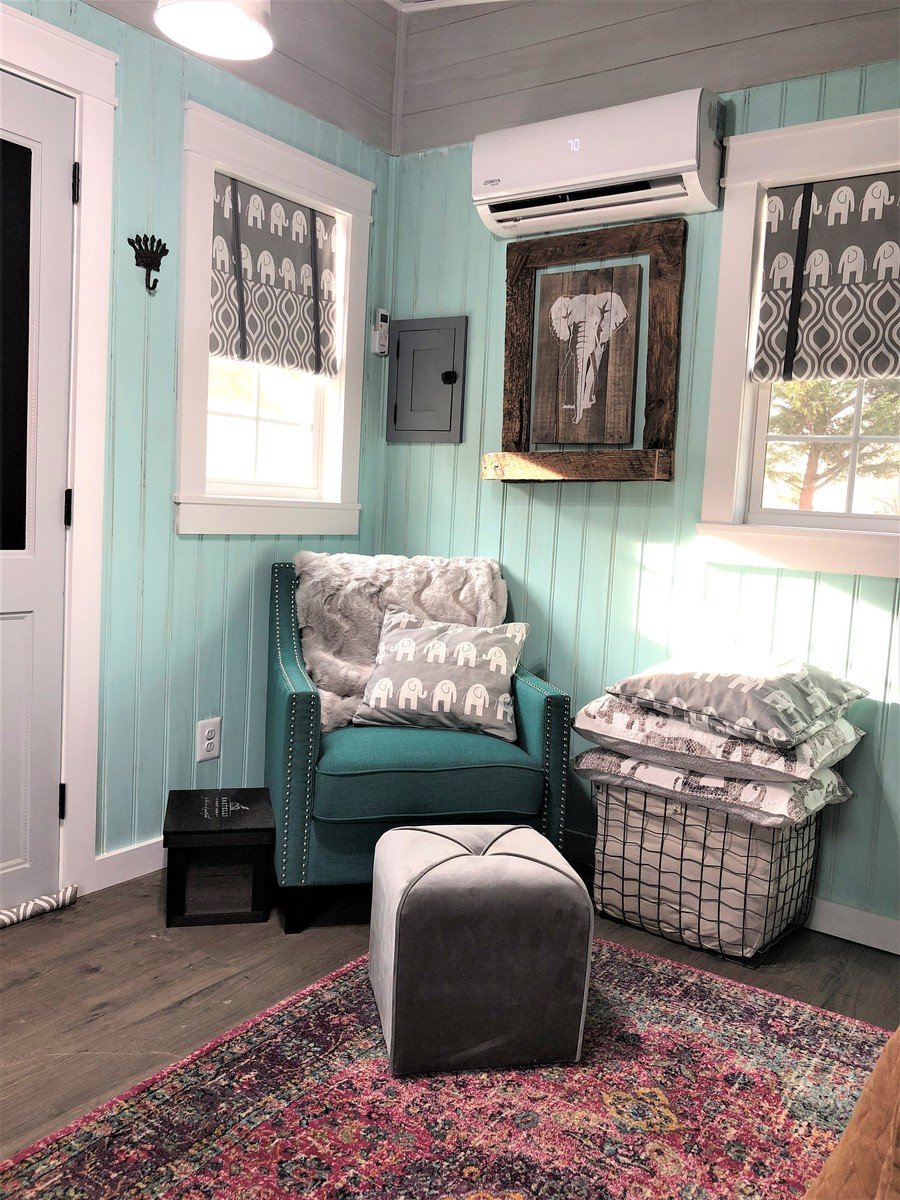
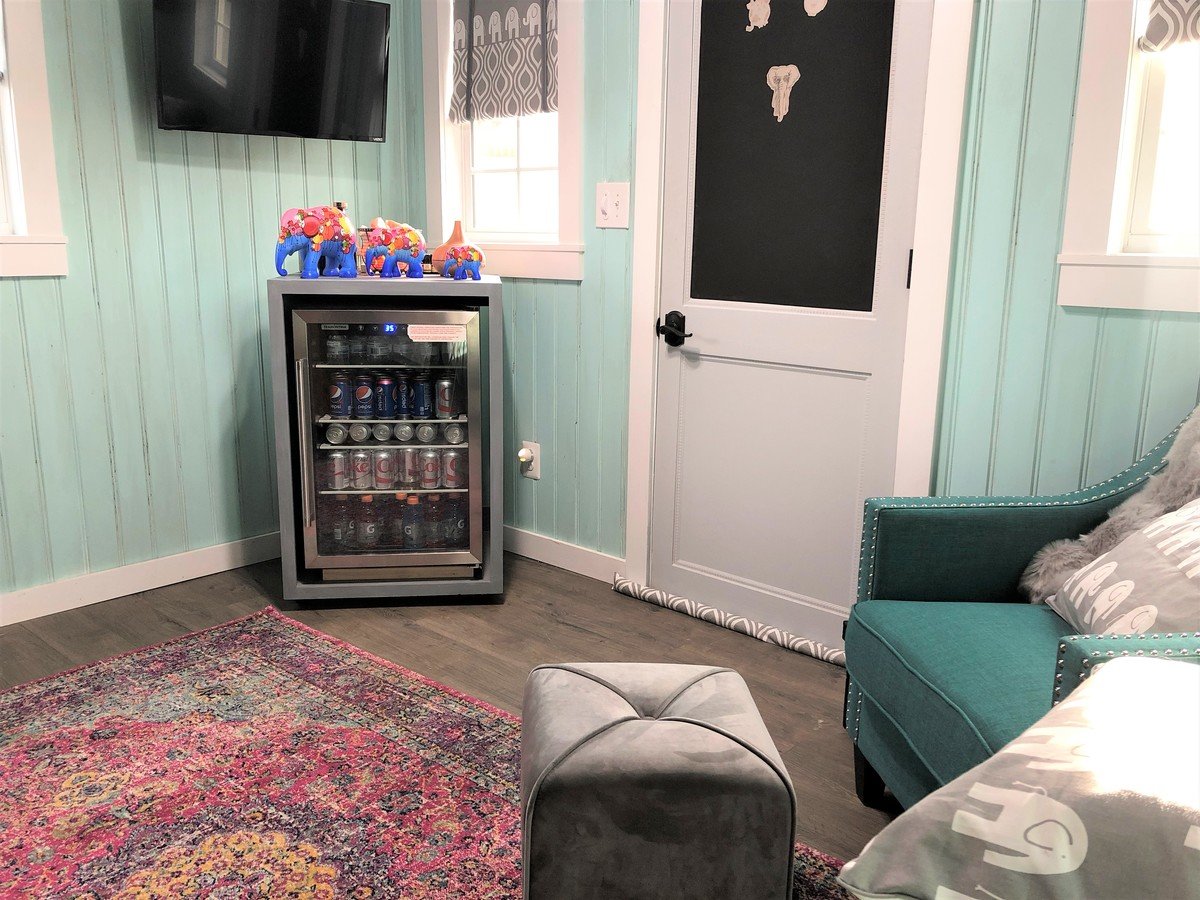
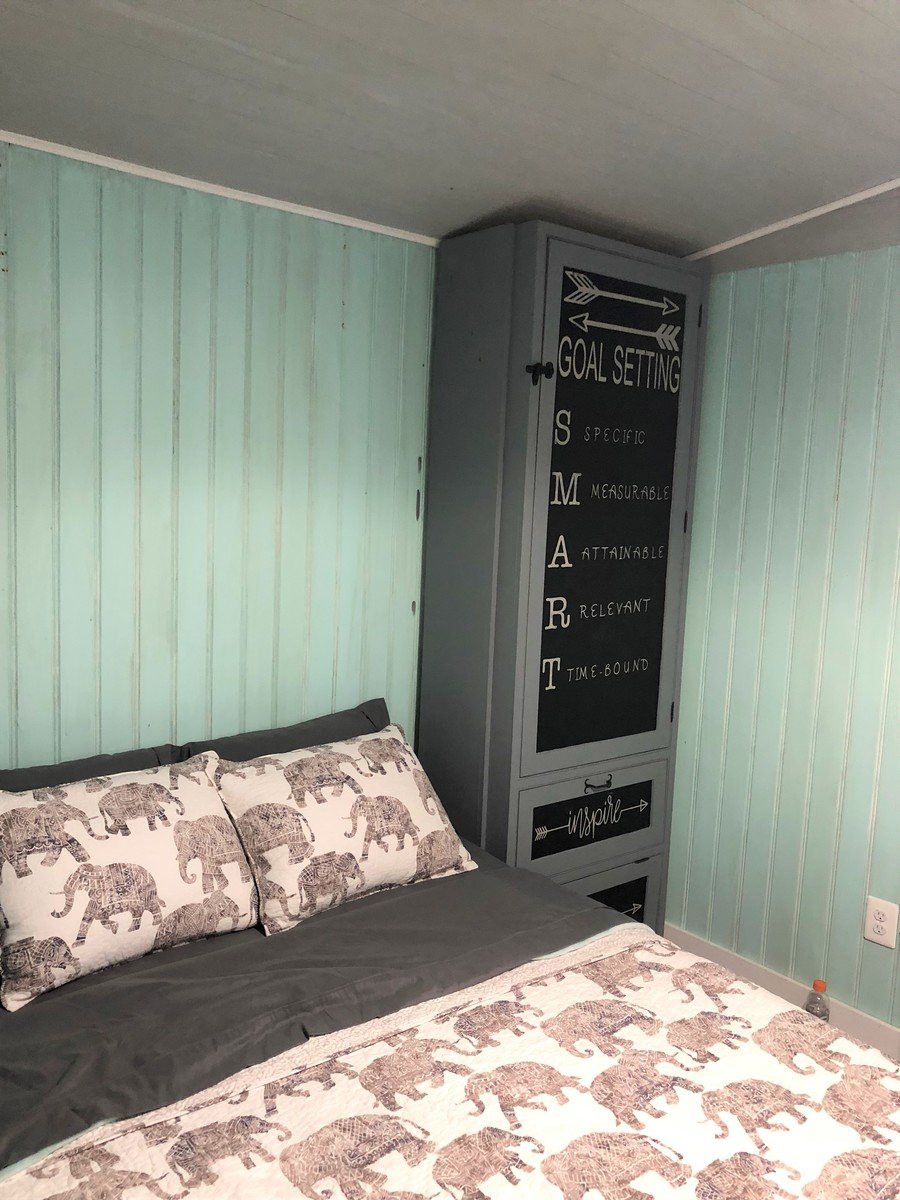
She Shed - Guest Room, Craft Room, Office

Submitted by Chriss45 on Tue, 01/23/2018 - 08:18

I needed an office and also a guest room so i built a she shed and all the furniture.

Recommended Skill Level
Advanced

Comments

junesummer21

Thu, 01/25/2018 - 06:27

I love your murphy bed idea and would love to have plans for it. I too am looking for a guest bedroom and craft area and I know this would work in my space.

Chriss45

Mon, 02/05/2018 - 16:20

I didnt really have a plan when I was building my Murphy bed, I can do a sketchup plan for you if you would like. I used boat chair swivels instead of hinges and there is a YouTube video on how to do this. 

Chris

Nurserene62

Thu, 06/24/2021 - 23:11

Hi Chris! I would love to have a copy of the sketch up of this. I have a small she shed/guest cottage I would live to duplicate this in. Thanks in advance.

cgself12

Mon, 11/08/2021 - 14:18

Hi Chris!
I know I'm coming late to this party but I just found your shed and I adore it. You did an amazing job and I cannot express how impressed I am! I would also like a sketchup plan of both the murphy bed and the adjoining side cabinets. Great job!

Kim Daigle

Thu, 06/06/2019 - 10:59

I absolutely love everything about this she shed!!  I would be interested in a sketch up of the murphy bed as well as the cabinets next to it.  I would at least like to know what the dimensions of it all is.  You did an amazing job!  It's so beautiful!

mcocooper11

Tue, 06/25/2019 - 15:14

Me too!! I built a horizontal Murphy bed so I have that part done but I would like to see the plans for the cabinets on either side with the pull out desk!

so very cute!

Fancy X Farmhouse Table and Bench

Built this table and bench for my wife. She wanted to host Thanksgiving dinner and needed a bigger table. I used the 96” plan, building the bench first and the table second. 3 coats of Danish oil dark walnut, and 2 coats of poly. I get a lot of compliments about this table. The bench is remarkably comfortable and sturdy. And yes, my wife was very pleased, plus I finished on time for dinner.

Comments

BearWoodworks

Mon, 01/17/2022 - 13:49

Thank you. The set up gratitude goes to my wife. She inspires me to complete these builds. And thank you to Ana White for these awesome build plans. I’m running out of house for all the builds so far.

Love, love, love this swing!

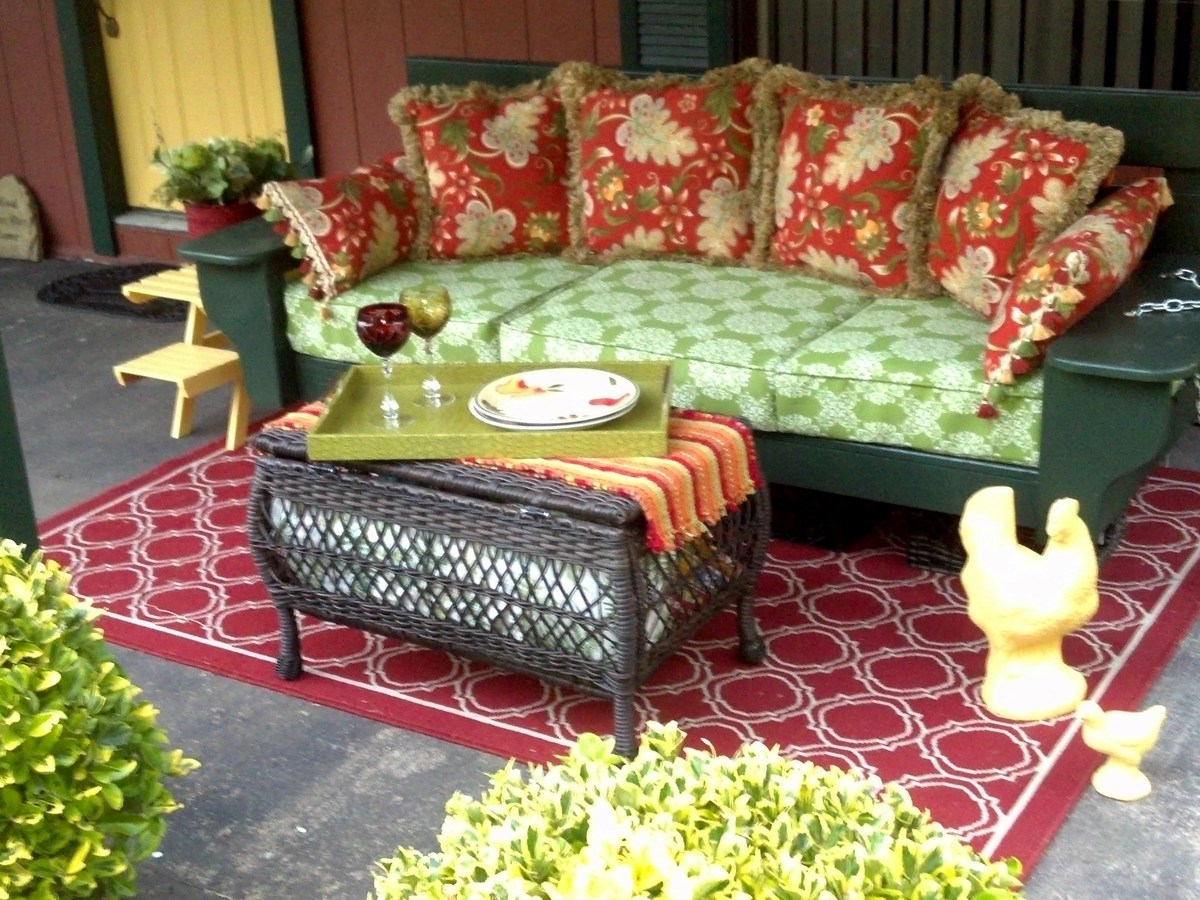
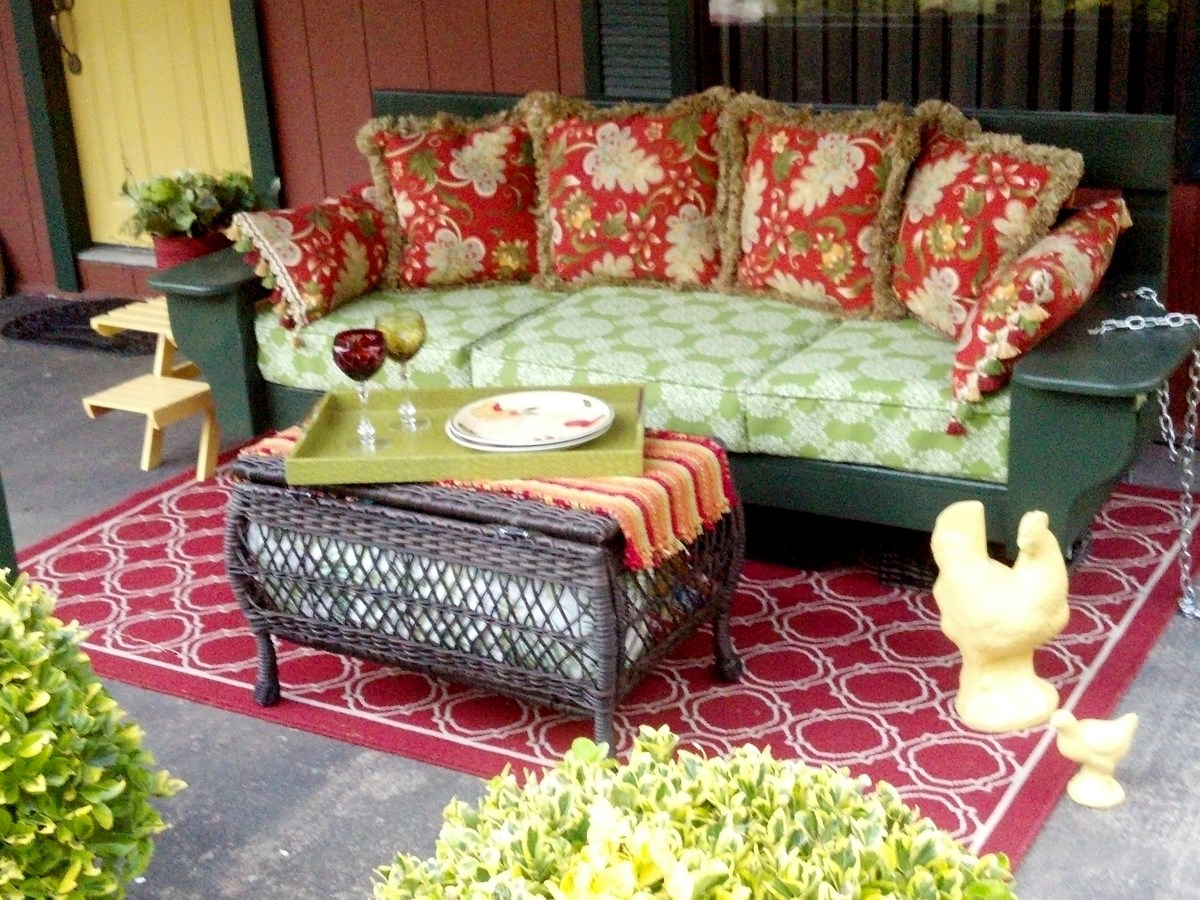
Still unhung - but just had to share this wonderful swing we picked up today from our handyman. Thank you, Ana! The modifications to the plan we requested were a higher back and the front side table detail. We had it built for $350 - not including cushions.

Built from Plan(s)
Estimated Cost
350
Estimated Time Investment
Weekend Project (10-20 Hours)
Finish Used
Forest Green paint.
Recommended Skill Level
Beginner