Community Brag Posts

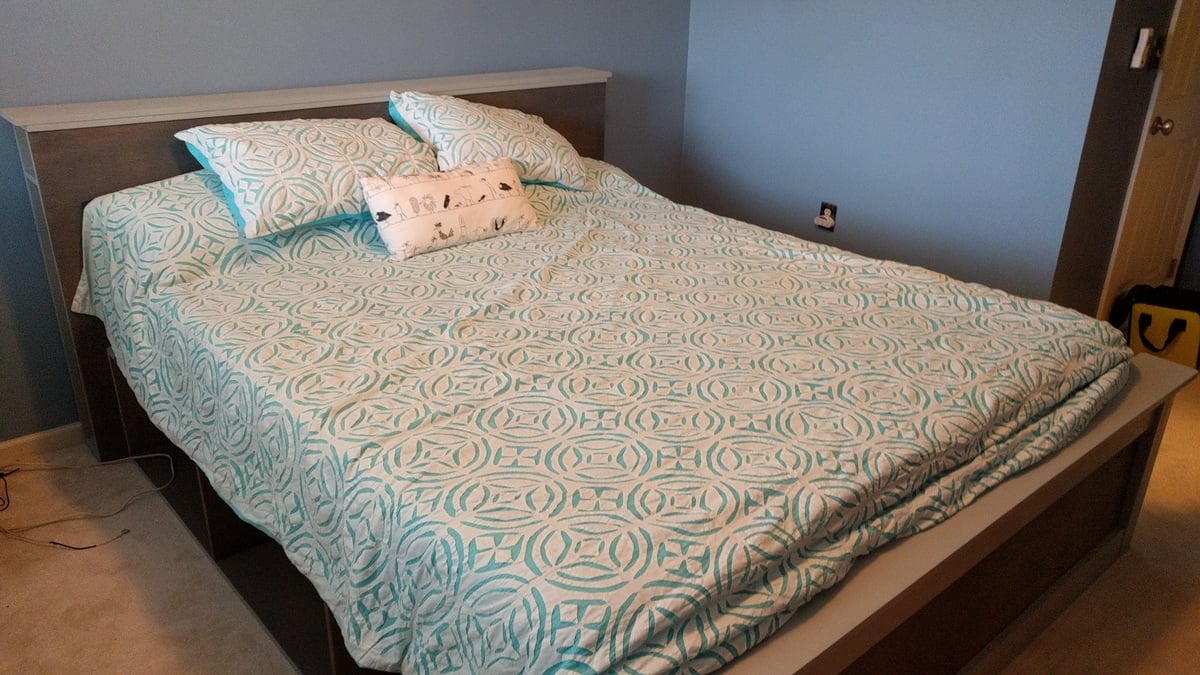
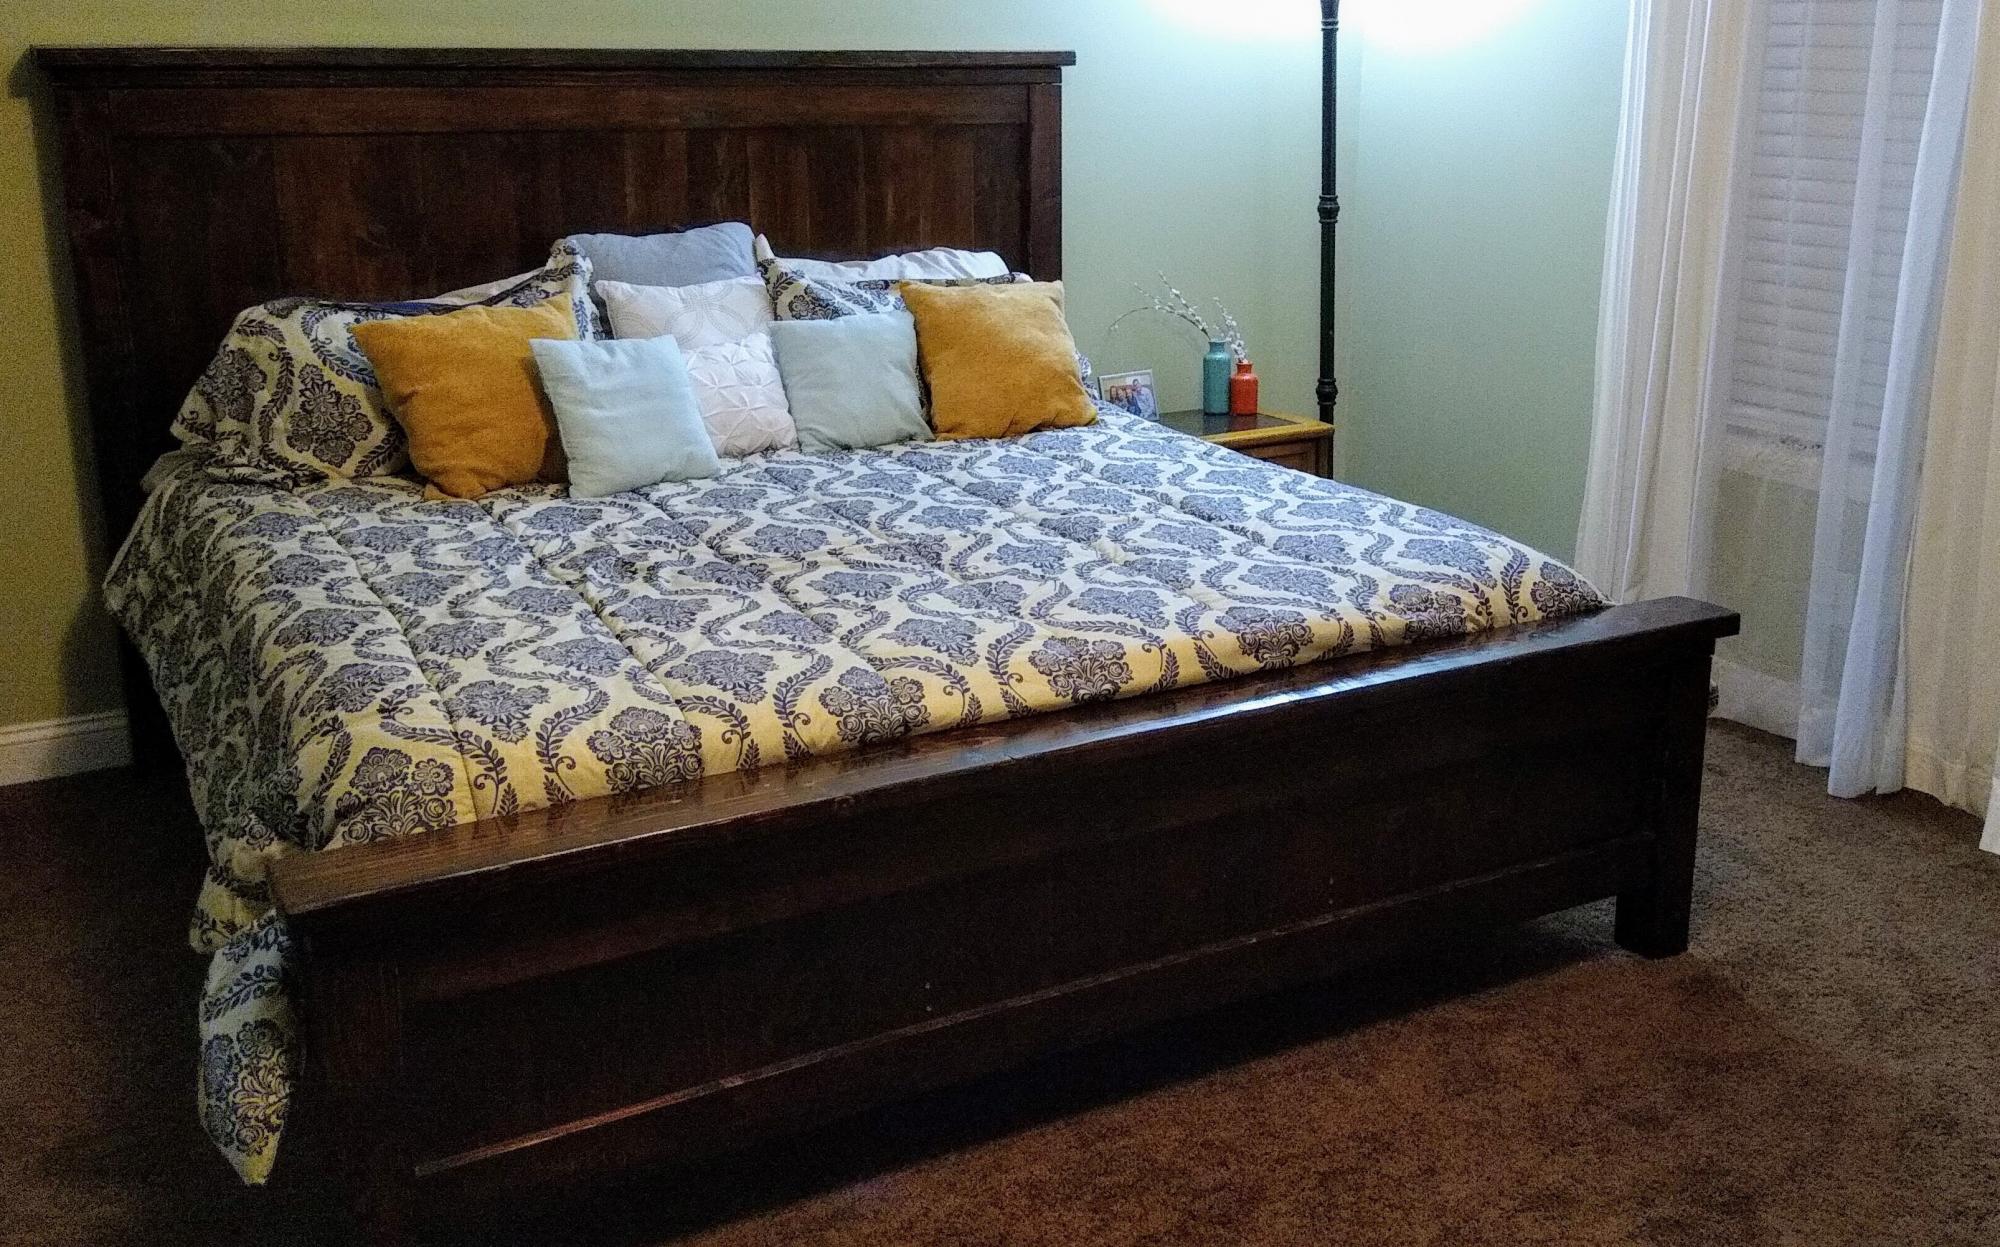
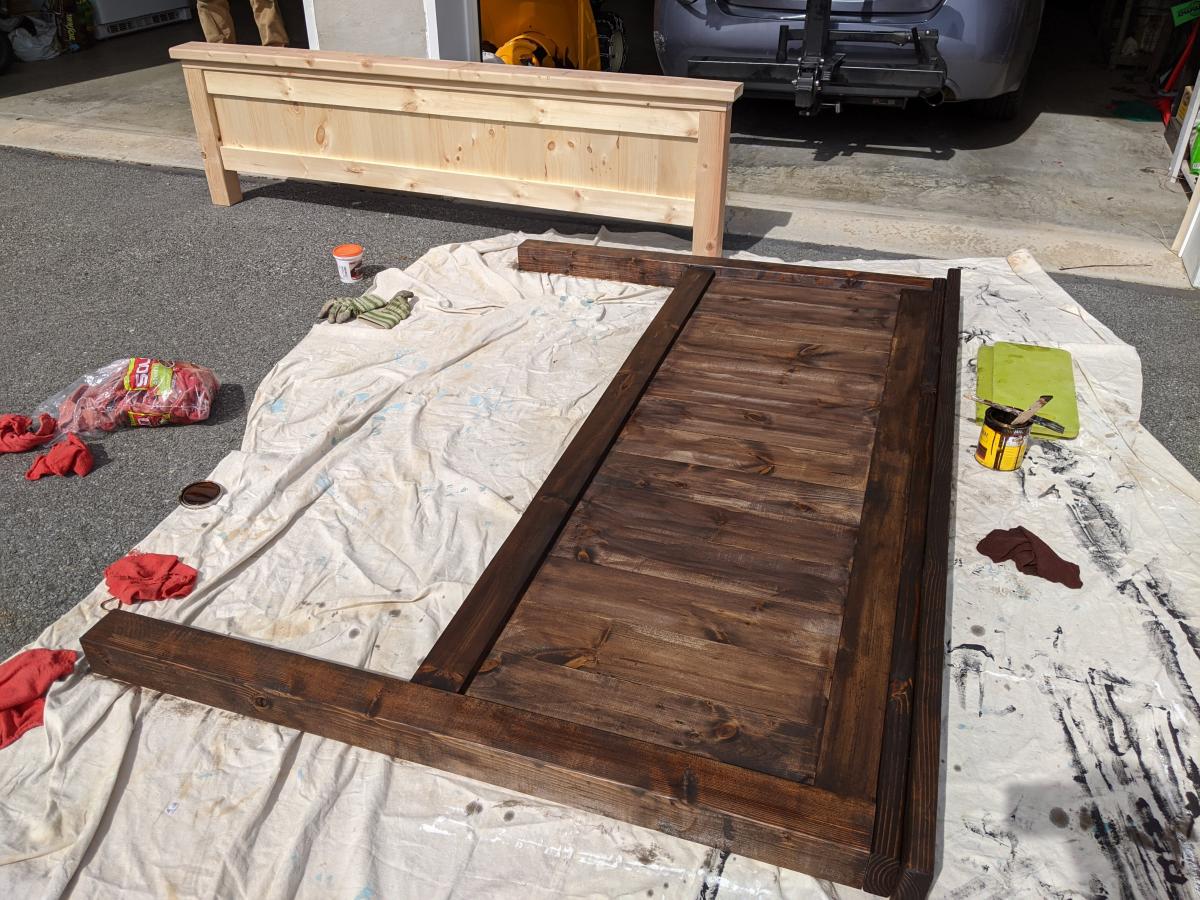
Farmhouse Bed - Standard King Size

Submitted by jusgre on Wed, 03/25/2020 - 19:47

Really loved these plans and they produced a beautiful product.  The only minor change I'd make is to double the number of support slats.  Our Casper mattress requires gaps less than 3" between each slat.  Thank you for the plans!

Estimated Cost
$430
Estimated Time Investment
Weekend Project (10-20 Hours)
Finish Used
Minwax Honey Stain + Minwax Wipe-On Poly
Recommended Skill Level
Beginner

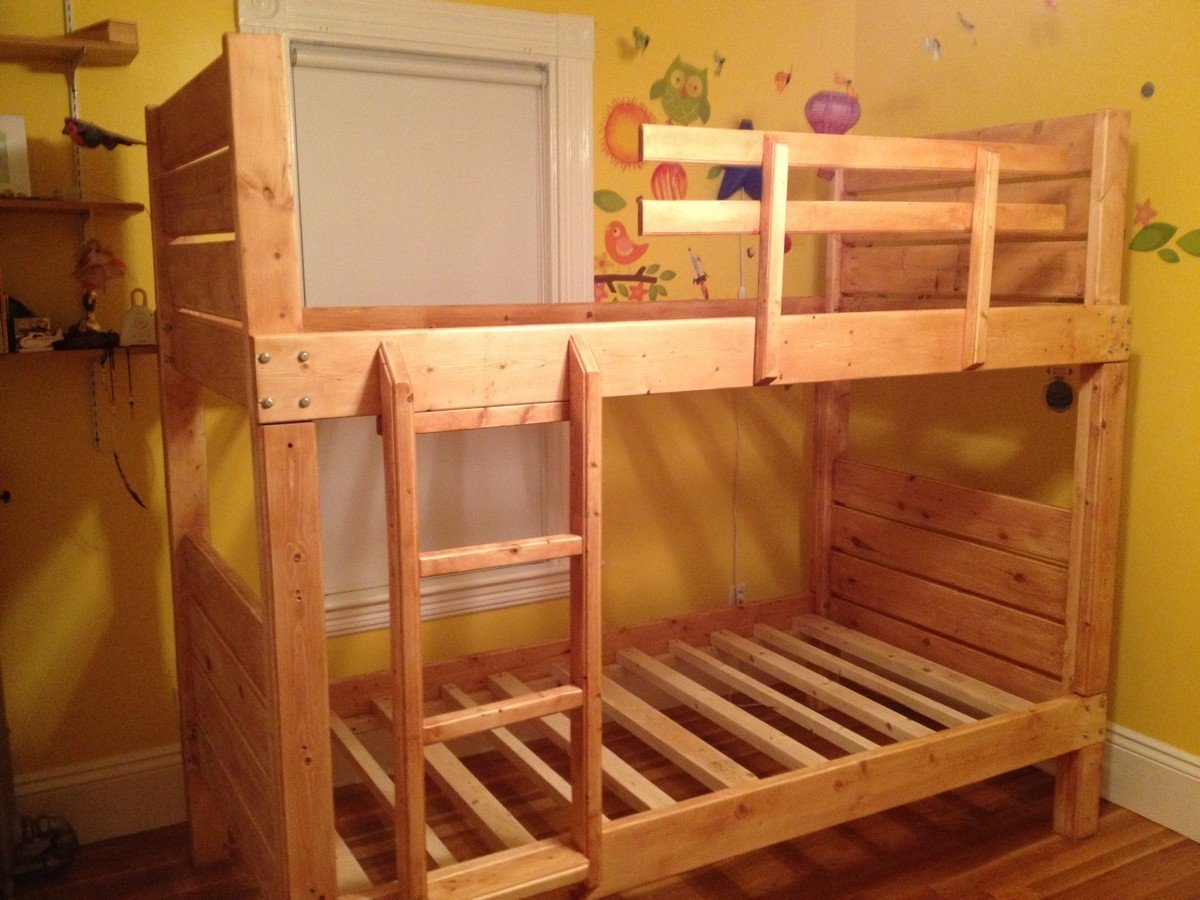
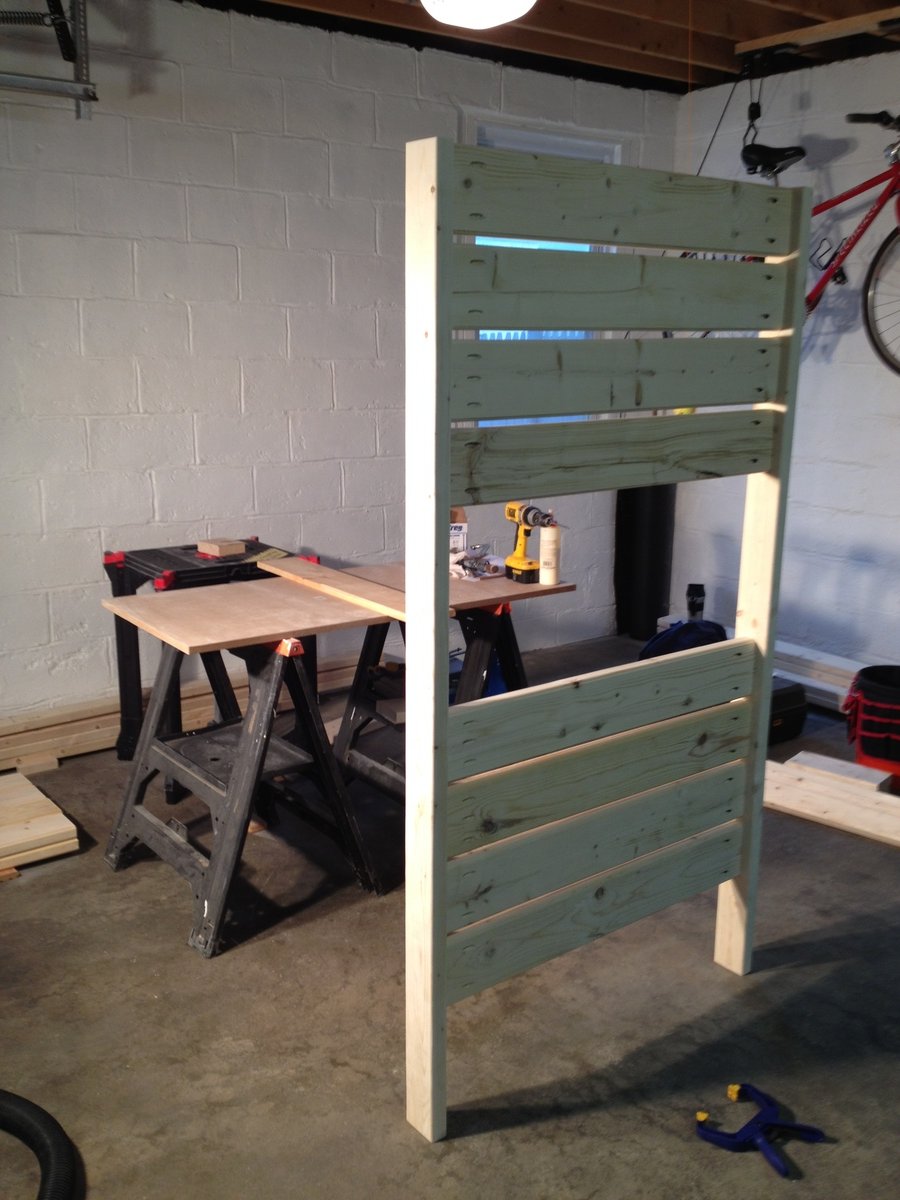
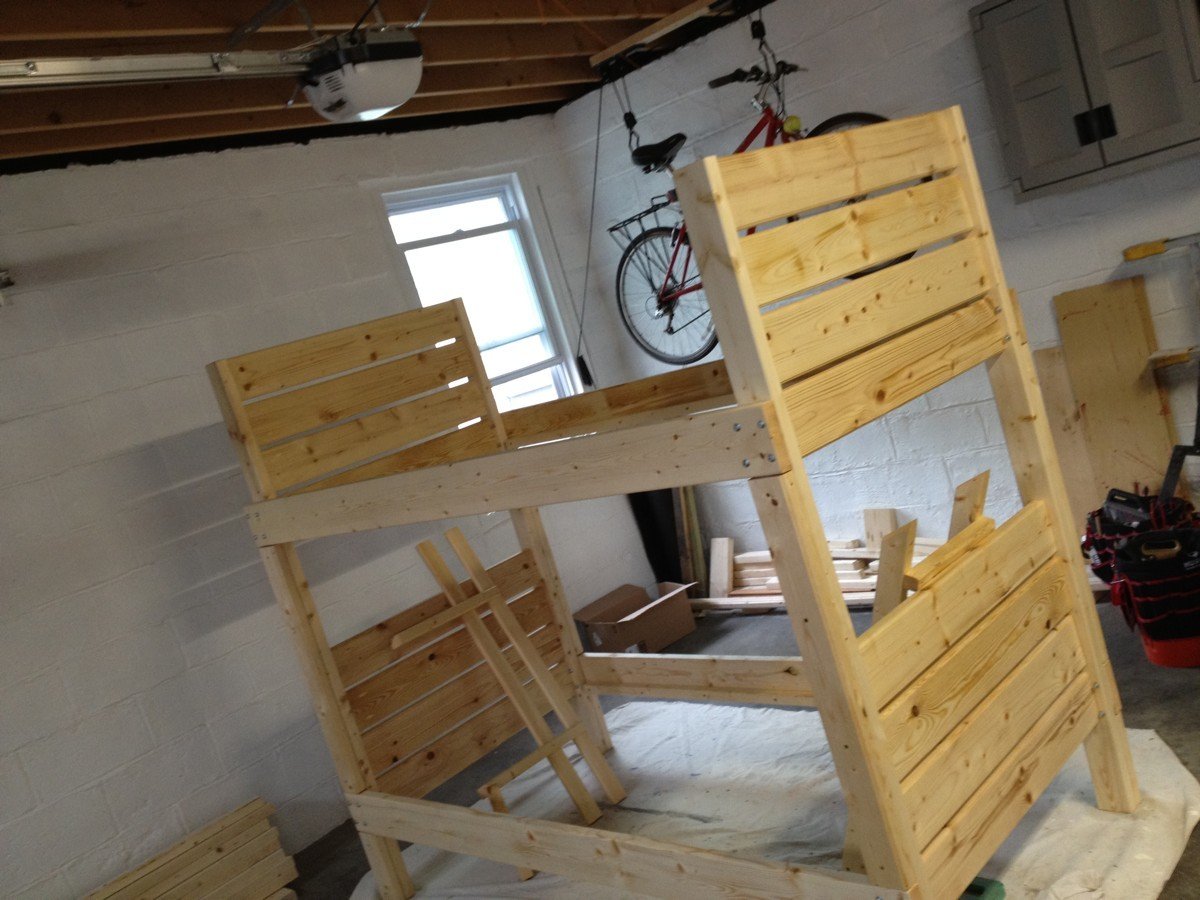
Sturdy Bunk Beds

We were shopping for bunk beds for our 5 and 3-year-old kids, and everything I saw was overpriced, mass produced junk. I'm not kidding - we were looking at $800-$2000 for anything that appeared to be remotely stable, let alone well-designed.

Naturally, I started searching for plans (it's the right thing to do), and naturally, I found my way to Ana White. This project began in earnest when I found the Side Street Bunk Bed plans here:
http://ana-white.com/2012/03/plans/side-street-bunk-beds

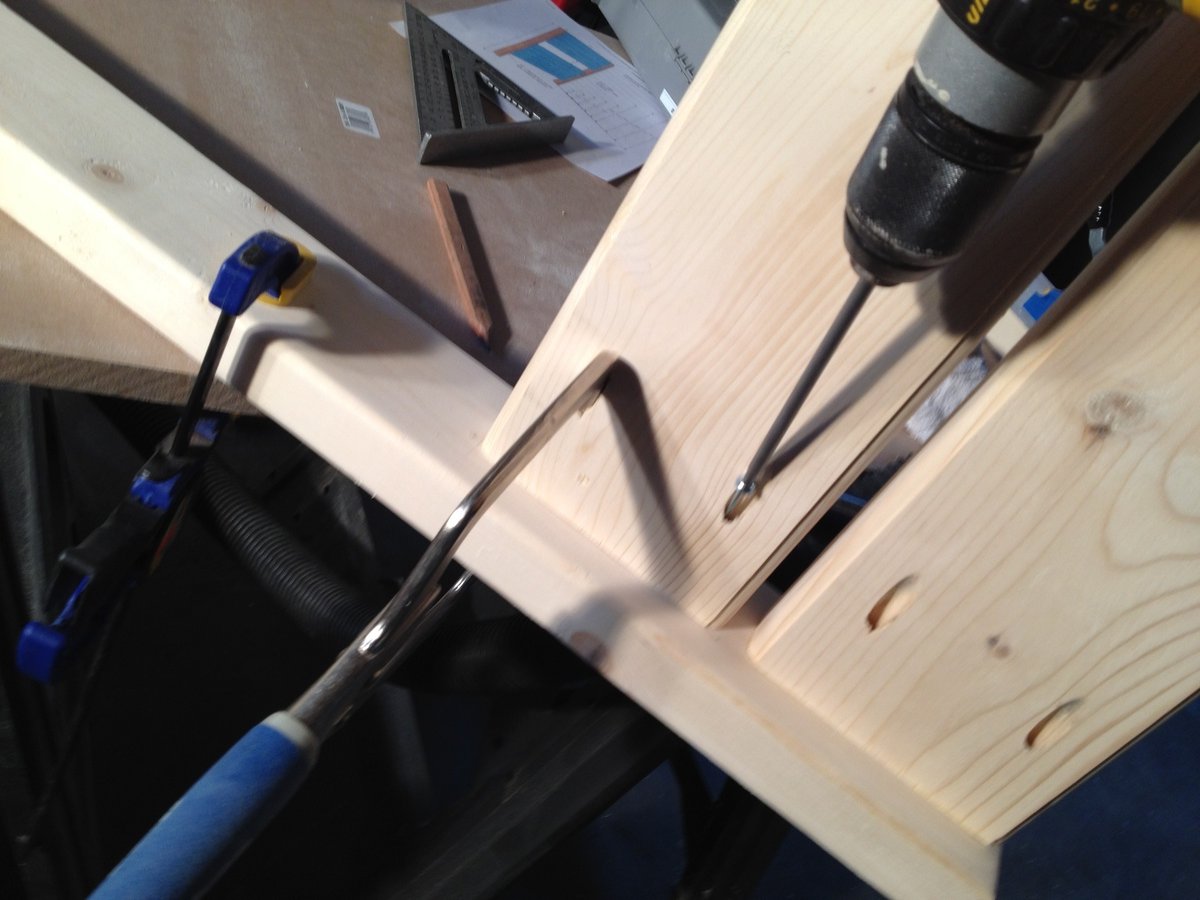
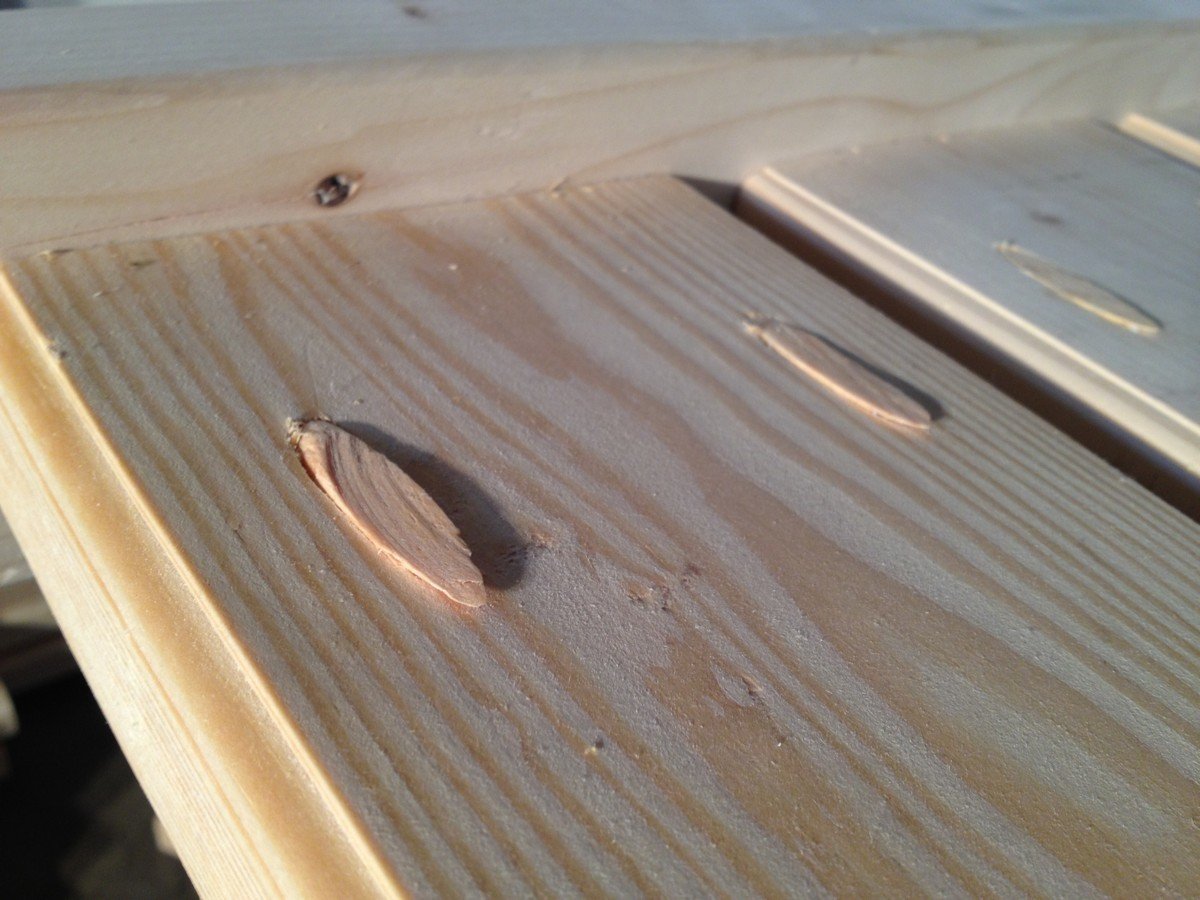
I figured I'd give it my own twist. I needed to practice using my DeWalt compact router (and the new trim router table my wife had given me months before), and any excuse to bust out my Kreg Jig is fine by me. I also had different ideas for the ladder and guard rails...so I printed out the plans, sketched out my variations, and proceeded to suffer through the indignity of lumber shopping at Home Depot.

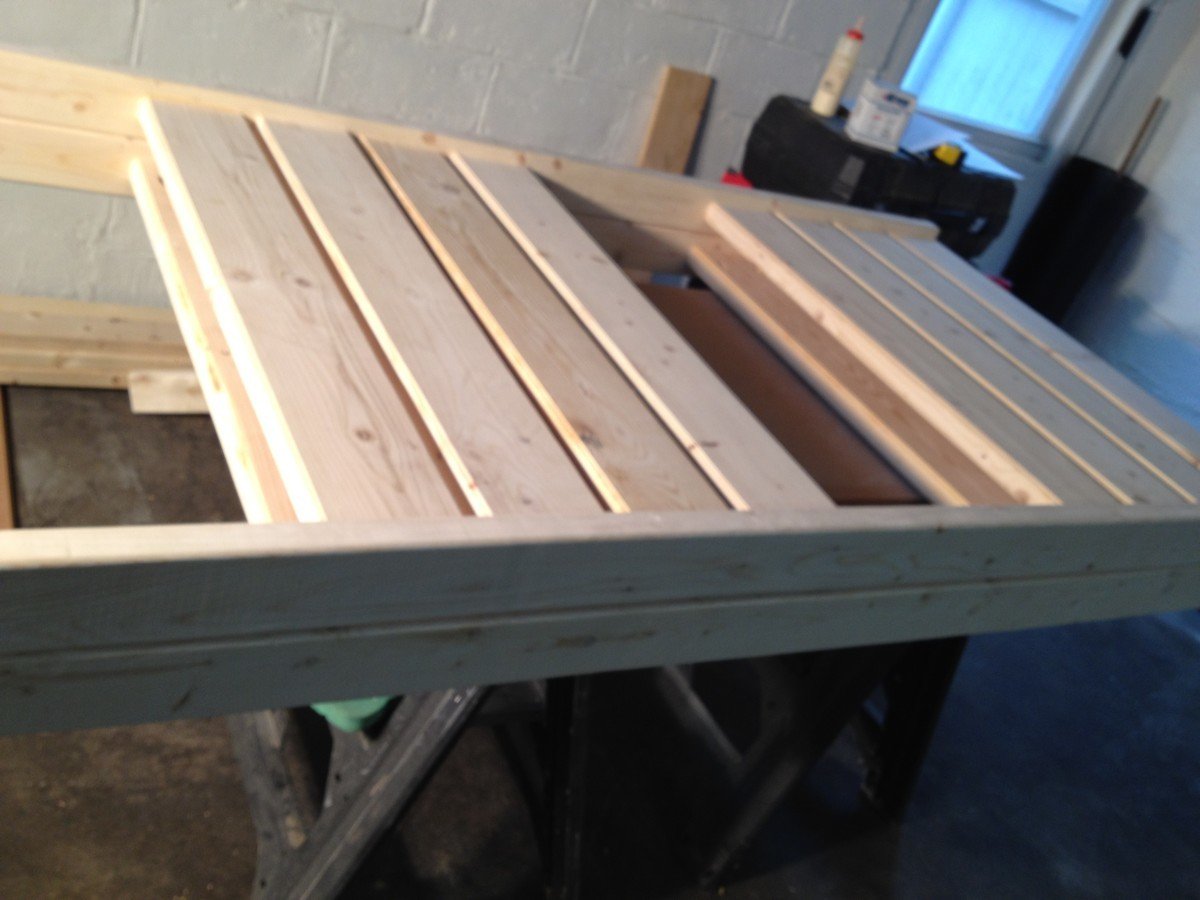
I know what you're thinking - WHY would anyone even bother trying to find a straight board in THAT place? Well believe me, I suffered for the convenience of driving to the HD two miles from my house. I had to work each and every board like crazy, but eventually I got em all into fine shape. Wood wants to be good, even the crap they sell at HD.

About halfway through the build, I started to worry that what i was building was TOO sturdy - total overkill. But now that it's in use, I can tell you I'm glad I built with these plans. I can still climb up on top of the bed with both my kids if I want to and this thing doesn't budge. Not an inch. Not a creak. SOLID. Exactly what any parent wants.

Not a lot of complex tools involved here; my trusty Delta chop saw, my DeWalt 18v cordless drill, a DeWalt palm sander ( I spent hours with this), the Kreg Jig and a couple of clamps (of course), and the DeWalt Compact Router and table. The router really made a difference in the overall design – and I wasn't afraid of screwing up the lousy lumber I was working with. In the end, it all finished rather nicely.

I treated every piece with Minwax wood conditioner, then a single coat of Minway Polyshade in Pecan. Nothing fancy, but after sanding it down and giving it a polish, I gotta say it looks just as good as your average IKEA finish. Not bad at all.

This is the largest piece of functional furniture I've ever built, and my kids LOVE it. They talked about it for days after, and you can't buy that on Amazon. It was a real confidence builder, and I'm PSYCHED to move on to some nicer lumber and more complex projects!
Built from Plan(s)
Estimated Cost
$300
Estimated Time Investment
Week Long Project (20 Hours or More)
Finish Used
Minwax Polyshade
Recommended Skill Level
Intermediate

Comments

hammertime

Thu, 05/24/2012 - 09:42

That is really lovely. You should be proud and how wonderful that you created this experience for your boys instead. No doubt you have inspired and impressed them. Way to go.

Trent (not verified)

Sat, 07/14/2012 - 16:01

Great job. We just bought the wood to make the same bunk bed. Would you mind sharing your dimensions/cut list for the ladder on your bunk bed? We would like to build the same ladder instead of the one that goes out to the floor.
Thanks.

Doing things big down in Texas

Submitted by StewartTX on Sat, 03/08/2014 - 14:54

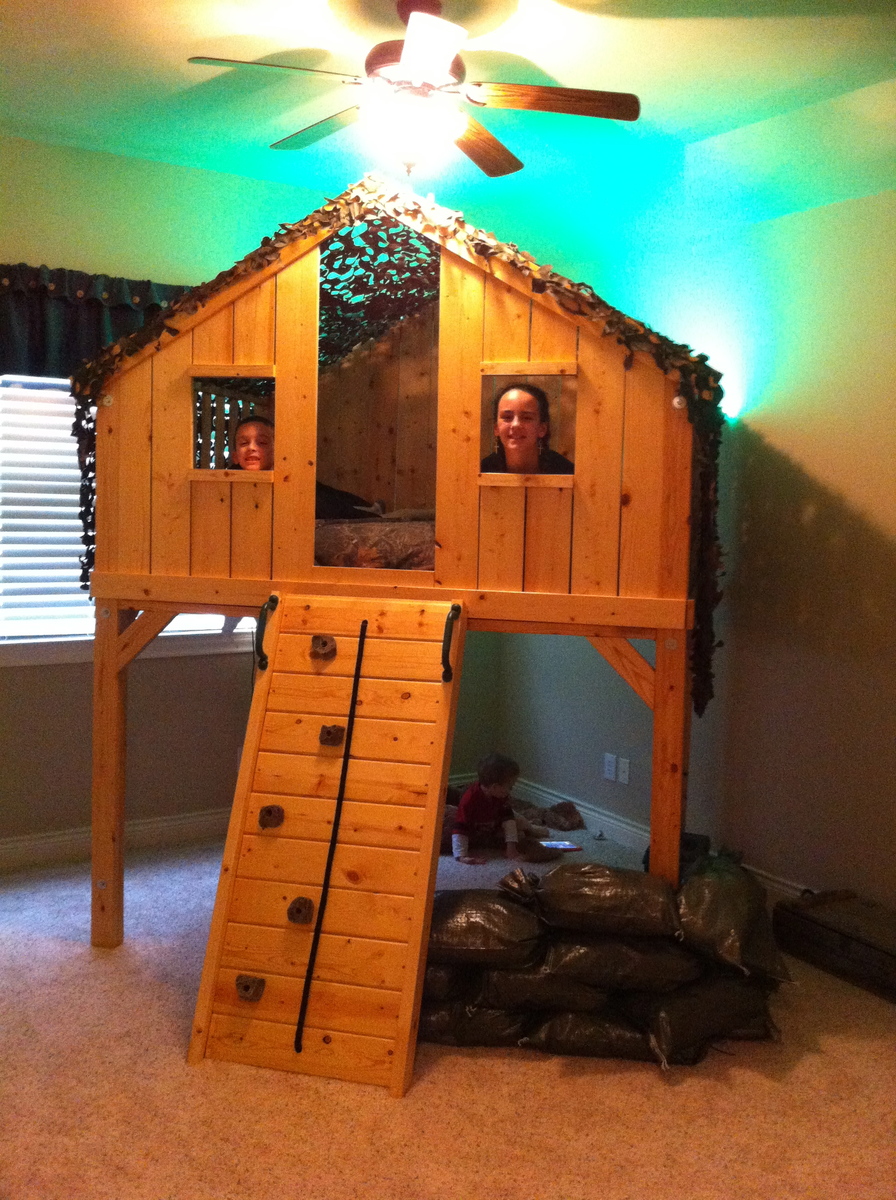
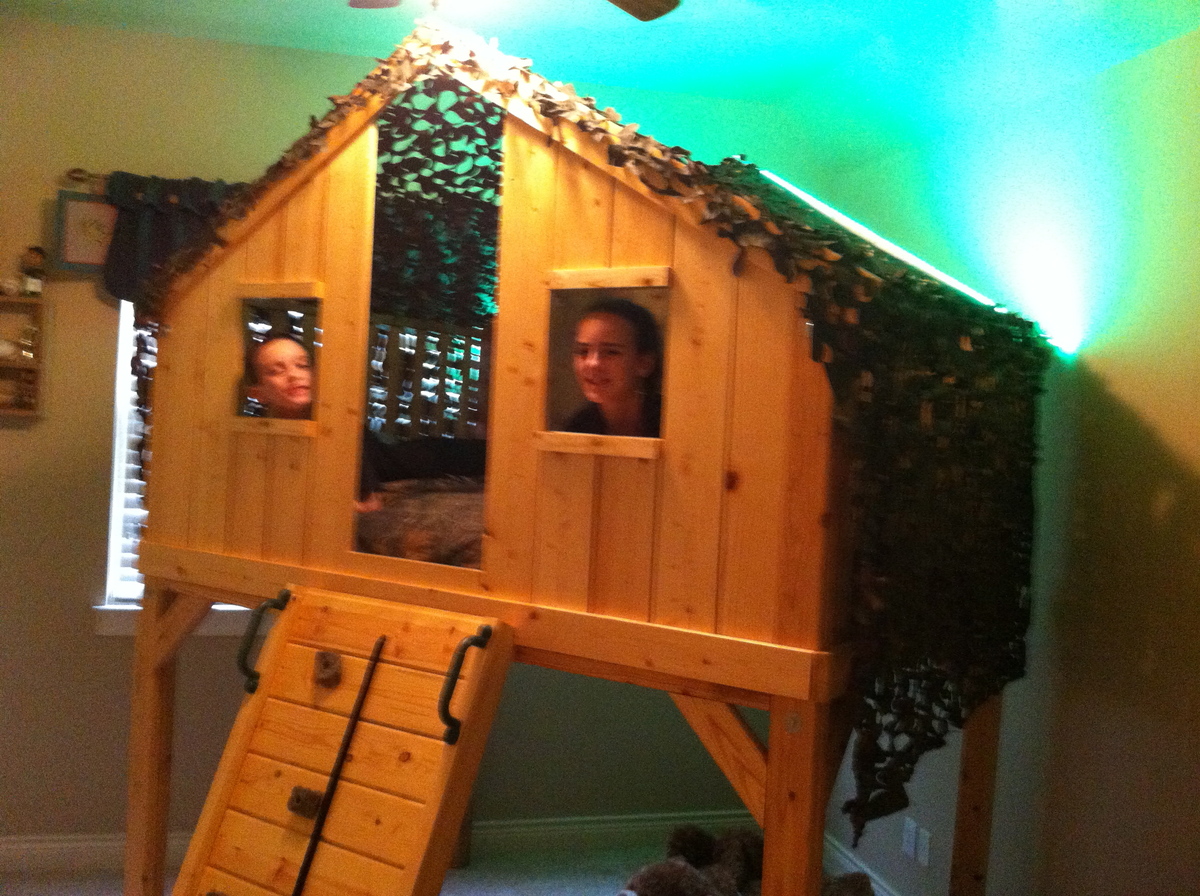
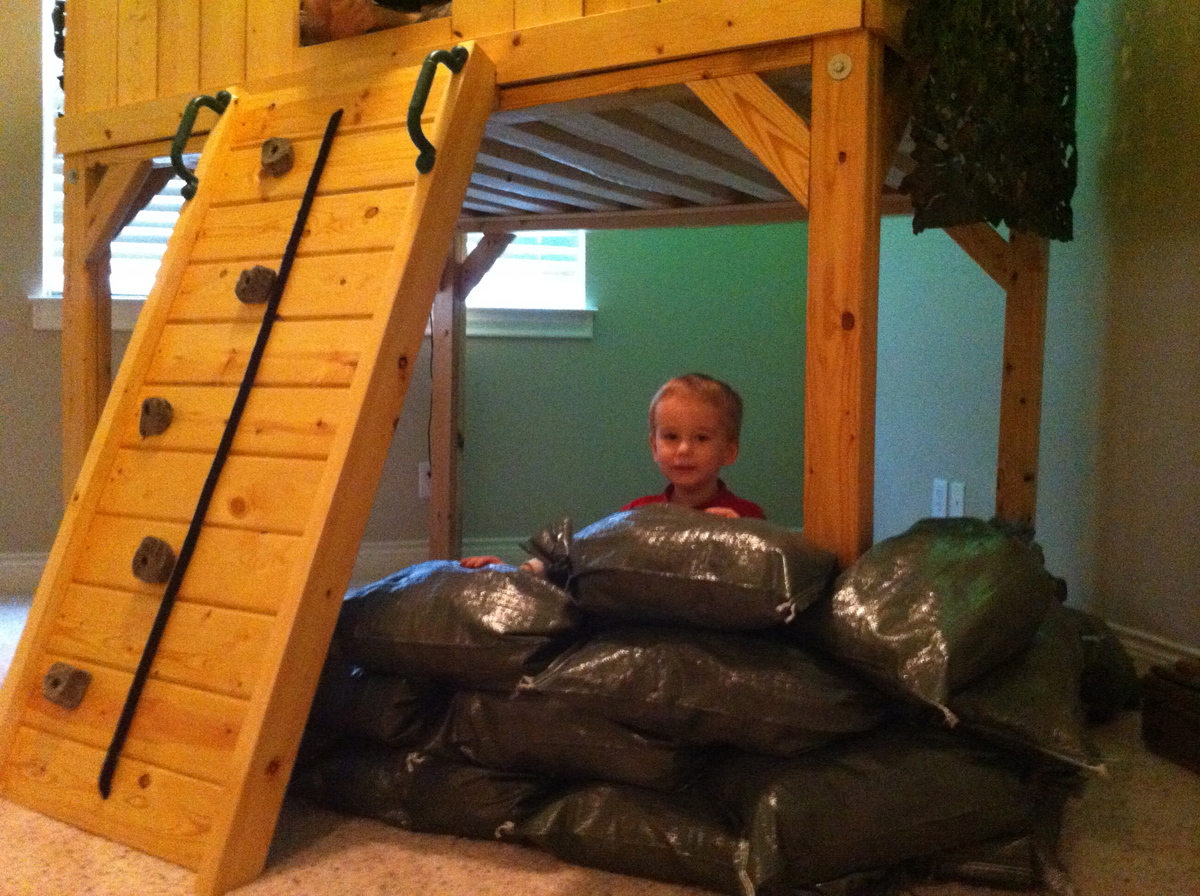
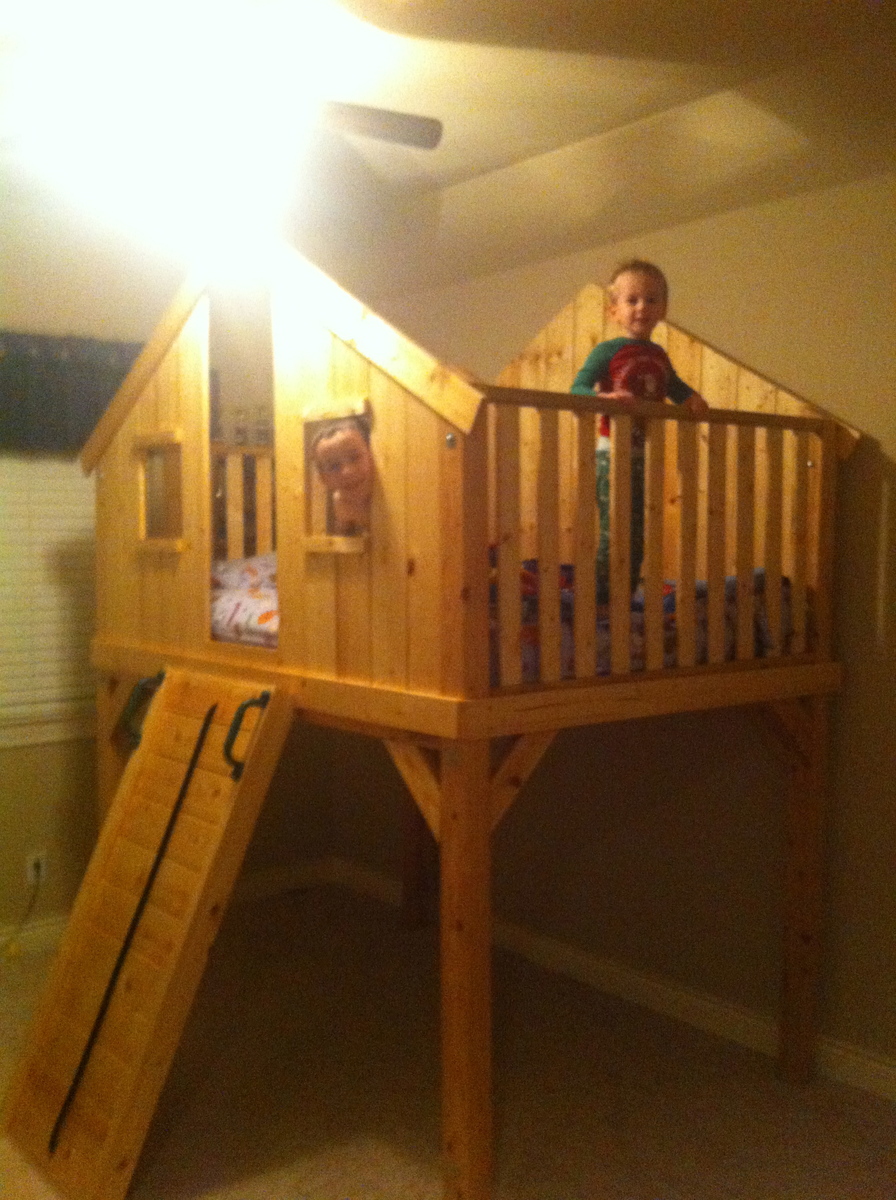
We decided to build this a bit bigger and taller. I will caution you to be careful as we came inches to not making it through our doorways. We expanded the depth 15" to make it a full bed and we extended the length of the legs to allow for 48" clearance underneath.

We also went with a rock wall instead of a ladder. I 1st built the angle too steep; recommend at least a 30 degree angle on a wall. Kid's love it; mom not so much when attempting to make the bed! :)
We went with military theme - green rope lights, camo netting for a roof, and sandbags filled with old clothes from my high school years for a bunker underneath.

Still working on a sign for top of the door.

Great project! Thanks for the idea!

Estimated Cost
materials $350; tools needed that I did not have $250
Estimated Time Investment
Week Long Project (20 Hours or More)
Finish Used
Natural Color MinWax stain then Clear Satin Poly.
Recommended Skill Level
Beginner

Modified Farmhouse Storage Bed (California King, headboard with bookshelves)

Submitted by Anonymous (not verified) on Tue, 06/07/2016 - 19:51

Modified the Farmhouse Storage Bed with Storage Drawers. Changed the design to california king and added booshelves to the headboard. Will eventually turn a shelf into a nightstand for water/light. I LOVE IT!! Thanks for the Design, Ana!

Estimated Cost
$400
Estimated Time Investment
Week Long Project (20 Hours or More)
Finish Used
minwax grey stain and light grey paint (I can't remember the color, but it's valspar prairie something)
Recommended Skill Level
Advanced

Hailey Platform bed

Submitted by Delilah on Sun, 05/27/2012 - 07:01

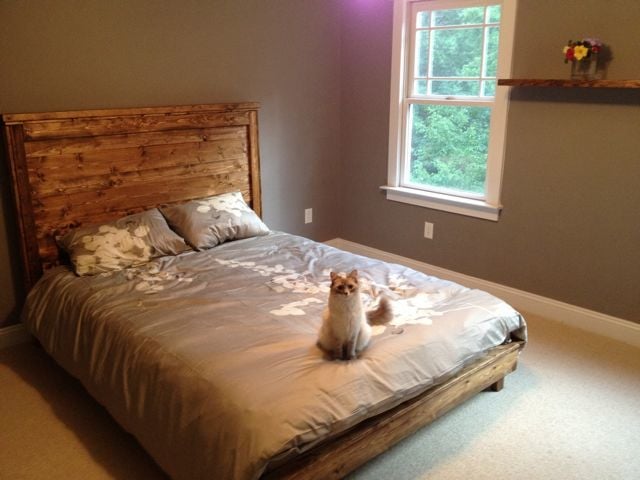
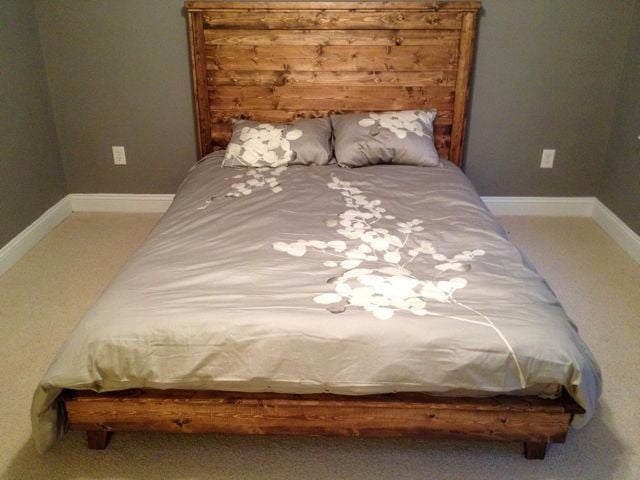
We needed a guest bed in a hurry and this fit the bill.

Estimated Cost
100 total
Estimated Time Investment
Weekend Project (10-20 Hours)
Finish Used
Minwax provincial 211 and satin poly
Recommended Skill Level
Beginner

Comments

norge79 (not verified)

Thu, 12/20/2012 - 06:32

Thank you so much for posting this platform bed. I am building my first home. I am doing the finish work myself. Needing a box springs for a mattress I decided to build my own out of the scrap 2x4's and 1x4's. This bed style will fit perfectly in my new home!

esirois

Thu, 05/22/2014 - 09:37

how did you attach the headboard to the frame?
I cant seem to find those instructions anywhere.

esirois

Thu, 05/22/2014 - 09:37

how did you attach the headboard to the frame?
I cant seem to find those instructions anywhere.

Poplar table

Submitted by jasondk on Wed, 03/12/2014 - 11:06

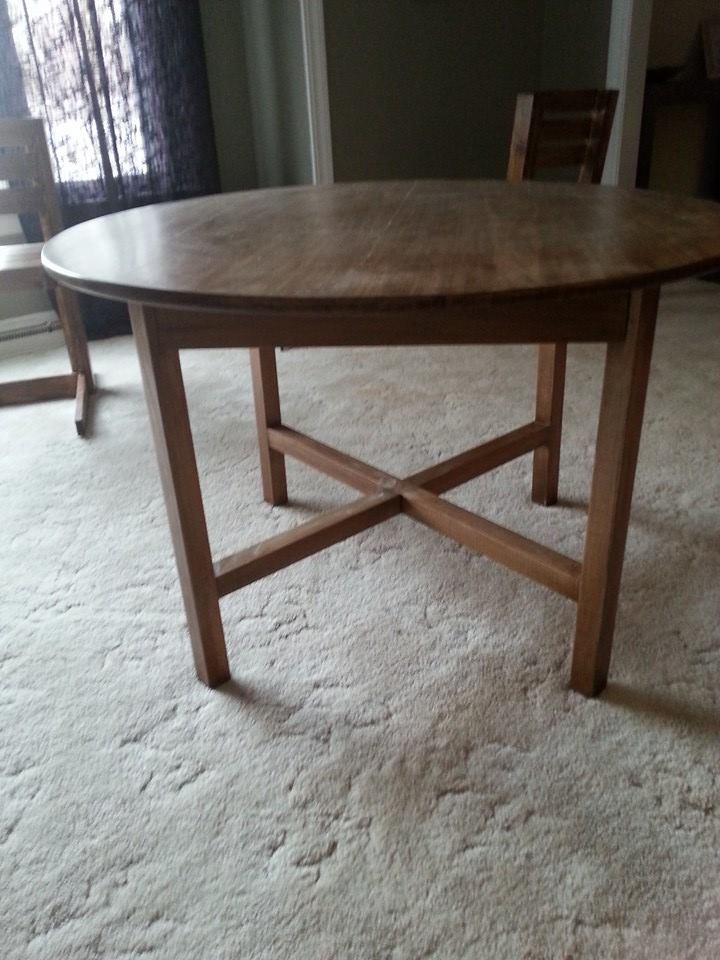
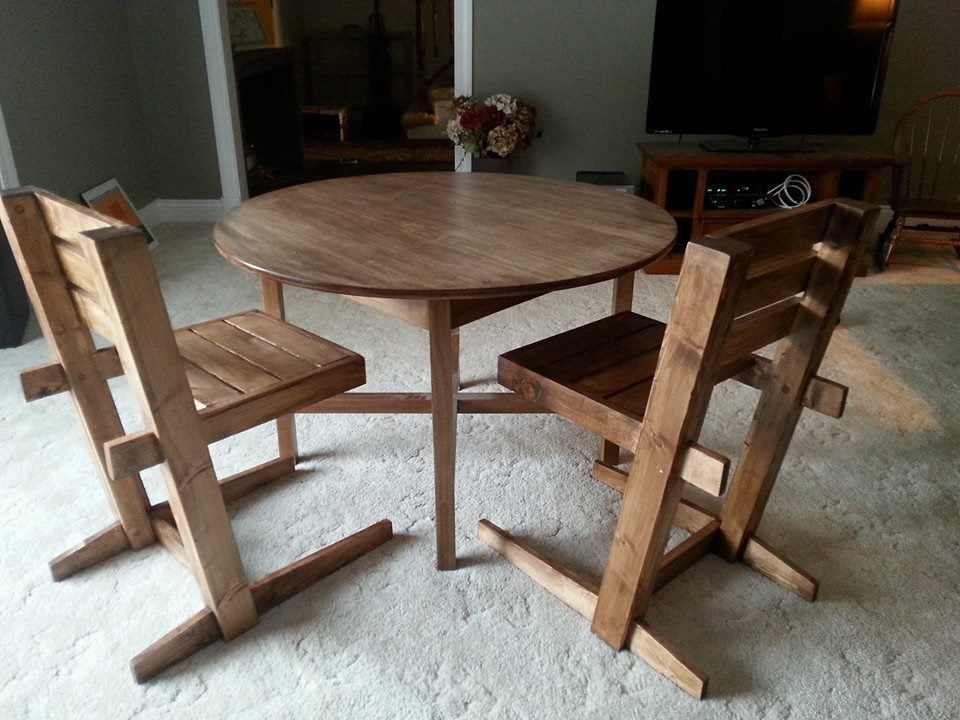
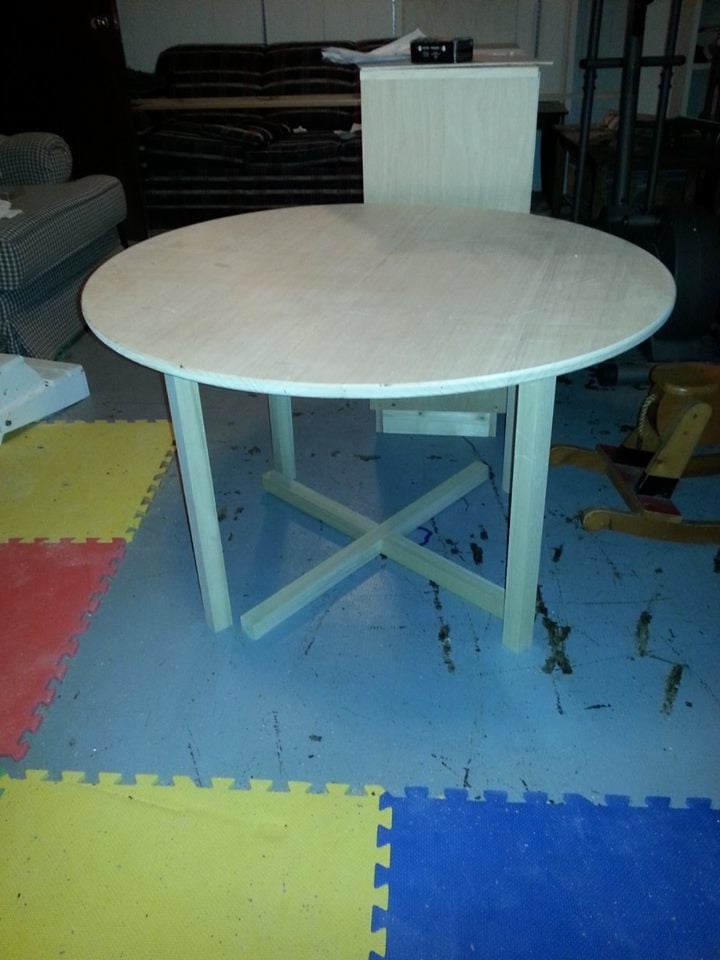
Modified the Round X Base Table plans a bit. Made the table 25 inches high, 38 inches diameter. I glued 4 poplar 1x12's together using a biscuit joiner. I then rough cut my circle with a jigsaw. I then made up a quick circle cutting jig to cut the perfect circle with my router using a straight bit. Then i rounded over the edges with a roundover bit.
Another adjustment i made was making the legs straight as opposed to being on an angle as it was intended as a children's table.
The table was stained using Minwax Chestnut Gel Stain, which is so easy to use.
I finished it with 3 coats of Minwax water based Polyacrylic.

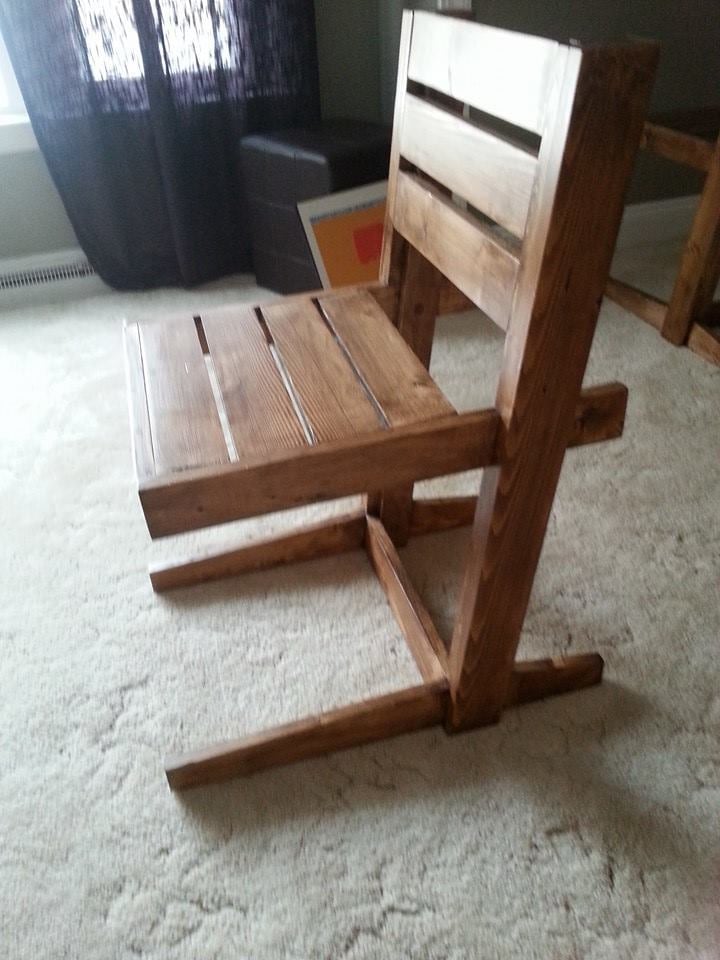
The chairs were something i saw for sale on a website, so i tried to copy it. They were selling the chairs for $150 each, i made mine for about $15 for the pair. They are made out of pine stained the same as the table.

Built from Plan(s)
Estimated Cost
$150
Estimated Time Investment
Week Long Project (20 Hours or More)
Finish Used
Minwax Chestnut Gel Stain
Minwax water based Polyacrylic.
Recommended Skill Level
Advanced

Comments

Woven back bench

Submitted by Anonymous (not verified) on Sun, 06/12/2016 - 09:55

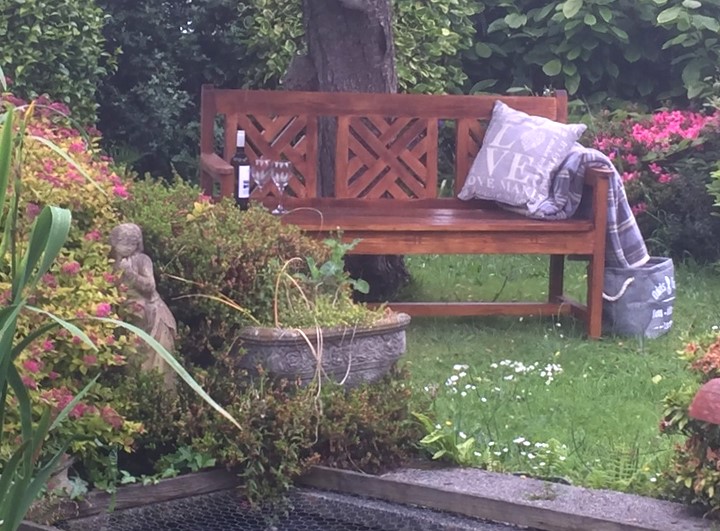
Built for my parents 50th anniversary 

Built from Plan(s)
Estimated Cost
£60
Estimated Time Investment
Week Long Project (20 Hours or More)
Finish Used
Cupronel outdoor furniture stain (teak)
Recommended Skill Level
Intermediate
Seasonal And Holiday

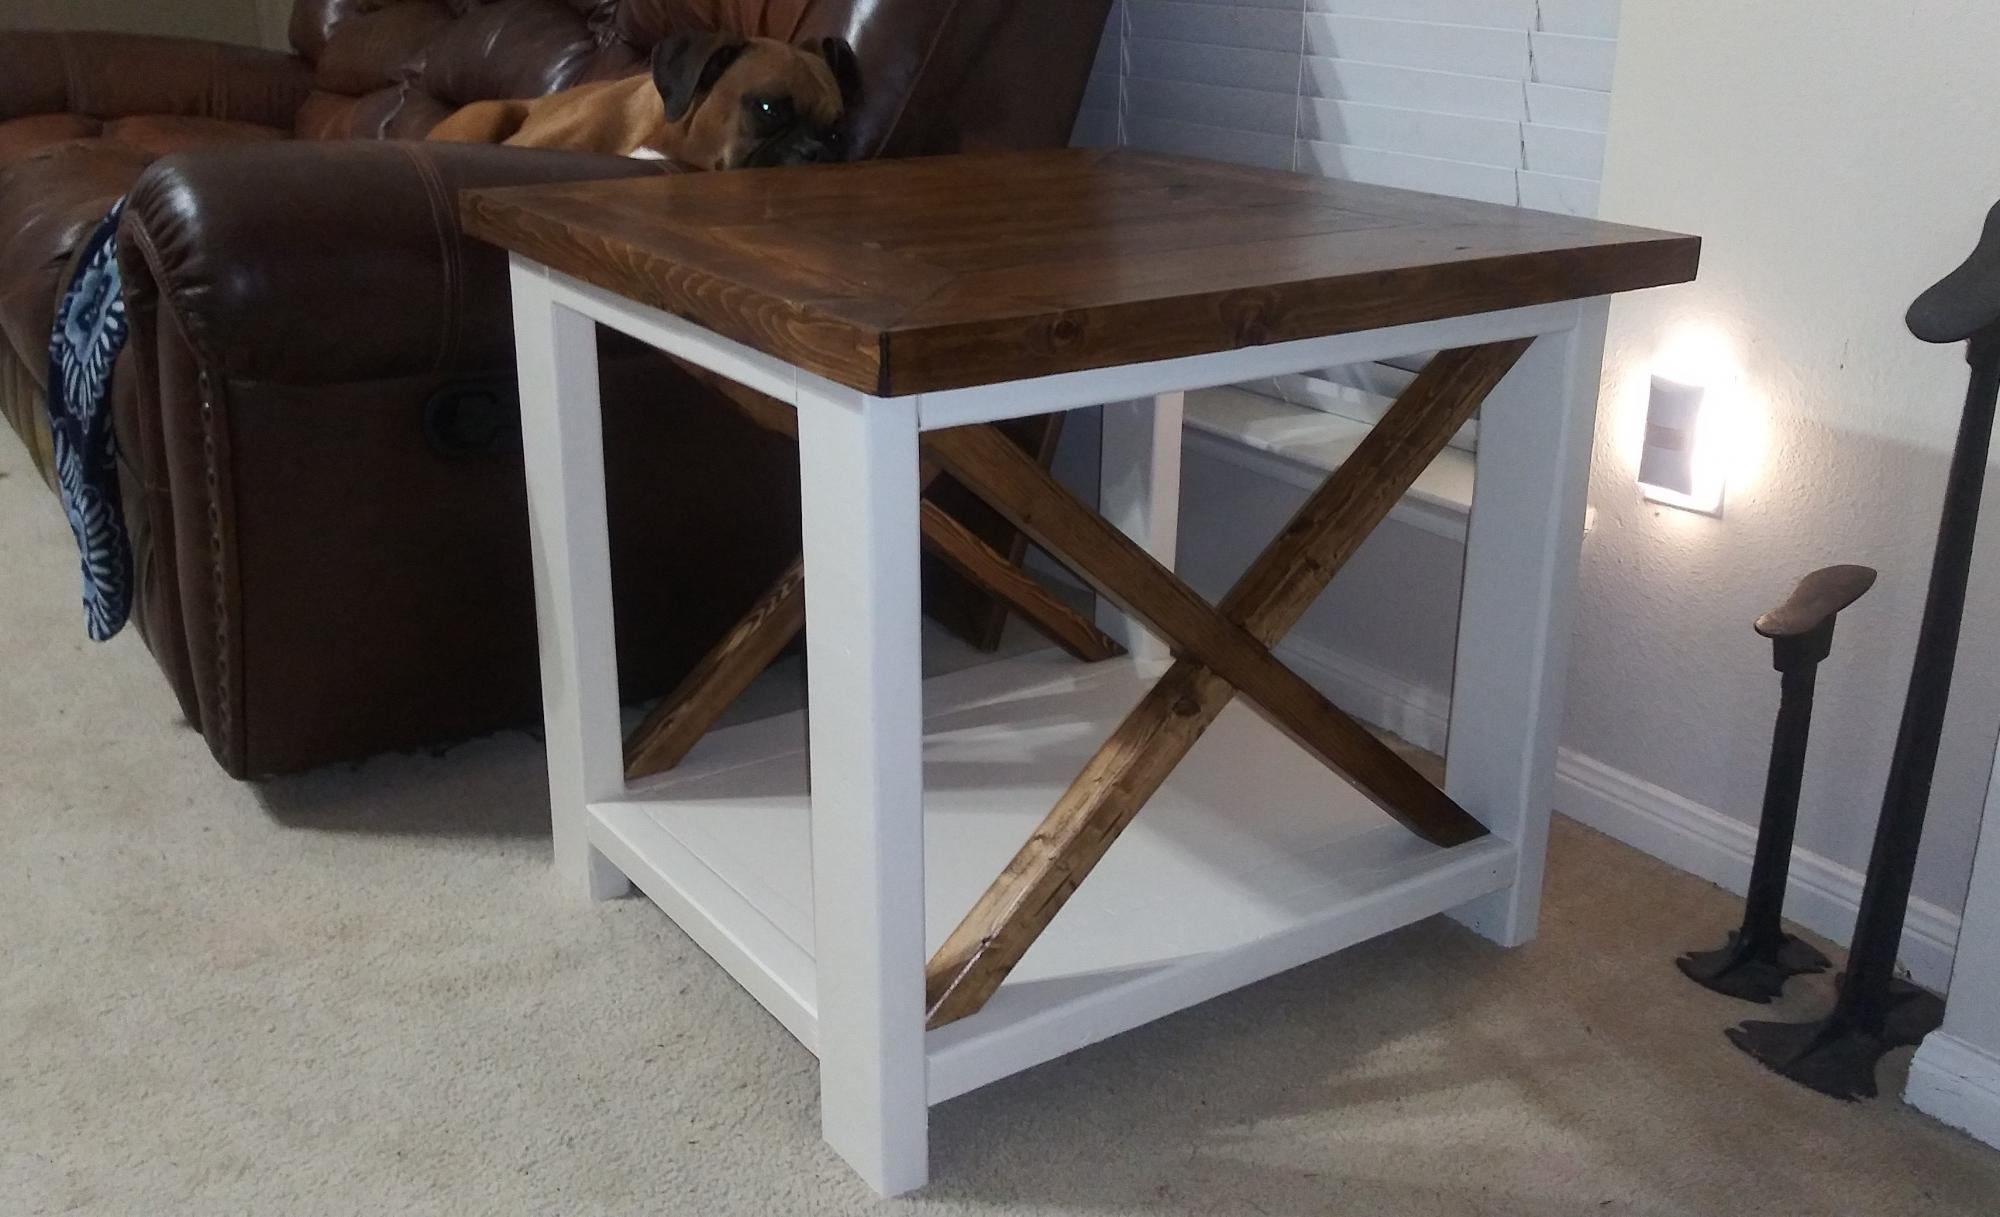
Rustic X End Table

Submitted by B.W.Martin on Thu, 04/16/2020 - 20:35

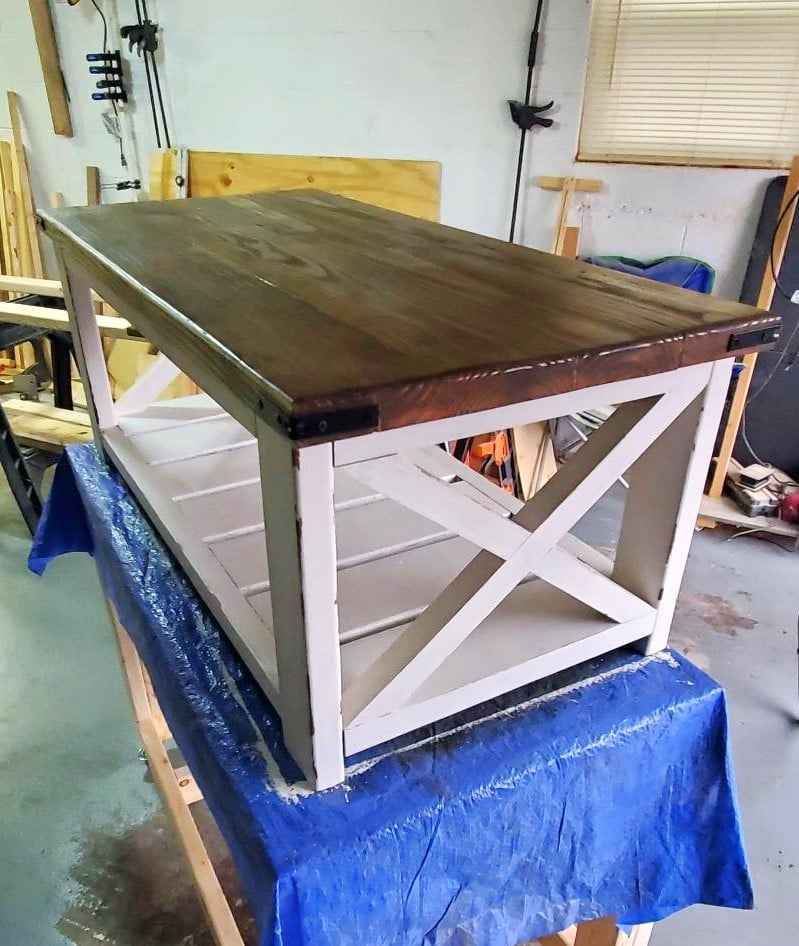
I used the rustic X end table plan to make a set, went a different route on the color and stain. I also used plywood on the bottom instead of 1" by 12".

Built from Plan(s)
Estimated Cost
$20
Estimated Time Investment
Day Project (6-9 Hours)
Finish Used
Eggshell antique white was used for the paint. I used minwax pre-stain, one cost of minwax honey stain, and two coats of minwax polyurethane.
Recommended Skill Level
Intermediate

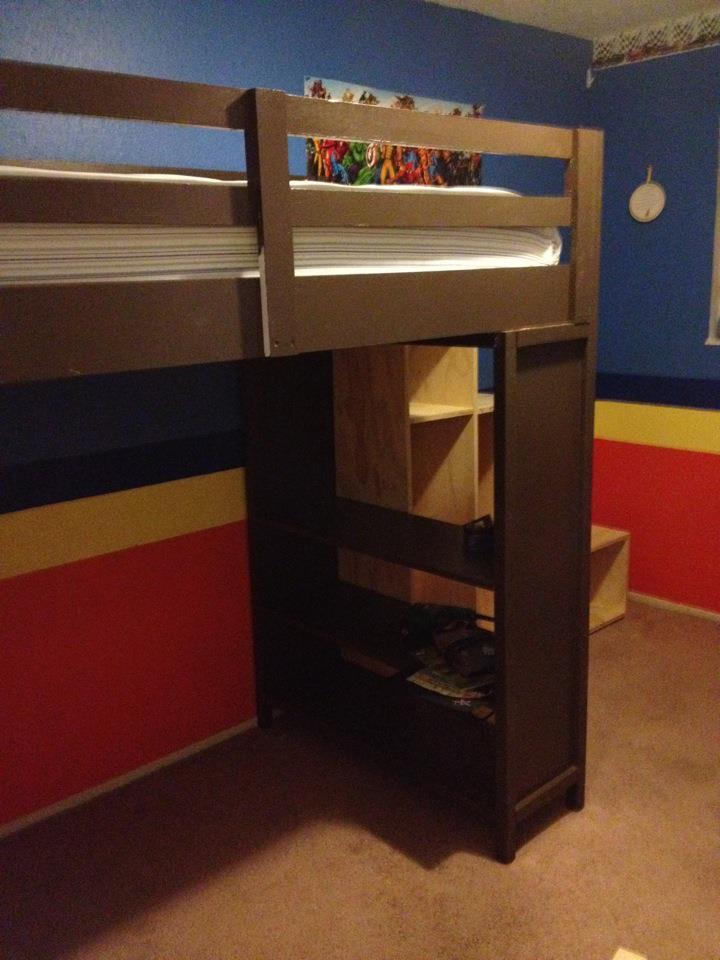
The Fred-enstein Bed

Submitted by bookette on Wed, 05/30/2012 - 14:30

For my son's 7th birthday, I promised him a new lofted bed. I poured over different designs, drooled over all of the different things I could make, worried about whether or not I could actually do it. Nothing in the market fit my requirements or my budget... I was determined to make this for my son.

Over the long weekend, this bed was constructed... a little "Loft Bed", a little "Claire", a little "Cabin" and a little inspired innovation and ta-da: The Fred-enstien Bed :)

Claire guardrails and bookshelf supports
Modified Claire Desk (work in progress)
Cabin Headboard
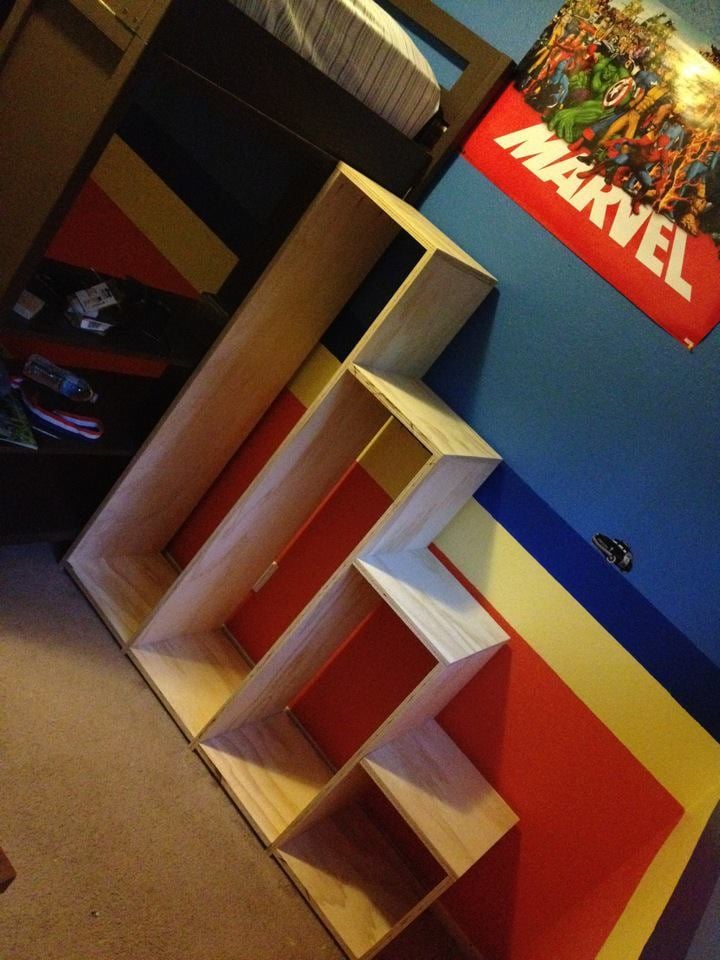
Custom built storage shelf stairs (he didn't want a ladder)

Next weekend will be touching up the paint and installing the remaining bookshelves

Estimated Cost
$500 (includes shelf/stairs)
Estimated Time Investment
Week Long Project (20 Hours or More)
Finish Used
Valspar Semi-Gloss Swiss Chocolate
Recommended Skill Level
Beginner

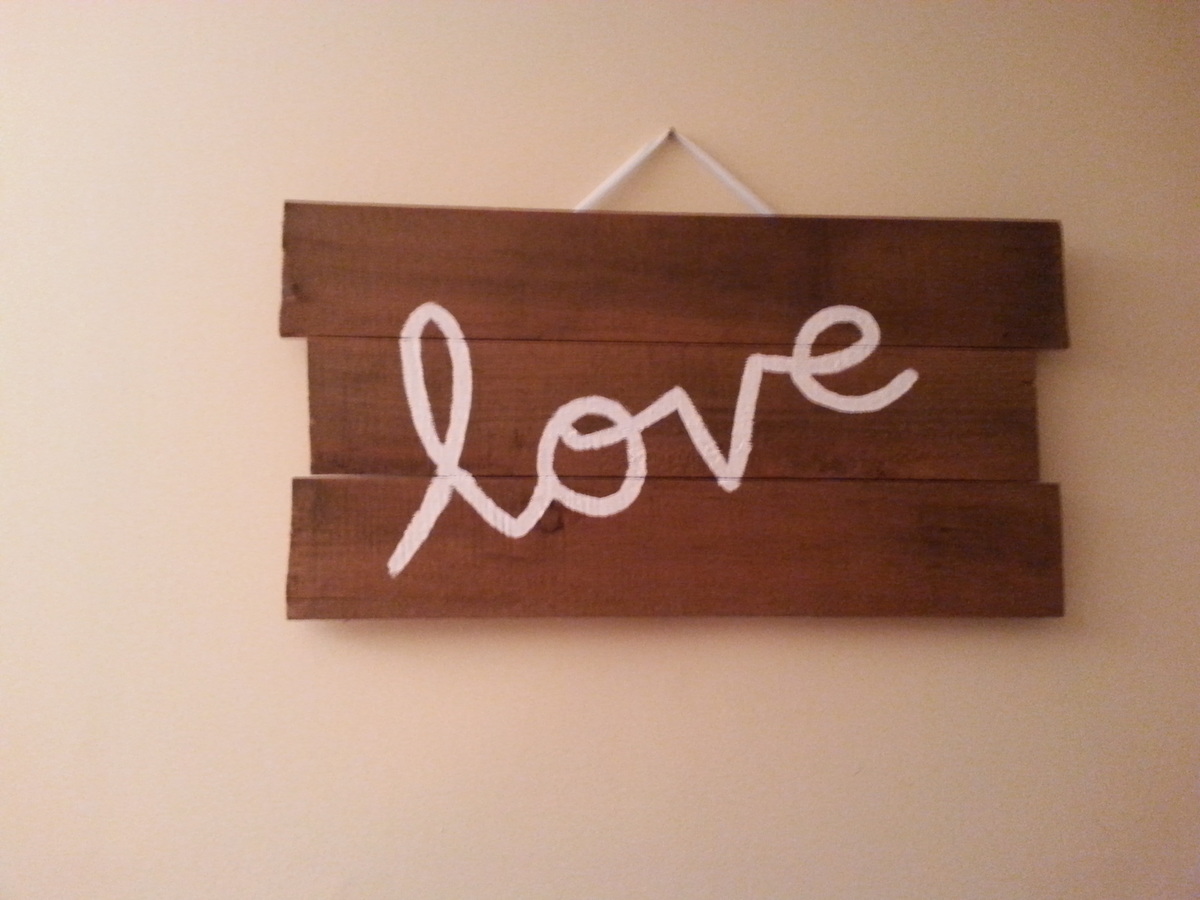
A wall sign above our bed "LOVE"

Submitted by jarsofclay on Sun, 03/16/2014 - 14:02

I was in mood for a while and made a few wall decor pieces this was one I put in my room

Estimated Time Investment
Afternoon Project (3-6 Hours)
Finish Used
I stained the wood with a light oak
Recommended Skill Level
Beginner

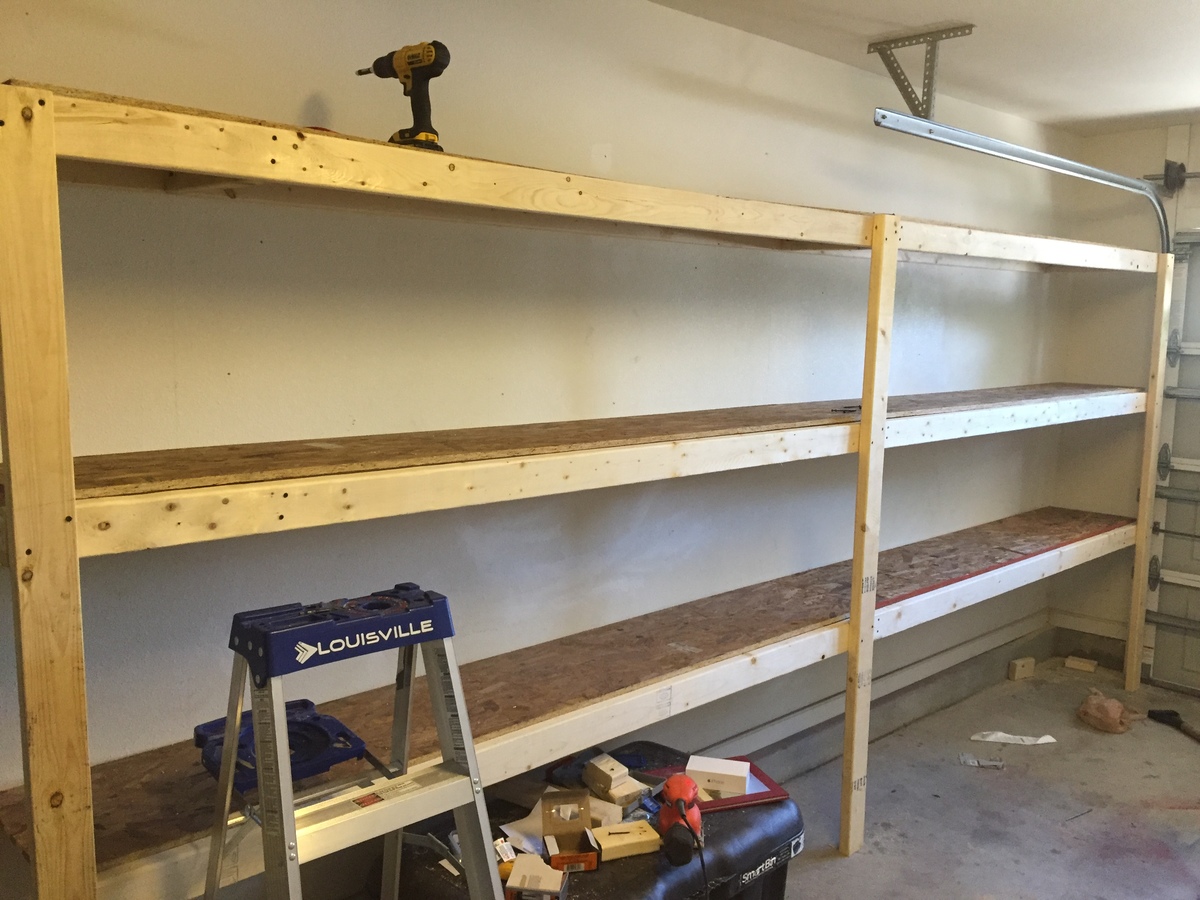
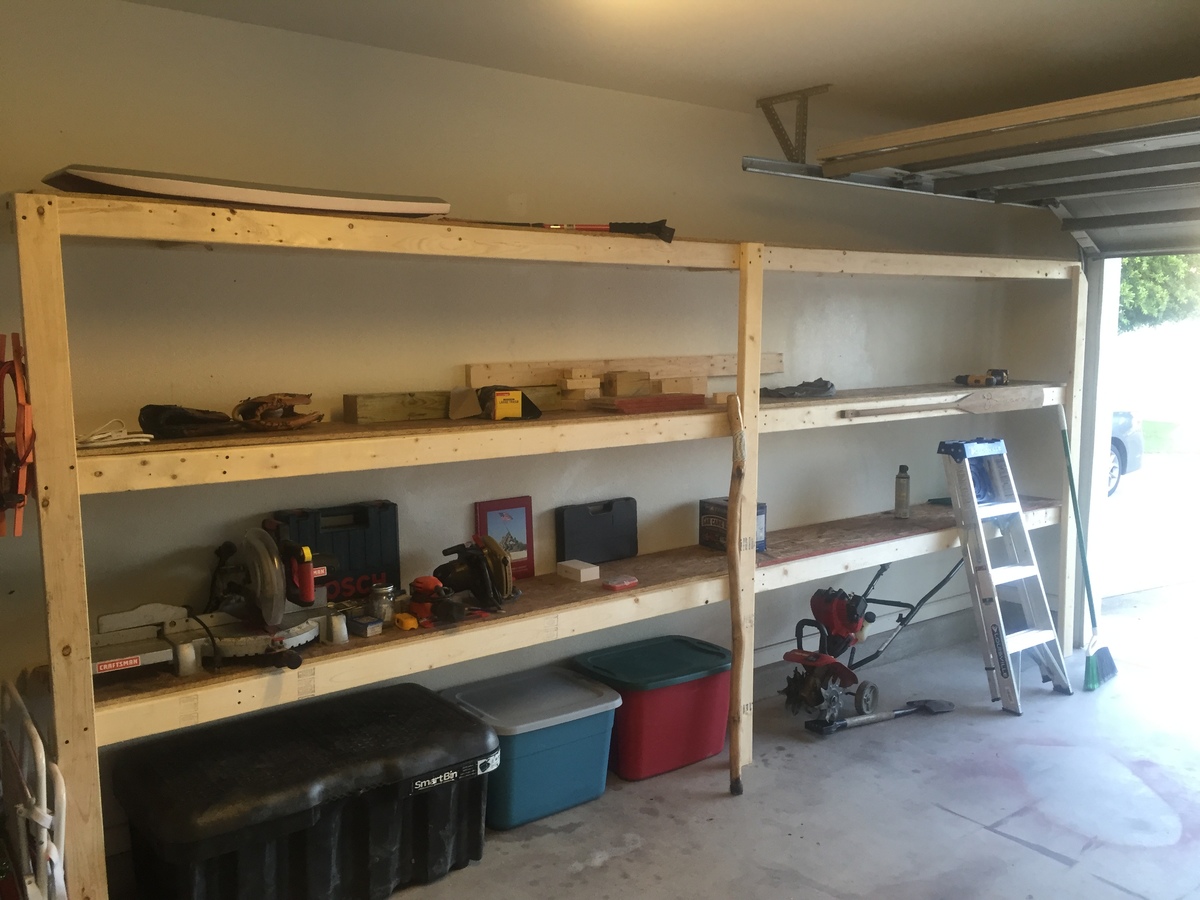
I Love These Shelves

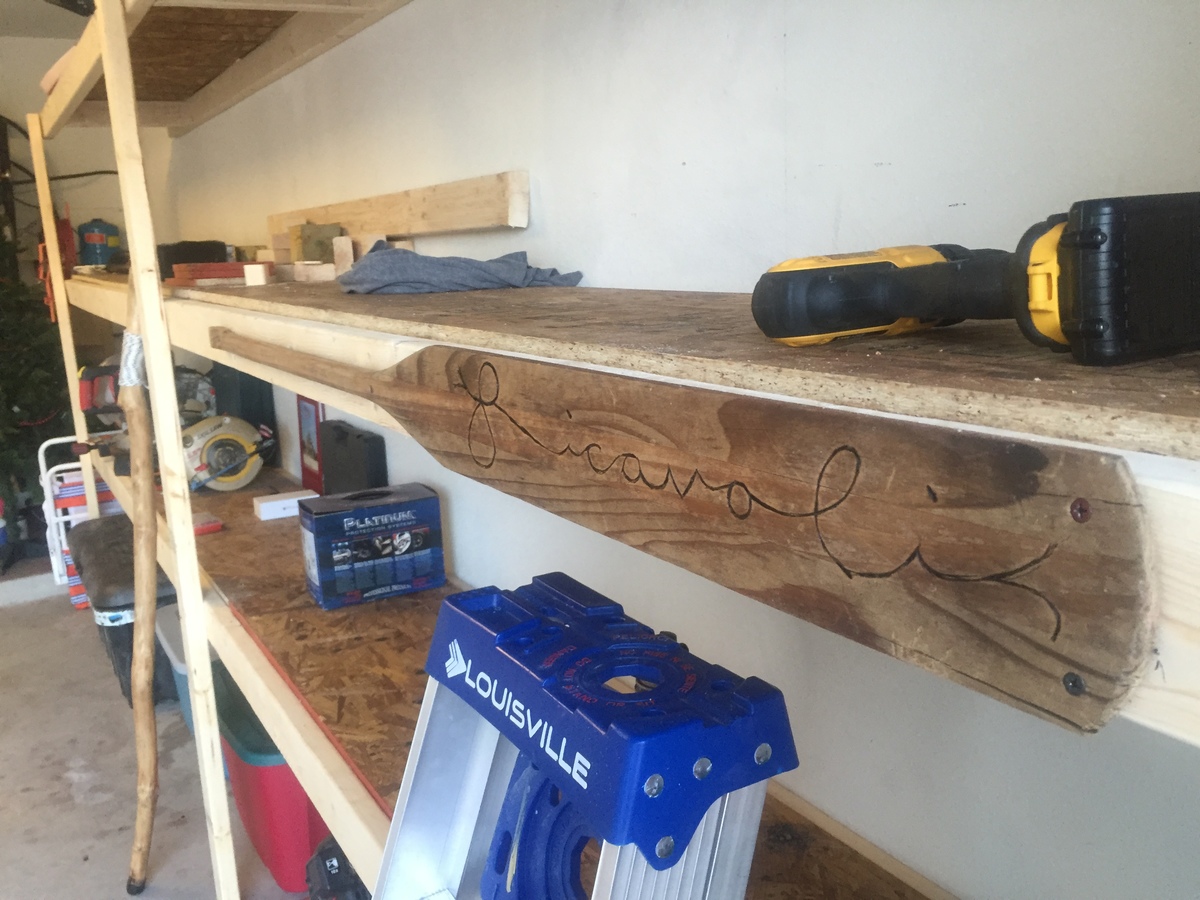
Wanted to make something for the house and seen these plans and though I would give it a shot. didn't think I would love them as much as I do! My wife loves them even more I think. Also added my own little touch with an old paddle that I burned our last name into. I think it makes a nice little touch. 

Estimated Cost
$100
Estimated Time Investment
Day Project (6-9 Hours)
Finish Used
Natural
Recommended Skill Level
Beginner

DIY PB William Vanity Sink Base

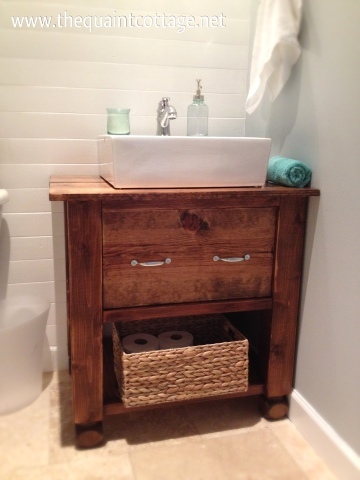
I found the William Vanity on Pottery Barn and loved the look, just not the price. I recreated it with a top sink and a drawer for a fraction of the cost.

Estimated Cost
$70-$100 for wood, stain, screws, etc.
Estimated Time Investment
An Hour or Two (0-2 Hours)
Finish Used
Stained with Early American Stain and water resistant grade poly
Recommended Skill Level
Beginner

Comments

A2b2heslop

Mon, 01/30/2017 - 12:33

The link to the instructions for this vanity is no longer valid. Would really love to get the instructions for the vanity.

Locker Cabinet

Submitted by Jakelet on Wed, 03/19/2014 - 13:33

I made the locker cabinet and resized it to 80 inches to provide a little more locker height, and changed the depth to 16 inches. I haven't installed the last coat hook because I'd like to make a charging station on the top shelf using the outlet under the cabinet. Went really well!

Built from Plan(s)
Estimated Cost
200
Estimated Time Investment
Weekend Project (10-20 Hours)
Finish Used
High gloss sherman williams
Recommended Skill Level
Beginner

Comments

Jakelet

Wed, 03/19/2014 - 13:36

Oh, and I decided to face frame everything so I wouldn't have to see the plywood edges.

Farm style night stand

Submitted by Decross on Tue, 06/21/2016 - 15:11

Very easy farm style night stands. Made from pine and leftover butcher block top from another project. Went exactly by the linked plan with the exception of the top. 

Estimated Cost
$70 each
Estimated Time Investment
Day Project (6-9 Hours)
Recommended Skill Level
Intermediate
Back