Community Brag Posts

Office Desk

Submitted by Anonymous (not verified) on Sun, 05/21/2017 - 08:24

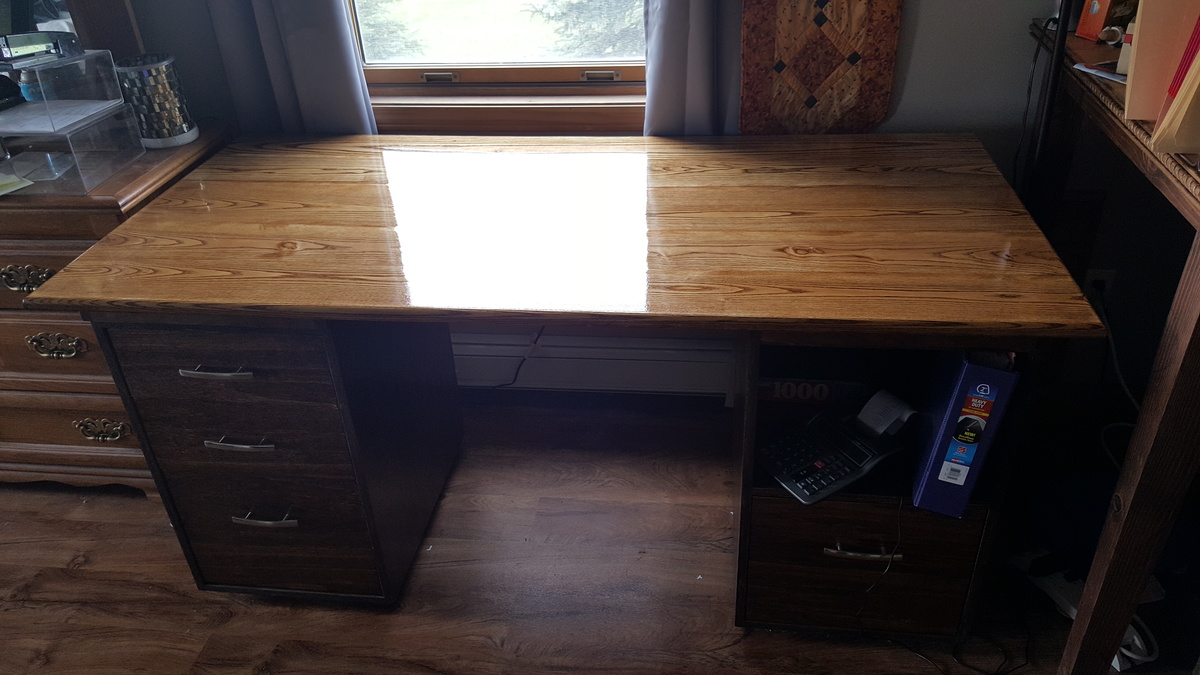
Thank you Ana for all of your woodworking plans. I have made several now and this desk is my latest. I stuck with the plywood for the file cabinets and went with an ash top panel made from 8" wide boards in order to practice some jointing and planing. The stain is minwax honey finished with 7 coats of poly. Again, thank you.

Estimated Cost
$300
Estimated Time Investment
Week Long Project (20 Hours or More)
Recommended Skill Level
Intermediate

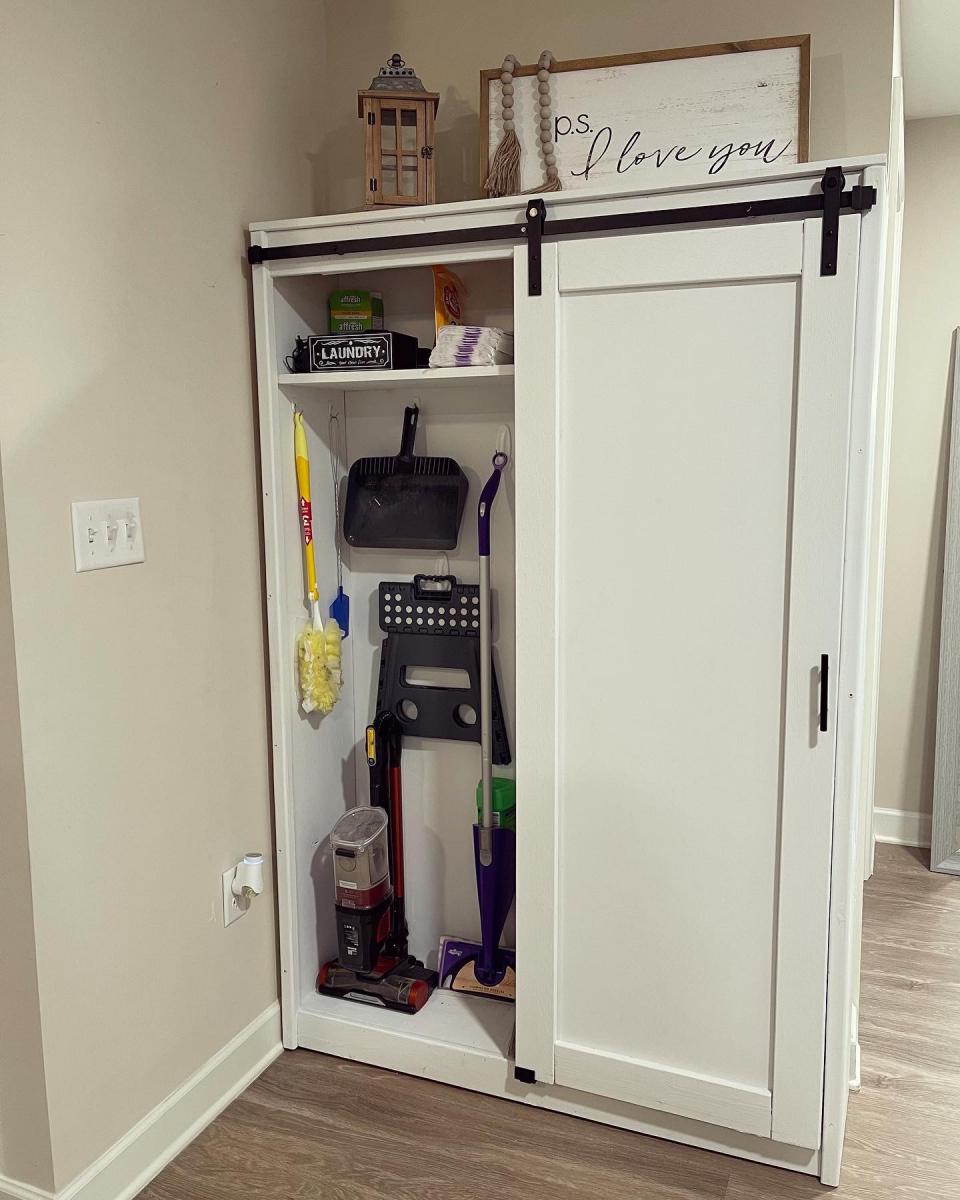
Bookcase/ laundry and cleaning storage

Submitted by Anonymous (not verified) on Wed, 06/02/2021 - 08:26

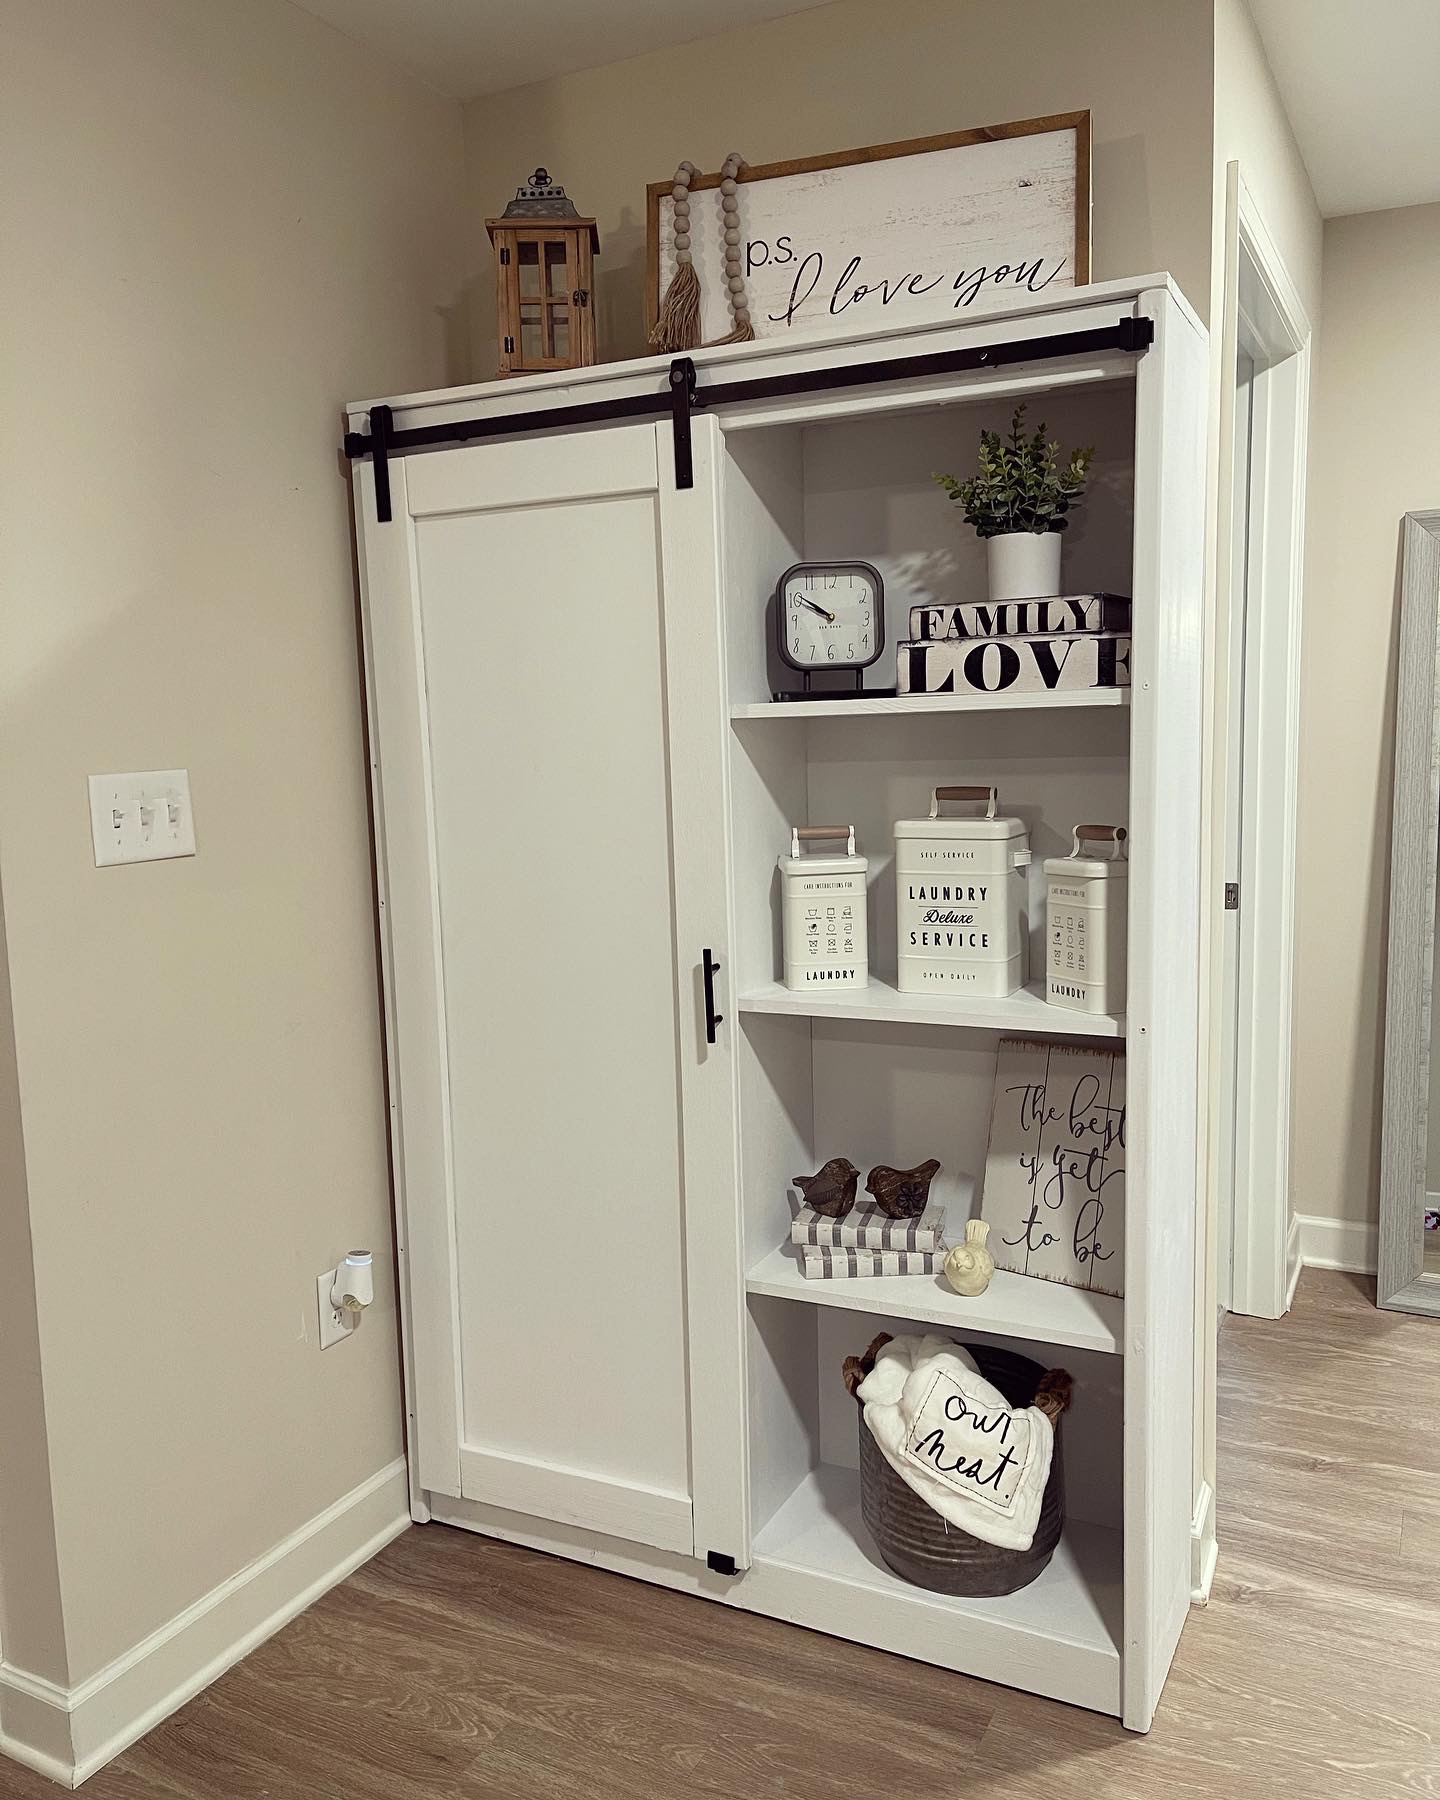
We mainly followed the plan but made some adjustments because we wanted the “ugly” side to be able to house brooms and mops and we cut the width down just a tad. We absolutely love how it turned out!! And we definitely needed this in our space!

Built from Plan(s)
Estimated Cost
400
Estimated Time Investment
Weekend Project (10-20 Hours)
Finish Used
Chalk paint
Recommended Skill Level
Intermediate

Comments

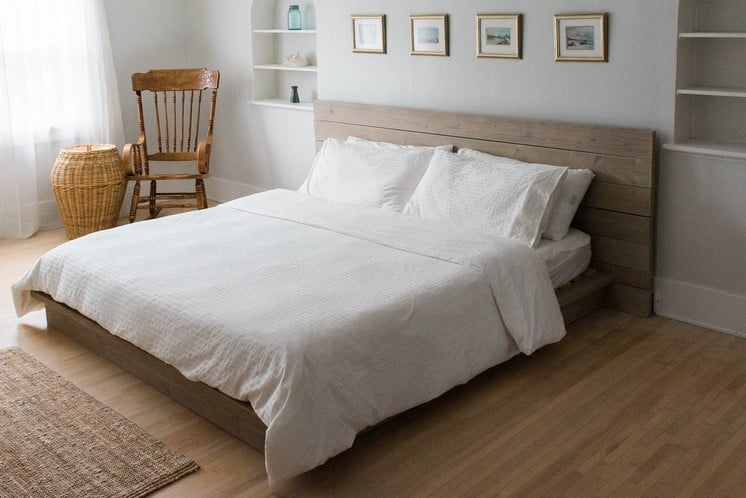
Rustic Modern Platform Bed

Submitted by Anonymous (not verified) on Tue, 05/23/2017 - 12:48

We loved this bed much! And others loved it so much that the people who purchased our home requested to keep the bed frame as well. I guess we'll be building it again. We used a vinegar/steel wool solution to oxidize the wood and then sealed it with a natural finish (rubio-monocoat 'cotton white'). Thank you for these plans!

Finish Used
vinegar / steel wool + rubio monocoat cotton white,
Recommended Skill Level
Beginner

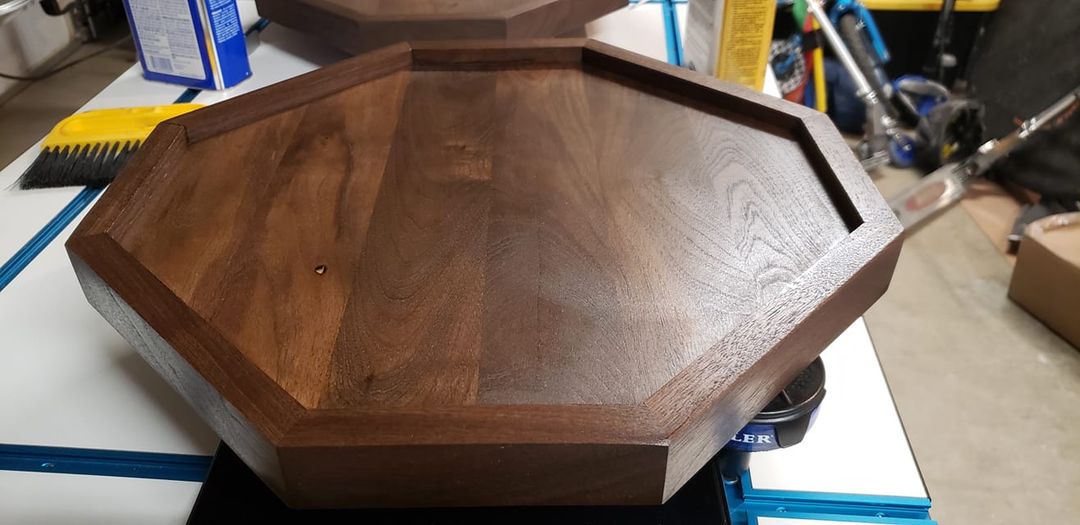
octagon lazy susan

1st time working in walnut, 1st time using my miter saw for more than 90 degree cuts!

Estimated Time Investment
Weekend Project (10-20 Hours)
Finish Used
Old Master's Gel Stain Dark Walnut, Waterlox

Comments

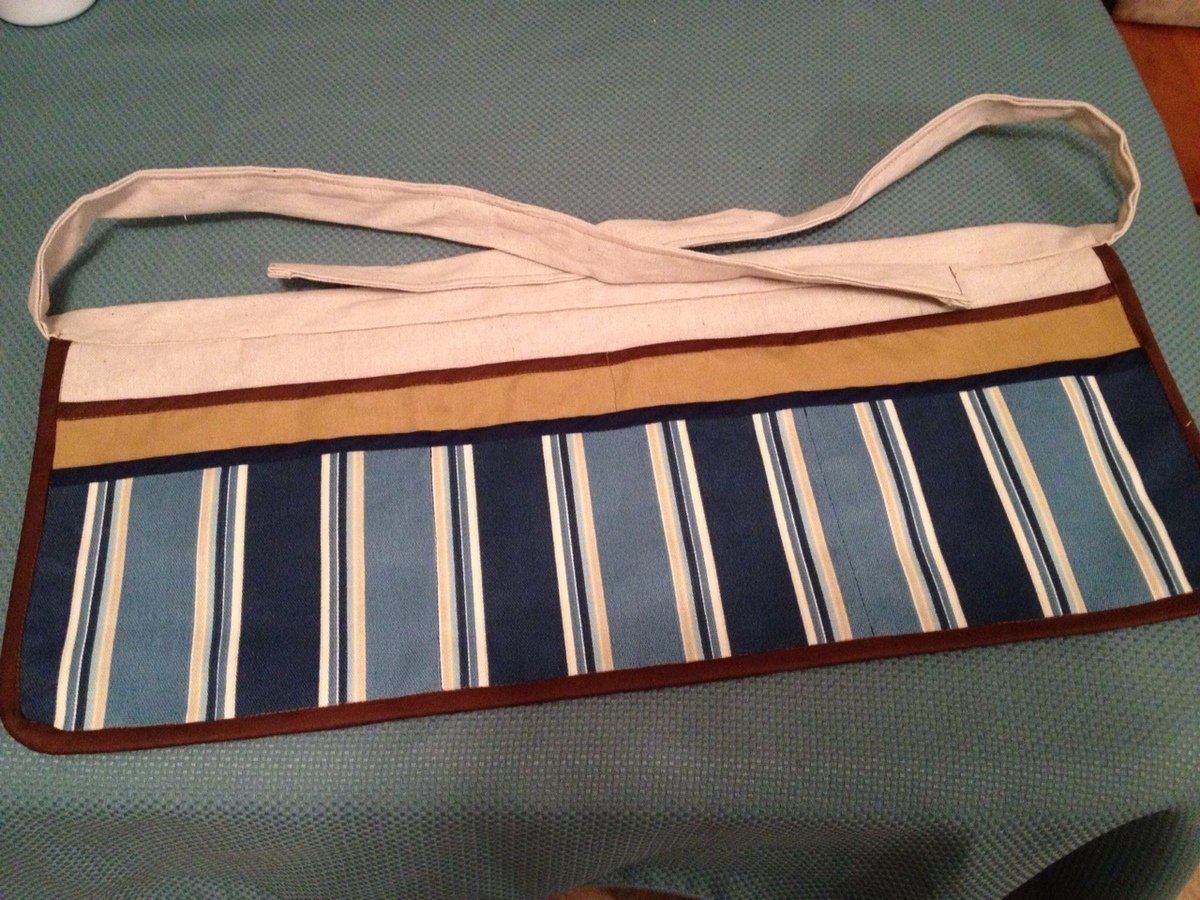
Work apron made at workshop

I belong to a crafters group that had an evening workshop to make garden and workshop aprons. I chose this one from Ana White because it had exactly what I needed (namely big pockets and not too long).

I used outdoor fabric for the striped and solid brown pockets, bias tape (purchased at the local craft store) and a regular drop cloth from the hardware store. I was hesitant that this apron might not hold up to tools, nails, etc. but once I finished it, I think it will work great because the pockets are lines with the drop cloth fabric. The apron came out very sturdy feeling.

The project itself is pretty easy. The only hiccup you might have is if you've never applied trim/bias tape to a project before. That isn't hard either but you may want to look at a Youtube video or two on how to apply bias tape (trim) before starting. I bought my bias tape ready made at the craft store. It will be in the sewing notions section by the thread usually. I used the double fold version of bias tape because I think it's easier to use.

Built from Plan(s)
Estimated Time Investment
An Hour or Two (0-2 Hours)
Recommended Skill Level
Intermediate

2 x 4 Garage Shelves Built into Basement Storage!

Hello Everyone! This is my FIRST brag post here on Ana-White.com - but not the first project that we've built from her awesome plans. :) 

We have an unfinished basement that desperately needed some shelving because 1. It's our workshop in the Winter and 2. We don't have an official 'storage' room in the basement of our split level home. When I saw these plans I immediately thought they could be modified to fit our space and get my stuff off the floor! 

I modified the plans just enough to fit our space. After reading through them completely, I realized for an 8 ft wide space (beside the stairs) I only needed three supports for the shelves. Easy! The only trick was fitting the shelf into the space AFTER installing the shelves. Because I had walls on two sides (unlike the tutorial) I couldn't do the shelves as the last step. 

I LOVE how these turned out! They are a strong as a ladder (we tested them... :)) and they hold everything I need them to, and a little bit more. It's a definite improvement on my previously messy, cluttered, saw-dust covered space ... :) 

Estimated Cost
Our space was 8ft tall by 8ft wide, so we ended up purchasing about $60 worth of 2x4s to complete the project. We also used 2.5" screws, which are around $4 per box of 75.
Estimated Time Investment
Afternoon Project (3-6 Hours)
Finish Used
None - we left the wood bare and natural because it's just for storage - not for looks. :)
Recommended Skill Level
Beginner

Handmade by Jungle Jim

Submitted by Anonymous (not verified) on Sat, 05/27/2017 - 15:11

Great plans, Ana. Very easy to build. A good project for someone like me who has no carpentry experience.

Built from Plan(s)
Estimated Cost
$25
Estimated Time Investment
Day Project (6-9 Hours)
Finish Used
Polycrilic
Recommended Skill Level
Beginner

Easy 8 ft shelves

Submitted by jeff.meyer on Wed, 06/16/2021 - 20:18

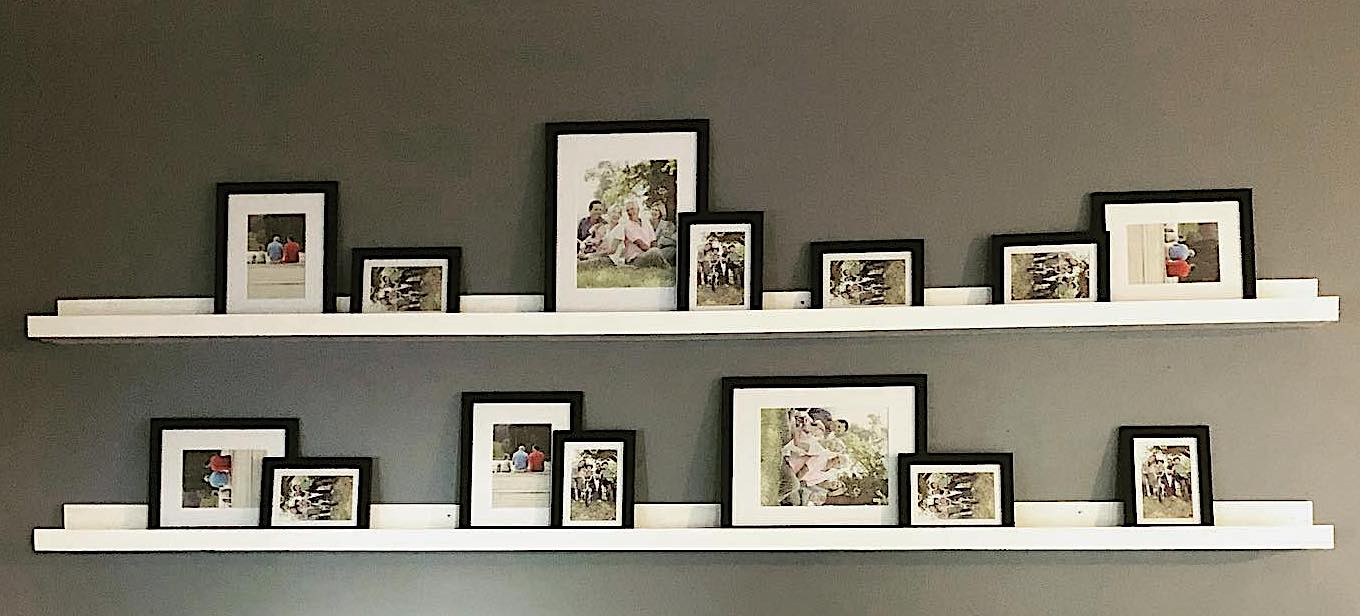
Easy picture frame shelves.

Built from Plan(s)
Estimated Cost
24.00
Estimated Time Investment
An Hour or Two (0-2 Hours)
Finish Used
white paint
Recommended Skill Level
Starter Project

Comments

Heater Covers

Submitted by pblomberg on Sun, 04/14/2013 - 07:06

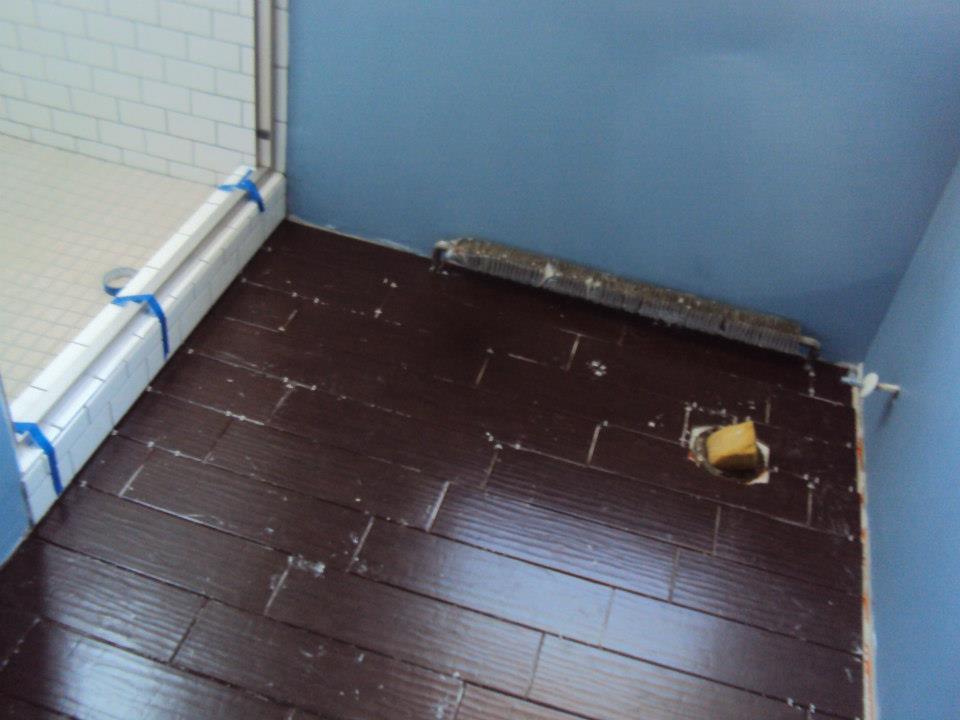
My wife and bought a house last summer with the intention of remodeling it has we were living in it. However, we wanted to do the bathroom before we moved in as it was the only shower/bath. So the old bathroom and bedroom next to it was gutted and replaced from the studs out.

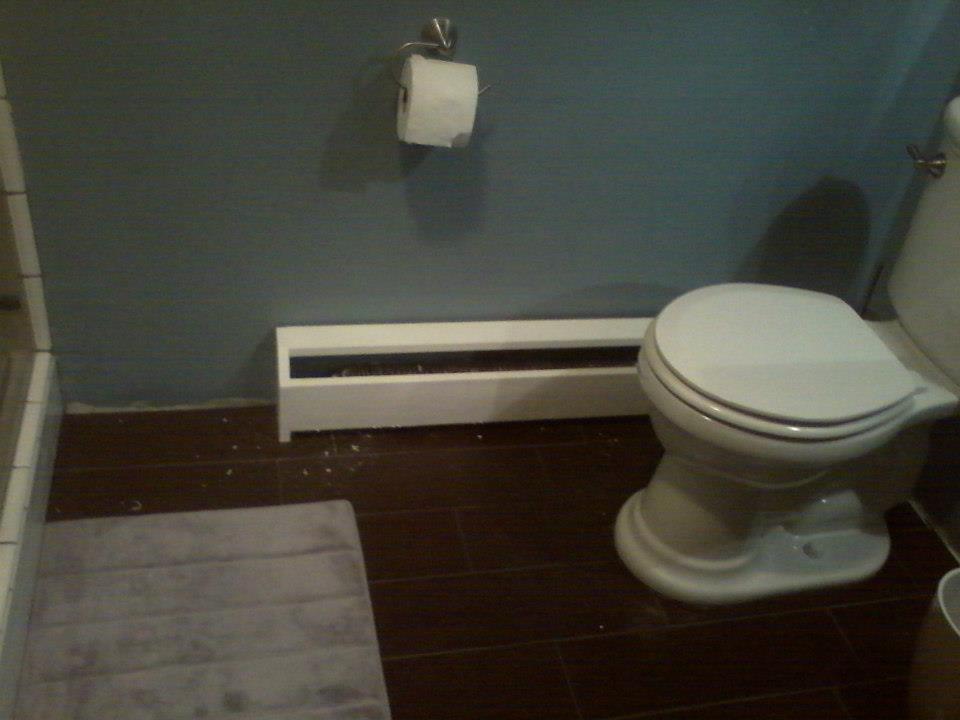
We have hydronic baseboard heat in our house, which I really love, except it has these old, horrifically ugly covers. The covers were especially bad in the bathroom as they were rusty and had been painted over multiple times.

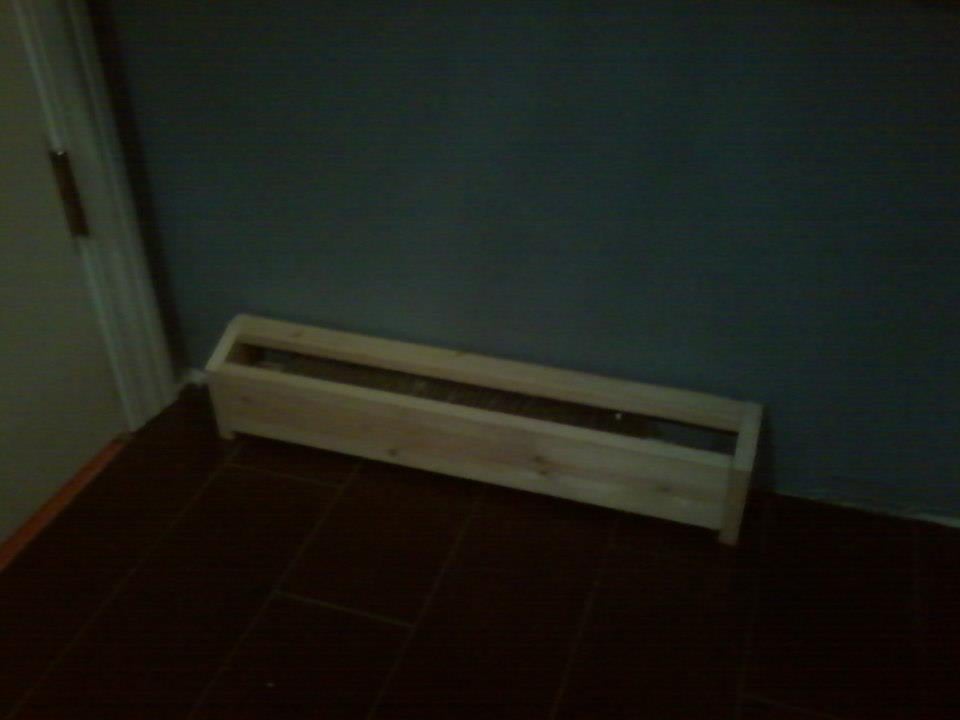
So I took those out with the sheetrock and decided to build wooden ones. This was of course after I scrounged the internet to make sure it was safe - the hydronic heat does not get to combustible temperatures...so no worries about fires!

I tried to find some good plans on the internet, but did not find a whole lot. I found some pictures though and some information from people who had done similar to what I was doing.

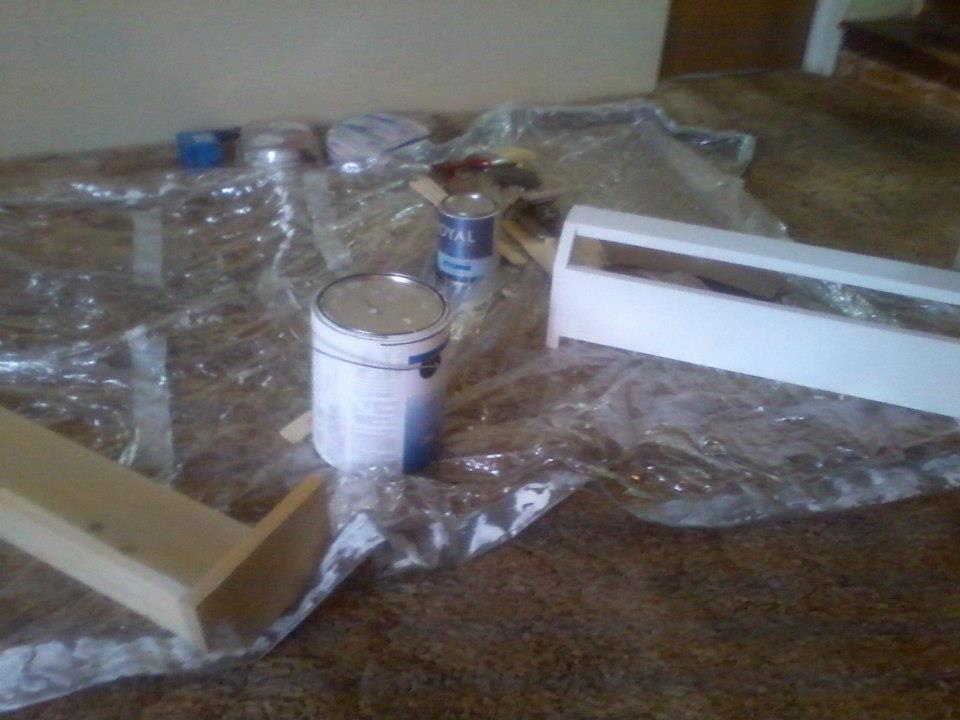
In the end, I based my measurements around the old heater covers, built a mock up, made some adjustments, and then built the final one. I still need to add some sort of metal screen as I don't like being able to look into the opening at the heater fins.

I used pocket-hole screws for this and I think they look much more classy than the old metal covers - especially with the ceramic plank tile I put!
Estimated Cost
$10
Finish Used
Primer and then white paint
Recommended Skill Level
Beginner

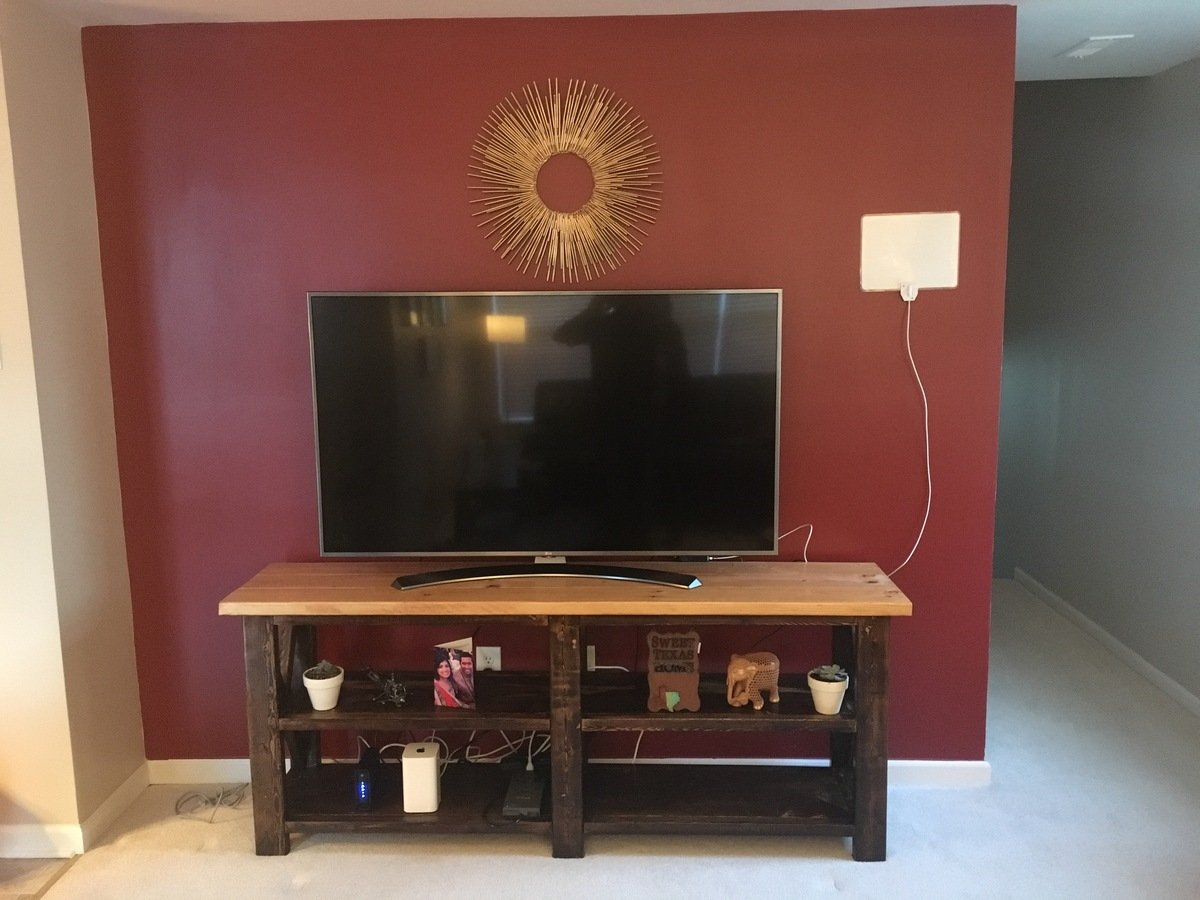
Rustic X Console

My dad and I built the Rustic X Console table this past weekend based off of the plan! The only differences were that we used the Festool Domino tool to attach everything together instead of the Kreg Jig and our Xs are two pieces that we chiseled out to fit together. This plan is awesome and it turned out great!

Built from Plan(s)
Estimated Cost
$75
Estimated Time Investment
Weekend Project (10-20 Hours)
Finish Used
Minwax Dark Walnut and Classic Gray
Recommended Skill Level
Intermediate

Comments

Seesaw for my daughter Milica

Submitted by Anonymous (not verified) on Wed, 05/31/2017 - 01:25

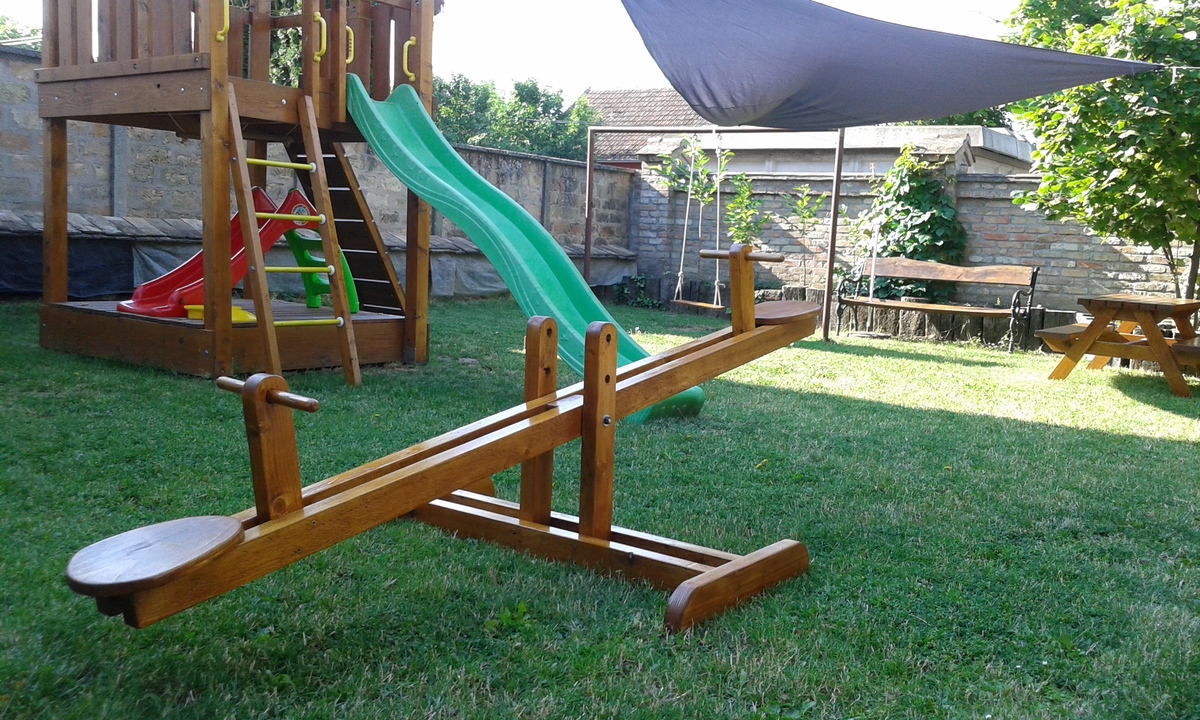
Seesaw for my daughter Milica!
Thank you Ana for the idea.
Greetings from Serbia.

Built from Plan(s)
Estimated Cost
15€
Estimated Time Investment
Afternoon Project (3-6 Hours)
Finish Used
Belinka: Belles (for impregnation, 1 layer) + Toplasur UV Plus (3 layers) No.
Recommended Skill Level
Beginner

Comments

Seasonal And Holiday

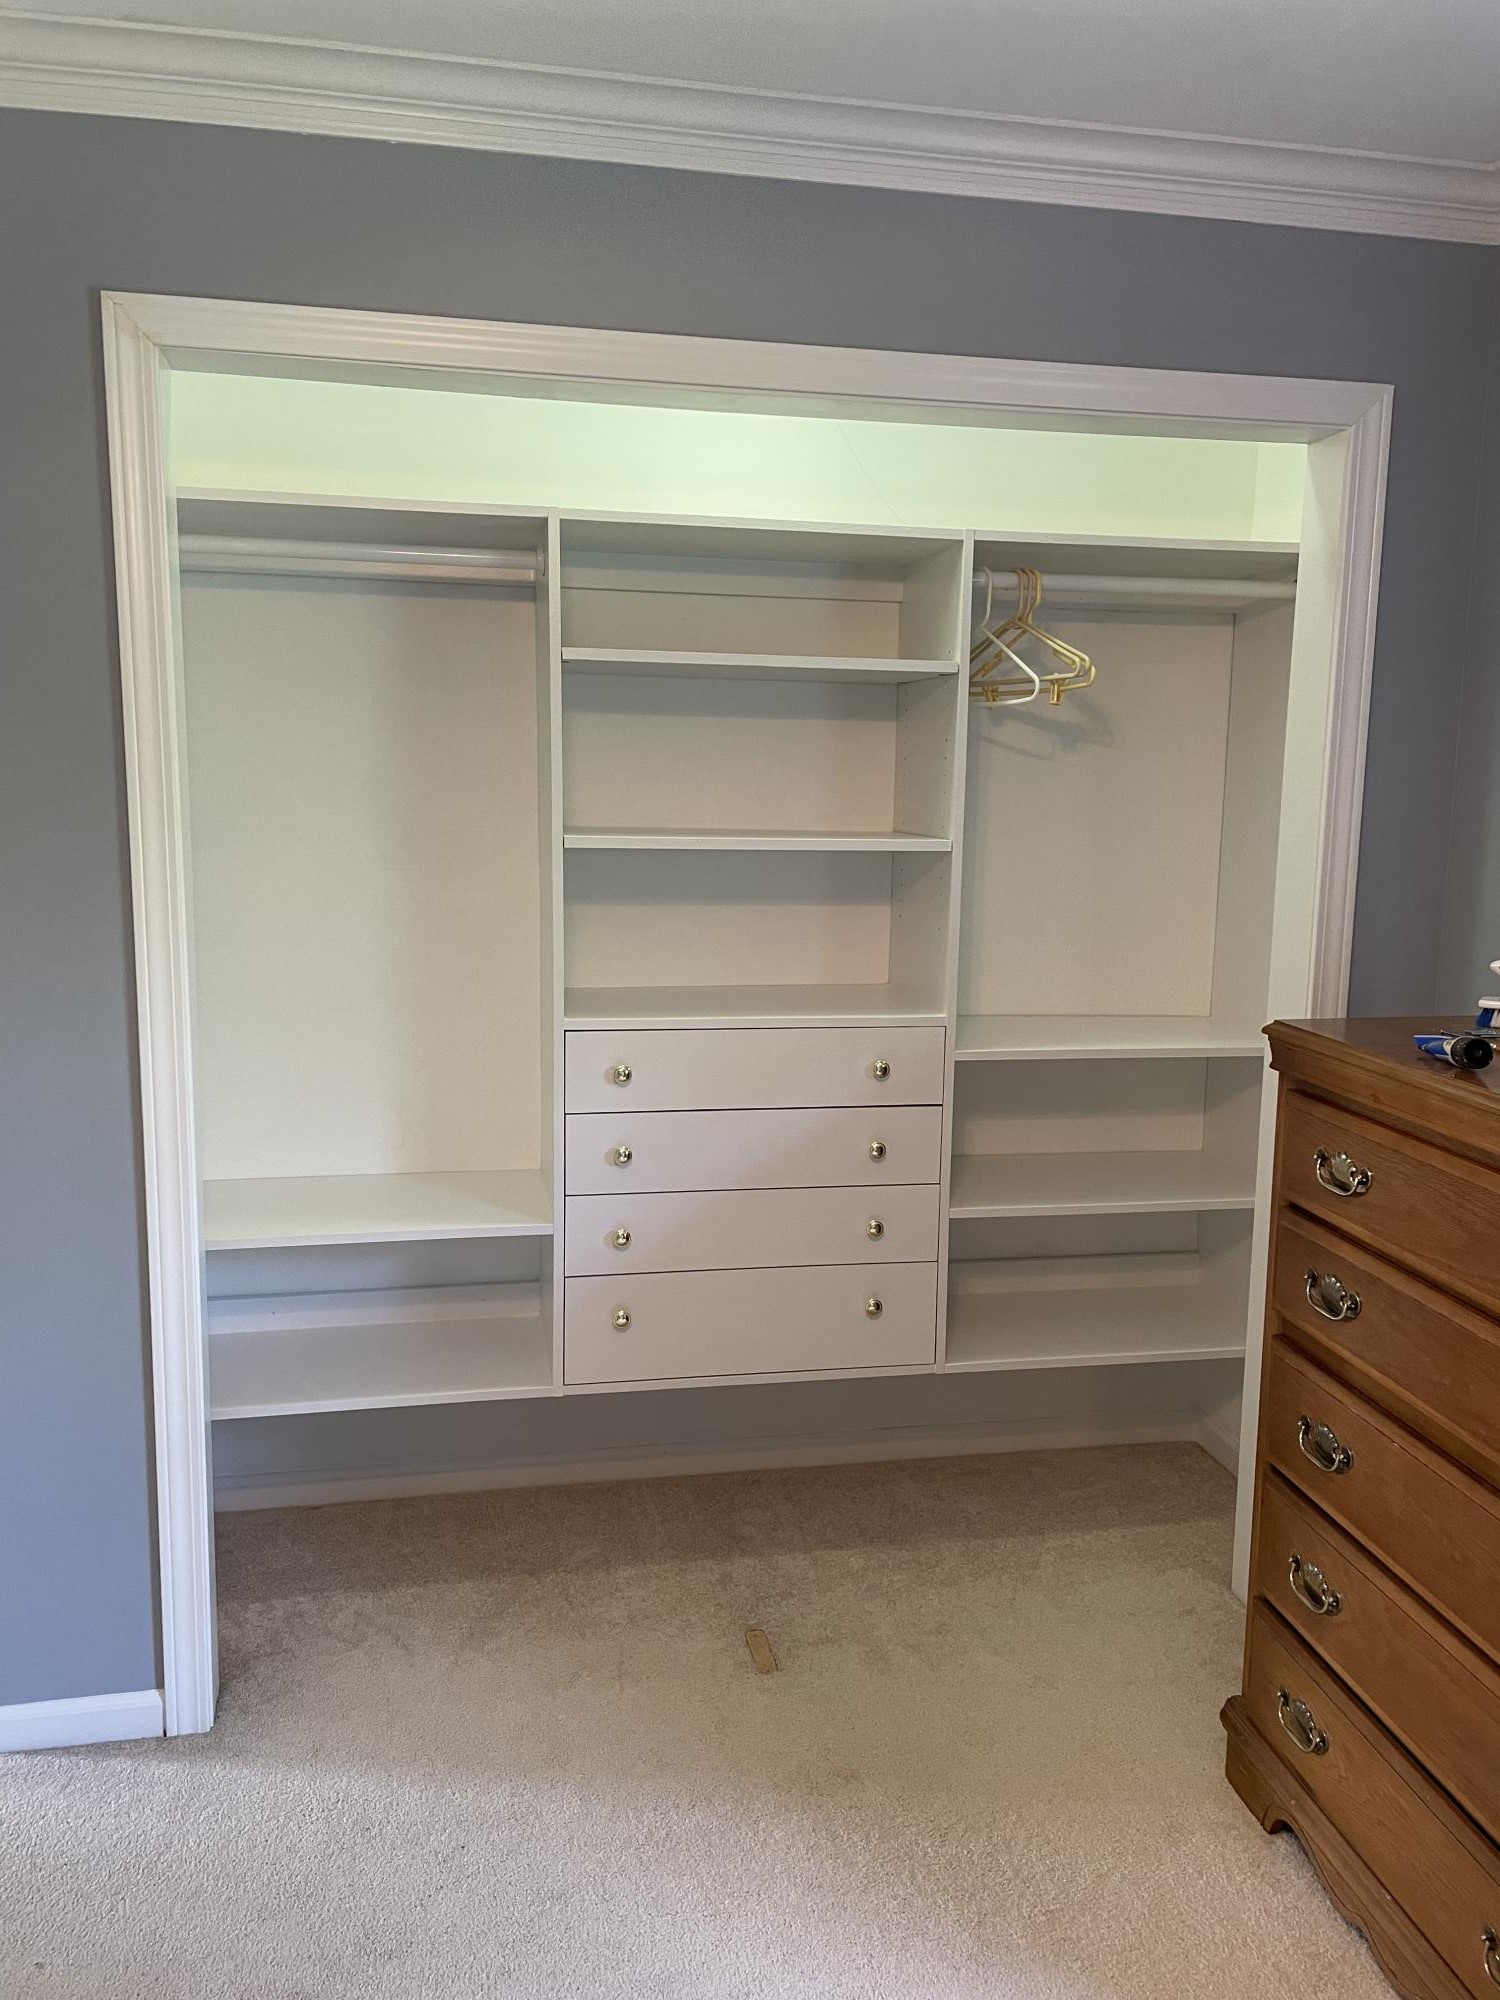
Closet

Submitted by bpkliver on Sat, 06/26/2021 - 07:40

This was originated from an Ana closet build. There were bypass closet doors that I am still converting to hinged doors. I added the drawers in the center to eliminate the need for a dresser in the room. Doors should be ready in a couple weeks. I’m converting the bypass door to hinged, which is a project in itself!

Estimated Cost
$500
Estimated Time Investment
Week Long Project (20 Hours or More)

Comments

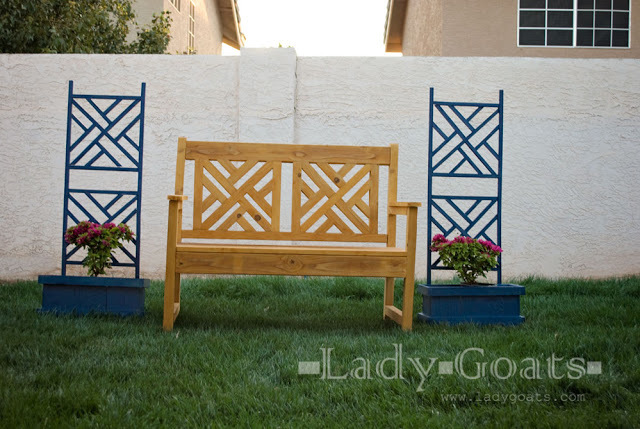
Woven Back Trellises

Submitted by Lady Goats on Mon, 04/15/2013 - 10:50

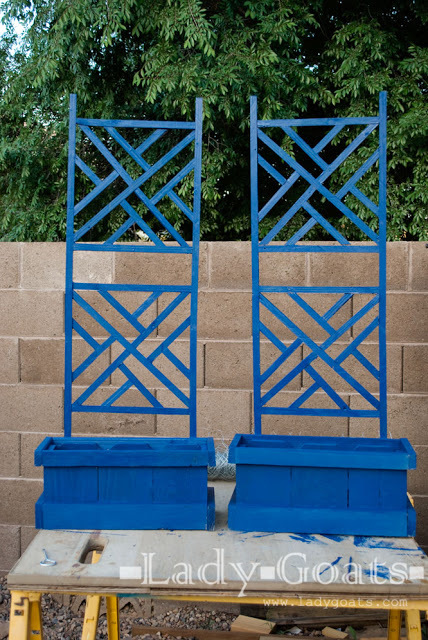
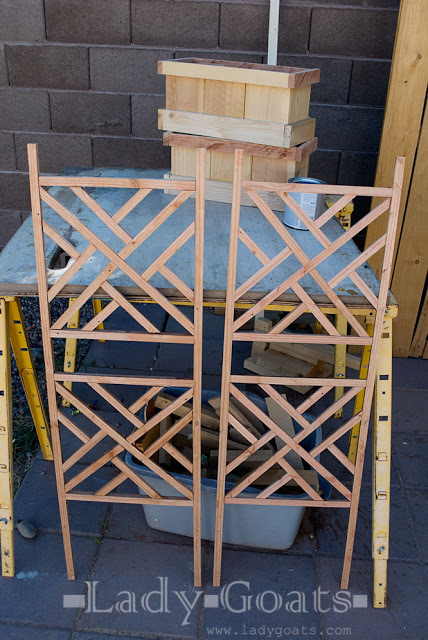
After building the woven back bench, I had the basic know-how to do the basketweave pattern and really wanted to build some planters with trellises.

I was able to build the trellises from a single 2x4 and built the planters from the scraps from my shed. All of the info is on my blog.

Built from Plan(s)
Estimated Cost
Free - Used scraps (could be done for under $10 to buy everything new)
Estimated Time Investment
Day Project (6-9 Hours)
Finish Used
OOPS bin exterior paint from Lowe's
Recommended Skill Level
Intermediate

Comments

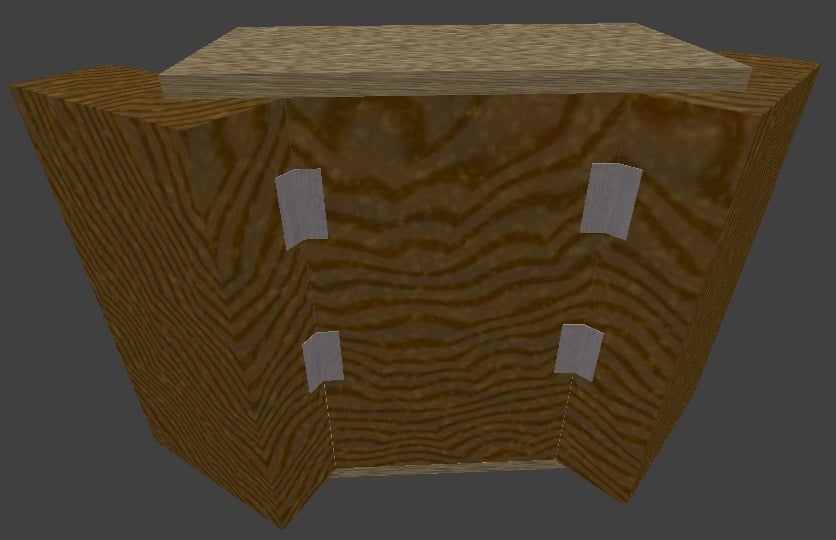
Realized in Blender 3D

Hello everyone!

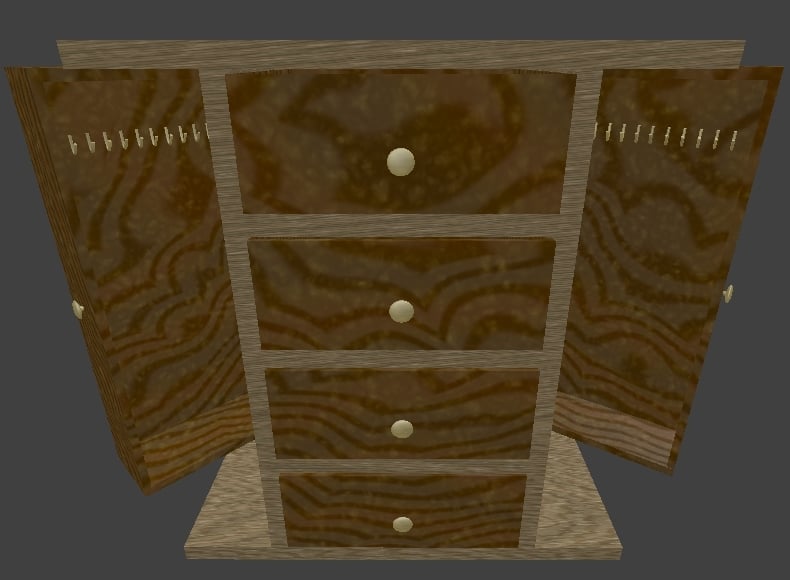
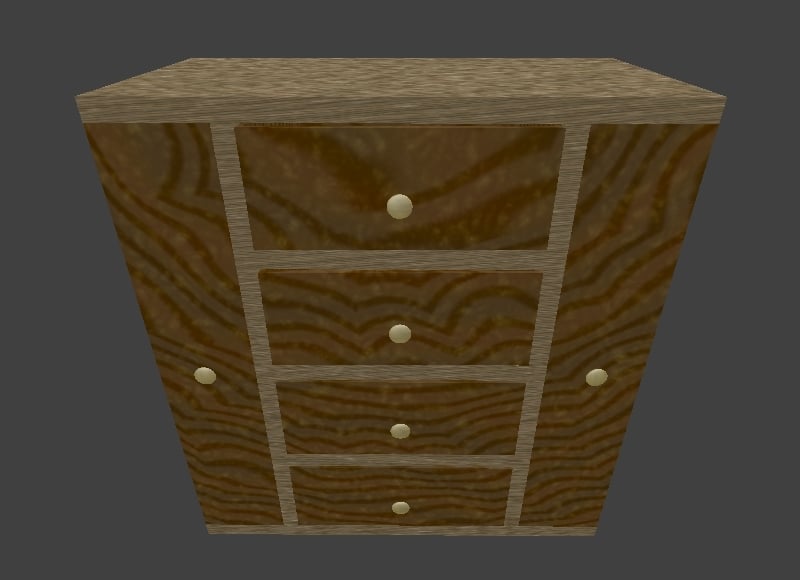
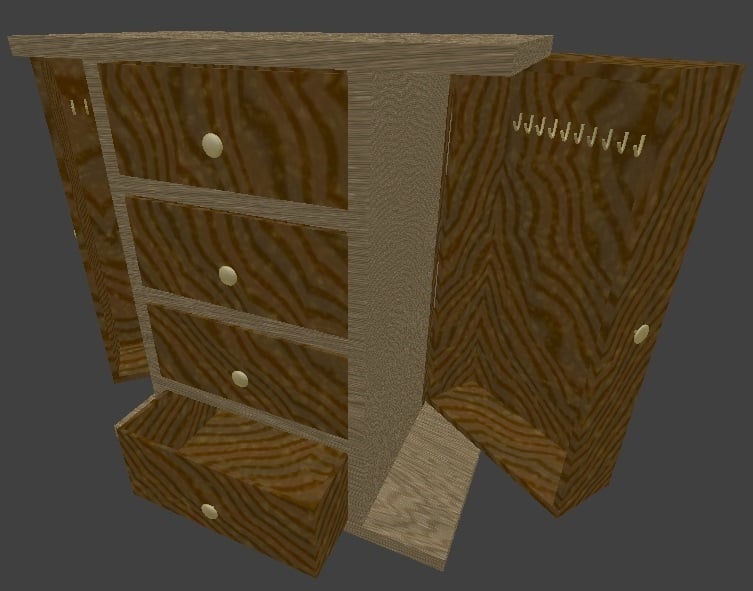
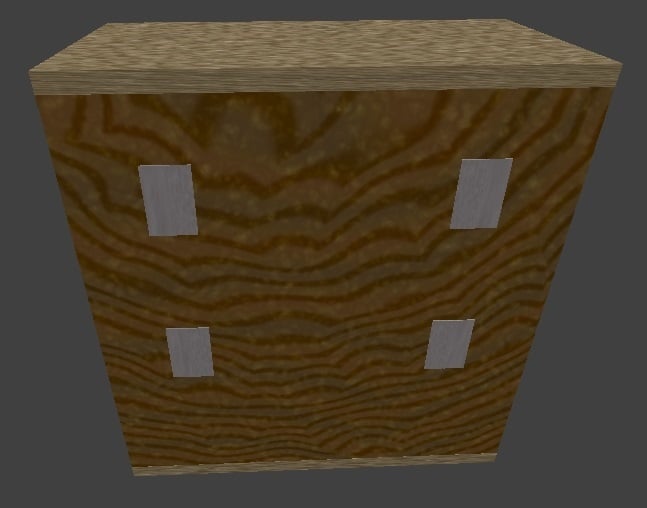
I'm about to secretly make that jewelry box for my wife. But I first decided to create a 3D version of it in Blender (to visualize how it looks and what I may tweak).

I thought I would share it with you all as it ended up quite well. It's not the sleekest model you'll see... but it was the very first time I used this sofware (it took me several days to finalize this object).

Also note that there are no measures here as I didn't scale it properly.

Anyway... I'll come back later on with the real thing once it's done. I can provide you with the .blend file if you want.

Thanks for the great ideas!! Bye for now

Built from Plan(s)
Estimated Time Investment
Weekend Project (10-20 Hours)
Finish Used
"Walnut" for the doors, the drawers and the back panel. "Bare oak" for all the other panels.
And "old brass" for the hooks and handles.

I found all the materials here: http://matrep.parastudios.de/index.php?p=7
Recommended Skill Level
Beginner

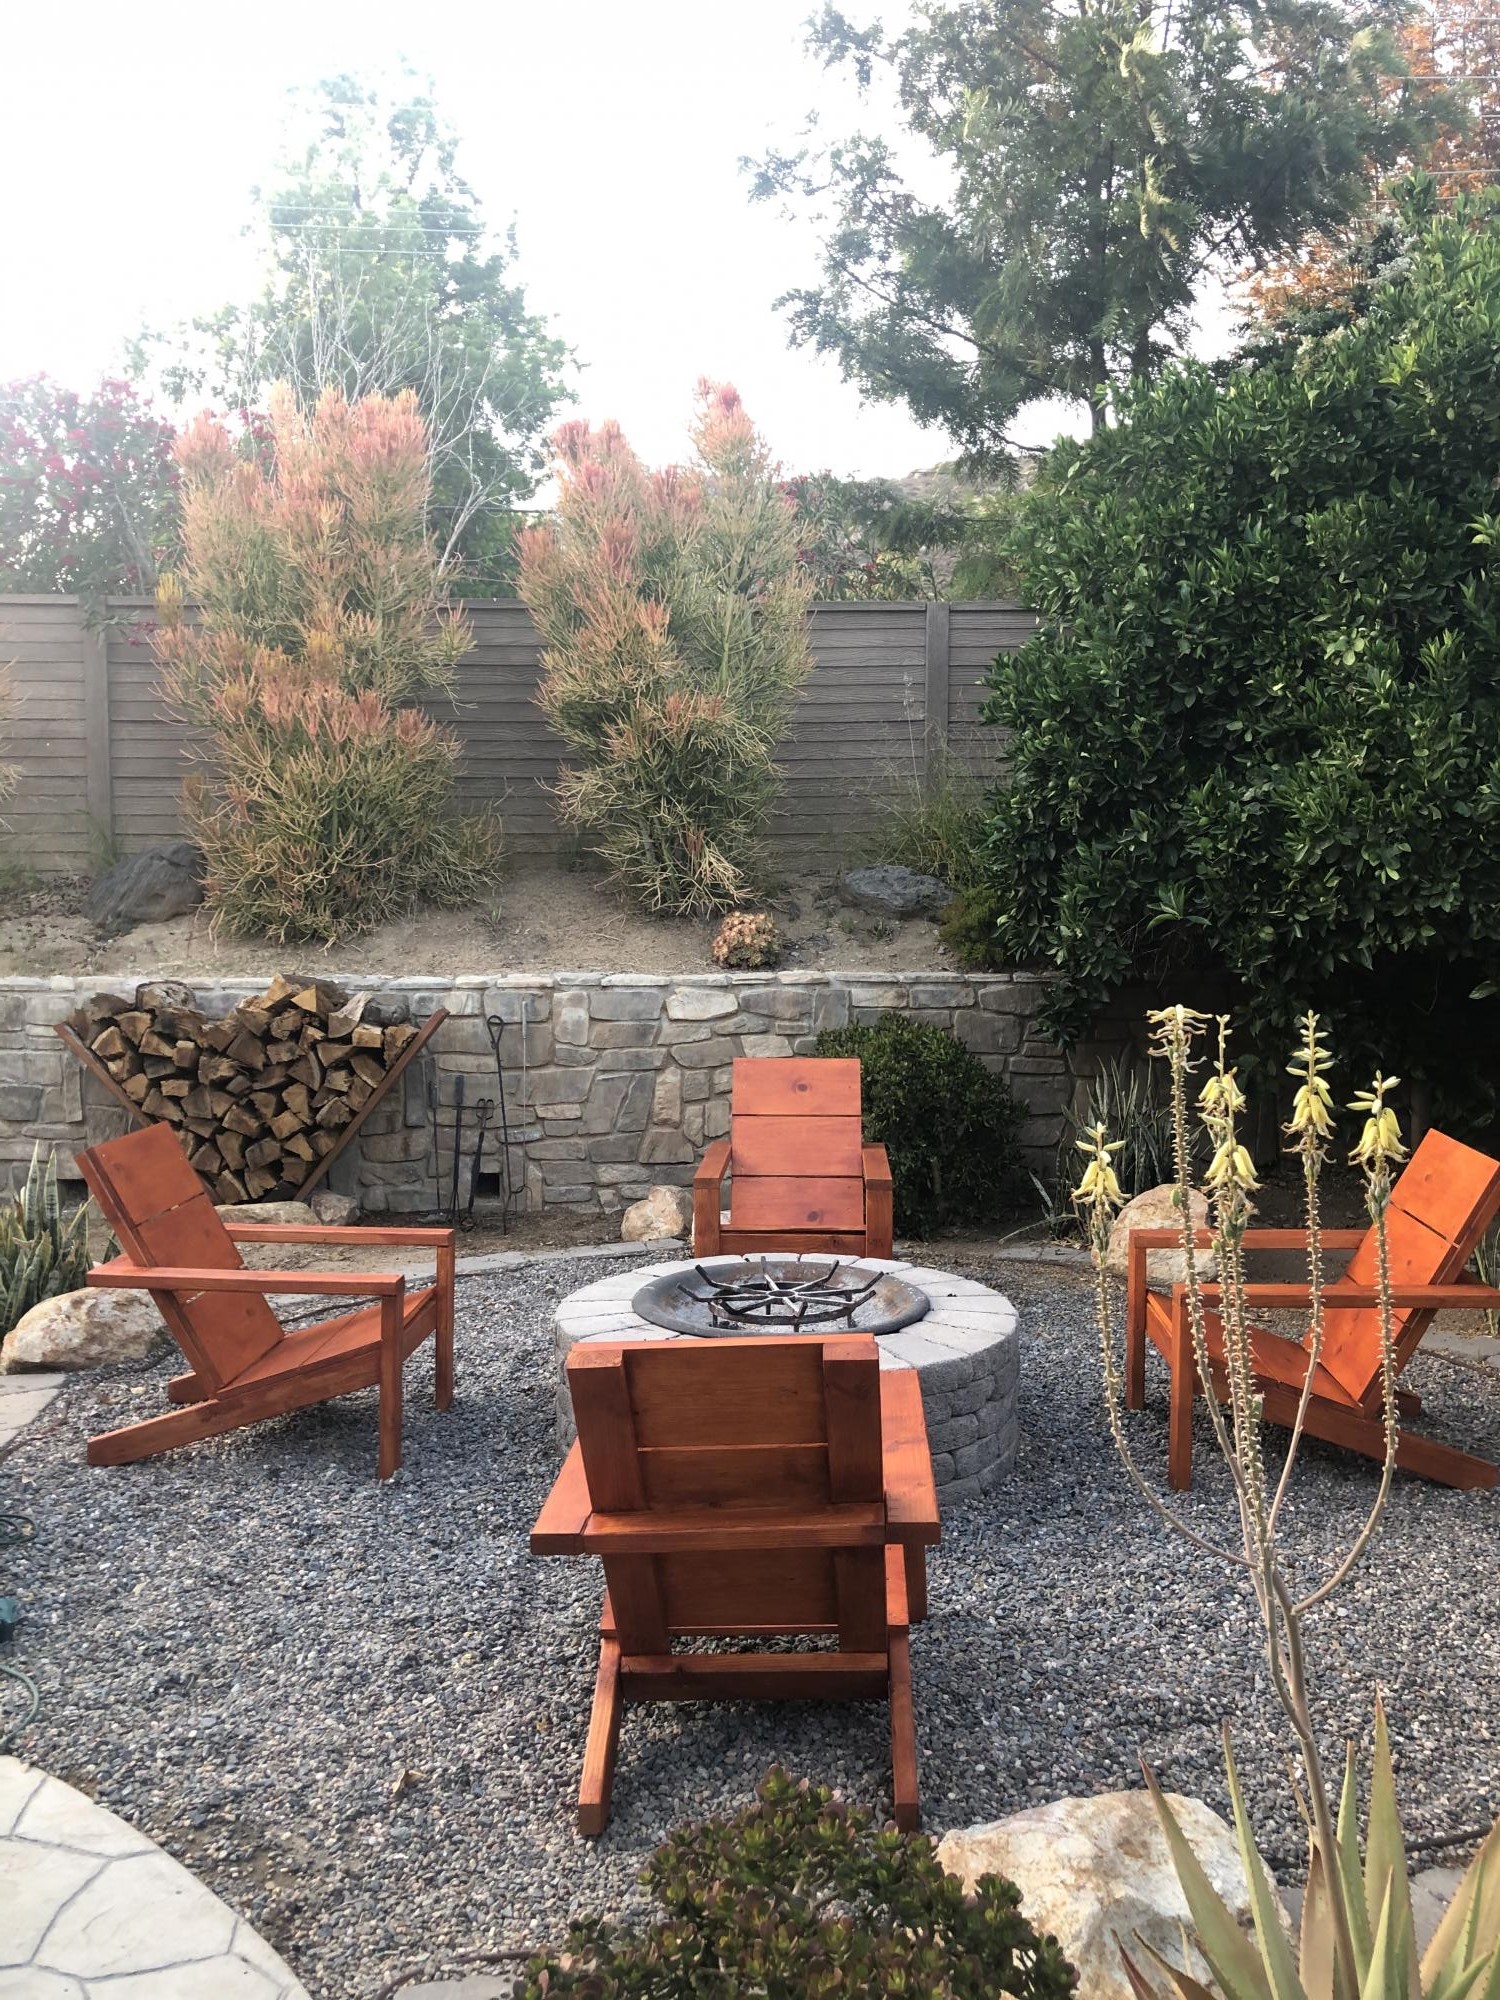
Love these chairs!

Submitted by ae1ret99 on Fri, 07/16/2021 - 13:14

I needed some chairs for my firepit and I found these Ana White plans on Pinterest! They were not too hard to make and they look great!! The only problem I have now is what's my next project...cause now I have that "Creative Fever!"

Estimated Cost
$100/chair
Estimated Time Investment
Week Long Project (20 Hours or More)
Finish Used
Valspar Redwood Natural Tone
Recommended Skill Level
Intermediate

Comments

Toy Storage Unit

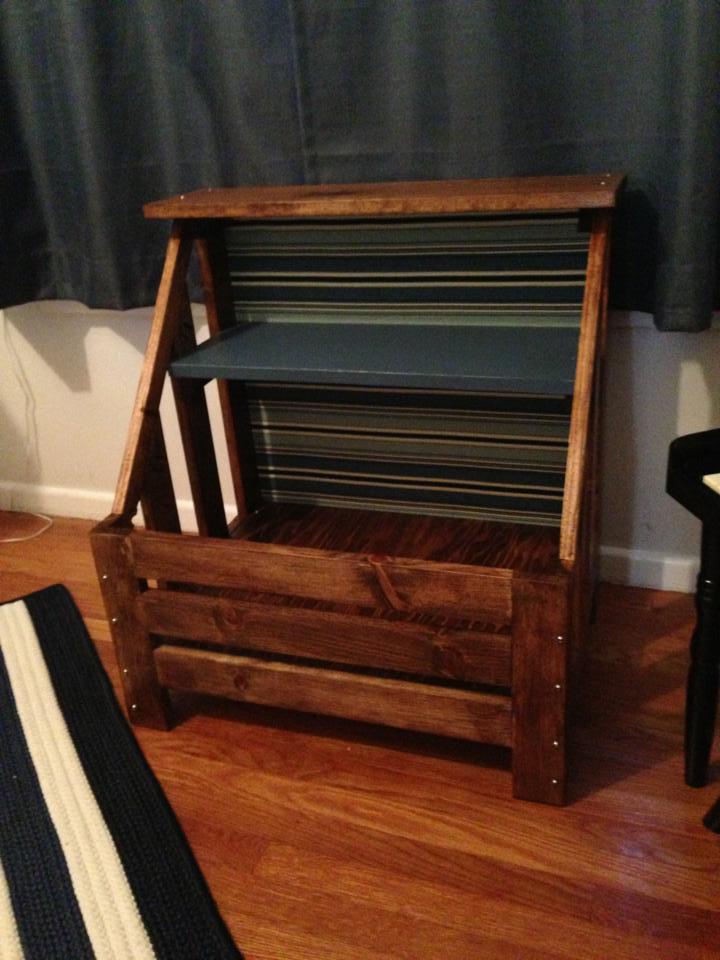
This project on ana white is called "more than a nightstand" but we built this to be a toy storage and we LOVE how it turned out!
Estimated Cost
$50-60
Estimated Time Investment
Weekend Project (10-20 Hours)
Finish Used
American
Recommended Skill Level
Intermediate

Comments

Lady Goats

Wed, 04/17/2013 - 20:26

Are you the first to build this? Haha, I've loved the plan, but never wanted to try it because I hadn't ever seen it built. It's confirmed, I love it! Great job!
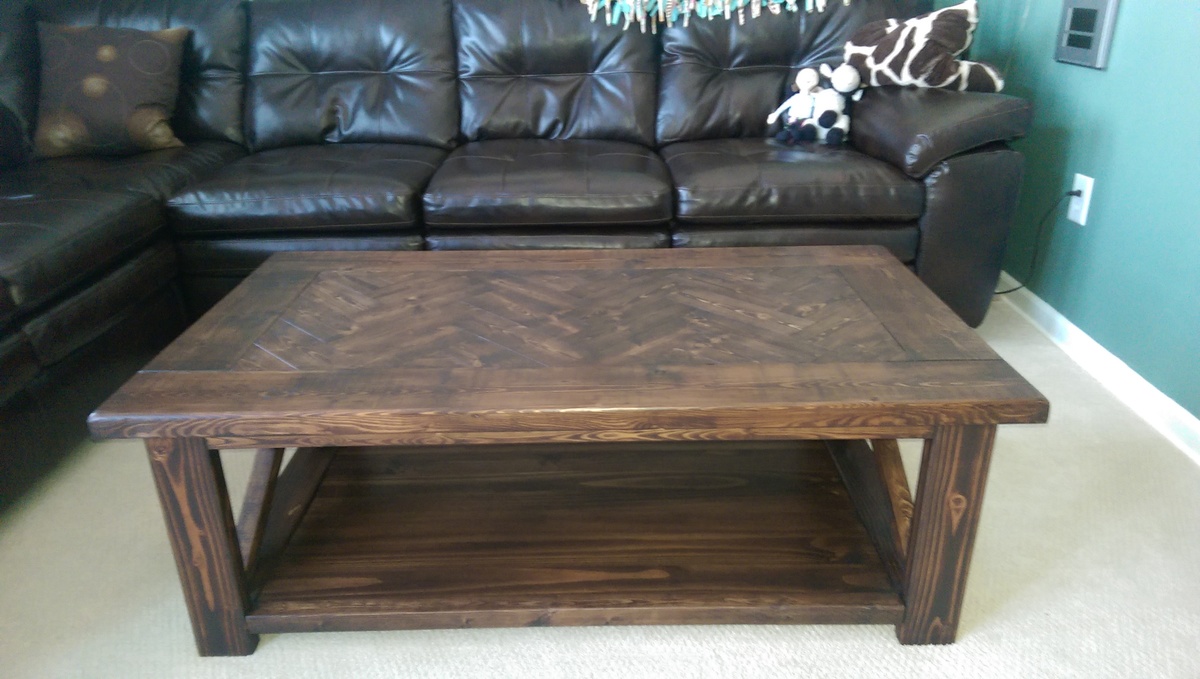
Rustic X coffee table

Submitted by mdlarson on Sun, 03/08/2015 - 16:07

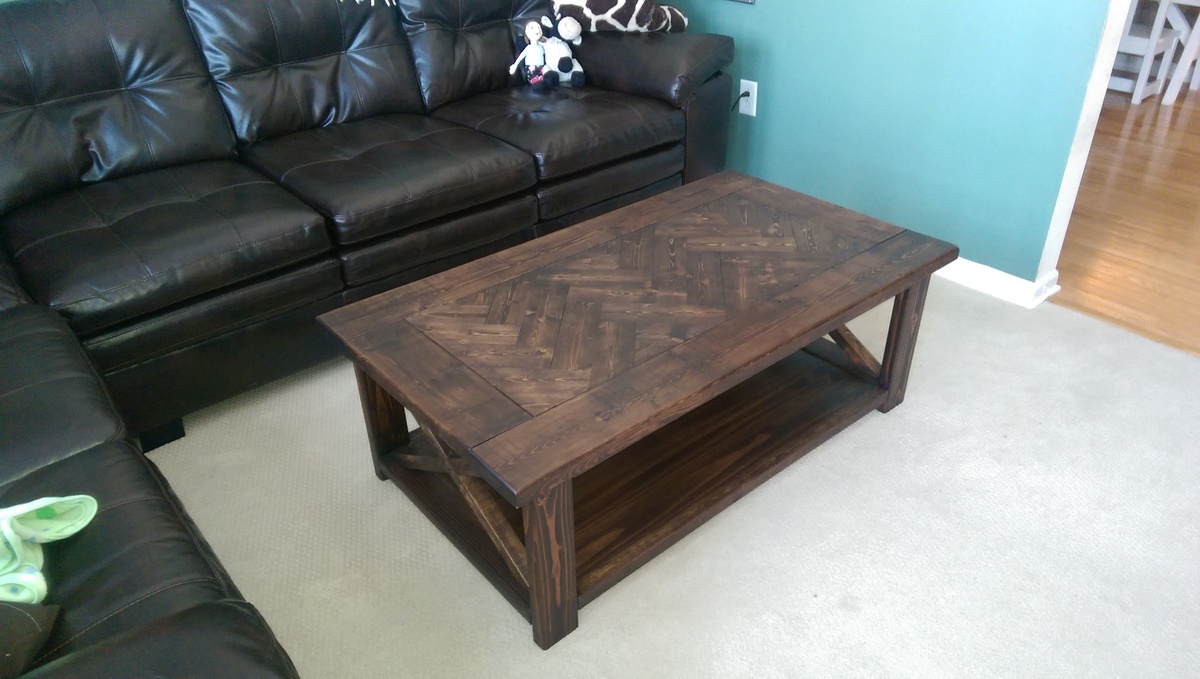
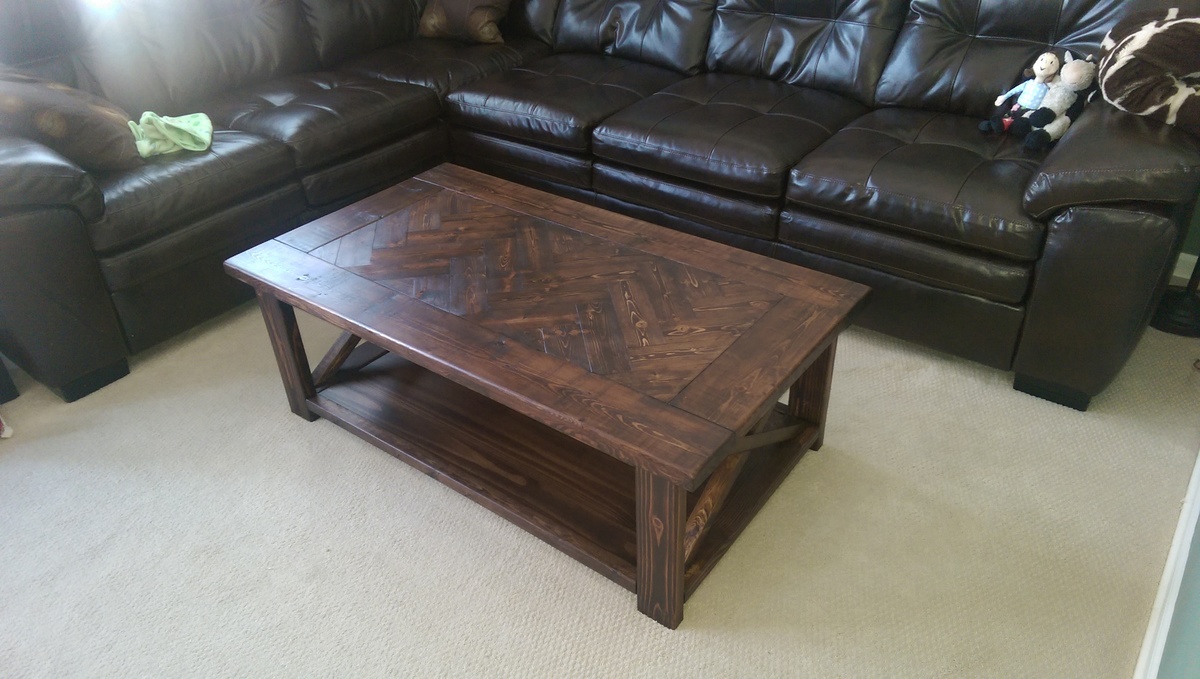
We recently purchased the L shaped couch pictured with the table but we didn't have a coffee table to match it.  I had been wanting to build the Rustic x coffee table for some time and I finally had the perfect spot for it!  To make the table a little more unique I added a herringbone pattern to the top.  

Built from Plan(s)
Estimated Cost
$90
Estimated Time Investment
Weekend Project (10-20 Hours)
Finish Used
Stain: Rustoleum ultimate wood stain in Kona
Recommended Skill Level
Intermediate

TV Stand with 2 different stains

Submitted by Anonymous (not verified) on Tue, 06/06/2017 - 19:28

Wife picked this plan for our TV stand for our new TV. Took 2 weekends to make and total cost was ~ $100.

Followed the build instruction from this website except for the "X" on both sides. I do not own a miter saw to cut all the differrent angles. Hence I cut the 60 degree angles using circular saw and speed square and put the x togetter by creating dados 3/4" deep on the center of both the 2x2 member of the X using a router.


For stains, we used Minwas Expresso for the bottom and the top we used Golden Pecan. 2 coats of stain folloed by 2 coats of high gloss polyurethane. 

Built from Plan(s)
Estimated Cost
~$100
Estimated Time Investment
Week Long Project (20 Hours or More)
Finish Used
1. Minwax Golden Pecan Stain
2. Minwax Expresso Stain
3. Minwax High Gloss Polyurethane
Recommended Skill Level
Intermediate

First big project

This was the first time I've tried to build anything this big. I have to say, I'm pretty happy with how it turned out, especially since I didn't have a miter saw (just a circular saw) when I built this. I don't have a lot of time off from work, so it took me about 30 hours to build, but went surprisingly smooth.

Built from Plan(s)
Estimated Cost
$550.00
Estimated Time Investment
Week Long Project (20 Hours or More)
Finish Used
Behr Scuff Defense Interior Satin Enamel (can't recall specific color at the moment) and Minwax Espresso stain on top.
Recommended Skill Level
Intermediate

Comments

Bench Side Table

Submitted by keribeth on Sun, 04/21/2013 - 06:38

I altered the plans for the Providence Bench to make this shorter bench, which I'm using as a side table. I love the chunky look of the 2x4s and the angled legs! I built it in an afternoon, but finishing took a bit longer, and I'm listing it as intermediate because of making angled cuts and beveling some ends, but it really wasn't that hard. Cost is for lumber only--I used leftover stain and polyurethane.

Built from Plan(s)
Estimated Cost
$12
Estimated Time Investment
Afternoon Project (3-6 Hours)
Finish Used
Minwax gel stain in Hickory
Recommended Skill Level
Intermediate

Simple Rolling Bar Cart

Submitted by Boomommy on Wed, 03/11/2015 - 21:43

My very first build!!  Thanks for the easy plans.

Built from Plan(s)
Estimated Cost
$40...I had much of this on hand
Estimated Time Investment
Day Project (6-9 Hours)
Finish Used
Paint....funky designs and then glossy finish
Recommended Skill Level
Starter Project

Comments