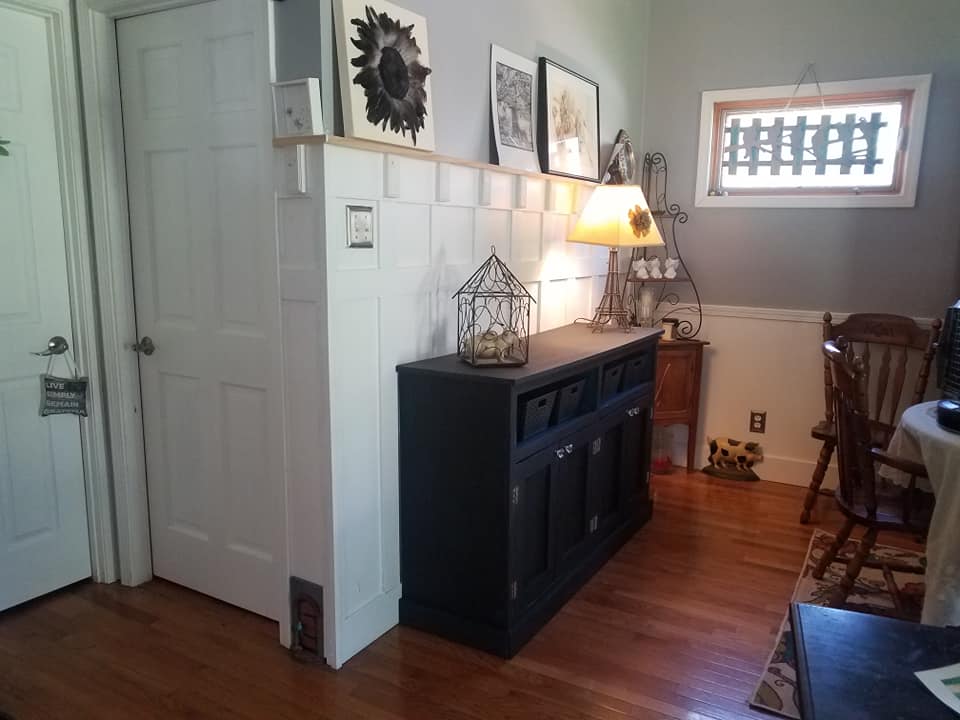
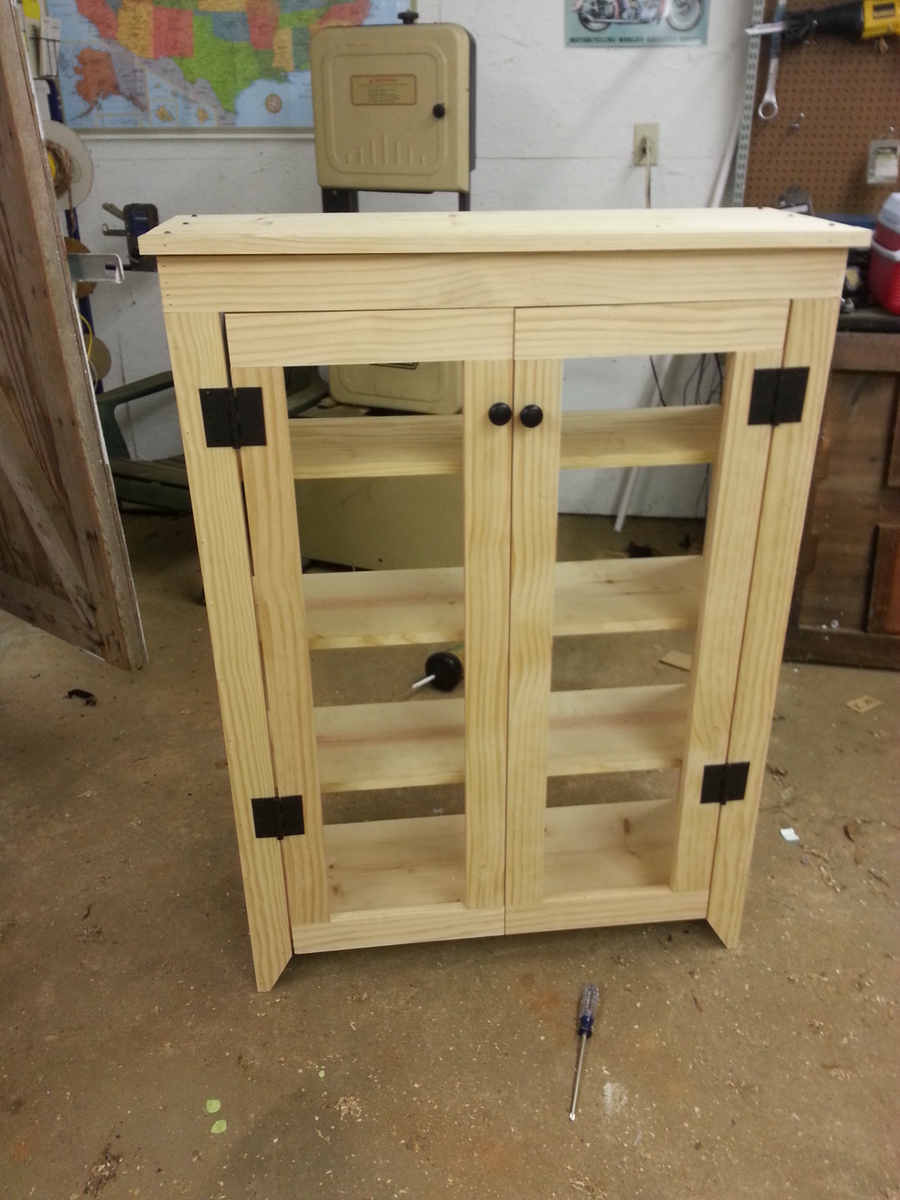
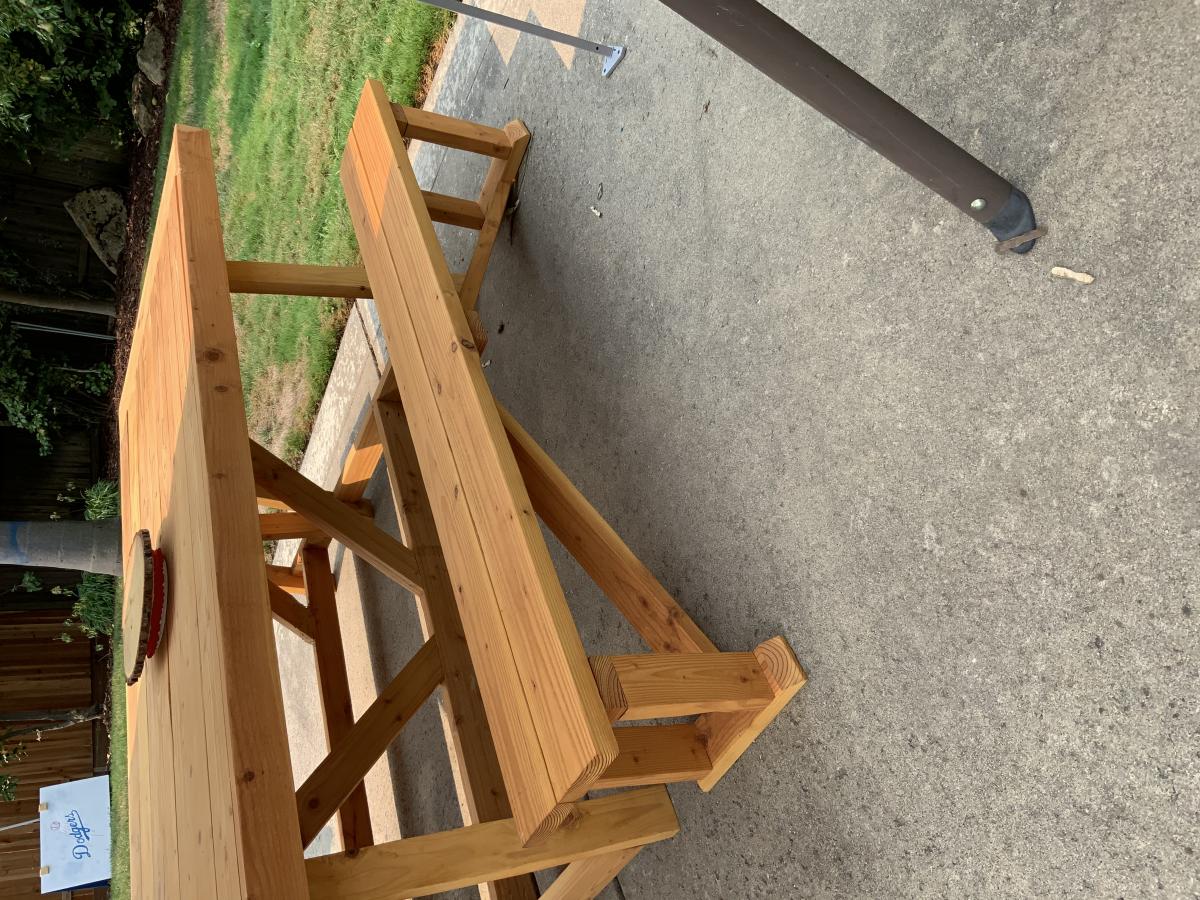
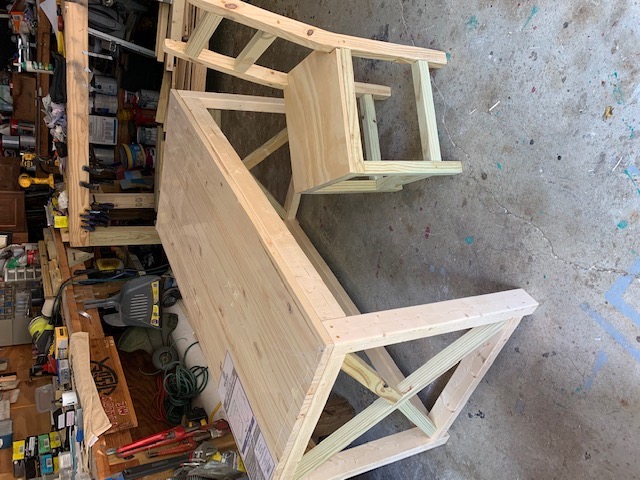
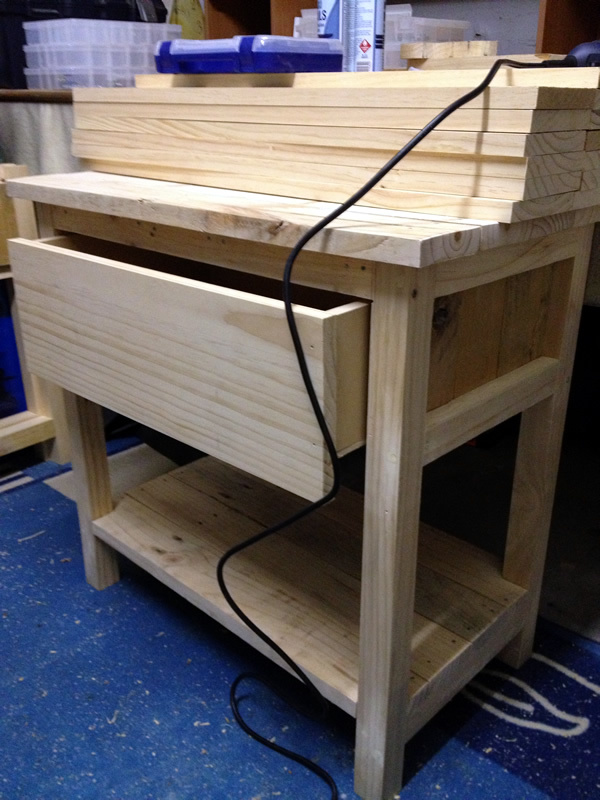
This is the result of my interpretation on Patrick's Jelly Cubbard. Unless the cut
list has been updated there are some corrections that need to made. The rails
at 11" are too short. I adjusted for this by making them 14" and my rails run the
entire length of the door tops. If you prefer to have interior rails then the stiles
must be changed. The easiest fix for me was the rails. It took me around 9
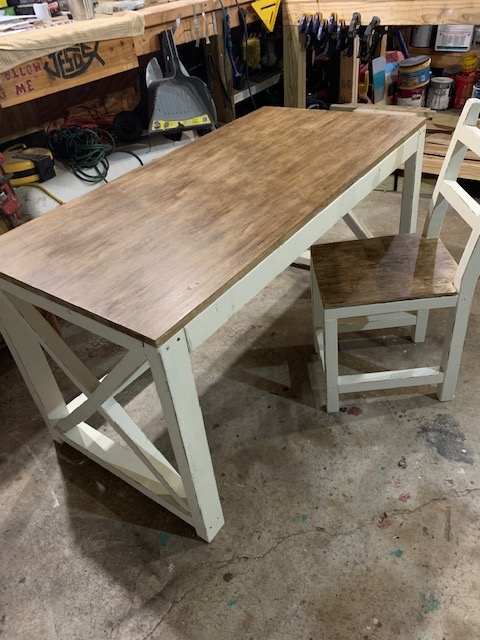
hours to complete however my shop was already set up for this project. Each
station was ready for all of the cuts and my pocket hole jig was already set. I
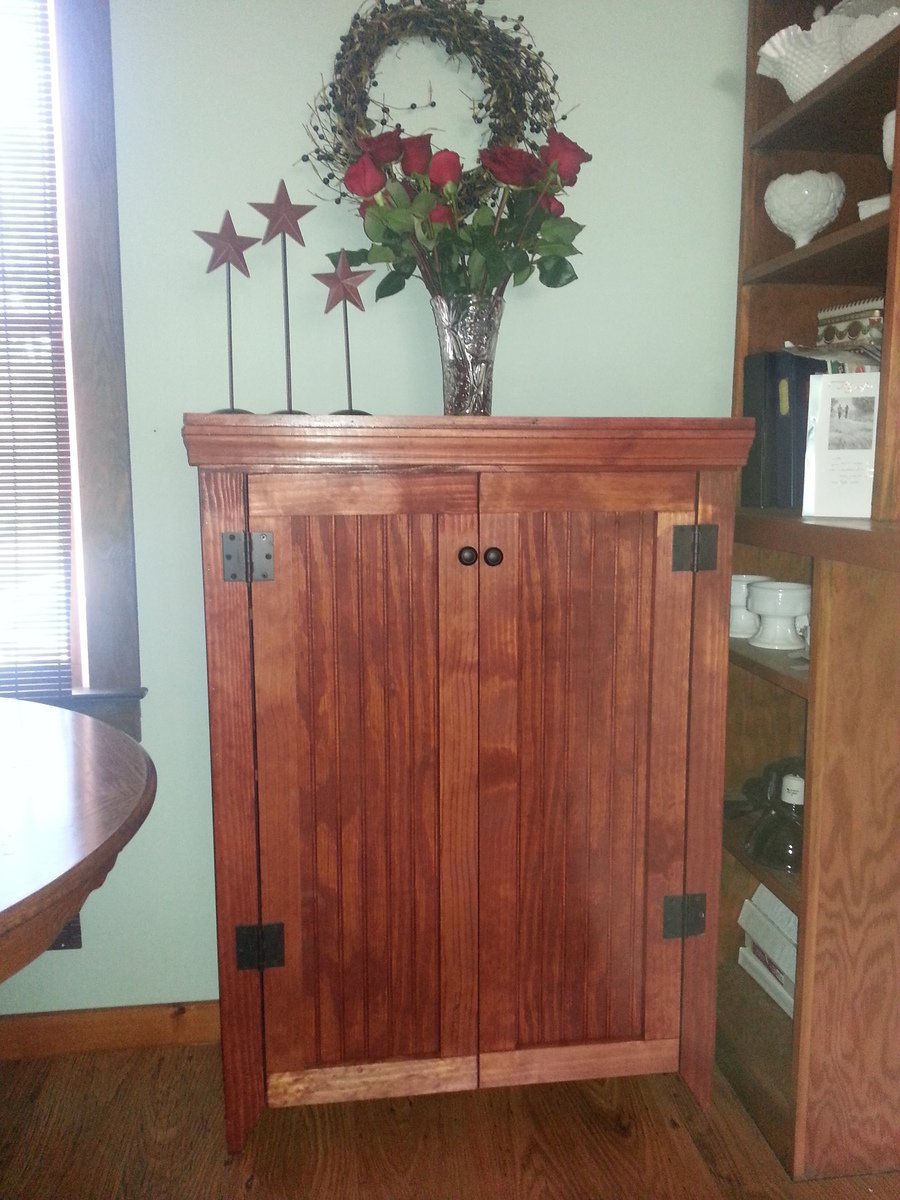
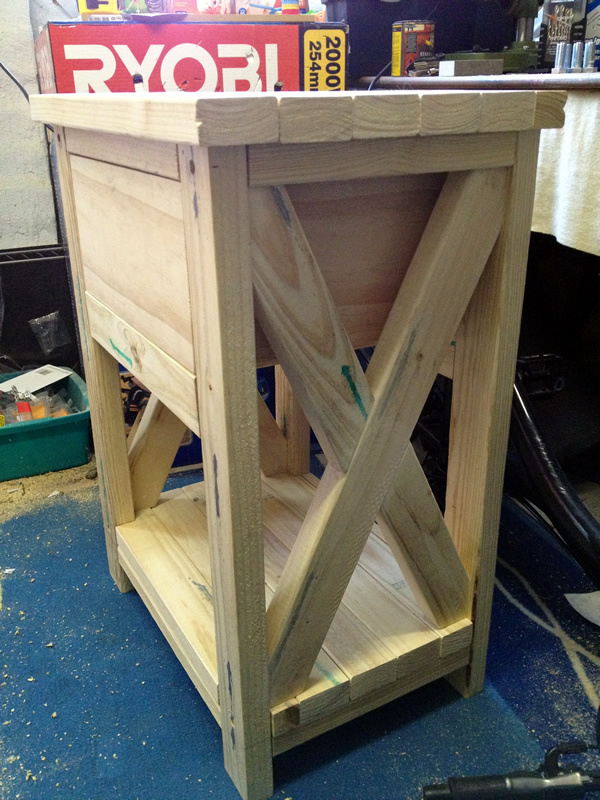
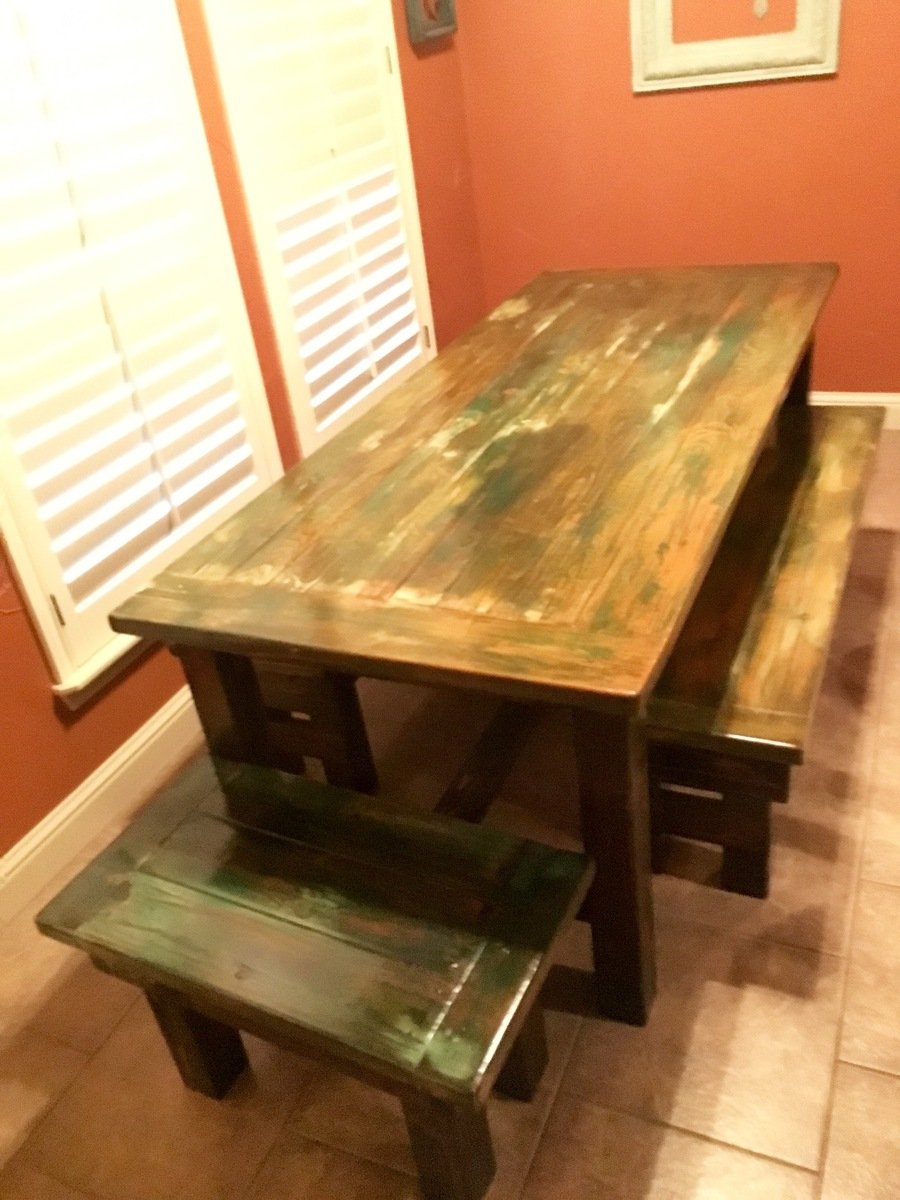
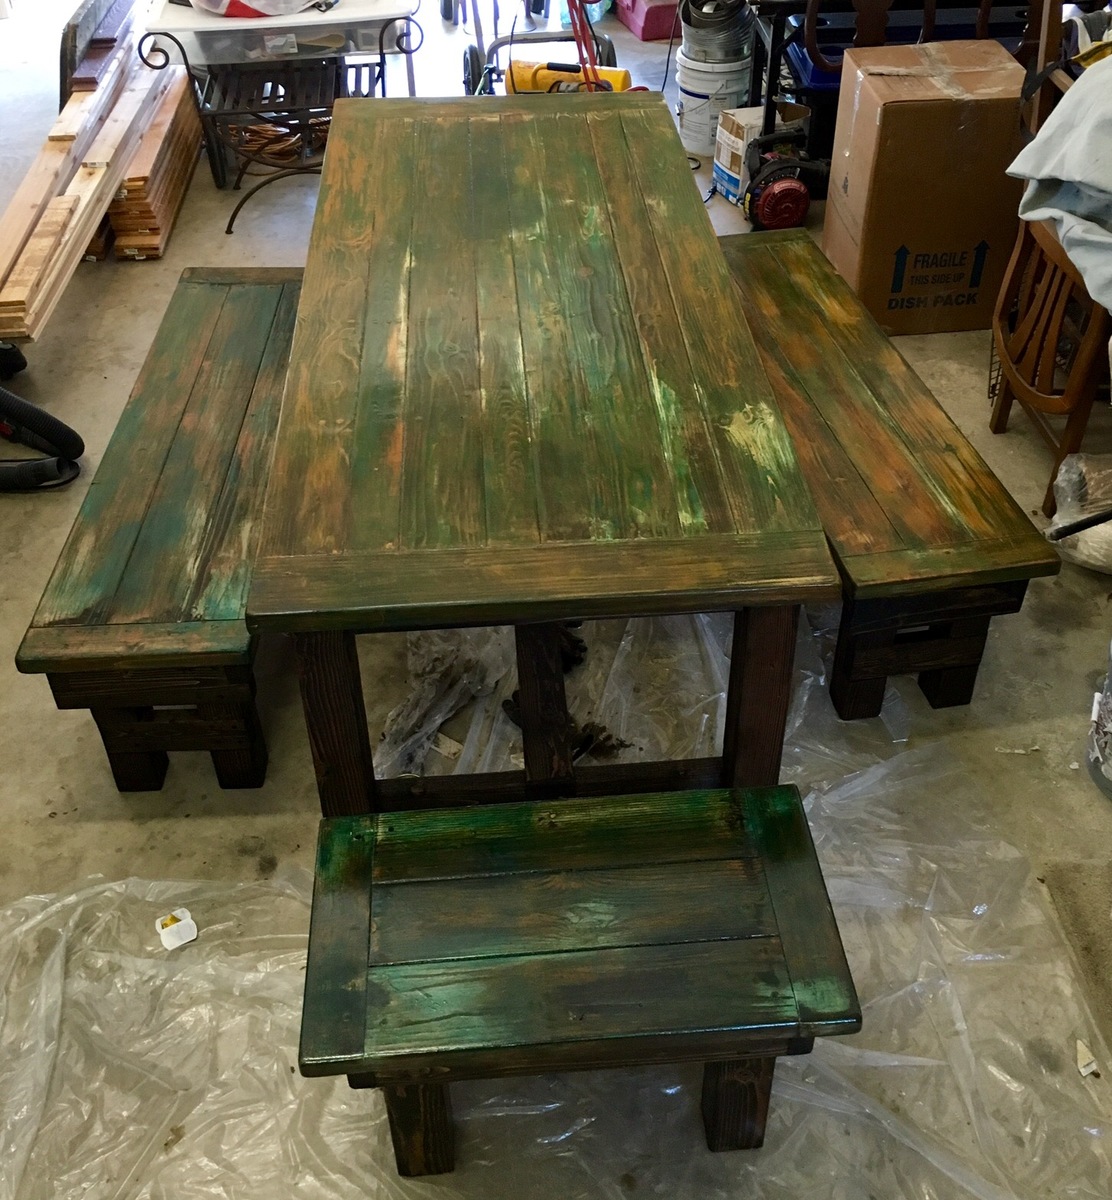
spent minimal time sanding as I wanted to have a bit of a rustic look and I
wanted the stain to have sharp contrasts in the color over different sections of
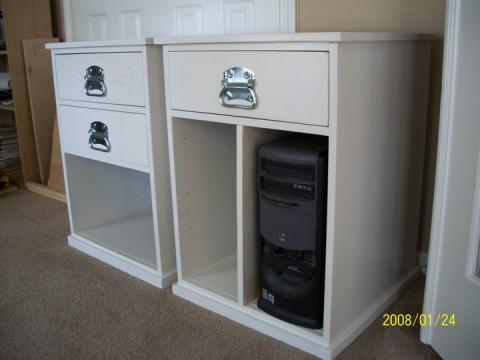
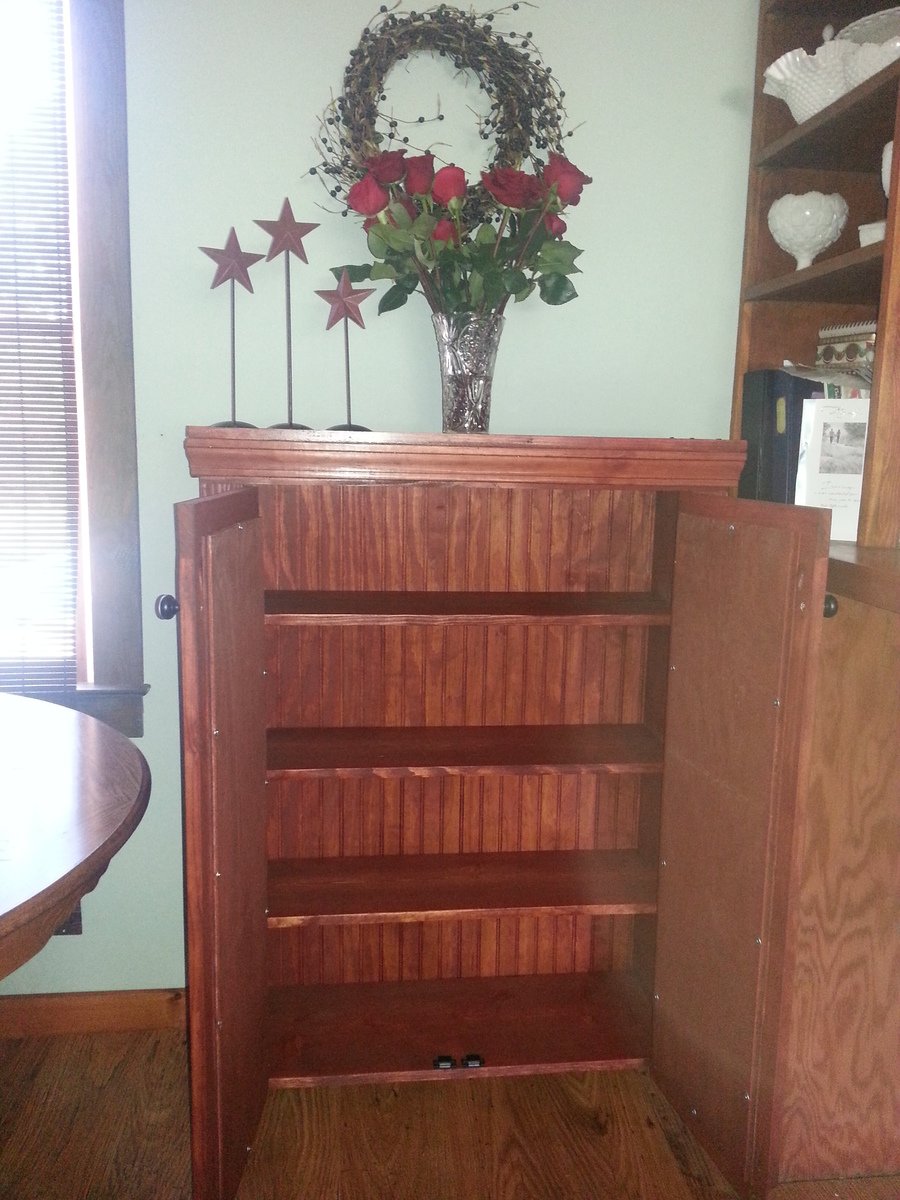
the woodgrain. I used knotted pine for for the 1x12's and knotless for the front
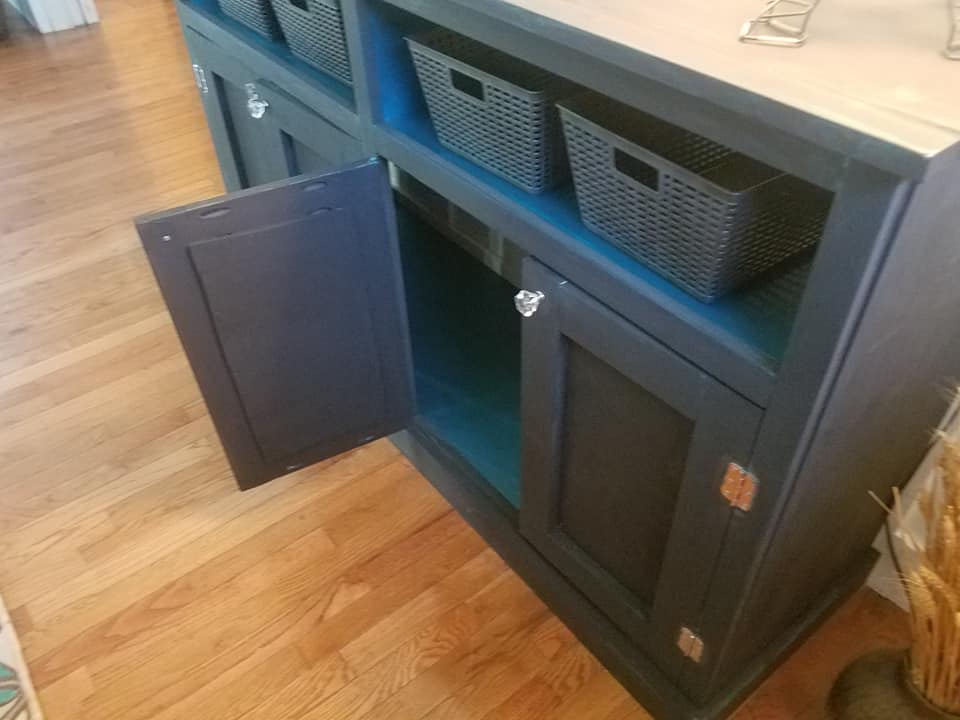
and shelves. I used beadboard paneling for the back and the panels on the
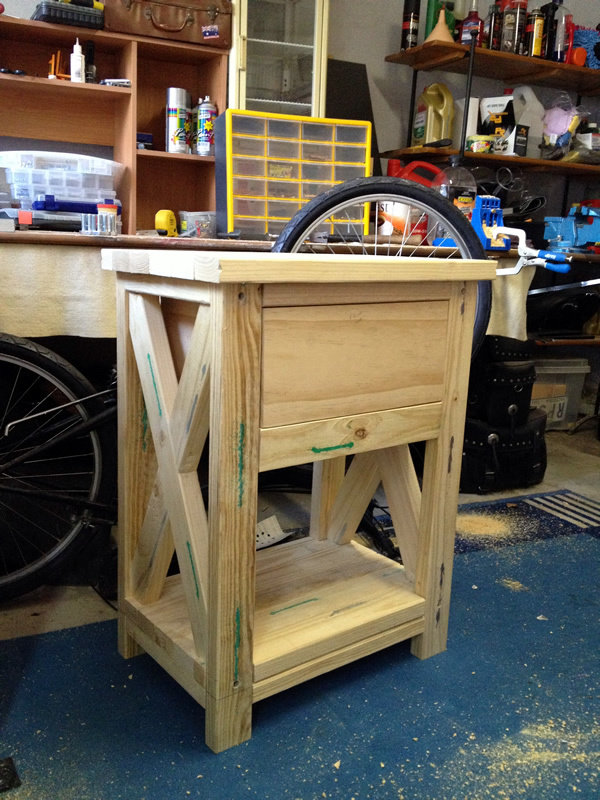
doors attached with 1" screws. The hinges were purchased right off the shelf
from instock items in a big box store as were the pulls that are a close match
in color. I added magnets at the bottom to keep the doors closed. I also added
a piece of simple molding around the top.
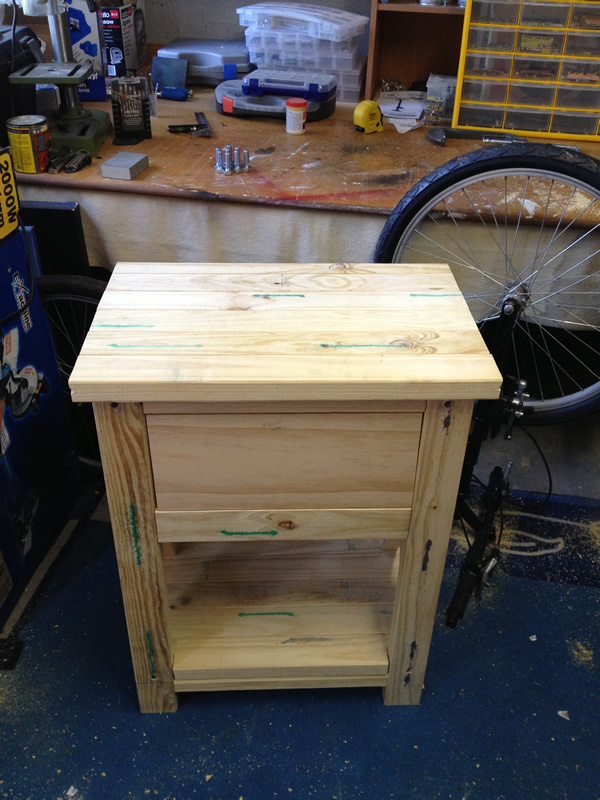
I will be doing another one of these to which I will add punched tin panels to
the front doors. I really enjoyed this project and other than the cut list causing a
minor hiccup everything was spot on.