headboard, queensize
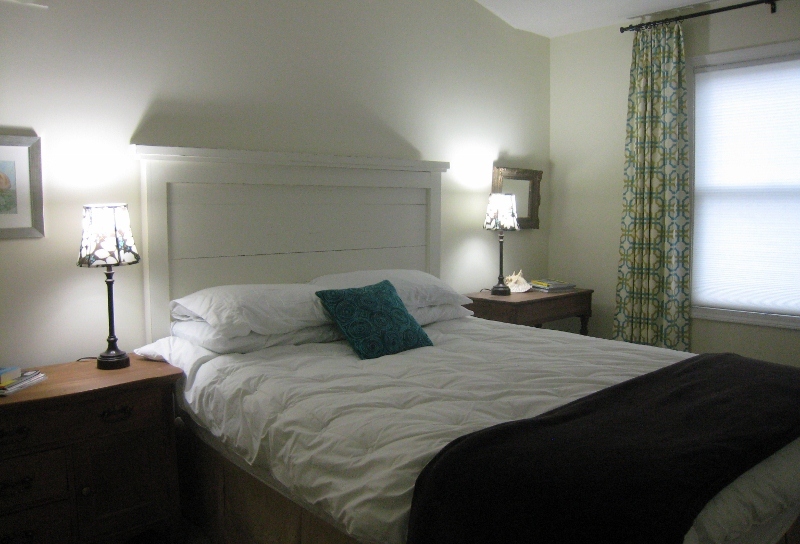
I needed a guest room, pronto, so I made this bed in an afternoon. I used lots of glue and my cordless finish nailer. I'm very happy with the outcome and thinking about my next project. Thank you, Ana.

I needed a guest room, pronto, so I made this bed in an afternoon. I used lots of glue and my cordless finish nailer. I'm very happy with the outcome and thinking about my next project. Thank you, Ana.

We originally re-sized these plans smaller to make a worktable for my office. Once that was built and we realized that we actually could make a table, we decided to make the full sized version. It turned out beautifully! A couple of clients have actually asked if they could pay us to make them one! Thank you, Ana, for the plans. :-)


We haven't had a chance to hang the first bed but had to make it functional asap. So, we gave it temporary legs on the front and attached it to the wall in the back. We are thinking of replacing the desk and making a smaller toddler sized version there for one of our little guys as well.
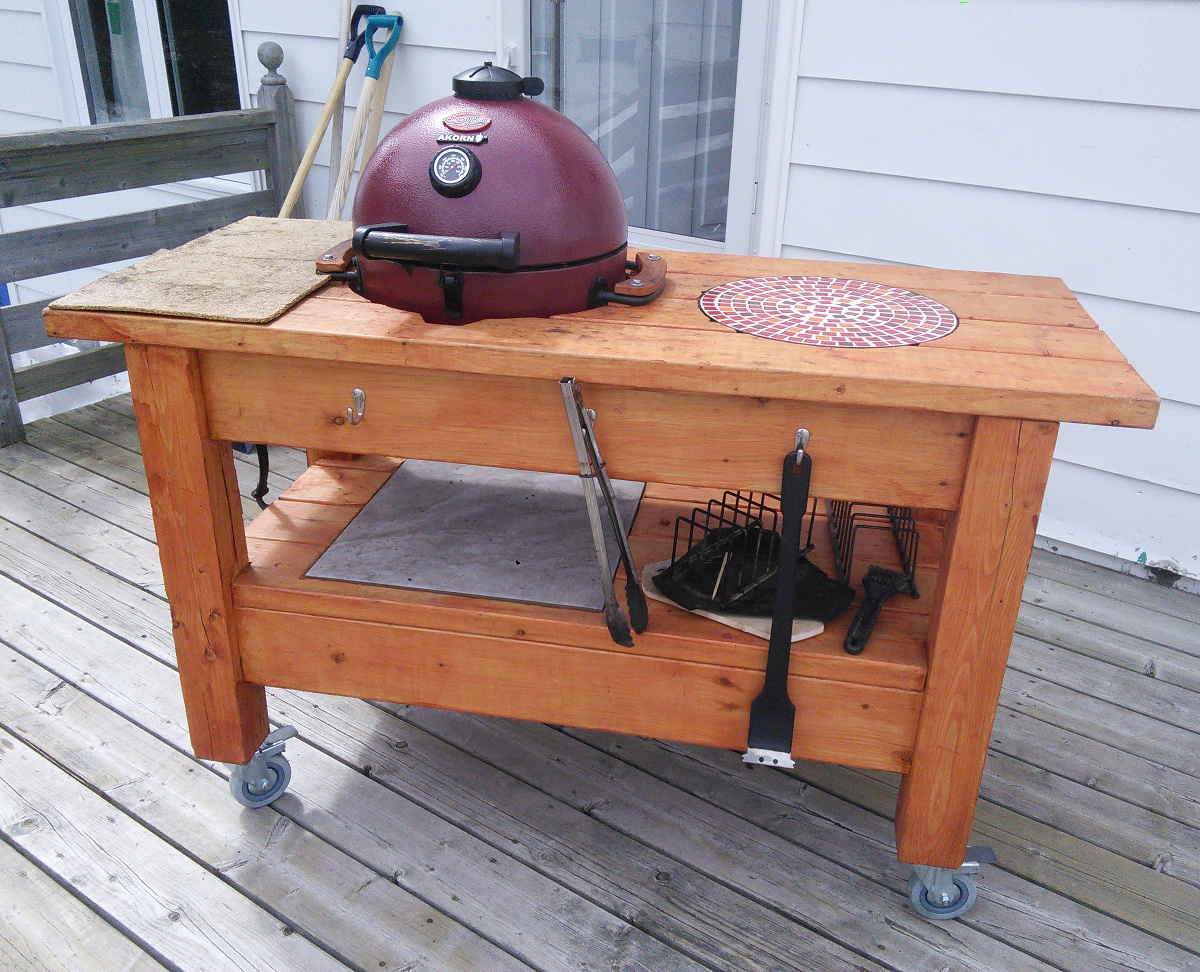
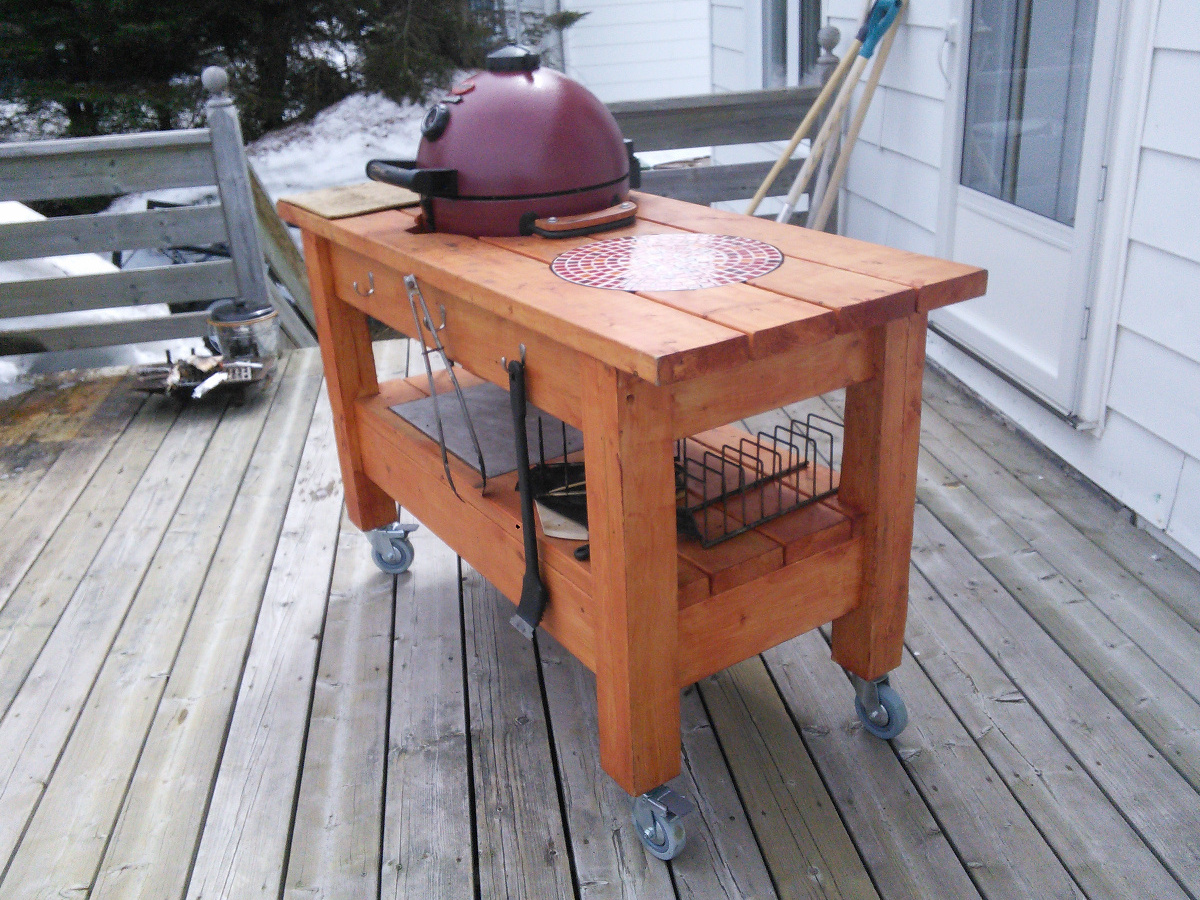
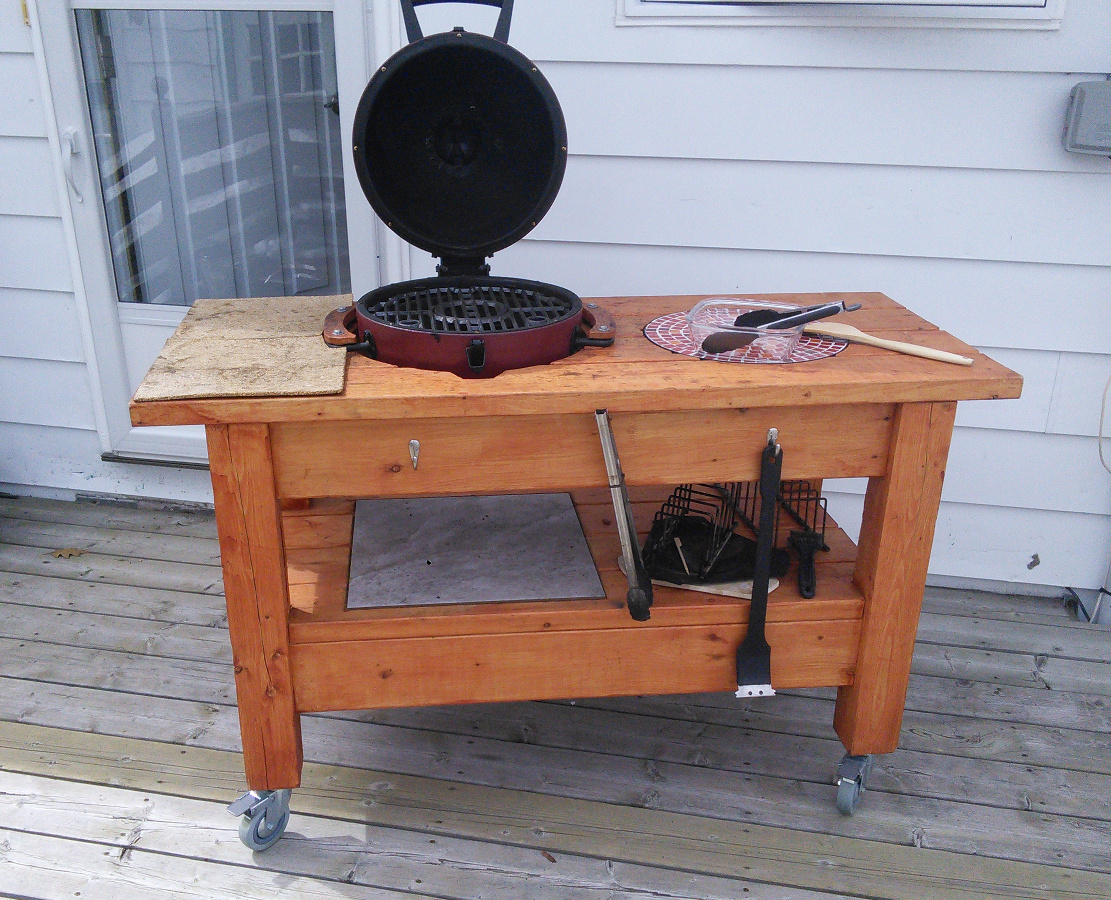
The table assembly was Inspired by farm table and workbench plans. It was built from construction grade untreated 4x4 and 2x6 and assembled using Kreg pocket screws and glue. Finish is semi-transparent wood stain. Rather heavy, the table have locking wheels to help move it. The lower shelf is used to store accessories.
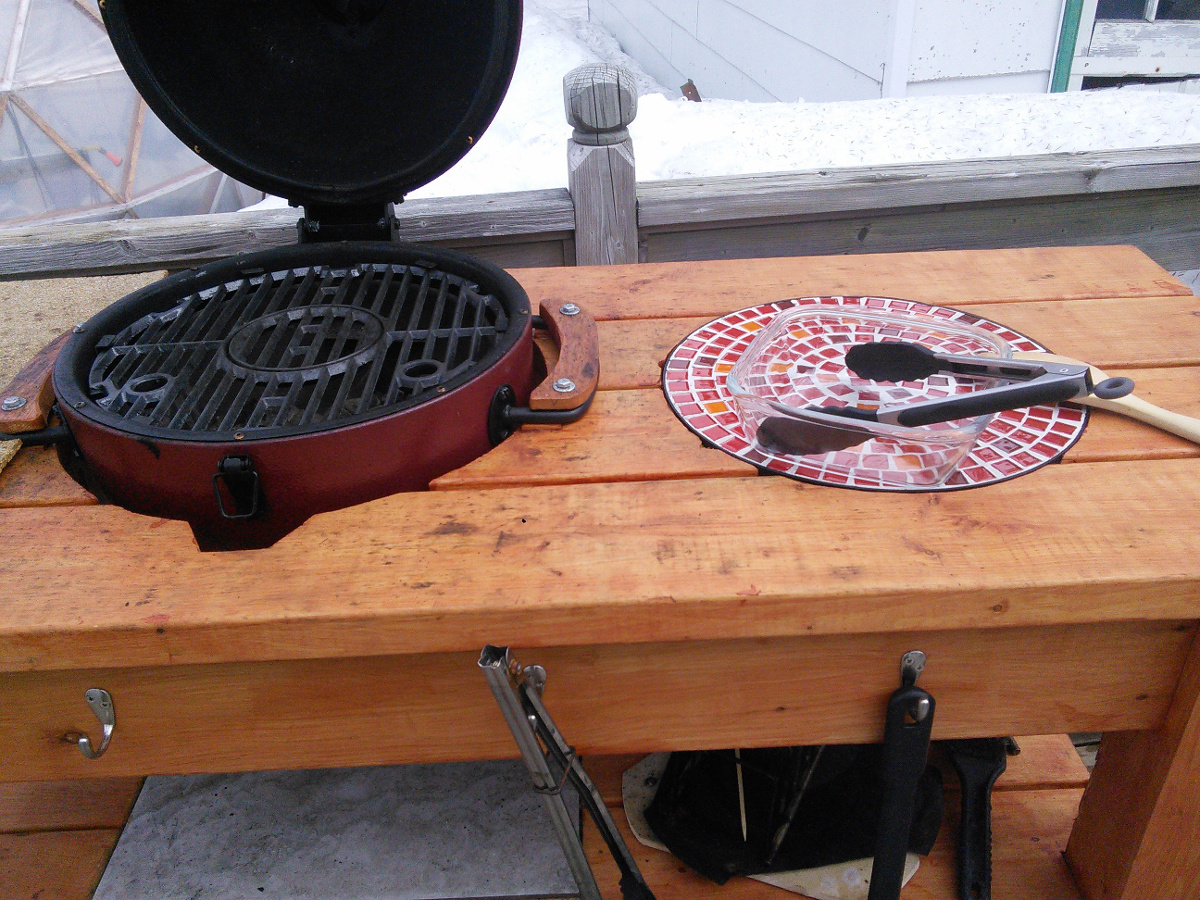
The small kamado is just the right size for two people. I added a large ceramic tile under the firebox plus a small inlay next to the grill. That was the top of a small patio table. A few hooks were added as a final touch.
We built it last year; it gets a lot of use as a grill, smoker, bread and pizza oven.
We are very satisfied with the outcome. Many thanks for the plans and inspiration.
Mon, 08/02/2021 - 23:34
Your grill is very beautiful, but I prefer cooking in the kitchen, I will explain why, I recently read a lot of Kitchenotic.com here, what connects me and the kitchen most of all is the answers to my any questions, no matter how stupid they are and the answers were always correct
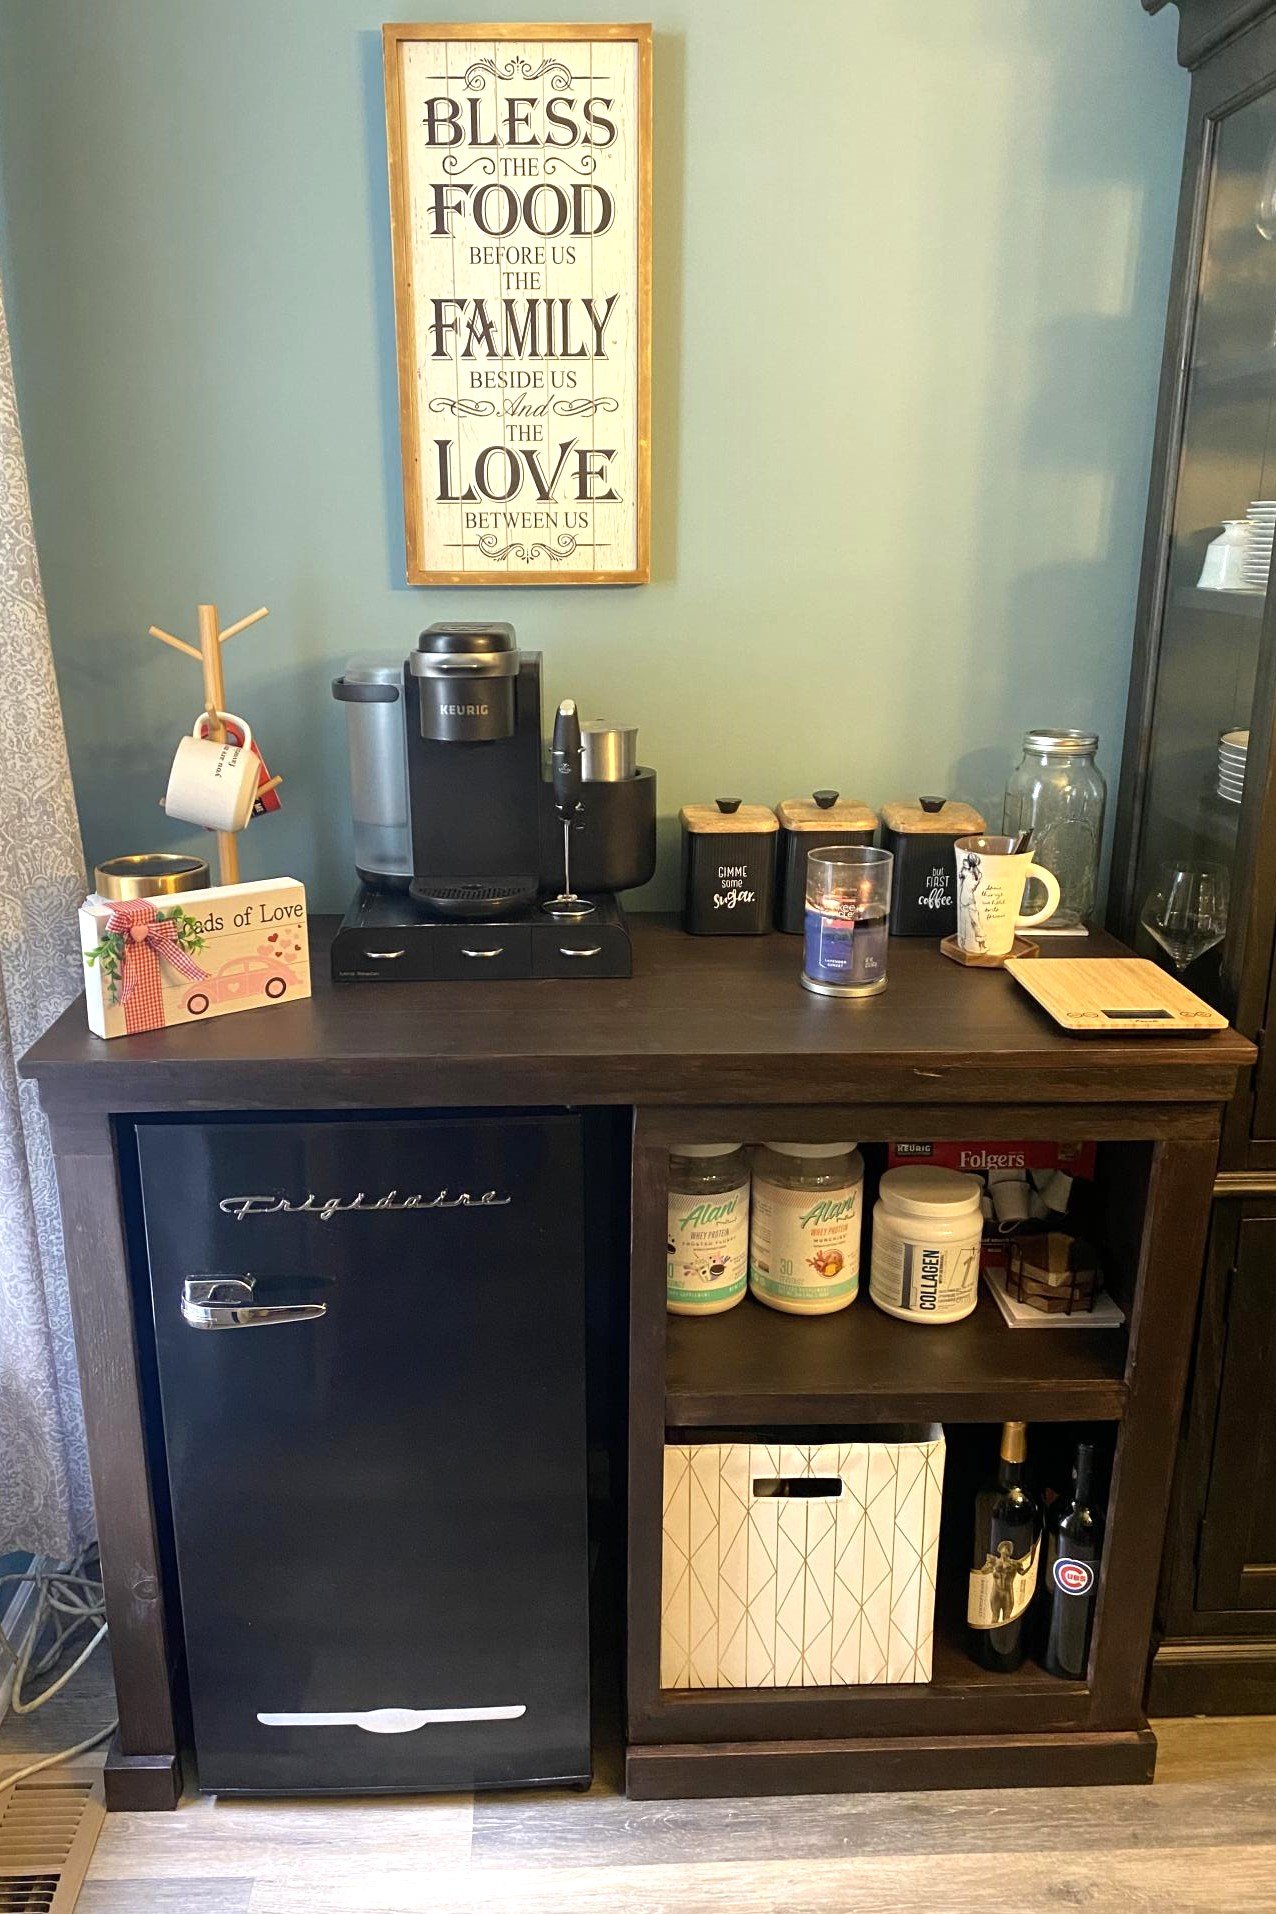
My wife had been wanting a buy a coffee bar for our dining room so we could declutter the kitchen. I came across the plans for this on Ana’s site and made some slight modifications to fit our space and fridge. It turned out incredible! Friends and family say it’s the best piece I’ve made. Thank you Ana for the plans!
Fri, 04/07/2023 - 14:16
It fits your space perfectly and looks super functional at the same time! Thank you for sharing:)
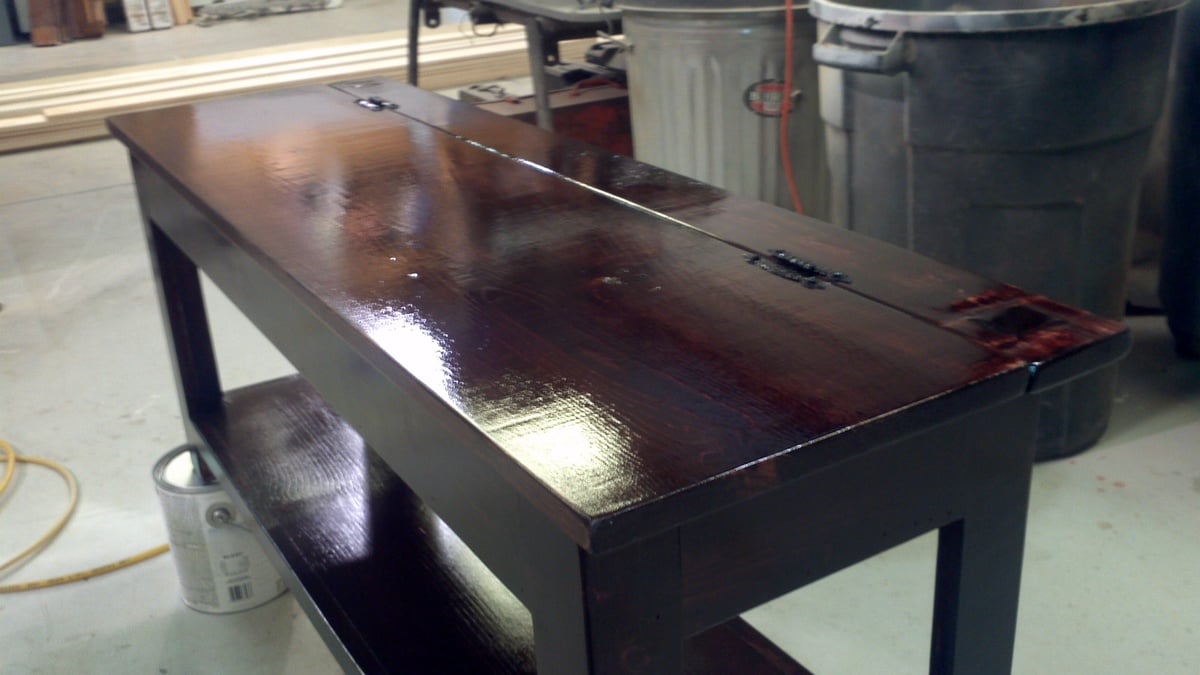
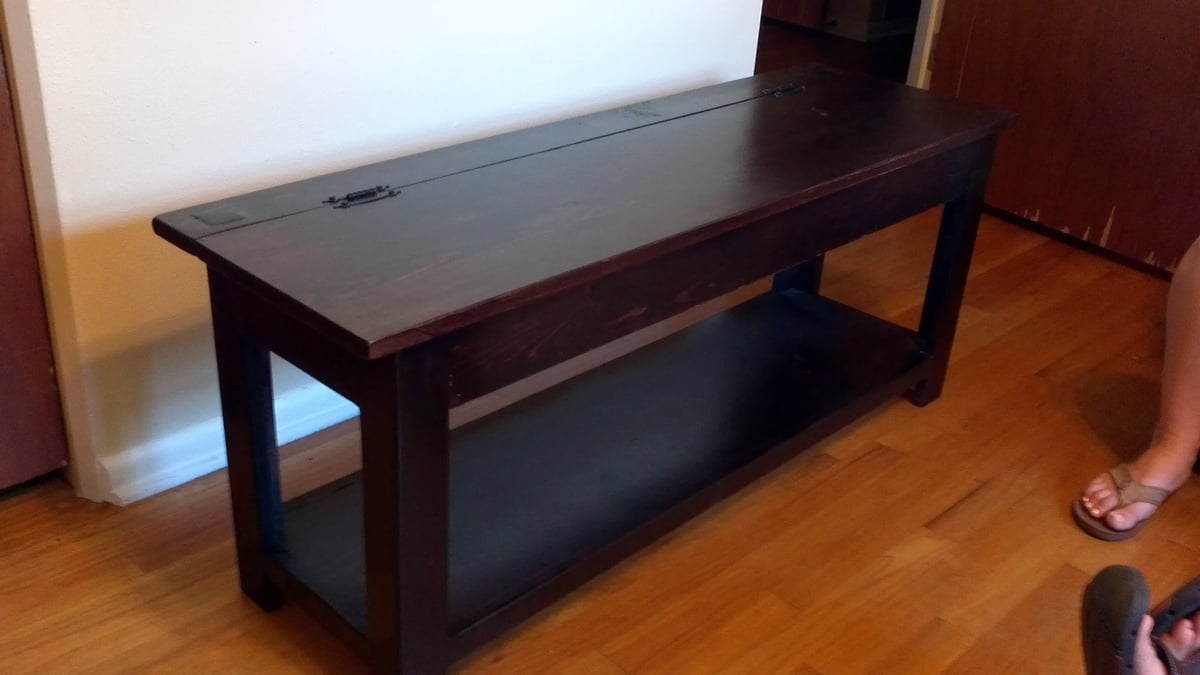
I came across Ana's website while searching for bench ideas and I liked her Flip Top Storage Bench a lot. I like the idea of wood lap joints which can add an antique effect, so I added two wooden squares in the corners of the top 1 x 4.
I still haven't put the lacquer finish on yet but will upload finished photos soon.
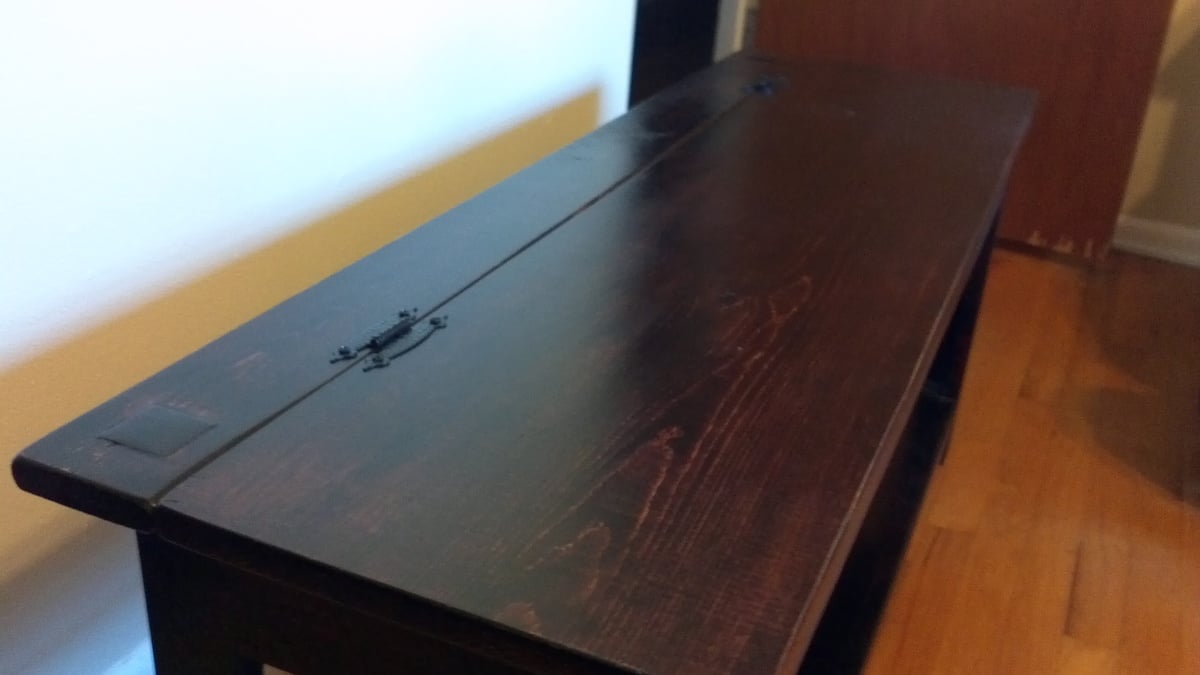
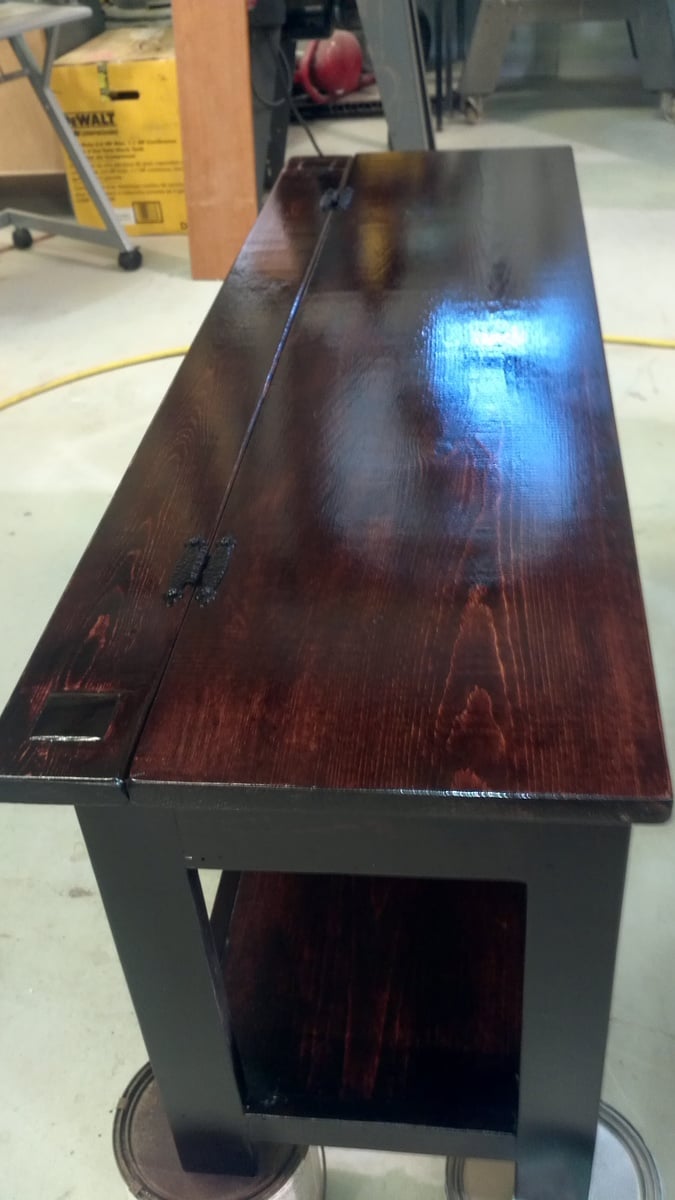
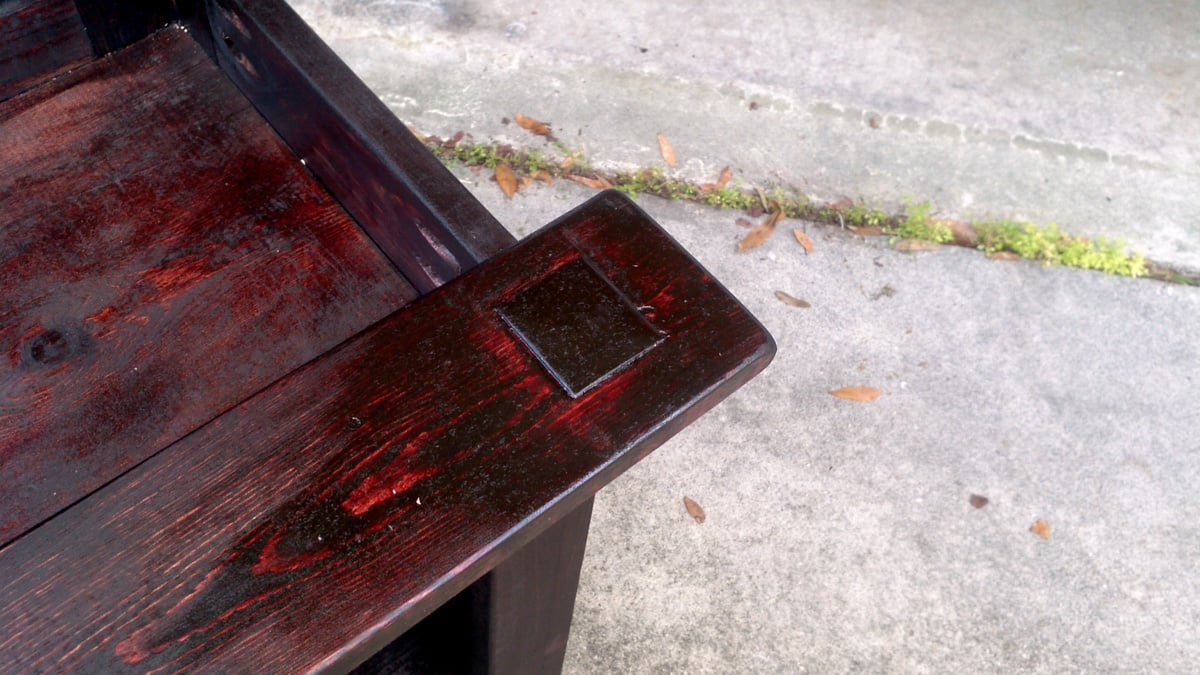
Tue, 02/21/2012 - 18:51
You did a great job with this! I love the finish.
I'm actually in the process of making it as my very first building project, and I have a question for you. My bench is kind of wobbly so far. I attached the shelves with one pocket hole in each corner (all that would fit) and I think that's the reason. I think I'm going to need to attach L brackets underneath the bottom shelf for support. How did you attach the shelf, and is your bench sturdy? Thanks! - Victoria
Tue, 04/24/2012 - 08:13
Victoria,
For the top shelf, I put two pocket screws in each board, in each corner (so 4 per corner).
For the bottom, I put one pocket screw underneath the 1x12 in the corners (total of 4 screws), then the 1x2 or 1x3 strip i nailed into the 1x12.
Everytime board touches board I use glue also. Mine is holding up pretty good and sturdy. I know this stuff is hard to explain so if you send a photo that might be easier to explain.
Trevor
Built two simple deck benches from plans found on this site.
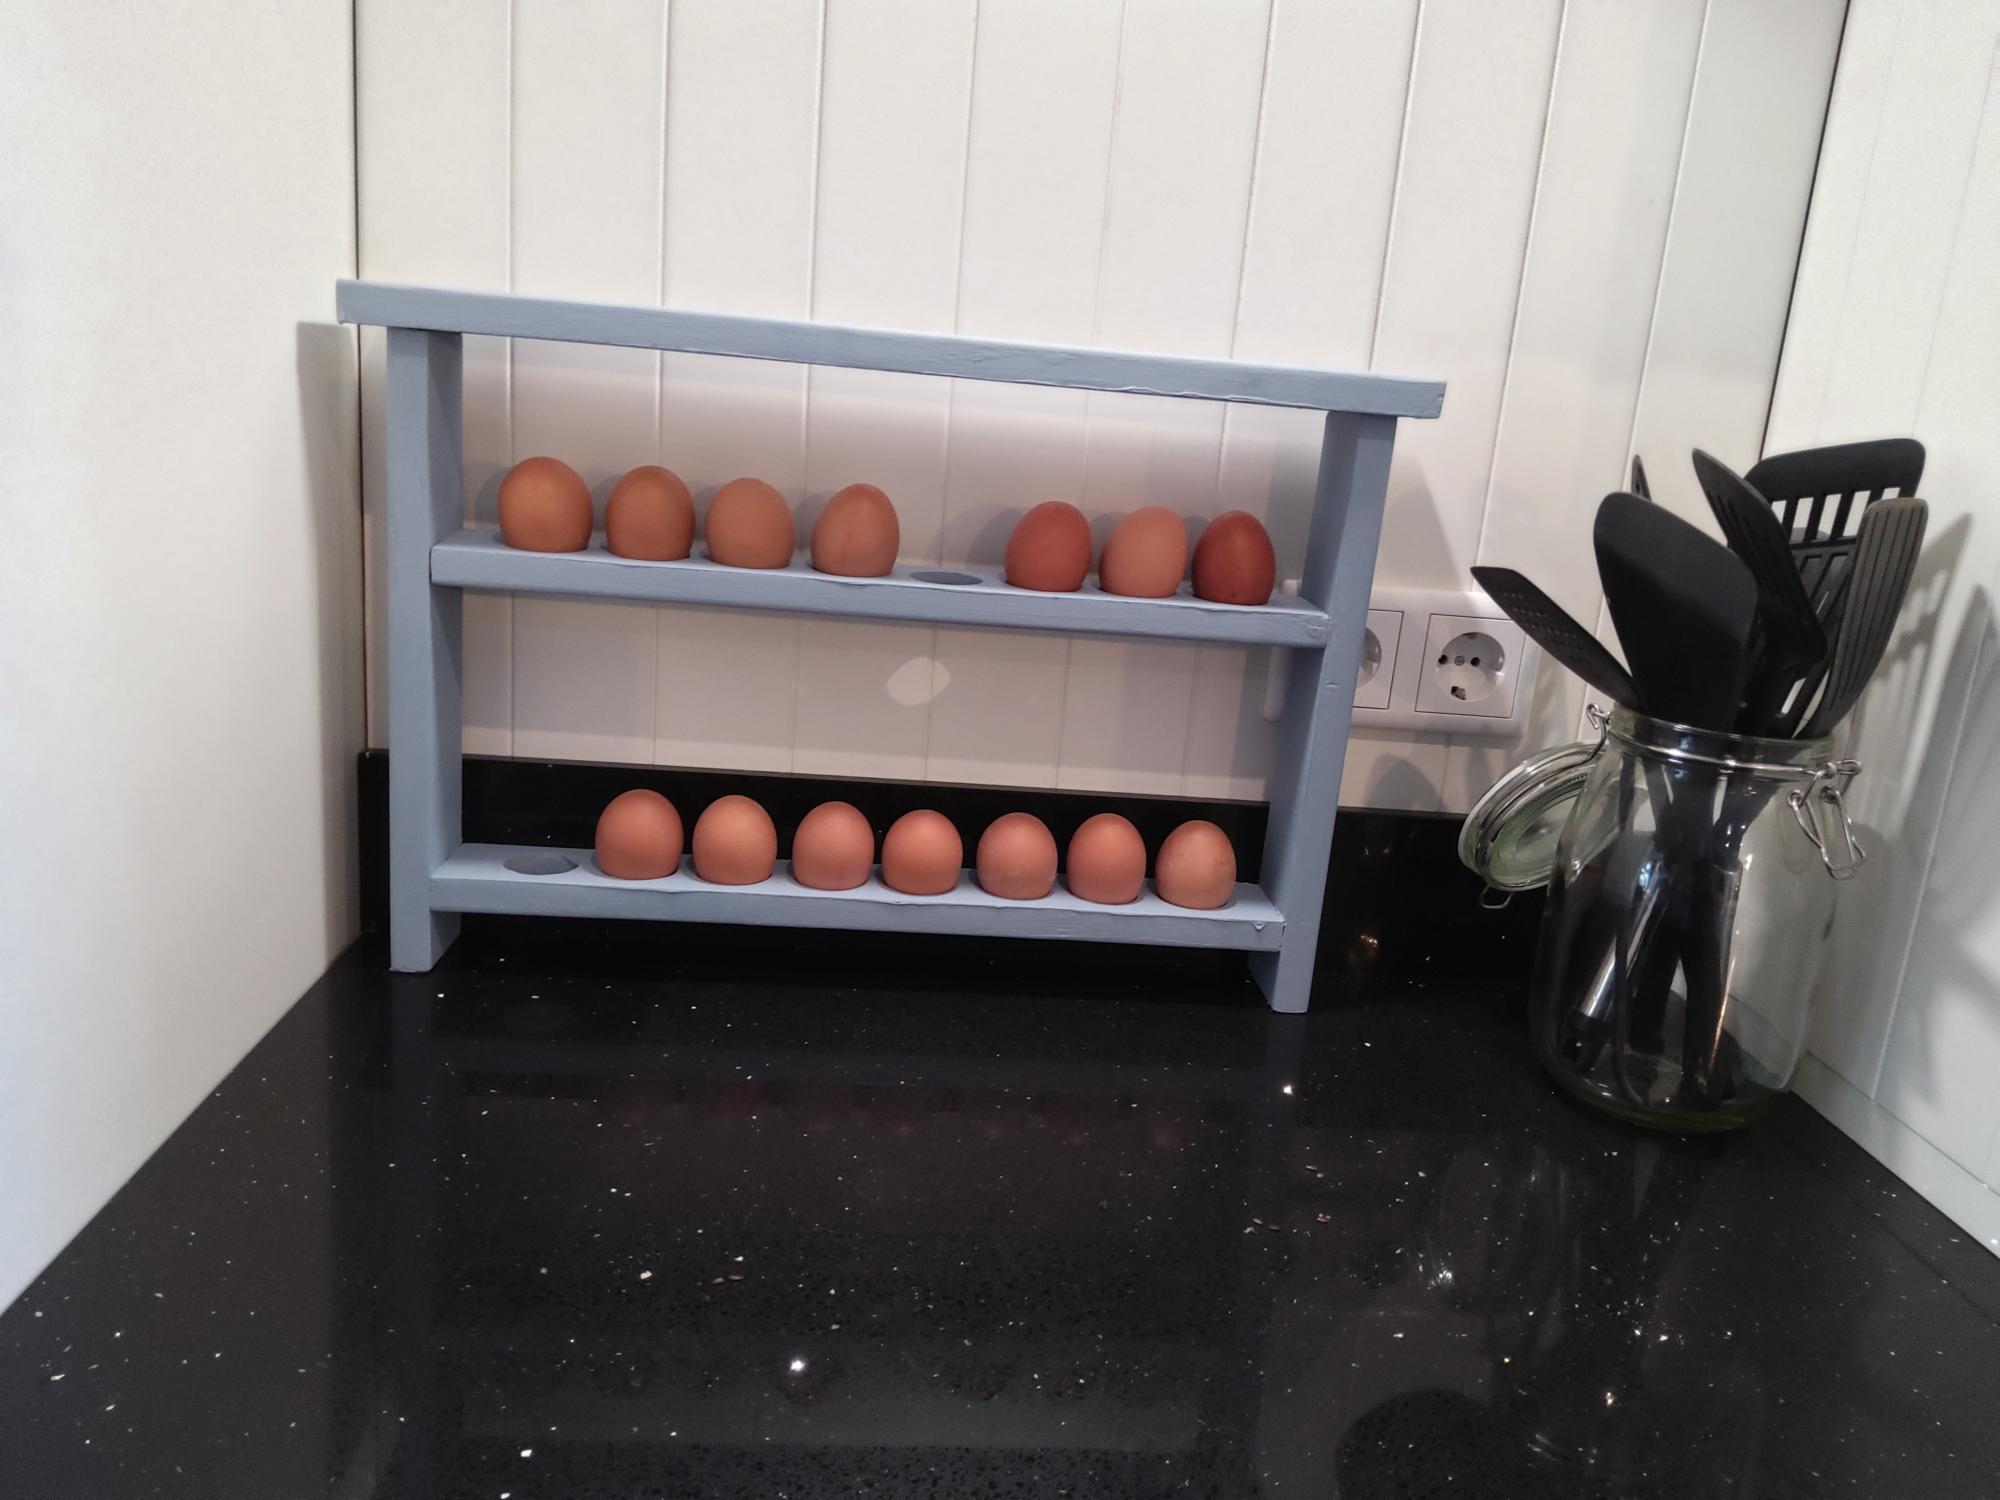
Hi all,
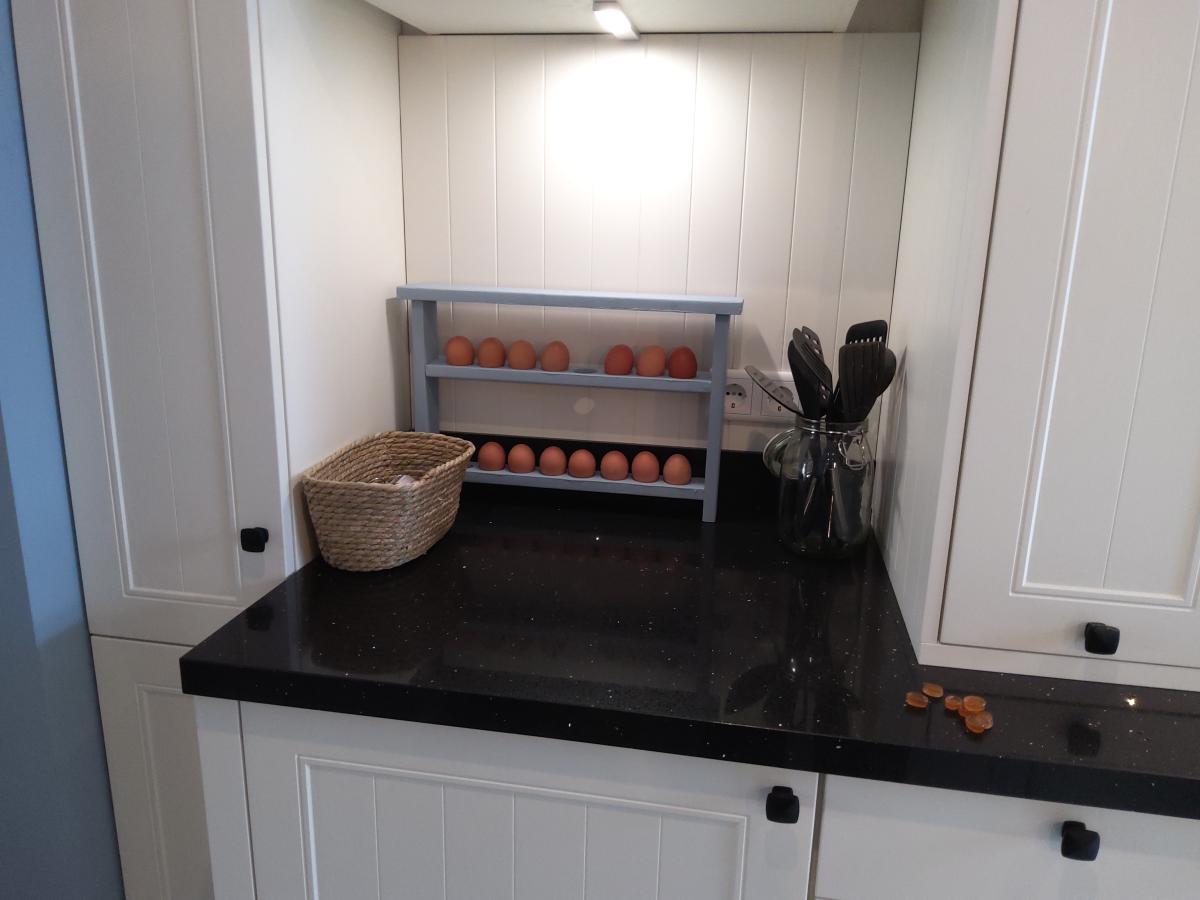
I made the wooden egg holder for our brand new kitchen. I altered the size because there's just the two of us here since our son moved out. It was a very easy beginner project and lots of fun to build by myself. If you're a beginner like me it can be overwhelming to start, but if I can do it you can do it too! Just go for it. I'm looking forward to build a next project with one of Ana's plans.
Wed, 04/12/2023 - 15:56
Way to go and love the color choice! Happy building.
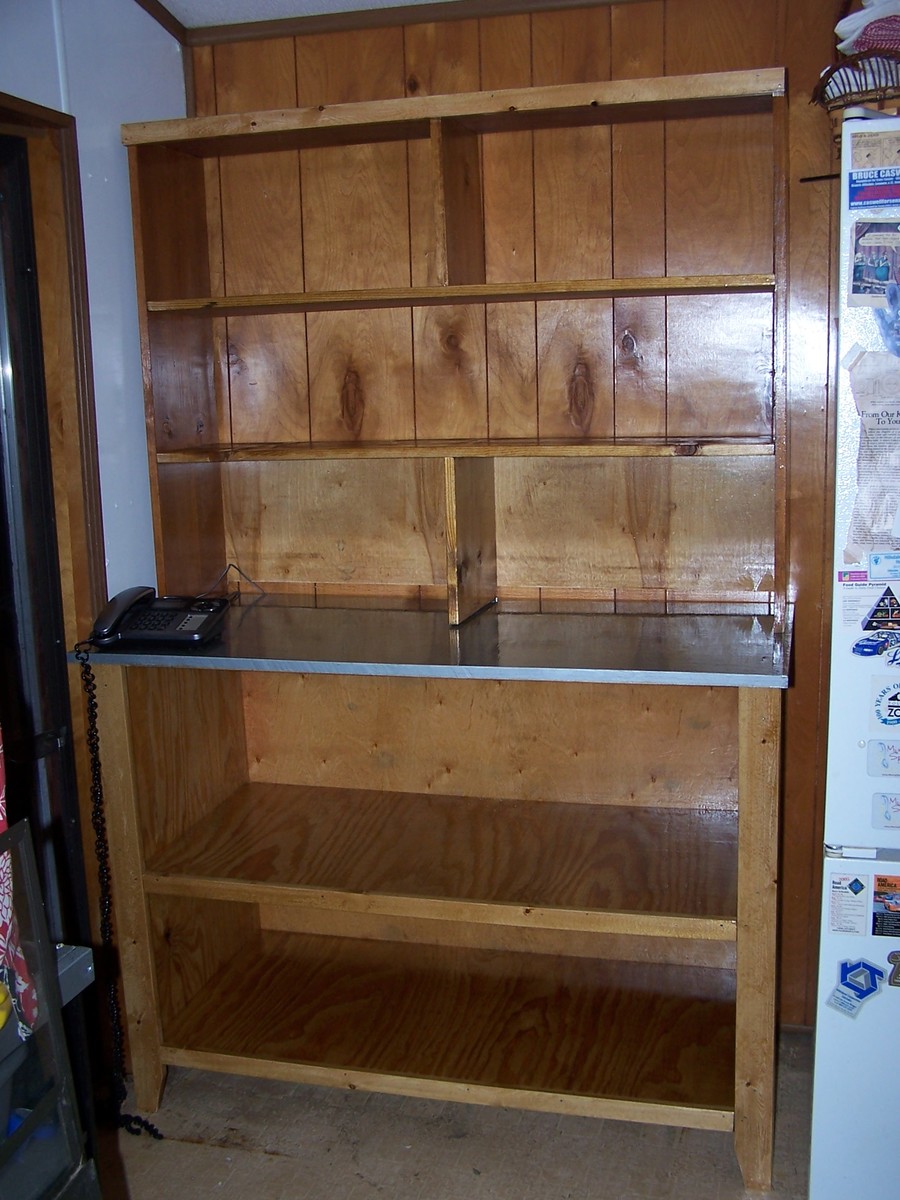
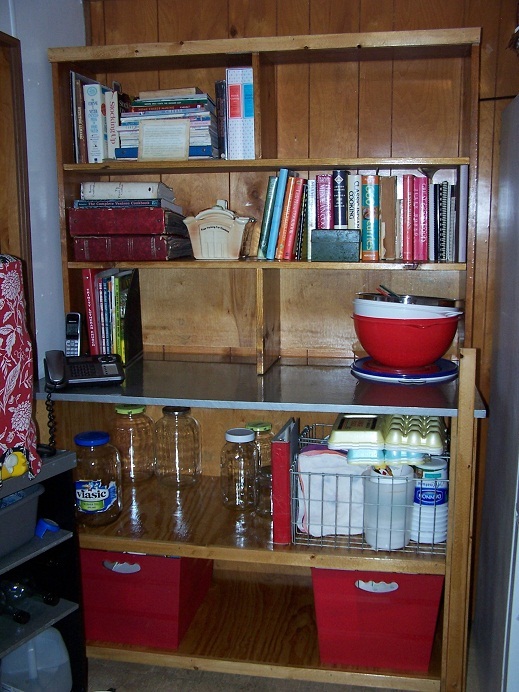
My kitchen cabinets were deep, dark and disorganized. Trying to find things was like cave exploring. When we began remodeling our kitchen I knew those cabinets had to go and be replaced with some open shelving where I could see things without a flashlight.
I love how these turned out! Now I can see what I need and don't have to spend 20 minutes with a flashlight digging through a cabinet.
I plan on making curtains to cover up the stuff on the bottom shelves so my kitchen doesn't look quite so busy.
Thanks Ana!
Tue, 12/20/2011 - 06:57
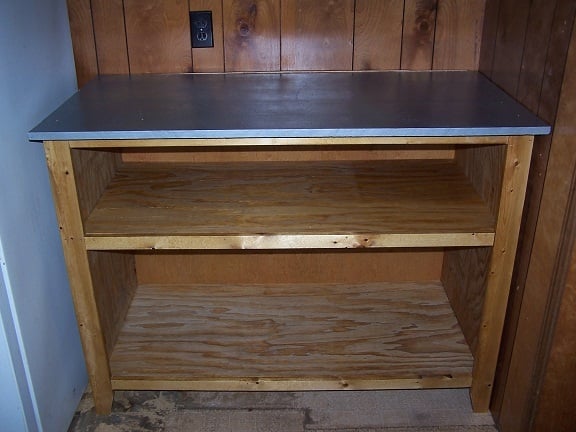
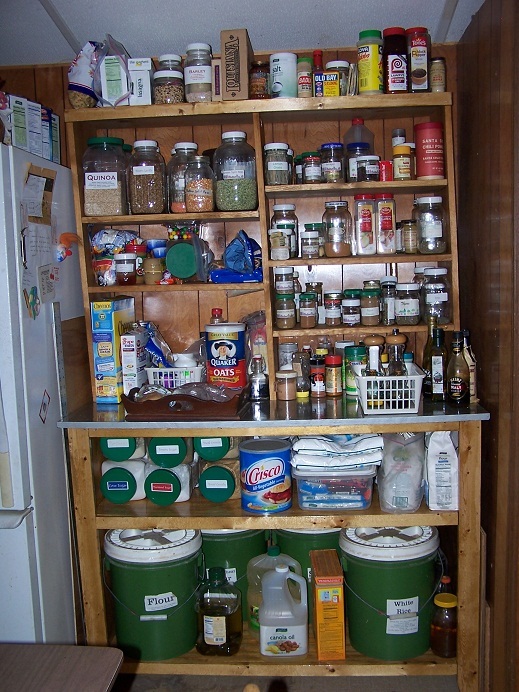
It looks like the one hutch is leaning, but it's square. I live in a mobile home and have found that NOTHING is square in my tin-can home! At least the furniture that I've built is square.
Tue, 12/20/2011 - 15:11
Pam I love your hutch and the new use of space. I would love to see more plans for Mobile/manufactured homes, small homes, and apartments. Love anything that is multi-use or space conservative like built-ins.
Wed, 12/21/2011 - 09:30
Thanks, Viola. Our place is only 900 sq ft so I'm always trying to find ways to make things more efficient around here. I have been amazed at how much these hutches hold. I think my next project is going to be an entertainment center for our living room that will also have space for all our chargers.
Mon, 07/09/2012 - 15:52
I love the hutch. My wife and I also live in a small house with very little cabinet space. I like your open space idea and your hutch looks great.
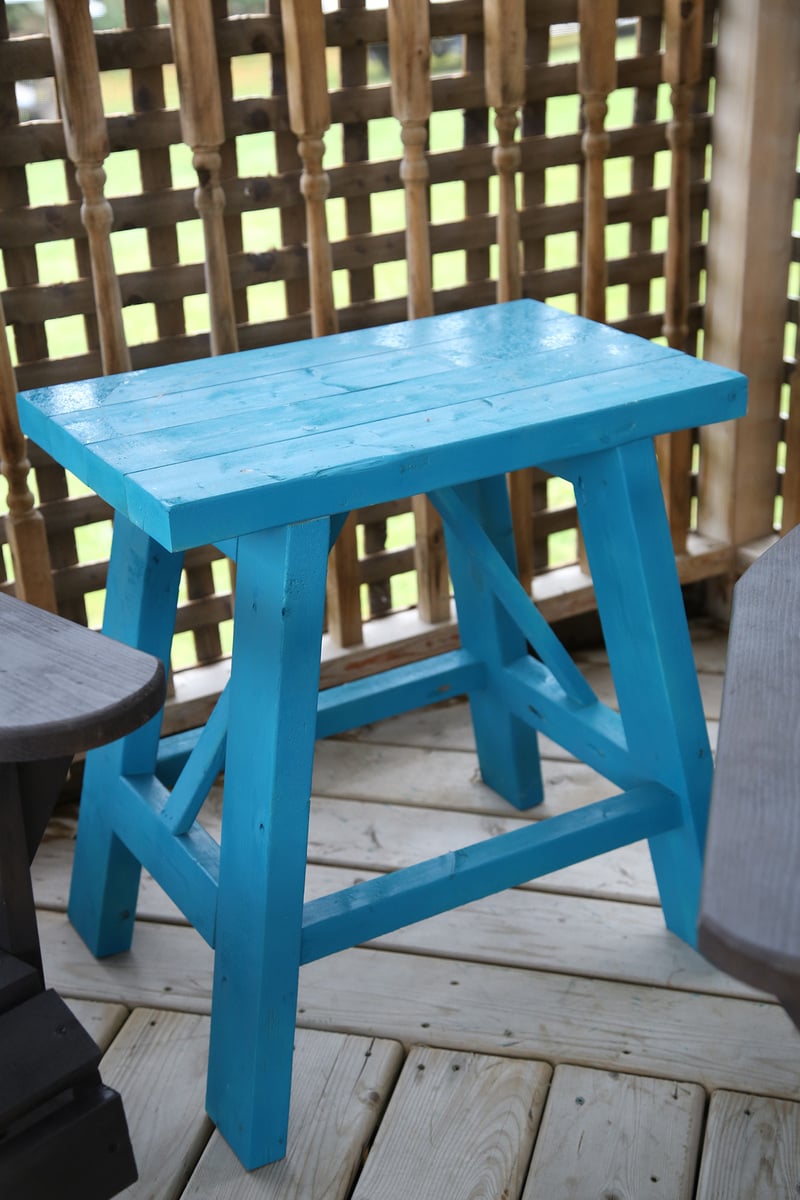
I adjusted the size of this table for the space between the chairs in our screened in porch. It's a cute little addition, it it was a cheap, fast project.
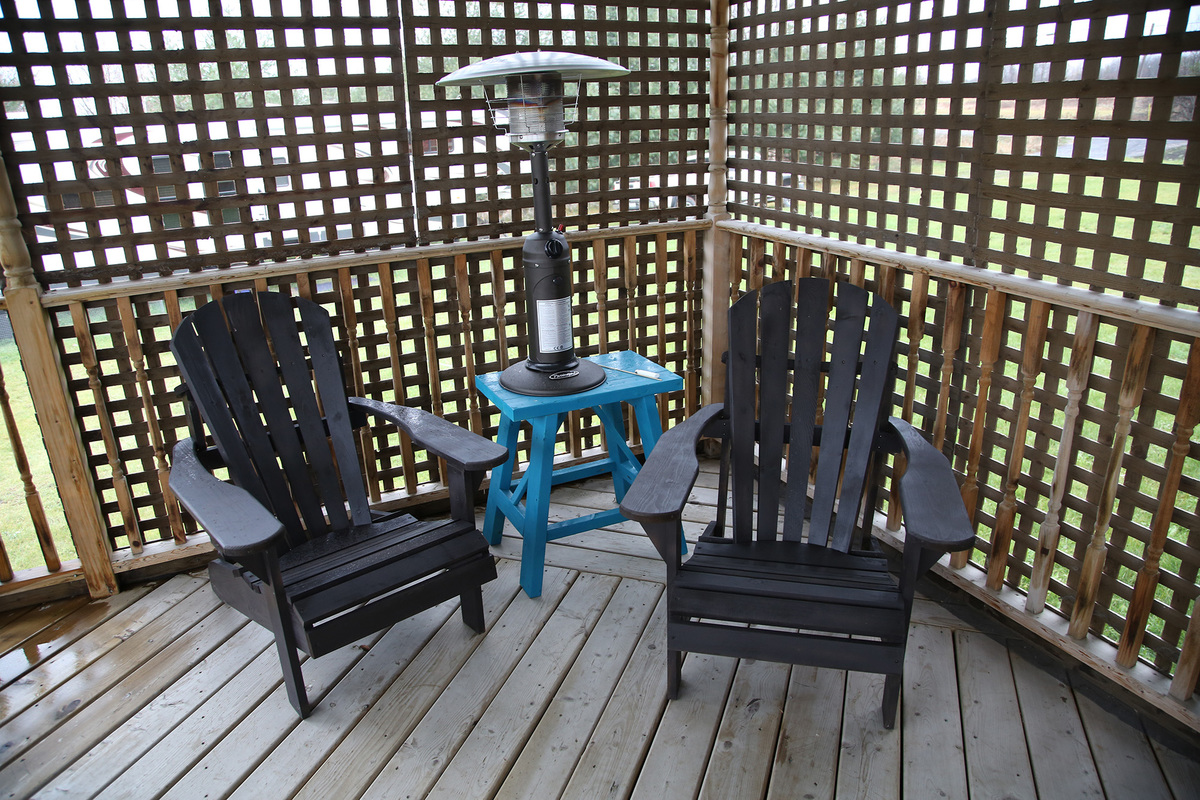
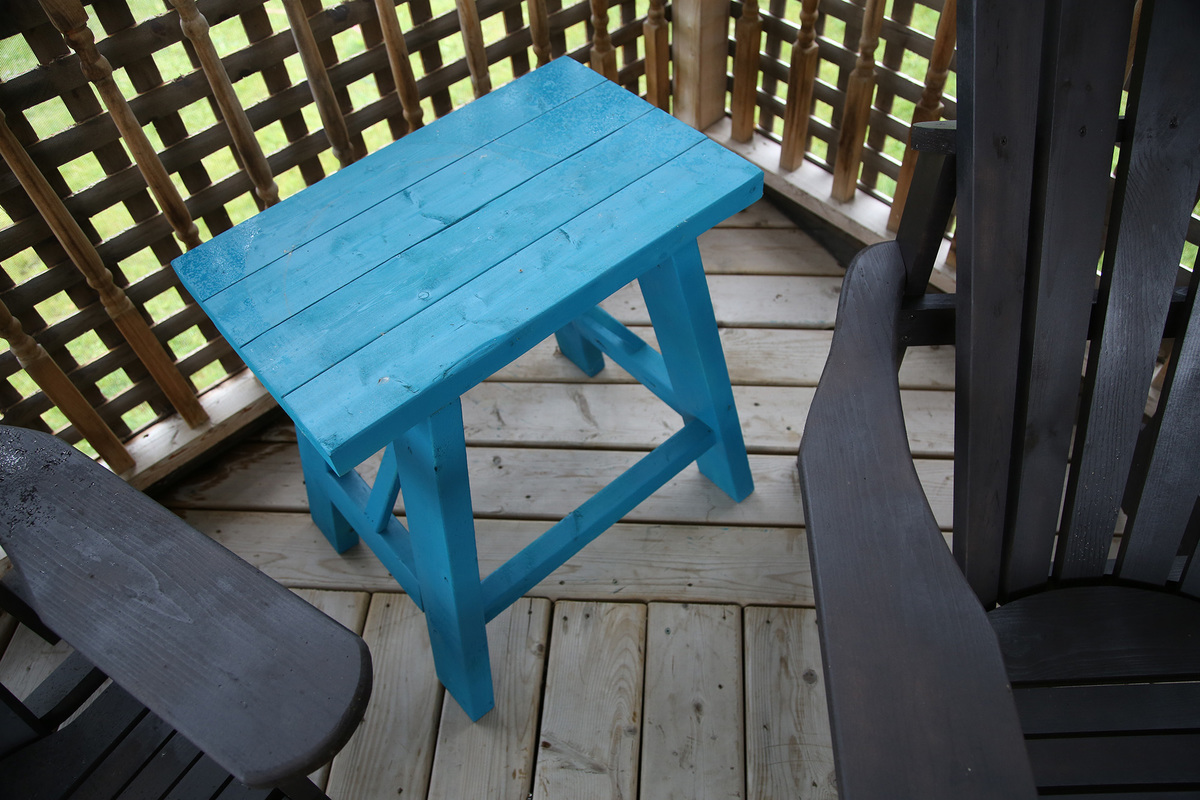
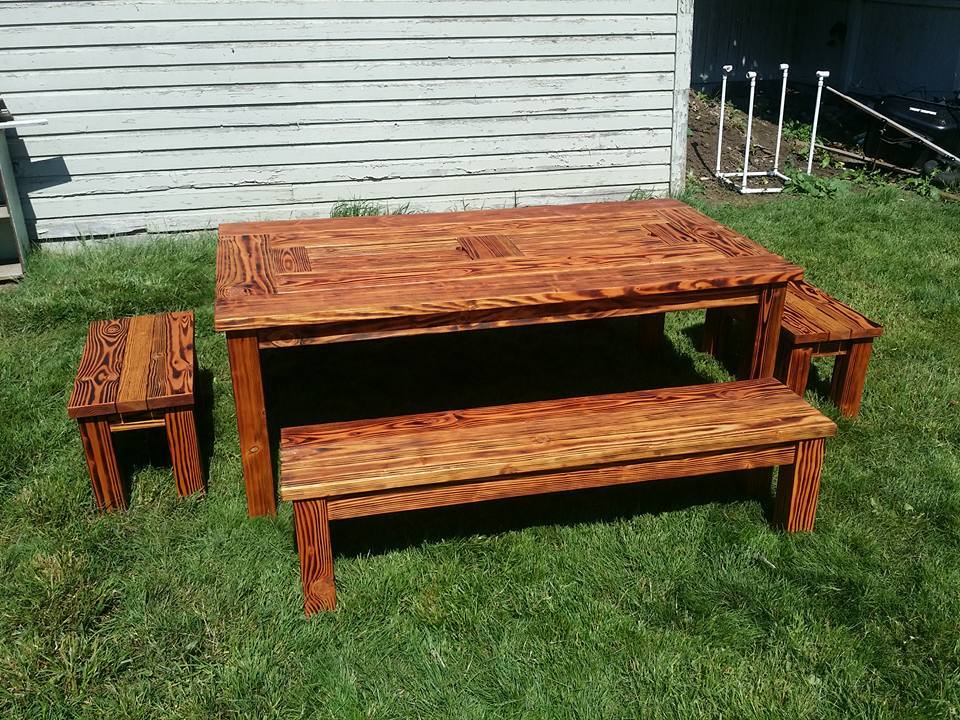
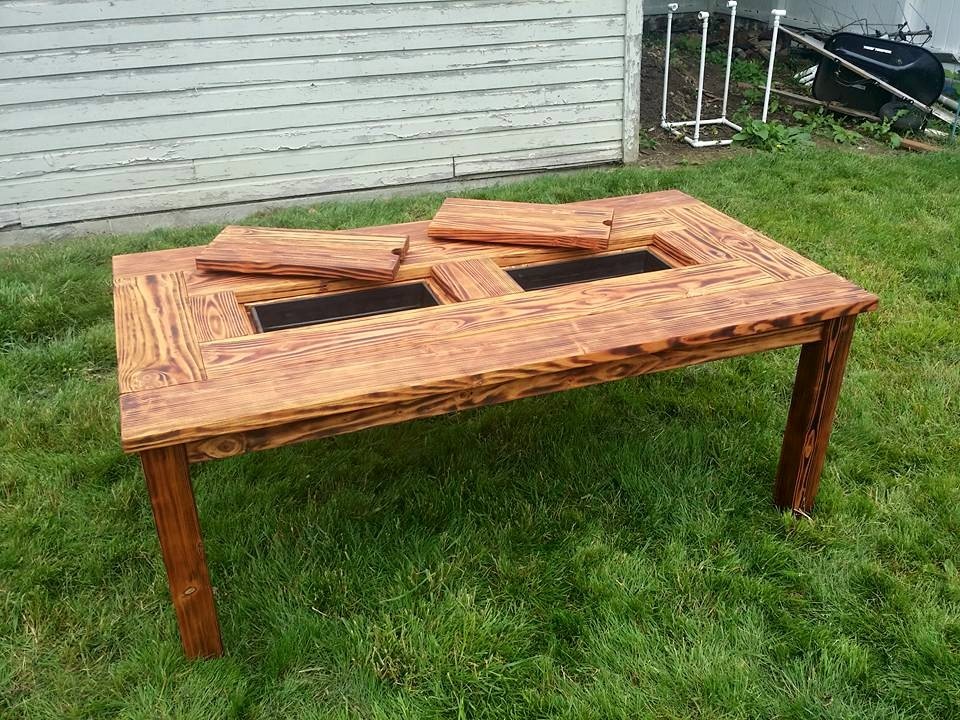
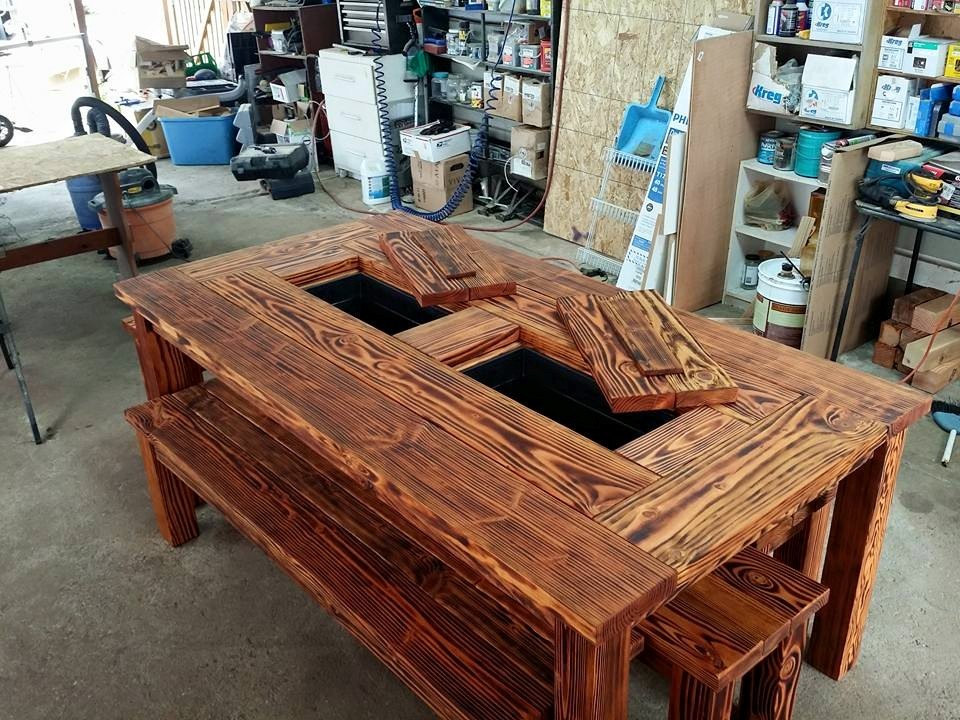
My variation of the multiple plans / pictures I have seen.
I will be making another one this season, with an additional variation in mind to make the time it takes to make the whole thing less.
In reply to finish by Lila Archer
Mon, 02/06/2017 - 07:41
For the outdoor stuff, i just use an outdoor stain/sealer.. for indoor I stain it first, then use helmsman..
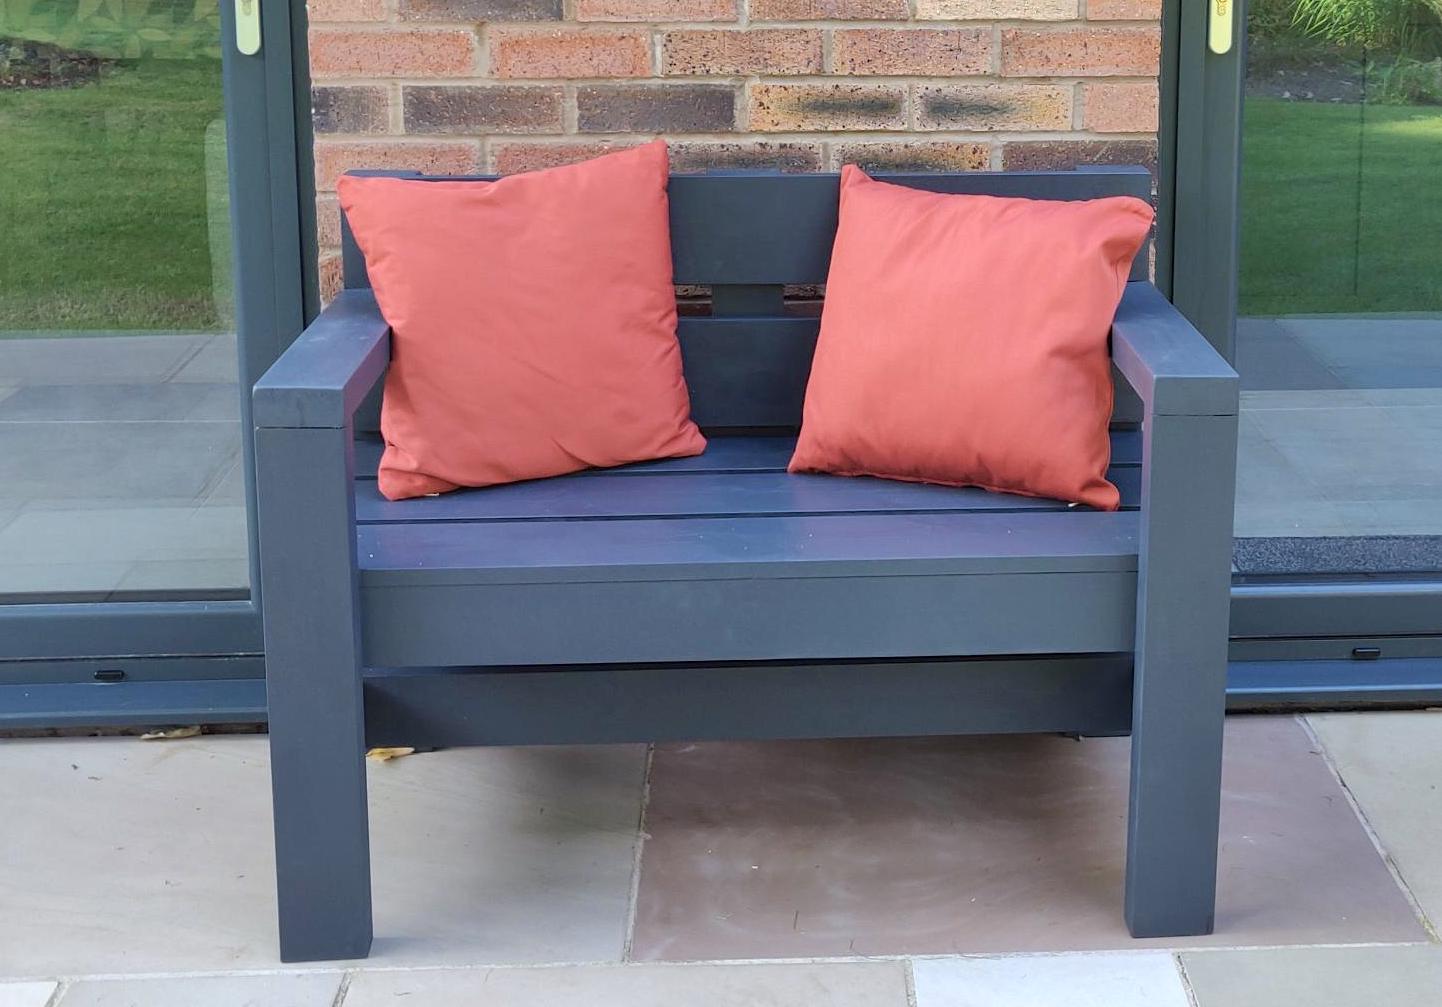
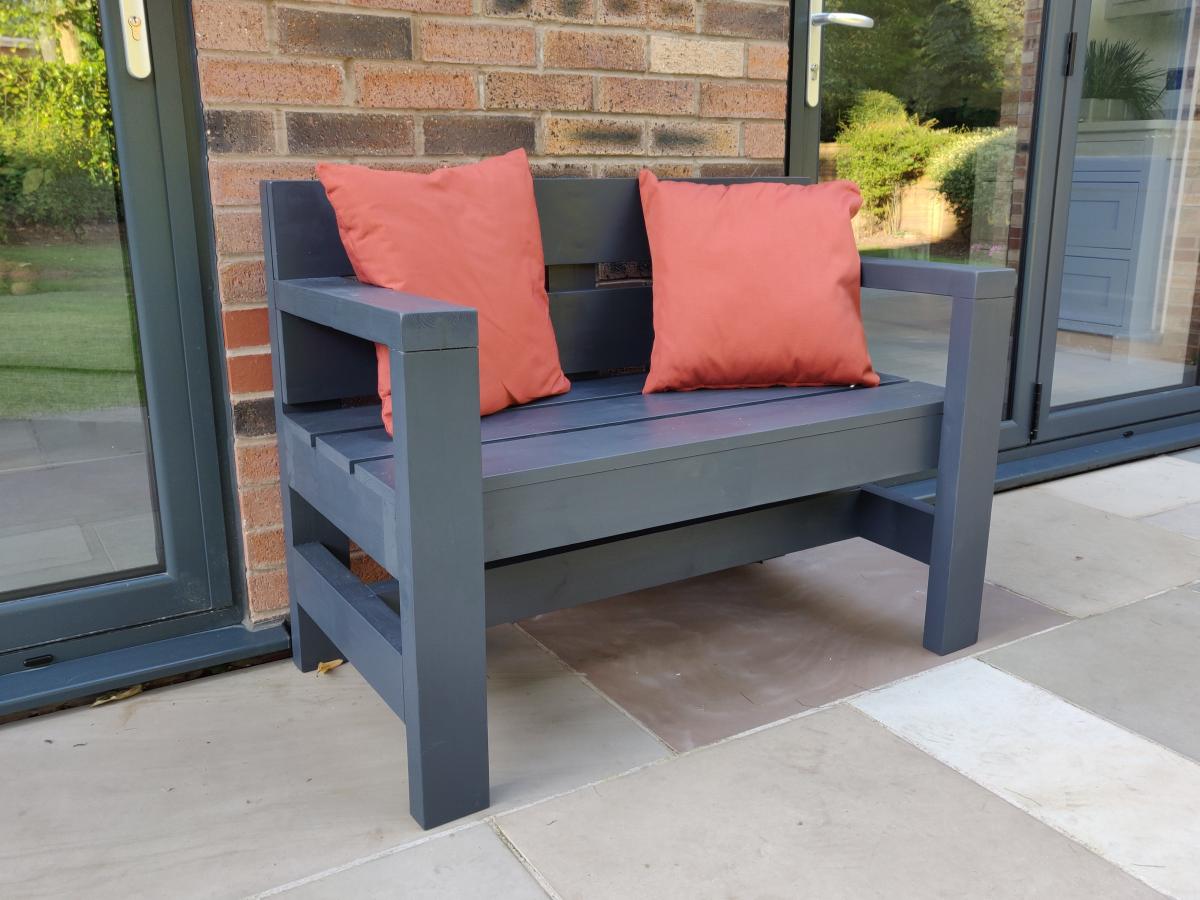
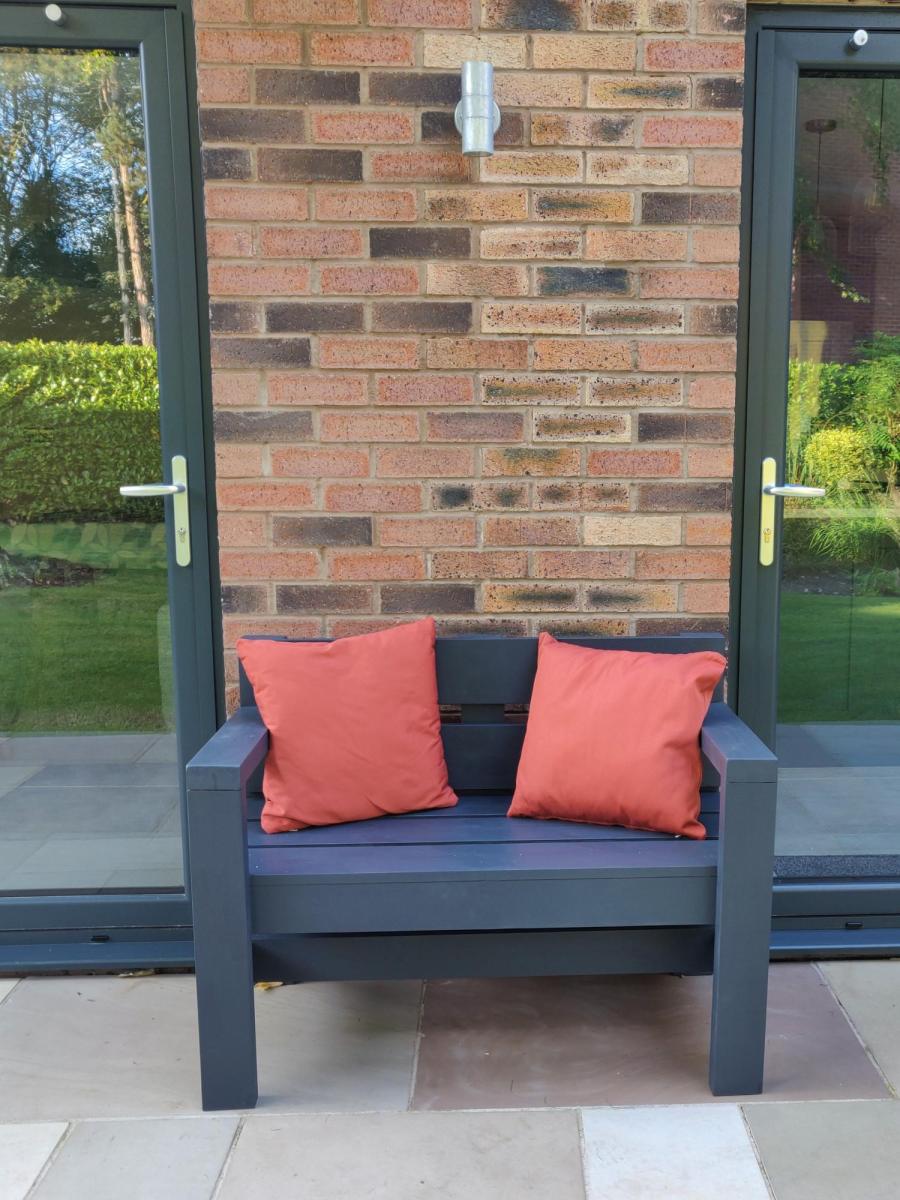
I needed a replacement outdoor bench to fit a small space between two door openings. Reduced the length of the Modern Park Bench to about 44". Also reduced the depth by removing one of the seat planks to retain a sense of proportion.
Had some issues with some of my 2x4s being a bit twisted which impacted the overall build quality but I'm happy with the end result considering the price/time invested.
Tip: spend some time in the lumber yard picking out your own wood - I wish I had.
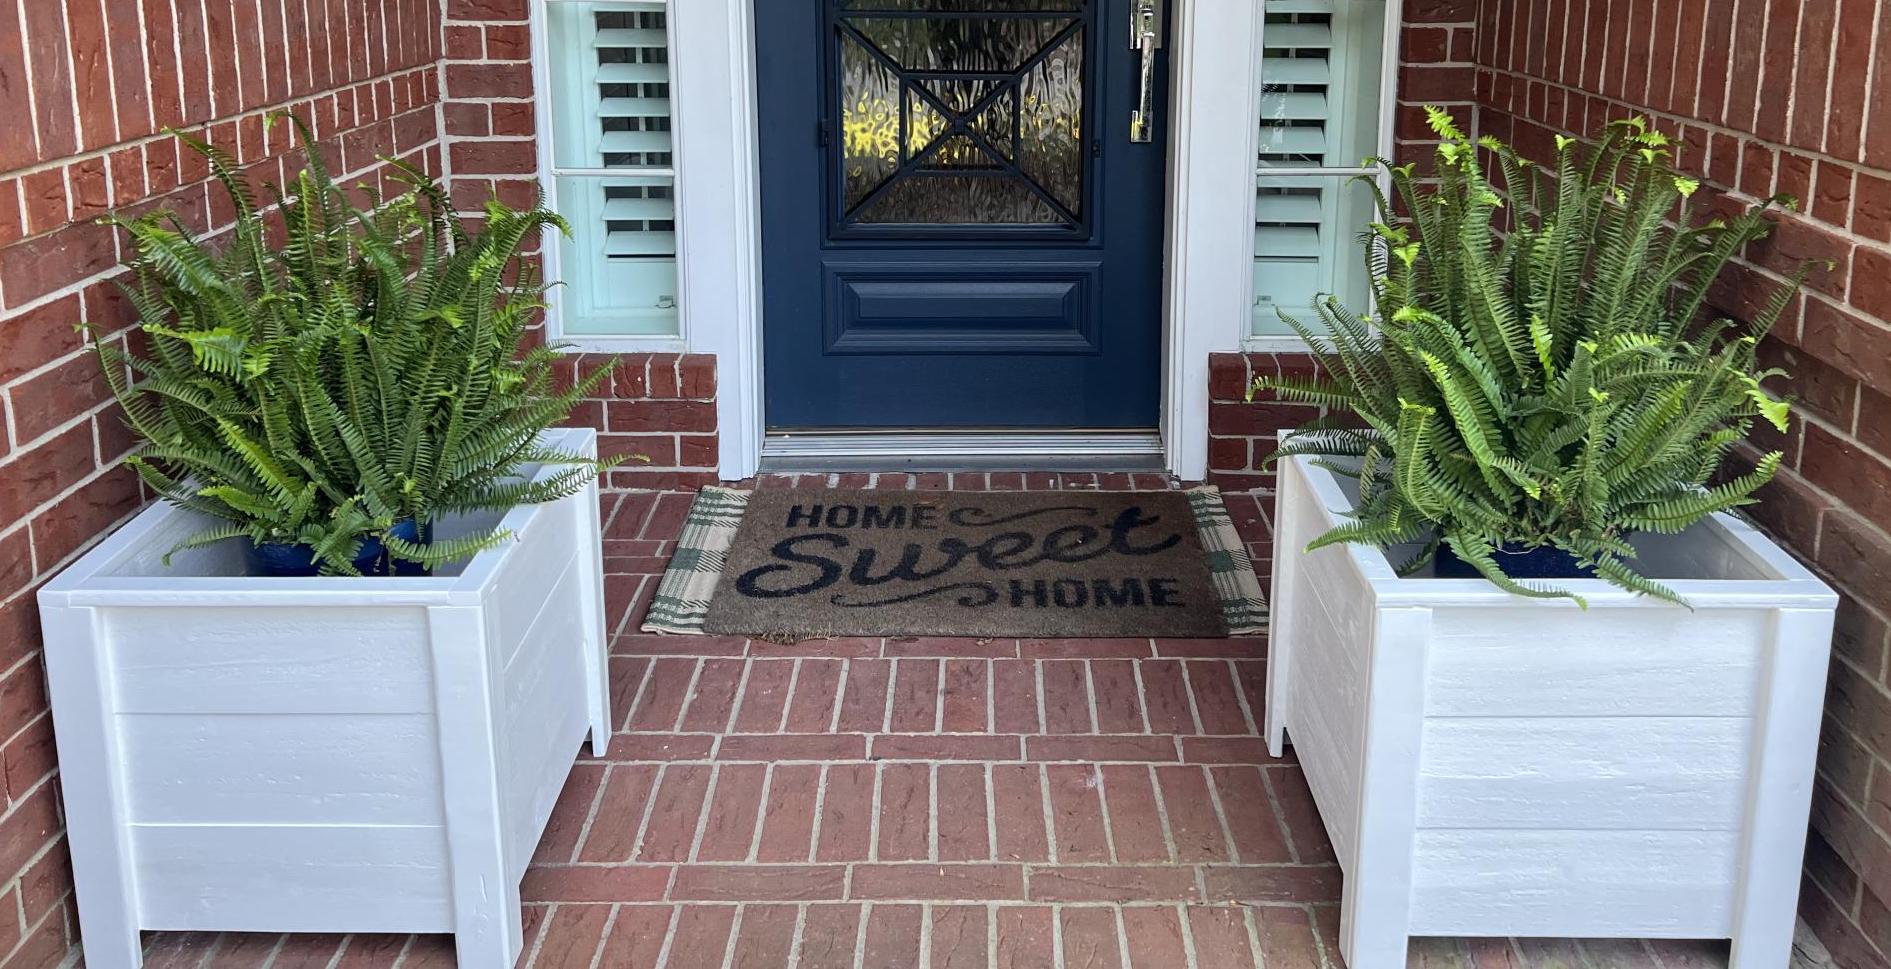
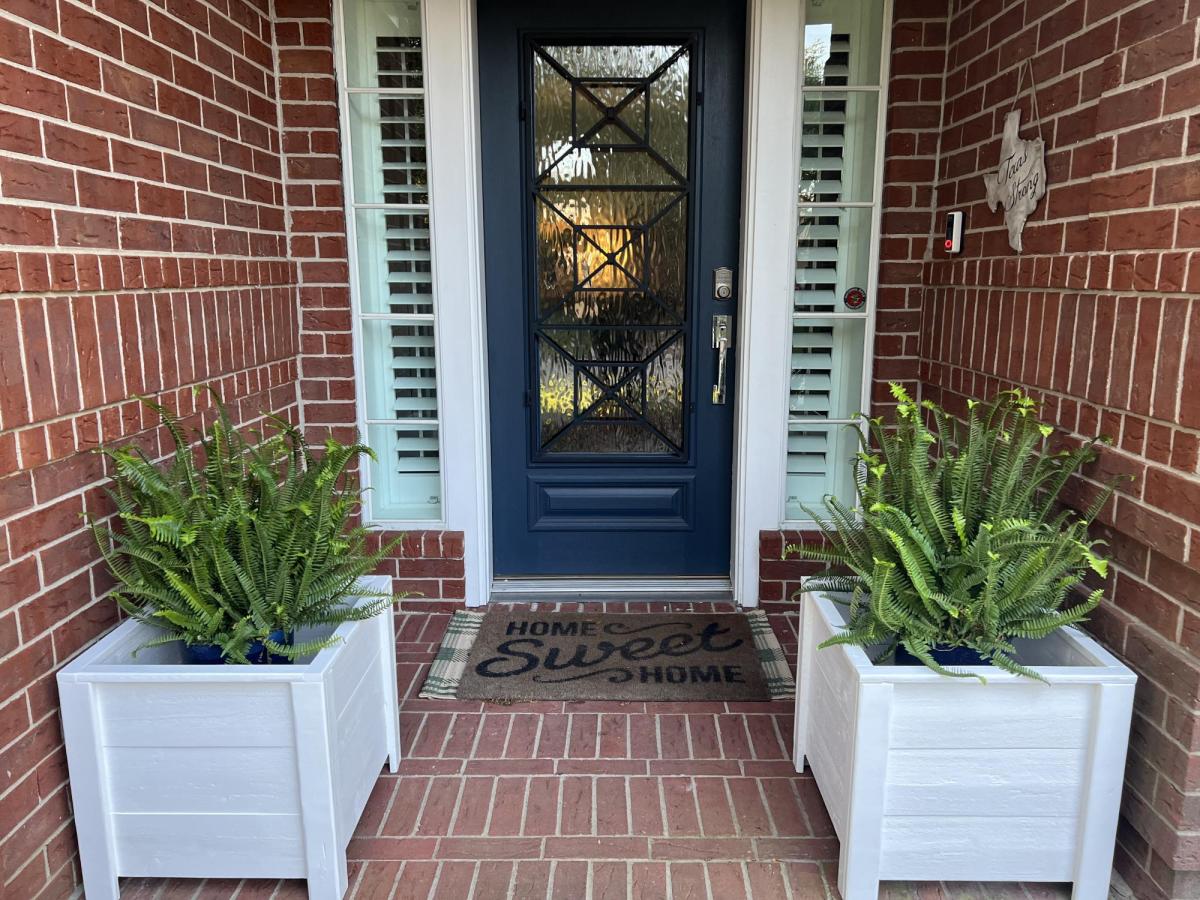
I was looking for planter boxes for my front door and these were easy and super sturdy. I absolutely love them and how they enhanced this area! Thank you Ana for this simple yet impactful plan!
Tue, 04/18/2023 - 15:32
The finish choice is beautiful and it looks amazing by your front door! Thanks for sharing.
Thanks for the laptop table idea. I added a shelf, used furniture sliders for the feet (on carpet), and did a plastic inlay on top to put pictures. I used primed white MDF and painted it black, then brown, and gave it a weathered look by sanding it. This was a Christmas present for my mom and she loves it.
Sun, 12/25/2011 - 09:57
I built this shelf for my two pugs to hang their stockings for Christmas. As you can tell, they've been a little naughty lately. Actually, Lesterann, my three month old, has been the naughty one. Calvin, my 13 year old, is a prince. :)
I love this shelf and can't wait to use it in the kitchen as a reminder board.
Merry Christmas Everyone, and thank you Ana for all you do.
Sun, 12/25/2011 - 10:03
Oh gosh, I was trying to post a new brag piece but I ended up doing it wrong. HA!
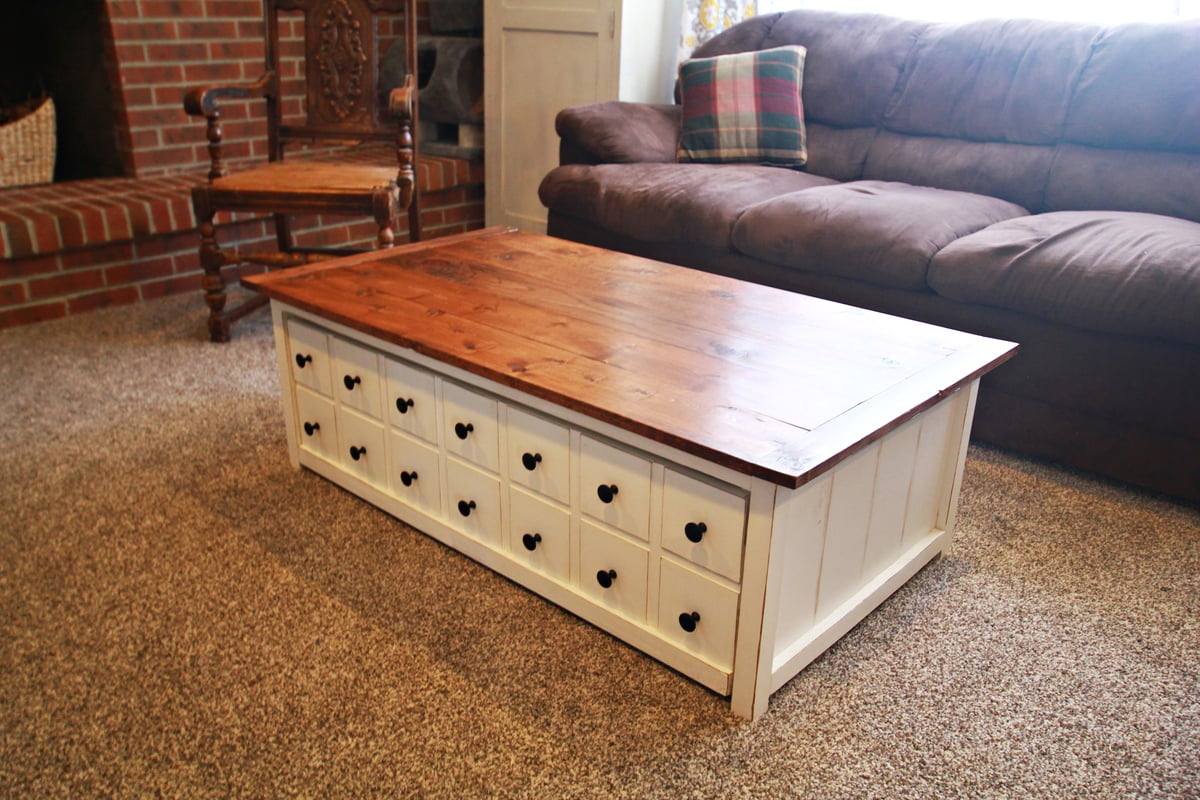
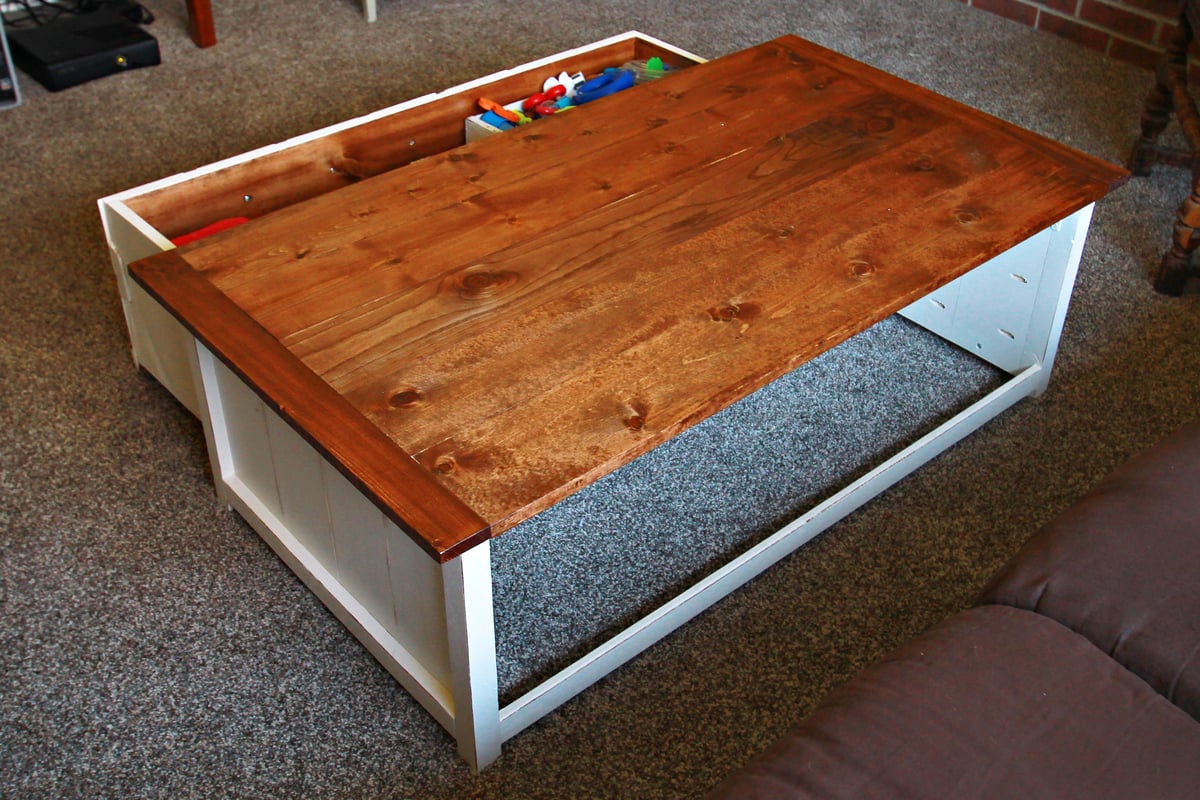
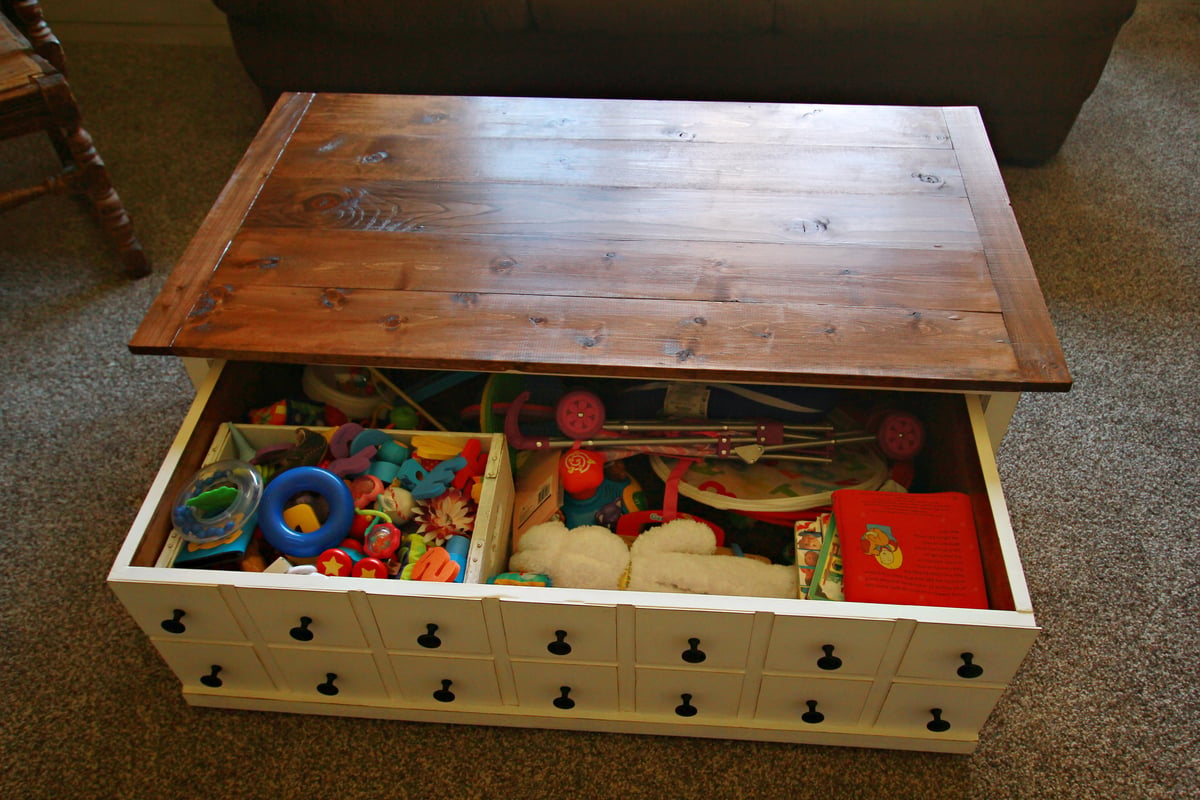
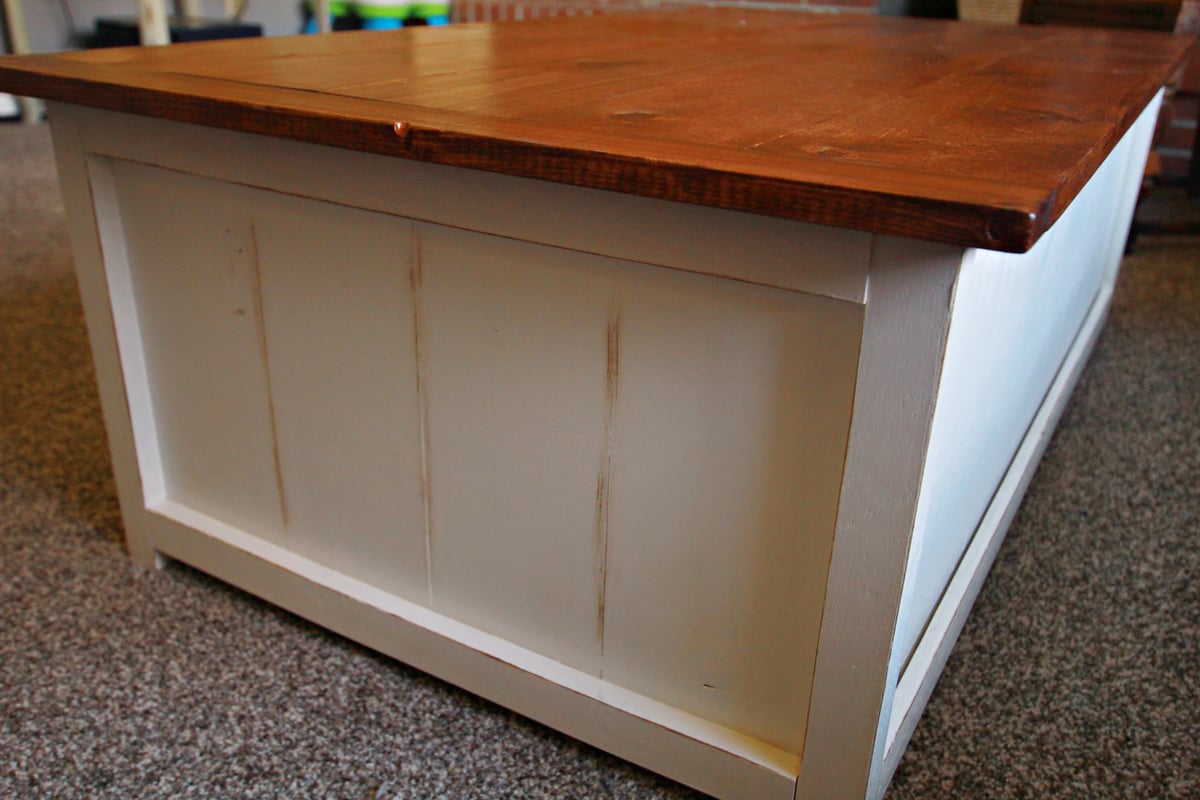
Apothecary-style coffee table. I love it. And my family room is clean!
This nightstand was insprired by the Farmhouse Bedside Table. I was looking for ideas for a simple nightstand with a drawer and the Farmhouse Bedside Table was almost exactly the style I was looking for. I used solid walnut which accounts for a majority of the cost. Typically I would use motise and tennon joints for something like this but decided to try pocket hole joinery in an effort to save some time. Overall, it worked well with the exception of the top rails. When I attempted to screw the top rail to the leg, the screw split the leg likey because of the screw going in so close to the edge. Instead, I just glued and clamped the top rails.
One unique feature is a power strip mounted in the back. The drawer depth is reduced to make room for a 3 outlet power strip with 2 USB charging ports so that phone/tablets can be charged.
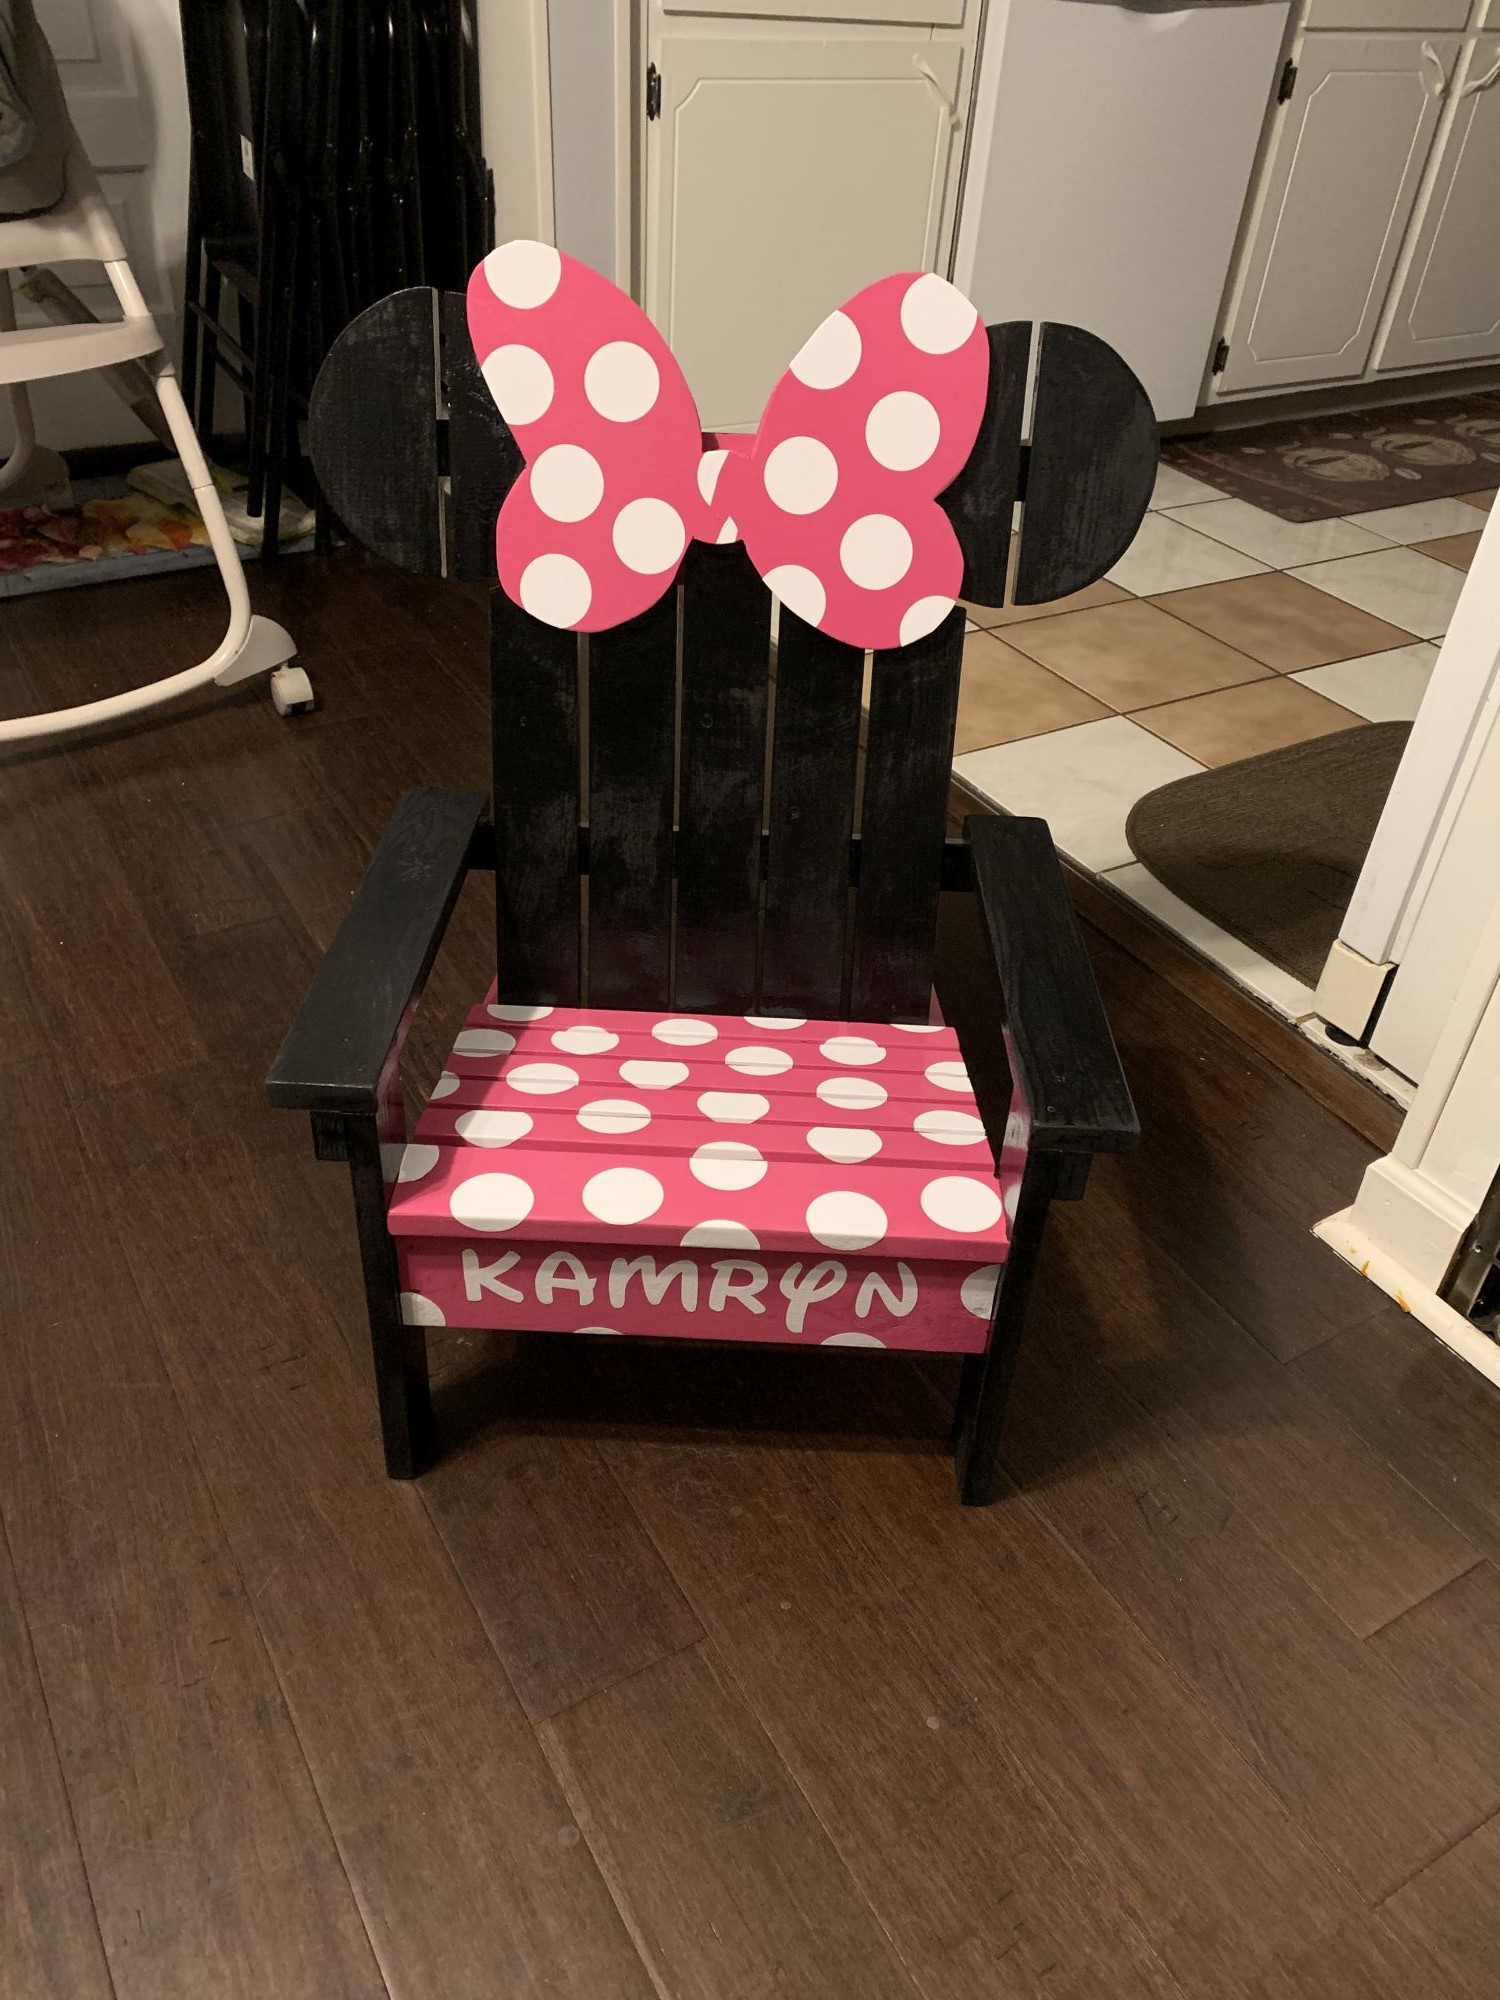
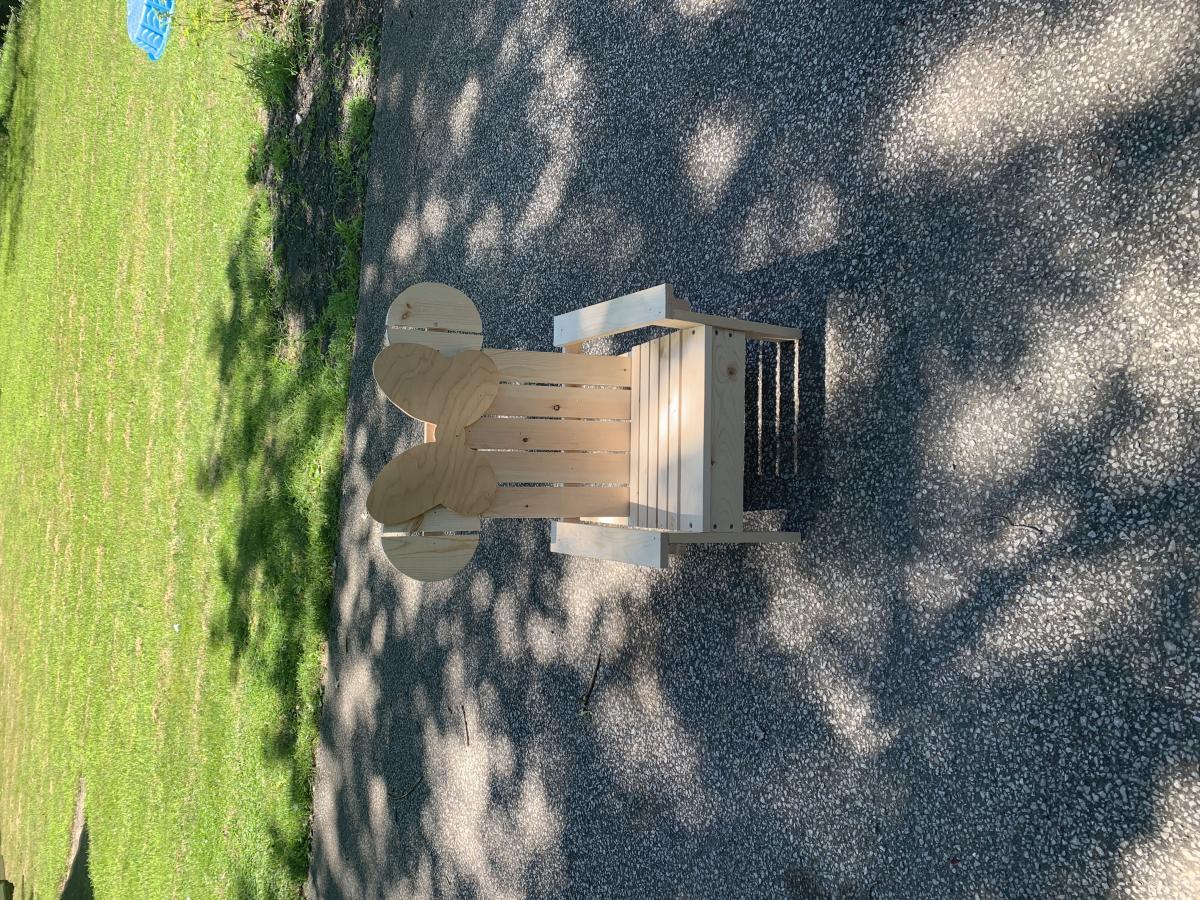
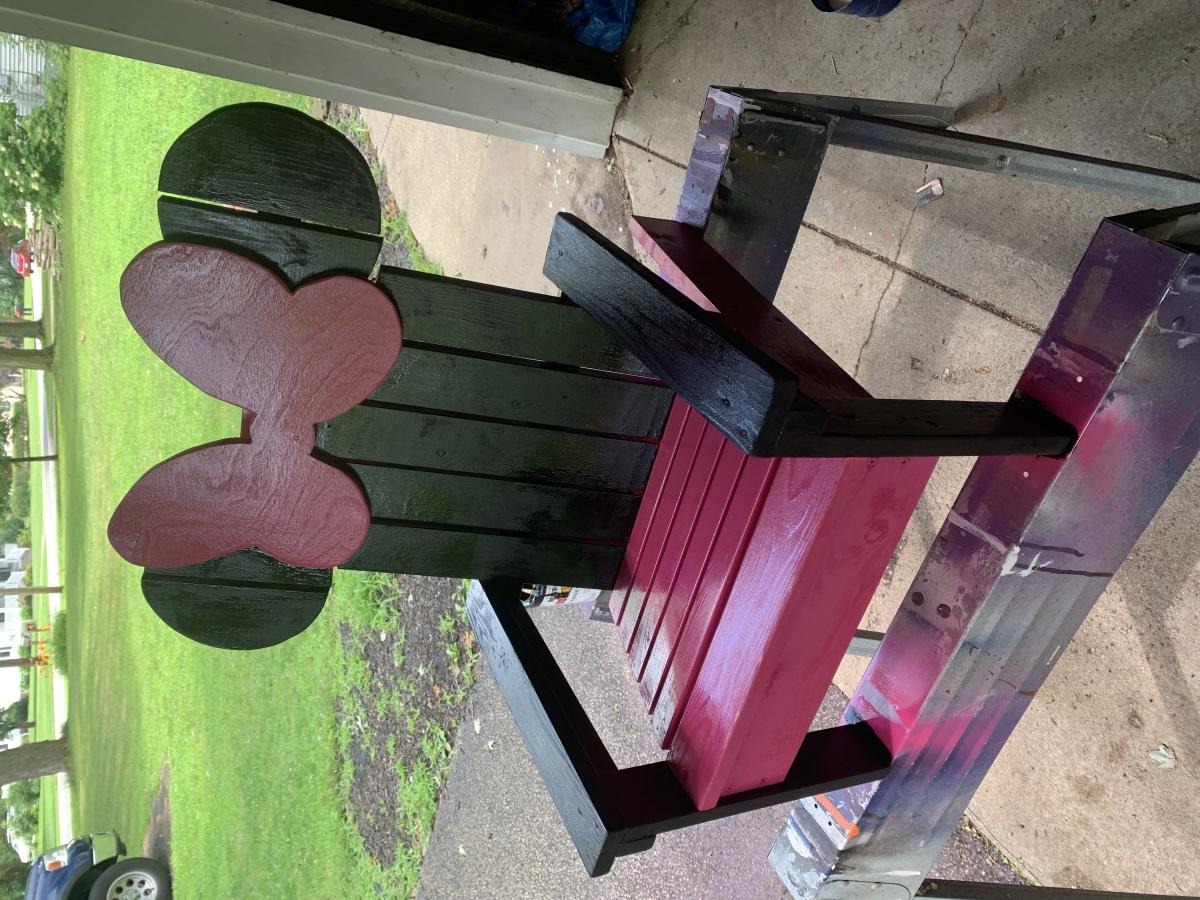
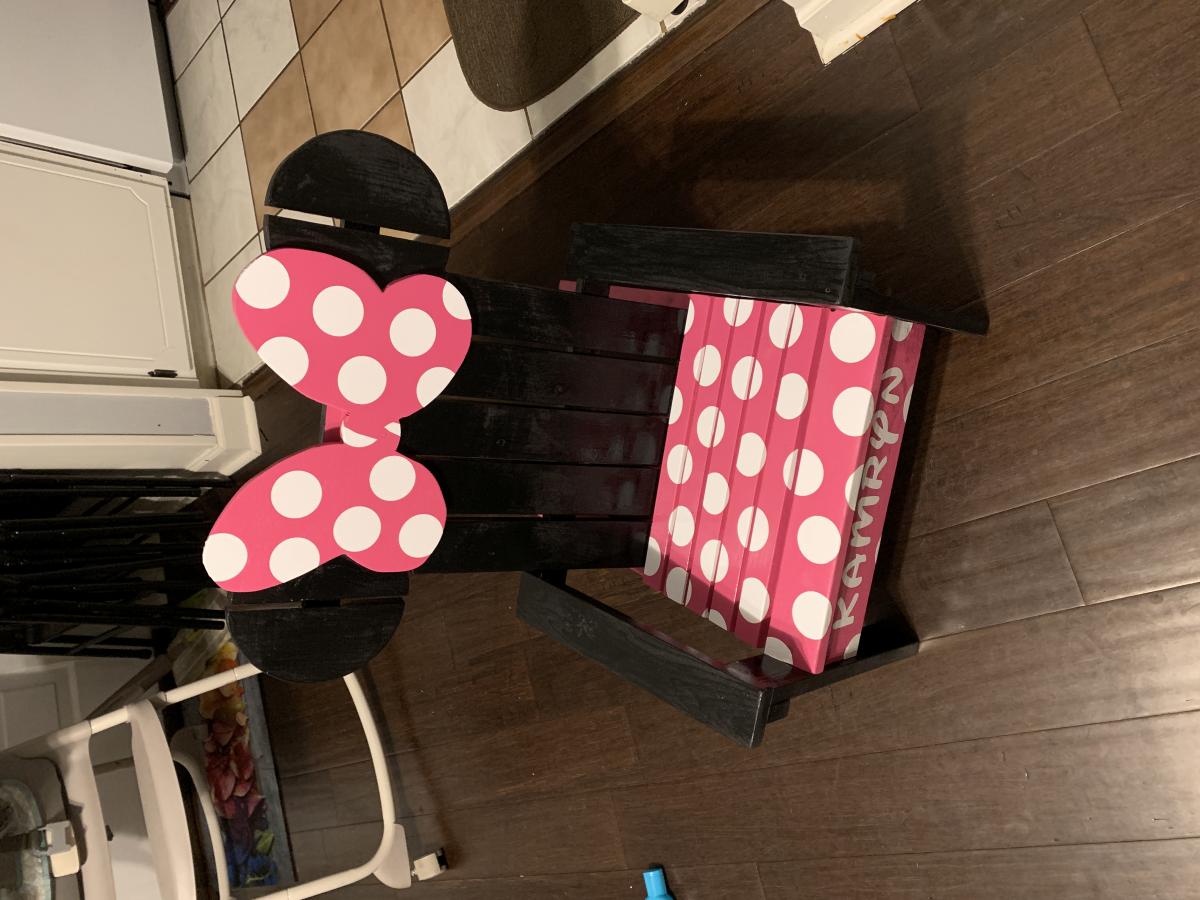
I took a shot at the Minnie Mouse Adirondack chair for a birthday present.
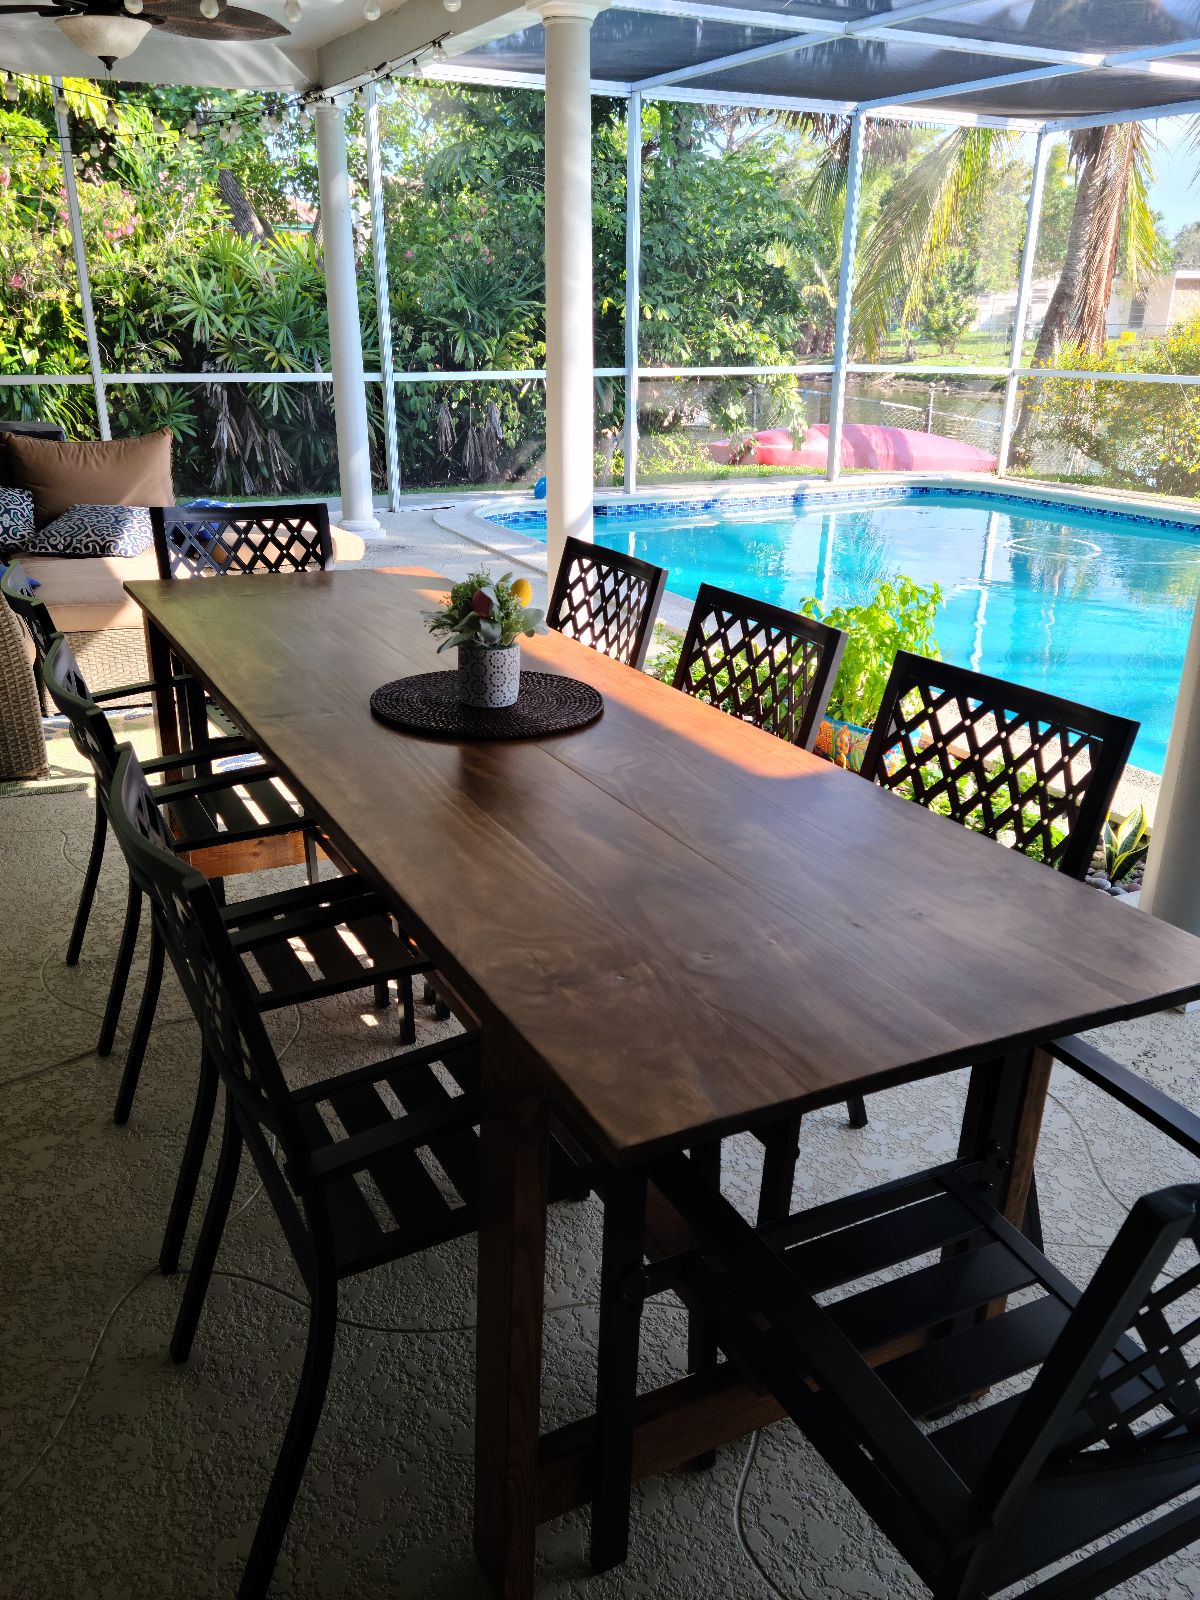
I modified the original plans to make the table narrower and lighter weight for my narrower patio. To do this, I used 1x8 (qty 4) pine boards on the top. The legs were cut at 29.25" to achieve the 30" height. The cross pieces were cut at 25.5". This gave me a 29" wide table. I went with a wood prep application, stainable wood filler, stain (Minwax Special Walnut), and 3 coats of spar urethane (for UV protection). The wood filler reacted with the wood prep and turned orange. I had to sand it out and redo it. Lessons we learn along the way! The brown table with the black chairs coordinates with all of my patio furniture. I am ready to host a dinner party around the pool! Thank you Ana White!
Mon, 04/24/2023 - 11:51
This looks amazing in your space, thank you for sharing!
My sister and sister-in-law asked for dress up carts for their girls for Christmas, I did 2 different kinds and they turned out great and the girls love them.
Could not get the link to work, so here it is: http://ana-white.com/2010/11/craftiness-not-optional’s-dress-storage
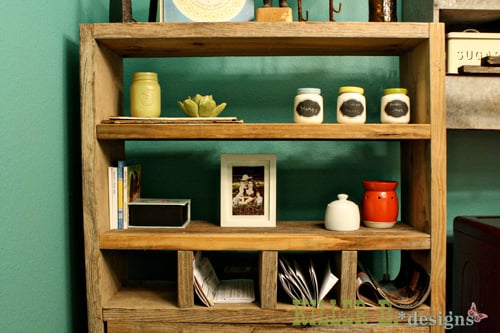
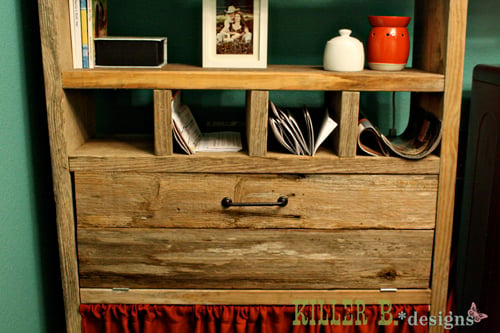
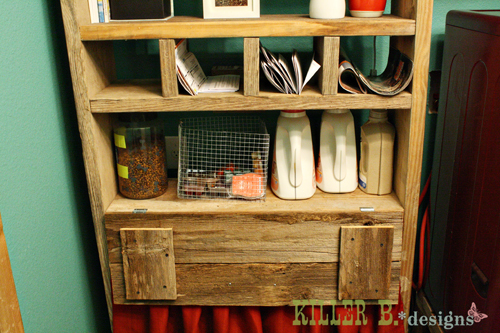
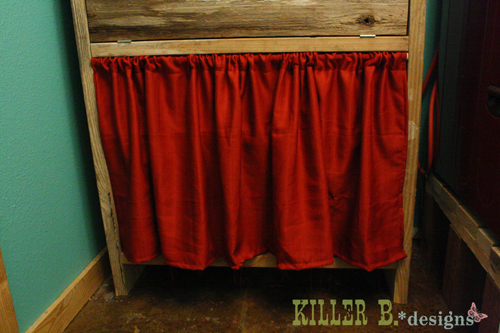
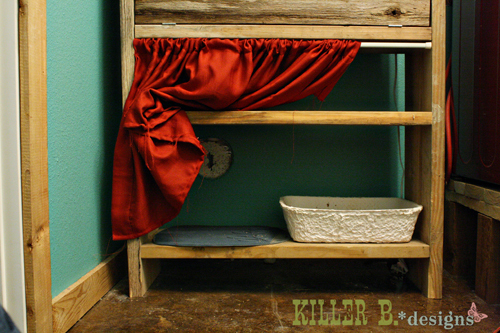
I needed some good storage for my laundry/mud room, and loved Ana's tall secretary plan. I was on a pretty tight budget, so I decided to modify things a bit so I could use some old 2x12 boards from my Dad's barn. I subbed out the 1x12's and 1x2 trim by simply using the thicker boards. I decided to leave off doors on the bottom for now, and added a curtain with a suspension rod to hide our cat's litterbox. I also added a shelf for extra storage. Now she loves hiding in there and jumping out at me when I do the laundry! I made the flip down door with some old fence pickets and simply planked them together with a cleat on the back. I didn't have any euro or hidden hinges, so I used small basic hinges and attached them to the 3/4" inside edge of the door and the base of the cabinet so the door can flip down fully for easy access to my laundry soap. I really like the rustic look of the secretary, and it's perfect for sorting all the mail and keeping it off my counters!
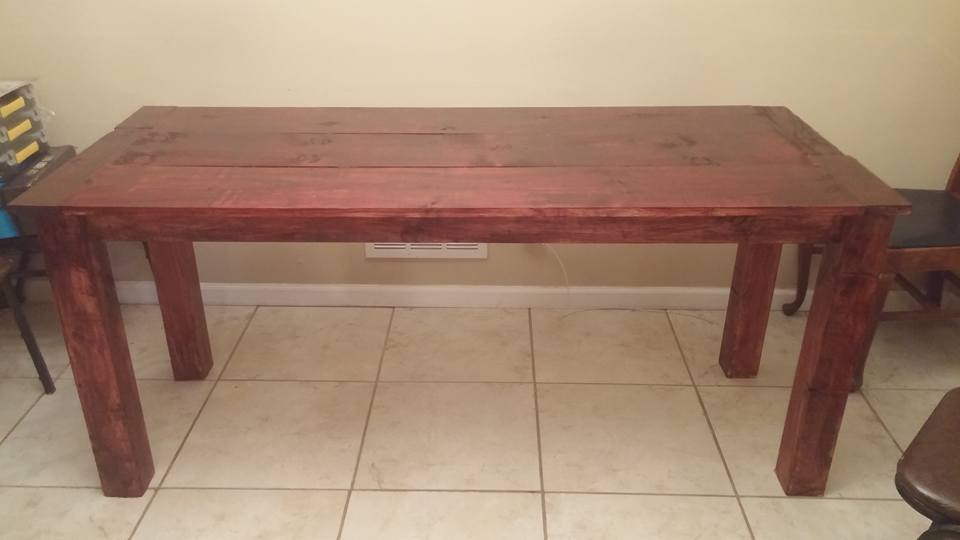
This was my first "big" project. I built it for Thanksgiving. I recently bought a home, and everyone wanted to have Thanksgiving at my new home I had no table, so I built one. Can't wait to start my next project. Love the site!
Comments
alamanda973
Tue, 12/13/2011 - 11:07
beautiful room!
Very nice! This headboard is my favorite.
Great job! I like the bedside lamps too.