Community Brag Posts
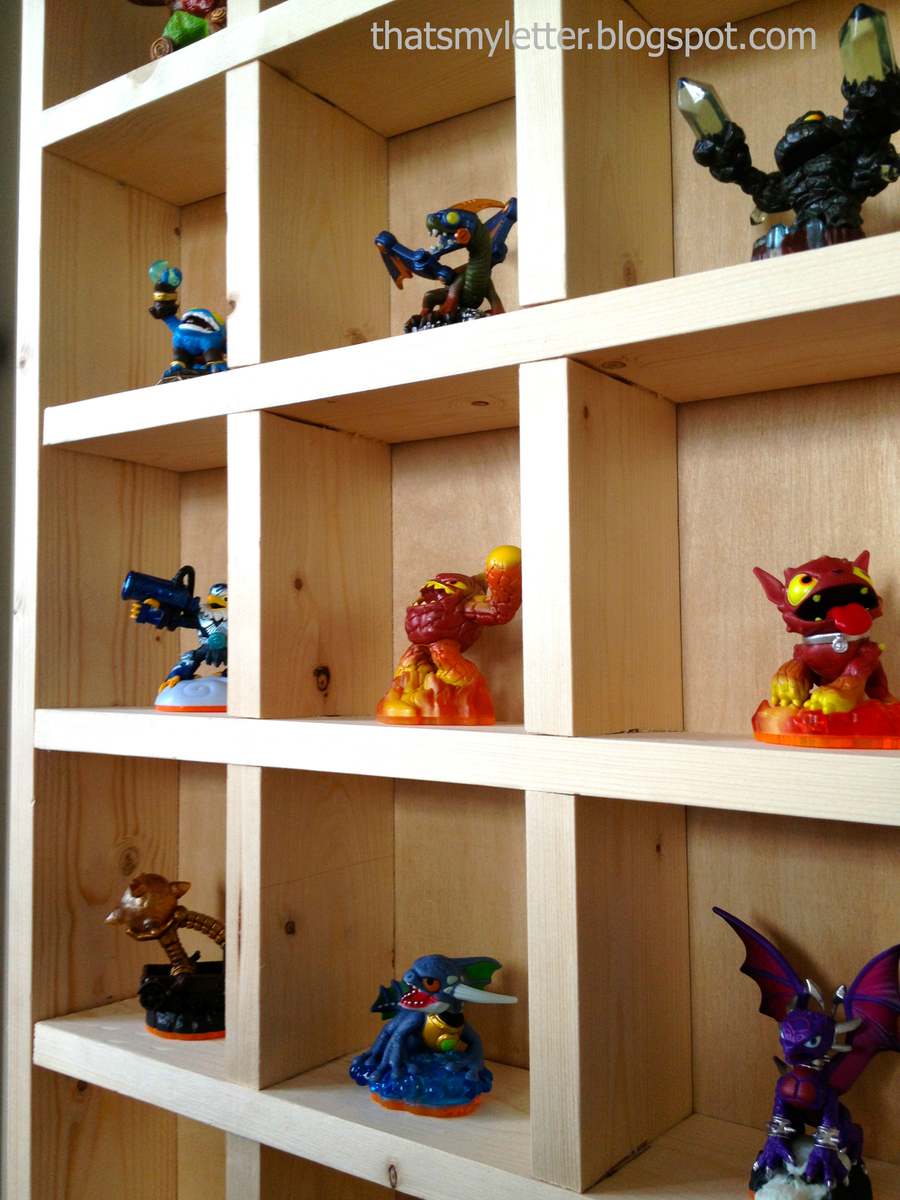
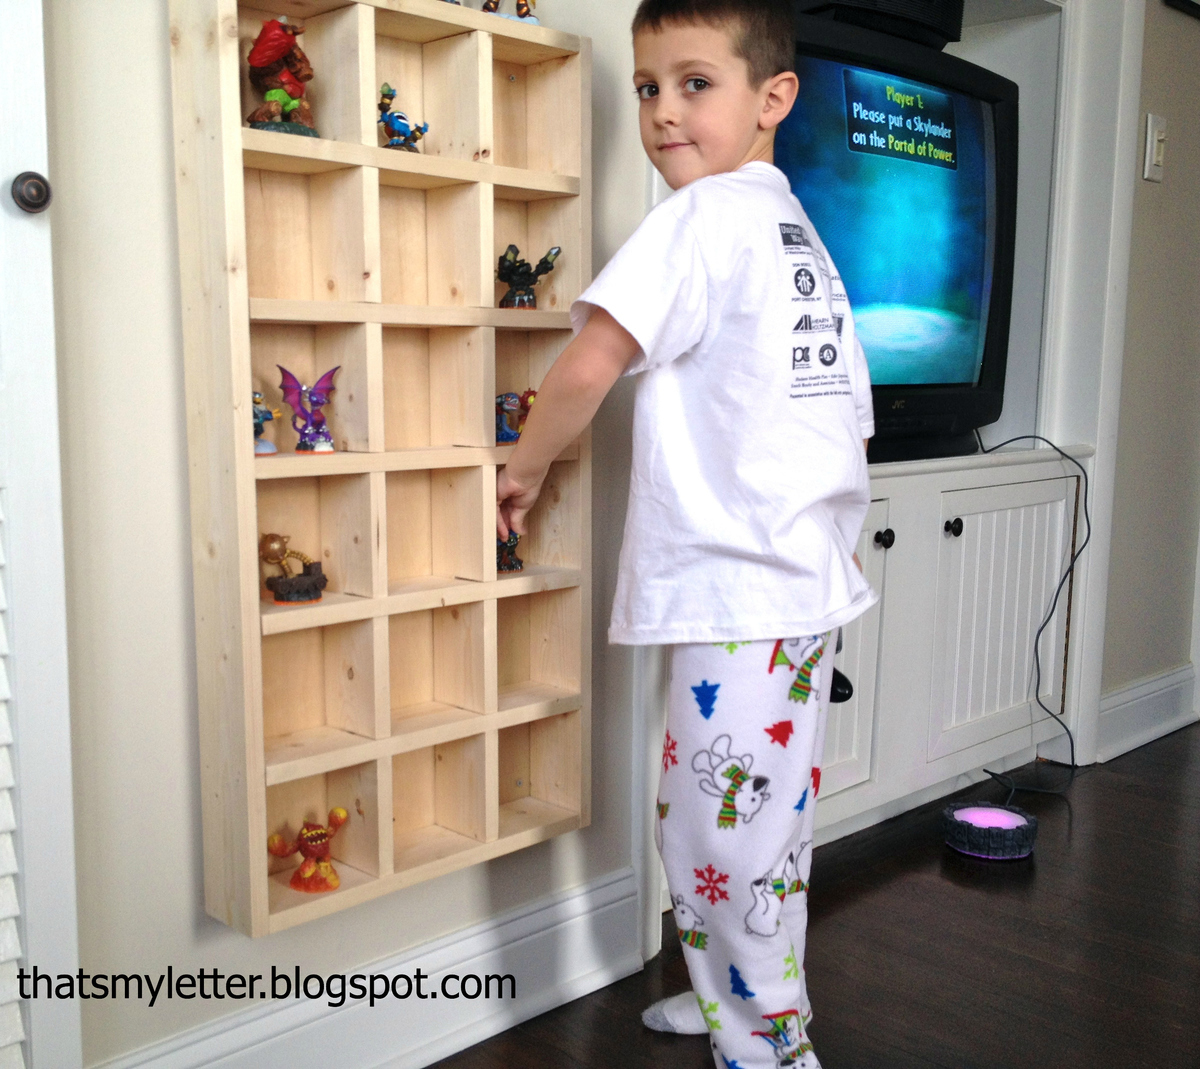
Skylanders Cubby Storage Shelf
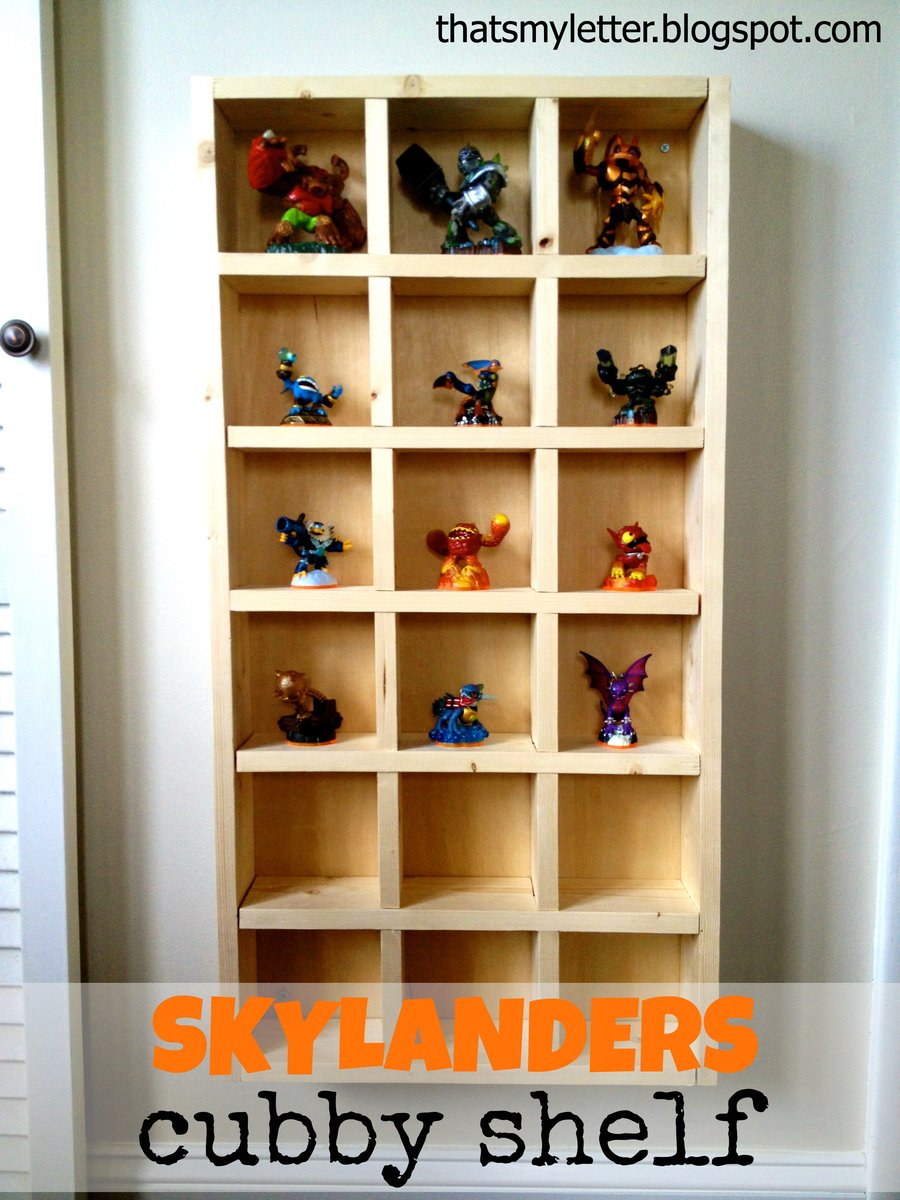
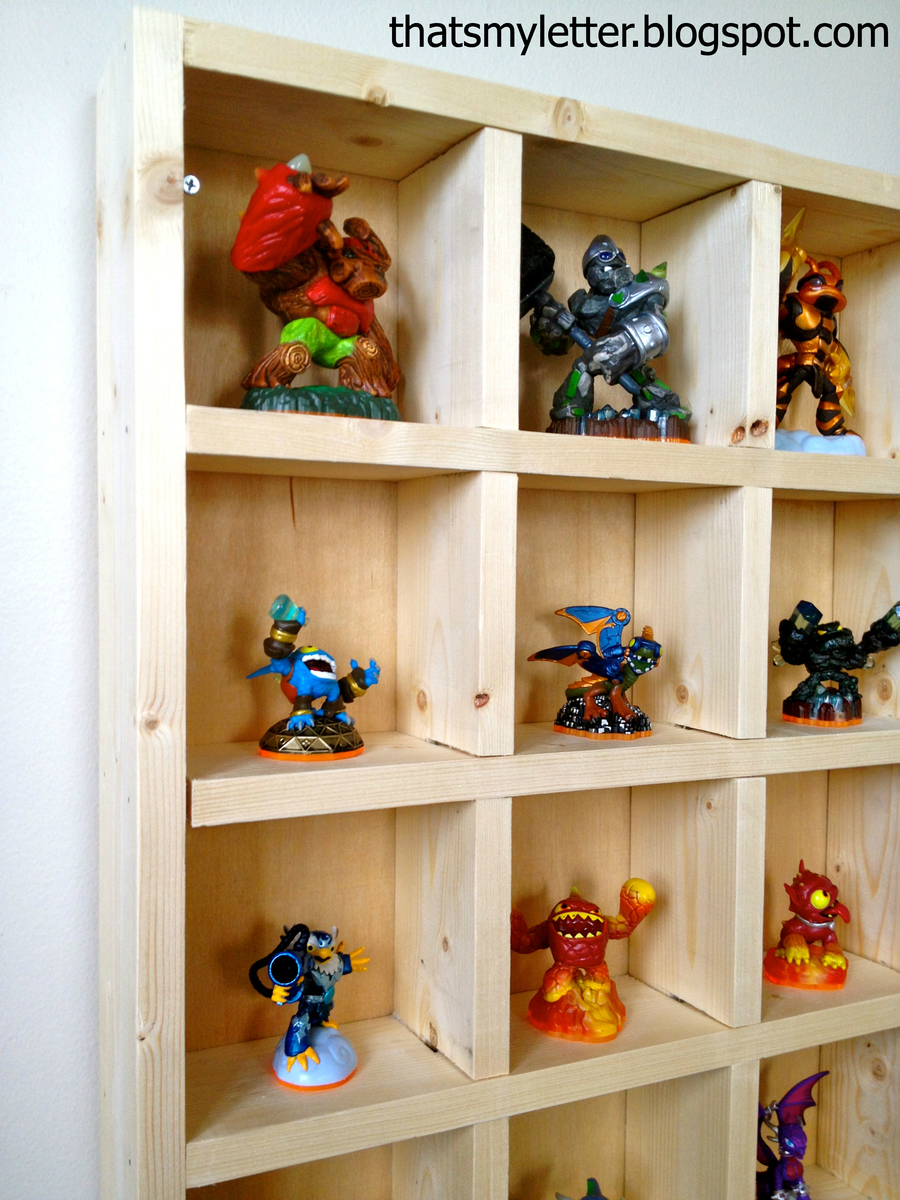
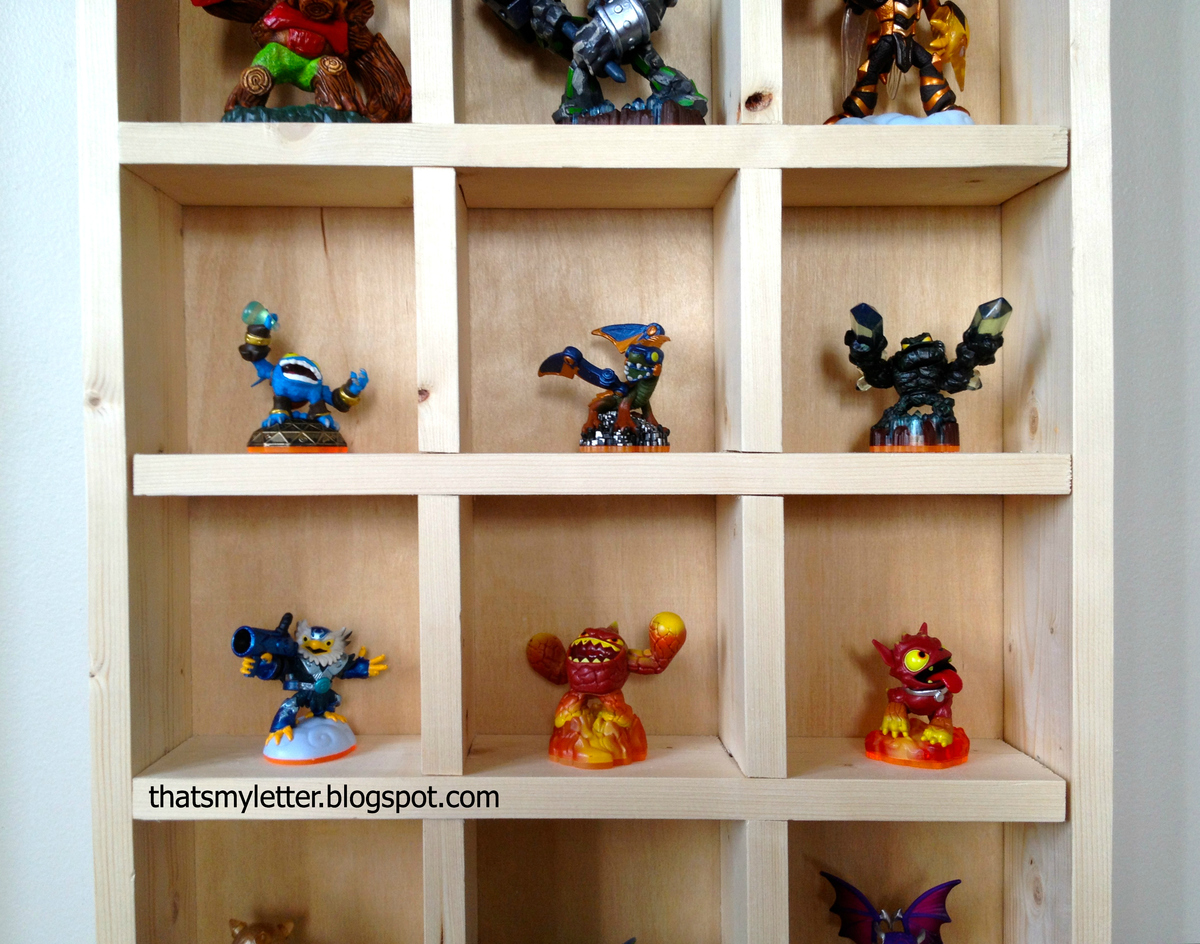
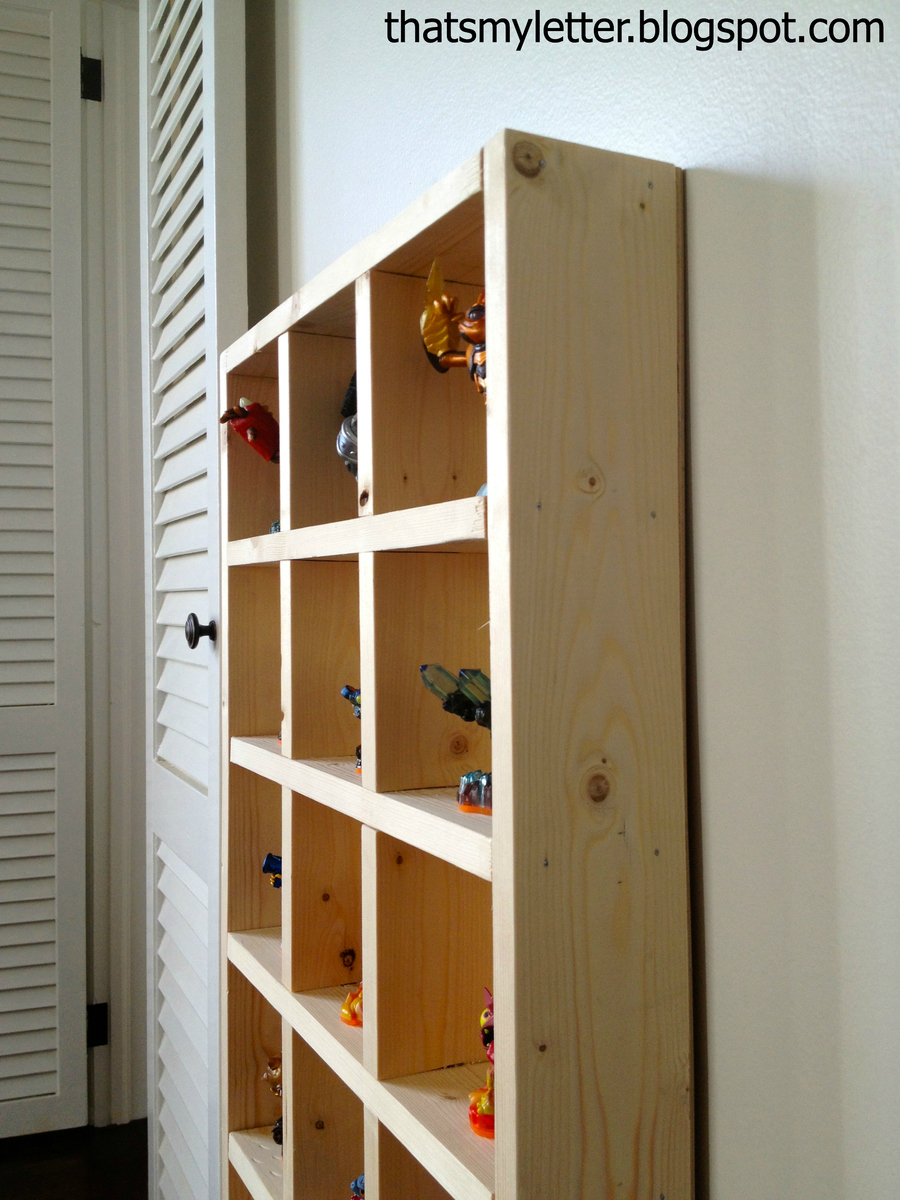
Build a Skylanders cubby storage shelf using 3/4" pine boards for about $25.
Rustic X Coffee Table
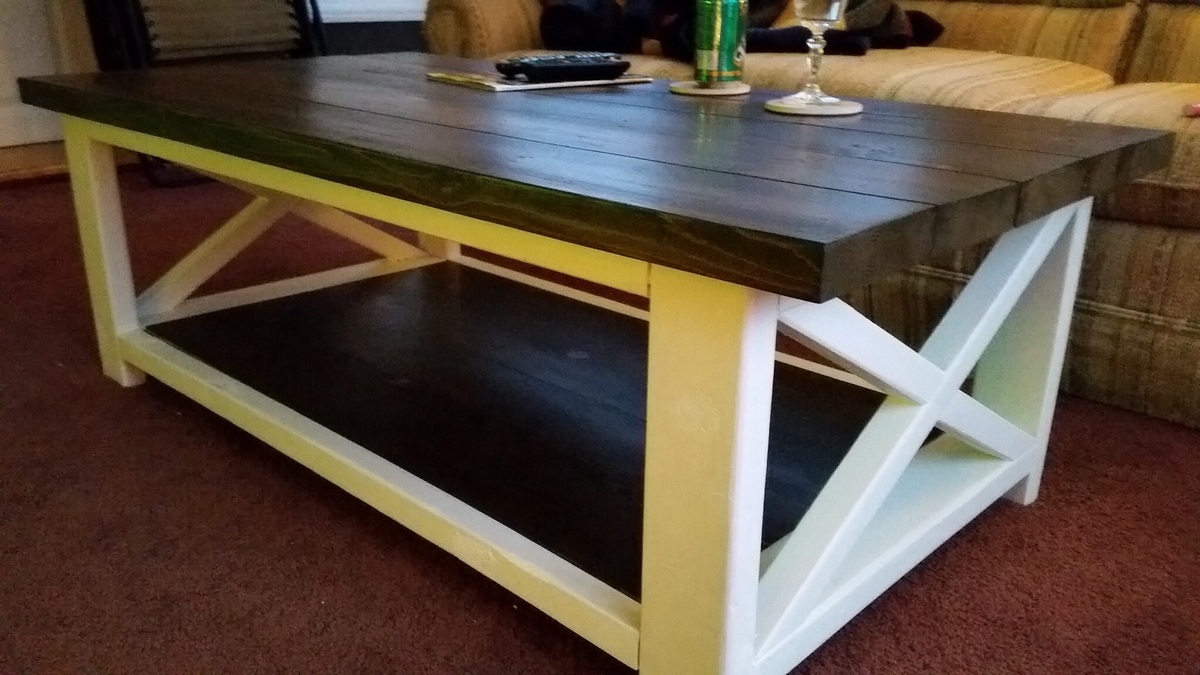
I built this as a Christmas gift. I used Minwax honey oak stain for the top and bottom shelf.
Glidden Snow white latex
Comments
Buffet
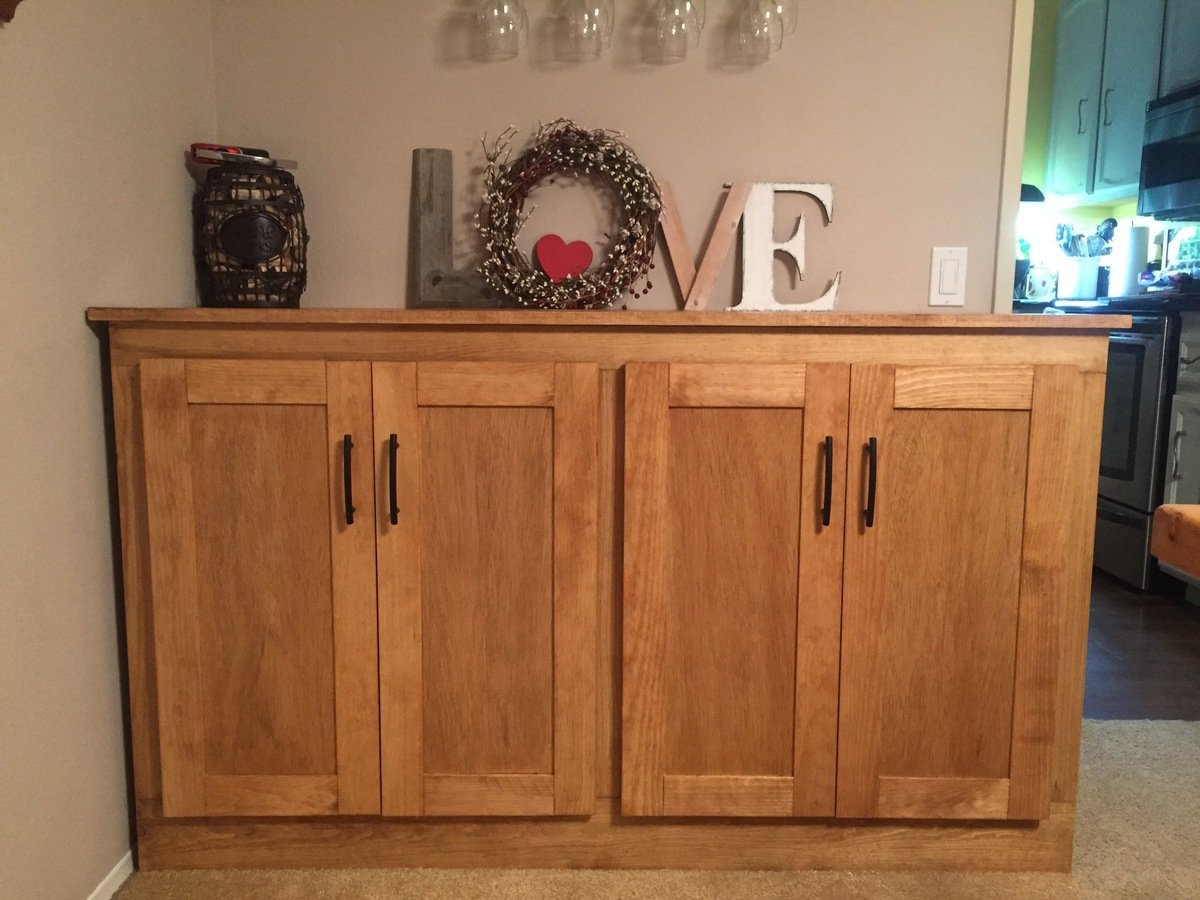
My first Ana project! Different dimension and no drawers but still based off the original plans. Love it!
Adirondack Chairs
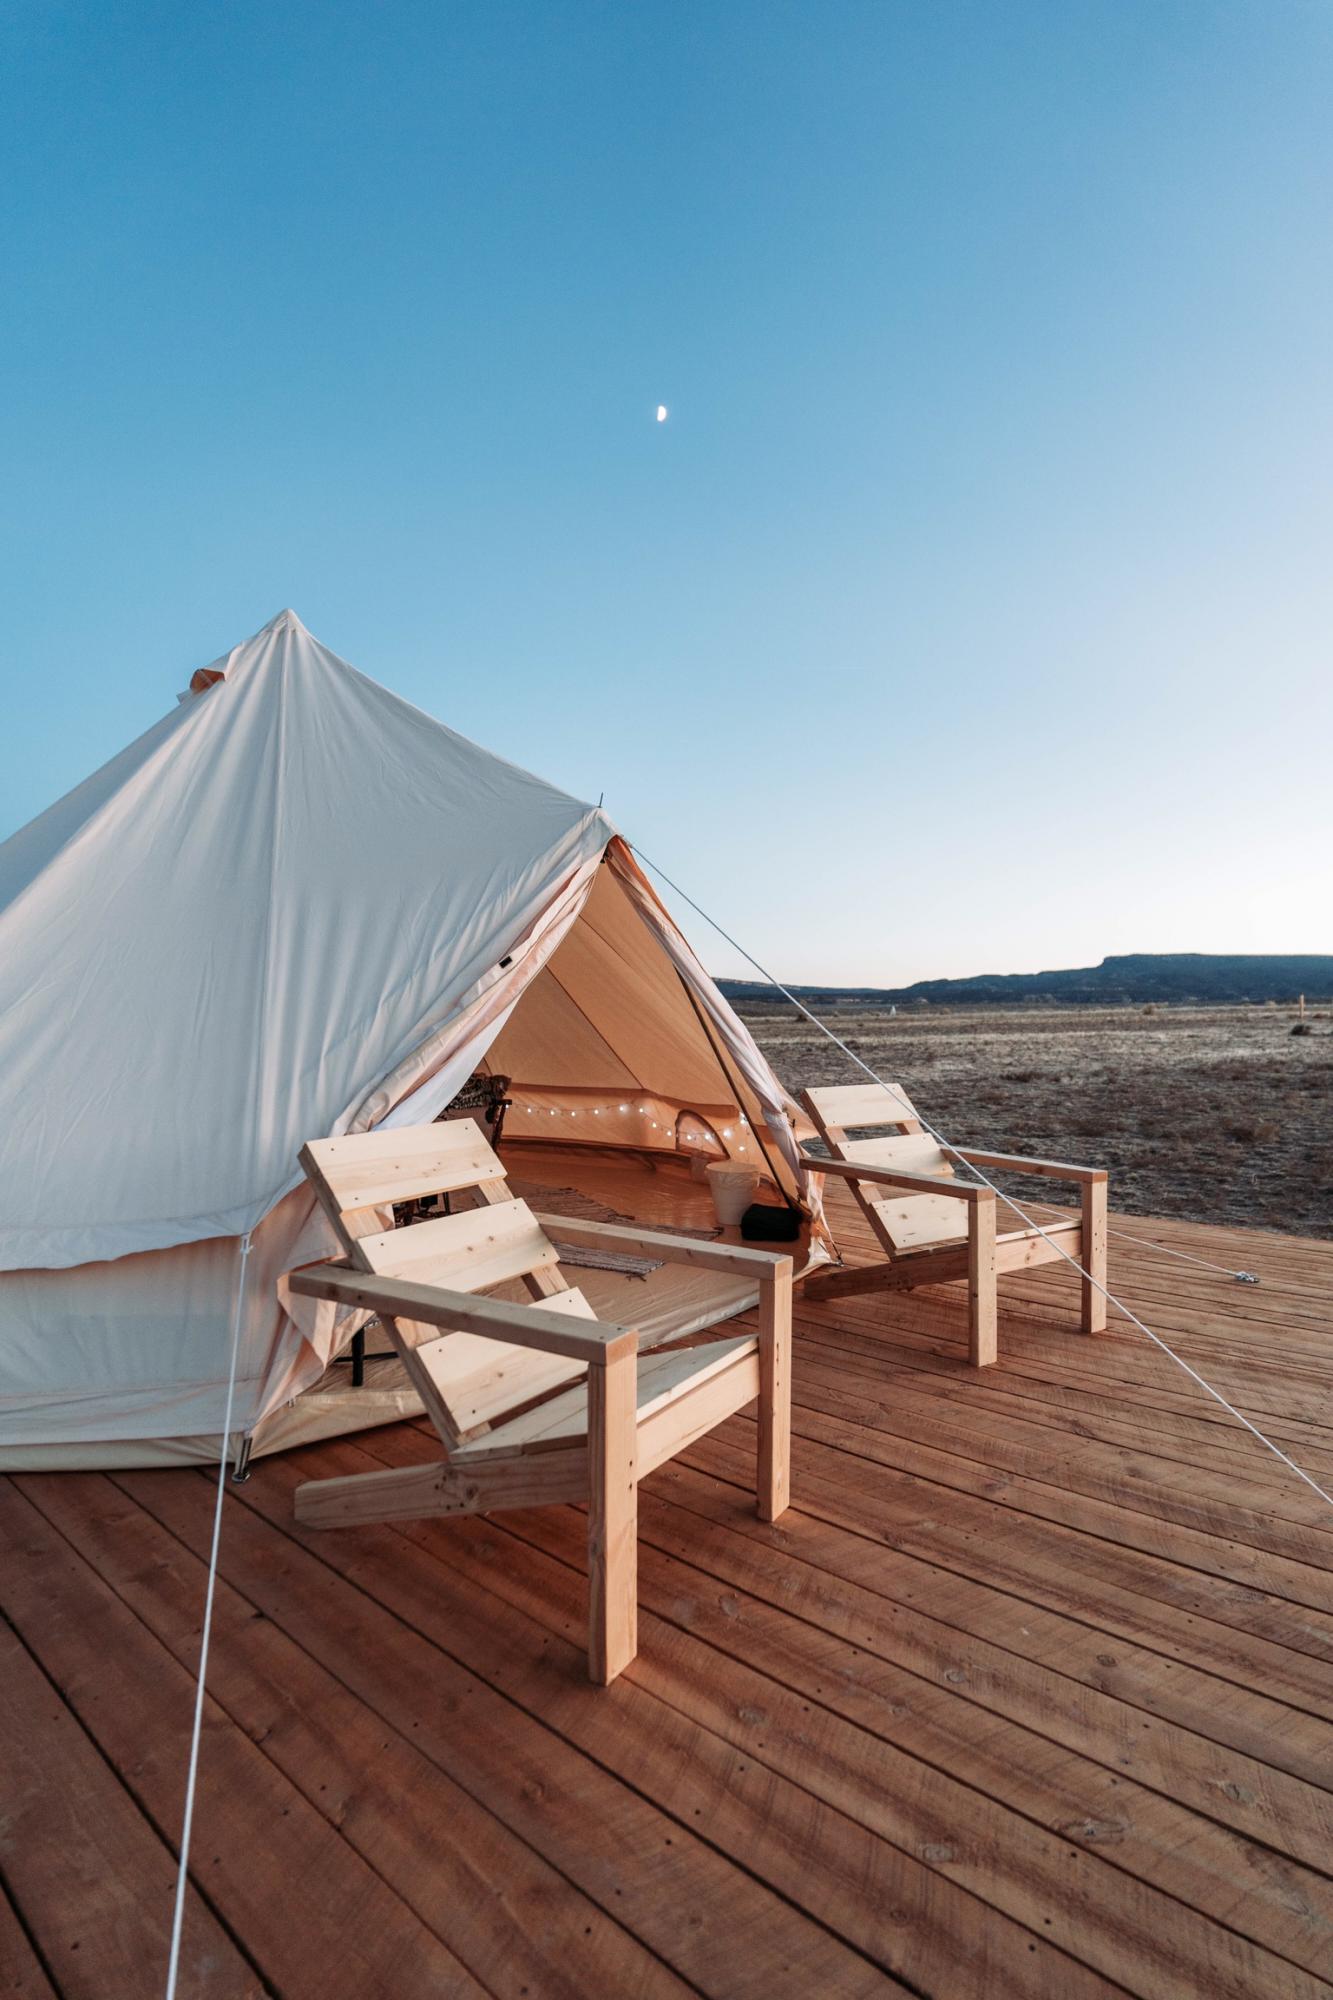
I wanted to buy Adirondack for comfortable lounge chairs but they are so expensive! Came across these plans and it took a little bit of trial and error but they turned out great! Completed 6 chairs total and they are super comfortable and look great!
Comments
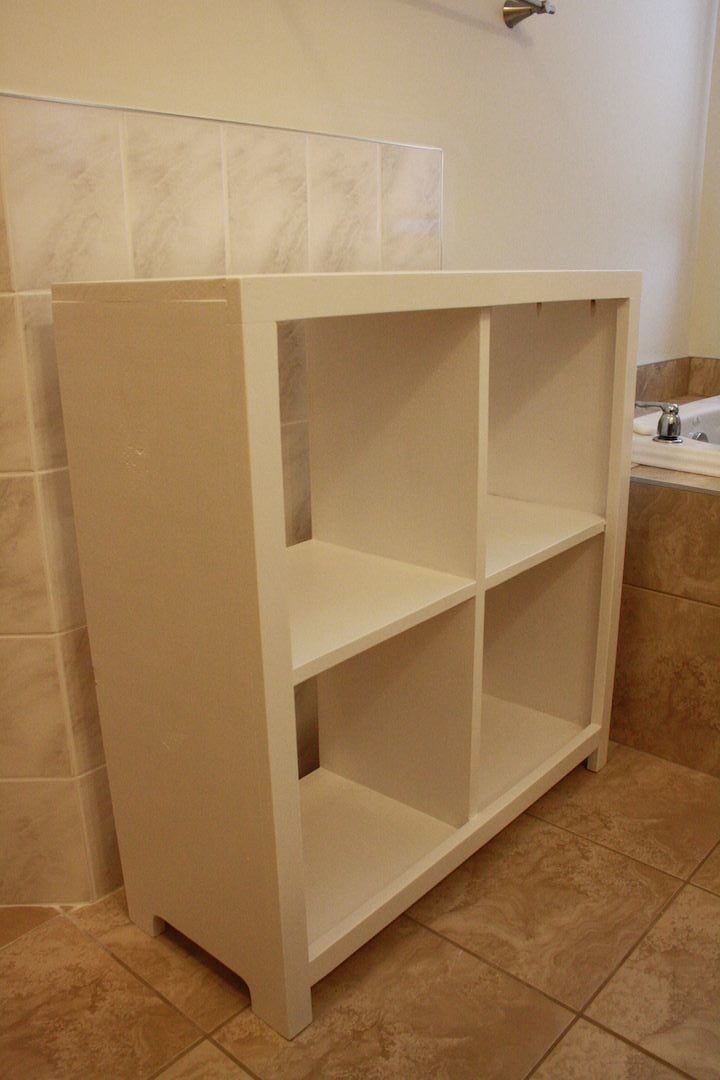
4 Cubby Shelf
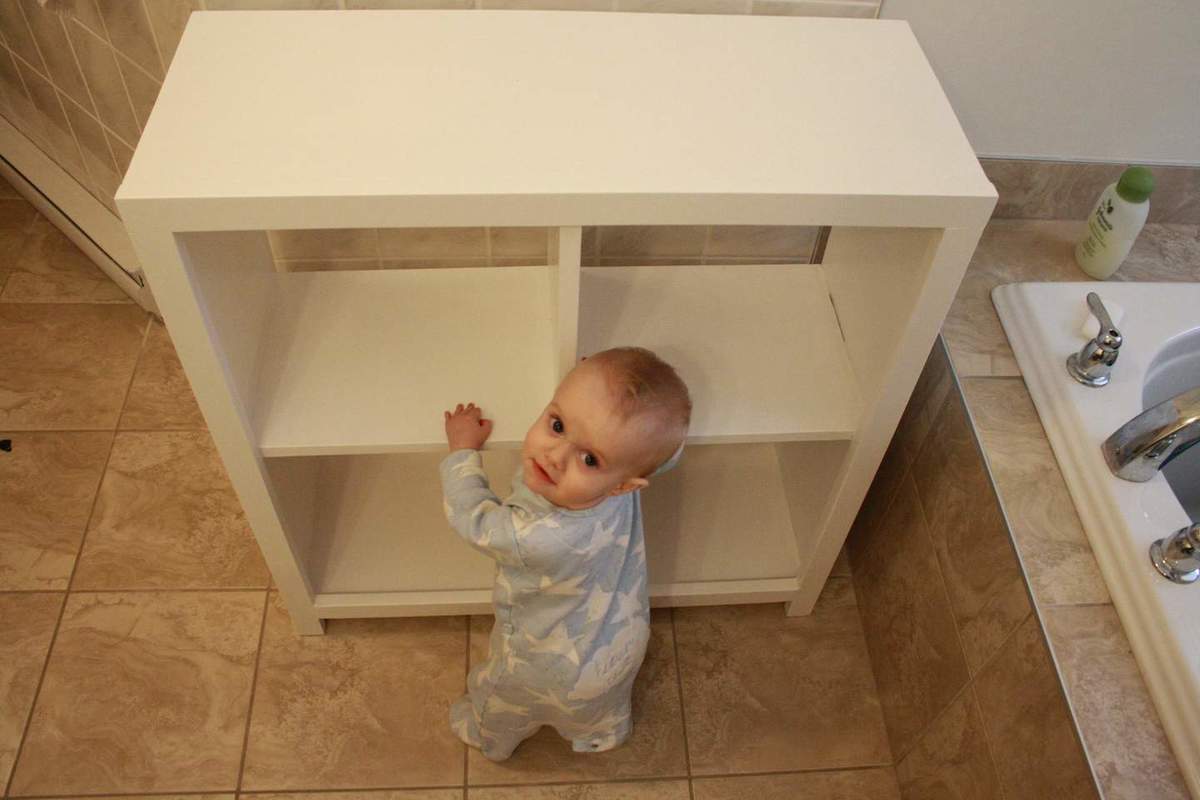
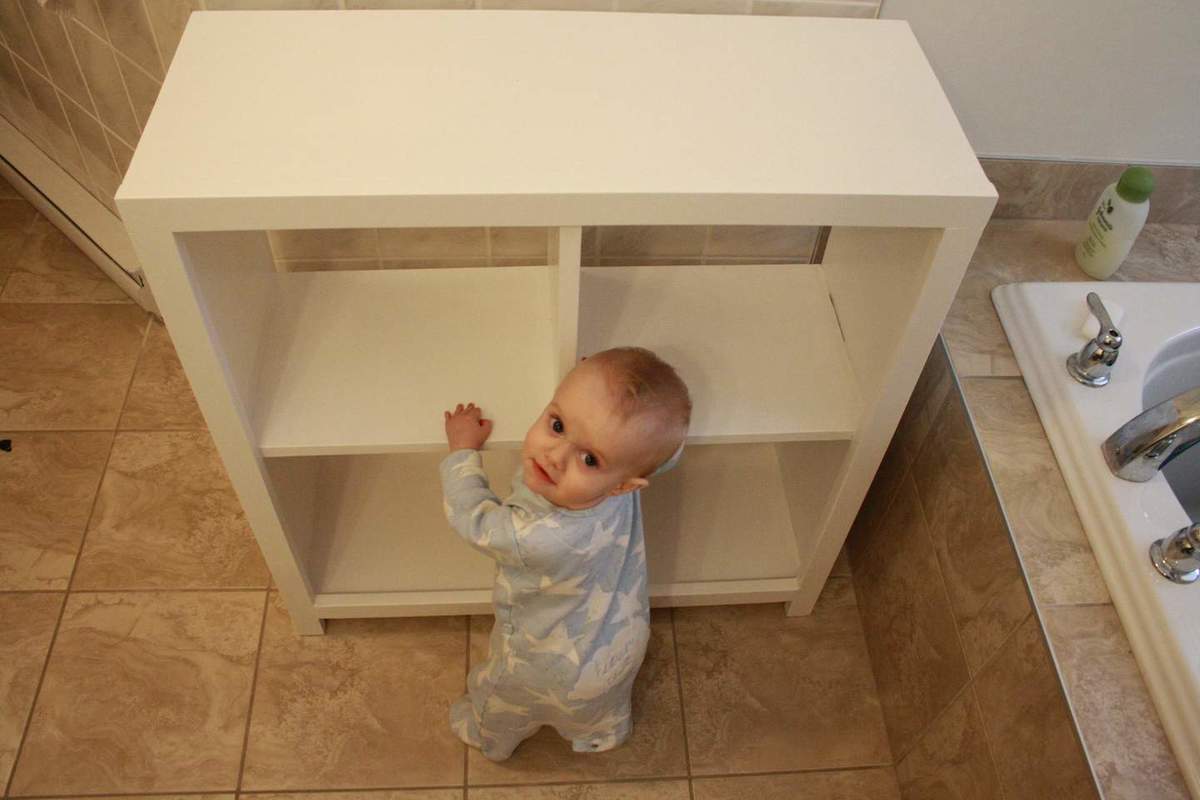
My first project!!! The house we live in has 4 closets in the entire house.. so we're quite in need of storage. I was really hoping the bookcase would work out, to relieve the jam-packed linen closet. I'm so happy with it, and with the learning experience. I didn't do the moulding option, more or less because I'm impatient and want to get the next project going. Thanks Ana for the inspiration and the plans!!
Comments
Mon, 08/17/2015 - 08:12
What type of wood did you use
What type of wood did you use for the project? Looks great!
Tool and Garden Caddy Gift
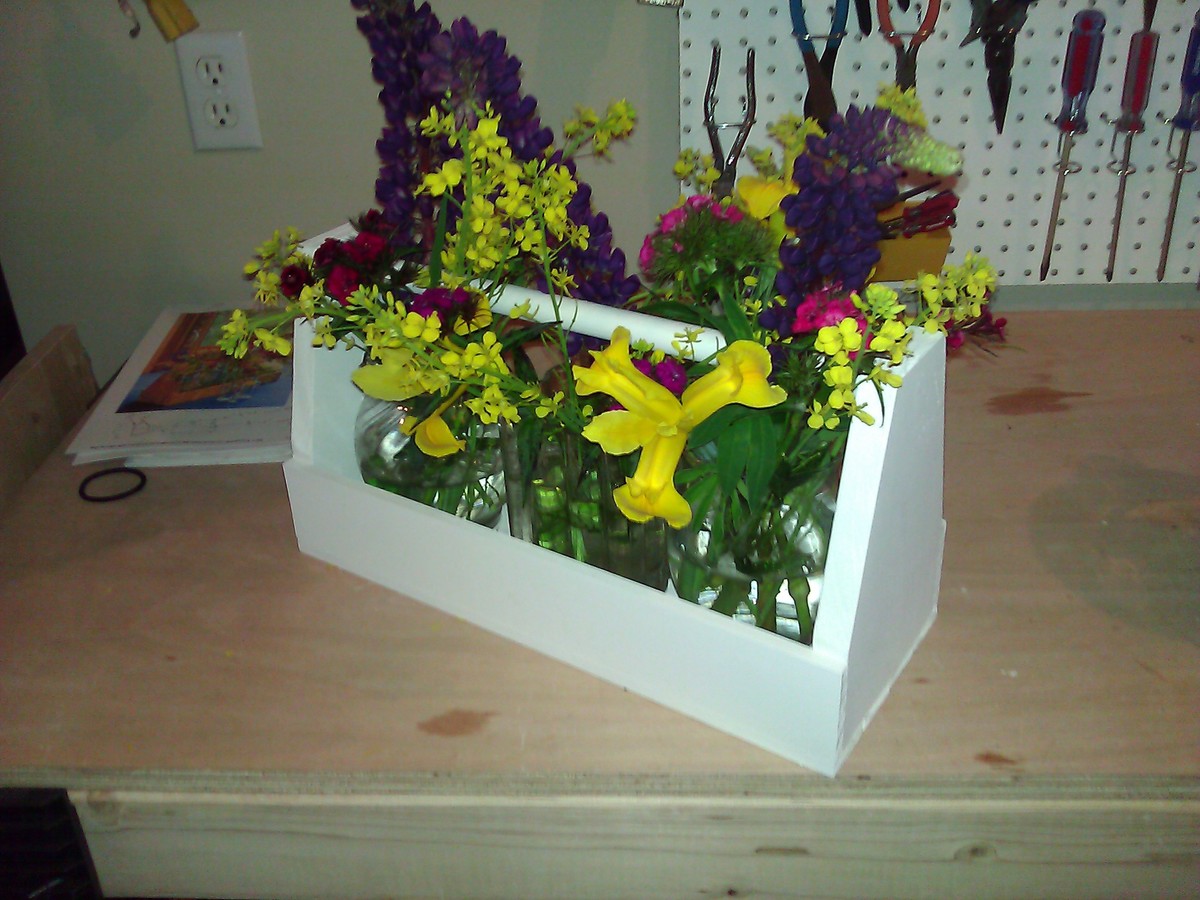
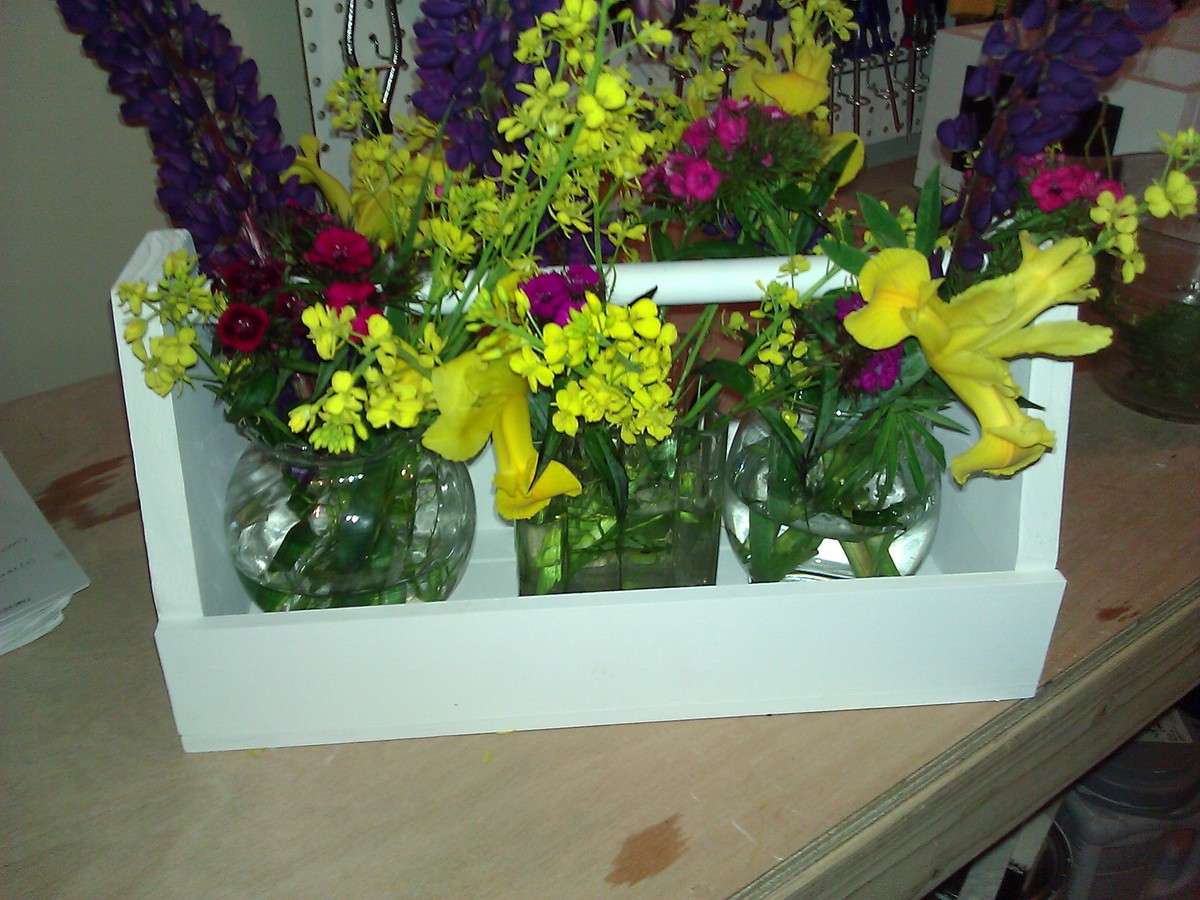
I made this little tool caddy in one afternoon from some 1 by various width board scraps. I pretty much followed Ana's 'Give the Gift of Building' plan for construction, while being able to use up some scrap wood. I was making this as a 'just because' gift for my BFF, so I made it to fit three of those free little floral vases, filled it with flowers from my yard, and voilà!
This is a great beginner project, or one for anyone who needs a little something to project during a free afternoon.
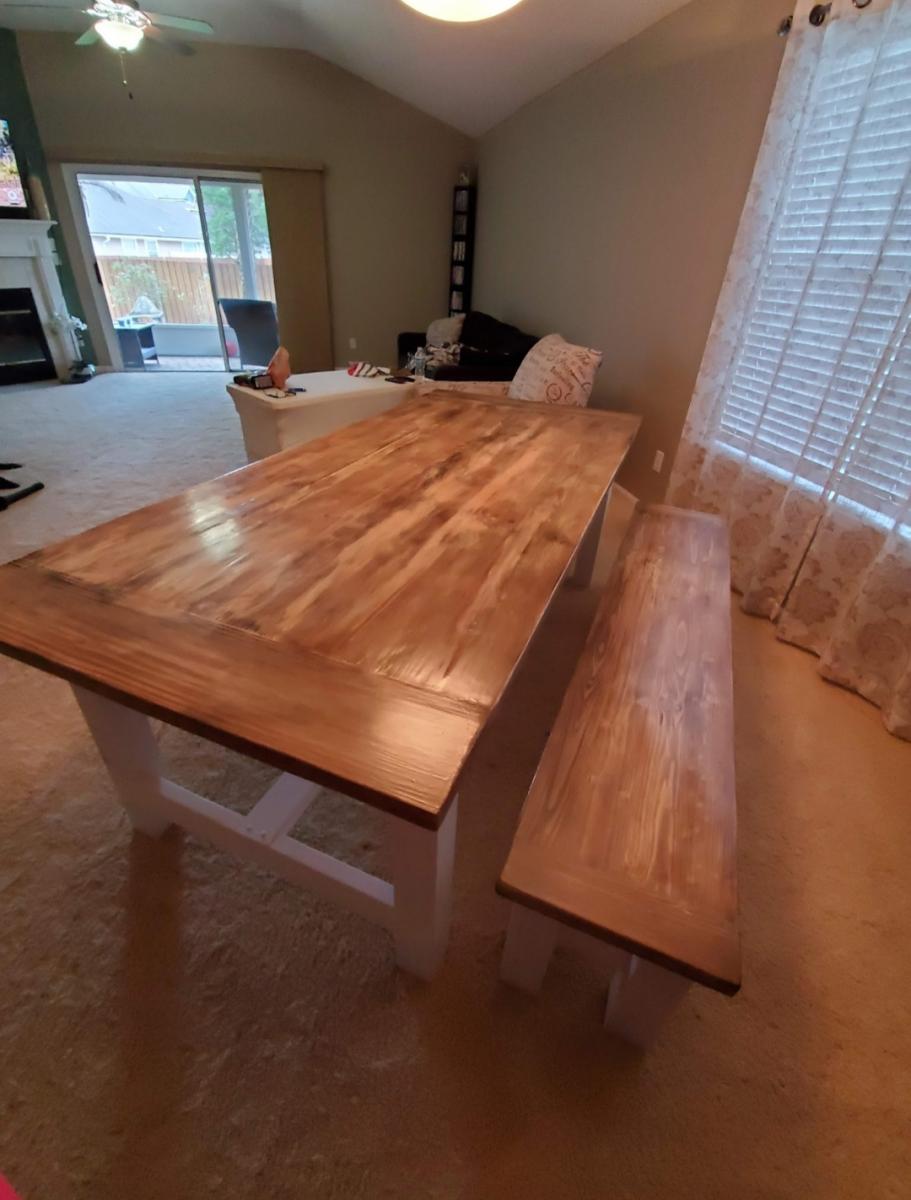
We Did It! We Made The Farmhouse Table and Bench!
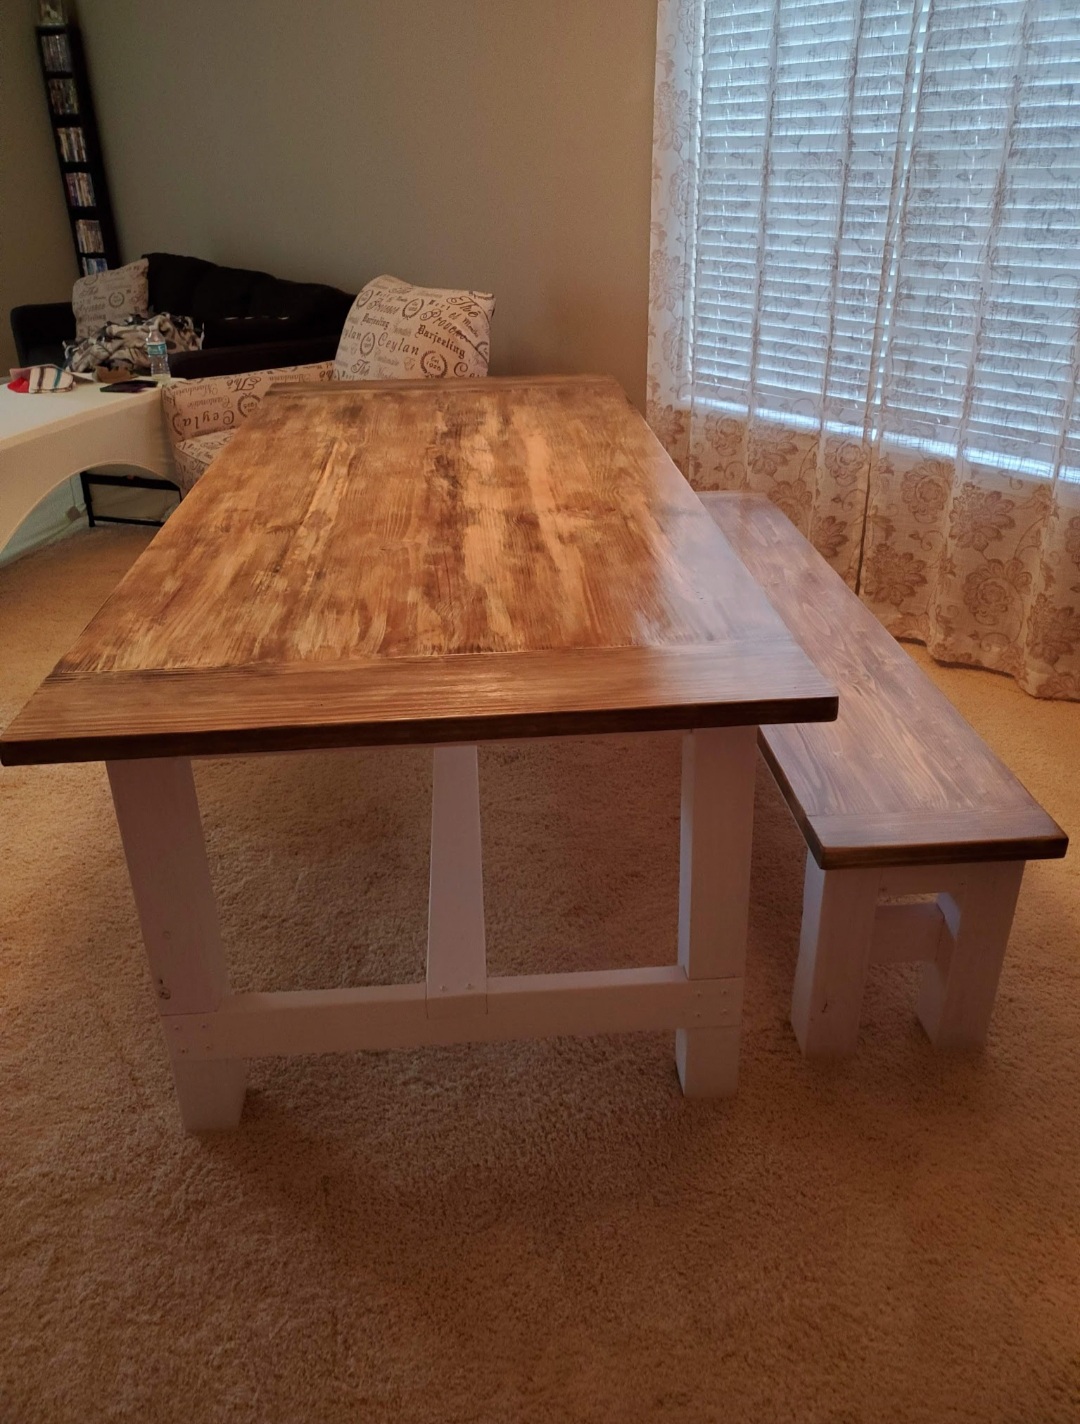
My sister and I made The Farmhouse Table and Bench (with pocket holes) for my daughter and son-in-love. She was so surprised, she cried! I think she loved it!! It was my first project and now I'm getting requests from my oldest daughter to make one for her after her closing the end of next month.
Thank you Ana White for sharing your plans and making it so easy to follow!
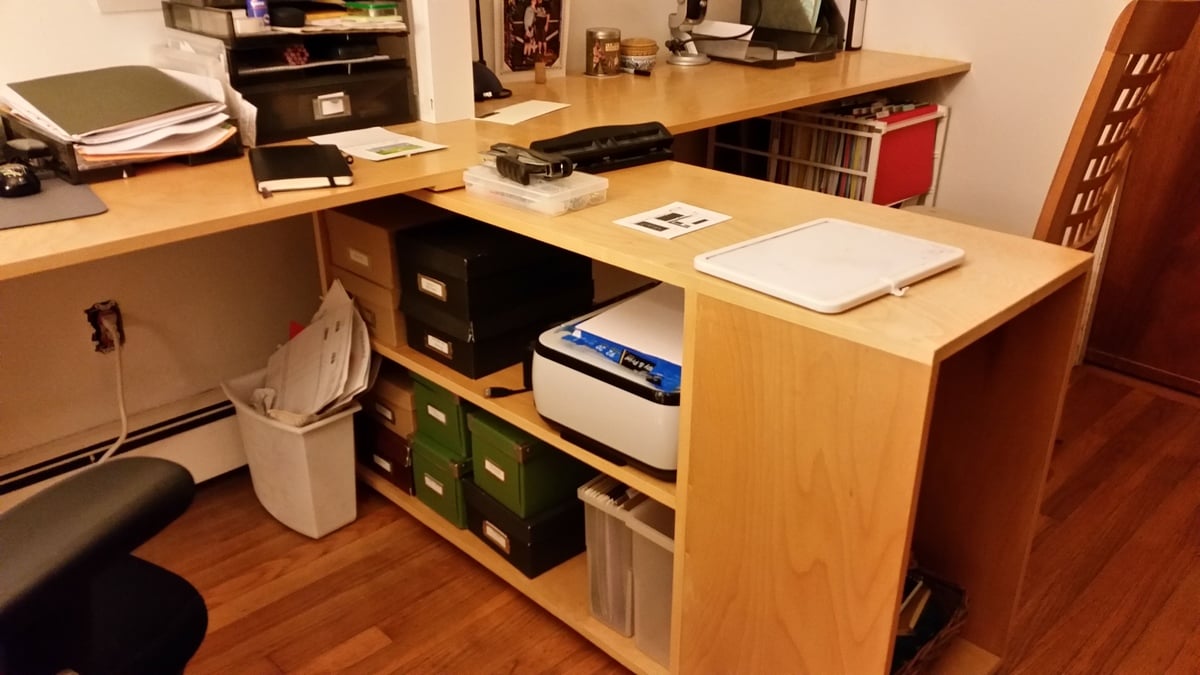
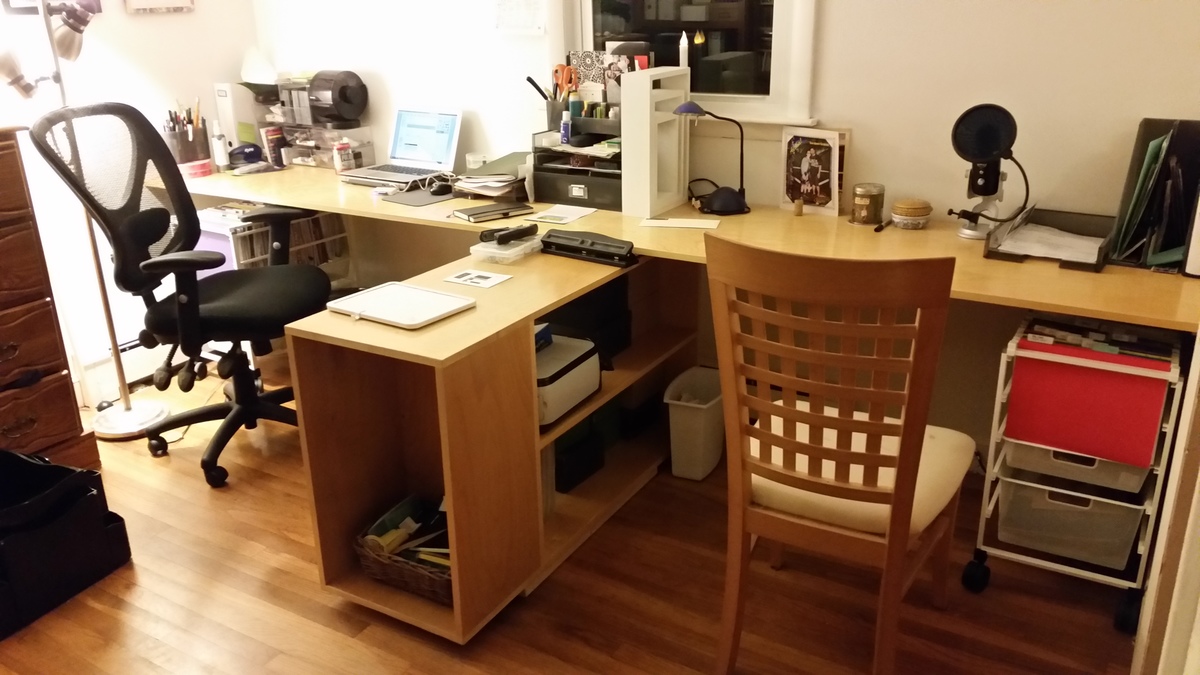
Wall to Wall Custom desk
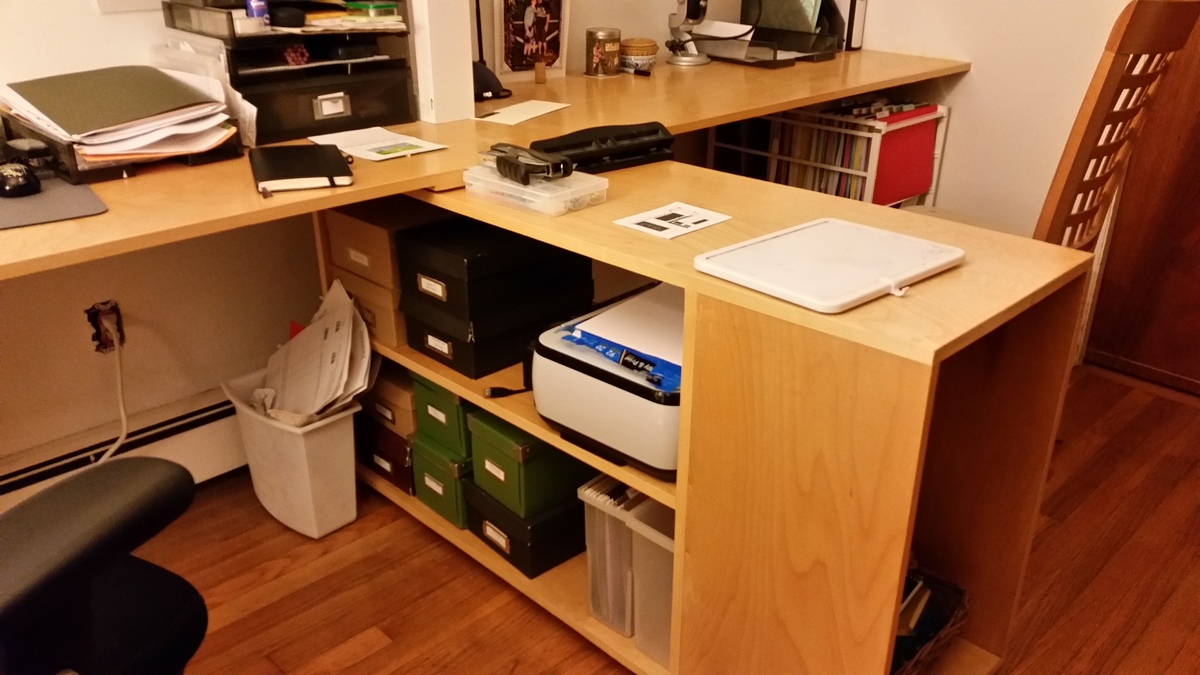
We used the plans to build the center console piece, and then left off the support shelves under the ends, and instead bolted our desk to a support system directly on the walls. Then we installed a steel support beam under the desk to prevent bowing.
Comments
Sun, 01/04/2015 - 18:53
Very nice job on the desk!
Very nice job on the desk! It almost makes me want to add this project to the to-do list!
Loft med with modification

My husband built the loft bed and added a side rail on the landing just in case our little one was drowsy during the middle of the night. We added an extra rail to the top (...mommy didn't read the measurements correctly on the website for the mattress but it all worked out). I dont have the picture with her new bed on top with twinkle lights on the bottom but you get the idea. p.s. mommy built the desk on the left :)
Plant Corner

This was my first piece of furniture to make all on my own and the Corner Cupboard plans were soooo helpful! I needed more space for plants and had already built shelves in every window of my house, so I decided it was time to make a larger space to house my plants and add supplemental lighting so I could put it anywhere I wanted. This corner was dark and I don't love lamp light, so I thought a pop of color + plants + daylight grow lights would be perfect for the space! I've been taking on more carpentry projects and also wanted something that was a bit more challenging. This plan was perfect! I'm more of a napkin planner myself, so it was nice having the structure provided in Ana's plans and the cut list was super helpful. I had to make some modifications to fit things into my car, but it all came together nicely! This being a plant hutch with grow lights was the plan all along, but I gotta tell ya, when it came to having to drill 3/4" holes in the back of my newly built beautiful hutch, it took me a minute to work up the courage! I really love how it all came together - thanks for sharing your plans, Ana!
Comments
Tue, 02/23/2021 - 10:04
Perfect solution!
Wonderful job, love the finish and multi functionality of the piece!
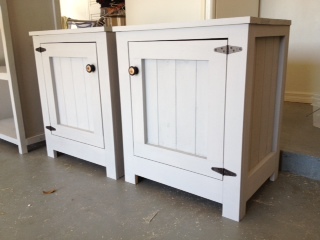
Kentwood Night Stands
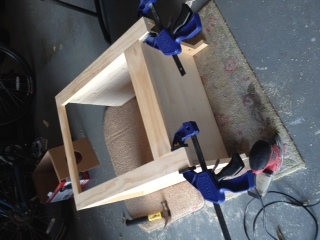
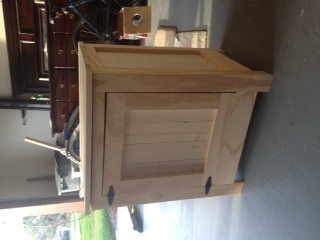
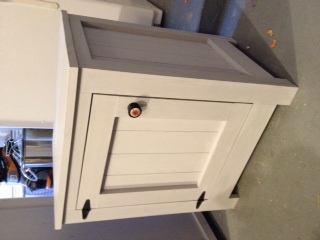
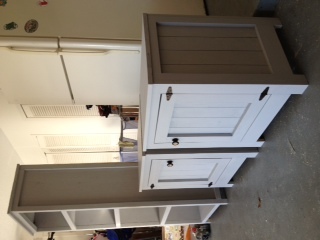
1st the bookshelf, now the nightstands, soon the bed, then.....my sons toddler room is DONE!
Comments
Fri, 03/01/2013 - 07:37
chalk paint
Looks great! How did the A.S. paint do on unfinished wood? Did you prime before hand?
Sat, 03/02/2013 - 08:49
chalk paint
It did fine. I did no prep work before I painted. Since the cans are almost $40 per can I've tried to stretch the paint as far as possible so there is only a thin layer on there. I gave it a lite...and I mean lite sanding after it dried. Since it was such a thin layer you can see some of the wood under but it sort of gives it a antique look. I also added wax (not the A.S. wax) to protect it.
Next time I will be making my own chalk paint for half the cost.
Sat, 04/06/2013 - 05:33
Huge!!!
I just wanted to make a note that these night stands are VERY big, actually to the point of looking odd next to the bed I made. I know I could have looked at the dems before hand but never imagined they were this big. I still love them, I just wish they were a bit smaller.
I will be posting the bed I made and the night stands will be in the pic as well so you can see and let me know your thoughts.
Basement Storage Shelves
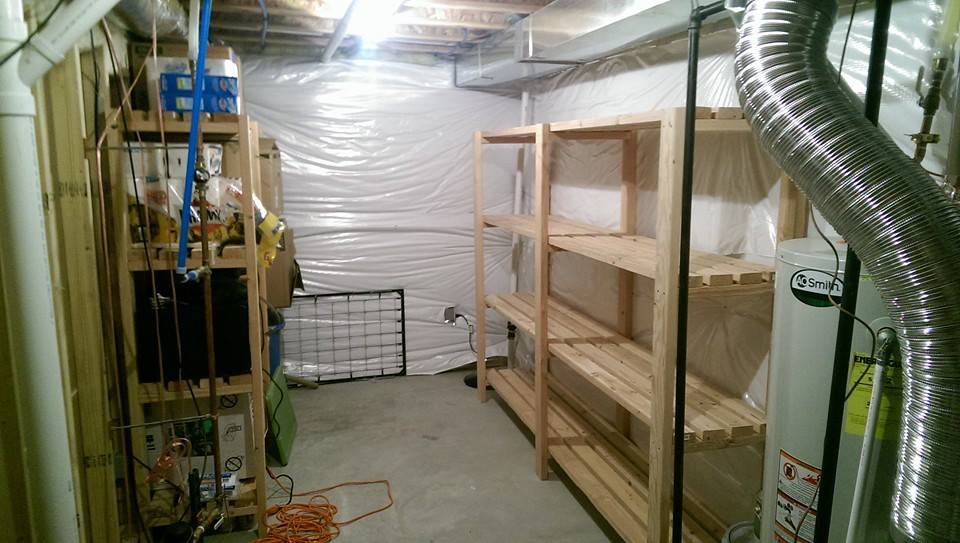
Using Ana's plan for the garage shelves I was able to shorten them up and turn my basement storage area into a well-organized storage area. This was my first real wood working project ever. The detailed plans from Ana's site made this a very doable and easy project.
Rolling Shoe Storage
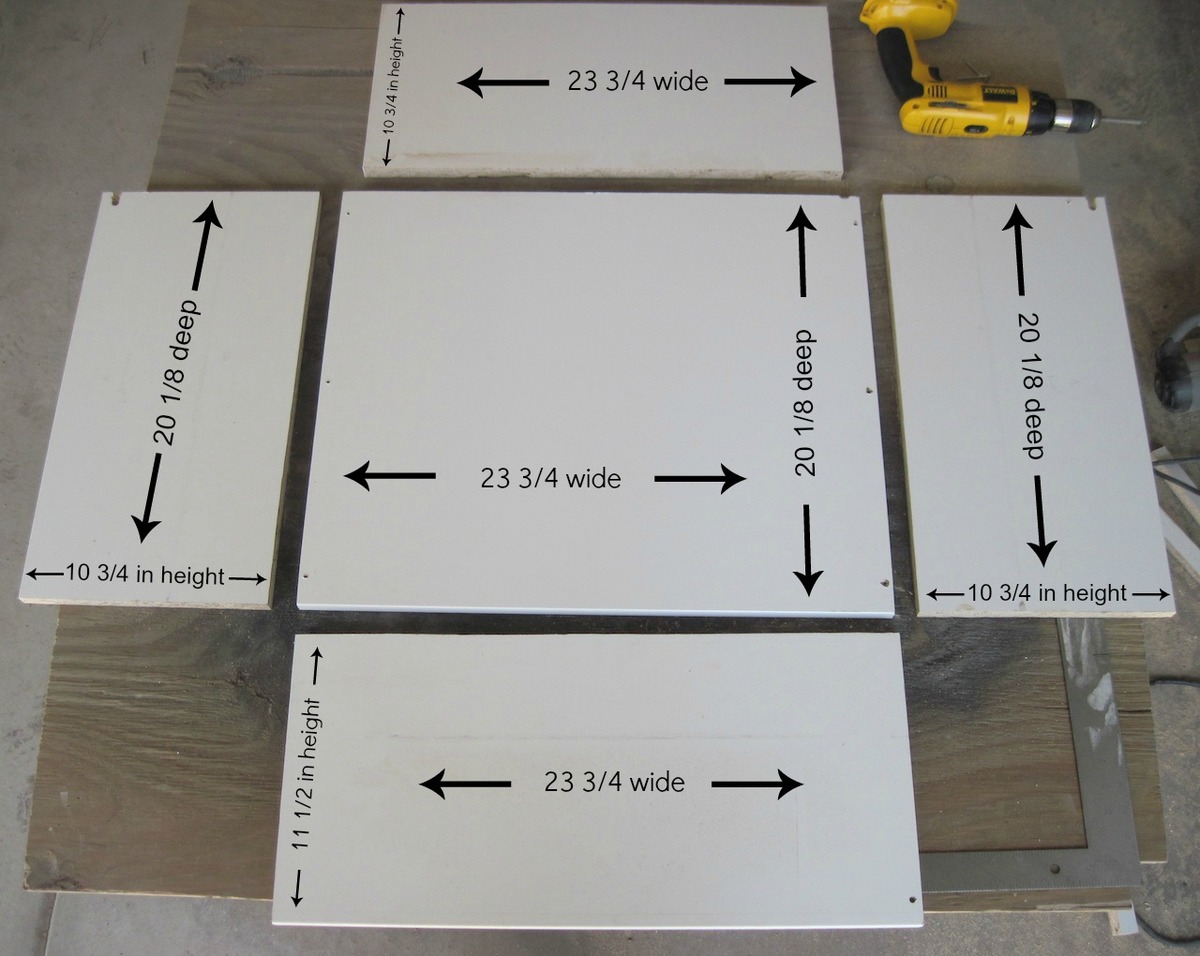
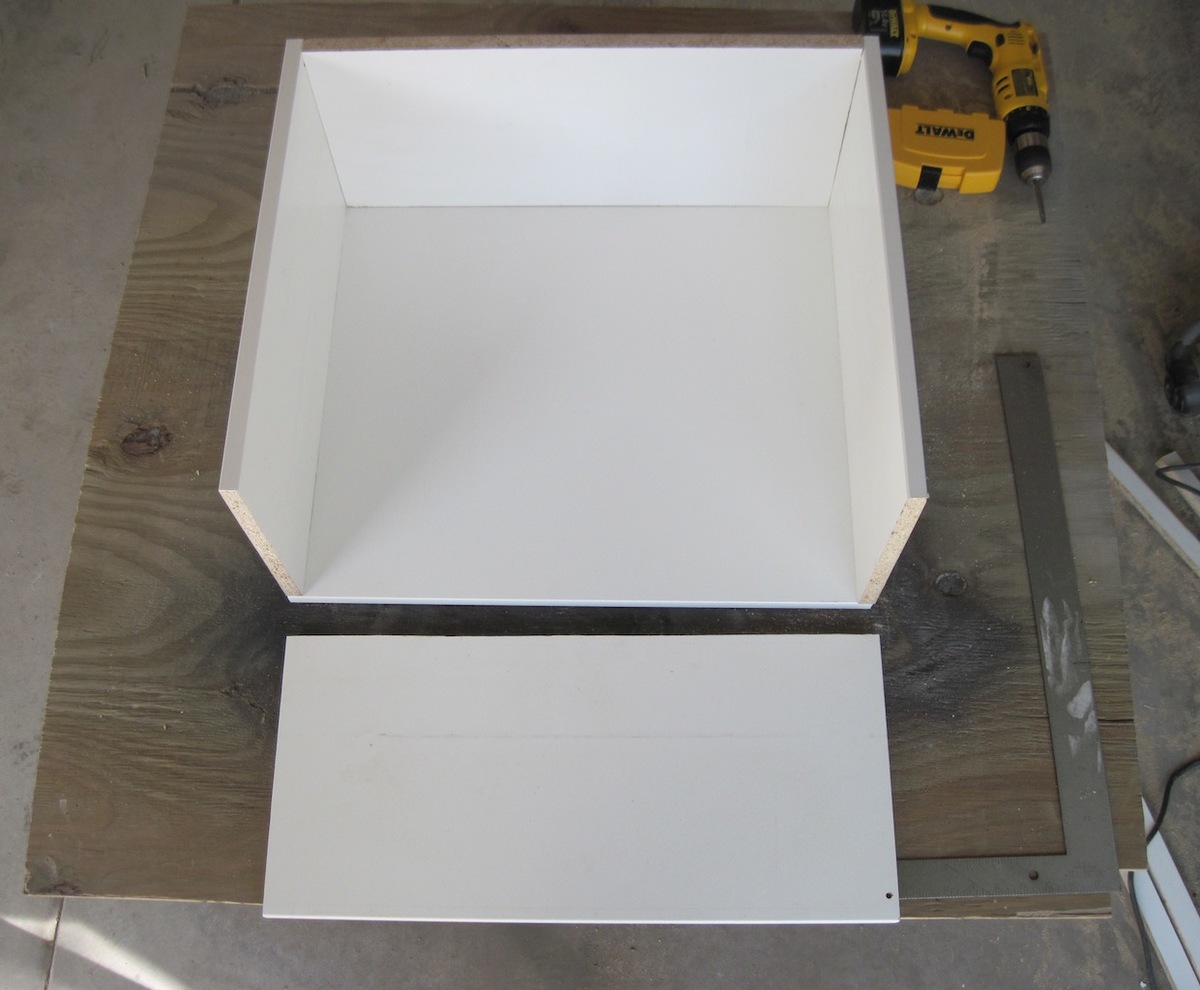
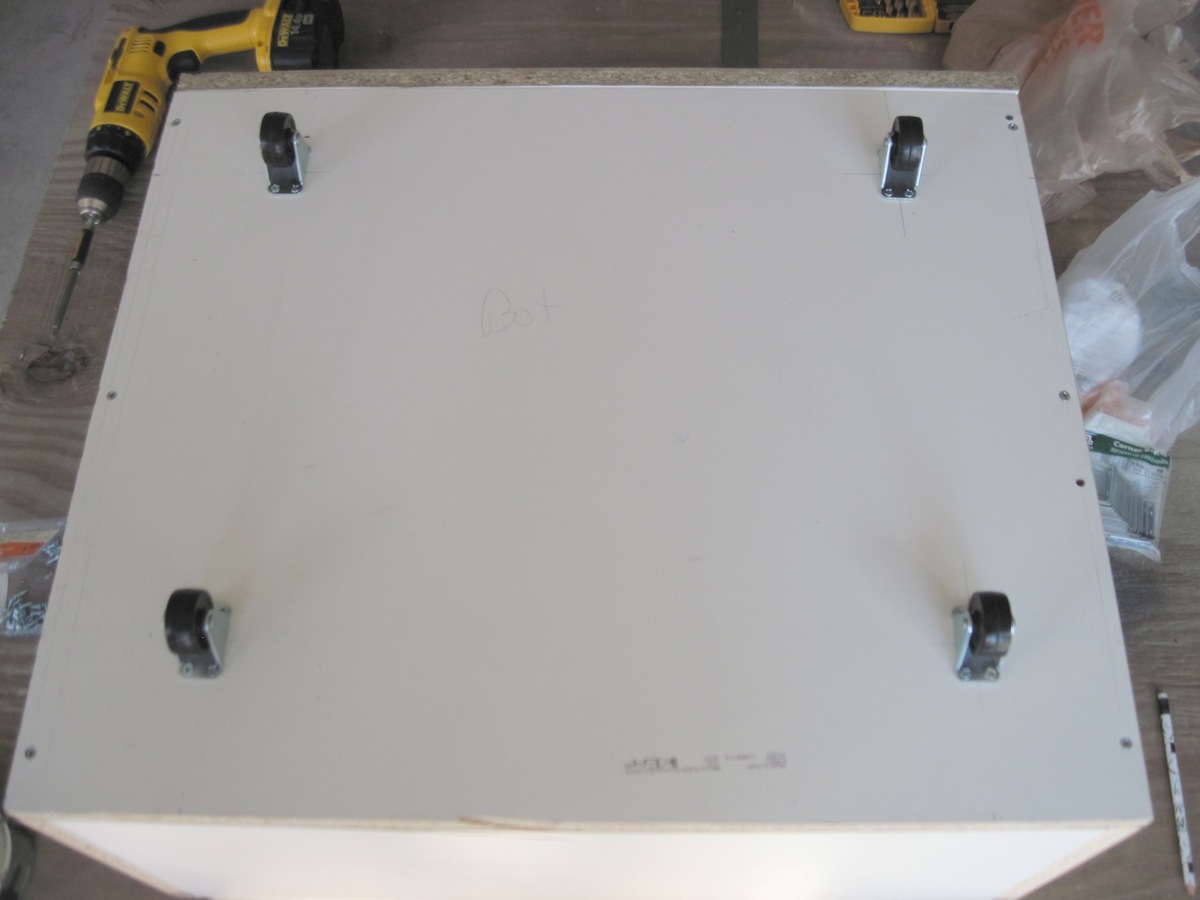
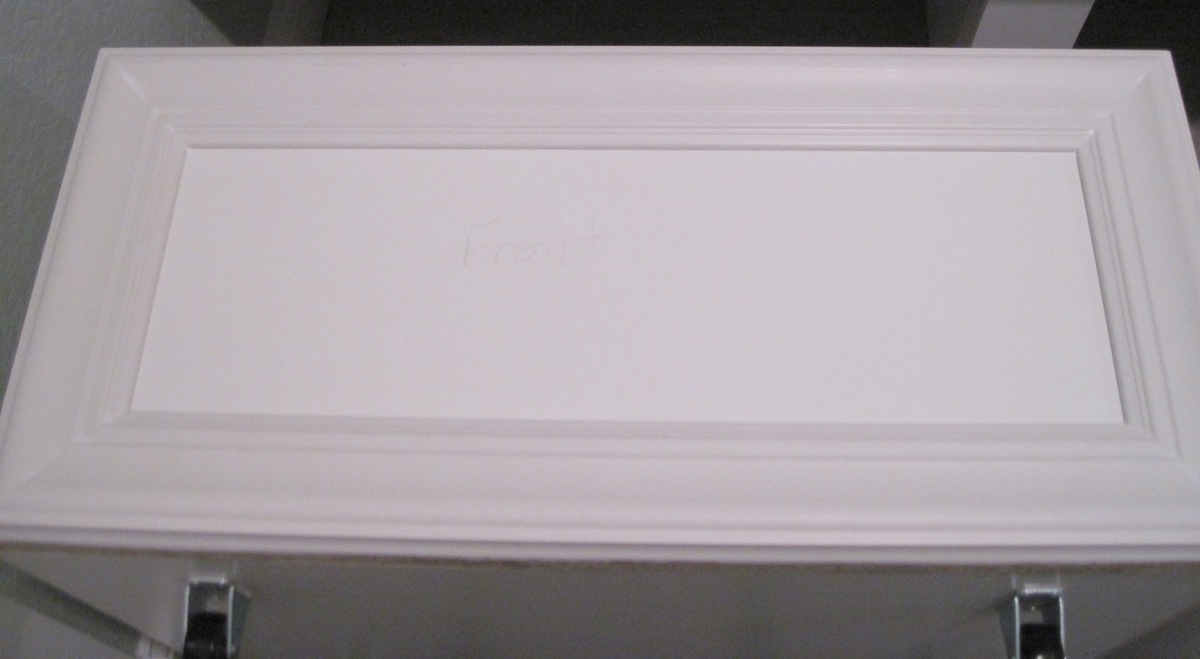
After building the mudroom bench I knew I would need something to store our shoes. After being inspired by images of unused dresser drawers with casters added on, I decided to and base my idea off of this. However, I knew that our shoe drawer would need to be much bigger to nicely fit under the mudroom bench.
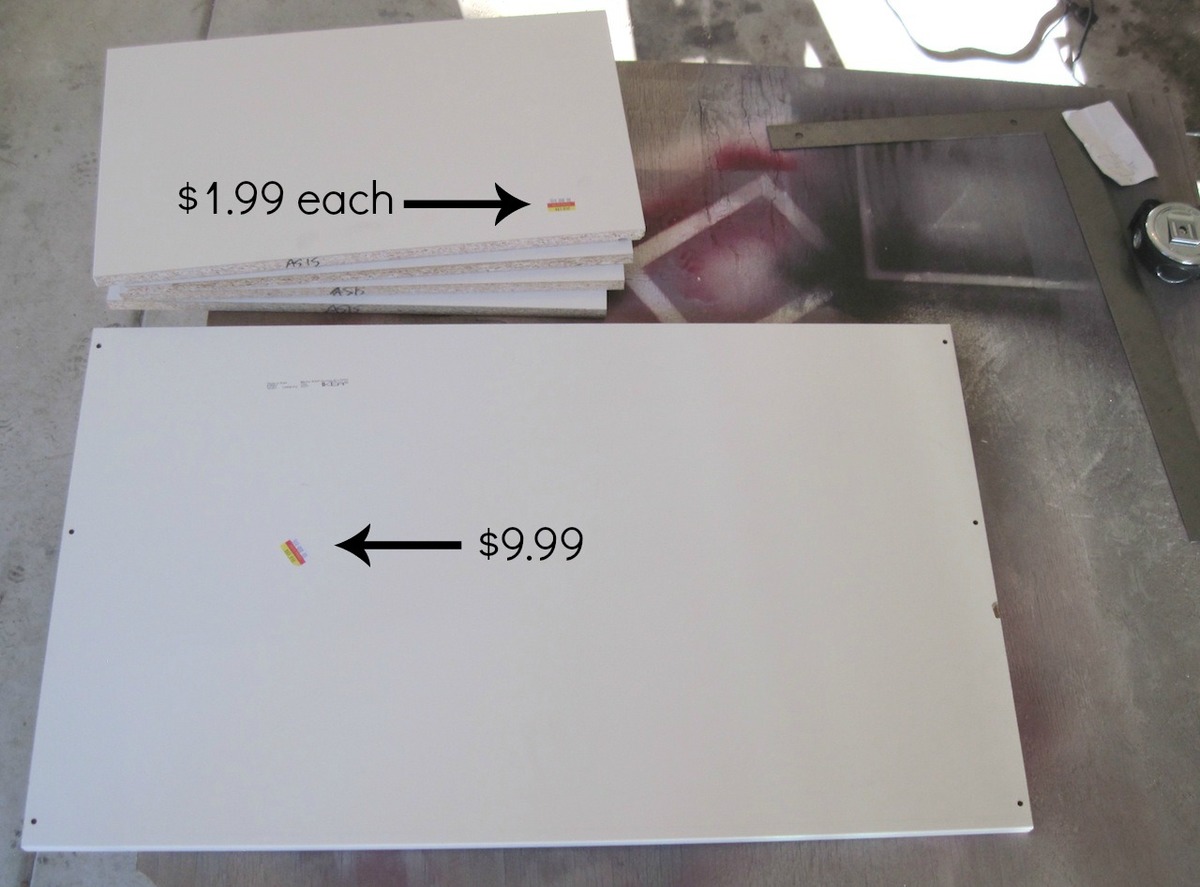
Ironically, this rolling shoe drawer is made out of unused shelves and bookcase sides that I found at the as-is section at Ikea! The handles on the drawers were found there, as well. For .50 cents each, I could not pass that up. :)
Hannah's Doll Bed
My husband and I love to spoil our God Daughter. I used some scrap mouldings that I got from work and used the dimensions from the Farmhouse Doll Bed to create this. Literally cost me nothing other than the paint and the fabric was remnants from Joanne's, a coupon and I think I spent a total of $10.
Comments
The most beautiful bench
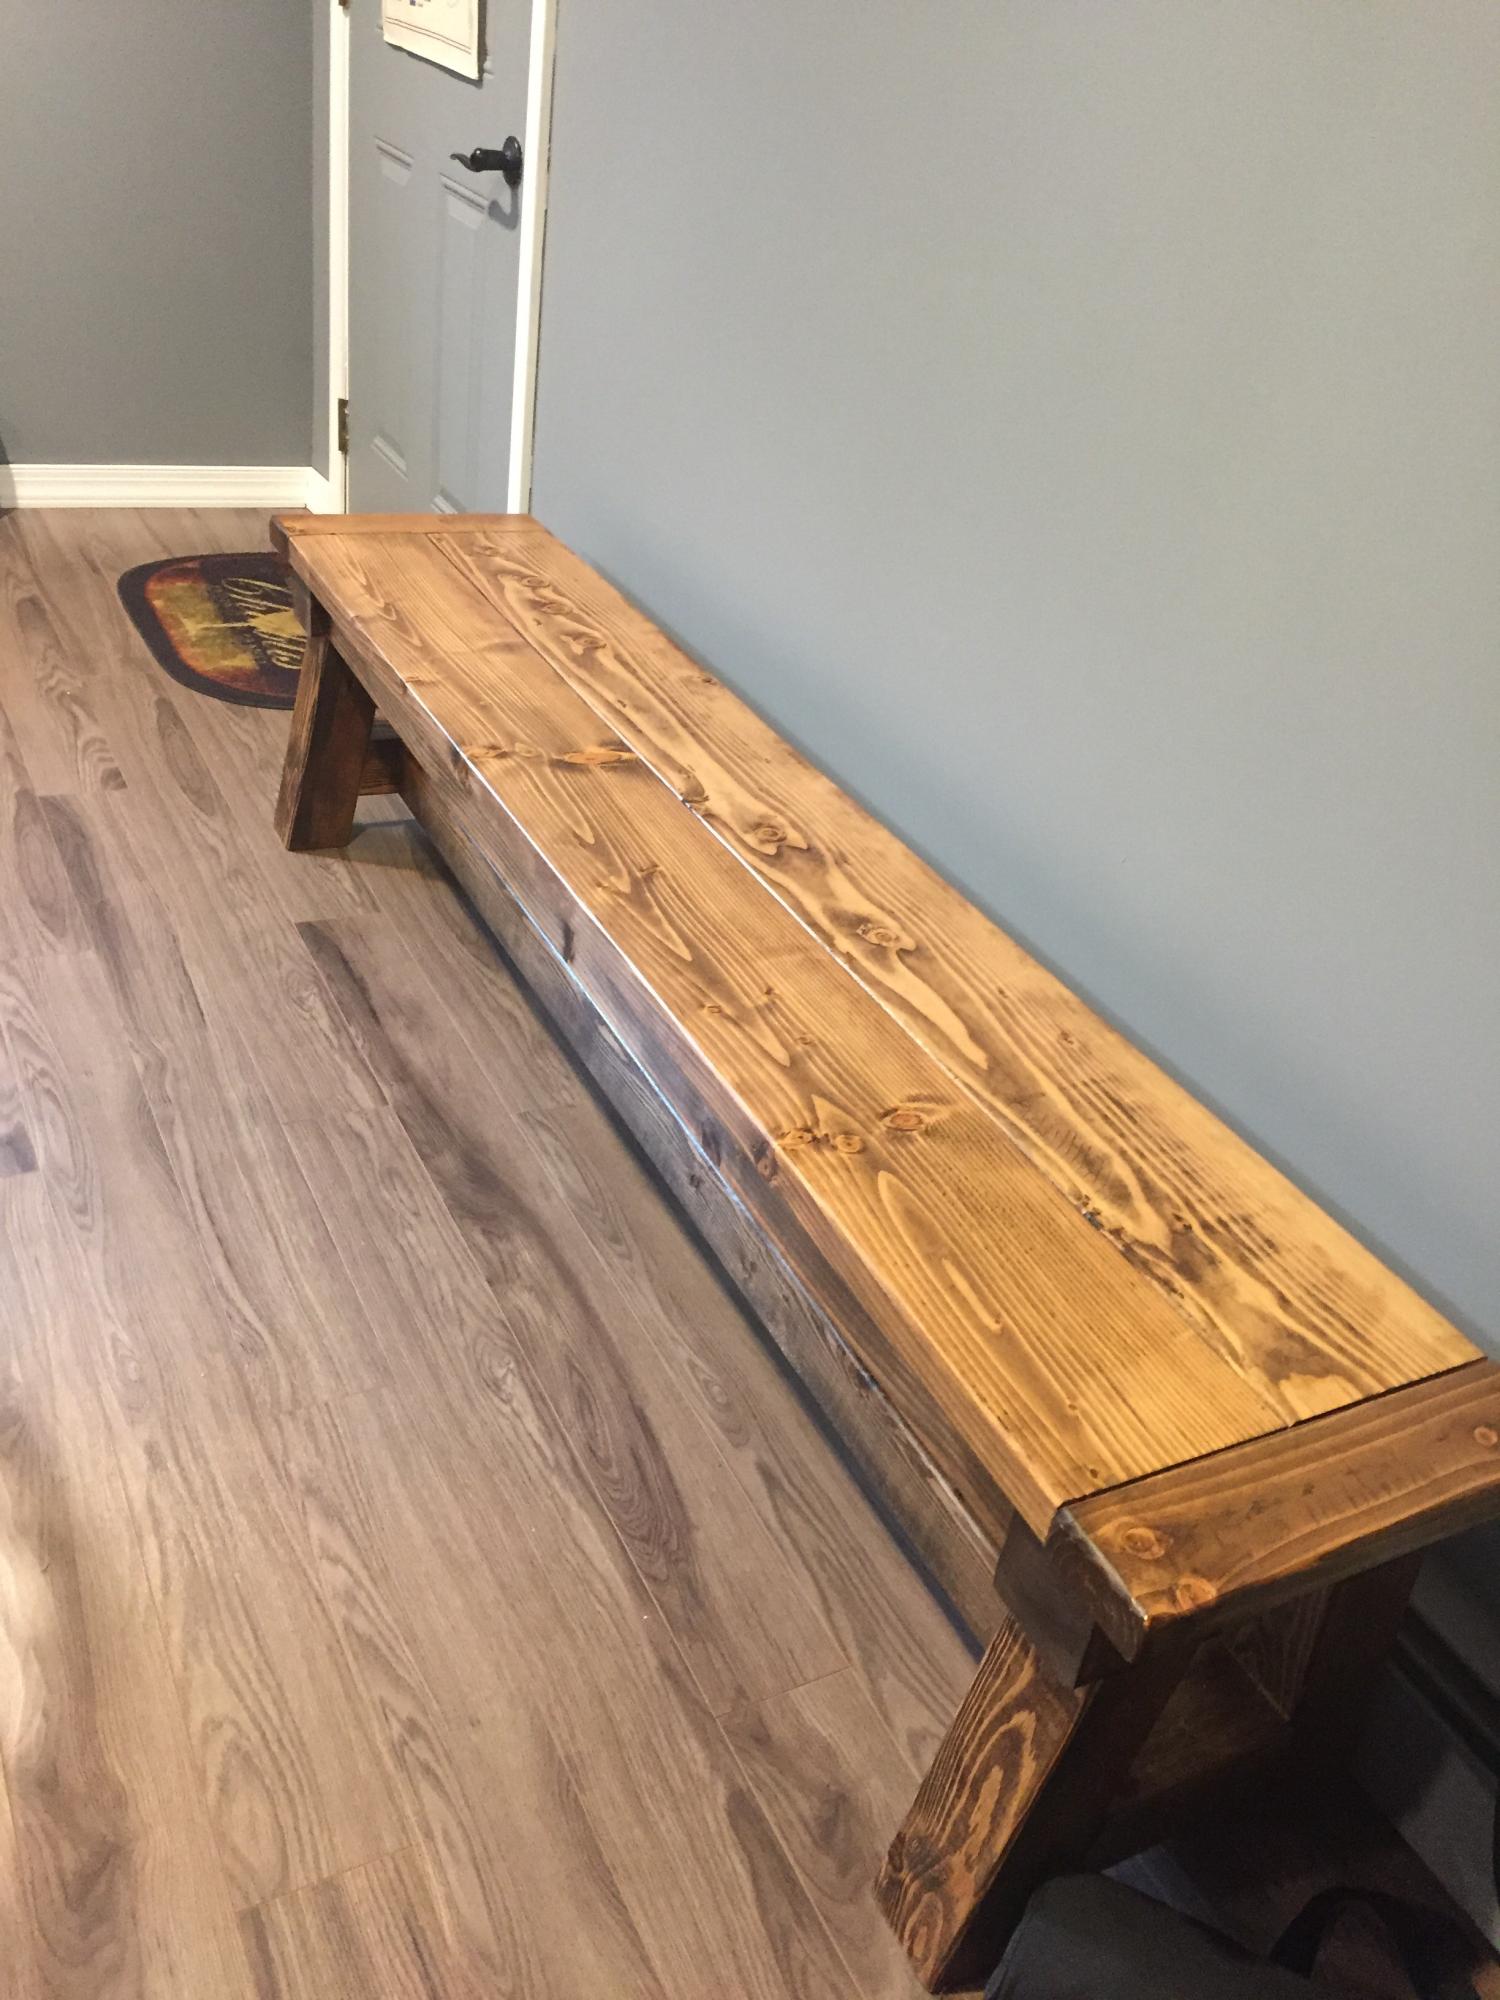
This bench is the most beautiful bench I have ever seen. My husband made ours long so all the grandkids to sit on it at one time. Made with love. I am having him make another one for our deck. Thank you for the plans.
Hailey Full Bed and scrap dog bed
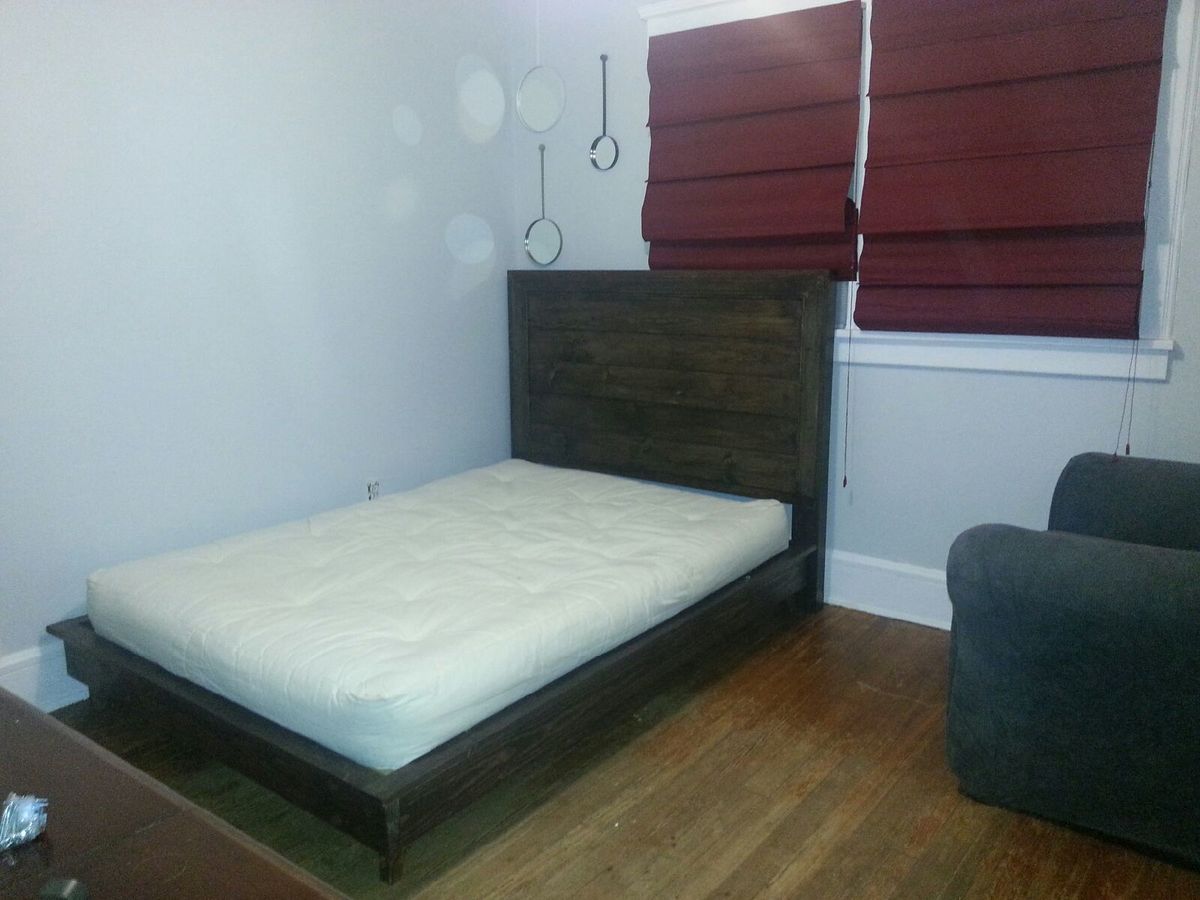
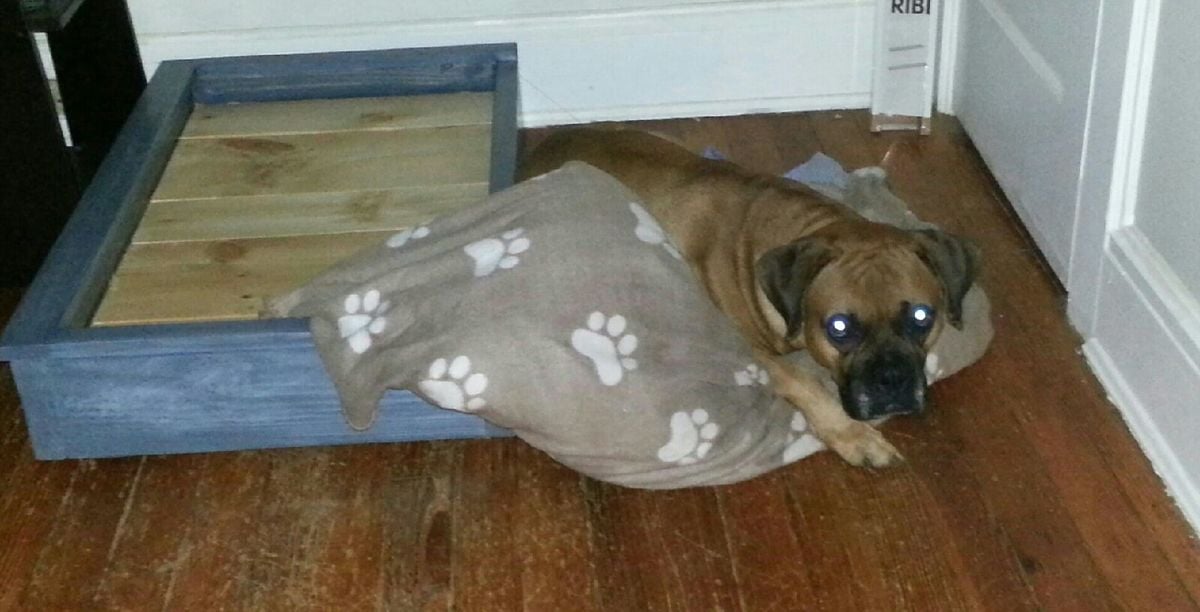
This is the first project that I made using the Kreg Jig. I was a little intimidated at first so with the scraps I had left over after making all my cuts (and a few scraps from other projects) I started with the dog bed so I could get use to making pocket holes etc. That project went great the only modification I made was I skipped the headboard, made the legs lower and the left the molding off one side. It looks great but as you can see in the pic...he still prefers the floor and his pillow.
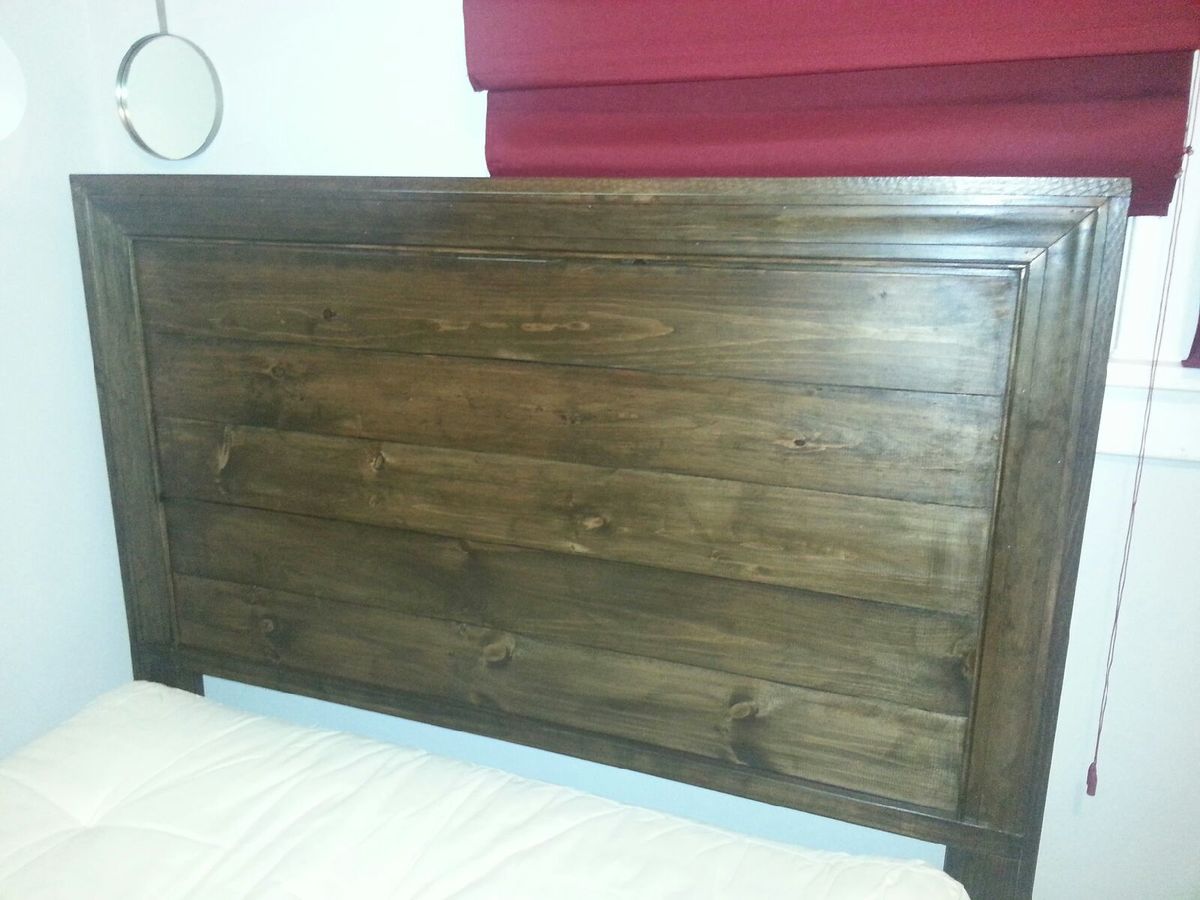
Making the actual bed I learned so much...#1) Its super important to have straight boards...A few of my boards were warped and it made it a bit difficult to join and required a lot of sanding. The directions were very straight forward and easy to follow the only modification I made was to the headboard which I made only 48 inches high so it wouldn't block the window so much and wouldn't over power the room. Also to attach the headboard tot he bed I used surface mount brackets from Rockler which make the headboard easy to remove and very sturdy.
I love it...had our first guest sleep on it last week and they loved how sturdy and comfortable it was.
Thank you Ana for the great plan and this wonderful site...can't wait to start my next project.
Farmhouse Storage bed with 80+ year old reclaimed barn wood headboard
I built the headboard out of reclaimed barn wood that I purchased on Craigslist. The seller worked for the DOT and was responsible for demolition of old barns that were in the path of new roads in North Carolina. He takes the barns down and salvages all of the wood he can and sells it on Craigslist. The wood I purchased used to be the interior walls of an 80+ year old barn that used to stand somewhere outside of Raleigh. I built the bed mostly out of red oak plywood, but the posts for the footboard are cedar (the only non-pressure treated 4x4's I could find in my area). I used Minwax Wood Finish Classic Gray for the stain. The drawer pulls are hand made from a local NC blacksmith named Northern Crescent Iron who I found on Etsy. Here is a link to his Etsy site: https://www.etsy.com/shop/NorthernCrescentIron
This was a fun project and my wife LOVES the size of the six drawers. :)
Storage Leg Desk
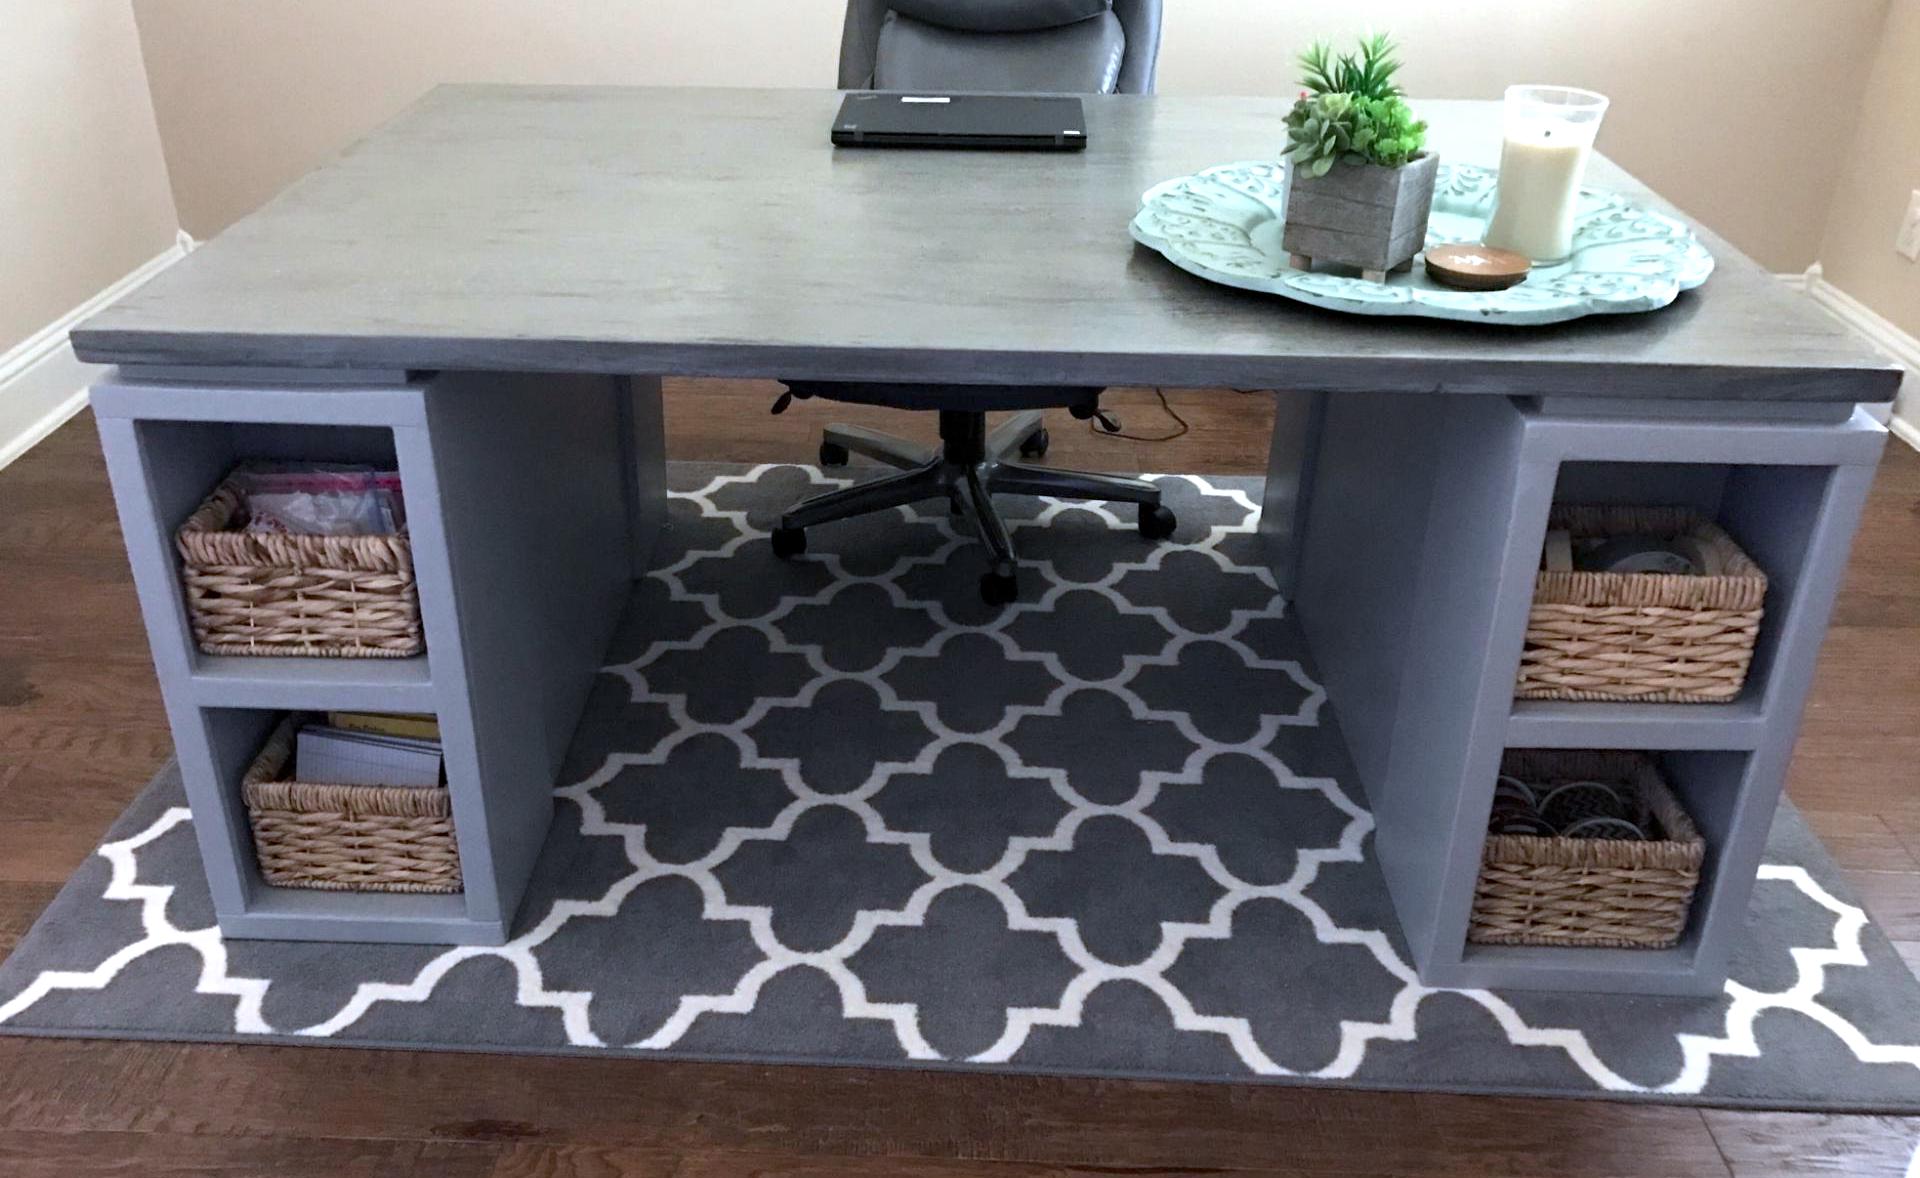
I made this for a friend! She has cubbies on all four corners.
Todler picnic table
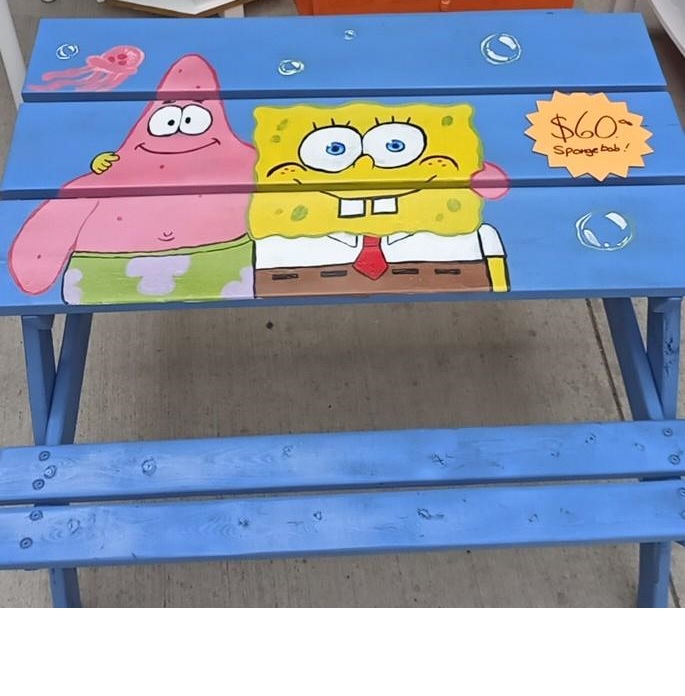
I love your plans and love making things for my family this is for my sister's flea market store!


Comments
Ana White Admin
Wed, 02/03/2021 - 10:30
Very nice!
I love the look of this and the lights give it that extra charm!