Community Brag Posts

Outdoor Sectional

Submitted by Anonymous (not verified) on Fri, 08/12/2016 - 14:24

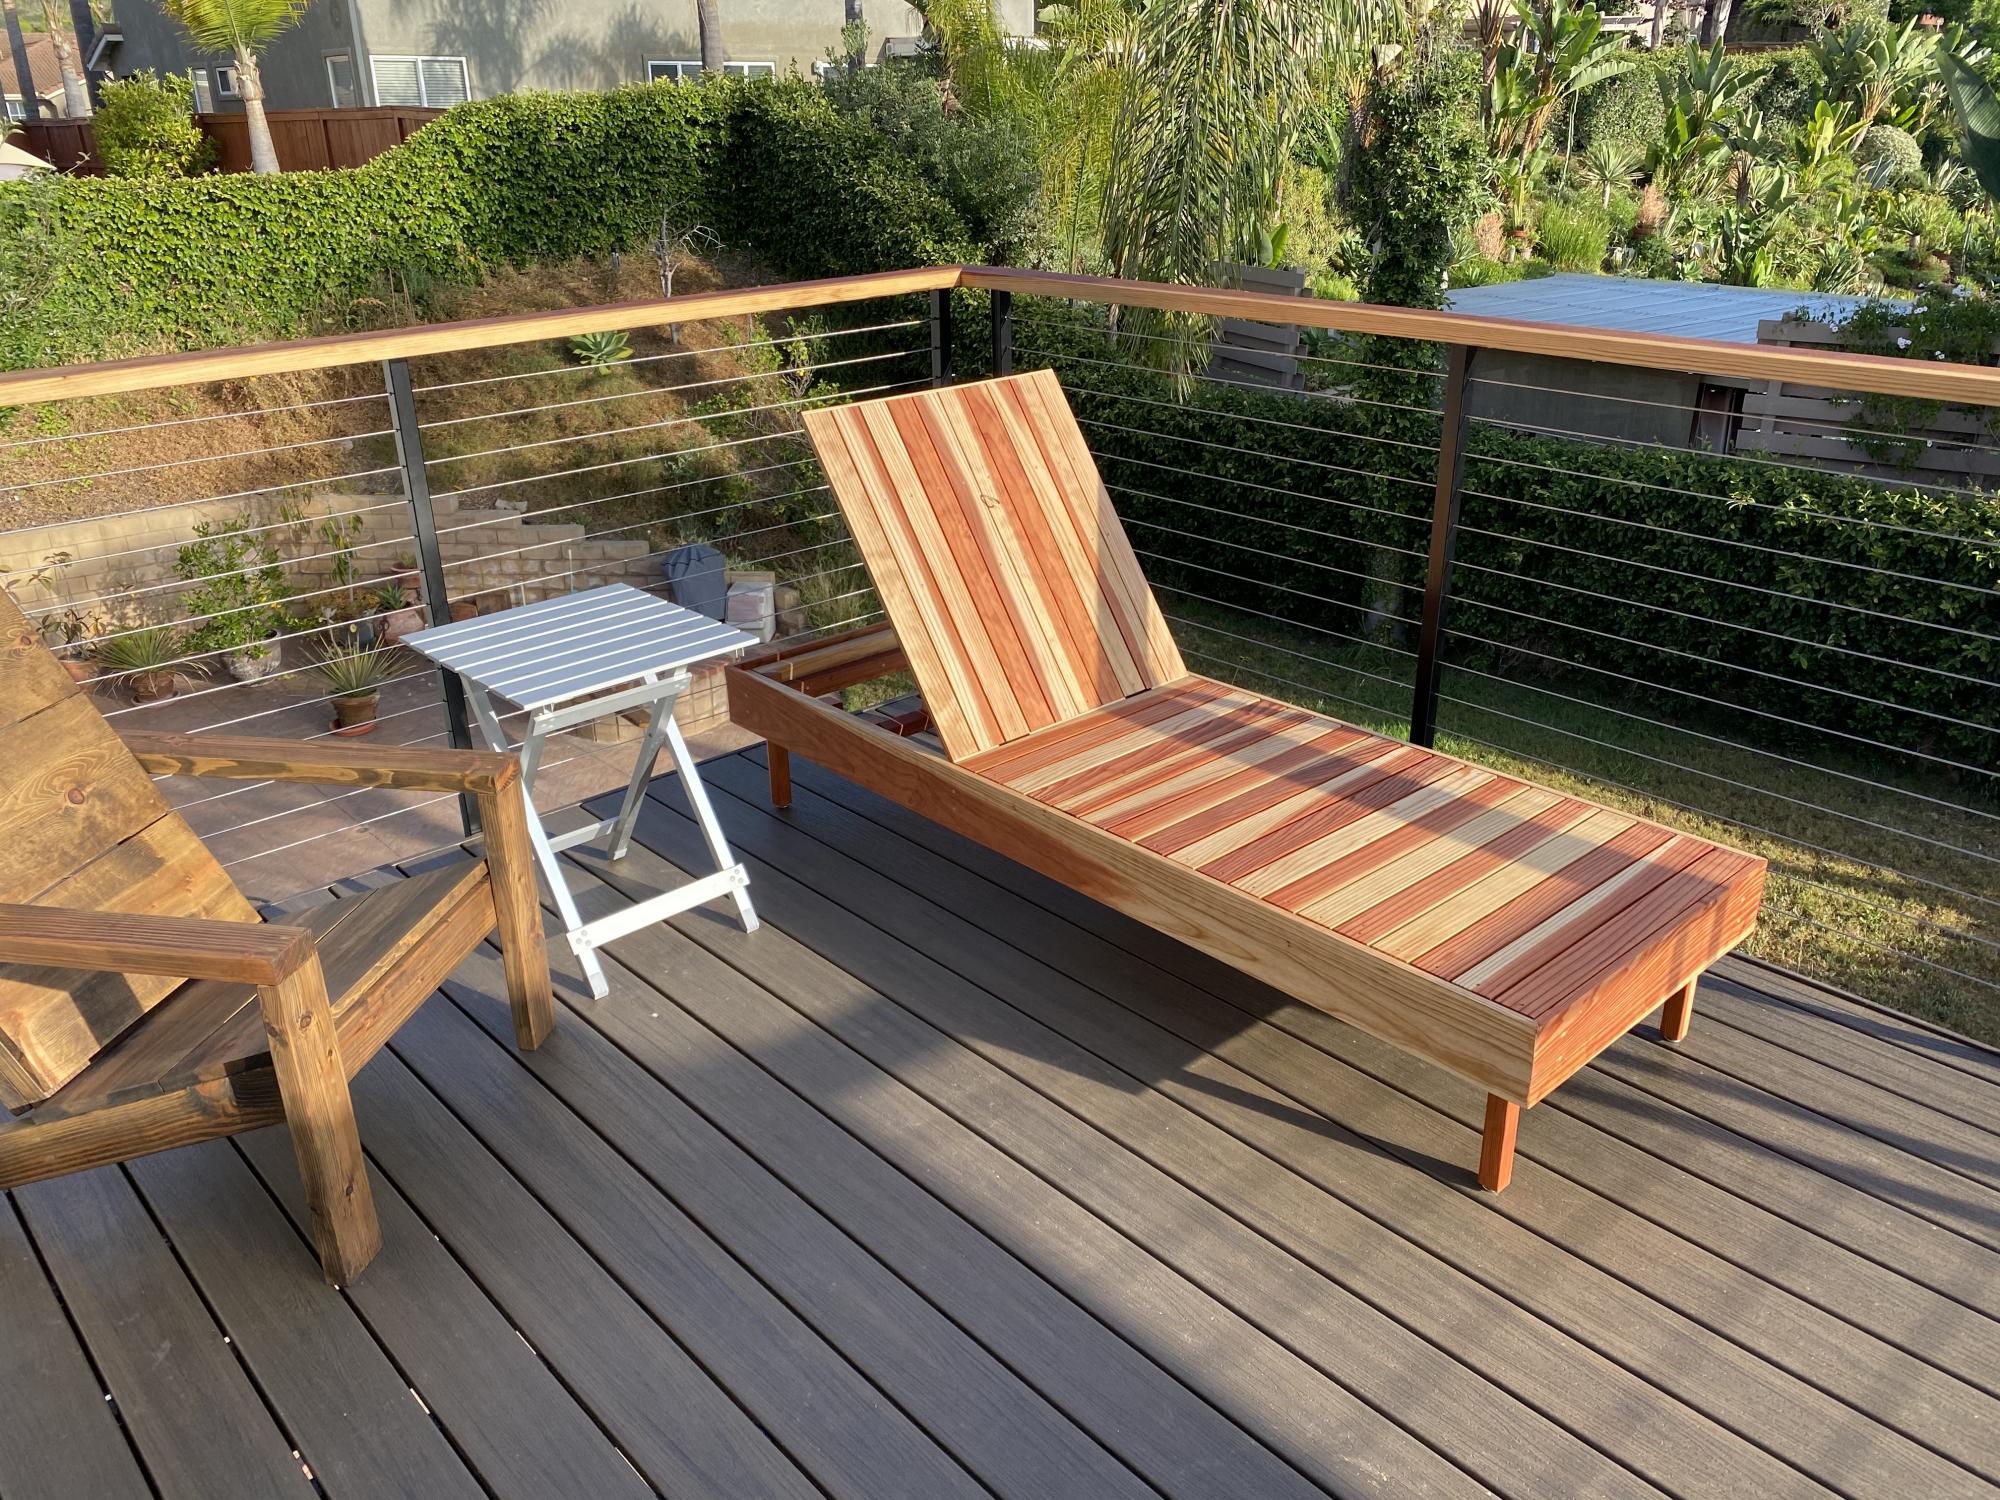
We were inspired when we saw Ana's Outdoor Sectional on Pinterest and after checking out the site we decided to build ours using the modified plans with 2 x 4s as it was much more cost effective. It was a really fun weekend project for my husband and I and not difficult at all. 

Small Famhouse

Submitted by Anonymous (not verified) on Thu, 02/15/2024 - 10:19

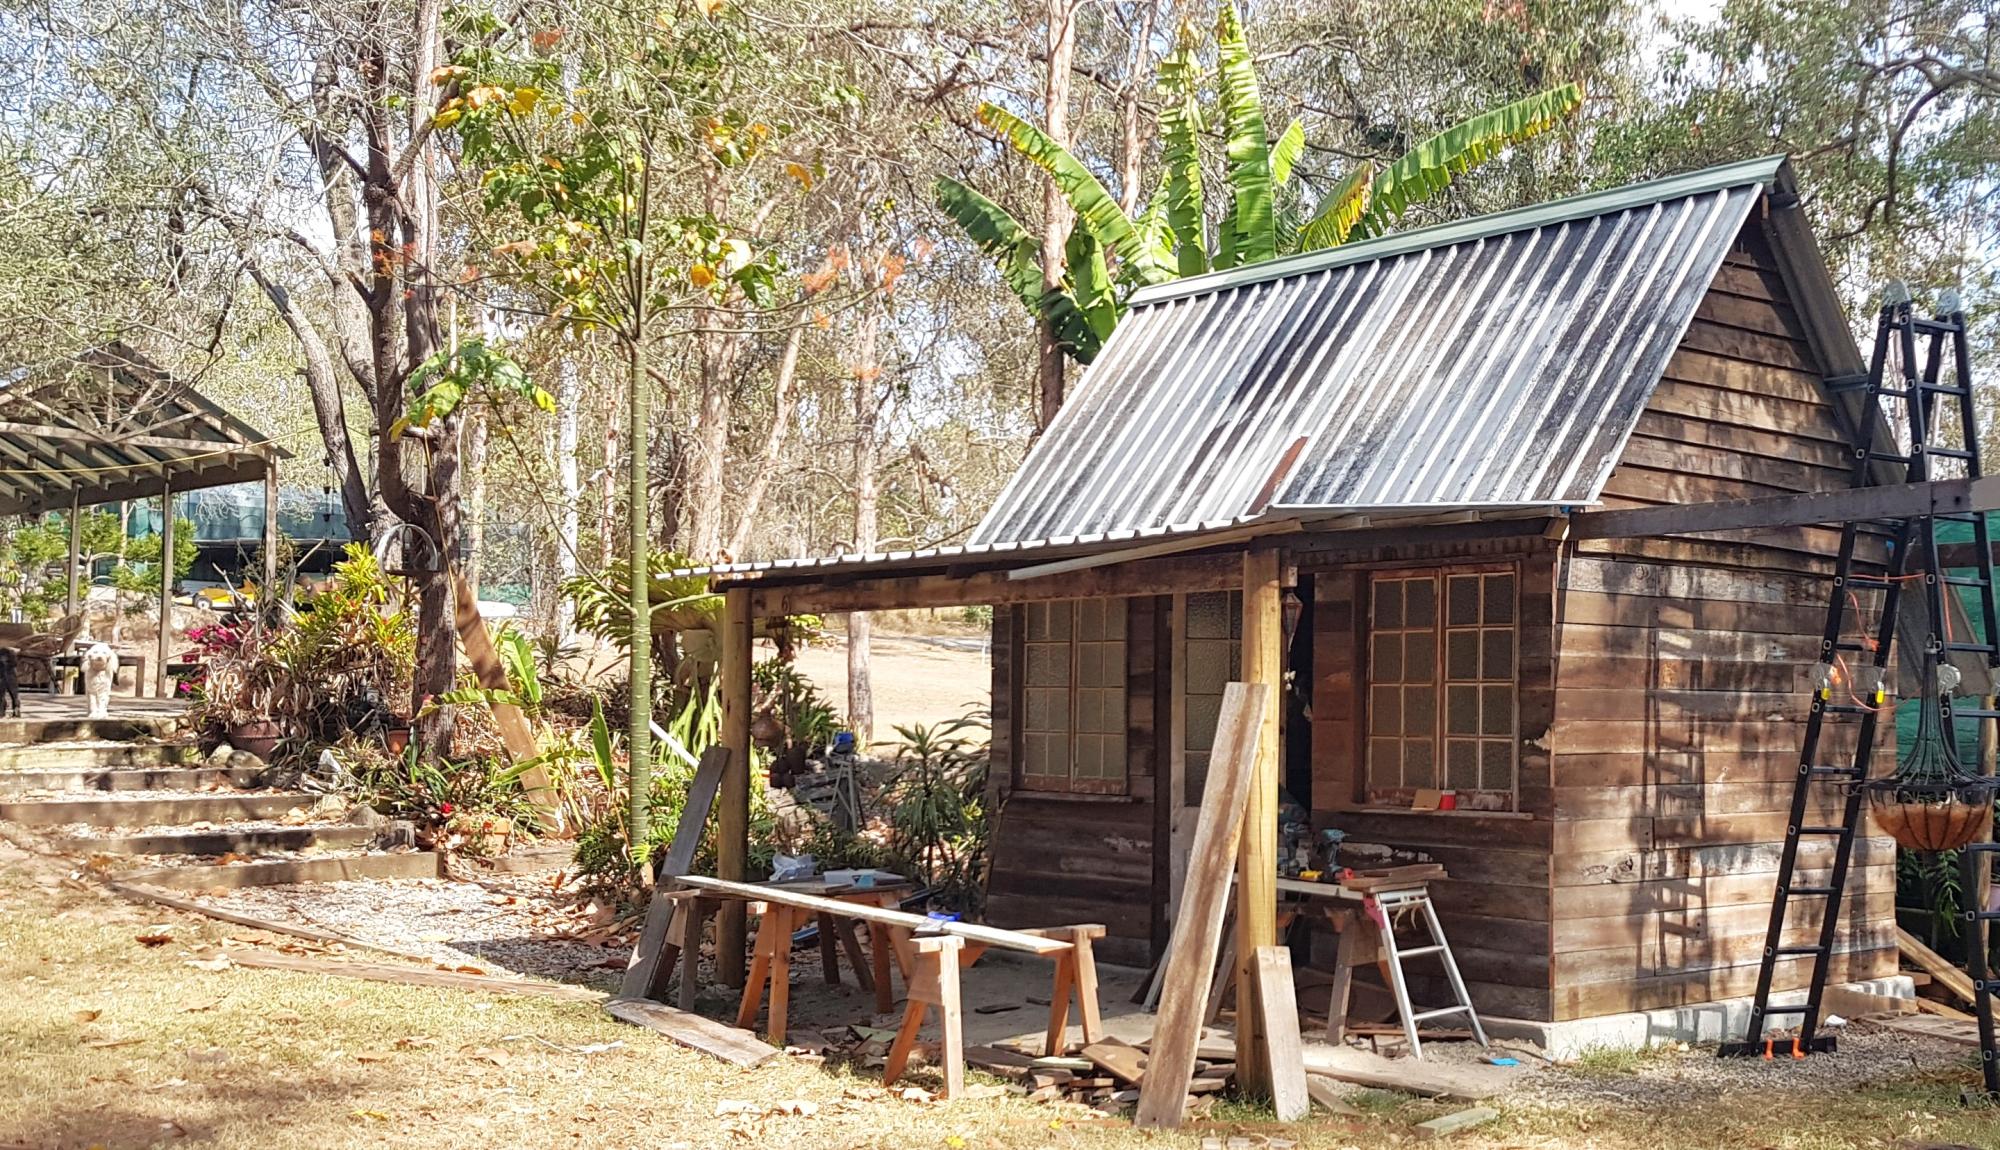
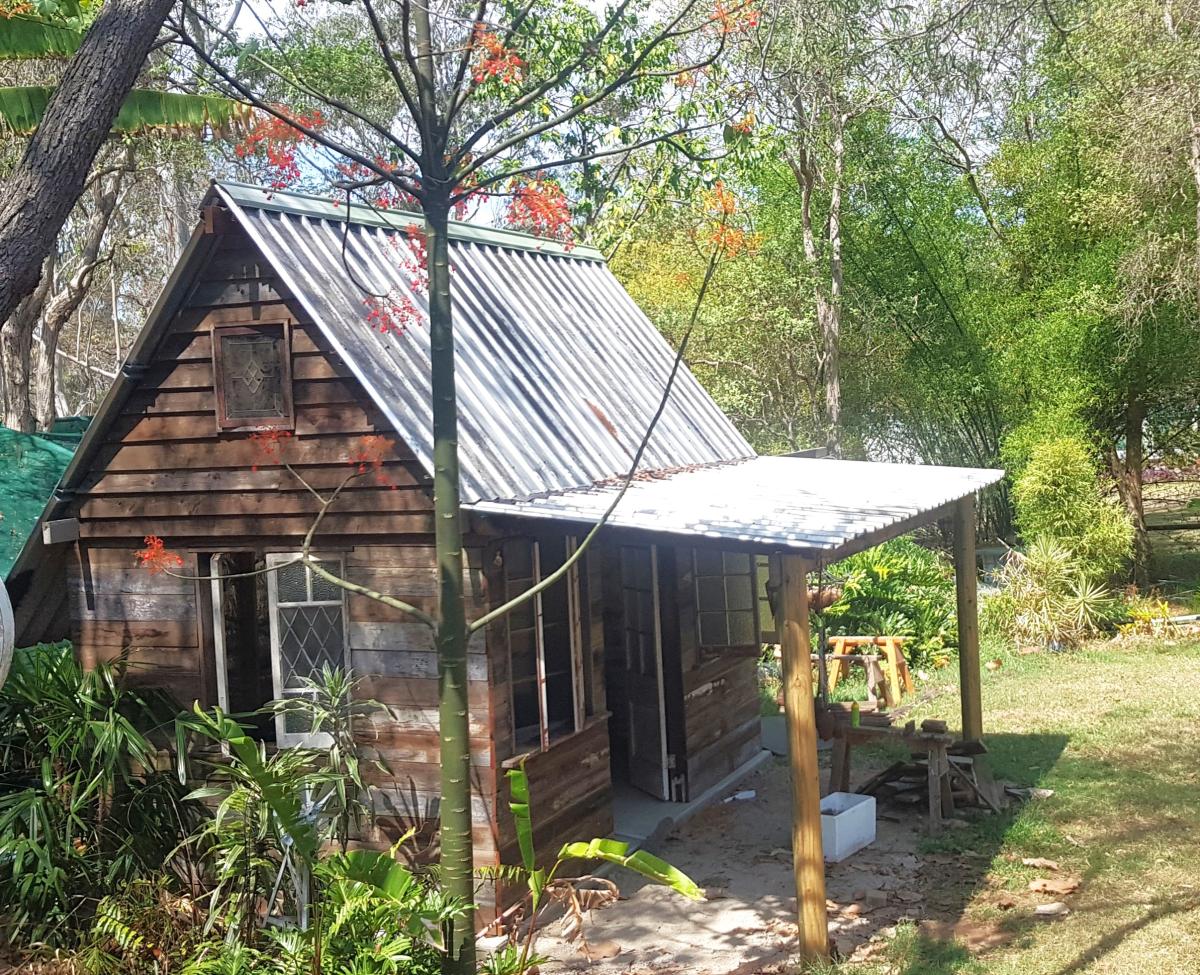
Nothing with finess but I always loved the look of old farm houses so I built my own.

Georgie

Kentwood Nightstands

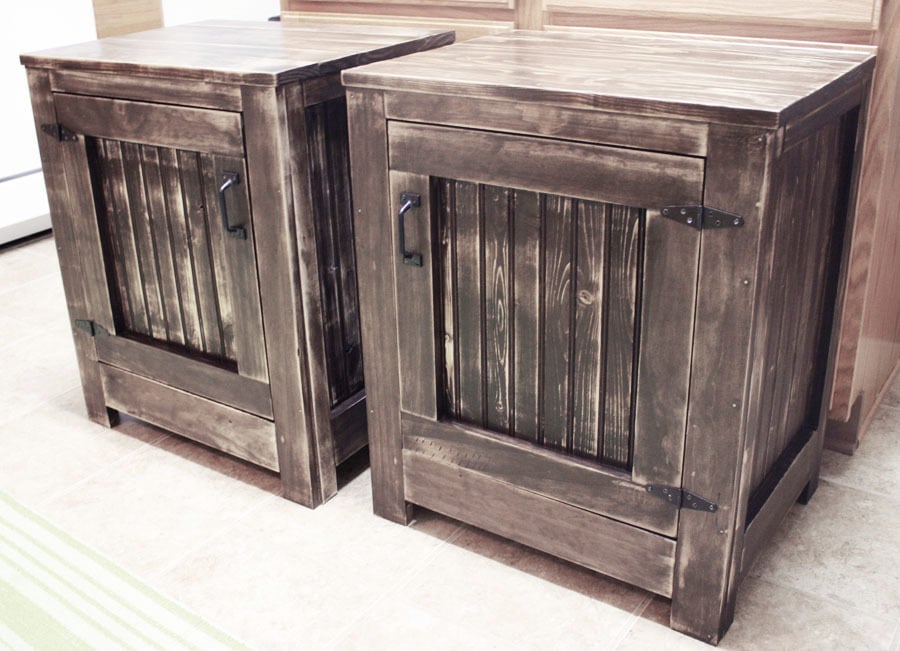
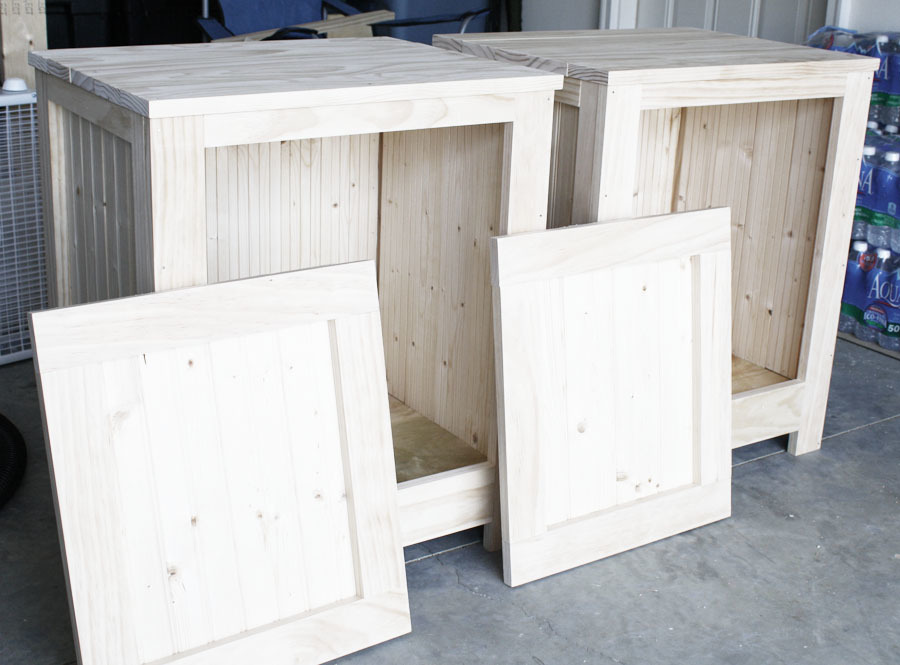
I really enjoyed making these nightstands (I made a pair). They were pretty easy to make, and I'm 7 months pregnant! I highly recommend the Kreg Jig - they made building these nightstands super easy and efficient. They're really sturdy too! If I can build them, anyone can! I'm still unsure about the finish; I may sand them down again and re-stain them a different color in the future.

Check out my blog link for the full play-by-play!

Estimated Cost
$70 per table
Estimated Time Investment
Weekend Project (10-20 Hours)
Finish Used
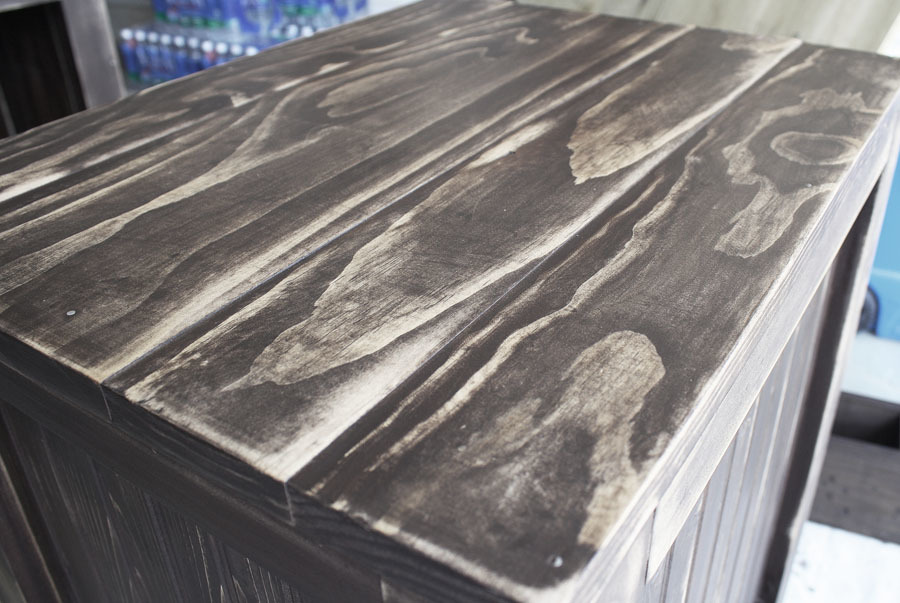
Rustoleum Ultimate Wood Stain in Dark Walnut, sanded down with 60 grit sandpaper and distressed, followed with 3 coats of Rustoleum Satin Polyurethane.
Recommended Skill Level
Beginner

Comments

Lori Hall

Sun, 06/02/2013 - 19:08

I'm not sure what you ended up deciding about the finish but I really like this version, please share how you did this. Thanks!

Lori Hall

Sun, 06/02/2013 - 19:17

I'm not sure what you ended up deciding about the finish but I really like this version, please share how you did this. Thanks!

jhavinga

Tue, 05/20/2014 - 13:33

The finish is awesome, have been searchin around for some inspiration for the next project and just found it! great job and thanks!

-Justin

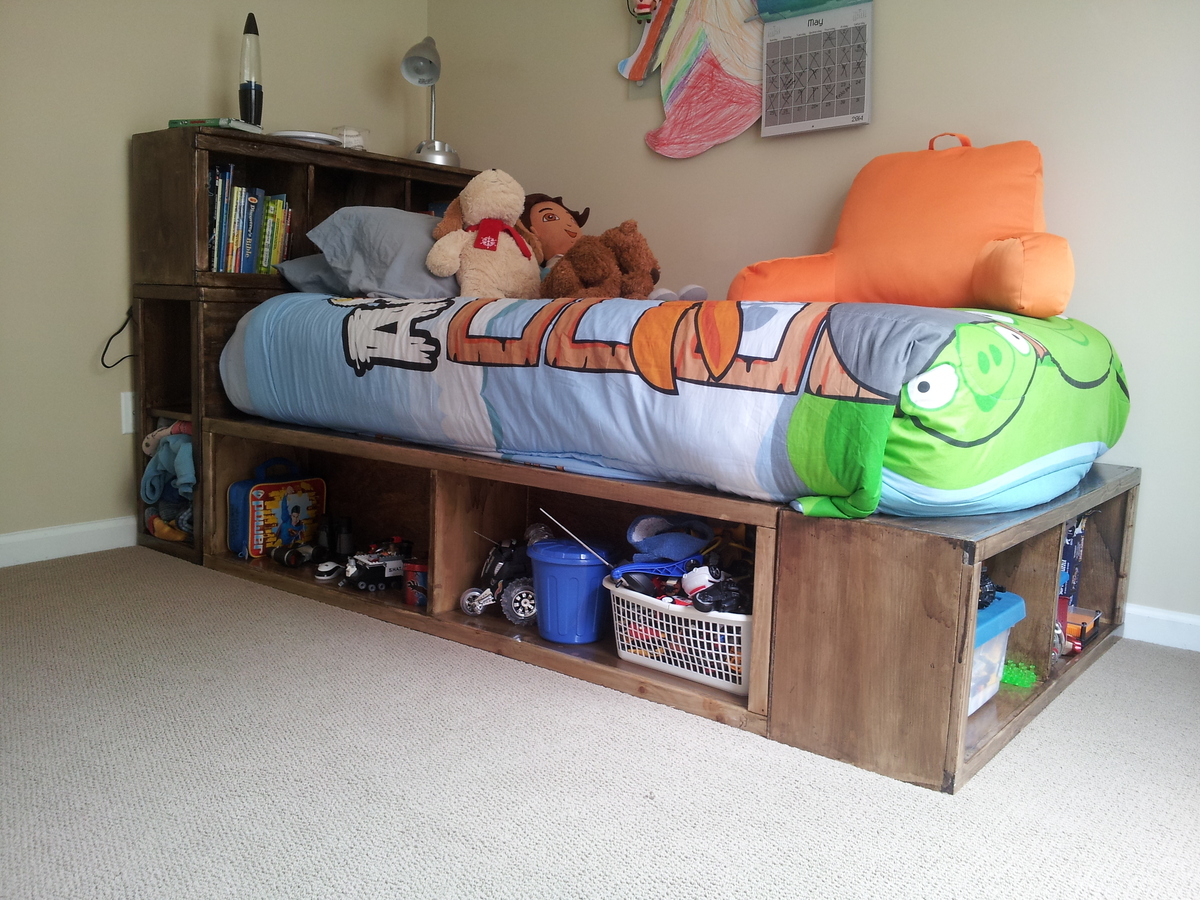
Farmhouse twin bed

My husband made this adorable bed for our daughter, and used plans from Ana-white.com. I love how it turned out!

Estimated Time Investment
Weekend Project (10-20 Hours)
Recommended Skill Level
Beginner

DIY Stuffed Animal Zoo Tower

This is my second stuffed animal zoo tower.  This time around I used cheap 2x2 furring strips.  Not the best pick of lumber, but it gets the job done well. :)

Built from Plan(s)
Estimated Cost
$30
Estimated Time Investment
Afternoon Project (3-6 Hours)
Finish Used
Watco Danish Oil (Medium Walnut)
Recommended Skill Level
Beginner

Fancy X Farmhouse table

Submitted by Jkneilands on Tue, 07/24/2012 - 03:56

This is all cedar with 6 coats of Urethane. Very nice project to undertake..

Estimated Time Investment
Day Project (6-9 Hours)
Finish Used
6 coats of Uurethane sanded between each coat.
Recommended Skill Level
Intermediate

Comments

Ana White

Fri, 09/05/2014 - 16:06

Thank you Reshhia! I apprectiate your comments! Thank you for visiting our site and happy building!!

3-Stall Horse Stable

Submitted by dbwalk on Sat, 05/17/2014 - 18:14

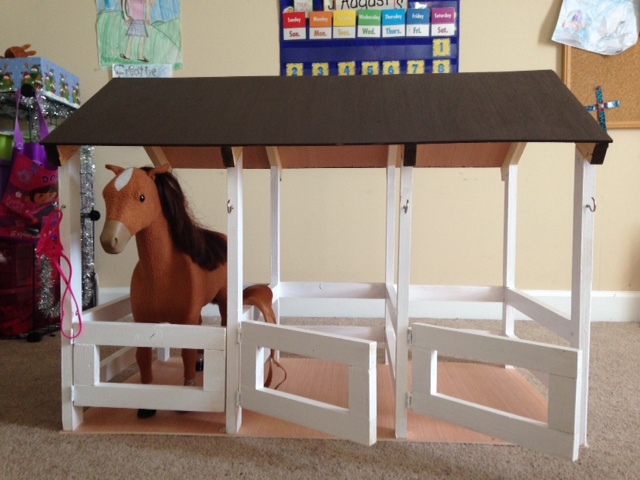
This was a Christmas gift for our three girls. They each have an American Girl-like horse. I saw all the stables in the brag section with double stalls. But I decided to make it into a triple stall instead. It didn't add much to the cost of the project and only took a little longer to complete.

I added some hooks on the outside of the stalls so they could hang the bridle. Our girls love it.

Estimated Cost
$80
Estimated Time Investment
Day Project (6-9 Hours)
Finish Used
I used a dark wood stain and white paint to finish the color.
Recommended Skill Level
Beginner

Cottage Loft bed playhouse with stairs, lights and desk

Submitted by kadnetop on Fri, 08/19/2016 - 10:18

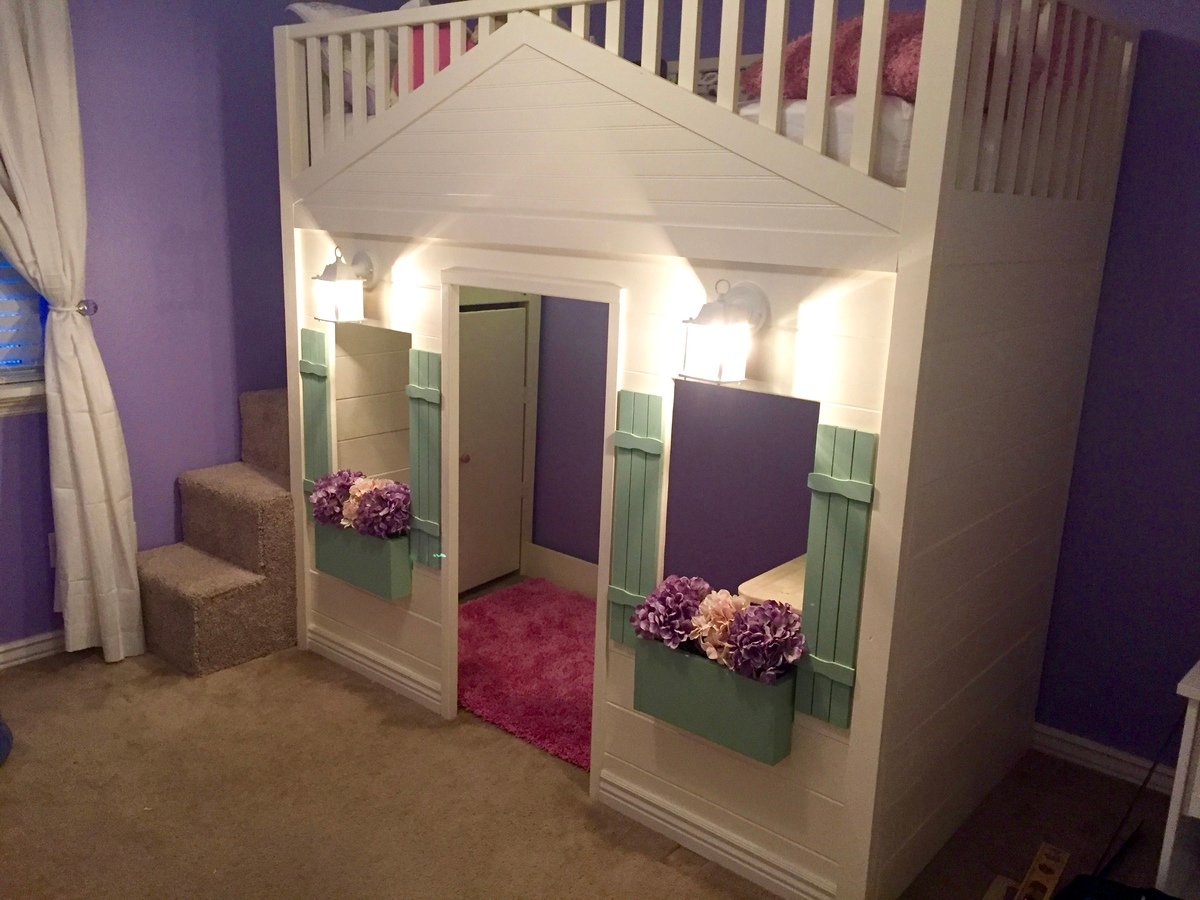
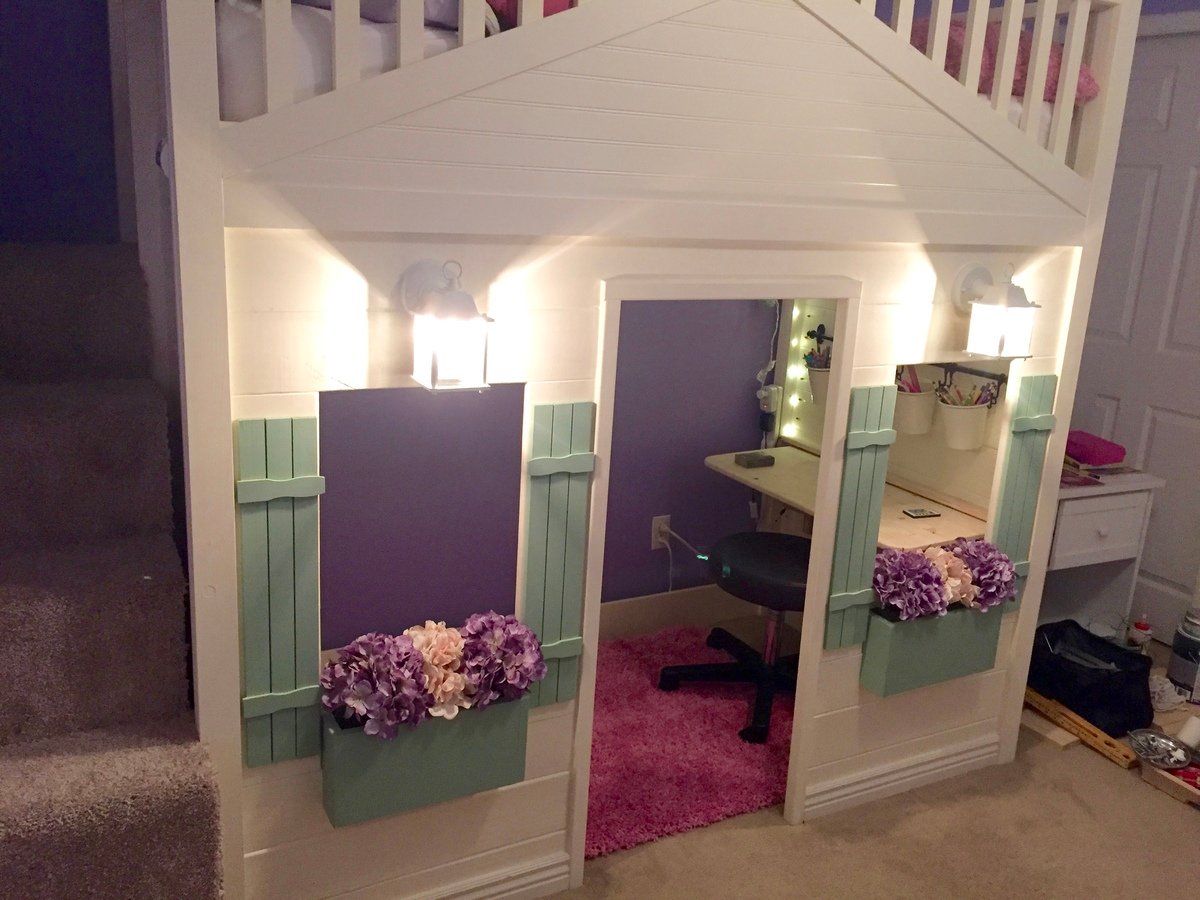
We took the loft bed plans and modified a bit for our daughters bed. We made it a little taller including the doorway. Instead of a ladder we did a set of carpeted stairs with entry to the underneath space through a door on the inside and added a light for a 'secret' hideout. Everything else were just some added features. We built flower boxes and added foam blocks with silk flowers. For the gable we used bead board. For the shutter we used small wood strips and the horizontal pieces are just the free paint sticks from lowes cut down. We then added wired in lights hooked up to her light switch. (she loves this part) Then he built a fold down desk that can be opened or closed for when they want to play in there. The school supplies we used the rod and tin buckets from Ikea kitchen area. Over it took about 6 weeks to do everything between watching the kids and working. Cost for materials and the extras came to a little over $600. 

Built from Plan(s)
Estimated Cost
$600-$700
Estimated Time Investment
Week Long Project (20 Hours or More)
Finish Used
White color= Behr -Polished Pearl (we matched it to annie sloans Old White)
Green trim color- Valspar- green trellis
Recommended Skill Level
Intermediate

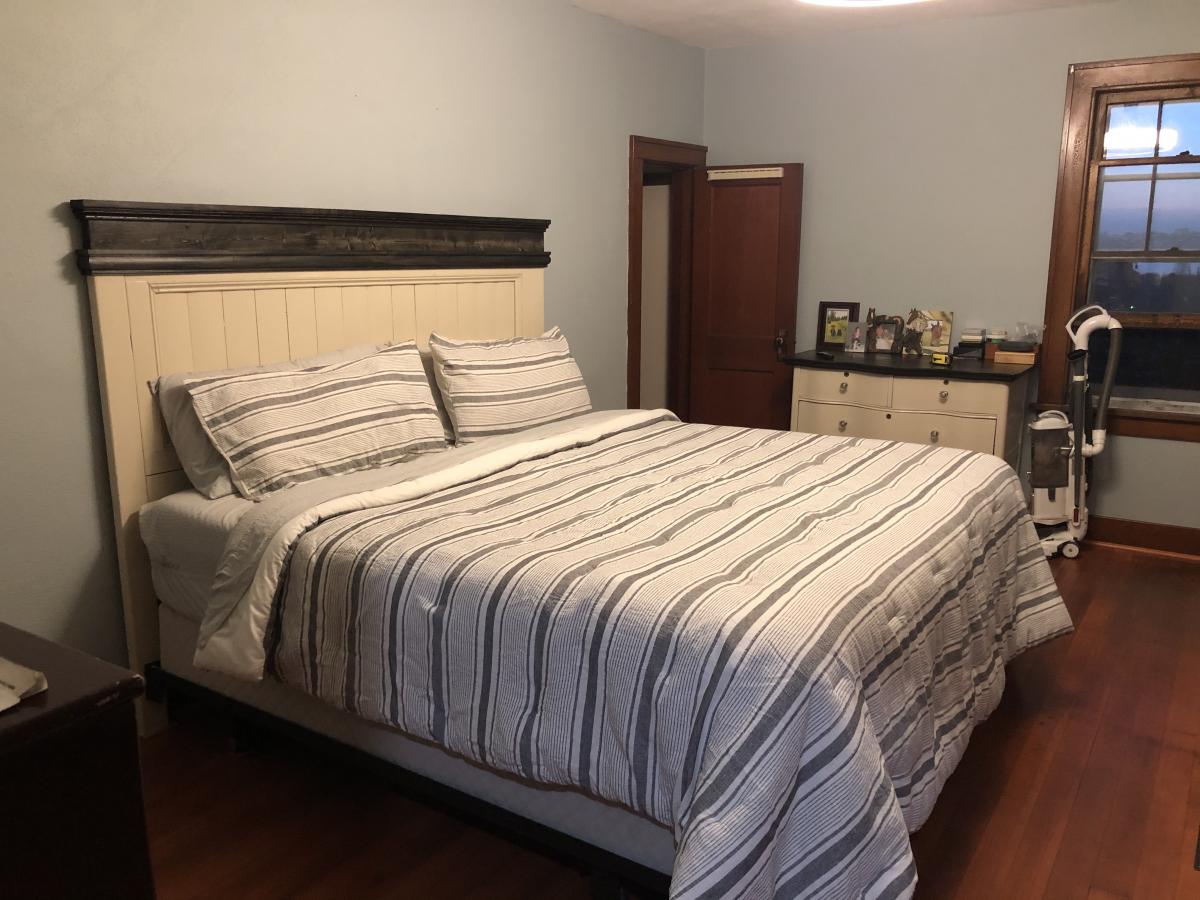
King Sized Fancy Farmhouse Bed

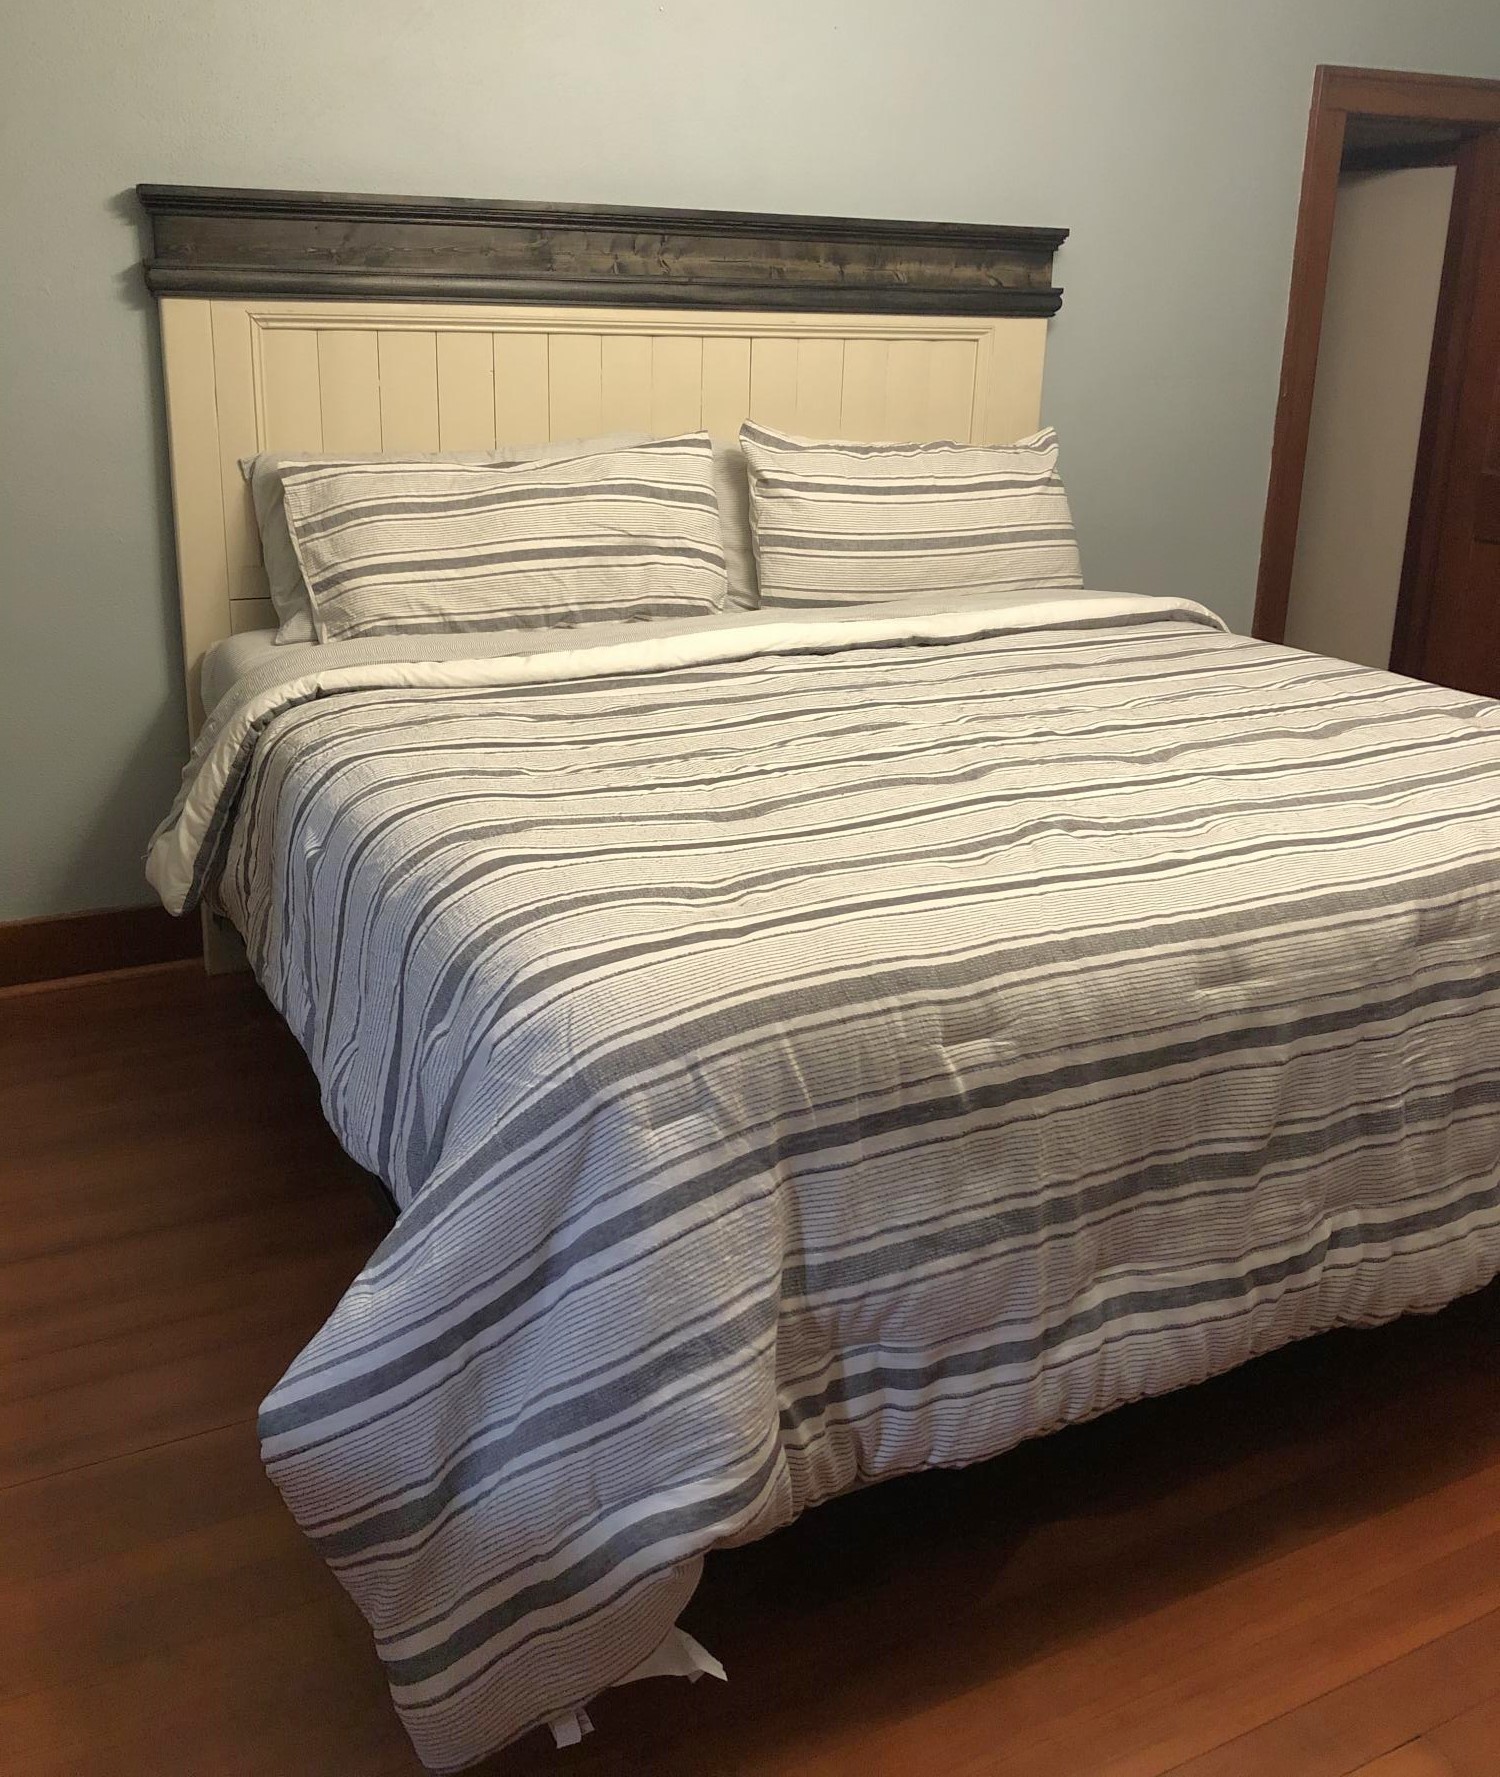
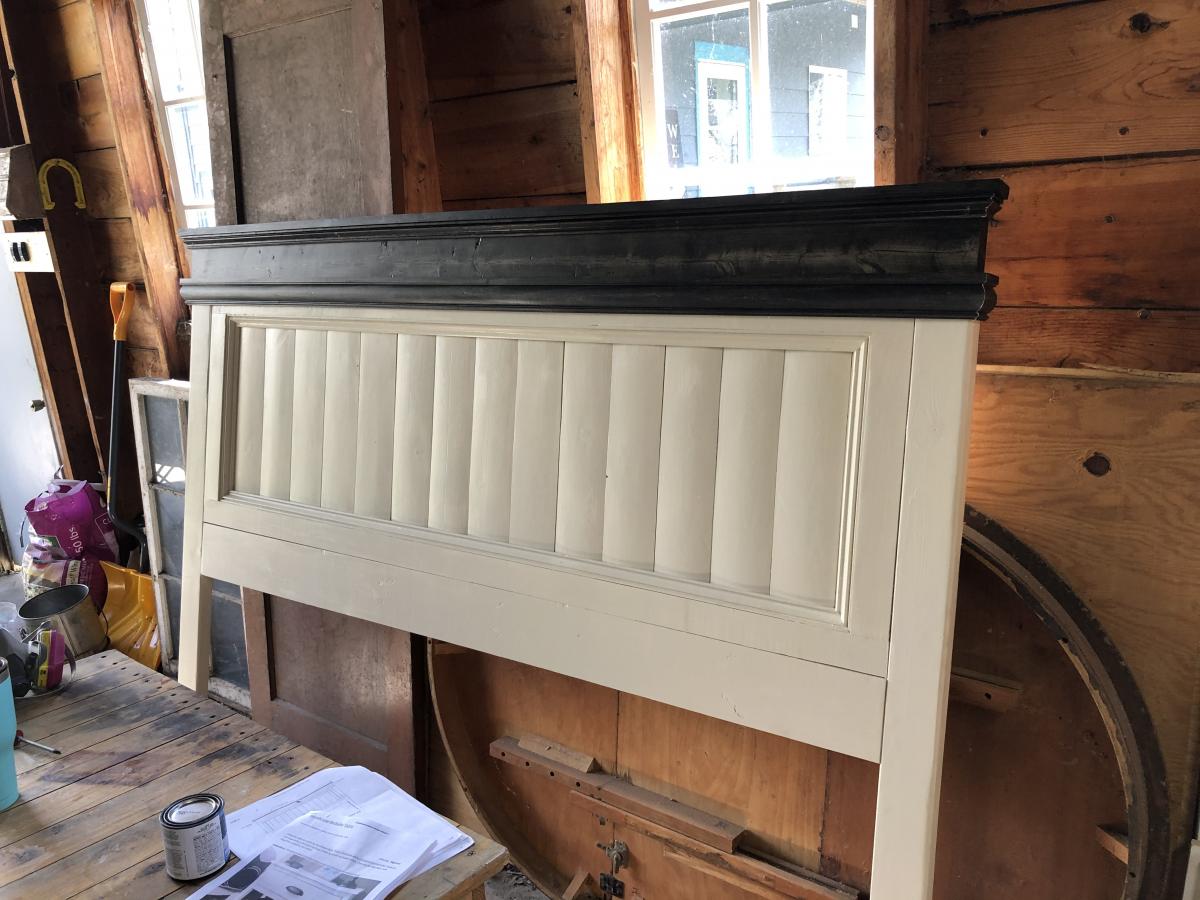
Created our own King sized Fancy Farmhouse bed (headboard only) using Ana White’s plan! Overall, a well laid out plan, very easy to complete! We went with a two tone color scheme to match an antique dresser I refinished last year. Note: we used nickel gap “ship lap” for the panel of the headboard and used the pocket hole jig to secure the pieces together, traditional tongue and groove probably would have been easier, but I love how the nickel gap looks finished!

Estimated Cost
$200
Estimated Time Investment
Day Project (6-9 Hours)
Finish Used
Cream colored paint is Valspar Gloss Almond enamel paint

Dark stain is Cabot Ebony with 2 coats of satin poly
Recommended Skill Level
Intermediate

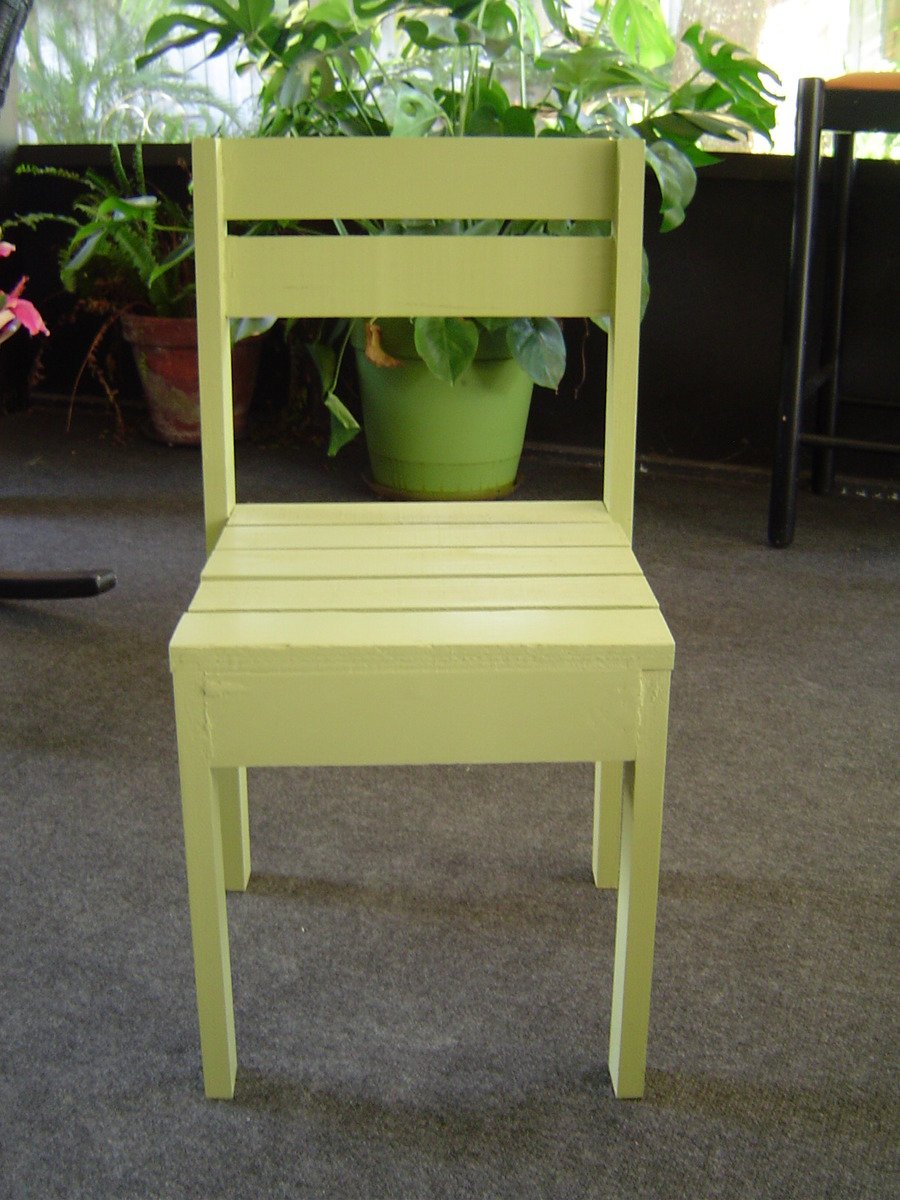
Kids Chairs

Very easy chair to make. Great size for my 6 year old and 10 year old.

Estimated Cost
$4.00
Estimated Time Investment
An Hour or Two (0-2 Hours)
Finish Used
paint and cricut vinyl
Recommended Skill Level
Starter Project

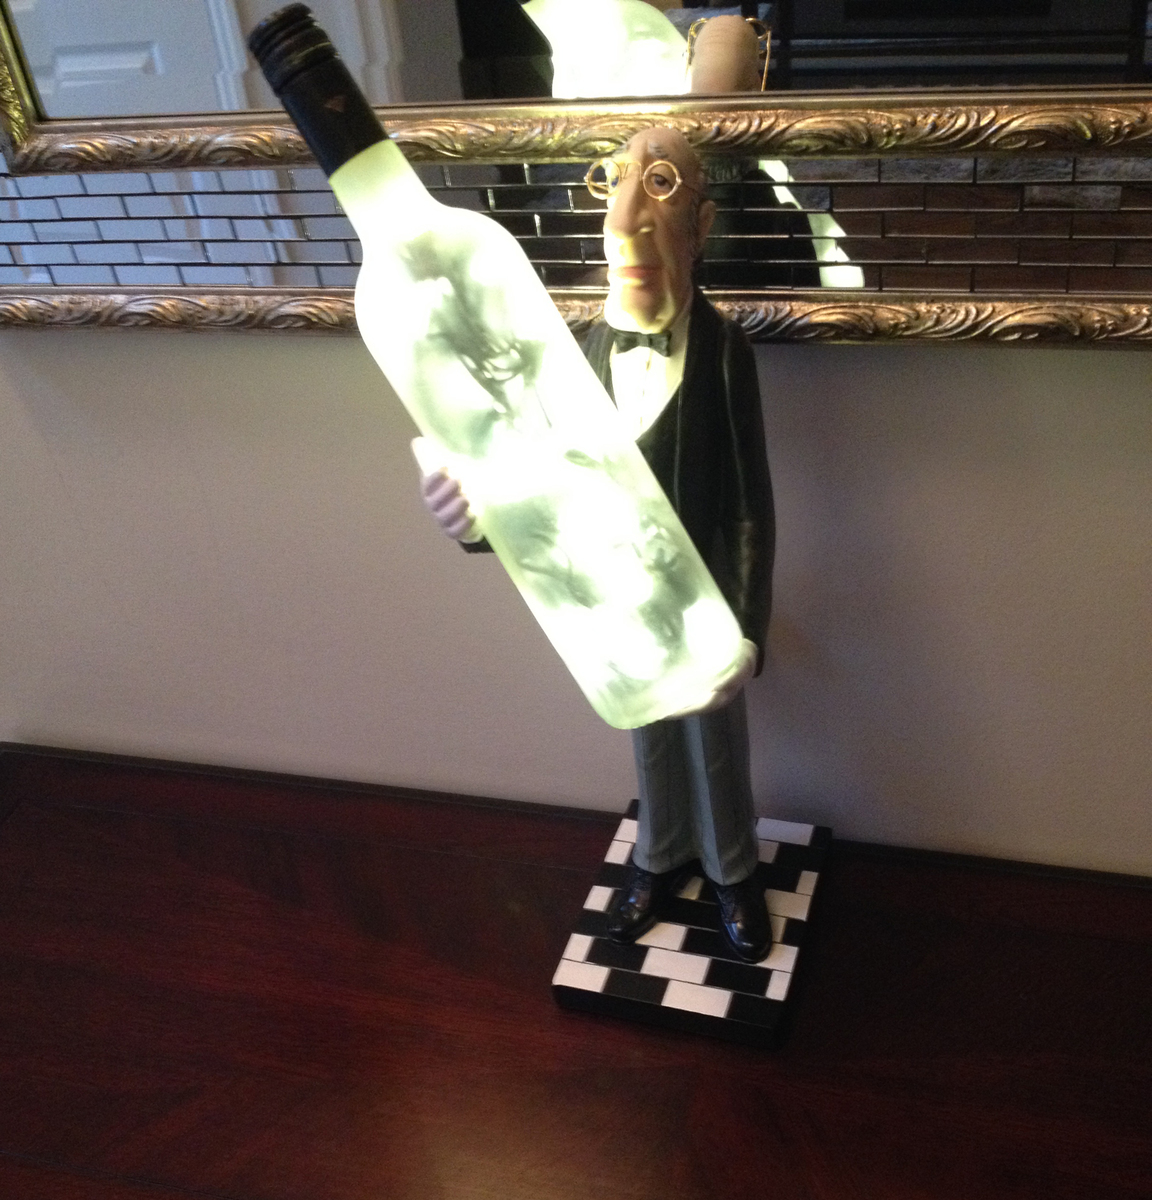
Wine Bottle Lamp

Submitted by respaceit on Wed, 05/21/2014 - 11:05

Learn how to take an old wine bottle and convert it into an accent light figure. Use it in your kitchen, bedroom, bar and more. With just a few tools you can be on your way to creating something cool.

The tools you will need to get started are:
Power Drill
3/8 diamond drill bit (ask your home improvement store for bits made for glass)
If you find the lights are too hard to push through, then you can drill a 1/2 inch or 5/8 drill bit.
String light (25-50 LED lights)
Rustolem Glaze finish
Wet Sponge or access to a water hose

Here are some quick steps to use.

1) The first thing you will need to do is dampen the area where the hole will be drilled. When you cut through glass, it heats up really quick so you have to cool it down with a wet sponge or run cool water over it in between drilling.

2) Start off by slowly drilling an indent into the bottle. The drill bit will wobble around but once you get the groove in there, it will anchor itself and go through smooth.

3) Drill in increments, then wipe down to cool bottle and continue drilling again. The entire process to drill the hole through the bottle took me 5-7 min. Once the hole has been drilled, wipe it down with a sponge to get any loose glass chips off the bottle.

4) Take you LED lights and push in one bulb at a time into the hole drilled in bottle. You can use a coat hanger from the top (neck) of the bottle to pull the wires up.

5) Once all the wires are in the bottle, then tape up the remaining wires on the outside and the neck. Grab your glaze and spray it on. Be sure to do this in a well ventilated area and wear a mask.

6) Once done, grab a 2 sided male extension cord from your home improvement store and plug it in and wash it glow.

Note: Although LED lights emit low heat, you may want to create some kind of ventilation for your bottle. I drilled another small 1/4 hole near the middle to allow for any built up heat to escape. You can also take a sharp tack and pierce the lid of the bottle.

To view the video tutorial please go to https://www.youtube.com/watch?v=5yvgzacdJMQ or visit http://respaceit.com and go to the "how to" section.

Let us know what you think!
Built from Plan(s)
Estimated Cost
$20
Estimated Time Investment
Afternoon Project (3-6 Hours)
Finish Used
Rustolem Glaze Finish
Recommended Skill Level
Starter Project

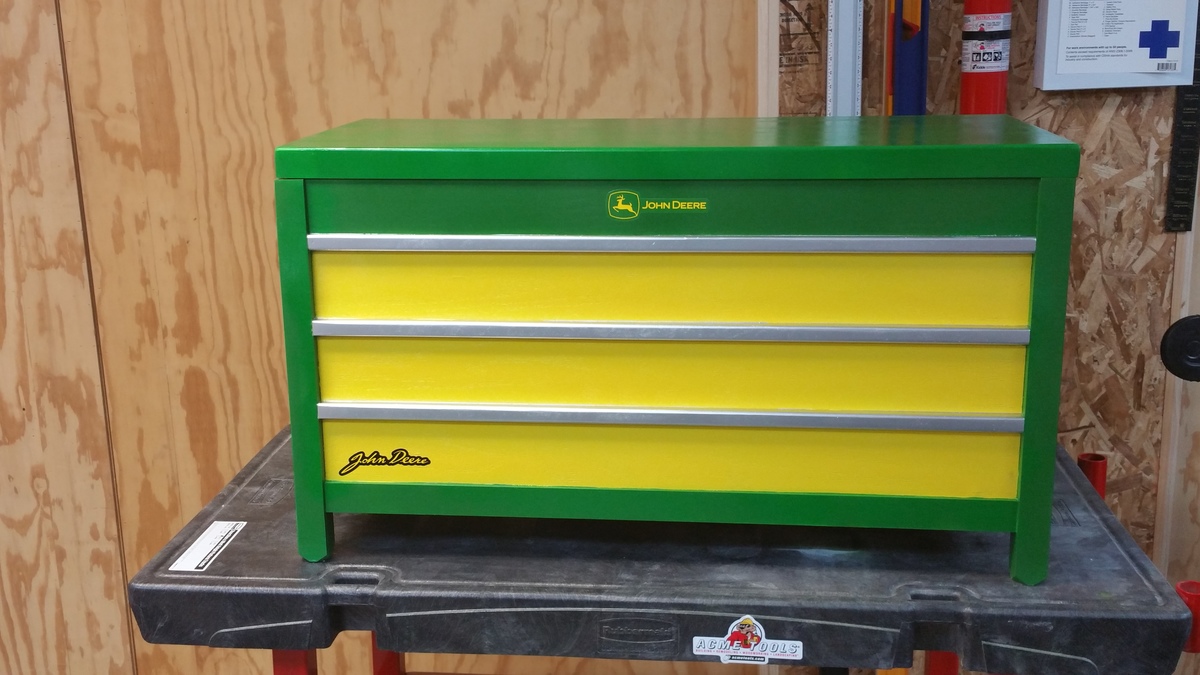
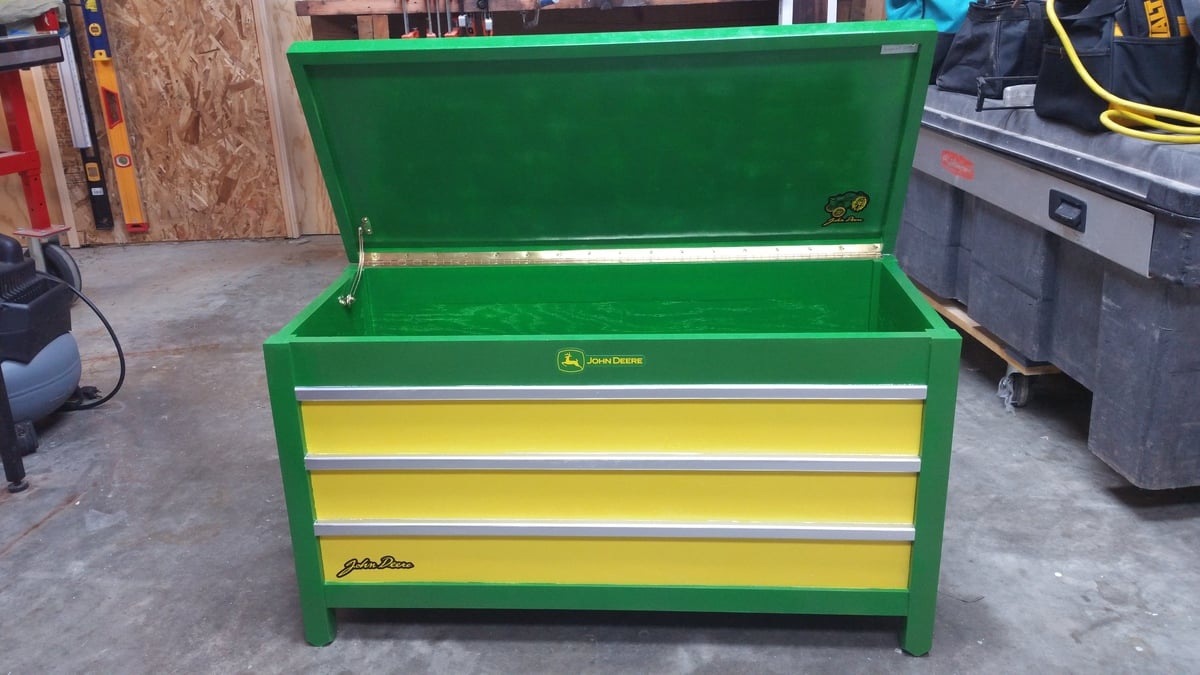
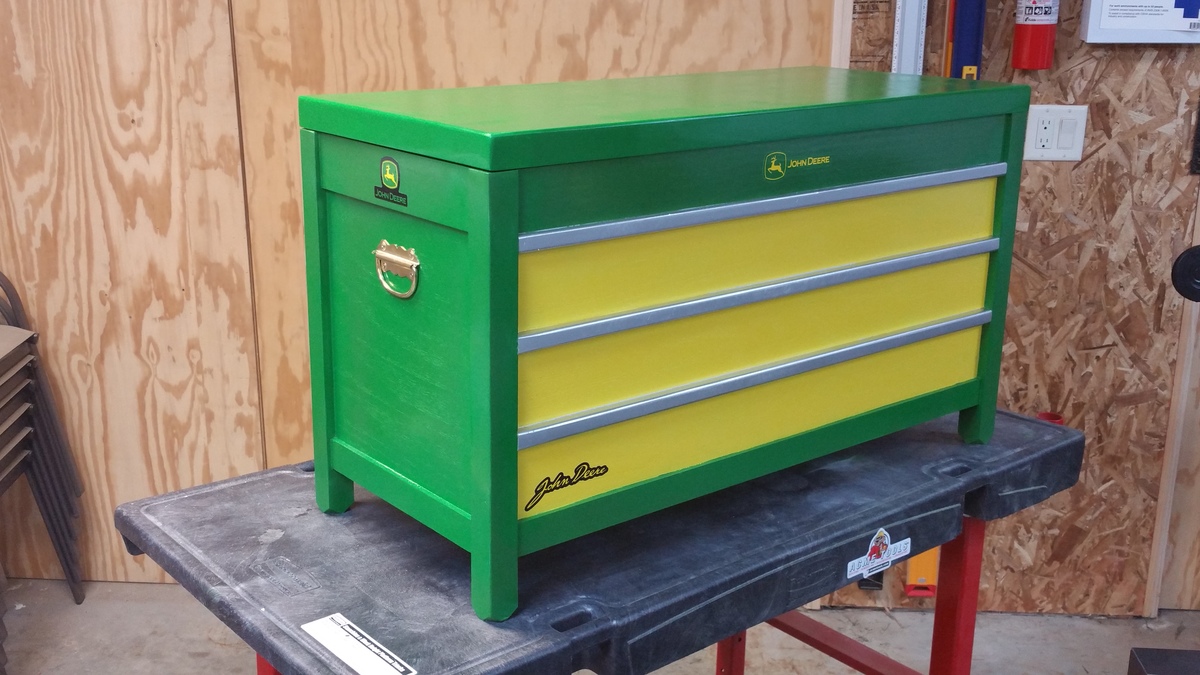
John Deere Toy Box

Submitted by Anonymous (not verified) on Sun, 08/21/2016 - 11:37

I built this toy box for my nephew, who is into Tractors, using the plan provided by Ana. I made some modifications to the lid mostly, other than that the differences are cosmetic. I thought the plan was super simple and easy to use!

Built from Plan(s)
Estimated Time Investment
Weekend Project (10-20 Hours)
Finish Used
Machine Paint
Recommended Skill Level
Beginner

Comments

manna18

Sat, 01/04/2020 - 02:30

wow, this is very useful and looking awesome too .I will make one something like this

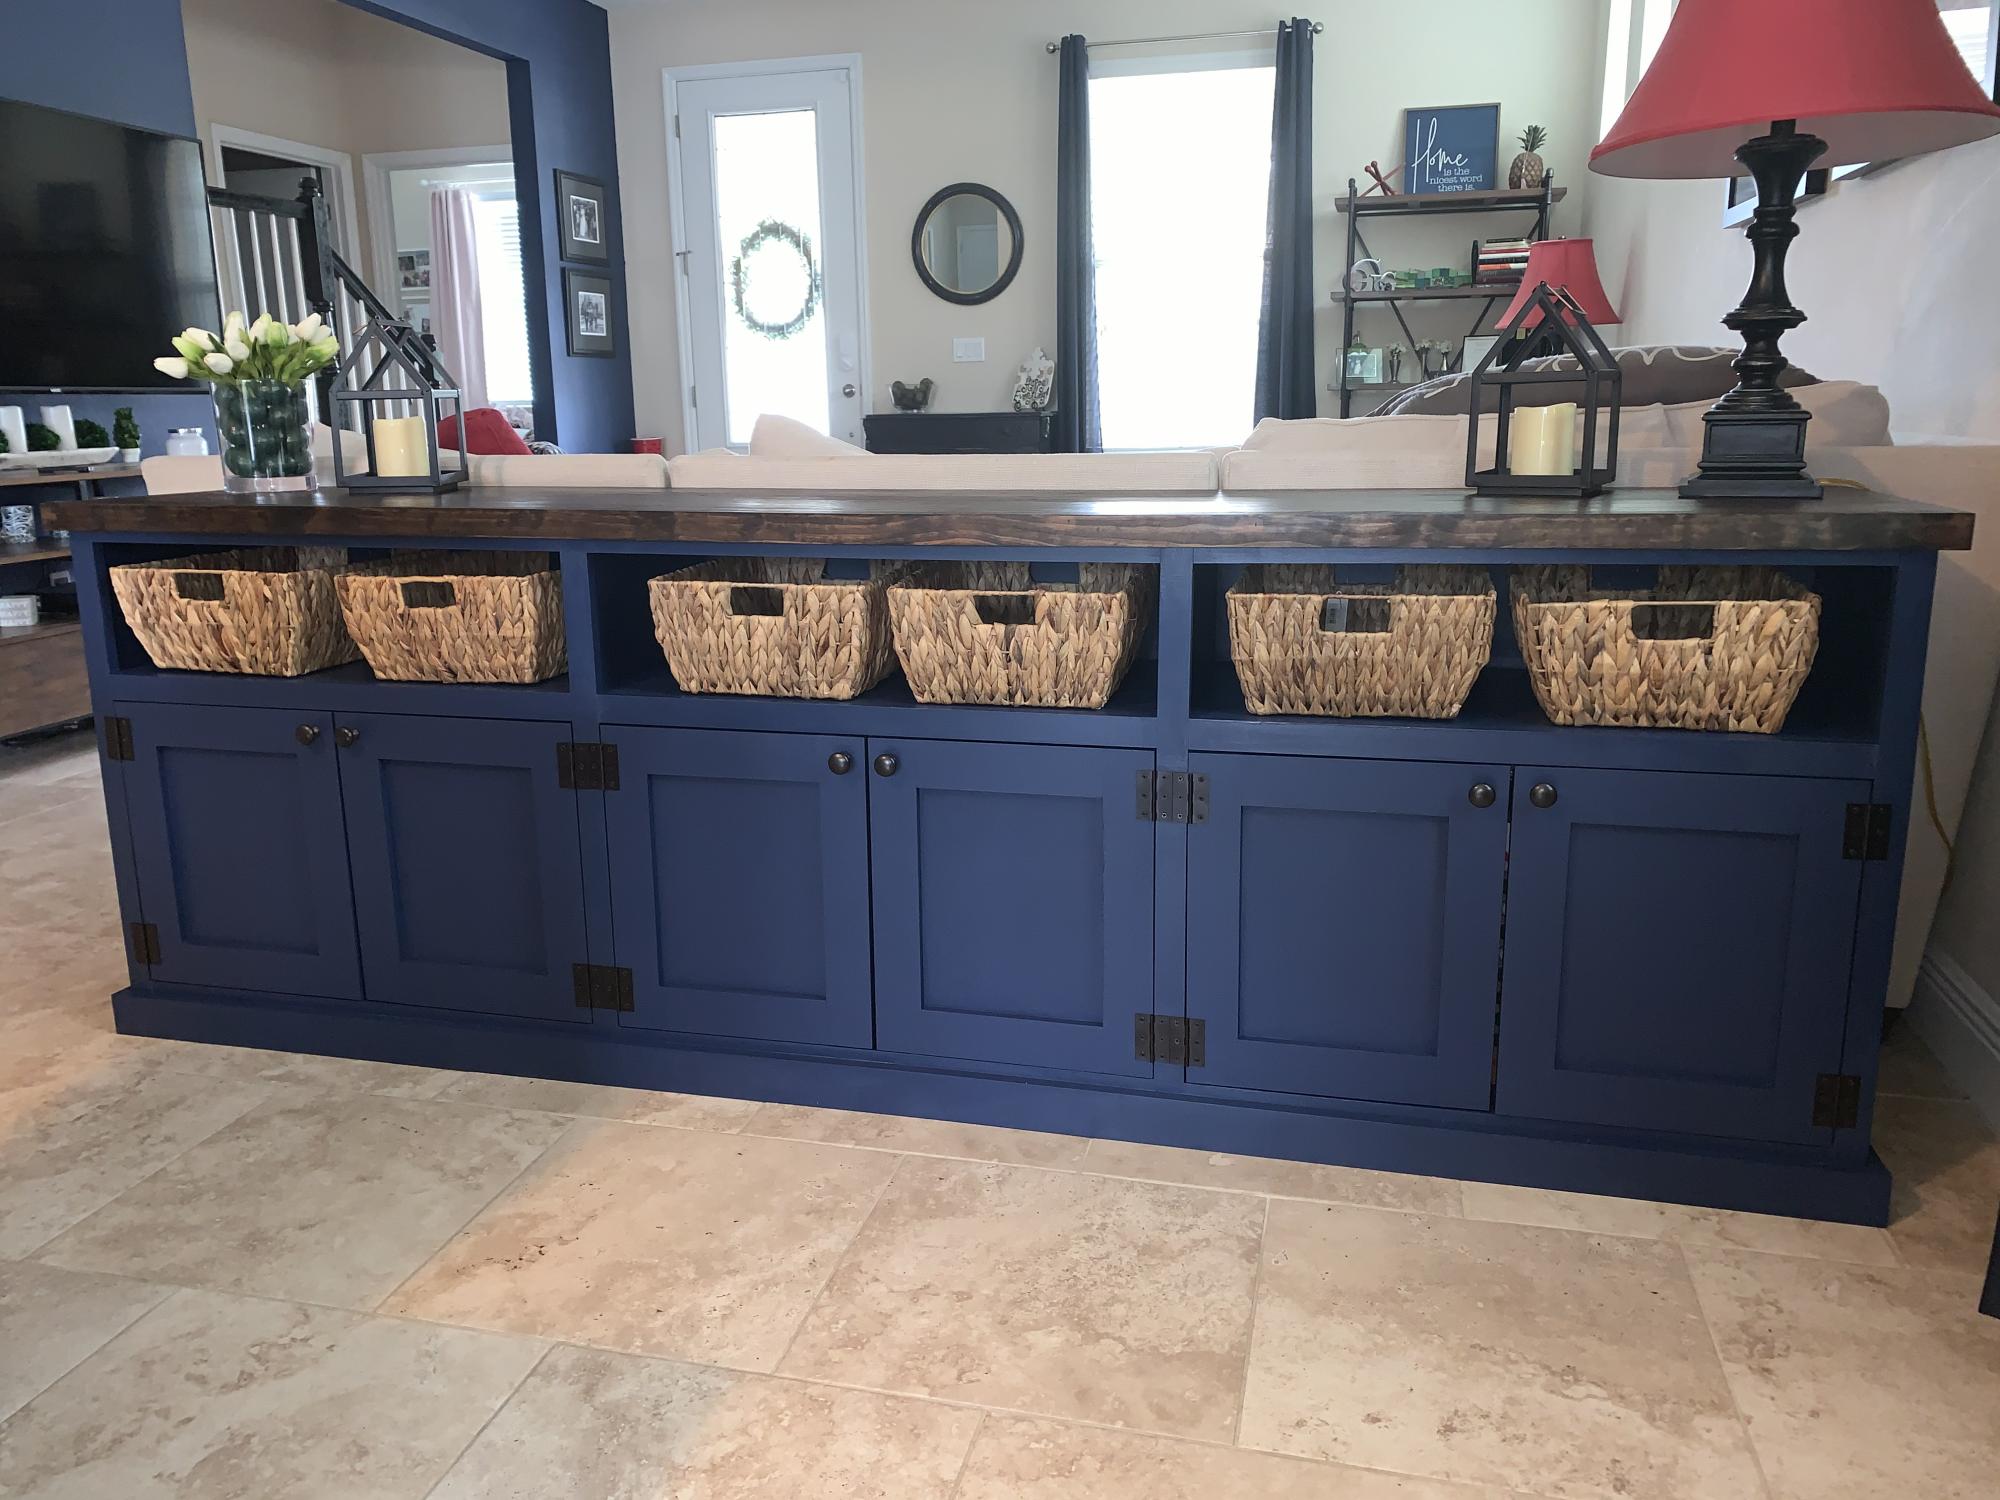
Sideboard/Game Console

Submitted by jakegarner on Wed, 06/03/2020 - 14:19

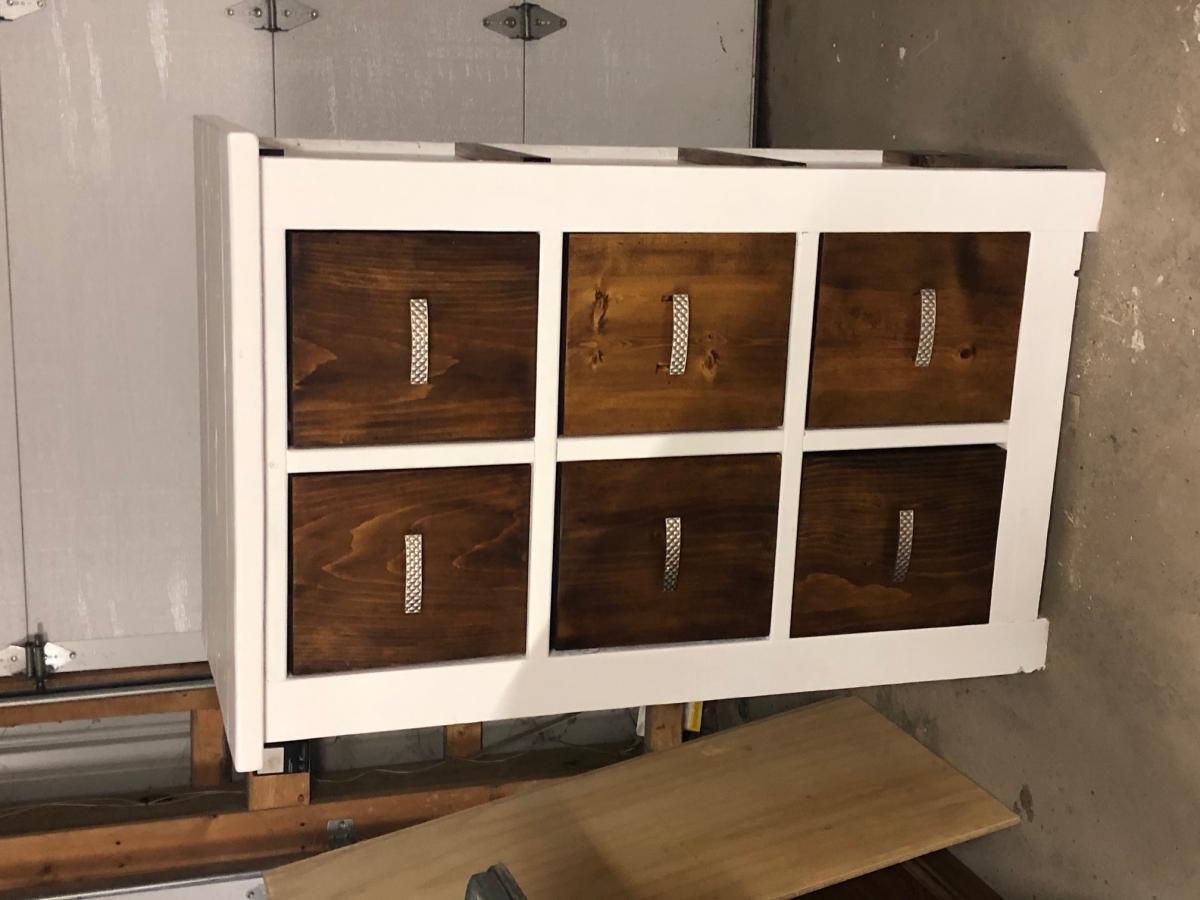
Used the plan for a double-entry console to make a triple cabinet to go behind the couch and serve as a board game console and sideboard for the dining room.

Lowered the total height to 34 in to fit behind the couch. The total length is 8 feet.
For the plywood top I edged them then pine boards to make the top look more like a solid piece of wood and stained it.

Estimated Cost
$300-400
Recommended Skill Level
Intermediate

Comments

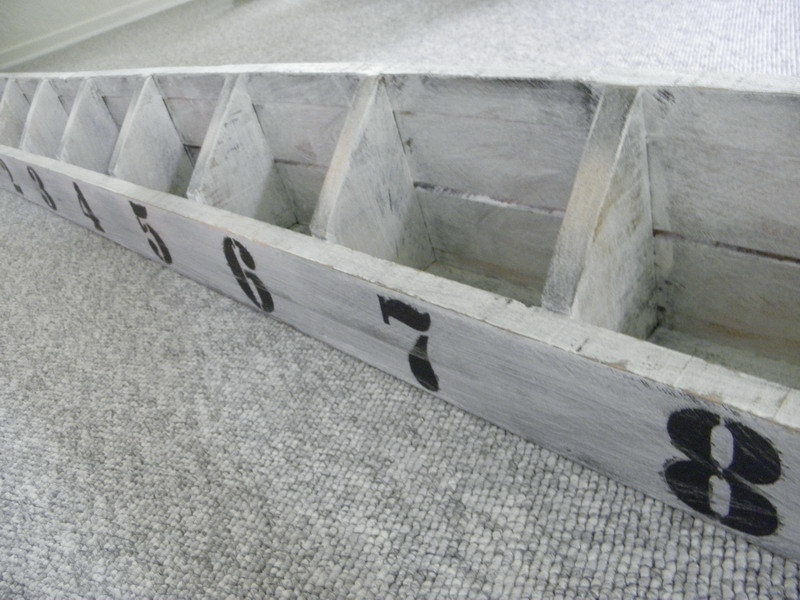
Numbered-cubbies-wall

My first build from this fantastic site, but not last.

Built from Plan(s)
Estimated Cost
<10$
Estimated Time Investment
Afternoon Project (3-6 Hours)
Finish Used
Black spray paint at selected places, then a thin layer of white paint. Sandpaper # 120 and steelbrush.
Recommended Skill Level
Starter Project

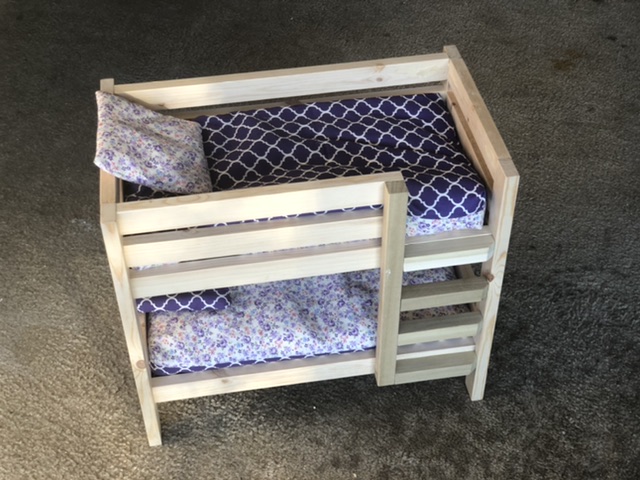
Doll bunk beds

Submitted by anm8ed on Sat, 06/06/2020 - 19:12

I altered it a little bit since I could not find a 1x1 anywhere near me. I used a square dowel and I placed the ladder steps on the outside. The square dowel was a little big so i notched the right side. I also cut the left side of the ladder to not block the bottom. I may try a trundle later on. It’s not painted yet but she wants it a light pink. Maybe tomorrow we will do that.

Estimated Cost
$25
Recommended Skill Level
Beginner

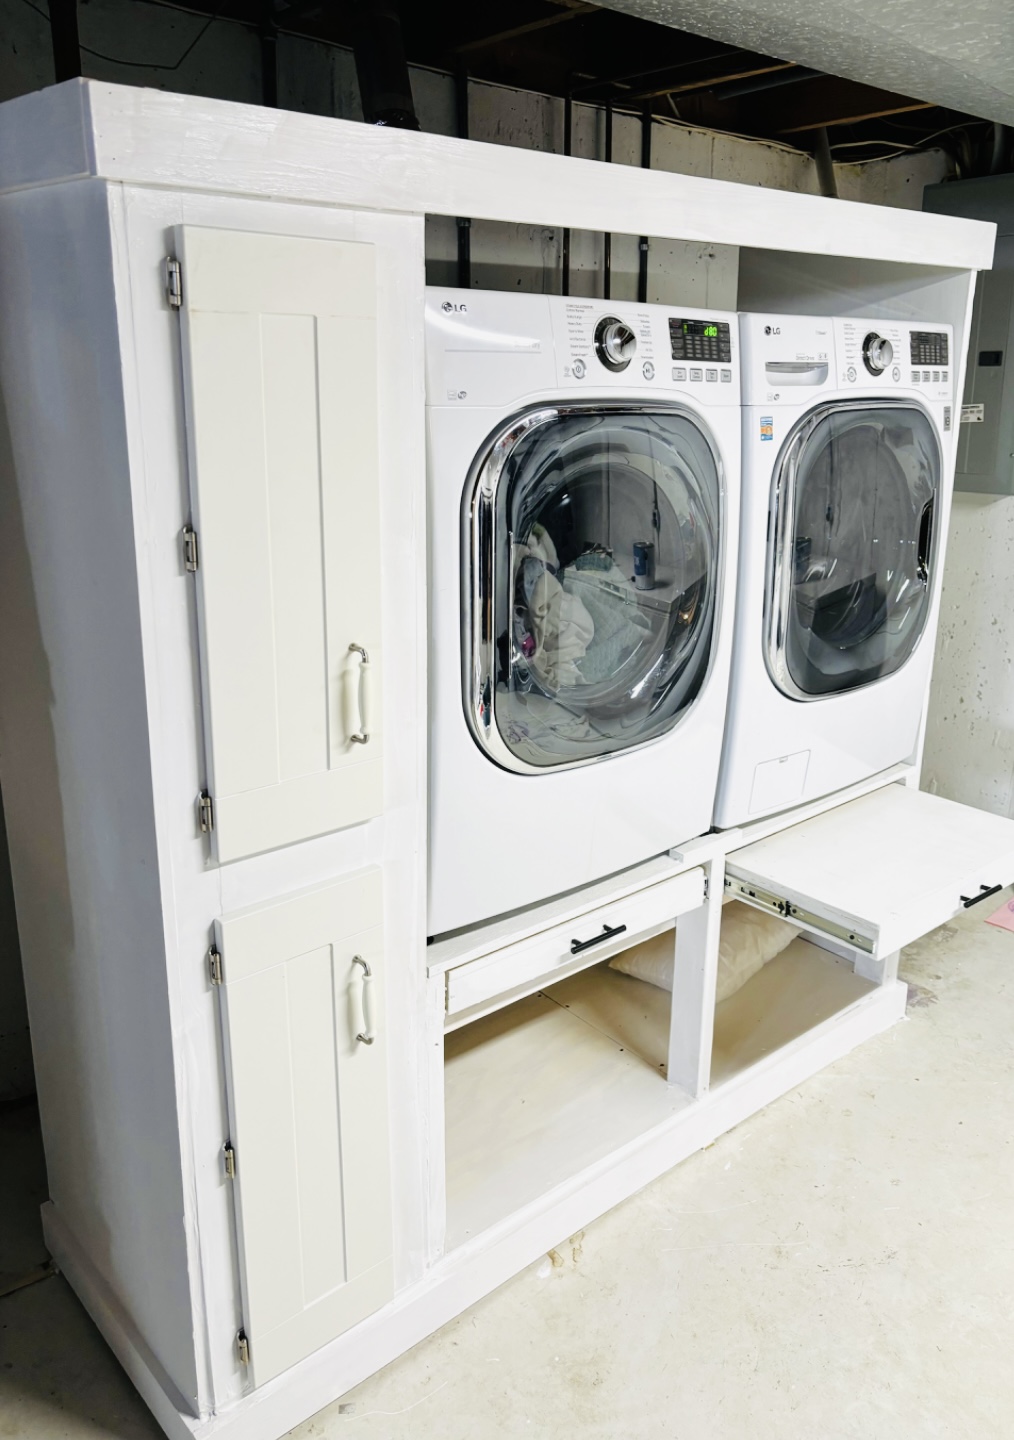
Laundry Cabinet for Washer and Dryer

Submitted by Anonymous (not verified) on Mon, 03/04/2024 - 11:57

My daughter wanted a way to hold her machines higher, so as to not have to bend over, and a place to store laundry aids. We added pull out shelves to hold the basket while loading, and her empty baskets fit in the botton openings.

Rob Gassel

Back