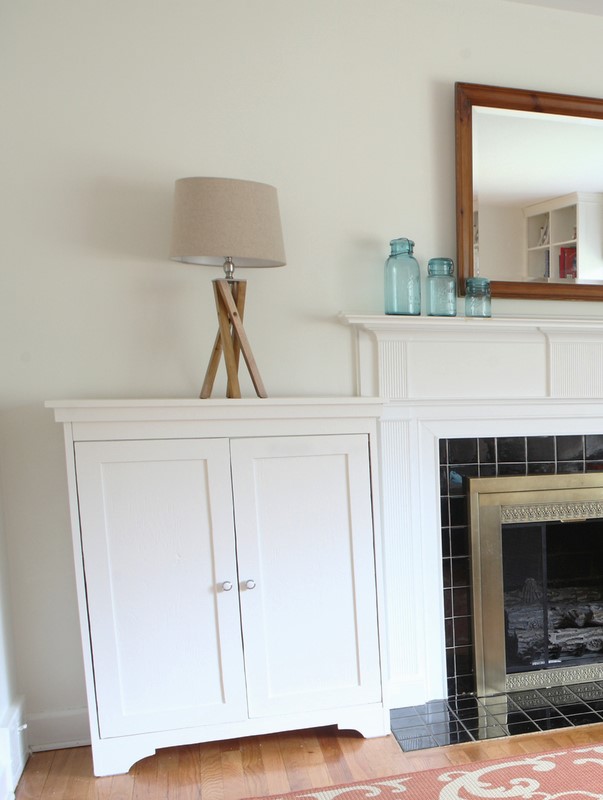
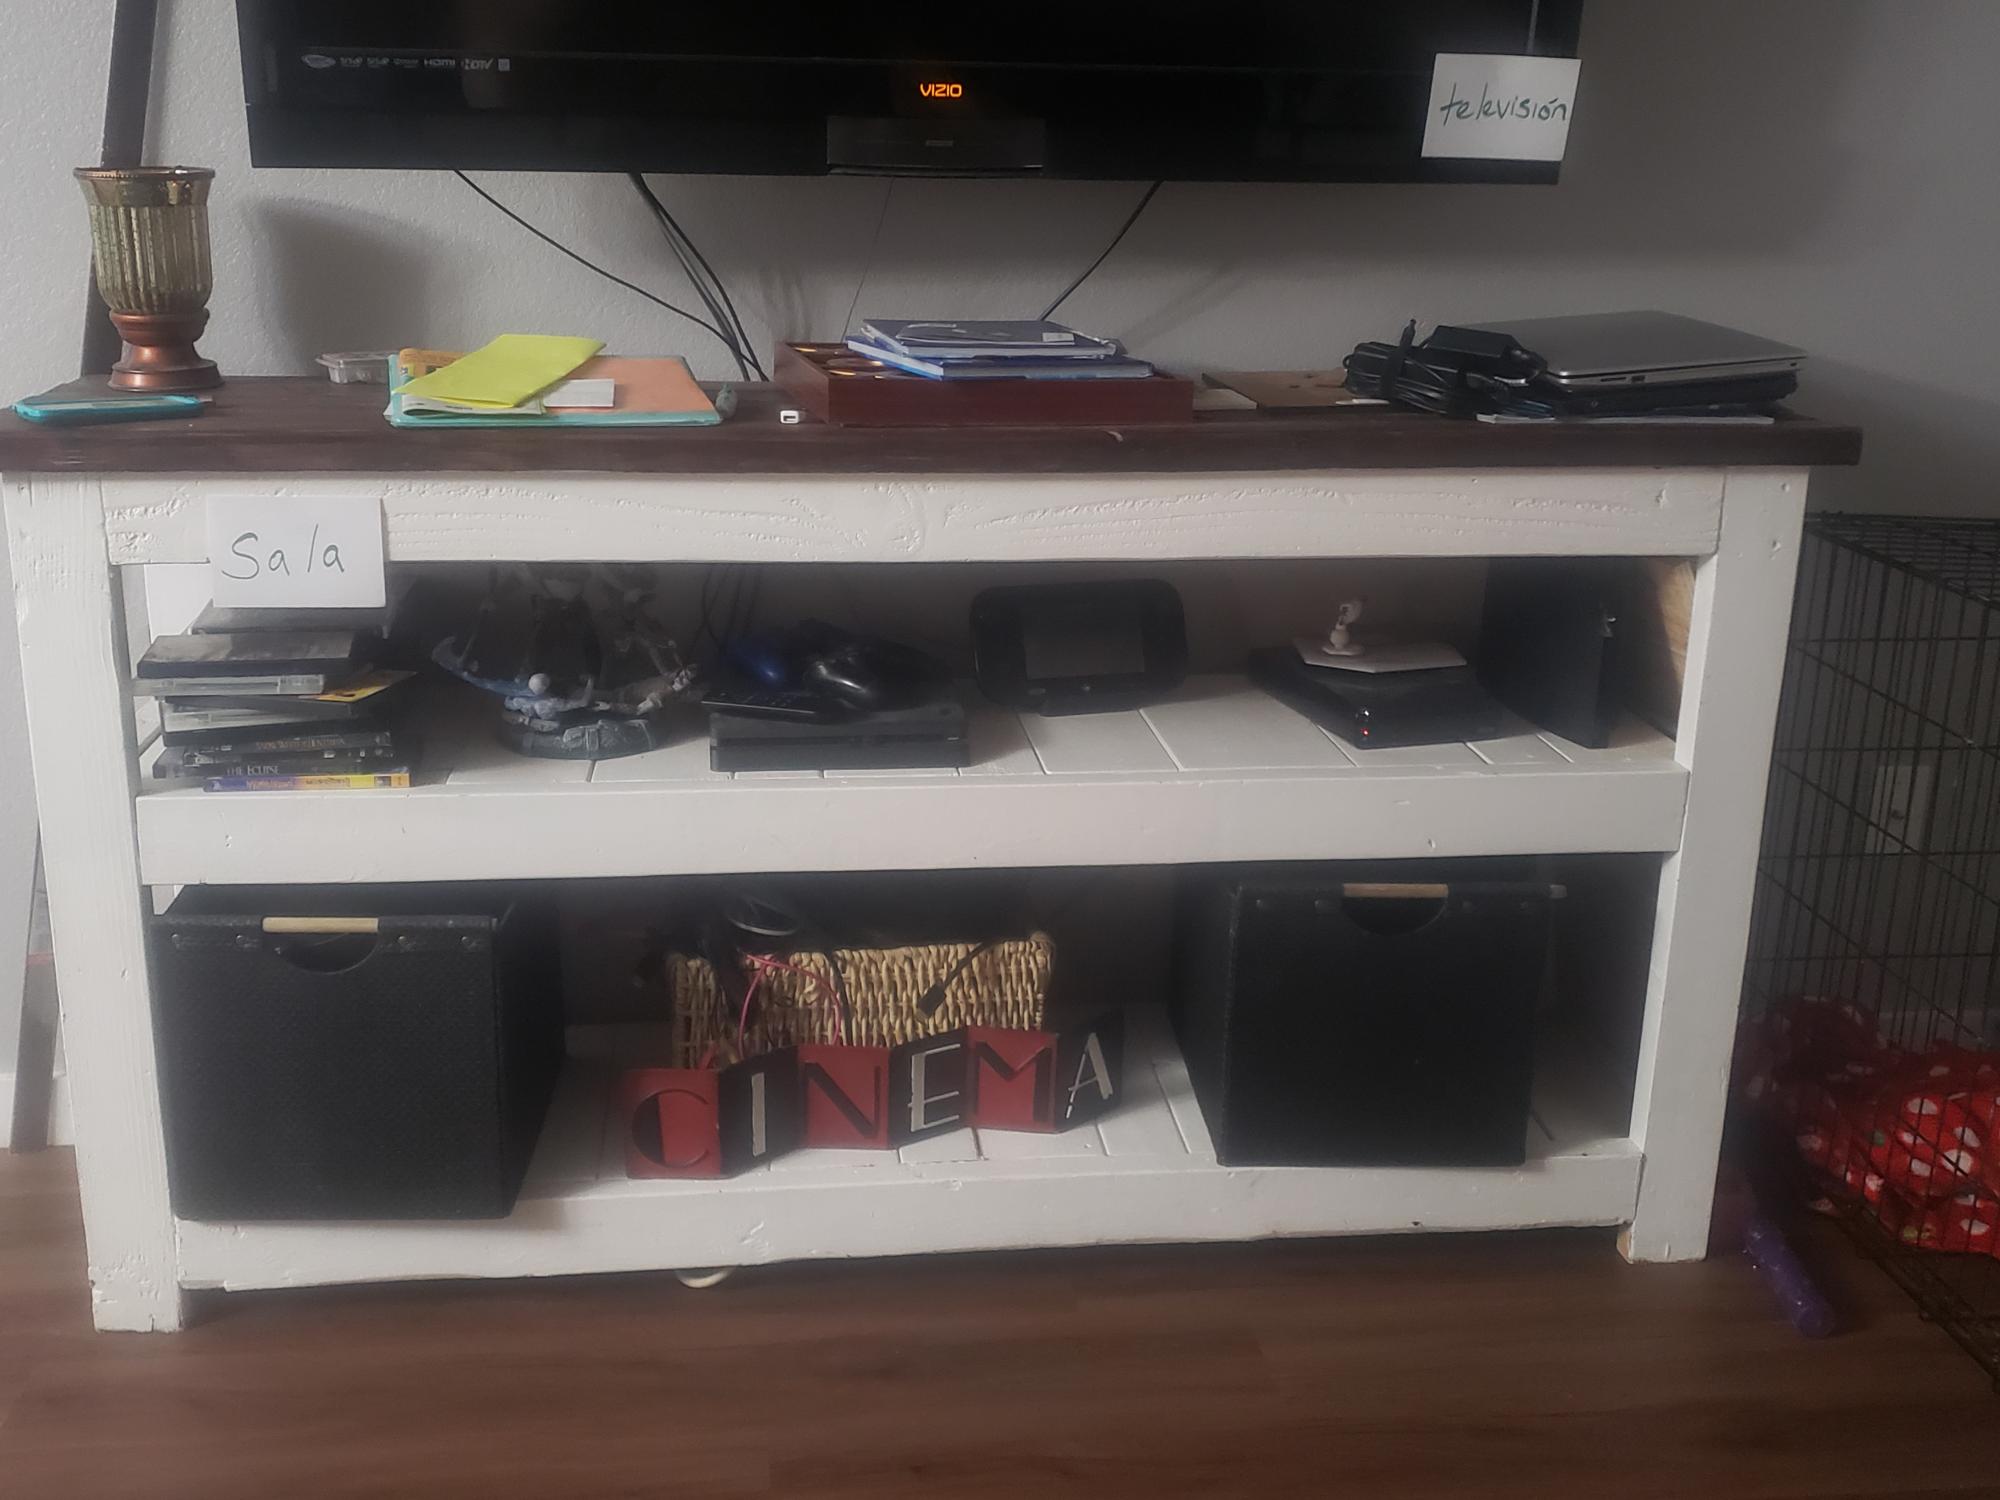
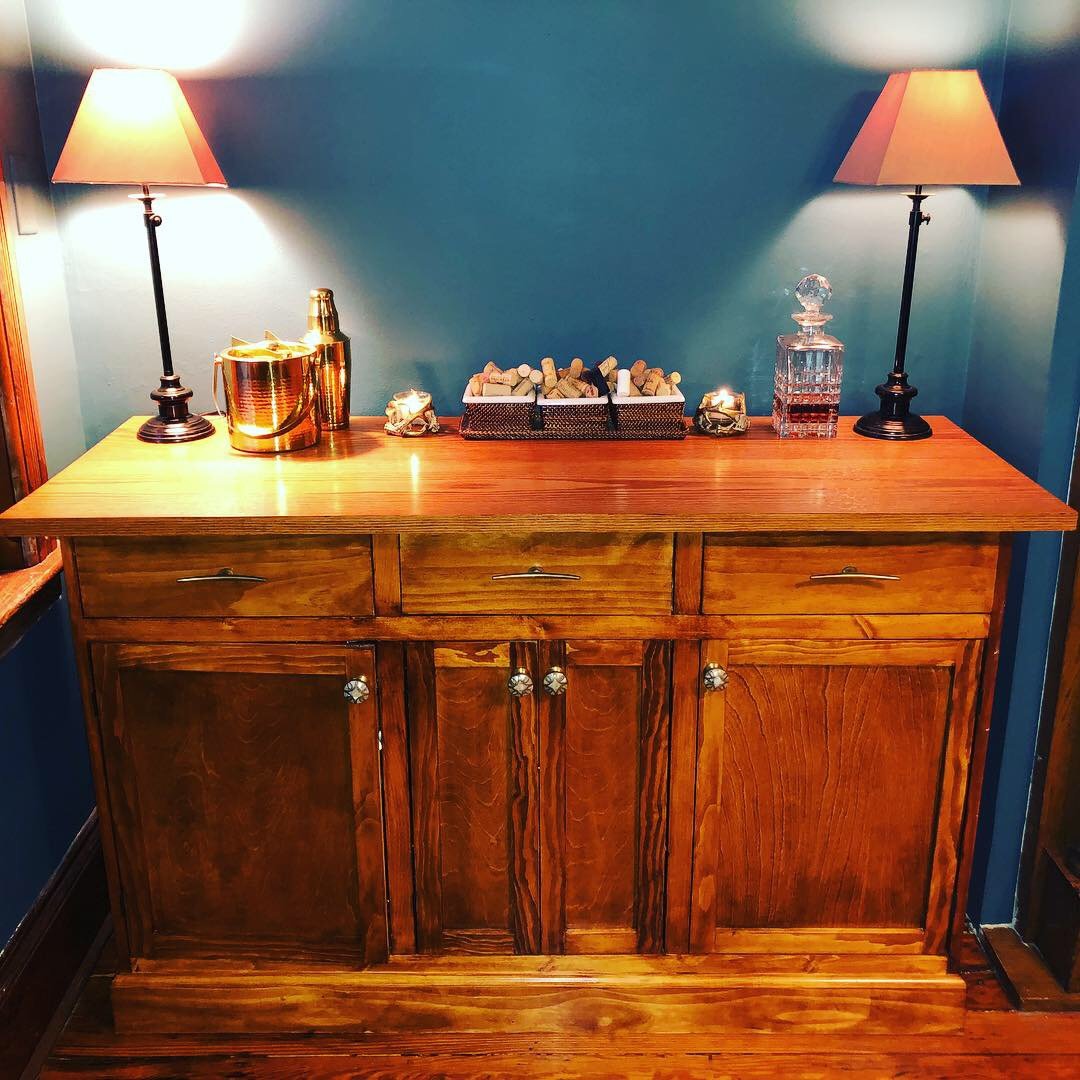
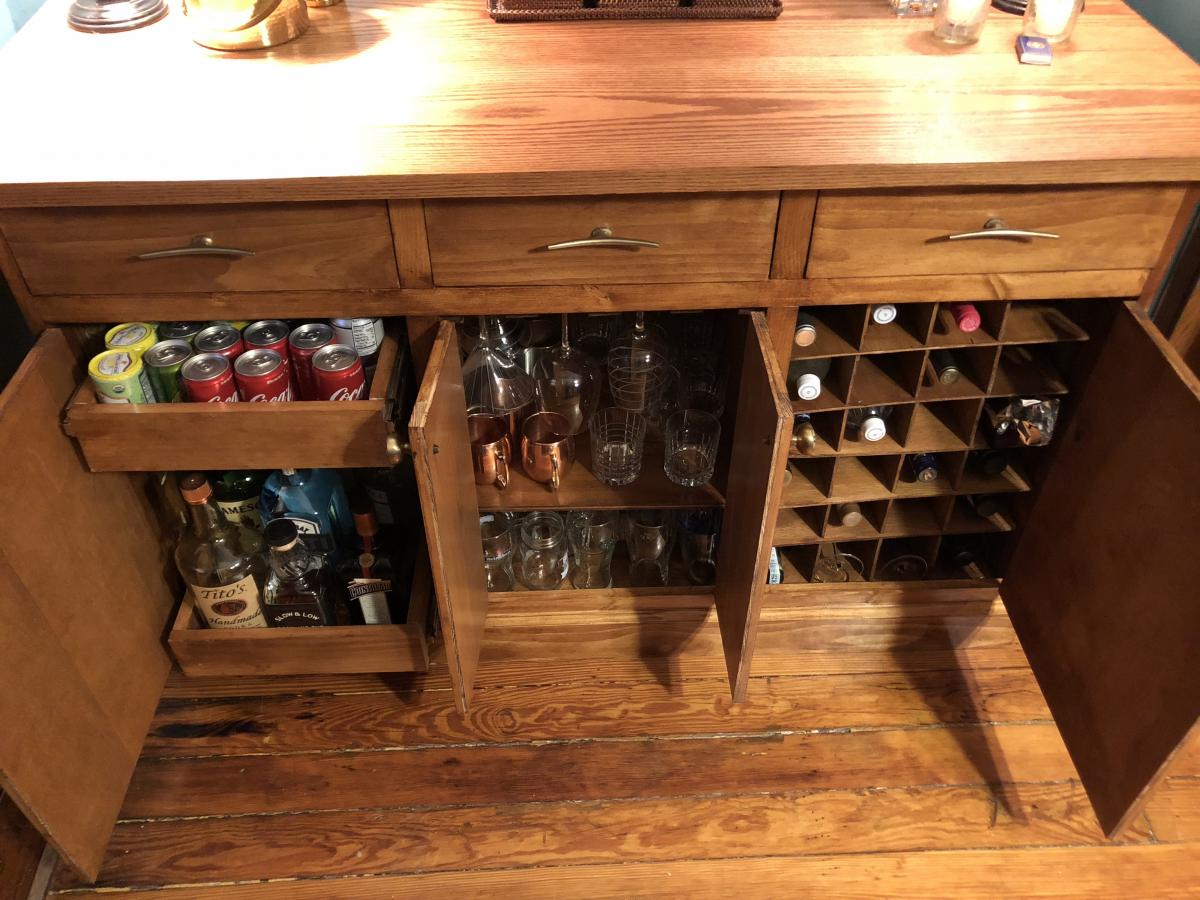
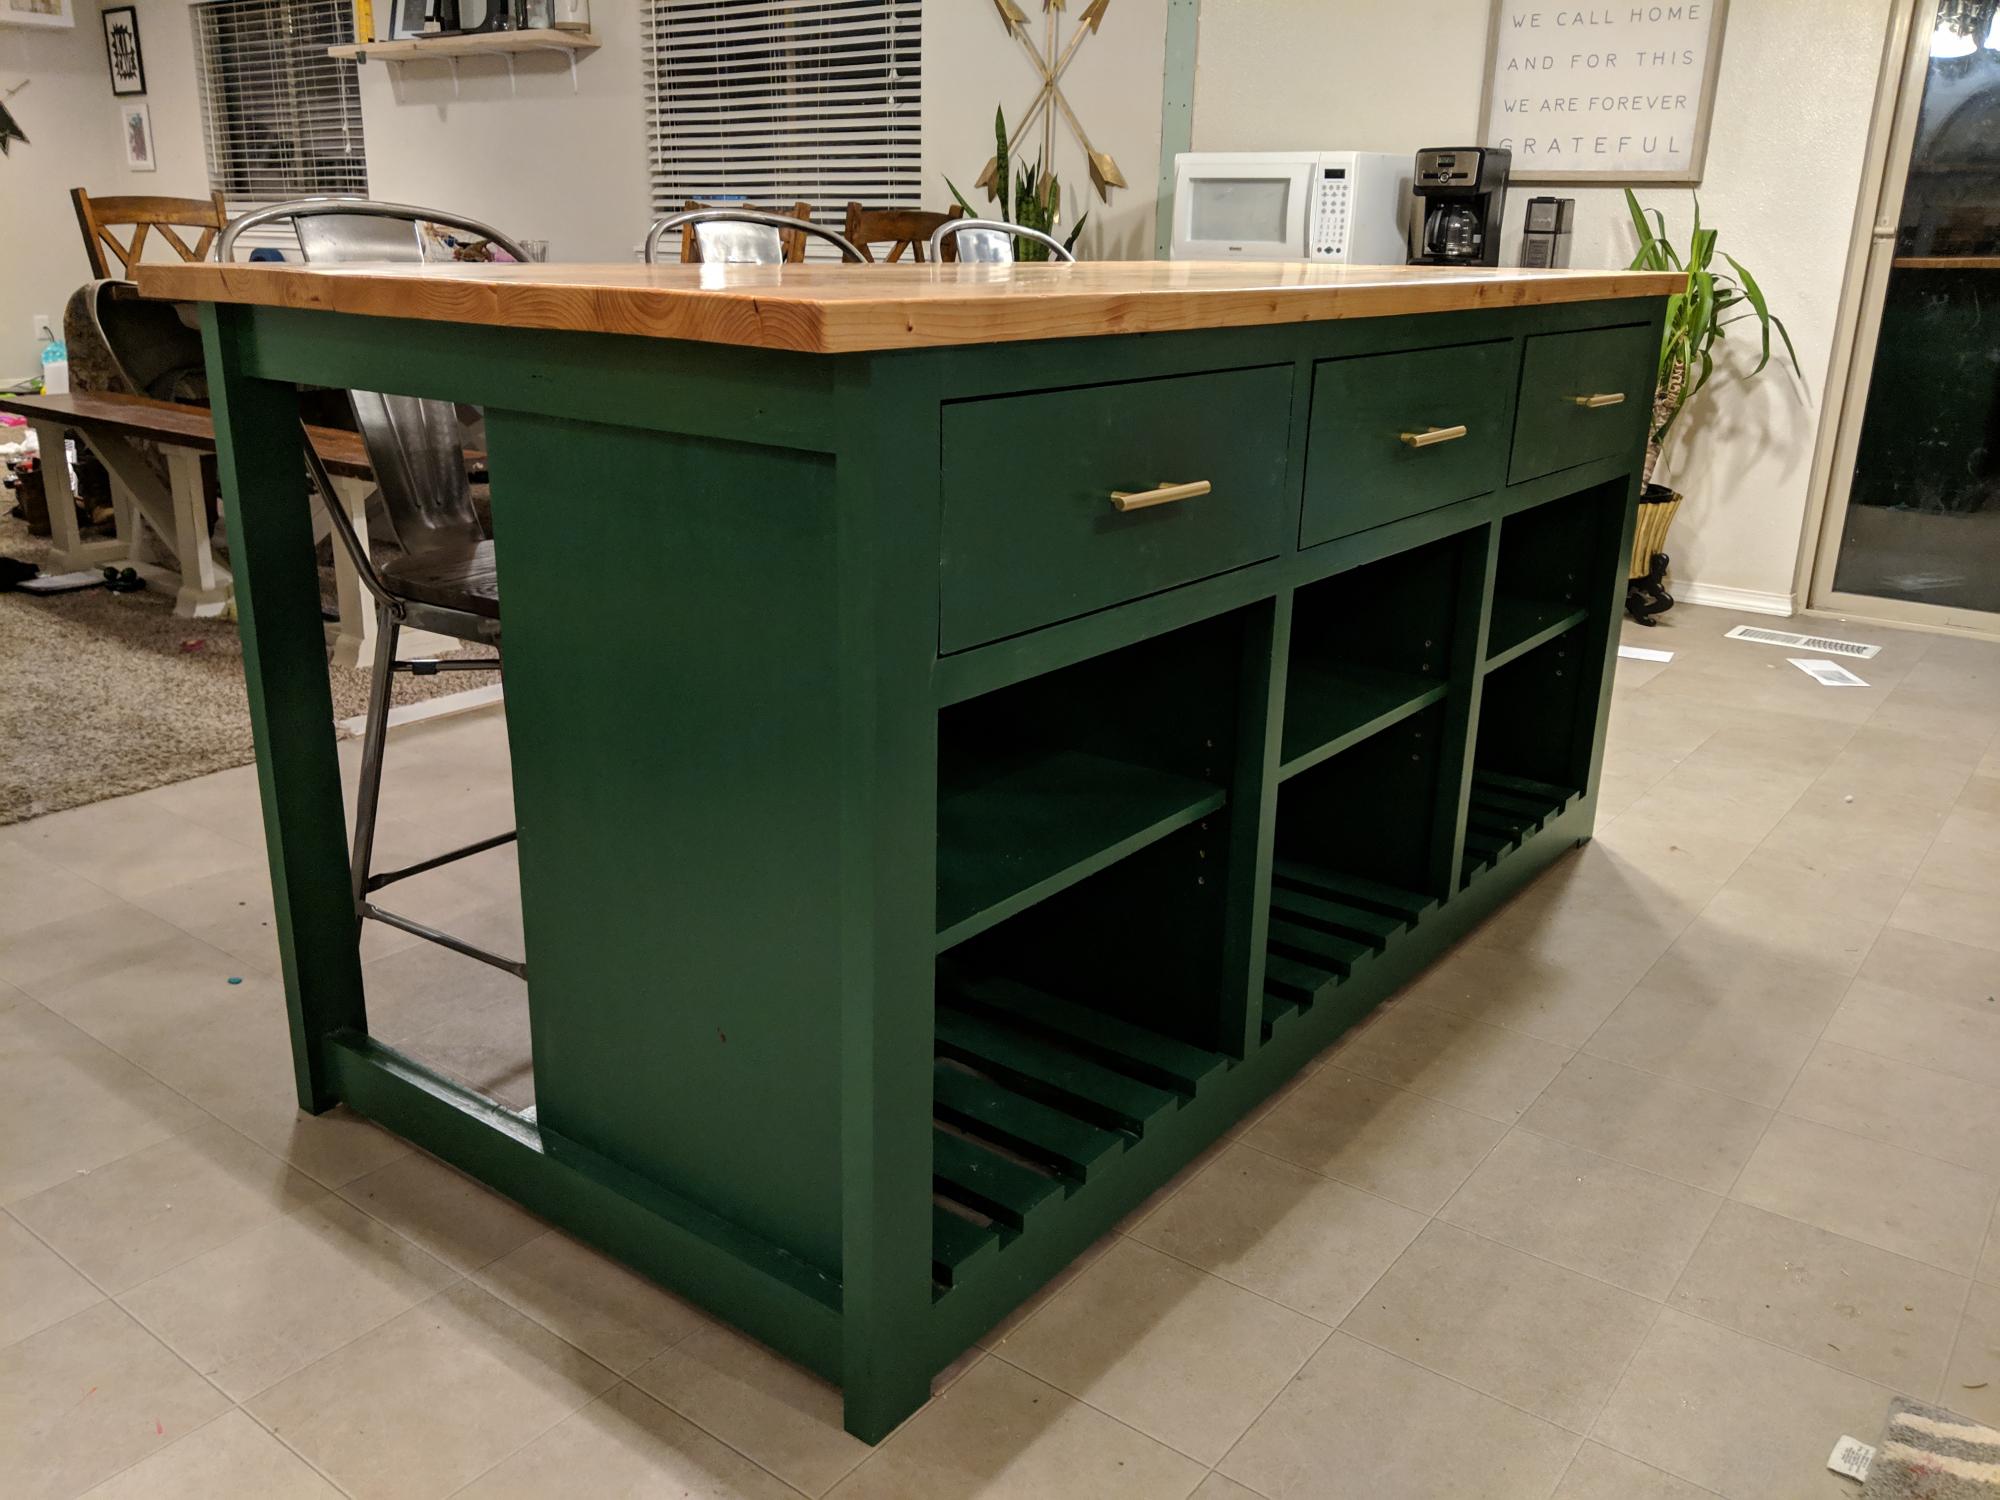
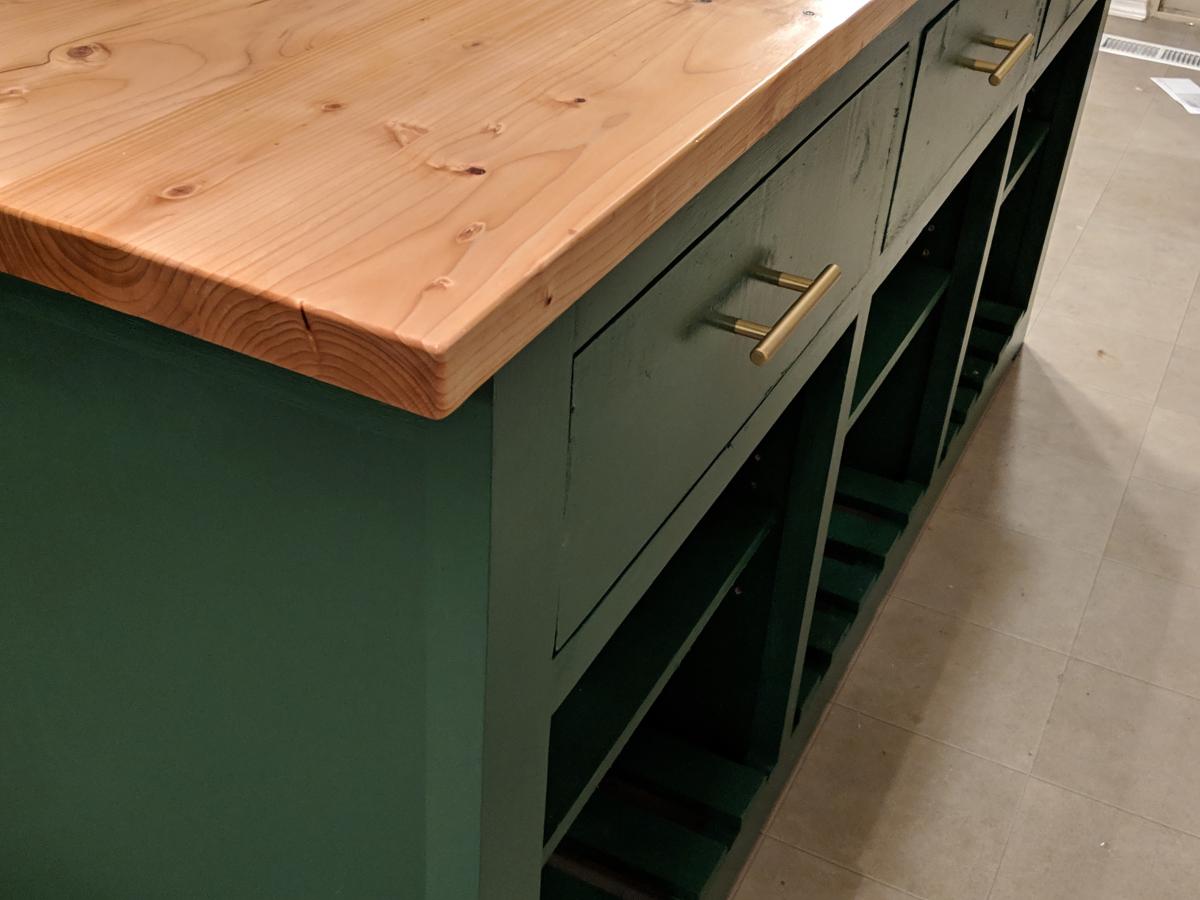
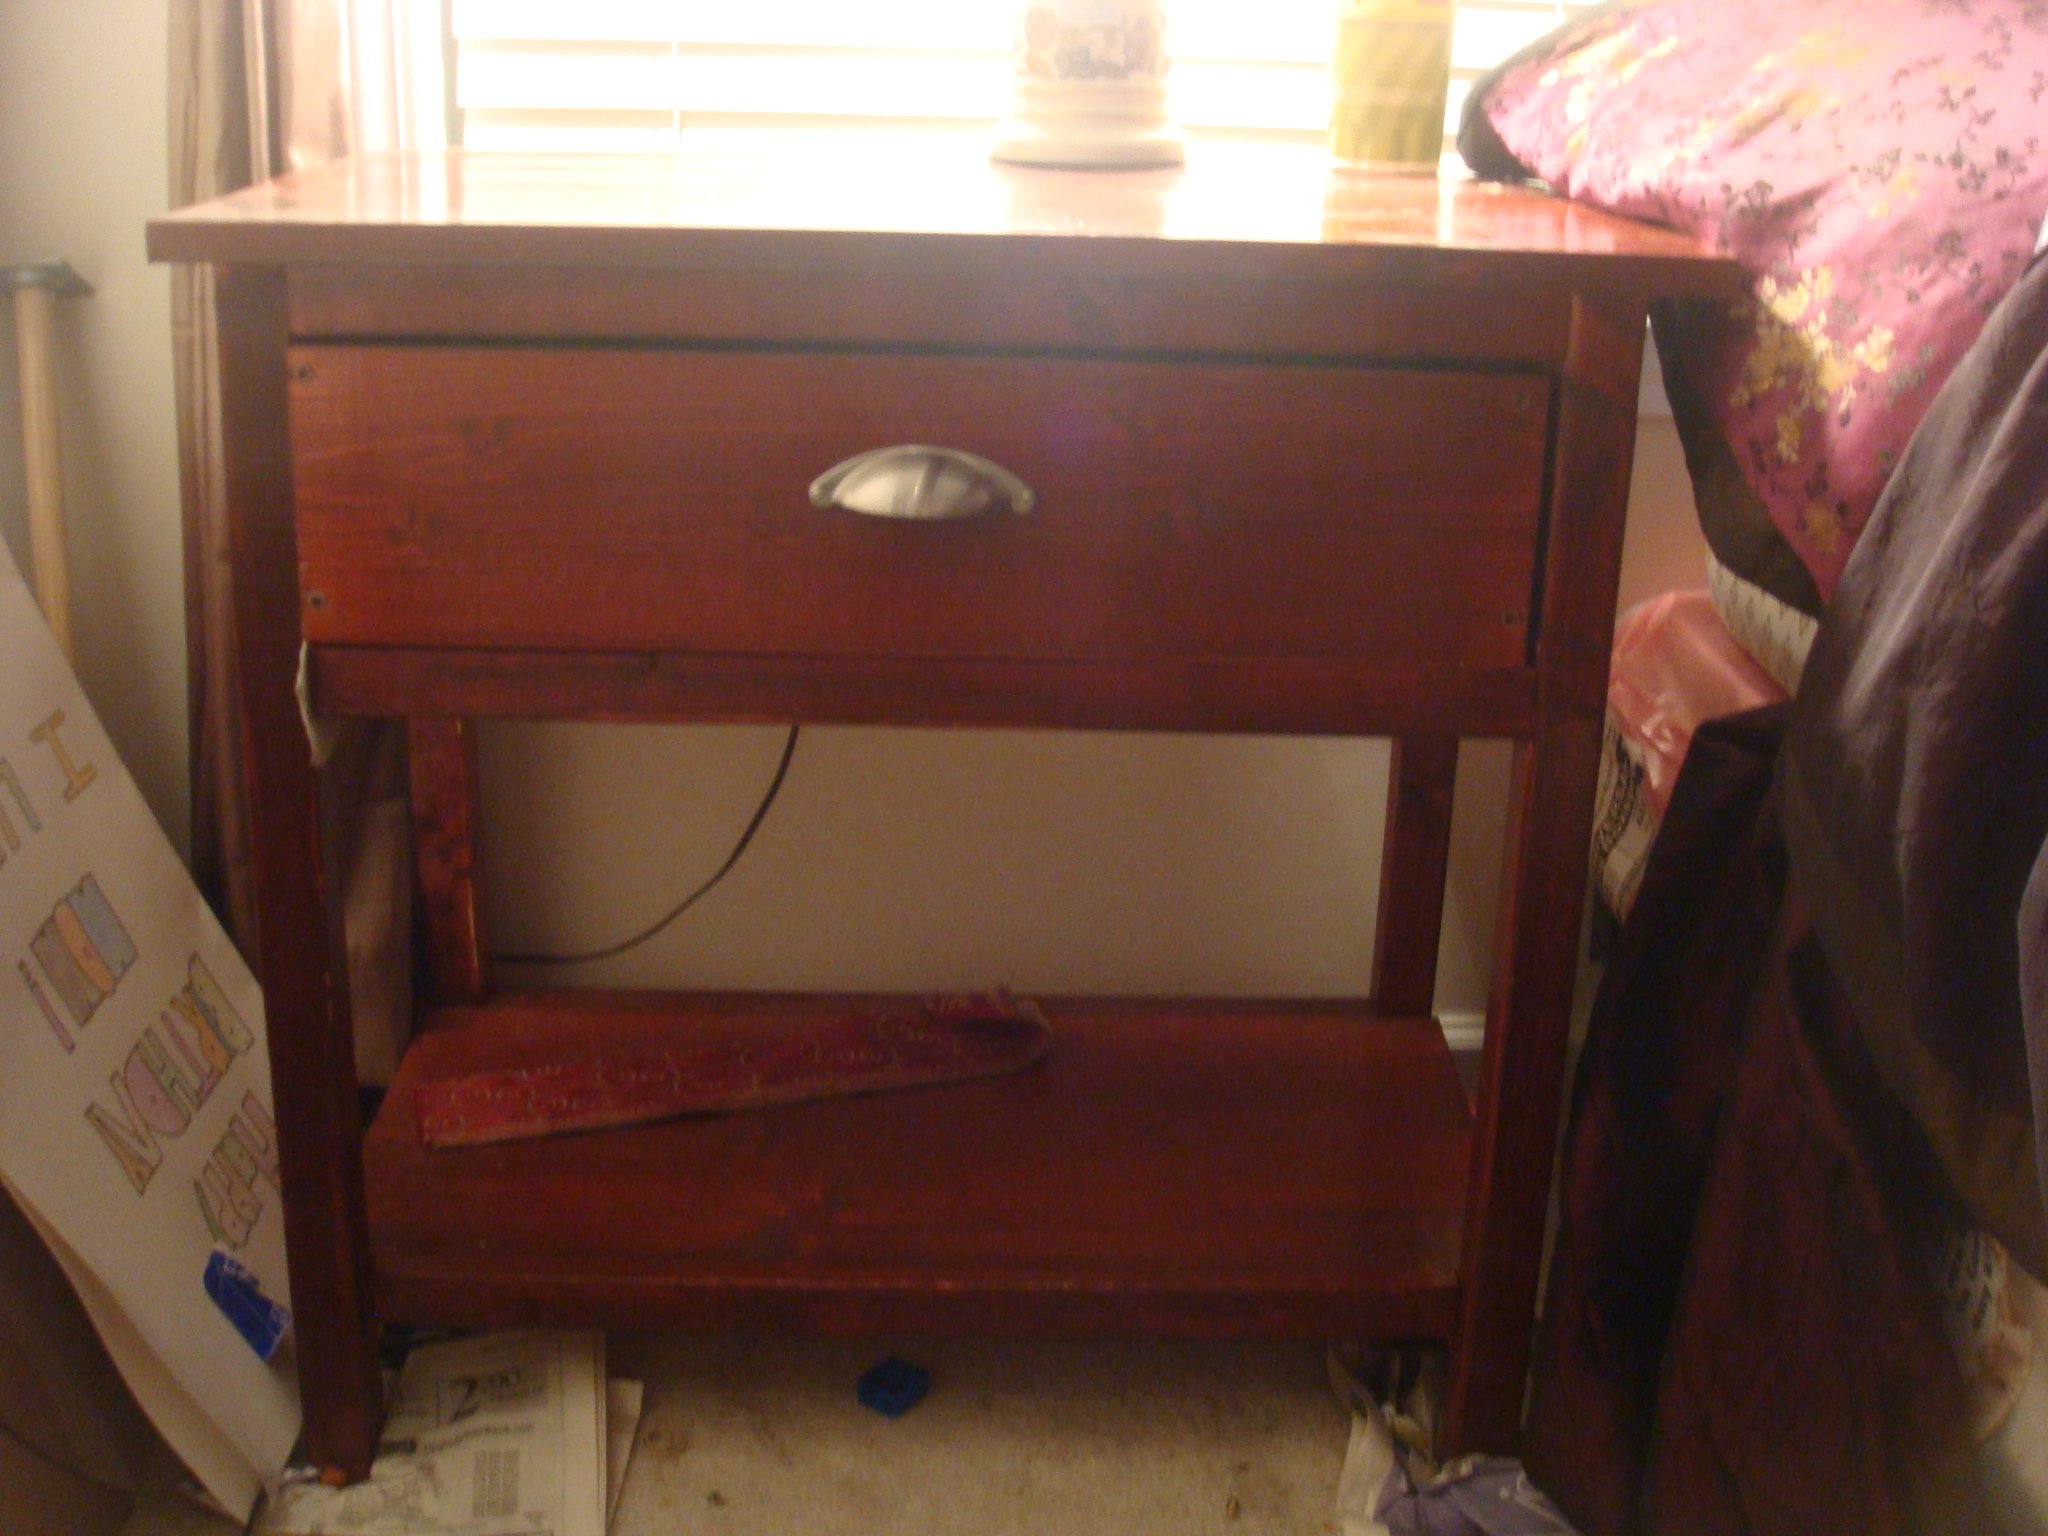
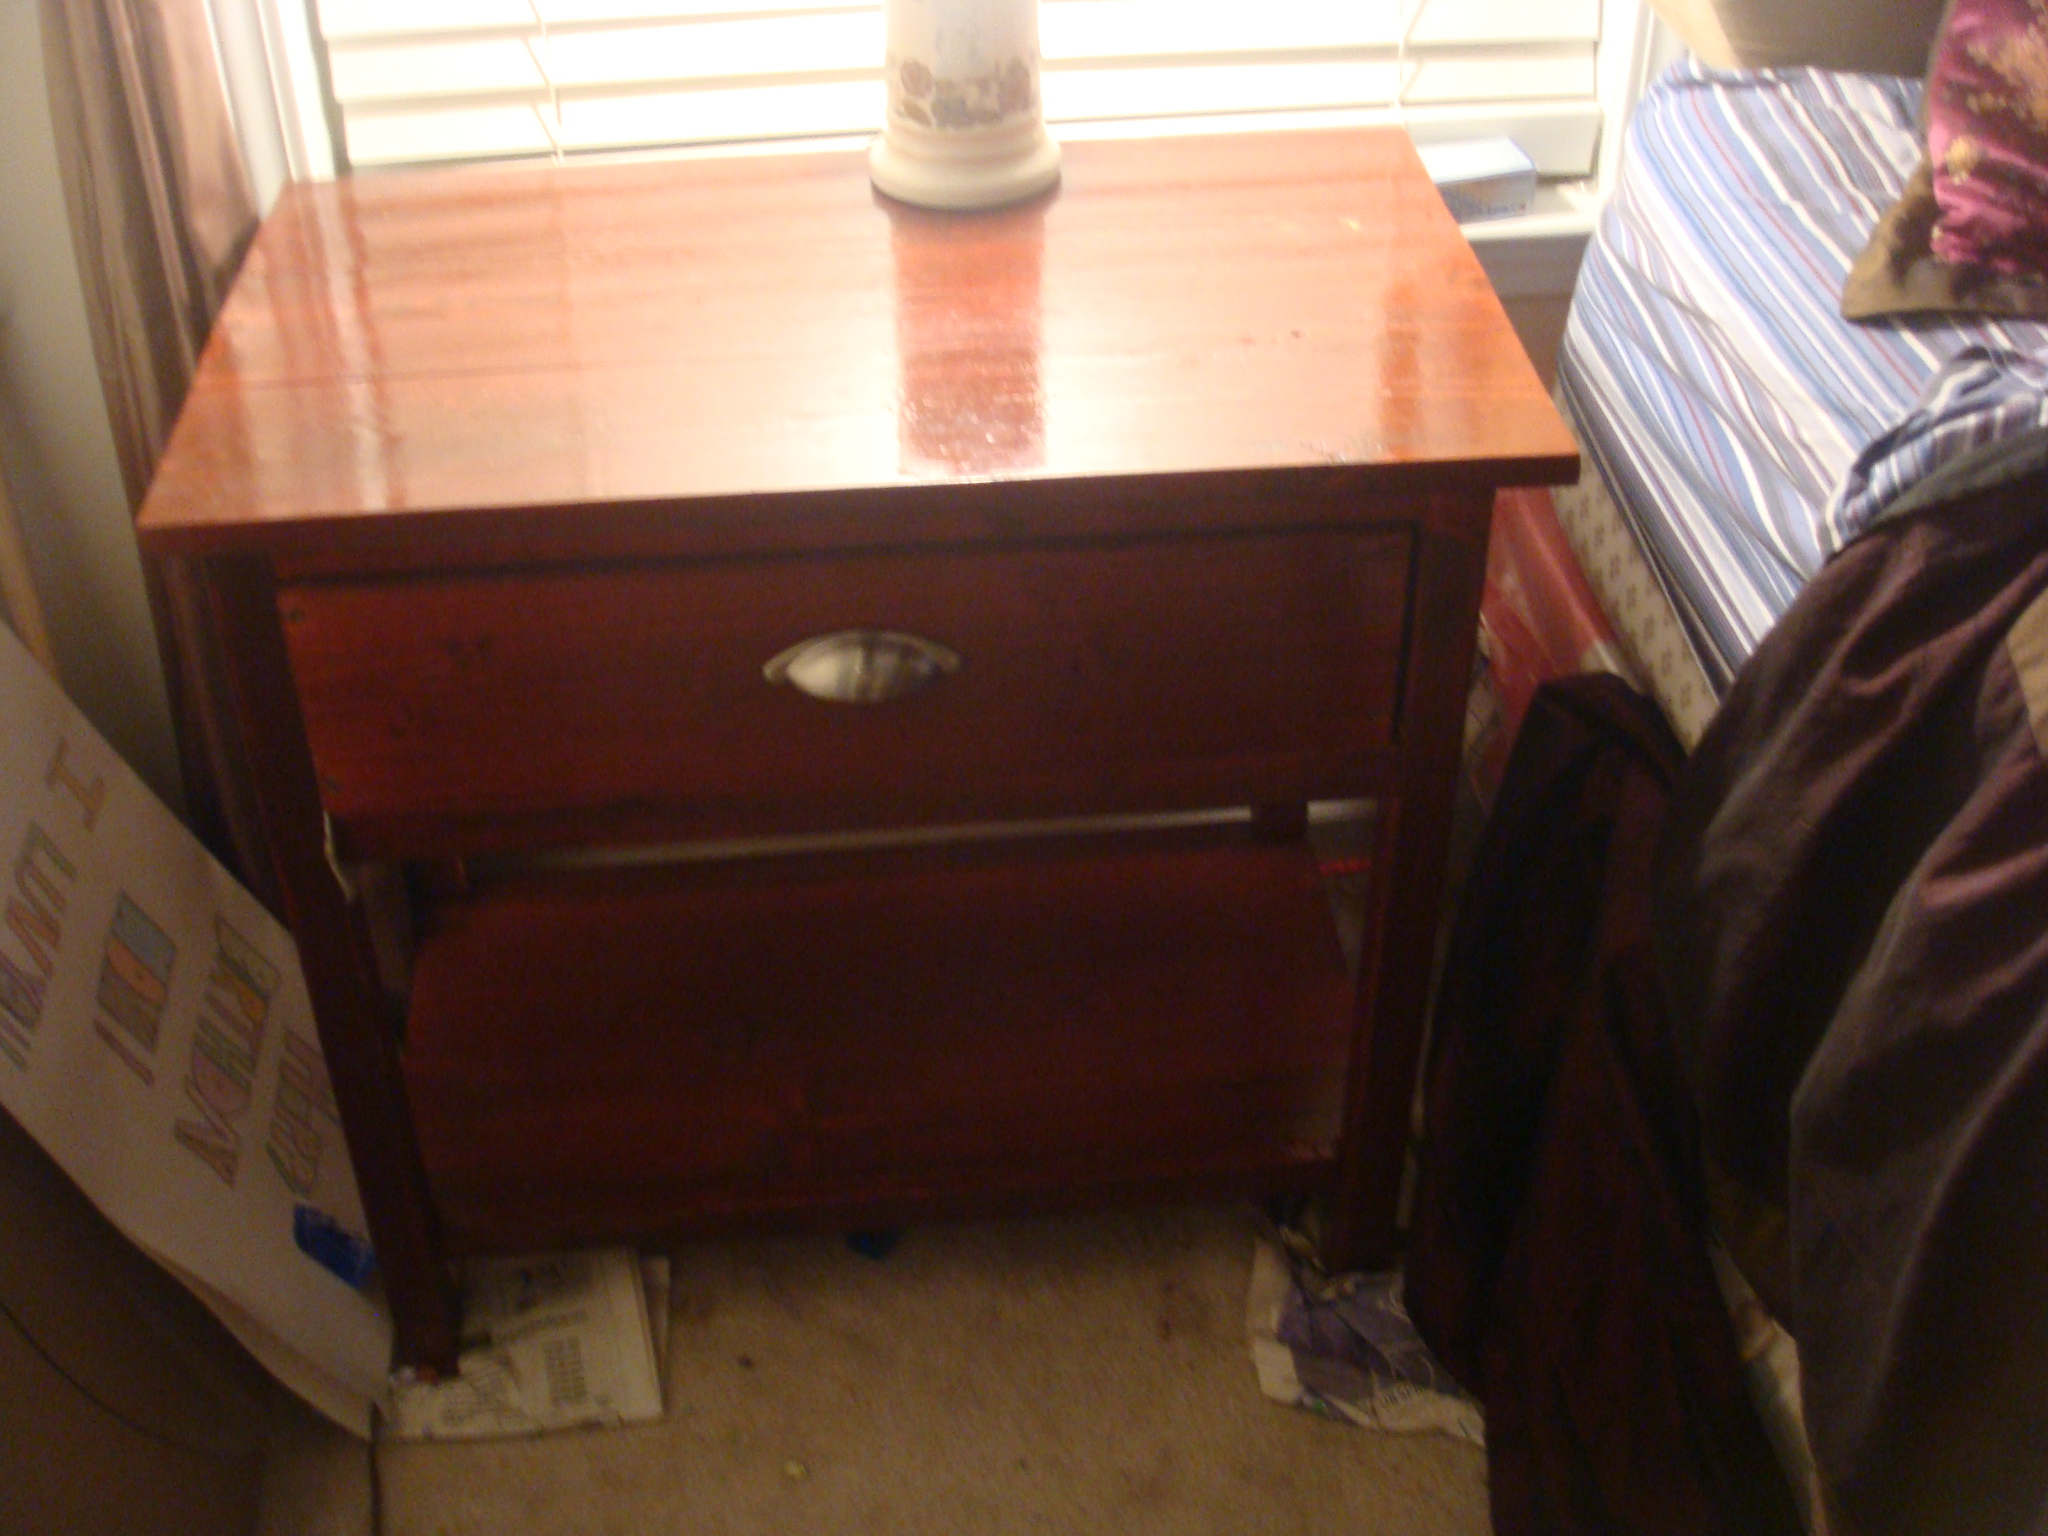
Freestanding Living Room Cabinets
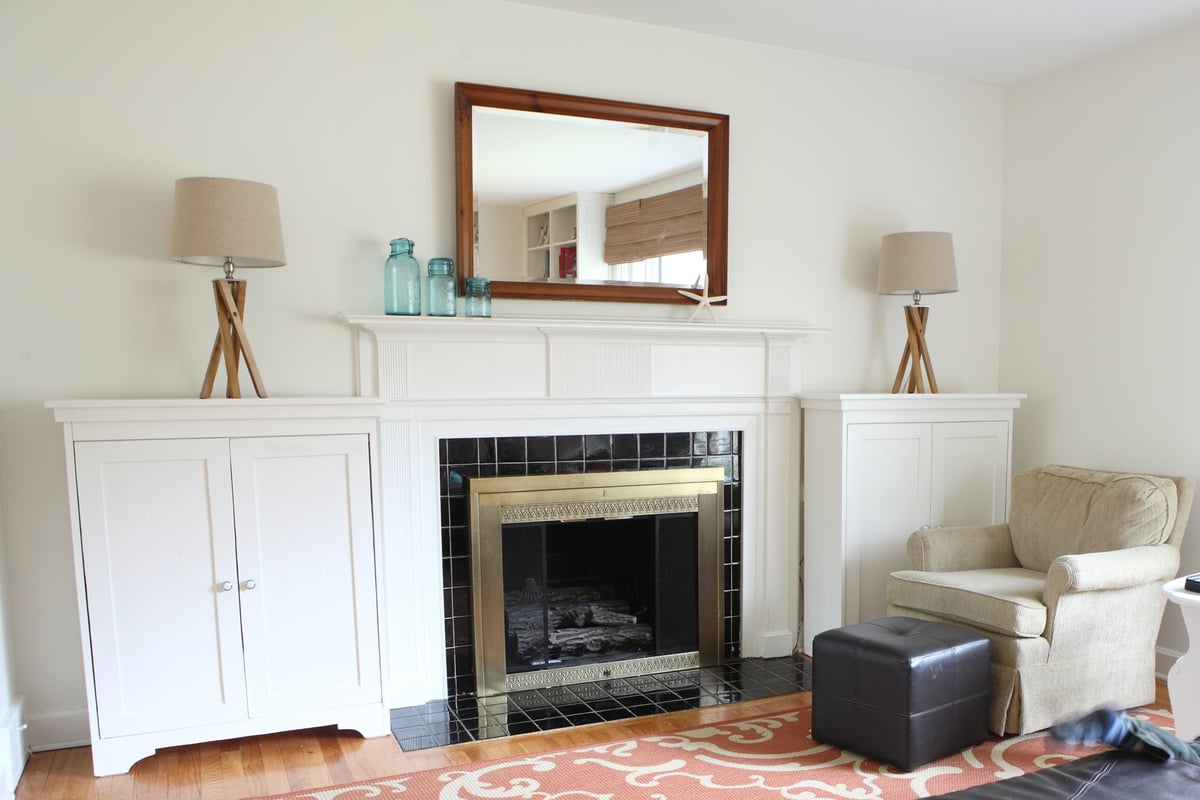
I made two smaller versions of the Simplest Armoire for either side of my fireplace.
Built from Plan(s)
Estimated Cost
$150-$200 (maybe), including paint
Estimated Time Investment
Weekend Project (10-20 Hours)
Finish Used
Benjamin Moore's Advance paint in White Dove
Recommended Skill Level
Intermediate


Comments
Pam the Goatherd
Sun, 01/08/2012 - 19:46
Very nice looking!
Very nice looking!
moosmani
Mon, 11/12/2012 - 11:22
What a fanastic idea! Love
What a fanastic idea! Love them!