Community Brag Posts

Simple Bunk Beds - My First "Ana" Project!!

Submitted by margjack on Fri, 04/29/2011 - 07:17

I made the bunk beds from the simple bed plan, following tips from others who turned them into bunks. Instead of headboards on bottom and footboards on top, I used all headboards to add height, and made the posts a little longer so that an adult can sit up on the bottom bunk to read during bedtime. (the room has 9' ceilings) I used 2x4s glued and screwed together, as I could not find 4x4 non-pt posts. I made the ladder out of scrap 2x4s and the railings from scrap 1x3s. I did as suggested and attached the bottom header to the bottom of the top bed, which made it easy to attach. This bed is super sturdy! It will be painted one of these days!!

Estimated Cost
$200
Estimated Time Investment
Weekend Project (10-20 Hours)
Finish Used
None yet - will be painted!
Recommended Skill Level
Intermediate

Turquoise Flip-Top Bench

This was my first solo project using Ana's plans. I did the whole thing while my husband was out of town, with my 4 kids (including a toddler and newborn) milling around. We surprised him with it for his birthday when he got home. He was shocked.

The plans were straight-forward and easy to understand. I had everything cut at the hardware store, because I was afraid of the miter saw, but I ended up using it anyway to fix an incorrect measurement. (It wasn't so bad.)

I painted the bottom and stained the top separately, before putting them together, so I could get the finishes everywhere, and there wouldn't be bare wood showing through when you open the top.

I used narrow profile hinges, just like in the plan, and they work beautifully. Three was the prefect amount. The trickiest part was screwing the top on, because I was afraid the screws would protrude into the storage compartment. But I measured carefully (several times) and used clamps to keep everything in place. Then I marked where the screws would go with chalk. It worked perfectly.

This bench is the final step in reworking our entryway. We have a small house with lots of kids, so we need our spaces to work for us. Having a bench that also keeps up with our library books is a perfect addition. I can't wait to use Ana's plans to make the rest of the house work for us too!

More details on the blog post.
http://lassothemoon.typepad.com/lasso_the_moon/2013/06/entryway-flip-to…

Thanks, Ana!

ps. The time estimated is total time--including working around the kids, and trying to figure out how to turn on the miter saw (20 min!).

The money is my estimate of what it actually cost, even though my hardware store bill was a little more--but I'm using some of the screws, stain, etc on other projects.

Estimated Cost
60
Estimated Time Investment
Weekend Project (10-20 Hours)
Finish Used
The top is stained with "Early American" stain, a couple coats on each side. I had to touch up the stain when I filled the screw holes in the top and sanded them down. It didn't cover completely, but the holes do blend in nicely.

The paint is Behr "Mermaid Treasure". Then I sanded the corners lightly and wiped on some stain and quickly wiped it off again. I love it!
More details on the blog post.
http://lassothemoon.typepad.com/lasso_the_moon/2013/06/entryway-flip-top-turquoise-bench.html
Recommended Skill Level
Beginner

Comments

SoCaliforniaMel

Fri, 07/05/2013 - 23:30

Great job on your first "solo" build. I still use my husband all the time too. He is a contractor and all so it's handy having him around especially when I need heavy stuff moved. hehe. I just hate when he says "your gonna cut your arm off". Geez :P My dad doesn't even worry about that and has let me cut wood since age 12. Anywho....
It looks like you've been building all by yourself for years. Very well built and looks sturdy. It can be hard with a whole bunch of little one running around. Or wanting to play with the power tools without realizing how dangerous. I always unplug my miter saw when it's not in use. (I too have to work around 4 little ones, boys ranging from 12 - 2) Don't be afraid of the saw. It's a lot easier than it looks, just watch your fingers. (or arms) haha
~Melody

Lasso the Moon

Sat, 07/06/2013 - 06:44

Yeah, after the first couple cuts I wasn't scared at all. But I did remember to unplug it every time. And lock it down. My 2-year-old wanted to help me drill all the holes--it's a wonder I got those hinges on straight. I do love the pocketholes for child participation, though. She set the screws in the holes for me, and thought she was big stuff.

SoCaliforniaMel

Sun, 07/07/2013 - 00:39

I never even thought about letting my 2 year old put the screws in. I always just have him hand me things or let him play w/ scrap wood. I dont have a Kreg Jig, I just hold the drill at an angle, but pocket holes are pocket holes right?. I'm gonna try that. Thanks. He will be so happy to actually get to do big boy work
~Melody

Lasso the Moon

Mon, 07/08/2013 - 21:14

Just a heads up if you want a pockethole jig...I couldn't afford the Kreg, and wasn't sure I'd even like building, so my husband found one at Harbor Freight for about $40. A little more affordable. If this one goes bad somehow, I'll probably upgrade, but it was a great way to start drilling pocket holes with not quite so much investment.
--Anna

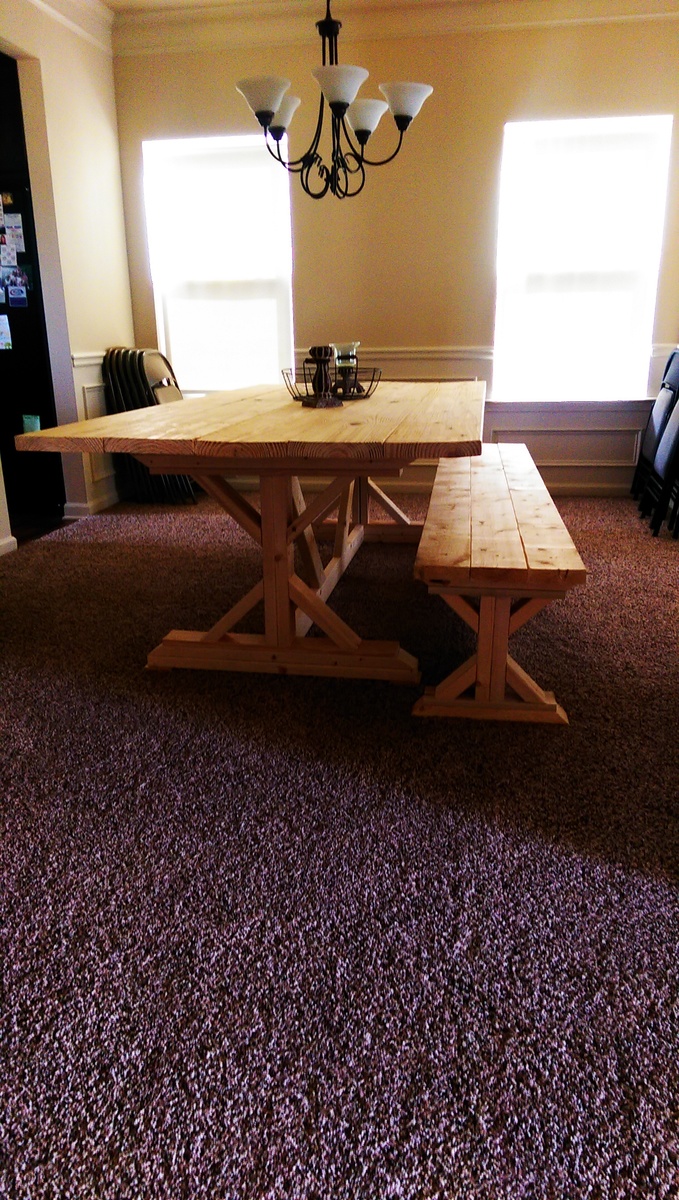
Farm house table and bench

Table and bench before we finished it

Recommended Skill Level
Beginner

Comments

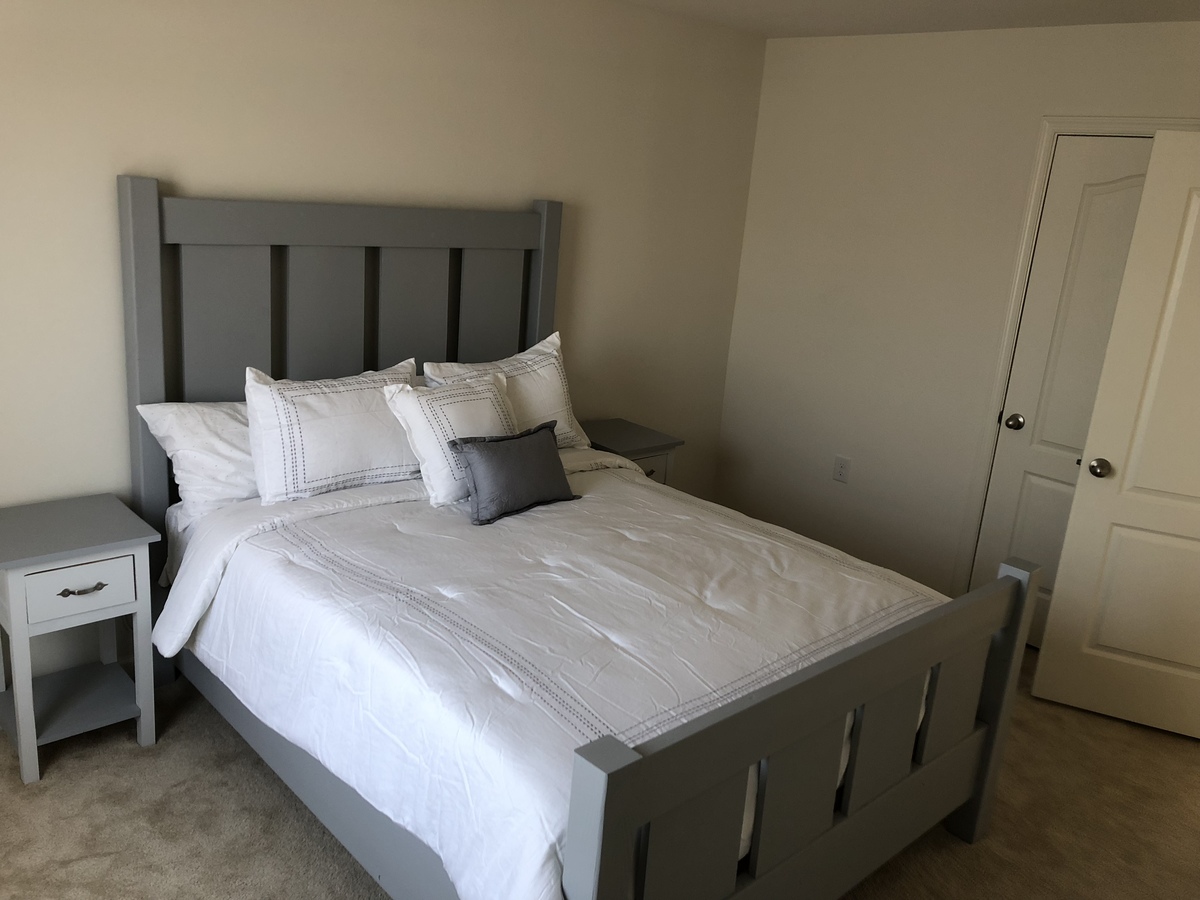
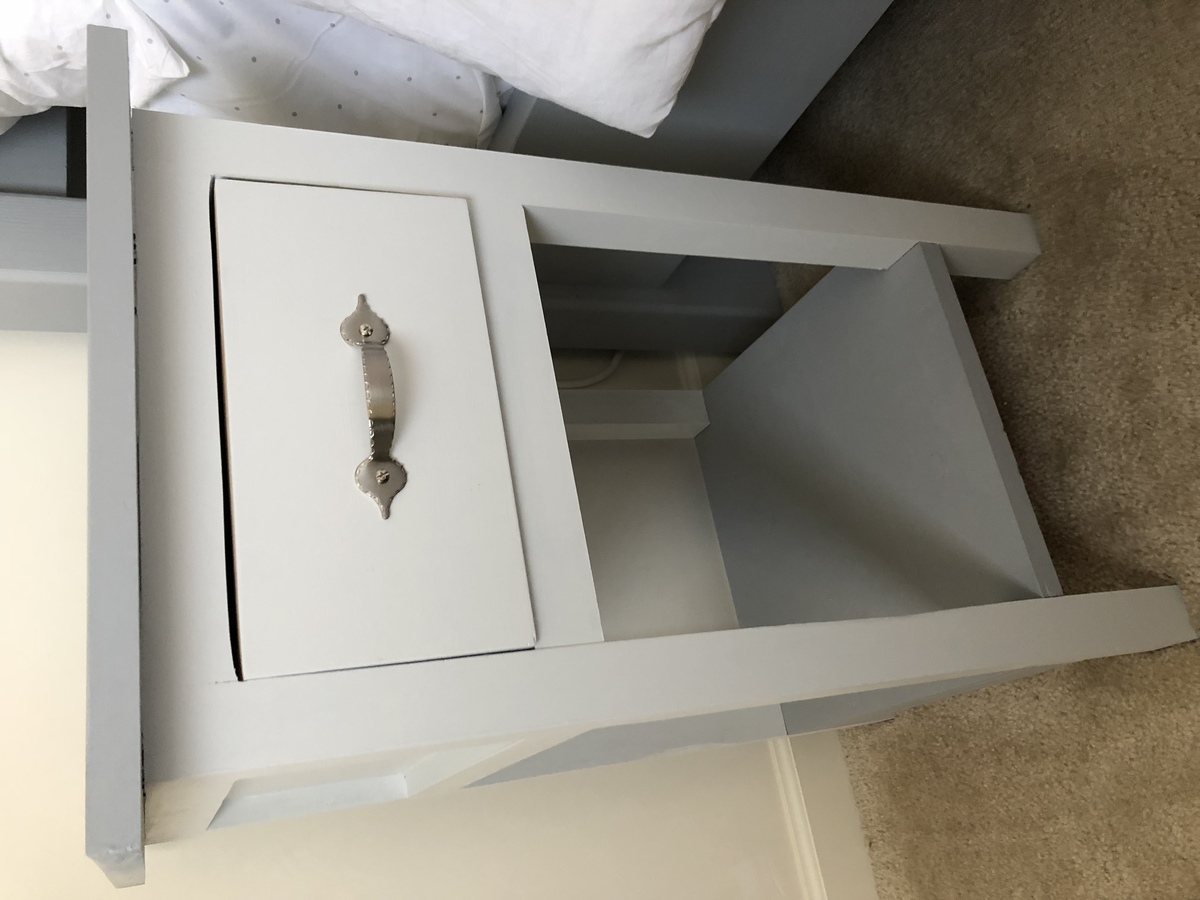
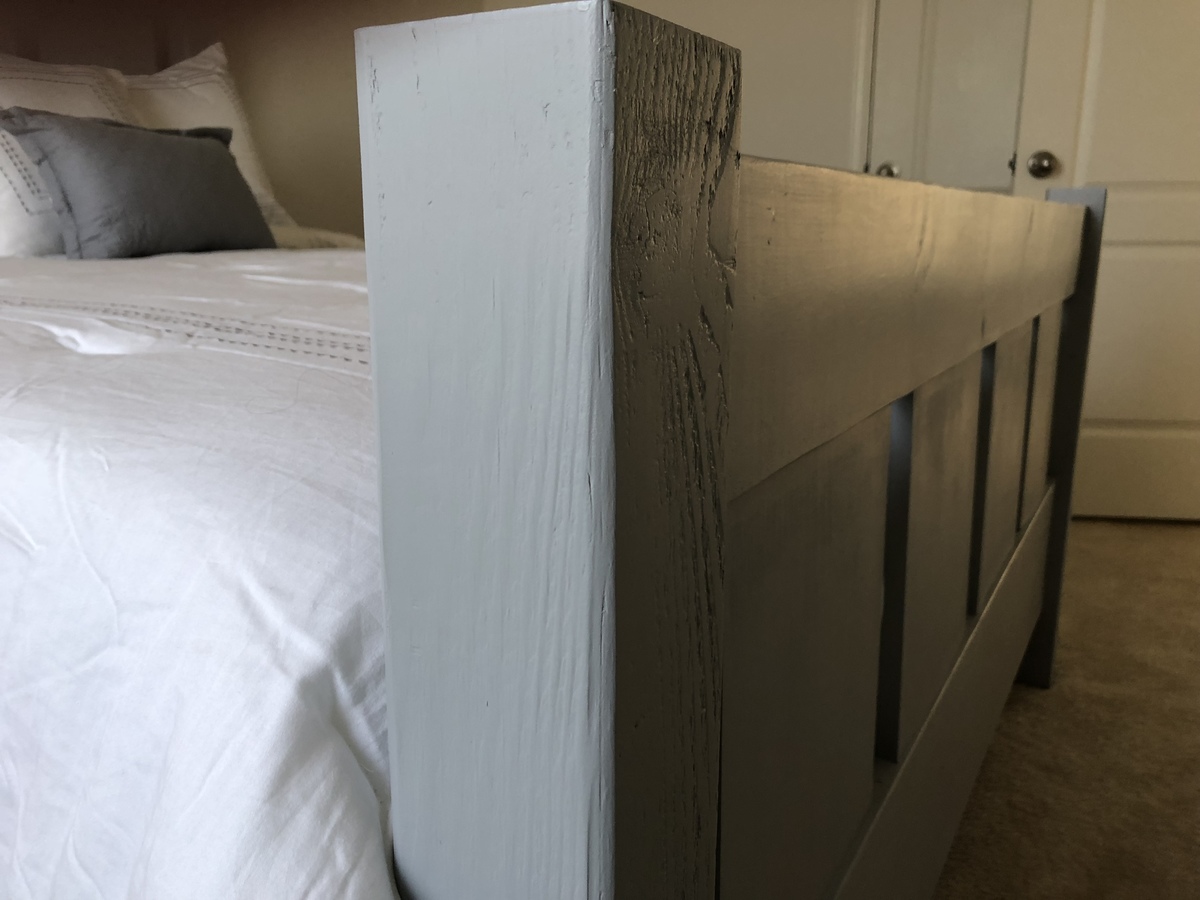
Farmhouse queen bed + nightstands

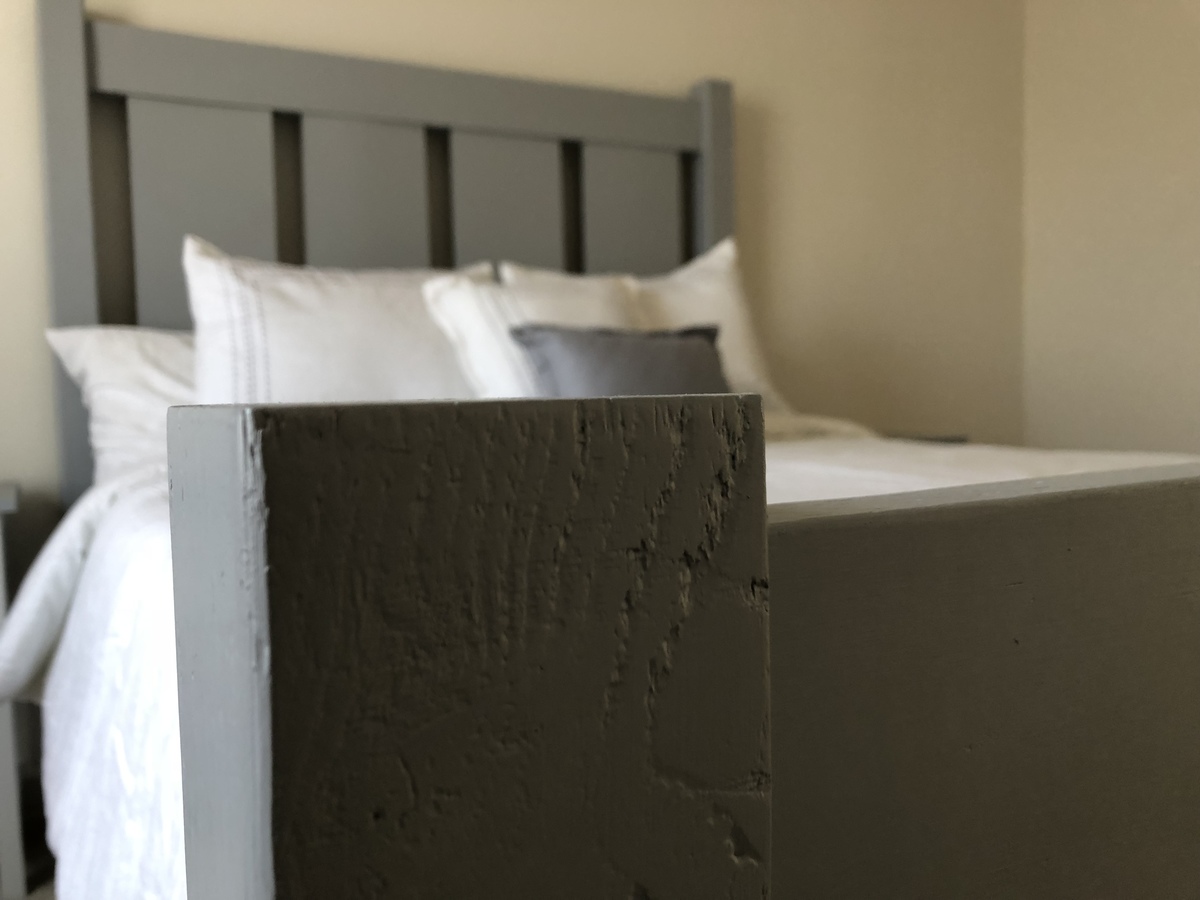
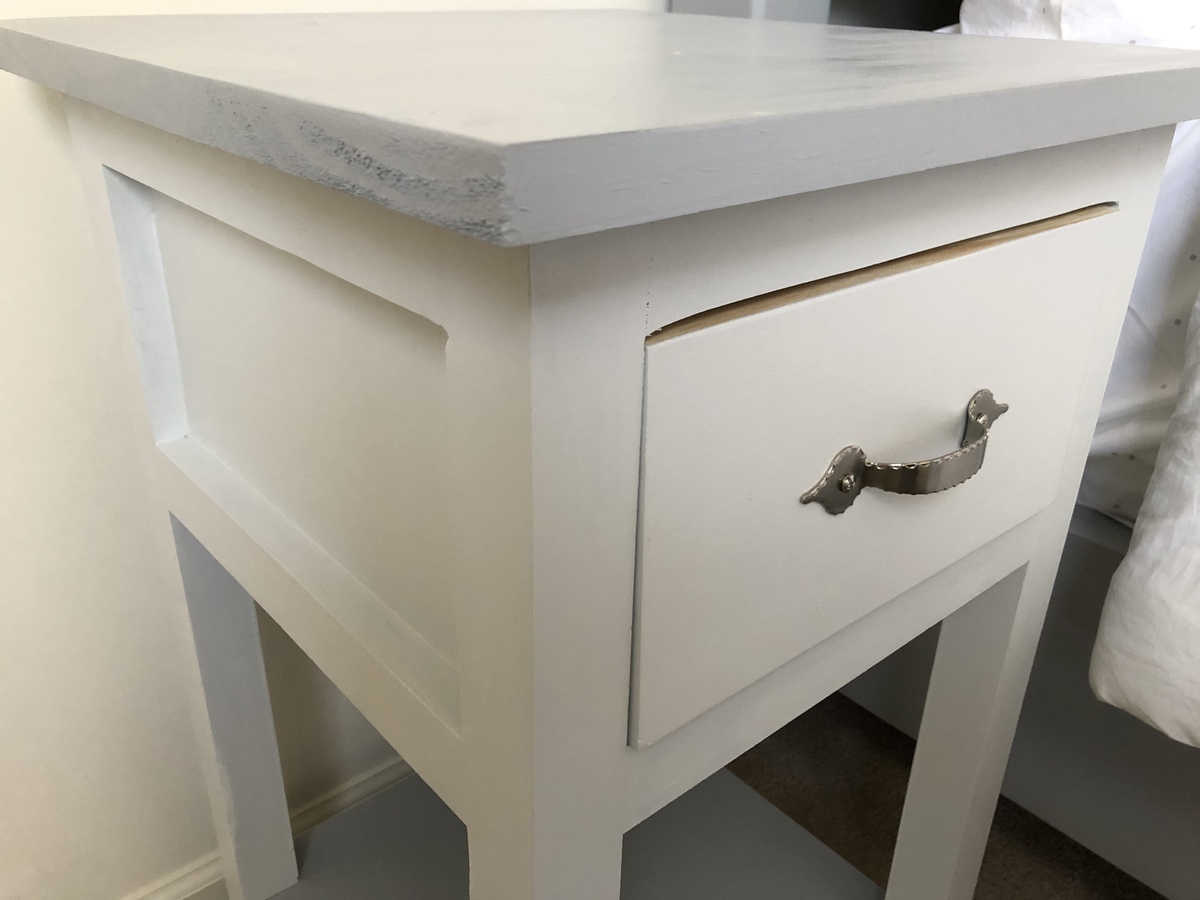
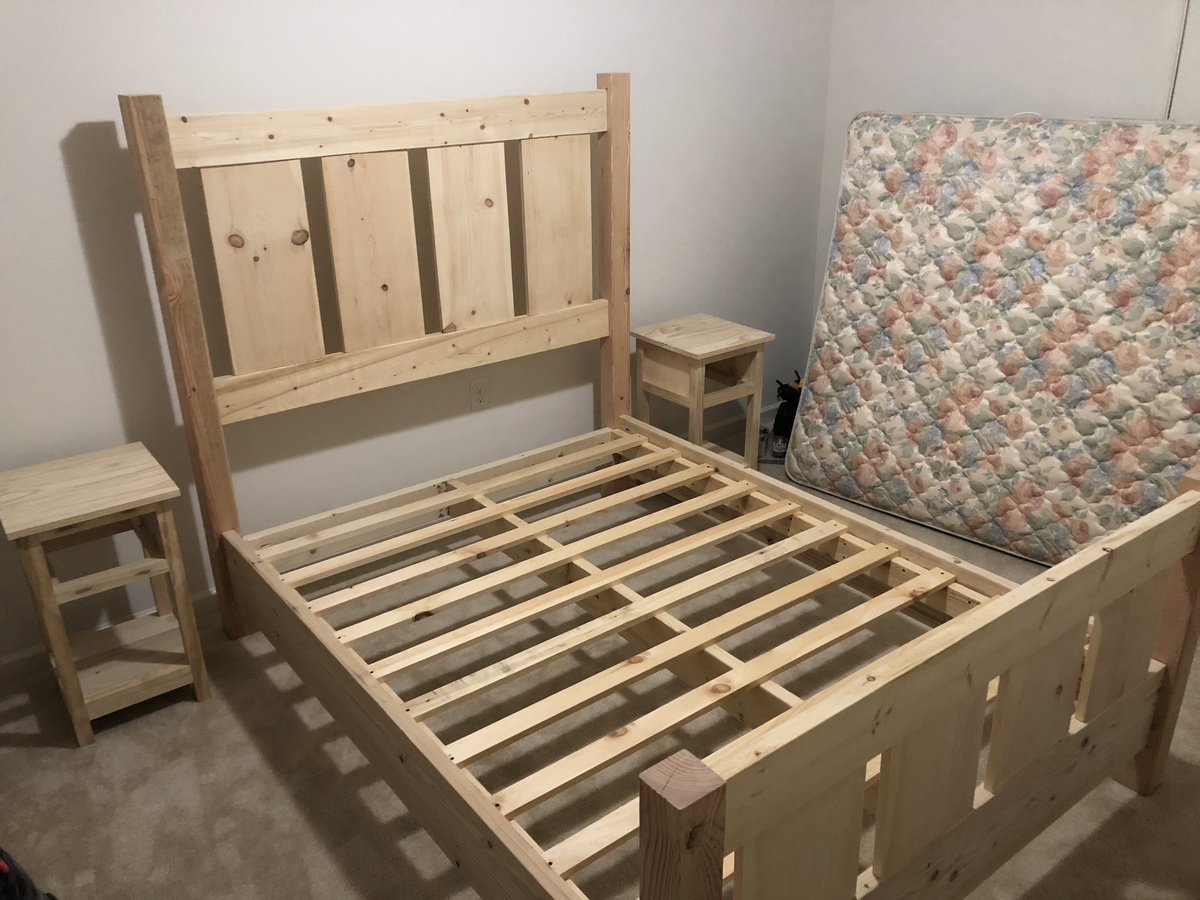
This is a farmhouse queen bed that I built with the assistance of Ana’s plan. I put my own flavor in it with a modified structure and cosmetic touch. Enjoyed this build very much!

Estimated Cost
$250 which includes lumber, screws, furniture paint.

$100 for bedding.
Estimated Time Investment
Week Long Project (20 Hours or More)
Finish Used
Furniture paint
Recommended Skill Level
Intermediate

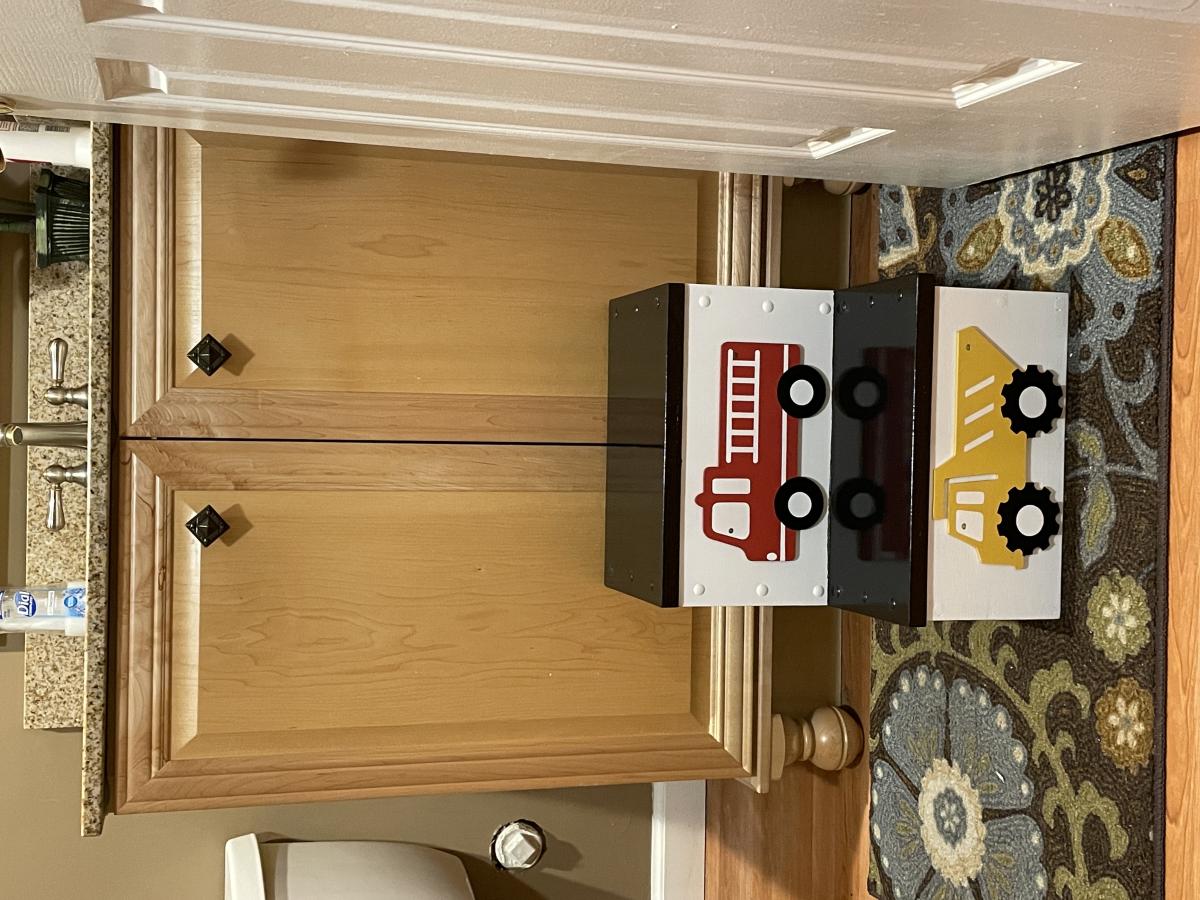
Childrens Stepstool for grandson

Submitted by 07542 on Sun, 12/26/2021 - 18:46

We used to have to hold him up to wash his hands.Made with all scrap plywood,screwed and glued (covered the screws with buttons & glued them into the screw head). He cant wait to wash his hands and brush his teeth now.

Comments

Rocket bookcase

Submitted by smasumur on Tue, 05/03/2011 - 20:22

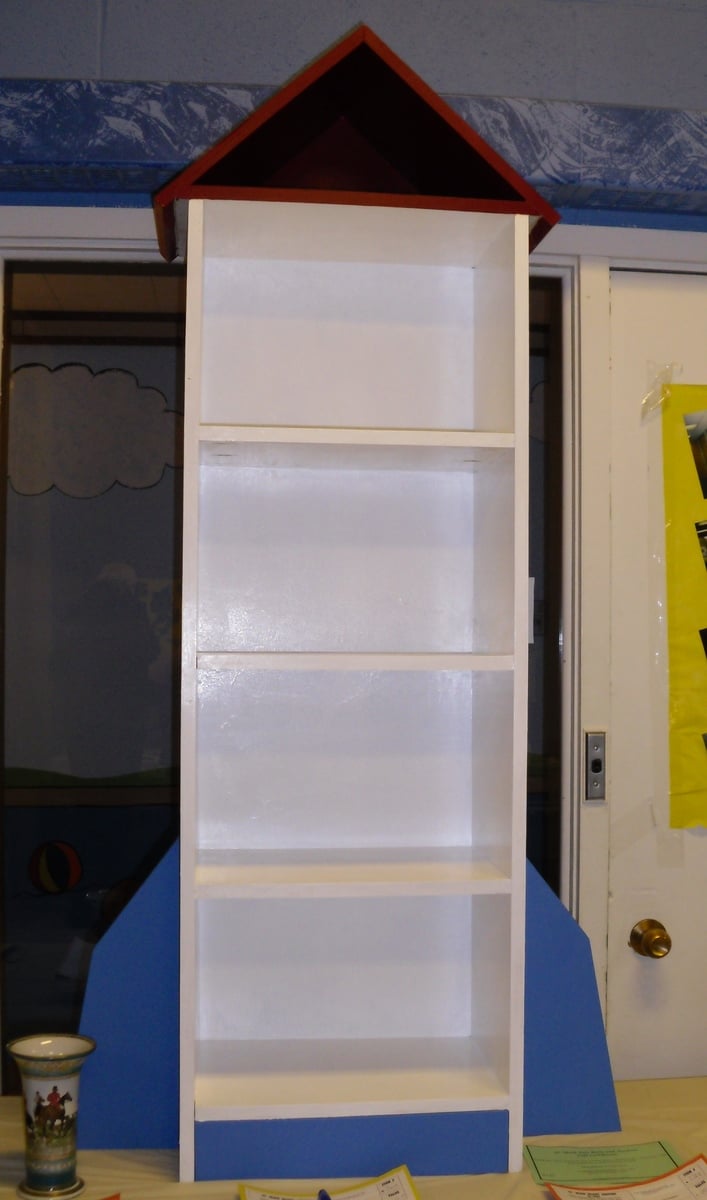
The Kreg jig made this project a snap to assemble. The shelves attach quickly with pocket holes. I wondered how to line up a screw from the inside of the bookcase with the fin when my husband pointed out that pocket holes would work well. Sure enough, 30 minutes later I had two fins drilled, attached, puttied, sanded and painted. I love my Kreg jig! I made this bookcase for an auction, which is why it's sitting next to a fancy vase on a table
(in case you're wondering about the photo).

Built from Plan(s)
Estimated Cost
$50
Estimated Time Investment
Afternoon Project (3-6 Hours)
Finish Used
Leftover glossy white paint, a returned sample half pint jar of glossy red (Valspar) and a sample half pint of blue (Pittsburgh paint).
Recommended Skill Level
Beginner

Red, White, and Blue Coop

We built this A-frame chicken coop using the plans from Ana White. We modified them a bit to include a front door, a solid front wall, and 8-foot untreated cedar fence boards (cut in half) for the loft floor instead of plywood. We also used hardware cloth instead of chicken wire since racoons are a problem where we live, and they have been known to reach through chicken wire to grab at hens. Instead of being able to open both sides of the top of the coop, we only put doors on one side just to make the building process a little simpler. The hardest part of building the whole coop was cutting the 60* angles on the 2"x4" trusses. Our cuts are not exactly perfect, so the nodes (meeting points of the 60* angle cuts) are a little rough, but we plan on covering this with a roof cap eventually. More photos and details are on my blog: http://littlefarmbigcity.wordpress.com/2013/06/29/red-white-and-blue-co… -kate

Built from Plan(s)
Estimated Cost
$175 with hardware cloth, paint, front door, and solid front wall
Estimated Time Investment
Weekend Project (10-20 Hours)
Finish Used
Paint (only on the exterior of the coop and coop ramp)
Recommended Skill Level
Starter Project

Comments

yurra-bazain

Thu, 07/04/2013 - 02:51

I love this! Makes me want to build one for my neighbor's hens with your touches in mind; perhaps in the near future. :)

Seasonal And Holiday

Our 6' Farmhouse X Table (Slightly Modified)

Submitted by TJDL on Sun, 06/21/2015 - 00:42

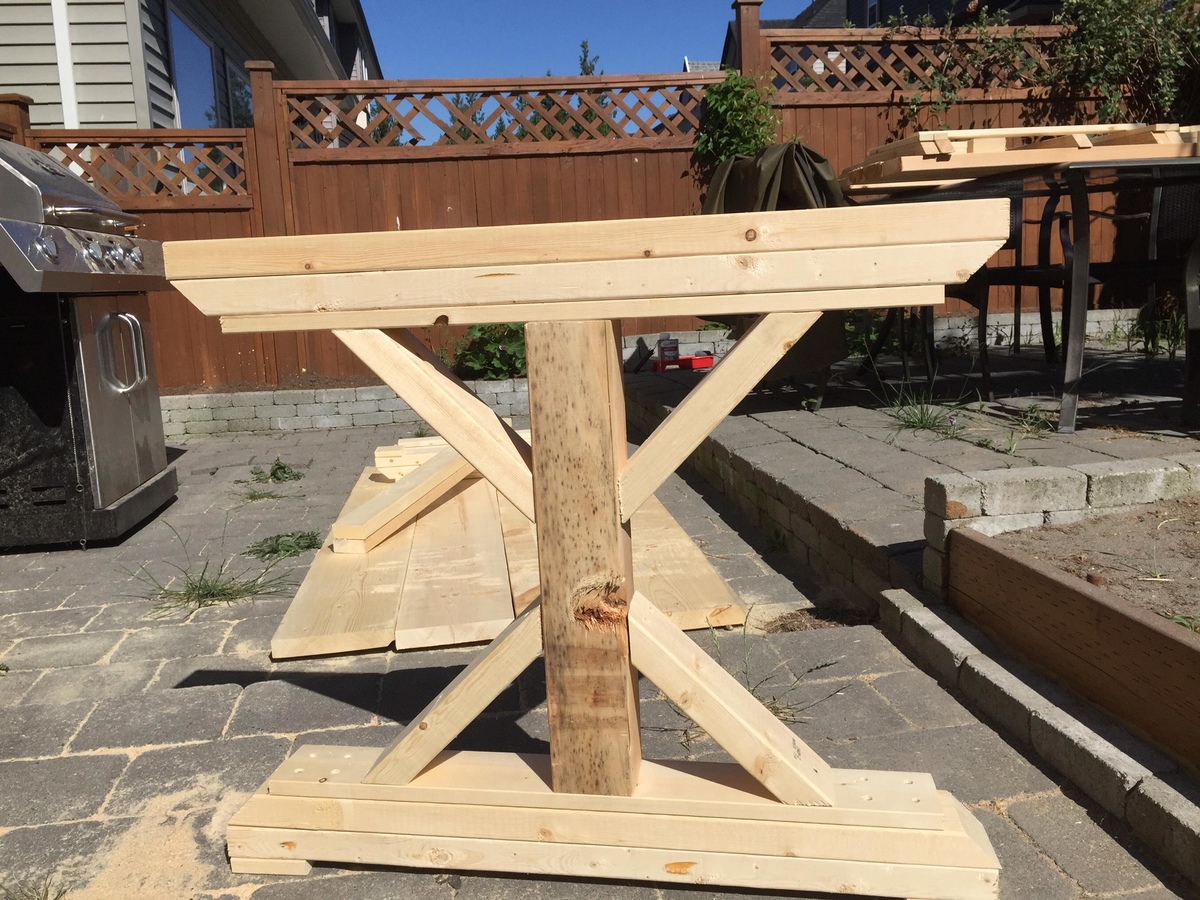
We had been saving up for a table like this one from Restoration Hardware or Urban Barn or West Elm but needless to say it was taking a while (just for the table)... then we stumbled upon @Shanty2Chic on Pinterest and loved the idea.

As far as woodworking/furniture making goes, I have taken a turn at it here and there but this was our first major project and it worked out great. We decided to go with two benches and we're currently hunting for chairs, maybe a DIY as the ones we want are also pretty expensive for what they are!

We bought all the wood, subbing the 96" 2x10s for 72" 2x10s and subbed the 2x4s in the X legs for 4x4s. I like the one piece better than the 2x4s and we attached the X pieces to the 4x4 using 2-1/2" pocket screws. After cutting and sanding, we assembled the table and set out staining it with a brush and a clean rag using the "brush on - wipe off" method which gave us a nice look at the grain pattern. The stain we chose was Varathane Weathered Grey and did one coat which gave us the look we were after. After staining we applied three coats of Varathane Matte Finish clear to allow for that "natural wood feel".

Estimated Cost
Pocket Kreg - $23, Stain and Clear Coat - $30, All Wood - $270 (Over Bought a few pieces and spent a good amount on the 4x4s otherwise it would be closer to $200). Total = $325
Estimated Time Investment
Week Long Project (20 Hours or More)
Finish Used
Varathane Wethered Grey and Varathane Matte Finish Clear
Recommended Skill Level
Intermediate

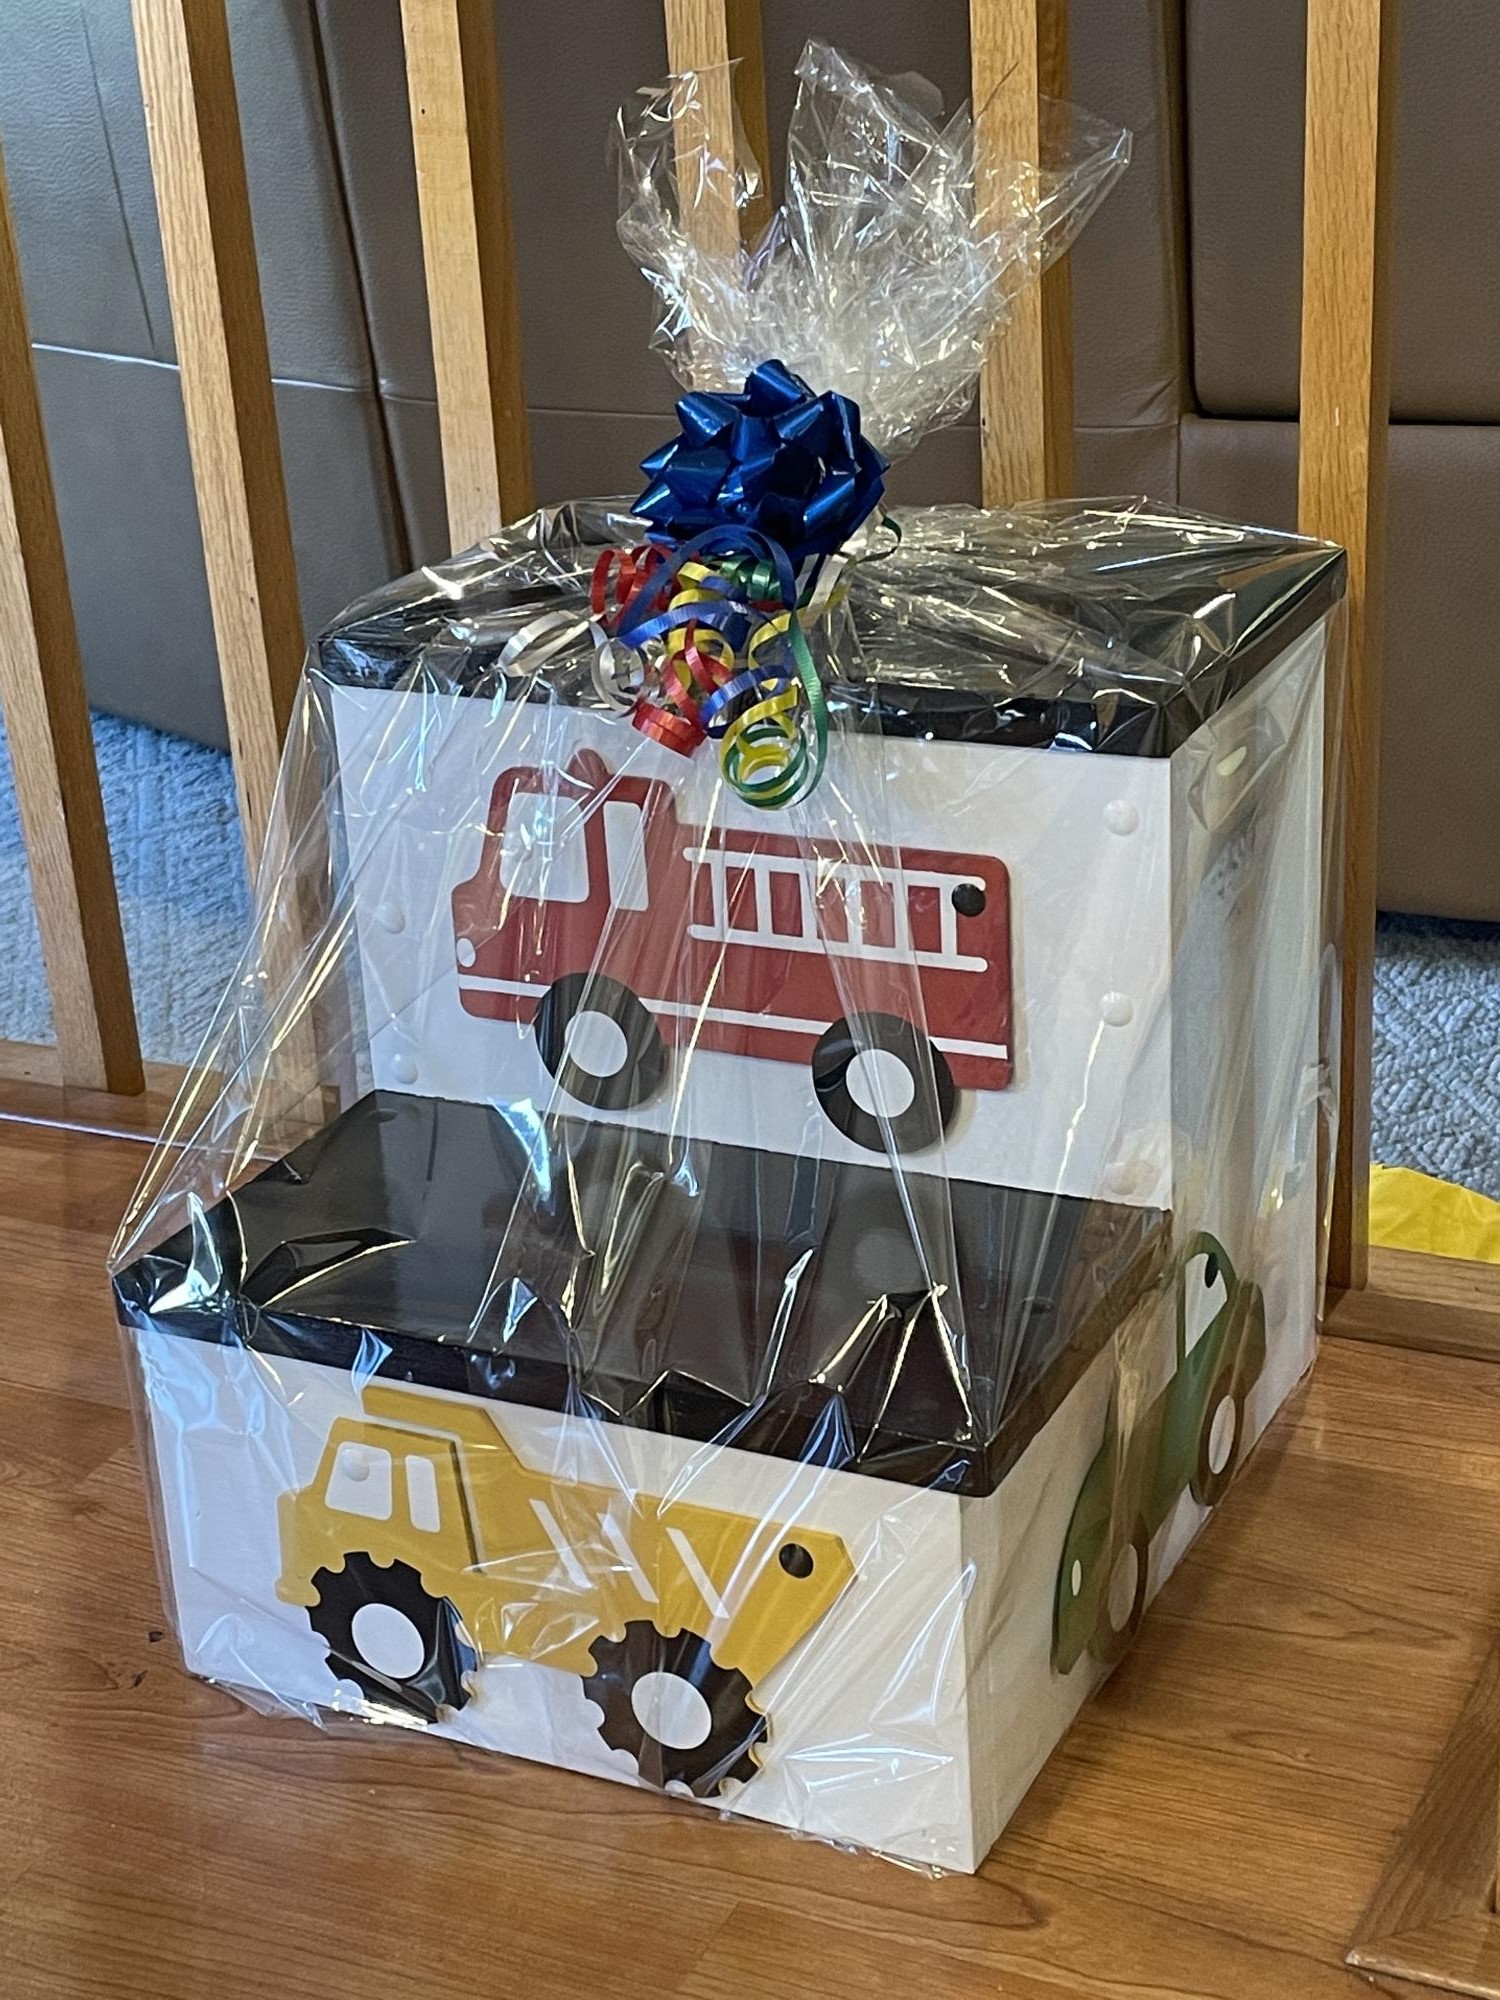
Toy Bin

Submitted by smurf1018 on Sat, 01/06/2018 - 21:51

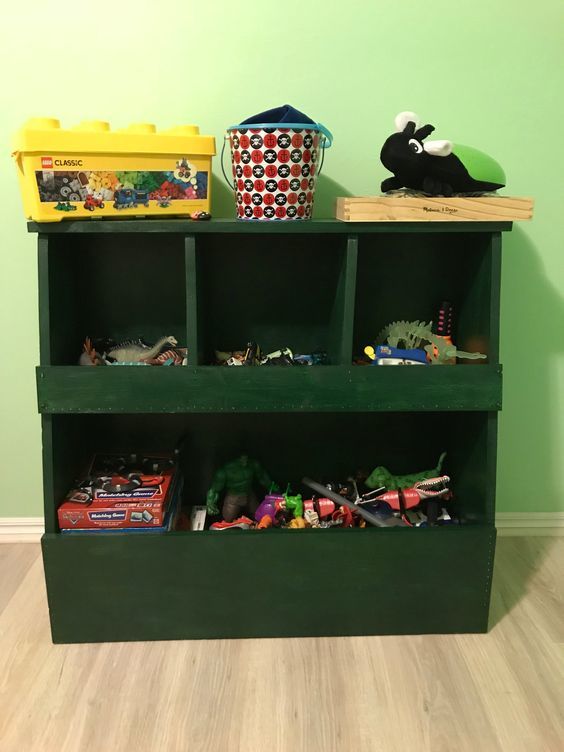
I think this turned out pretty good for it only being the second piece of furniture I have ever built.

Built from Plan(s)
Estimated Time Investment
Weekend Project (10-20 Hours)
Finish Used
Rust-oleum Painter's Touch Ultra Cover Premium Latex Paint Hunter Green Gloss
Recommended Skill Level
Beginner

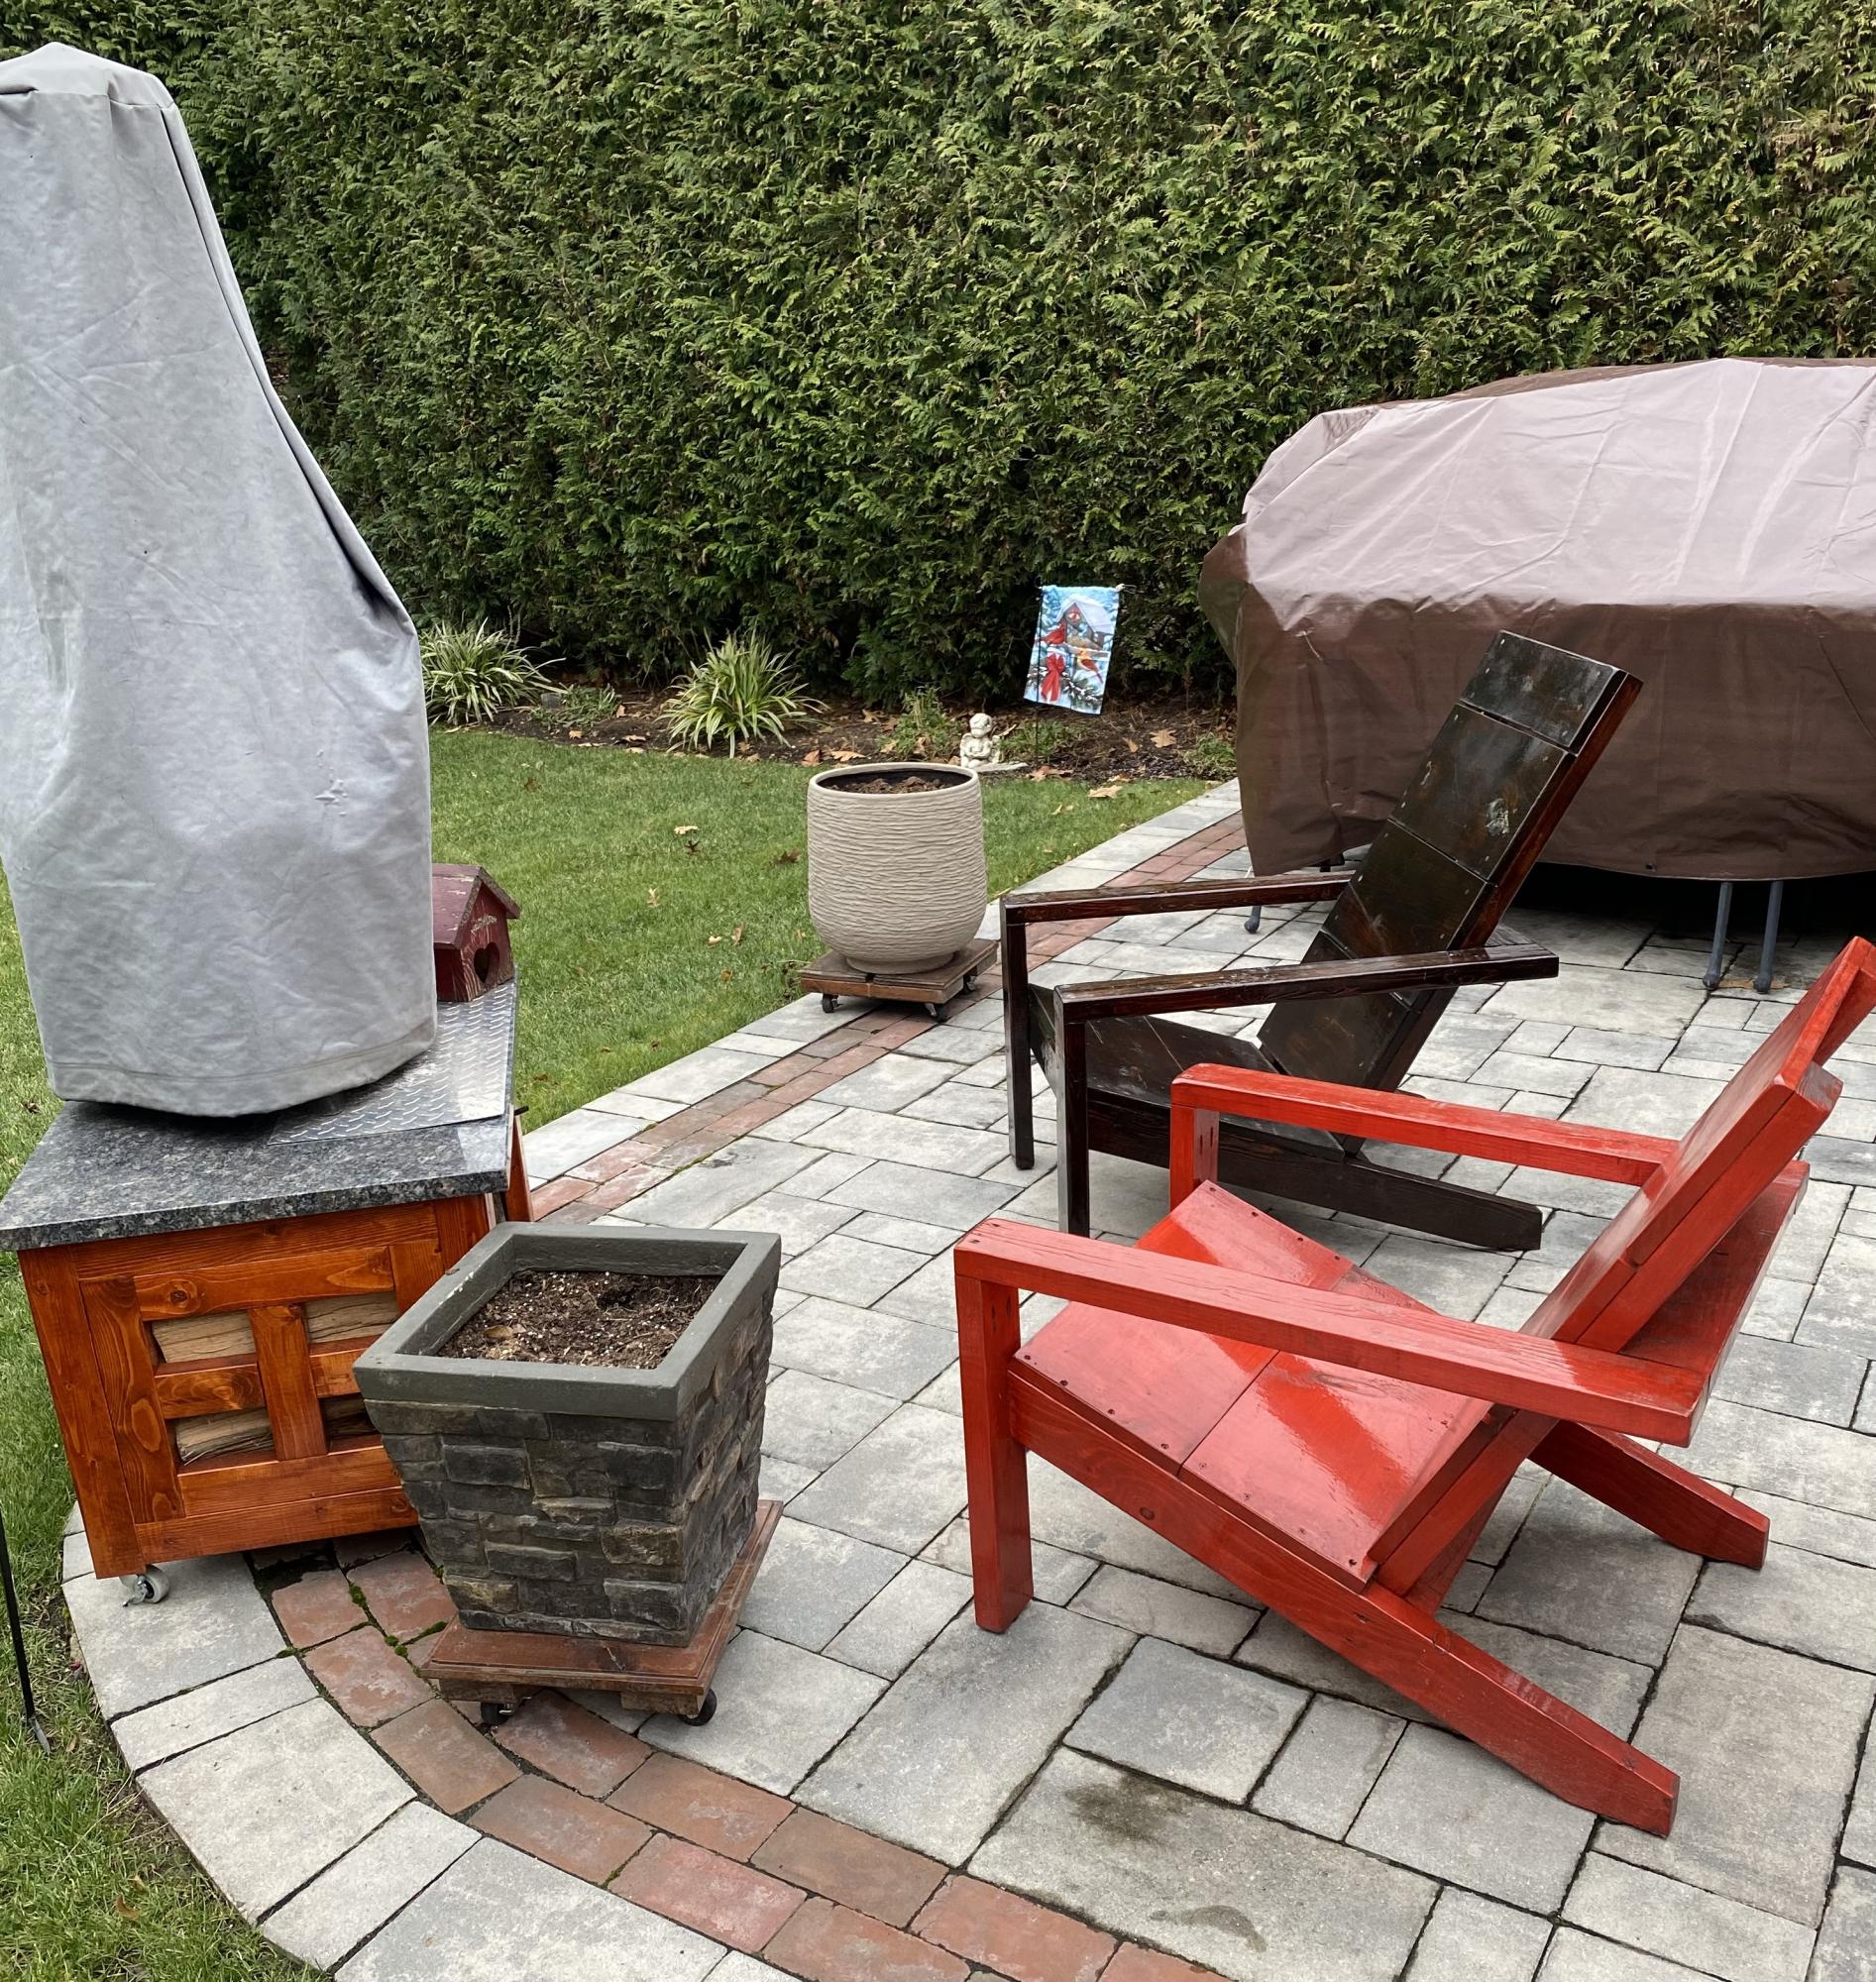
Ana White Outdoor Chair

Submitted by Anonymous (not verified) on Mon, 12/27/2021 - 06:57

Thank you Ana for the plans to make these two outdoor chairs. They are most comfortable while sitting by the fire pit. Thank You!

Comments

Farmhouse Bedside Table

Submitted by jsle_bel on Fri, 05/06/2011 - 10:45

I've been married for a little over 12 years now and we have NEVER had a bed frame or side tables. I had never built anything on my own (without the hubbies input) and I have to say that it was extremely empowering! I'm so proud of how it turned out! It took me a while to cut the pieces out because I used a handsaw and guide....ugg, we need a saw and once I get one I'm moving on to a bed frame!

Built from Plan(s)
Estimated Cost
I used a lot of odds and ends so it was virtually free!
Finish Used
Valspar spray in Baby Blue (satin)
Minwax stain in Dark Walnut
Minwax Polyurethane spray clear semi-gloss.

I started by distressing my wood (http://www.youtube.com/watch?v=werjbXUQf28&feature=player_embedded#at=13), I then painted with Baby Blue (2 light coats), sanded the edges to give it a warn/weathered look, applied stain and wiped down soon after application being sure to soak any crevice before wiping down (this takes a little practice to get the exact look you want). Finally after it dried I sprayed with the Polyurethane spray. I think this is by far my FAVORITE finish!
Recommended Skill Level
Starter Project

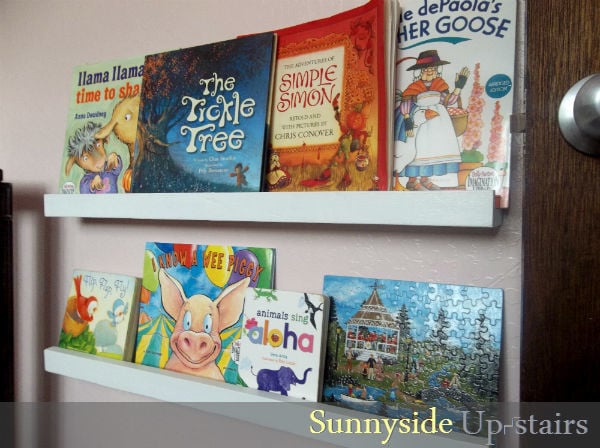
Thin Book Display Ledges

Using scraps I originally purchased from a Re-Use warehouse on my island (O'ahu), I put together two book display ledges for my daughter's bedroom. They are made with 2- 1x2s (lip and bottom) and 1- 1x4 (back). I was able to make two 28 3/4" ledges from first cut to installation in the 3 hours my daughter had gone on a "field trip" with my mom and brother and surprised her with new book ledges when she got home. :)

Built from Plan(s)
Estimated Cost
$1.40
Estimated Time Investment
Afternoon Project (3-6 Hours)
Finish Used
Olympic (No VOC) Semi-Gloss White
Recommended Skill Level
Starter Project

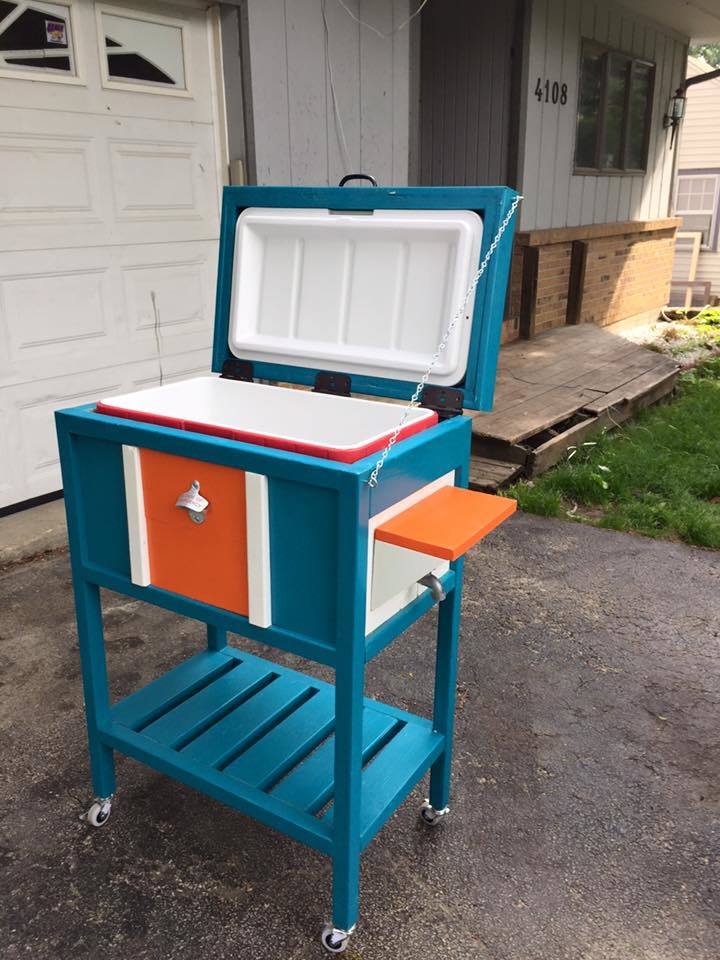
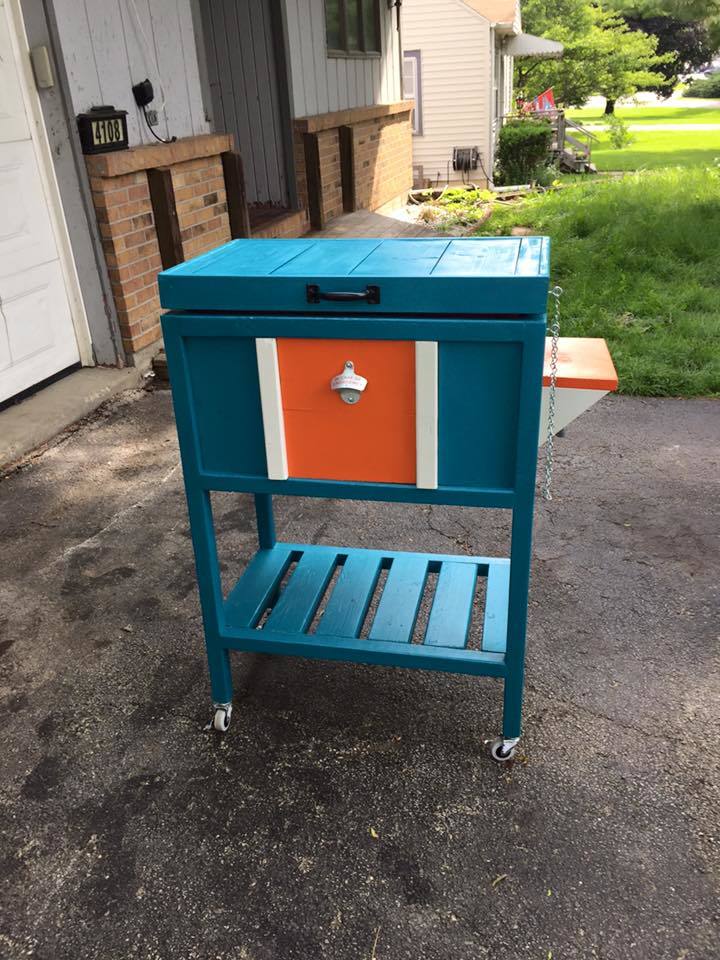
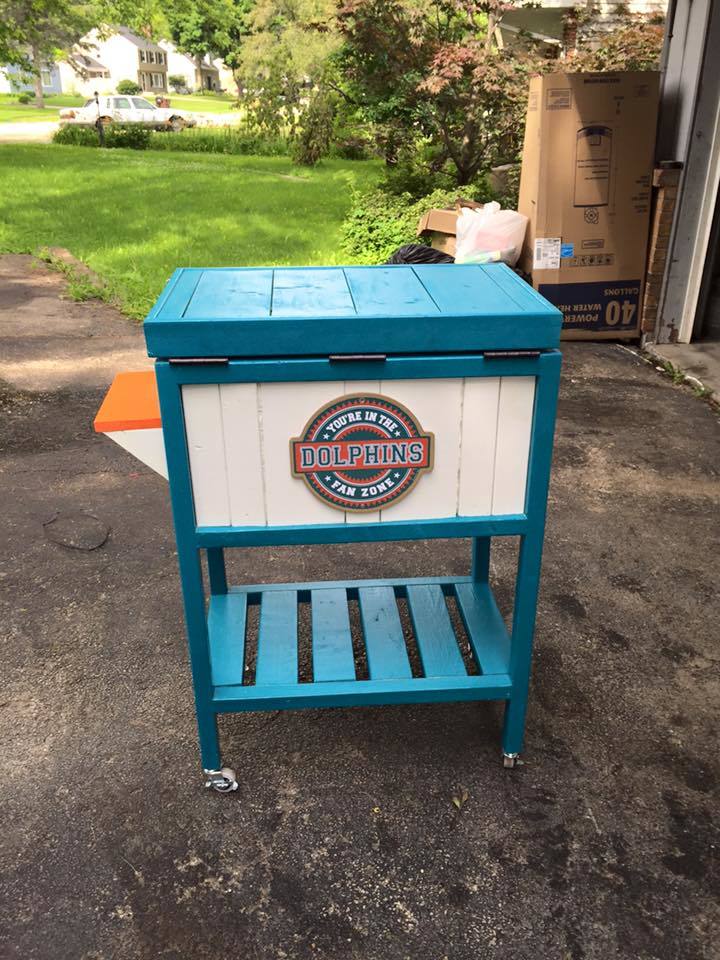
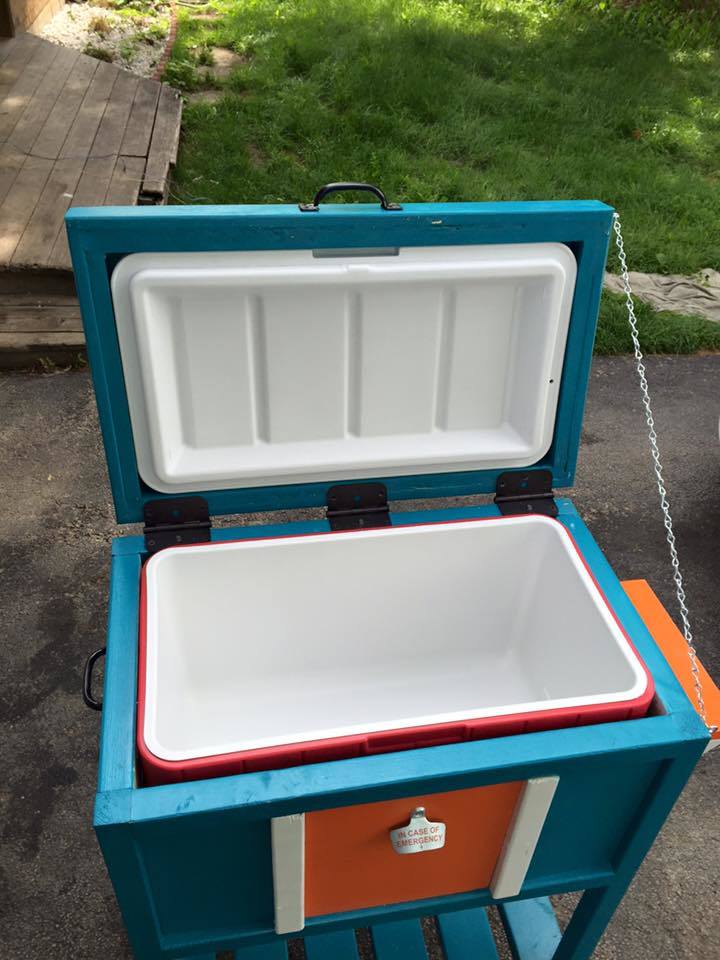
Wood Cooler Box

Submitted by AK1013 on Wed, 06/24/2015 - 12:02

I'm new to woodworking but I'm already obsessed. I was looking for something I could make for Father's Day and came across this. I thought it'd be perfect for my dad especially if I did it in his favorite team's (Miami Dolphins) colors. It's definitely not perfect and there was a lot of frustration when it came to putting the cooler inside... but I'm proud of the finished product.

Built from Plan(s)
Estimated Time Investment
Weekend Project (10-20 Hours)
Recommended Skill Level
Beginner

Bubba's Modified Little Adirondack Chair

Submitted by Anneke on Tue, 05/10/2011 - 01:16

I built this chair for my son's second birthday this last Saturday! Even though it is not perfect I'm super happy with the outcome. :-)

Built from Plan(s)
Estimated Cost
$30
Estimated Time Investment
Afternoon Project (3-6 Hours)
Finish Used
No Primer
Krylon Ocean Breeze Gloss Spray Paint
Sanded misc. edges
Made a mix of Minwax Jacobean stain with Clear Mixing Glaze - wiped that on for about 5 minutes and then wiped off
Recommended Skill Level
Intermediate

Fake built-in's

Submitted by sean1023 on Sat, 07/06/2013 - 17:56

I modified this plan and made it 83.5" to match the height of my window.

Built from Plan(s)
Estimated Cost
100
Estimated Time Investment
Afternoon Project (3-6 Hours)
Finish Used
Valspar White gloss
Recommended Skill Level
Beginner

Comments

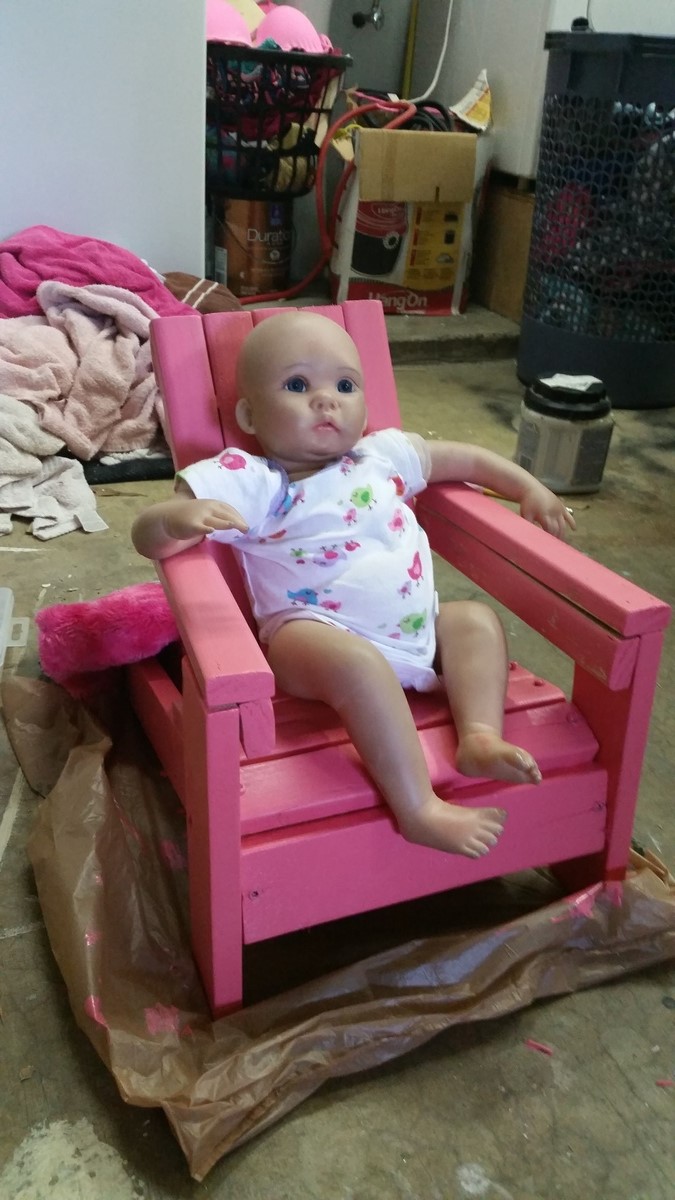
Baby doll chair

Submitted by katrinaj55 on Fri, 06/26/2015 - 23:44

This was my first project to make from scratch by myself

Built from Plan(s)
Estimated Cost
$10
Estimated Time Investment
An Hour or Two (0-2 Hours)
Finish Used
None. I used treated wood
Recommended Skill Level
Starter Project

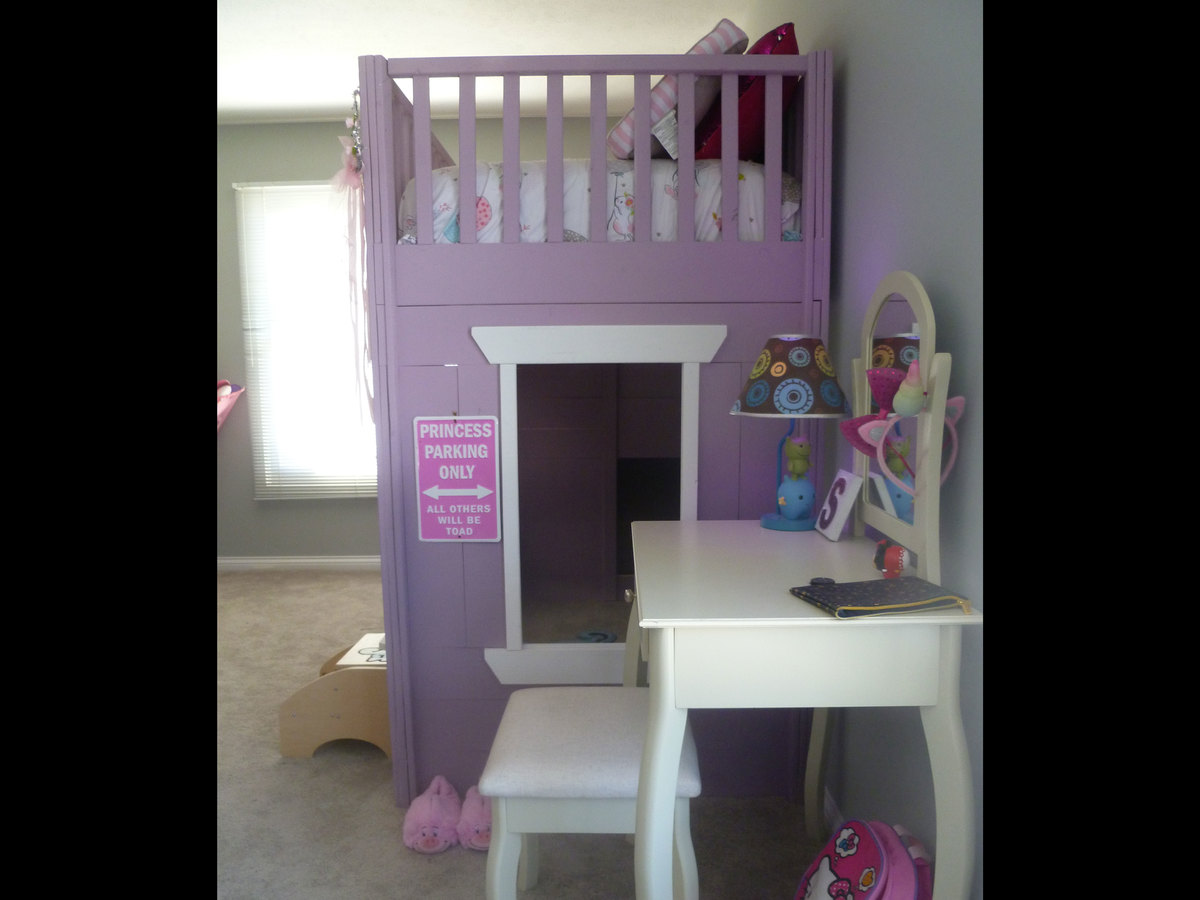
Princess Loft Cottage

Submitted by wilsoben on Sun, 01/14/2018 - 20:15

Not 100% done, still have a few paint touch ups to do but I wanted to get this up here while my daughter's room was clean. We originally were planning on adding drawers to the stairs but the kids had so much fun playing under them while I was building it that we decided to open it up and add some string lights. It's also hard to see but the paint fades from purple at the bottom to pink at the top and has silver glitter added to it.
Estimated Time Investment
Week Long Project (20 Hours or More)
Finish Used
Purple, Pink & White paint w/ silver glitter
Recommended Skill Level
Beginner

Spring Green Toy Bin

I desperately needed a toy bin the boys couldn't just dump over. This is a lot bigger than you'd think, but stores a LOT of toys! $30 for the project panel wasn't doable for me, planning on 3 of them. So I used 3/4" plywood instead since I was going to paint anyway. Then normal 1x12's and such for the rest. An hour to cut and build, the rest of the time was painting and waiting for it to dry.

Estimated Cost
Using project panel, $50. Using 3/4" plywood like I did instead, $25-30.
Estimated Time Investment
Afternoon Project (3-6 Hours)
Finish Used
Primed with Kilz 2, because it is really low odor and covers well. Then I mixed the yellow I had from a bookcase with the a blue from a dresser I painted, to make a nice spring green semi-gloss.
Recommended Skill Level
Beginner

Sweet Pea Bunk Bed (turned Beach House)

I was shopping around for a bunk bed for my 2 and 4 year old girls. I didn't want the standard, cheap metal frame for $200, but I also didn't want to spend $2,000 on a big box store bed (made in China) with a 300% mark-up! I stumbled upon Ana's site and was HOOKED! I found the "Sweet Pea Bunk Bed" and immediately printed the plans.

I was a little hesitant to take on such a project because I am...by no means...a carpenter. I found a few mistakes in the instructions, but was able to work through them. I decided against the tin roof, pergola, and flower boxes, but instead went with a "beach house" theme.

My girls LOVE LOVE LOVE it! They especially love the windows and the little shelf where they can put their favorite toy at night when it's time to sleep. I also let each of our kids (plus mom and dad) put hand prints on the rails of the upper bunk so my daughter on the bottom bunk has something to look at. Added a push button light too.

My adivce to anyone thinking of doing this bunk bed: Read through the instructions thoroughly first. Do NOT take shortcuts. Cut, sand and paint EVERYTHING before assembling.

I work full-time and take a few night classes (for fun), so this project took me 4 weekends to build (including a 3-day weekend, thanks to a holiday). Enjoy!

Estimated Time Investment
Week Long Project (20 Hours or More)
Finish Used
Paint
Recommended Skill Level
Intermediate

Comments

ewalshwray

Mon, 07/08/2013 - 19:33

Great job! It's super cute, I bet your girls love it. I love the blue and green paint colors.

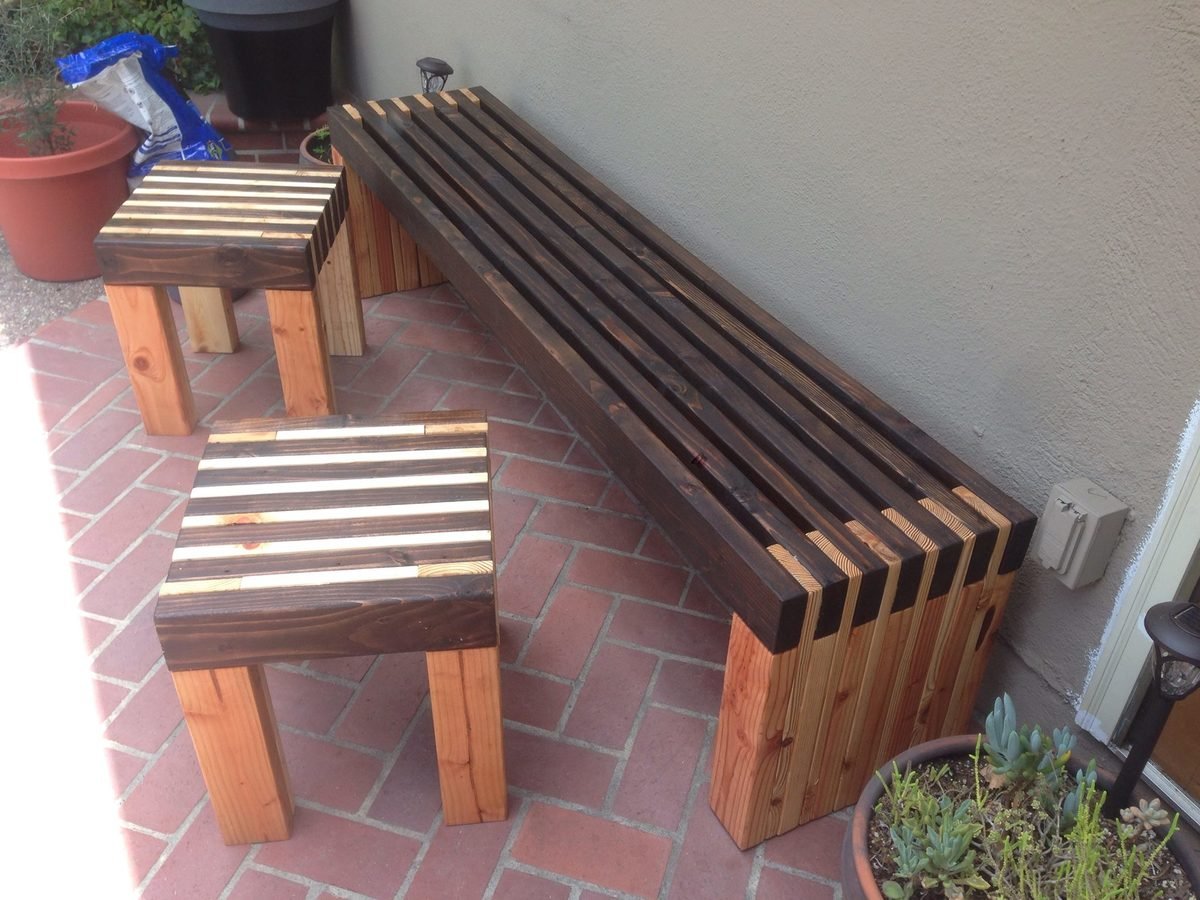
Bench and side tables

Submitted by torito on Tue, 06/30/2015 - 11:27

Bench was made using the plans on the site. I modified the plans to create these accompanying 15" x 15" side tables. cut list for each table:

7 2x4 at 15" each (stained for the top part of the table).
4 2x4 @13 1/2" each (for legs)
5 1x4 @ 15" each (used for the top of the table)
2 1x4 @ 8" each (used for the top of the table)
4 1x4 @ 17" each (for legs)

Time varies depending on if you cut, sand, stain, and treat the lumber for outdoor use. The estimated time below is does not include time for the stain/weatherproof treatment.

Estimated Cost
1 table: $10 - $15
bench: $45
Estimated Time Investment
Weekend Project (10-20 Hours)
Recommended Skill Level
Beginner

Comments

moon369

Sun, 08/02/2015 - 14:08

Love your color scheme. I'm going to attempt making this bench. Did you use both glue and nails and if you used nails, where did you nail it in and did you try to hide the nails later? I'm a complete nubie in terms of wood work. Thanks!