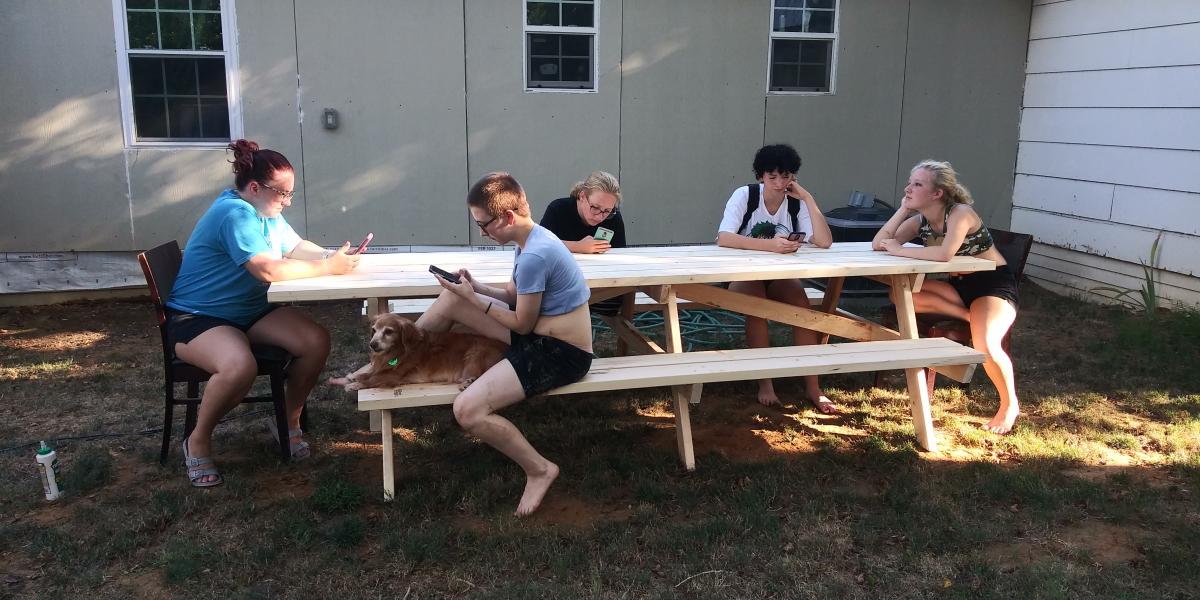
The Christmas present finished in July
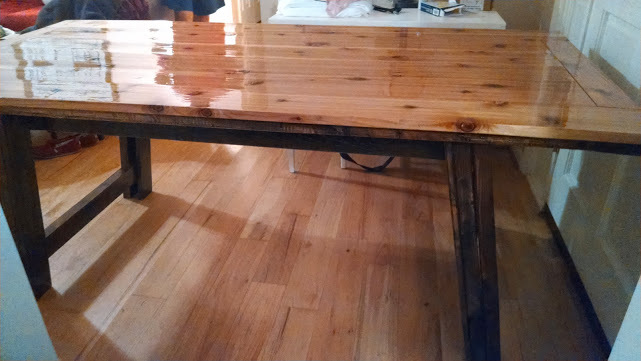
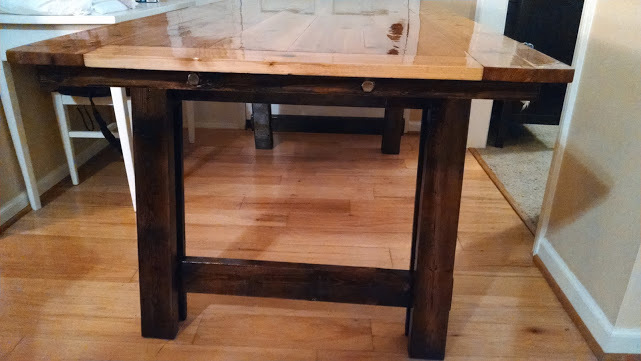
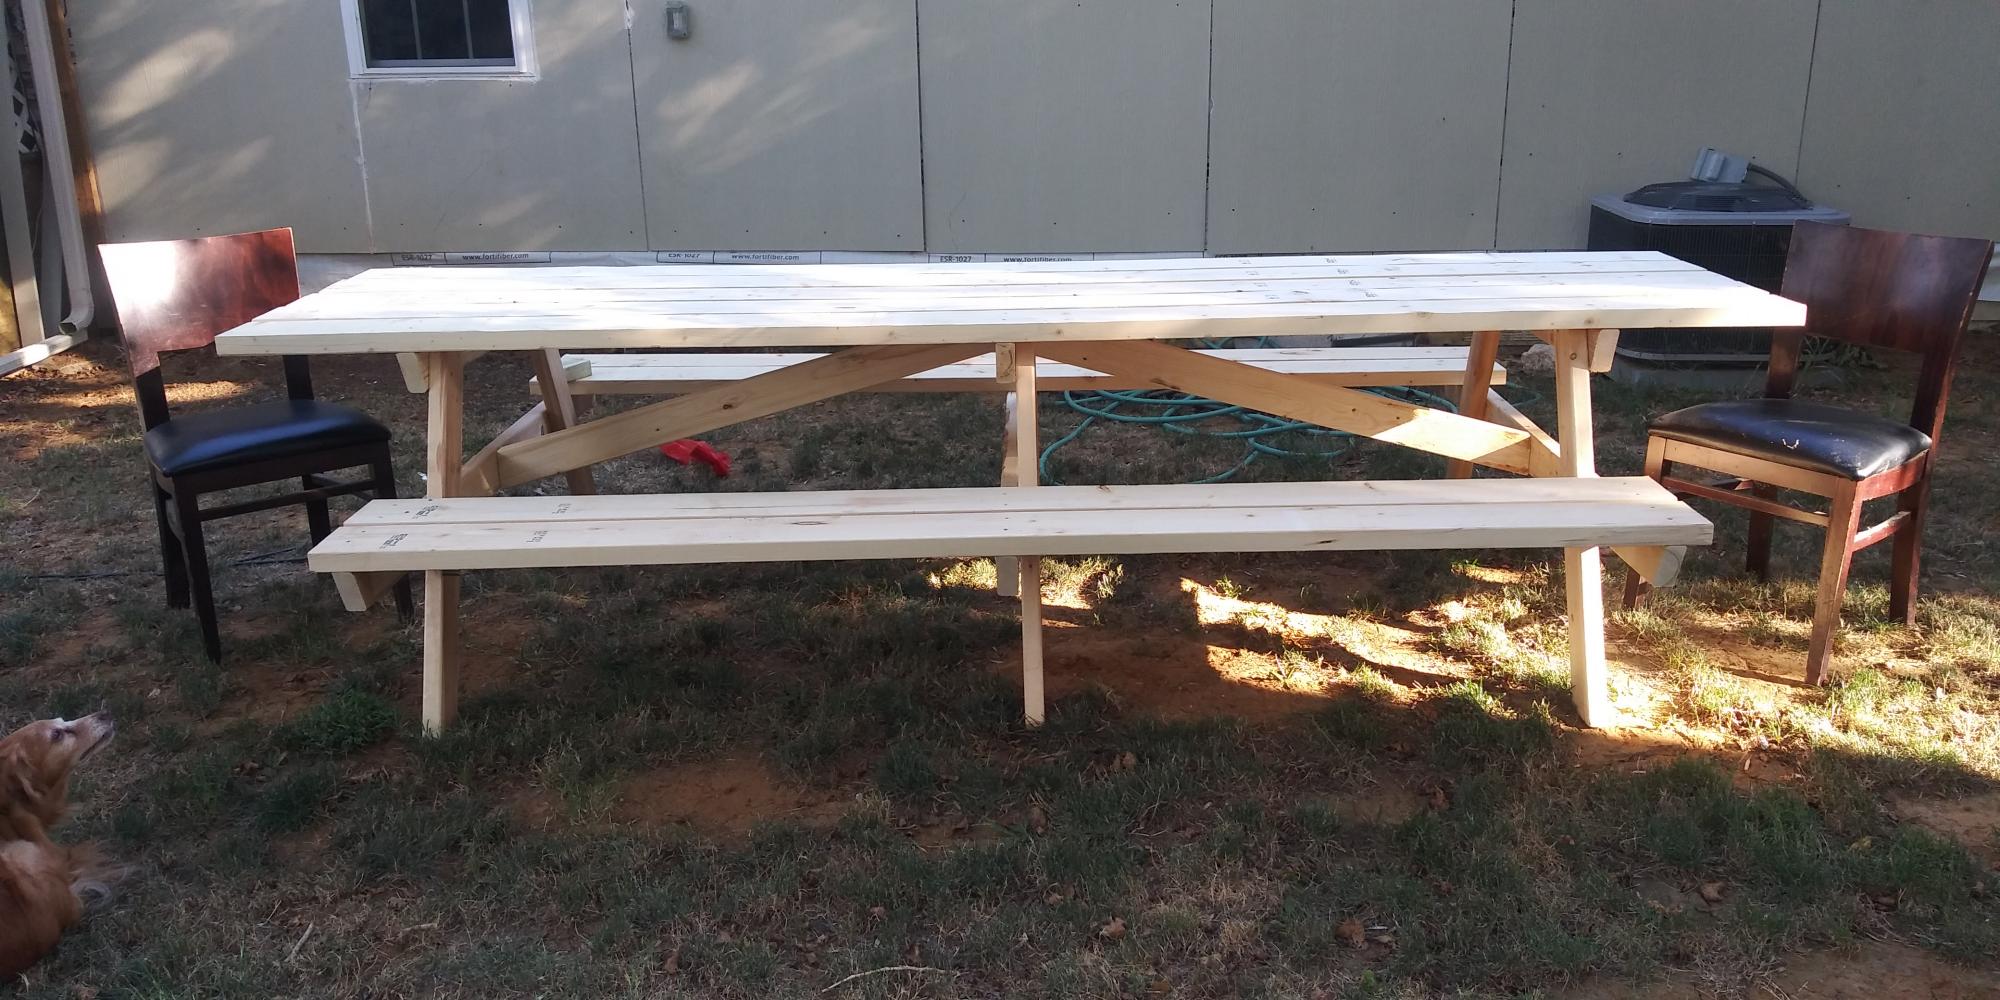
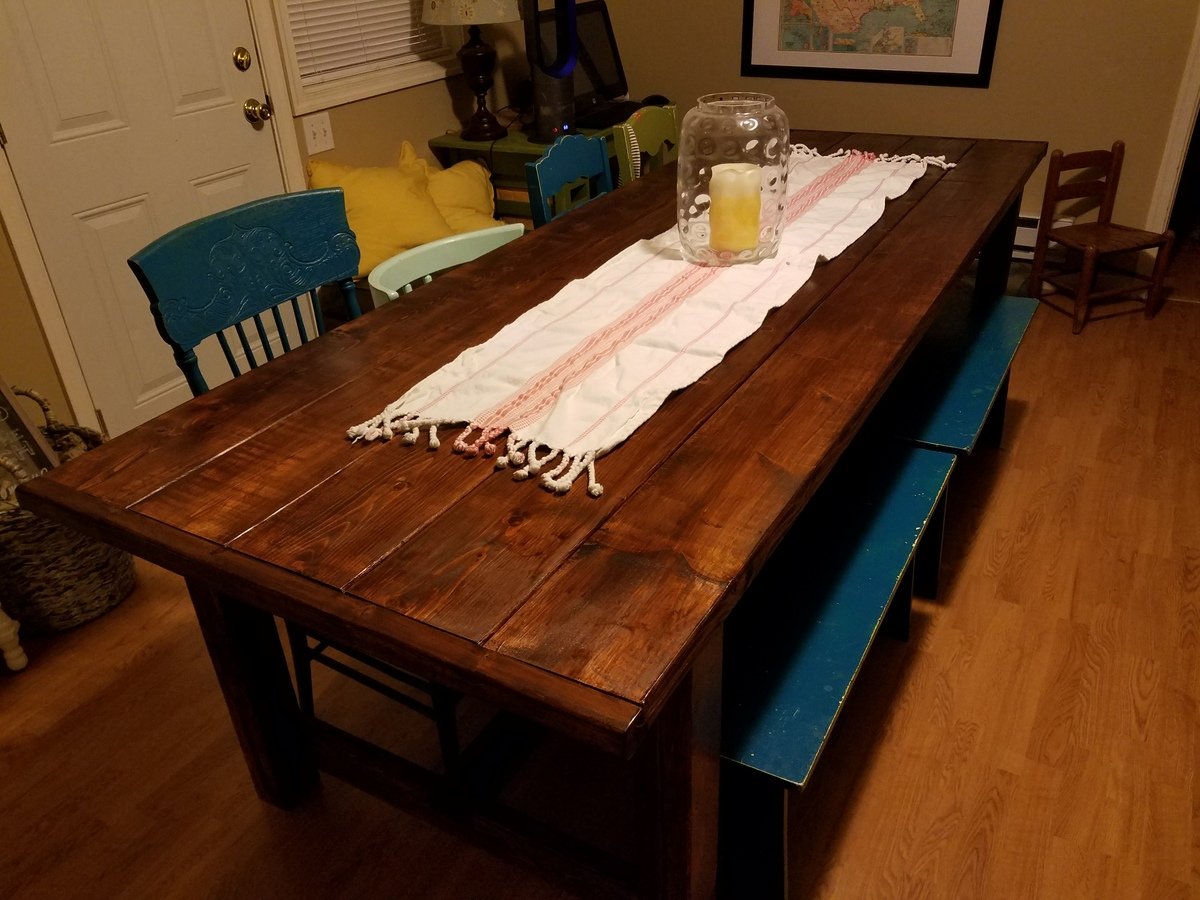
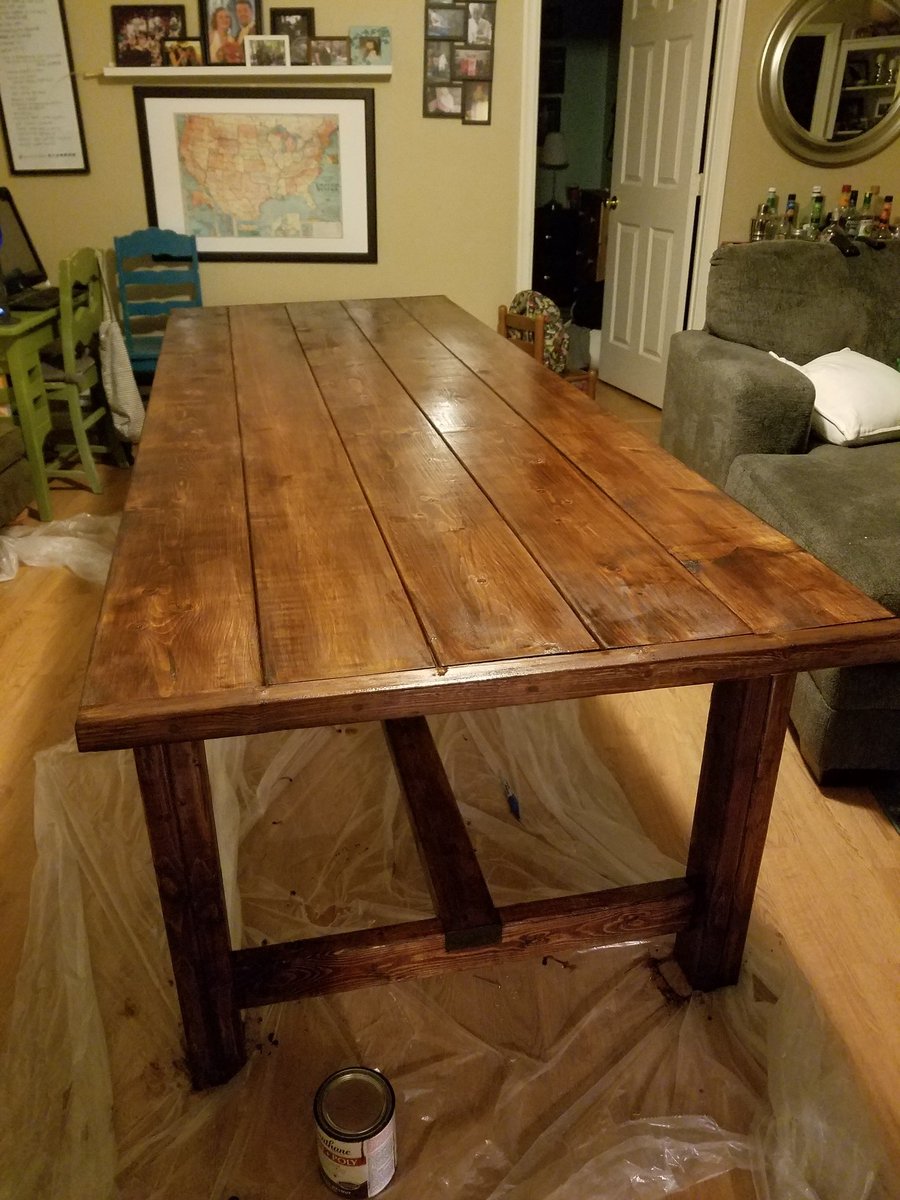
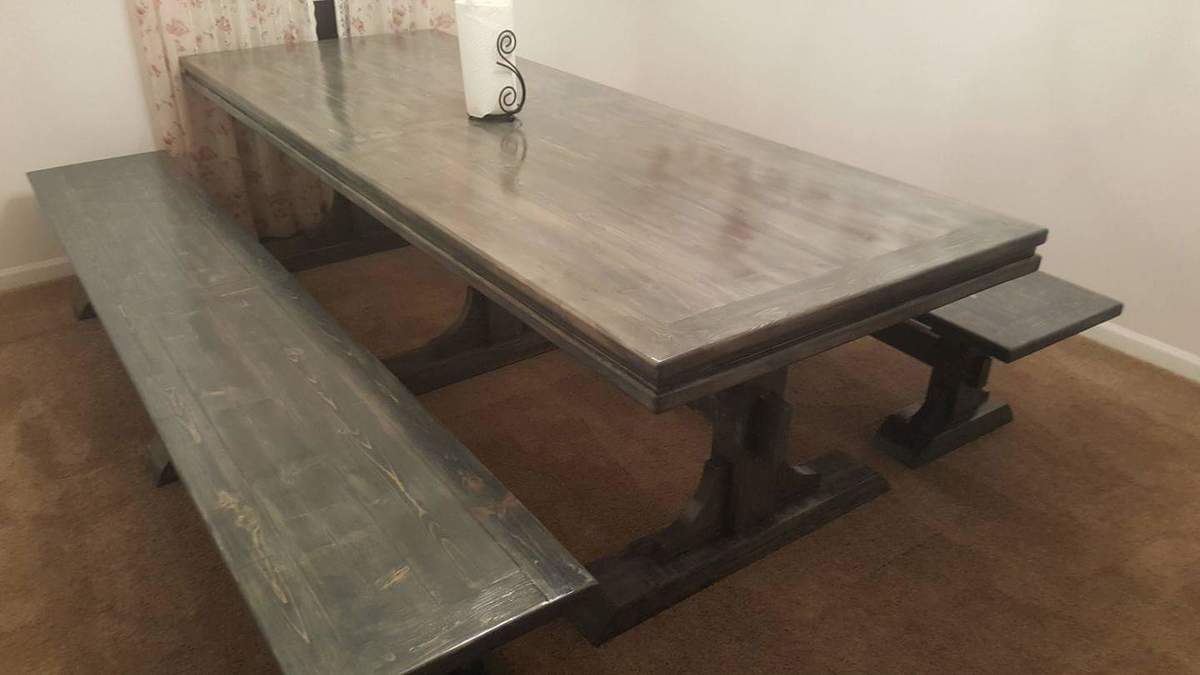
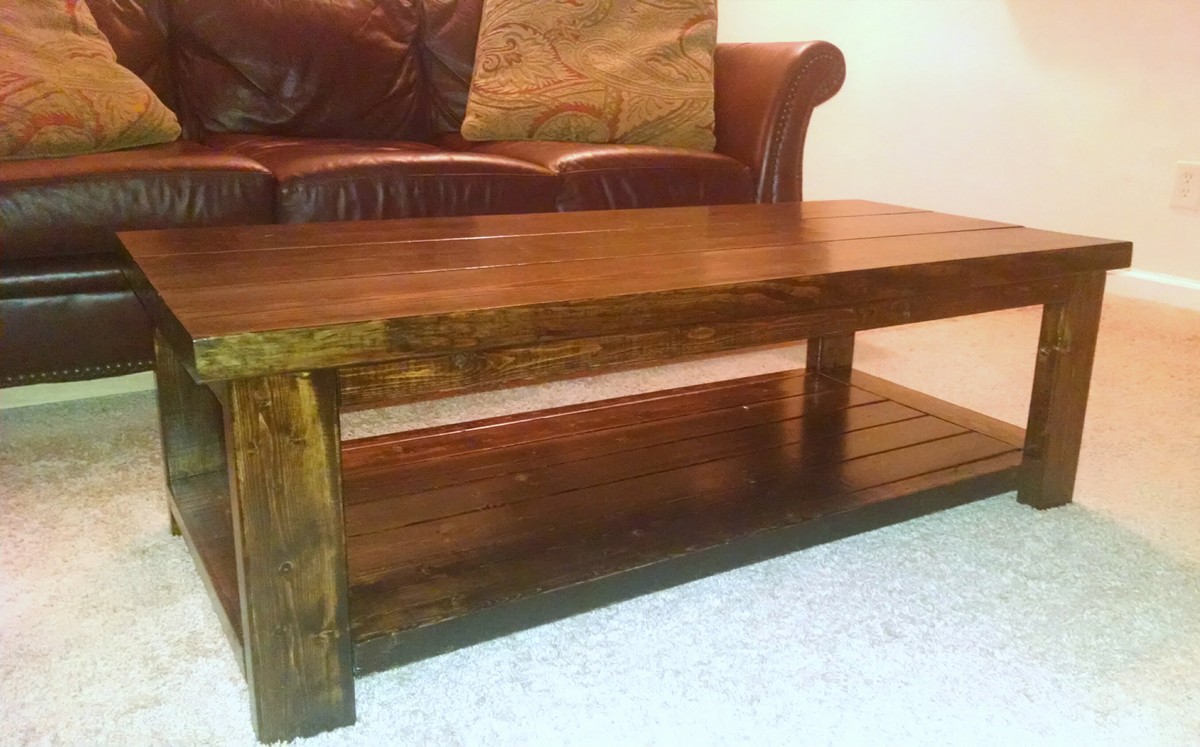
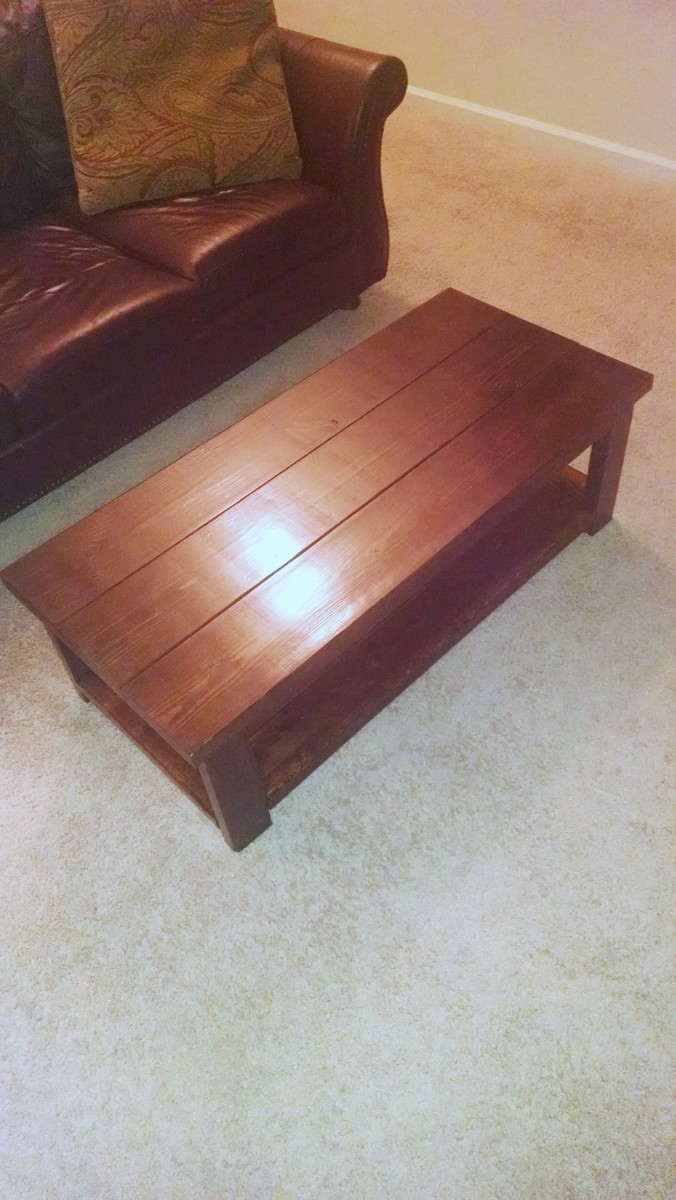
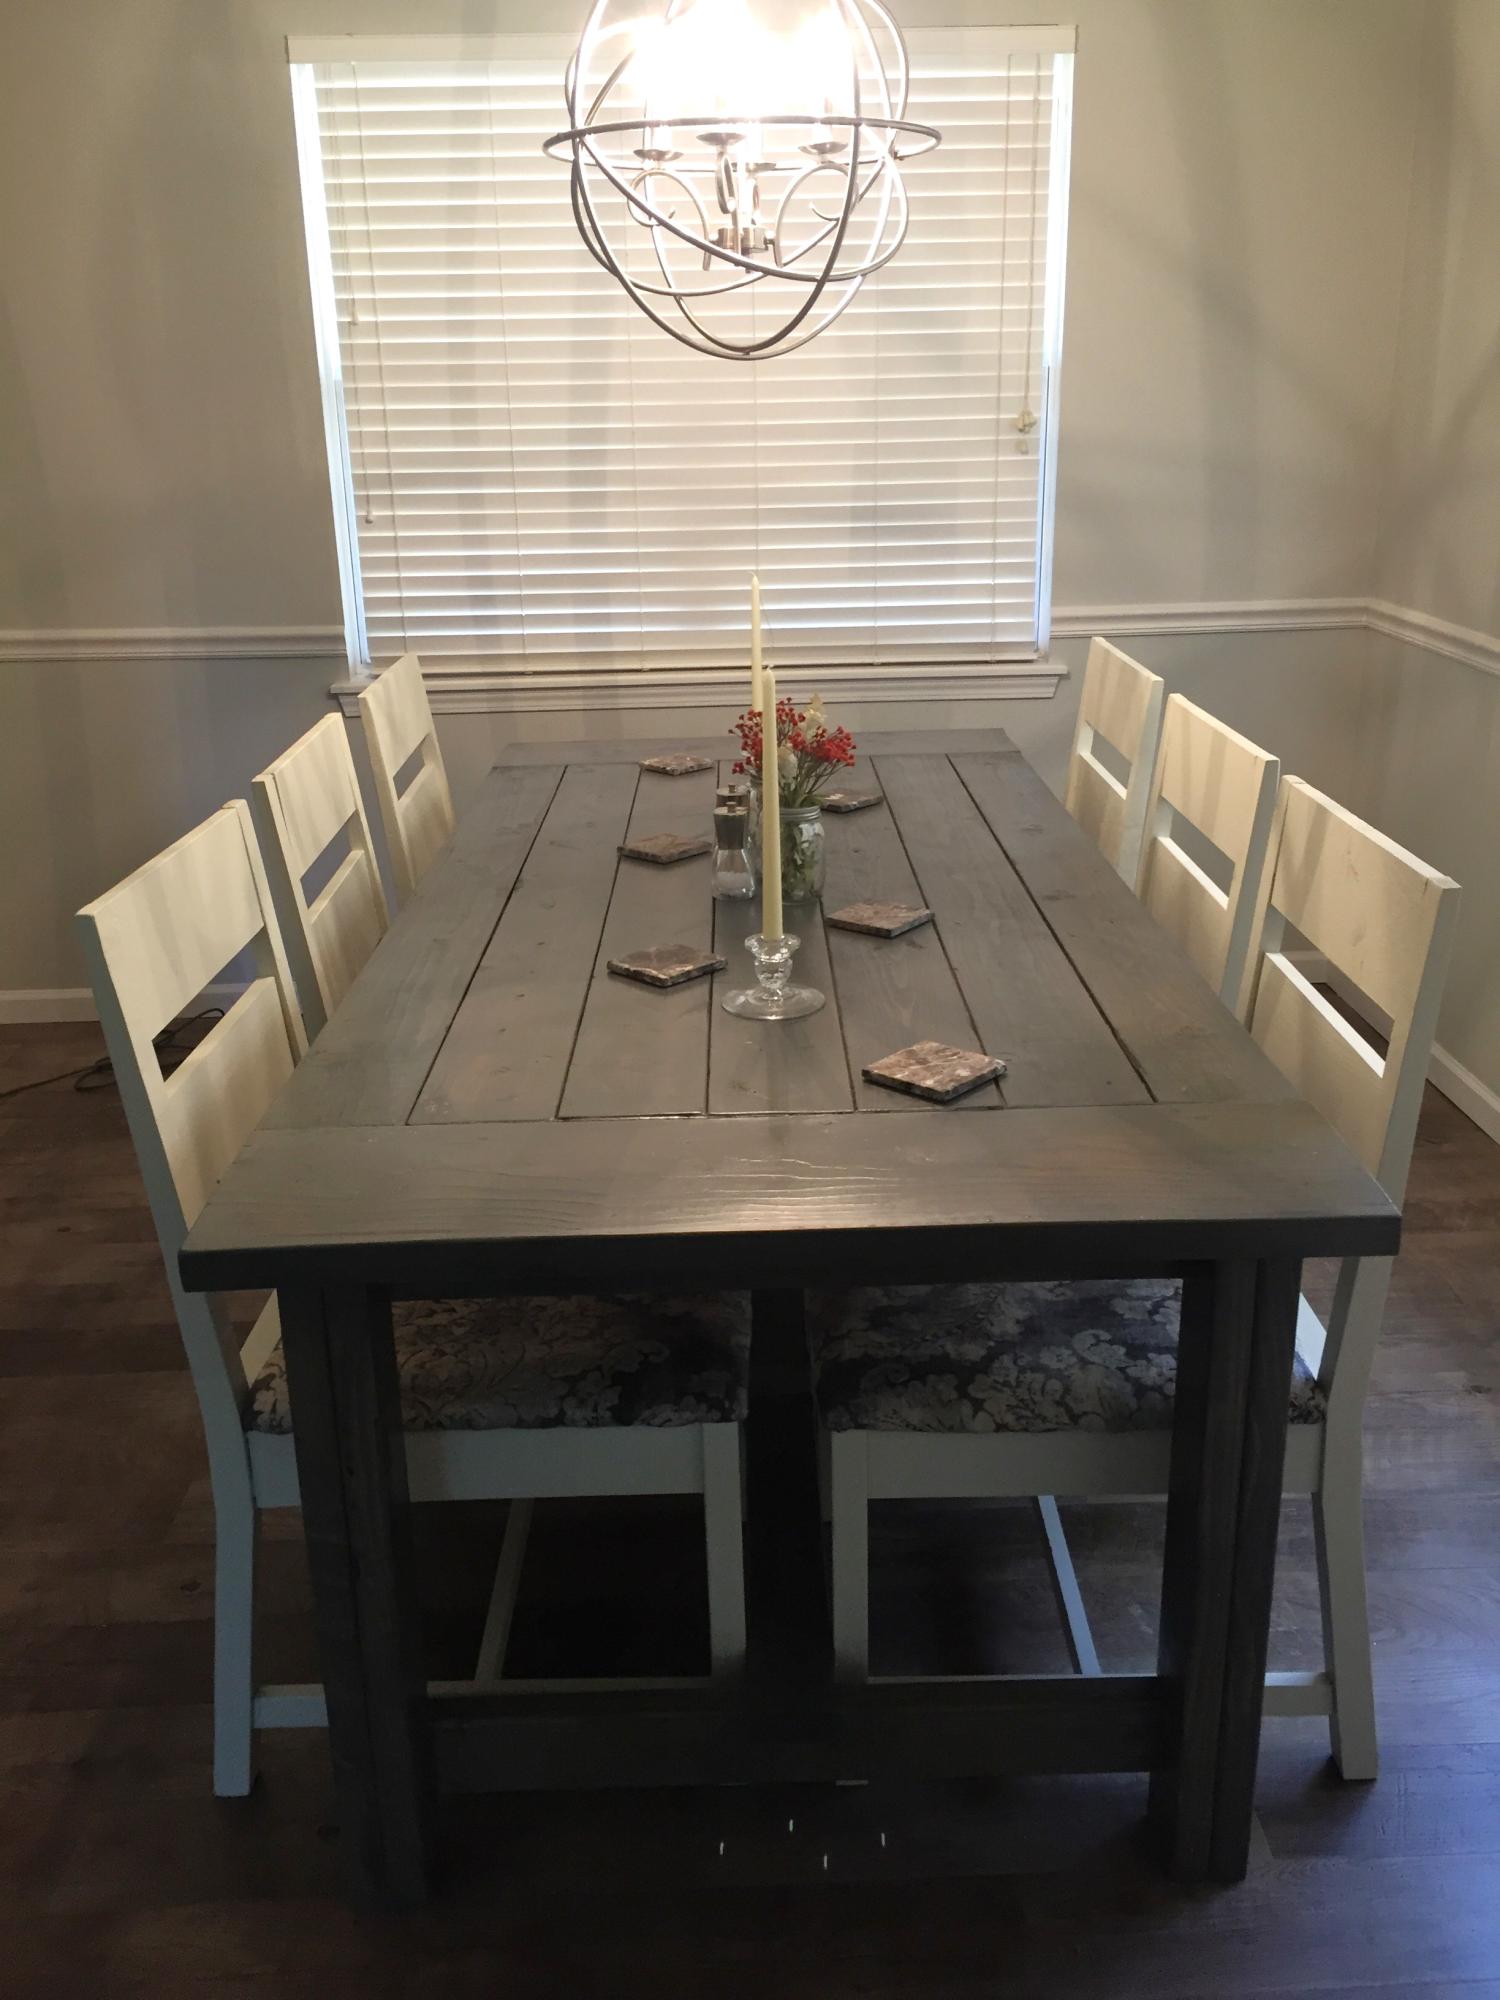
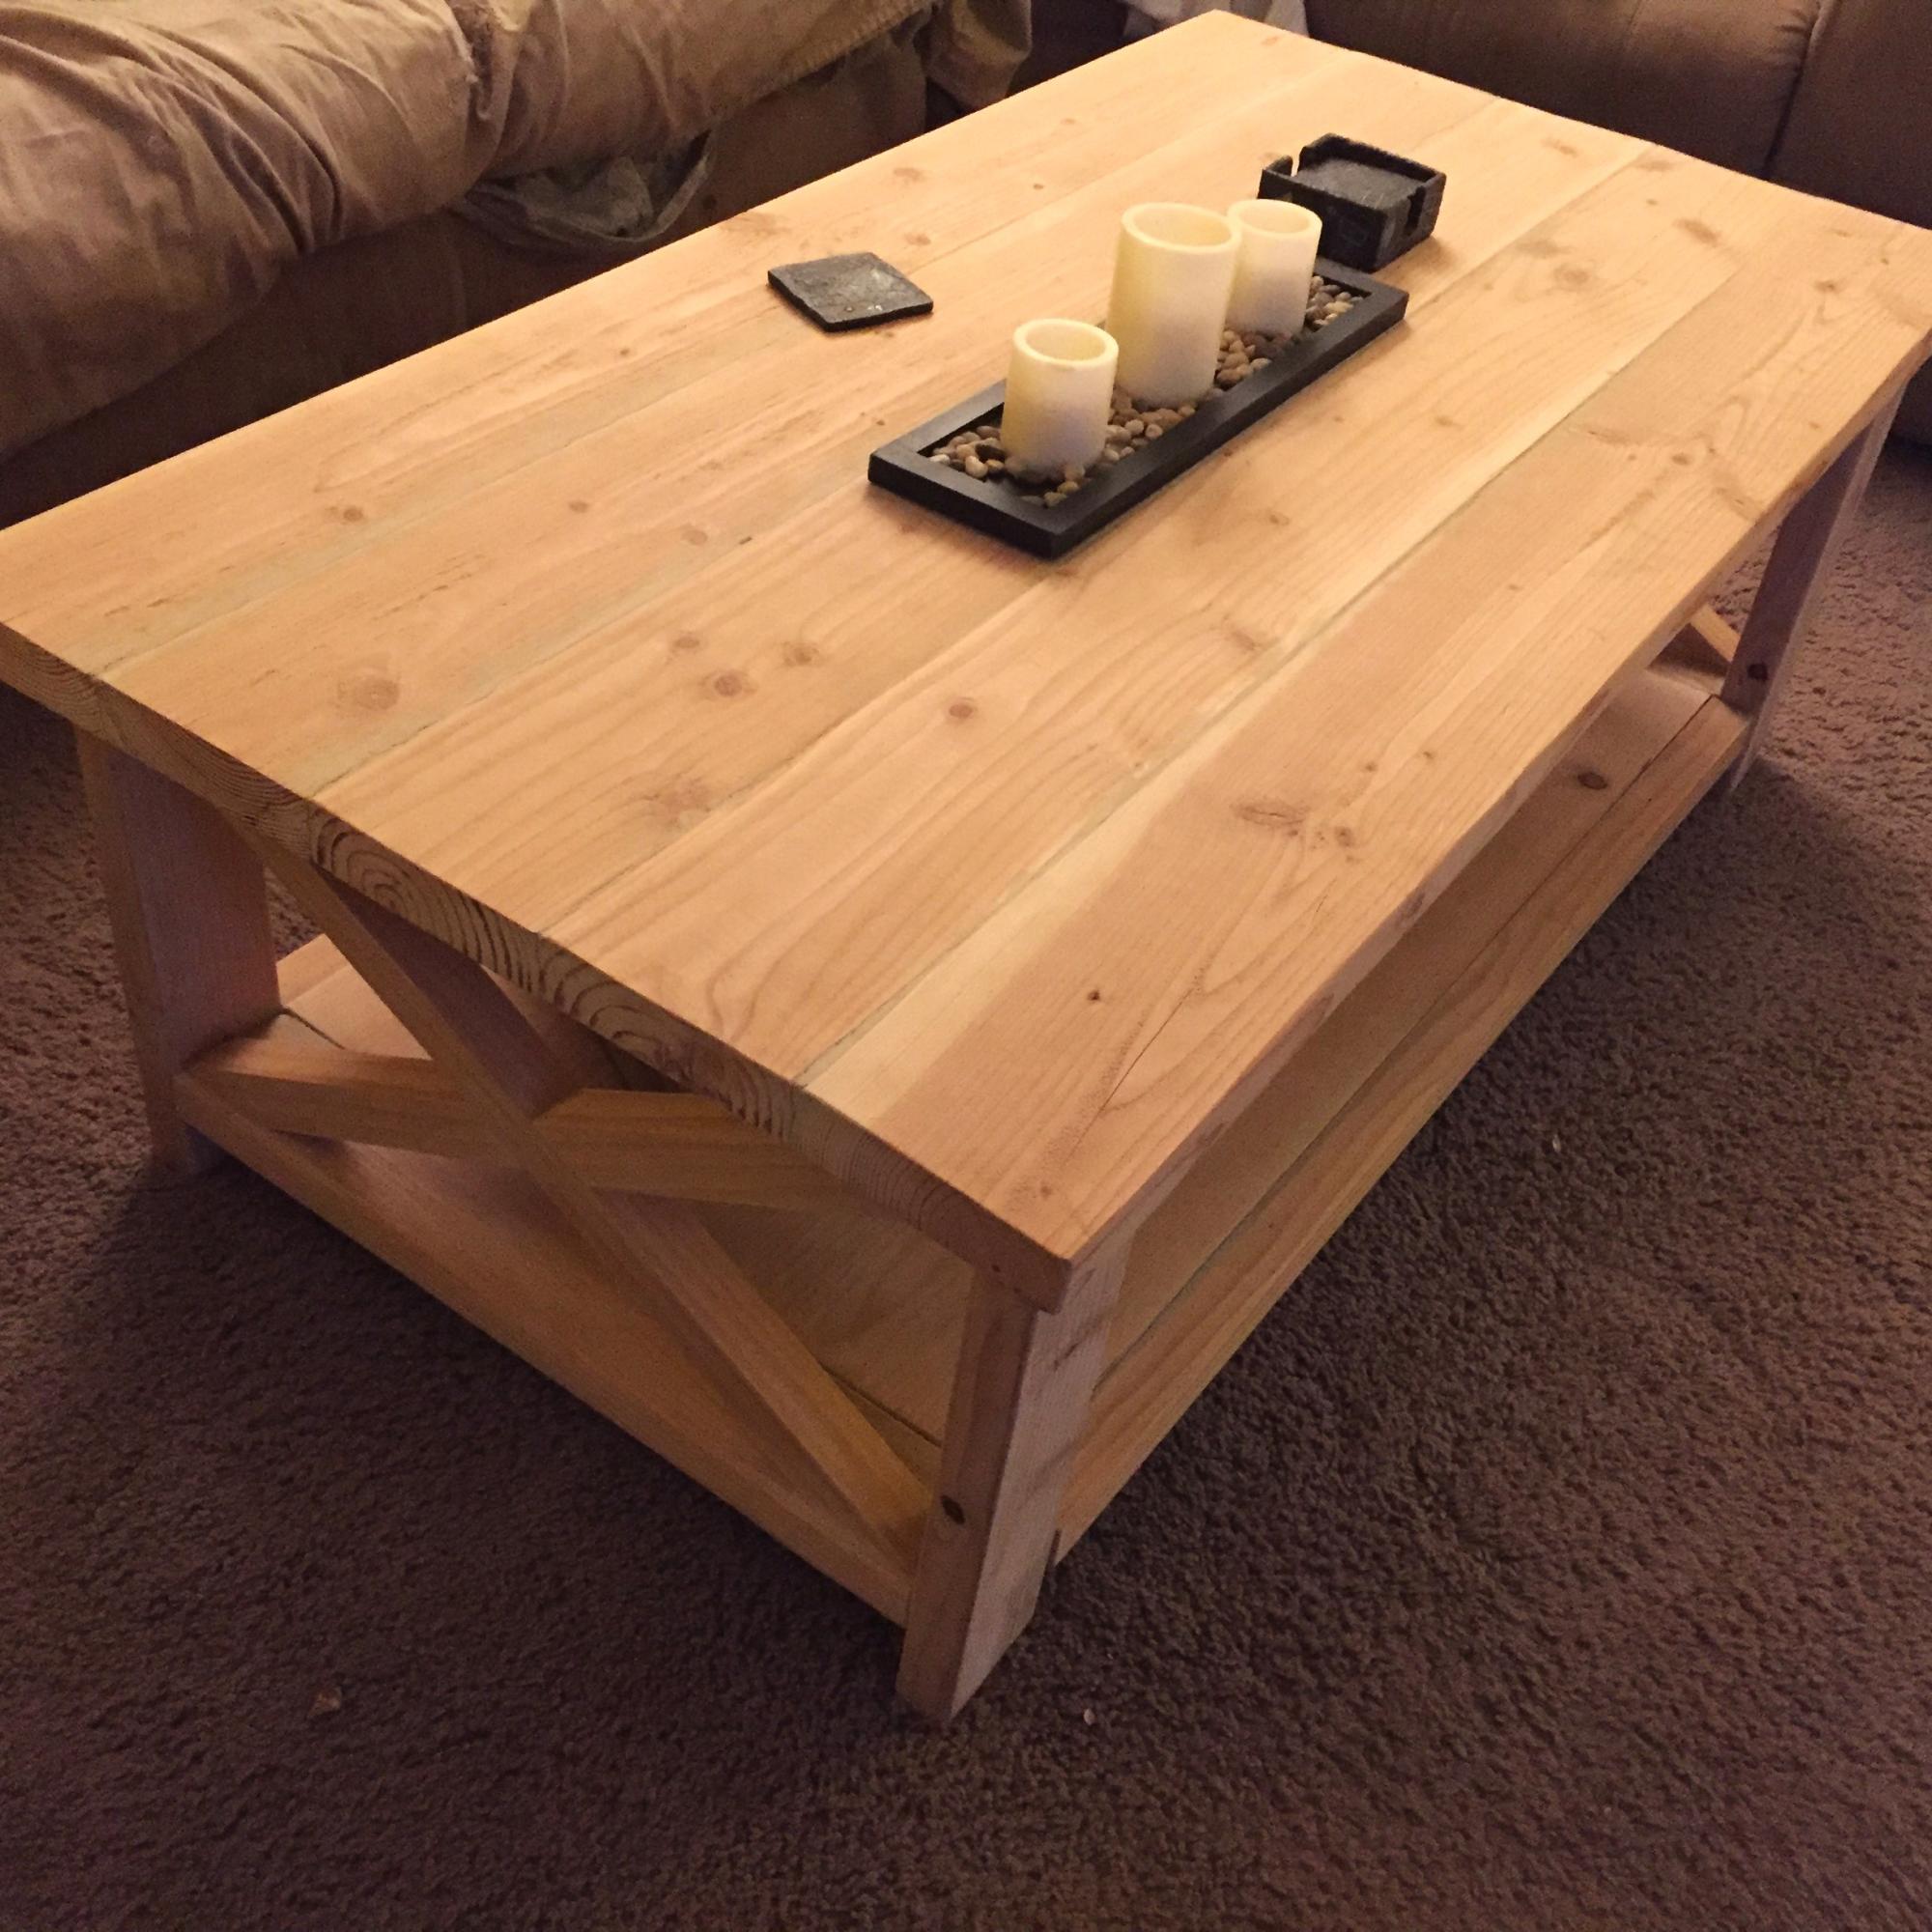
As a Christmas present, SNC promised LFS a new table, her choice of plans. It's July, and we just ate our first meal at the finished table! We'd looked at a few of the plans around the site, but really liked the angled legs of the Benchright Farmhouse Table, and SNC thought the metal accents would get in some manliness!
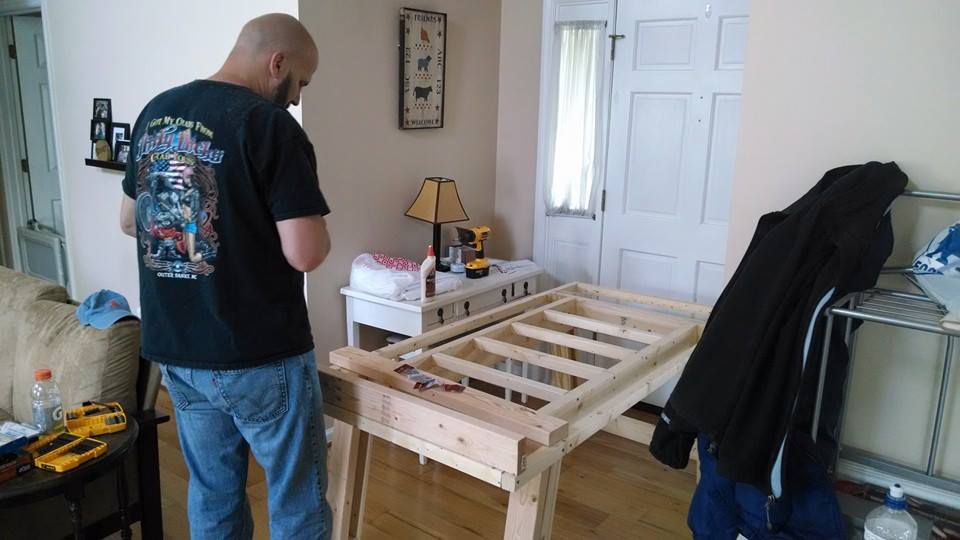
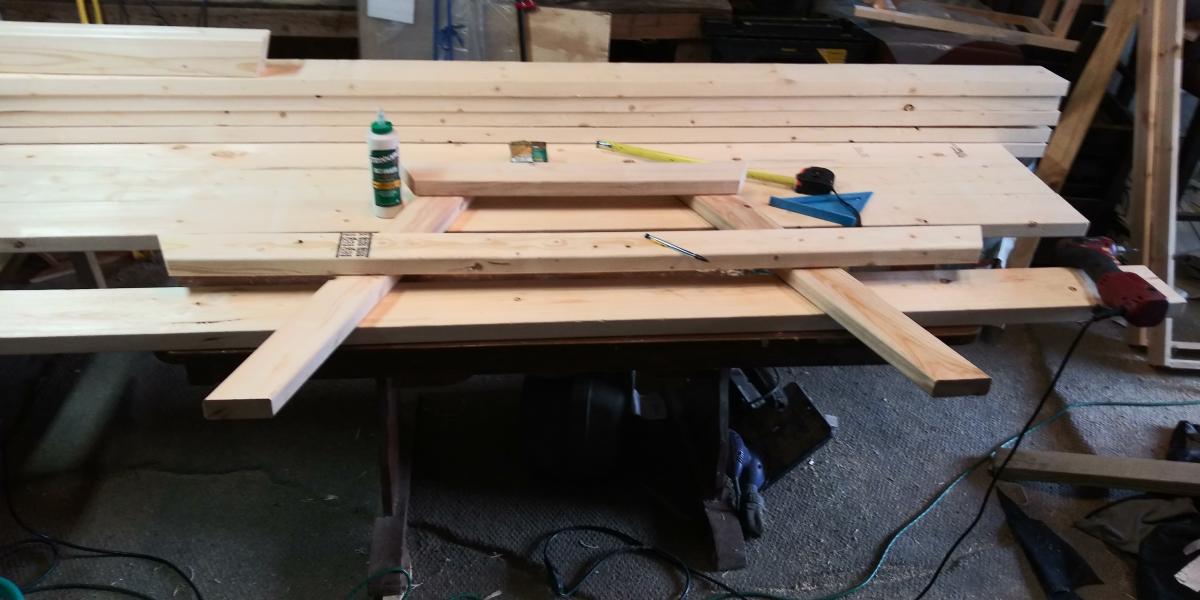
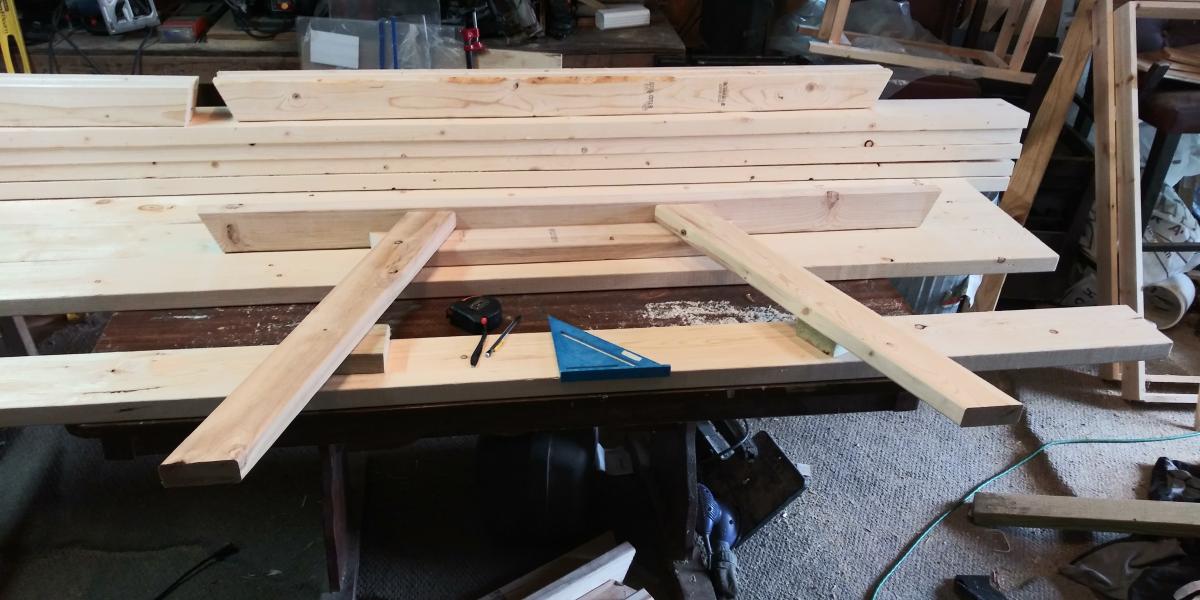
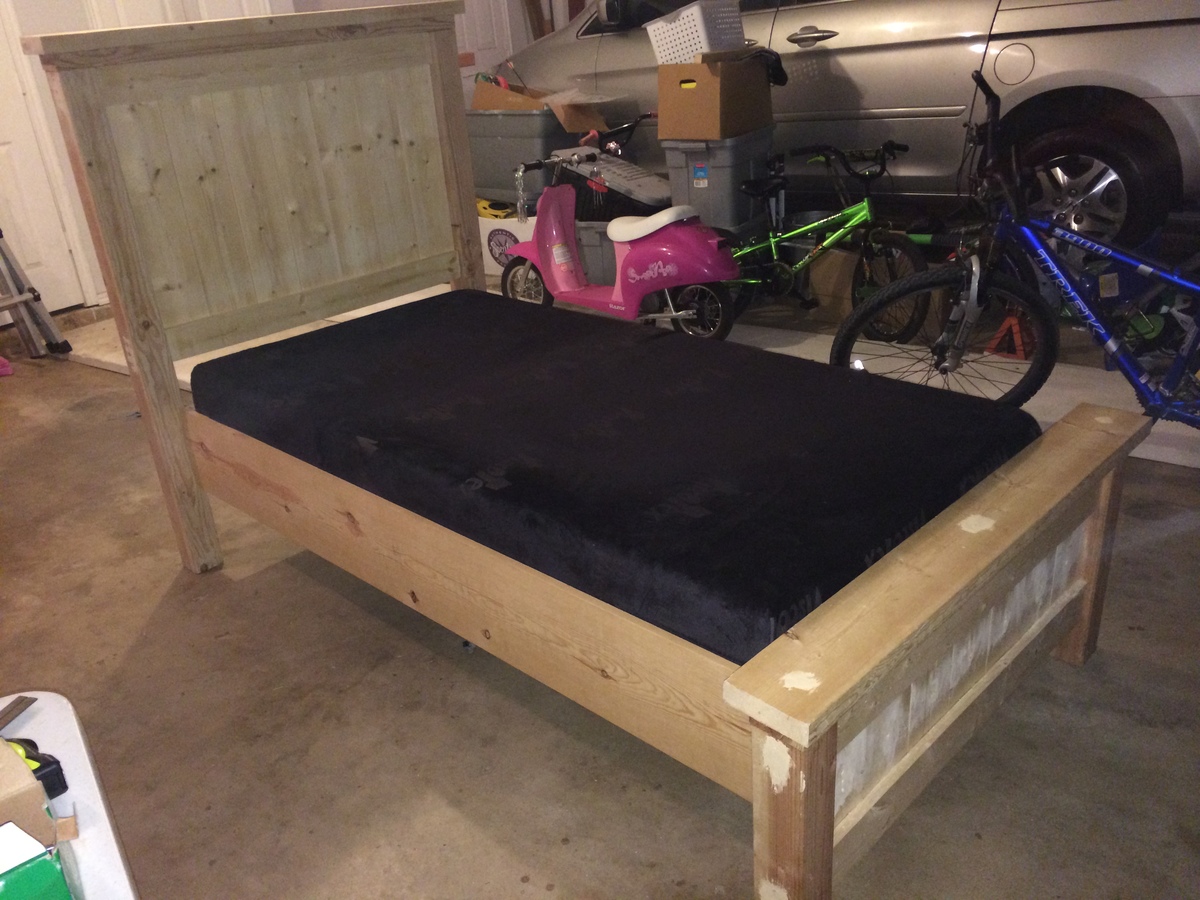
We didn't quite read all the comments before we began so we faced the issue of plan directions v. cut list not matching up, which we didn't learn until 10 steps further down the build/assembly. We had a hard time finding non-rounded off edges for the 1x2s, as well. If we'd realized the impact those edges have further down the project, we might have been pickier at the lumber store. Using the Kreg Jig came in super handy on the legs & frames. We picked up a DeWalt kit that had extra long driving bits and just used regular Phillips head screws sometimes.
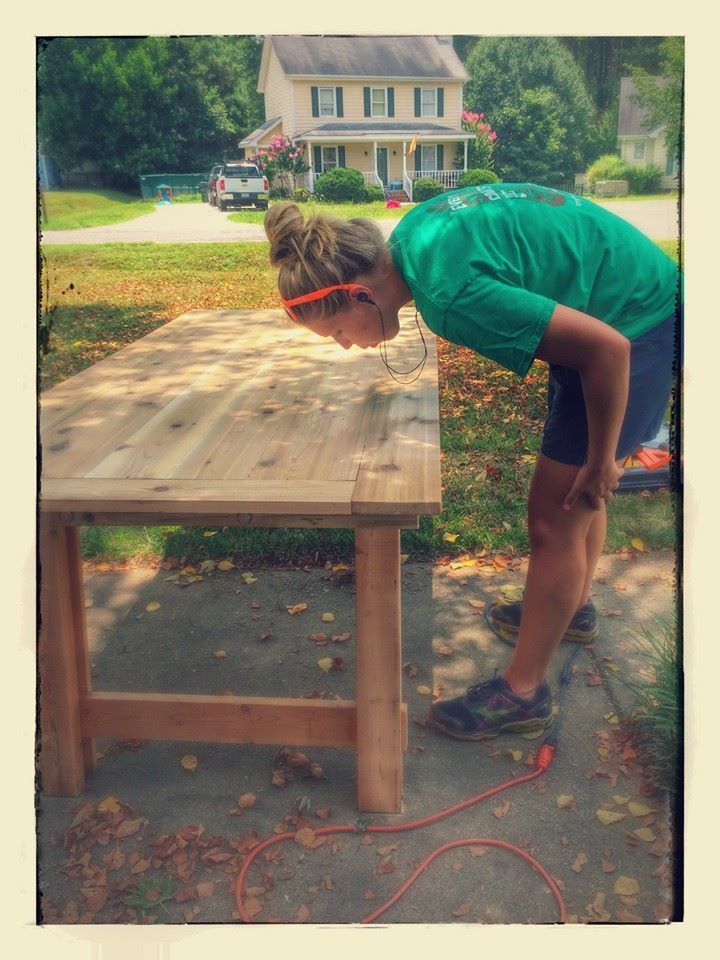
Since we live in NC, surrounded by hundreds of old tobacco barns, LFS wanted to use reclaimed lumber for the table top. After boards that were too thin, warped, short and generally insufficient for our basic skills and tools, we went to a specialty lumber yard and got gorgeous cedar instead.
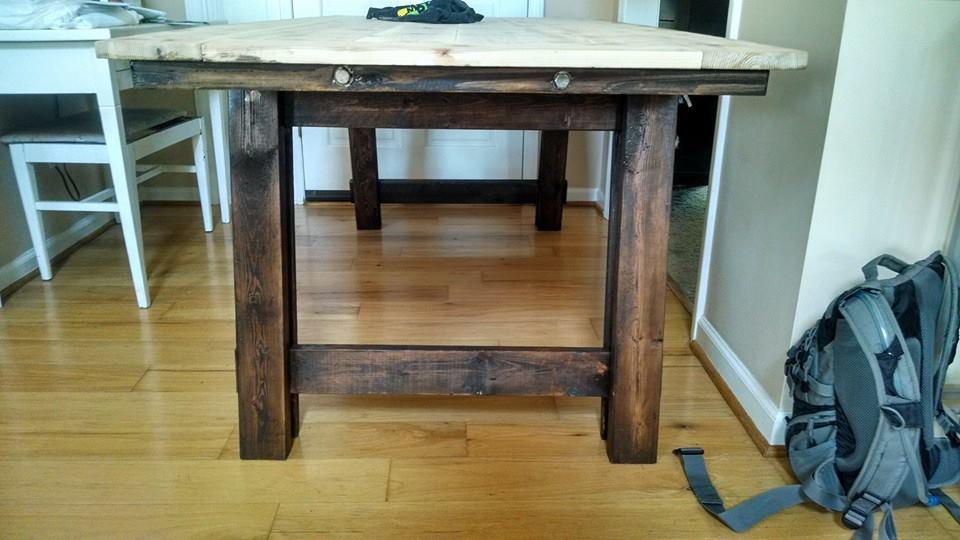
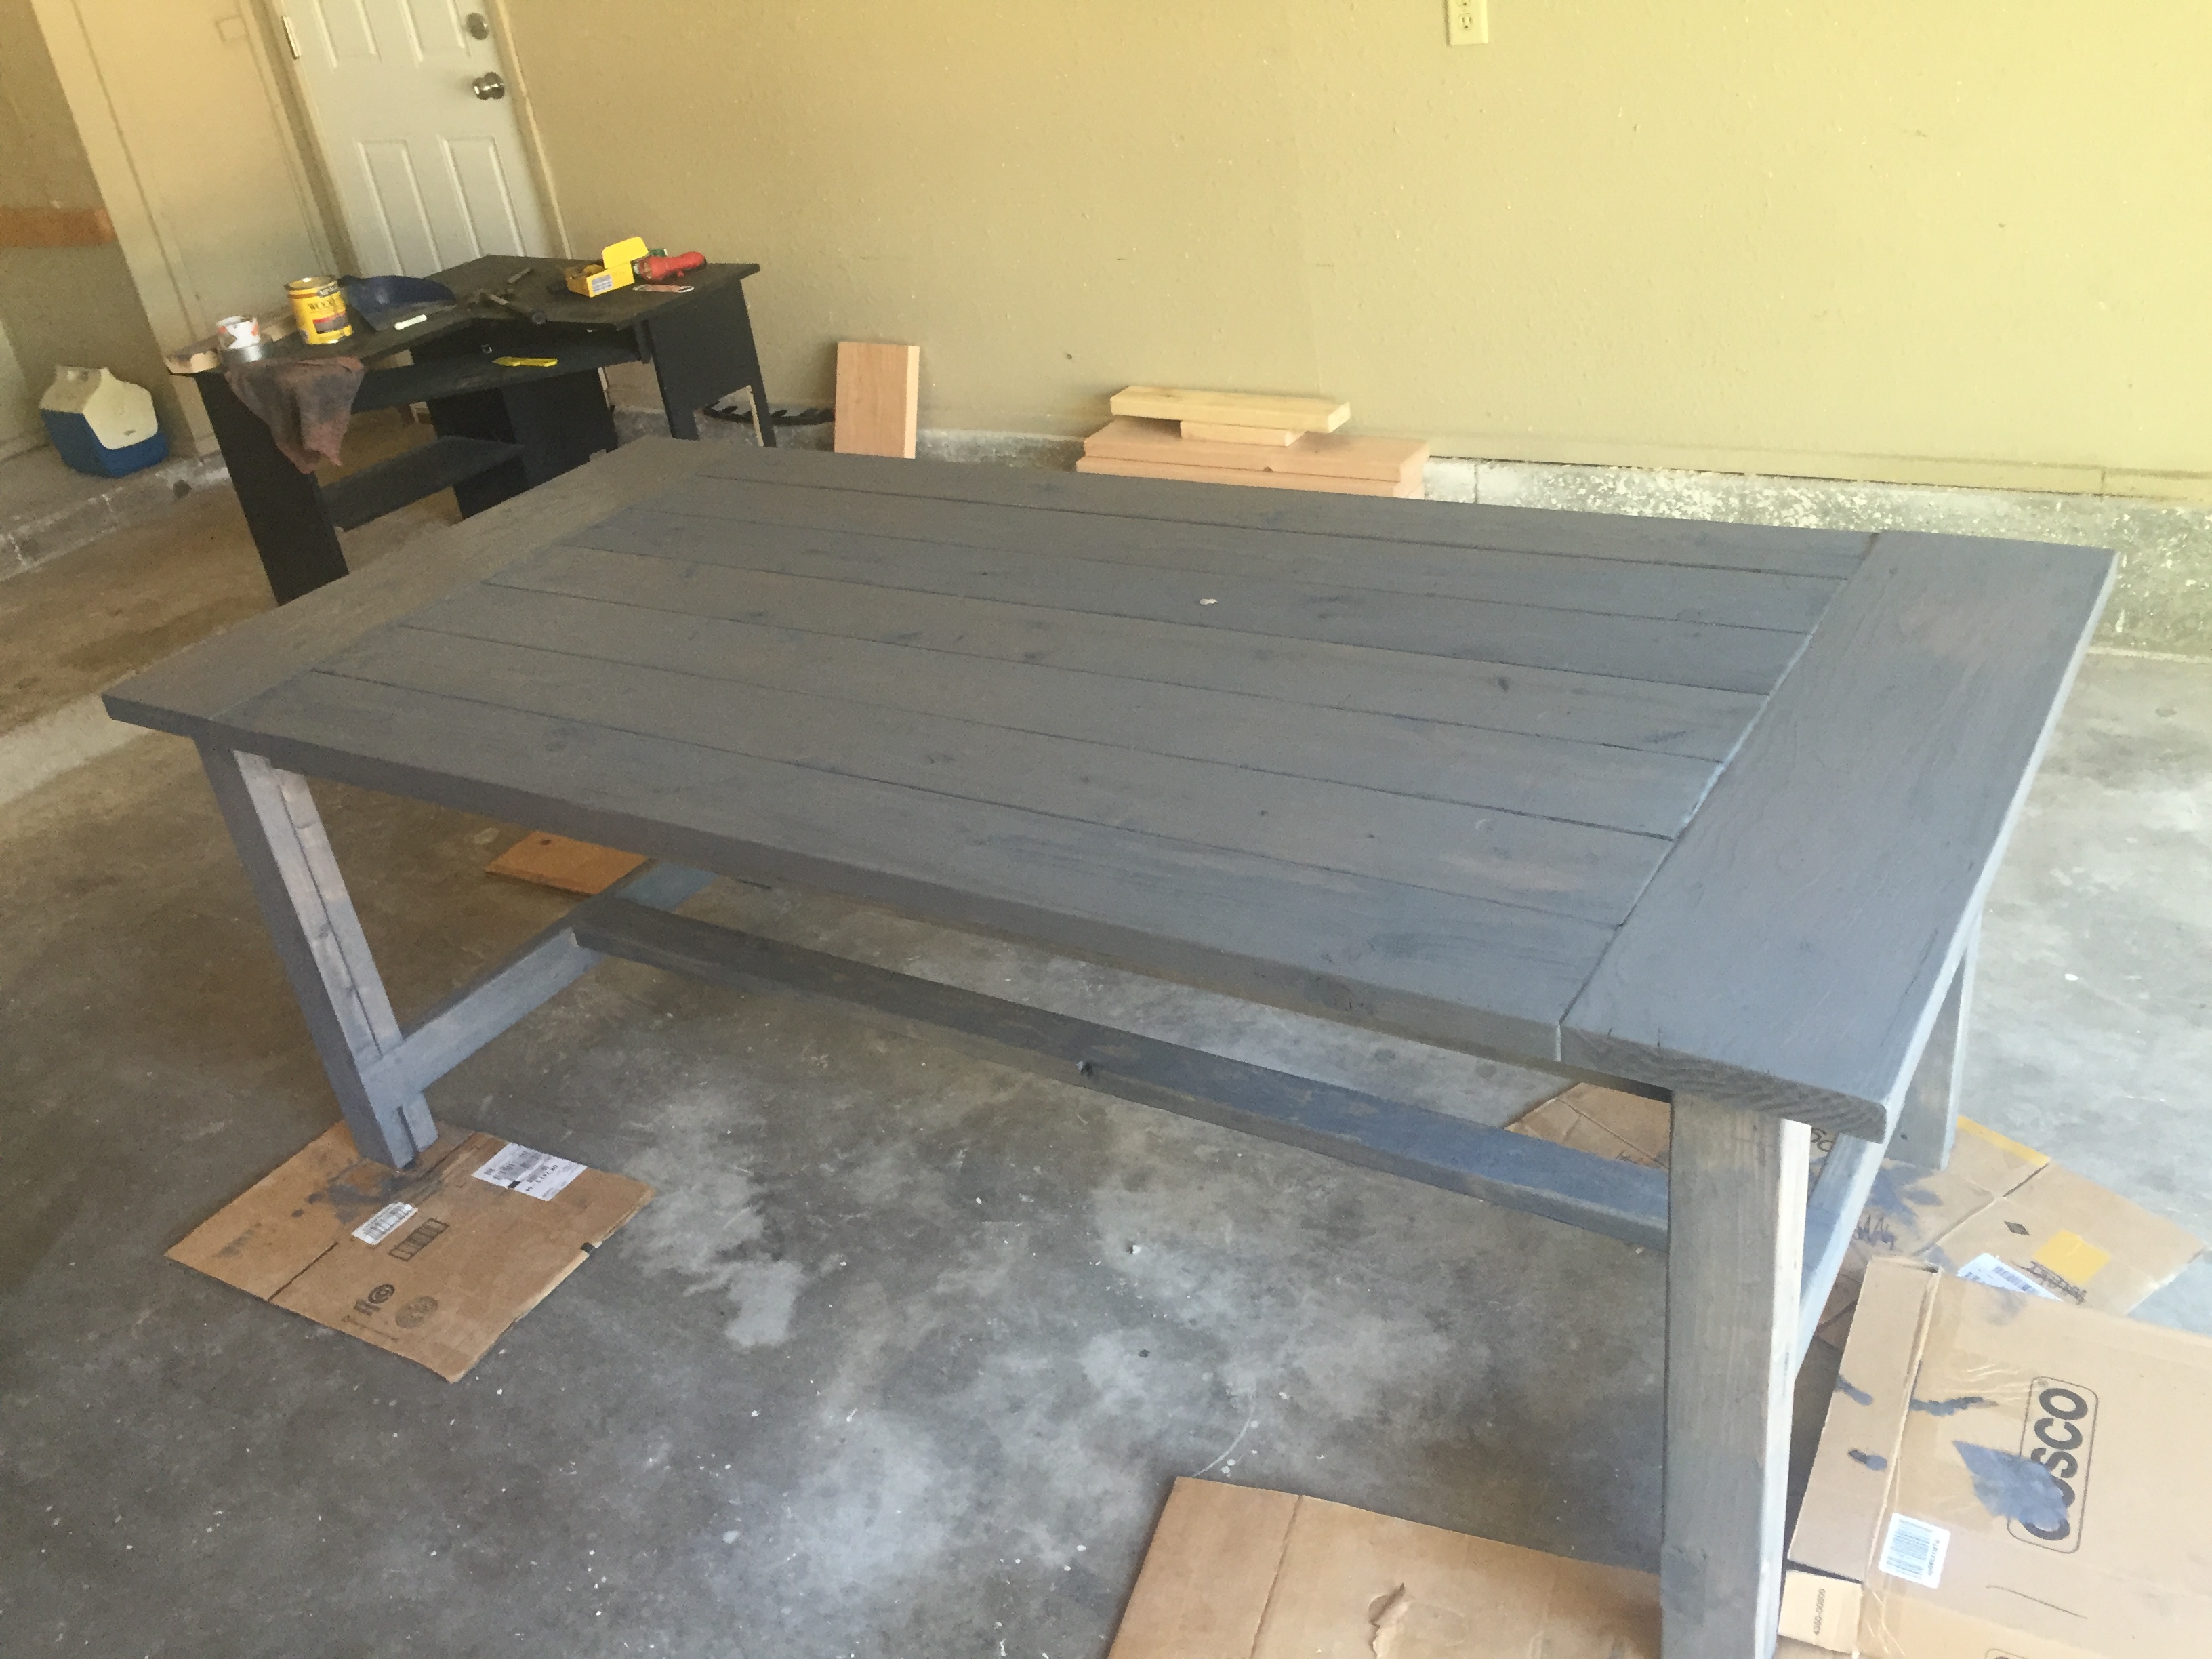
We weren't loving the sagging of the end frame 2x4s, so we hid them a bit by making the table top breadboard sandwiched between the end 1x6 cedar boards. We used 1x6 and 1x8 boards for the tabletop.
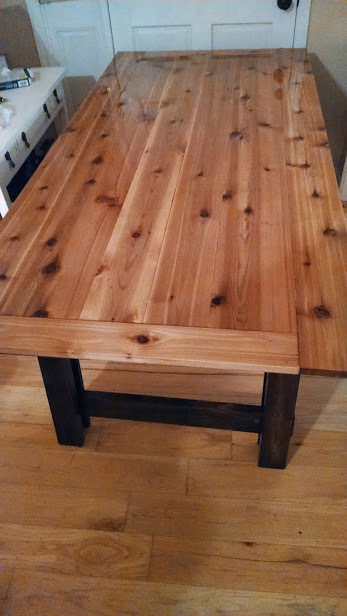
For the stain, LFS further perused the site and went with a Minwax Pecan stain, layered with a Rustoleum Espresso that got wiped off every few minutes to let the pecan have a chance of peeking through on the legs/base. While we both liked the cedar, the light/dark contrast was too contemporary for our taste, so we used the Pecan on the top as well. The table got 3 layers of Minwax Helmsphar, lightly sanded with 220 grit sandpaper between layers.
The aforementioned first meal had guests at the table and comfortably sat 6 adults who all sang it's praises :) Fun awesome (and sometimes awesomely frustrating!) build, super happy the Christmas present monkey is off our backs, but even more glad to eat dinner at it now.


Comments
mike5287
Thu, 08/12/2021 - 18:53
Nice finish!
Love the finish on both the base and tabletop - very nice :)