Rustic x console
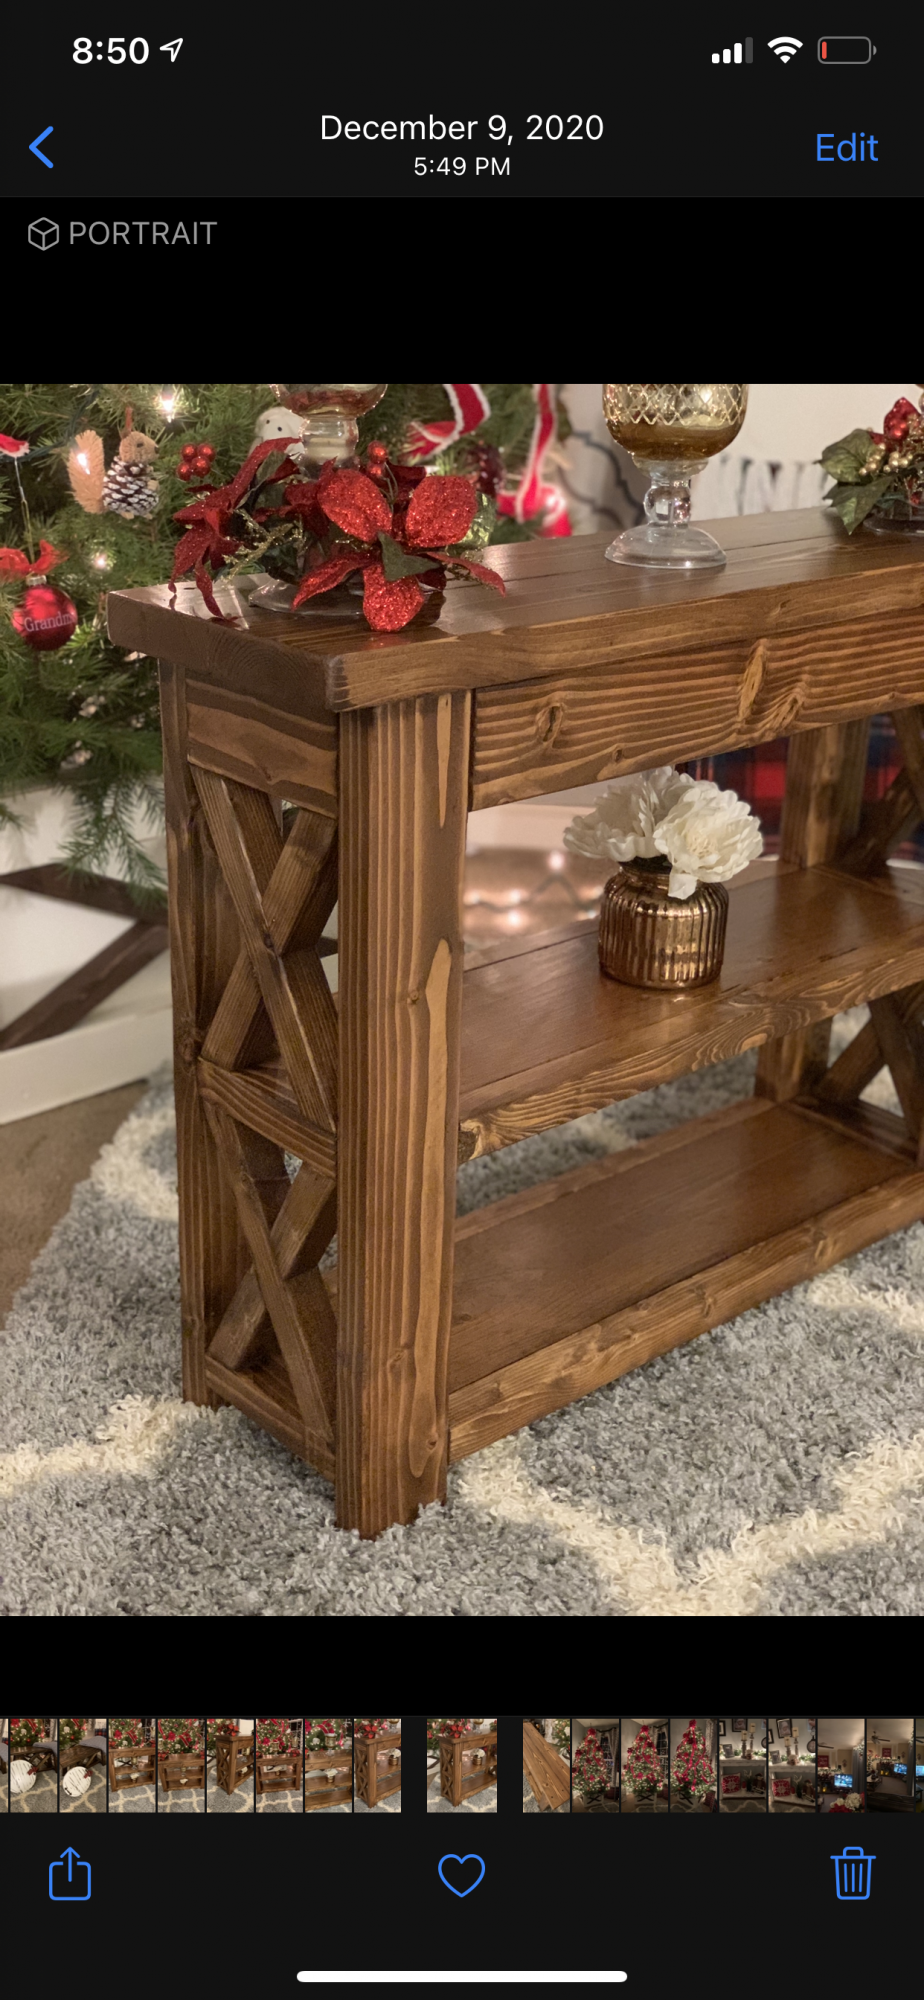
These are different versions of the rustic x console
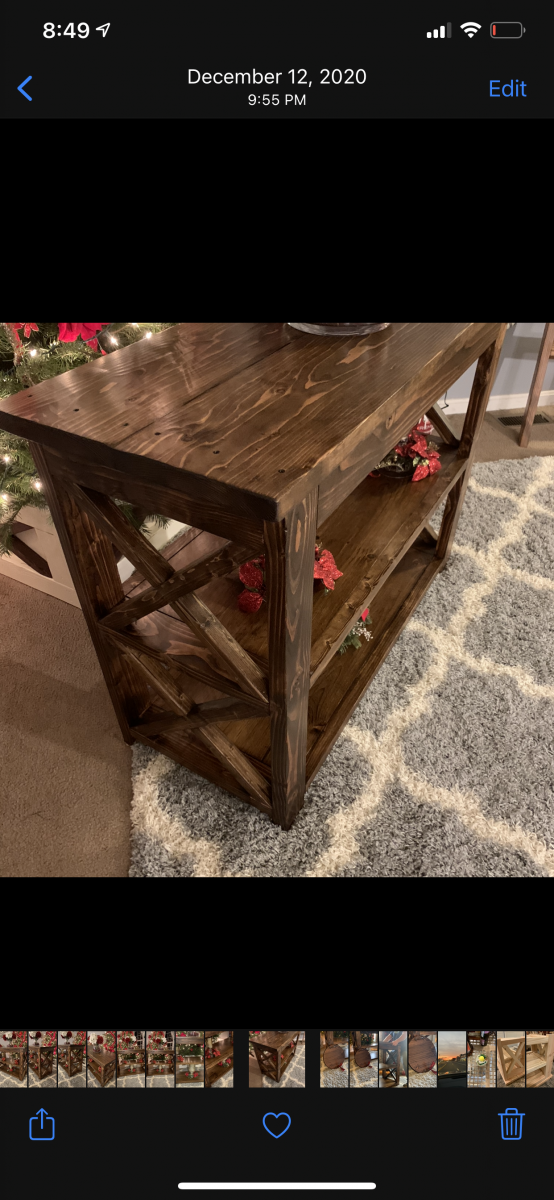

These are different versions of the rustic x console


We had this extra room that was sort of a "catch-all" room. We never used it, except when William wanted to play his guitars he went in there. There was an old, dated college-style desk and bookshelf in there (particle board) an old couch and a chair.
I figured that if I gave this room a purpose, it might actually stay clean and "catch-all"-free. To add to my decision making process was that around Xmas time, we didn't really have anywhere besides 1 guest bedroom for people to sleep. None of the couches are pull-out couches and I don't really like when people sleep on couches. The 1 guest bedroom has a queen sized bed in it, but my sister usually crashes in that room with her 2 dogs, leaving no other place for say, my mom or gramma if they wanted to stay, too. So I thought this new room could be another guest bedroom.
I decided I wanted to go with a minimalist look in the room, opposite of its cluttered origins. I had finished building a reclaimed/recycled wood queen size farmhouse bed for in there and wanted nothing else really besides William's chair to play guitar, but I did need to address storage in the room. There IS a closet, but it's also the attic access and I want to keep it clear of anything so we can get into the attic if we need to... sooo... When William redid the guest bathroom, he didn't throw out the old vanity, and when we re-did our master bath just recently, we kept the vanity from there too. One is a single vanity and one is a double vanity.
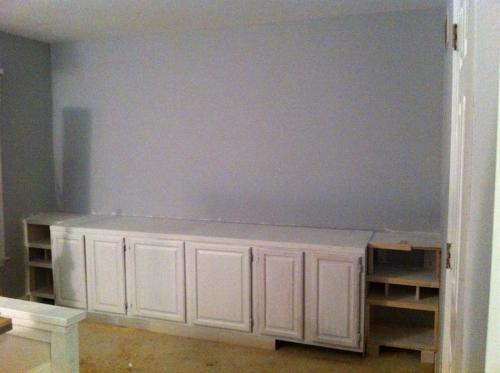
The cabinet bases are solid wood except for the sides which are paneling or something very thin. I definitely wanted to continue the recycled theme of the room so I decided to use these cabinets. Only problem was that the double vanity had 2 sets of smaller doors than the single vanity's wider 1 set of doors. If i placed them side-by-side, it would look weird. So, I sawed the double vanity exactly in half and then flanked the single vanity with them. It actually looked really good. I took the tops off of the vanities and decided to build a new top using left-over plywood we had laying around in the garage. I painted everything white to match the farmhouse bed and I centered the cabinets on the back wall of the bedroom - they don't quite reach from 1 side to the other, so i decided to fill those 18 inches with shelves I built.
I wanted to go with a mid-century-modern look for the room, so that's the design I made for those side shelves... now, looking at it, I kind of want to put doors on them, because it looks a bit odd to have the cabinets and then those shelves without doors. I'll have to figure that out. Anyway, now that I had a base, I wanted to build the built-in hutches to add shelf/storage space and to make a striking piece in the room, since there's so few other things in it.
I used the TOMMY plans to build the center hutch and side hutches, not realizing that the base cabinets for those plans are different heights, so my side hutches ended up being MUCH lower than the center hutch, but it's not the end of the world. Then I just mimic'd the same design of the side hutches to make 2 MORE side hutches to flank them. I just made them even lower in height than the first 2 side hutches. I accidentally forgot to measure the guitars before this last step and ended up building the last 2 hutches 6 inches too high to display the guitars and had to take them back apart and re-build them. It took me about 5 hours to completely build the hutches. It took a few more days of sanding, hole filling and painting, though.
Finally I got it all up and painted and I decided to not use the crown moulding, and instead just used the same moulding that we put on the changing table we built - I didn't want anything more fancy than that. I still have to put some of that same trim on the shelf fronts, as you might be able to see from the photo, but otherwise, it's done. I used all of my scrap pieces of wood to build an artwork piece in the empty space of the center hutch. I painted it the colors of the room (green, gray and white) and I just glued them all in place. A TV will sit on the unit in the middle section.



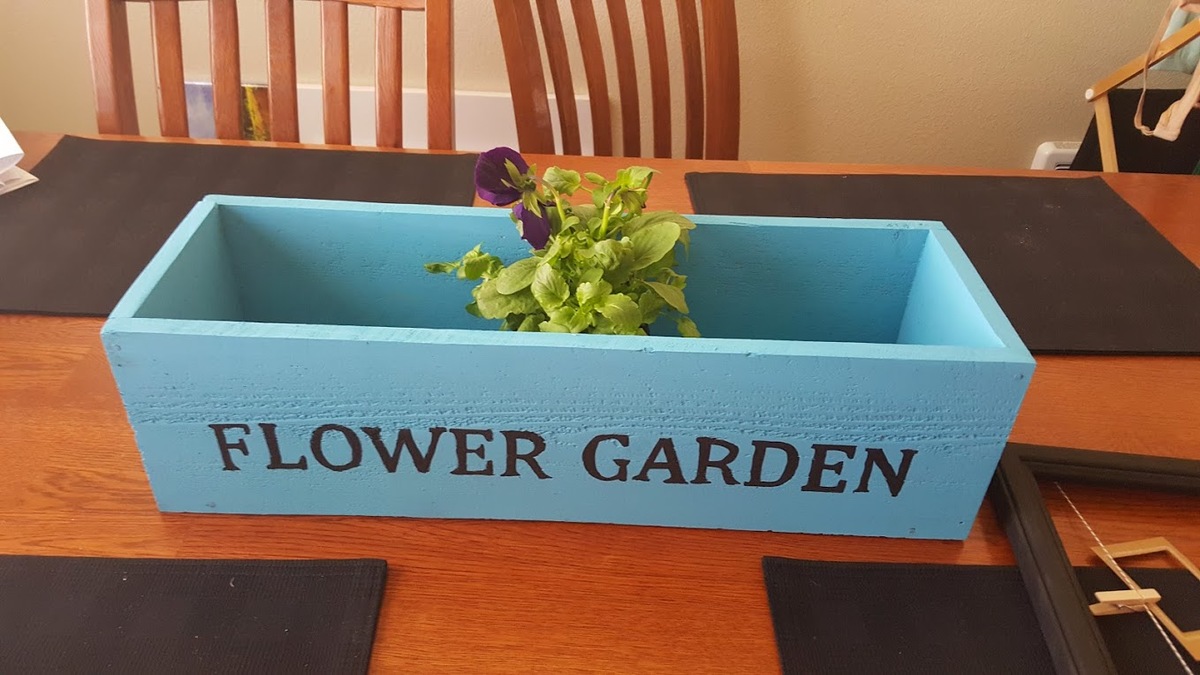
My version of the Herb Garden Planter.
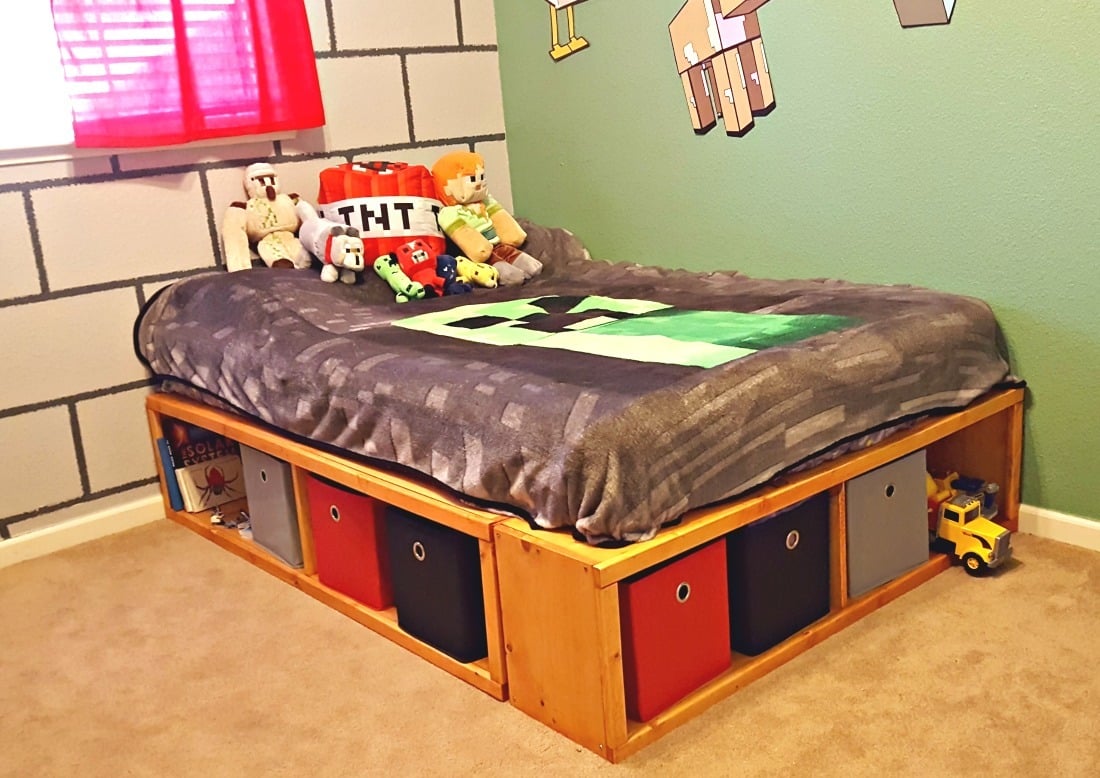
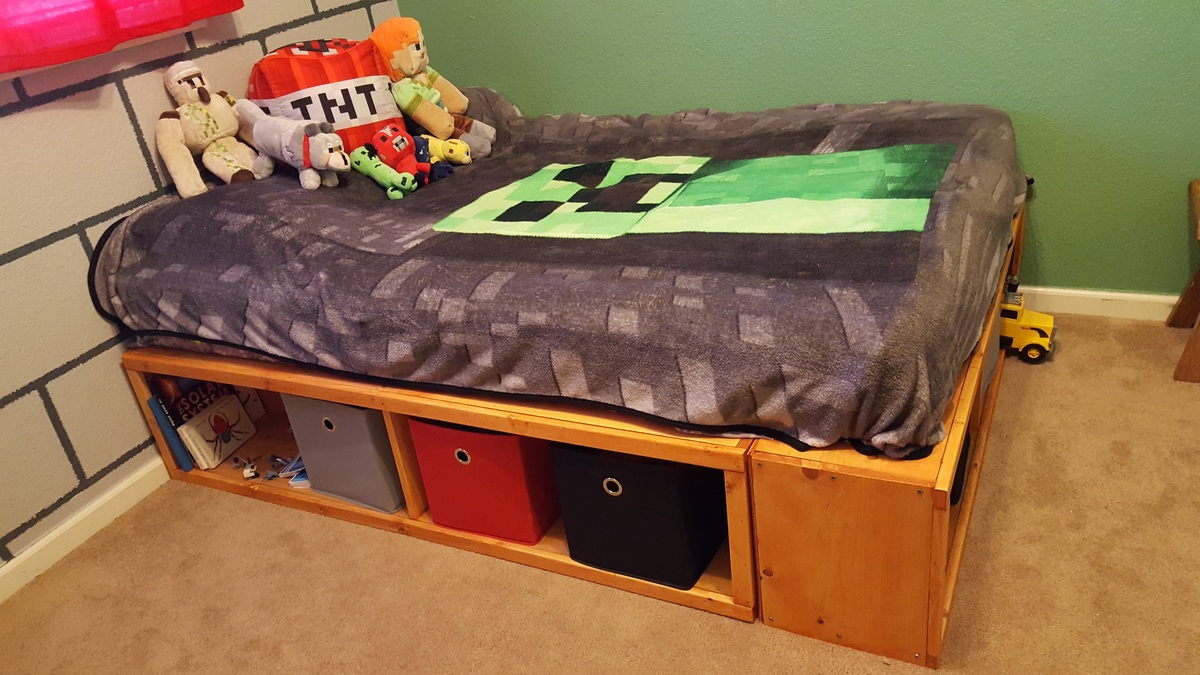
This was a pretty quick build and works perfectly in my son's room. I love all the room for the cubbies! All of his cars and tracks stay off the ground!
The only tricky part for me was attaching the first edges and keeping it straight. Since I was doing this all by myself, I used my nail gun to attach them quickly and then drilled in screws to secure them.
I kept them in three separate parts so it was easier to take upstairs and then I used my nail gun to attach the slats in the middle. Pretty easy and inexpensive for a nice wood full size bed frame!
Check out my blog post for more pictures of my build! http://www.leapoffaithcrafting.com/diy-full-bed-frame-storage/
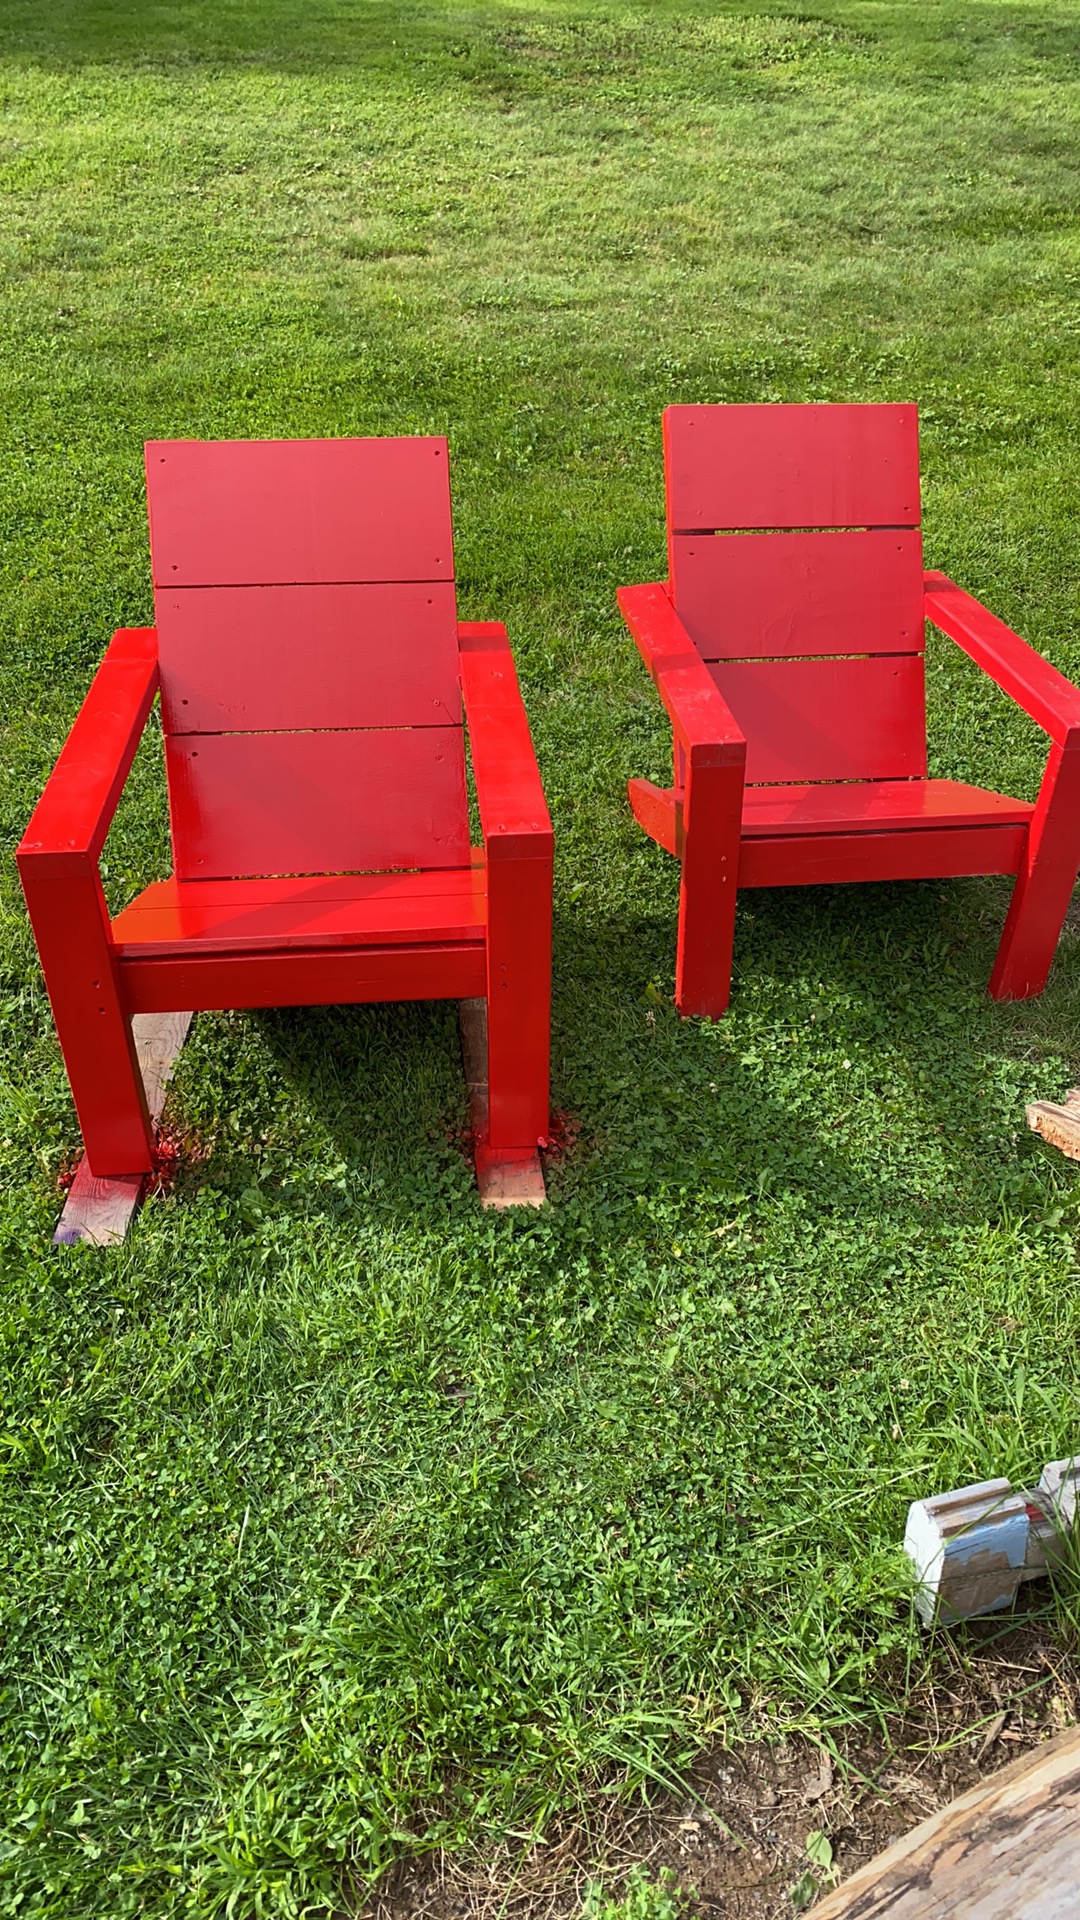
I made four of these chairs and my wife has ‘ordered’ more for the spring, the will probably be more purple ones

I used Ana's Library Base Plan and modified it slightly to include cubby holes on the bottom and an acrylic "window" at the top to create a post office for my daughter. This now also gets used as a "bank" and a "fast food window"! Lots of fun!!

This is my first woodwork project, completed as a team, with my husband. Was good fun at times and frustrating at times! Our wood was thicker by a couple of millimetres out meaning the plans needed to be tweaked.
Table was designed with the chair structure.
We had cushions and covers made to measure (we live in SE Asia so cheaper than UK or US) about £200.
Looking forward to building some deck chairs next!!
This took two weekends to complete. It makes a huge difference when you take time for a good paint job.
I used the best grade pine at Lowes so I didn't have to sand everything and there is less chance for warped boards. This is why my cost was more.
I also added trim around the middle and bottom bands to really make it pop. Overall, I am very pleased with the results.
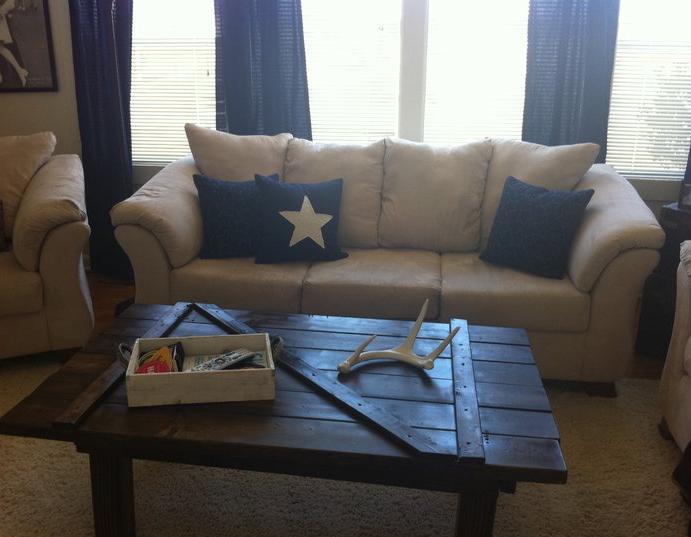
This is my first project and I was very excited about doing it. I wanted something unique but something like the Tryde table.
I hope you all enjoy it and get inspiration from this table like I did.
Thank you Ana.

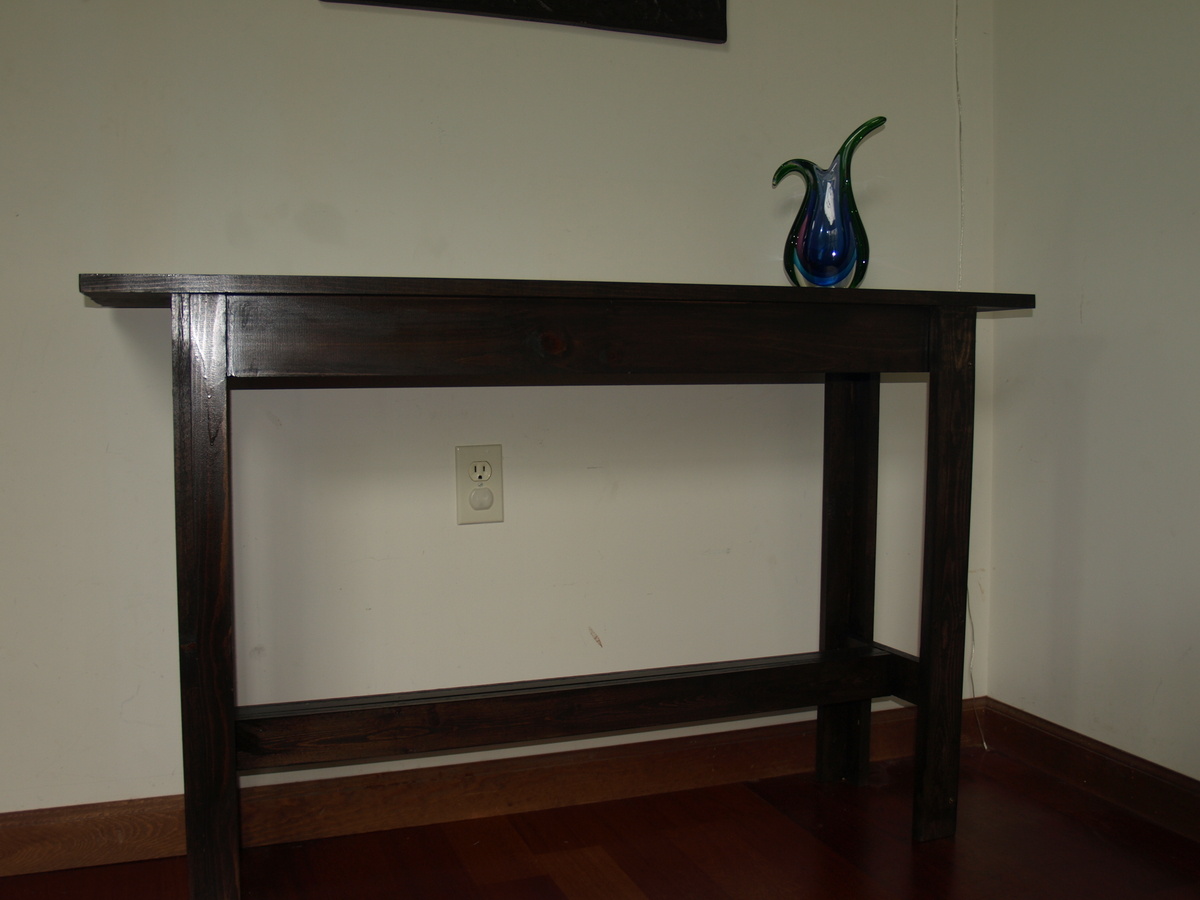
I completed this table with my 5 year old daughter as my assistant. My husband requested a table to put next to our new hot tub to set his drinks on and this is perfect. We only put one board on the top because I felt since it would be outside, I wanted a smooth top. I just screwed it in diagonally from the bottom. I also used spar varnish since it would be outside.
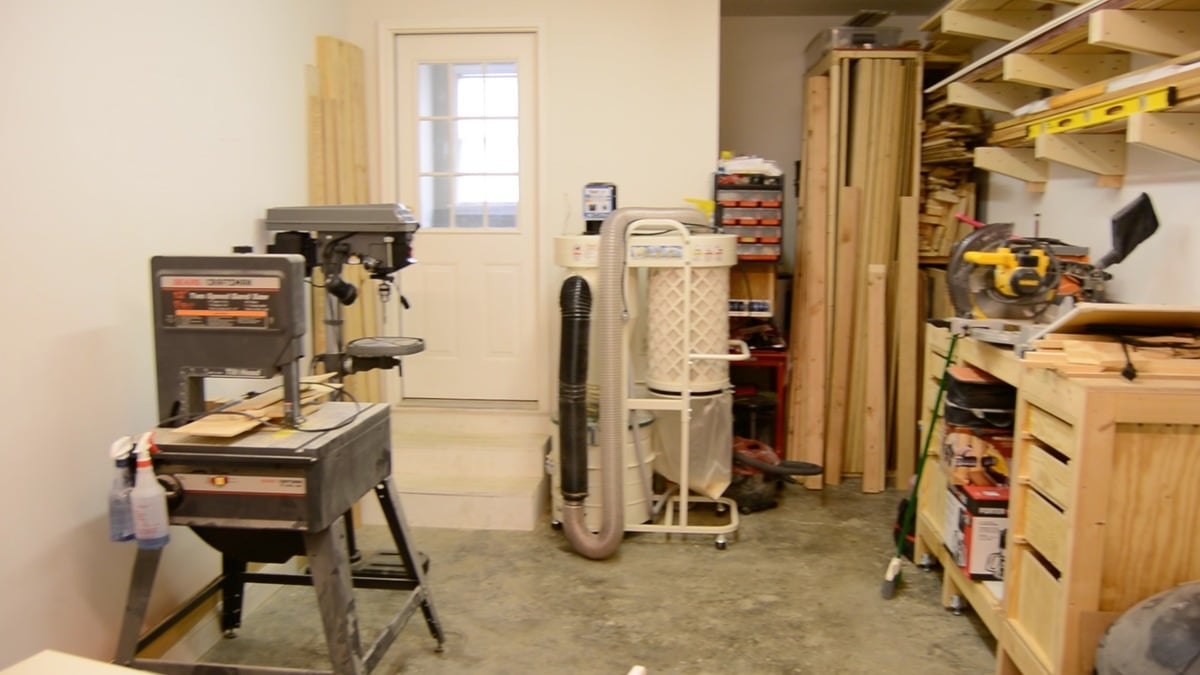
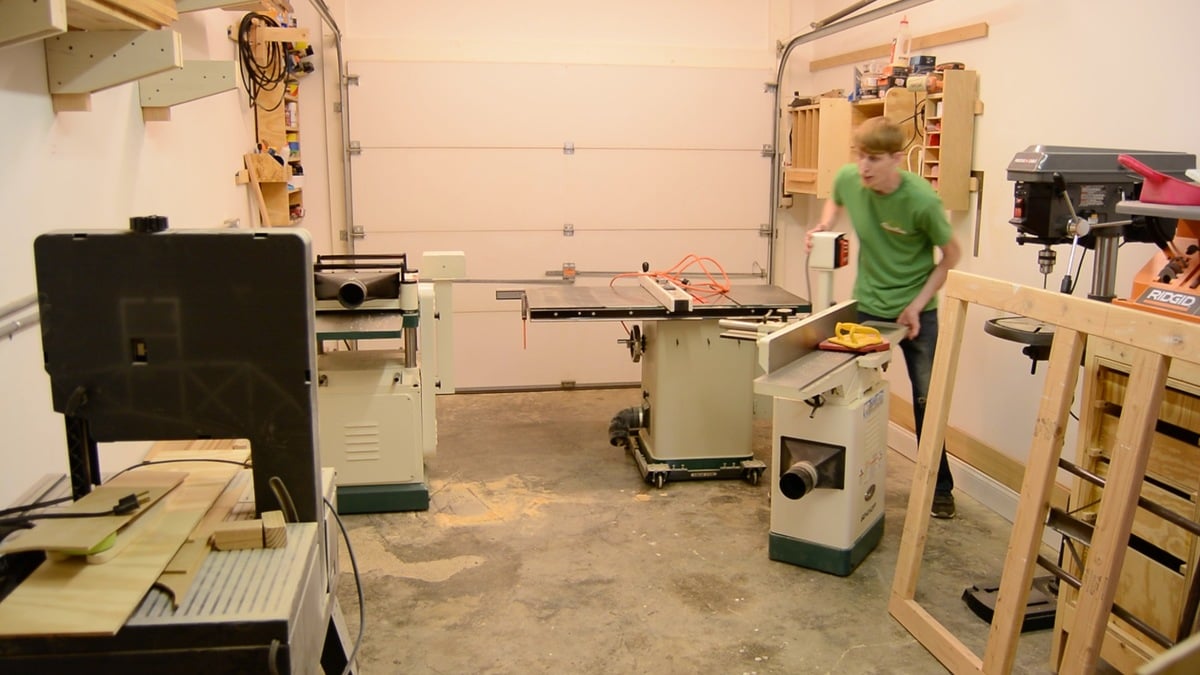
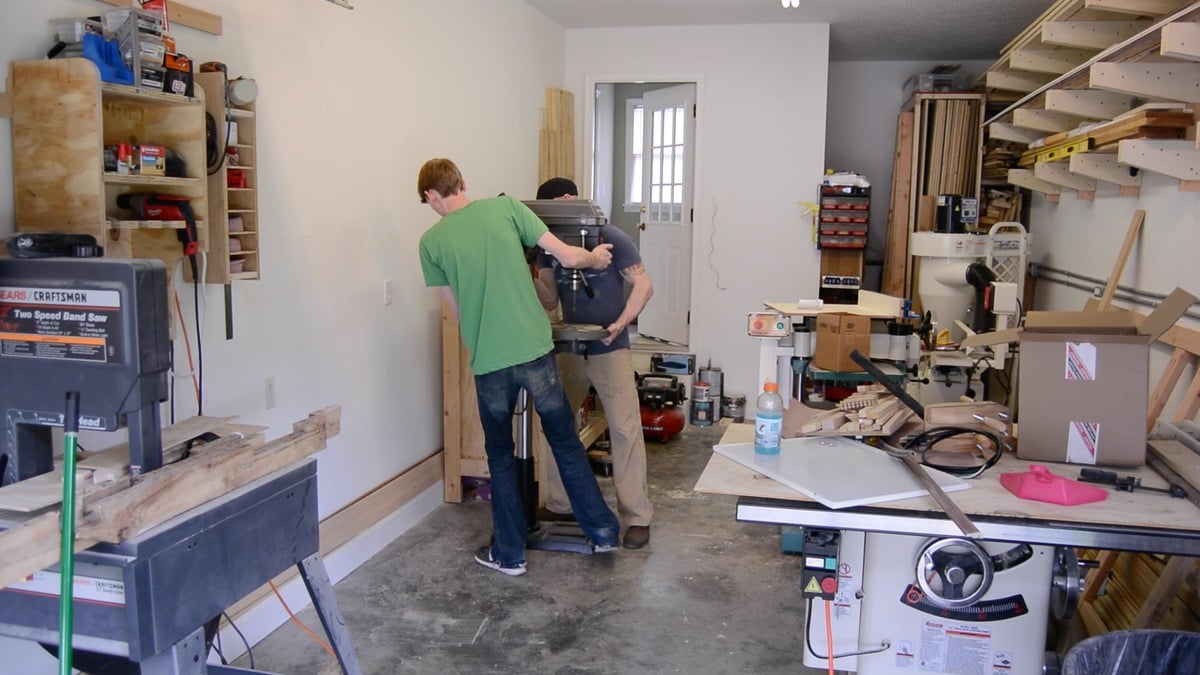
This week's project was to reorganize my small garage shop for a better layout. Hopefully you can get some ideas from my shop to better organize your own.
Blog: http://www.lanebroswoodshop.com/2015/04/new-shop-layout.html
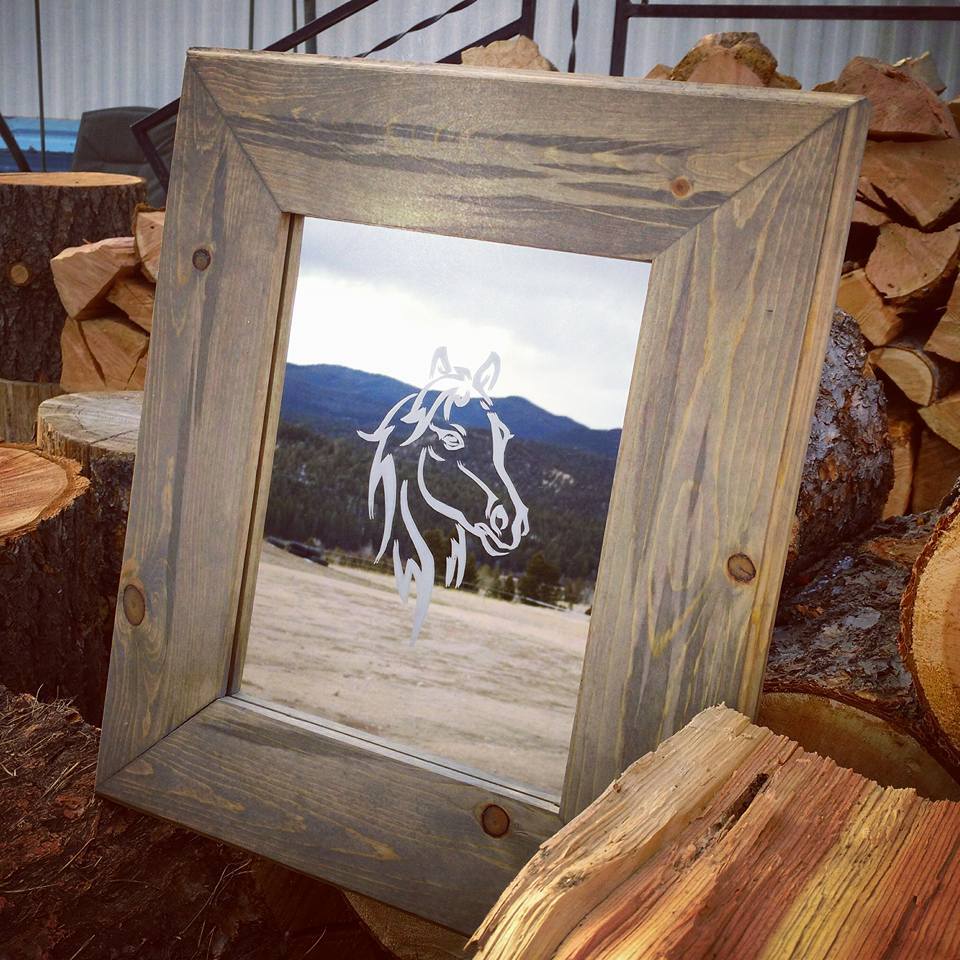
4 Etched Decorative Mirrors and 1 Faux Waterfall Edge Mirror. Bought the cheap Wal-Mart Mirrors and customised them with etchings and frames.
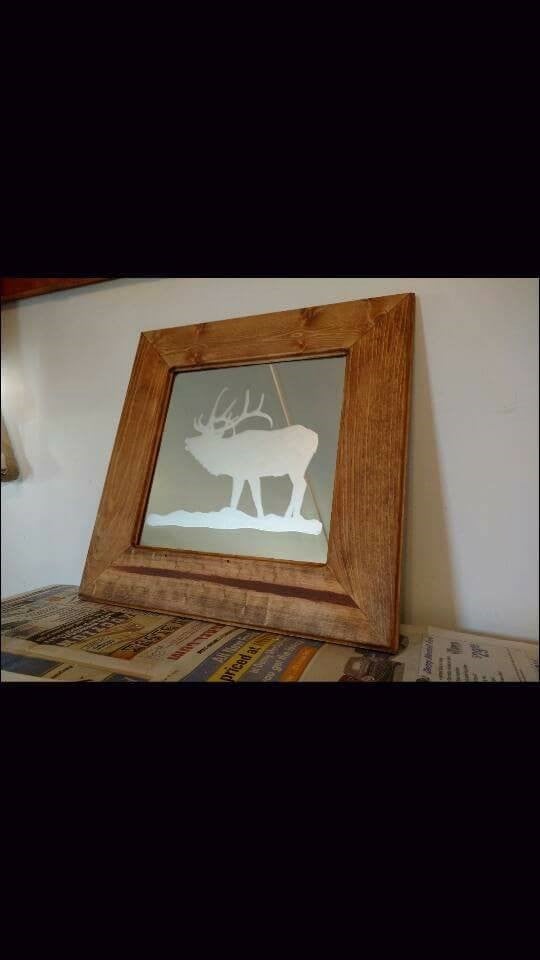
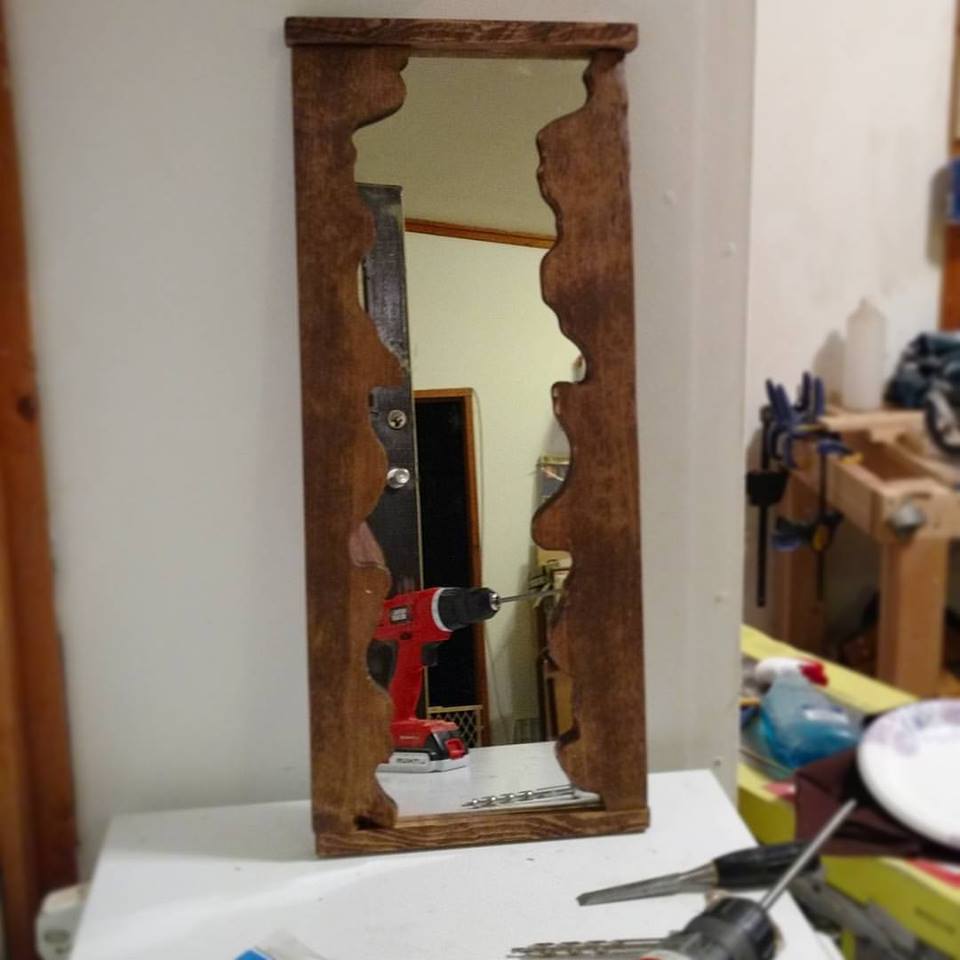
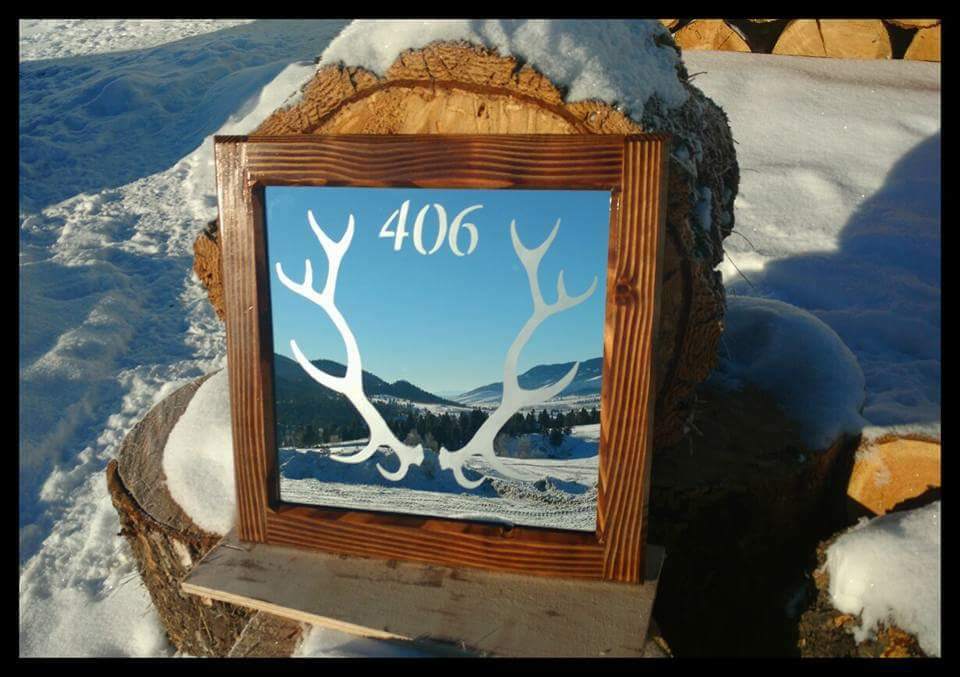
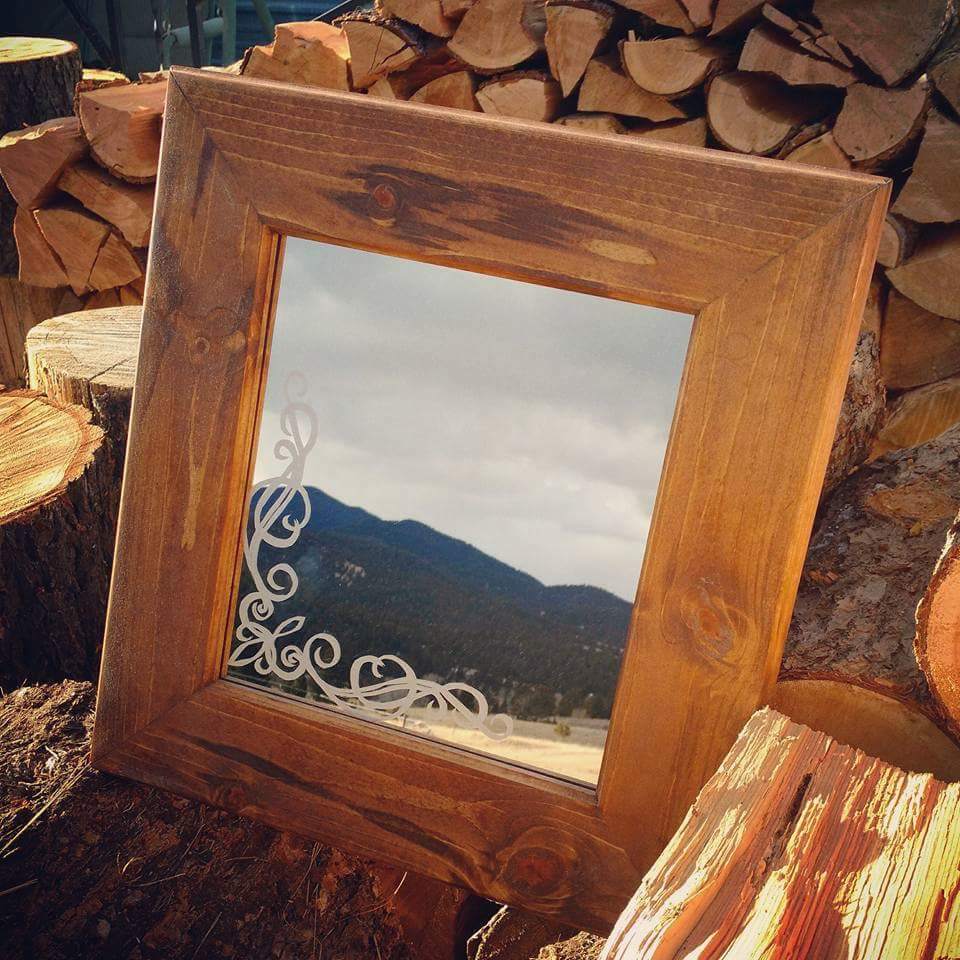
The stain is a dark black teal, better seen in direct sunlight. The foam for the cushions was cut from an old IKEA mattress, and cushion cover were made from extra canvas we had. We're happy with the result.
I have always loved handmade gifts, both giving them and recieving them. So when we got an invitation to our friend's 3yr old son's party, I knew the perfect gift. I loved this plan from the moment Ana posted it, but my kids were just too old for it now :(
This was a very inexpensive an easy build. The best part was putting a giant bow around it and taking it to the party. Jax lit up when he saw it.
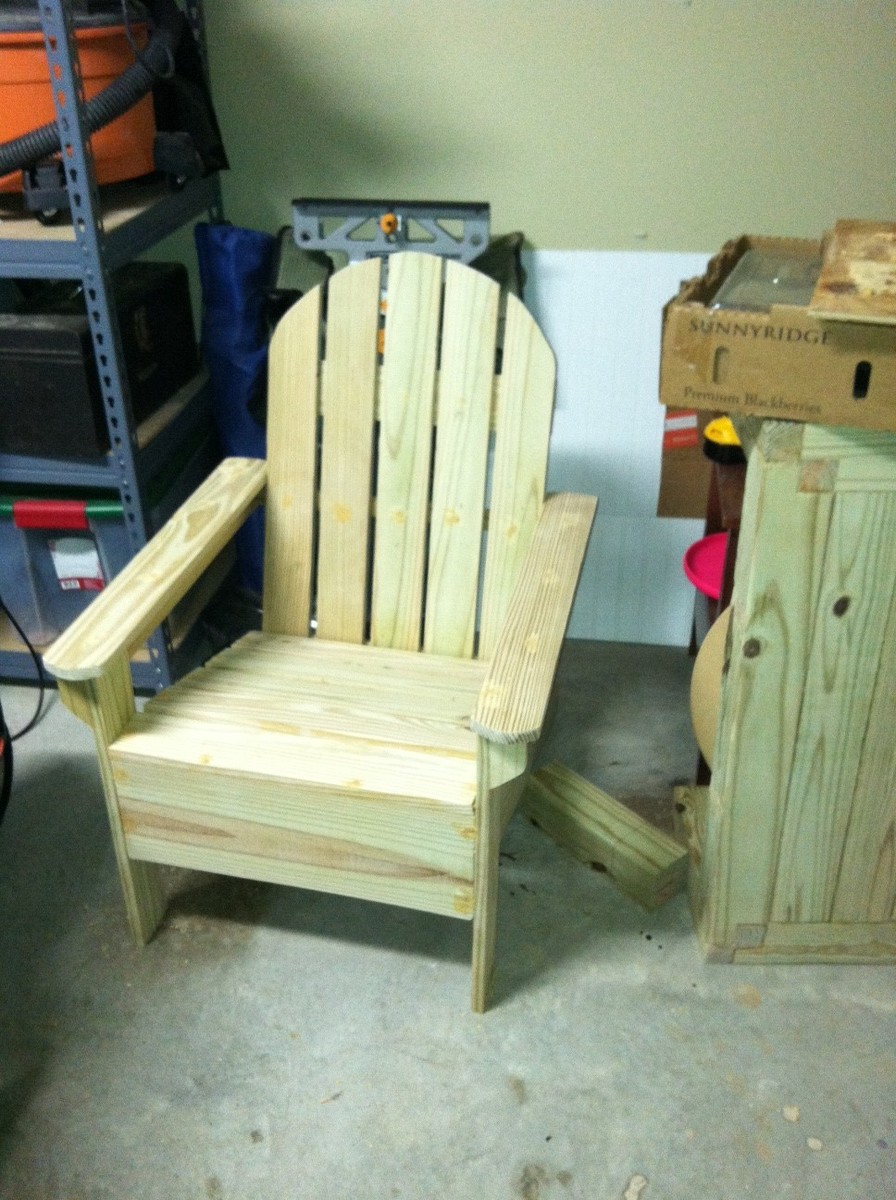
I had built a few of these chairs a year and a half ago similar to the red ones that you have on the step by step instructions. That was my first time at customer building and painting anything. Needless to say, my skills have improved over time.
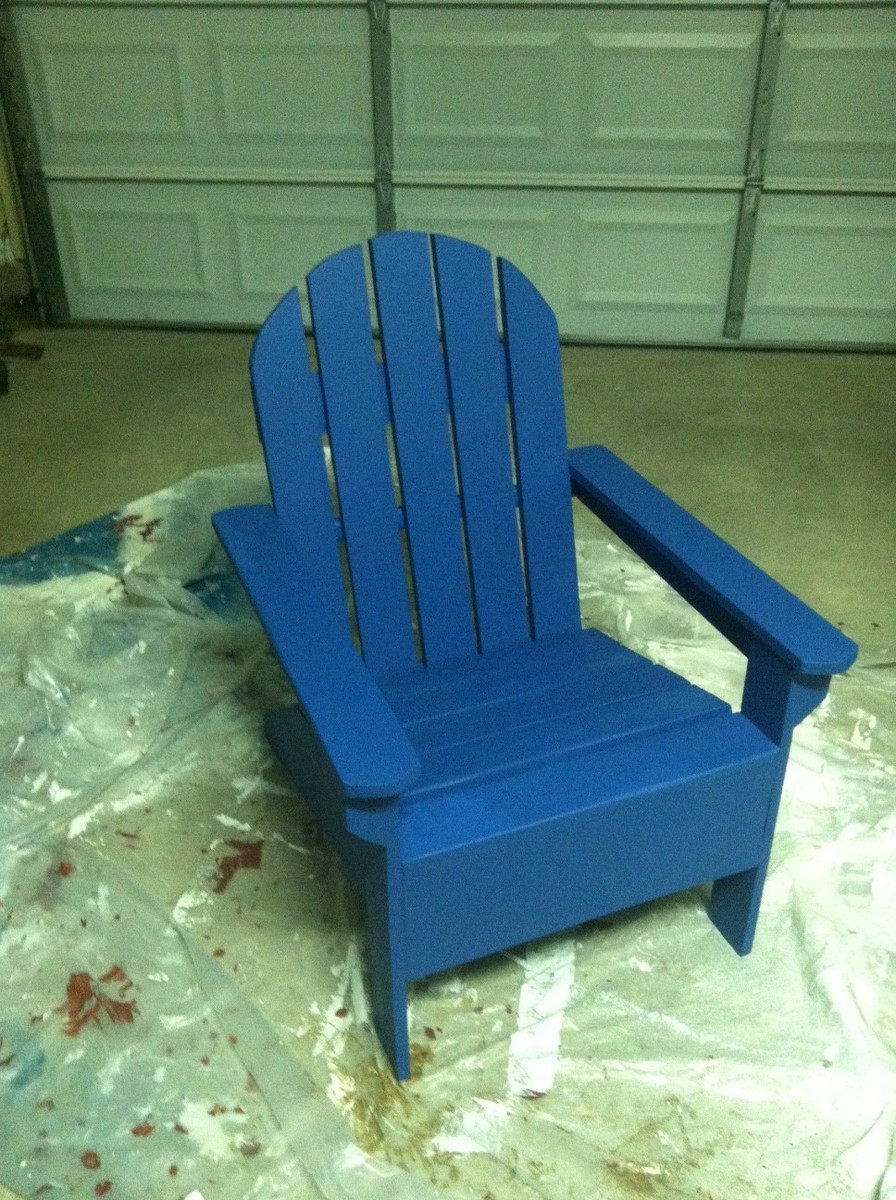
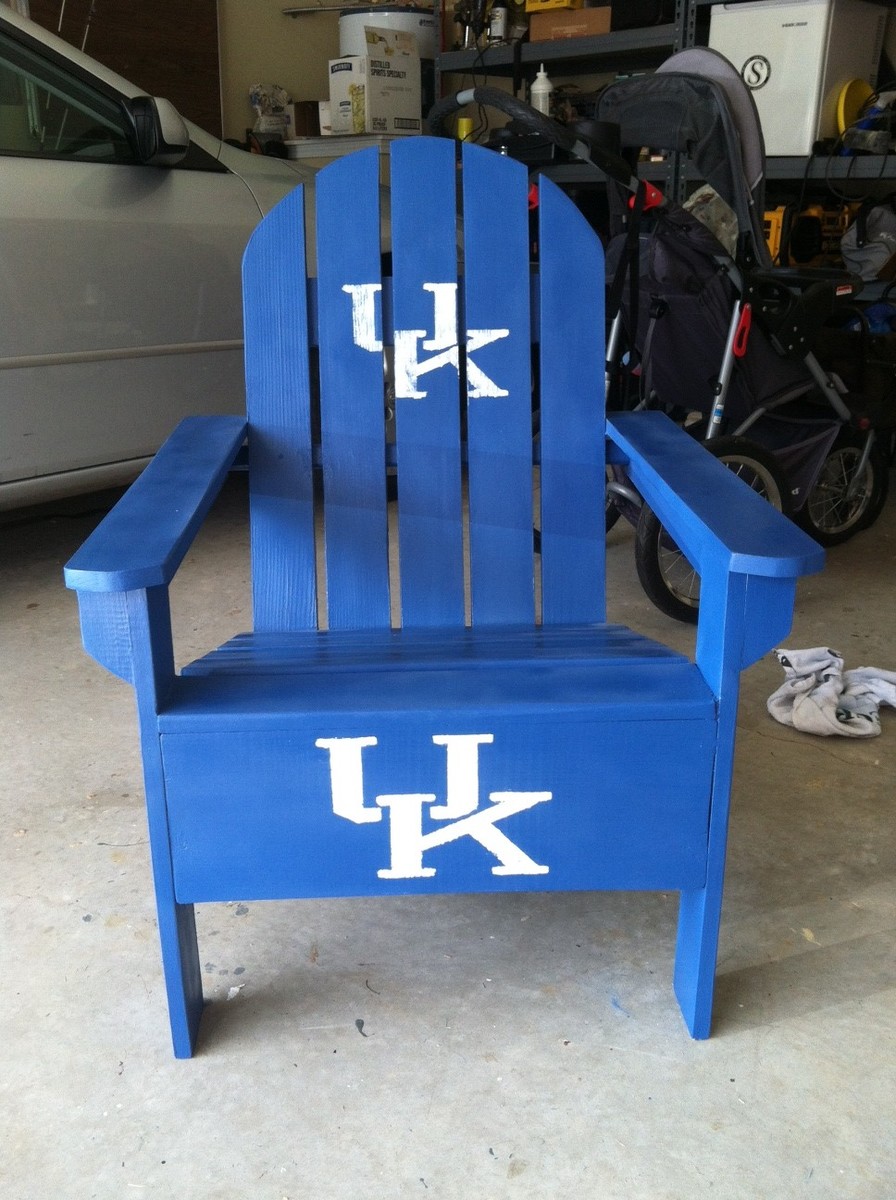
So, I wanted to build this chair for my dad for fathers day. He had an old plastic Adirondack chair sitting in his backyard that was really gross. I wanted to replace it with something nice. So he is obviously a UK fan and I wanted to see if I could paint the logo on correctly while also giving myself the opportunity to build something and see if I can make this chair a lot better than the ones I had previously built.
So I decided to curve the back of the chair and curve the ends of the arms. I recently got a nice dewalt random orbital sander which helped out alot in getting it nice and smooth. I made my own wood putty using the leftover sawdust and glue mixed together. I also fastened the wood together using glue and polymer coated screws. Which are supposed to last alot longer than regular wood screws when using pressure treated pine.
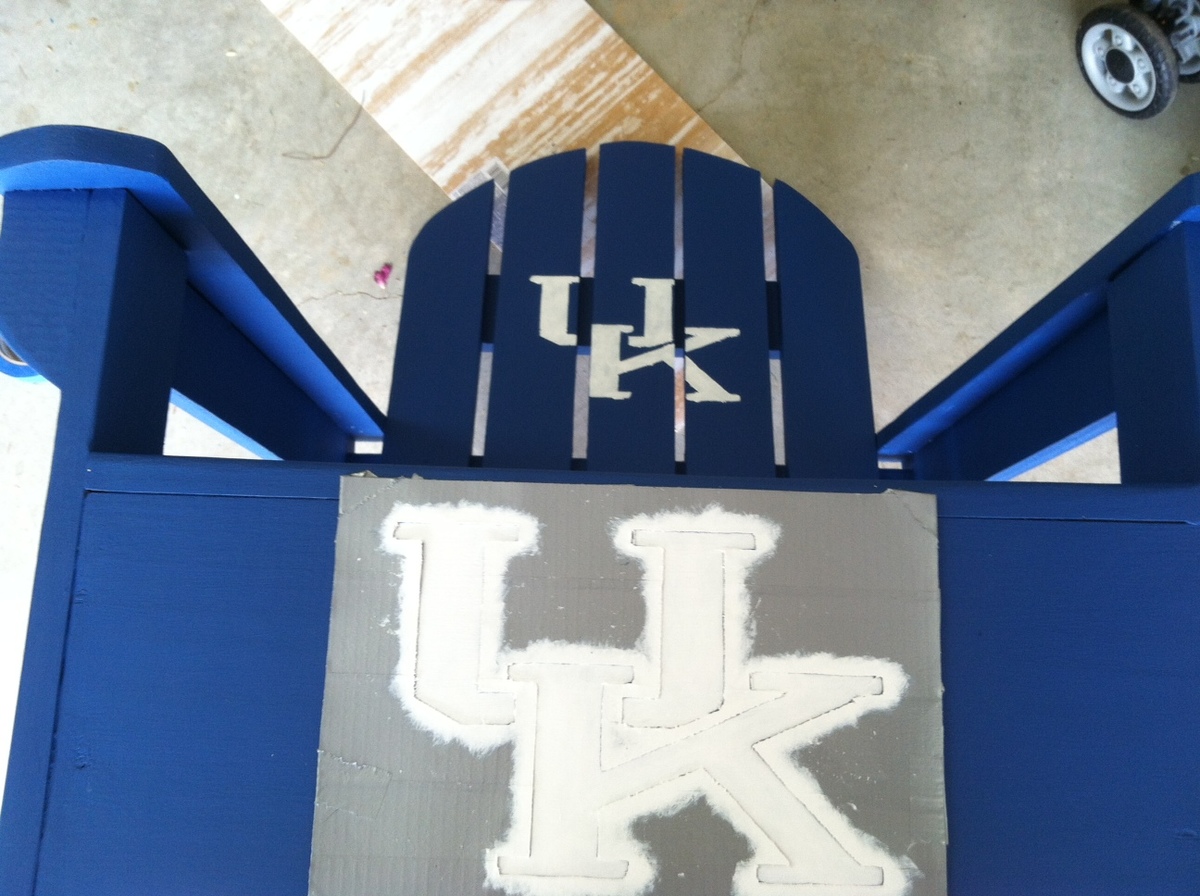
I took my time to make sure the pieces were all square when assembled which was better than previous building projects. Also, as far as finishing the chair, I primed it and then put 3 layers of the Kentucky blue Outdoor paint with a brush (which seems like it took forever). I made the stencil by just printing the logo on a piece of cardstock paper. Then I cut out the logo with a razor, then I wrapped the paper in duct tape to make the stencil it a little stronger and to fix the areas that ripped when cutting the card stock paper. Then I cut out the duct tape where the logo is. I made a couple of test paints using the stencil on some scrap to make sure my technique was good. Then once I felt comfortable, I painted 4 coats of very thin paint on the chair where the logo is. After all was dry, I did a light by hand sanding to make it smooth and then sprayed some clear coat on it for an extra level of protection and to make it shine a little.
It was a fun project and my dad really liked it.
Some things I would have done differently for next time would be to use a router to flush cut the seat slats and also use the router to give a nicer rounded edges for the arms and all of the slats as well. Also, It would be nice to mount a stainless bottle opener to the chair to open your drinks (maybe on the outside of the arm of the chair.
Thanks for the plans. I check your site all the time for ideas.
Thank you Ana for the clubhouse bed plans! I added 15" to the width of the rails to accommodate a full size mattress. On the other side I made a slide platform! I chose a standard plastic slide because I couldn't find a way to make a wooden slide at home with the swoop at the bottom to keep the kids from hitting the carpet hard :). We couldn't have a green outdoor-looking slide, am I right? I used Rustoleum spray paint made for plastic in French Lilac color. After the paint I used a top a coat of Minwax 3x polyurethane. I also used the Rustoleum spray paint for the window grids.
To accommodate the slide specs I needed to raise this bed 5". I just made each leg 5" longer. Also, the ceiling in my daughter's room slopes down so I cut the point off the back of the bed. Totally not noticeable. I needed to do this even if I hadn't raised the bed :)
I also added full window frames around the window to make the bed a little more girly! One unexpected result is that the bedroom looks BIGGER with this bed in it. She had a twin size step 2 plastic castle bed before but now there is so much more room to play. Win! Changing the sheets isn't too bad but you need to get in the bed to do it.
I built this bed by myself. Don't be afraid, you can do this! Once the panels are assembled they get a bit heavy so you have to be sort of creative to drag them across the garage floor :)
Next up: mailbox for the bed, shelves under the slide and window boxes!
Sun, 05/03/2015 - 07:37
This looks amazing! What an awesome job! I love the slide!
I've built various pieces from this site, but this is my first "share". I built this table a couple a month ago, taking ideas from various plans on this site. The top of the table is hard maple, the legs, benches are all wormy maple.
I bought the lumber from a mennonite mill about 45mins away from me, fantastic place. The table top was in their "clearance" section already laminated together, so I had them but it to size.
I tried my best doing mortise/tenon joints to join the table aprons/legs. They weren't perfect, but it worked.
I loved building this and I really want to make another. Thanks very much Ana for the site and all the plans you make available. It's a blessing.
Oh, apologies for the two photos on its side, I can't get them to upload properly...
Sat, 02/11/2023 - 08:03
Beautiful table.
Do you have any plans you can share?
Thanks,
~David
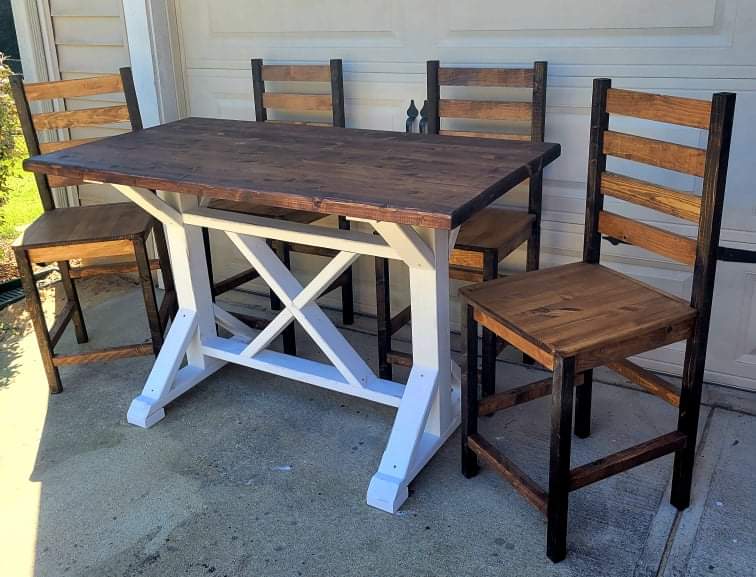
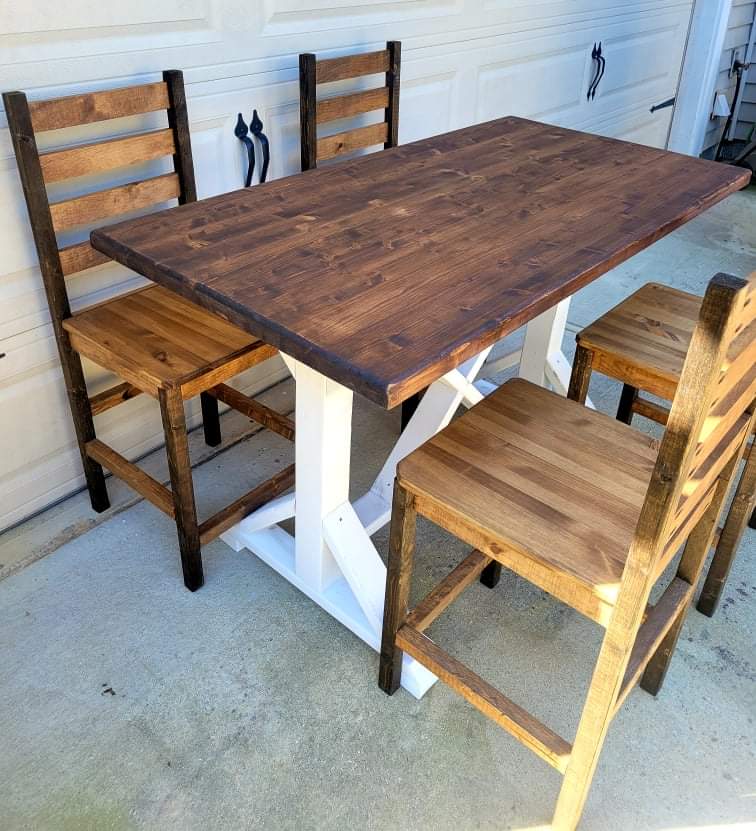
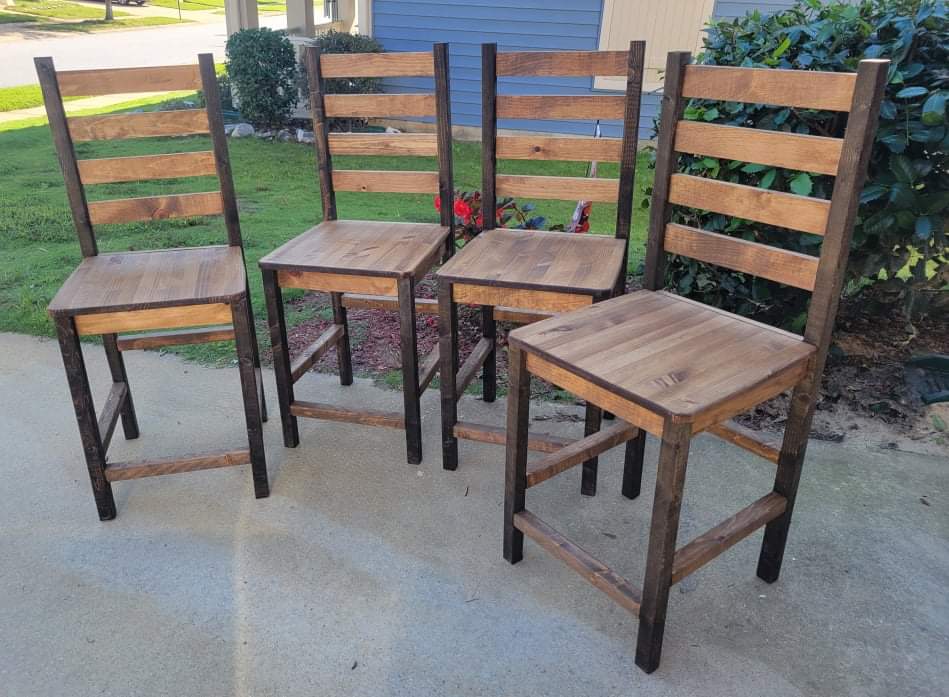
Threw this together over a 4 day weekend. Love how light these chairs are.
Substituted edge glued project panel for the table top and seats instead of joining several planks.
Used a combination dark walnut, jacobean, and early American stain on the finish.
I made this bed pretty much by myself, my hubby helped me assemble it in the bedroom. It is king size so I had to do my own measurements. To my surprise it was pretty easy. Just make your measurements accurate. Had blast. Next project please!
My wife, and I wanted to upgrade my 5yr old daughters bed. Hopefully this will give her enough encouragement to actually sleep in her room!
The bed turned out great, and my daughter loves it!
This project took a little longer than usual, because with the exception of the couple pieces of plywood all the parts are made from rough maple lumber. The longest part was planing, and gluing all the parts up.
Comments
Ana White Admin
Wed, 10/06/2021 - 10:34
Gorgeous!
Wow, very beautiful, thank you for sharing!