Rustic table
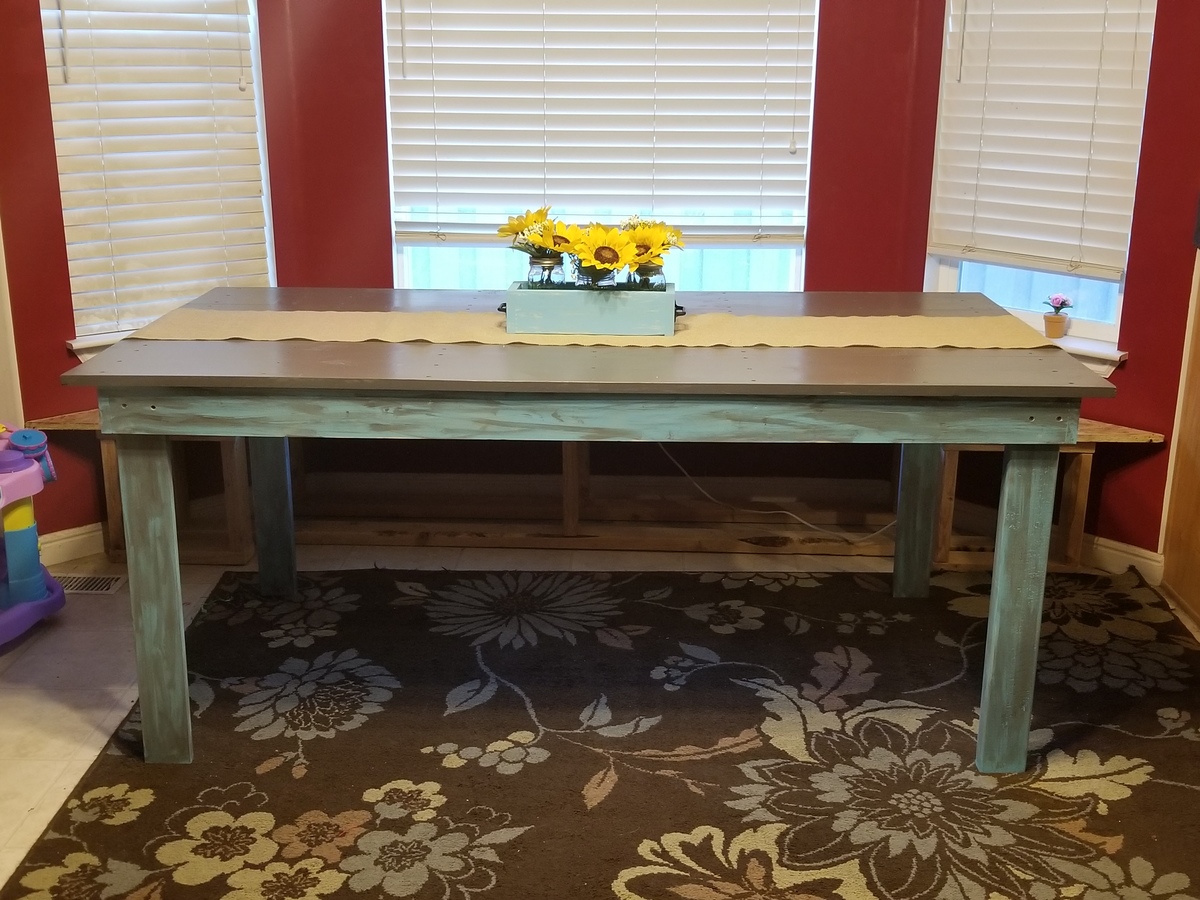
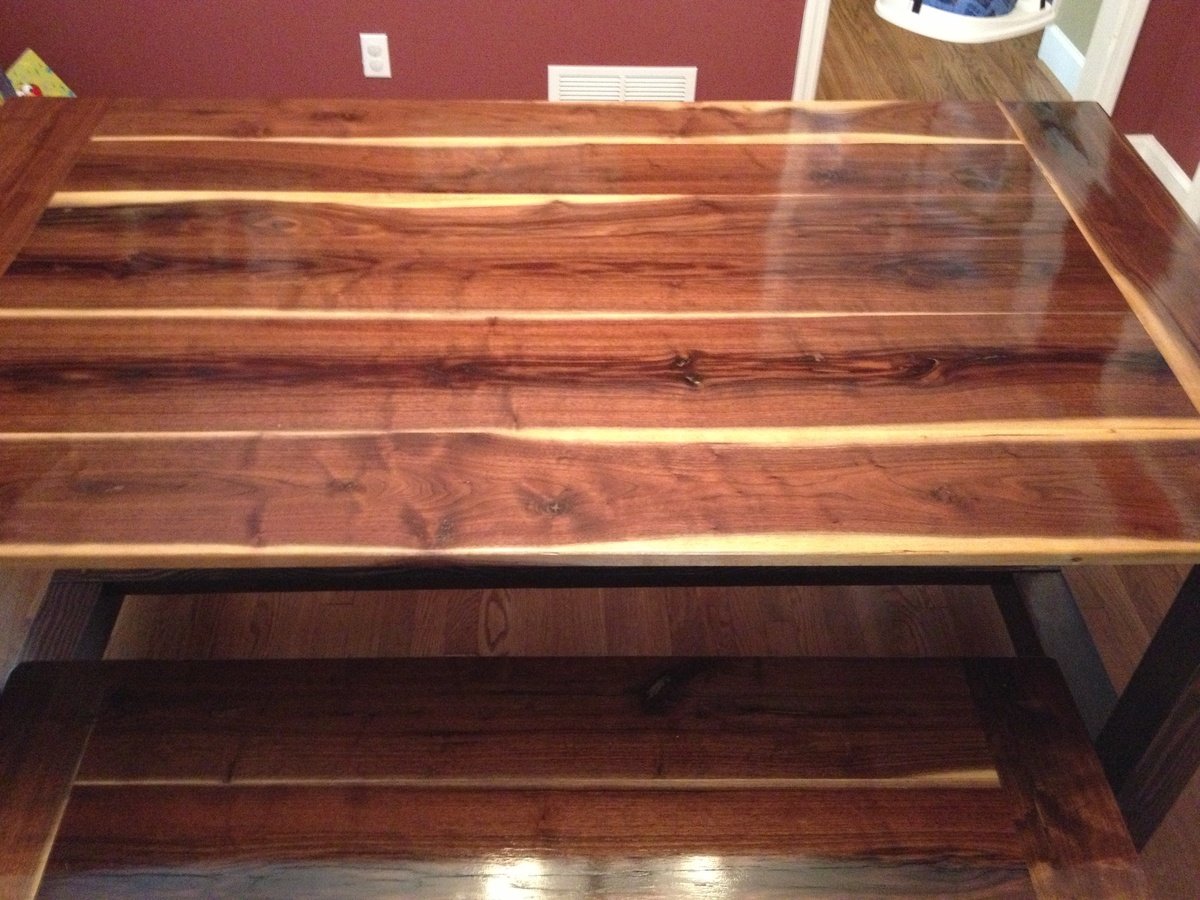
We built our table from the rustic table plans and I am in love. I am a beginner and I was so scared but it turned out amazing!! Thank you for giving me the courage and confidence to start building my own furniture!
Minwax polycrylic

We built our table from the rustic table plans and I am in love. I am a beginner and I was so scared but it turned out amazing!! Thank you for giving me the courage and confidence to start building my own furniture!
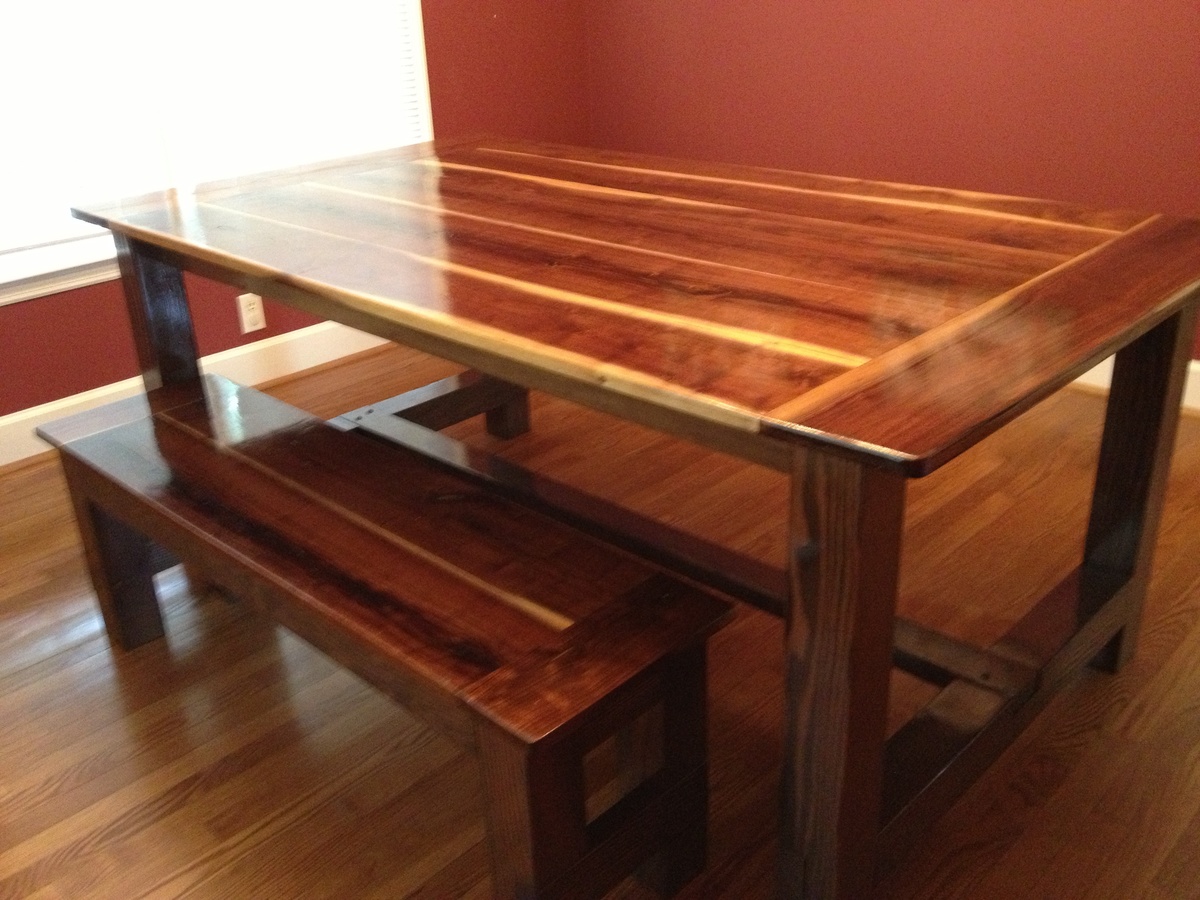
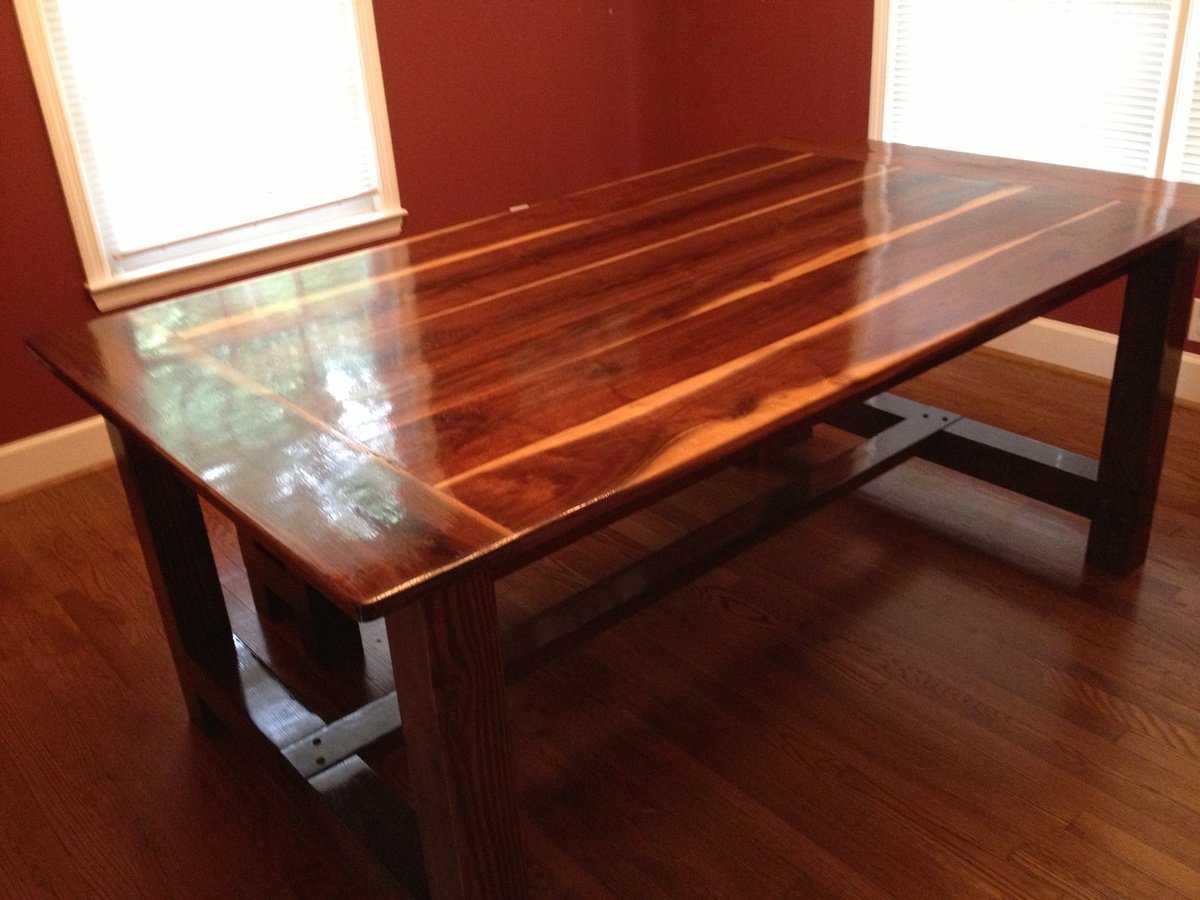
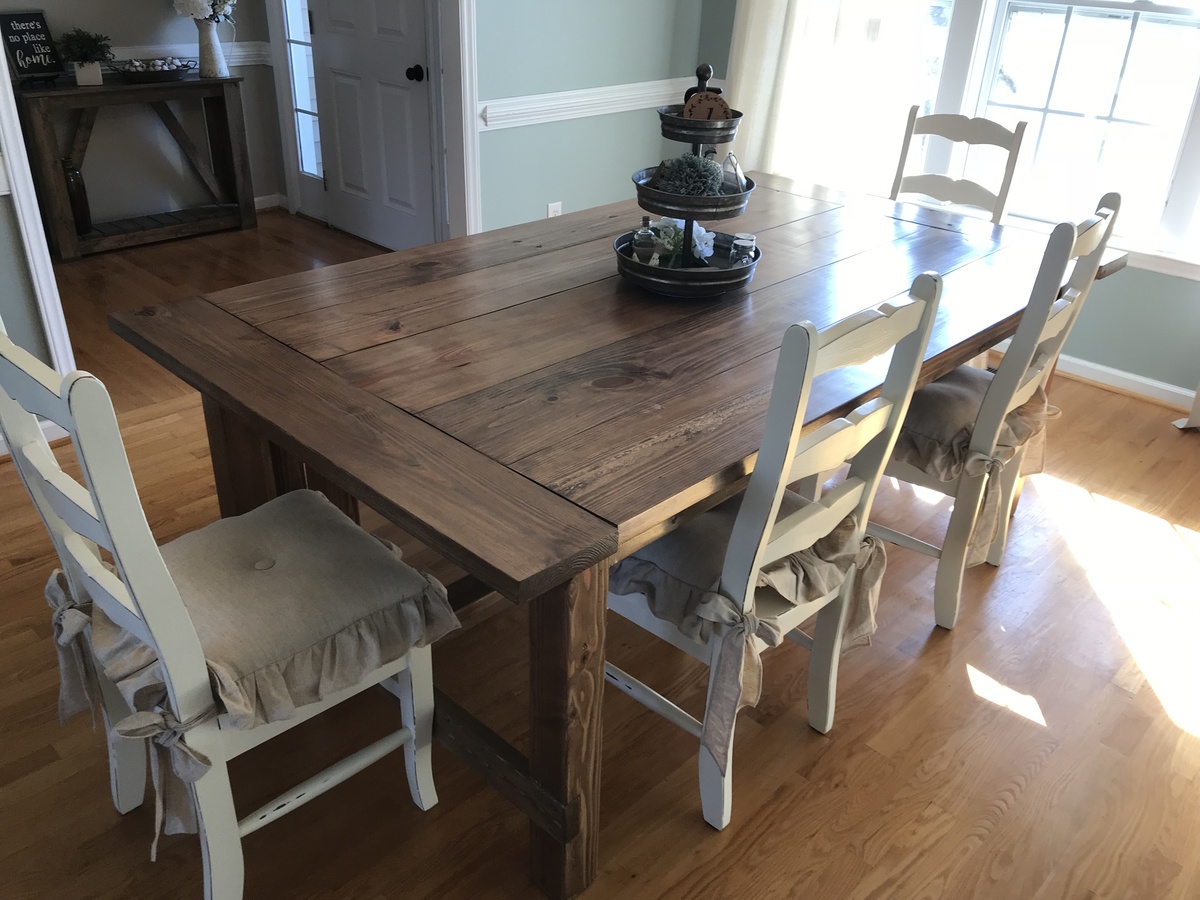
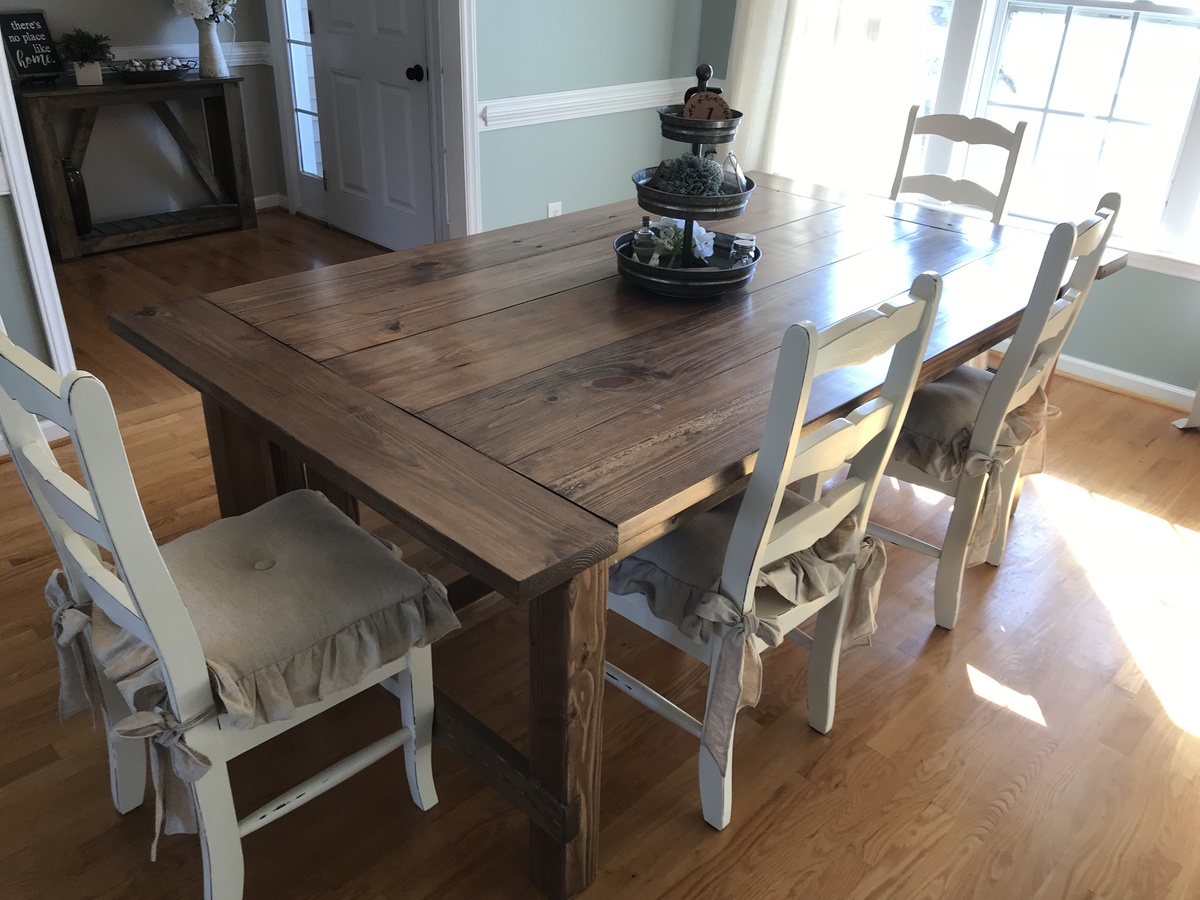
I saw the farmhouse table plans on the site and forwarded them to my father, who was quite interested in what I wanted to build. We decided the specs for the 72" tabletop in order to fit my dining room. What I didn't know was that my father, Charlie, had already located some pristine black walnut to construct the table and had already begun planing the wood for the table. My loving aunt and uncle "donated" the wood to me and my Aunt Mitch & dad planed all the wood themselves. As you will see, the planks that run along the top of the table are not the same size however the overall size if the tabletop is the same. Charlie fit everything together and made it work. He cut all the pieces and did all the work! Therefore, we have a beautiful, unique and absolutely STUNNING new table for our family!
Thanks to Ana White for this site, to my aunt & uncle for their resources and
time, to my husband who meticulously and gingerly applied the poly and finishing touches - and thanks especially to my loving father, Charlie, for all of his hard work, talent & generosity. We will now have a beautiful table to share years of memories & meals with one another!!
Thu, 06/27/2013 - 13:35
This is absolutely gorgeous! Truly one-of-a-kind...the wood is spectacular.
Thu, 06/27/2013 - 20:10
What a beautiful table, it is truly stunning. Great job to everyone envolved in your project.
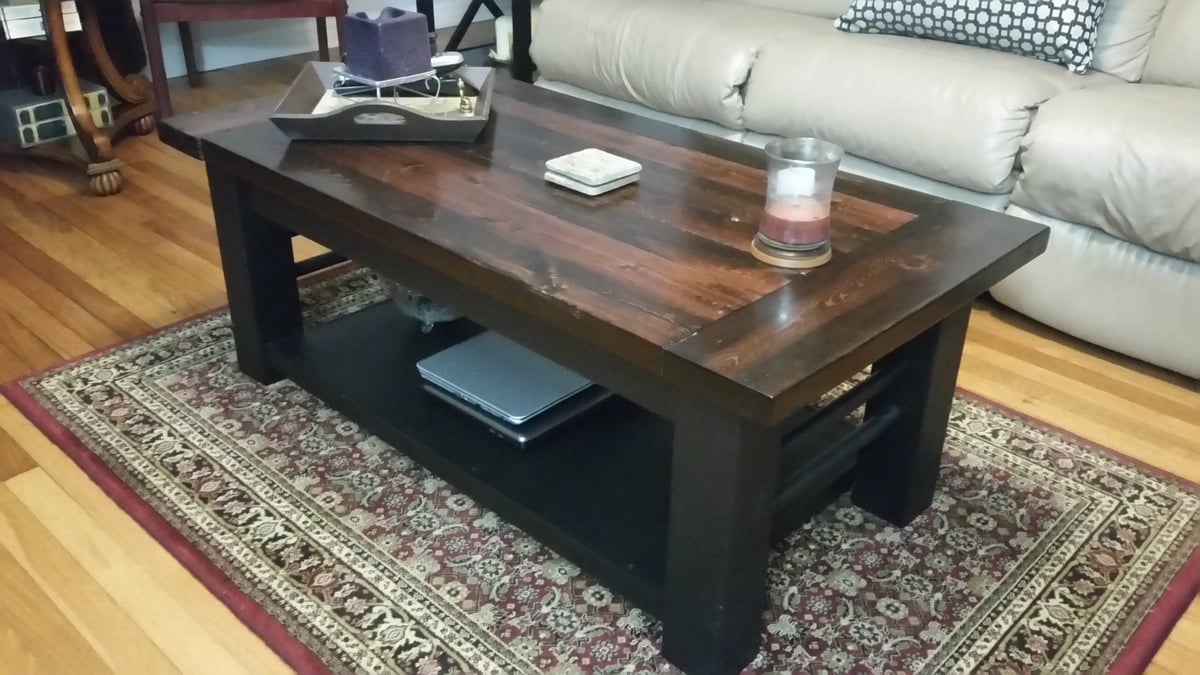
Upgraded the original to fit the style of our living room. Just a few dollars more in wood. Changed the frame setup as well.
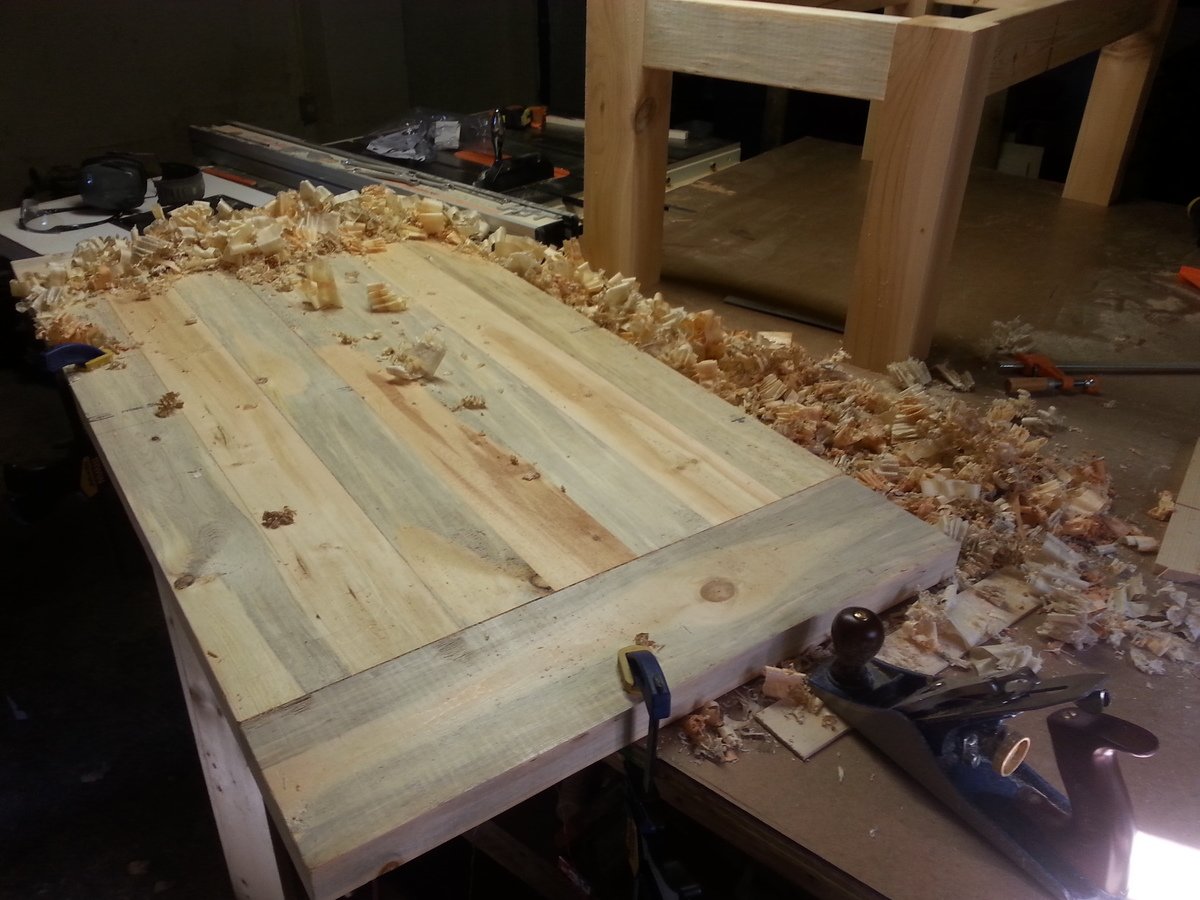
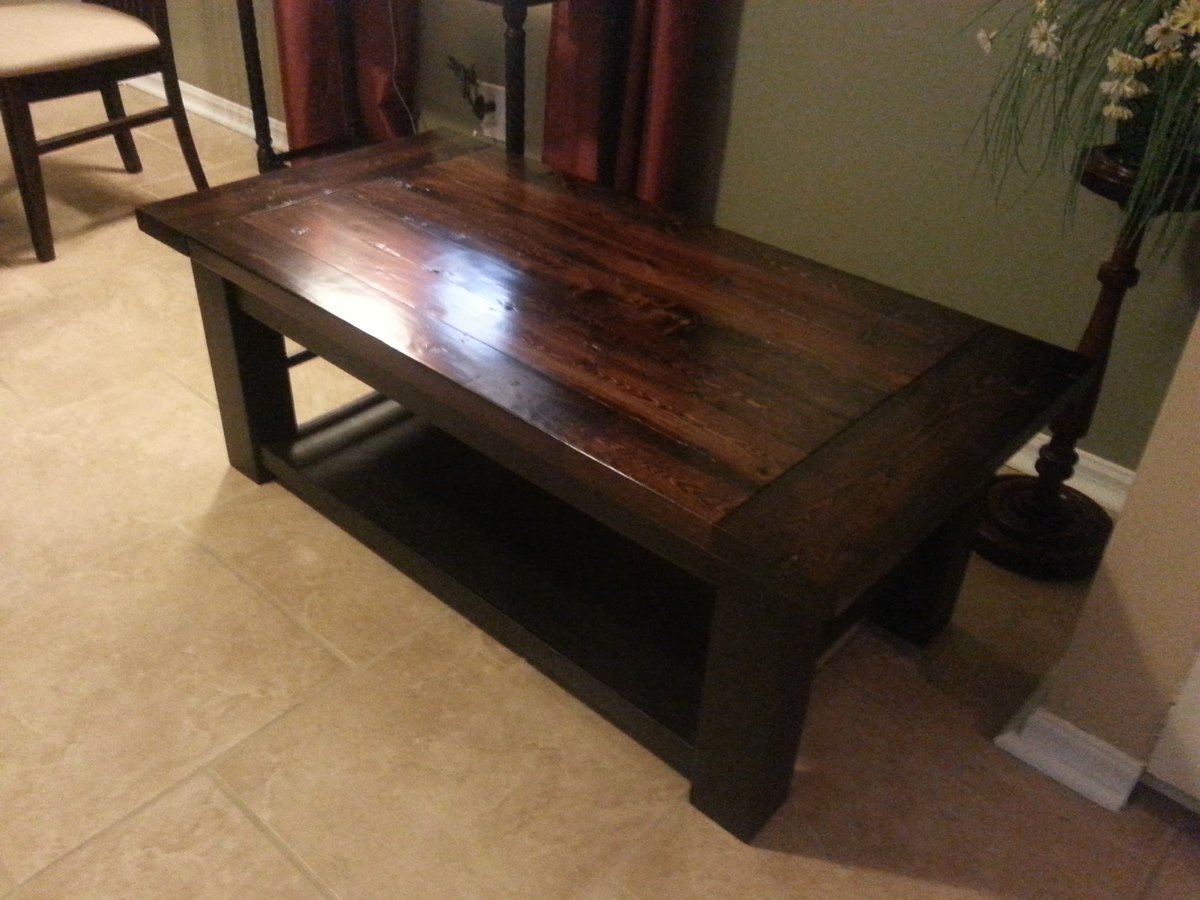
Very busy so I only have time to do a little bit at a time so I have no real idea how long it really took to build. All I know is the finishing took the longest: 2 coats black painted lower with 2 coats stain on the (custom color) and 2 coats polyurethane on the top piece.
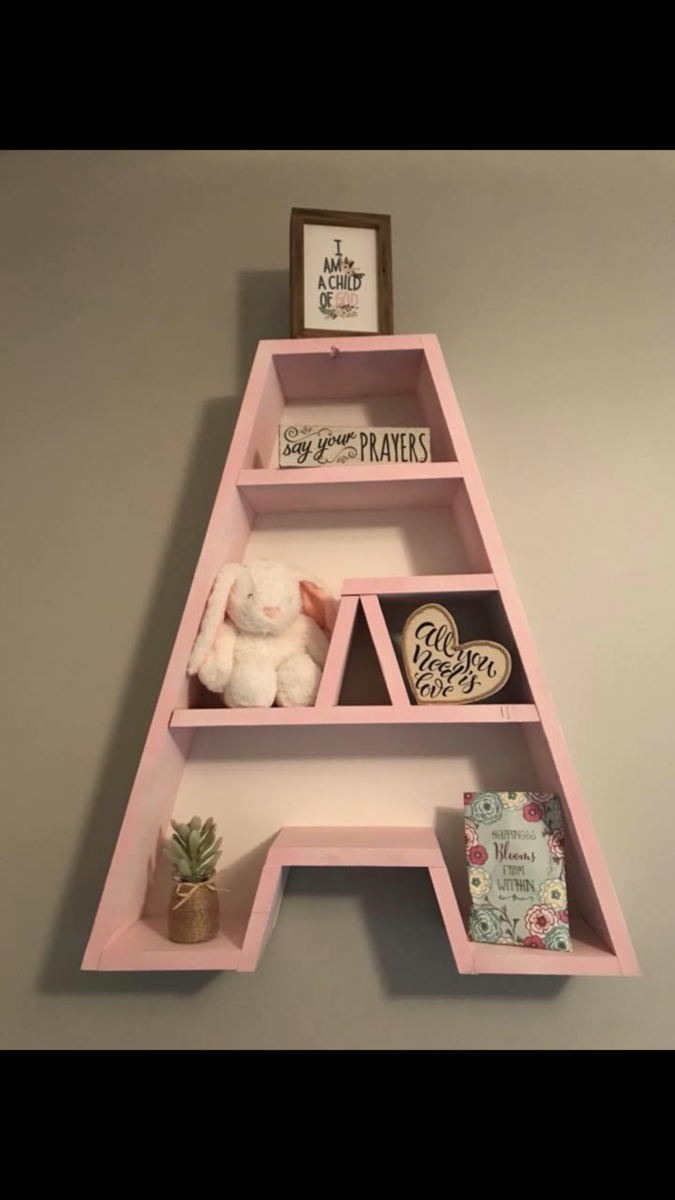
I made this Letter A shelf for my daughters nursery with scrap wood I had.
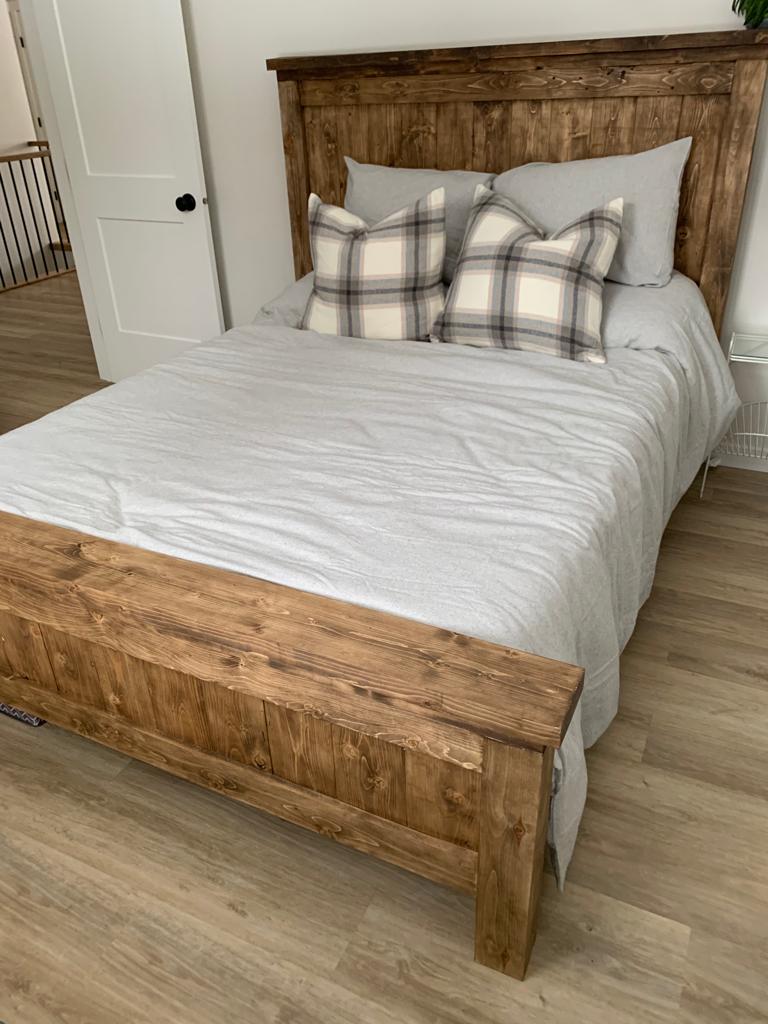
All of the wood used in the project was milled in our yard, from trees on our land. The 4x4 uprights are poplar, and the rest is spruce, all originating within 500m of our house. The wood was sticker stacked for 2 years prior to planing down to the required size( last picture shows a not yet planed 1X6.)
Was a great project we have had many compliments on as it is the bed in our guest bedroom and has been used plenty during the Christmas season.
My only change up was using 1x6 for the side rails instead of 1x10 due to availability. Turned out amazing!

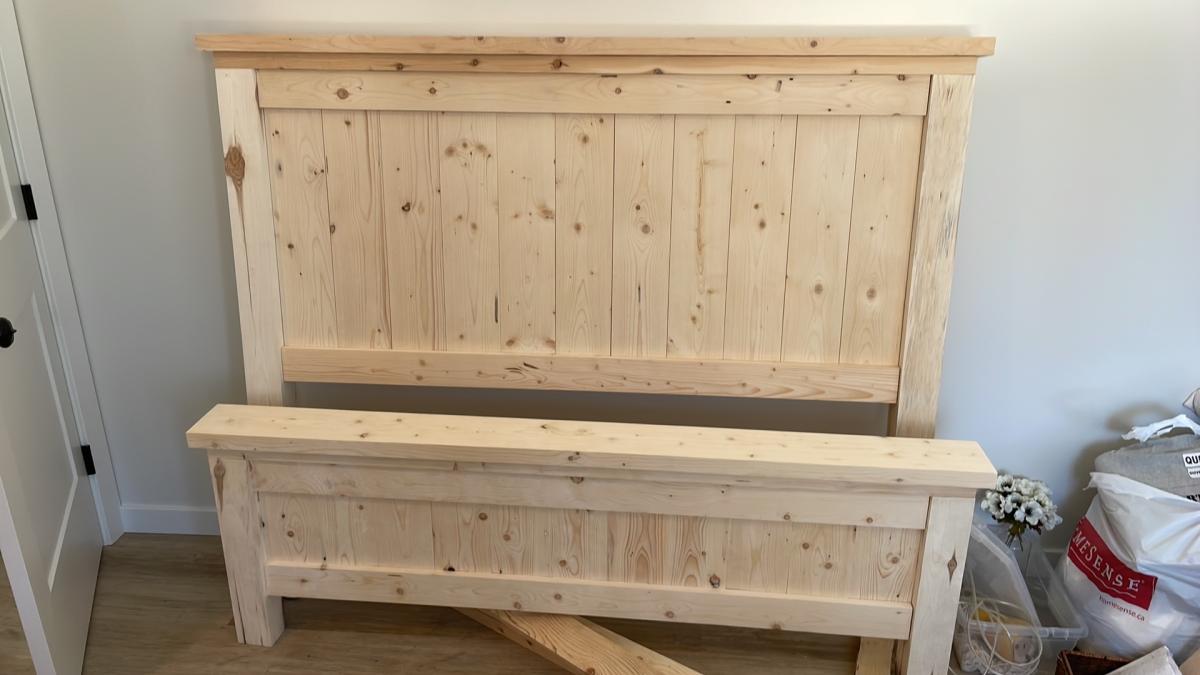
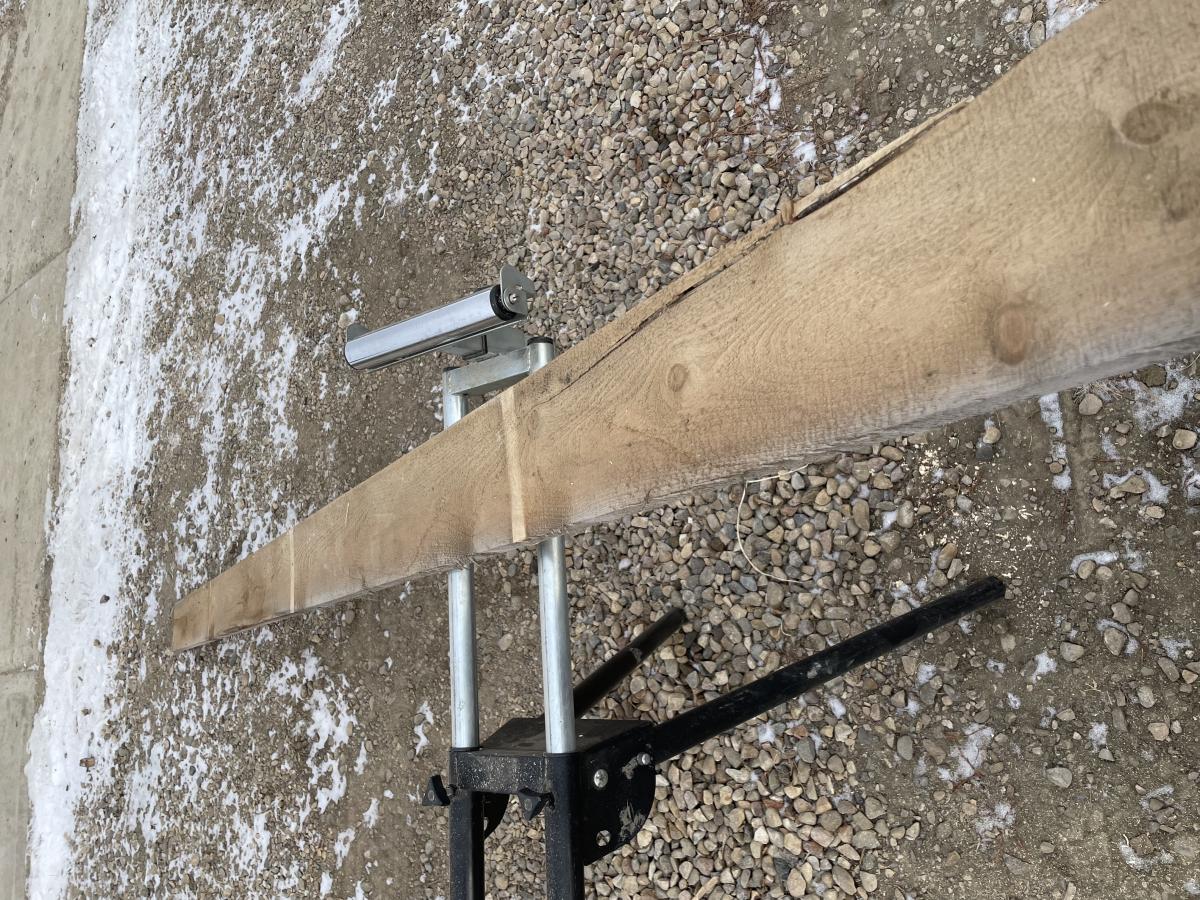
I really really wanted a farmhouse table...but...we had a space that needed a square table AND I needed to fit 8-12 people (or more!) so we modified Ana's farmhouse table plans to not only be square, but really big as well. This table is 6 ft on each side. Since the table itself was so big, we reversed the breadboard ends and used a 2x4 on 2 ends just to even out the size a bit since is not rectangular...and the area is quite small but needed a big table. I didnt want it to be completely out of proportion. We did not use a stretcher because of the square factor, but each leg is a 4x4 post and reinforced underneath. It's HEAVY. It won't be moved anytime soon! I'm loving it:)

Wed, 01/13/2021 - 07:59
Can I ask how you reinforced the legs? Thanks for your response.
We used Ana's tilt trash can plans and antique/distressed finishing tips. It came out great! We love it!! Thanks Ana!!!

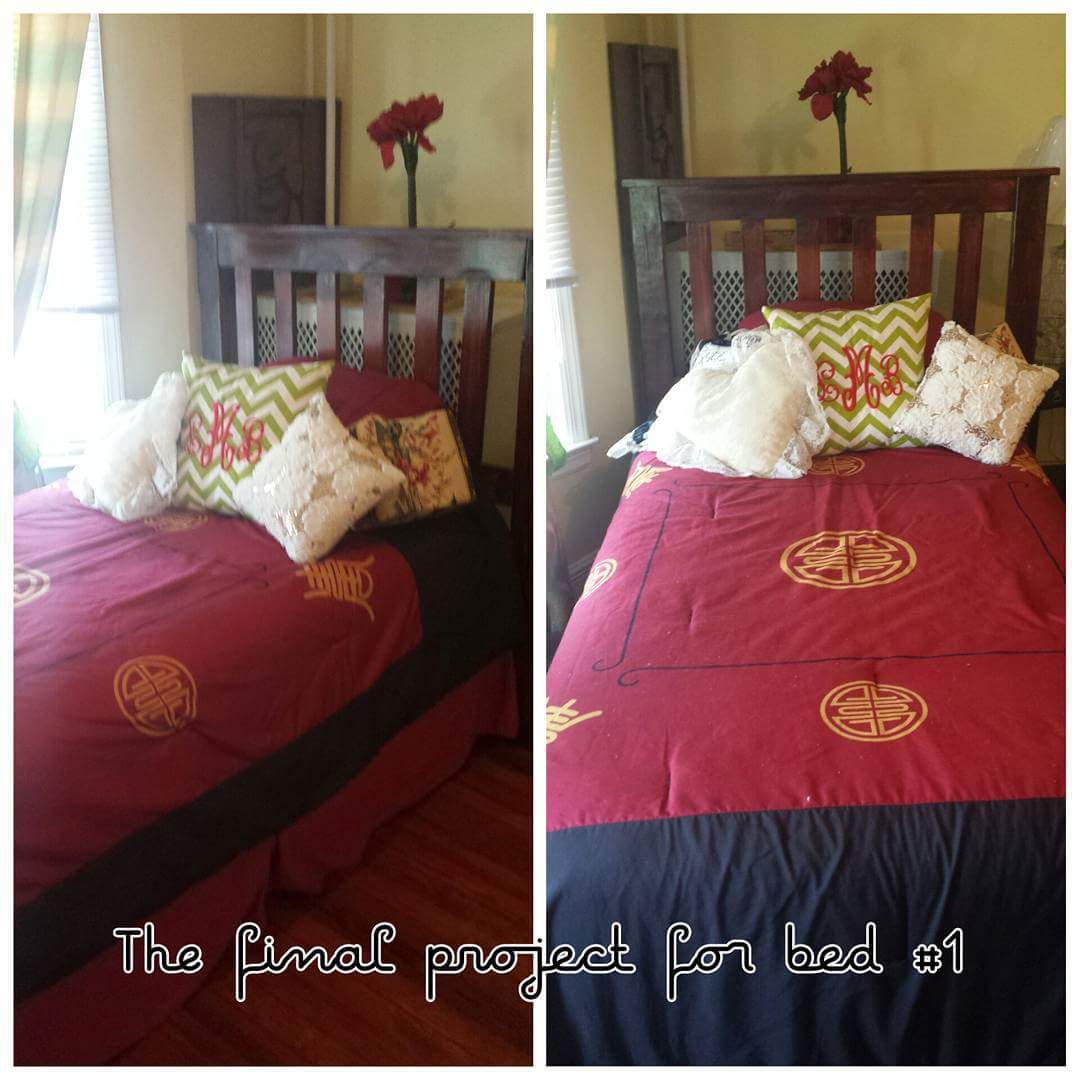
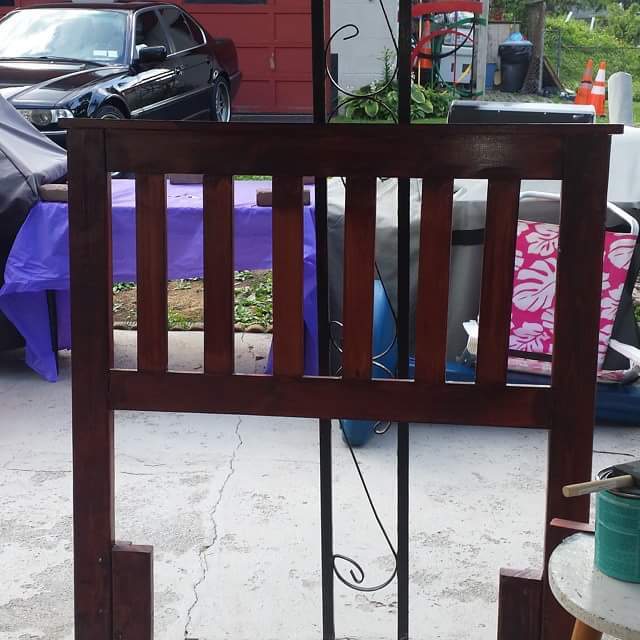
I omitted some of what was called for in the original plans at ana-white.com. I wanted only a headboard. I then opted to go without the plywood backing when I found out that my local Home Depot's cutting area was not cutting due to the machines needing to be repaired. I added an extra piece of wood to the legs to accommodate attaching the bed frame. The finish is Varthane Red Oak and sealed with Minwax Polycrylic in Satin.
My mom is very happy to be getting these two headboards for her spare room. (The other one is still on my work table in the garage awaiting assembly and final finish!) Thanks for great plans to work from Ana!
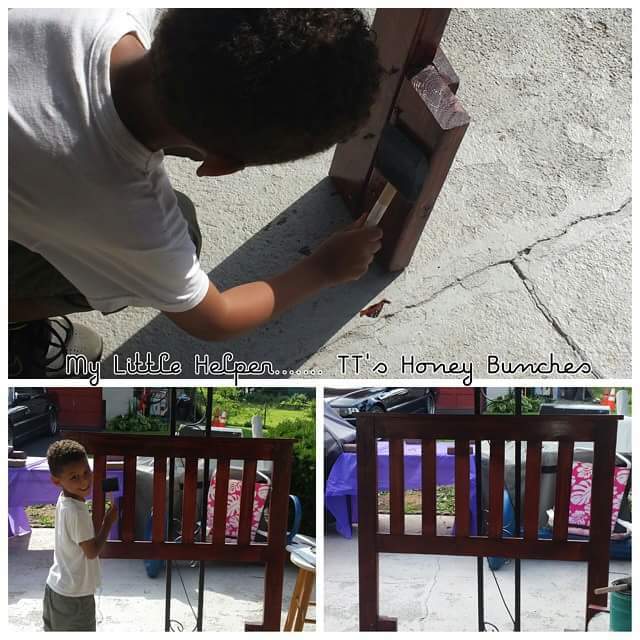
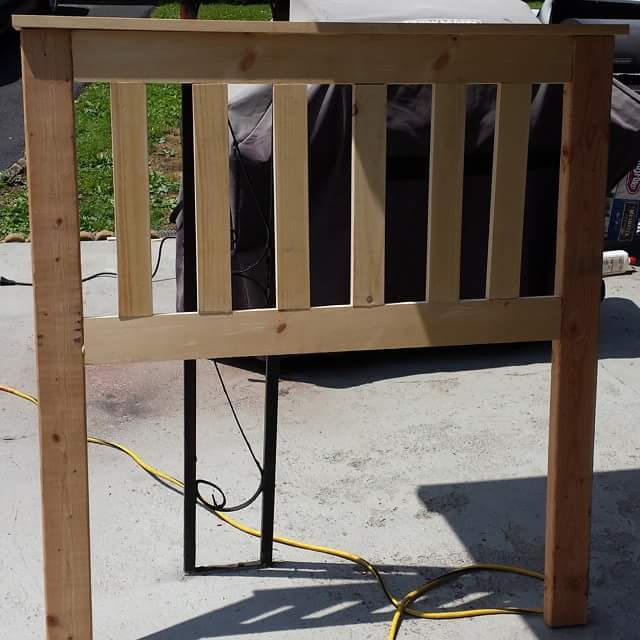
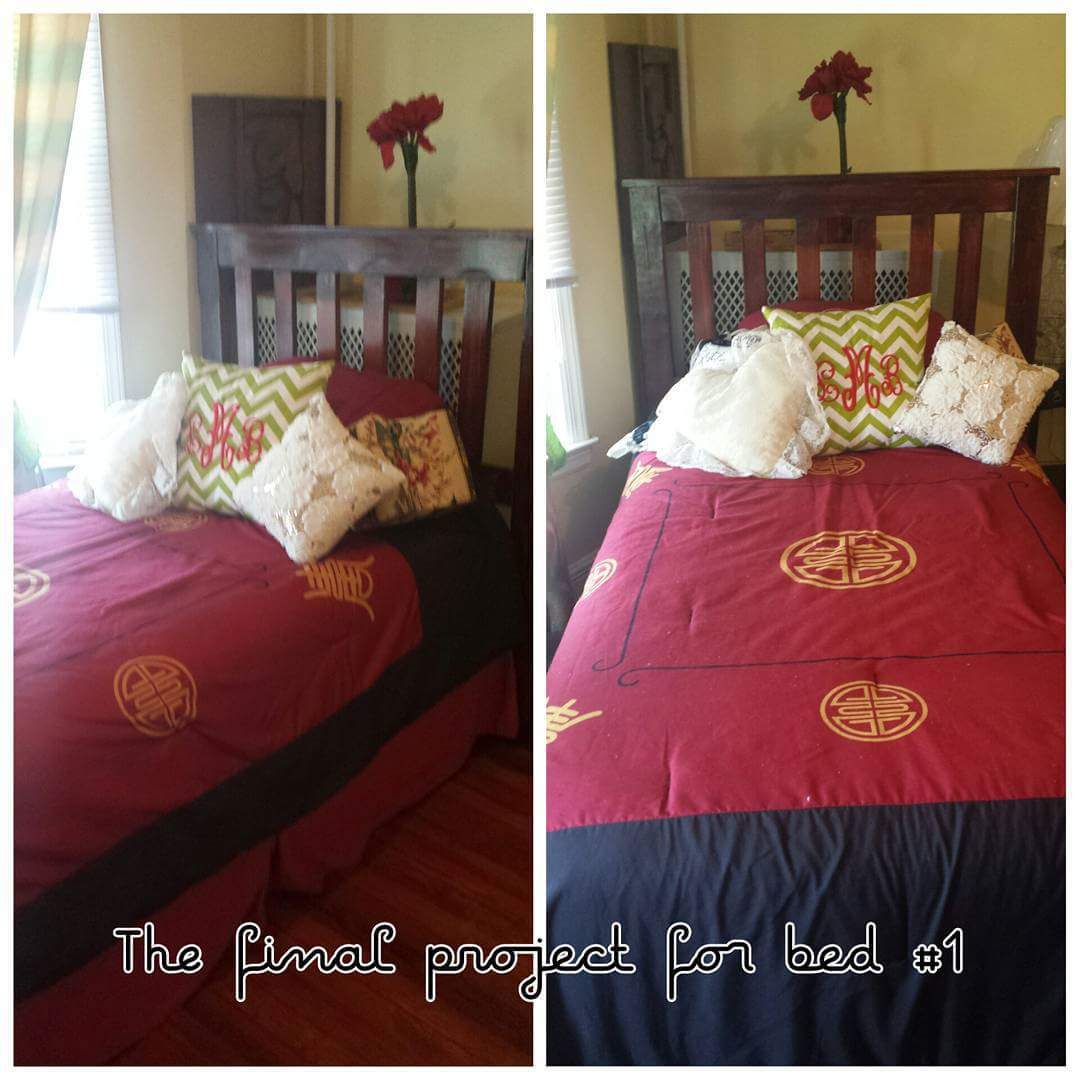
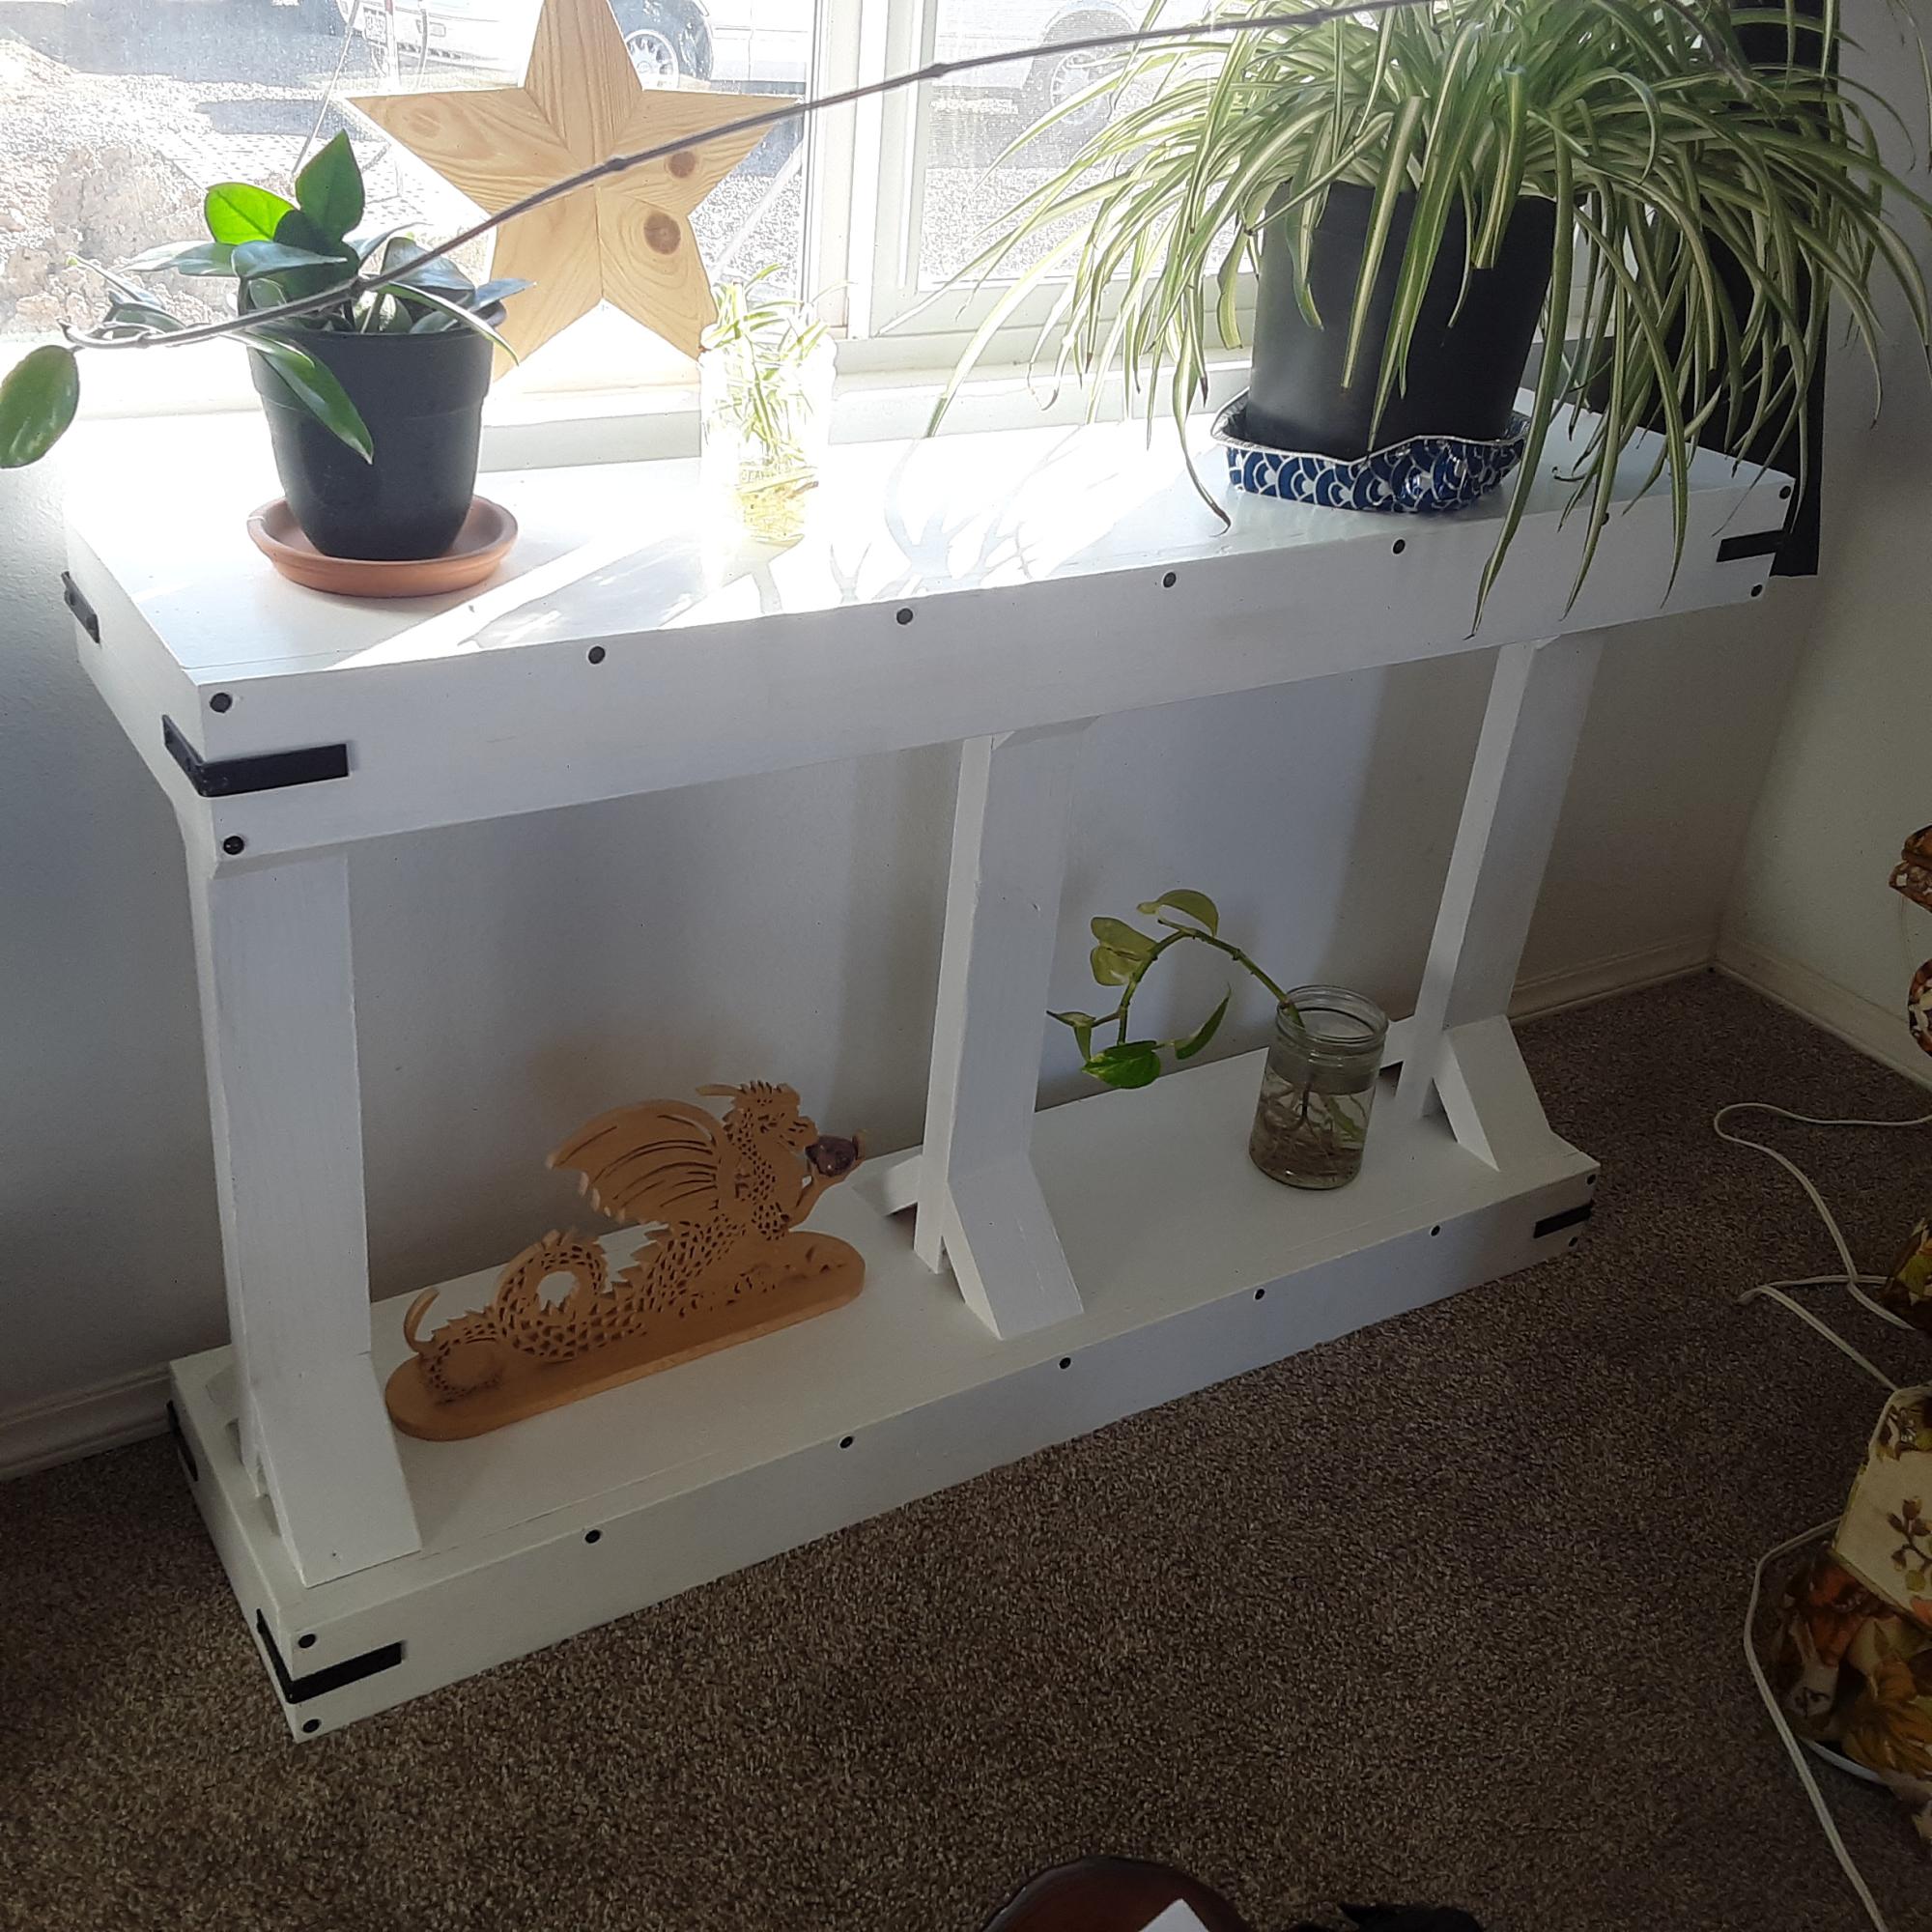
I loved this project. Since I can't buy wood, I have to use wood from pallets, or where ever I can find free wood. In this case I used 2x4's from pallets, 1x4 oak slats from an old bed frame I acquired and 1x4's from a large solid maple dog crate I acquired. The top was made from cabinet grade plywood we had left over from cabinets my husband made two years ago when we remodeled the kitchen (so I have to say that was purchased). The maple dog crate had some awesome wood, even tho it had been broken in a couple places. Just had to plane down the reddish finish on it. Since it was going to be painted, I didn't care what kind of wood I used. The only thing I had to buy were the corner brackets. Even the screws were from pallets we acquired, just had to paint the heads black.

This project was super quick, cheap, and easy to make. I created it using an old recycled pallet, vintage sterling silverware, and leftover stain from another project. I simply sanded and stained it.


Great first project I made for my 2 year old son. He loves his "big boy bed" and I thoroughly enjoyed making it. I made the headboard first, then waited a day to do the footboard. I was able to think the process through better during that period and the footboard came out much better than the headboard, although maybe I'm just aware of these differences because I'm the one that made it. All in all it was a great learning experience and a wonderful way to dive into wood working. Thanks for all your plans, Ana!
Mon, 01/23/2017 - 20:53
Look really good. Can you send me the plans and cut measures. Material list. Please.
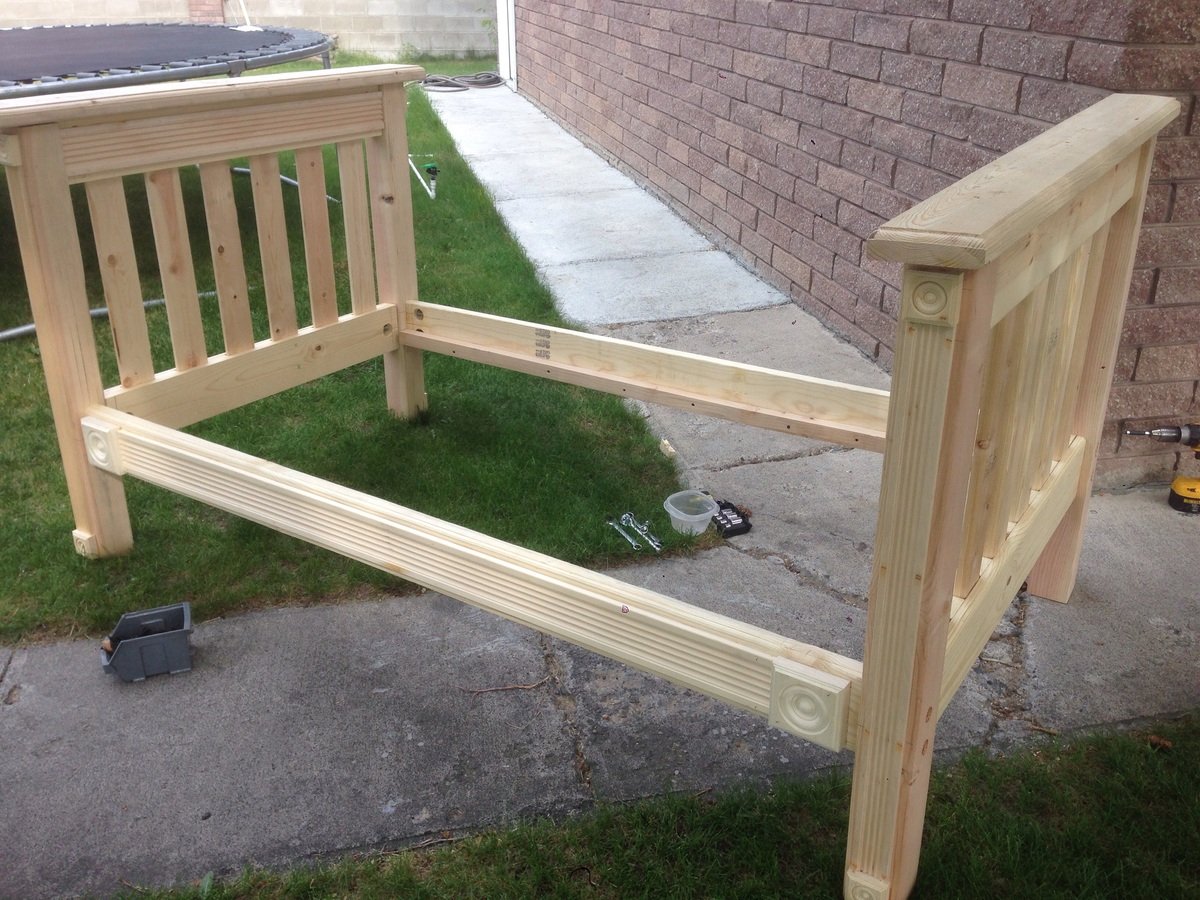
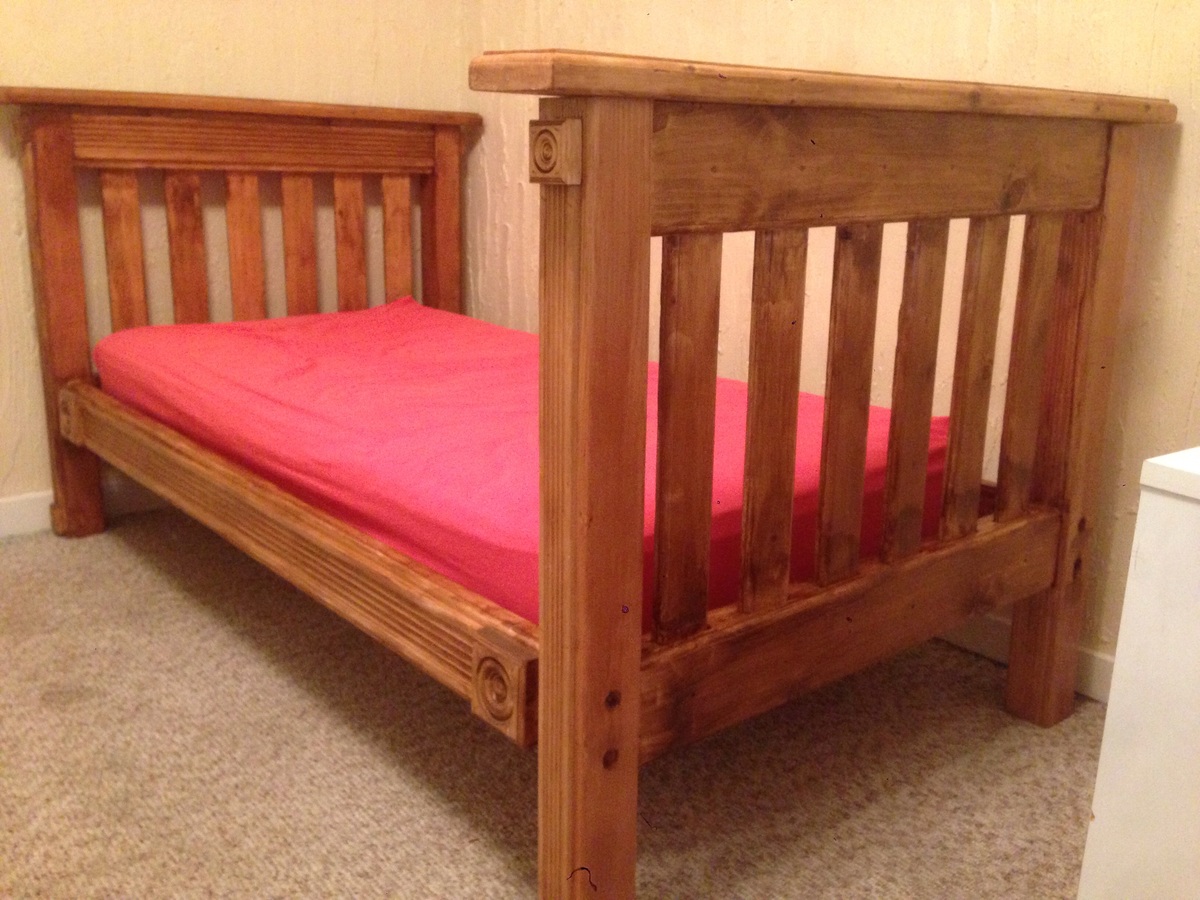
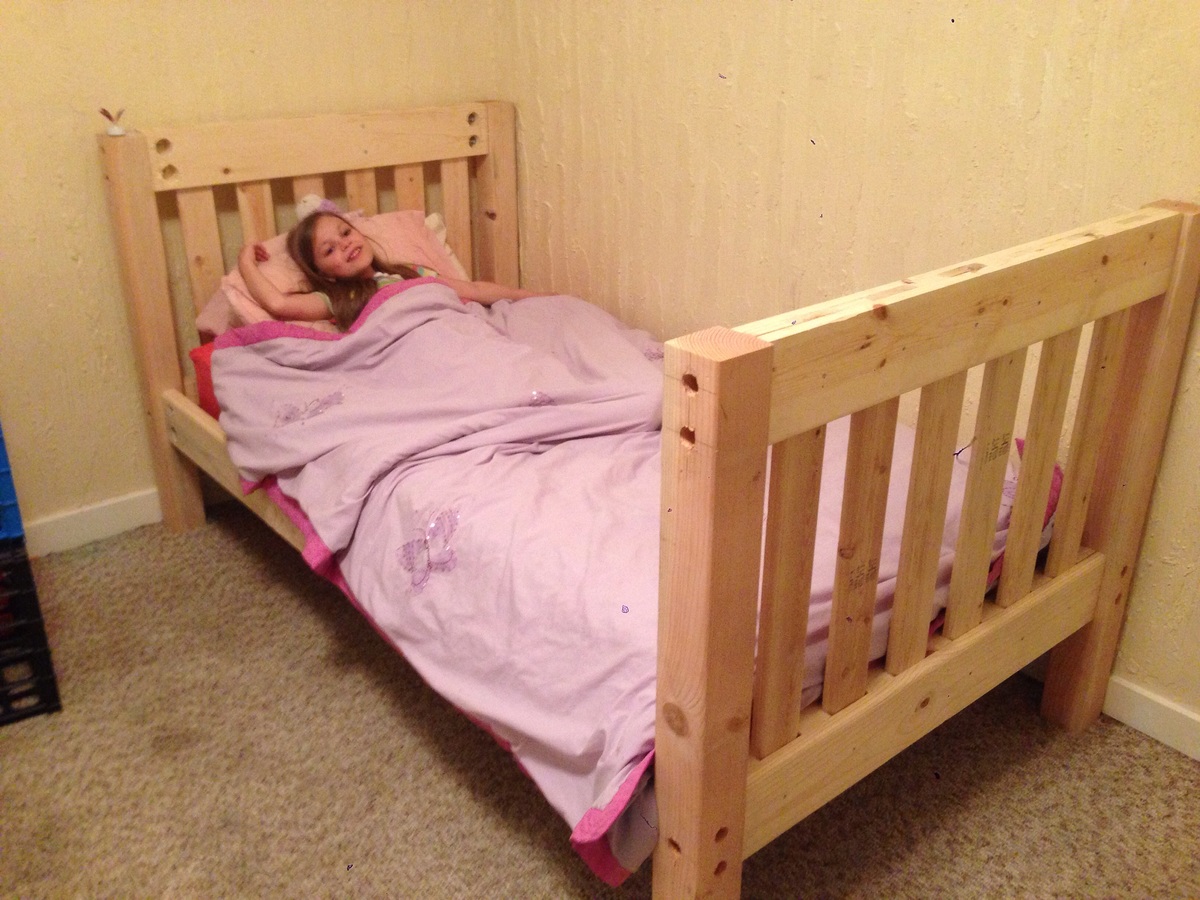
This was a pretty easy build. This was my first project and this looked like a pretty straightforward plan. I read over it several times before deciding what to do. I didn't like that it was held together using only screws. I anticipated that these beds will be moved several times over their lifetime and I did want to hassle with the screws stripping out the wood. Instead I used a 3/8 bolt and washer/nut set up so I could take the bed apart without worrying about stripping out the wood with screws. This necessitated drilling several large unsightly holes at the connection points. To help disguise this I trimmed it out using door casing and finished it out by staining the whole bed. The result was a classic look that will last my daughter's lifetime.
I will note that I changed a few parameters. I routed and the edges including the slats with a rounded corner edge. I used a 2x6 for the top cap of the head/footboards. With the addition of the trim work and bolt hardware, this did change the overall cost of the project. Total cost was probably close to $200. Had I stuck strictly to the plans I would have been closer to $100.
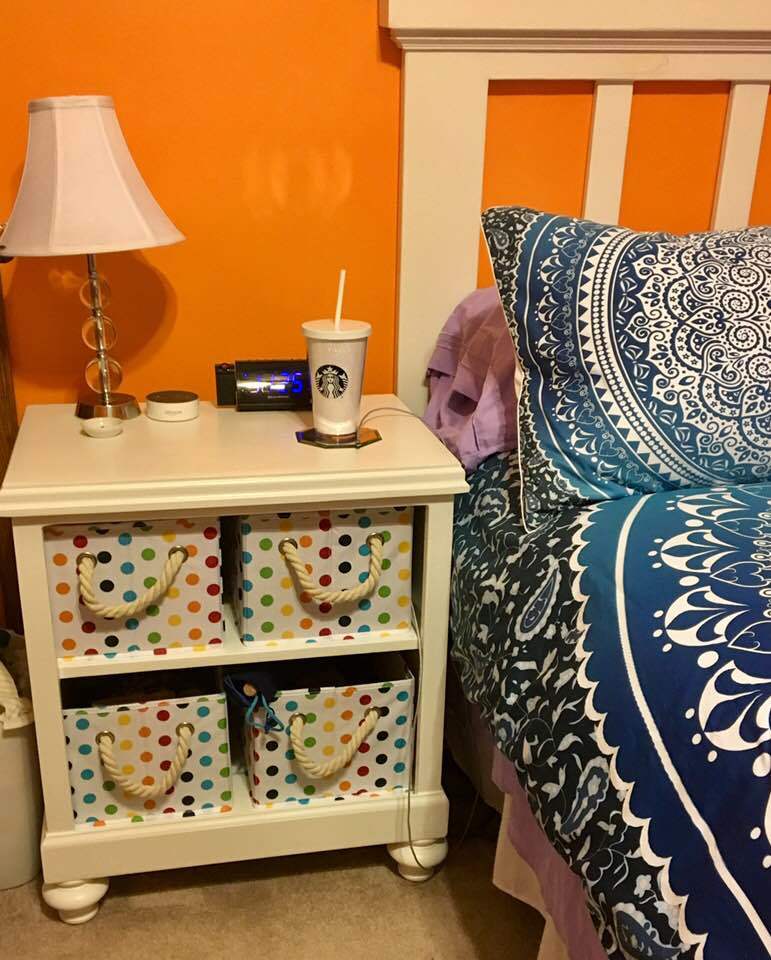
We were looking for nightstand that would match our new mantle moulding headboard and stumbled across these plans. It was a cinch to build. I adjusted the height and width up a bit, as we have a platform bed that is higher than most nightstands. It turned out beautifully!
I also made a few modifications and additions, for my own purposes. I cut out a square in the backer board and mounted a charging block to the underside of the top piece. That way, my phone, kindle and fitbit charging cords can be tucked away in the storage bins and I don't have wires all across the top. And I purchased a piece of thin plexiglass that I'm using to protect the top of the table. It looks great and will keep any coffee or water rings/spills from damaging the stand's surface.
Also, hardwood plywood is a BEAST. Good gawd, the splinters are a nightmare. You HAVE to have leather or some other really thick gloves. But there are just some things that are tough to do wearing gloves. So for the second nightstand, we put a coat of primer on the sheet of hardwood before we even started measuring and cutting. That has helped so much with the splinters.
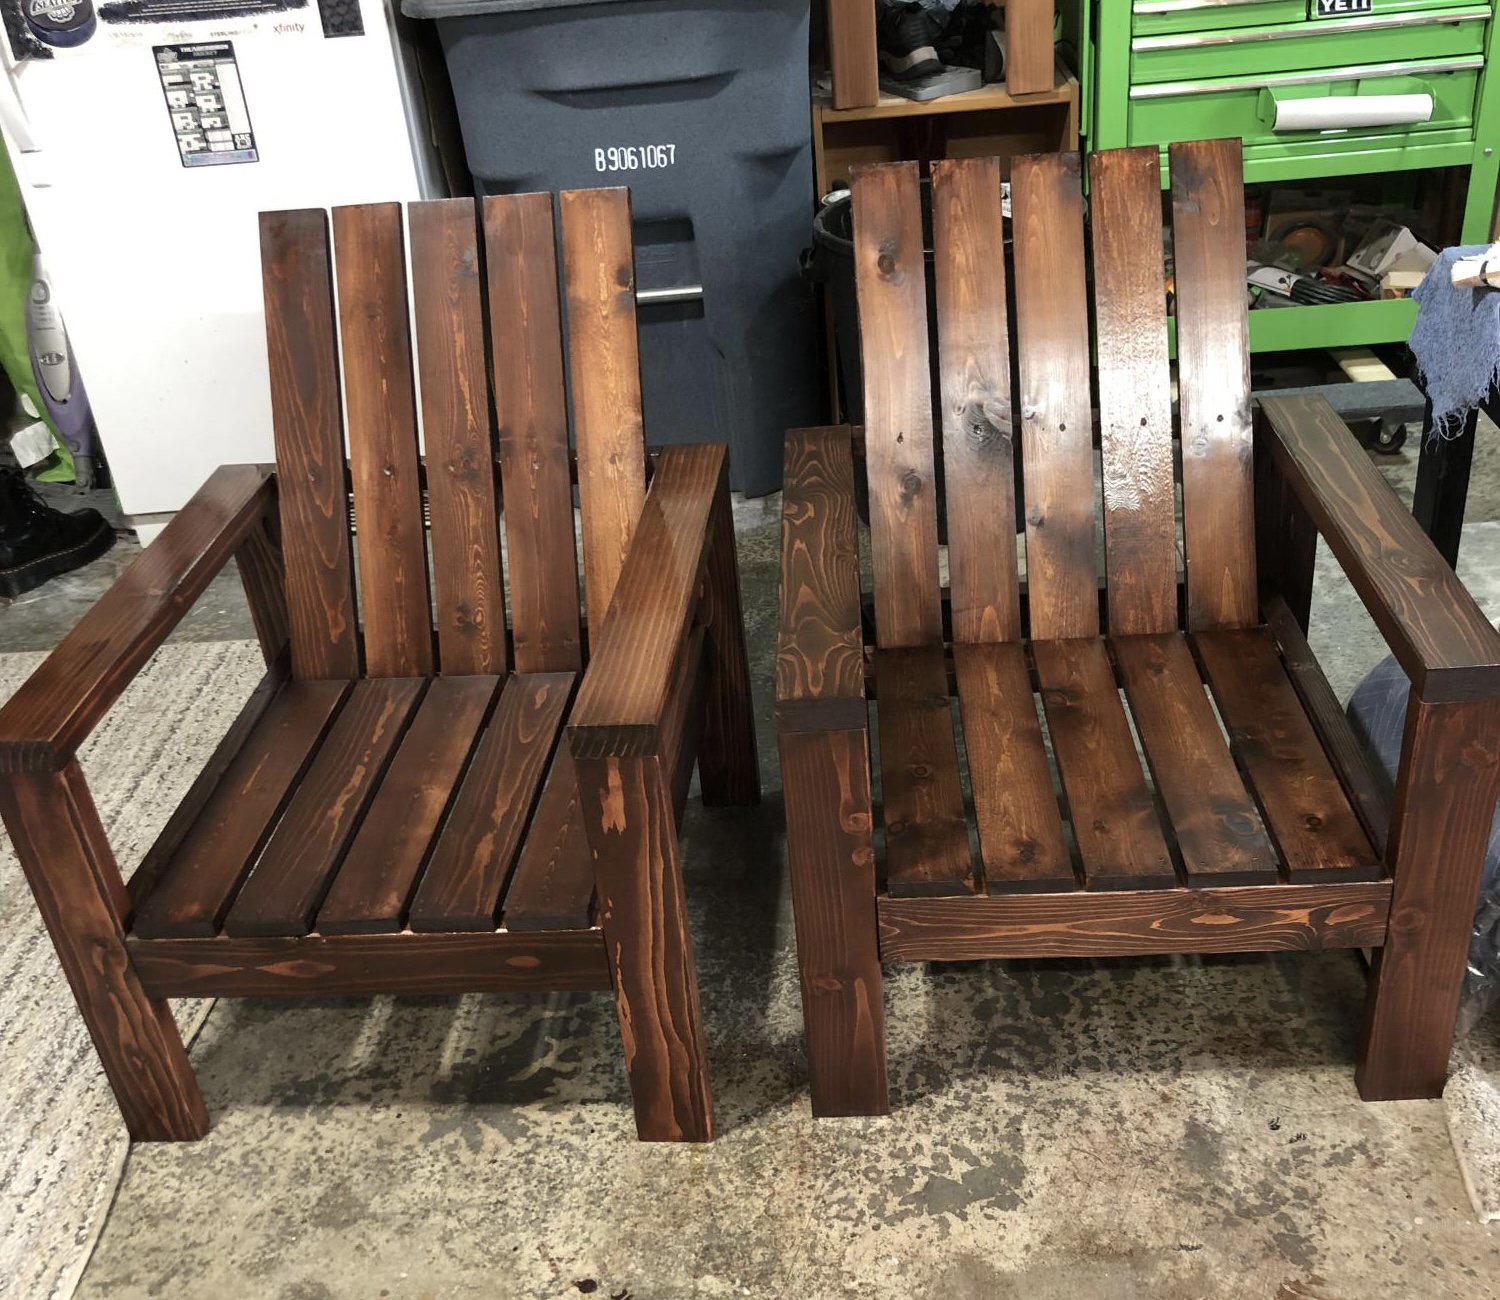
Built these for my daughters new home
Wed, 12/29/2021 - 10:41
Those look great, your daughter is sure to love them! Thanks for sharing.
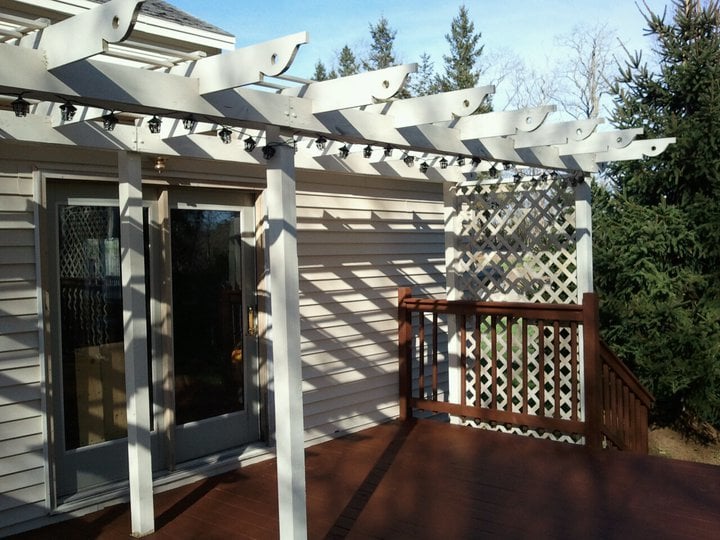
I've wanted a pergola for a long time. I liked some parts of the Weatherly Pergola, but needed some different aspects because of my deck, property and locale. I did some research, laid out a modified design and plan - and voila! Easy as pie - you just need 2 people (or more) because of the weight of the cross beams support. I did it myself using clamps, but I don't recommend it.
My current project is designing cabinets and a bar for an outdoor kitchen to go under the pergola! :D
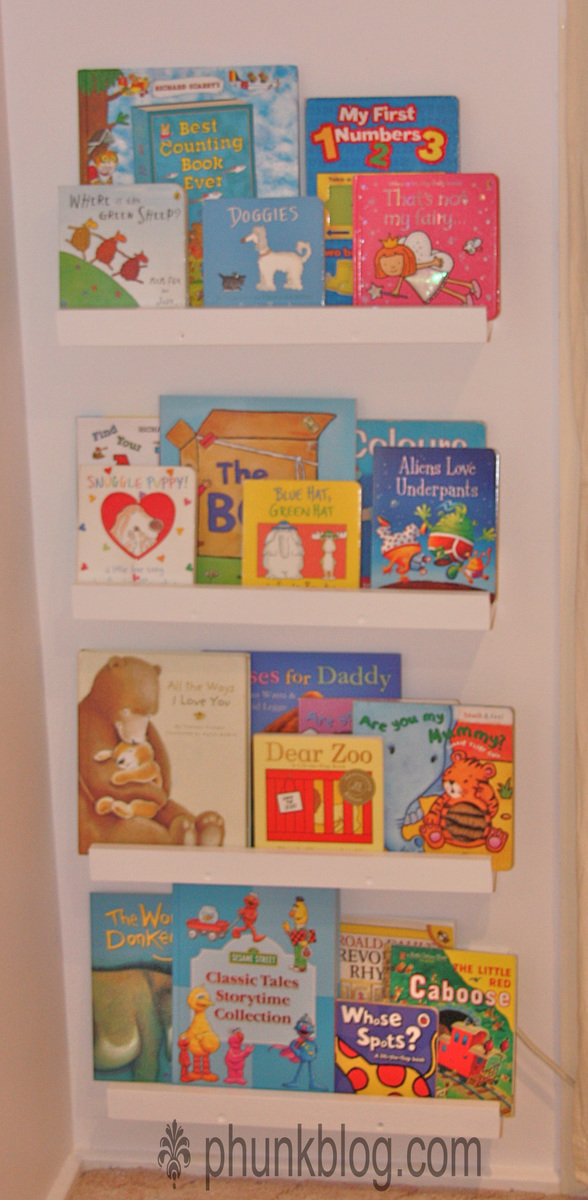
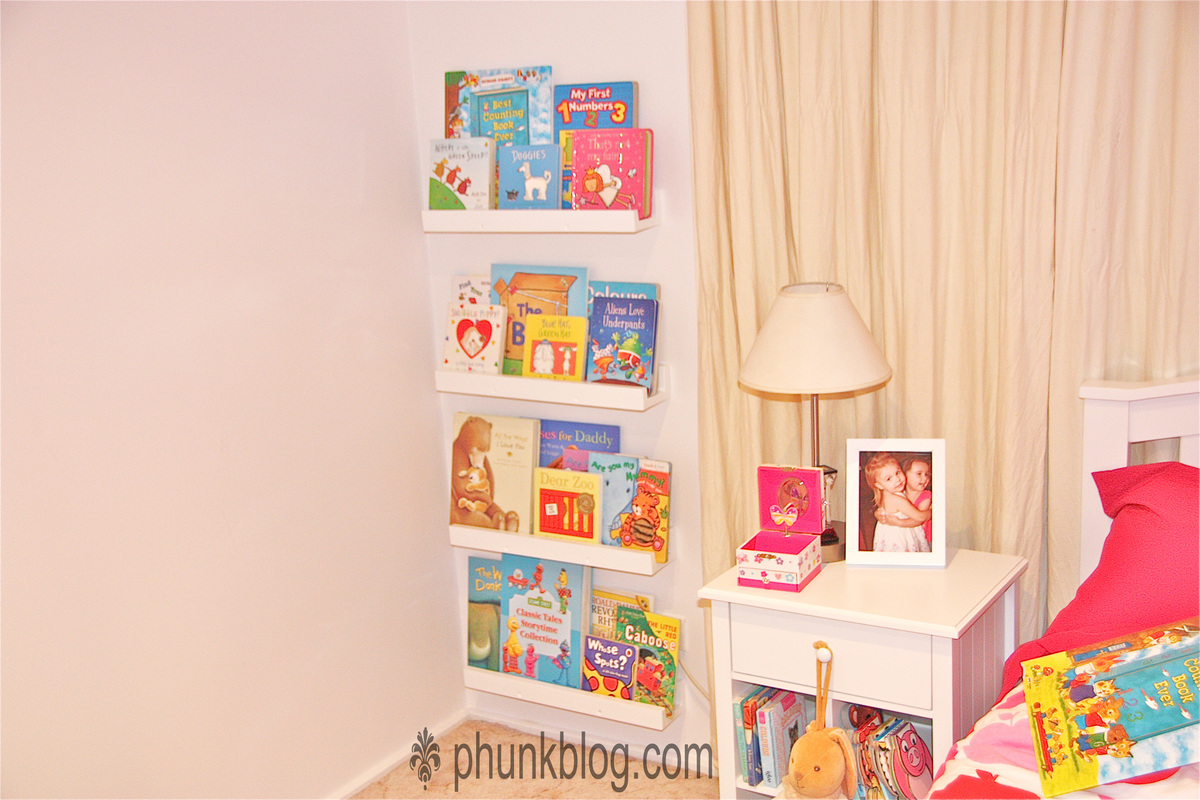
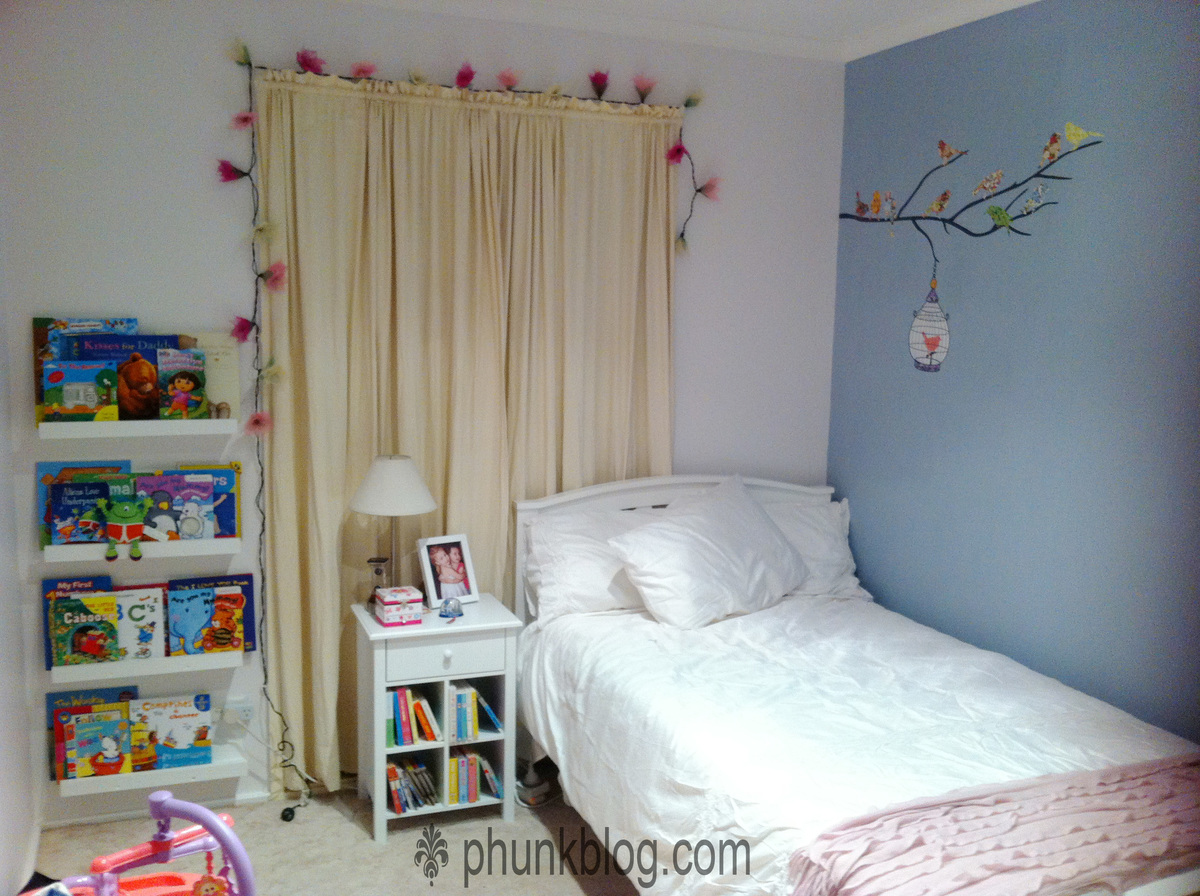
I knew I wanted some of these shelves in my daughter's room but it seems bedroom sizes in Australia are quite a bit smaller than the US! I couldn't spare a long wall to fill with books so chose this narrow space to the side of the window.
The length of time I took for this project was for several reasons:
* I was a total beginner!
* I had to cut all of the lengths of wood with a hand saw & sand with sandpaper wrapped around a block of wood.
* It took about 5 coats of paint to cover the wood properly.
I adjusted the measurements from Ana's plans to fit the smaller space & while daunted at first at the prospect of attaching things to walls, I was so thrilled with how they turn out. I'm looking forward to challenging myself with something a little more complex next (perhaps with some power tools this time to assist!).
Sun, 07/07/2013 - 07:15
Nice work! Your shelves look good, just right for that little space!
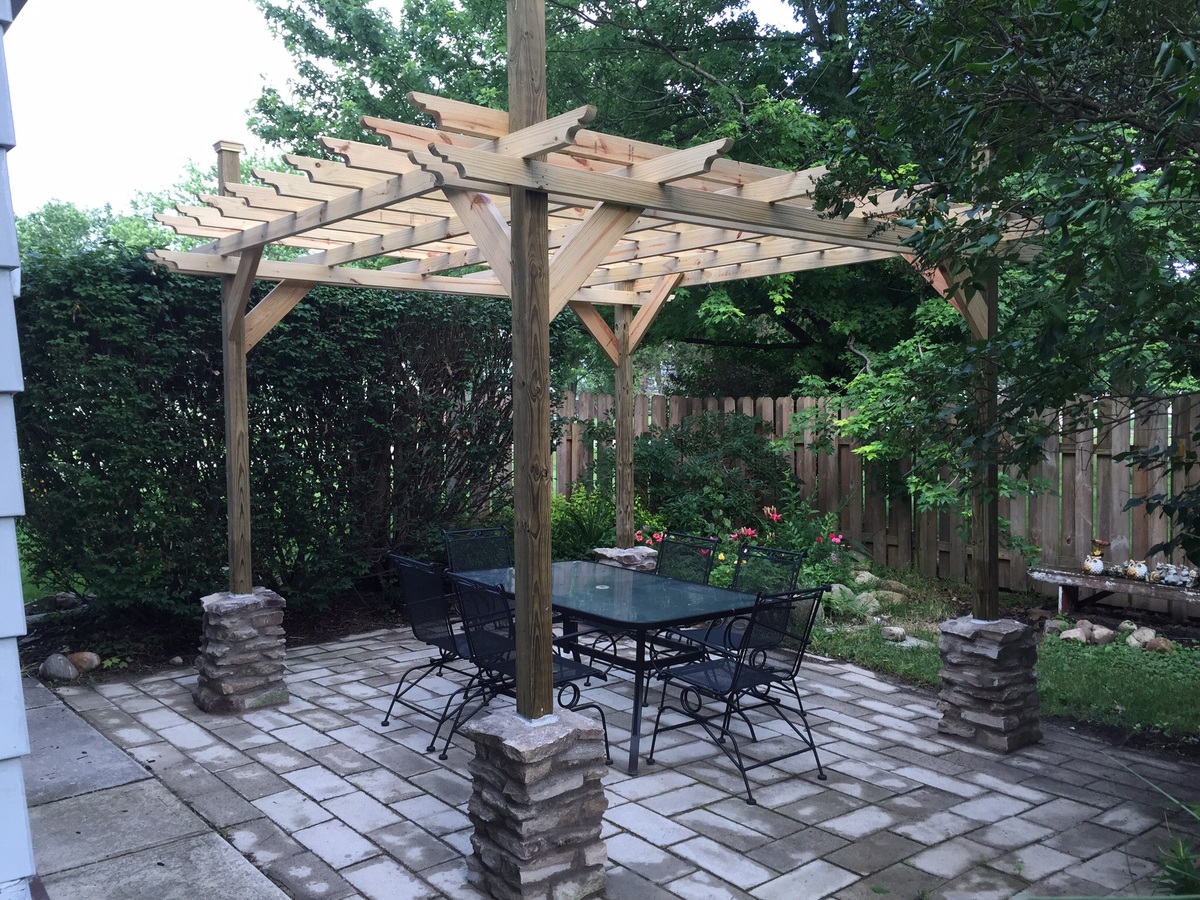
I used flat stone and a masonry circular blade for the base of the corner posts. I also used 2 x 4's for both layers of the top boards. It was a lot of fun to build.
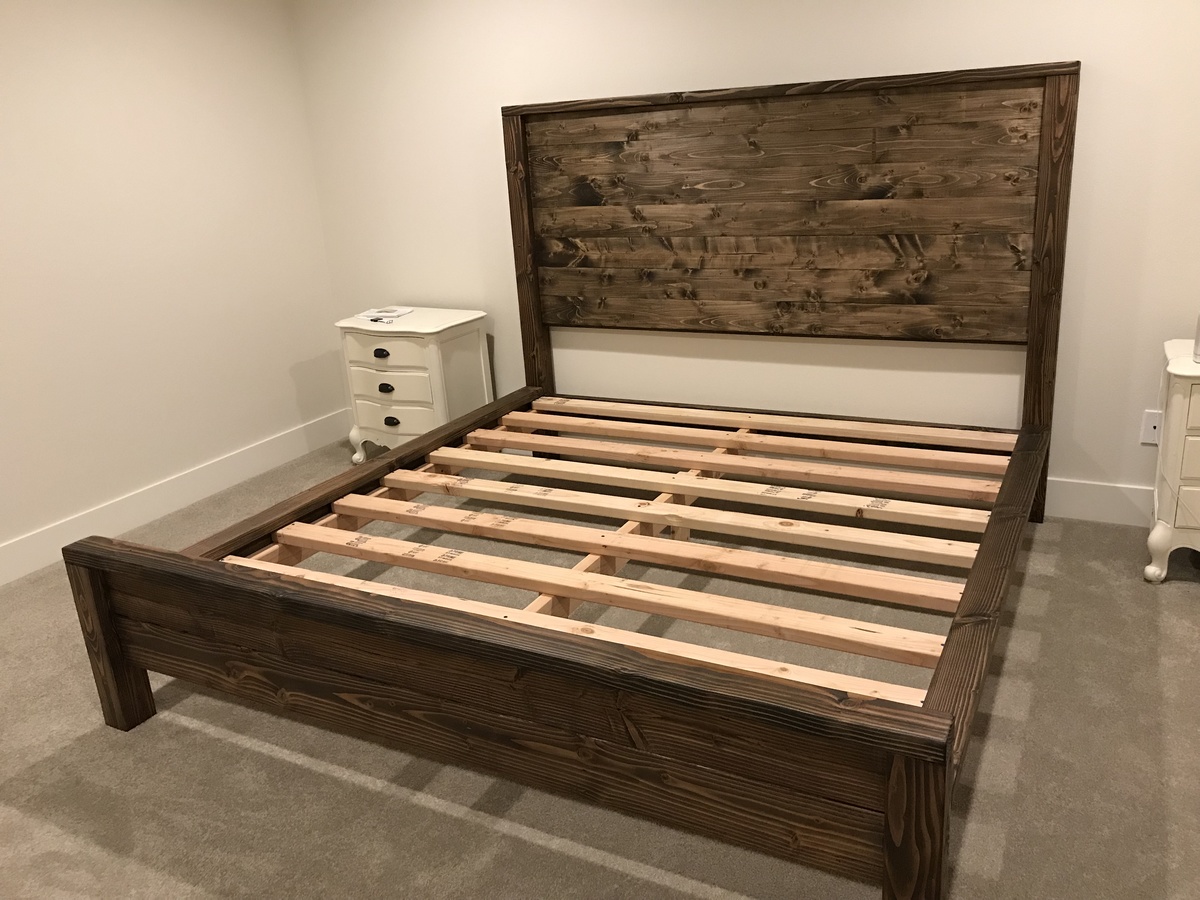
I made a few modifications.
I used shiplap instead of tongue and groove, raised the footboard by adding an extra 2 x 6 & used jacobean stain.
Thanks Ana for putting the plans and video on your site.
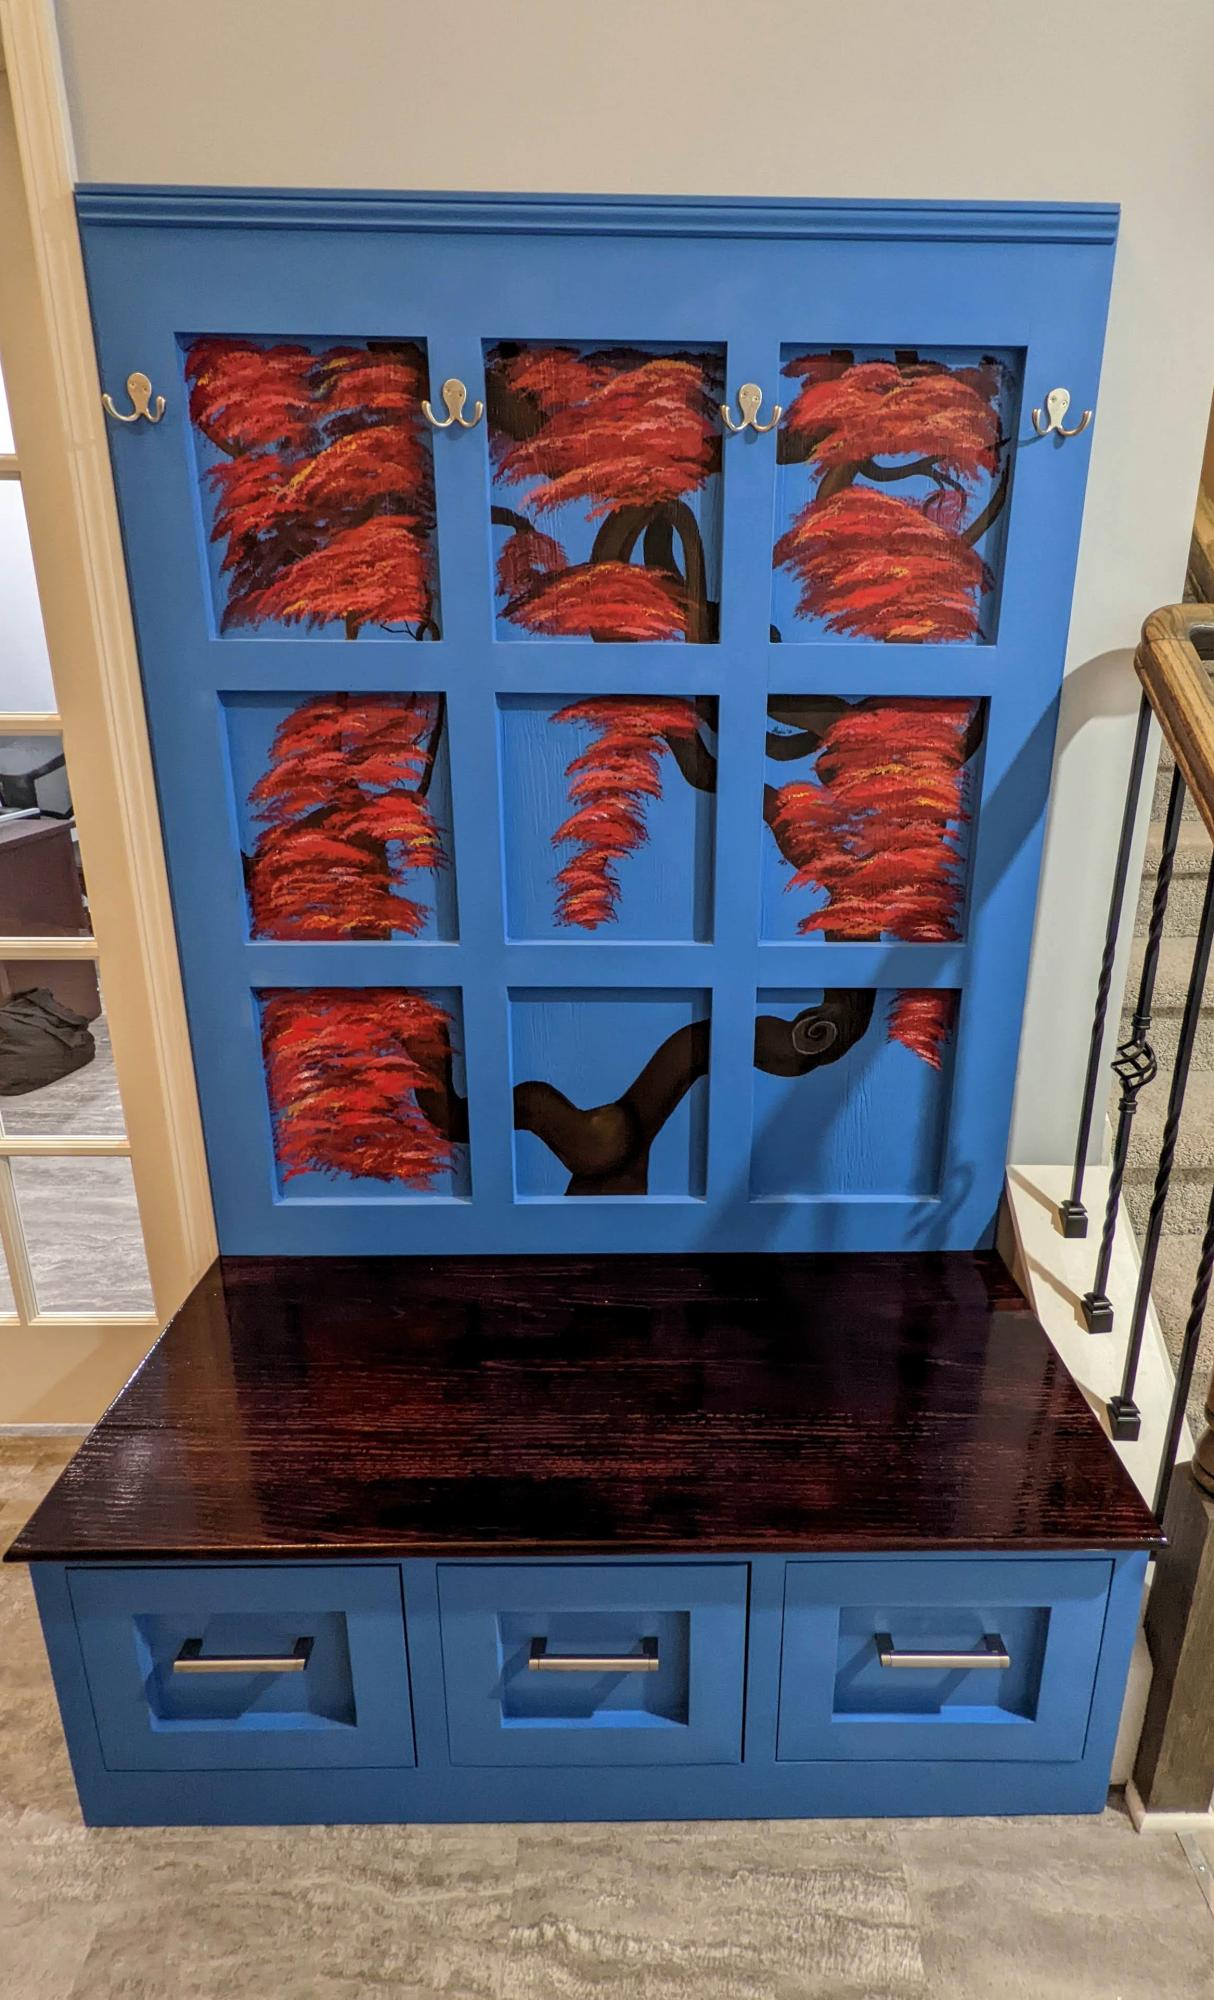
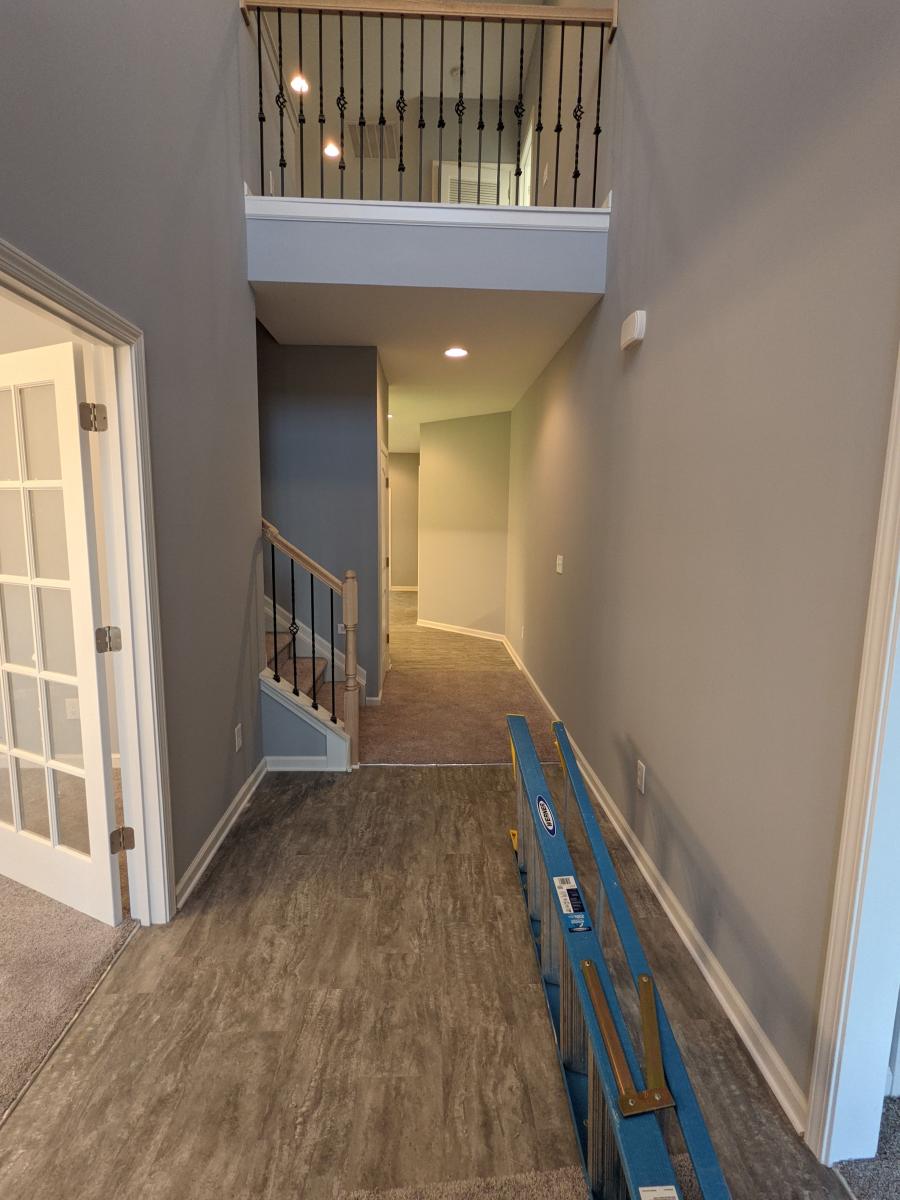
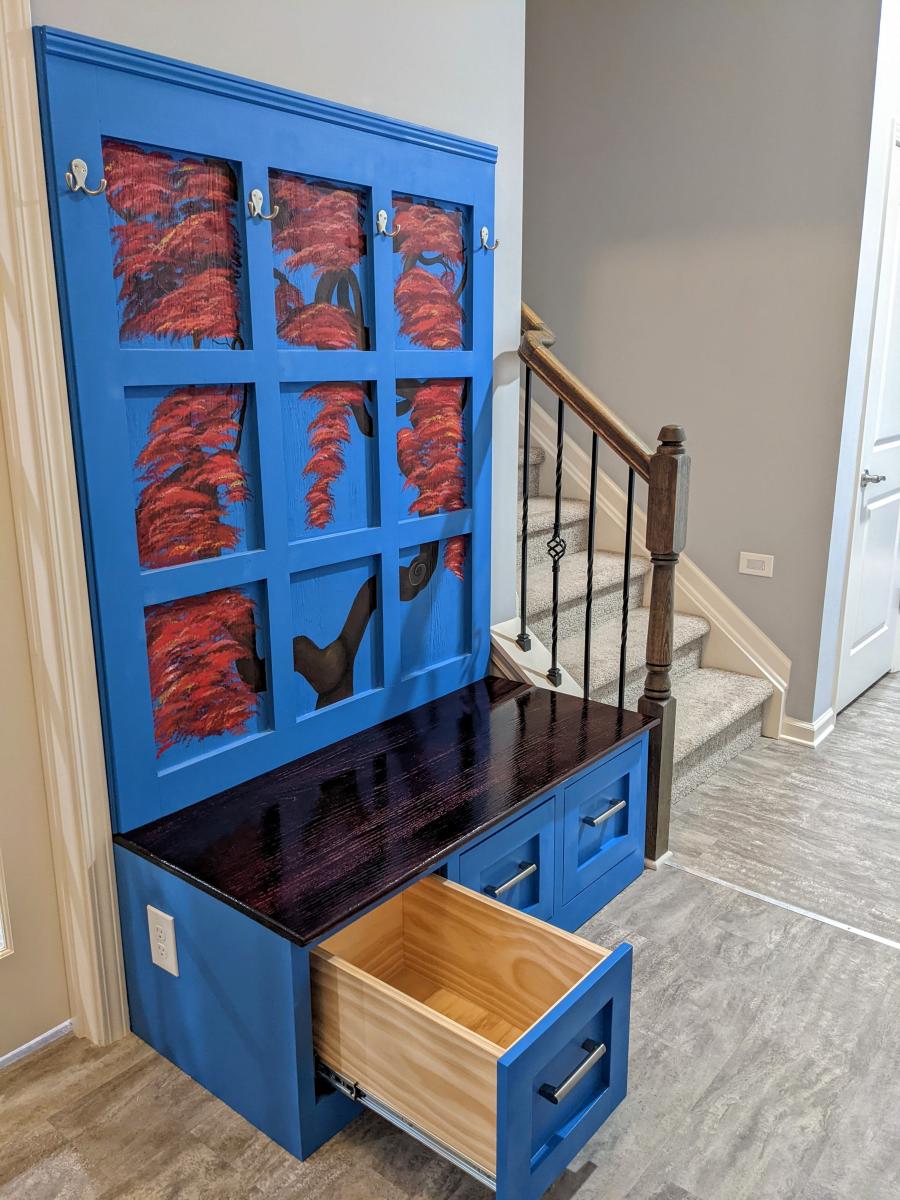
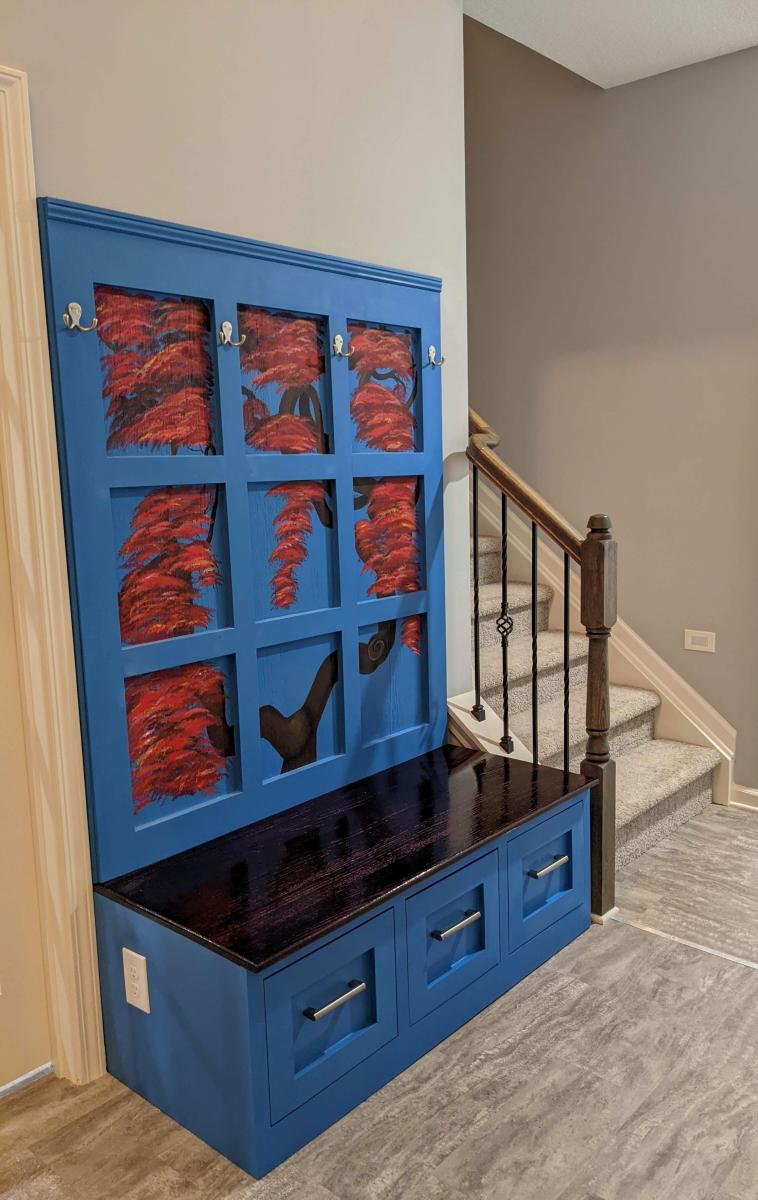
We had an empty area at the bottom of our stairs that was just calling for a hall tree. I love watching and learning from Anna's videos. I really liked 2 of her plans: the Farmhouse Hall Tree and the Mudroom Bench with Easy Drawers. I decided to combine them to make my own unique hall tree. Our teenage daughter used the "window panes" in the back to paint a Japanese Maple tree. I think it turned out beautifully. This is the first of Anna's plans that I've used, but I plan to use many more! Thank you, Anna for your amazing videos and desire to share your knowledge. We appreciate it so much!
Sat, 01/01/2022 - 12:13
That is sure to be cherished for many years, amazing art and amazing build! Thank you so much for sharing!
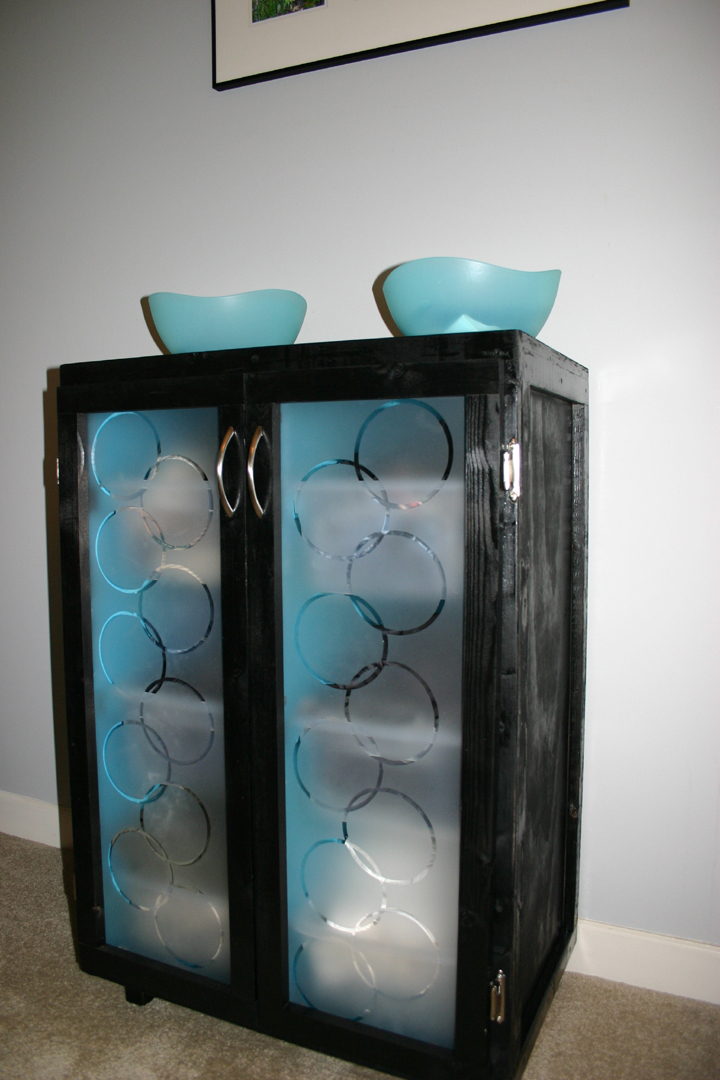
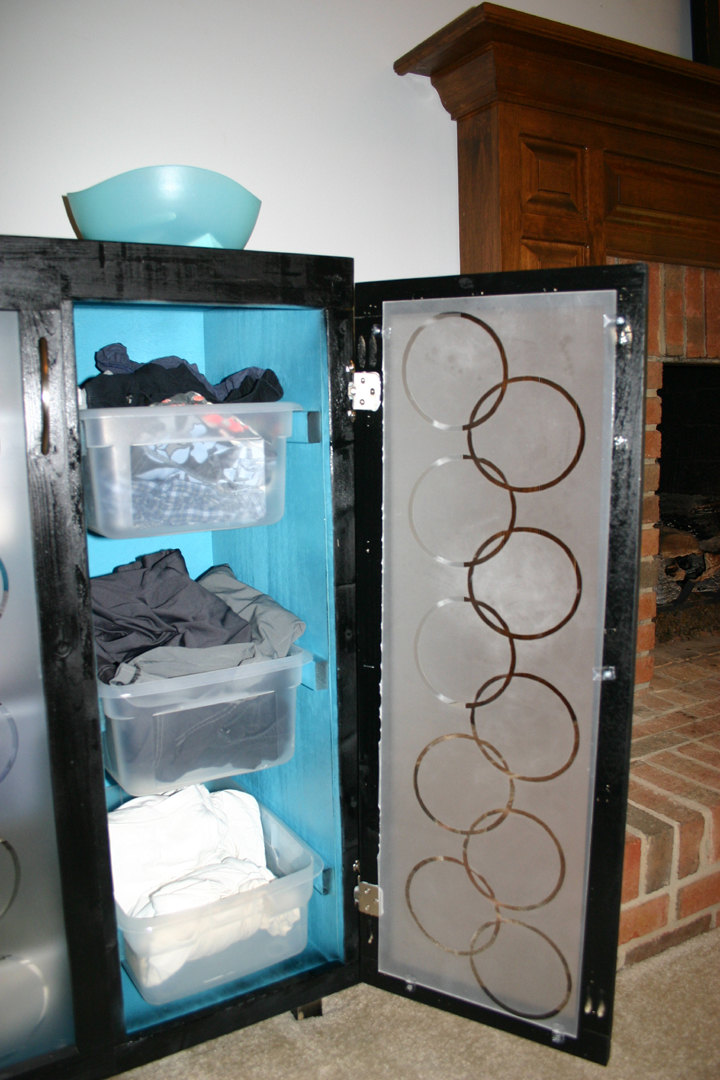
This has been on my to-do list for a long time. We have not had a dresser for years, and have used our closets for our clothes. In our old house, I had built a storage unit for our closet, and we used clear plastic storage bins for our smaller, non-hanging items. Then we moved to our current house. Which had nice closets, but the bins didn't work so well. But we made do, fully intending to change it when we had time. Six years later...I found the time. LOL.
When Ana posted the laundry basket dresser, I knew it would work for our current bins! But I wanted them out of the closet, and I didn't really want to look at them. So I thought about doors. Finally worked it out, and here are the changes that I made.
I made it to fit my bins. Added some legs. Added 1x2 trim all around to help hide the plywood and beef it up to help the doors. Added the doors(gotta love that kreg-jig!). I used Ana's plan for the basic glass doors for those, same as the ones I did for my kitchen.
When it came to the inserts, I knew what I wanted, but it just took a bit of time to get everything together.
The inserts are plastic-plexiglass. I LOATHE cutting that stuff, and we won't go into the detail and language that was involved with that part. Finally got two workable pieces. Used my xyron to make circular stickers, and laid them out in my desired pattern. Then sprayed with frosted glass spray paint(awesome stuff!). It gave it that modern edge that I wanted, and disguised the stuff inside.
