Snow man Porch Art
Snowman for the porch!
I found these posted on a blog a few months back but I forgot the blog that I saw them on.
Snowman for the porch!
I found these posted on a blog a few months back but I forgot the blog that I saw them on.
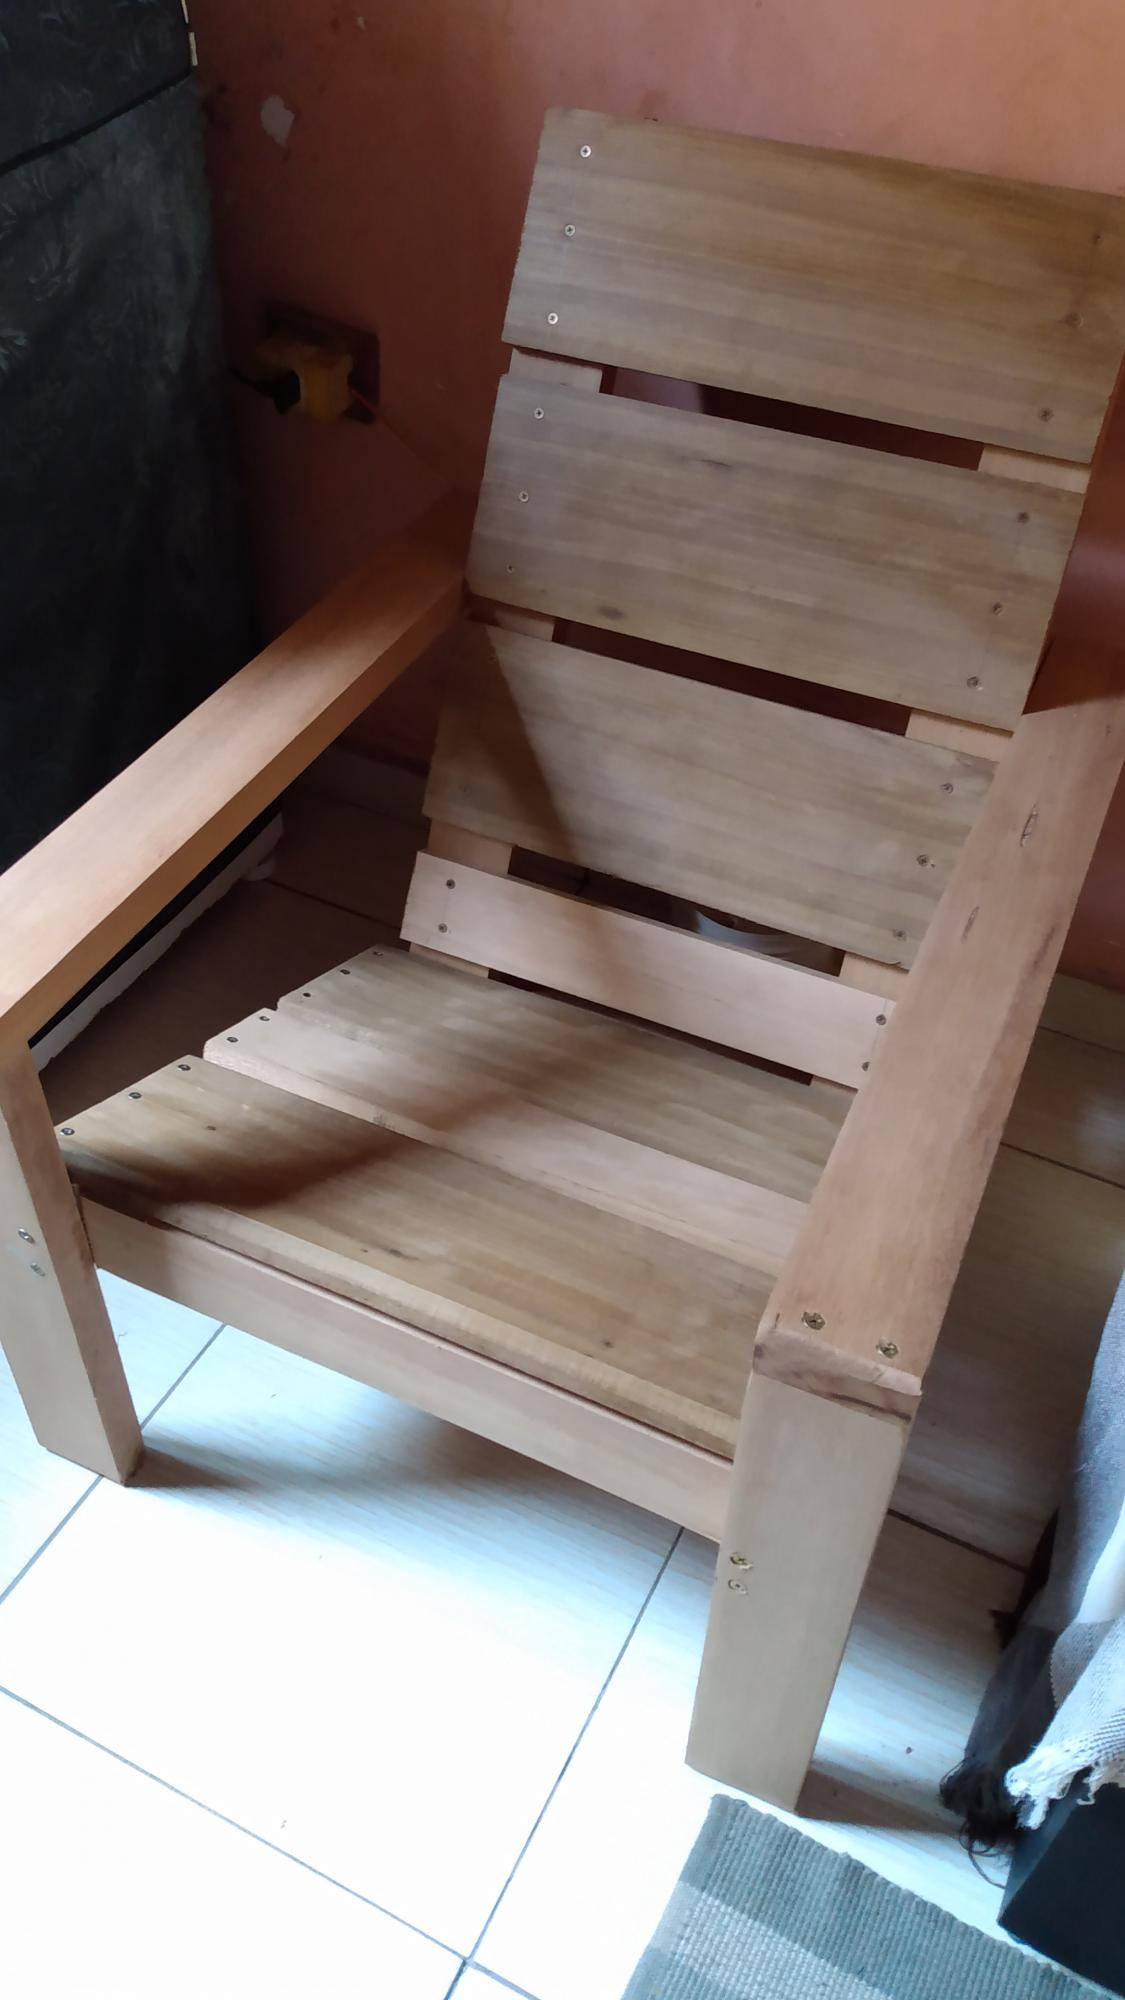
I am Brazilian and I admire your work a lot. I used wood from the Amazon (certified) and was surprised by the result. Strong, resistant, comfortable and my grandchildren will have an inheritance. I had to adapt to the metric system and made the back a little higher (85cm). Thank you!
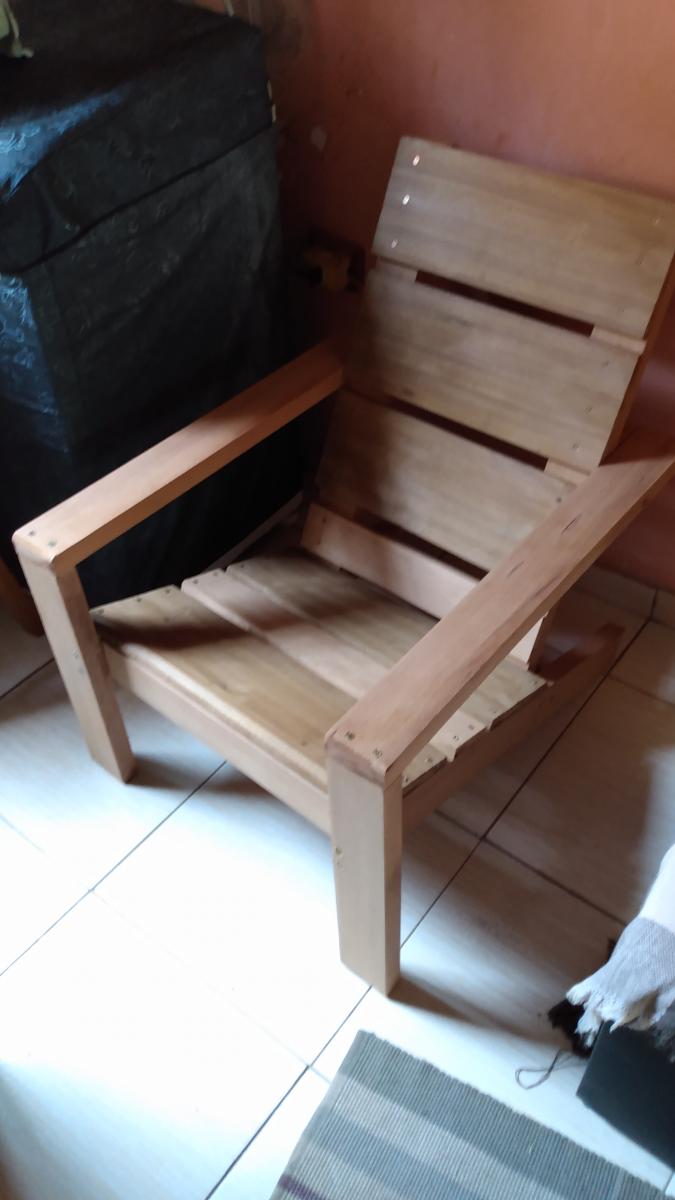
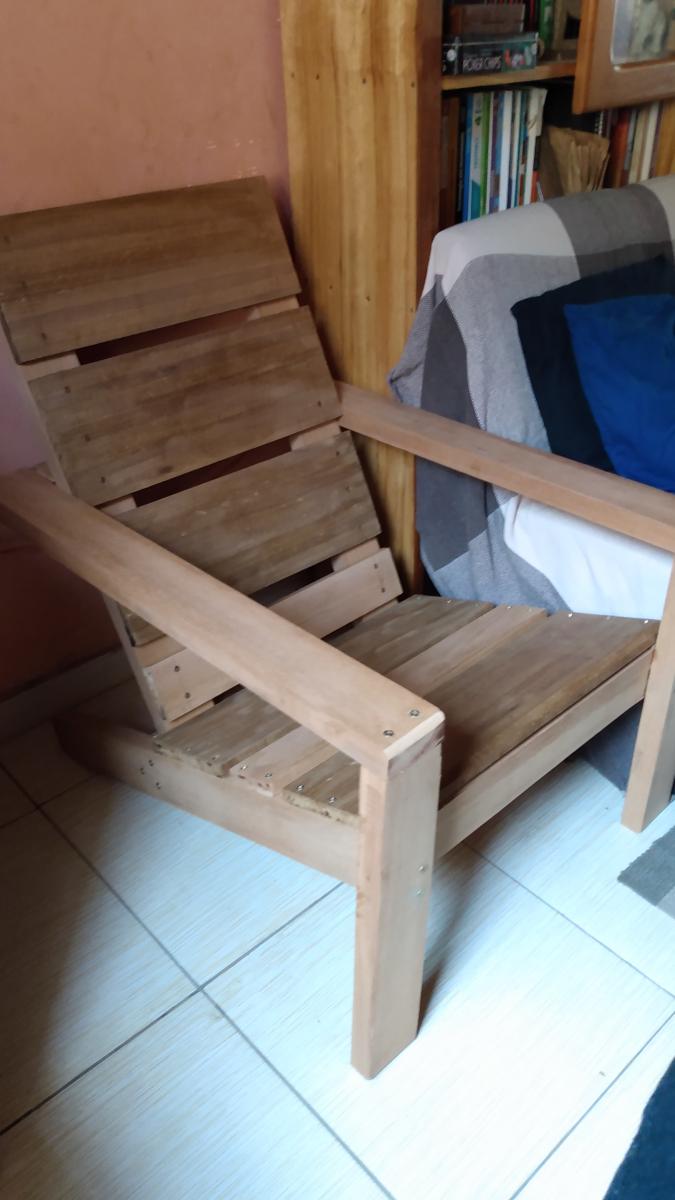

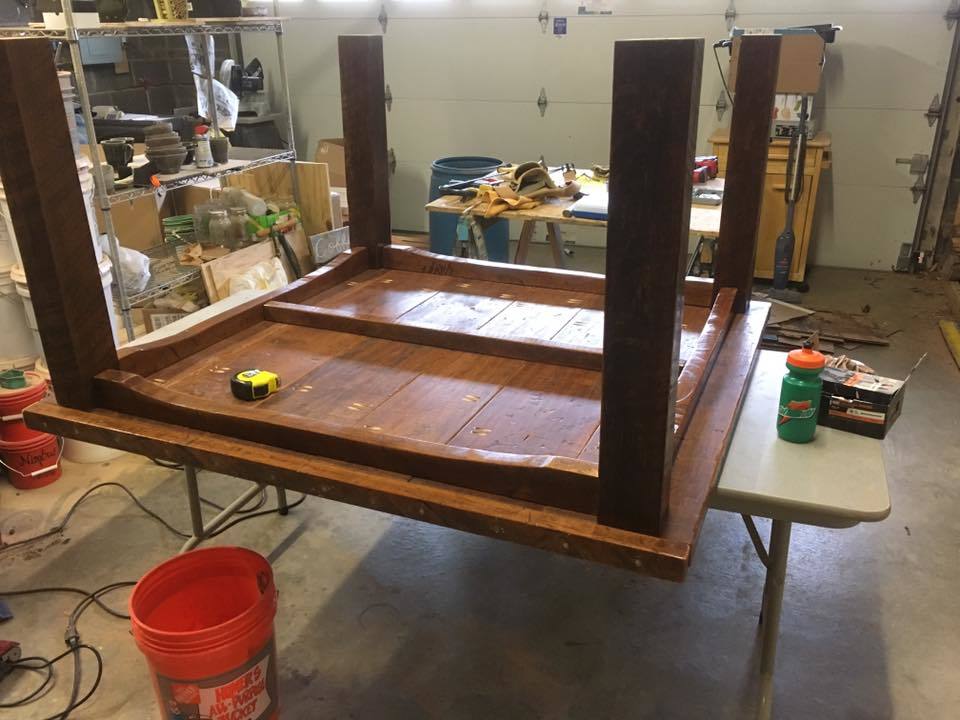
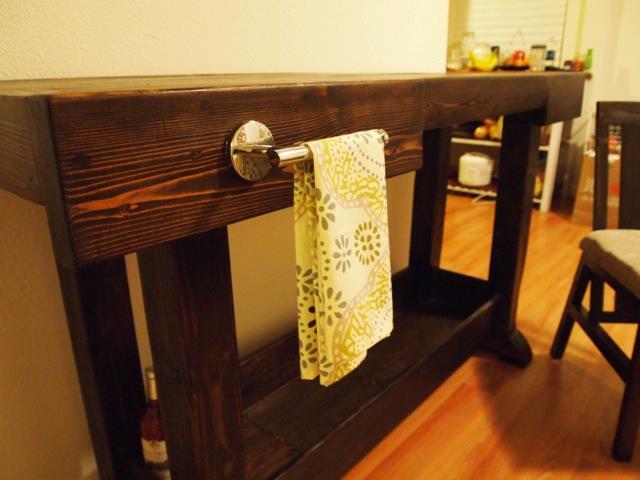
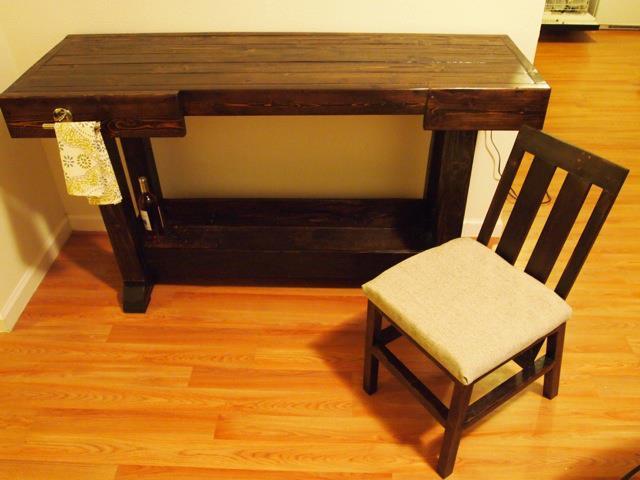
I made this for a good friend of mine who just moved into a new house. I used all reclaimed wood and made my own stain for it. The legs are made from 100+ year old oak and the side aprons are from vintage walnut. The only wood that isn't vintage was the pine on top, I wanted a rustic look so I used pine boards that separated masonite boards and laid a towel on top and bumped it a few times with a hammer and dropped a few things. The boards weren't long enough for the table I cut some in half to make the table longer. I also added corner brackets to fit the look of the house.

Didn't want the yellow but the wife talked me into it. Looks fine thou. I used 2x 4 instead of the lighter wood. I like the heavy dutyness as I'm kind of heavy. Yes I used pressure treated lumber (I know cancer) But hey last longer.


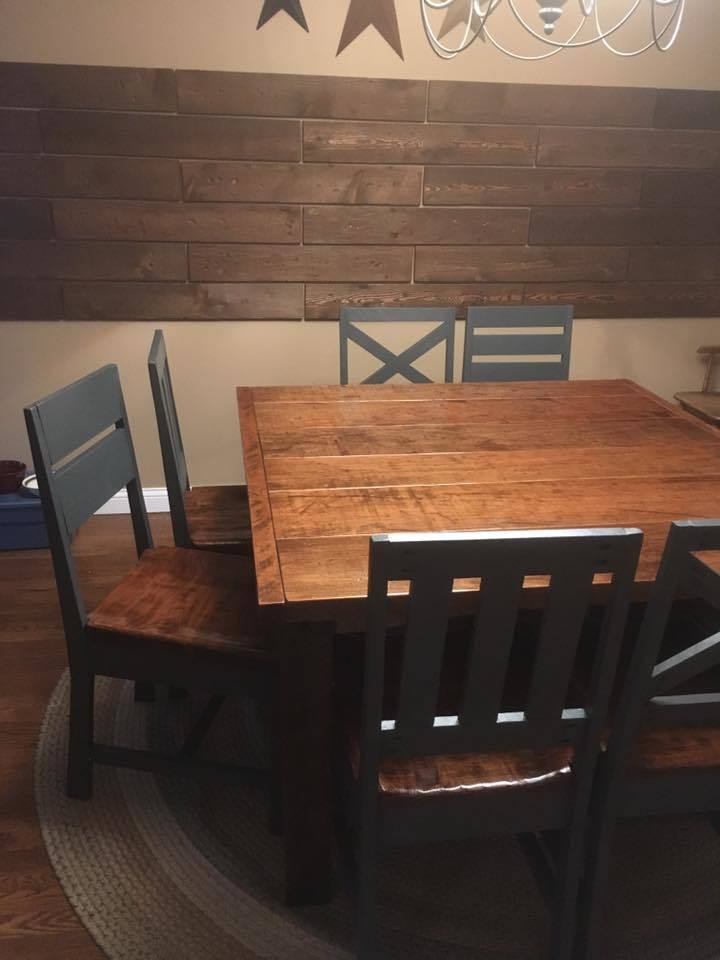
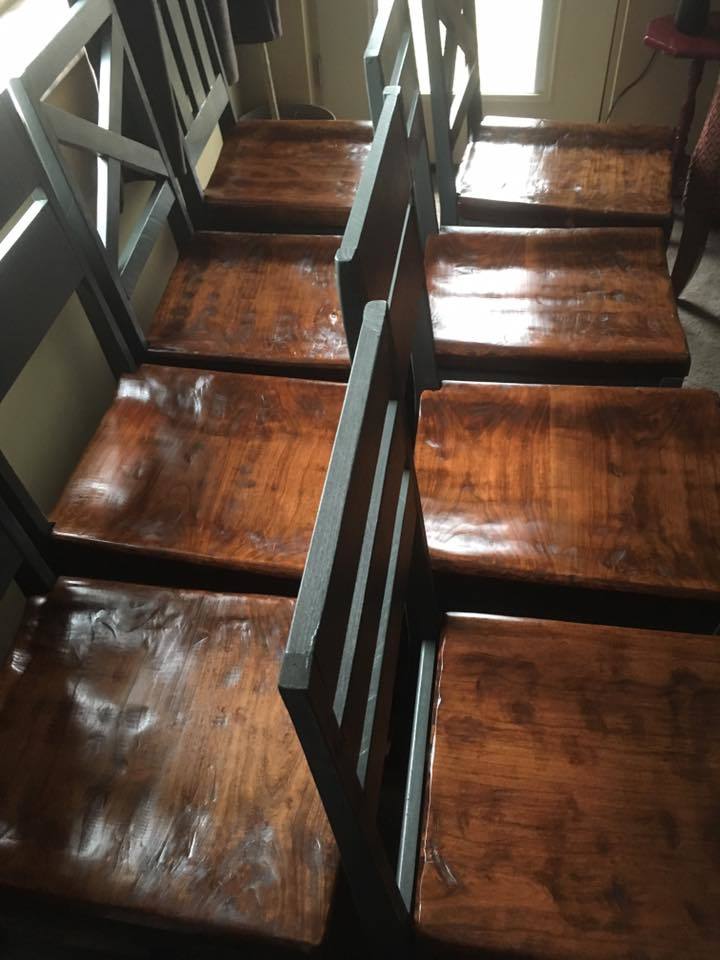
I was only going to build the table, but after I found this chair and decided to make the 8 chair set. Great descriptions a d plans.
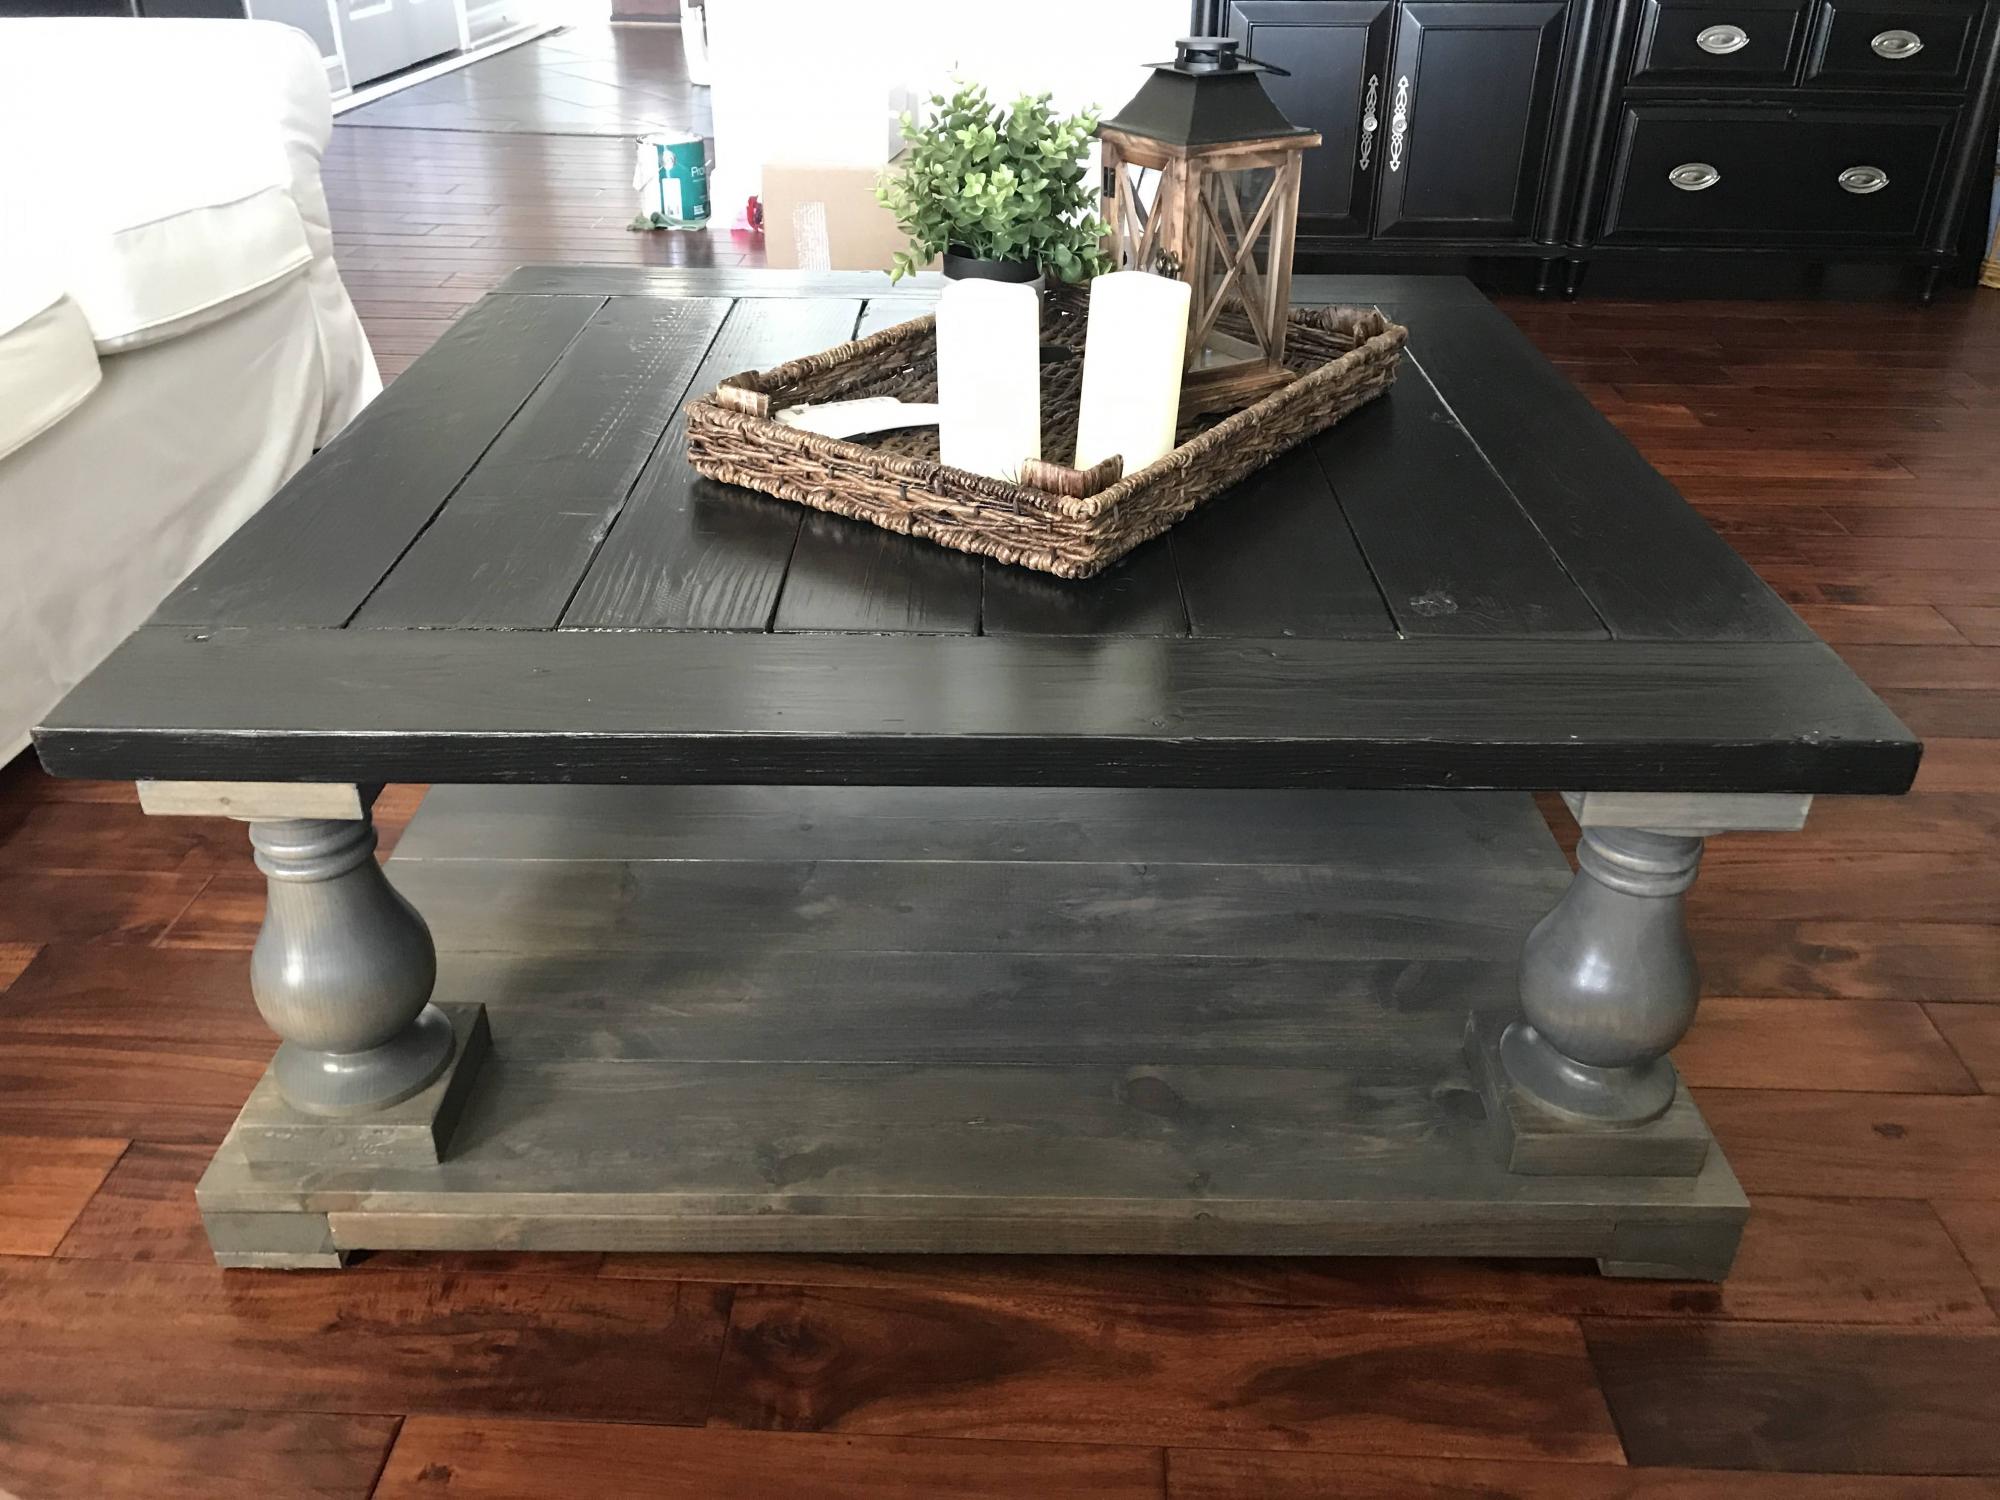
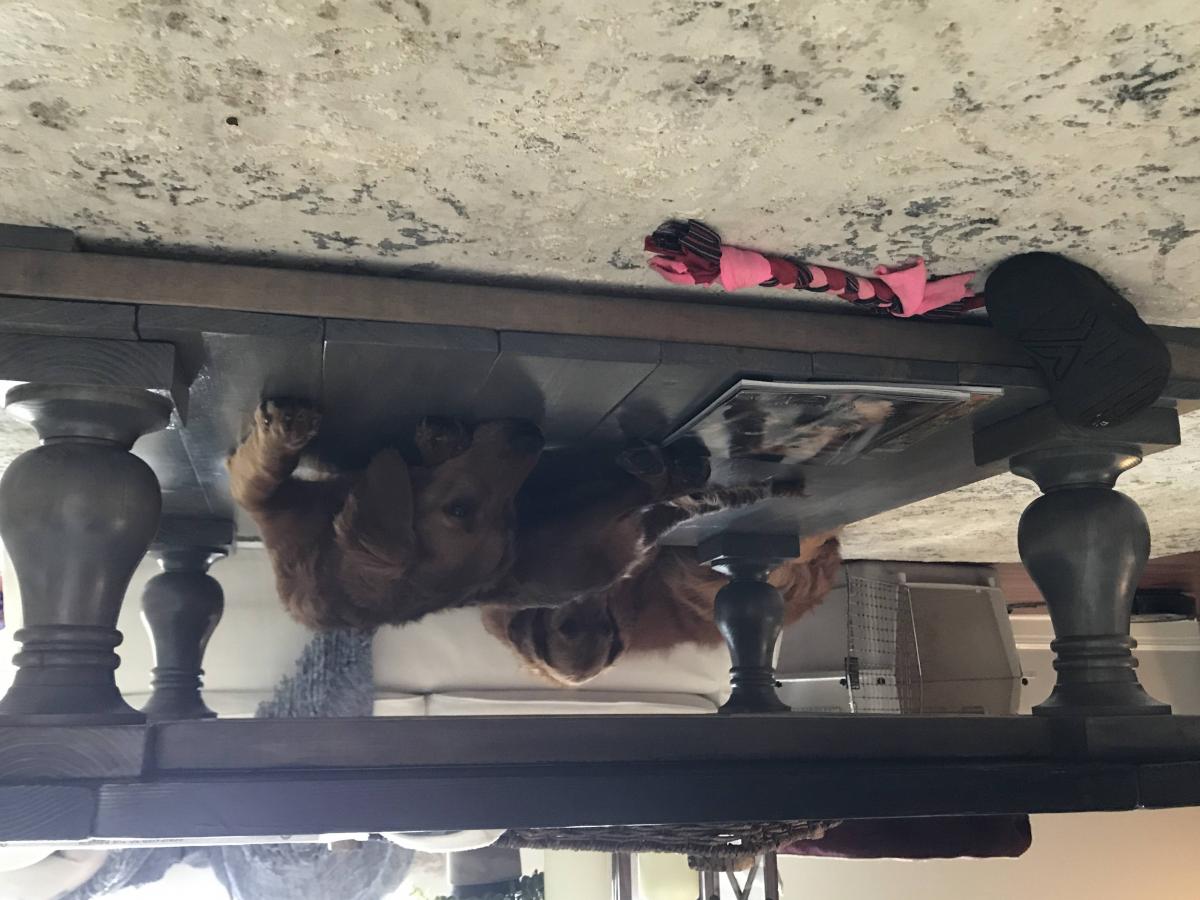
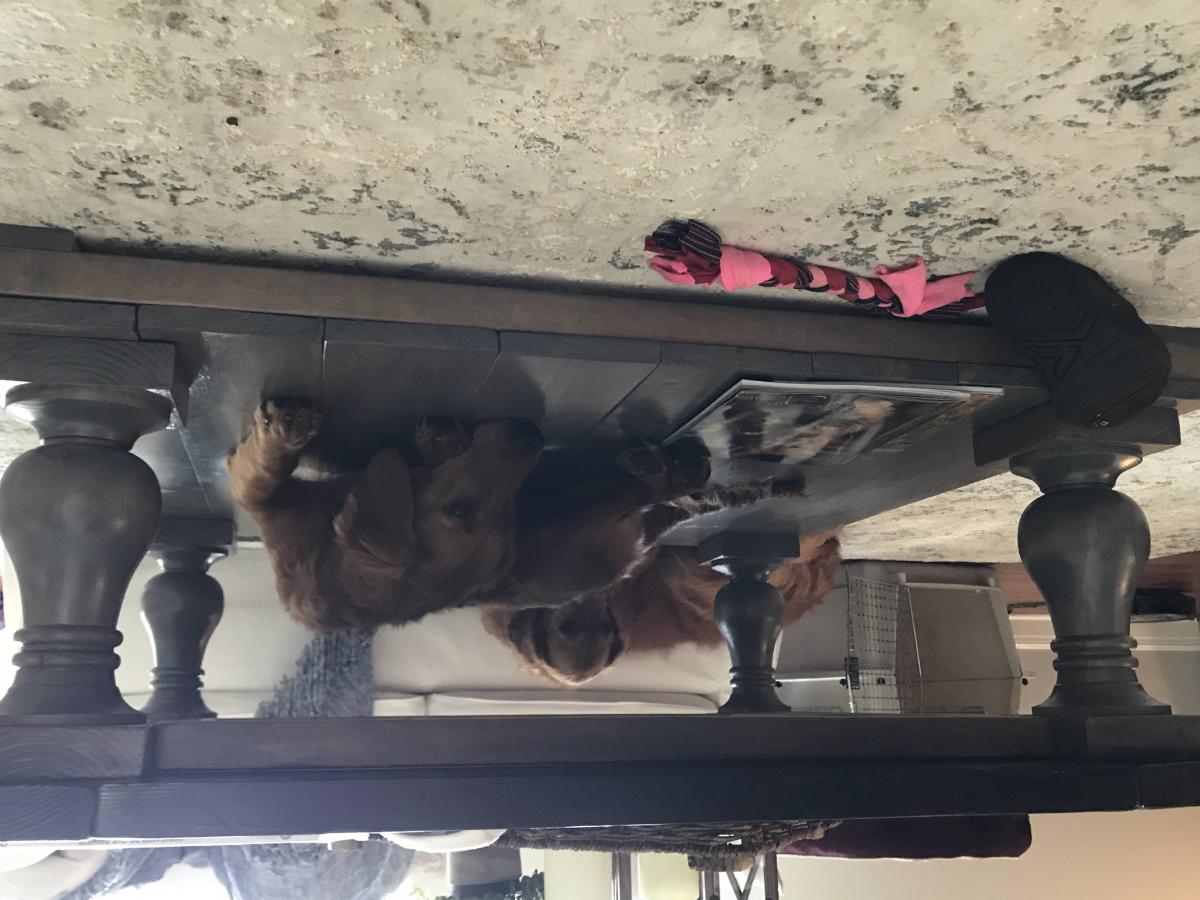
Instead of a rectangle, I adjusted the plans to make it a square. It worked out great. As you can see, my pup feels it's her own place. I went with a gray stain on the bottom and Dixie Belle's Caviar for the top. I absolutely love it.
This is a canopy bed I made for my niece for Christmas! I modified the plans and so it's a little bit different, I would do it differently next time as it was hard to get the bottom right. But it turned out cute, and she loves it, it's a size for a Barbie Doll.
This was my first build and it went super smoothly. I added the suggested support underneath, since I know without a doubt that my daughter will try to sit on it at some point.
Over the course of a couple months, my husband and I created this beautiful poker table based heavily on the Benchmark Octagon Table plans found here. The farmhouse style base was essentially the same although the size was modified slightly to better accommodate our poker table top that was completely custom. We even created slide out cup holders that work perfectly. So much wonderful inspiration from both here and Pinterest that gave us wood working virgins the confidence to tackle our first project together.

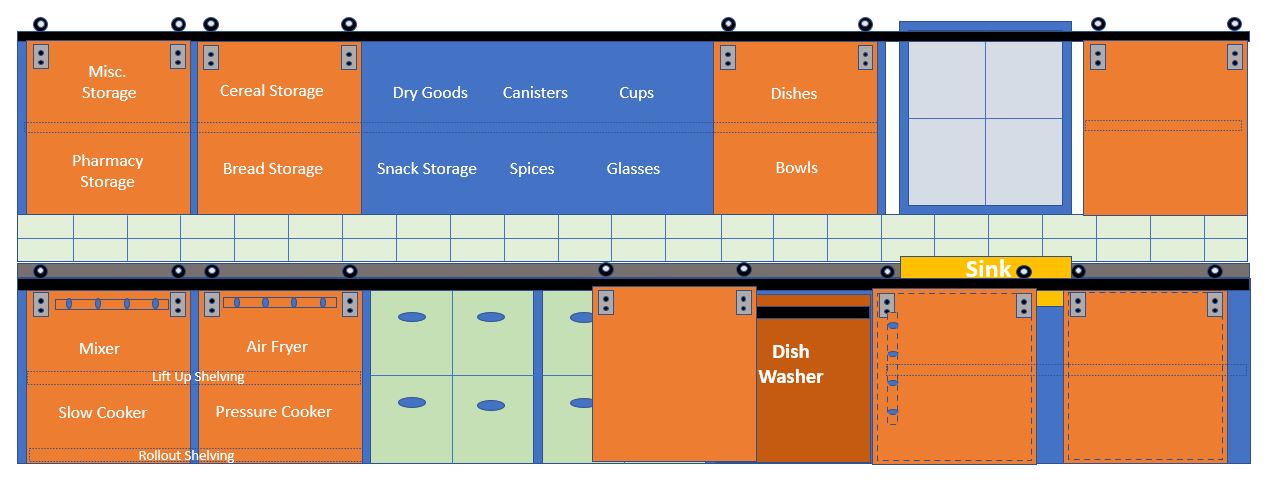
We've struggled with deciding on a design for new cabinets in our farmhouse. Seeing your Barn Door Console plans inspired me. The doors can slide from end to end, be added or removed as desired. The drawers and the dishwasher are inset so the doors slide past or cover them. Than you for sharing your work. It's one of my favorite sites.
Sat, 10/24/2020 - 10:14
Can't wait to see it all built and put together, it looks very functional:)
Built for the boys to go with their new swingset. Advice: laminated cotton does not hold up well outside, so don't use it to cover the seats!
Fri, 01/04/2013 - 15:26
Awesome! This has been on my build list for about a year now, gotta get to it. It looks like sooo much fun!

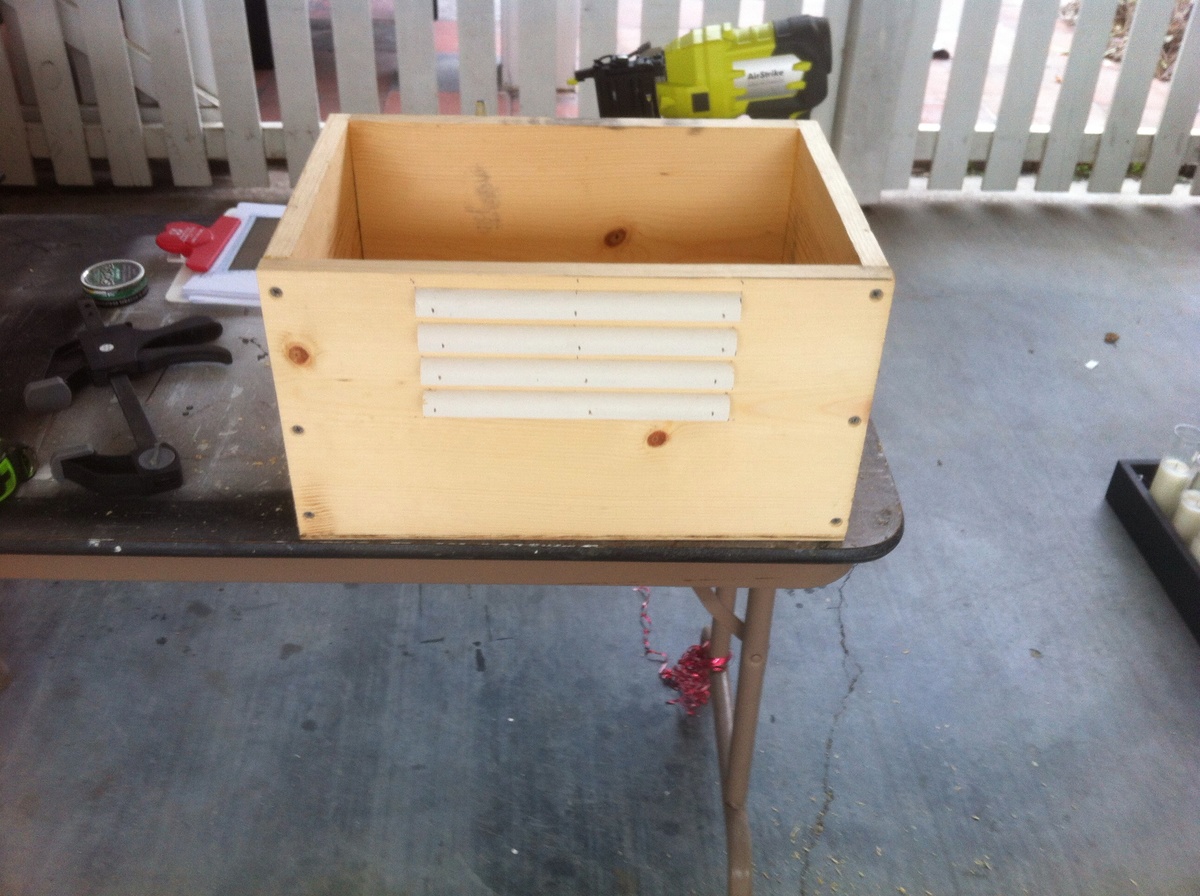
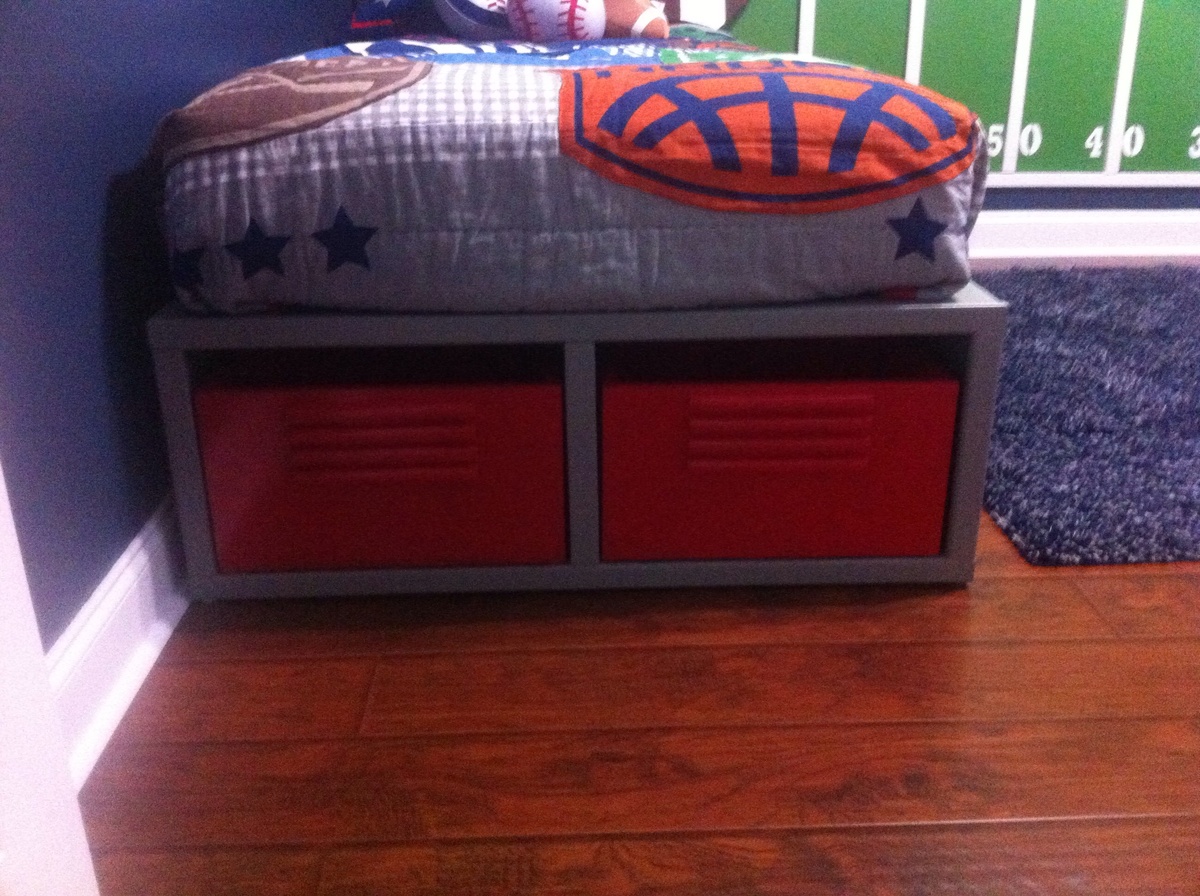
Needed storage for the twin storage beds I built and came across this plan. I just modified it a bit. Used shoe moulding to give the bins a locker door look.
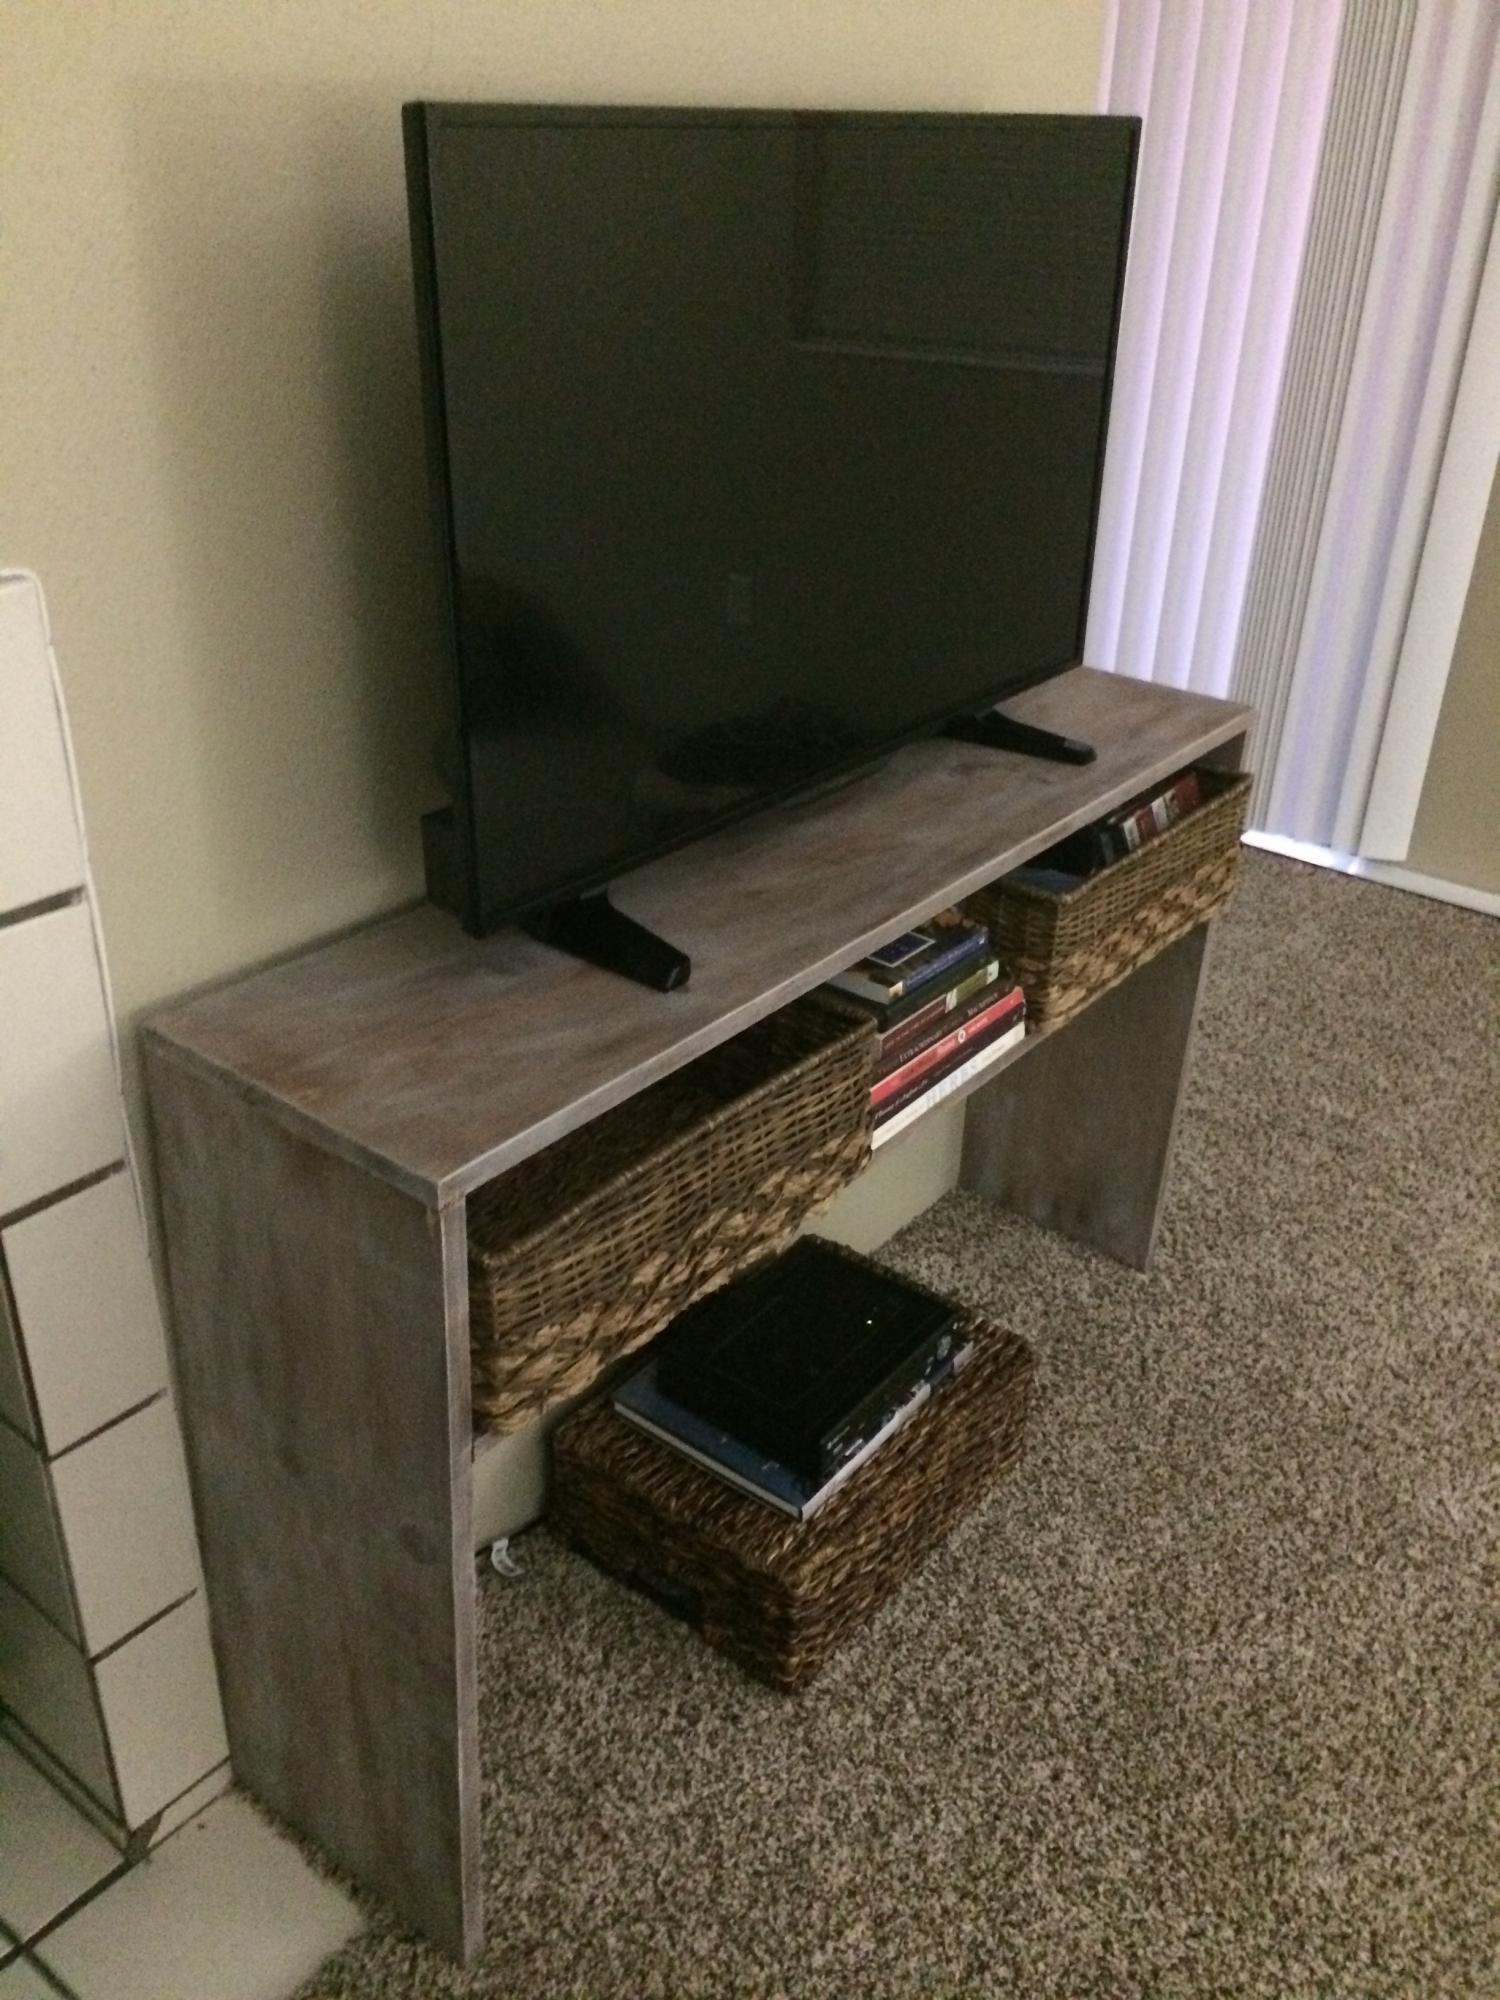
I couldn't believe how simple this console table was. I used my Kreg pocket hole jig to easily add the shelf and am so pleased with my results. Used white-washed pickling stain to hivevit this great color.
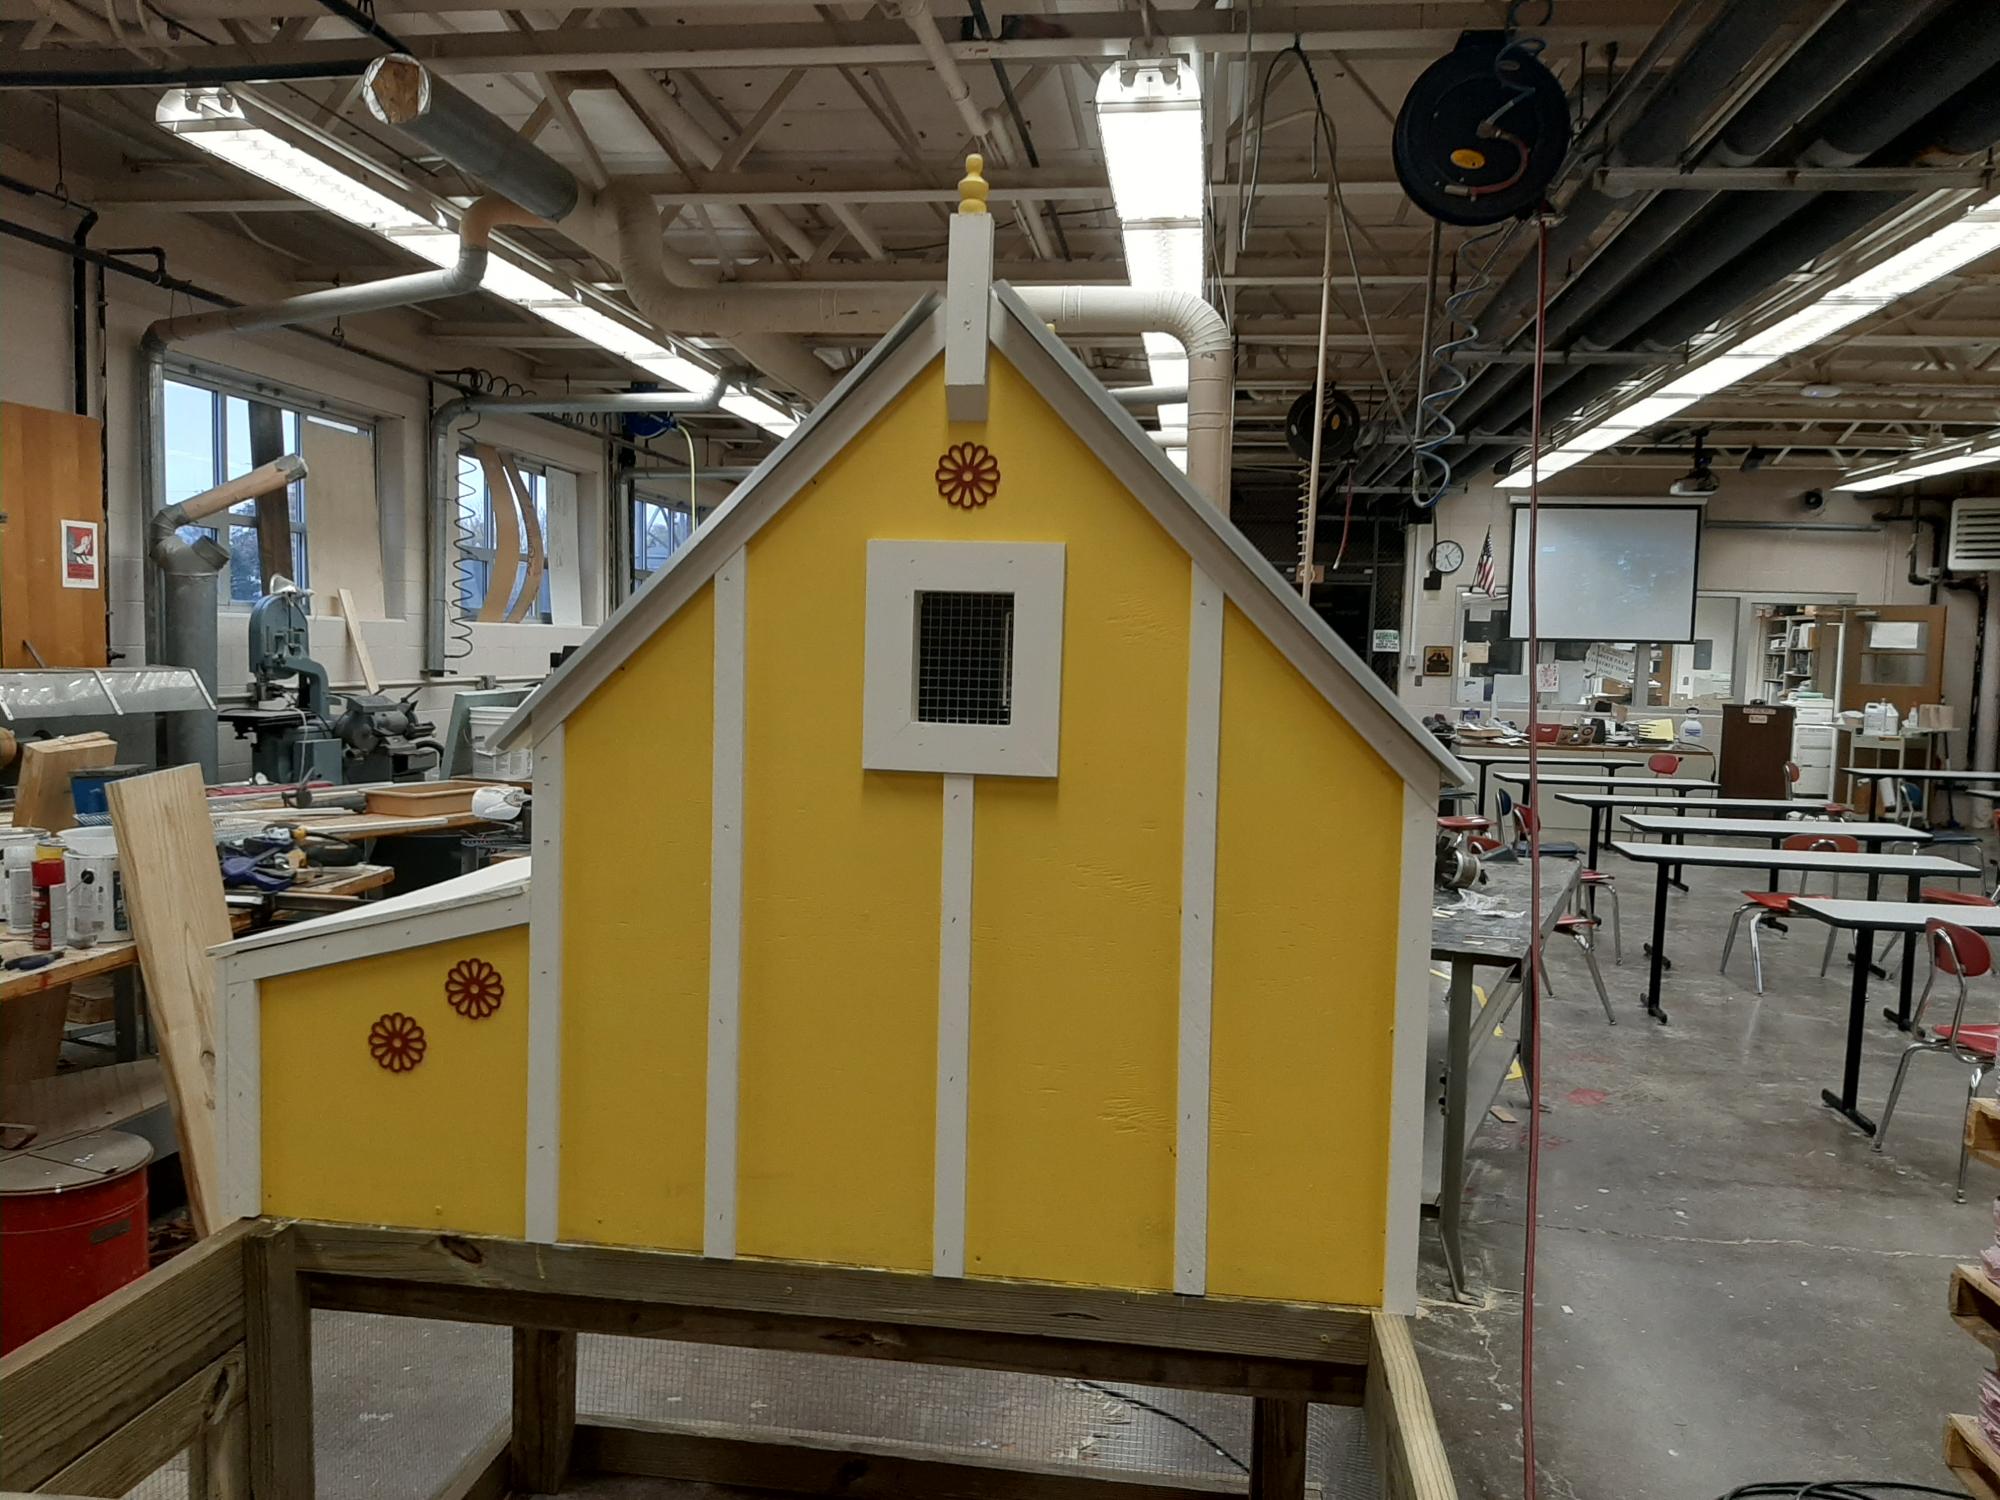
I teach construction at Plymouth High School. This was our first project of the year. The students did the majority of the work with my guidance. I had started the year with the intent to build sheds, but that requires groups of 4. The chicken coop allowed us to work with groups of 2. We only have 50 minutes each period to work, so it took us about 5 weeks to complete spread over 4 classes. Some of the wood was scrap that we had on hand. We cut a lot of it down to size from 2x10s. The roof was scrap metal roofing that we found in a recycling container. There were no trim pieces so we had to be creative and make our own ridge cap. I decided we would add the finials to give it more visual appeal. We took some liberties with decorating because I like to add extra flair - and I have access to a laser and CNC router. We used the plans that Ana developed for Lady Goats. https://www.ana-white.com/woodworking-projects/small-chicken-coop-plant…
Fri, 10/30/2020 - 14:42
Thank you for sharing, I'm sure the students enjoyed that!
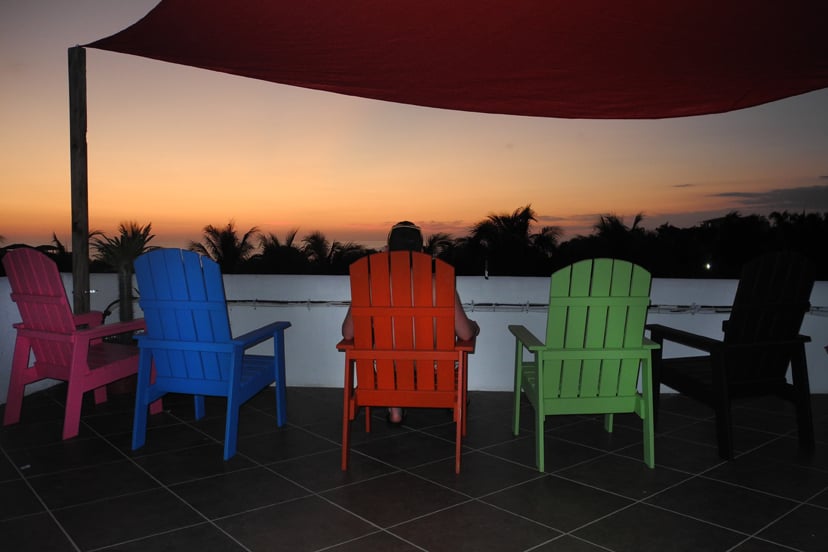
We had a horrible time finding furniture in Mexico for our house and decided to build our own starting with these chairs for our roof top deck!
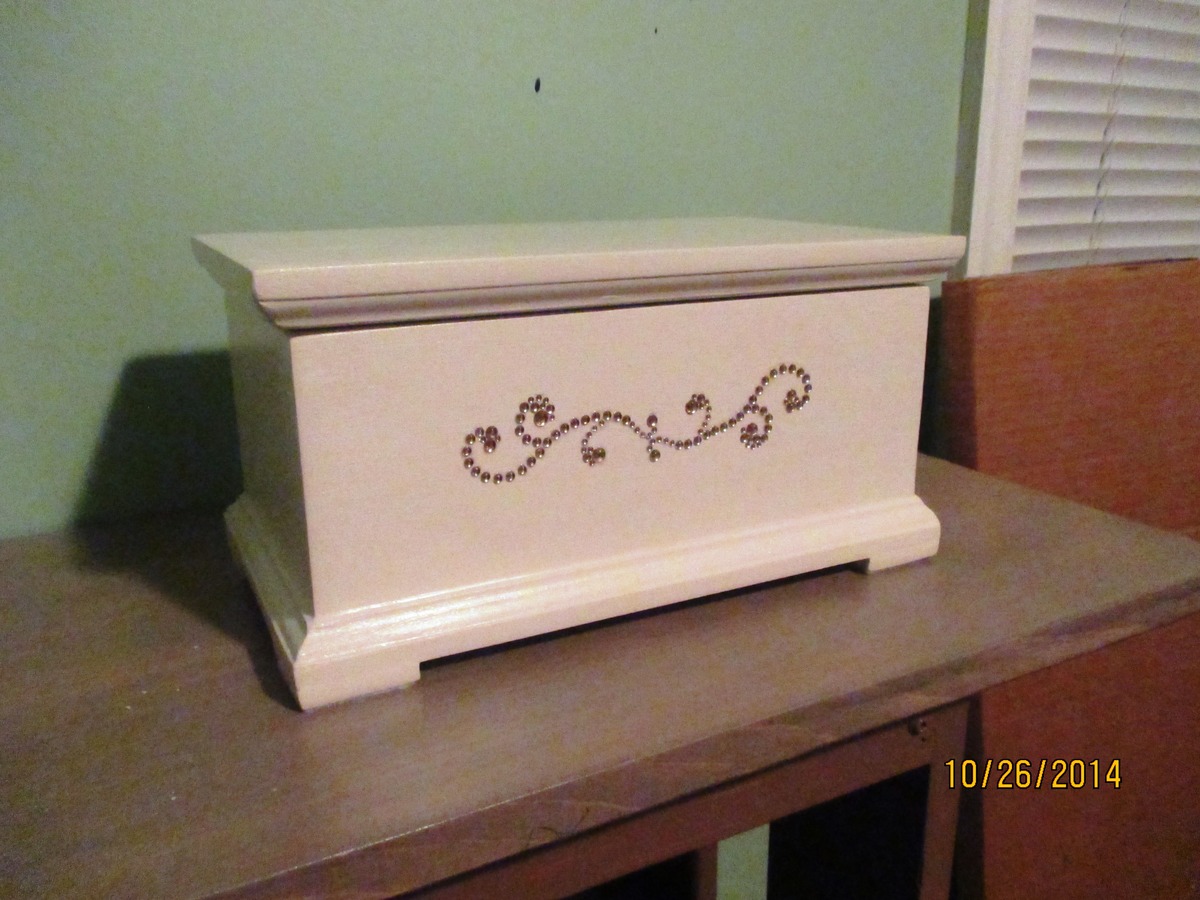
This build is a gift for a friend who is retiring. It is made from scrap wood and left over finishes, so the only things I had to purchase were the moulding, hinges and “bling”.
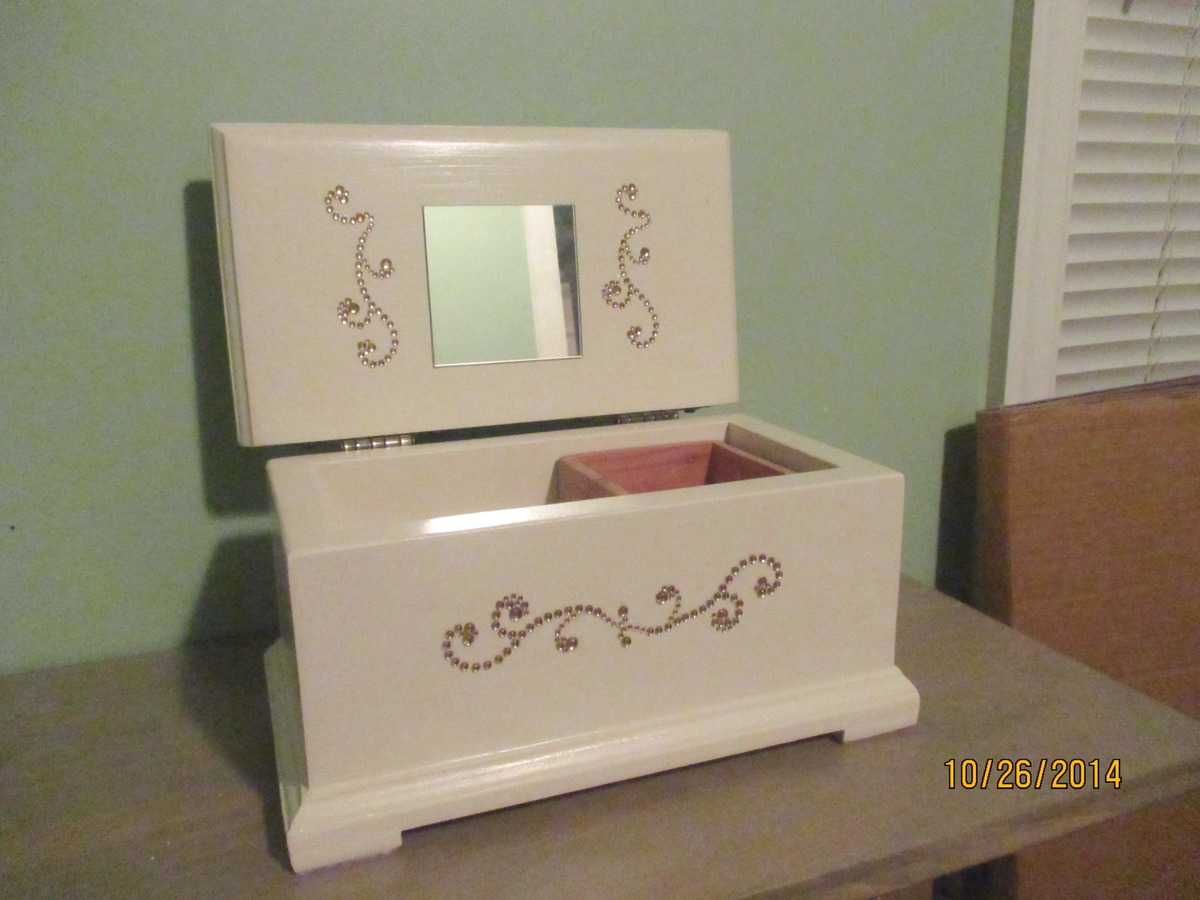
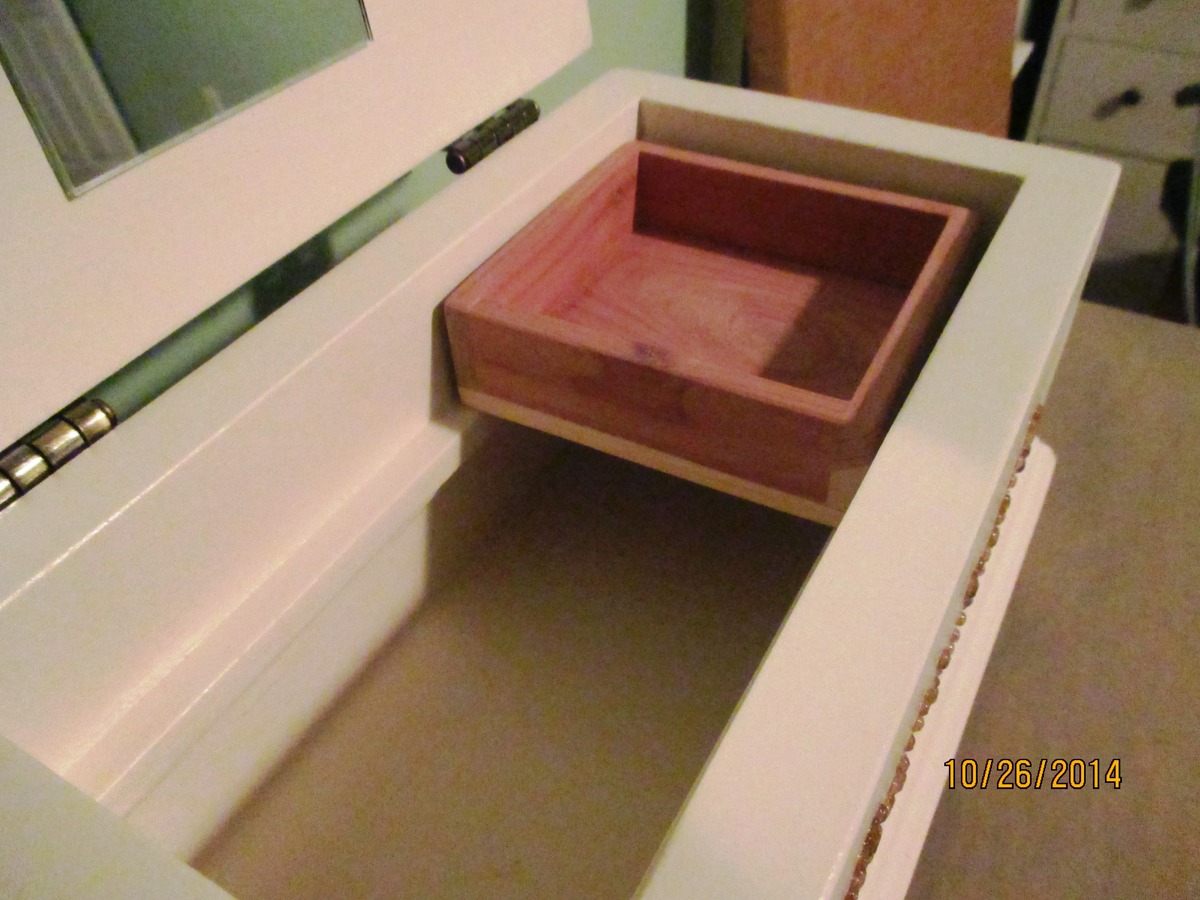
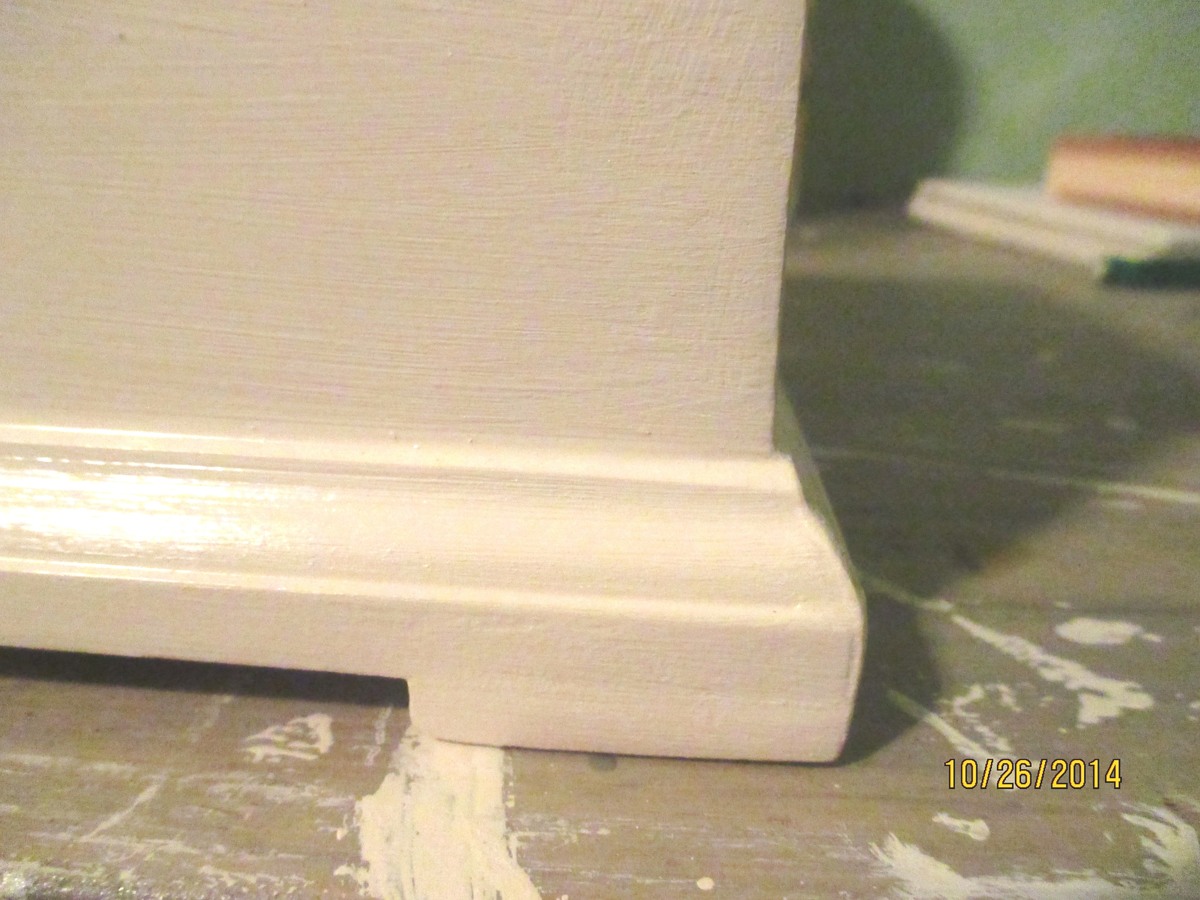
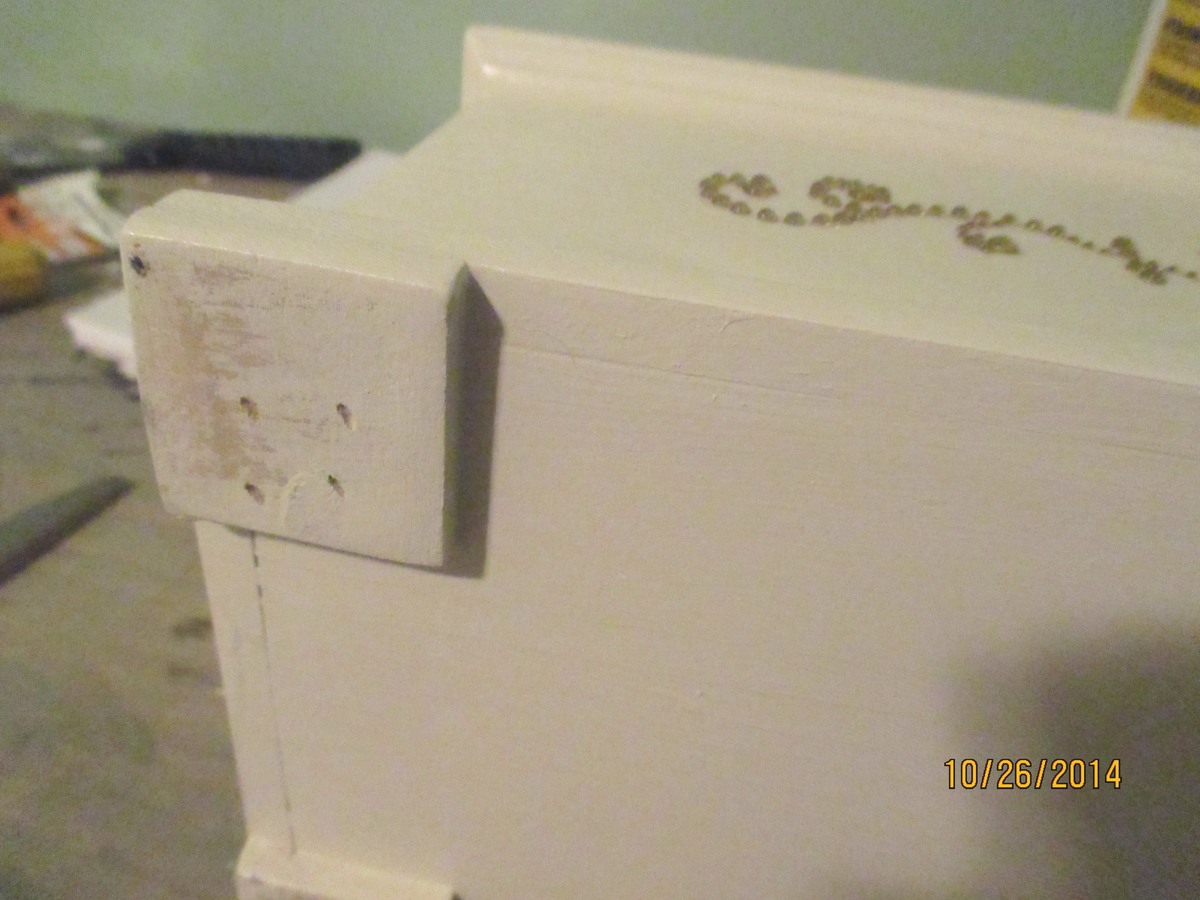
Used Georgia’s Jewelry Box plan, with these mods: made it a little longer with no overhangs; added stop moulding trim around the top and bottom; added some lattice squares for “feet;” added a small sliding tray in aromatic cedar (1/4” cedar closet lining for the tray, stop moulding for the rails), and some self-adhesive rhinestone flourishes (found these at Michaels).
This would be an afternoon build. The finish took longer than the build - probably 2 or 3 hrs (filling, sanding, painting, and attaching the hinges and “bling”). It took me much longer to decide how to decorate it, than it did to actually build it ;)
Some squares of sticky-back felt were also added to the bottoms of the feet.
I’m very pleased to say that this gift was a big hit!
Fri, 10/31/2014 - 15:24
Thank you for the nice comment! :) I might build some more of these for Christmas gifts.
:)
I liked the style of this table and needed something for my kitchen that looked nice but not cheap. I had to shrink it to fit in my kitchen as my space is limited. I changed the top to have a little more finished look and even though I made it smaller than normal, the size I have still fits 6 people. I think it came out fairly well and wanted to say thanks a million for some great ideas and plans.
This project cost us about $430, but we modified Ana's plans, a Lot! We made it deeper, narrower, and taller to fit out space. The best part of this project was creating a hidden litter box area in the bottom shelf. We cut a hole through the bottom center board, and put the litter on the side with the door so it was hidden yet easy to clean!

Seeing this project posted somewhere is what brought me to ana-white and got me building. While mine is nowhere near as beautiful as the one posted, I'm really proud of this project and think it turned out great. It's all reclaimed lumber and I use 4x4's instead of the open leg design and I'm really happy with the way it came out.

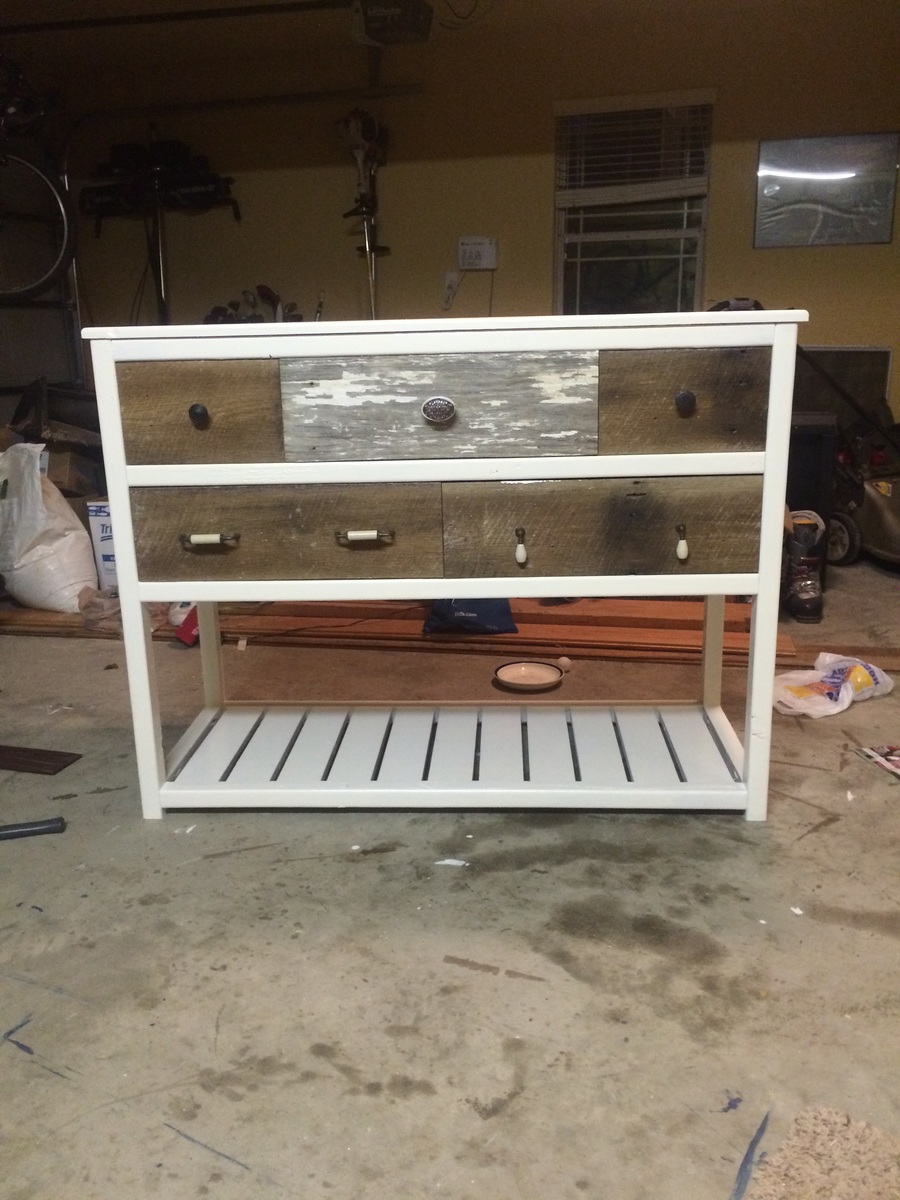
I really enjoyed this project. The plans were very well done and easy to follow. I had to make some changes so that all 5 drawer faces had a functioning drawer, but still stuck pretty close to the plans otherwise.
Sun, 11/02/2014 - 19:58
any suggestions on how to flip these pics so they can be viewed right side up???