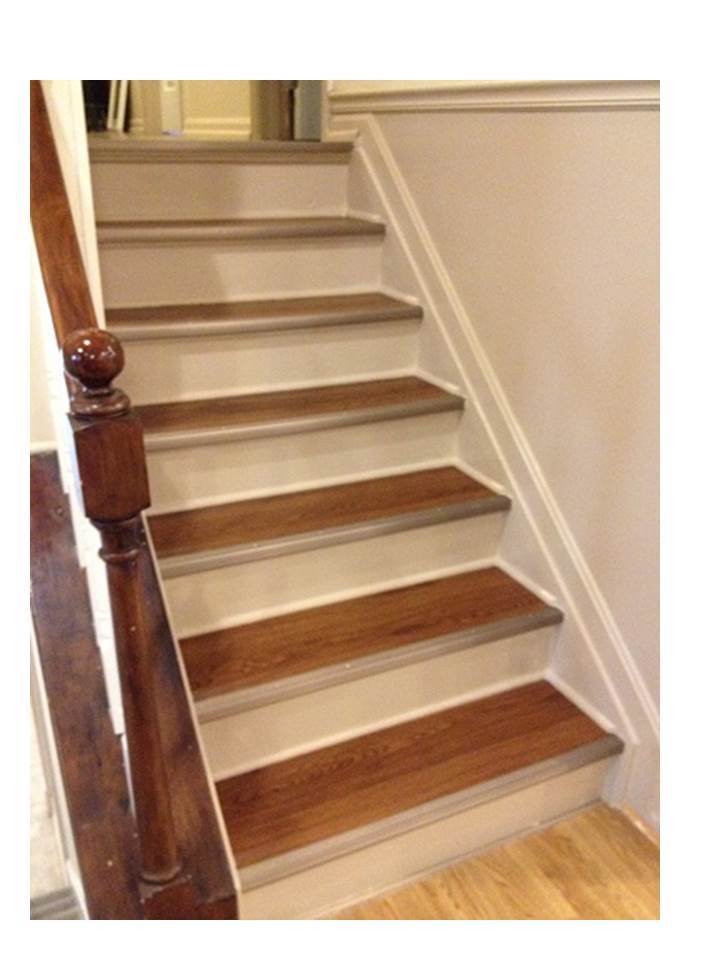
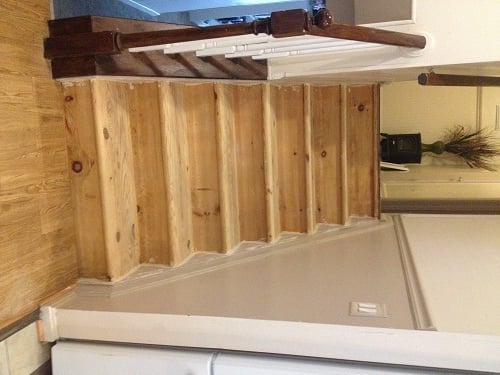
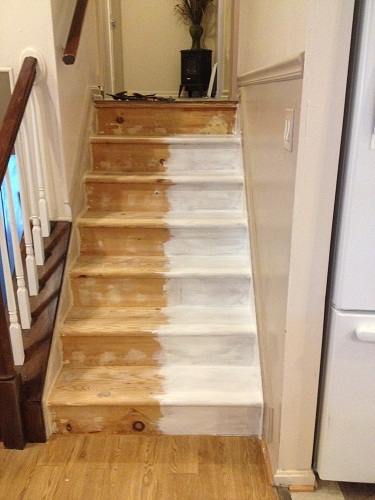
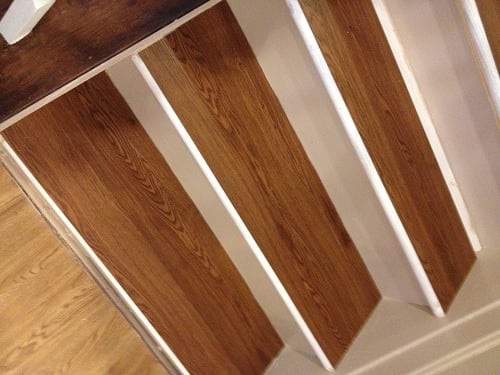
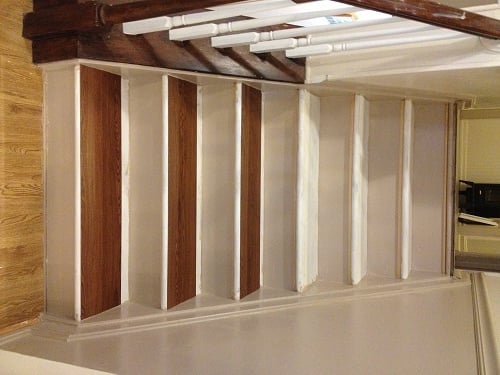
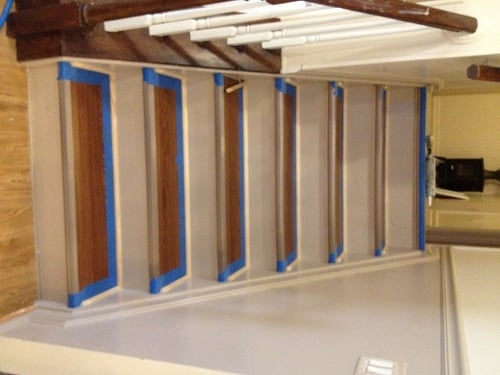
Finally got rid of the yucky worn-out carpet on the stairs. Instead of painting or staining the tread surfaces, I sanded, filled in holes, primed with a high quality primer, and used luxury vinyl flooring planks on the top of the treads, and finished the fronts with pewter stair nose. The risers and skirt boards were sanded, primed, and painted with 2 coats of semi gloss paint. Below the front edges of treads and where the treads meet the risers and skirt boards, added a finishing touch with some trim. This project was time consuming and I had sore muscles all over from crawling up and down those steps, but I think the finished result was worth it. They look much nicer, and we can get dust and dog hair off of the steps with just a Swiffer. Plus, it only cost about $200 to do 2 sets of stairs (6 steps up and 6 steps down).
So, why didn't I stain or paint the tread surfaces? I originally planned to, and did a lot of reading and research on what to use. But, I was worried about slipping on the stairs. Mom (who lives with us) isn't as mobile as she used to be due to a hip replacement and arthritis, and I was worried about her slipping on the smooth tread surfaces. Even if I'd used slip resistant paint, I was still worried about her foot slipping off the round bullnose at the front of the tread (that's happened to me with the carpeted stairs). The vinyl planks have a textured surface. We have these on several of our floors throughout the house and they aren't slippery for her feet. The stair nose has ridges and also is a bit squared, so it doesn't allow your foot to slip off of the front edge.
I know this is non-standard from what most people would expect to see on stairs, and we'll surely have to change it if we ever sell our house, but in the month we've had this project complete, so far it has been great.











Comments
Veronica P
Sat, 08/09/2014 - 09:28
Pocket Hole Dilemma
First of all, what an amazing job you did! I love the changes you made!
I'm wondering if you could offer some advice.
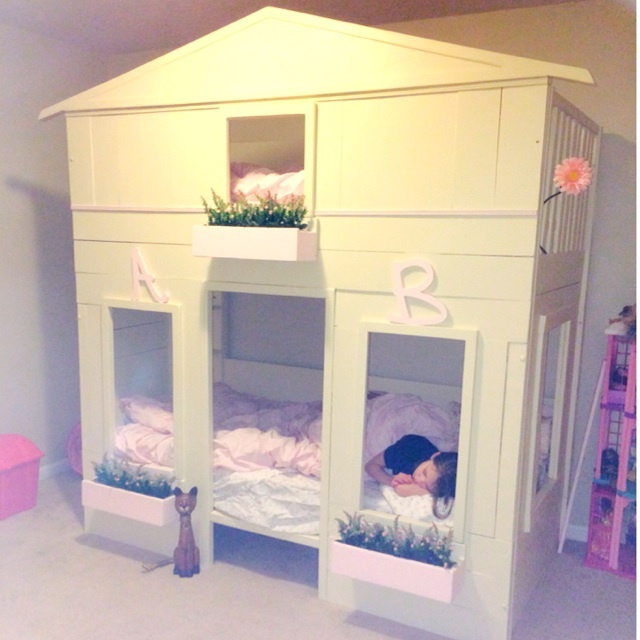
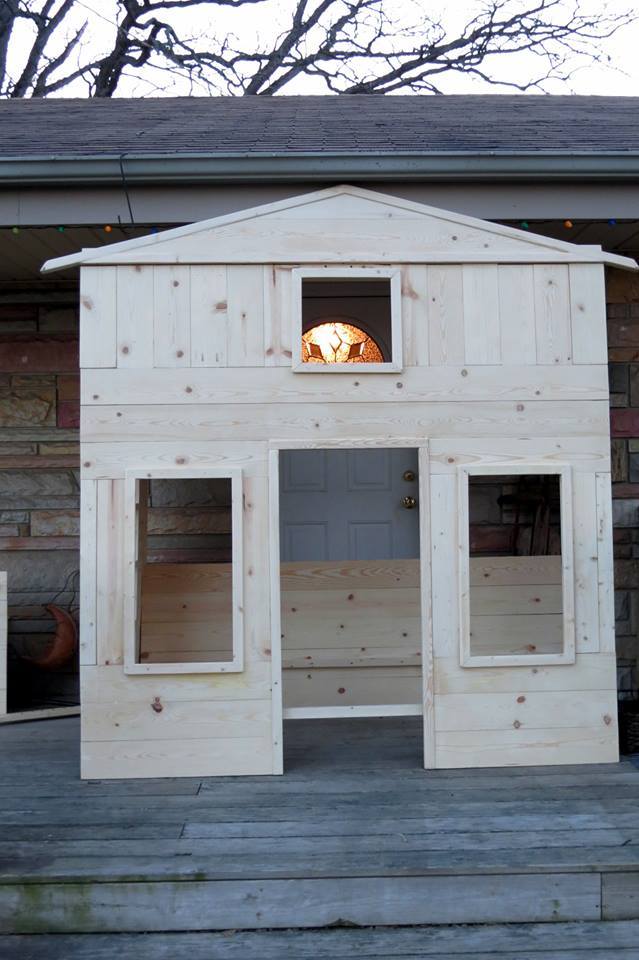
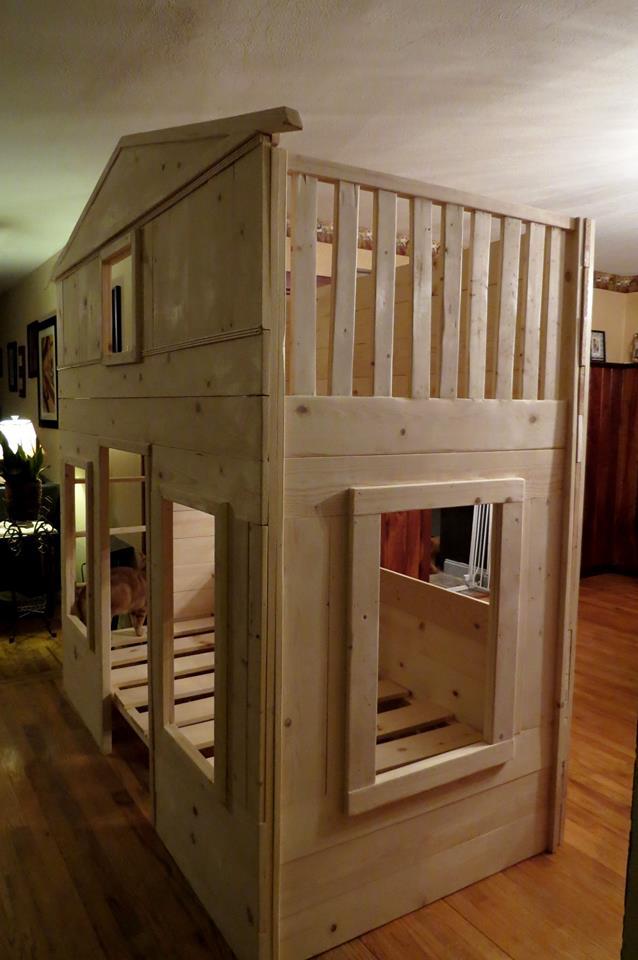
I'm building a "Little Cottage Loft Bed" for a friend's daughter. With the few changes that I've made there are approximately 375-400 pocket holes (thank goodness for my trusty kreg jig!).
With previous projects, I've used wood filler to fill and cover the pocket holes but due to the quantity involved in this project, I'm not sure that's the best approach.
What did you do with the pocket holes on your beautiful bunk bed?
Would you recommend using wood filler? Using wood plugs? If so, how do you recommend trimming them flush? I've not used them before because I was unsure of that step. Should I pay an arm and a leg for plastic plugs (I'm in Canada and would have to order from the US)? Or should I simply paint and leave them visible since the vast majority of the pocket holes are on the inside of the lower level playhouse and would not be seen from the outside?
Any advice would be greatly appreciated!