Kitchen cabinets
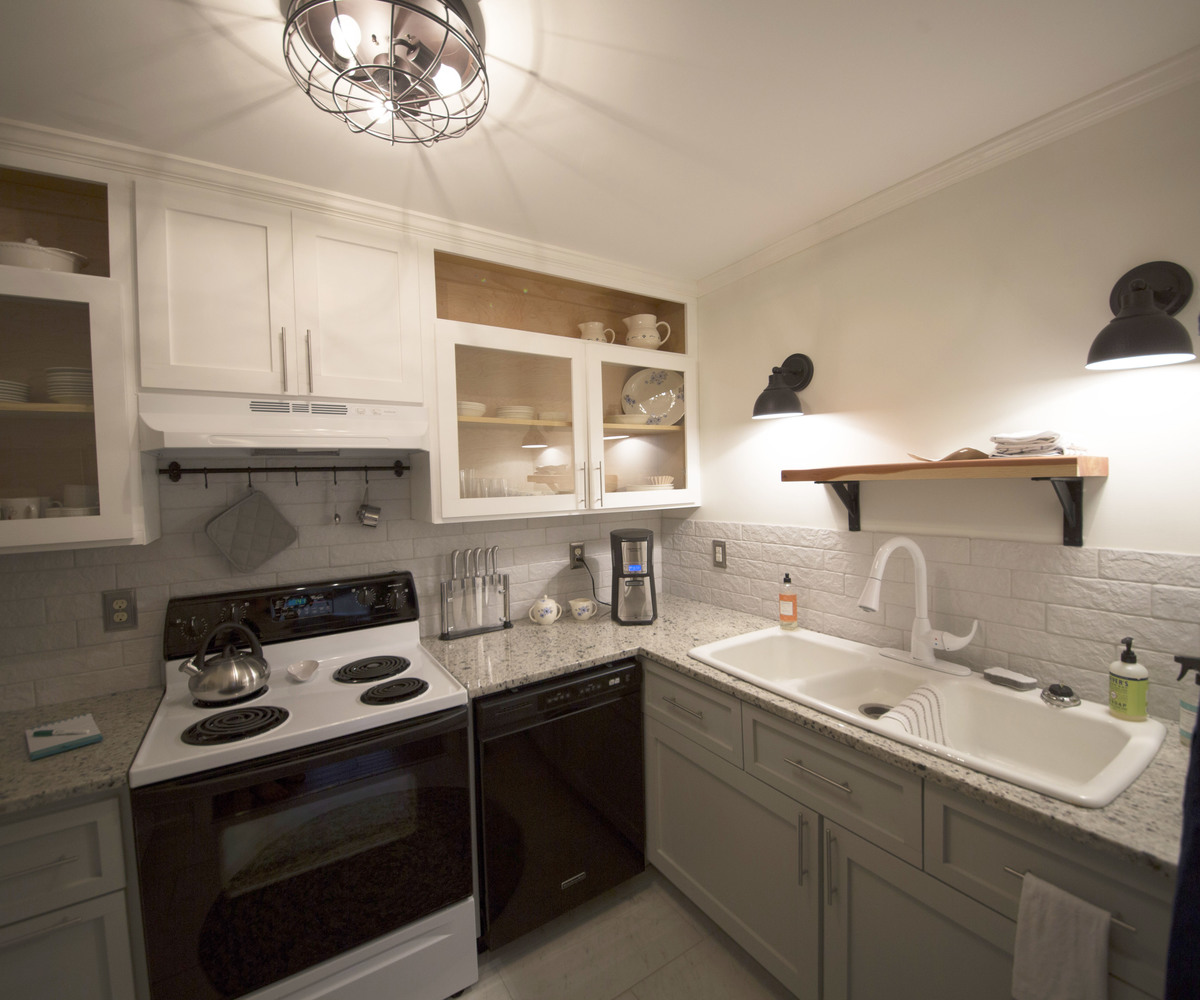
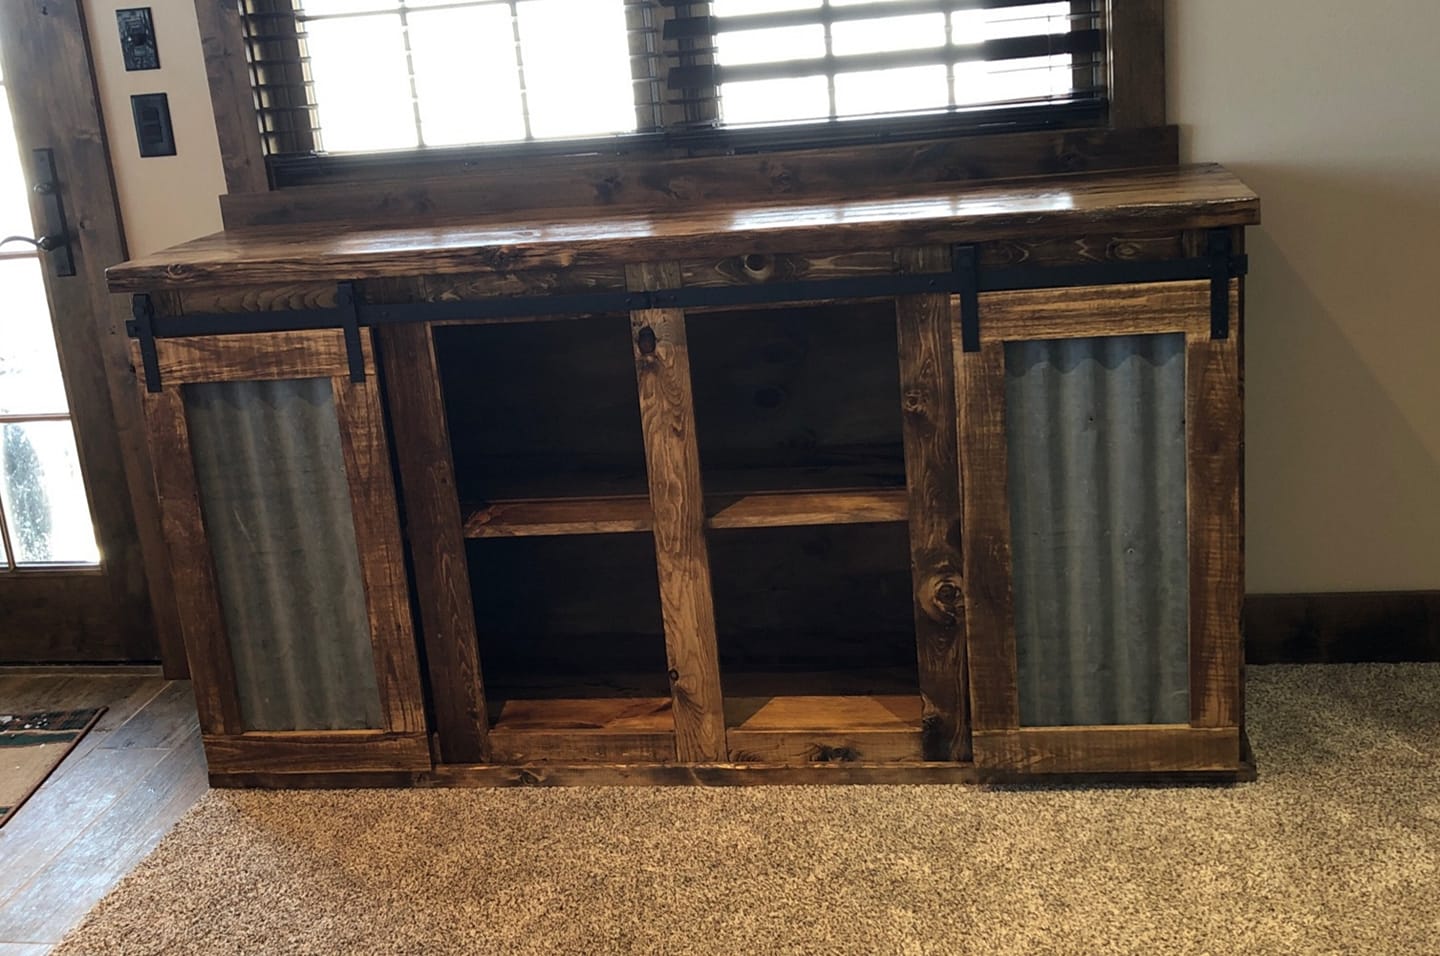
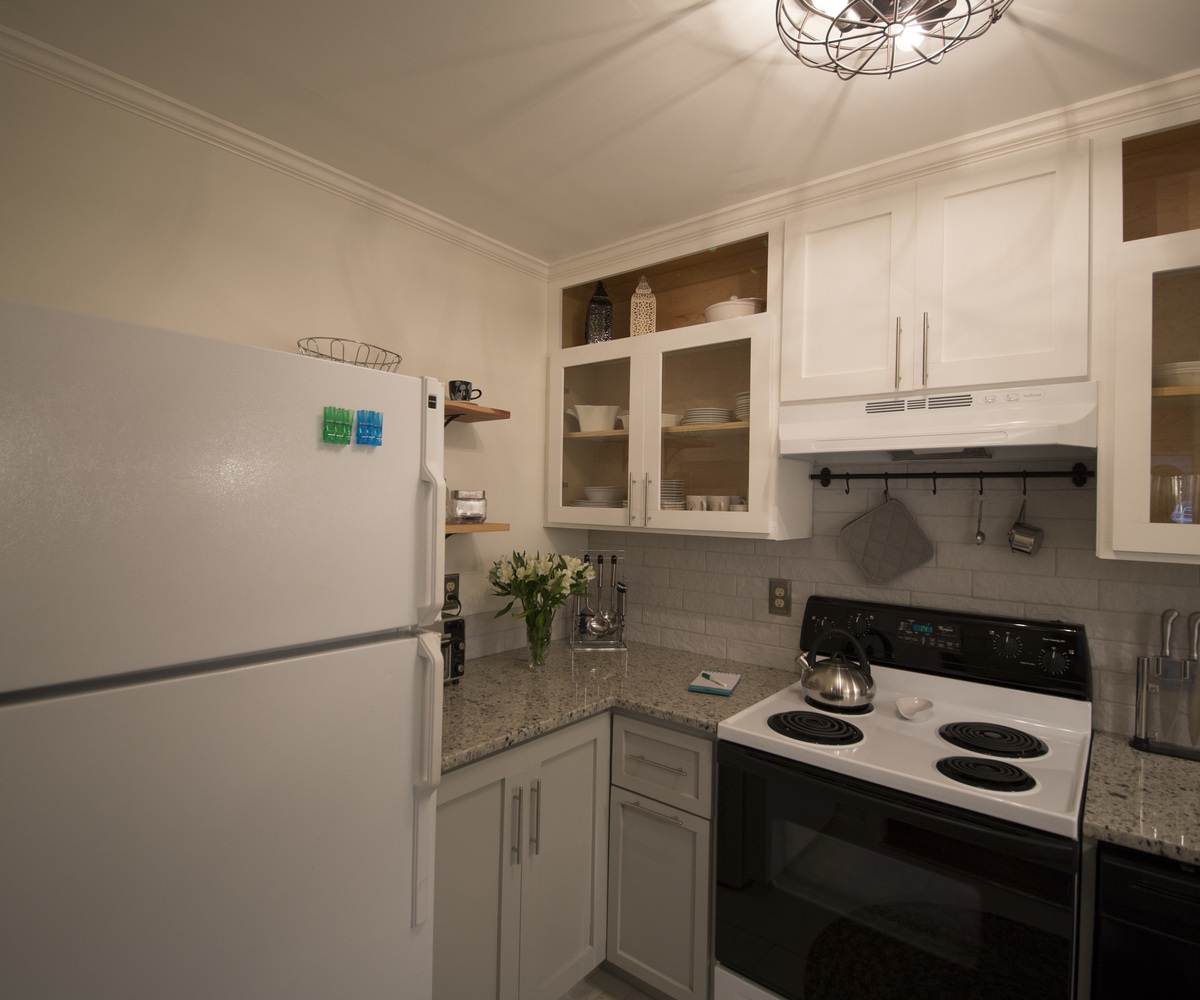
I took an old storage closet and turned it into a kitchen so that we could rent out our downstairs using Ana's basic cabinet plans altering them to fit my space. I really liked that she used 2 x 6's for the base of the cabinets and it worked out perfectly for the toe kick.
Built from Plan(s)
Estimated Cost
$300 for materials and paint
Estimated Time Investment
Week Long Project (20 Hours or More)
Finish Used
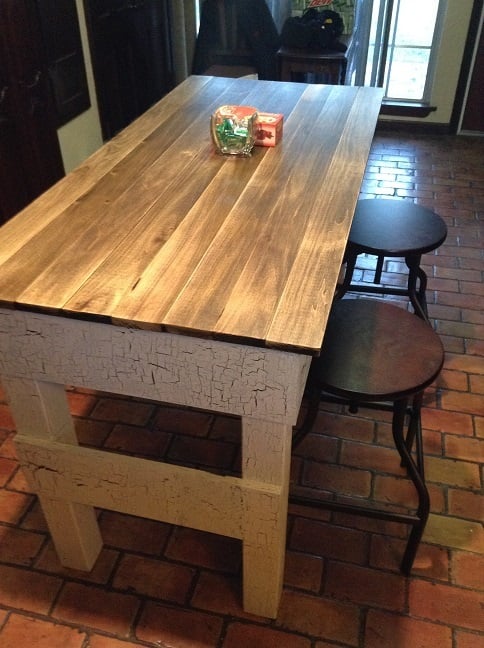
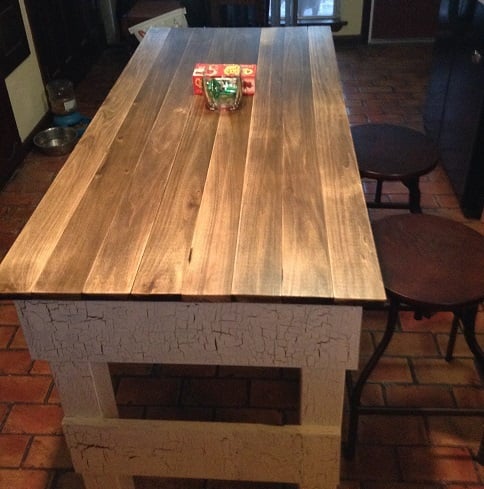
exterior primed with zinsser oil based primer, top coat is oil infused furniture paint white on top, medium gray on the bottom. The inside of cabinet is clear shellac + water based polyurethane.
Recommended Skill Level
Intermediate