Community Brag Posts

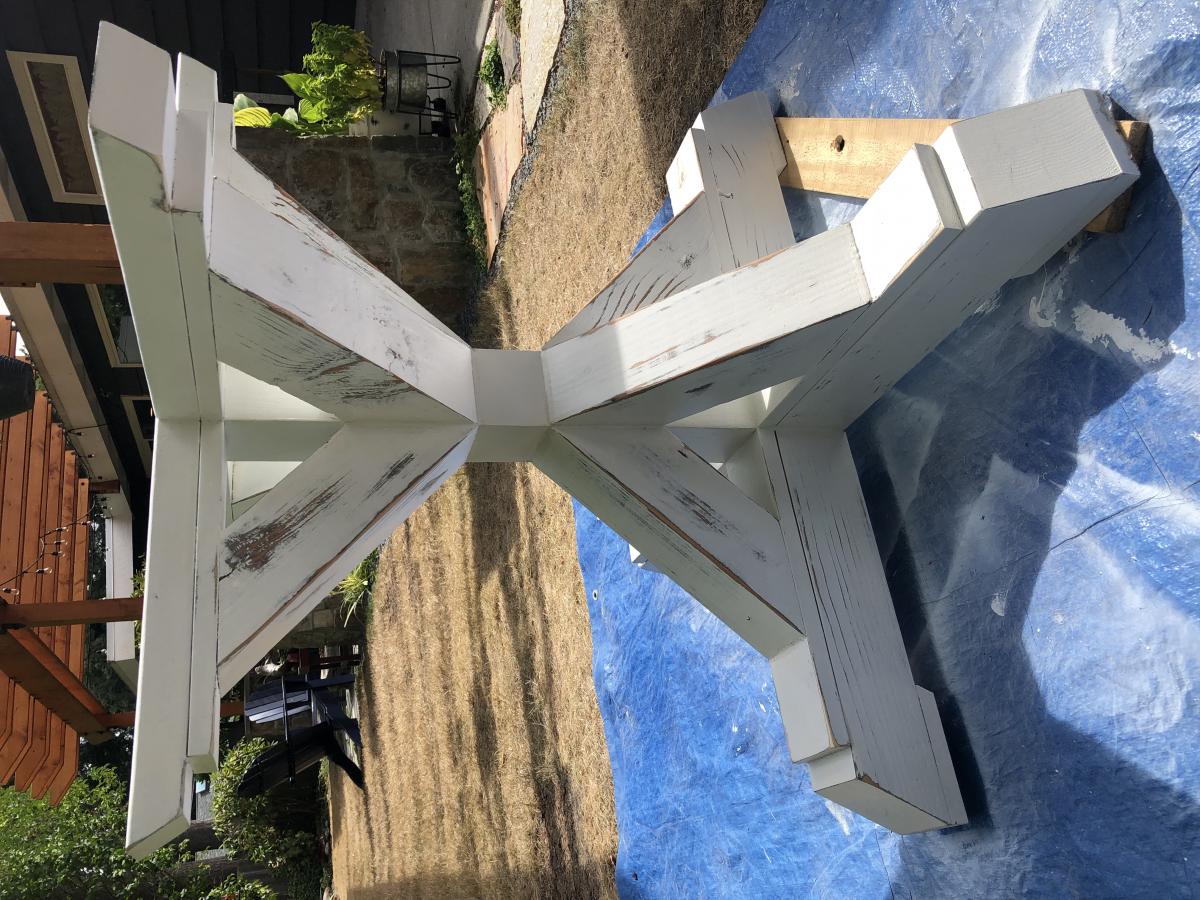
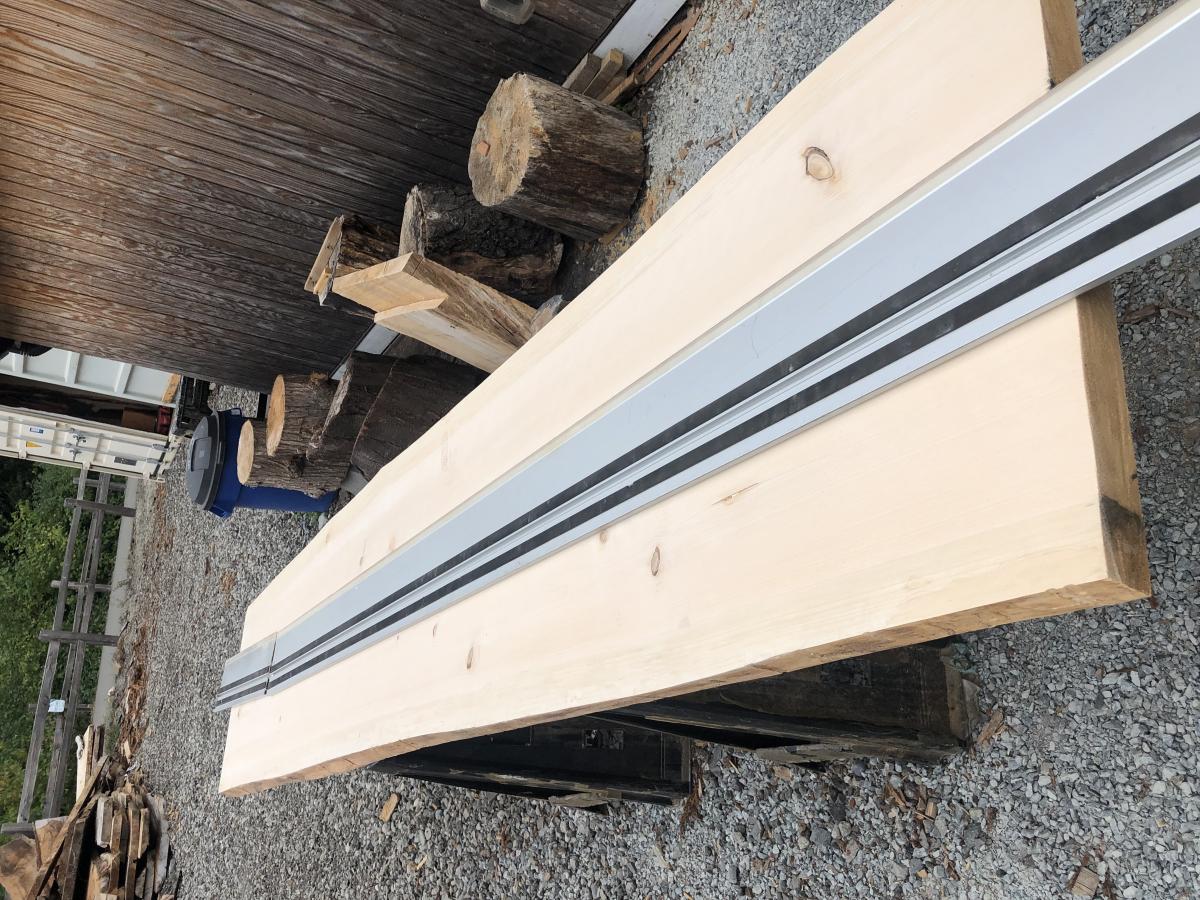
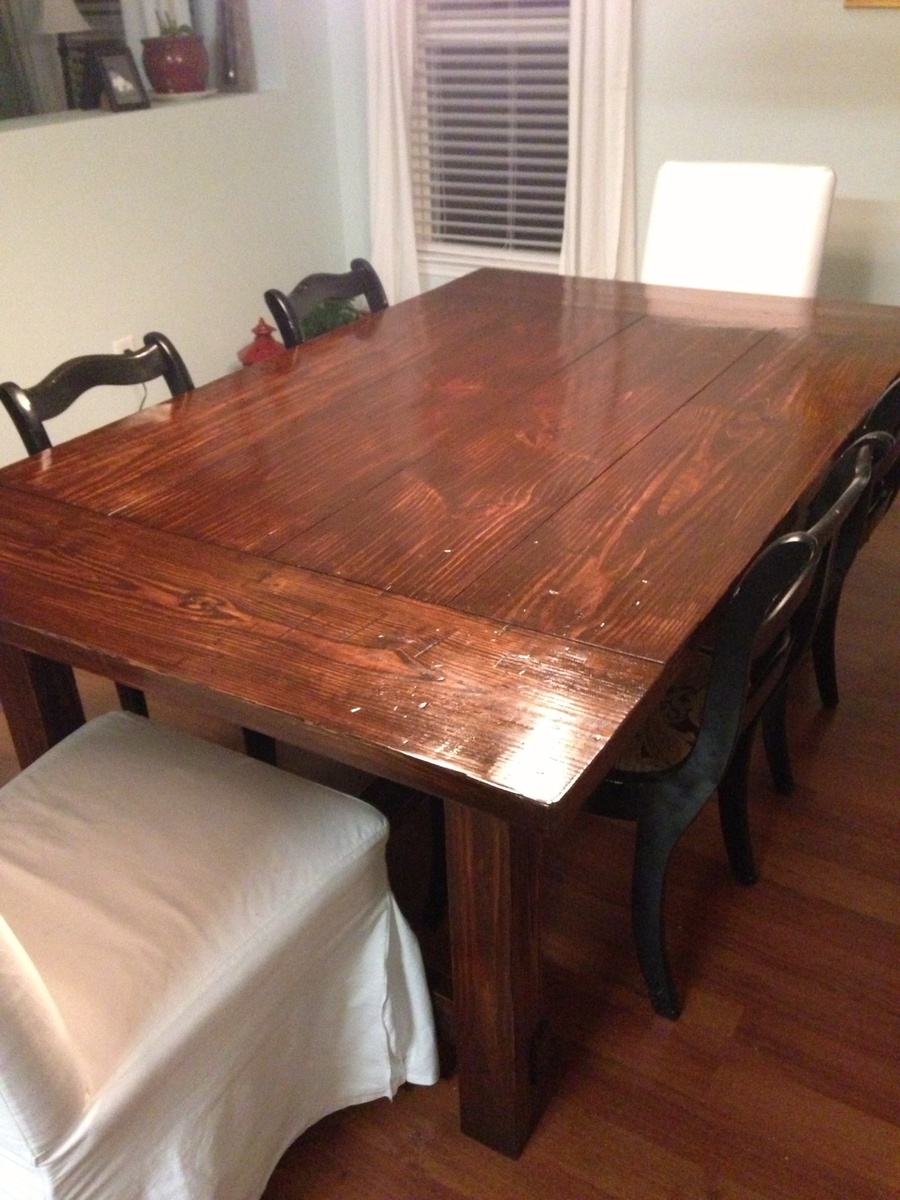
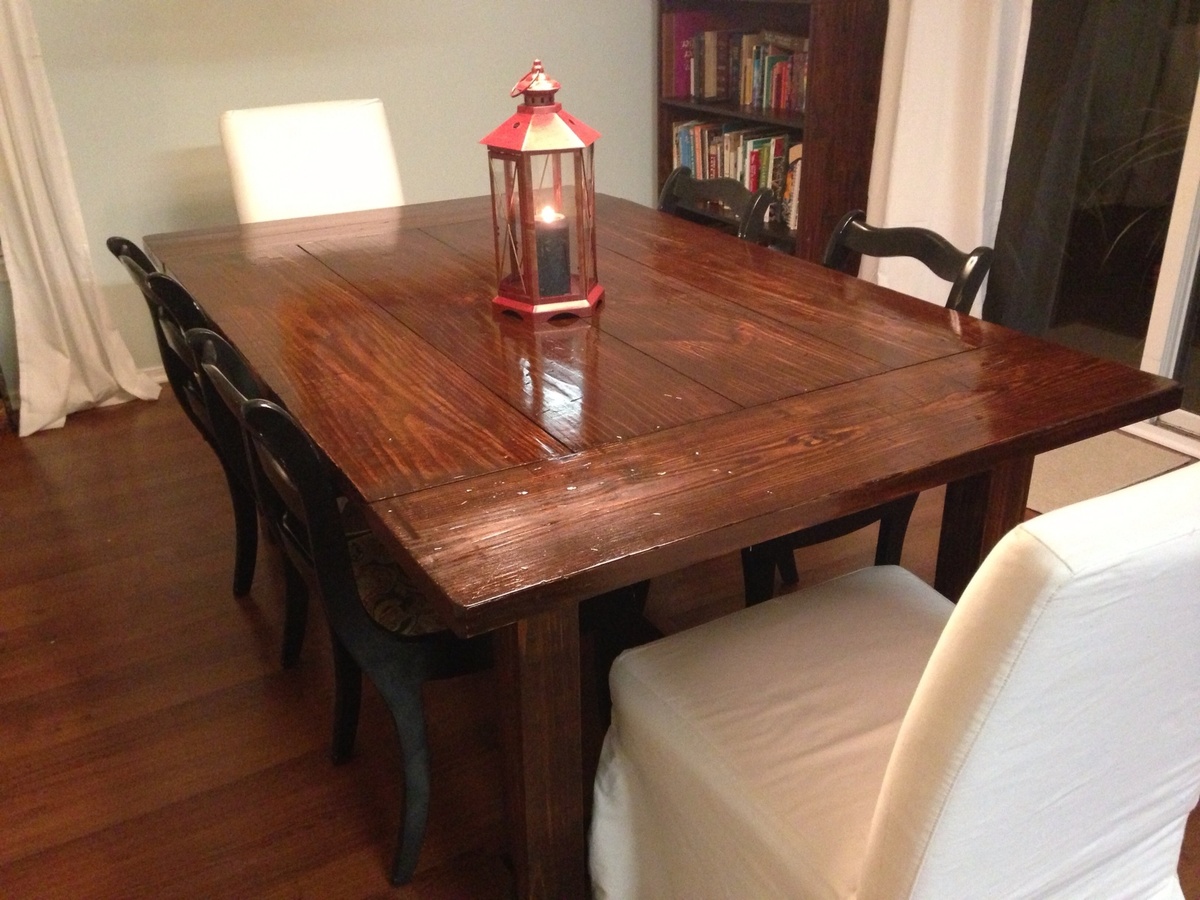
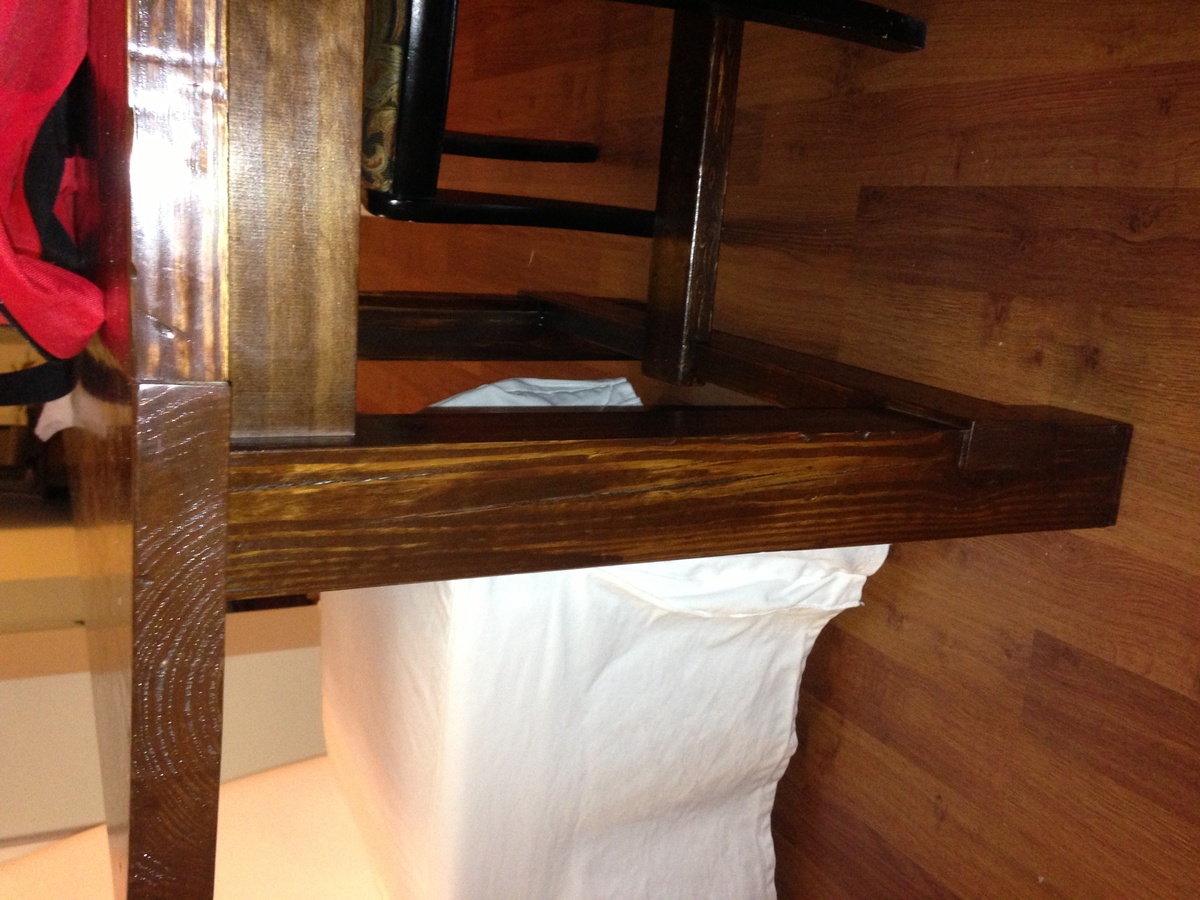
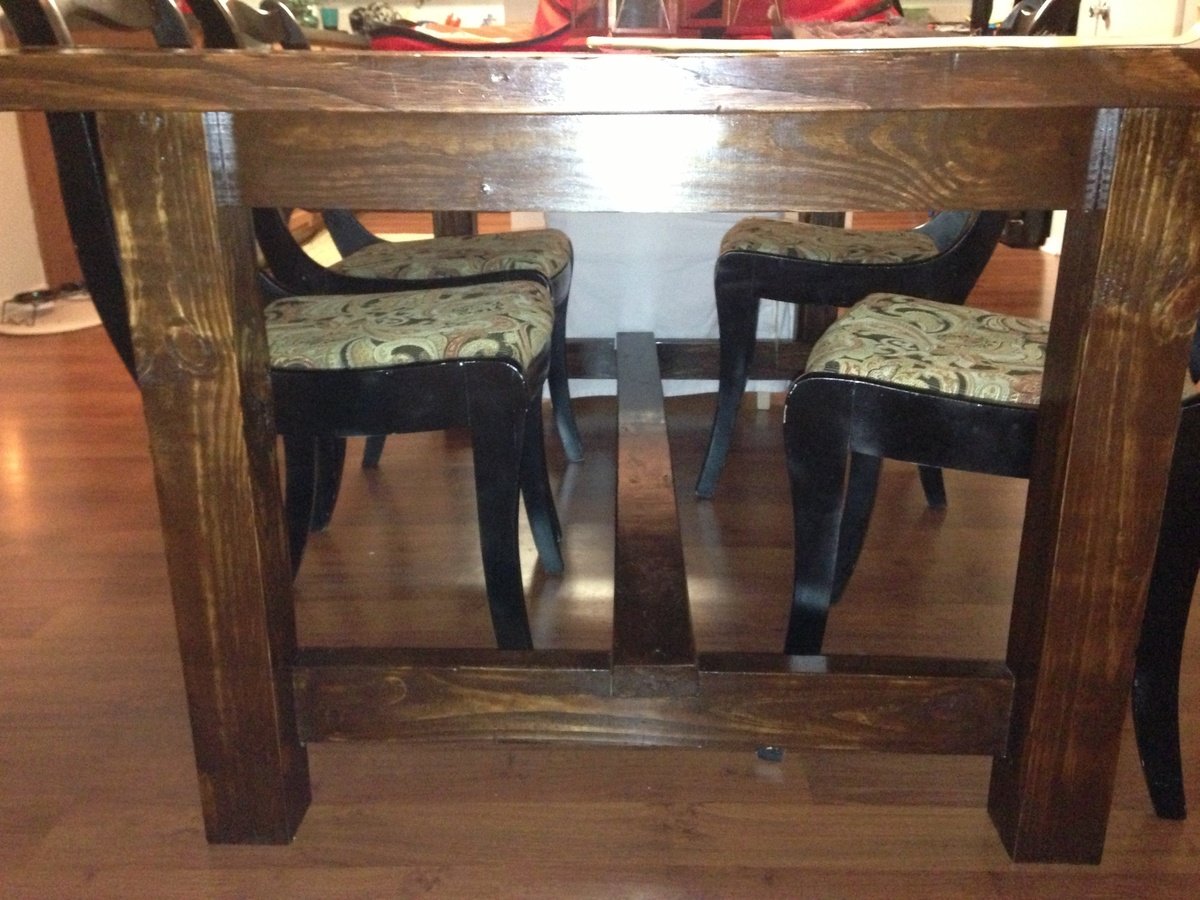
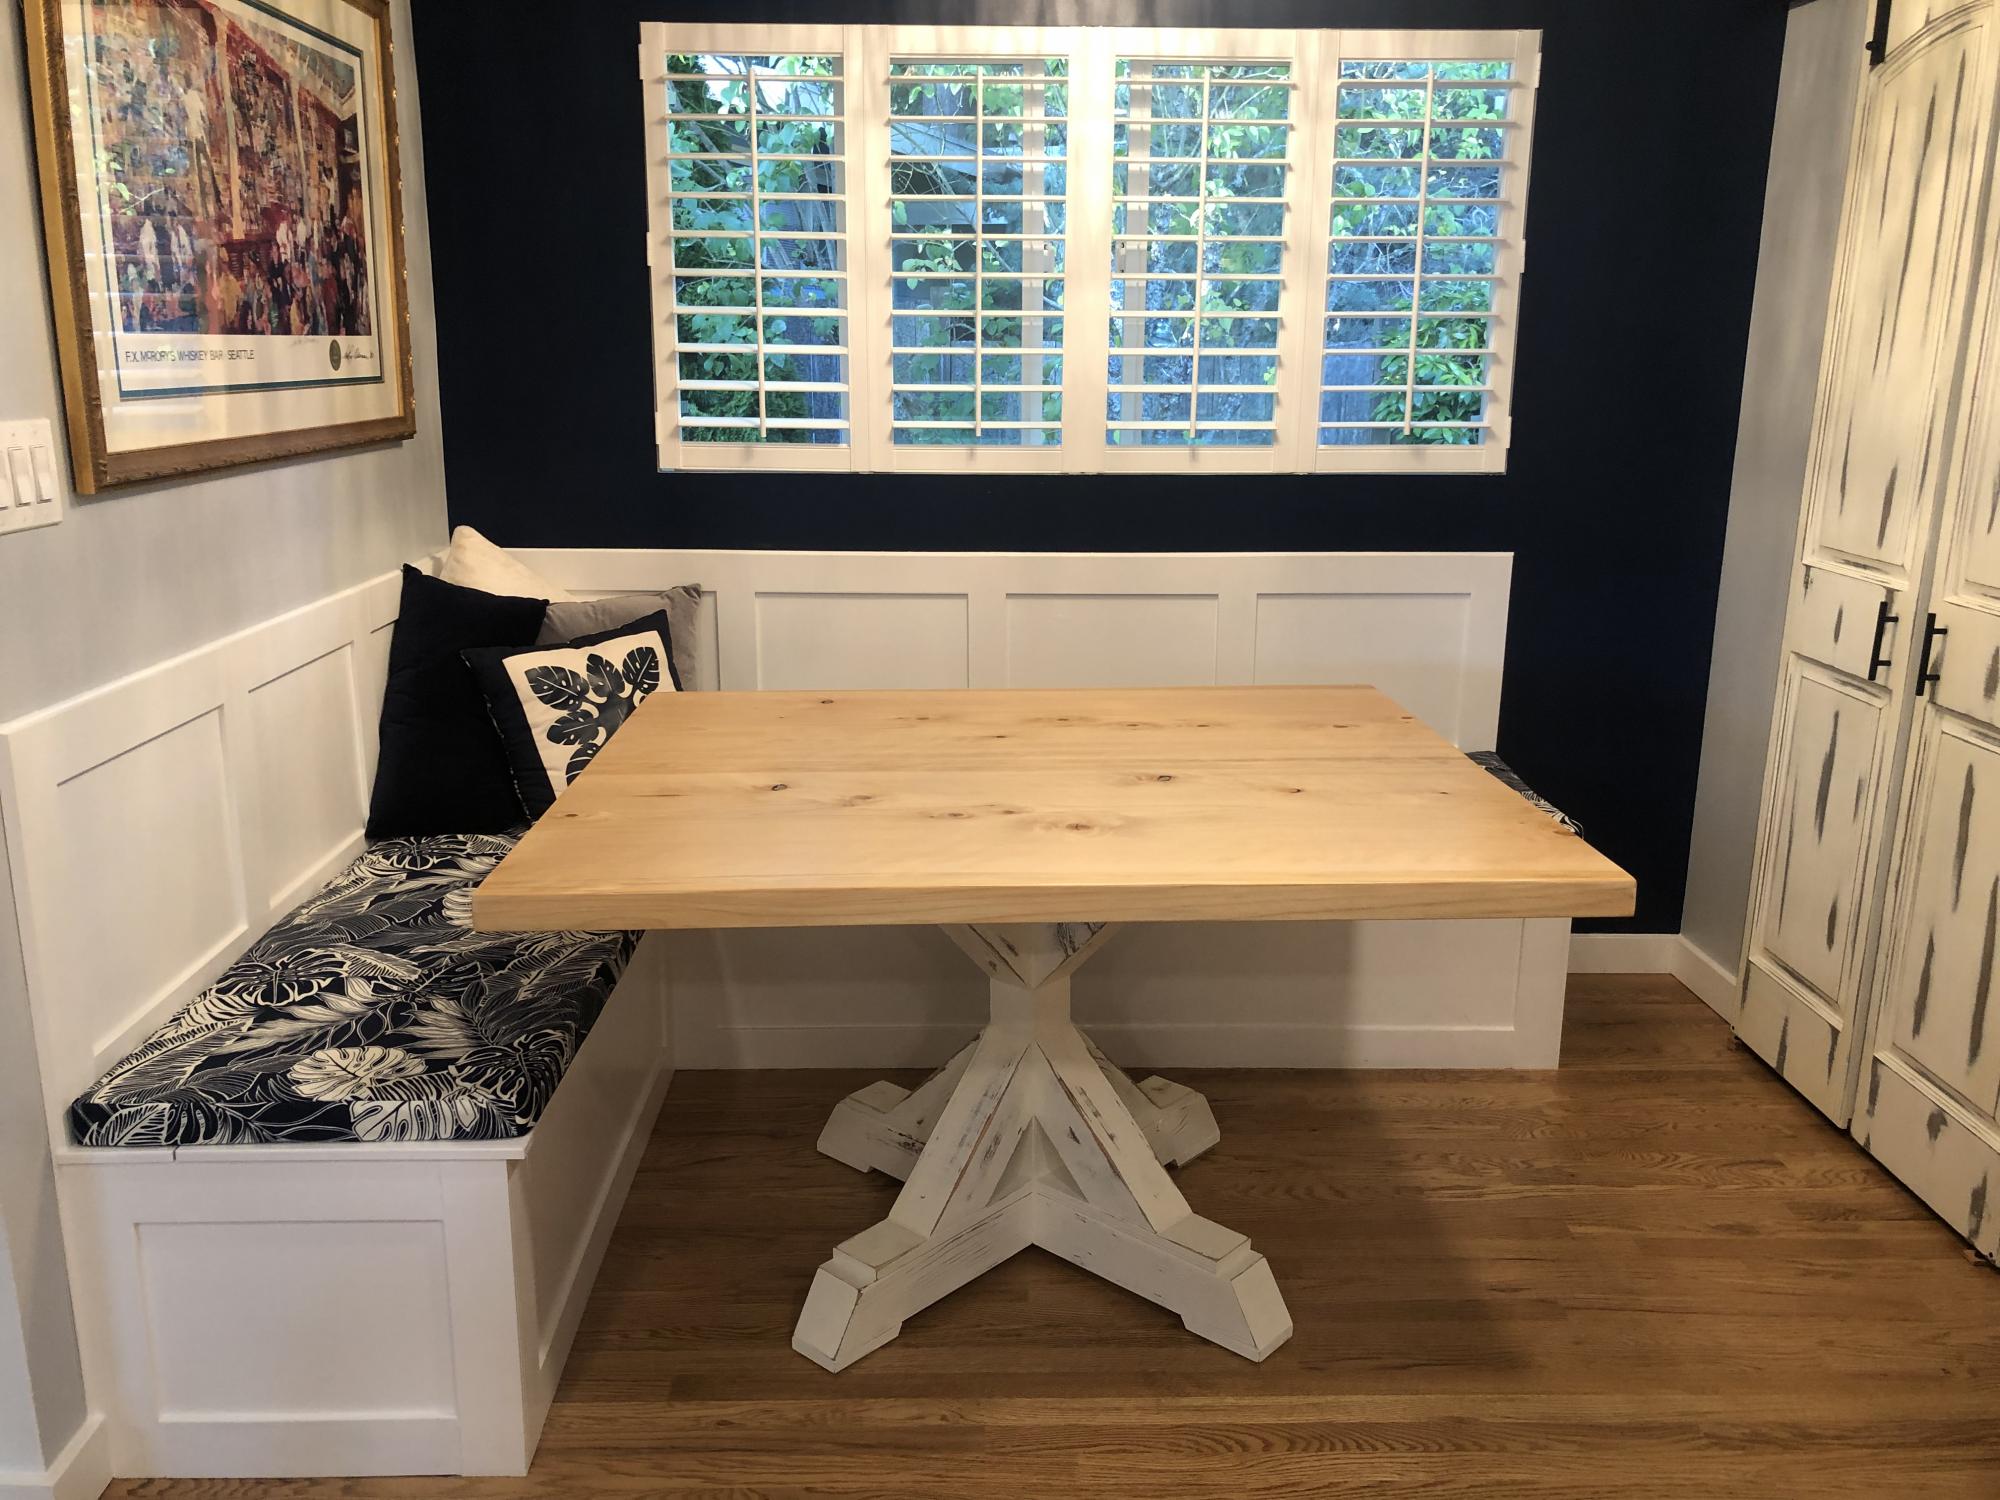
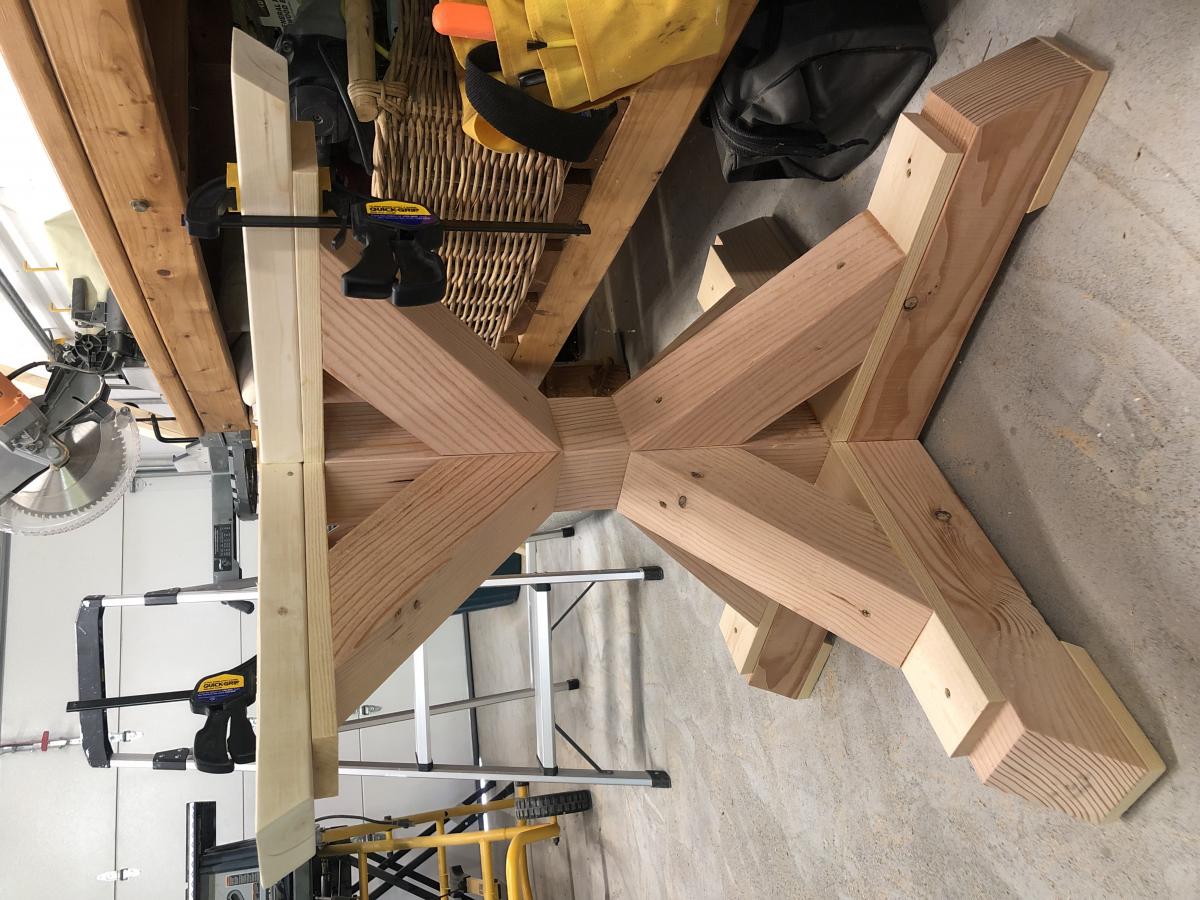
Pedestal table base with hinoki wood top.

Submitted by Anonymous (not verified) on Mon, 10/04/2021 - 17:44

I used Anna Whites DIY plans to build the base for our dining room table. Then I went to my “wood guy” RV and picked up a beautiful piece of hinoki wood for the top. Love it 😍

Although advance, the pedestal plans were very straightforward and easy to follow. Made me look like a pro.

Comments

Library Book Cart

Submitted by Ji on Thu, 05/23/2013 - 20:30

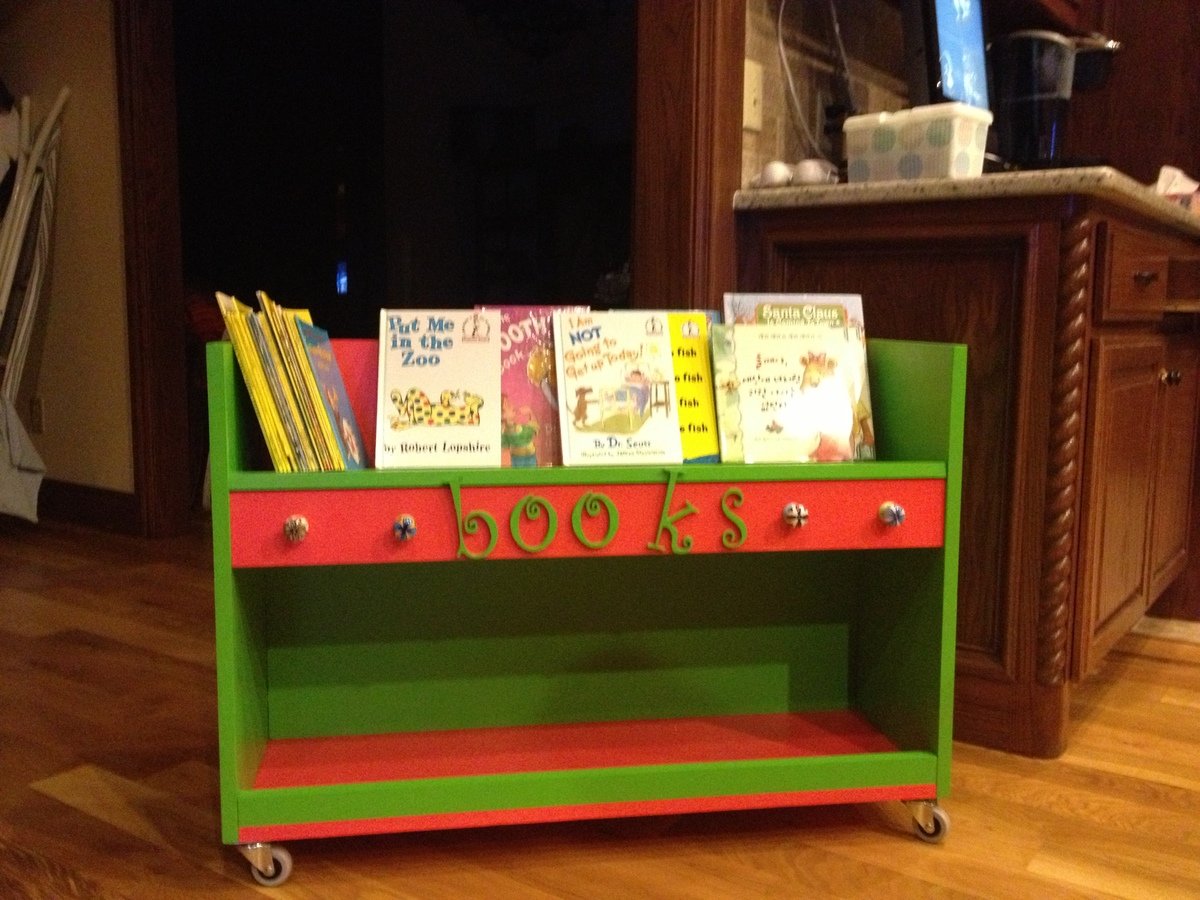
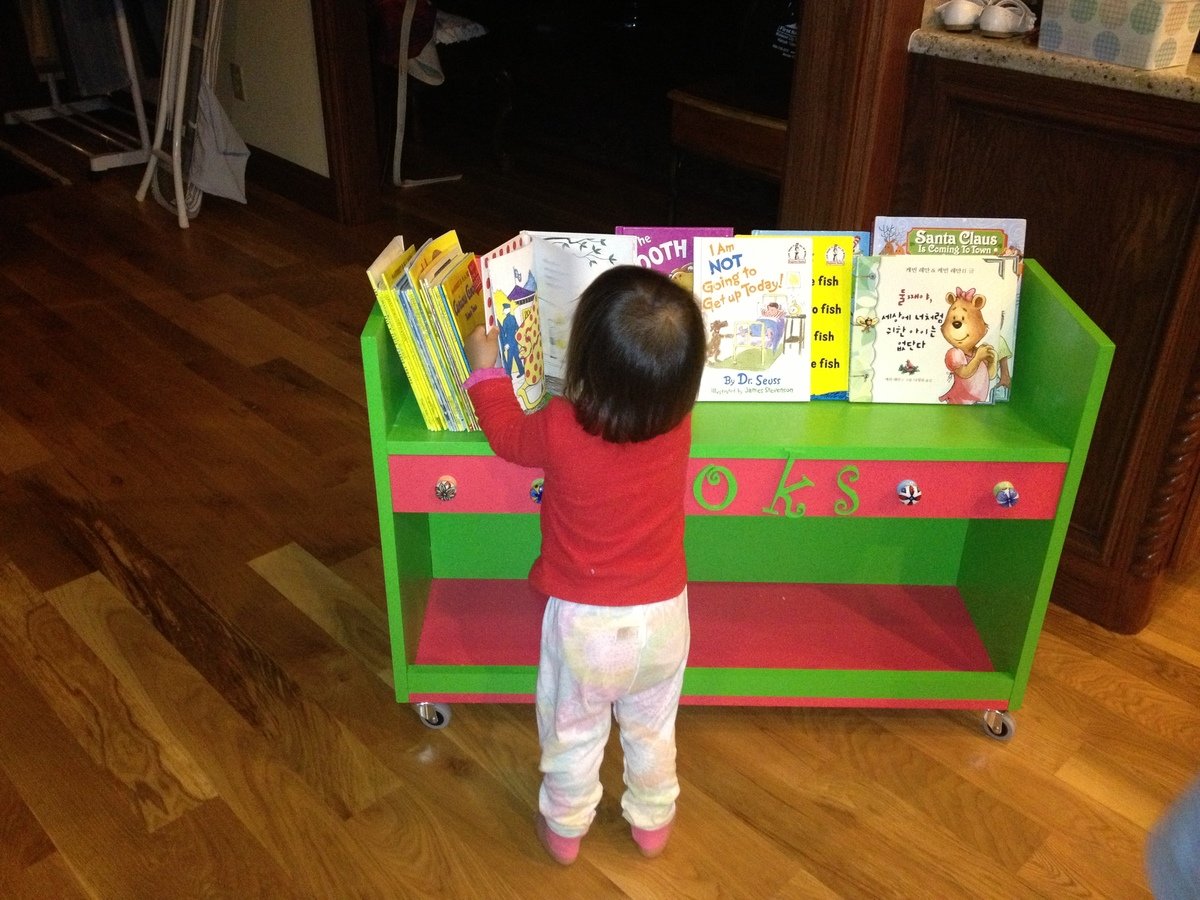
We followed Ana's plans for the basics but went on our own for simplicity. We found the letters at Hobby Lobby. I also added some ceramic knobs to hang things on.
To make it easier we eliminated the handle holes and did not round the top edges. Just used some kreg jig screws for the bottom and second shelf and screws for the rest. That's about it! Pretty easy. The hardest part was the painting.

Built from Plan(s)
Estimated Cost
$60 for two carts
Estimated Time Investment
Afternoon Project (3-6 Hours)
Finish Used
Sanded with #120 sand paper and painted with pink and green from the blue store.
Recommended Skill Level
Beginner

Wedding Picnic Table

Submitted by leeannraye on Mon, 04/13/2015 - 06:27

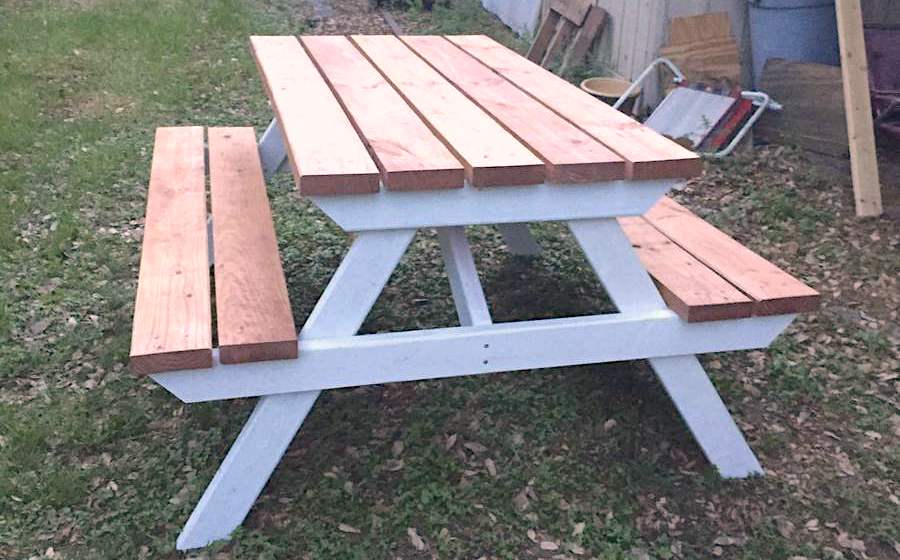
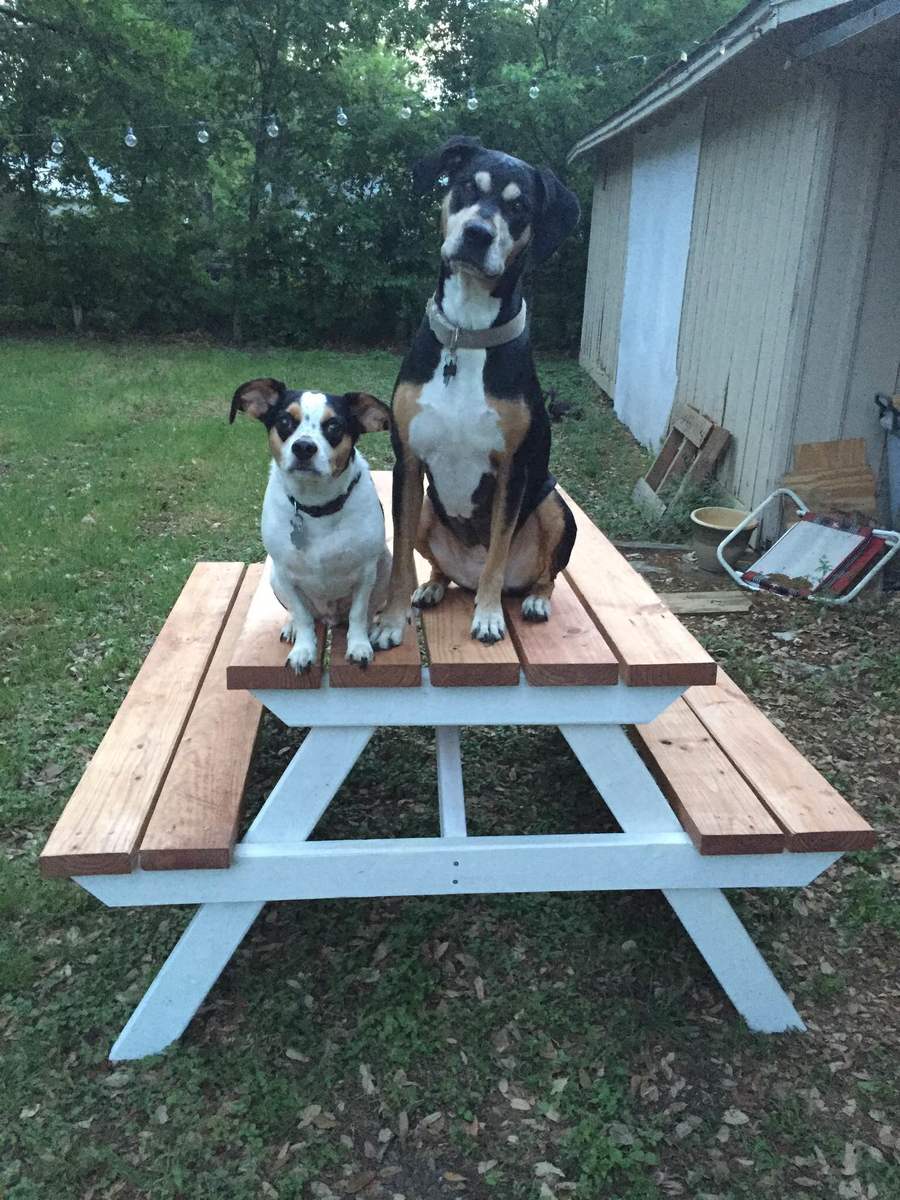
I made this picnic table for my upcoming wedding with the intent of using it as our guestbook.  I'm hoping to have people sign, carve, and woodburn their names or a message on the table.  I painted the legs and supports white and stained the top and seats with a cherry stain.  I still need to put some finish on the whole thing, but overall I'm really happy with how it turned out.  And so are my dogs.

Estimated Cost
about $70
Estimated Time Investment
Weekend Project (10-20 Hours)
Finish Used
White paint and cherry stain
Recommended Skill Level
Beginner

Comments

Linda7

Mon, 04/13/2015 - 09:46

I love your idea for a picnic table as a guest book! There are several brags showing benches used as guest books on this site, but no picnic tables. Not wanting to sound like a know-it-all, I would caution you to use paint pens rather than a permanent magic marker if you have guests who aren't comfortable using a woodburning pen (such as an elderly person). Magic marker ink smears when you apply a finish over it. (I read a comment from a mom who made her daughter a guestbook bench. They used permanent magic marker, then applied a poly finish over it, which then ruined all of the signatures.)

leeannraye

Mon, 04/13/2015 - 11:08

Thank you for your suggestion about the paint pens. I hadn't had much time to do research and was planning on just using sharpies. But now I can avoid making that mistake. :)

Sliding laundry room door

Submitted by Flowerchld on Tue, 08/08/2017 - 16:19

Sliding door to my laundry room with etched, stained glass window

Estimated Cost
$50 plus glass and etching gel, sliding door hardware
Estimated Time Investment
Day Project (6-9 Hours)
Finish Used
Steel wool soaked for a week in vinegar and painted on
Recommended Skill Level
Intermediate

Turquoise Beaut!

Submitted by SammyS on Thu, 03/10/2011 - 19:08

Made this adorable step stool for my two year old nephew... BUT... I liked it too much and decided to keep it for myself. Is that selfish of me? I use it almost every day to get to the top shelf in my closet. Maybe next year Miles!

Built from Plan(s)
Estimated Cost
$25.00
Estimated Time Investment
Afternoon Project (3-6 Hours)
Recommended Skill Level
Beginner

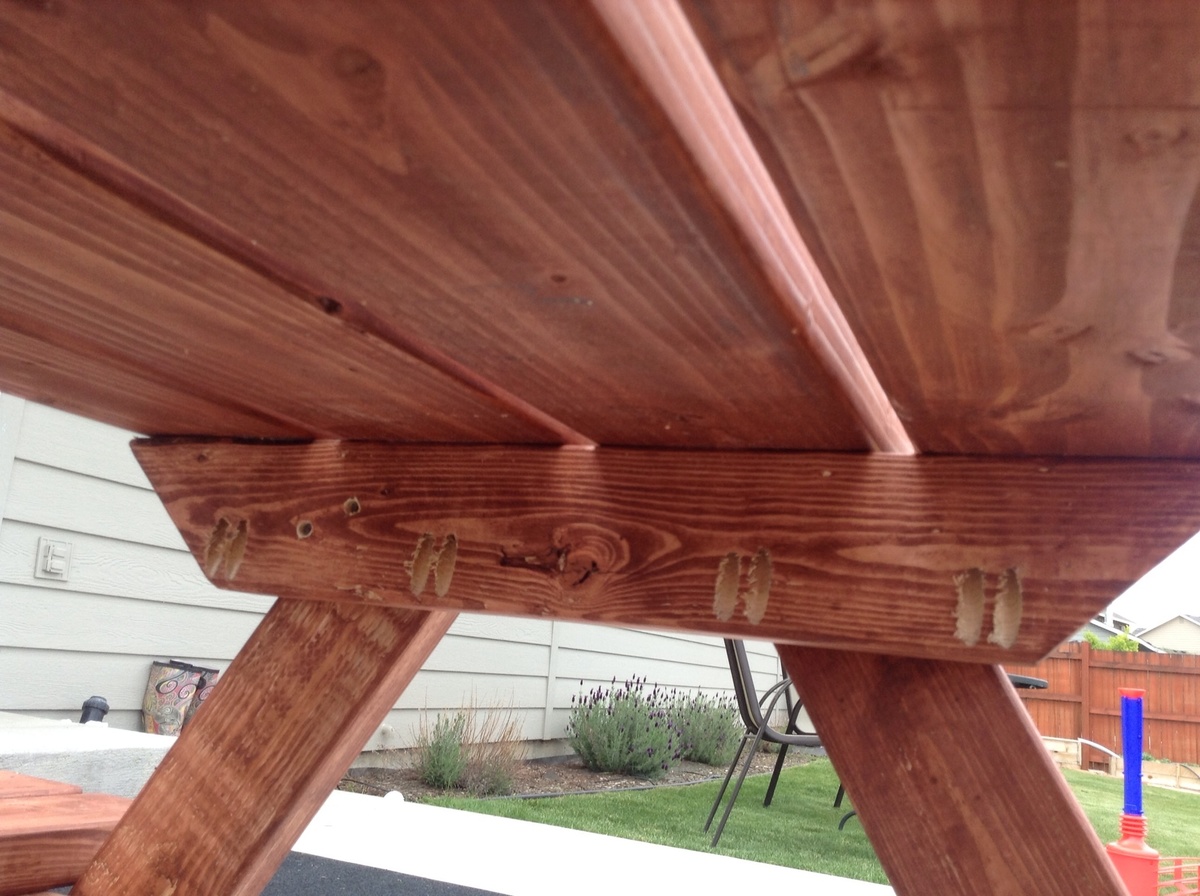
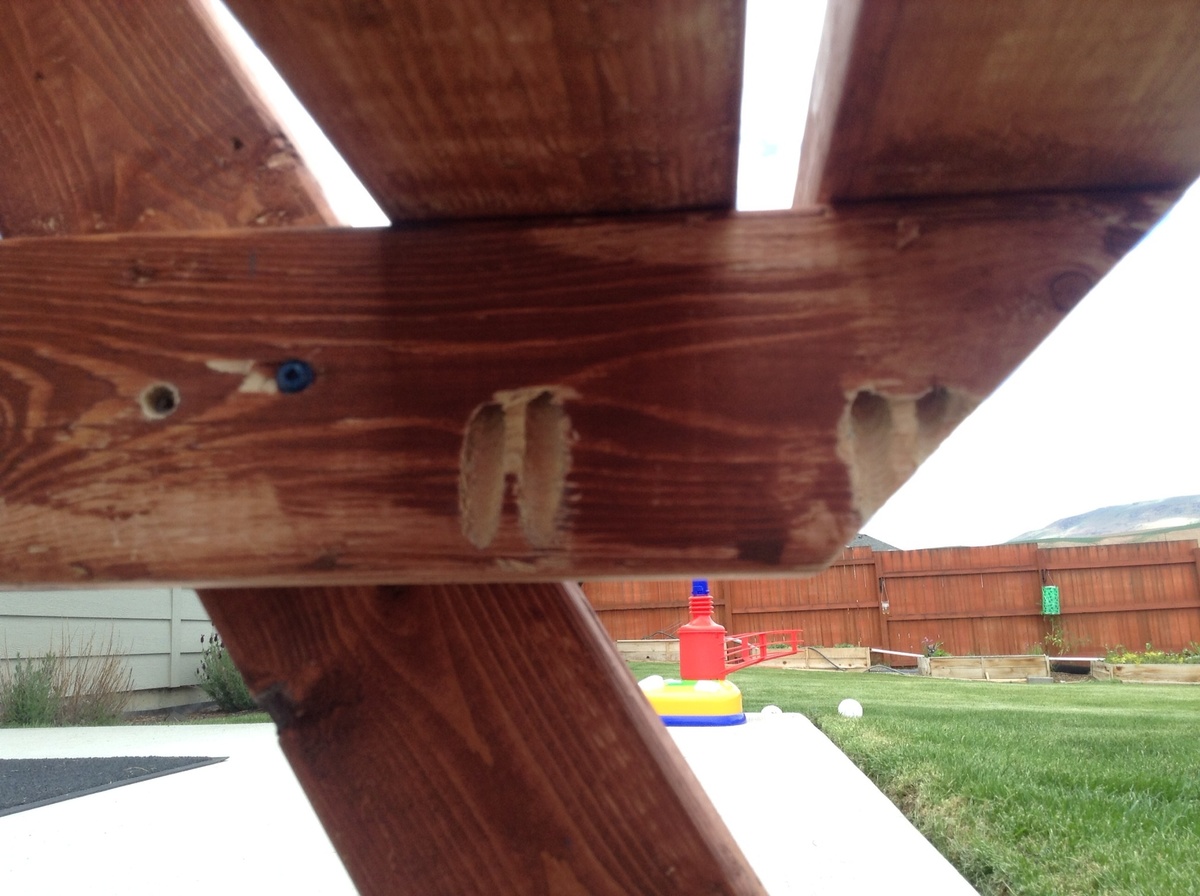
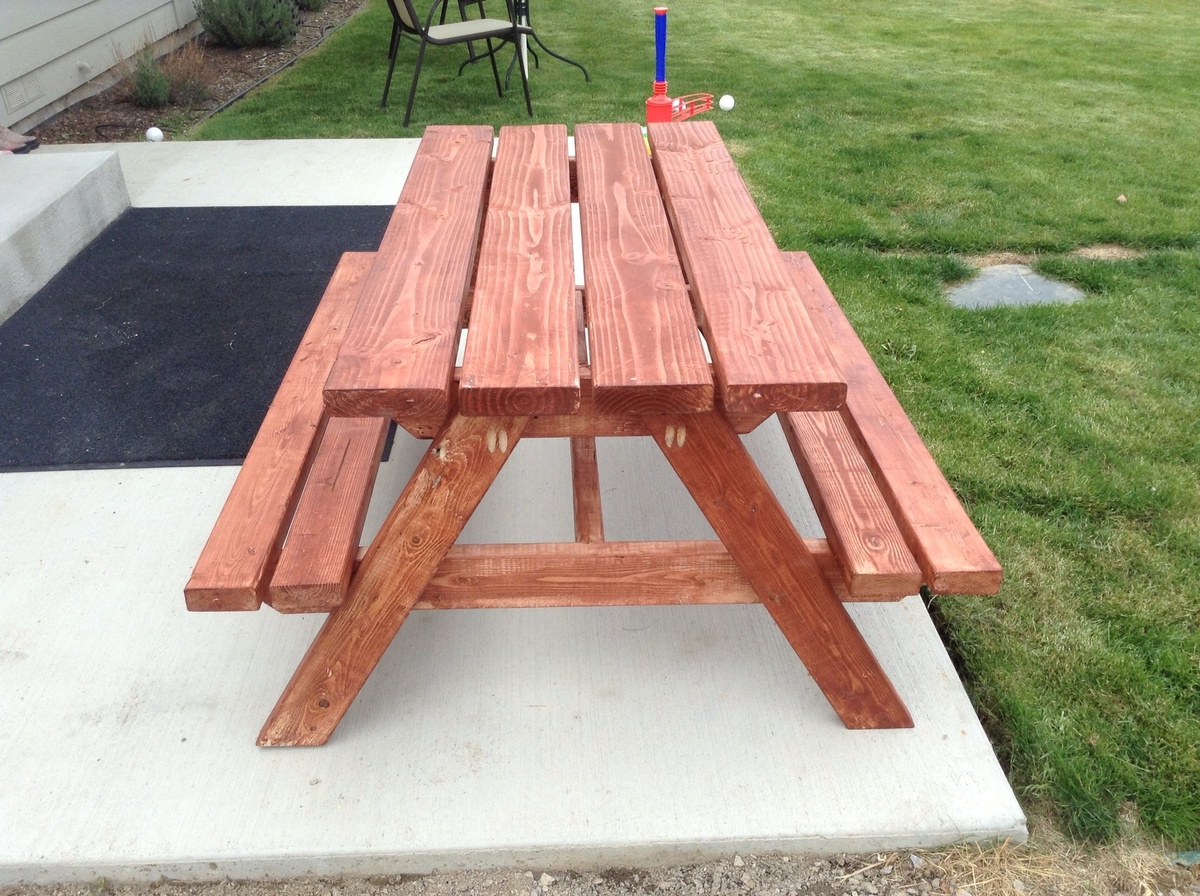
Bigger kid picnic table

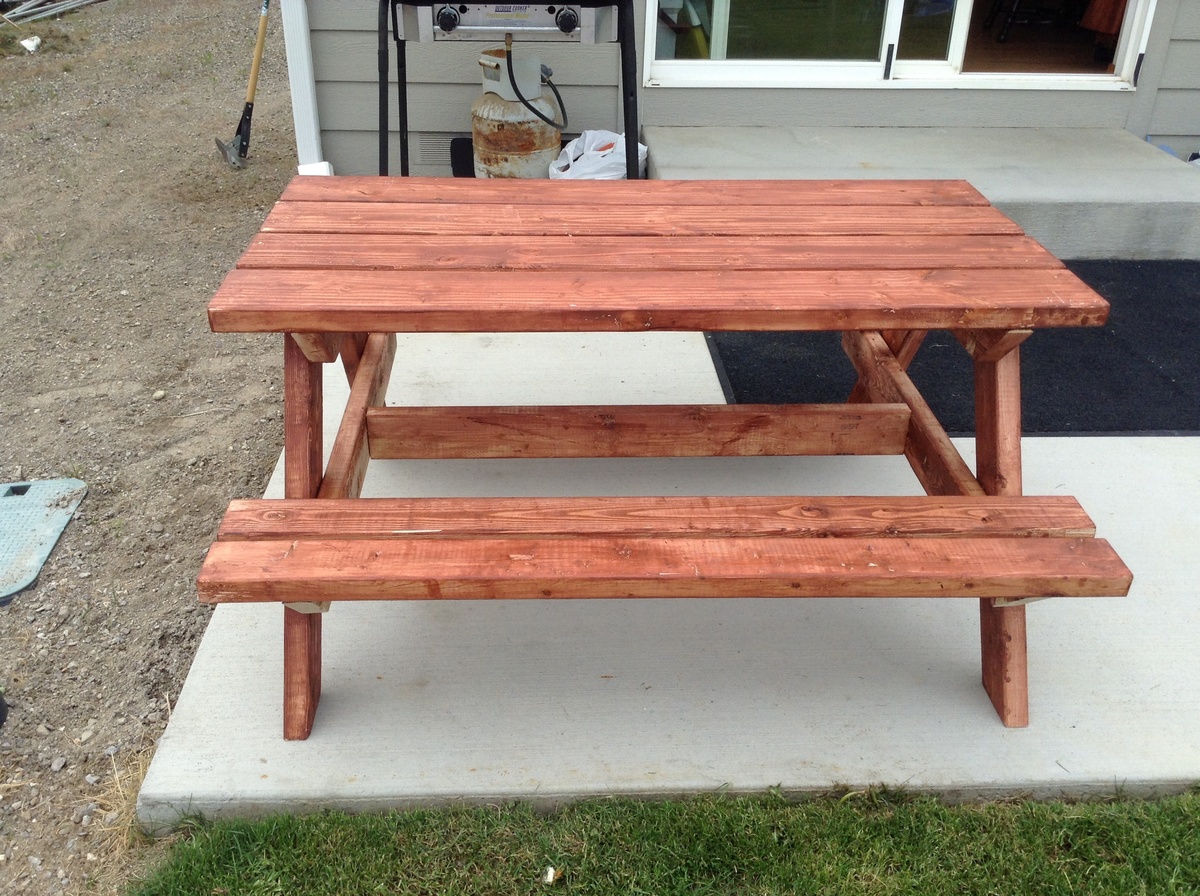
We finally got our grass green and back yard clean, after all that work the lop sided blue little tykes picnic table stood out like a sore thumb. This was the perfect table to fit our back yard make over.

When Ana says read all comments she means it. Cherie posted "if you plan carefully you really only need 5-2x4's instead of 6. Cut 2-2x4's in half for the seats. Cut 2 legs and one seat support from the third 2x4. Repeat for the fourth 2x4 and finally cut the bottom suppport and the 2 table supports from the 5th 2x4. Just plan carefully." I still bought 6 2x4's but only used 5.
I did pocket holes on almost all the joints. I put the table on risers and was even able to use a pocket hole to add the seat boards. I did have a bit of a problem with the table top supports, I am not sure what others did but I cut mine at 45 degrees and they still wasn't enough to get the measurements the plans had. I just left it and marked where it would have been. I had some scraps from a fence pickets I ripped for my $10 raided garden bed left,over that I used as a spacer for my table top and seat boards, made it so easy and they are perfectly spaced. They are just over 1/2 an inch but It worked great.

http://ana-white.com/2010/04/plans-bigger-kids-picnic-table.html

Estimated Cost
$45 with screws and stain
Estimated Time Investment
Day Project (6-9 Hours)
Finish Used
I used the finish featured here http://ana-white.com/2013/02/walnut-minwax-express-color-cedar

One tube was just barley enough, but I used an old tee shirt that sucked it up like a sponge and didn't spread very well. Next time ill spend the$3 for the rags the paint store has. At the time of this post and the pictures I haven't added the polyurethane gloss to it yet.
Recommended Skill Level
Beginner

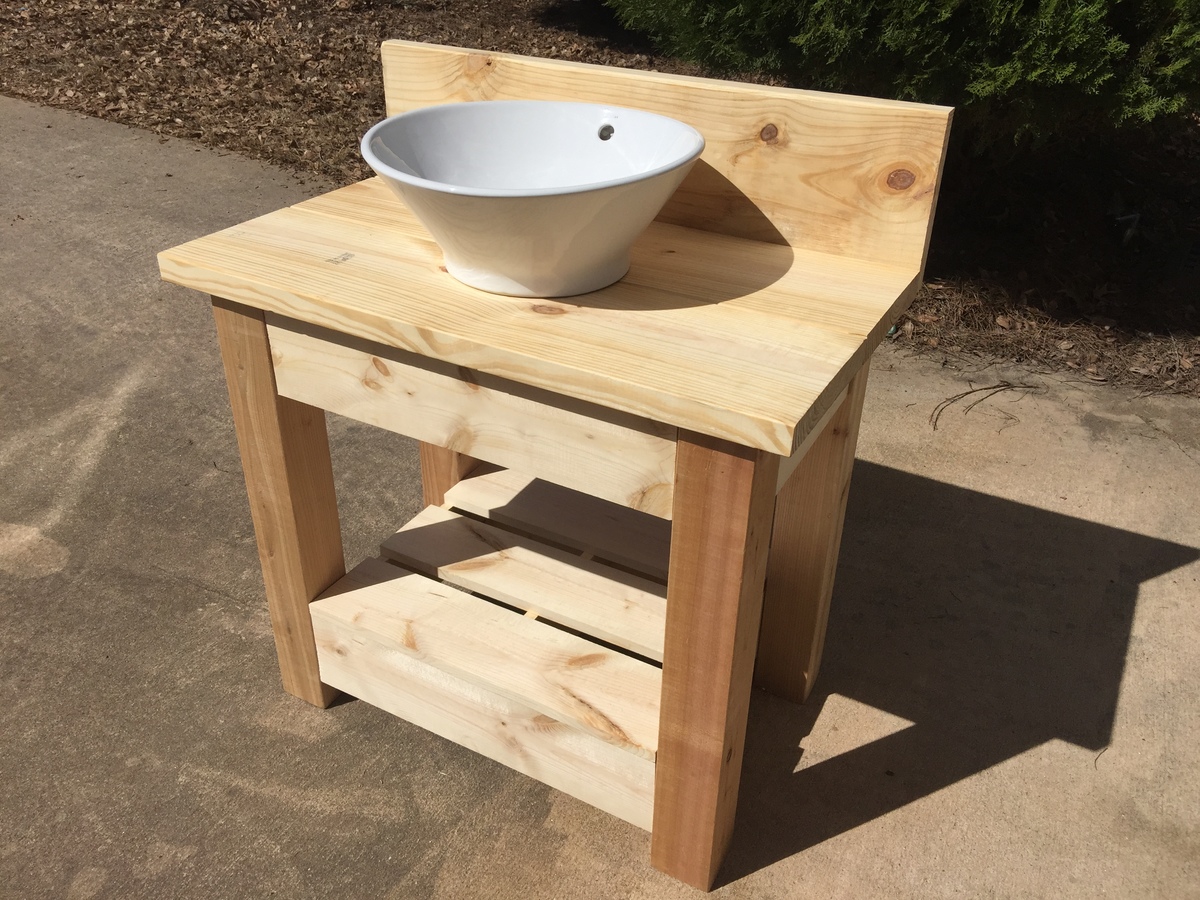
Wholesteading.com Farmhouse style vanity with vessel sink

I used Ana White's plan as a base but completely modified to suit our needs.  The post on our site includes detailed pictures, instructions, and even the SketchUp file so you can easily modify the plans yourself.

Estimated Cost
Depends on materials used, especially the sink selected buy somewhere around a couple hundred dollars.
Estimated Time Investment
Day Project (6-9 Hours)
Finish Used
Minwax Ebony
Recommended Skill Level
Beginner

Comments

4x4 Truss Beam Table

Submitted by ___Ron___ on Mon, 08/21/2017 - 16:06

This is the dining room table I built for my house. It was based on the 4x4 truss beam table plans I found here on Ana's website. I opted against stain, and decided on a clear polyurethane finish to highlight the wood's natural beauty. I've had this table for over a year now, and it has withstood the rigors of young children quite nicely. Thanks Ana!

Sincerely,

Ron Floyd

Portland, OR

Estimated Time Investment
Week Long Project (20 Hours or More)
Finish Used
polyurethane
Recommended Skill Level
Beginner

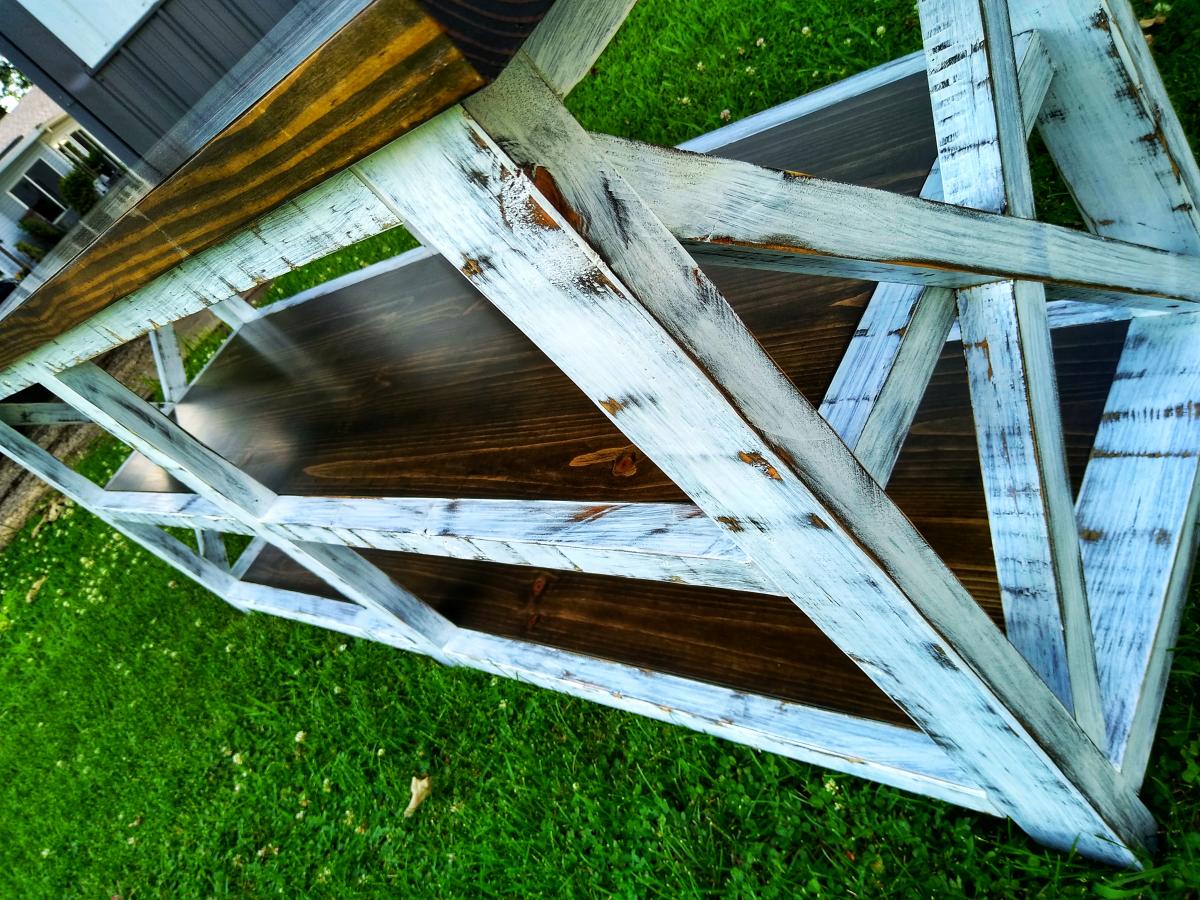
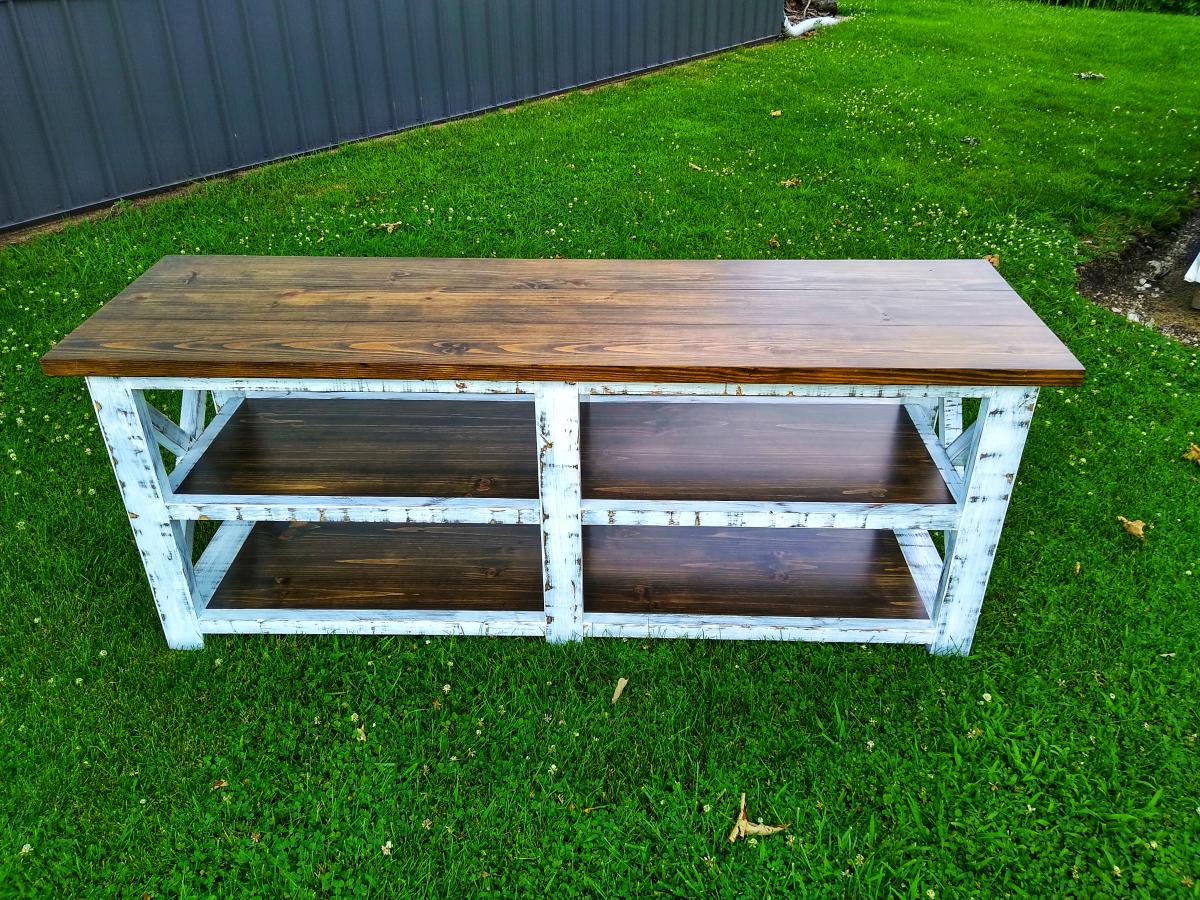
Rustic X Console Table

Submitted by hnick78 on Tue, 10/05/2021 - 06:25

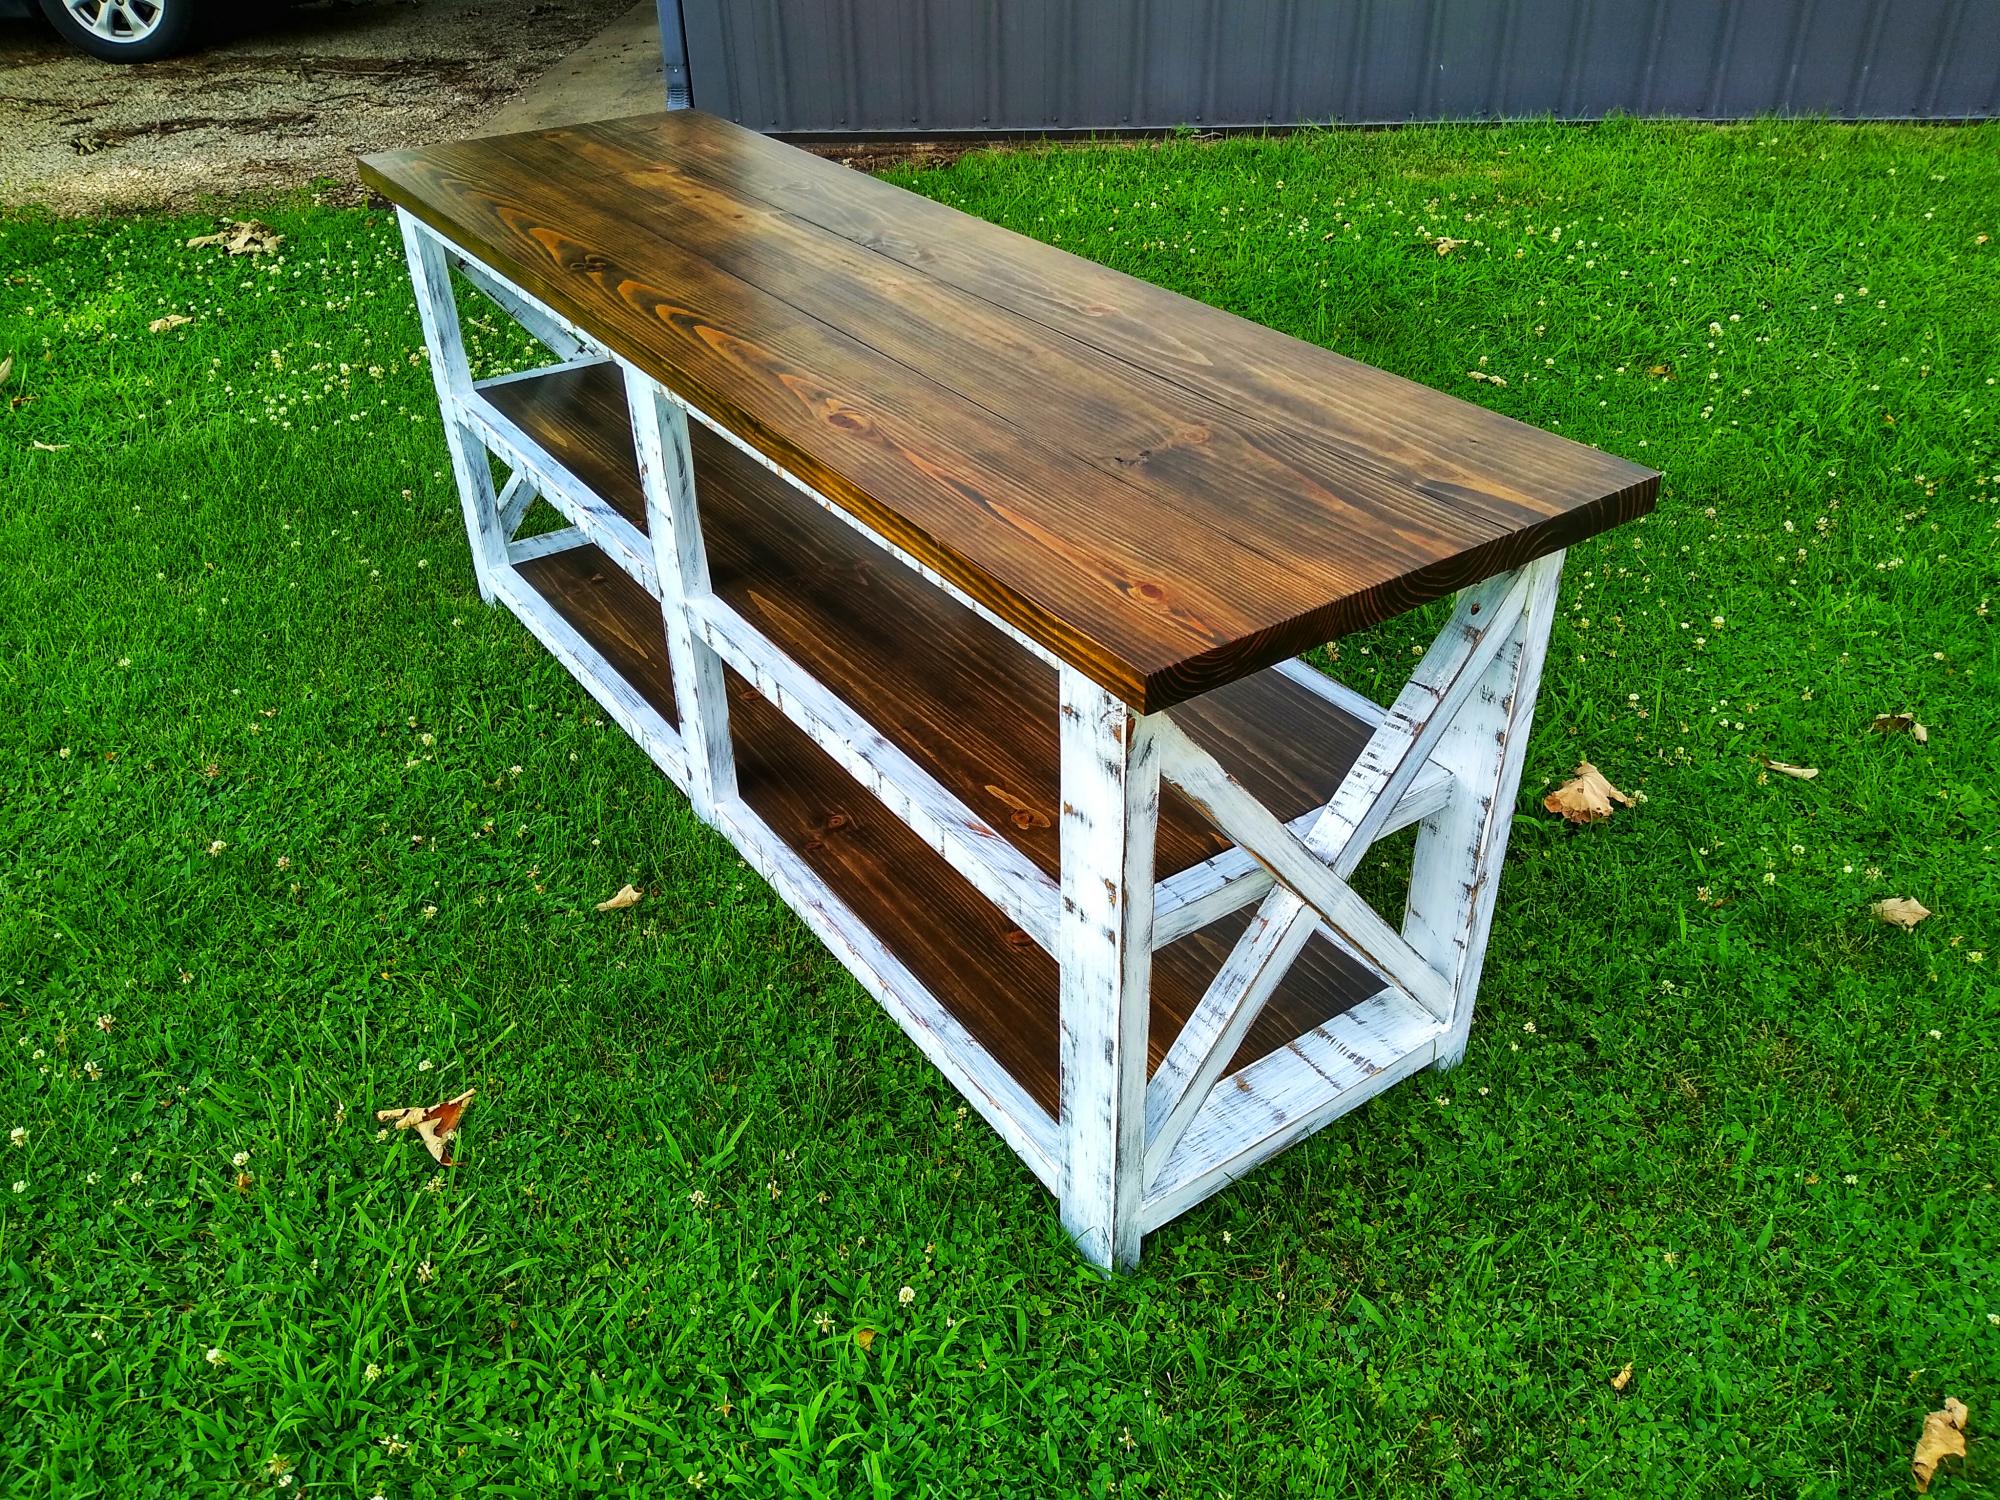
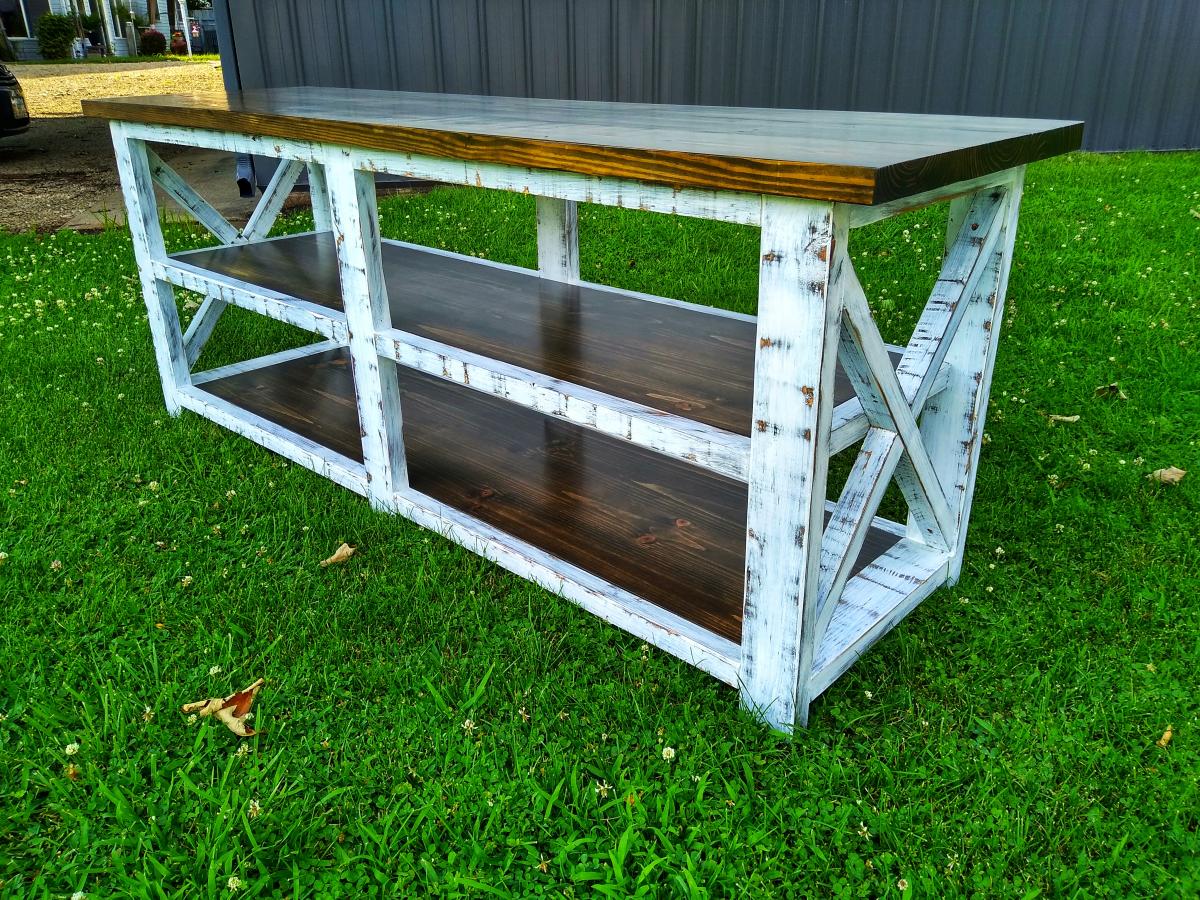
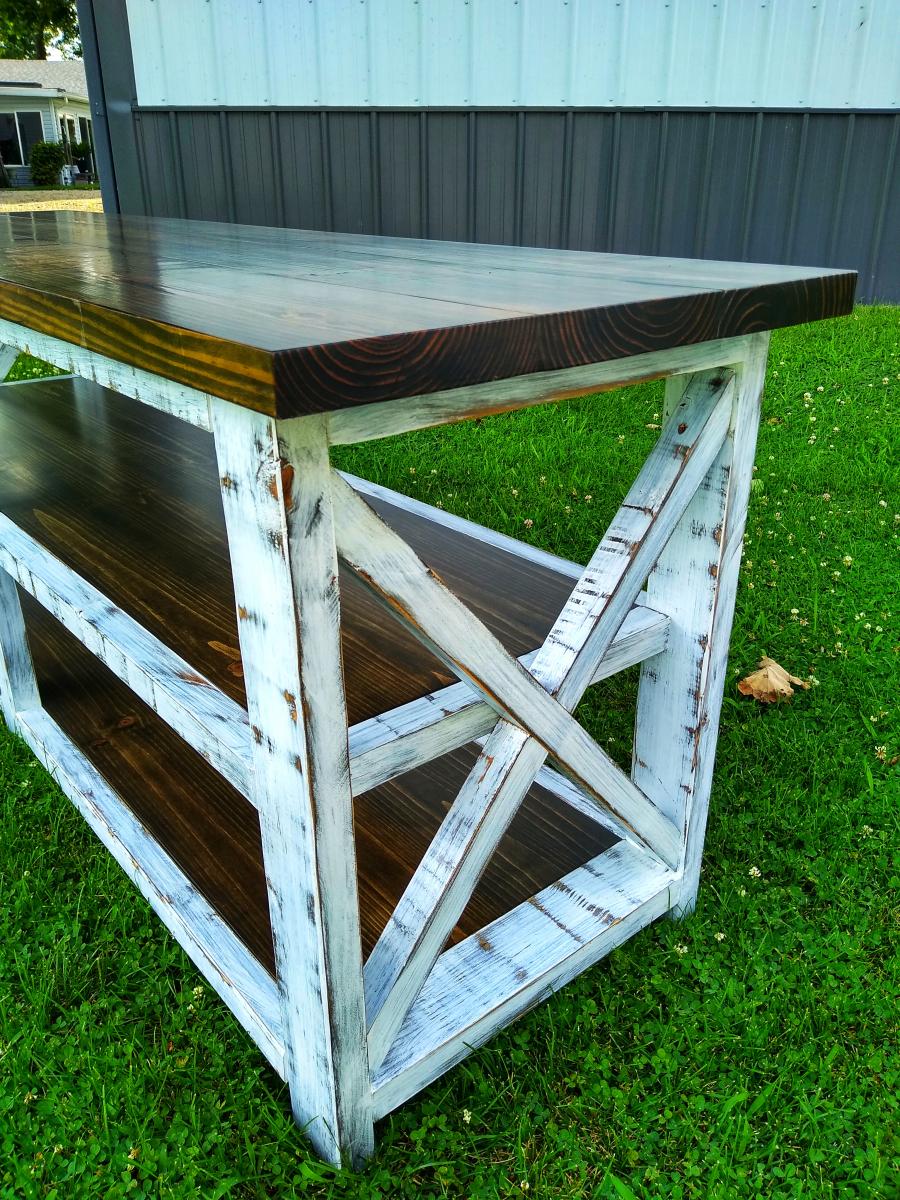
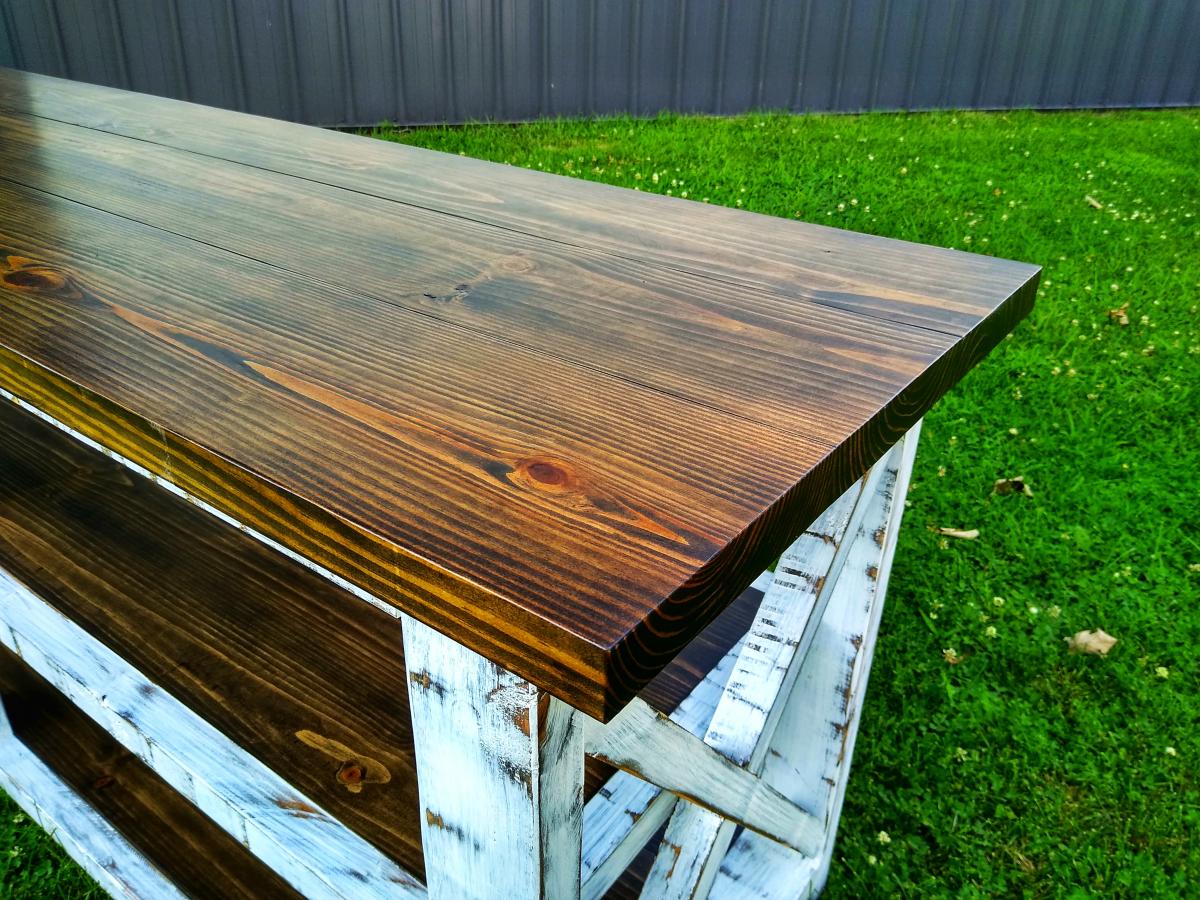
I was commissioned to build this console table along with a couple “Rustic X” bookshelves. The finish is distressed white and True Browns stain.

Built from Plan(s)

Comments

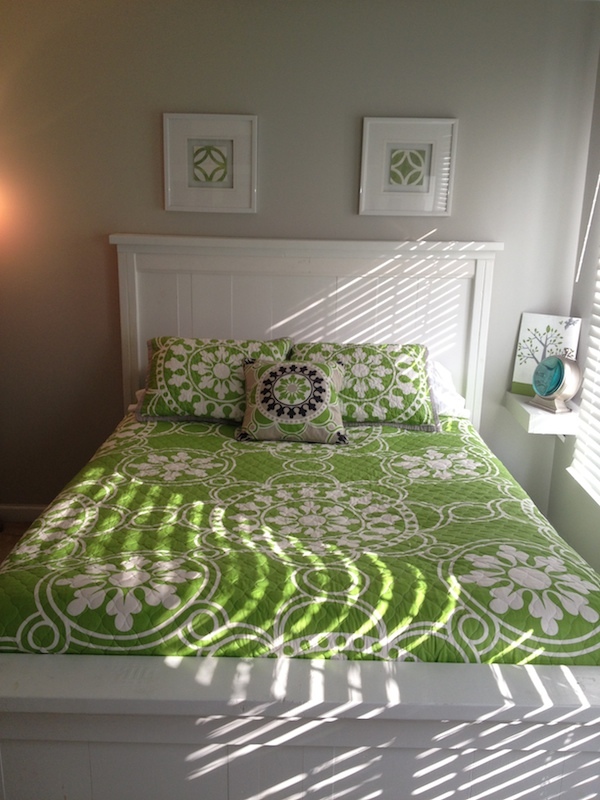
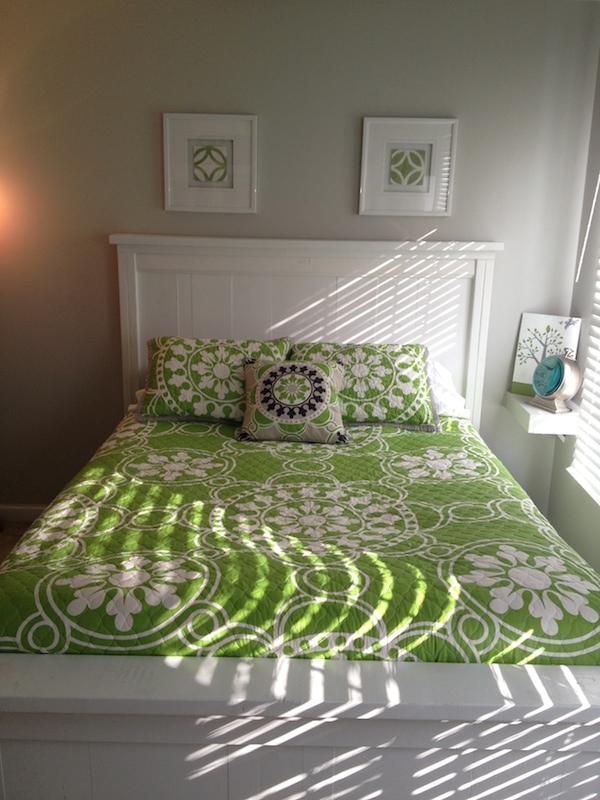
90% Reused/Reclaimed Wood Farmhouse Bed!

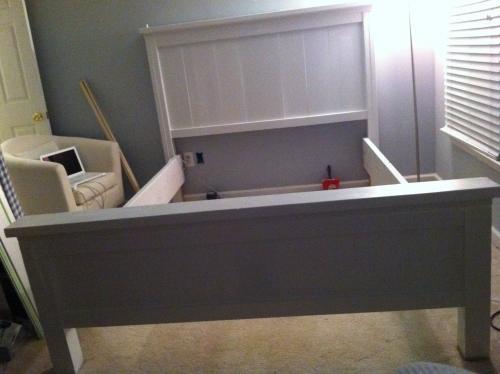
90% of this bed is built with scrap wood and re-used wood. I built this bed in 5 hours. (Not counting priming, painting, and filling).

The panels on the headboard and footboard instead of being all the same size are what I had leftover from other projects and lucked out with it balancing as the following:

HEADBOARD PANELS: from left to right --> 1x8, 1x3, 1x8, 1x8, 1x12, 1x8, 1x8, 1x3, 1x8.

FOOTBOARD PANELS: from left to right --> 1x8, 1x8, 1x12, 1x3, 1x4, 1x3, 1x12, 1x8, 1x8.

I only had to cut all of these boards to length, not width, and it all worked out PERFECT to make the panels.

Instead of the 4x4 posts, I used 2 2x4's that I had saved from when I ripped a closet and soffit out of our master bathroom. Those 2x4s are also used for the construction of the headboard and footboard, and the trim on top of both.

The only pieces of wood I had to buy were the 2x6 tops of head/footboard and the 2x10s for the side rails. T

The whole bed has dings and holes and dents and stuff all over it because of it being re-used/scrap wood, but I love the look of it. I painted it a gloss white to balance all of that. I found bedding that is green and white on one side and gray and white on the other side to match the color scheme of the room - and now it's done and I couldn't be more proud!!
Built from Plan(s)
Estimated Cost
$25
Estimated Time Investment
Afternoon Project (3-6 Hours)
Finish Used
kilz primer and white semi gloss paint
Recommended Skill Level
Intermediate

Patio Furniture

Submitted by shoverbj on Tue, 05/28/2013 - 06:25

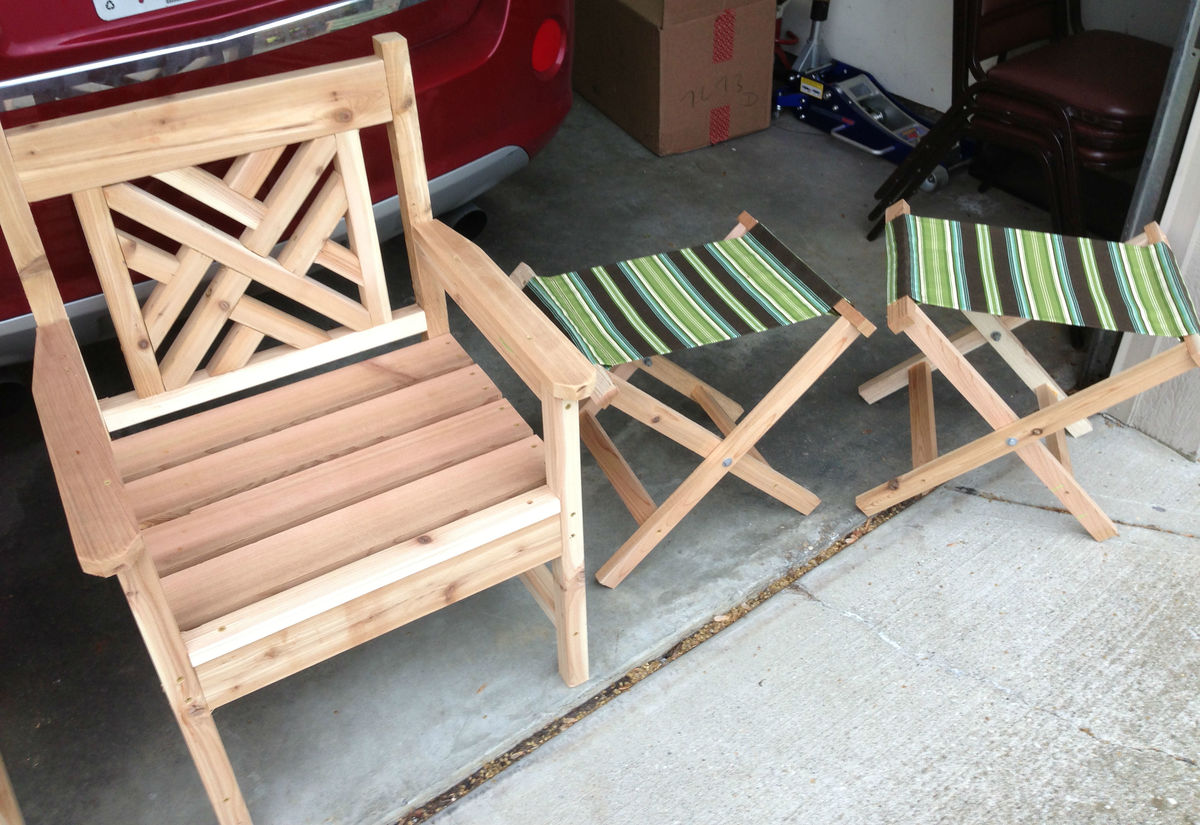
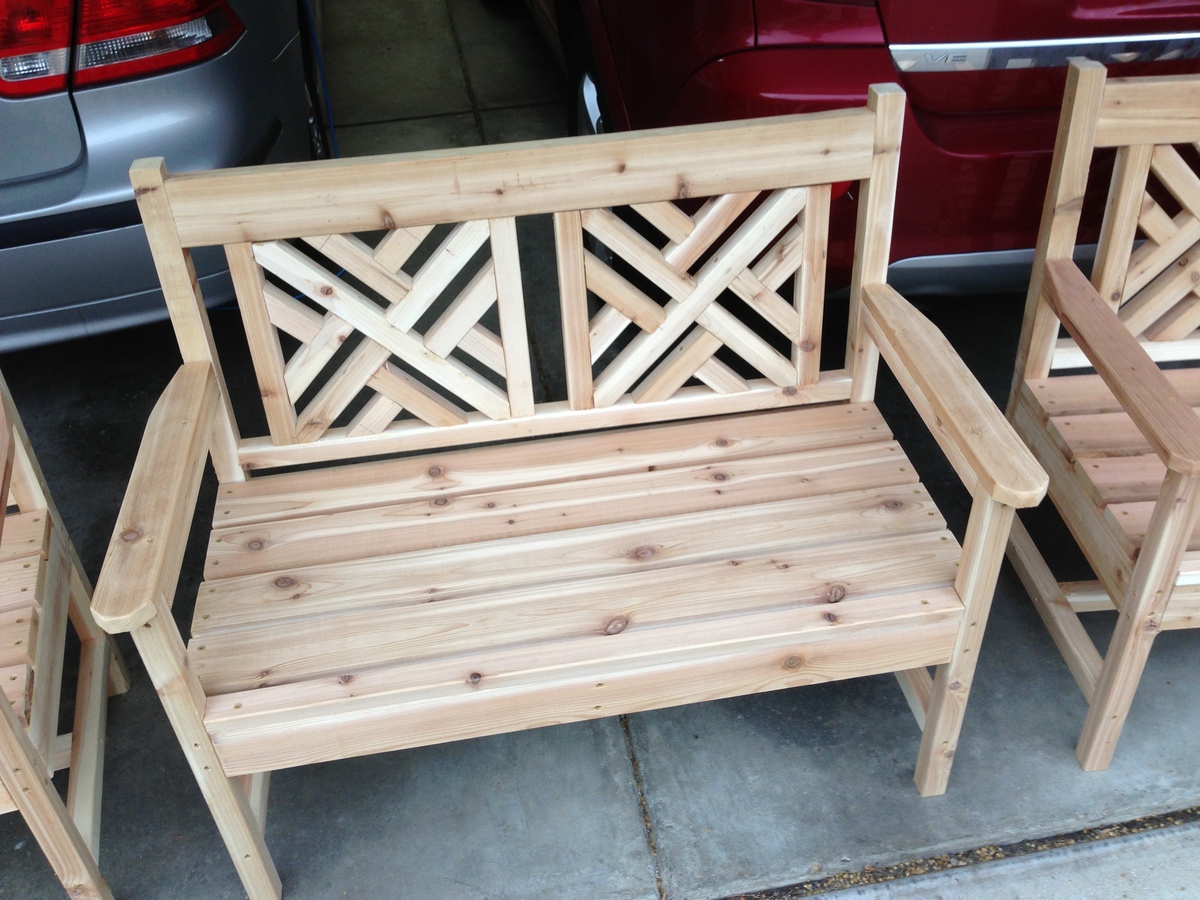
Memorial Day weekend project for my wife and I. These will go around our firepit out back, but it was raining so we just took pics in the garage where they were assembled. I built the woven back bench and used the plan (and SketchUp) to modify the plan for 2 chairs as well. I mirrored the weave on the bench and the 2 chairs for a bit of visual contrast.

I also used the plan for the folding camp chairs but simplified it a bit by removing the upper strechers and dowels and just making the fabric on there permanently. These will only be pulled out if we have more than 4 around the fire.

Estimated Cost
175
Estimated Time Investment
Weekend Project (10-20 Hours)
Finish Used
No finish, just the natural wood
Recommended Skill Level
Intermediate

Comments

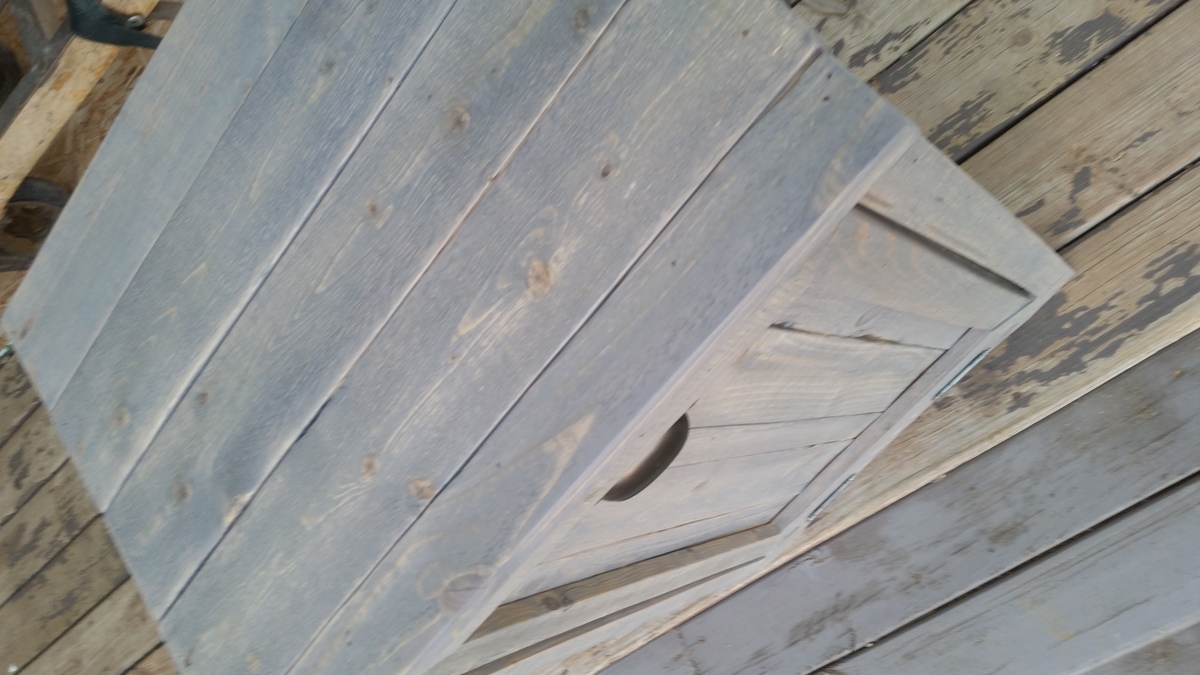
Tilt Out Garbage Bin

Submitted by stephie_00 on Thu, 04/23/2015 - 19:16

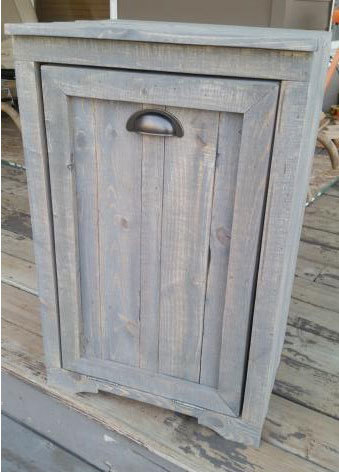
Modified the plan to use pallet wood and stained it classic grey for a weathered look.

Estimated Cost
$50
Estimated Time Investment
Weekend Project (10-20 Hours)
Finish Used
Min wax Classic Gray oil-based stain
Recommended Skill Level
Intermediate

Comments

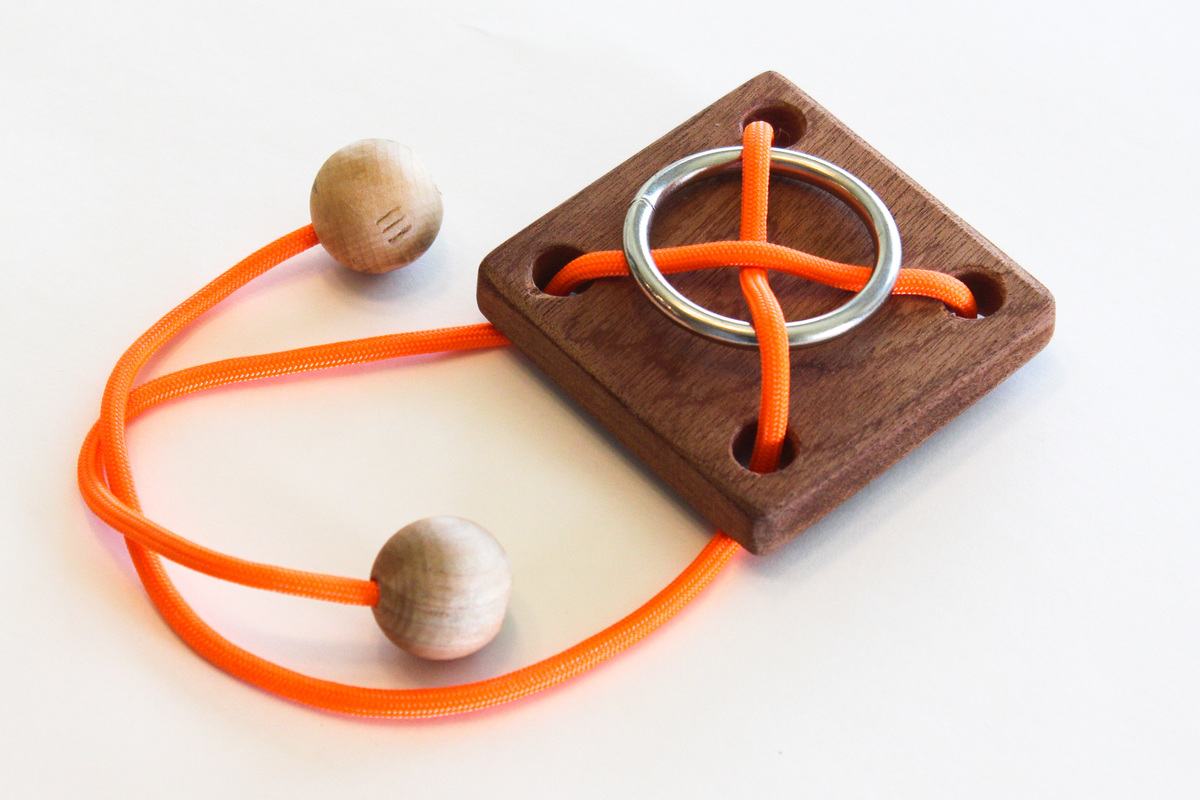
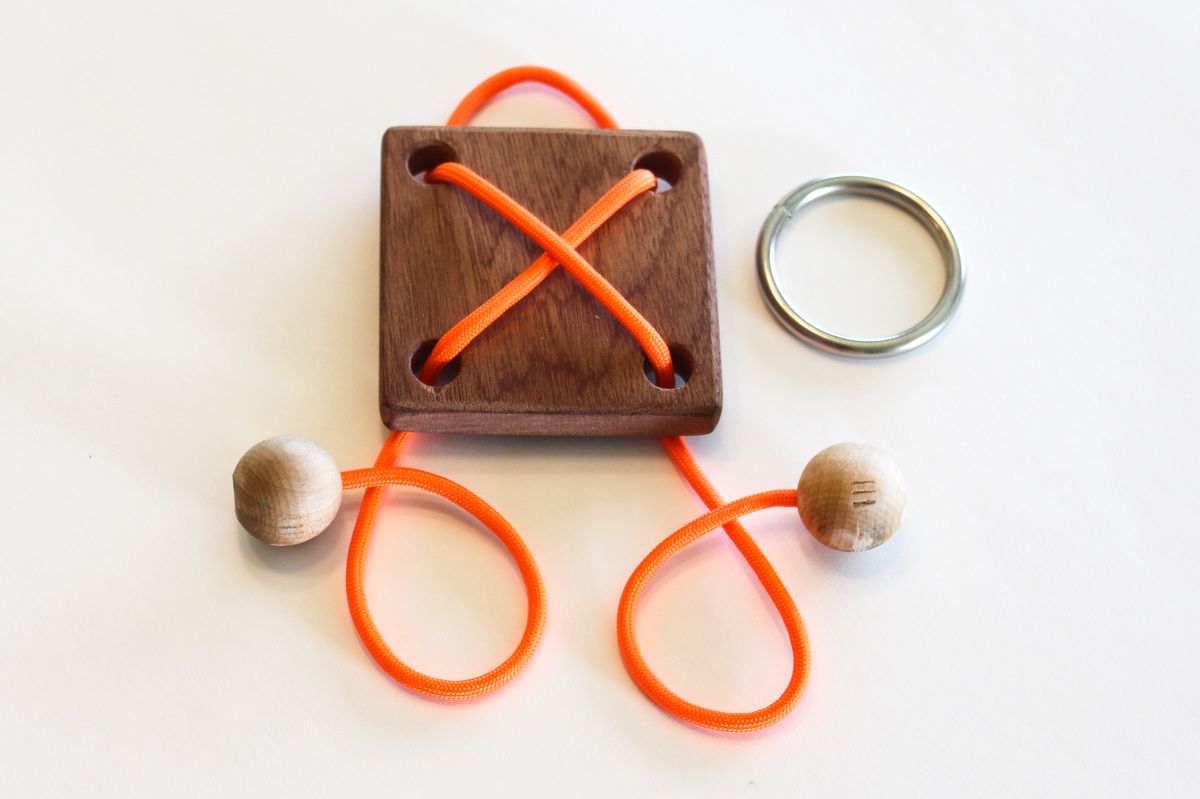
Rope / Ring Puzzle

Submitted by mtairymd on Mon, 09/04/2017 - 07:51

This is a really easy project to make. The goal is to separate the ring from the puzzle. Refer to the solution video if you can't figure it out.

Build Instructions:
https://www.instructables.com/id/Rope-Ring-Puzzle/

Solution: 

https://youtu.be/0juqeATz29I


Estimated Cost
$2
Estimated Time Investment
An Hour or Two (0-2 Hours)
Finish Used
None
Recommended Skill Level
Starter Project

Desk

Submitted by Anonymous (not verified) on Tue, 10/05/2021 - 12:22

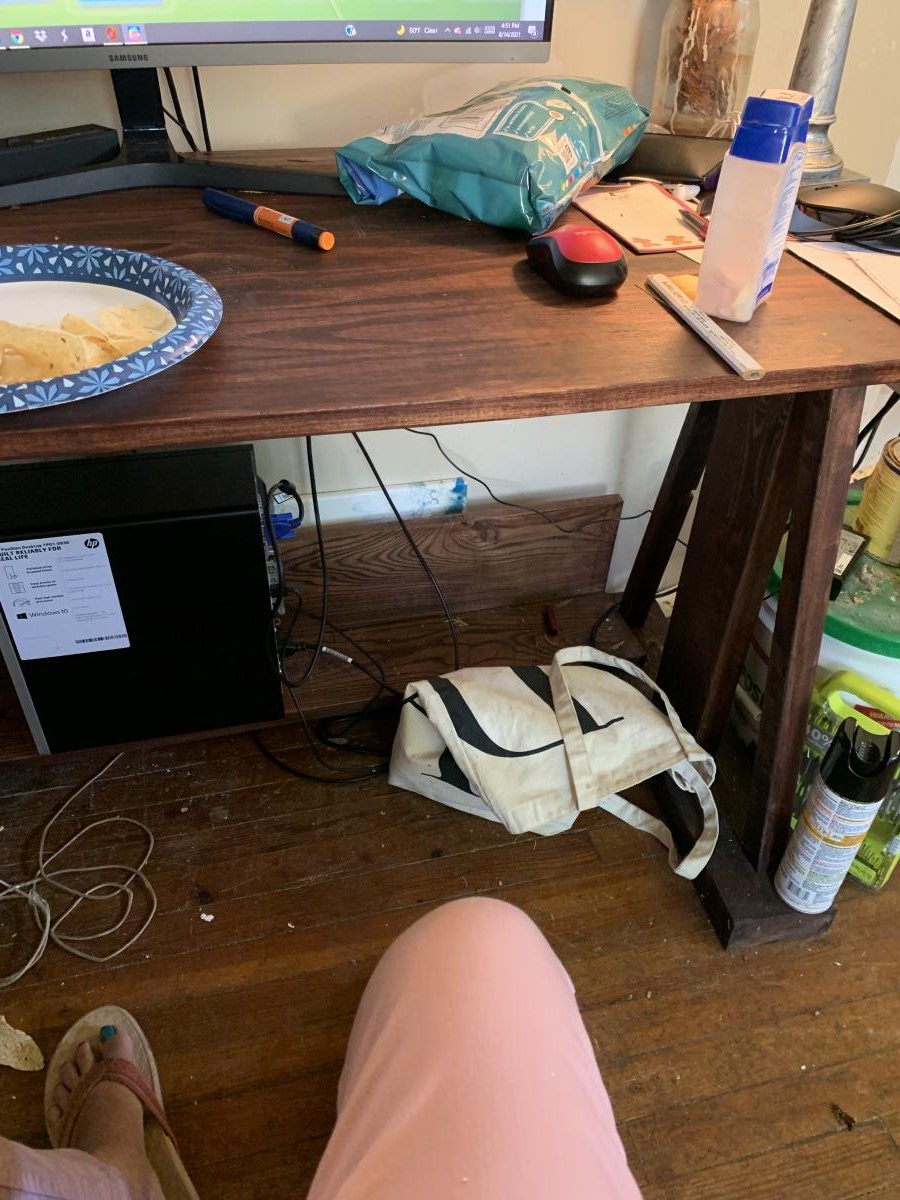
This is my desk. It’s working out great. I’m thinking of adding a small drawer for stuff. Thanks for the design.
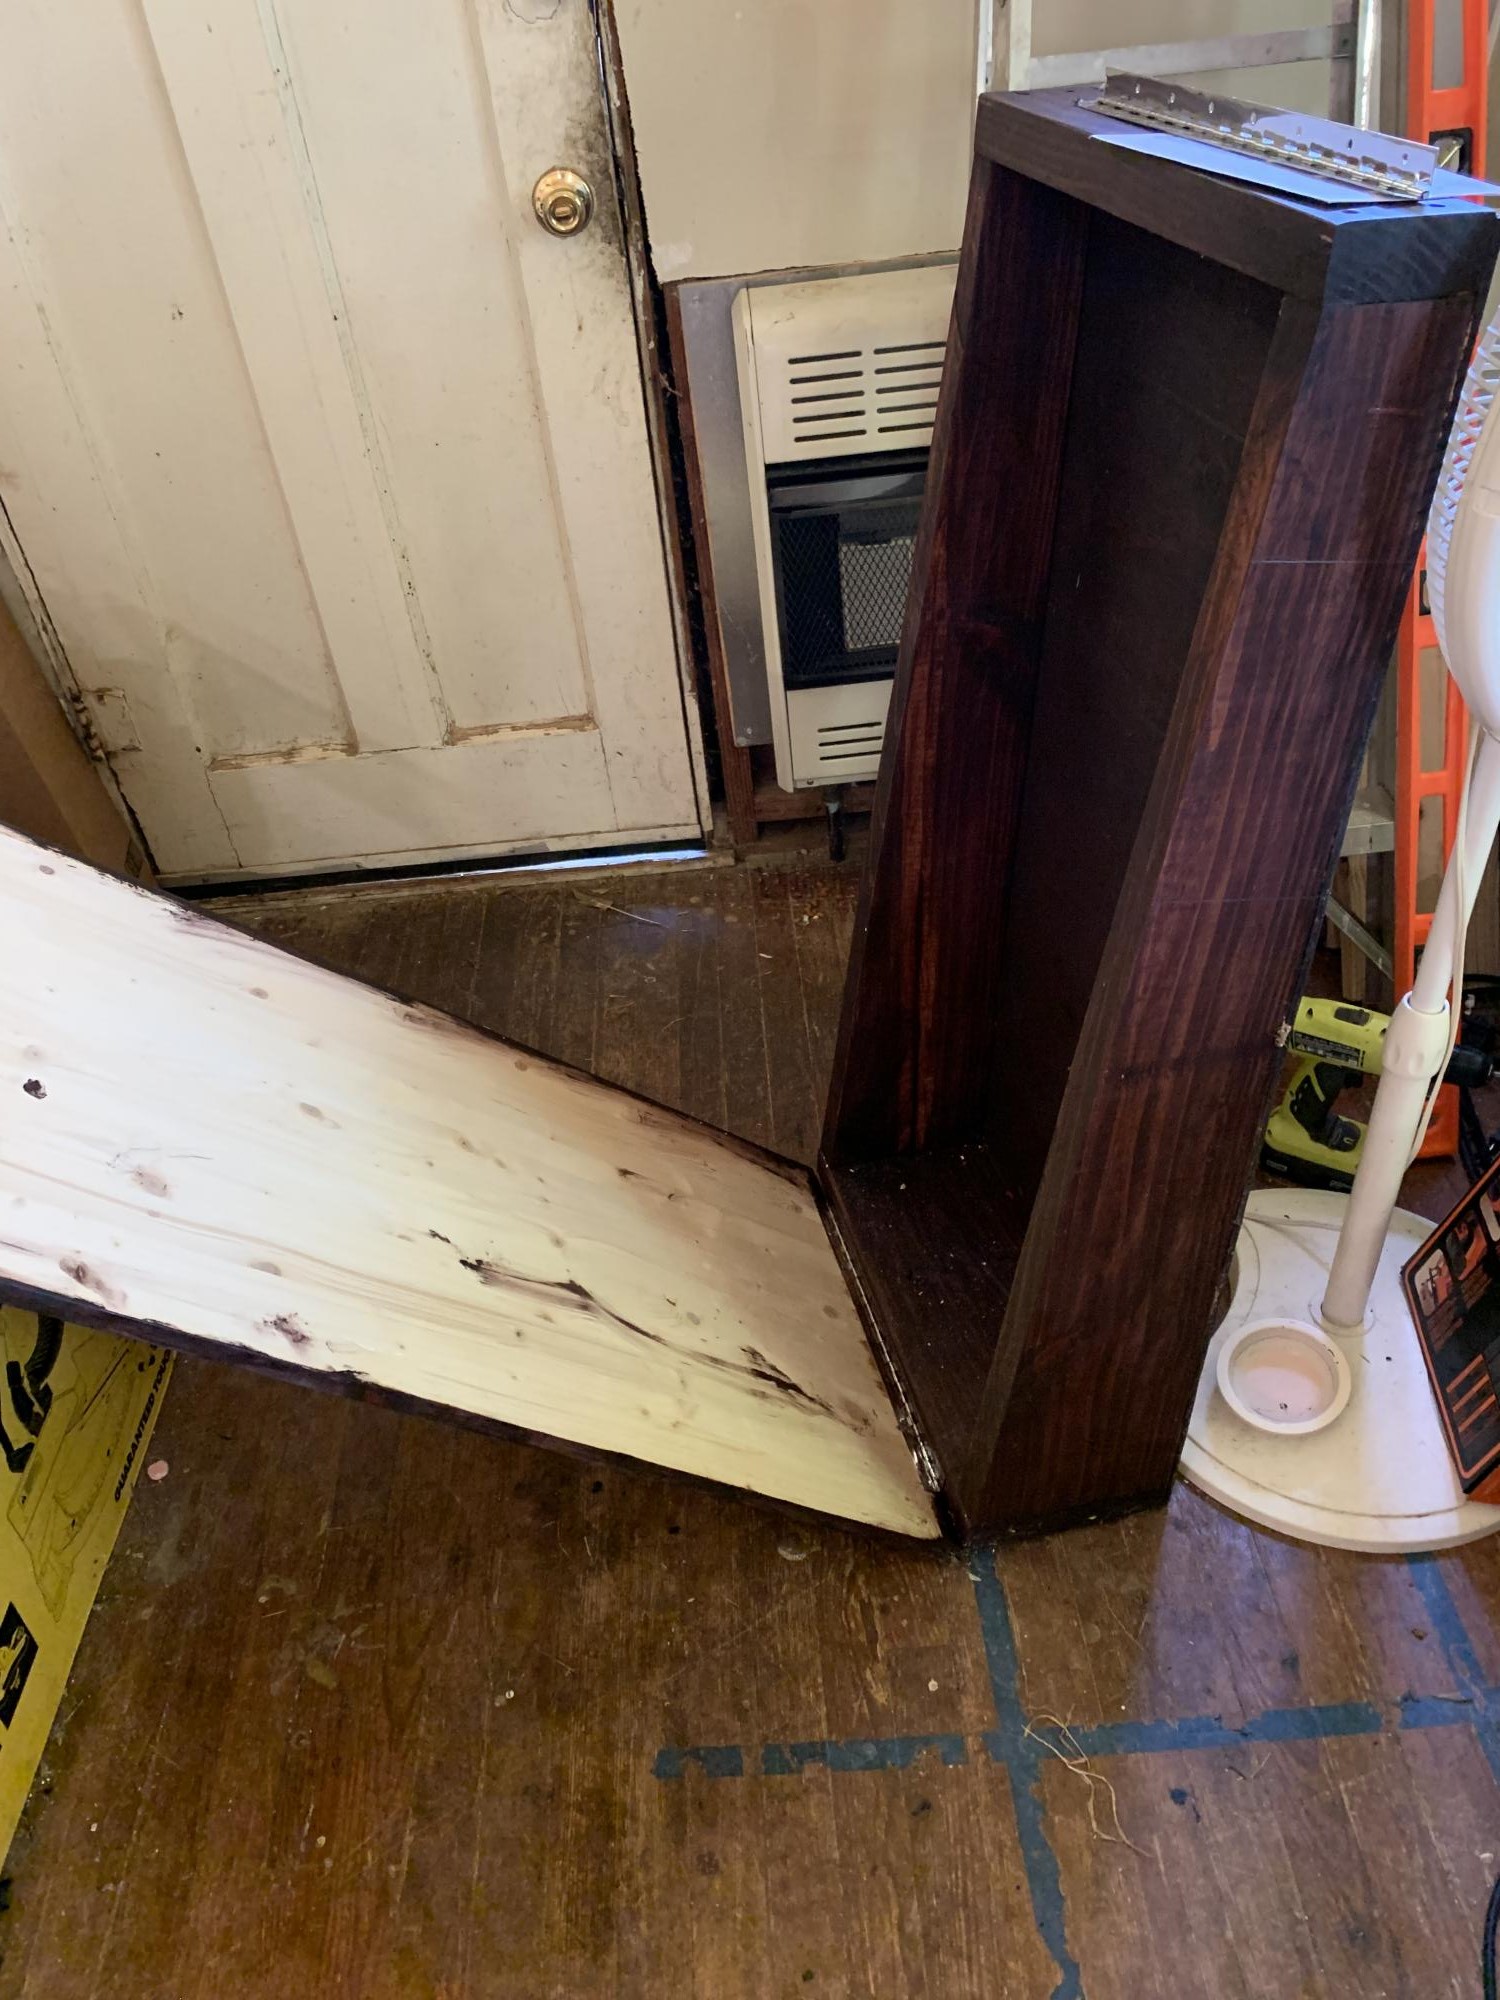
The other picture is the desk I’m building for my grandson. I’m painting the desk top. Still have to add the legs. I had to modify the size as his space in his bedroom is limited. I get confused putting the piano hinge on. Again thanks for your help. I love all your work.

Comments

Wooden "Dishwasher"

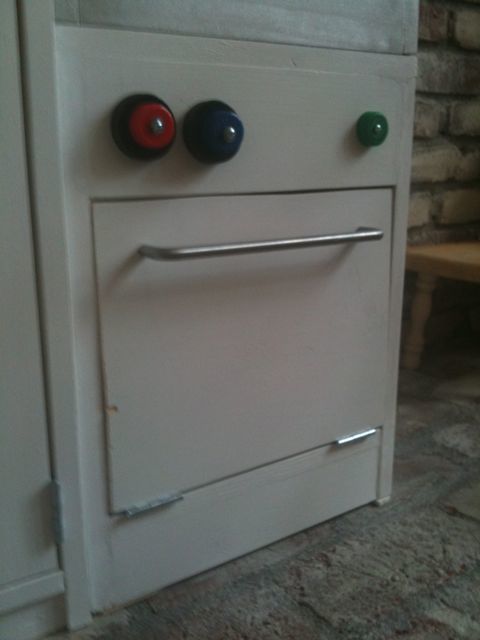
I used Ana's plan for Grace's Washing Machine and modified the interior panel to open downward instead of having a round door opening. My daughter LOVES this! VERY EASY build!

Estimated Cost
$0...I had scraps, handles, knobs and paint on-hand. May cost $25 otherwise?
Estimated Time Investment
An Hour or Two (0-2 Hours)
Finish Used
Paint
Recommended Skill Level
Beginner

Out door sectional

This is my first woodwork project, completed as a team, with my husband. Was good fun at times and frustrating at times! Our wood was thicker by a couple of millimetres out meaning the plans needed to be tweaked. Table was designed with the chair structure. We had cushions and covers made to measure (we live in SE Asia so cheaper than UK or US) about £200. Looking forward to building some deck chairs next!!
Estimated Time Investment
Week Long Project (20 Hours or More)
Recommended Skill Level
Beginner

Patio Table with Coolers

Submitted by docfin02 on Sun, 04/26/2015 - 19:19

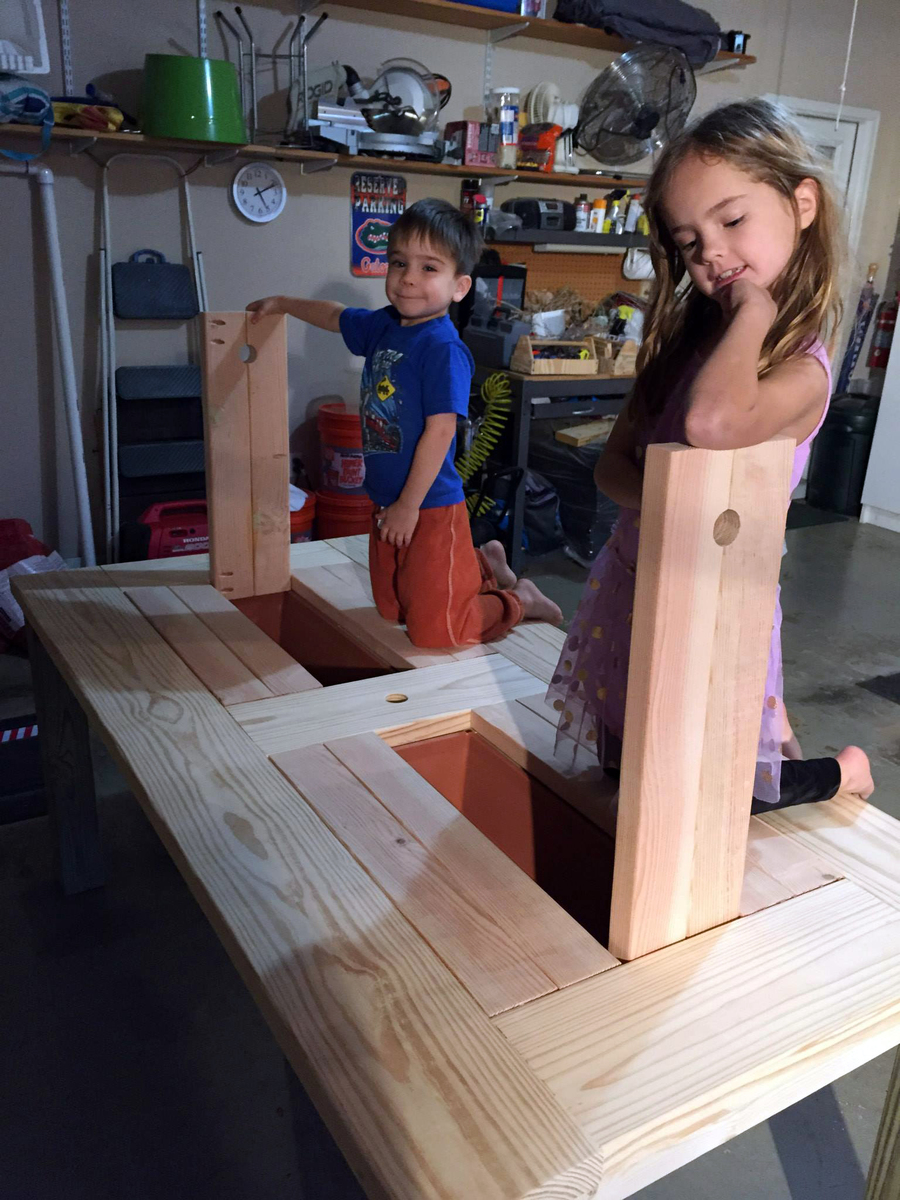
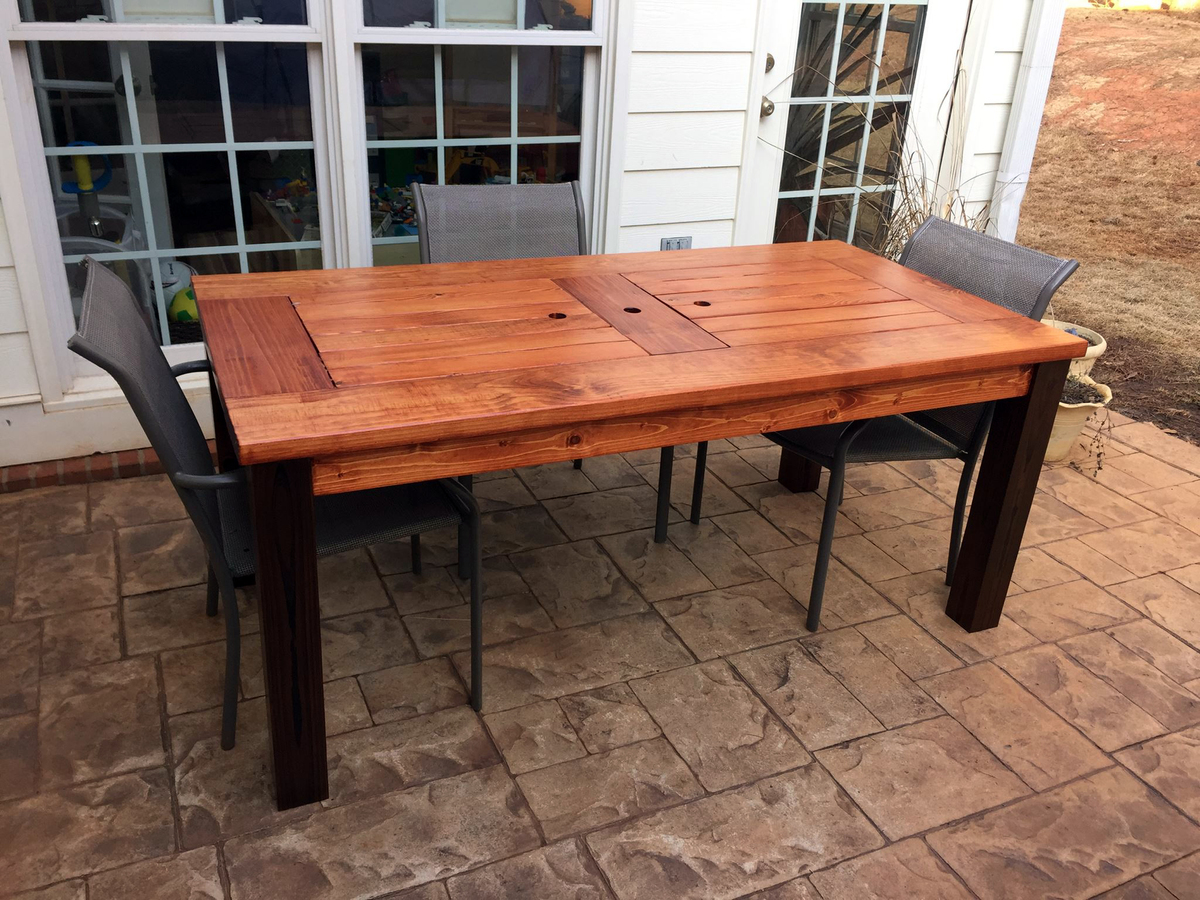
Basically followed the plan, but added 4x4 legs and used 2x8s for the long ends to make it a little wider.  I used the basic plans for the Farmhouse Bench (http://www.domesticated-engineer.com/2012/05/29/bench-for-farmhouse-tab…) for the bench, but tweaked it to make it match the design of the table.

Estimated Cost
$200-$250
Estimated Time Investment
Weekend Project (10-20 Hours)
Recommended Skill Level
Intermediate

Platform bed

My first build!!!! I live in an apartment, so I was nervous to undertake any project... luckily I was able to borrow a garage one weekend to build it, and then moved it in and finished it. It took more than just the weekend to complete.  It probably took me a lot longer than if I had more experience and knew what I was doing...I stopped every two minutes to double check myself and reread the directions lol. I'm so happy with how it turned out. I used the IKEA center beam from my old bed for the center support, and cut wood slats for my mattress to rest on so I don't have to use a box spring. It looks so much more expensive than it was. my  next project is a headboard...as soon as I have a space to build it in :)
Estimated Time Investment
Weekend Project (10-20 Hours)
Finish Used
Minwax polyshades- satin honey. I used minwax wood conditioner as well.
Recommended Skill Level
Beginner

Farmhouse table modified

Submitted by Podgirl on Thu, 05/30/2013 - 21:16

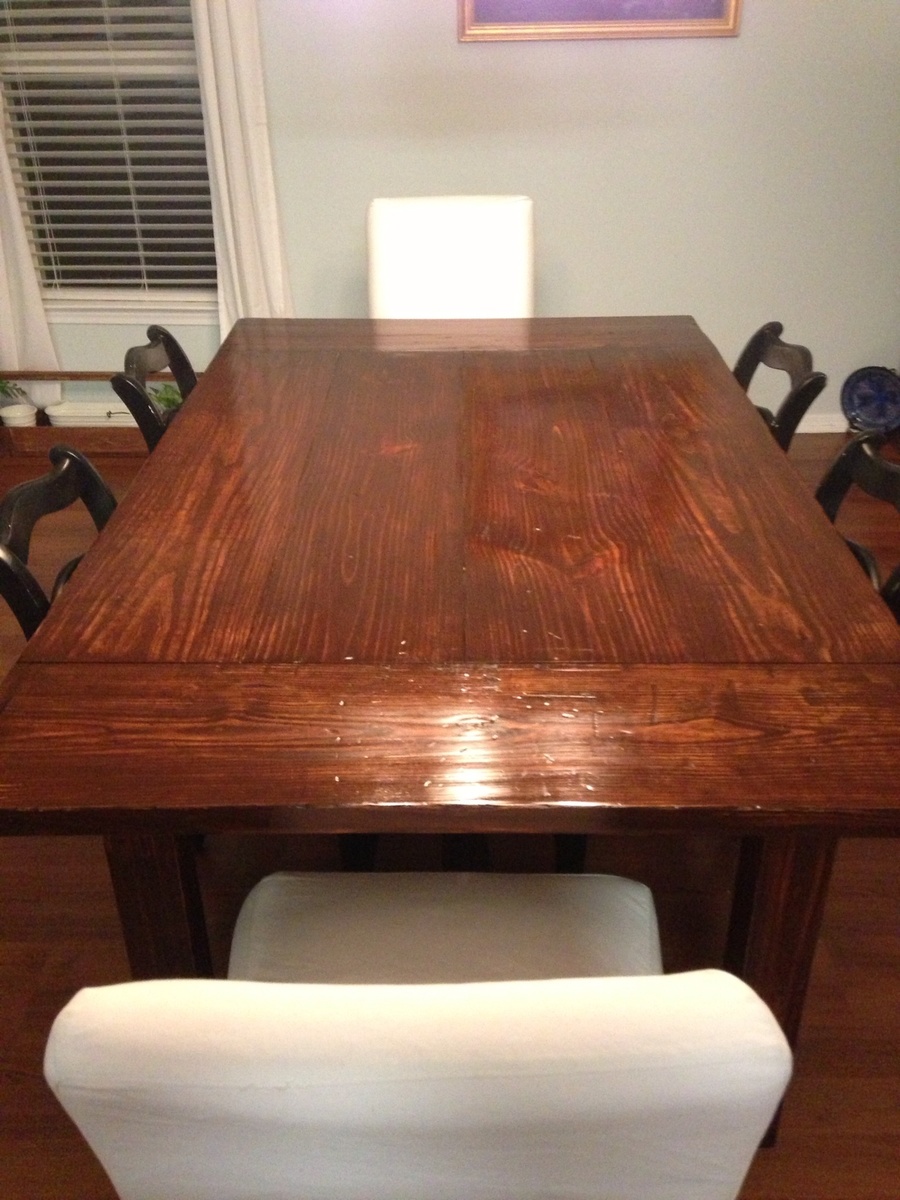
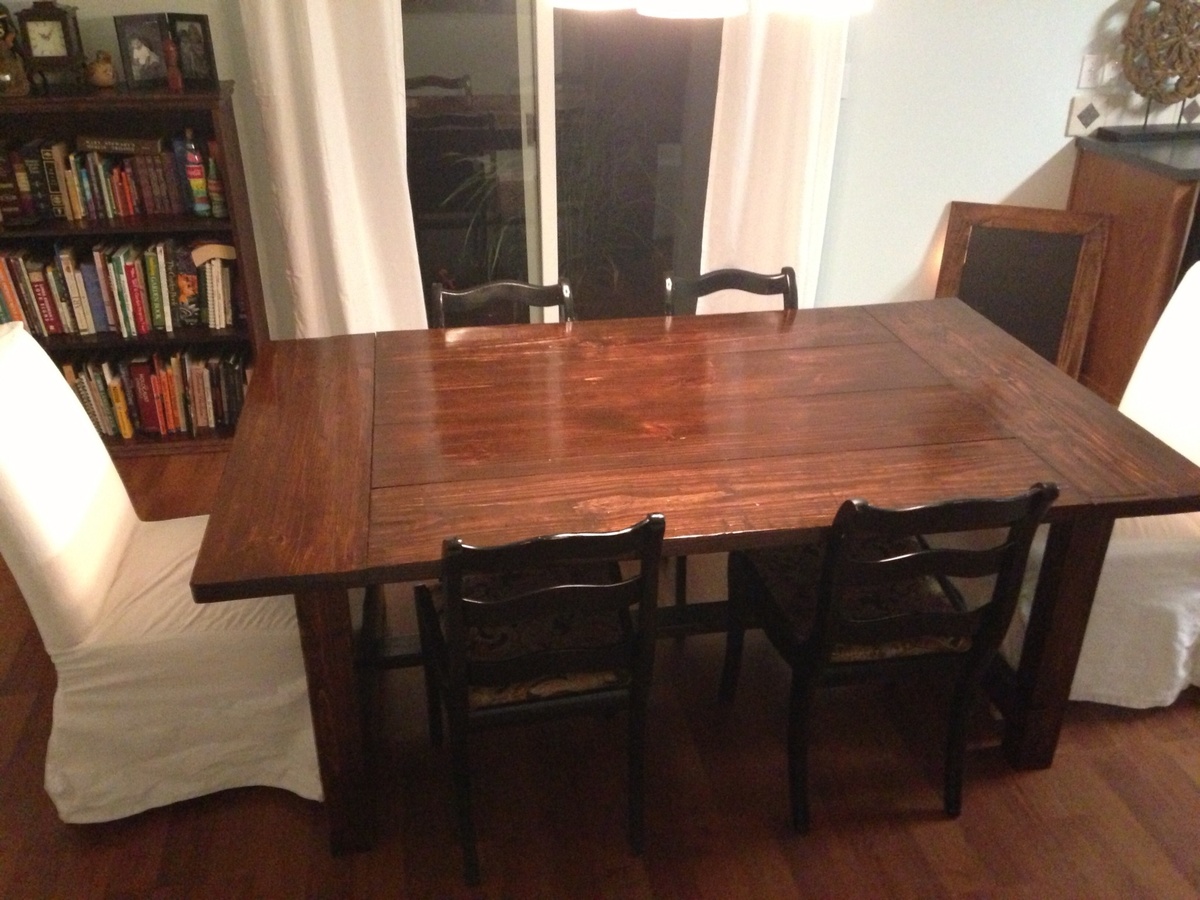
I used the basic plan by Ana, but modified it for the size I needed. Its 2x12 pine with english chestnut stain and tung oil (formby's) finish. I did use 4x4 posts for the legs instead of 2- 2x4's. notching out was the most difficult part. (Should have watched the video by Ana 1st. Lol). I did want some over hang so I cut the leg notches 1/4 shallow so there would be detail. I regret not using the kreg jig on the top, as I have much bigger gaps than I like! But I started buying better tools during this build when I realized mine were not getting the job done. And it definitely makes a huge difference!!! I still have to finish the benches. Just trying to find the time. I can't wait to start the next project!

Estimated Cost
$200
Estimated Time Investment
Week Long Project (20 Hours or More)
Finish Used
English Chestnut with some walnut added. 10 coats of formby's tung oil first in high then low gloss.
Recommended Skill Level
Intermediate