Planter Box/Bench with trellis
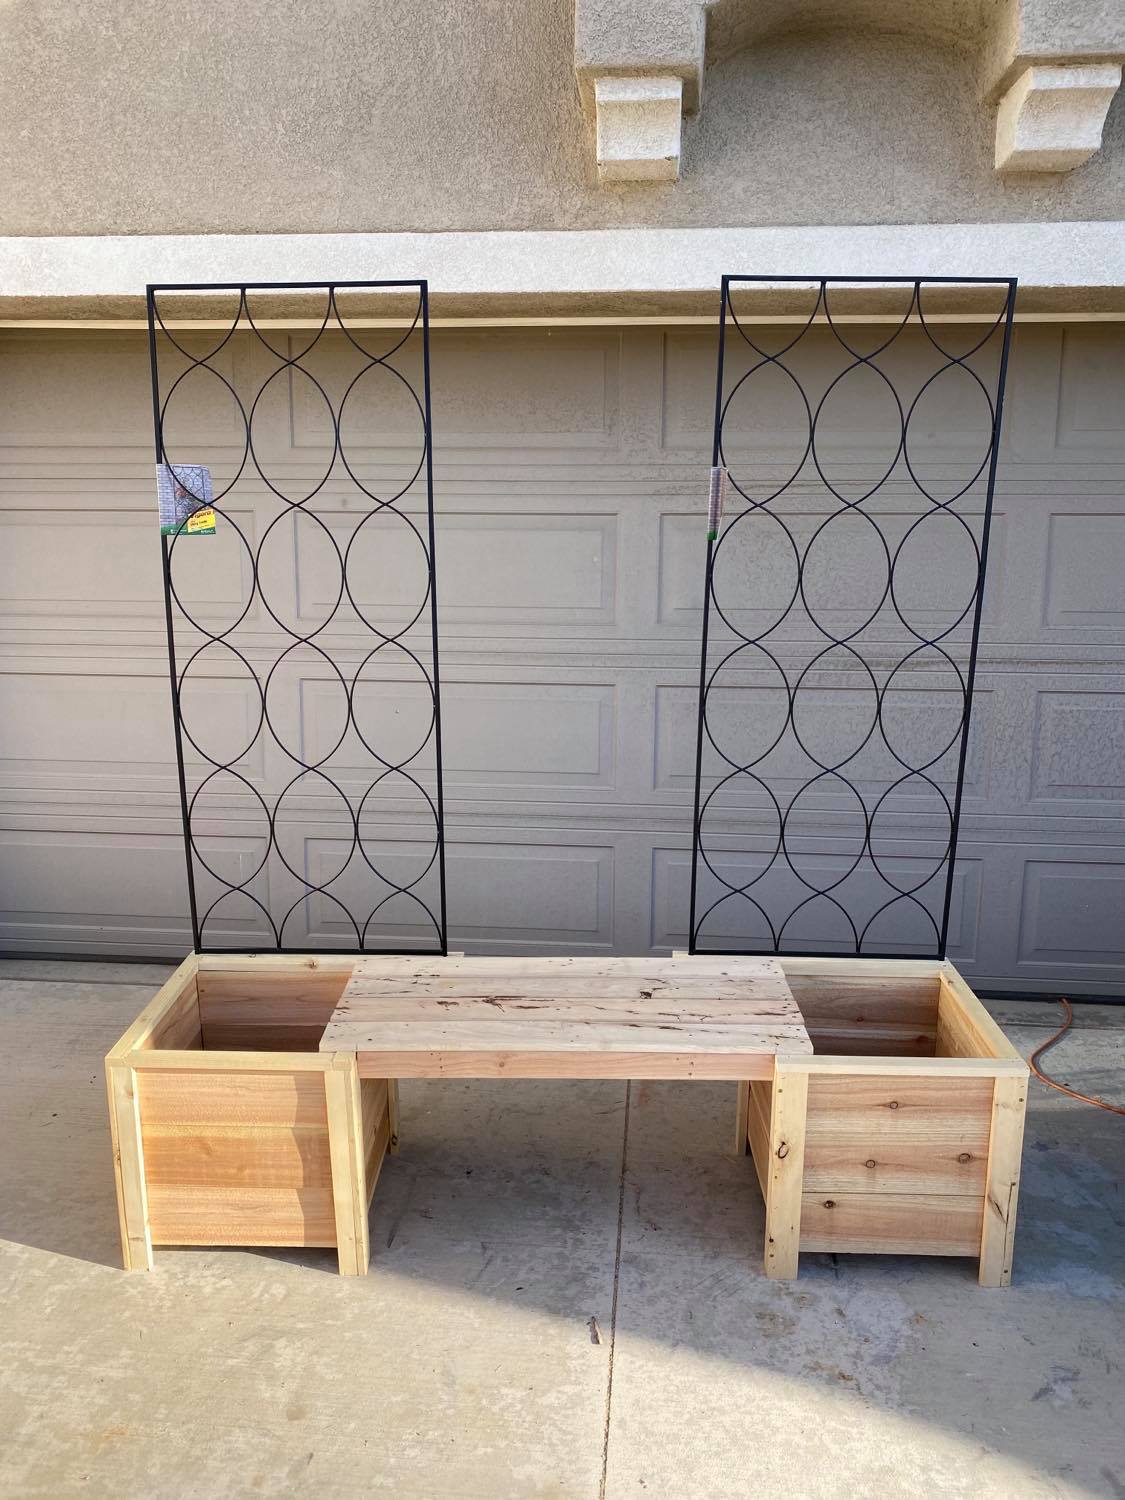
I used Ana's planter box plans and I designed and built the bench out of pallet wood, and purchased the power coated trellis's and custom fit then to the planters.
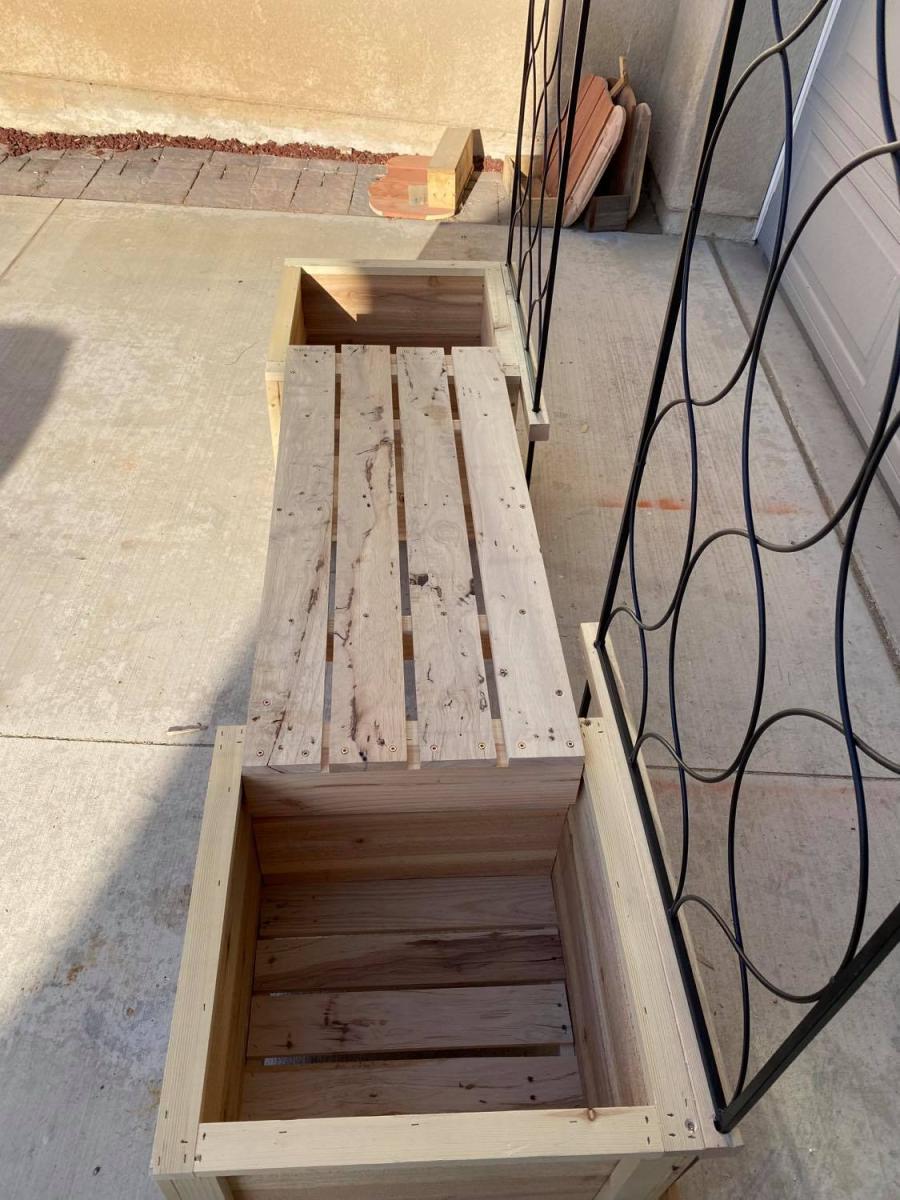
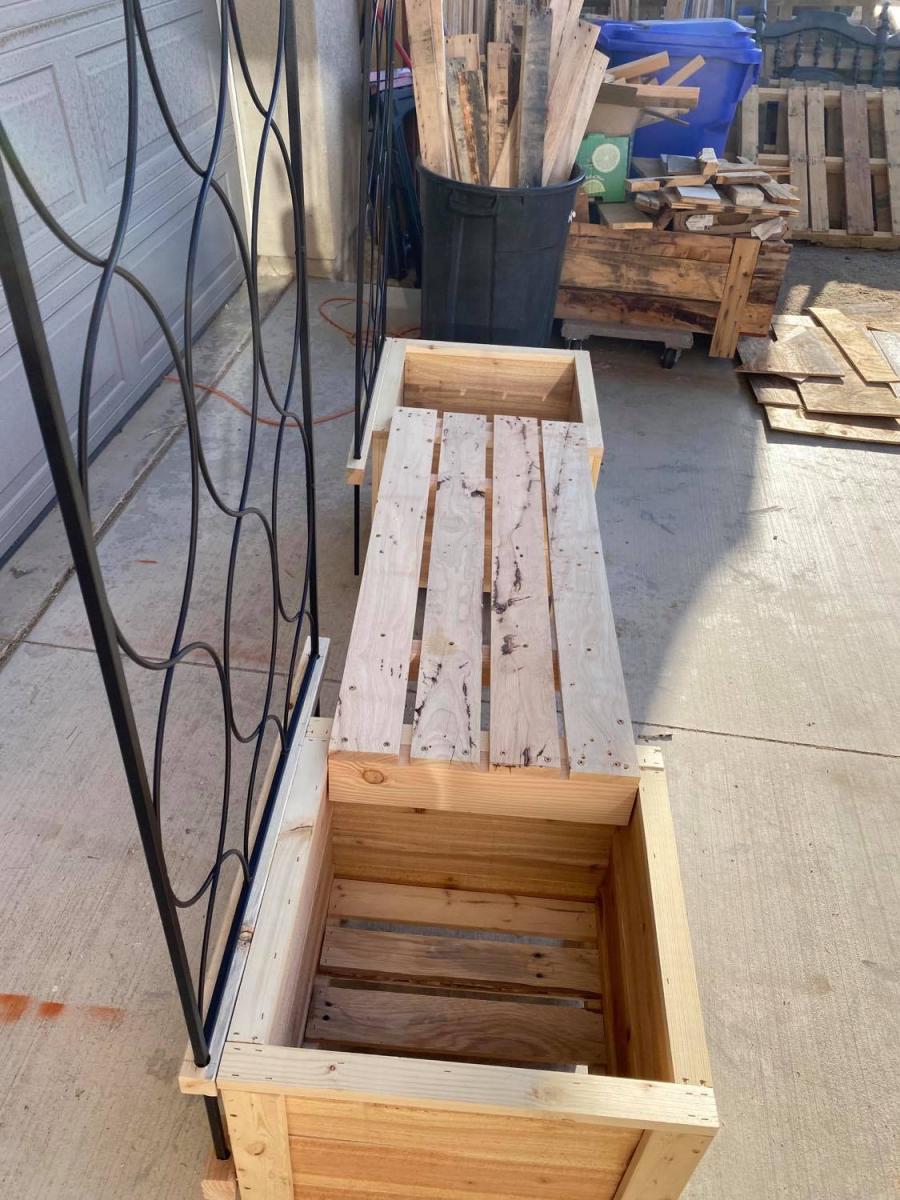
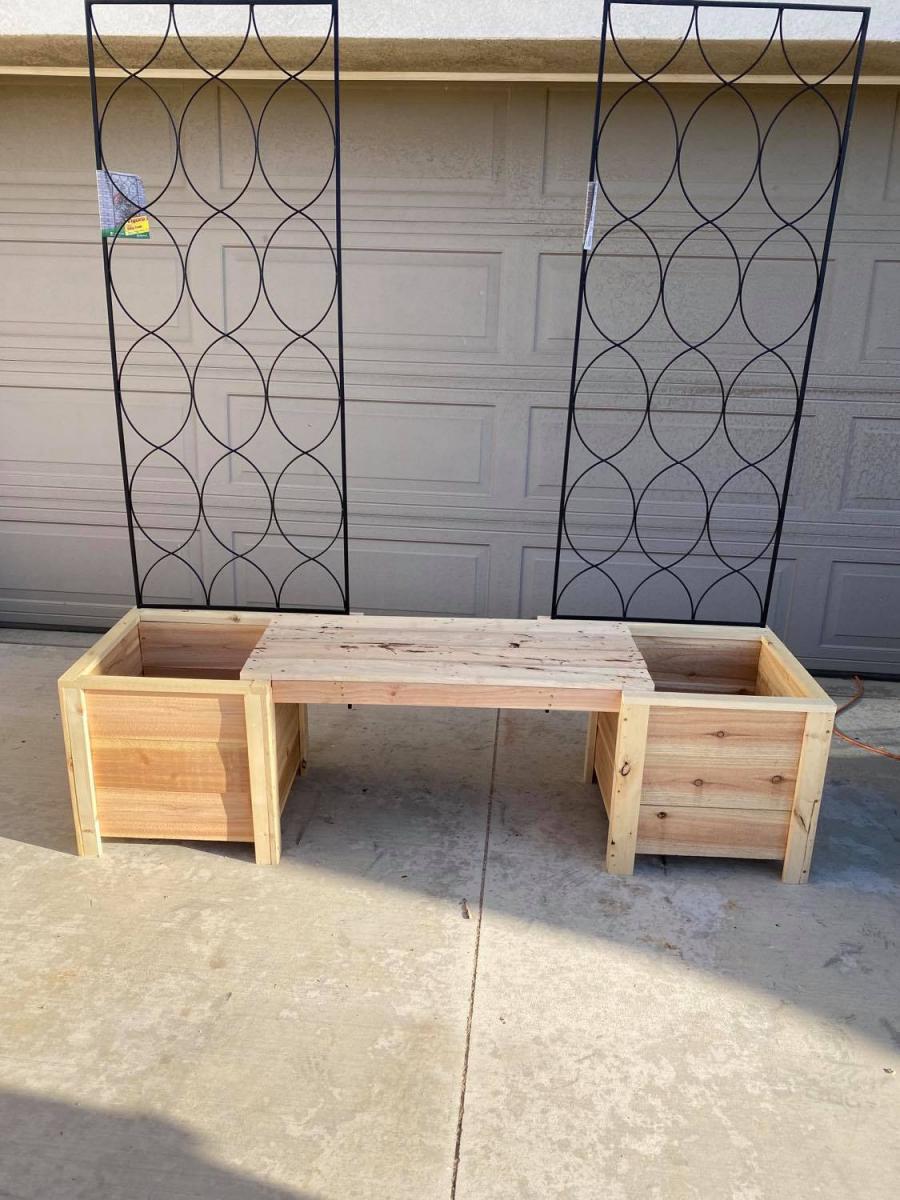
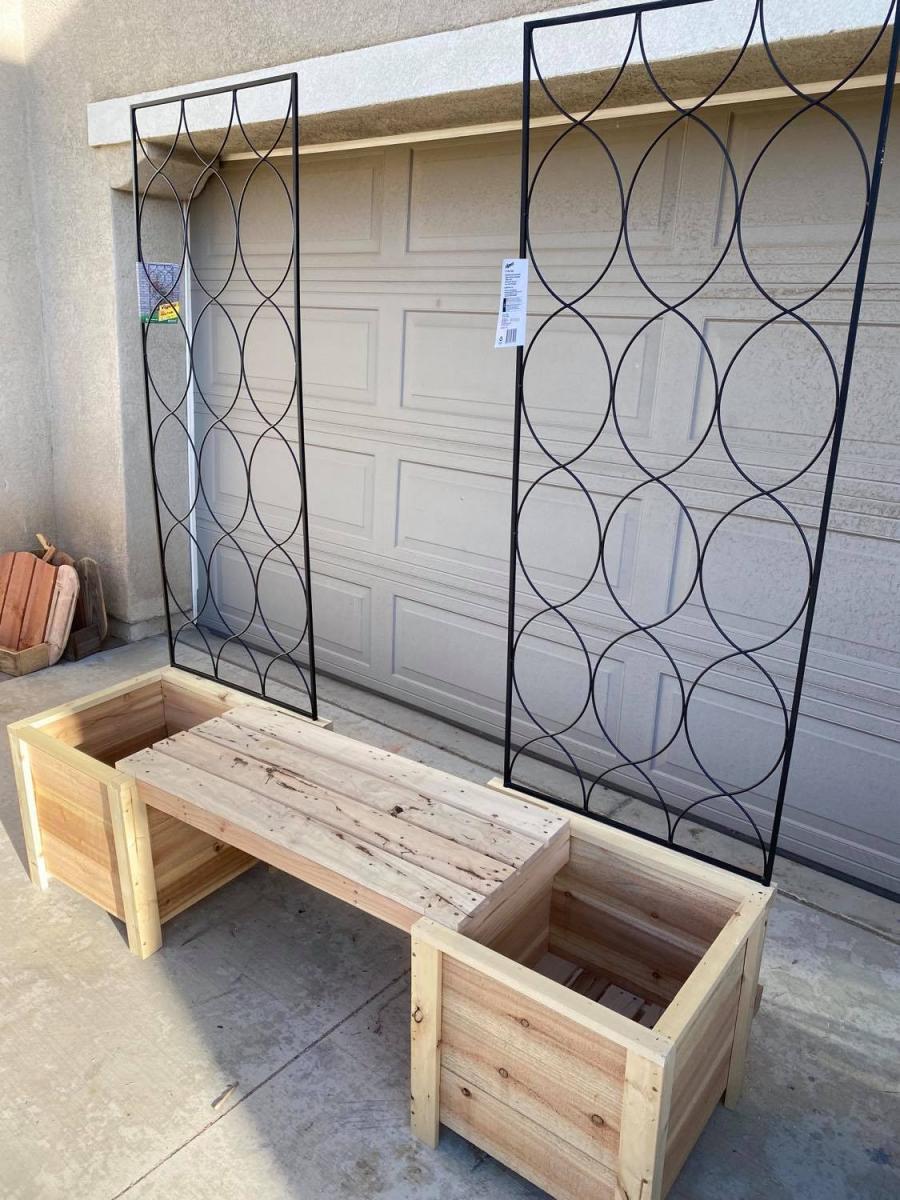

I used Ana's planter box plans and I designed and built the bench out of pallet wood, and purchased the power coated trellis's and custom fit then to the planters.


My first project!! Made a big boy bed and love how it turned out! It took me a weekend and several trips to the hardware store. Totally worth it and a huge savings versus purchasing a bed from land of nod or pottery barn!


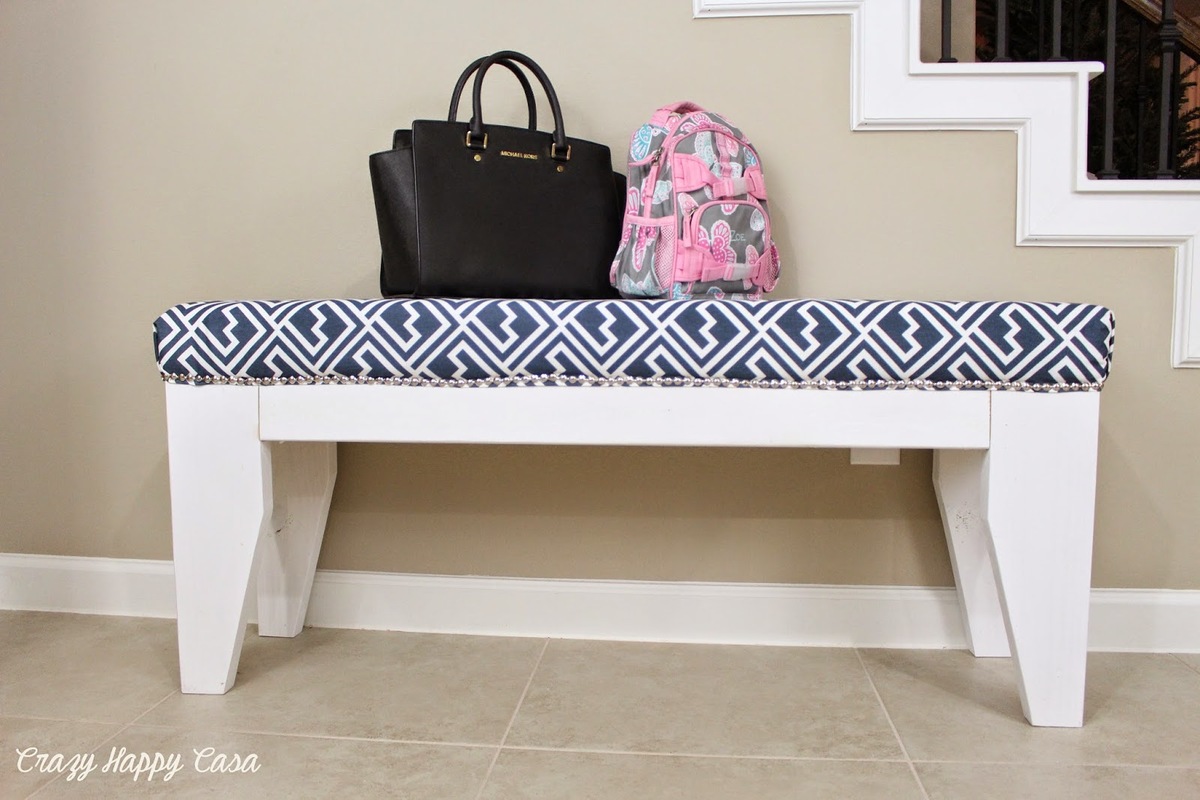
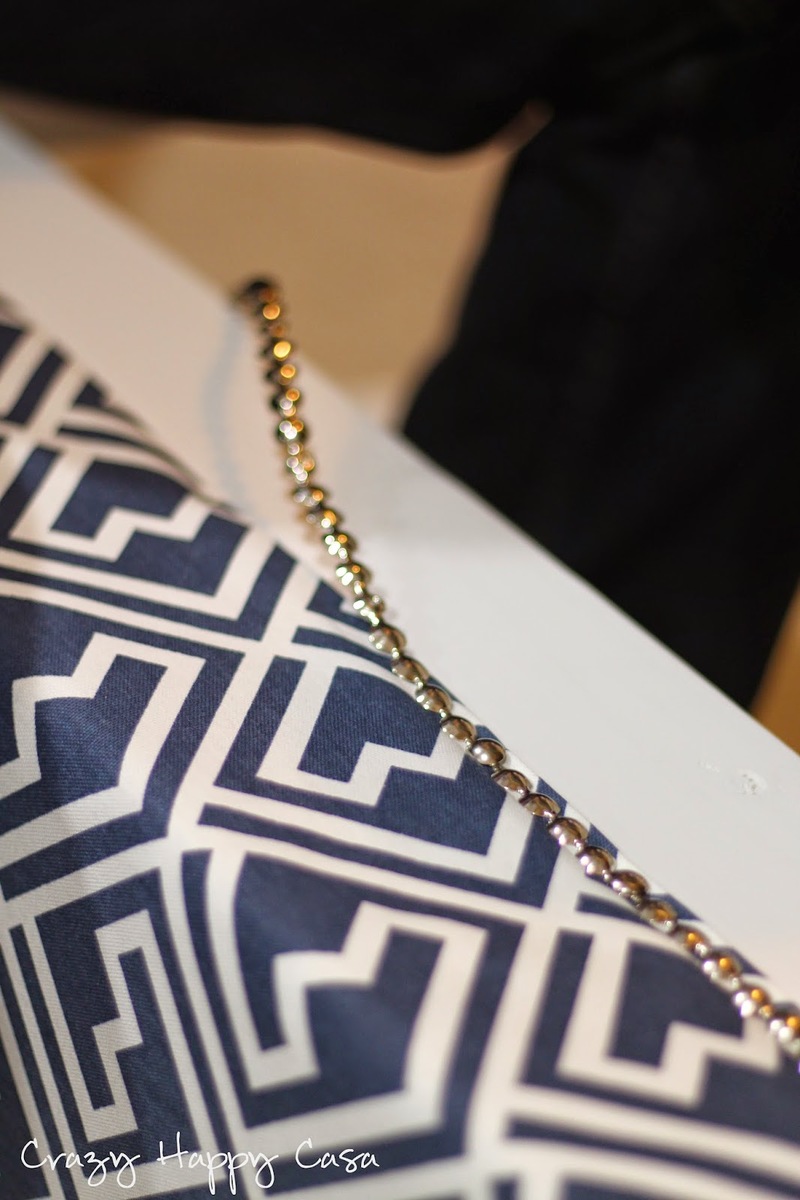
My husband and I completed this project several weeks ago and could not be happier with it. We adjusted the plans a bit to fit our space and needs and are totally smitten with it.
You can get more details here:
http://www.crazyhappycasa.net/2015/01/diy-bench.html
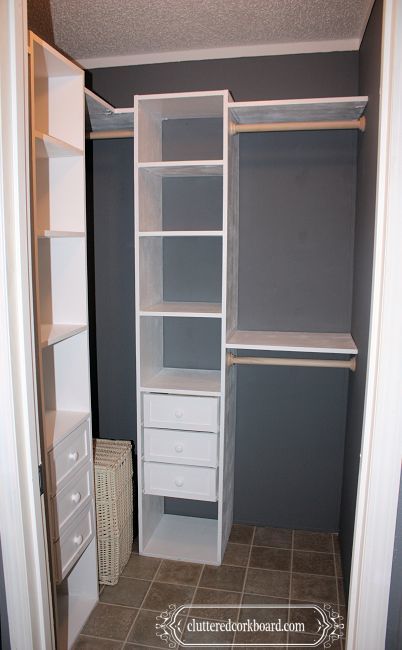
I modified the plans slightly to fit our walk in closet.
(made the towers taller, placement, shelving etc.)
We just love how it turned out!
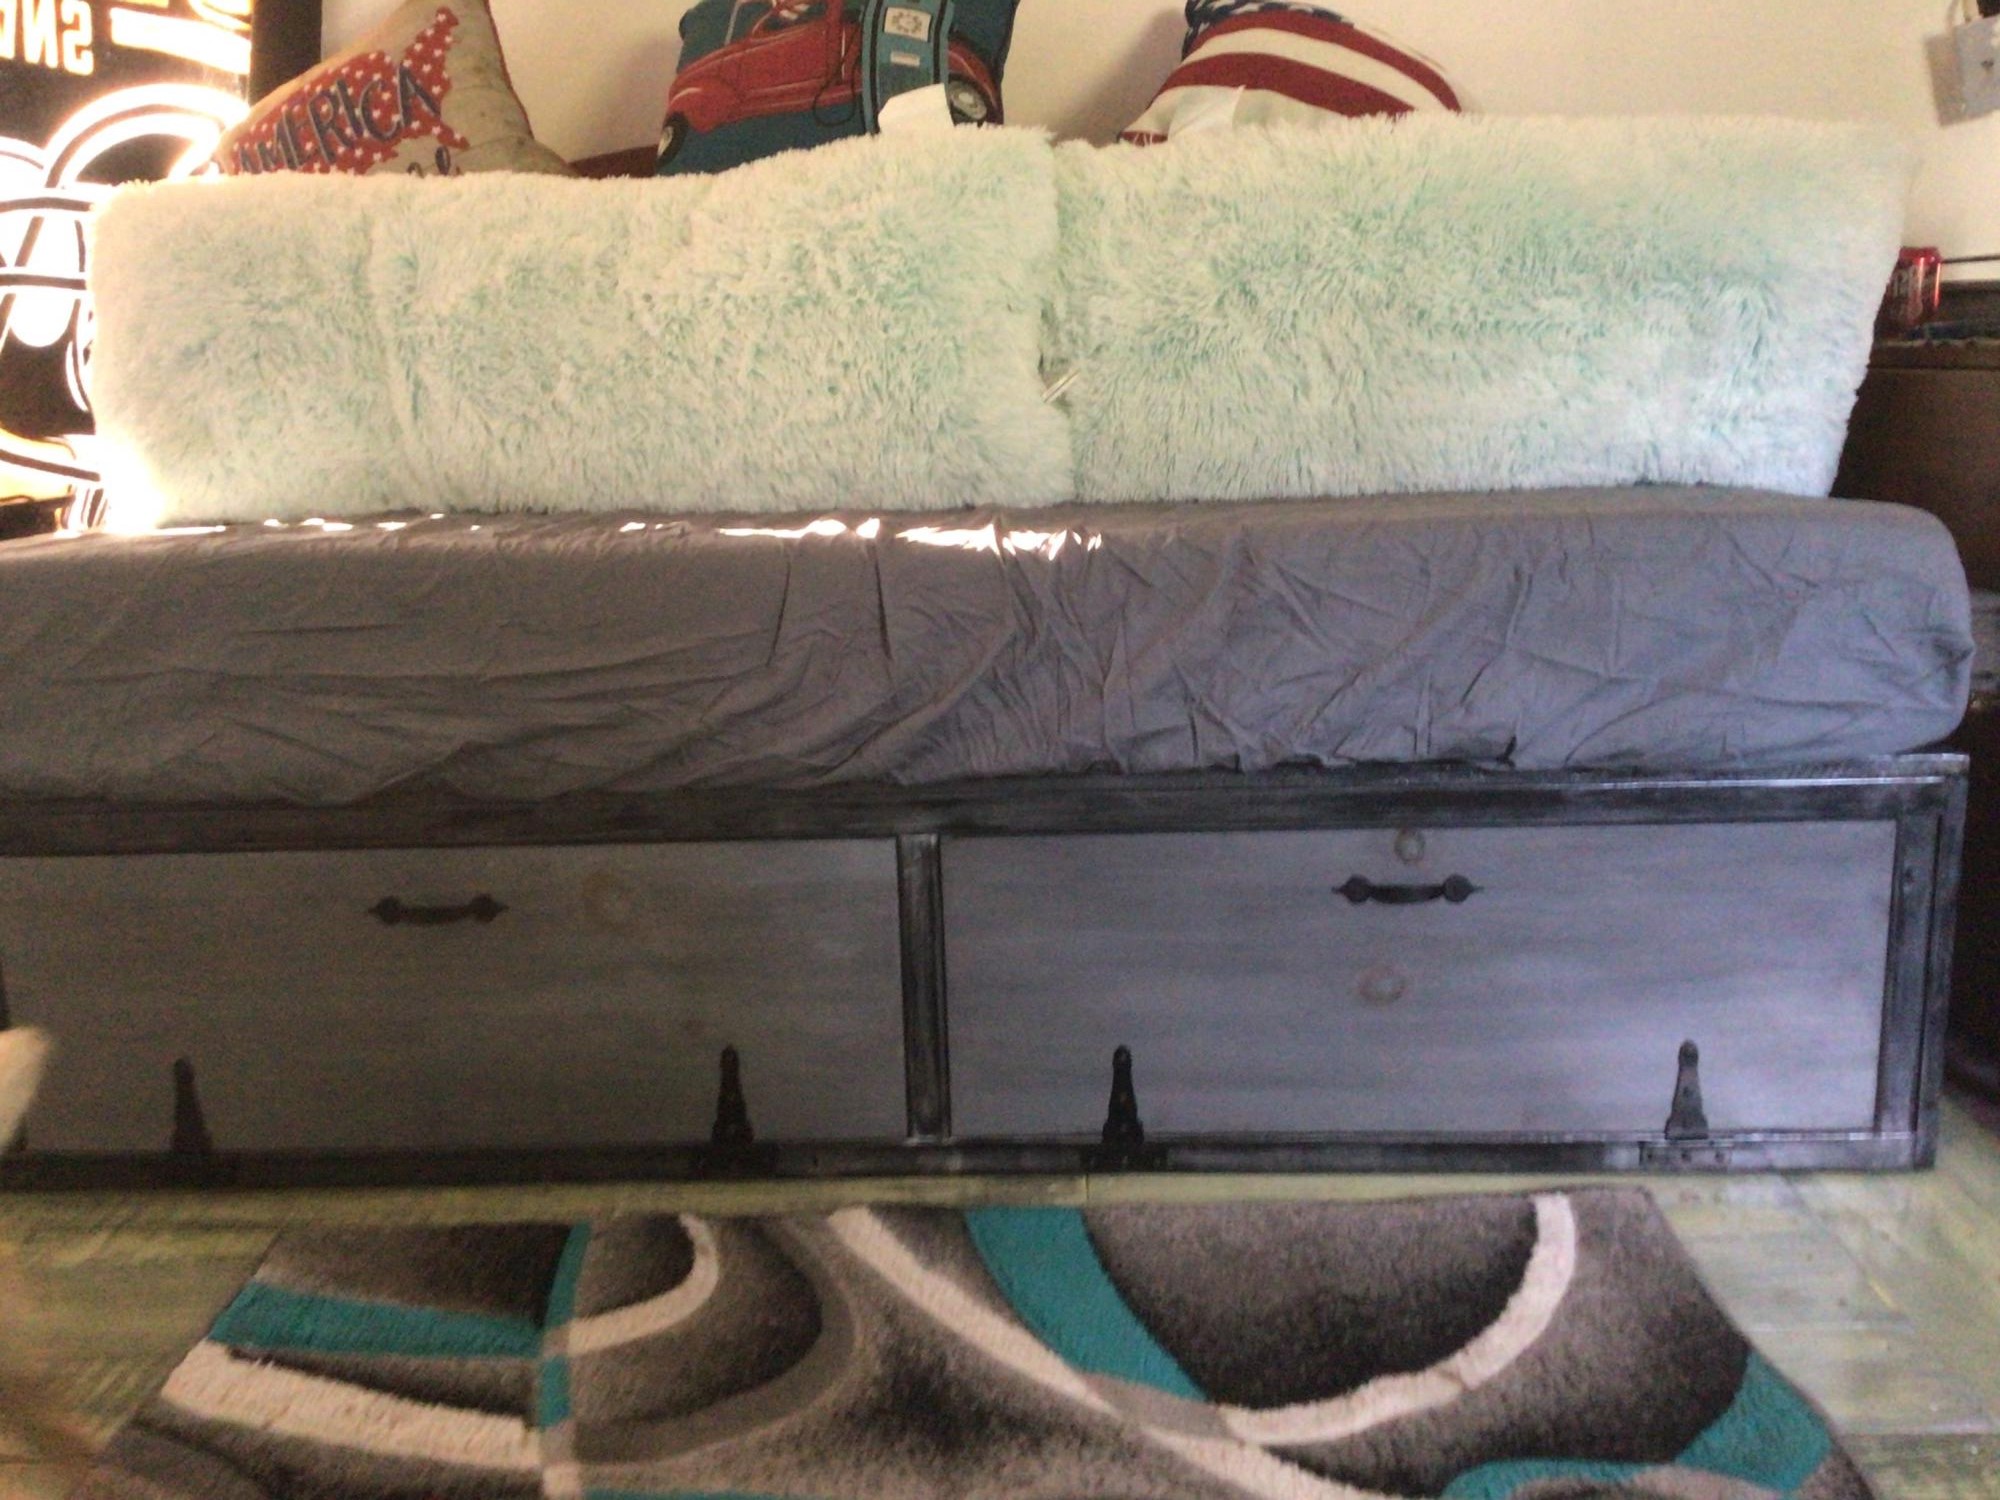
Built it mostly out of pallet wood. Bought 1x12 Hardware for doors
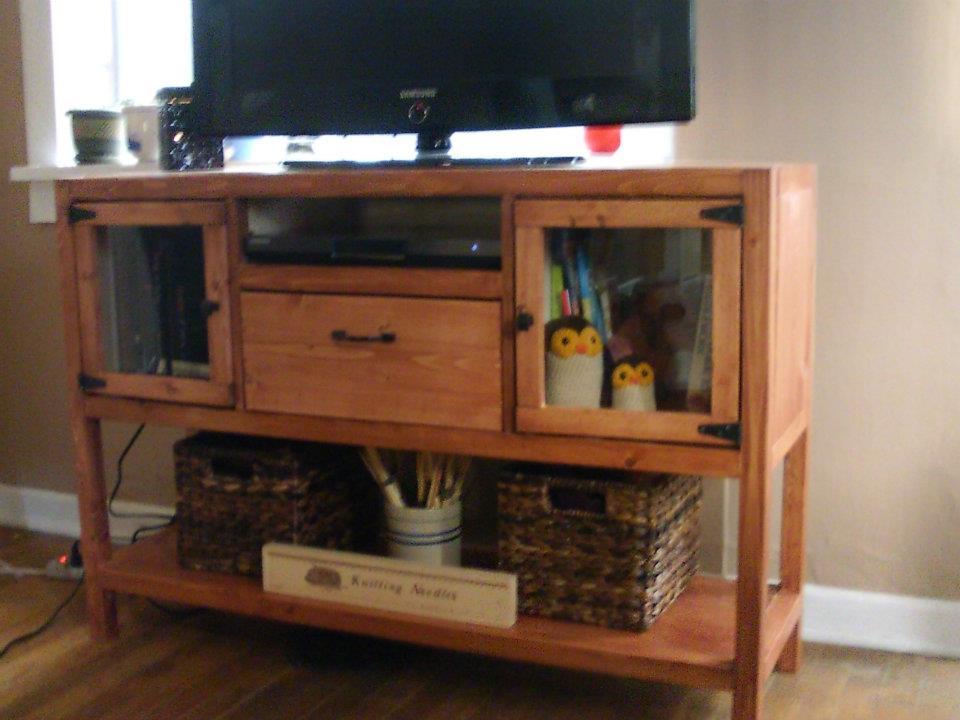
This was my first project. I have actually been looking projects on this site since it was called Knock on Wood, but did not have the space or money to do anything.
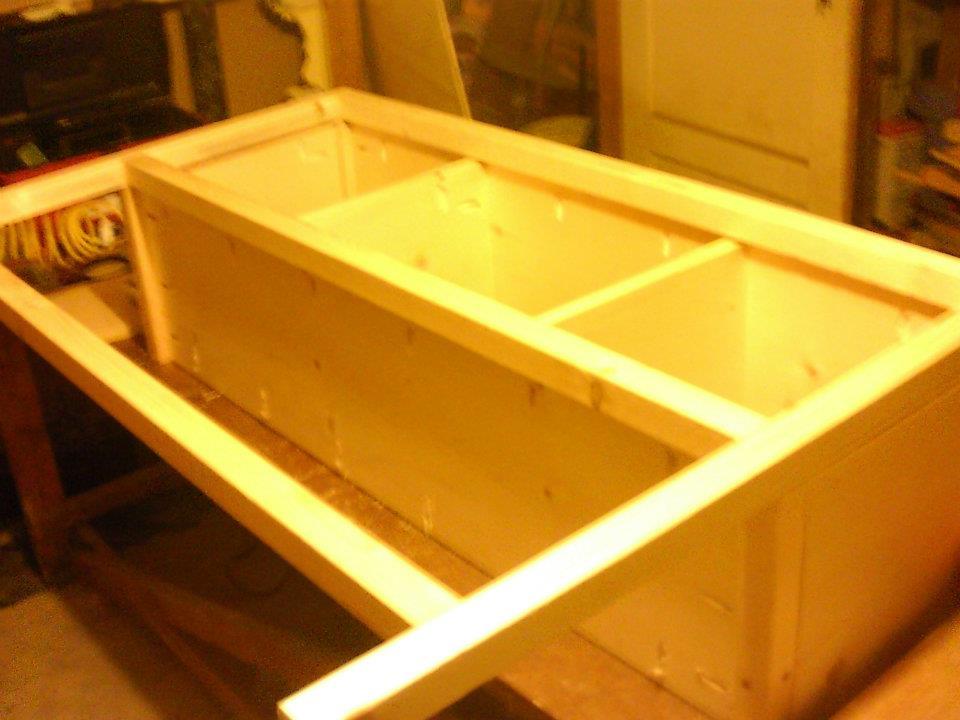
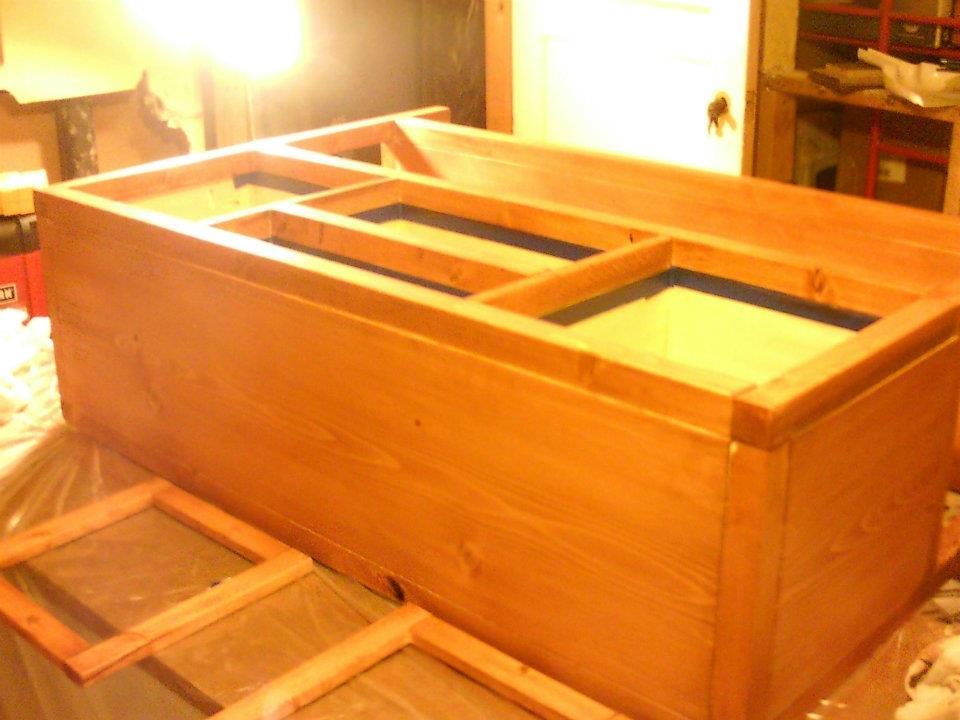
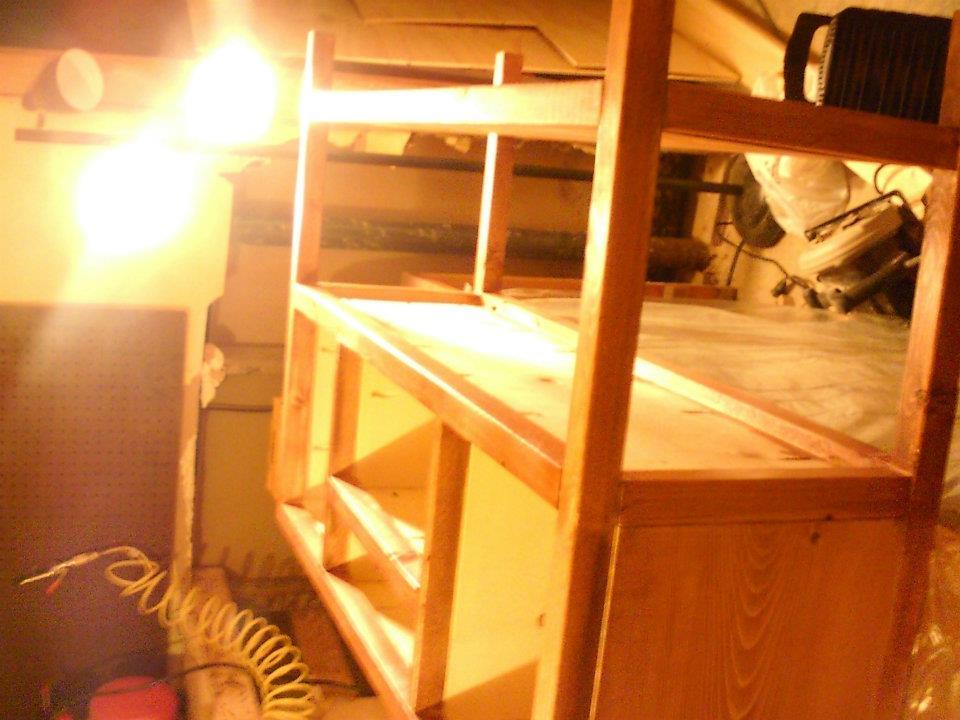
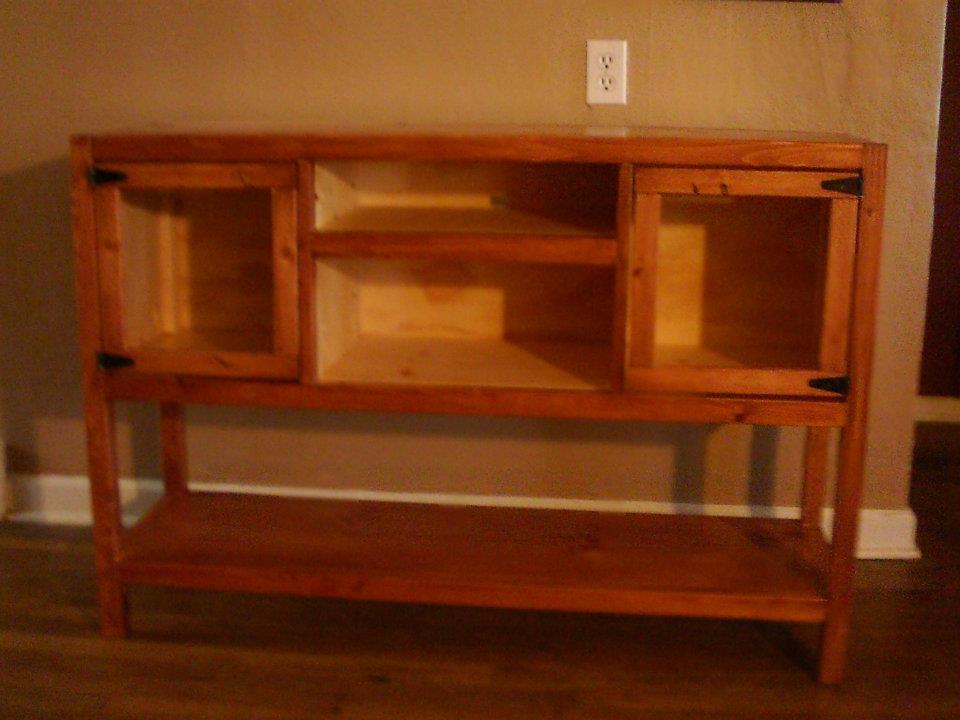
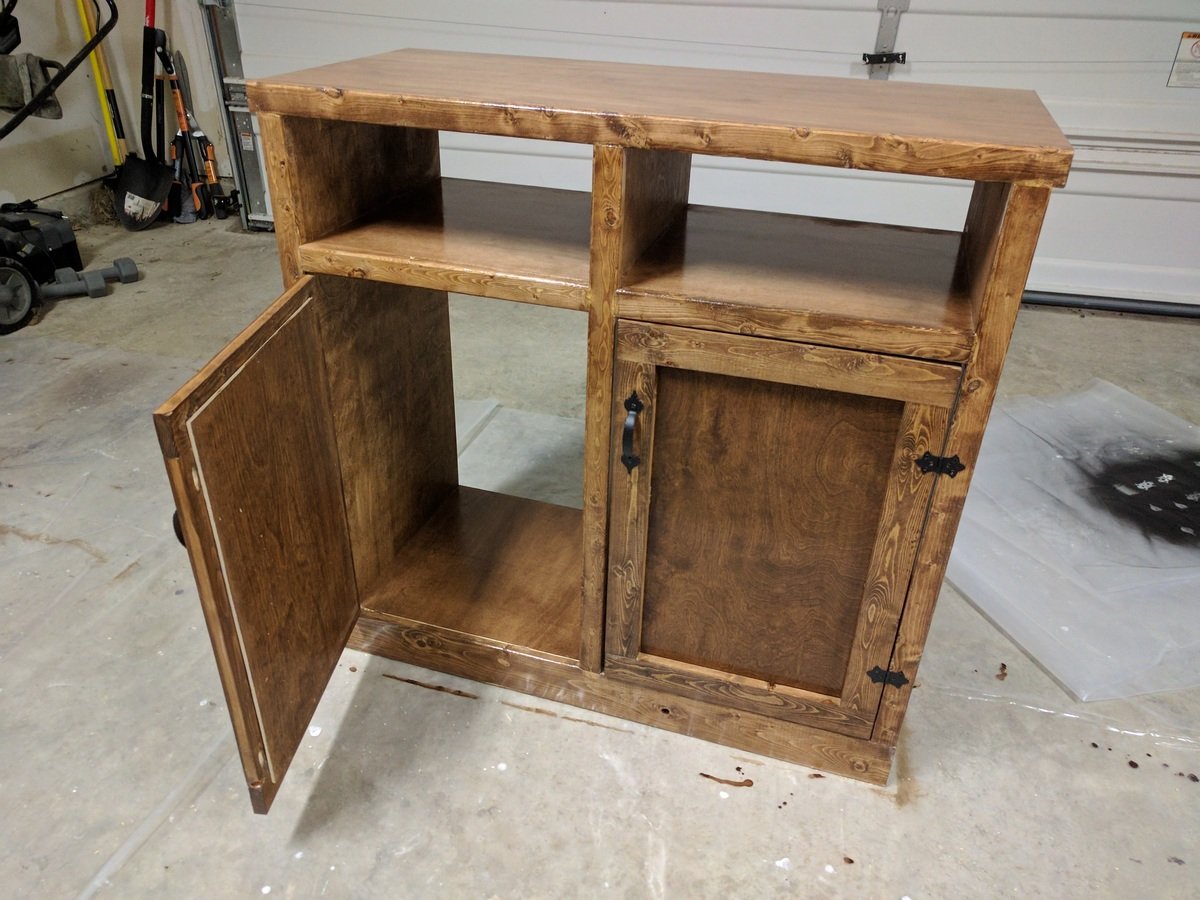
I wanted to build a stand for our tv, but also make it have a bit of storage - and look nice of course. Found the Rhyan Console Table plans, and I liked them a lot. Instead of having two drawers, I made the bottom drawer a little bigger, and made an opening at the top for the blu-ray or satellite receiver.
Could not find little black hinges in town, so we scuffed up some silver ones and spray painted them black. They have not started chipping at all.
Stained it using advice from this site and around the internet. I left the inside of the drawer and cupboards unstained - which I really like.

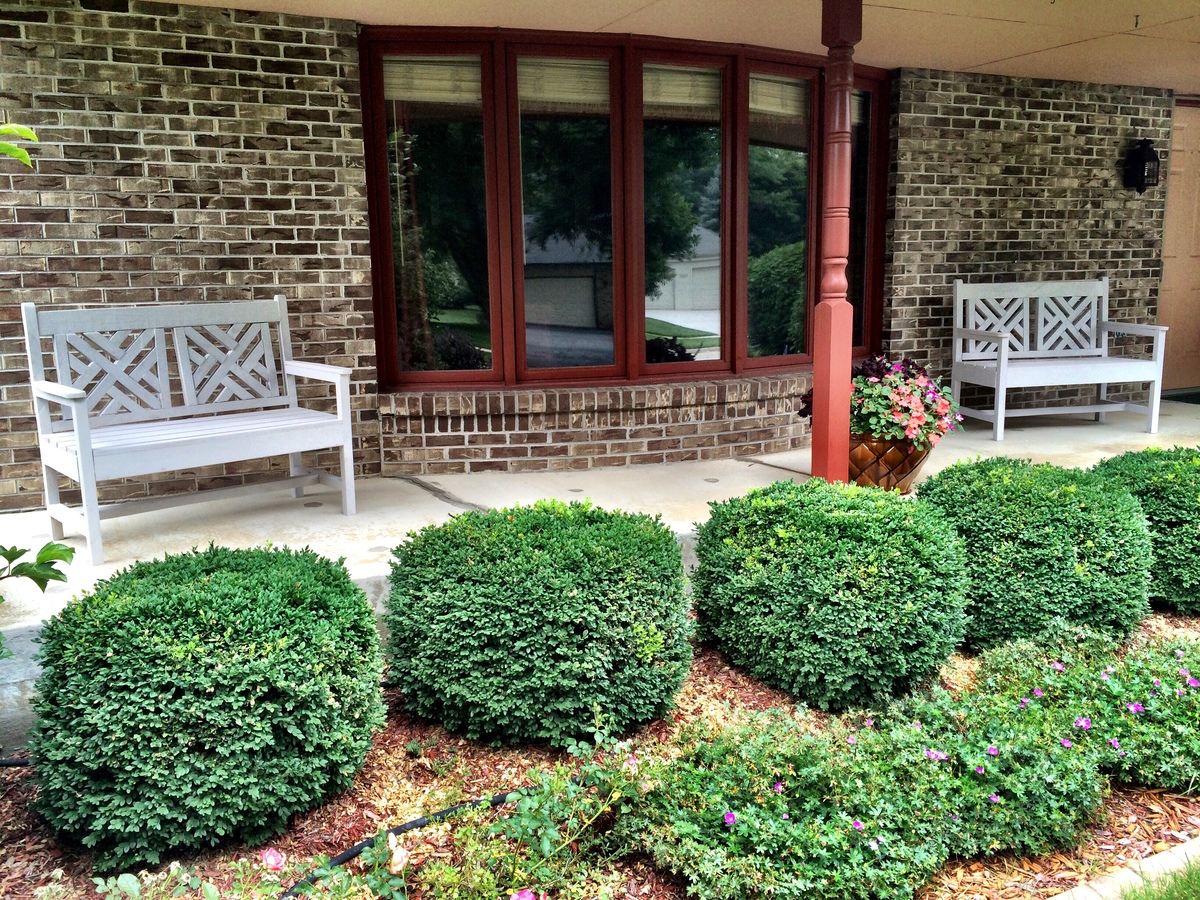
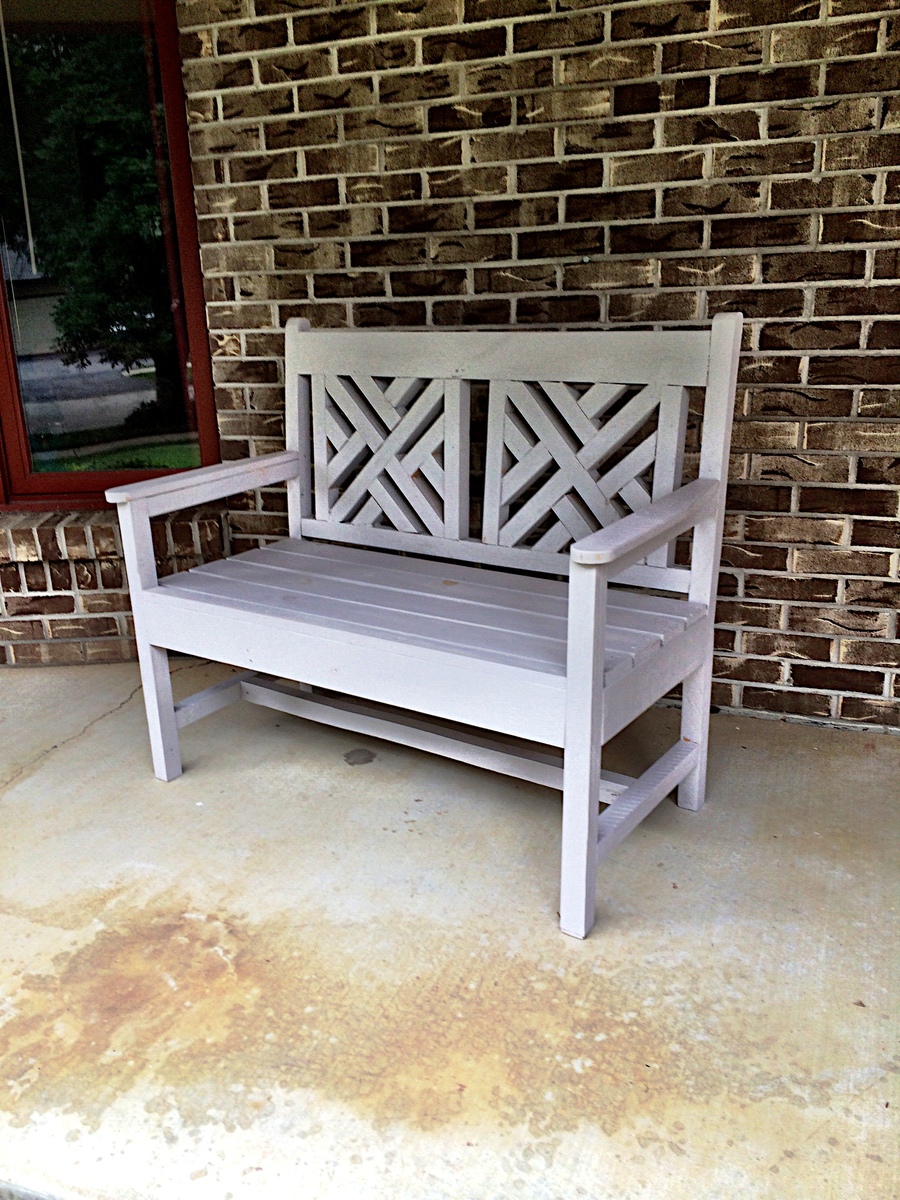
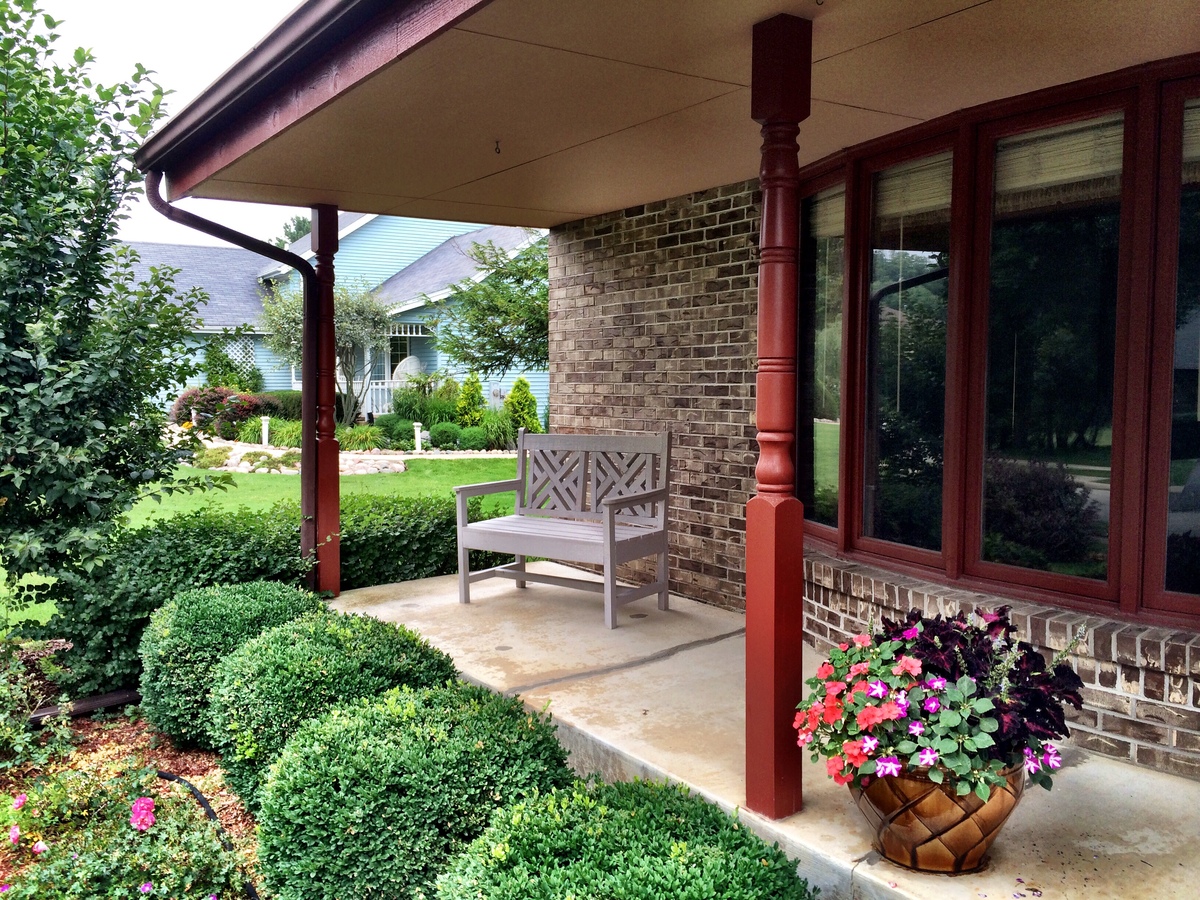
The plans were perfect for the front porch overhang space to fill the facade of our new house.
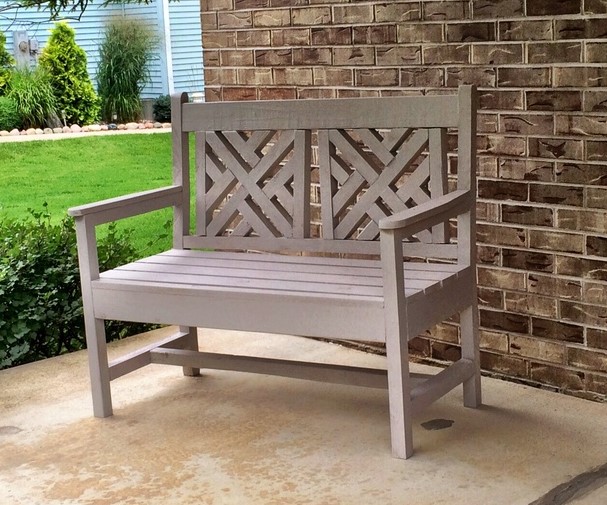
Had a great time building this!!! Thanks for the plans!
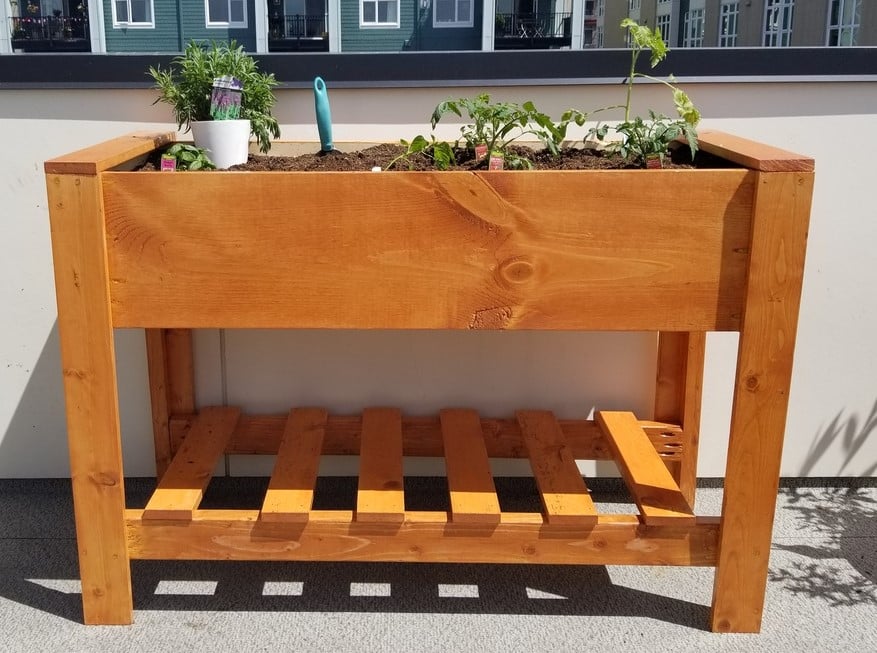
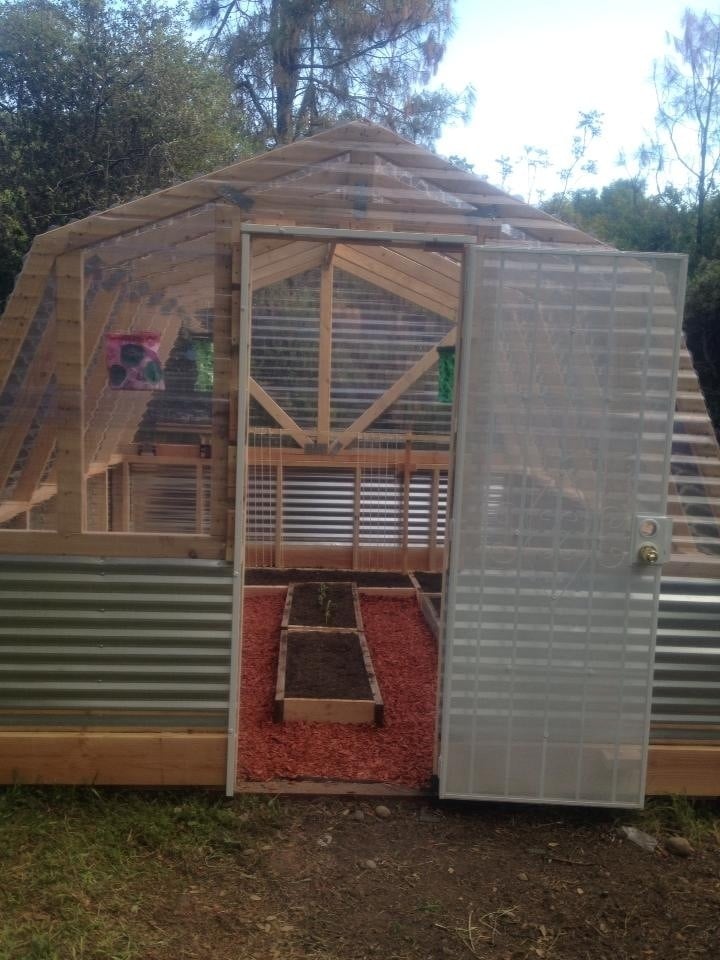
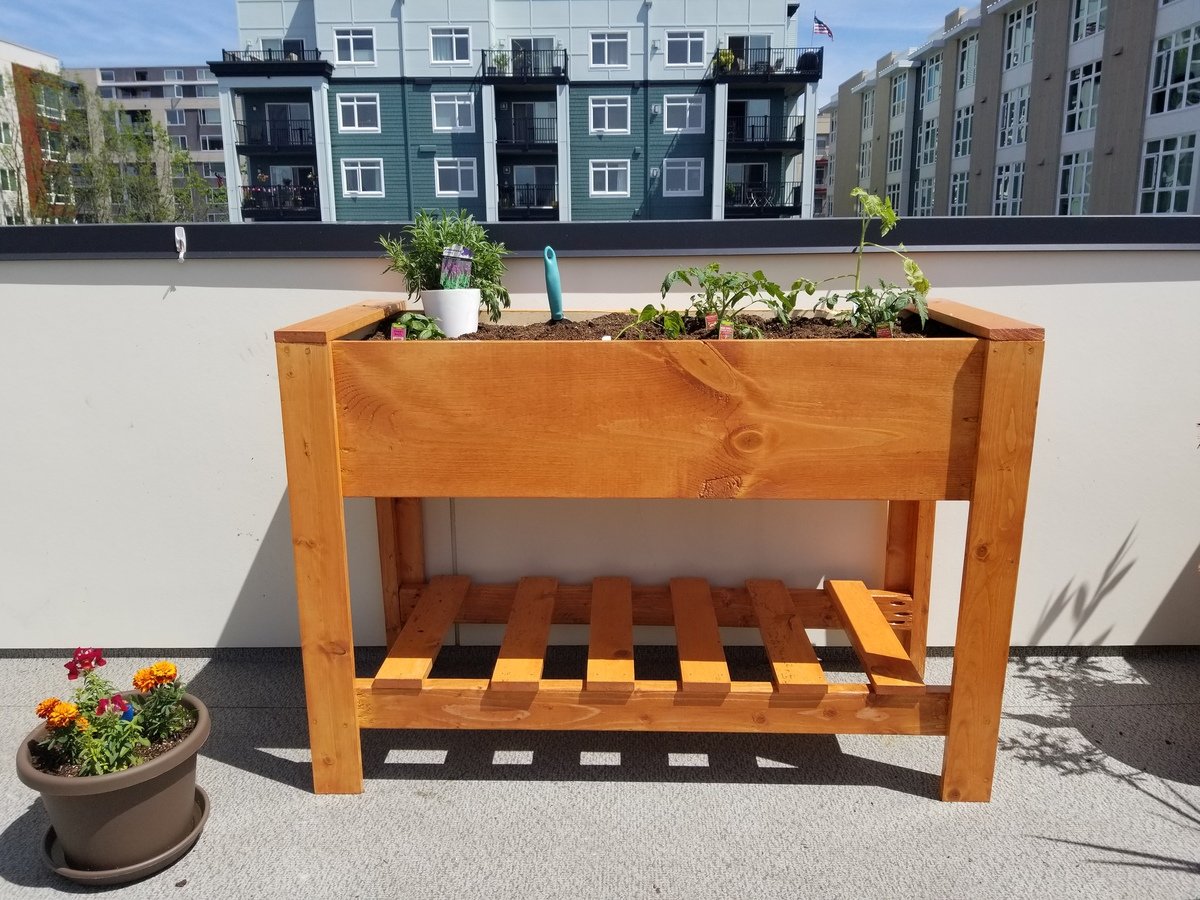
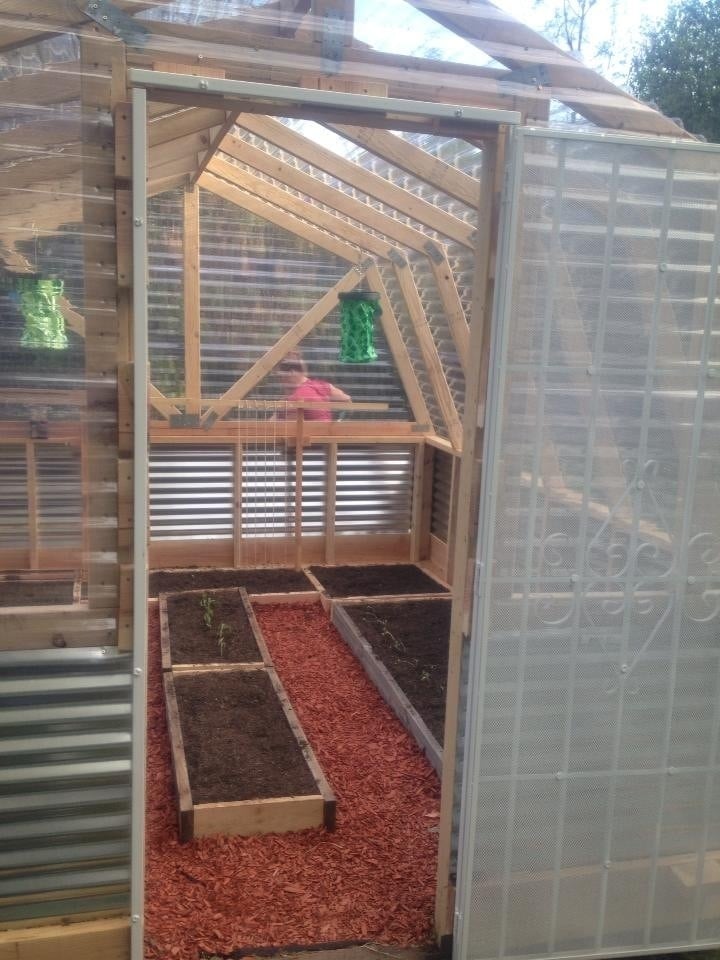
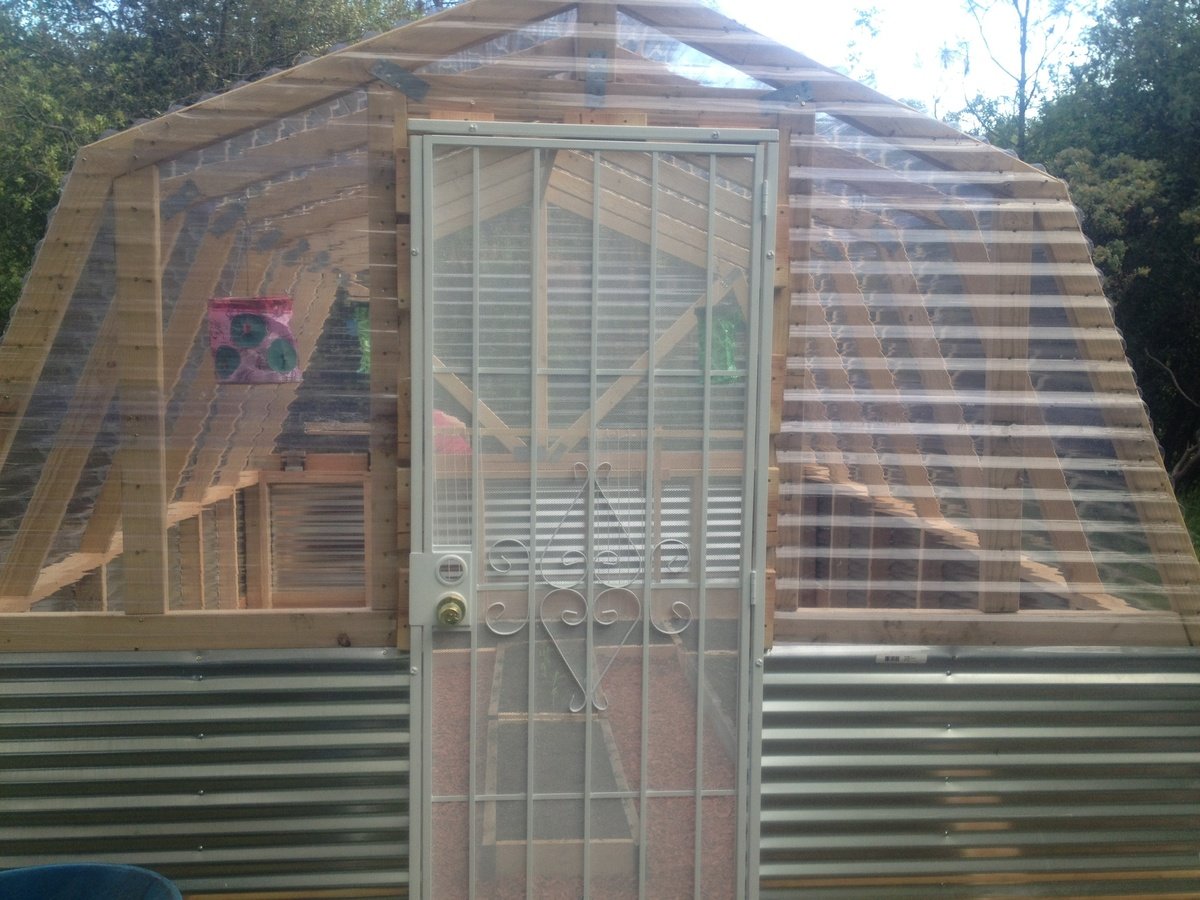
So a few notes... We added a base of 2x4 pressure treated wood footing around the entirety of the greenhouse which should help keep it from rotting? Blocks are an alternative here. Our lumber store didn't carry the right size of tin sheets so we added a 2x10 at the bottom which seems to work and still look okay. We picked up a 30" metal screen door there which should assist in keeping out the critters and allows us to lock out our small kiddos who might wreck the plants :) This is a great plan!!! Thank you so much! Oh - materials ran about $700 including screen door? We went through about 4 1-pound boxes of sheet metal screws and at least a large box of 3" screws?? and 2 small boxes 1.25"?? If you cut you pieces right you may end up with an extra 8' clear sheet of corrugated plastic? We spent about 20 hours building just the greenhouse but we had hauled a lot of stuff to the site by hand... We are new to carpentry and pulled this off so anyone can do this!! Dremel tool works for cutting plastic, but not as good as the tin!! Good luck and cheers!
I wanted to make a portable growth chart for my little guy and any future children. I really liked the over-sized ruler growth charts, so I set out to make one just like that. While searching for some inspiration, I came across Taryn’s Rustic Growth Chart at Design, Dinning and Diapers. I loved the finished look of her project! I followed her steps to create one of my own! Check out the blog link for more project details.
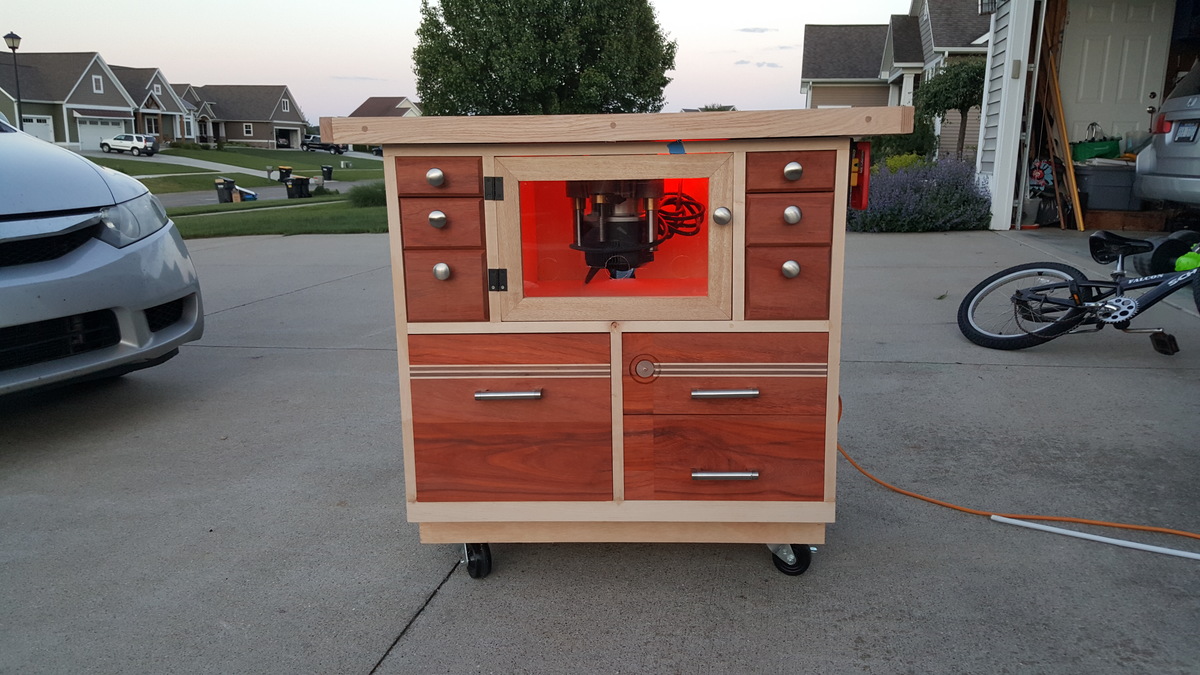
Router table with Paduok, maple and Walnut beauty. Featuring a Bench Dog Pro-lift router lift, I'm going to have a lot of fun making more beautiful things with this one! Loving how this turned out.
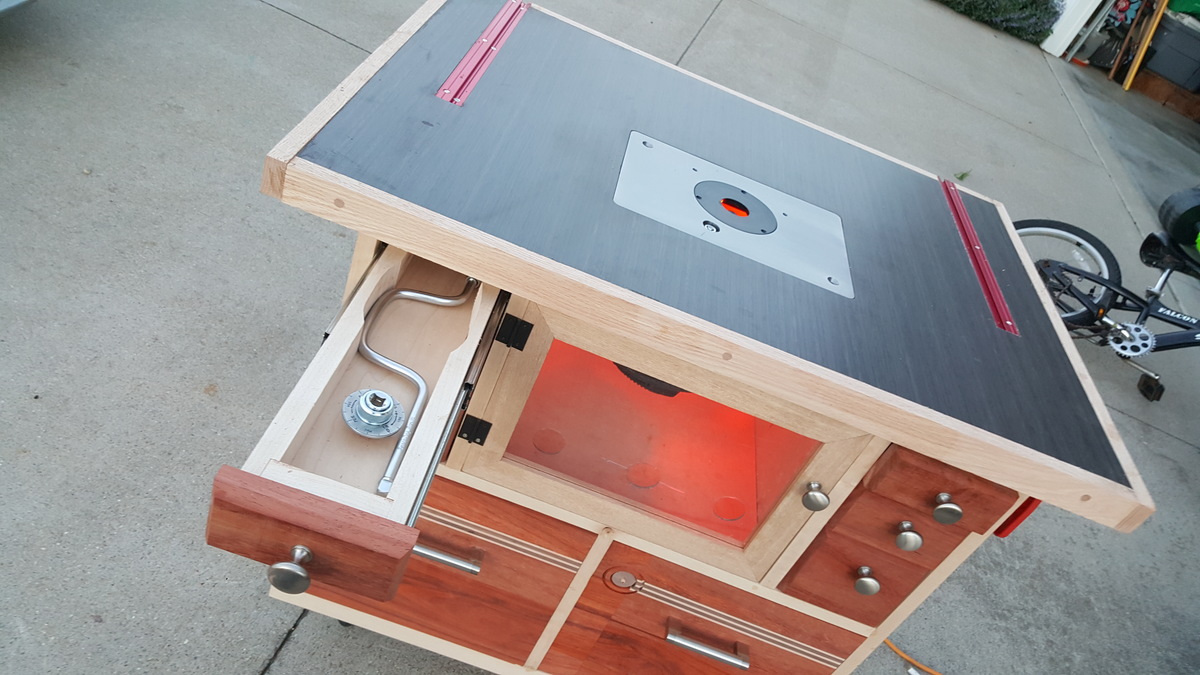
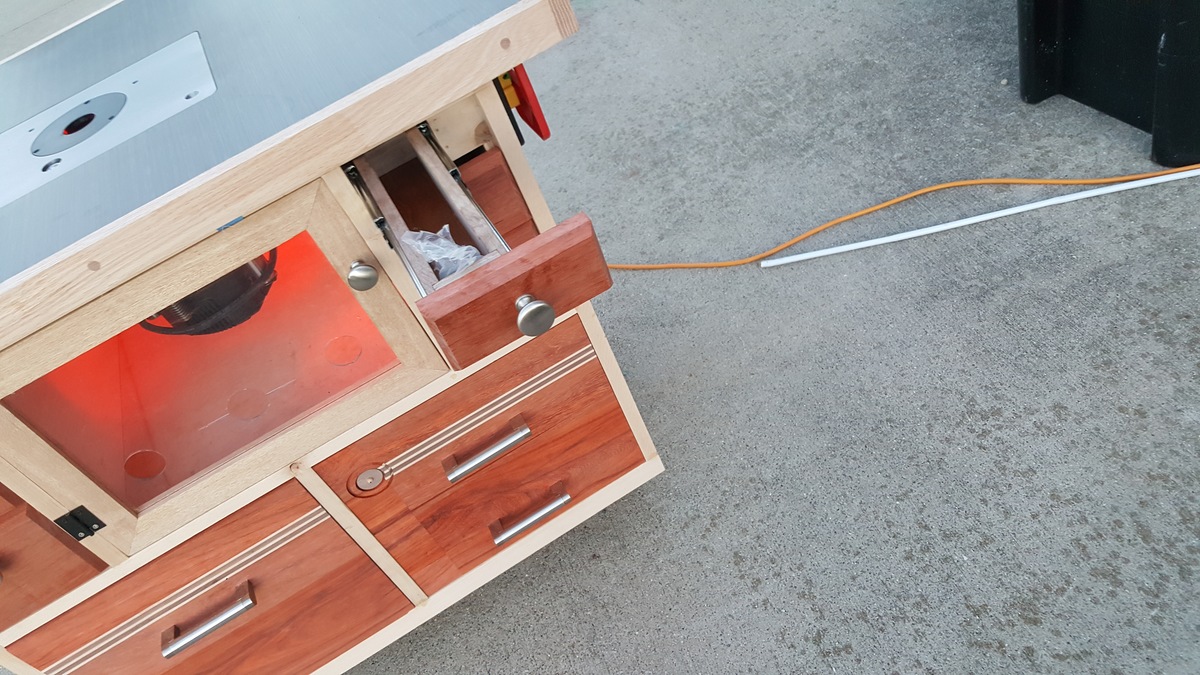
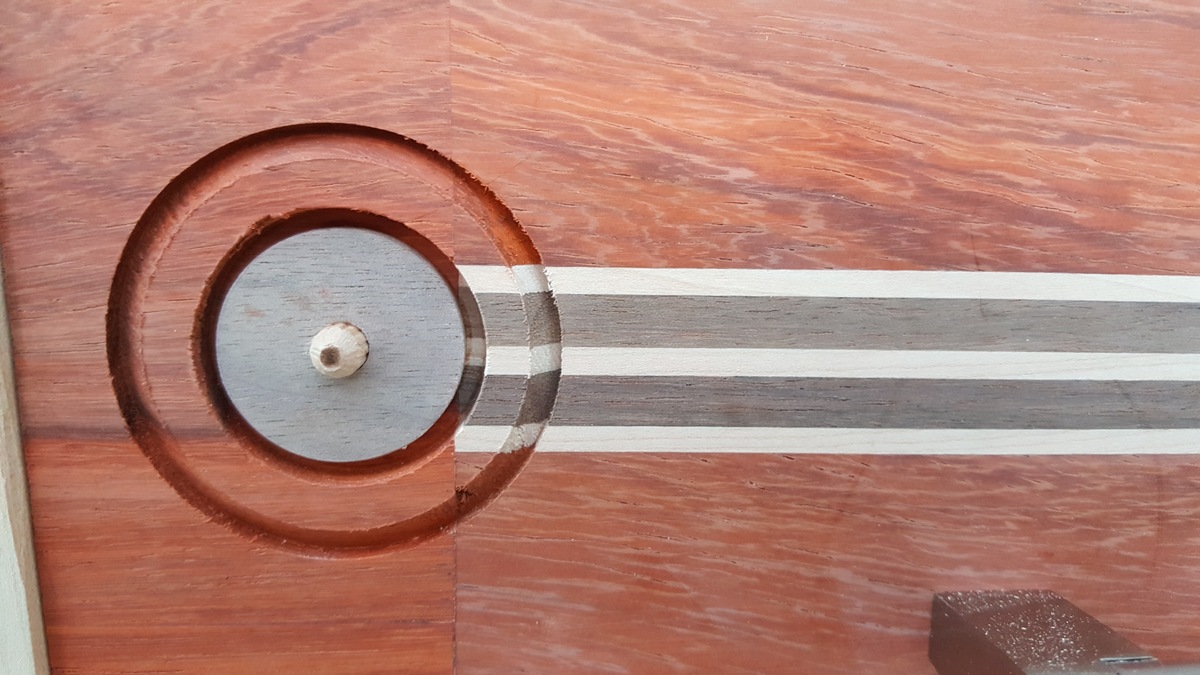
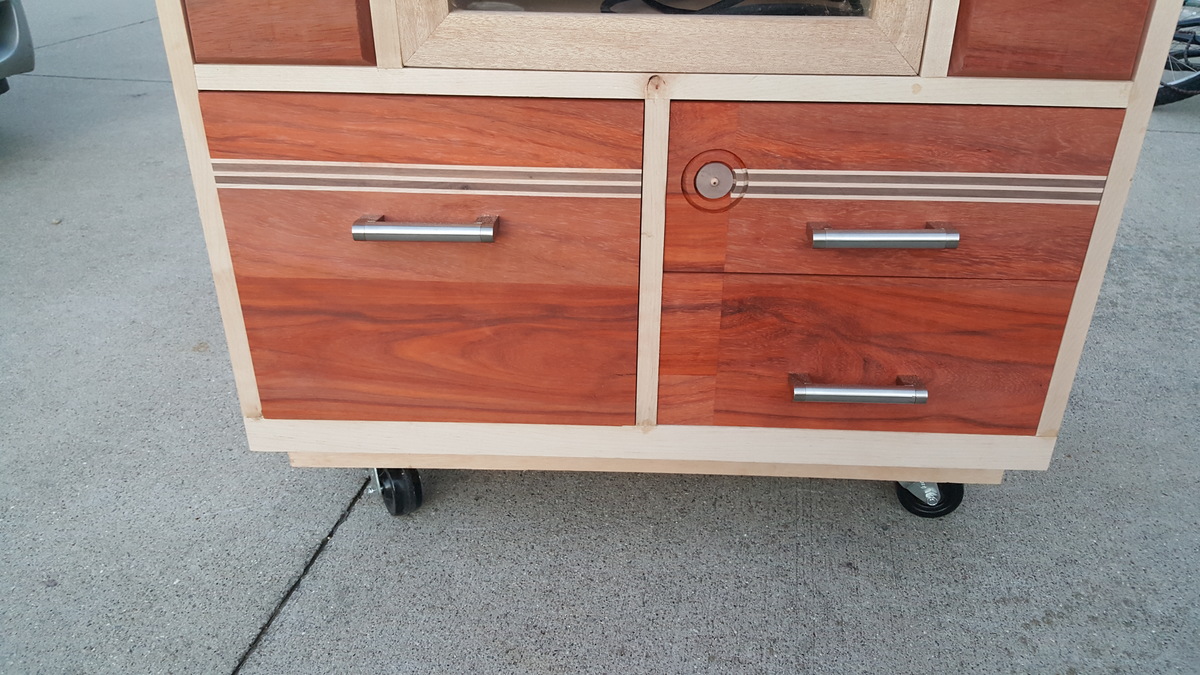
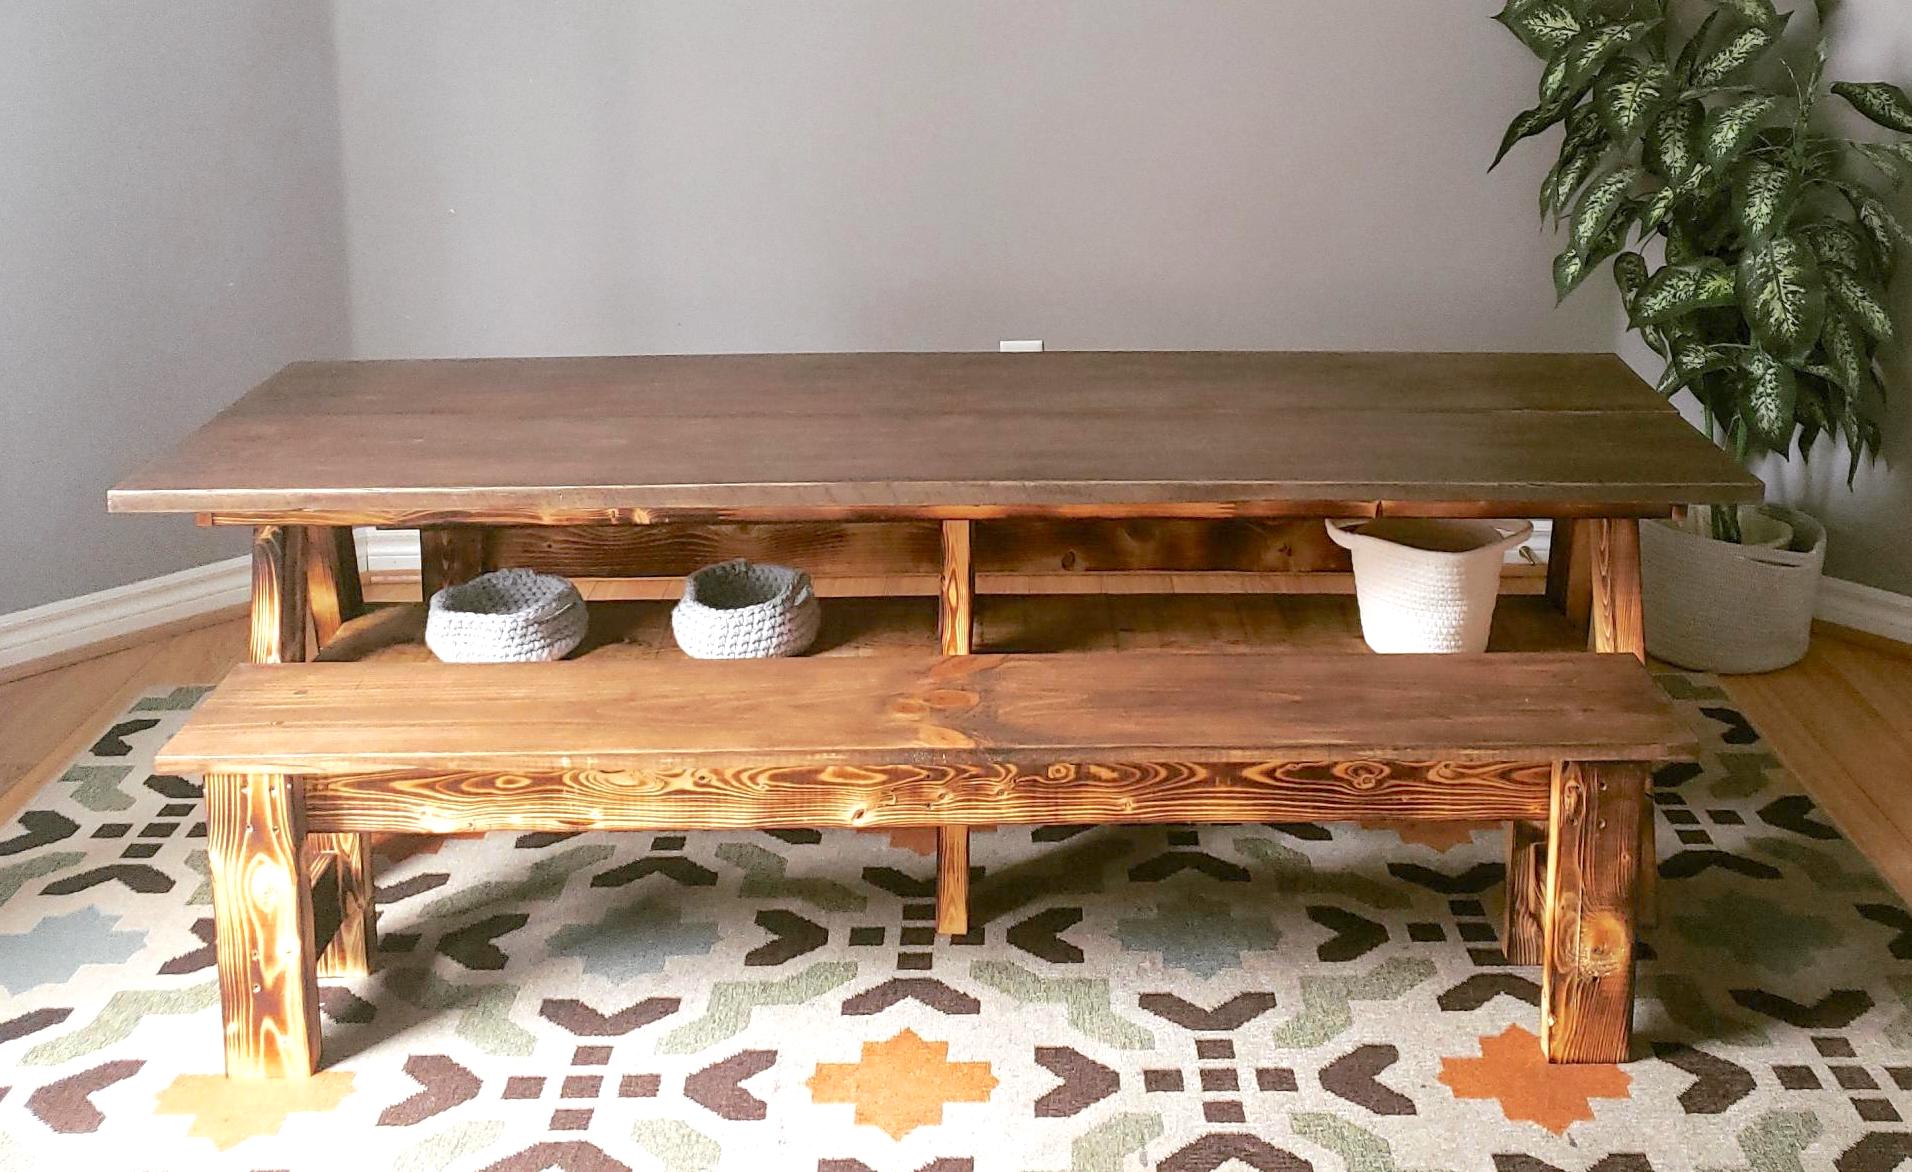
I loved this project!!! And am so happy with how it turned out!! I have 4 kids and this has so much space for everyone!
We paired the double trustle table with the farm table benches ( which I adjusted the length and height of the legs to make it kids size.)
The table top instead of a solid top we used 2 1x12 boards. And for the beaches we used 1x10 board for the seat.
Thank you for the amazing plans!
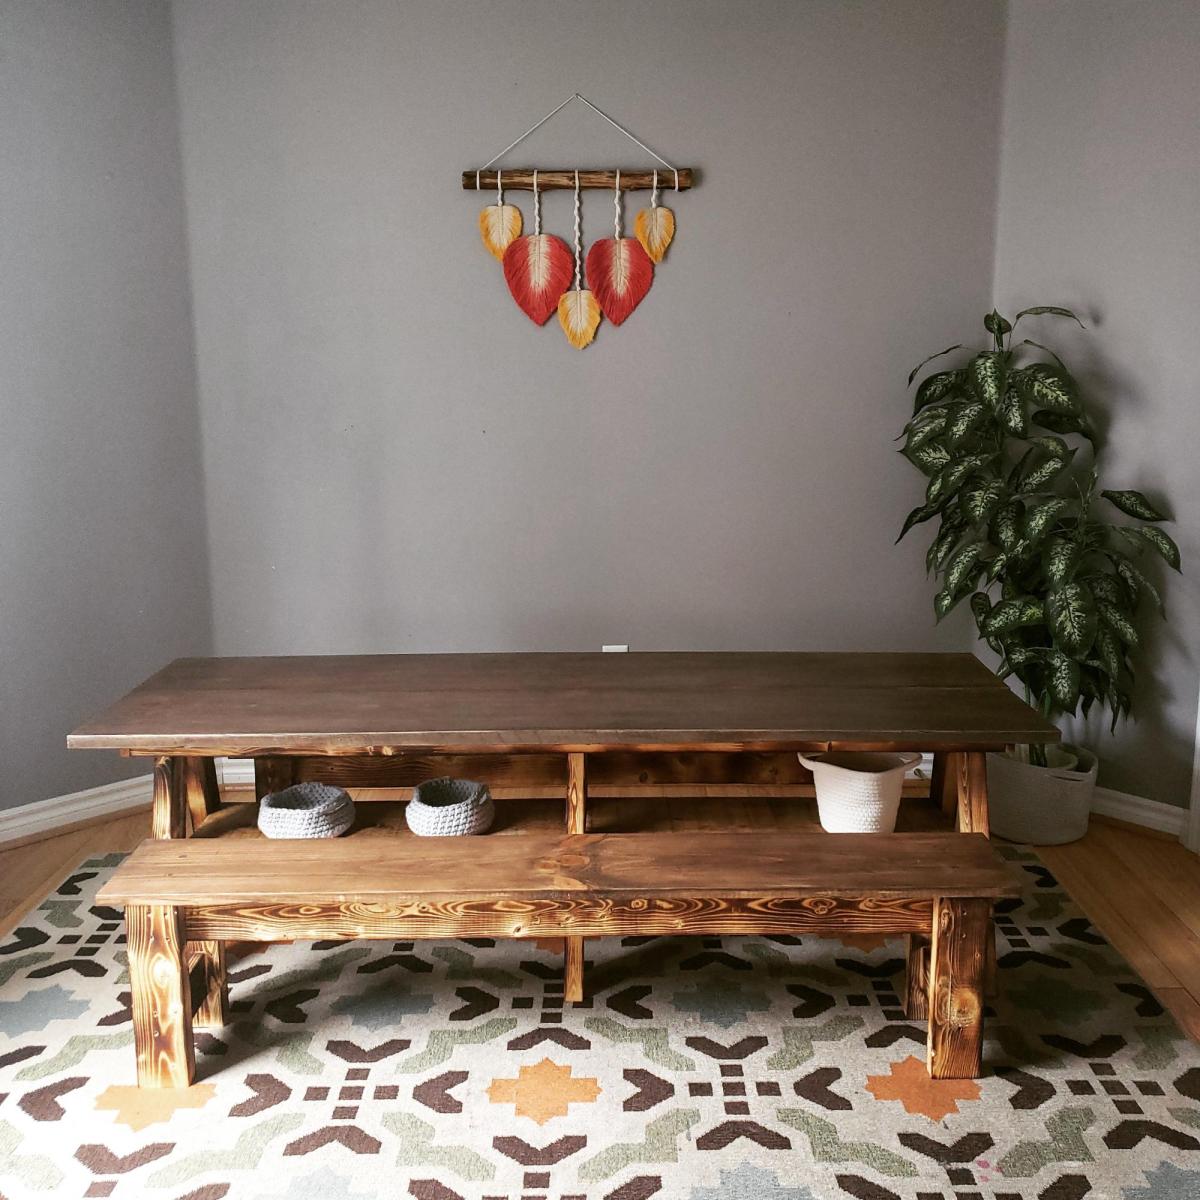
I was searching for a table and chairs for my son's playroom, and I could not believe the prices! I had just purchased a new saw for some moulding projects around the house, and then I found this site. This table and chair was my first wood working project, and they turned out great! I followed the plans for the Clara table, but used a combination of the 4 dollar chair and modern angle chair. I loved how the chair turned out. I am currently working on the second. I used poplar instead of pine which increased the cost. I wanted a weathered finish, I ended up using water-based walnut stain over a white wash. I am so happy I found this site, my next project is patio furniture.
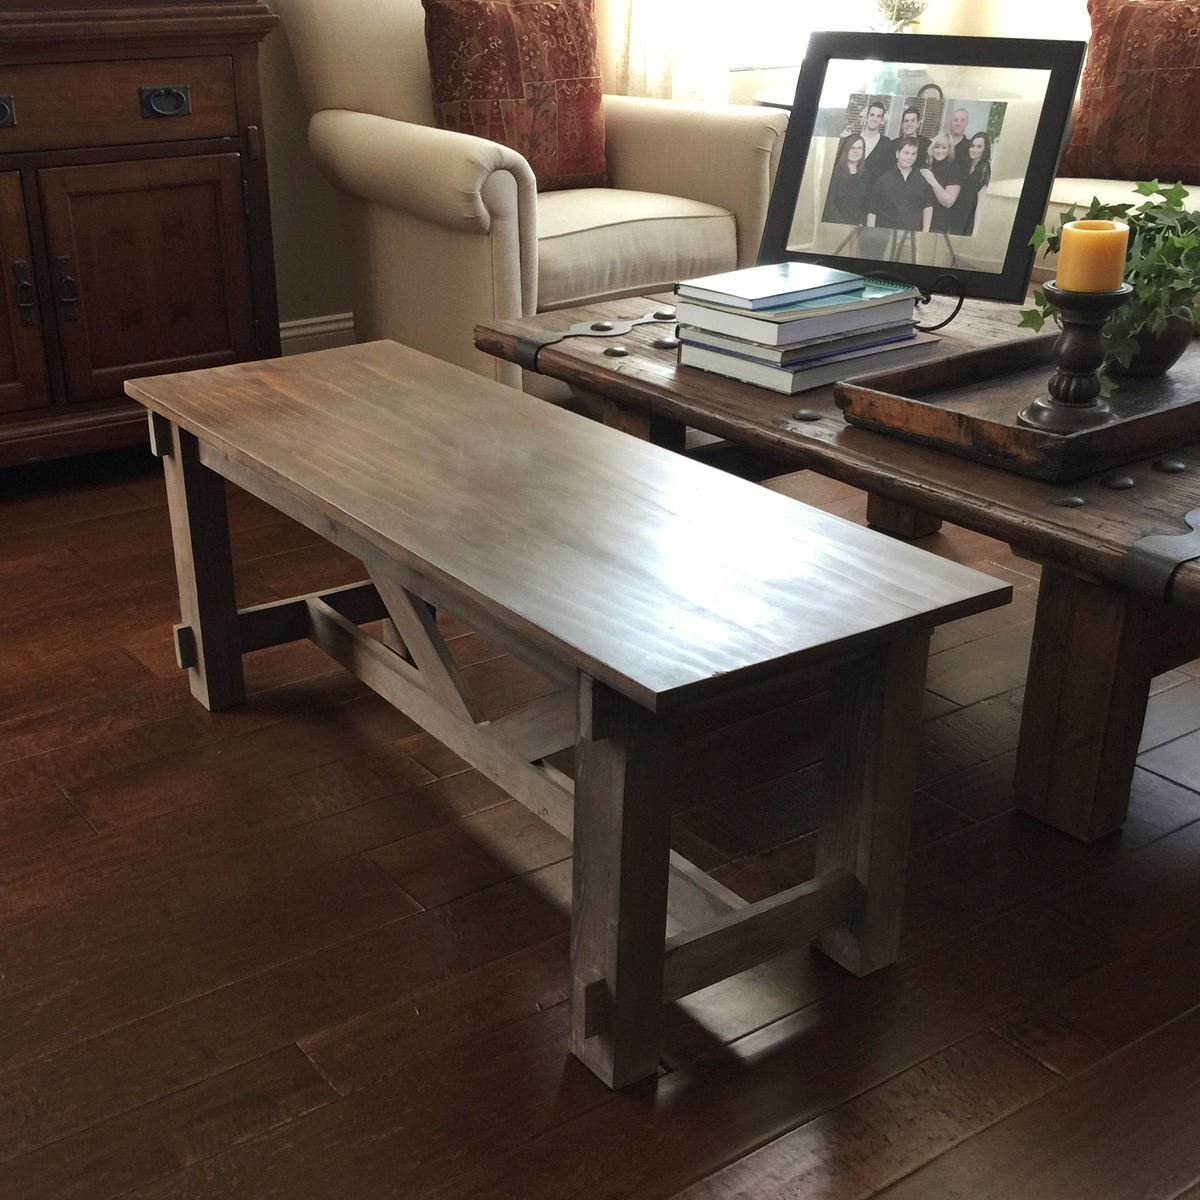
I made this bench a little wider than the plan and made the legs more solid. I was shooting for a restoration hardware-type finish. It was fun to experiment. Used Dark Walnut stain, a white chalk paint "wash" (diluted chalk paint with water - about 50/50), sanded it back a little and added clear and dark wax. I still need to add wax to the legs, but had to share!
Tue, 03/10/2015 - 07:22
great job on the finish! I would love to see some more photos
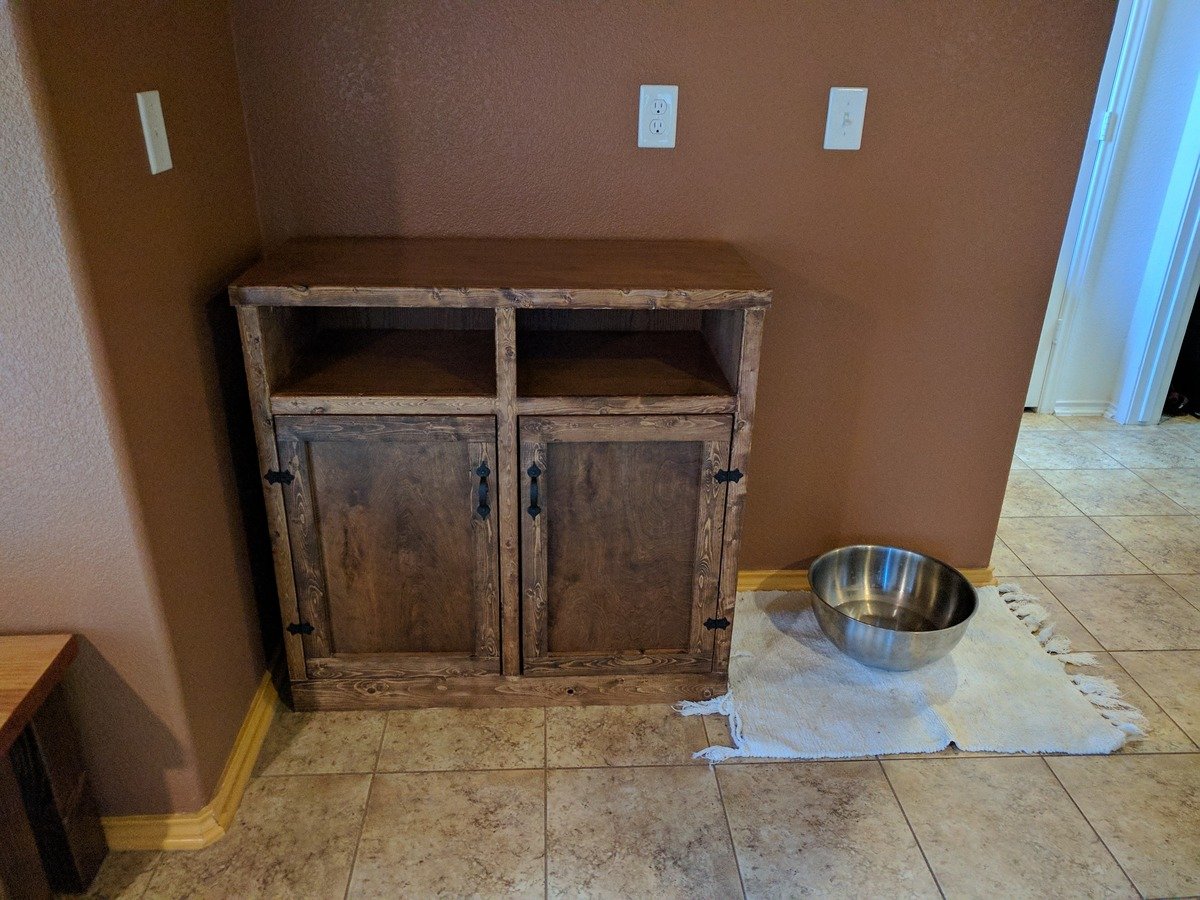
Built this to use as a coffee/smoothie station in our kitchen area. We had some extra space and this was the perfect use for it!
My first attempt at making doors.... turned out pretty well. I might add some magnets just to assist keeping the doors from freely swinging.
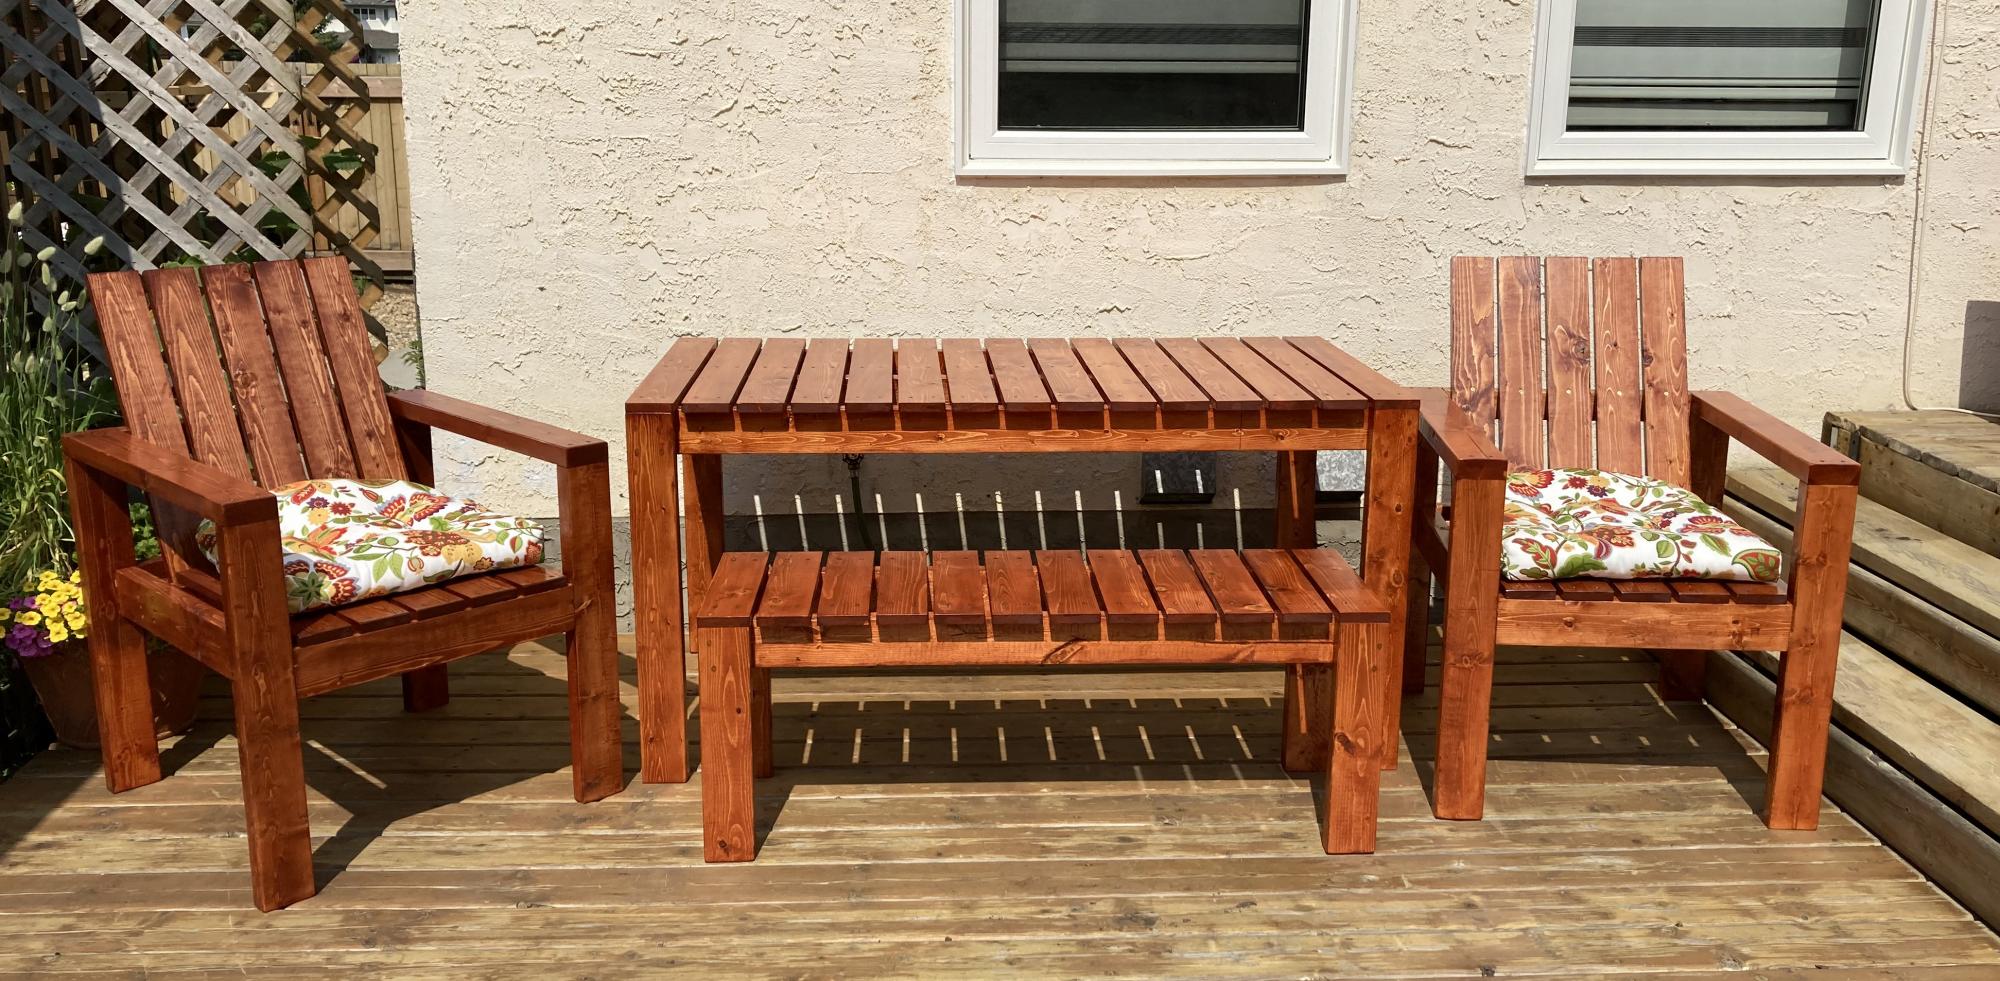
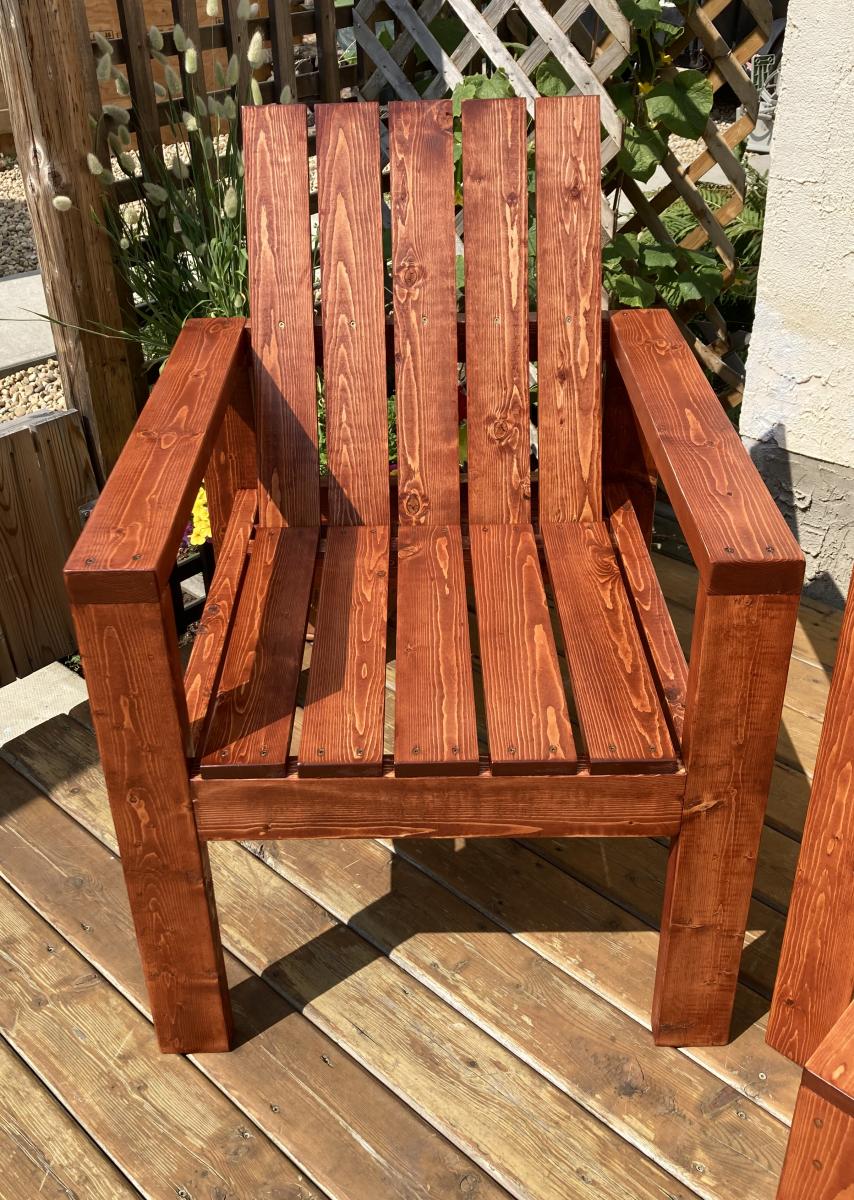
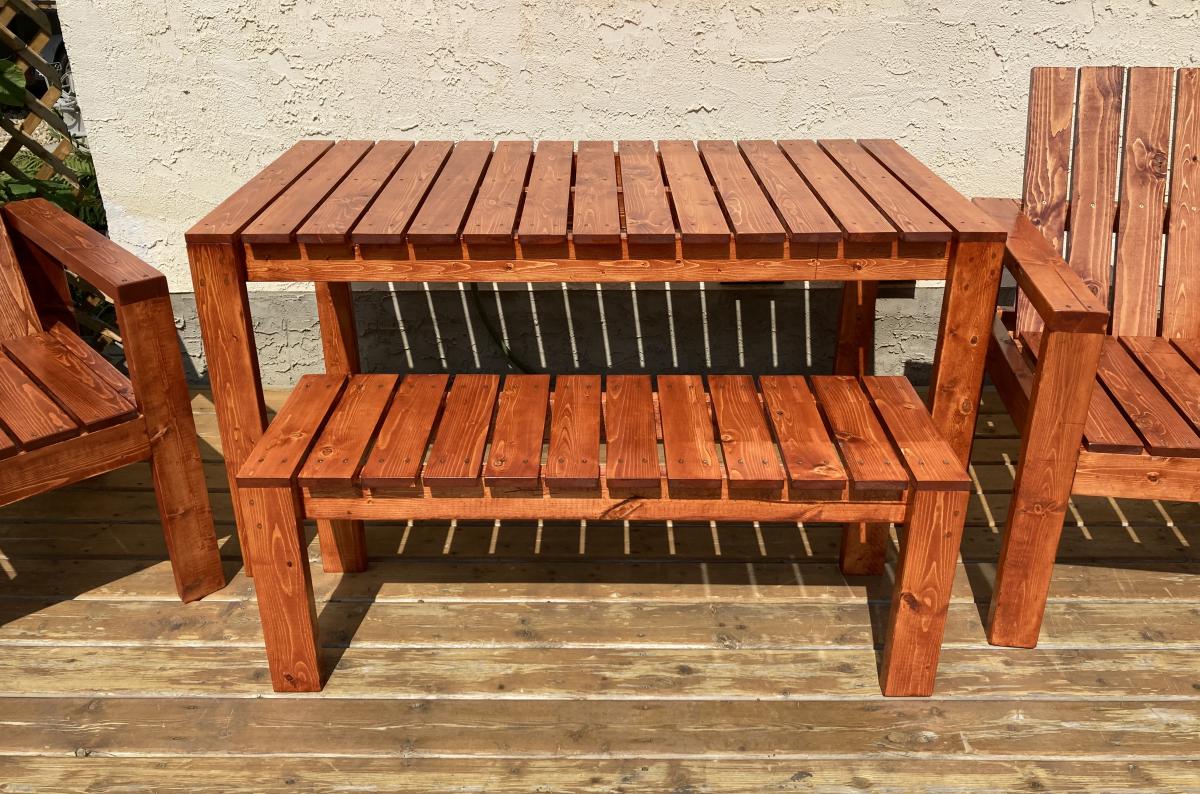
This was a simple yet very time consuming building. Lots of pieces and lots of sanding. I am really pleased with how it turned out. I stained the edges of all the 1 x 4's prior to assembly just to make things easier. I also increased the sides of the chair from 24" to 26" and set the seat height to 18" to match the bench.

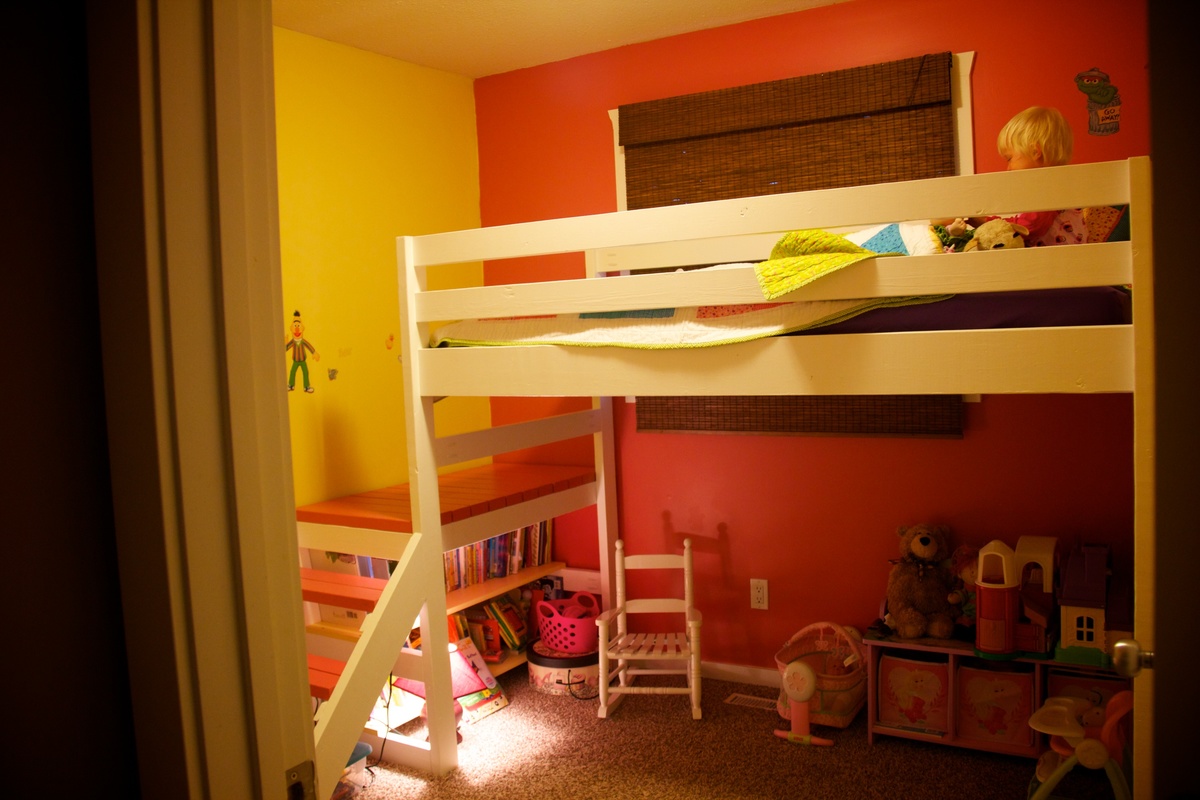
I came across the Camp Loft Bed on Pinterest a couple of months ago. My daughter was still sleeping in a crib, but I knew that she would need a big girl bed by summer. Since her room is small (inside walls measure just under 9'x9'), i thought a loft bed would be ideal.
I have NEVER done a DIY. I don't even own tools. But my step-dad is very handy, so I asked him to be my consultant and helper to tell me if I was doing things the wrong way! Fortunately, he was able to lend me a miter saw, some aluminum saw horses, and the odd screw (when I seemed to run out).
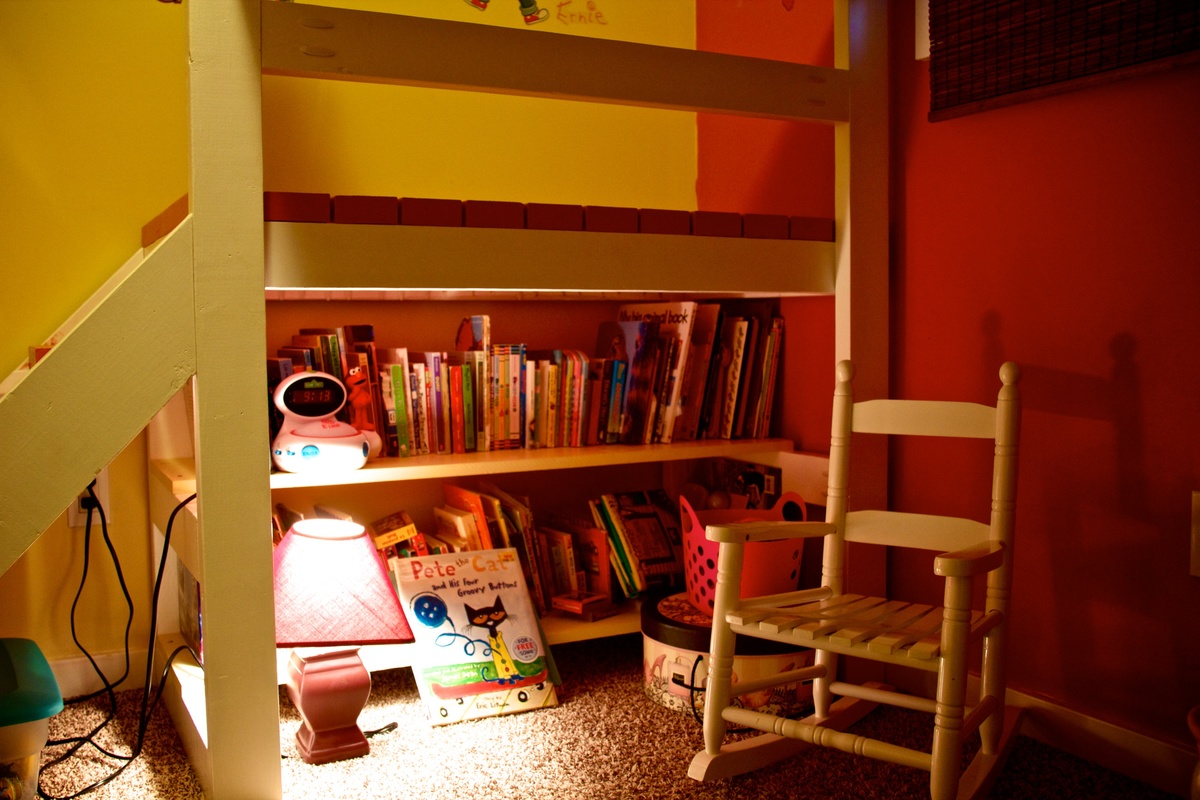
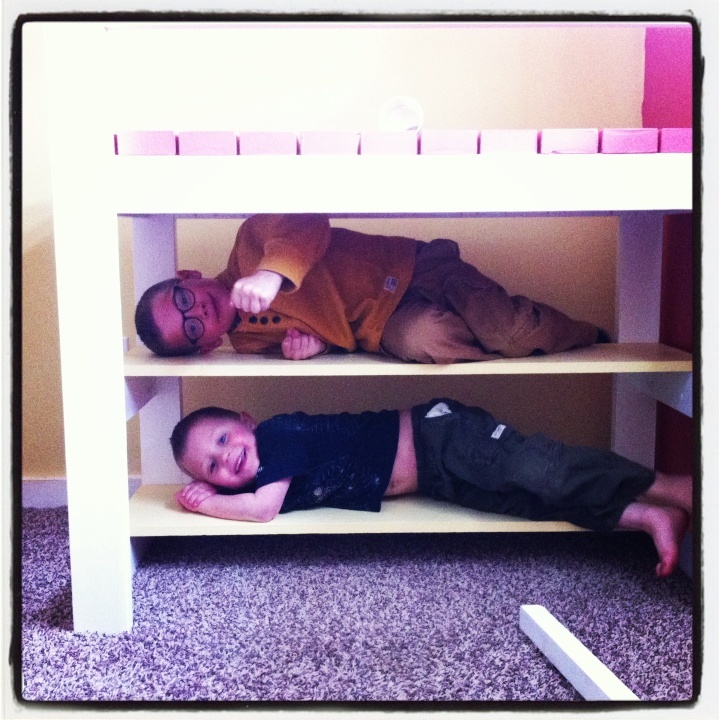
From start to finish, this was a 7 day project. I used construction grade spruce for my lumber, which cost me just shy of $100. I also went back the next day and bought a couple more 2x4s to make two shelves under the platform, which was another $30. I then pre-drilled with my new favourite tool the Kreg, and proceeded to sand, prime, and paint all of the pieces before assembly. With assembly being in my daughter's room, and having nice fresh paint on her walls and carpeted floors, I did NOT want to be finishing the bed in there, but there was no way I could move it into her room completely assembled. I did all the finishing BEFORE assembly.
Sand, prime, sand, paint, paint, paint. That process took three days, obviously not the entire day. Painting goes relatively quickly, but with boards, you paint one side, let dry, roate 90 degrees, paint, let dry, etc. I also had to work a couple of days in between as well. I went with Benjamin Moore Aura paint and that required three coats. I used to some leftover pink and yellow for the platform and shelves, but if I consider the cost, the paint set me back another $100.
I also had to order in the proper screws and I bought some of the white Kreg plugs to cover the exposed holes. Hurray for amazon! Even selecting the free shipping, the screws arrived within 4 days.
Assembly day:
My step-dad and I worked from 10:30-1:30. By this time, the bed and platform were completely assembled and in place. My daughter, however, needed to nap, so I put her down in her brother's bed, and we took a couple of hours off for lunch!
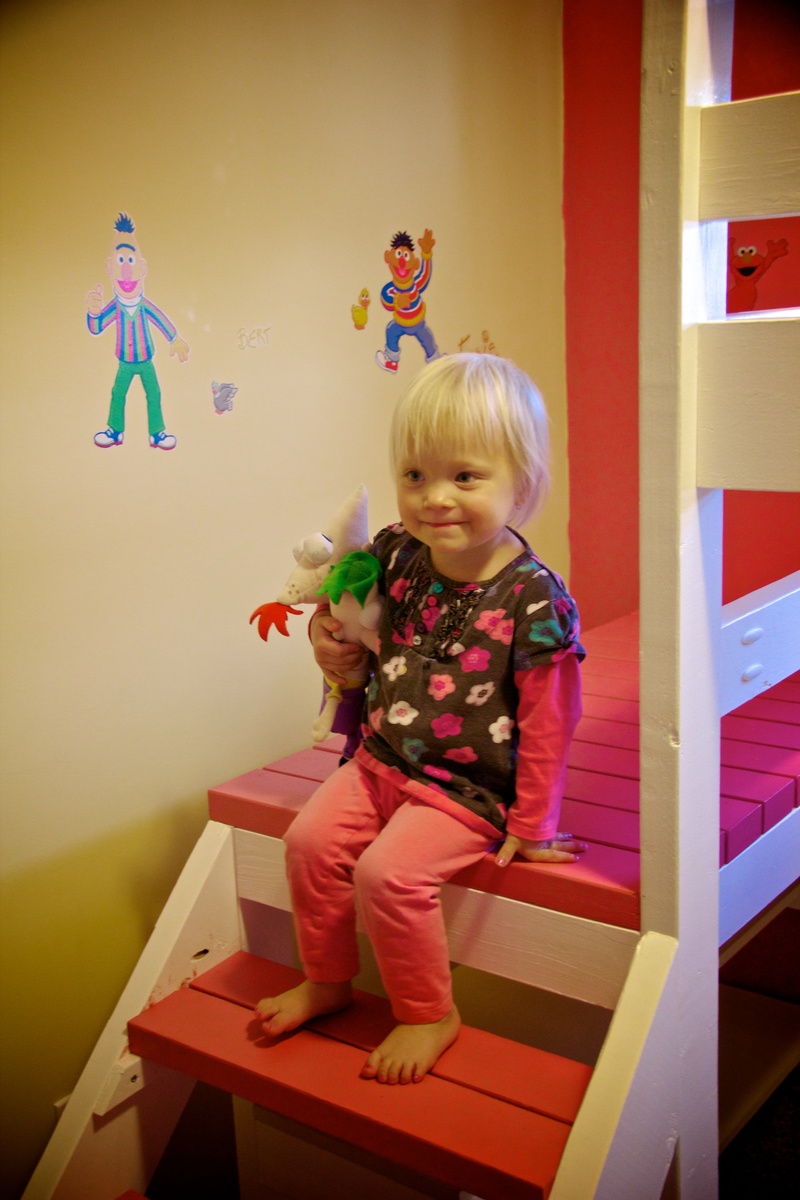
We then worked from 5-8:45 pm building the stairs, cleaning the room, measuring and screwing down the slats for the mattress, then making the bed and getting it ready for sleep. It seemed like a much longer day because in between, I had to run out and pick up a twin mattress, some extra screws, help my son play his new Skylander game, and deal with three kids trying to "help" with construction!
All in all, I am very pleased with the bed, with the plans, and with my first DIY. My kids are all in love with the bed and we spent a lot of time shooing them out of the room while we tried to assemble it.
Tips:
If I were to make this bed again (if my sons have their way, their beds are next!) I would not paint the wood, opting instead for a stained more natural look. I love the colours for my daughter, but what a pain all that painting and rotating the boards was. Paint was also a more expensive option for finishing.
That being said, if I do paint, I will NOT paint the ends of the boards that will be joined via pocket holes. In some cases, the boards were just a smidge too long to fit and we had to take the back to the saw and shave off the layer of paint in order for the board to fit.
I also opted to buy firm twin mattress as opposed to the plush ones. The plush mattresses add a lot of height and I was worried about my daughter having a bit too much fun up there and possibly tipping out from a high mattress. Stick to thinner mattresses on loft or bunk beds!

Happy spring! This DIY Tropical Pallet Living Wall is so simple that anyone can build in less than 1 hour. It is easy to maintain, and beautiful as well! Free plan included!
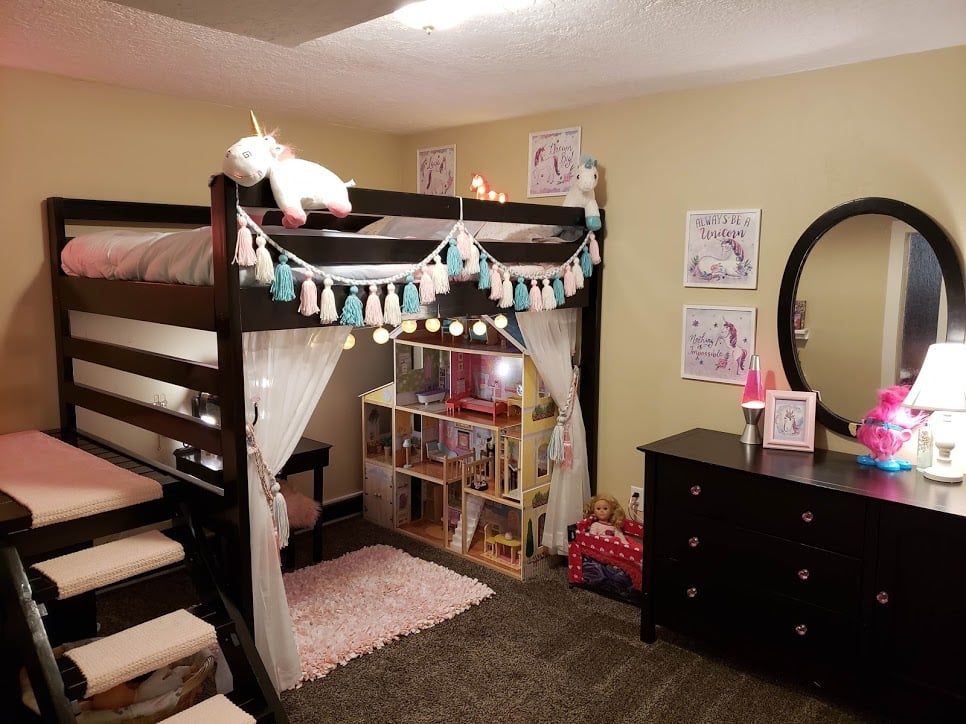
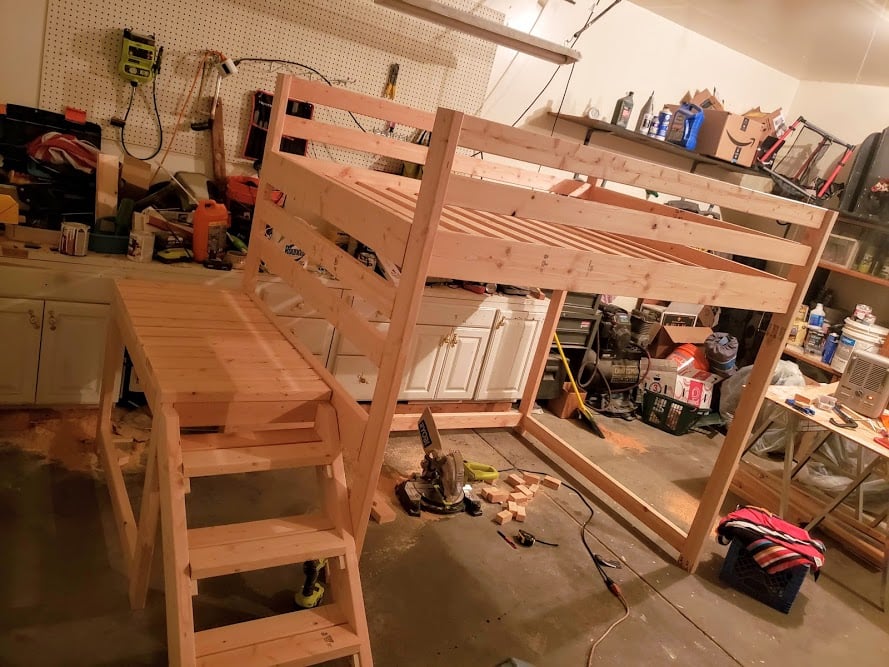
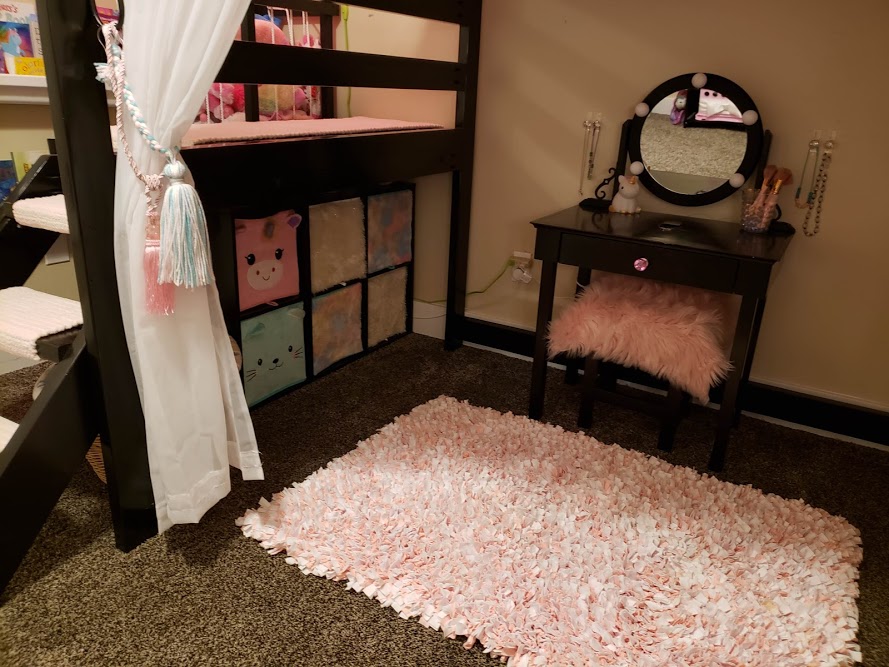
I may have spoiled my Grand-daughter a bit too much and her room was really full of stuff. I decided that I should just go ahead and spoil her a little more by building her a new bed for her birthday. I used the Camp Loft Bed plan but did modify it to fit her full size mattress and raised the height just a bit to make sure that her doll house would fit underneath. I am so happy with how it turned out! I love that I can fit her toy bins underneath the stairs where they are out of the way and how much more room she has to actually play. I used some really fat yarn and crocheted the little stair runners so it is nice and soft on her feet going up and down the stairs. This project did take longer then some of the others that I have done but I do also work a full time job. I had the bed actually built and put together in a weekend but then took it all apart for staining and finishing which took a long time. There were a lot of pieces to stain with multiple sides and coats to get the coverage I wanted so it would match her other furniture. I also did 3 coats of topcoat on each piece. Looking back if I had to do this over again I would have used 4x4's for the legs/bed posts. She is only 6 right now but as she gets older I will probably switch those so that it is a little more sturdy as she gets bigger.
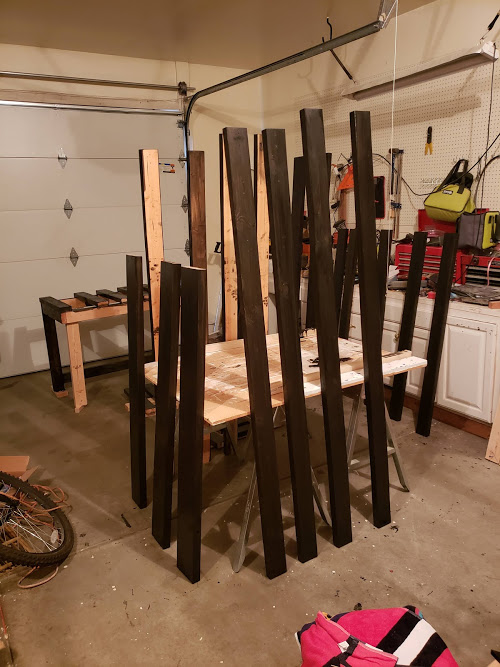
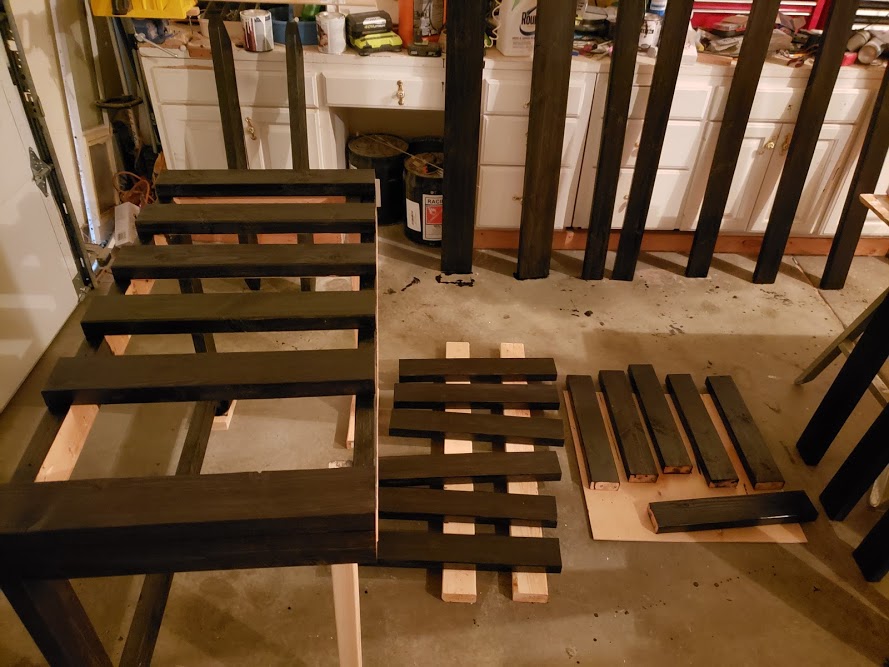
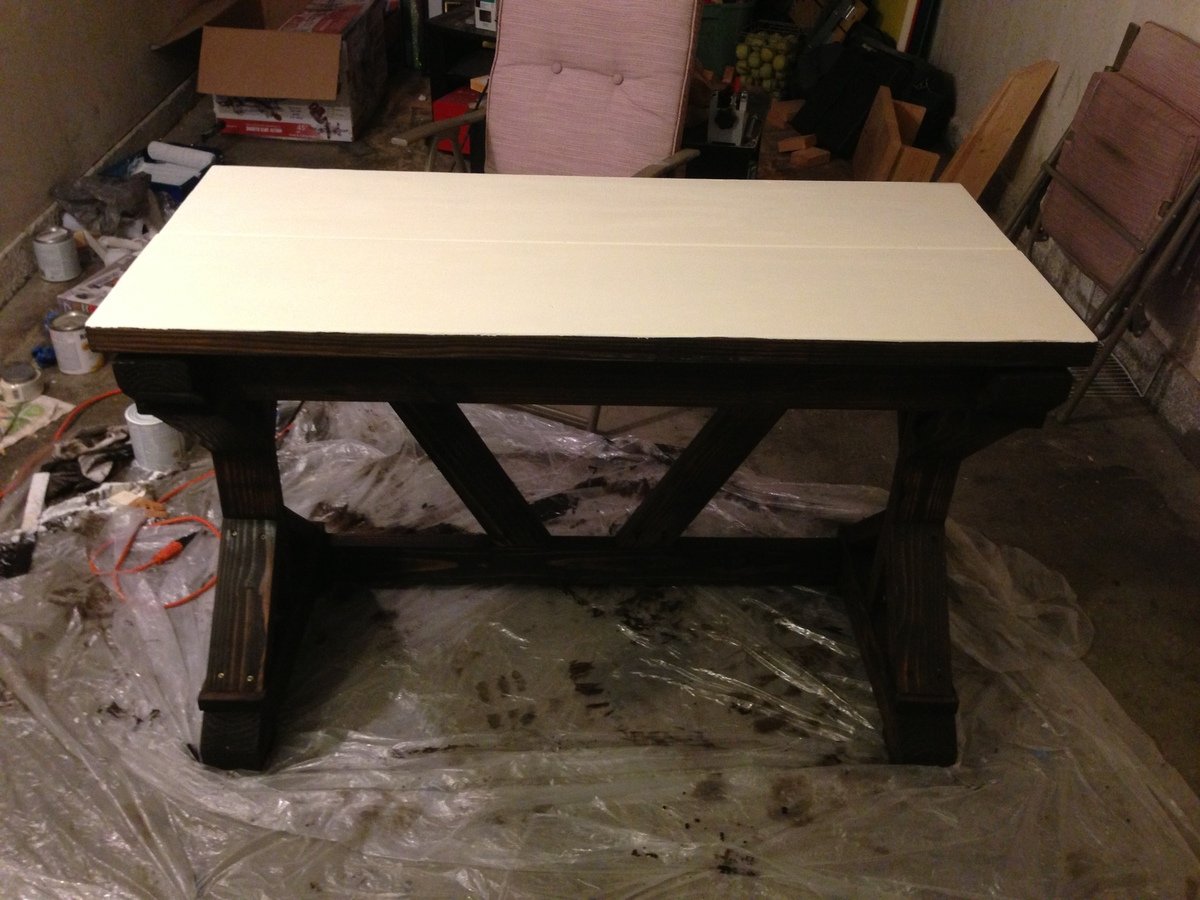
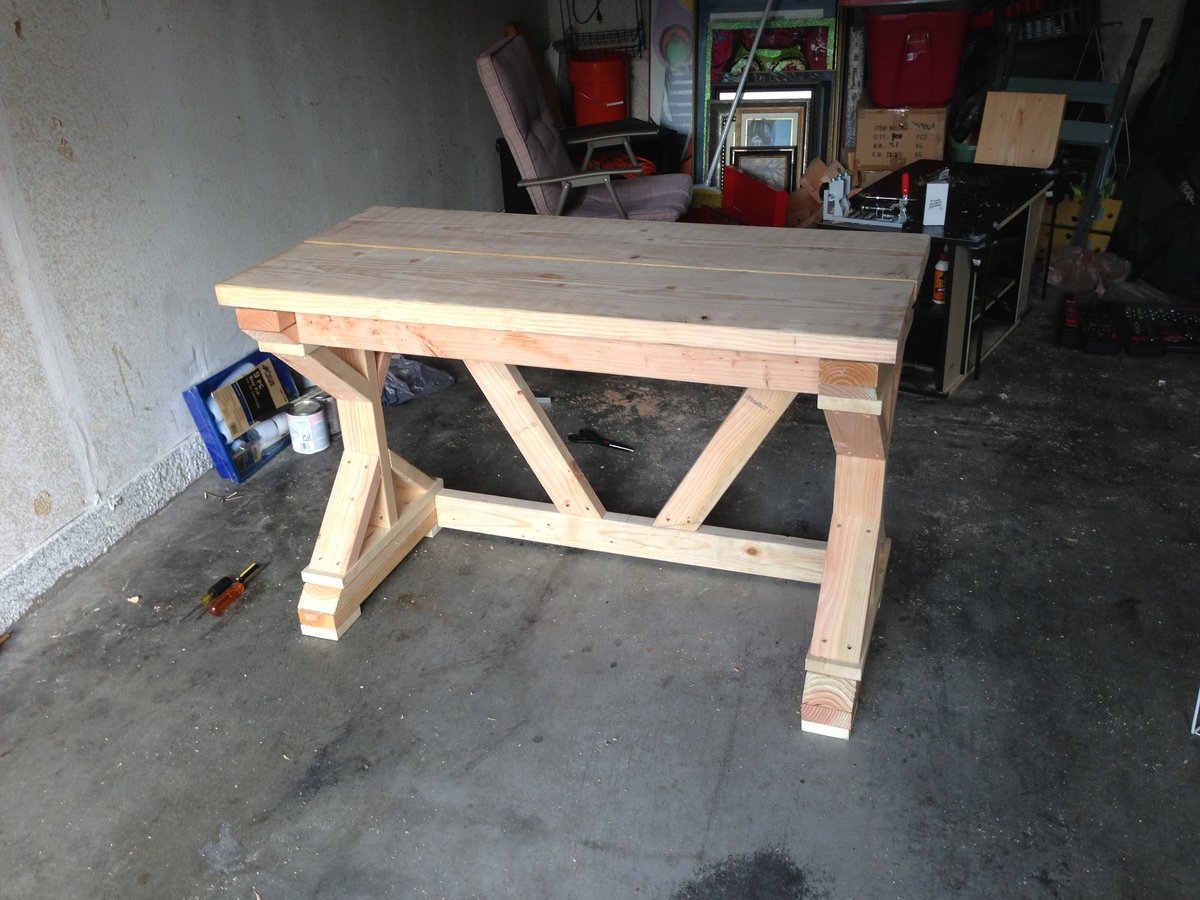
I found the Fancy X Desk plan and loved it. I shortened the length to 4 feet and added a little monitor stand on top so I could put stuff under my monitor and not have to sacrifice desk space.
I really liked and wanted to build the hanging daybed. Then I needed somewhere to hang it. Then I wanted to use it during the day (Northeast Brasil - Sun is brutal)
Built using massaranduba wood (Father in law has a woodshop) and the thing weighs a tonne.
The shades are a 85% sunshade.
It has proven very popular with family and friends. As of yet there has not been space on it for me to try out.
Bed measures 1.0M x 1.9M
Project all total took about 120 hours.
Comments
Ana White Admin
Wed, 06/09/2021 - 09:01
Super job!
Thanks for sharing, love your modifications!