Community Brag Posts

Desk made from Ana White plans

Submitted by Anonymous (not verified) on Fri, 01/06/2017 - 06:38

Biggest tip for everyone is to make sure you are square at all times! I would also recomend springing for the better drawer slides. I used the cheap white ones and regret it. Overall, this was fun to make and looks great in my office! Thank you for the plans

Built from Plan(s)
Estimated Cost
$300
Estimated Time Investment
Weekend Project (10-20 Hours)
Finish Used
Minwax Jacobean Stain, 2-3 coats. Minwax semi gloss polyurethane, 2 coats
Recommended Skill Level
Intermediate

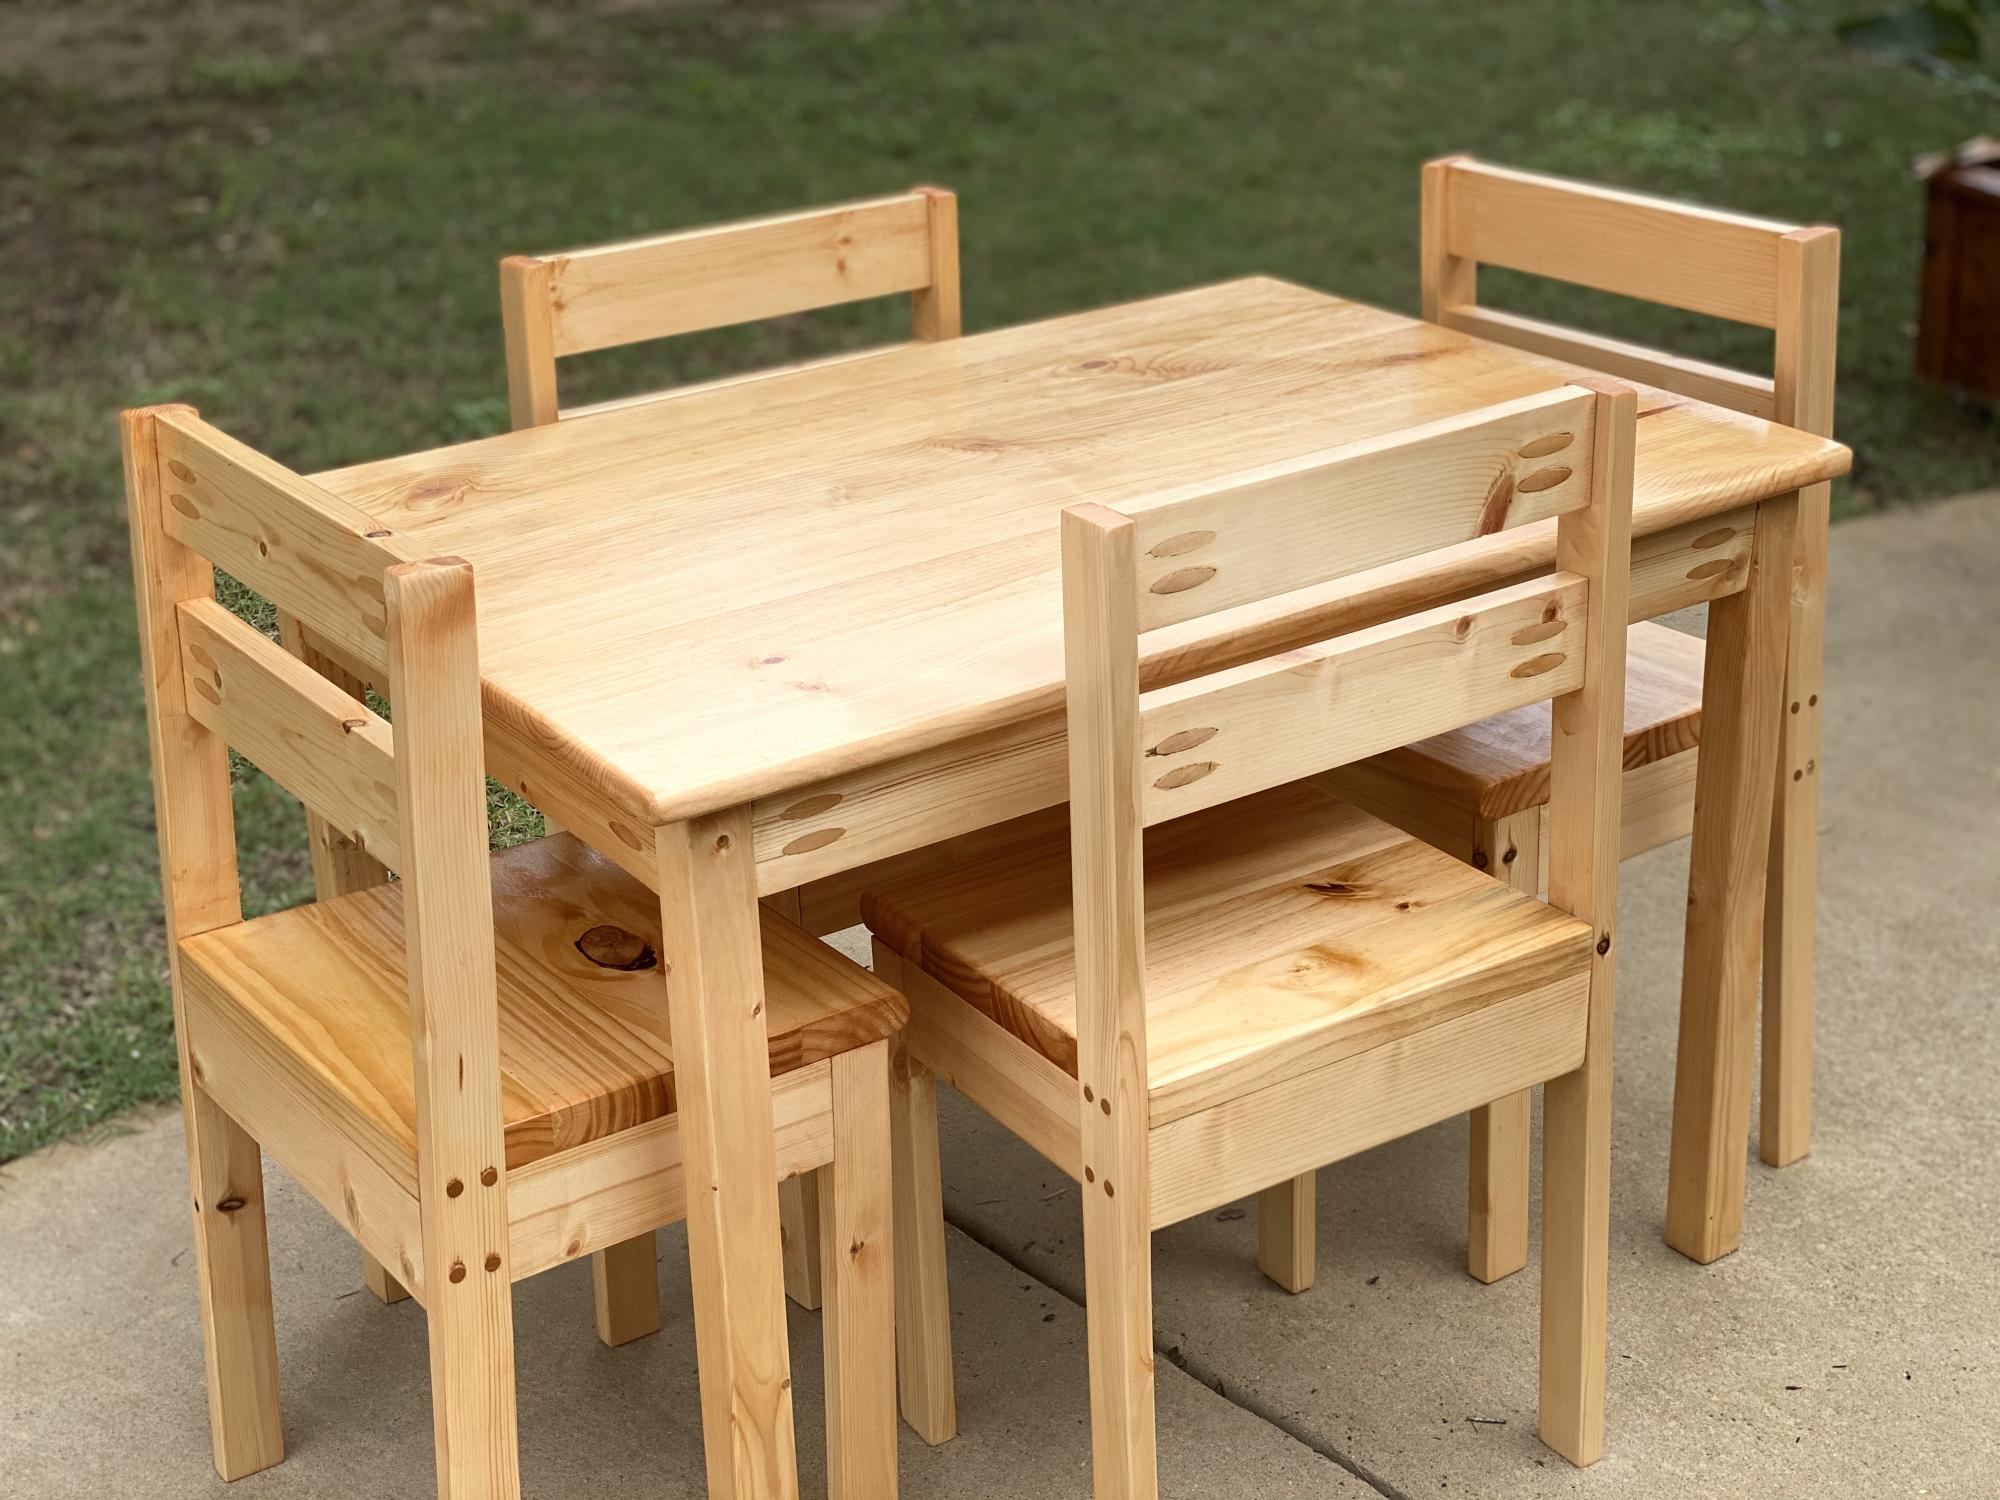
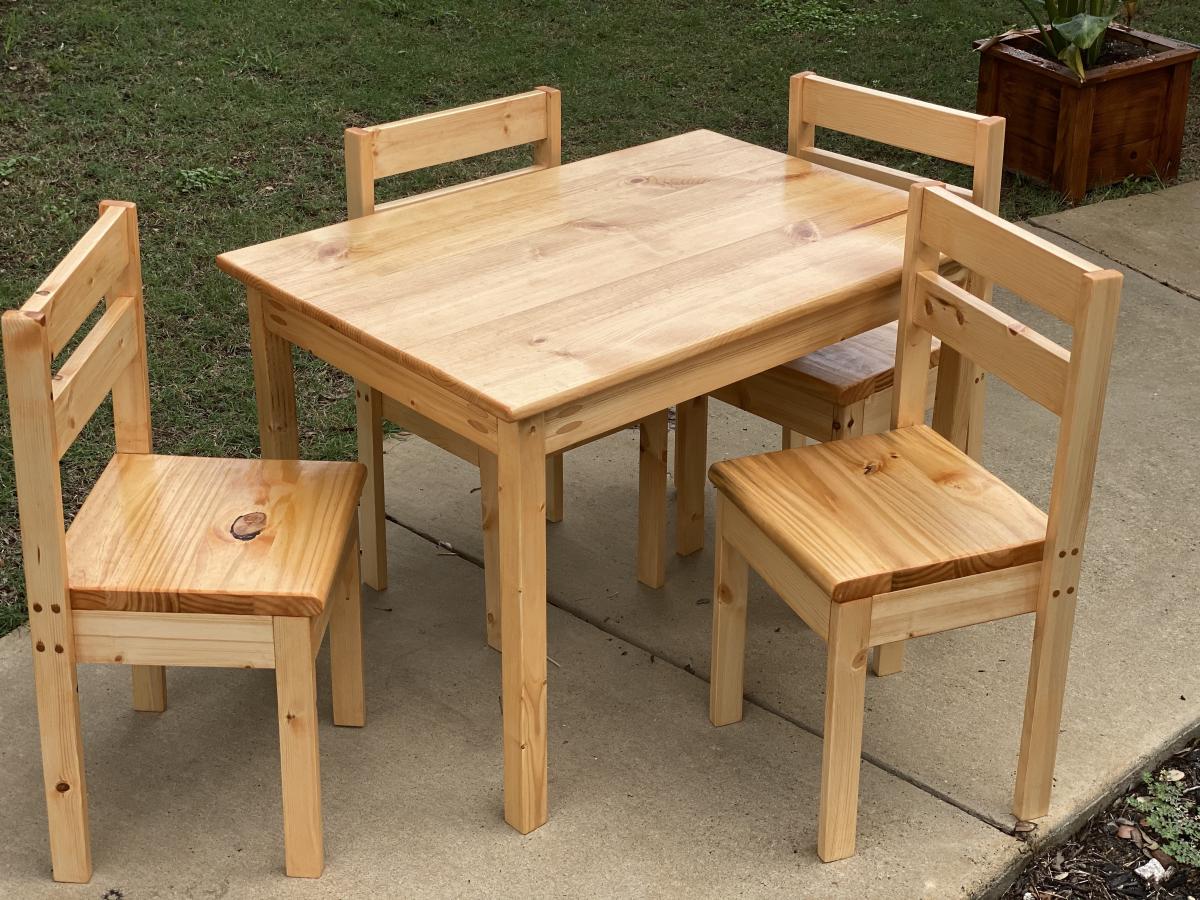
Table & Chairs for Kindergarten Co-Op

Simple table and chairs for a kindergarten homeschooling co-op. Perfect size for 4-6yr olds. Sturdy enough for older kids as well. We used a stair tread for the seat tops instead of 1x3 to make it more solid and to minimize little fingers getting caught between slats also the bull nose on the stair tread makes a nice edge for little legs to rest against.

Estimated Cost
$140
Estimated Time Investment
Week Long Project (20 Hours or More)
Finish Used

It is finished using two coats of Minwax PolyShades stain & polyurethane in classic oak with sanding using 320 grit sandpaper in between coats. Then a polish with steel wool #0000, beeswax and orange oil.

medicine cabinet

I used the jewelry cabinet as inspiration by adding crown moulding to the top and b-board to the door and changing the measurements.

Estimated Cost
30-40
Estimated Time Investment
Afternoon Project (3-6 Hours)
Finish Used
two shades of paint, distressed to reveal first colour
Recommended Skill Level
Beginner

Storage bench

Submitted by Haynesjr on Sat, 09/20/2014 - 08:19

We wanted more seating in our living room so we made the bench closer to full bench height at 14.5"  We then made some simple cushions. I built the bench a few hours each day. 

Estimated Cost
$175 including fabric and foam
Estimated Time Investment
Weekend Project (10-20 Hours)
Finish Used
Minwax golden oak
Recommended Skill Level
Beginner

Printmaker Coffee Table

Submitted by Anonymous (not verified) on Sun, 01/08/2017 - 07:32

Was a challenging but fun project. 

Estimated Cost
$75
Estimated Time Investment
Day Project (6-9 Hours)
Finish Used
Special walnut and weathered oak from minwax
Recommended Skill Level
Beginner

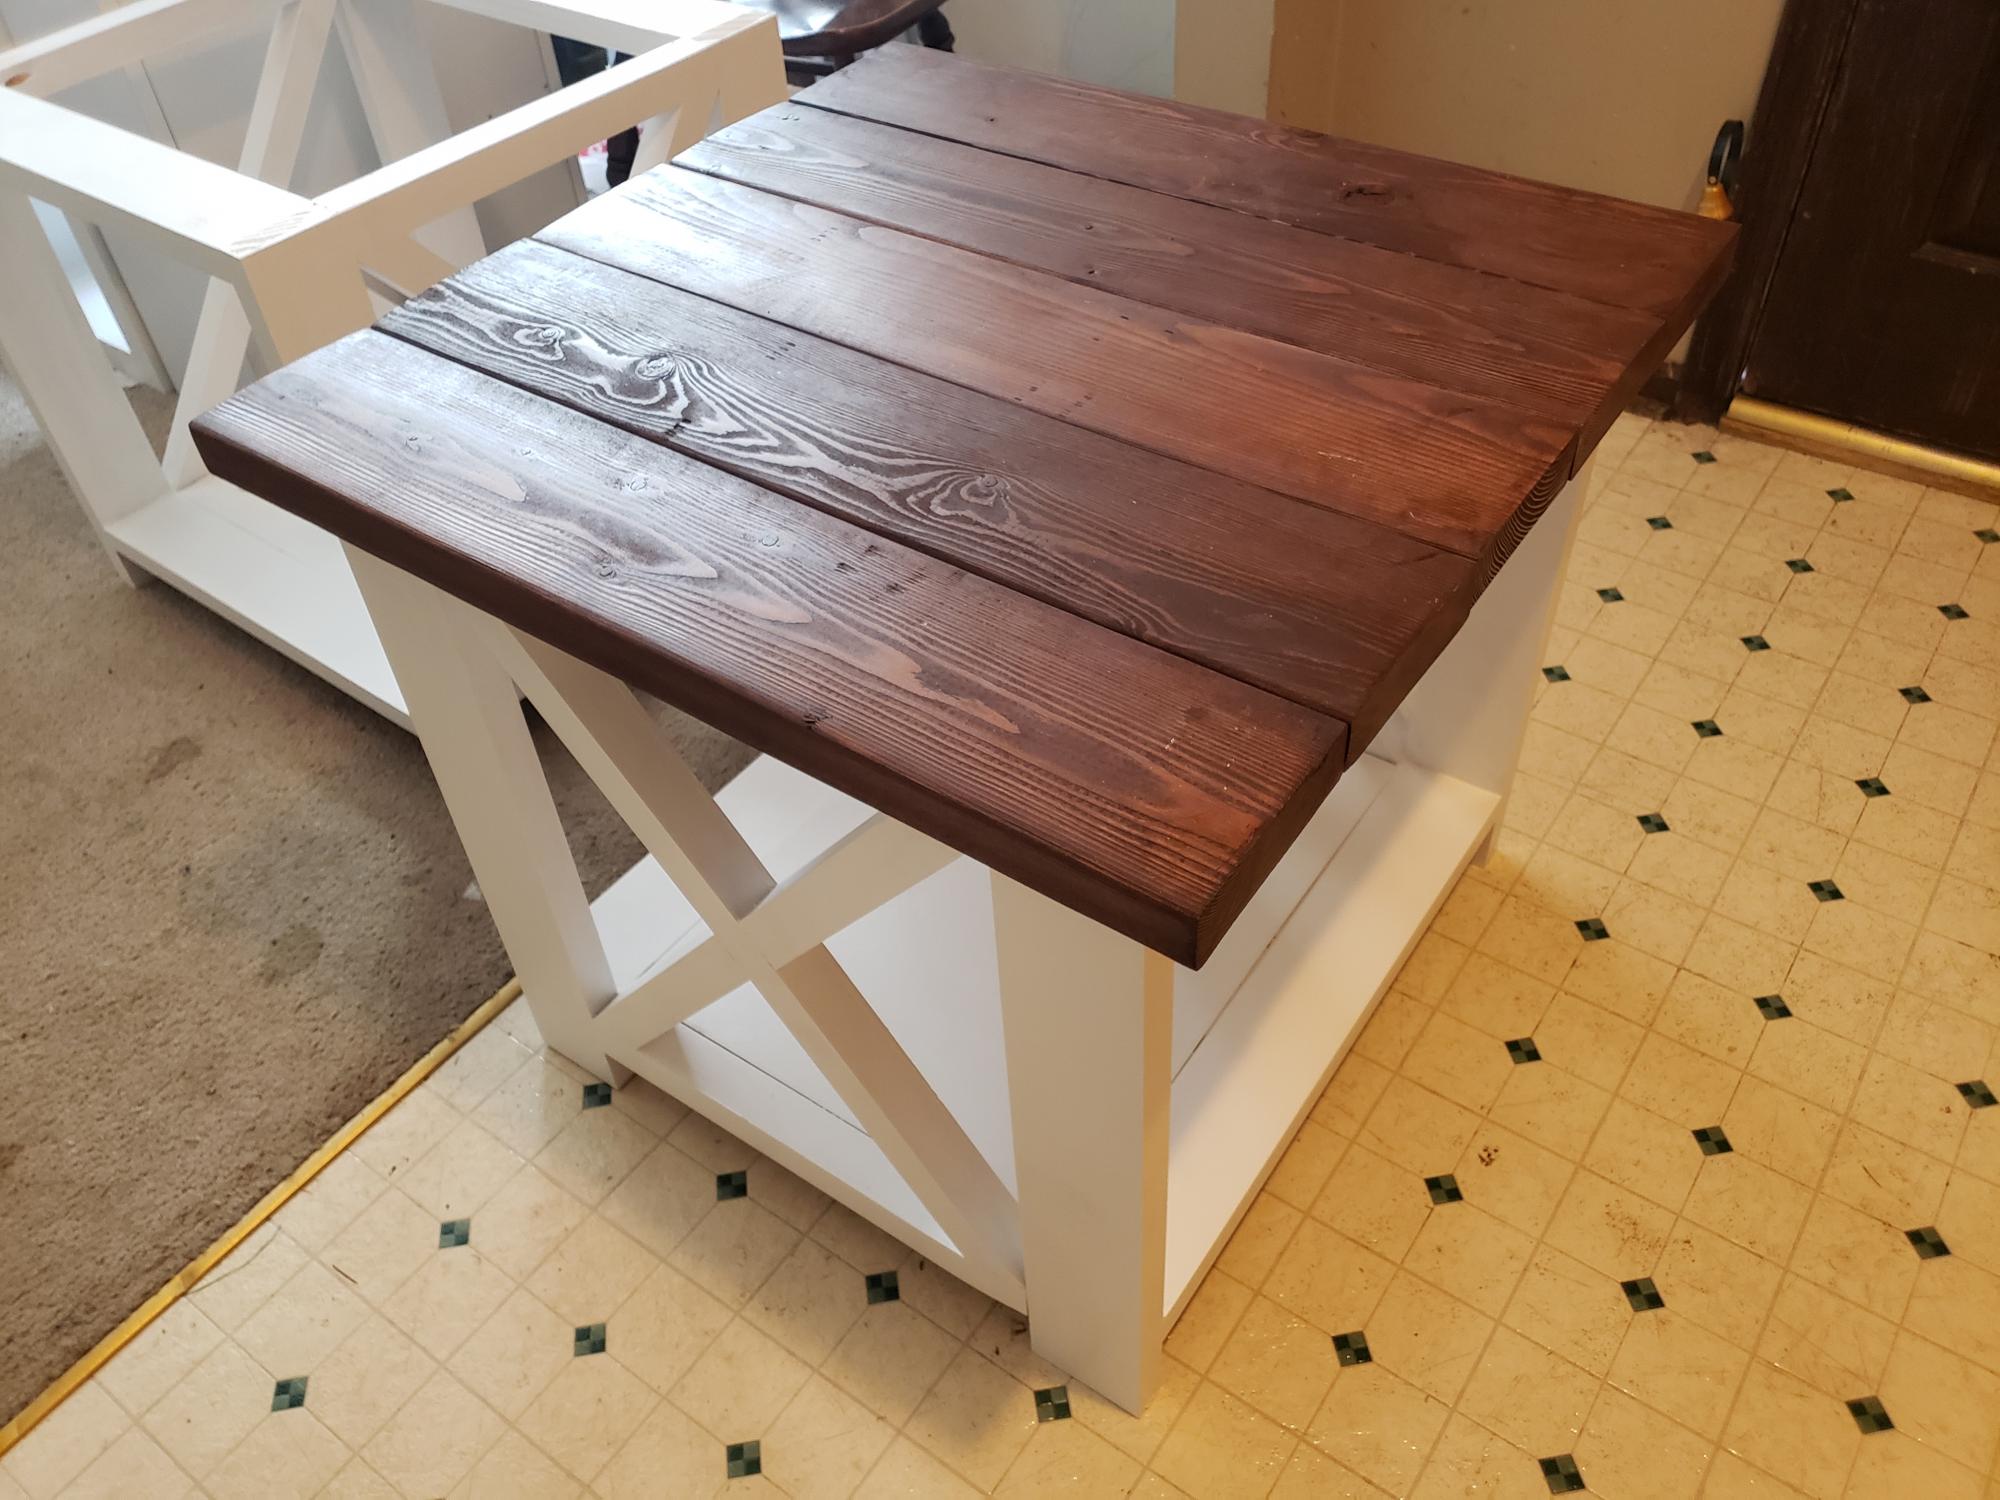
Side Tables

Submitted by TeamTJ on Sat, 09/19/2020 - 18:58

My wife and I made 2 of these for our living room. Plenty of mistakes, but we love them. Hardest part was the X.

Built from Plan(s)
Finish Used
White paint and dark gel stain

Comments

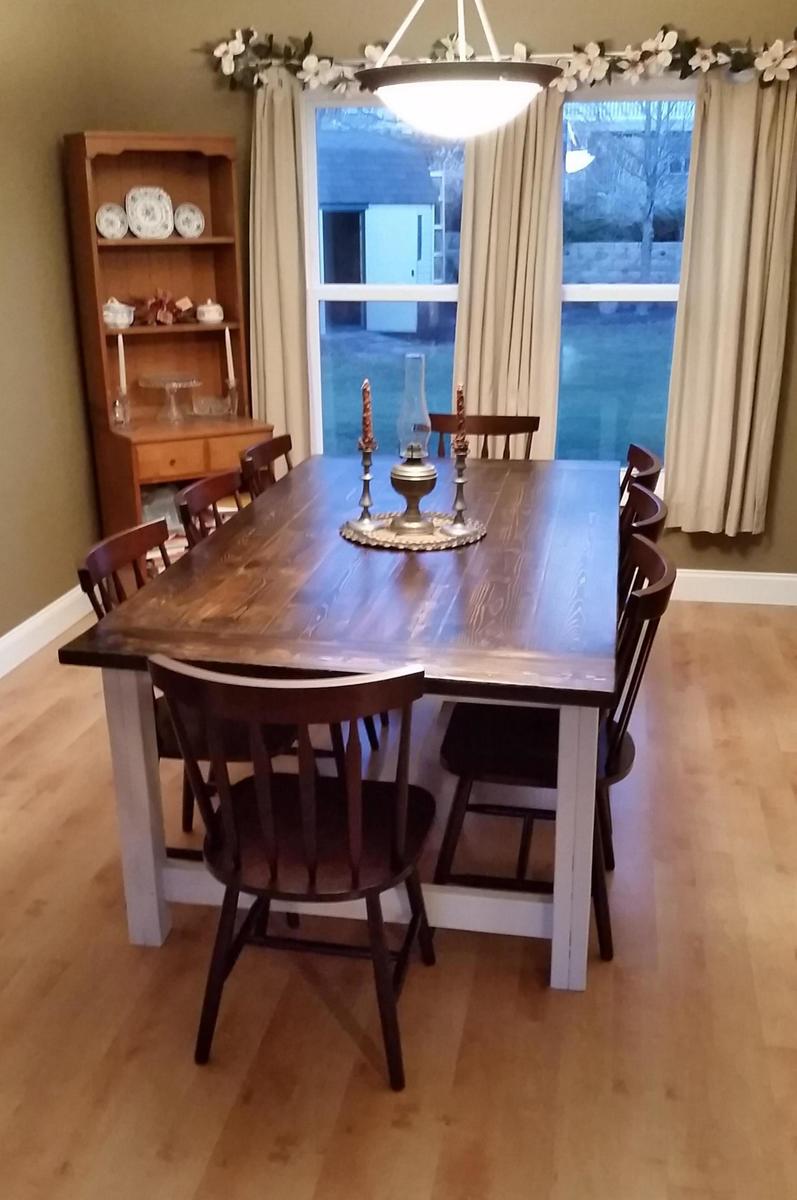
Rustic Farmhouse table from Let's Just Build a House! Blog

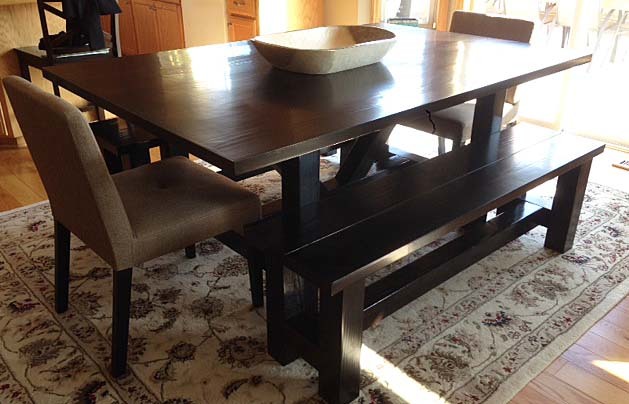
We built this table over one weekend and did the finish work another weekend. We are in the middle of building our home so the table project took a back seat for awhile but we are happy with the result in the end! Could be done all in one weekend without an issue.

You can read about it and see lot's more photos here:

http://letsjustbuildahouse.blogspot.com/2012/12/diy-rustic-farmhouse-ta…

and I'm sure I will be posting more photos with hopefully a bench soon too on:

http://letsjustbuildahouse.blogspot.com/

thanks for the plans can't wait to see what I can talk my husband into next from Ana's site!

Built from Plan(s)
Estimated Cost
$100ish
Estimated Time Investment
Weekend Project (10-20 Hours)
Finish Used
Minwax Jacobean and Classic Grey. About 2/3 Jacobean.
Recommended Skill Level
Intermediate

Comments

spiceylg

Wed, 12/12/2012 - 05:18

How exciting to be building a house and then to have your own furniture in it! Nice build and beautiful home. All the best!

spiceylg

Wed, 12/12/2012 - 05:18

How exciting to be building a house and then to have your own furniture in it! Nice build and beautiful home. All the best!

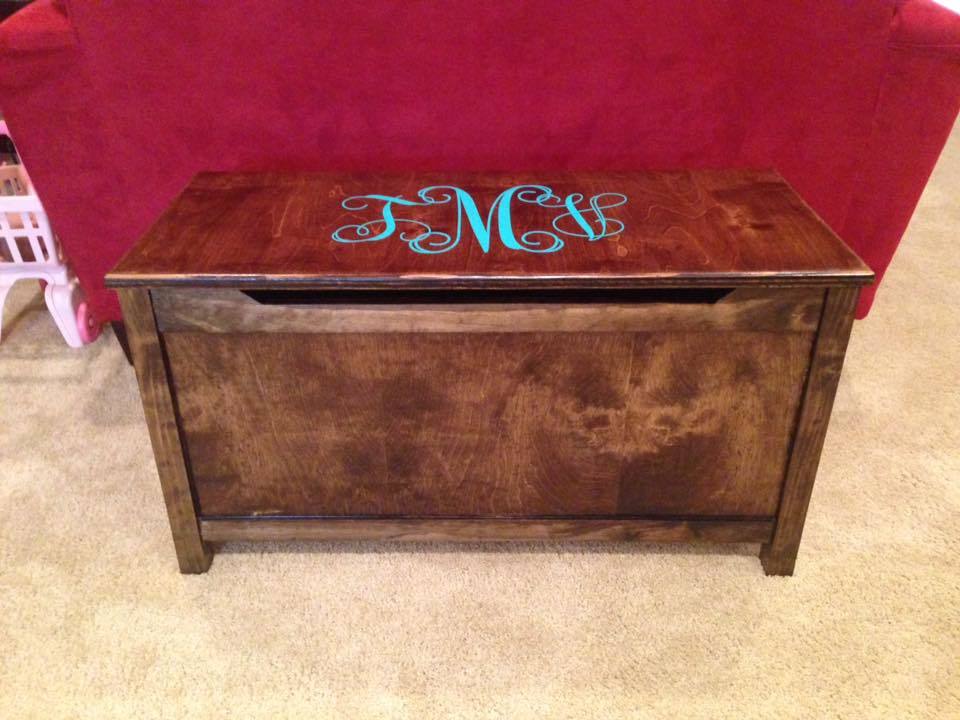
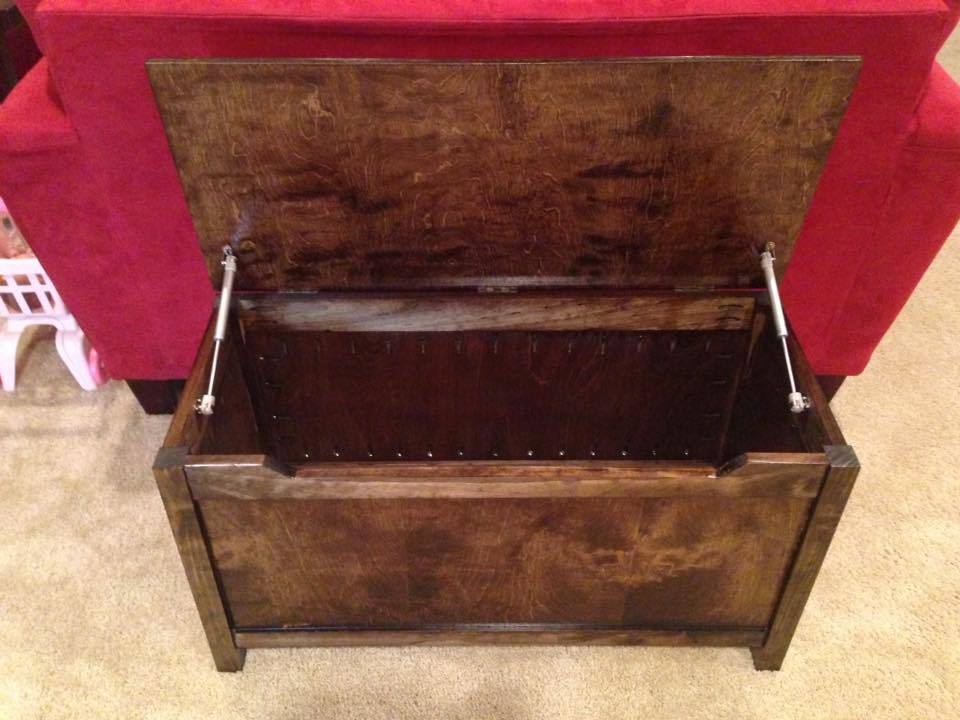
Toy Box

Submitted by paigers01 on Mon, 01/09/2017 - 11:42

I used these plans to build this toy box for my niece. My wife insisted that I add the soft-close lid supports.

Built from Plan(s)
Estimated Cost
$120-$140
Estimated Time Investment
Day Project (6-9 Hours)
Finish Used
Minwax Dark Walnut
Recommended Skill Level
Intermediate

Sweet pea bunk bed

Submitted by Anonymous (not verified) on Tue, 09/22/2020 - 08:53

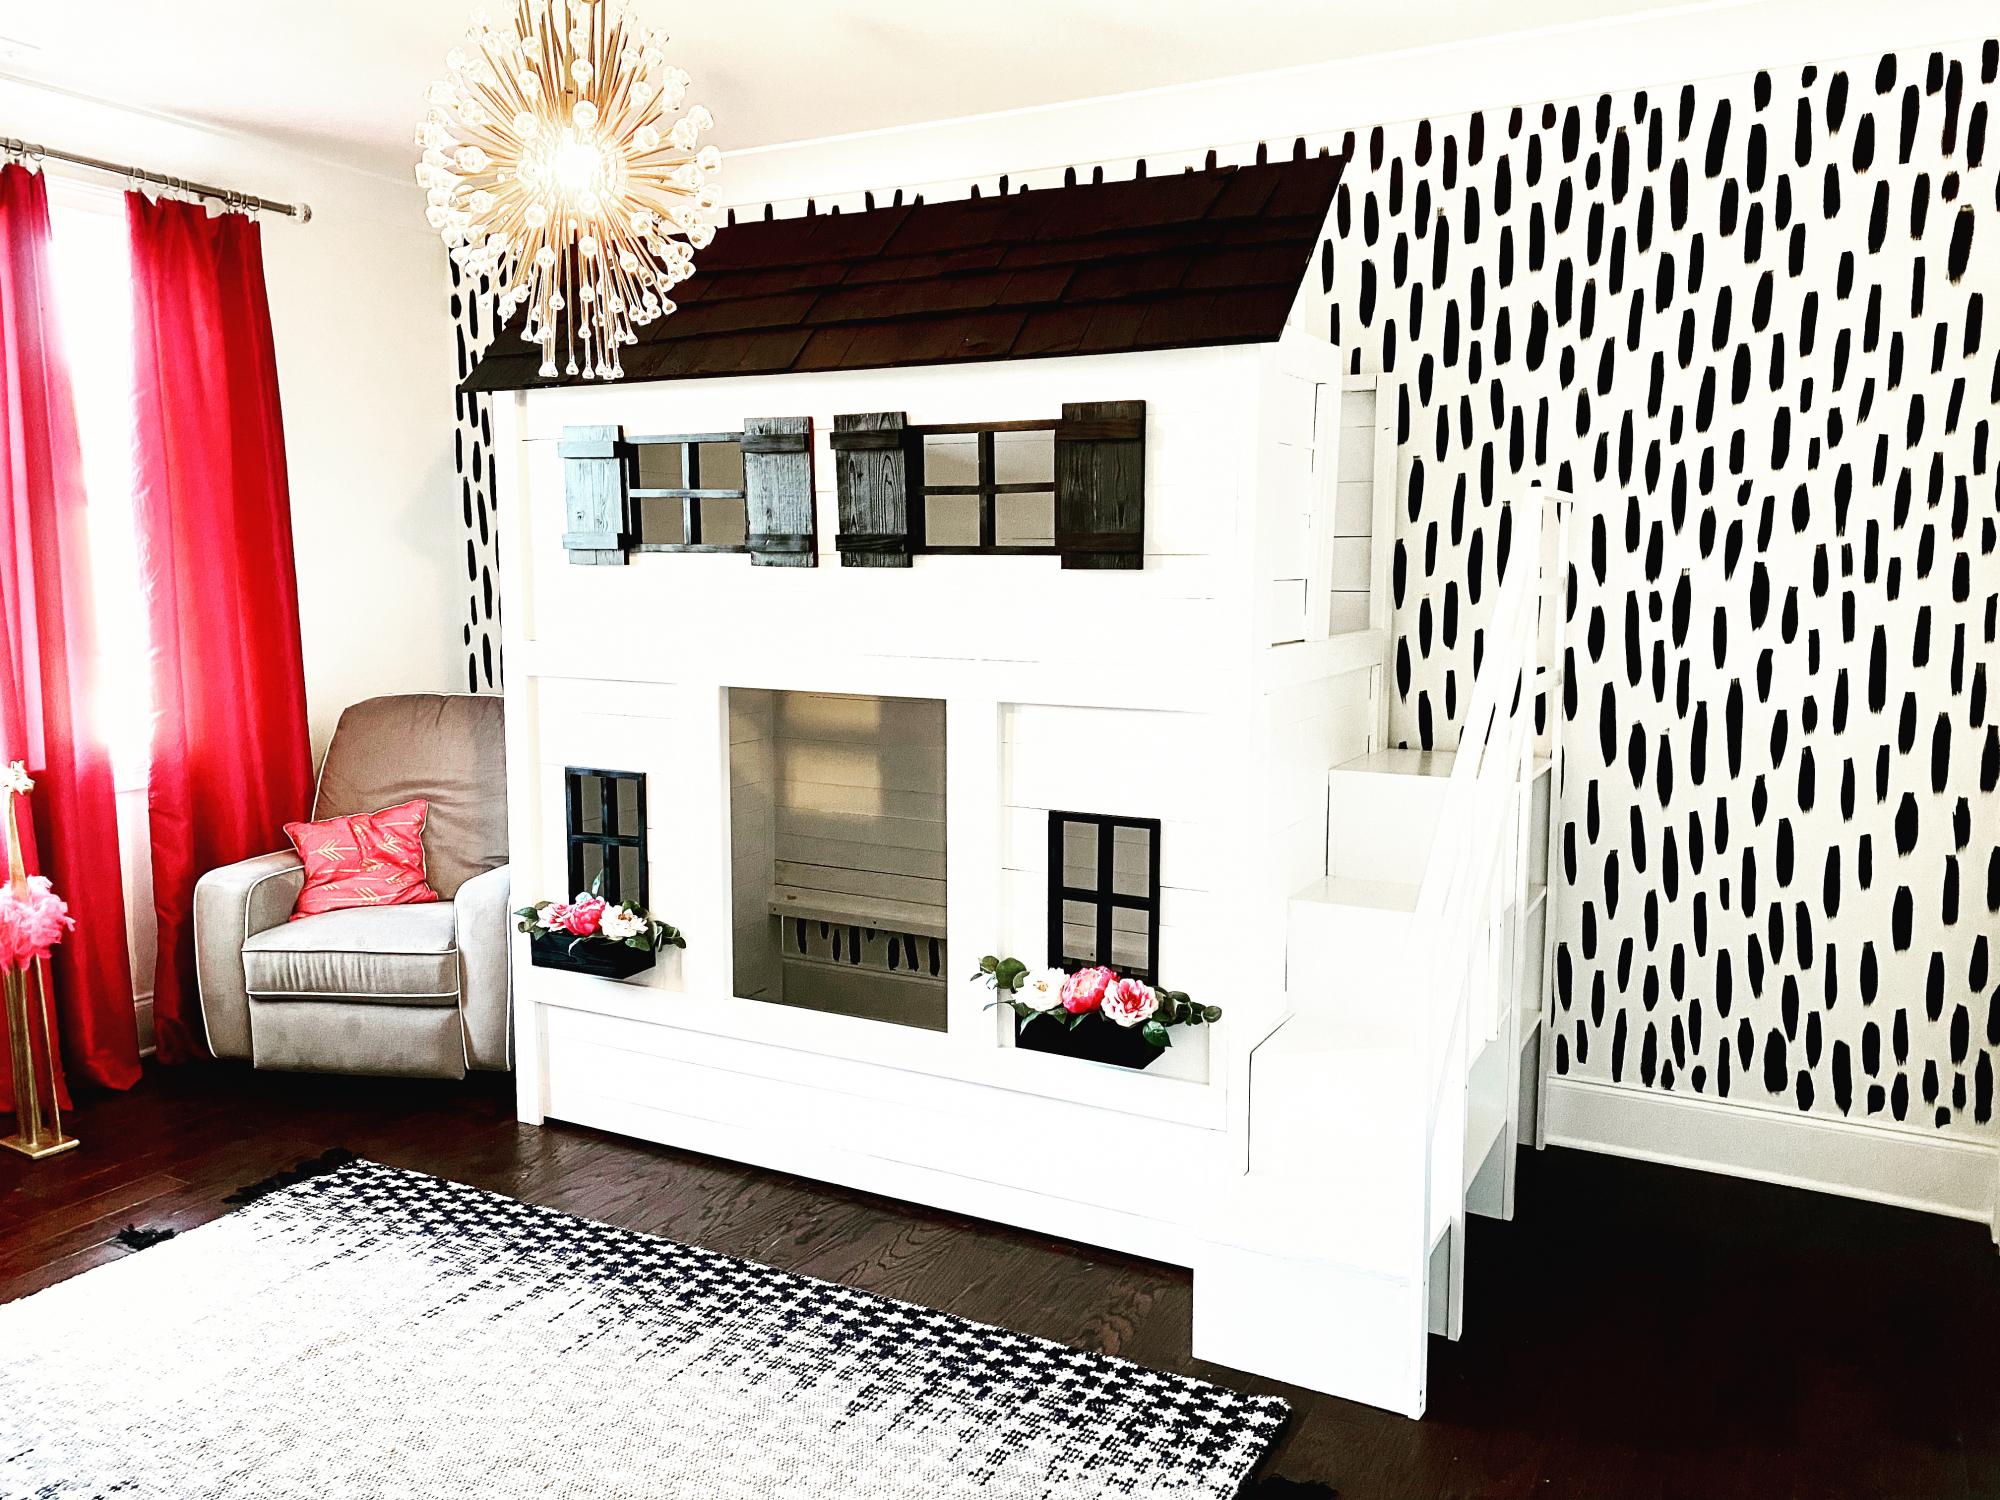
Modern twist on sweet pea bunk bed plans. We opted to close up the bottom instead of storage. Changed windows and railings on staircase. Took around 50 hrs for me and my husband who are beginner builders. Per recommendations we painted boards before assembling. I ended up Sanding when it was assembled to get a smoother finish. If you are particular about the finish like I am I would skip painting boards before assembled. Great plans thanks for sharing!

Built from Plan(s)
Estimated Cost
950
Estimated Time Investment
Week Long Project (20 Hours or More)
Finish Used
Medium luster white paint
Recommended Skill Level
Intermediate

Comments

Flip Top Piano Bench

Submitted by amycourts on Mon, 12/17/2012 - 17:54

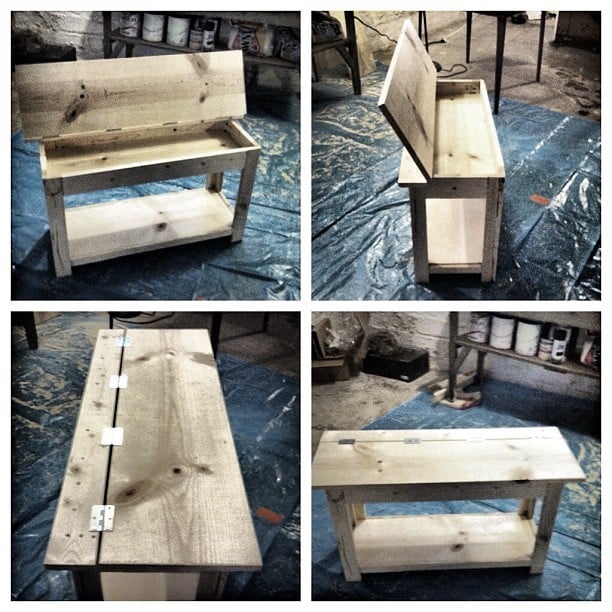
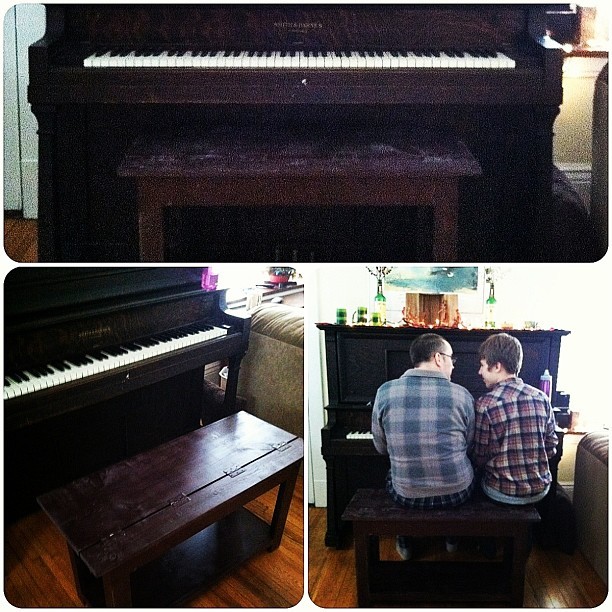
This was my first DIY build. Having been inspired by my good friend, the brilliant Jen Woodhouse of The House of Wood, I decided surely I could do this too. So I picked something that looked like a challenge, but that we also needed. We have an old piano we bought from Craigslist that has heretofore been benchless. So I used the Flip Top Storage Bench plans, headed to Home Depot, collected the wood (and let them cut it - but made a few of my own cuts, too), and got to work.

I had a little trouble at first, simply because, after assembling the sides and aprons, the unit did NOT square up. I took a few pieces apart and realized it wasn't user error (what?), but warped wood. That's right: one of my 1x3s was warped and bendy. So I rebuilt that side with some of my leftovers, and made sure to square up after each step, and lo and behold it came together!

It's not perfect - one of my legs is a bit off, so it wobbles when no one's sitting on it, but there's no issue when it bears weight - but for my first build, I'm quite pleased! And now that I know I can do this...well, this is just the beginning!

Total time it took me was probably around 15 hours, which includes practicing using my circular saw and kreg jig (both of which were straight out of the box when I started), along with my rebuilding the side.

I used Minwax pre-stain wood conditioner after sanding, followed by two coats of Rustoleum spray stain in Kona. I sanded with 400 grit sand paper after each coat of stain, and finished with one coat of semi-gloss polyurethane. I considered a few more coats of stain, but so fell in love with the weathered look that evolved from the staining and sanding that I just left it!

I also spray painted the hinges - that was a bit of an accident (I didn't know how NOT to cover them in stain...), but turned out to my liking!

My estimated cost is about $100, which covers the wood (including the extra 1x3s and an extra 1x2 I needed for a screw-up), nails, screws, three cans of spray stain, polyurethane, wood conditioner, paint brushes, two packs of sandpaper, and my hand sander. All but the wood will be used in my next few projects too, so that cost covers QUITE a bit!

Estimated Cost
$100
Estimated Time Investment
Weekend Project (10-20 Hours)
Finish Used
Two coats "Kona" spray stain, Minwex wood conditioner, one coat polyurethane, for a weathered look.
Recommended Skill Level
Starter Project

Comments

Angela J.

Wed, 01/30/2013 - 00:25

I am going to be building this bench this weekend. What is a kreg jig? I am so confused. I am going to HD tomorrow to buy supplies.

Great looking bench! I will certainly look out for warped wood :)

In reply to by Angela J.

amycourts

Wed, 01/30/2013 - 08:19

Hey Angela,

The Kreg Jig is a tool that creates pocket hole joints on all your boards - whether you're joining vertical to horizontal pieces, or two horizontal or two vertical, etc.... - and made this build, as my first, INFINITELY easier. You don't *need* the Kreg Jig to build this bench, but Ana recommended it, my good friend Jen Woodhouse, who contributes a lot of plans and builds to this website recommended it, and I highly, highly recommend it. It's about $100, and worth every penny.

Here's the video I used as a tutorial on how to do it. And seriously - it made this job SO much faster than it would have been without the Jig! :)

http://www.youtube.com/watch?v=IrIFHMEPkXs

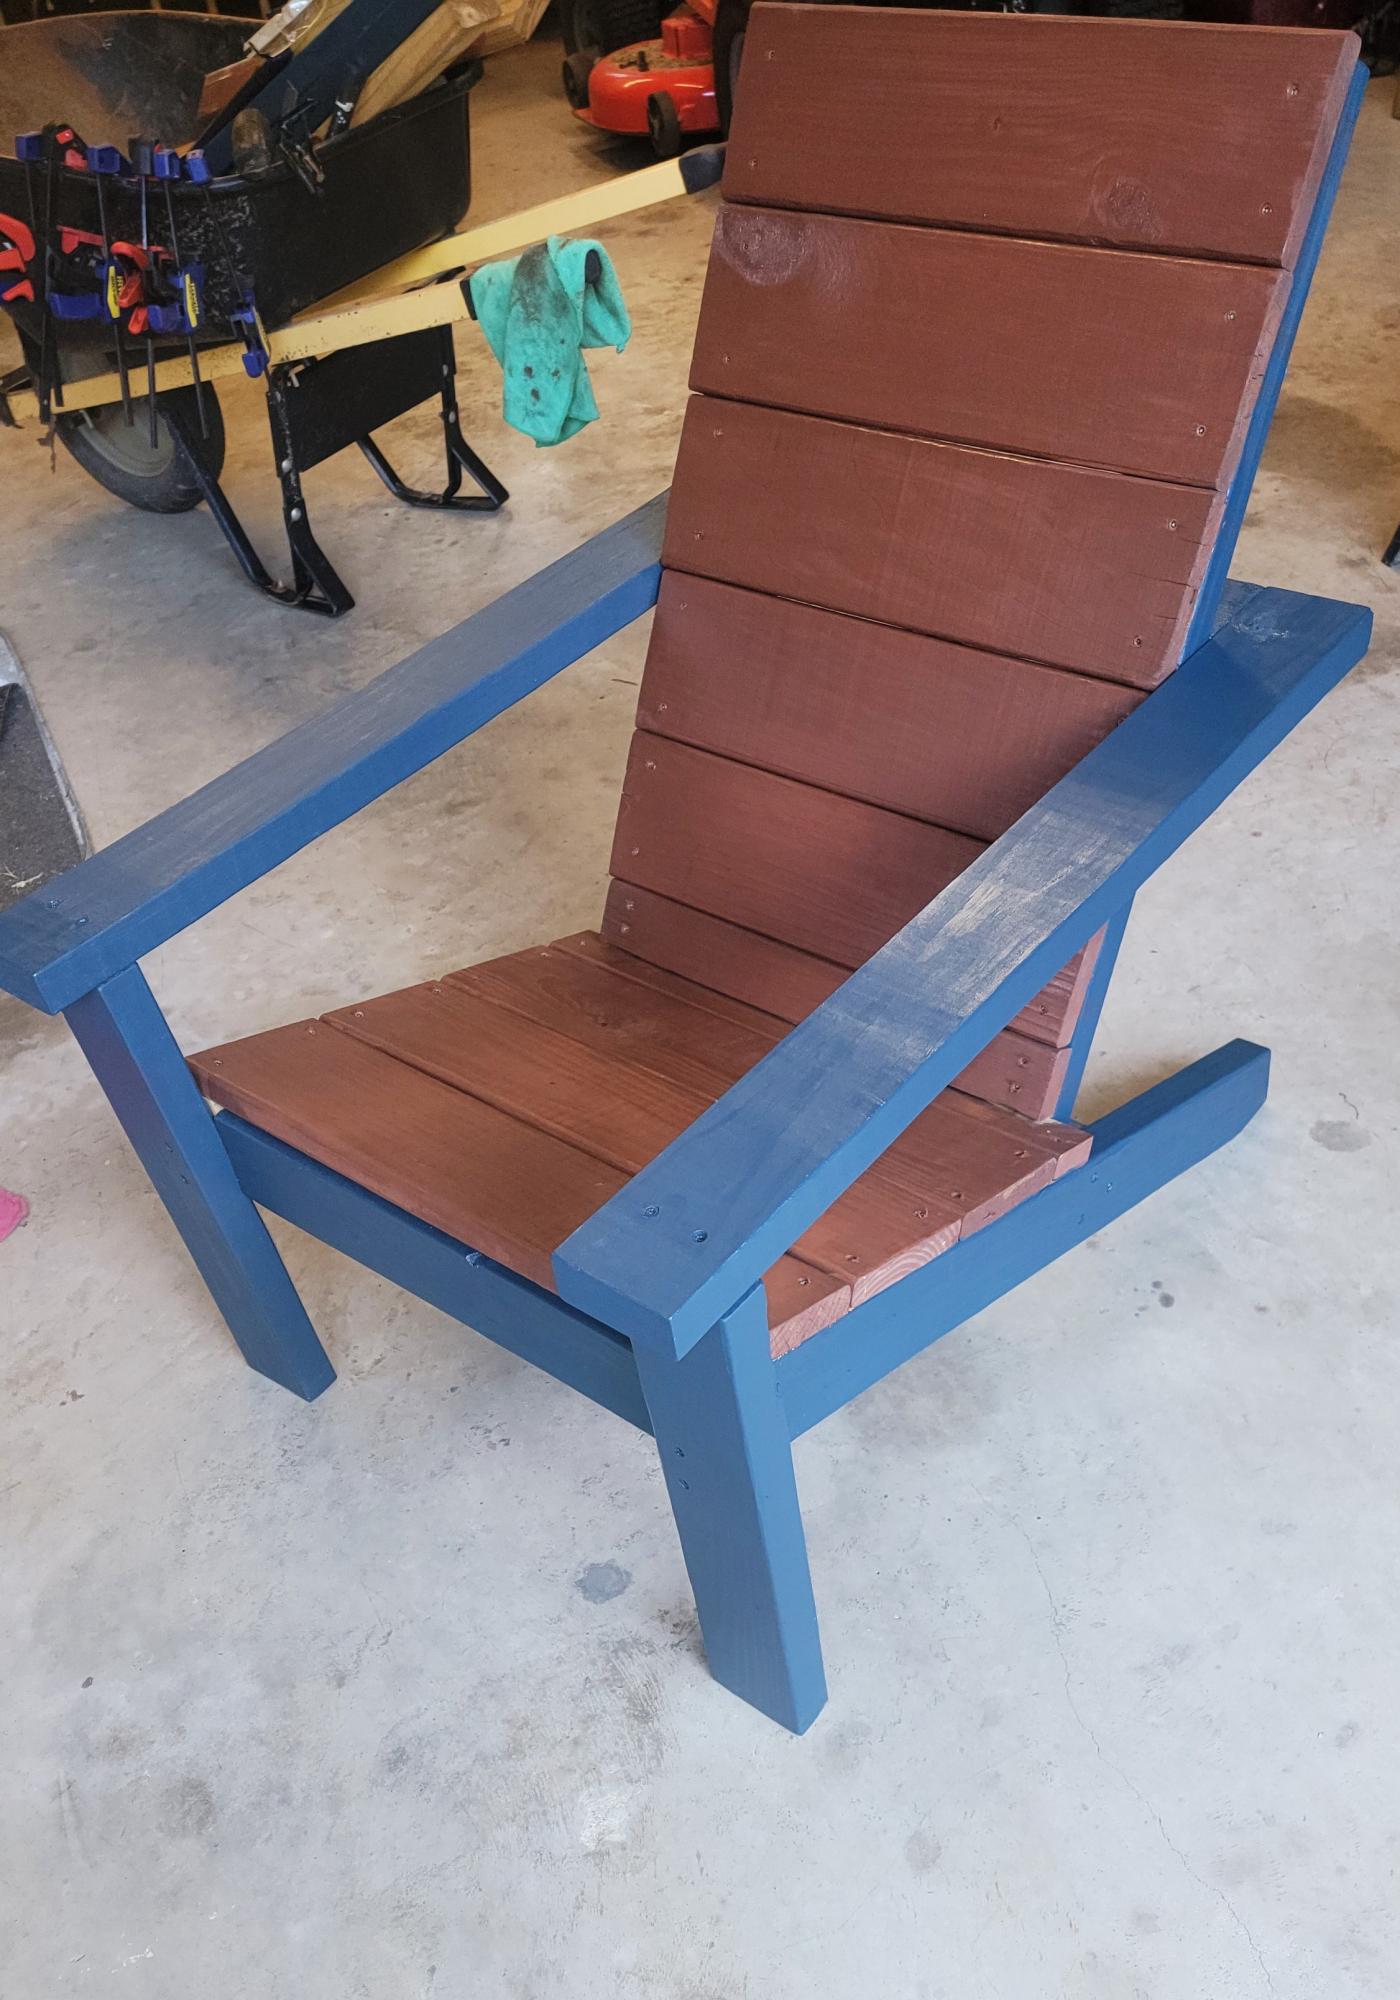
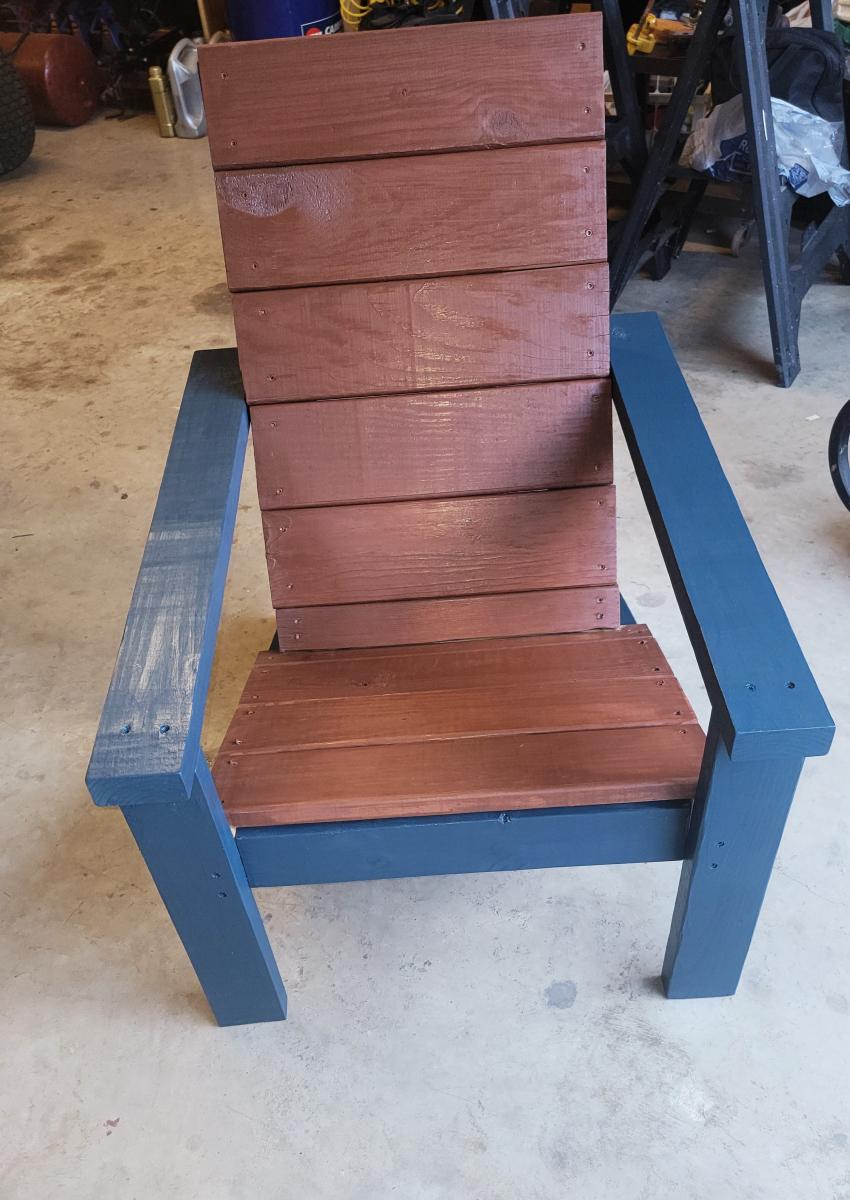
Modern Adirondack Chair with Deck Boards

Submitted by Anonymous (not verified) on Mon, 10/21/2024 - 12:15

I saw the modern Adirondack chairs on pinterest and decided to try them. I made two of them for my Lake cottage. I did use deck boards that I already had on hand for the seat and back. I'm pleased at the ease of construction and I do like the chairs. Thanks for the free plan. - Linda

Retro play kitchen

Submitted by eden604 on Fri, 12/21/2012 - 12:29

My husband and I built this play kitchen for our 3-year-old daughter. It was only our second project, and we couldn't be prouder of it! We modified the fridge and freezer doors to look more like the "real" one, and used a router on all the edges. My mother-in-law sewed the cute curtain from the plans at http://thecraftingchicks.com/2010/04/giveaway-2-custom-photo-backdrop-a…

We now have plans to add a microwave and dish shelf, and an oven light in the oven. Our daughter and son love playing with it!

Built from Plan(s)
Estimated Cost
$143
Estimated Time Investment
Weekend Project (10-20 Hours)
Recommended Skill Level
Intermediate

Reclaimed wood console table

Submitted by RedRoof on Tue, 09/30/2014 - 10:28

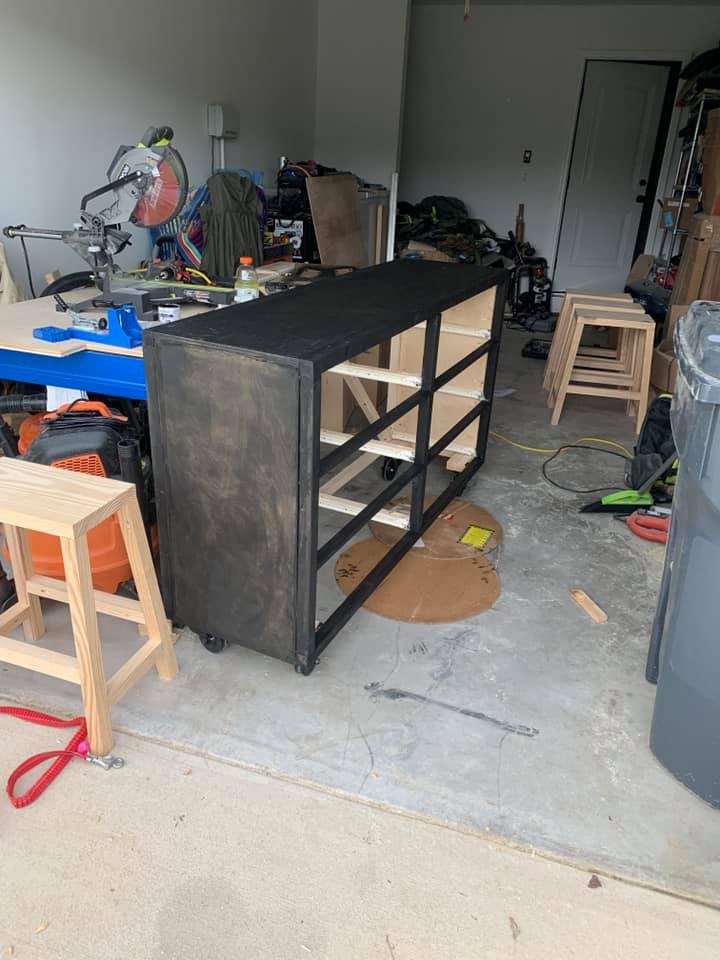
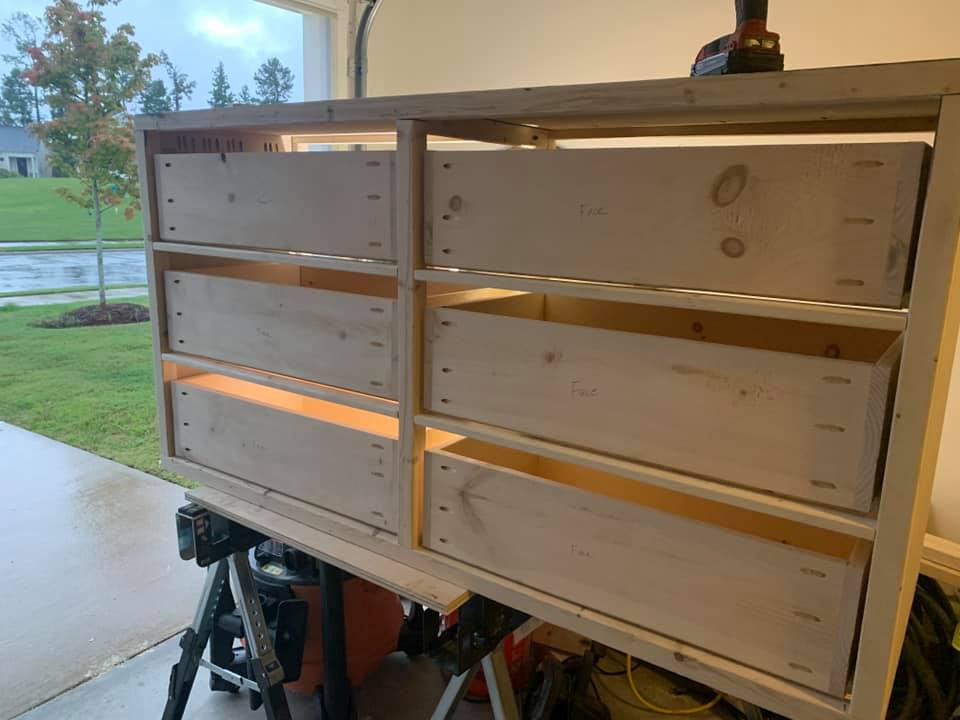
I was originally going to build this console table for our new bathroom vanity. It ended up being too long for the space, so now it is used for storage and to fill empty space in the master bath. (The floor is not level, the table is sitting on blocks on one end.) We love this table! It was easy to make and it is very sturdy and is quite beautiful with our old barn lumber on the drawers. I will probably build another just like it for our laundry room! 

This was my first time installing slides! It is embarrassing to admit how many hours it took to get those to slide smoothly! But they are WELL worth the effort! 

I definitely recommend painting the 1x4 slats BEFORE screwing them to the 2x2 stretchers on the bottom grate. I made a similar grate for another project and forgot to paint them before attaching. BIG MISTAKE. I had to take it all apart to paint it.

Thank you for the plans, I loved working on this table!!

Built from Plan(s)
Estimated Cost
I already had all of the 2x2s and the 1-by's, paint, and some of the knobs. We had to buy the plywoods, stain, and slides and some knobs which was about $100. Now I have leftovers of the wood, stain and knobs to make another one, so it ended up being pretty cheap!
Estimated Time Investment
Week Long Project (20 Hours or More)
Finish Used
For the paint, I used a light cream we already had here. For the stains, I used from left to right: Rustoleum Dark Walnut (several layers to make it darker), Minwax Provincial, Rustoleum Willow, Rustoleum Wheat, Rustoleum American Walnut. Top drawer is stained with Wheat, bottom with American Walnut. Whole thing sealed with water-based polycrylic.
Recommended Skill Level
Beginner

My Y Leg Desk!

Submitted by Anonymous (not verified) on Sat, 01/14/2017 - 19:20

Actually my first build ever. Red oak plywood top and poplar everything else. Added poplar 1x3s around the edges so you don't see the plywood edge. It's surprisingly sturdy!

Estimated Cost
$150 due to nicer wood
Estimated Time Investment
Weekend Project (10-20 Hours)
Finish Used
Minwax Jacobean
Recommended Skill Level
Beginner

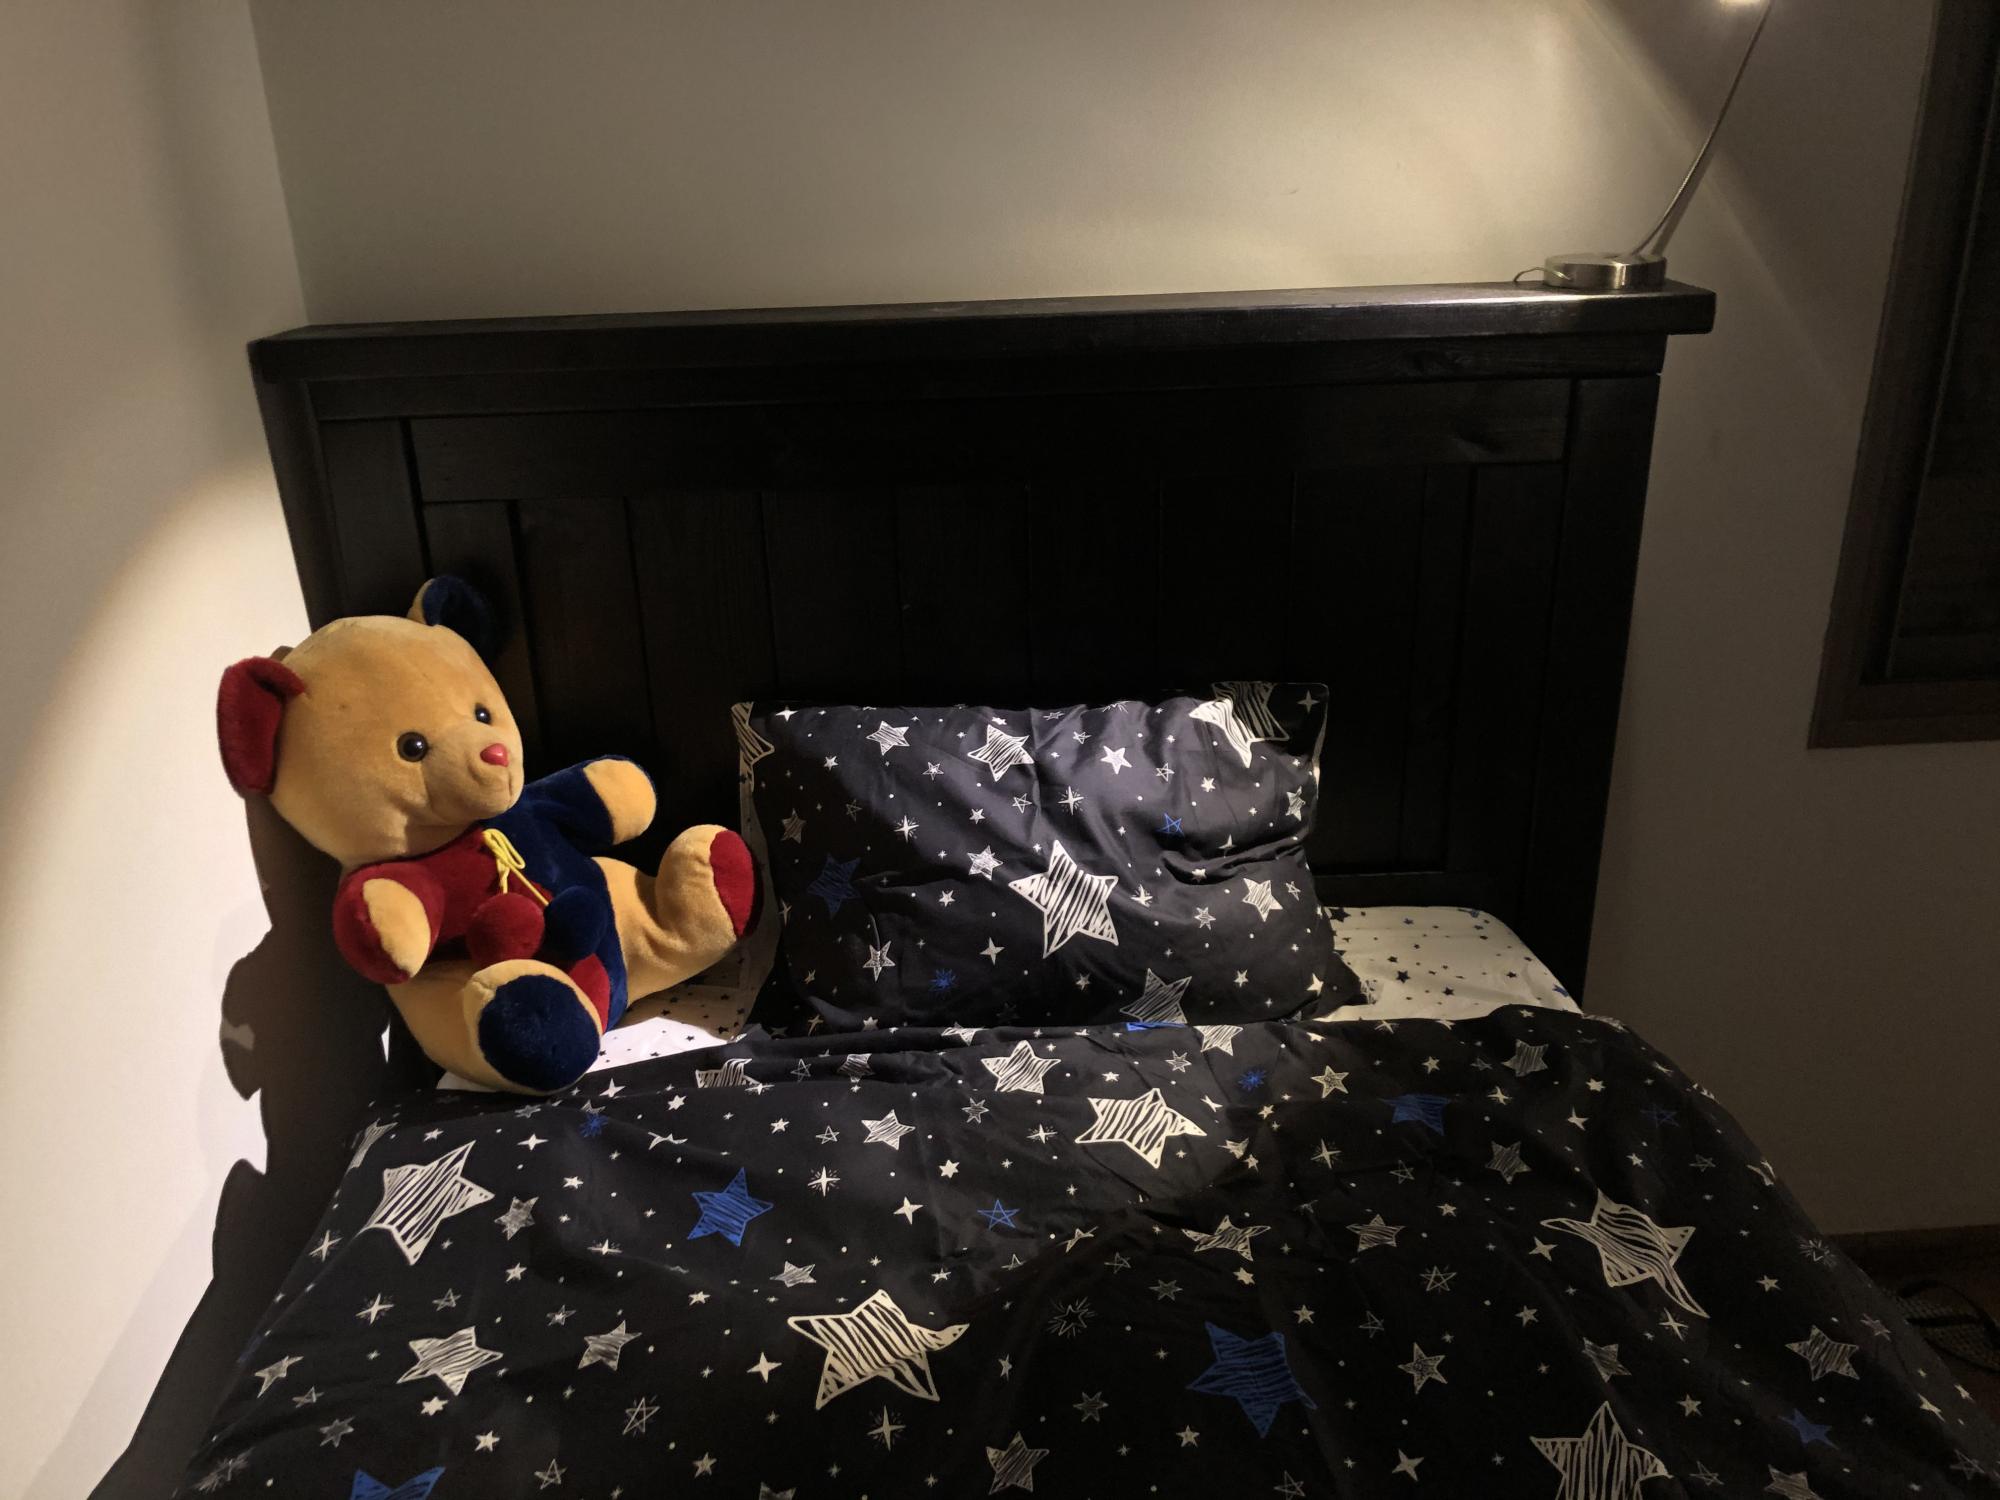
Farmhouse bed

Submitted by Anonymous (not verified) on Sat, 09/26/2020 - 22:28

Farmhouse bed for my daughter, Thank you Ana for sharing planes .
I tried to make it exactly as your plane.

Built from Plan(s)
Estimated Cost
250$~
Estimated Time Investment
Week Long Project (20 Hours or More)
Finish Used
Dark paint made here in Israel.
Recommended Skill Level
Intermediate

Comments