Community Brag Posts

Flip Top Piano Bench
Submitted by amycourts on Mon, 12/17/2012 - 17:54

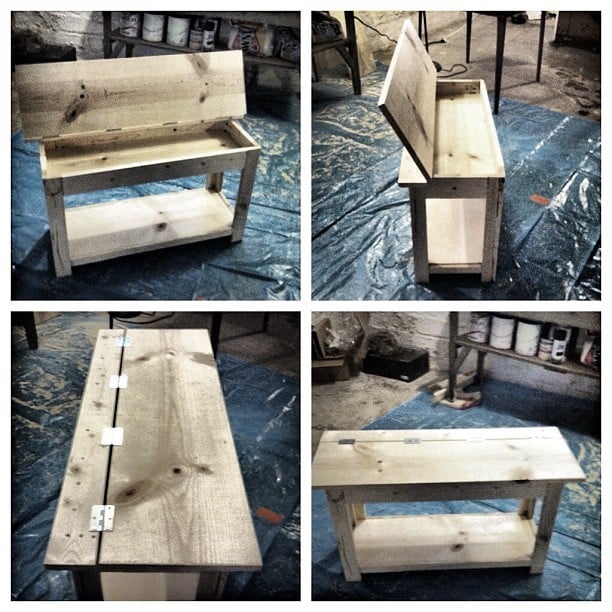
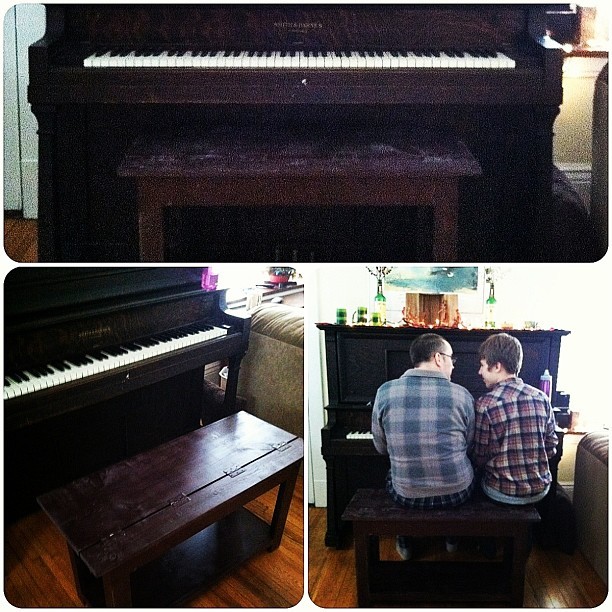
This was my first DIY build. Having been inspired by my good friend, the brilliant Jen Woodhouse of The House of Wood, I decided surely I could do this too. So I picked something that looked like a challenge, but that we also needed. We have an old piano we bought from Craigslist that has heretofore been benchless. So I used the Flip Top Storage Bench plans, headed to Home Depot, collected the wood (and let them cut it - but made a few of my own cuts, too), and got to work.

I had a little trouble at first, simply because, after assembling the sides and aprons, the unit did NOT square up. I took a few pieces apart and realized it wasn't user error (what?), but warped wood. That's right: one of my 1x3s was warped and bendy. So I rebuilt that side with some of my leftovers, and made sure to square up after each step, and lo and behold it came together!

It's not perfect - one of my legs is a bit off, so it wobbles when no one's sitting on it, but there's no issue when it bears weight - but for my first build, I'm quite pleased! And now that I know I can do this...well, this is just the beginning!

Total time it took me was probably around 15 hours, which includes practicing using my circular saw and kreg jig (both of which were straight out of the box when I started), along with my rebuilding the side.

I used Minwax pre-stain wood conditioner after sanding, followed by two coats of Rustoleum spray stain in Kona. I sanded with 400 grit sand paper after each coat of stain, and finished with one coat of semi-gloss polyurethane. I considered a few more coats of stain, but so fell in love with the weathered look that evolved from the staining and sanding that I just left it!

I also spray painted the hinges - that was a bit of an accident (I didn't know how NOT to cover them in stain...), but turned out to my liking!

My estimated cost is about $100, which covers the wood (including the extra 1x3s and an extra 1x2 I needed for a screw-up), nails, screws, three cans of spray stain, polyurethane, wood conditioner, paint brushes, two packs of sandpaper, and my hand sander. All but the wood will be used in my next few projects too, so that cost covers QUITE a bit!
Estimated Cost
$100
Estimated Time Investment
Weekend Project (10-20 Hours)
Finish Used
Two coats "Kona" spray stain, Minwex wood conditioner, one coat polyurethane, for a weathered look.
Recommended Skill Level
Starter Project

Comments

Angela J.

Wed, 01/30/2013 - 00:25

I am going to be building this bench this weekend. What is a kreg jig? I am so confused. I am going to HD tomorrow to buy supplies.

Great looking bench! I will certainly look out for warped wood :)

In reply to by Angela J.

amycourts

Wed, 01/30/2013 - 08:19

Hey Angela,

The Kreg Jig is a tool that creates pocket hole joints on all your boards - whether you're joining vertical to horizontal pieces, or two horizontal or two vertical, etc.... - and made this build, as my first, INFINITELY easier. You don't *need* the Kreg Jig to build this bench, but Ana recommended it, my good friend Jen Woodhouse, who contributes a lot of plans and builds to this website recommended it, and I highly, highly recommend it. It's about $100, and worth every penny.

Here's the video I used as a tutorial on how to do it. And seriously - it made this job SO much faster than it would have been without the Jig! :)

http://www.youtube.com/watch?v=IrIFHMEPkXs

Modern Adirondack Chair with Deck Boards

Submitted by Anonymous (not verified) on Mon, 10/21/2024 - 12:15

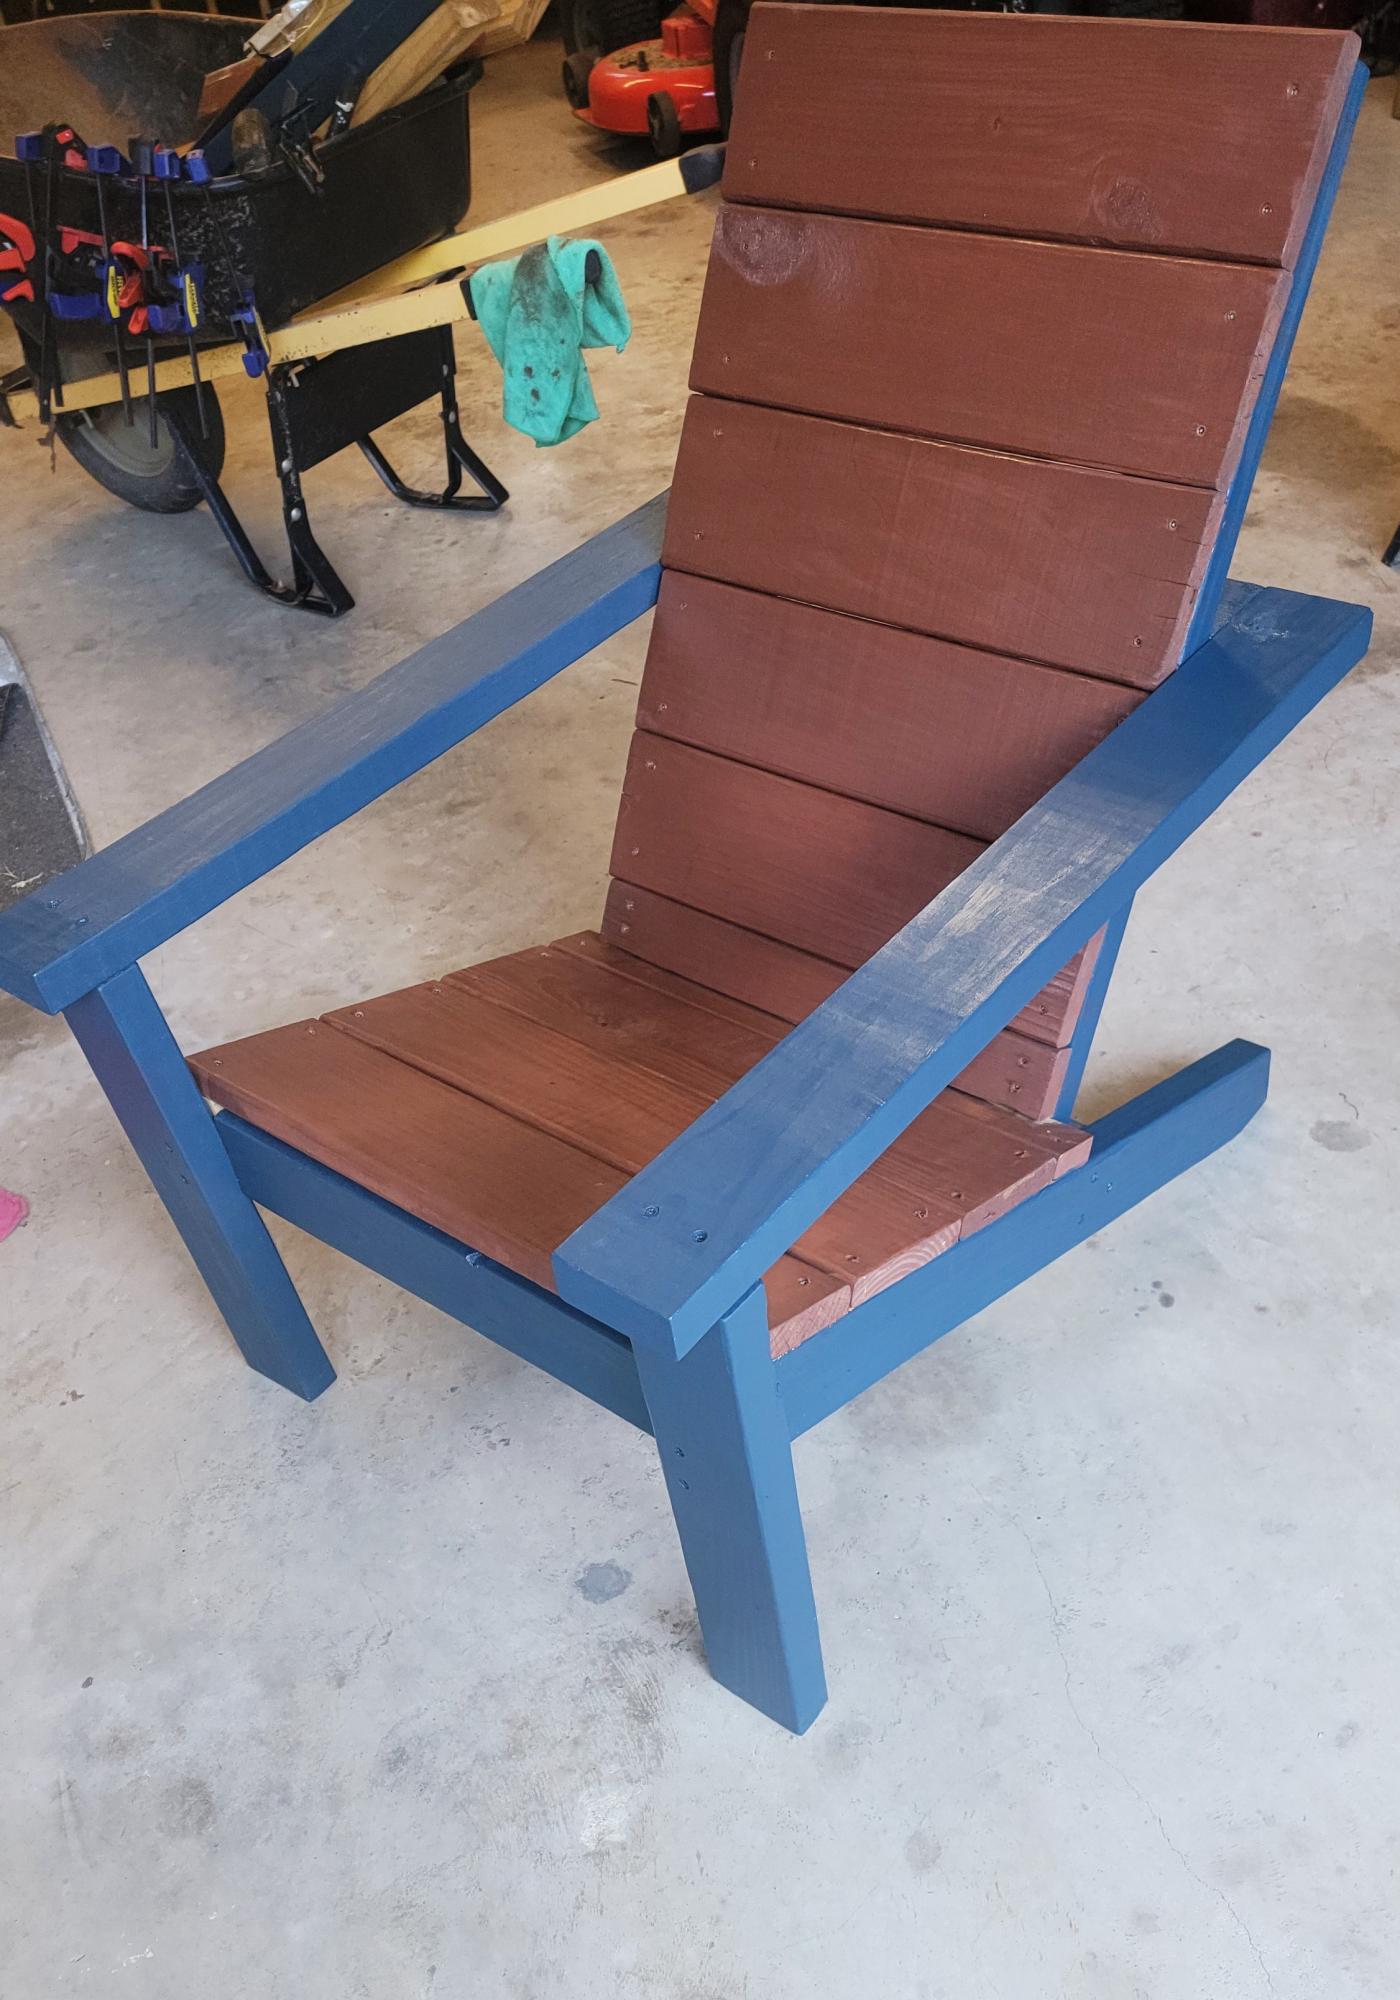
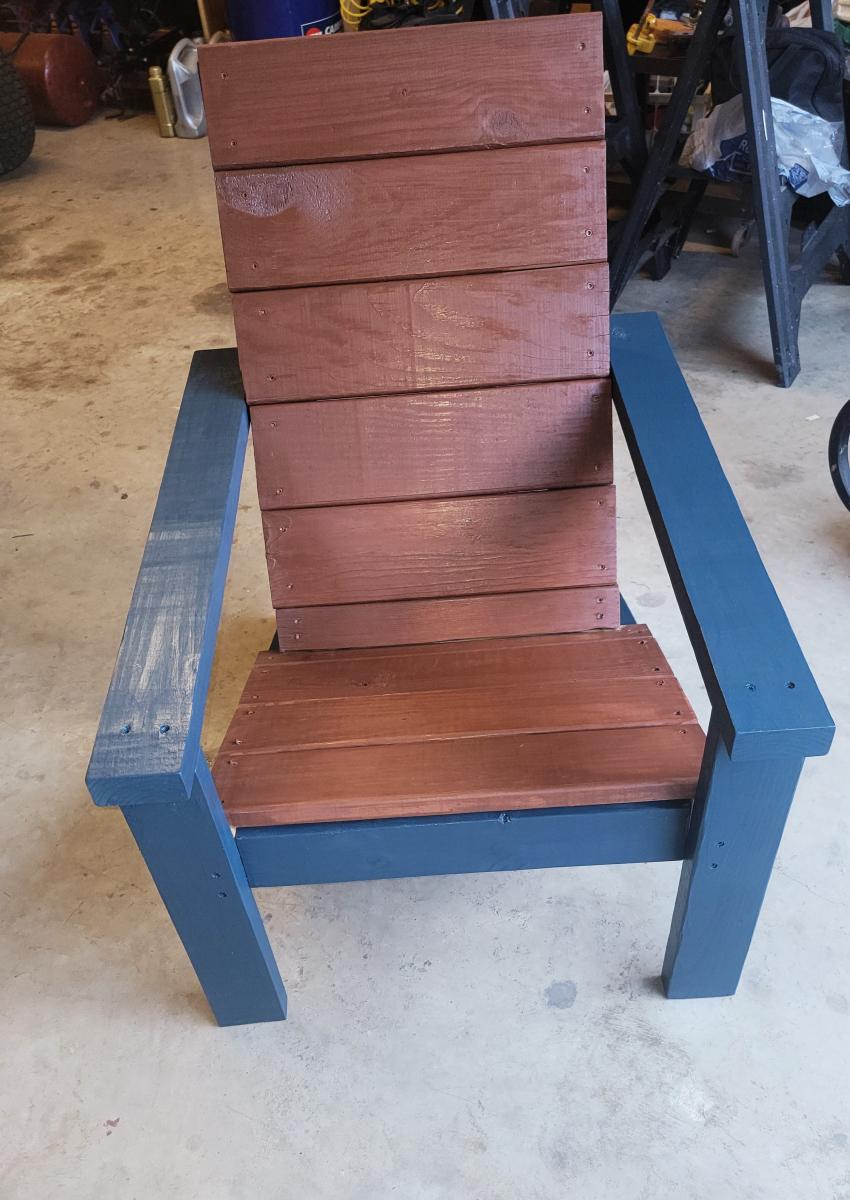
I saw the modern Adirondack chairs on pinterest and decided to try them. I made two of them for my Lake cottage. I did use deck boards that I already had on hand for the seat and back. I'm pleased at the ease of construction and I do like the chairs. Thanks for the free plan. - Linda

Retro play kitchen

Submitted by eden604 on Fri, 12/21/2012 - 12:29

My husband and I built this play kitchen for our 3-year-old daughter. It was only our second project, and we couldn't be prouder of it! We modified the fridge and freezer doors to look more like the "real" one, and used a router on all the edges. My mother-in-law sewed the cute curtain from the plans at http://thecraftingchicks.com/2010/04/giveaway-2-custom-photo-backdrop-a…

We now have plans to add a microwave and dish shelf, and an oven light in the oven. Our daughter and son love playing with it!

Built from Plan(s)
Estimated Cost
$143
Estimated Time Investment
Weekend Project (10-20 Hours)
Recommended Skill Level
Intermediate

Reclaimed wood console table

Submitted by RedRoof on Tue, 09/30/2014 - 10:28

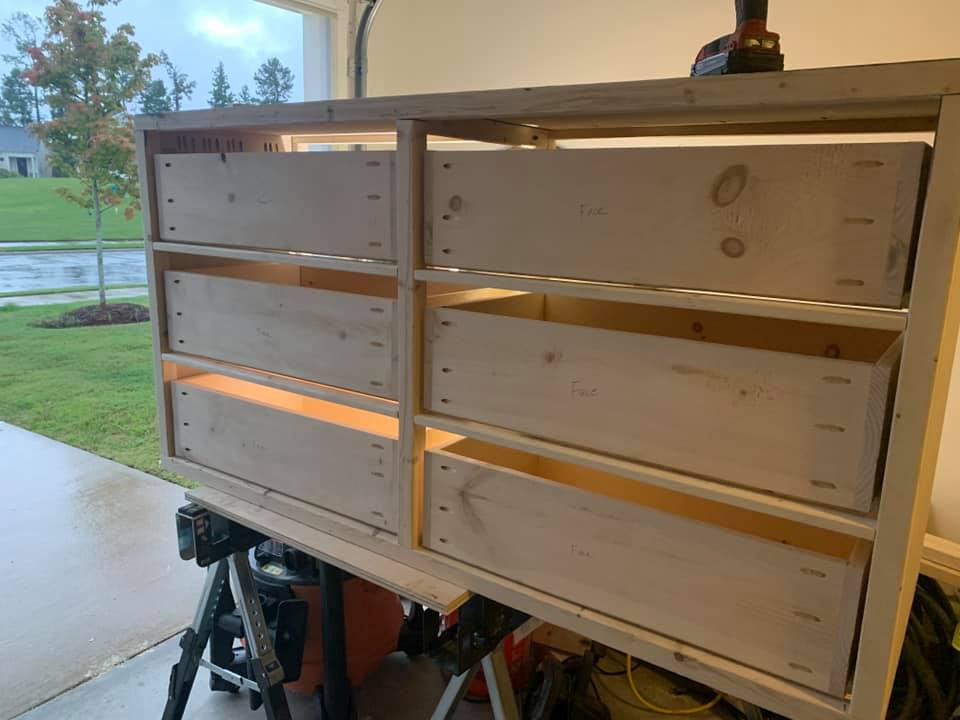
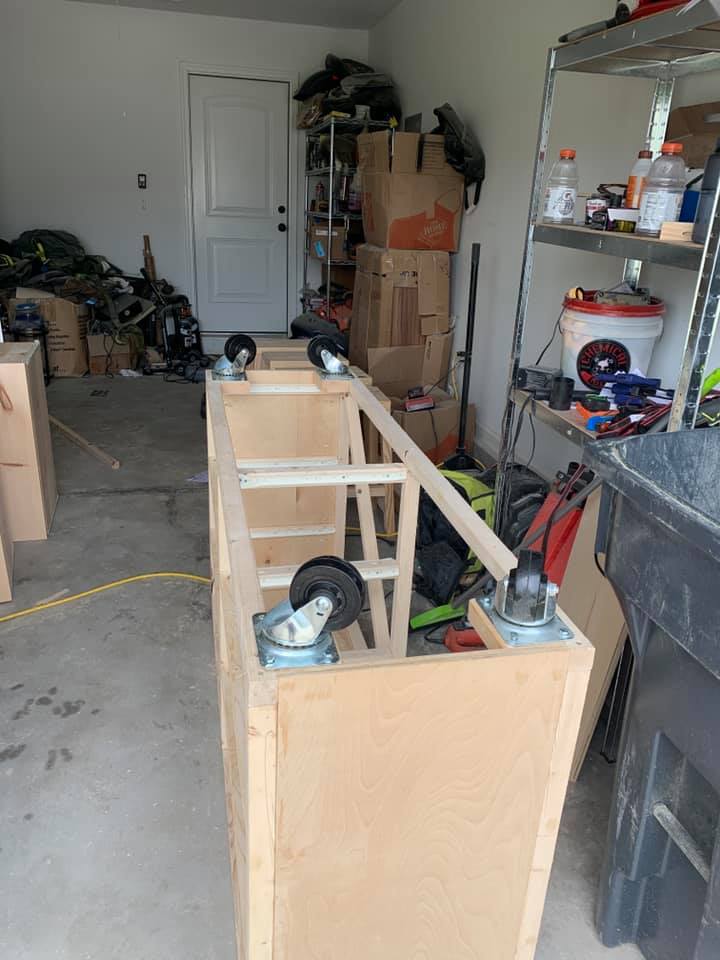
I was originally going to build this console table for our new bathroom vanity. It ended up being too long for the space, so now it is used for storage and to fill empty space in the master bath. (The floor is not level, the table is sitting on blocks on one end.) We love this table! It was easy to make and it is very sturdy and is quite beautiful with our old barn lumber on the drawers. I will probably build another just like it for our laundry room! 

This was my first time installing slides! It is embarrassing to admit how many hours it took to get those to slide smoothly! But they are WELL worth the effort! 

I definitely recommend painting the 1x4 slats BEFORE screwing them to the 2x2 stretchers on the bottom grate. I made a similar grate for another project and forgot to paint them before attaching. BIG MISTAKE. I had to take it all apart to paint it.

Thank you for the plans, I loved working on this table!!

Built from Plan(s)
Estimated Cost
I already had all of the 2x2s and the 1-by's, paint, and some of the knobs. We had to buy the plywoods, stain, and slides and some knobs which was about $100. Now I have leftovers of the wood, stain and knobs to make another one, so it ended up being pretty cheap!
Estimated Time Investment
Week Long Project (20 Hours or More)
Finish Used
For the paint, I used a light cream we already had here. For the stains, I used from left to right: Rustoleum Dark Walnut (several layers to make it darker), Minwax Provincial, Rustoleum Willow, Rustoleum Wheat, Rustoleum American Walnut. Top drawer is stained with Wheat, bottom with American Walnut. Whole thing sealed with water-based polycrylic.
Recommended Skill Level
Beginner

My Y Leg Desk!

Submitted by Anonymous (not verified) on Sat, 01/14/2017 - 19:20

Actually my first build ever. Red oak plywood top and poplar everything else. Added poplar 1x3s around the edges so you don't see the plywood edge. It's surprisingly sturdy!

Estimated Cost
$150 due to nicer wood
Estimated Time Investment
Weekend Project (10-20 Hours)
Finish Used
Minwax Jacobean
Recommended Skill Level
Beginner

Farmhouse bed

Submitted by Anonymous (not verified) on Sat, 09/26/2020 - 22:28

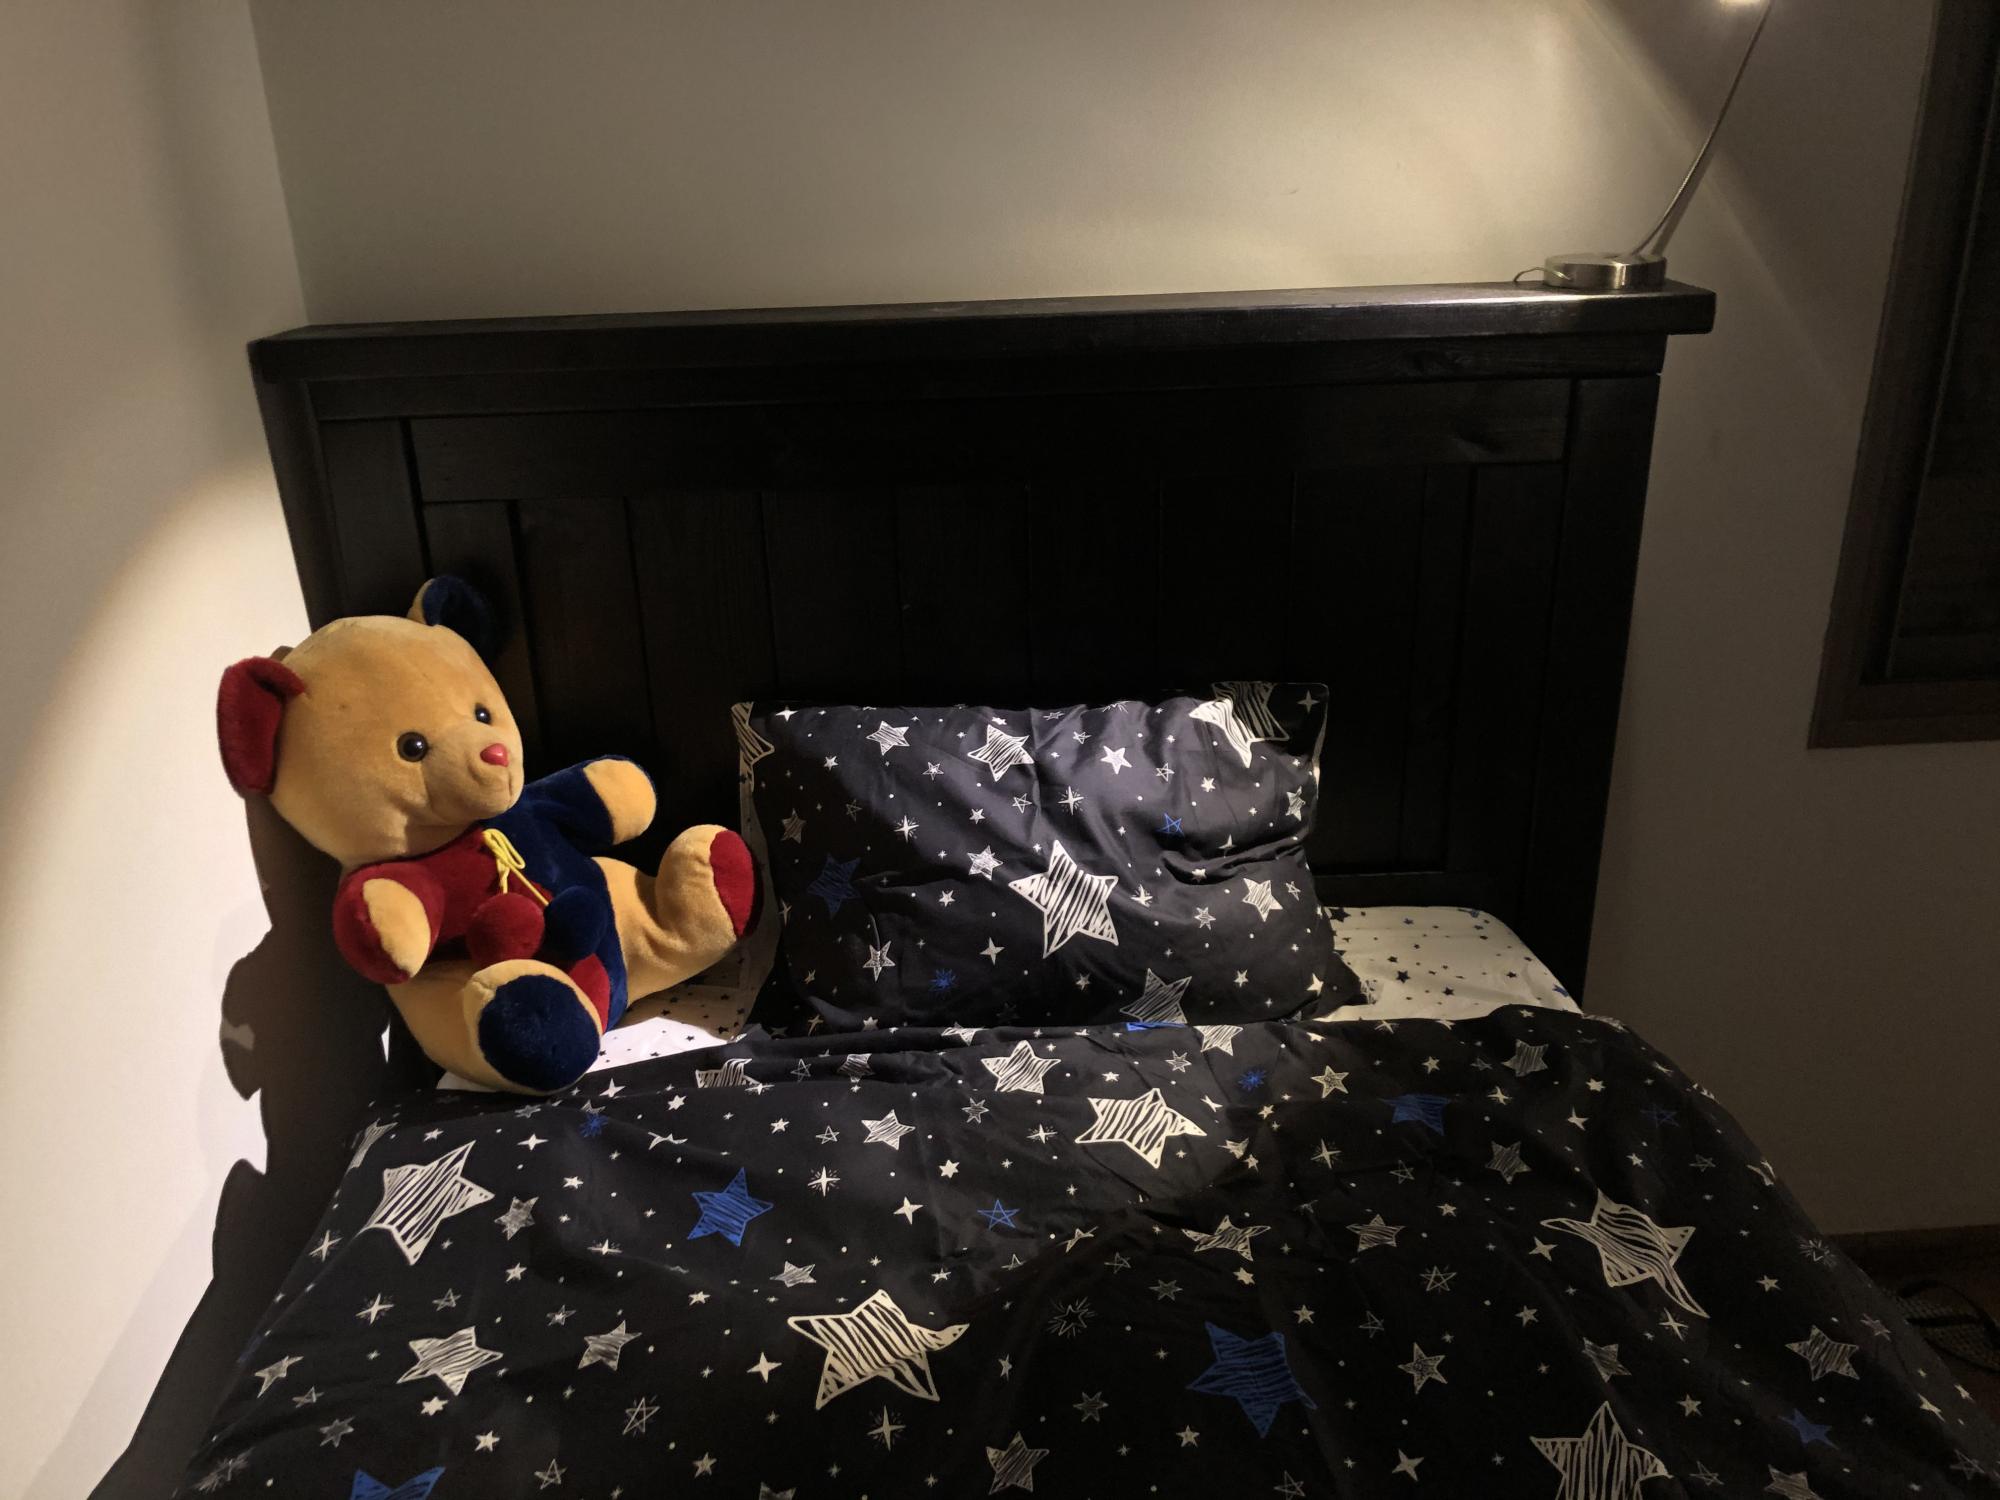
Farmhouse bed for my daughter, Thank you Ana for sharing planes .
I tried to make it exactly as your plane.

Built from Plan(s)
Estimated Cost
250$~
Estimated Time Investment
Week Long Project (20 Hours or More)
Finish Used
Dark paint made here in Israel.
Recommended Skill Level
Intermediate

Comments

Banker's Bookcase

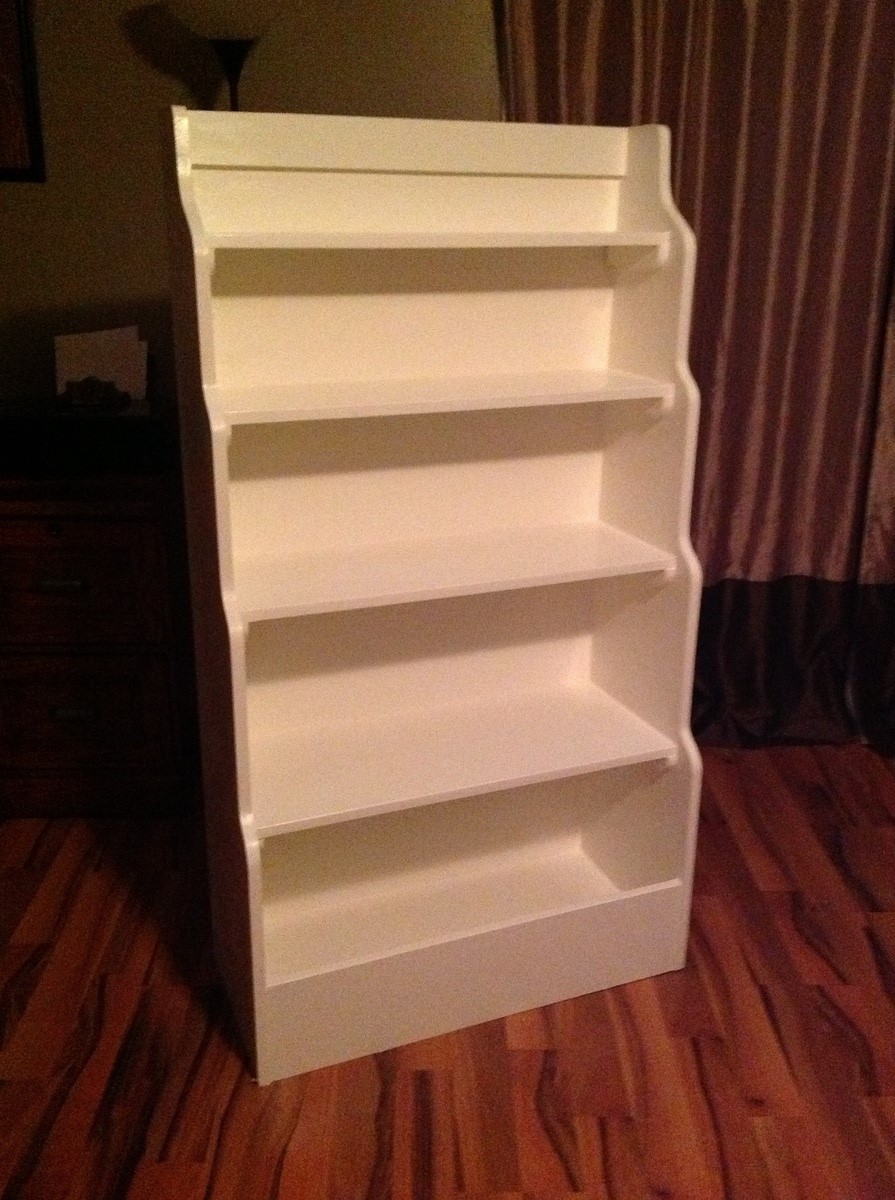
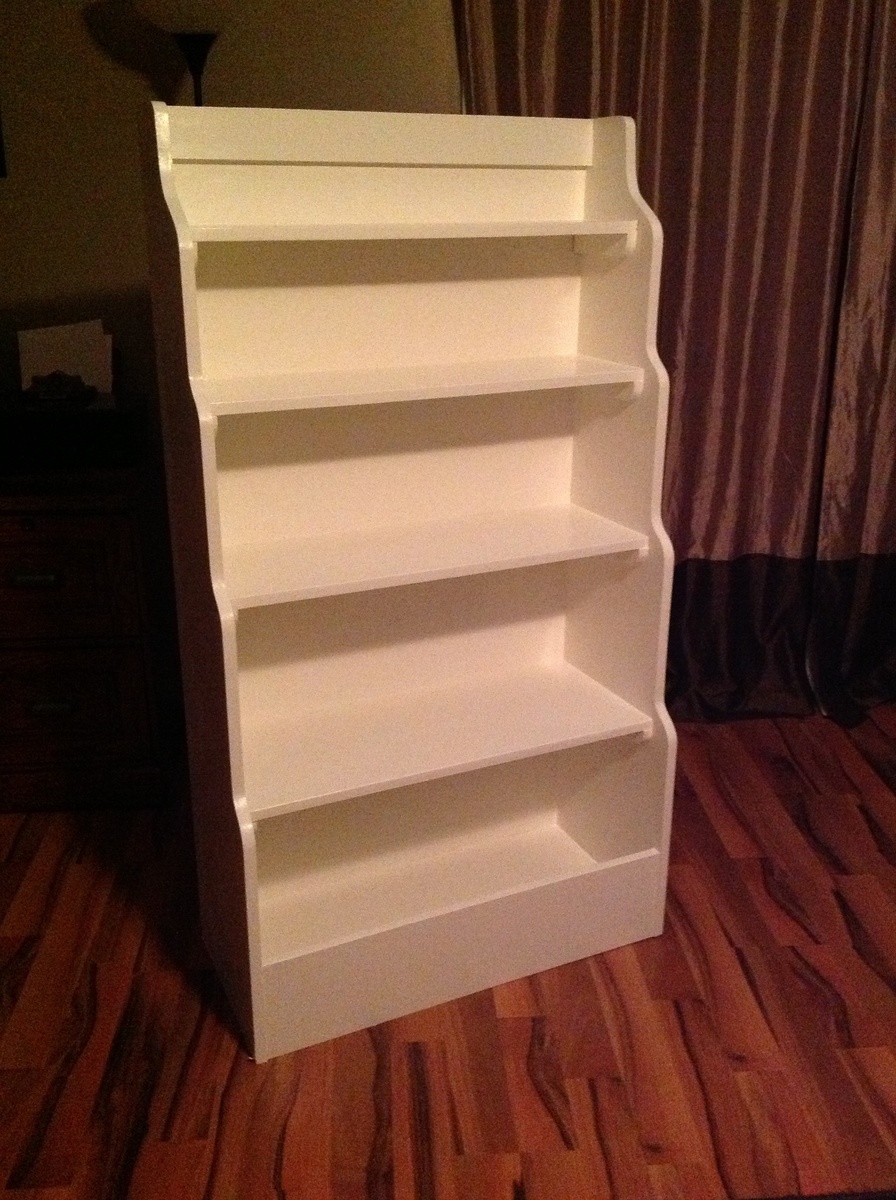
I made this bookcase for my nephews, based on the Bankers Bookcase plans and pictures. The rounded corners were made by tracing an aluminum can.

Built from Plan(s)
Estimated Cost
80
Estimated Time Investment
Weekend Project (10-20 Hours)
Finish Used
Two layers of flat paint with primer and two layers of semi-gloss paint. (One quart of each.)
Recommended Skill Level
Starter Project

Simple, modern toy box.....

Submitted by Diecast92 on Sat, 10/04/2014 - 08:11

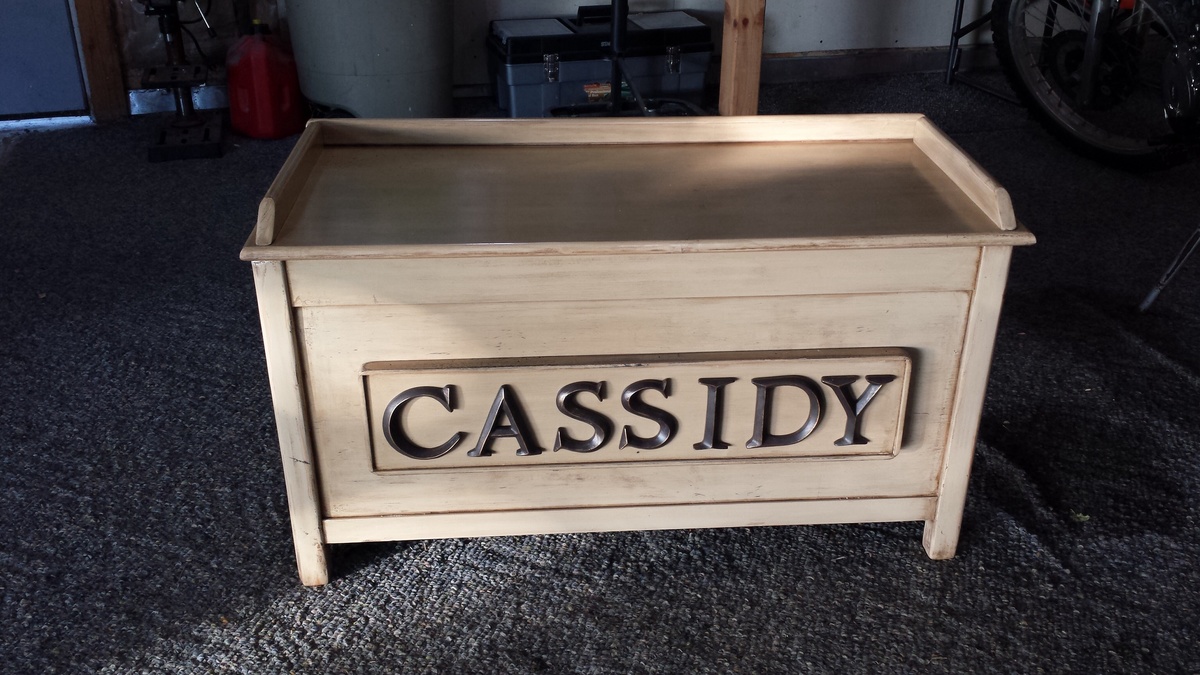
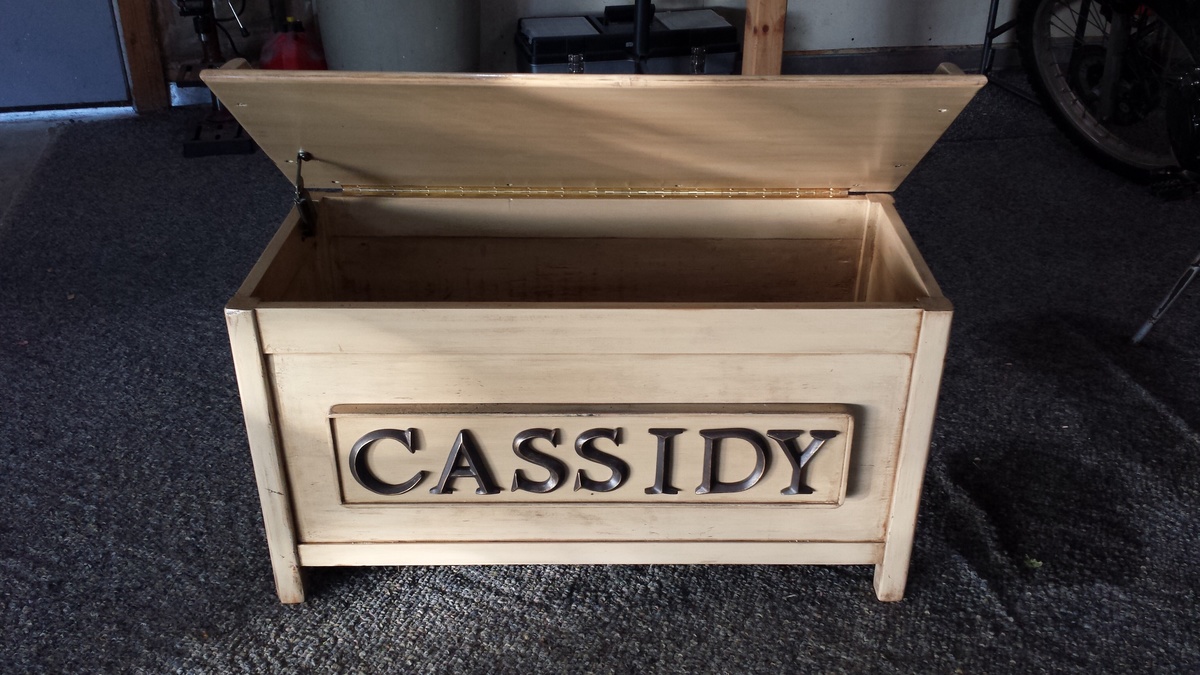
Hello.   I made this toy box for my niece based off of the simple modern toy box plans.  It was completed with a distressed finish and is my first project using the kreg jig.   The letters are Fiberglas letters from hobby lobby.   Overall, I'm pleased with the results.   I welcome your comments and opinions.    Thank you. 

Built from Plan(s)
Estimated Cost
$110.00
Estimated Time Investment
Day Project (6-9 Hours)
Recommended Skill Level
Beginner

Comments

Thank you for the plans and inspiration for our project!

Submitted by Anonymous (not verified) on Tue, 01/17/2017 - 17:00

I just wanted to say thank you for the awesome plans. We modified the dimensions a bit to match our couch. 

Thank you again!

Dori and Geoff

Built from Plan(s)
Estimated Cost
$250
Estimated Time Investment
Week Long Project (20 Hours or More)
Finish Used
I used the Minwax furniture wax for the top. It was my first time using this and it turned out amazing. I would very highly suggest using this in a very well ventilated space. (I didn't and that was a very smelly afternoon in the house.)
Recommended Skill Level
Intermediate

Comments

Work Bench

Submitted by Anonymous (not verified) on Sun, 10/04/2020 - 05:40

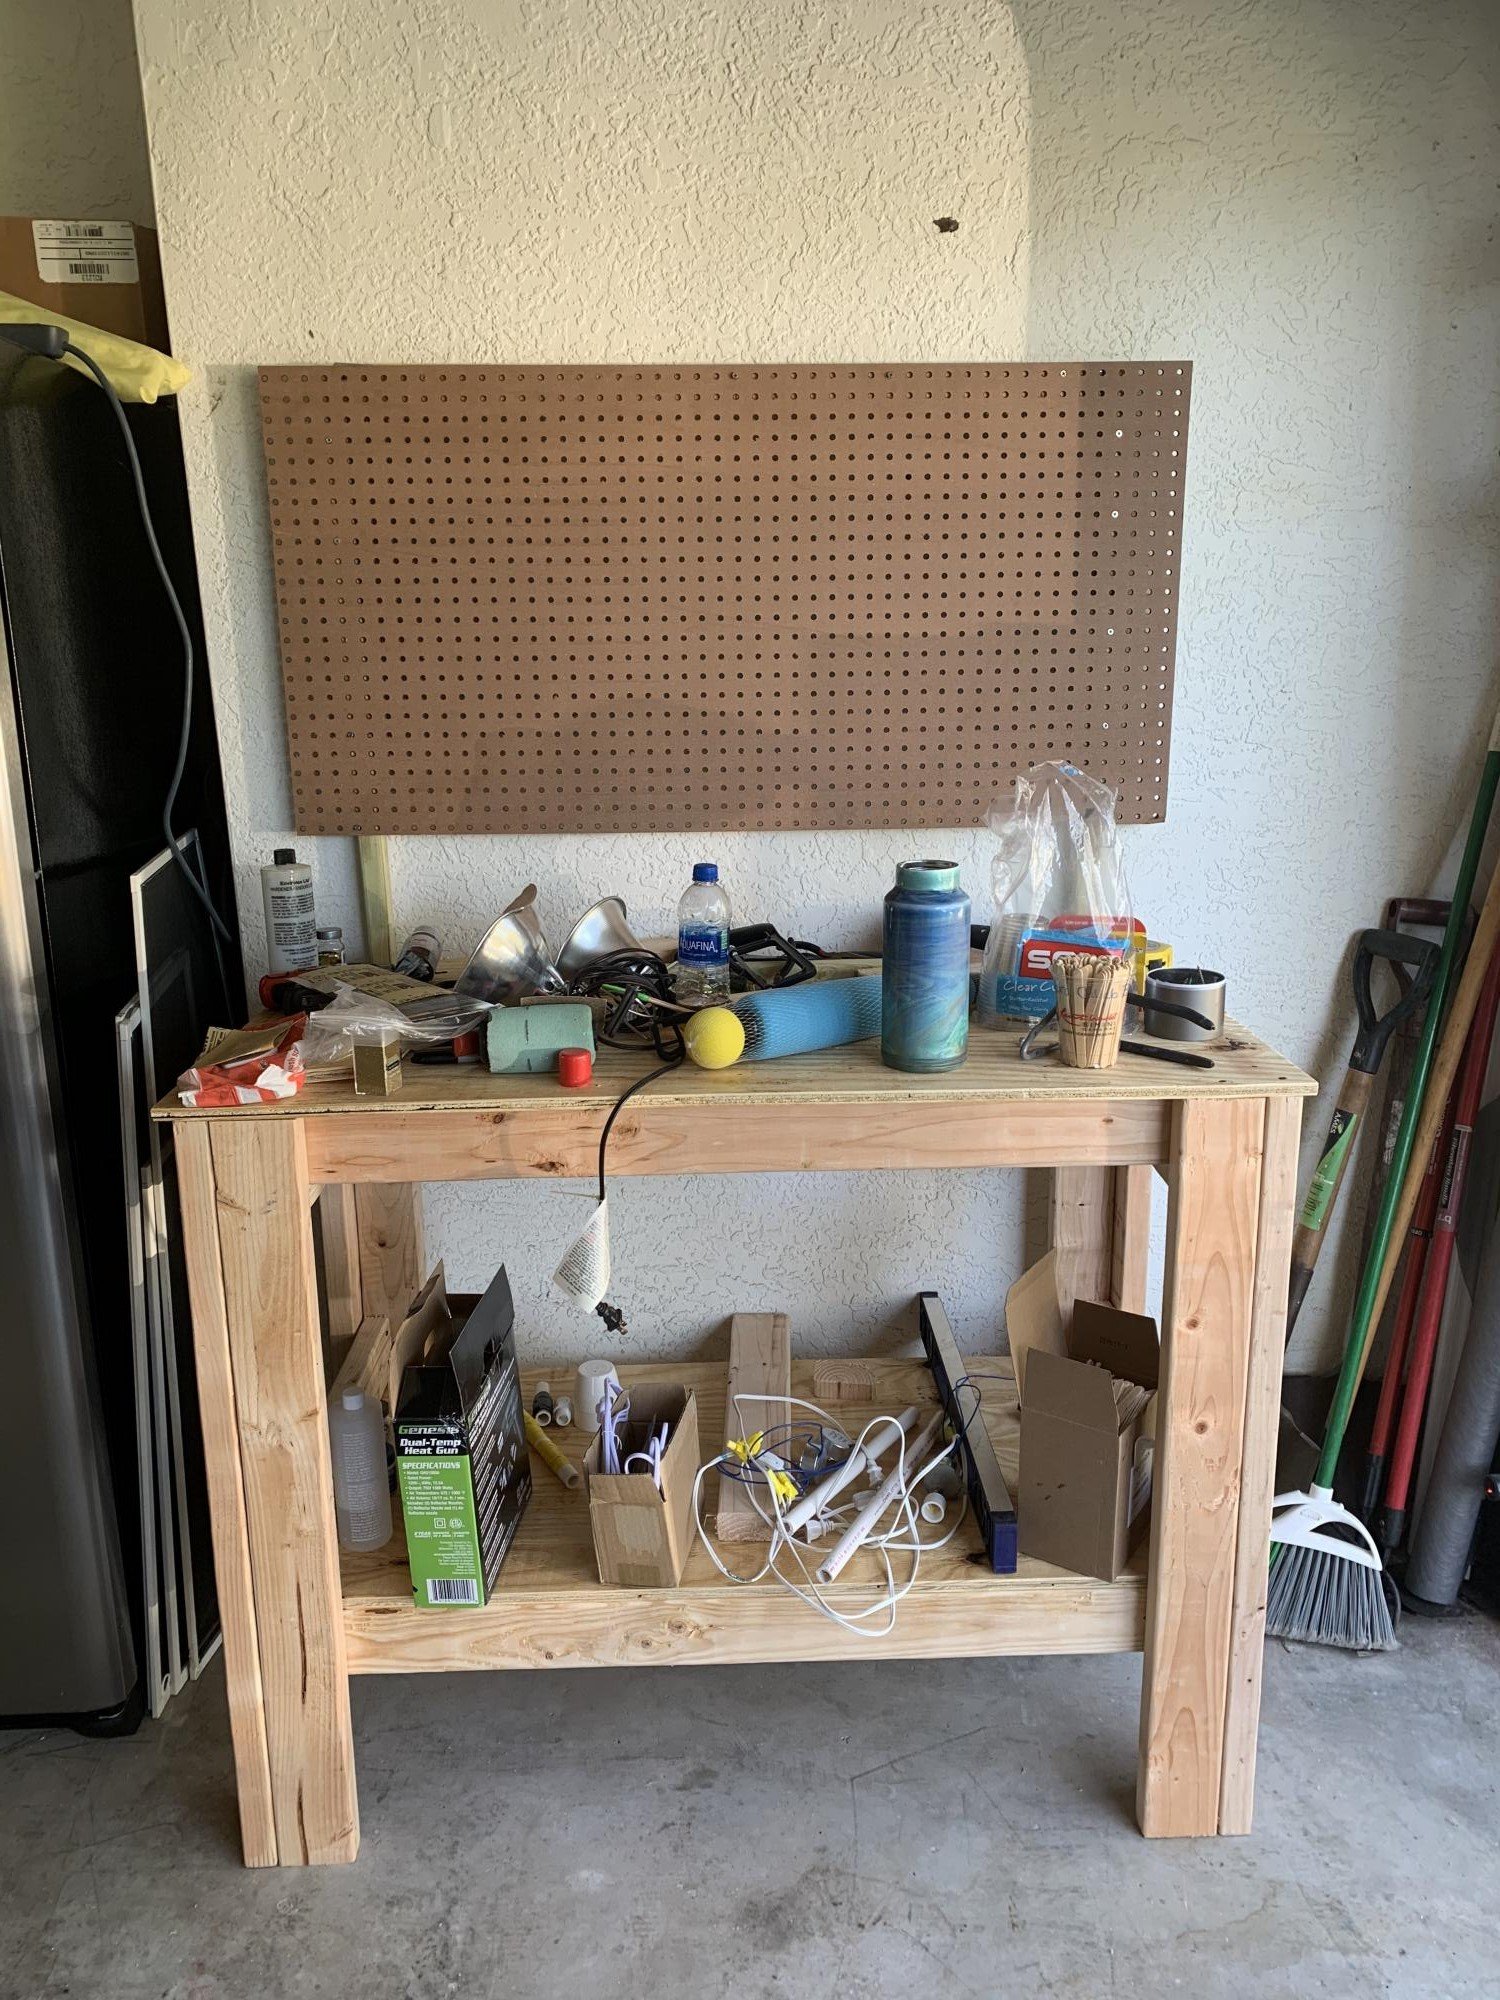
I tried to post photos of my progression of work, but couldn't get them to post. The instructions to build this were simple and easy to follow. I was able to construct this by myself in about 4 hours total. I am getting ready to make a 2nd for my craft shed. Thank you for sharing this!

Estimated Cost
$65
Estimated Time Investment
Afternoon Project (3-6 Hours)
Finish Used
none
Recommended Skill Level
Beginner

Comments

Camp Loftbed Slide

Submitted by kevnm85 on Wed, 12/26/2012 - 20:11

I just Modified the Camp Loft Bed to a Playhouse Slide for my Children. What a nice Christmas gift ;)

Estimated Cost
100$
Estimated Time Investment
Weekend Project (10-20 Hours)
Finish Used
Oil Primer + Paint
Recommended Skill Level
Beginner

Lap Table for my 4 year old son

Submitted by kristyzed on Wed, 10/08/2014 - 19:49

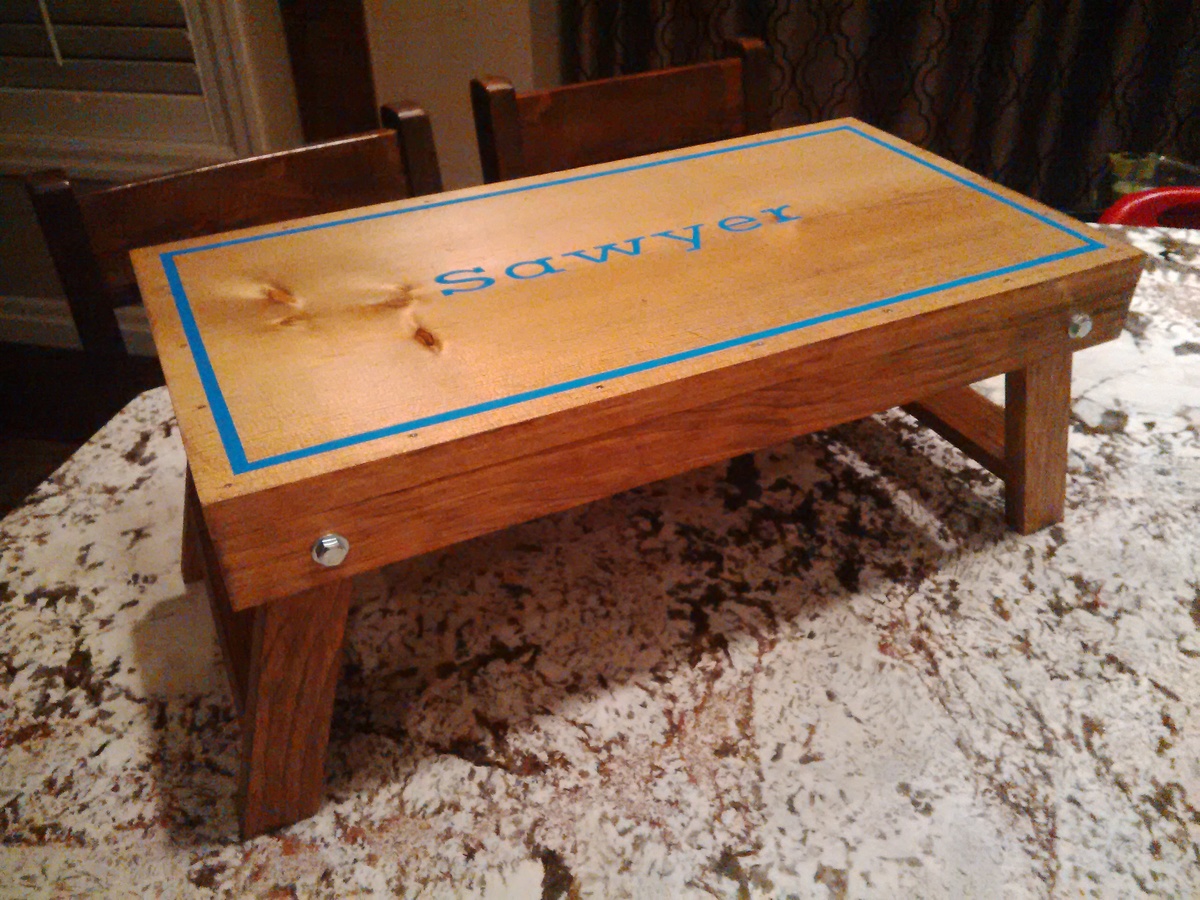
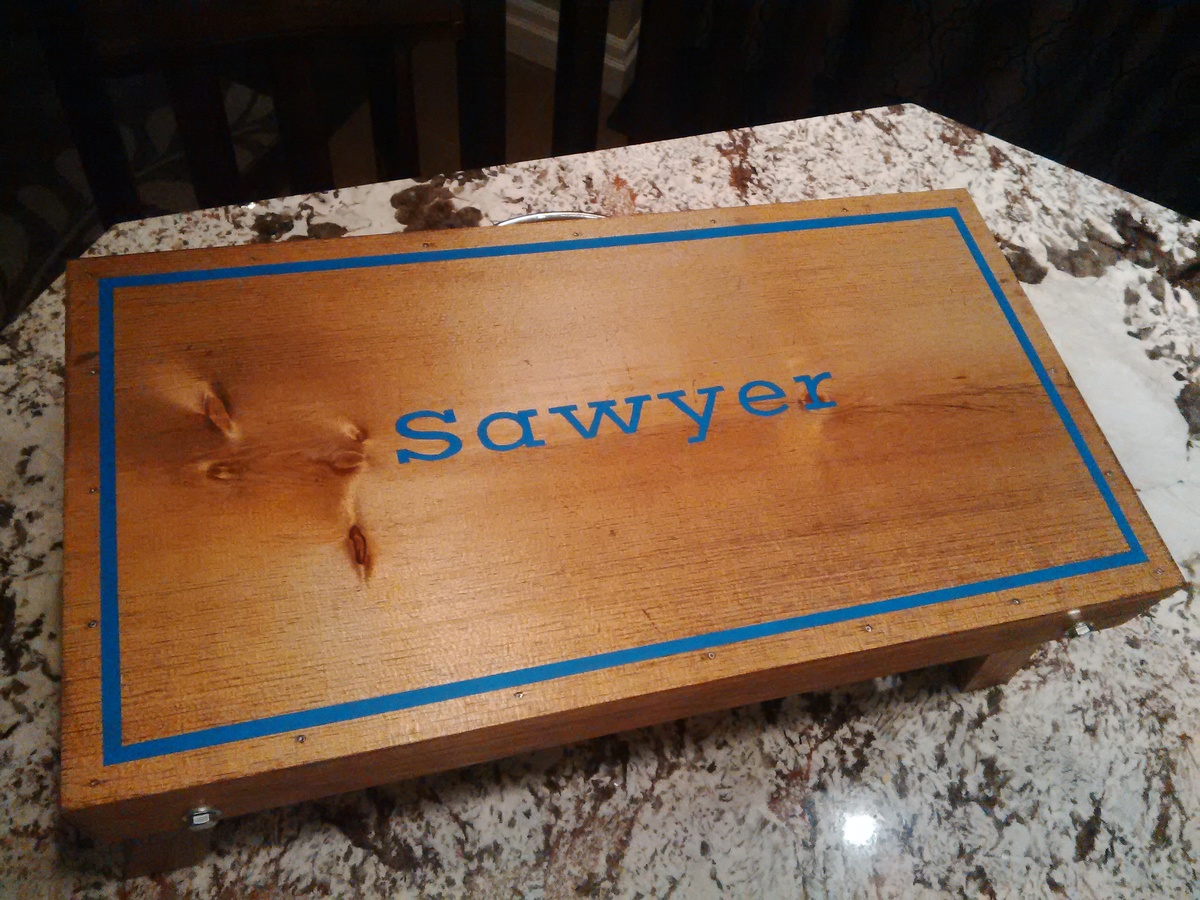
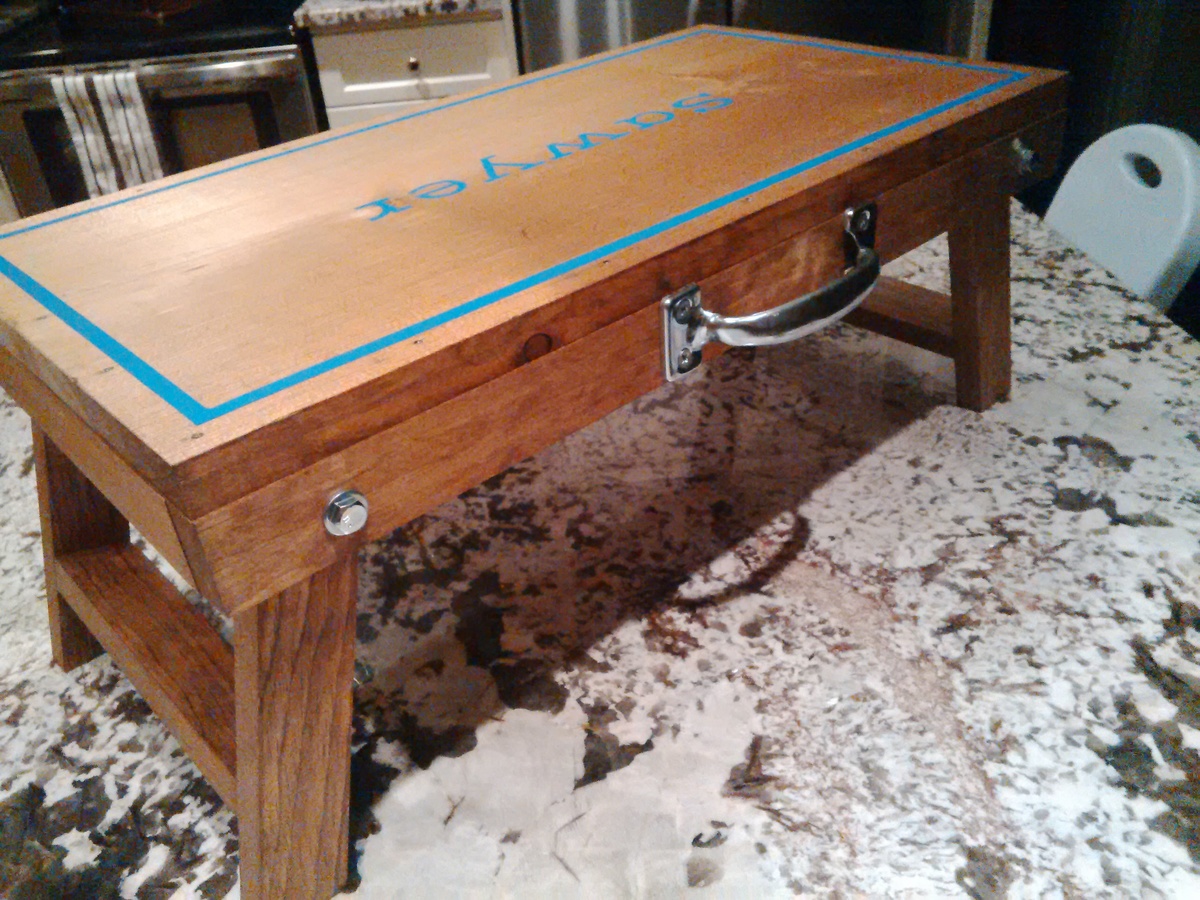
I altered the plans slightly starting with the desk's top.  I had extra 1 x 12 on hand so I worked the dimensions around that.  The height and width is the same, only the depth is changed. This was a very simple and enjoyable build.

Built from Plan(s)
Estimated Cost
$15 since I already had the 1 x 12 used for the top on hand.
Estimated Time Investment
An Hour or Two (0-2 Hours)
Finish Used
I used Minwax Early American all over, and Behr Blue Ocean for the letters and outline.
Recommended Skill Level
Beginner

Tablet or iPad Holder Retro TV Style

Submitted by boughtasaw on Fri, 01/20/2017 - 06:55

I loved the idea of this as soon as I saw it and decided to make it as as my daughter loves to watch cartoons on my ipad while sitting in her high chair eating her breakfast etc, 

I added a cap that can cover the end when it is not in use, a back and also painted it a very dark grey with gold accents on the feet, controls and also the little plaque I made.

My daugher cristened it "My TV" and loves it.

I am no longer allowed to play cartoons for her without "My TV".

Another great plan !

Onto the next one.

Estimated Cost
$0. I had pieces of wood leftover from other projects.
Estimated Time Investment
Afternoon Project (3-6 Hours)
Recommended Skill Level
Beginner

Comments

4x4 Truss Beam Table & Benches

Submitted by FSClarke on Wed, 10/07/2020 - 13:14

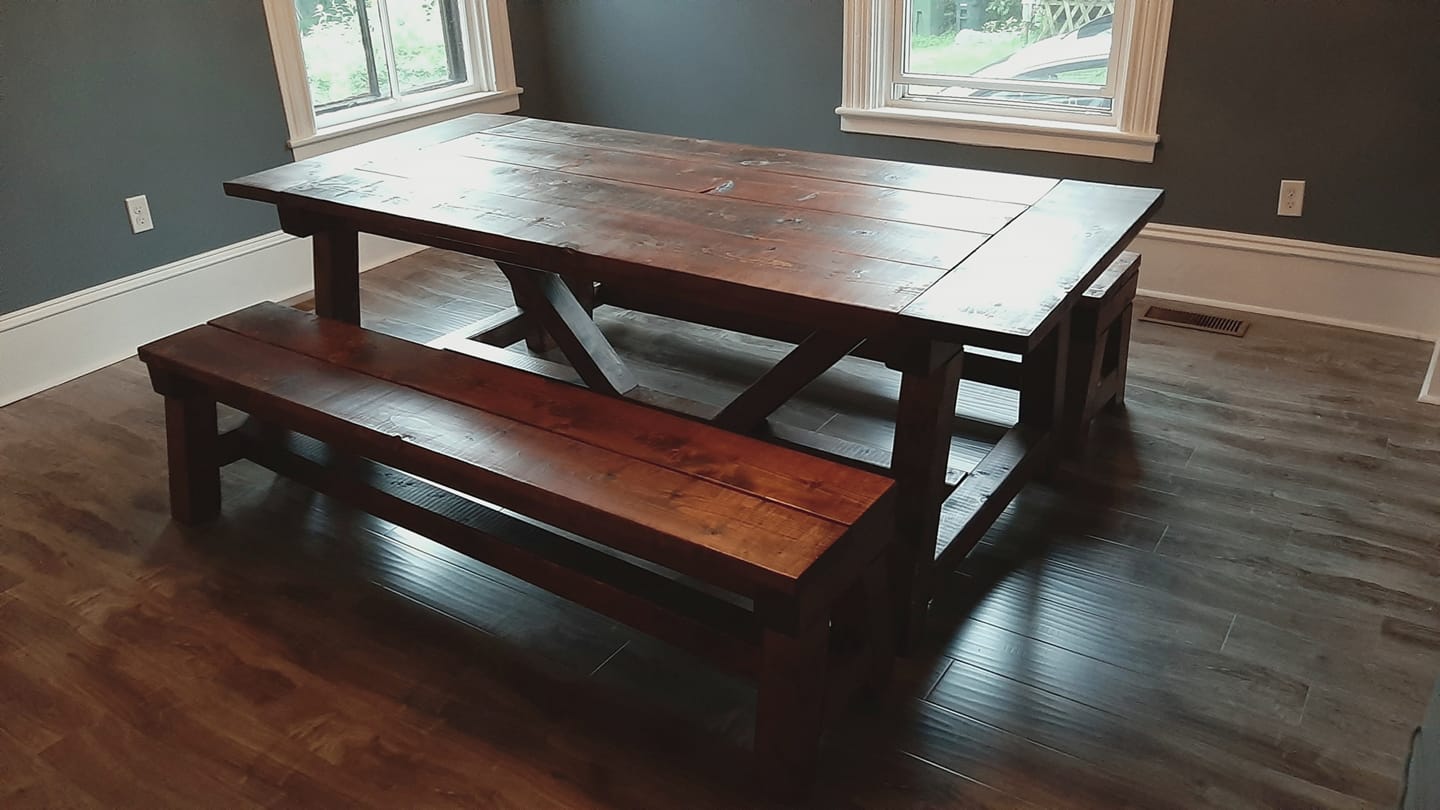
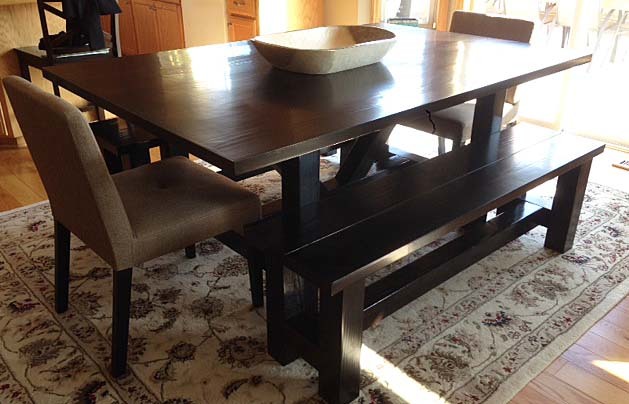
My first woodworking project ever. Used spruce dimensional lumber from the hardware store, some Minwax Red Oak Stain and Minwax Satin Polyurethane to finish.

Awesome learning experience, and looking forward to my next project.

Estimated Cost
400
Estimated Time Investment
Weekend Project (10-20 Hours)
Finish Used
1 Coat of Minwax Red Oak
2 Coats of Minwax Polyurethane Sealant, Satin Finish
Recommended Skill Level
Beginner

Hendrix desk

Submitted by DTeague on Sat, 12/29/2012 - 16:23

Built this desk for my parents to fit in their office space. It is made to look like the Hendrix desk except smaller. I sandwiched together 2 pieces of plywood to make the desktop thick and sturdy.

Estimated Cost
$85.00
Estimated Time Investment
Weekend Project (10-20 Hours)
Finish Used
Minwax Golden oak on the top and Sherwin Williams paint for the legs.
Recommended Skill Level
Intermediate

Basement storage

Submitted by sergey on Sun, 10/12/2014 - 16:34

Hi Ana,

Thank you for the wonderful idea about storage shelves.

I made one with some modifications. Total lenght is 4 m, height 2 m and depth 50 cm. The columns and beams are from 40x60 mm, the shlves are 110x20 mm. Pine wood was used and the photo shows bare wood without protective layer. It will be covered with colourless protection.

Keep up the good work!

Estimated Cost
~200€
Estimated Time Investment
Day Project (6-9 Hours)
Recommended Skill Level
Starter Project

Sliding Door Cabinet for TV

Submitted by Anonymous (not verified) on Mon, 01/23/2017 - 18:55

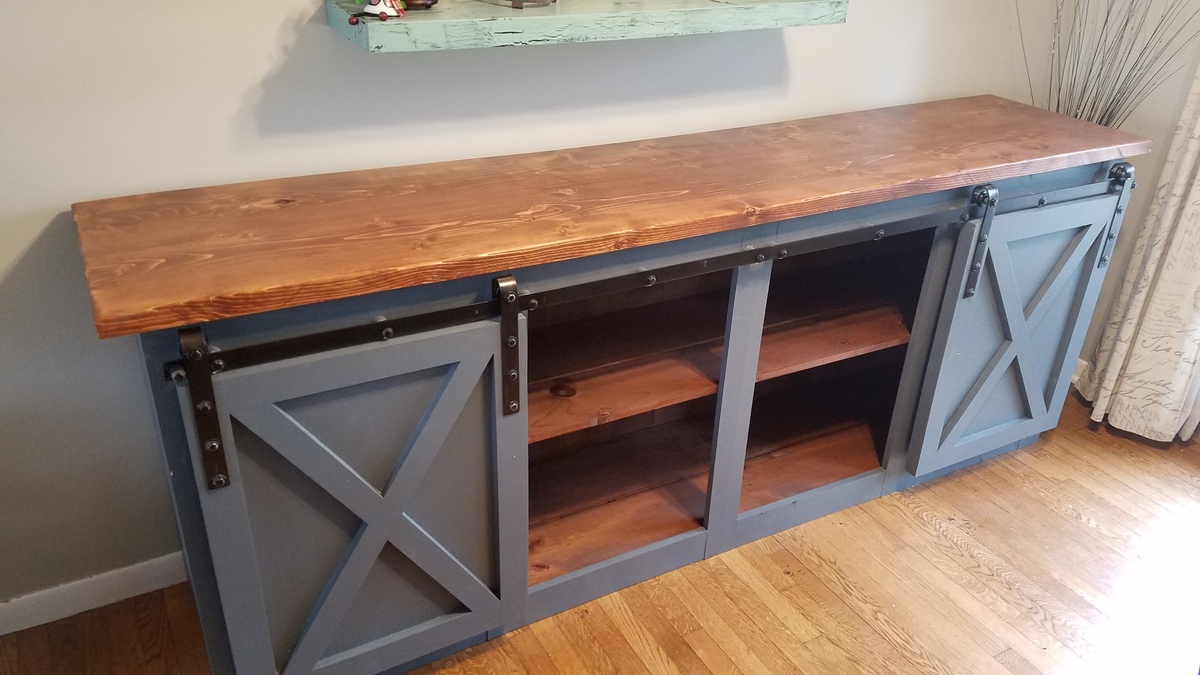
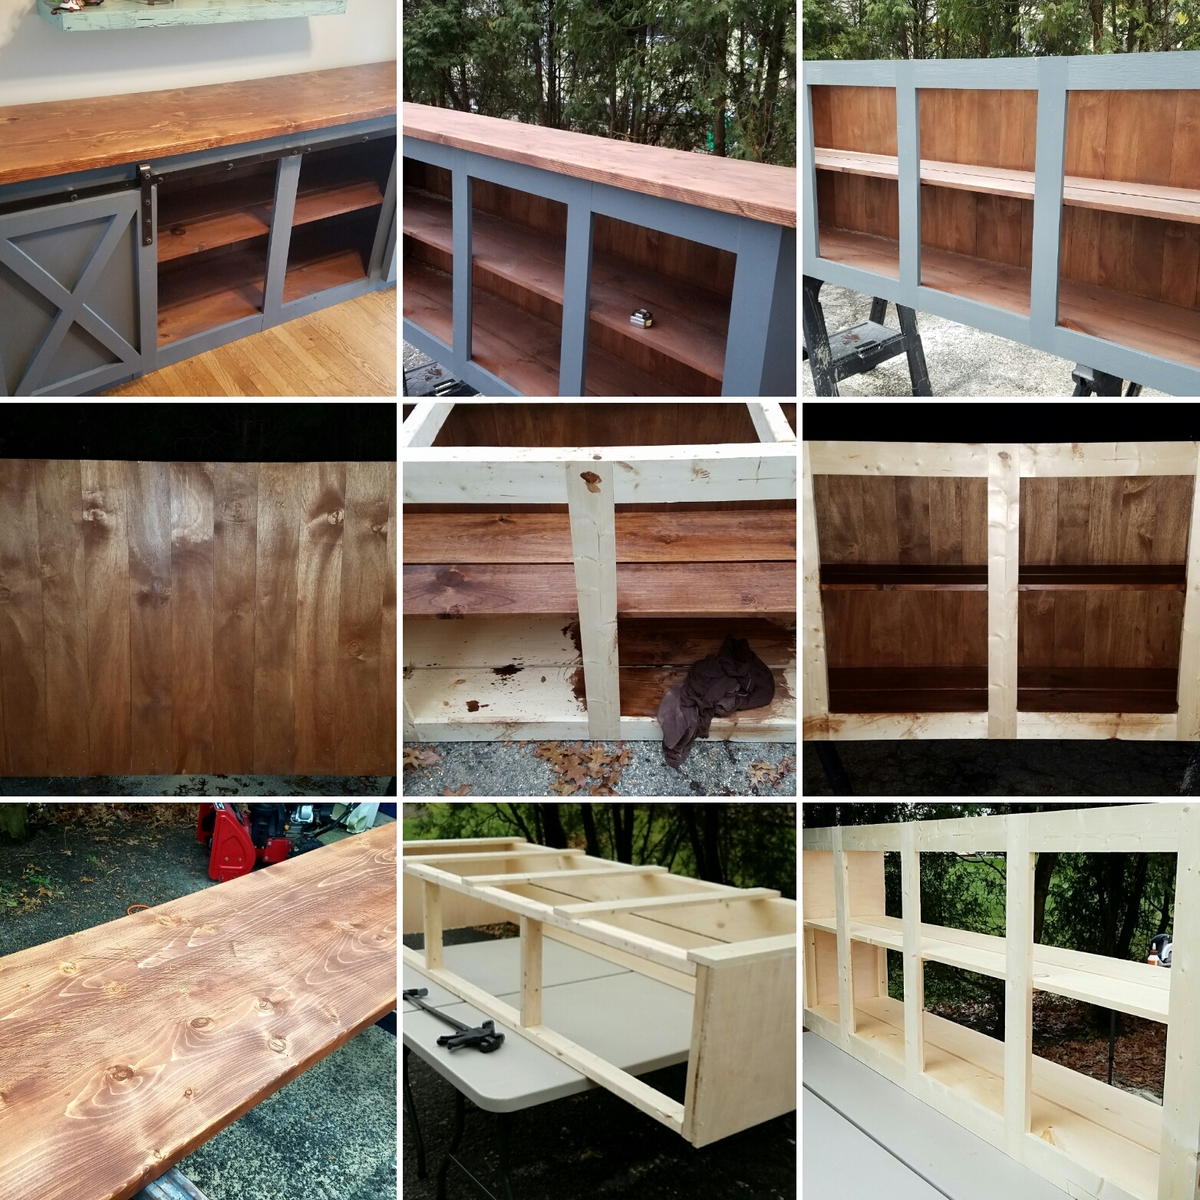
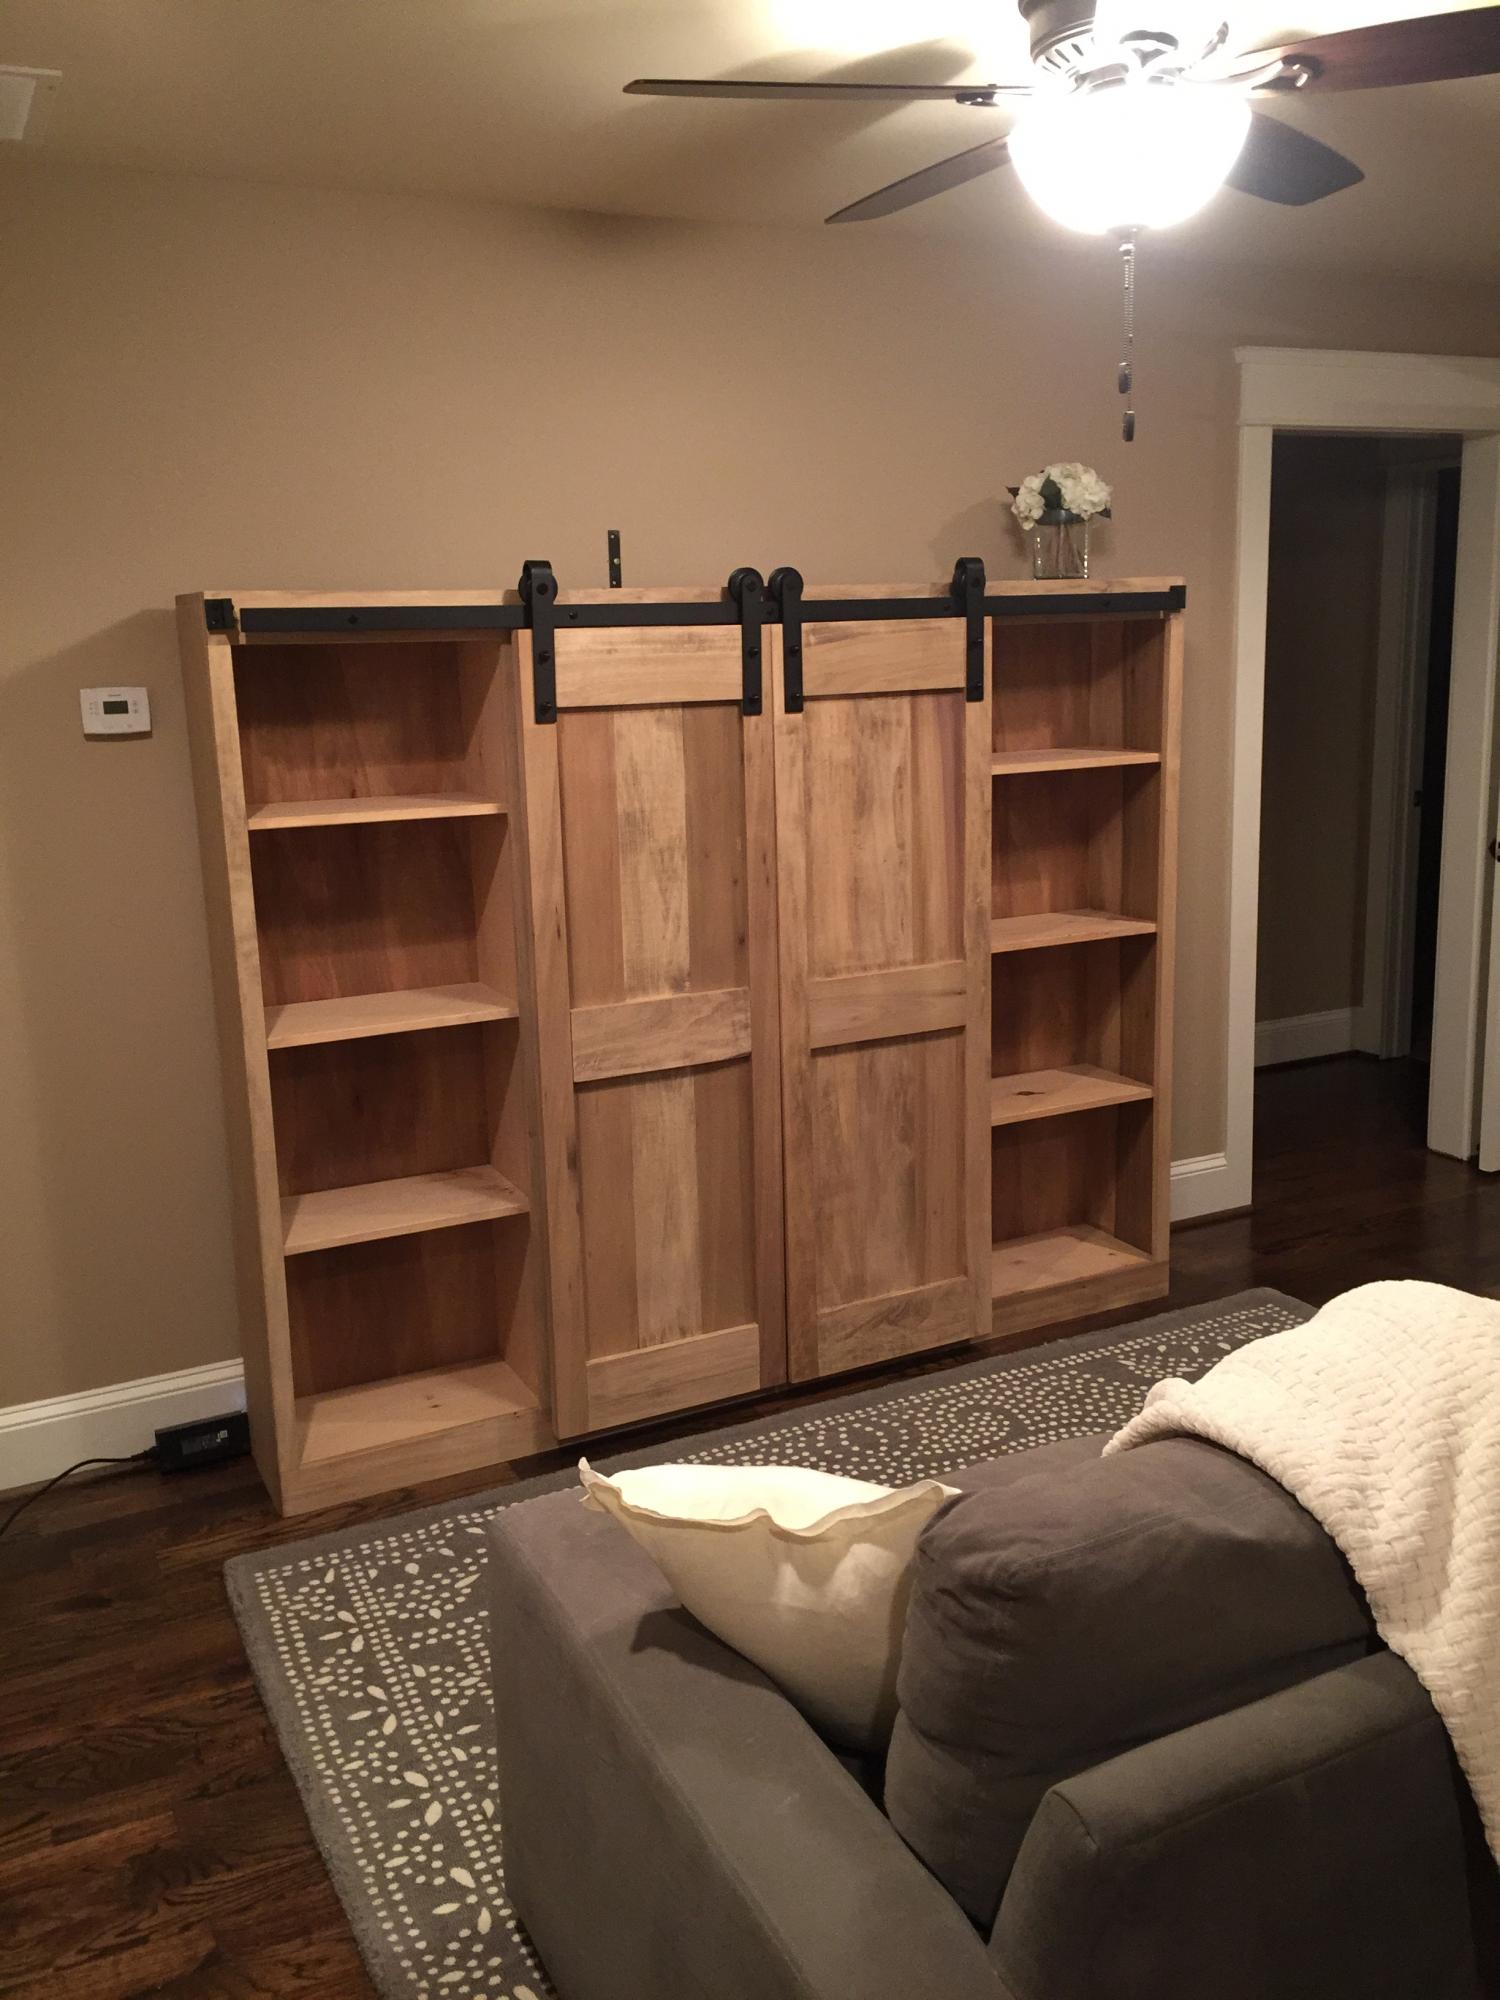
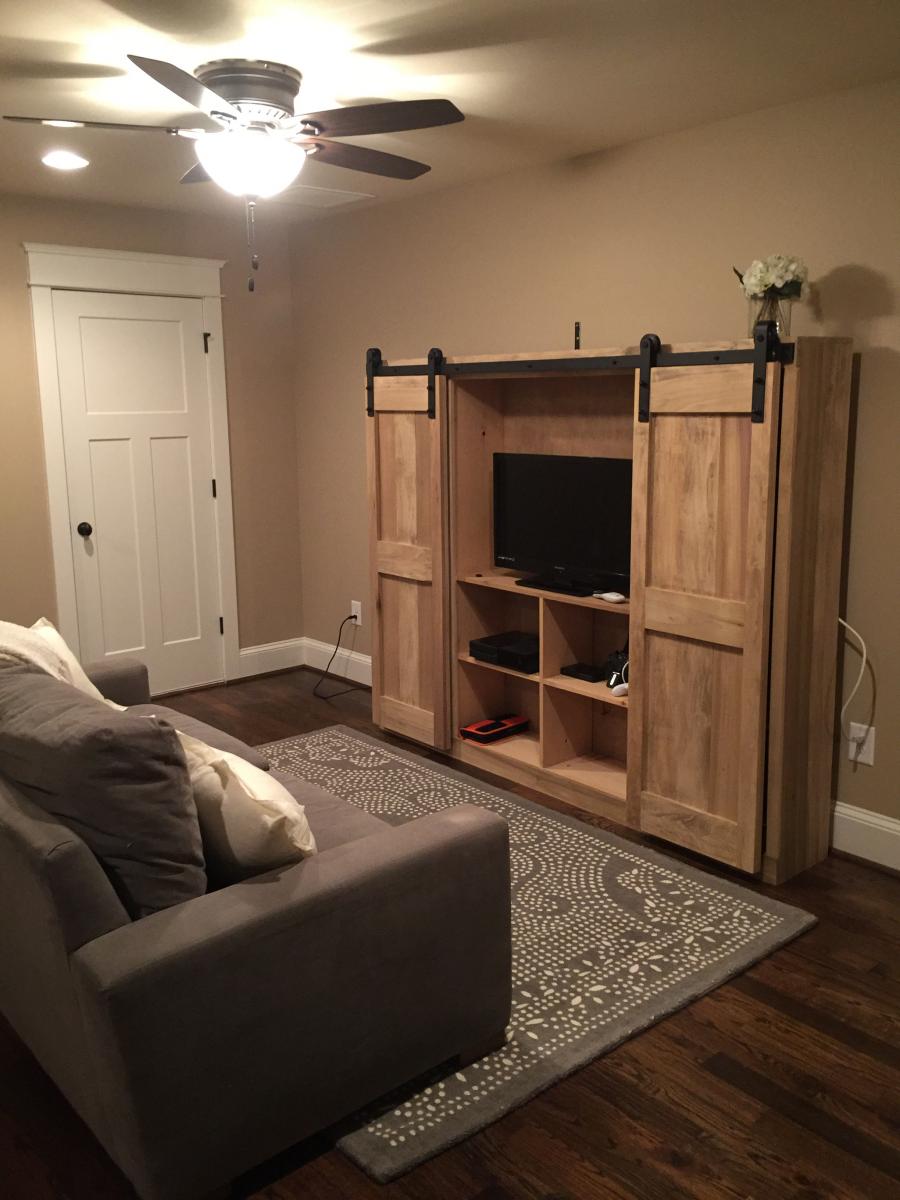
This Project took about a day and a half.  Hardware was from amazon for about $70 plus another $30 for additonal rollers since the set only comes with metal bar and 2 rollers.  Stained in Weathered oak.  Its built with poplar wood.  This was about $400 to build with all the hardware.

Built from Plan(s)
Estimated Cost
400
Estimated Time Investment
Weekend Project (10-20 Hours)
Finish Used
minx weathered oak
Recommended Skill Level
Intermediate

Comments