Community Brag Posts

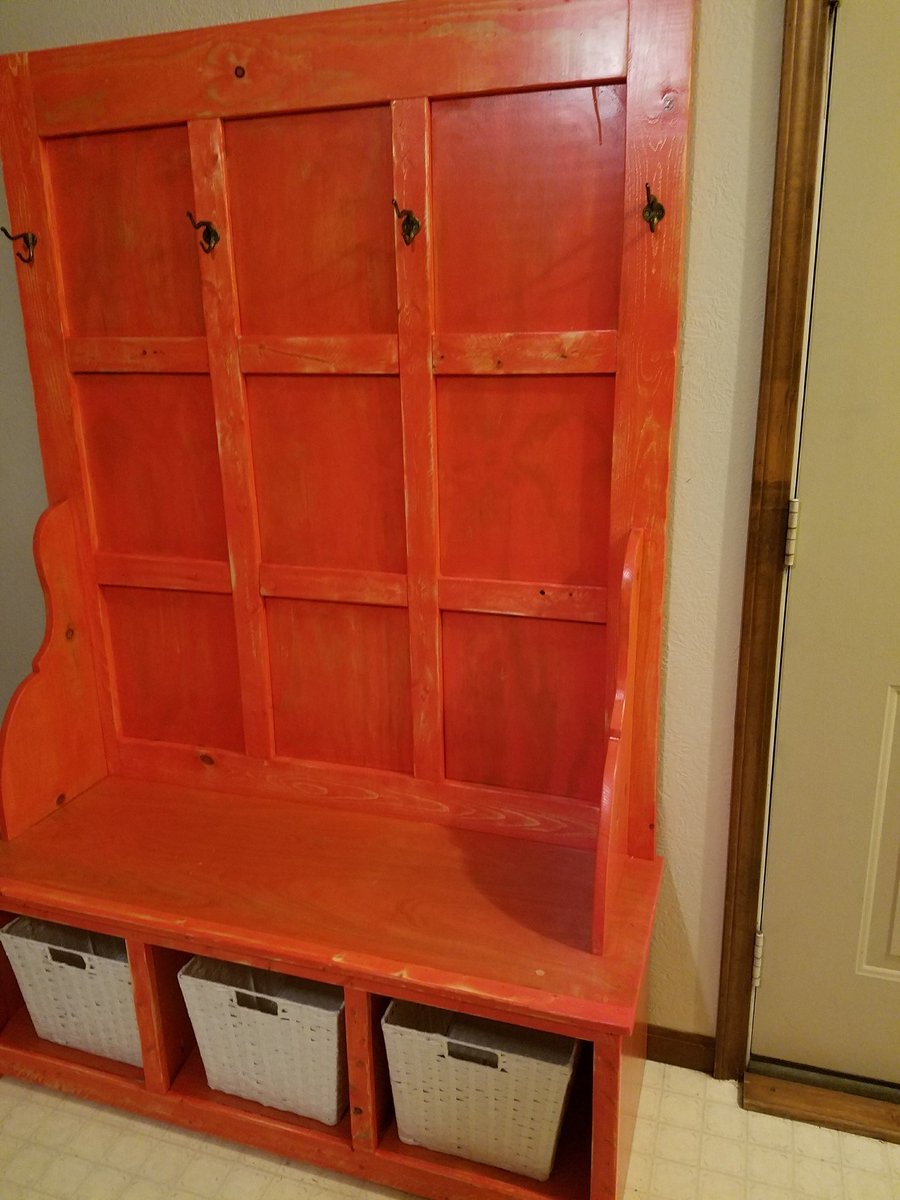
DIY Hall Tree Brag Post

Submitted by Anonymous (not verified) on Wed, 11/09/2016 - 19:14

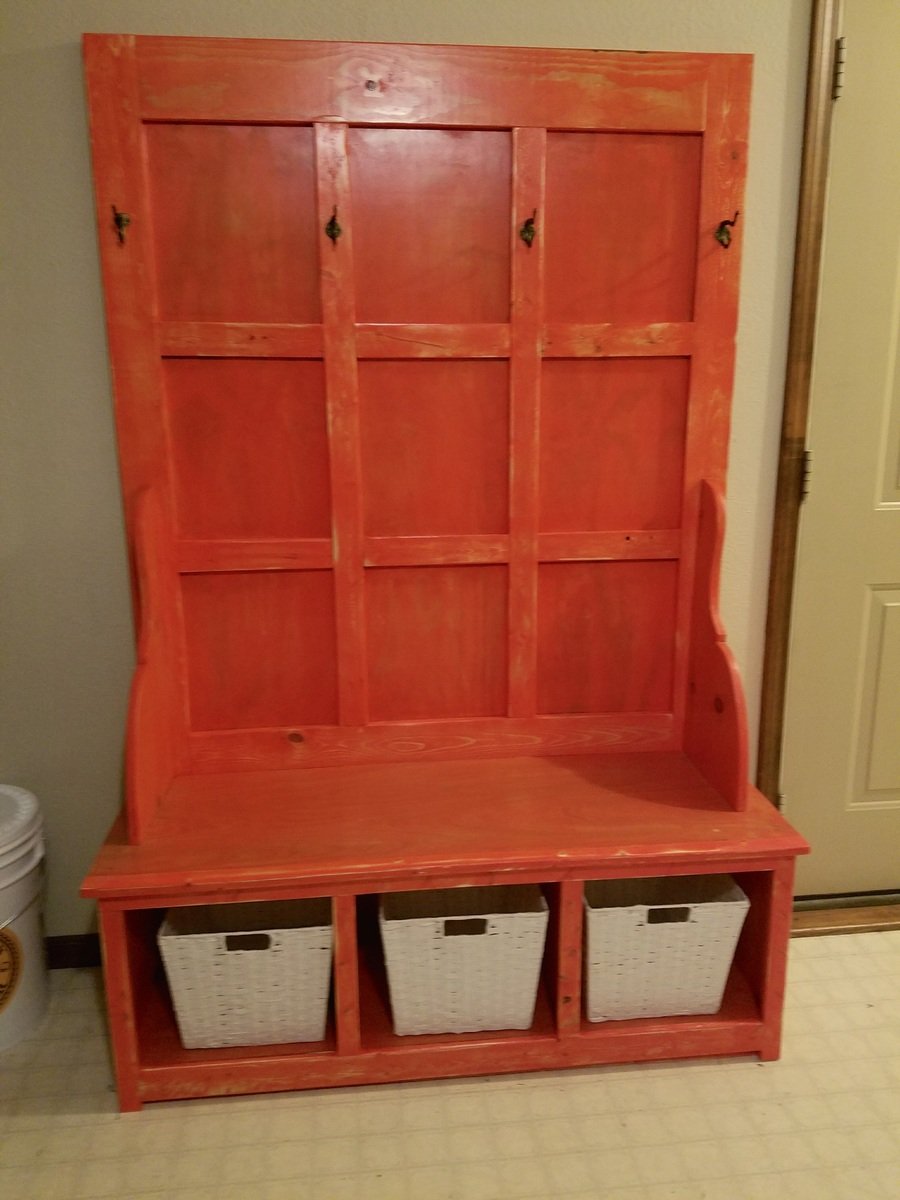
 First project so I followed I plans pretty close. I took the Cut list to Menards  lumber yard  they  got the wood together for me for around a hundred bucks .

I used a Minwax orange stain brushed on polyurethane.

The 1x4's are used for the back had very rough saw marks my sanded everything before I stainded it after I stand it I sanded it lightly to expose some wood and then I brushed on Minwax polyurethane I am happy with the results bright color yet you can still see the wood grain

Built from Plan(s)
Estimated Cost
$100 for wood $20 for finishing supplies $10 for brushes and sandpaper
Estimated Time Investment
Day Project (6-9 Hours)
Finish Used
Minwax polyurethane and Minwax stain
Recommended Skill Level
Intermediate

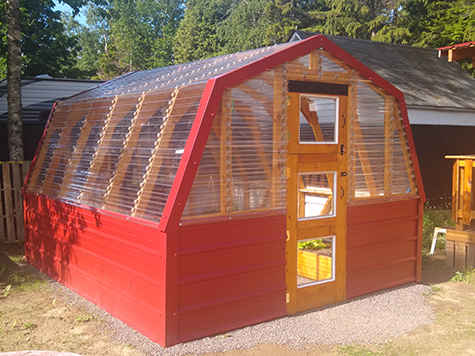
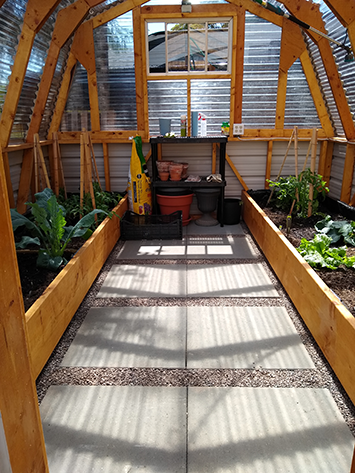
Brian's Greenhouse

Submitted by Concretia on Thu, 07/30/2020 - 21:40

Thank you Ana White for the great plan!

Estimated Cost
$2,000
Estimated Time Investment
Week Long Project (20 Hours or More)
Finish Used
Red tin roofing for siding and edging, cedar penetrating oil stain, concrete 2x2 slabs with pebble fill for floor
Recommended Skill Level
Intermediate

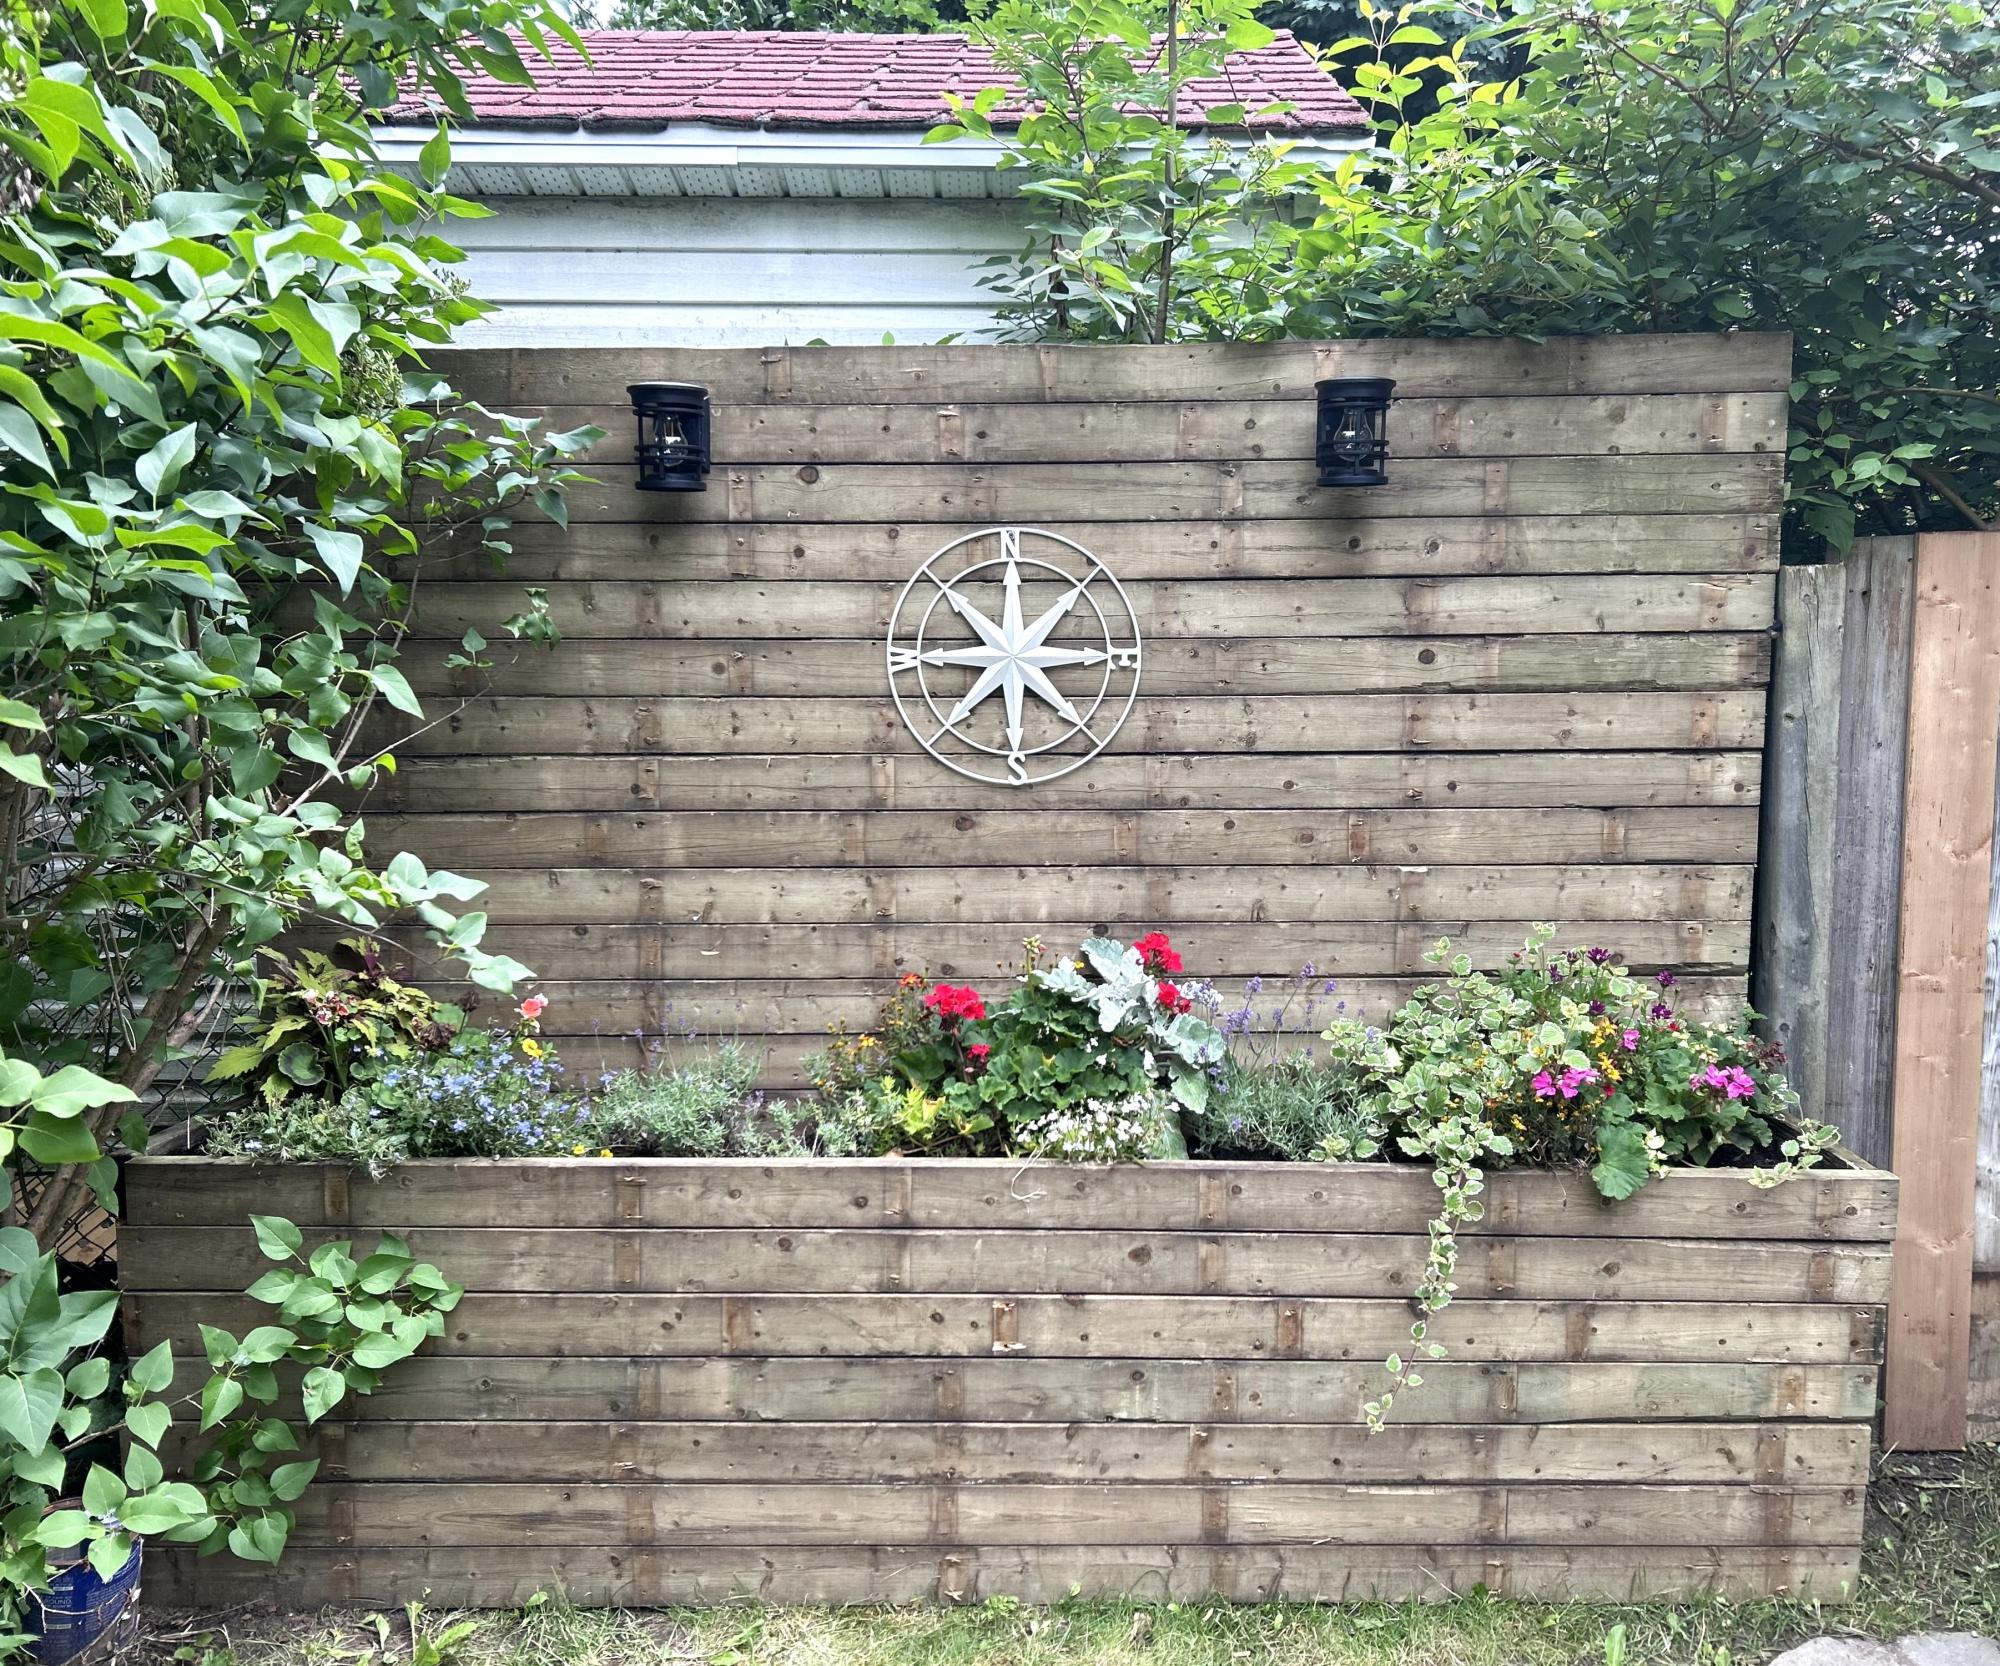
Reclaimed Wood Privacy Planter

Submitted by Anonymous (not verified) on Fri, 07/05/2024 - 10:58

Privacy planter
We needed something to block our neighbors dogs from charging the chain link fence and barking at us every time we were in our backyard. So, I made this with reclaimed 2x4s from our deck that I held onto. It’s 72” tall and 96” wide.

Built from Plan(s)
Seasonal And Holiday

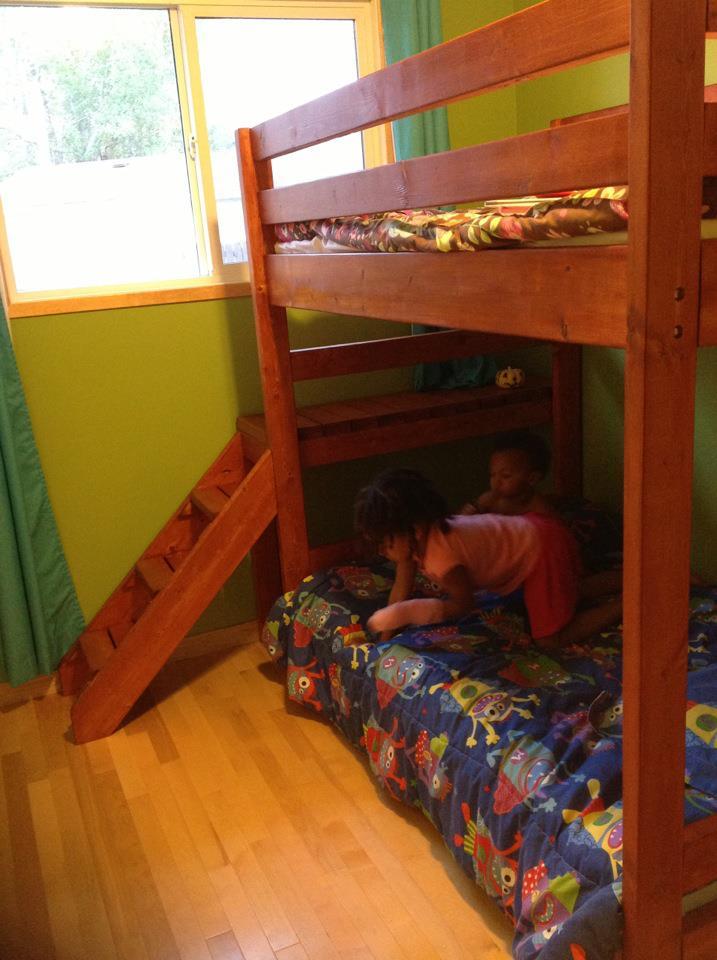
Camp Loft Bed

Submitted by Aisha on Mon, 10/08/2012 - 18:39

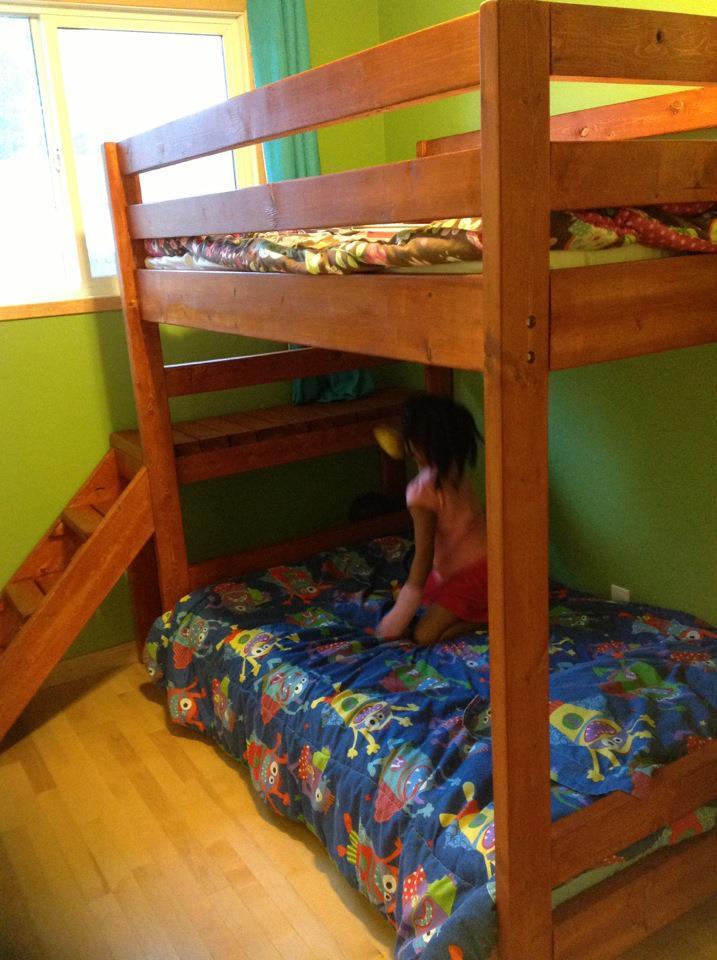
I decided to make the camp loft bed into a bunk bed for the kids. The room is really small so I had to make it toddler length (about 62") and the stairs are only about 13.5" wide. It turned out great and the kids love it!

Estimated Cost
$150 for wood and hardware
Estimated Time Investment
Week Long Project (20 Hours or More)
Finish Used
2 coats of Ipswich pine and one coat of a poly/stain mix in provincial.
Recommended Skill Level
Intermediate

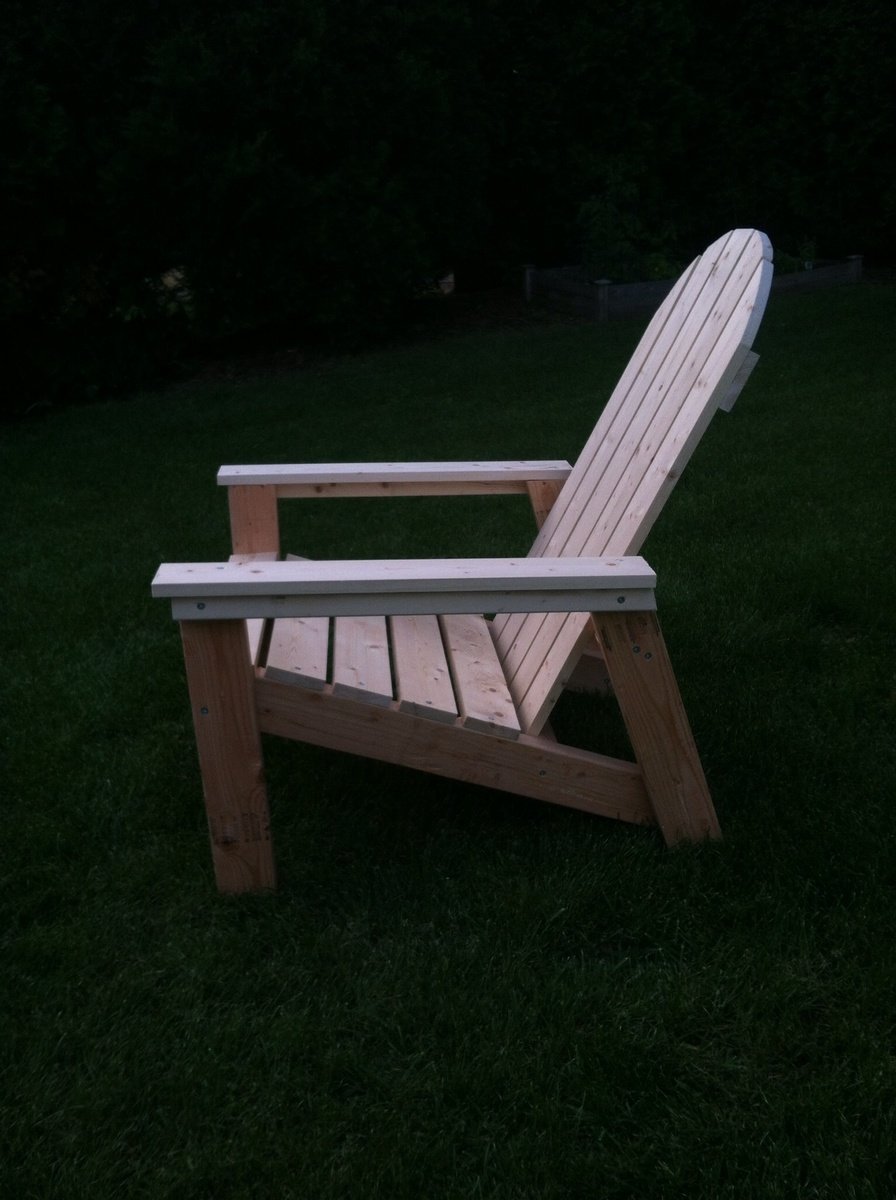
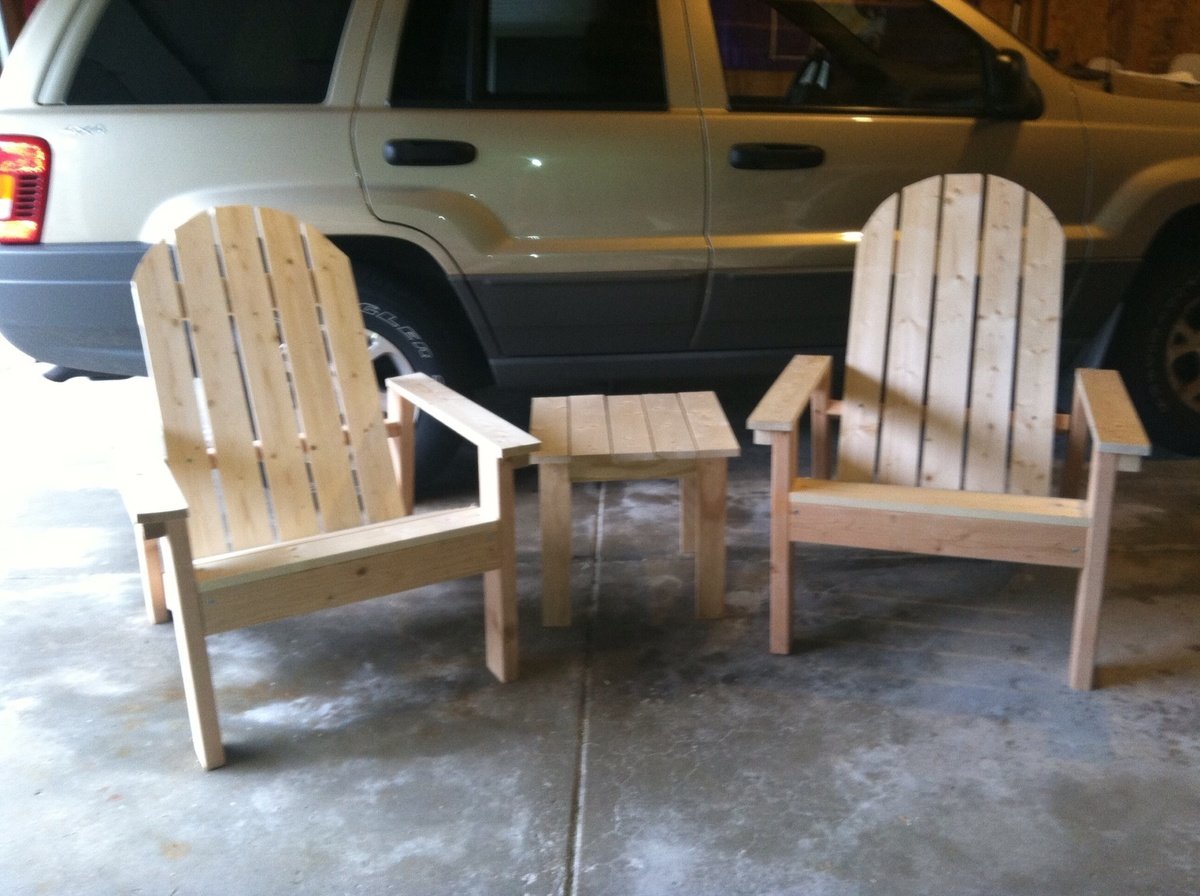
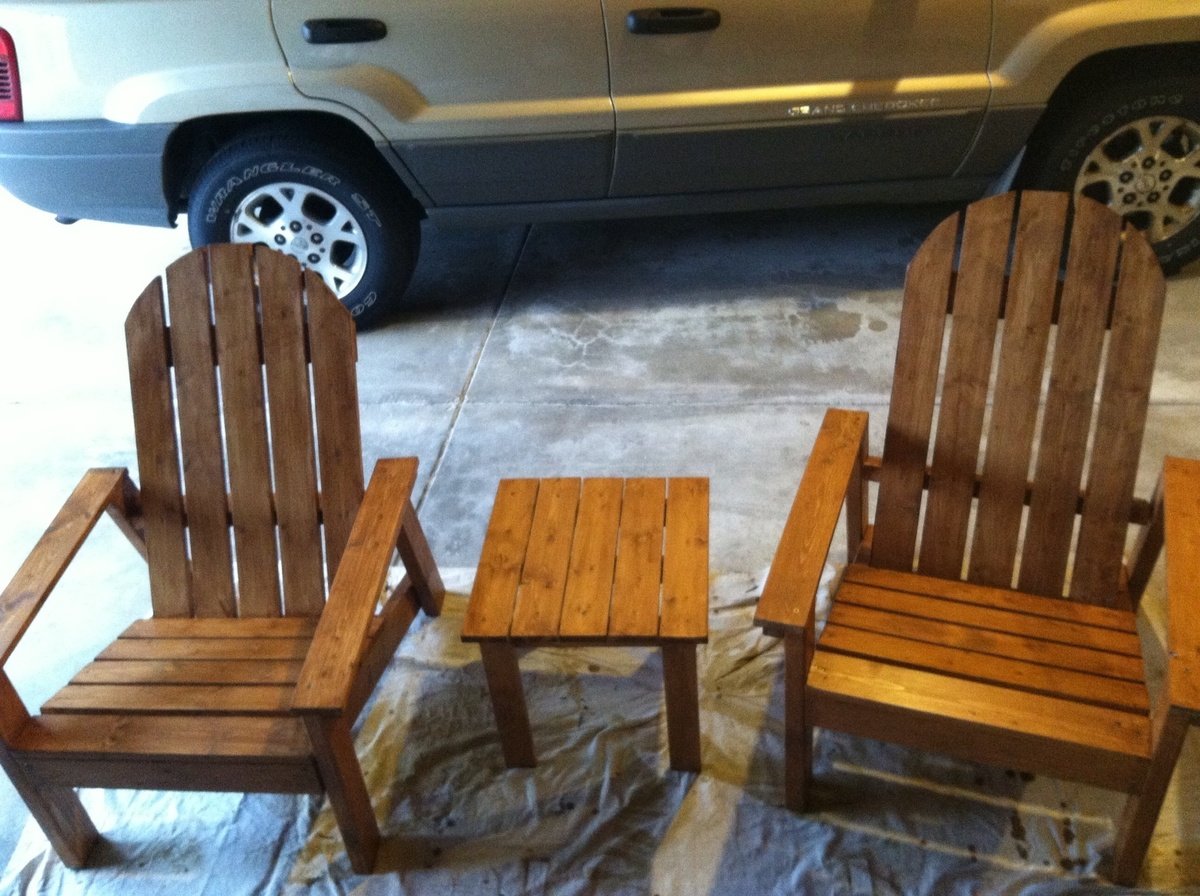
Adirondack Chairs and Table- thanks Ana! (With crate & barrel pillows)

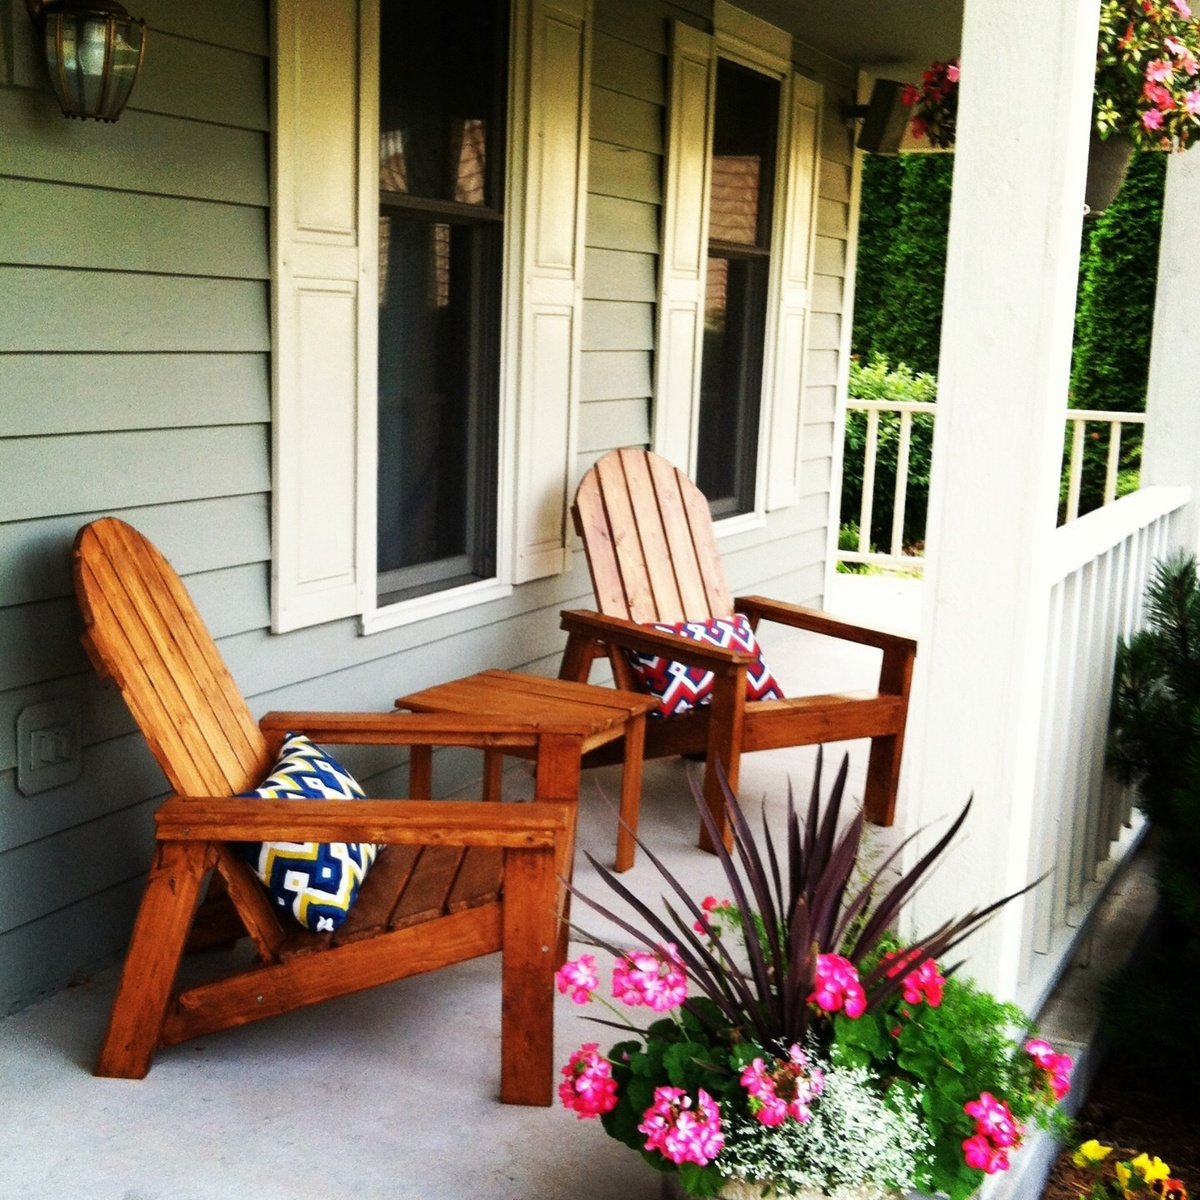
This was my first project! I took my time, learning many lessons as I went and borrowing tools from friends. Although there are some flaws, I am so proud of these chairs. They look awesome on our front porch and are the perfect spot to relax after work and watch the sun set with a glass of wine. After building the first chair which fit my husband (6'3" tall), I decided to slightly change the angle of the second chair such that the depth better suited me (5'4" tall and short legged). Thanks for the inspiration Ana, I can't wait to start my next project!

Estimated Cost
$50 (2 chairs and table- wood, screws, stain)
Estimated Time Investment
Weekend Project (10-20 Hours)
Finish Used
Chocolate Behr Stain- two thin coats
Recommended Skill Level
Beginner
Seasonal And Holiday

Farmhouse Toddler Bed

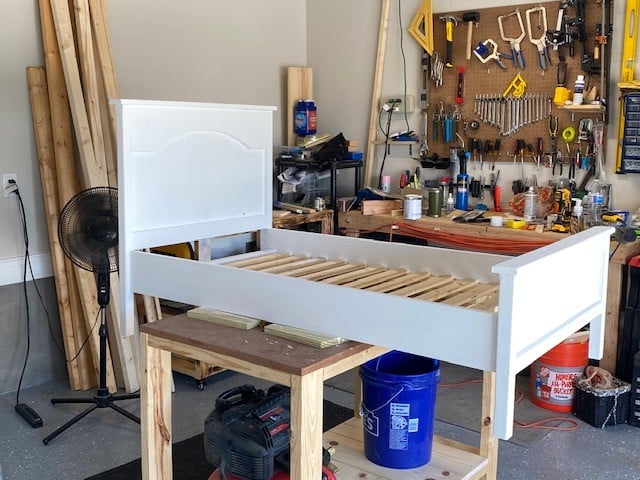
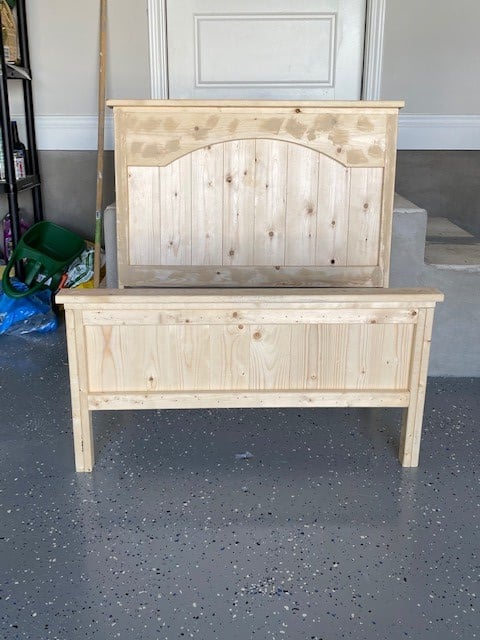
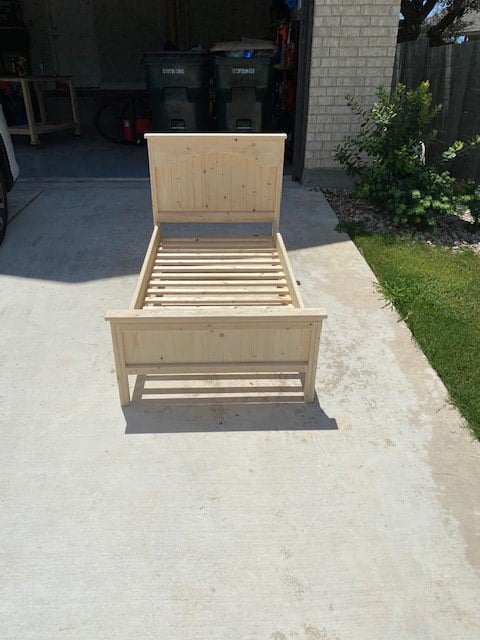
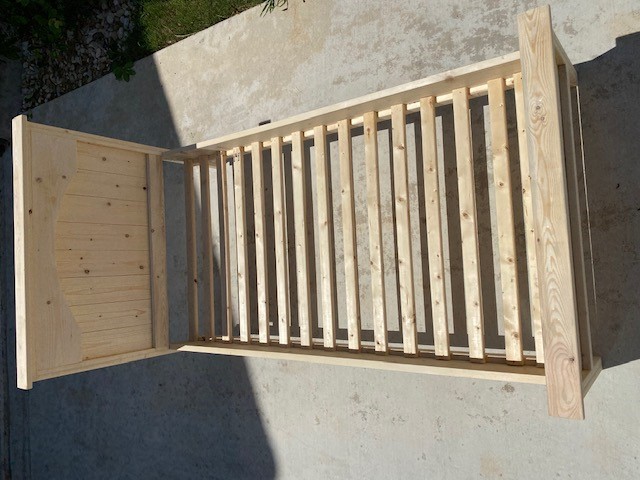
Great plan and an easy build. NOTE: The plans mention that not all toddler mattresses are the same dimensions. Make sure to measure your mattress and adjust the dimensions accordingly. Our mattress was 2" longer and 1 1/2" wider than the plans. I used all 1 X 4's for the headboard and footboard instead of the the 1 X 3's on the ends. I would recommend you make your cuts as you go to allow for the differences in dimension.
NOTE: The mattress is originally a Crib mattress. Crib company wanted almost $100 for the conversion piece to make the crib into a bed. I showed them. Lol

Built from Plan(s)
Estimated Cost
$50
Estimated Time Investment
Weekend Project (10-20 Hours)
Finish Used
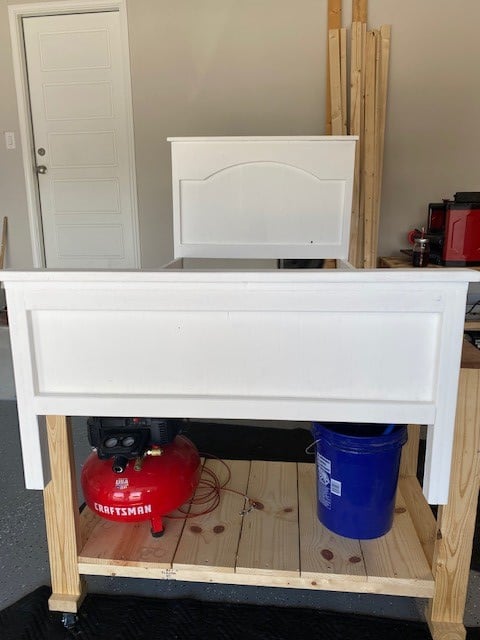
Rust-Oleum White Chalk Paint and Rust-Oleum Matte-Clear Protective Top Coat
Recommended Skill Level
Beginner

Rooftop Patio Sectional

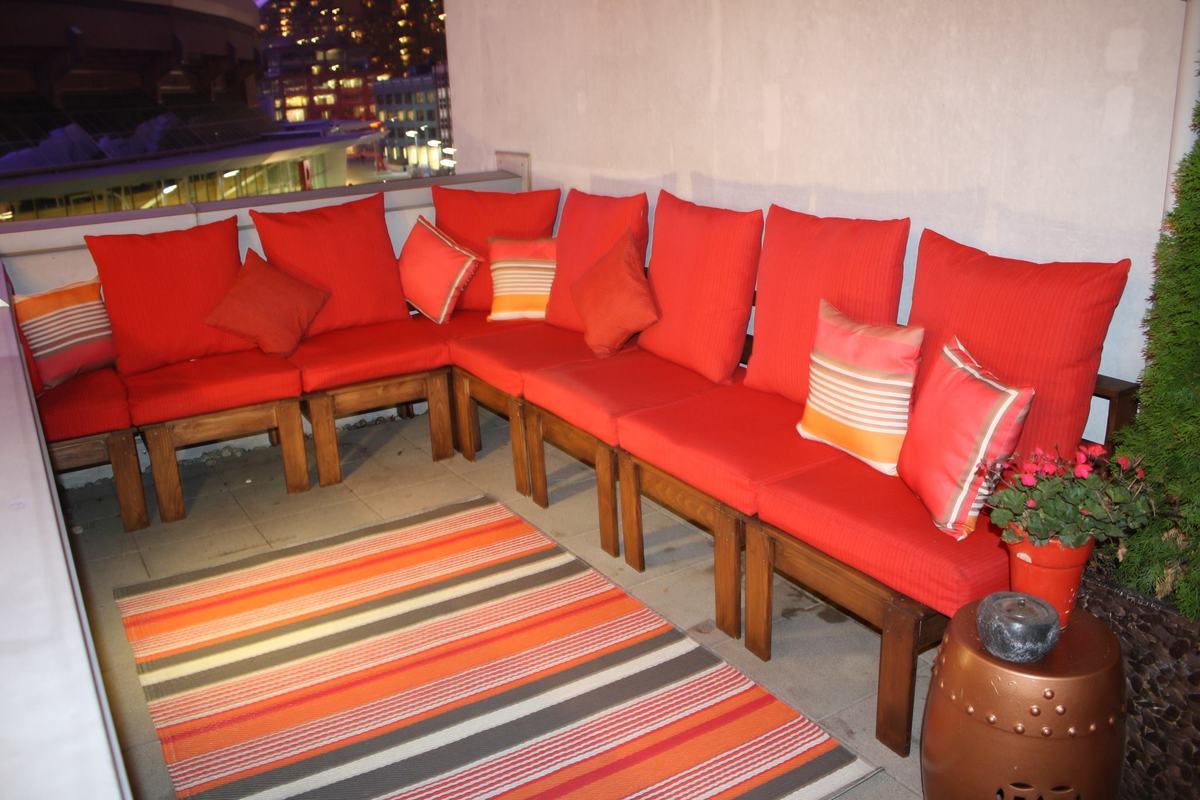
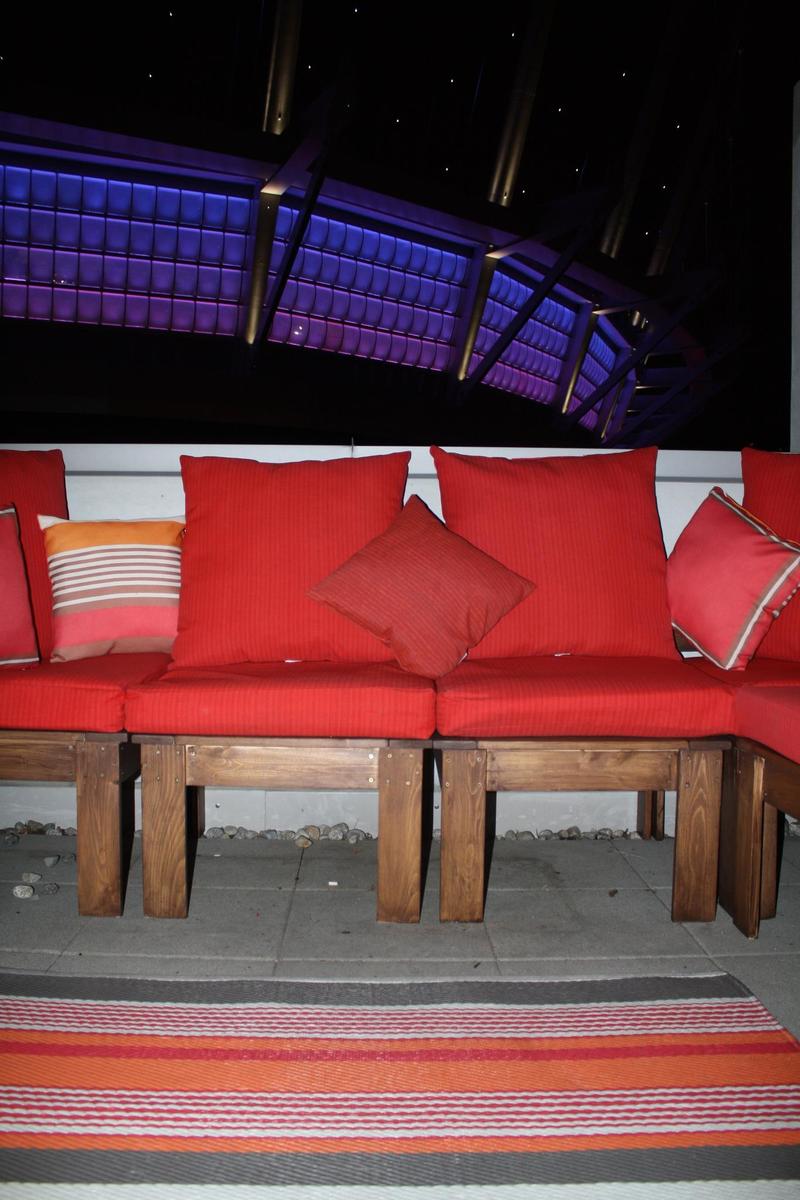
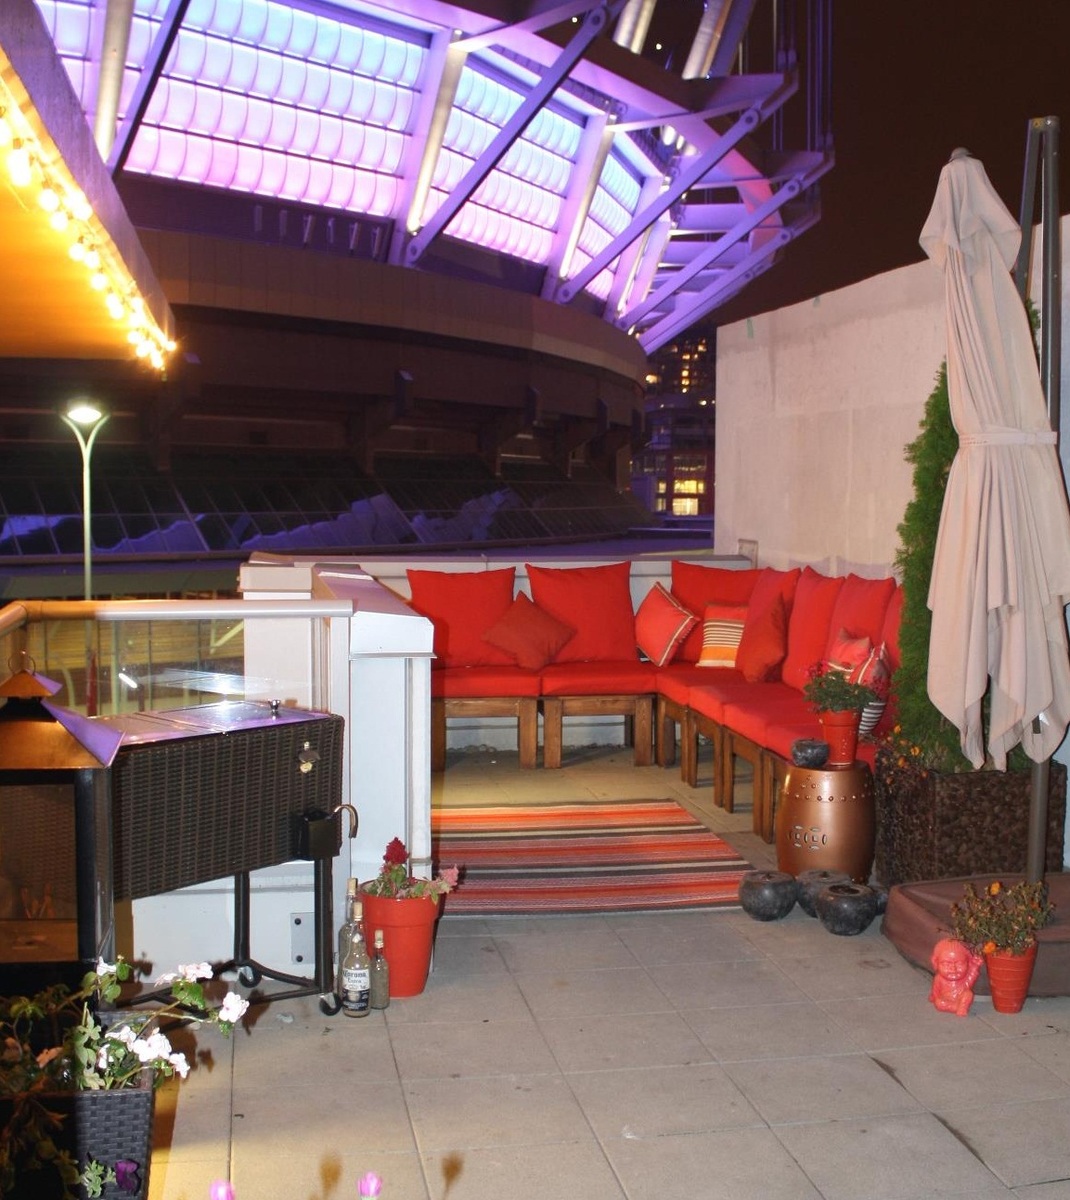
I was in love with the West Elm slat collection but knew I could never afford it let alone live in a spot that would have the outdoor space for it. Luckily as fate would have it, I stumbled across the perfect townhouse with a huge rooftop patio in downtown Vancouver last year right at the same time I discovered Ana White - with no experience in this kind of project, but a love for DIY and alot of determination I'm proud to say I finally finished my dream patio set, and it looks even better than I could have imagined! Thanks Ana :)

Estimated Cost
Under $500 including cushions
Estimated Time Investment
Weekend Project (10-20 Hours)
Recommended Skill Level
Beginner

Comments

Pallet Wood Chalk Board, Shower Wall and Shower Mat

Submitted by kdins31 on Tue, 08/05/2014 - 06:13

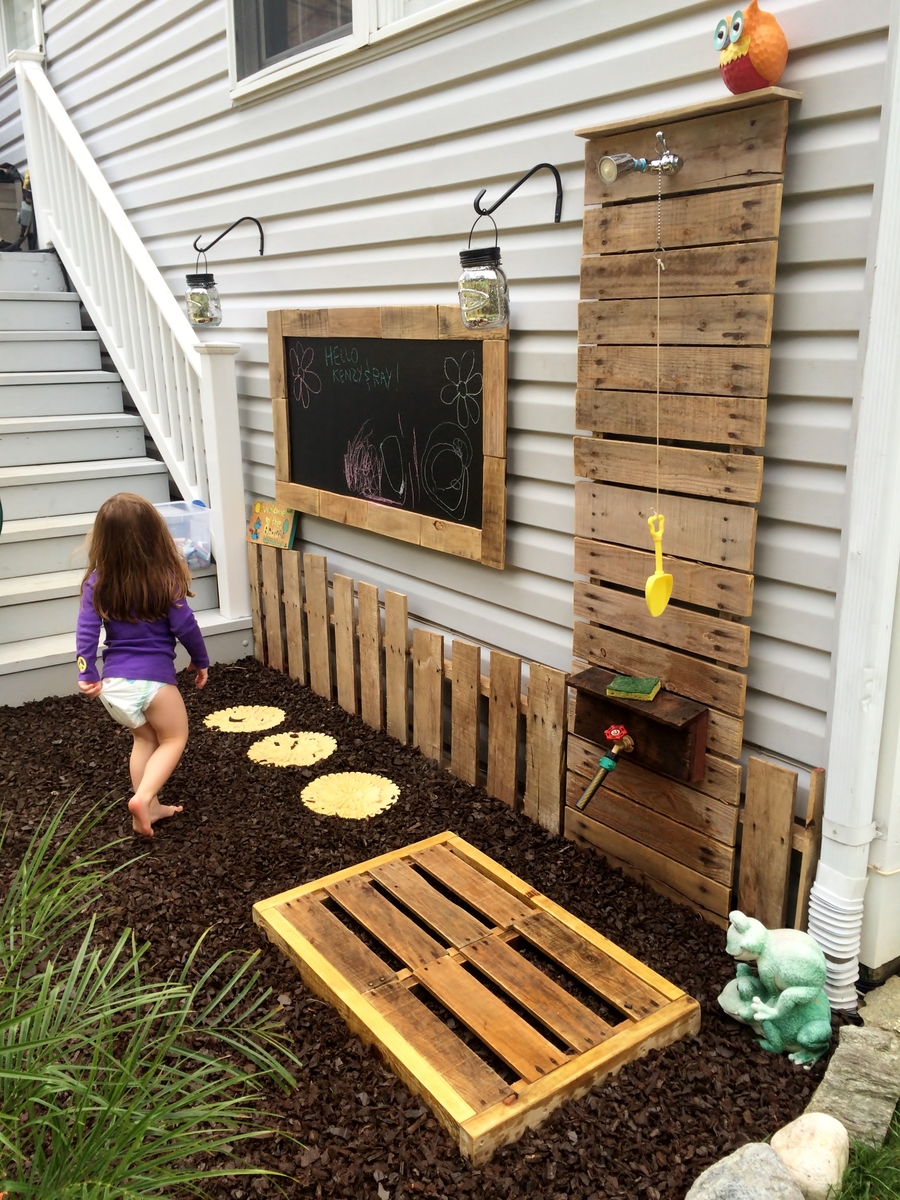
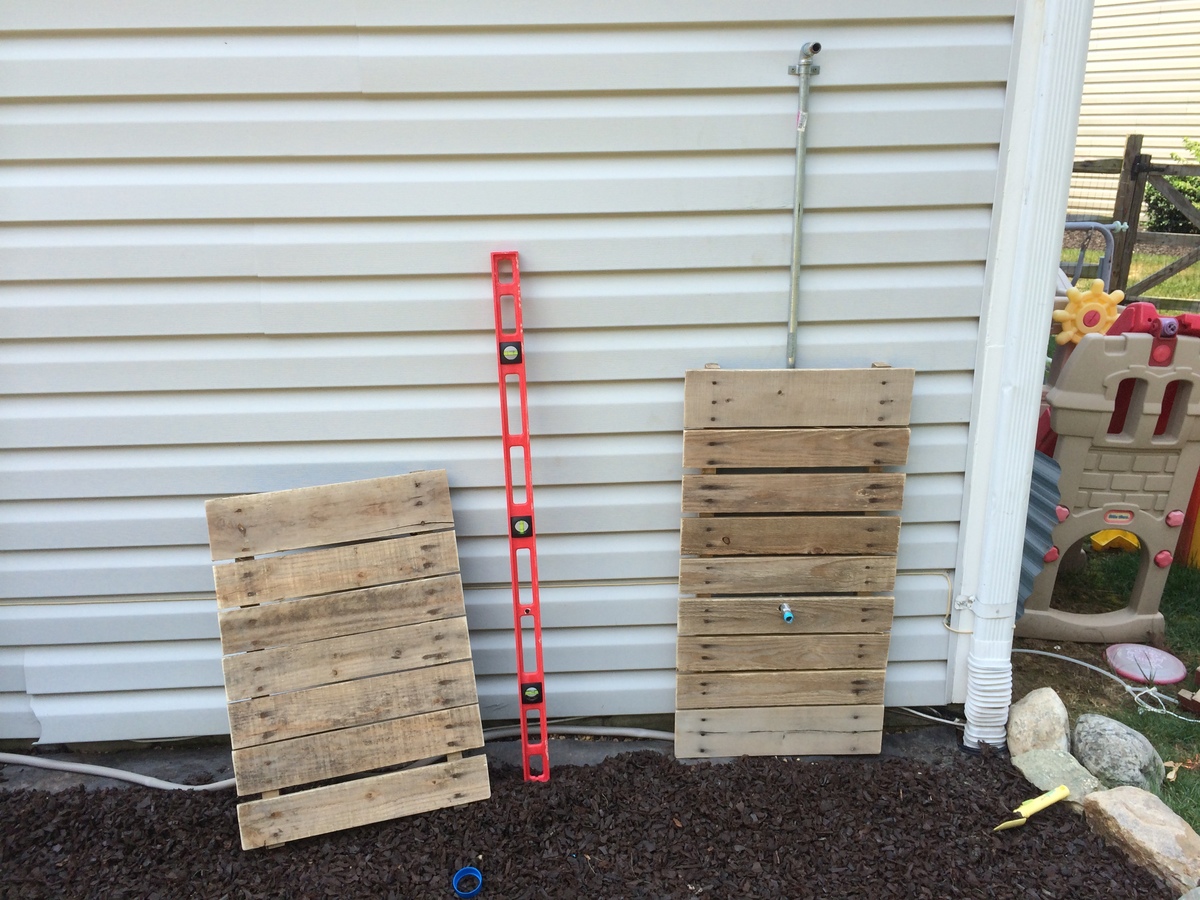
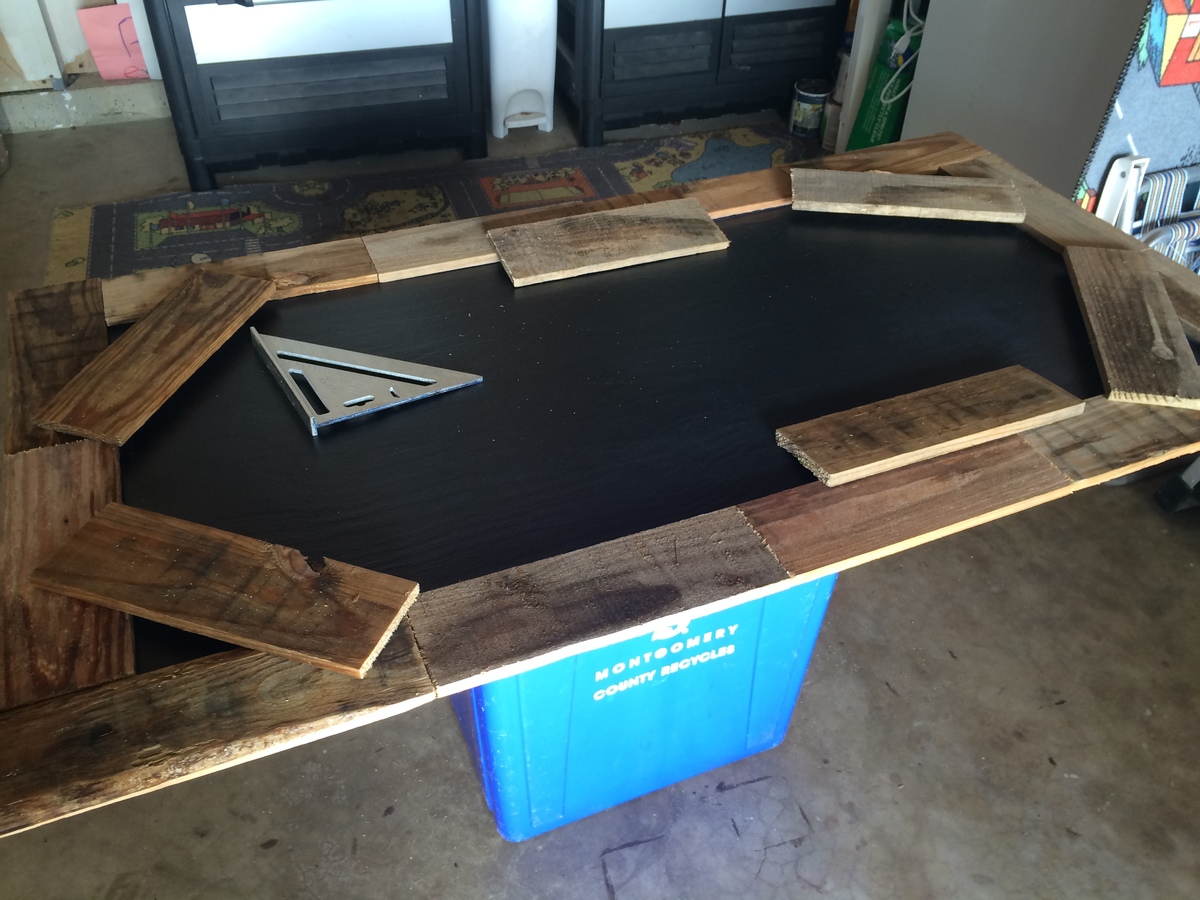
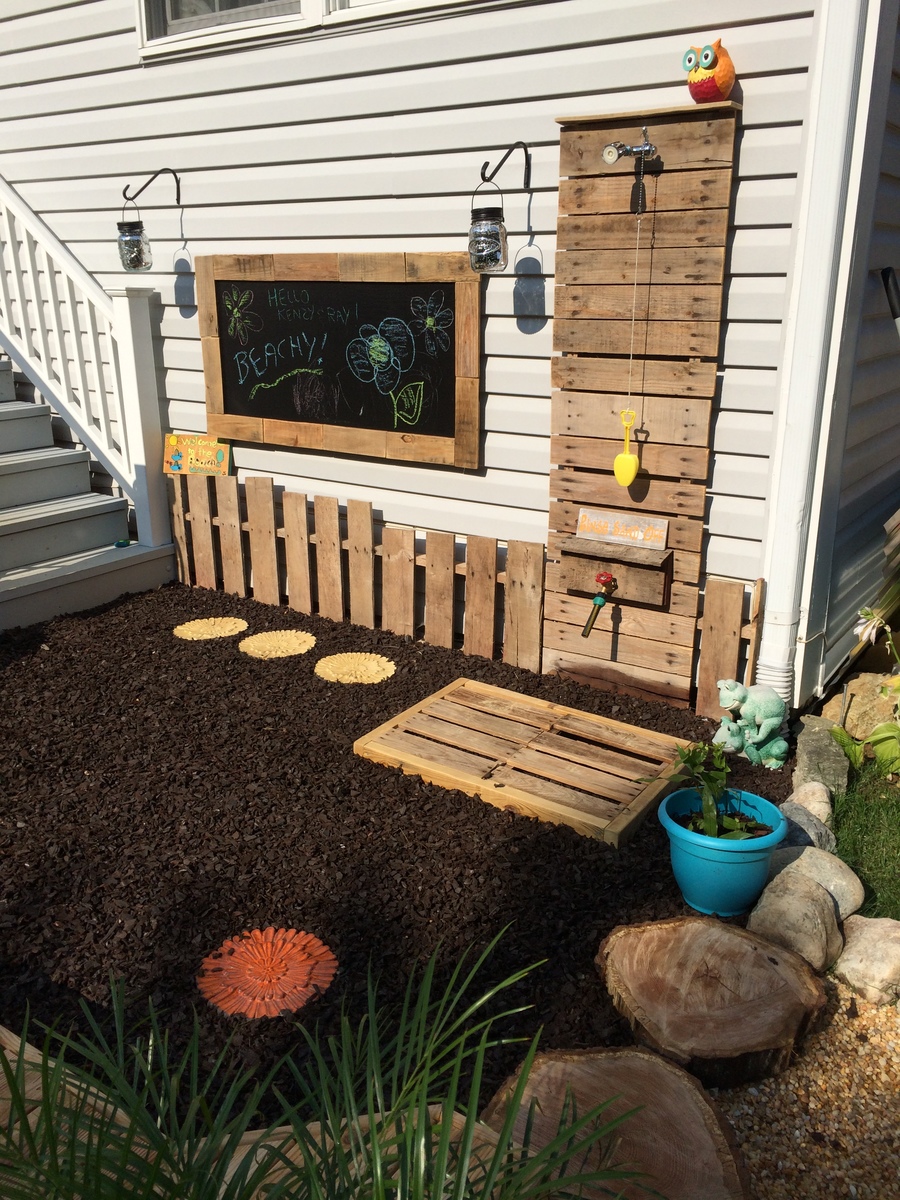
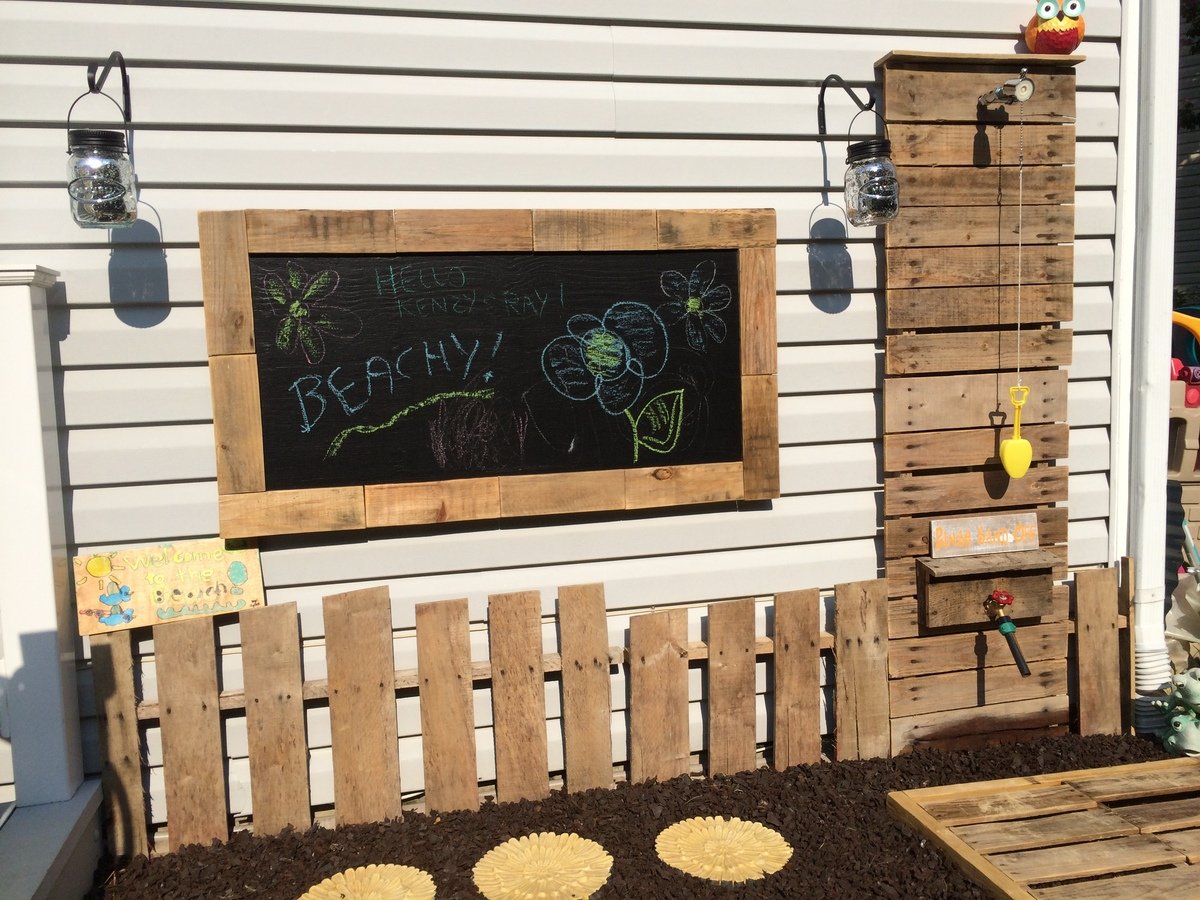
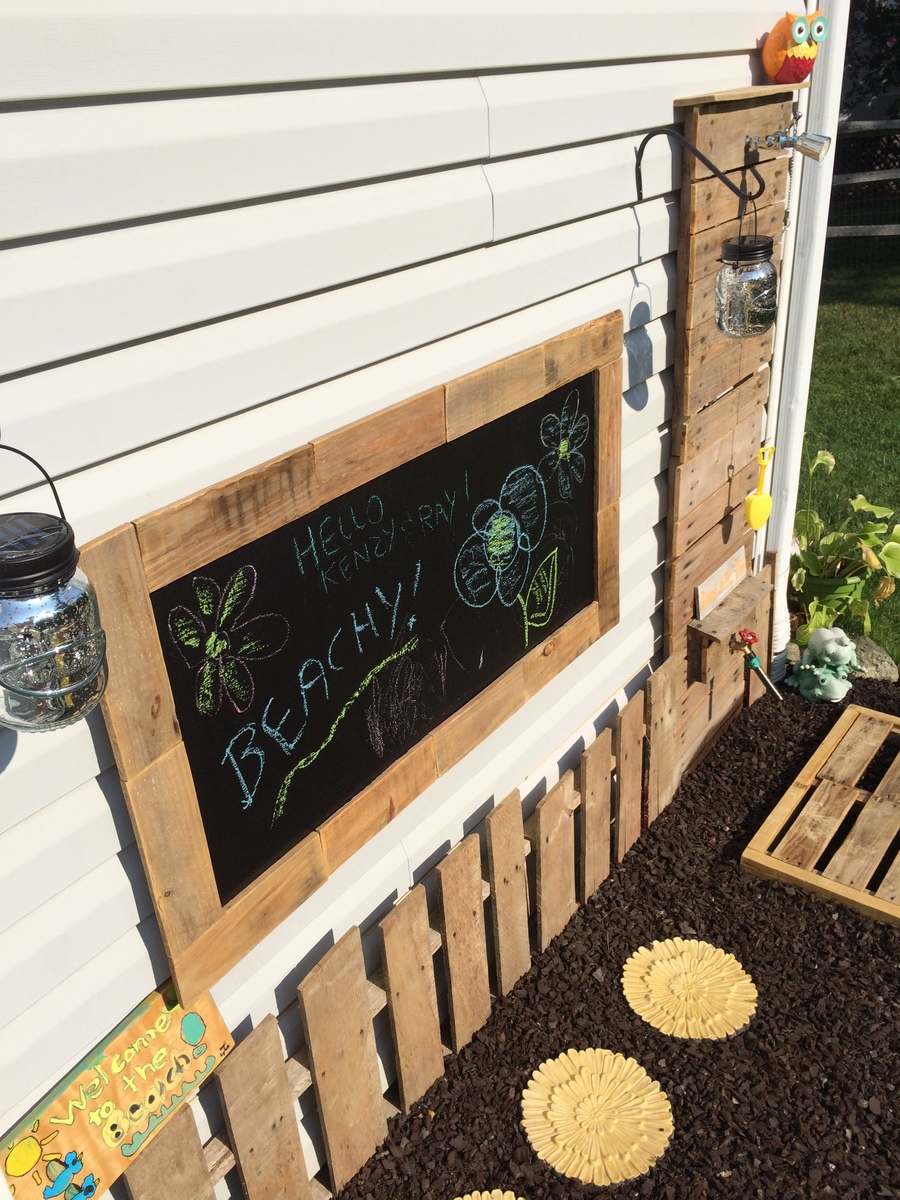
As part of my backyard overhaul I've added an outdoor shower and chalkboard against the wall of the house. There's also a small sand pit and deck area, so the shower comes in handy to wash the dirty feet. I had a few pallets sitting under the deck for years and finally put them to use. Some cuts here and there and some sanding and they look great. For the floor mat I just cut the pallet piece you can see in one of the photos in half and framed it with treated 2x4". The chalkboard is a plain sheet of 2x4' project board primed and painted several coats with flat black exterior paint. I used this over the 'chalkboard' paint because it's exterior grade. It works great, even better than chalkboard paint imo. The frame is made of the cut slats of the pallet, just glued and nailed on. The fence also is a cut pallet. I just made random cuts about half way through on varying angles which resulted in two mirrored halves of the pallet. They fit the space perfectly. I love the random look of it and may give it some paint eventually.

Estimated Time Investment
Afternoon Project (3-6 Hours)
Finish Used
I used flat black exterior paint for chalkboard, over several coats of primer to protect the wood in the elements.
Recommended Skill Level
Beginner

Mini farmhouse bedside table

Submitted by Anonymous (not verified) on Thu, 11/17/2016 - 19:35

Built this from the mini farmhouse bedside table plans, but decided to use the lathe on the legs (which also added a lot of time). This was one of the first furniture projects I've done and it was pretty easy to follow the plans.

Built from Plan(s)
Estimated Cost
$45
Estimated Time Investment
Weekend Project (10-20 Hours)
Finish Used
Paint
Recommended Skill Level
Beginner

Comments

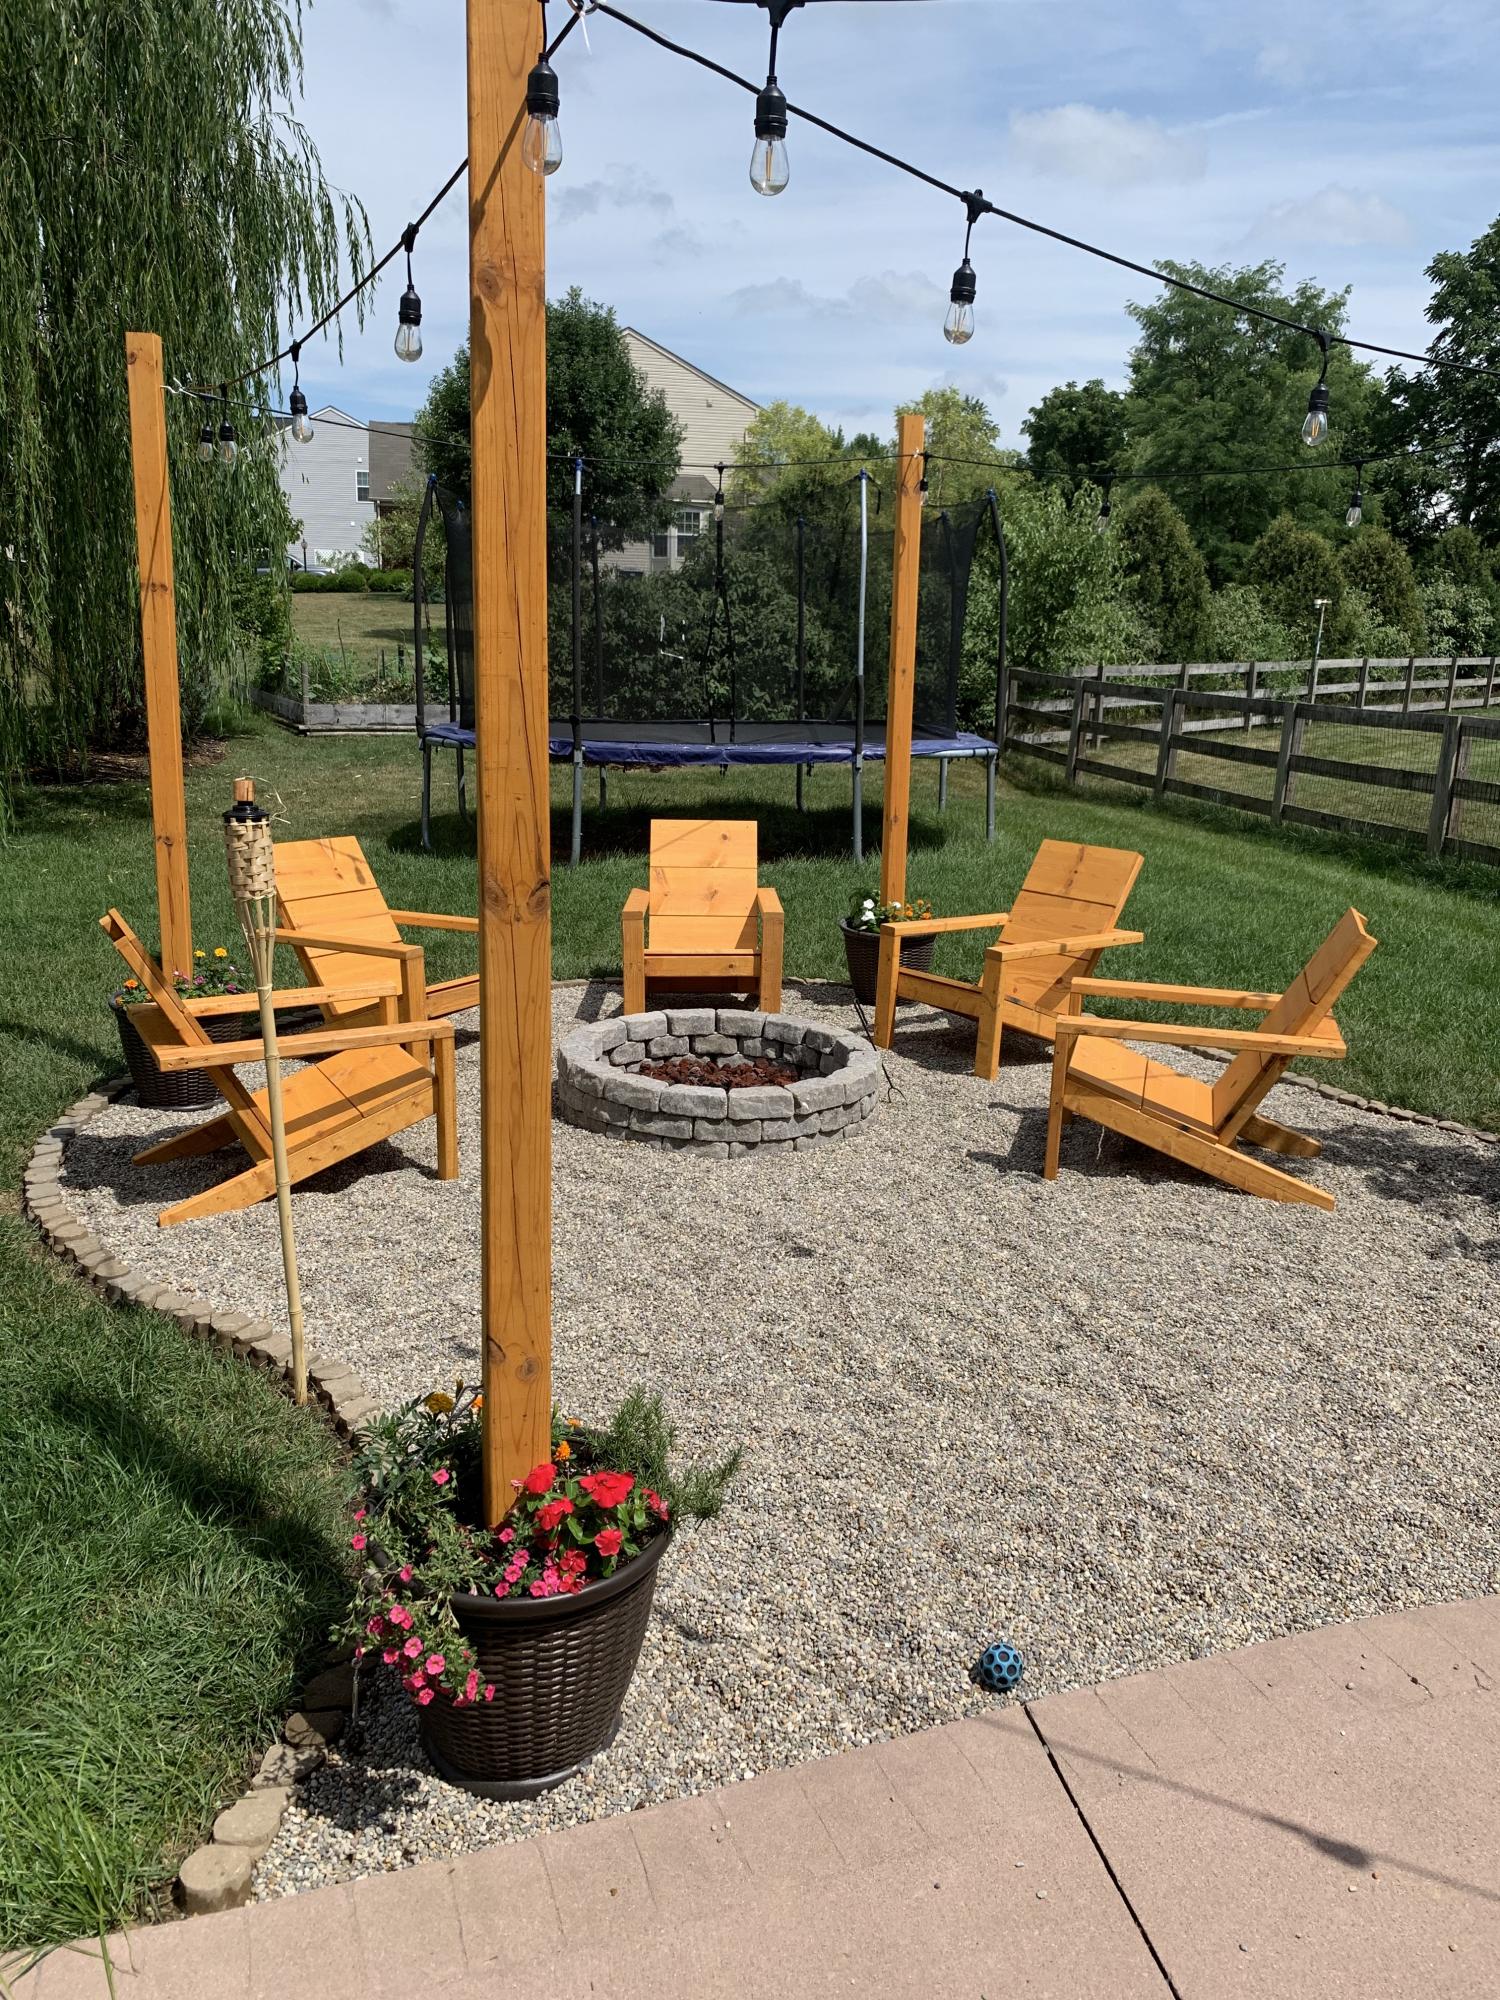
Adirondack Chairs for new Fire Pit area

Submitted by TonyLiddic on Thu, 08/06/2020 - 09:58

We've been talking about adding a fire pit and seating area for awhile. Our oldest daughter's graduation party combined with extra available time due to Corona presented a perfect opportunity to try something new. I've never built anything like this and have very limited experience with woodworking but I came across these chair plans when searching for chairs to buy. Not too bad for a first project! Started digging up sod about a month before the Grad Party. Worked on it a couple hours a day and maybe 3 full weekend days. Came out great and is a wonderful addition to our backyard.

Estimated Cost
$900
Estimated Time Investment
Week Long Project (20 Hours or More)
Finish Used
1 thin coat of Thompson Timber Oil (Cedar Semi-Transparent) applied before assembling each chair. Used about 2/3 gallon for all 5 chairs and light posts.

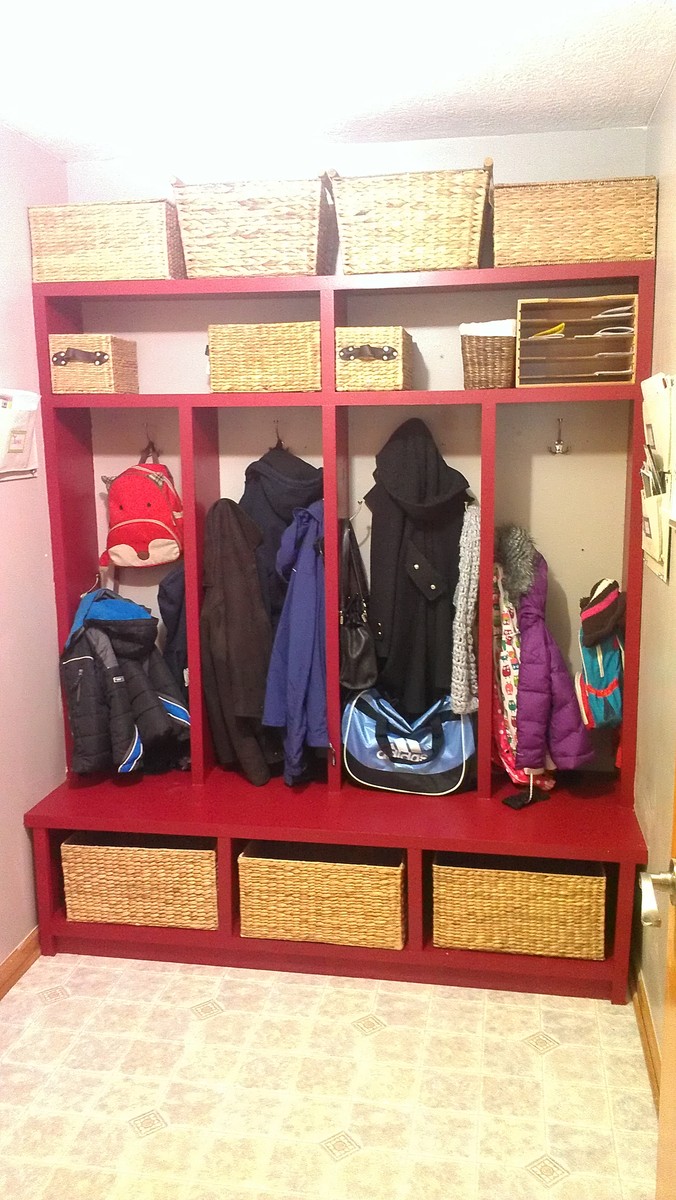
Mudroom Bliss

I adapted the Braden Bench plan to make it more of a built-in feature of our mudroom. It's added wonderful organization to our busiest room.

Estimated Cost
$200
Estimated Time Investment
Weekend Project (10-20 Hours)
Finish Used
Paint & Primer in one
Recommended Skill Level
Intermediate

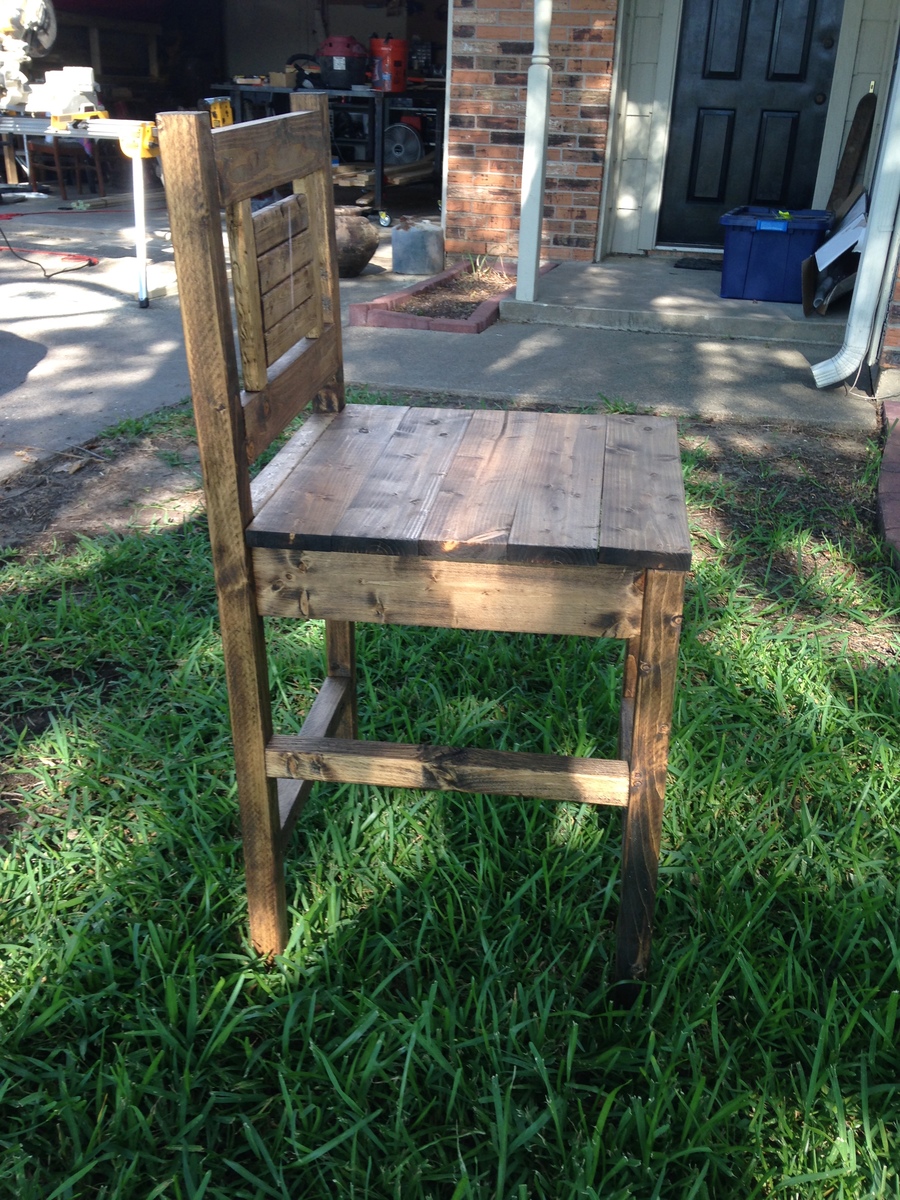
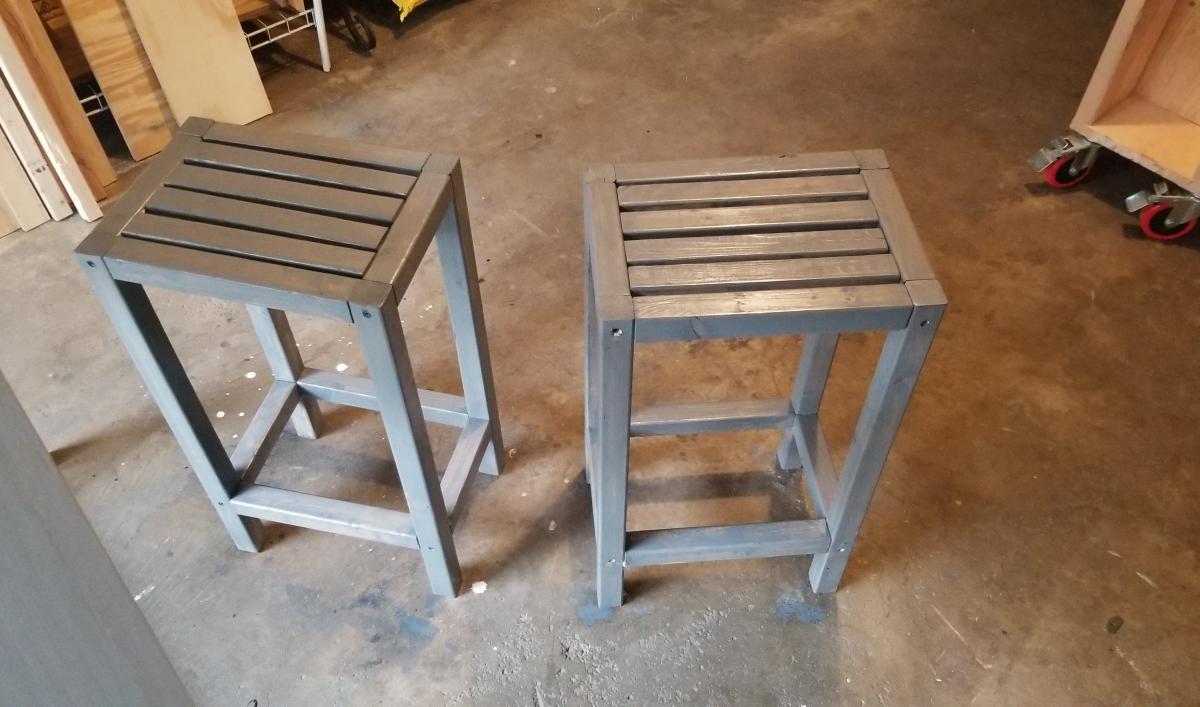
vintage bar stool

I modified the legs to fit a counter height table
I made the seat 25in tall to fit a 36in table...

Built from Plan(s)
Estimated Cost
20
Estimated Time Investment
Afternoon Project (3-6 Hours)
Finish Used
dark walnut
satin poly
Recommended Skill Level
Beginner

Rustic X Coffee Table

Submitted by JScherer on Sun, 11/20/2016 - 18:09

Changed the top a bit, but otherwise matches the plans.

Built from Plan(s)
Estimated Cost
$50-100
Estimated Time Investment
Day Project (6-9 Hours)
Finish Used
Minwax dark walnut & semi gloss polyurethane
Recommended Skill Level
Intermediate

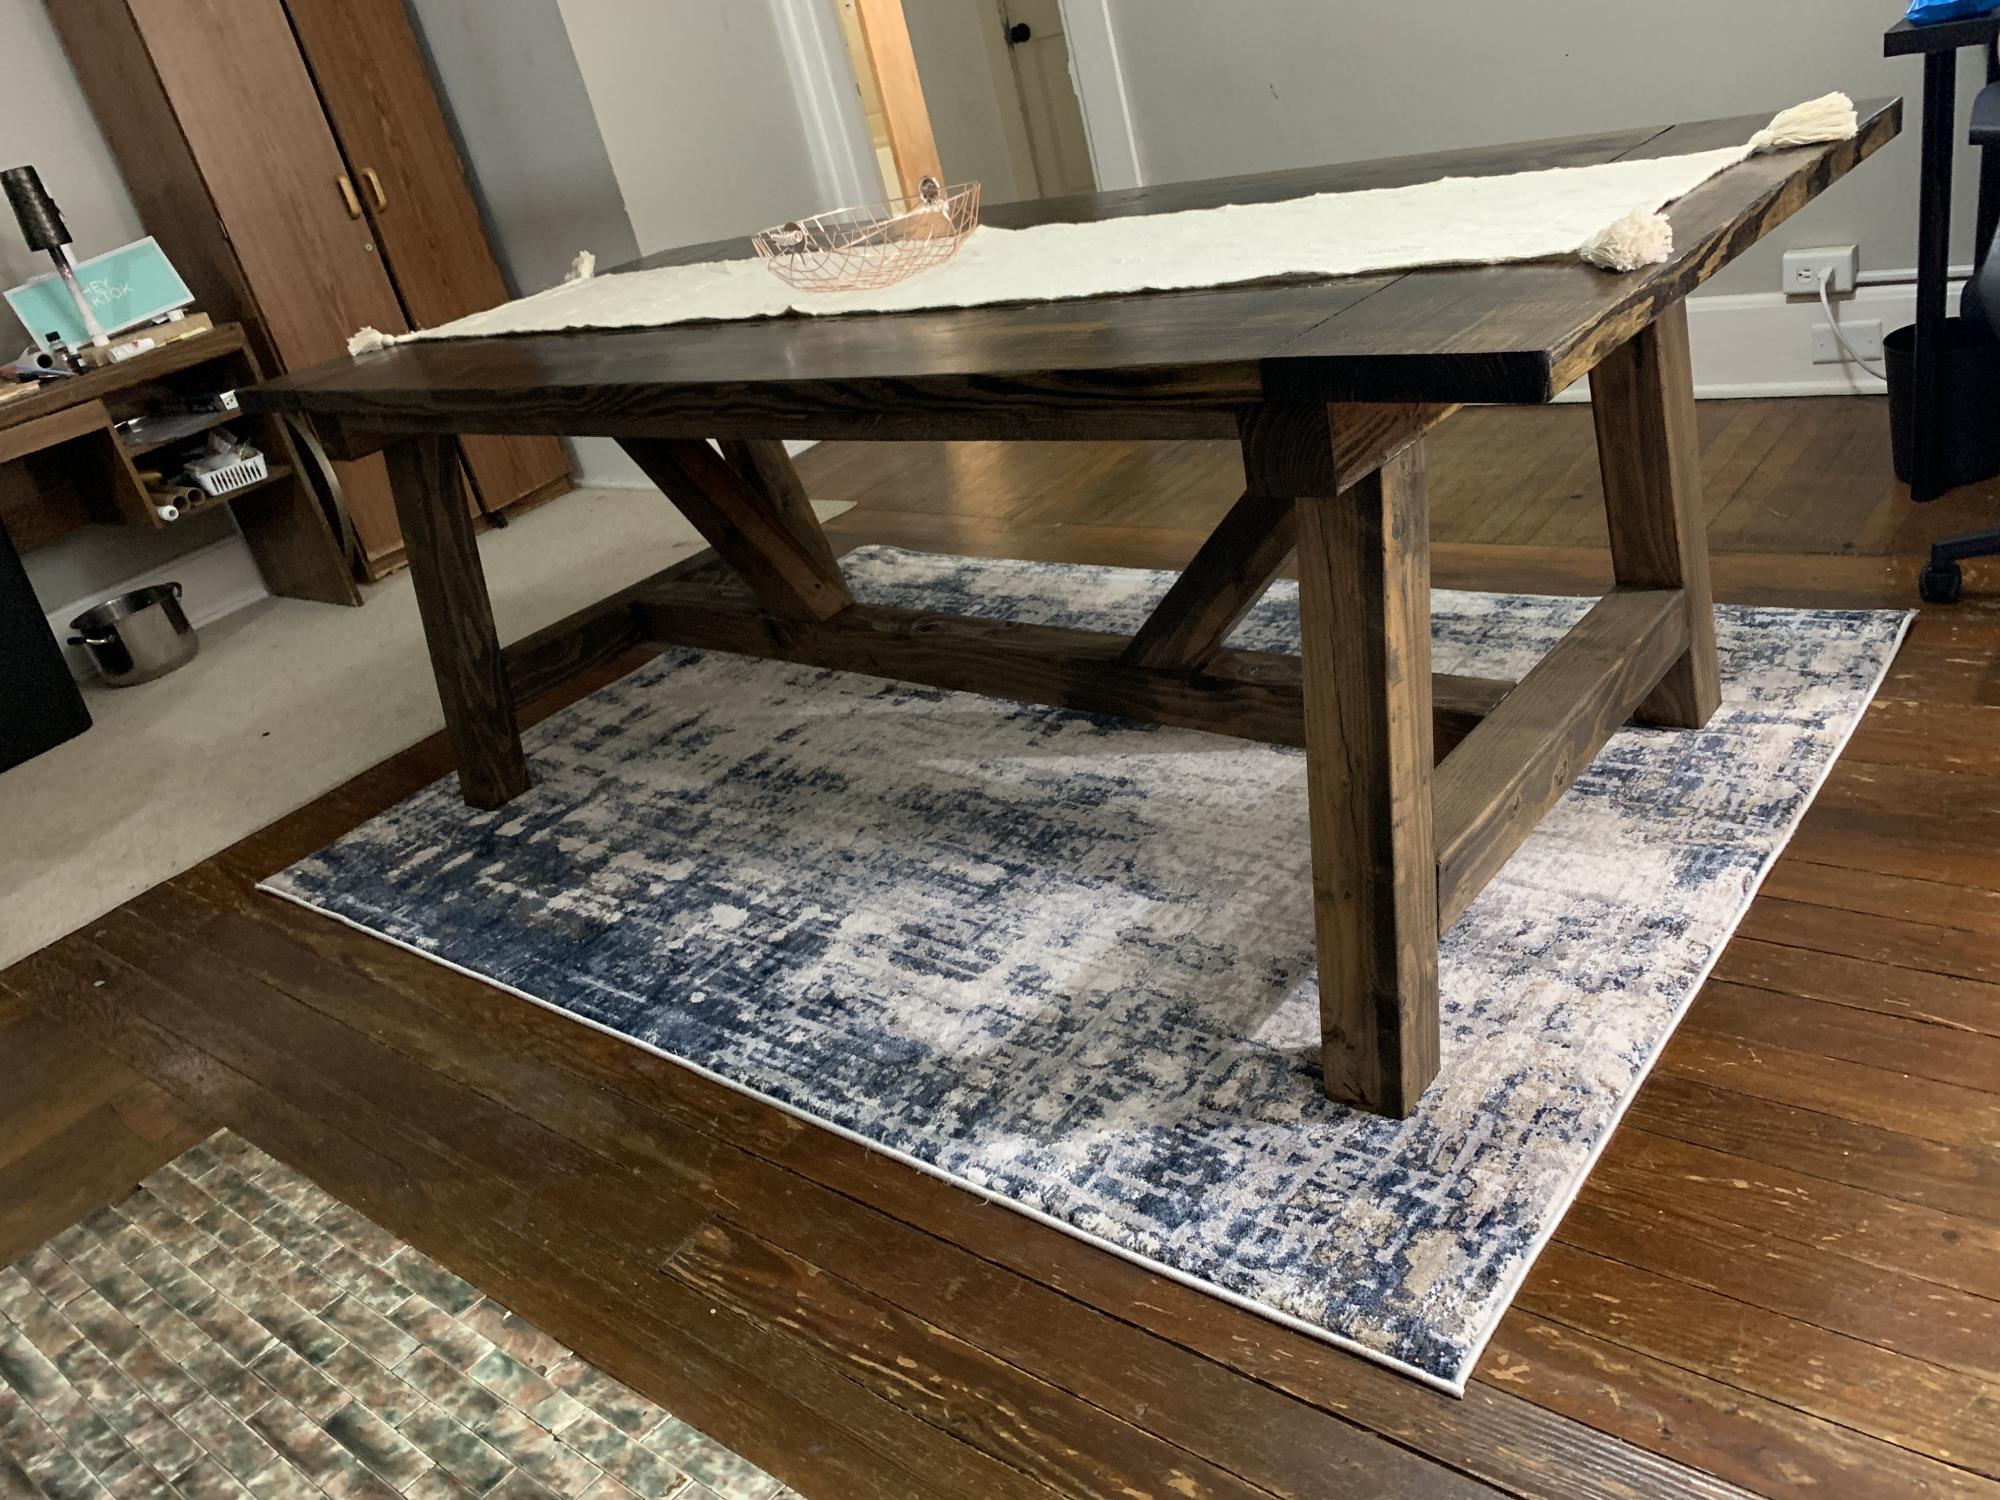
4x4 Truss Beam Table

Submitted by Anonymous (not verified) on Sun, 08/09/2020 - 19:11

We are in love with our new table! It was definitely a labor of love and being so large we had to transport it in pieces but it was very worth it.

Built from Plan(s)
Estimated Cost
$200
Estimated Time Investment
Weekend Project (10-20 Hours)
Finish Used
Minwax Jacobean
Recommended Skill Level
Intermediate

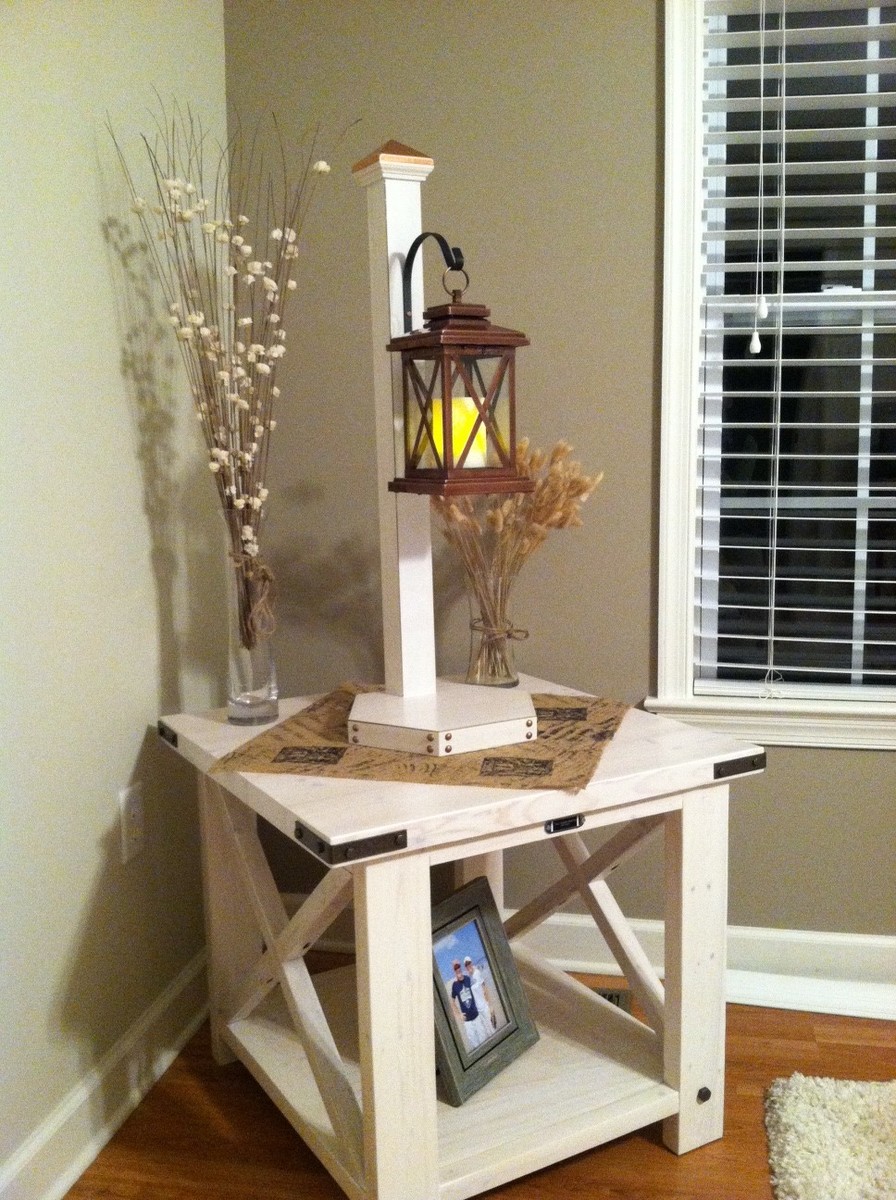
T's Rustic X End Table

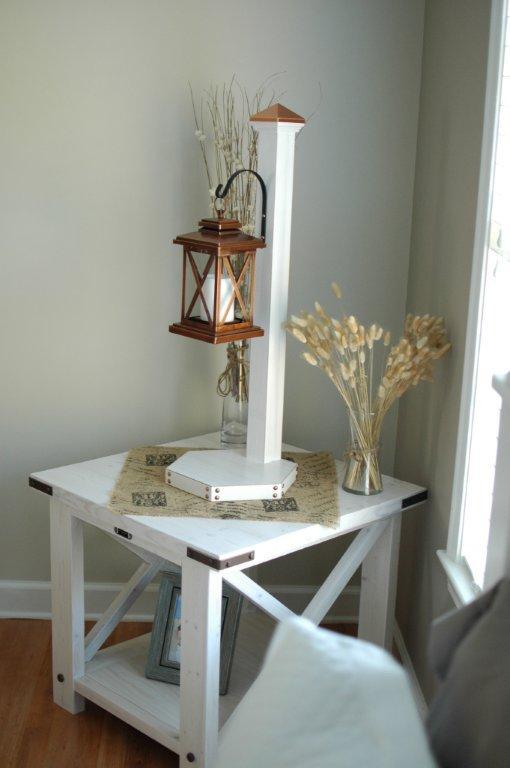
Thank you Hilary for the wonderful design and thank you Anna for the plans. I tend to spend my fall and winter months on woodworking and sewing so this is my first project for the season. We had some left over 2.4's and I saw this table and thought, what a good way to use some of that leftover lumber. I didn't really know where I was going to put the table but once it was finished it made itself a home in our spare bedroom. I then saw a battery operated candle lantern that had the "X" pattern and I thought that would go perfectly with the table. Well, that then led me into another project. I wanted to do something different with the lantern instead sitting in on the table top so with some of the leftover wood from the table shelf, I made a post to hang the lantern from. I also used Anna's technique of distressing the edges with Minwax stain marker. It added just enough detail, what a great use of the stain marker.

The end table was my first project of the rustic "X" family. The second was the "X" console which also sits in the spare room. I'm now working on the Farmhouse Bed and am thinking of incorporating the some "X's" maybe on the headboard and also incorporate the hardware onto the headboard/footboard corners. It's not a traditional set that you would find in a bedroom, but it's a guest room and we don't really feel we need a dresser of drawers for our visitors so this works perfectly. It fits right into our decor and is very welcoming.

I love the stain that Hilary used, thank you for the advise. I have a jar of vinegar and steel wool sitting now. Can't wait to try that stain!

Built from Plan(s)
Estimated Cost
$60
Estimated Time Investment
Weekend Project (10-20 Hours)
Finish Used
I used Minwax water based pre-conditioner, followed by two coats Minwax water based white wash pickled stain, followed by two coats Minwax water based satin poly.

For the hardware I used 4" L-brackets and 1-1/2" bolts sprayed with Rustoleum Hammer spray paint. I like the larger head on the bolts but could only find them in 1-1/2 lengh. I wasn't sure if these would be too long and collide with the screws from the pocket holes, so to be on the safe side, my husband cut the bolt threads down to make it a shorter bolt, then I pre-drilled and screwed the cut bolt in.
Recommended Skill Level
Beginner

Comments

spiceylg

Mon, 10/22/2012 - 08:18

Beautiful build and the little lamp post is adorable, too! Very creative!

Camp Loft Bed twin XL w/ shelf

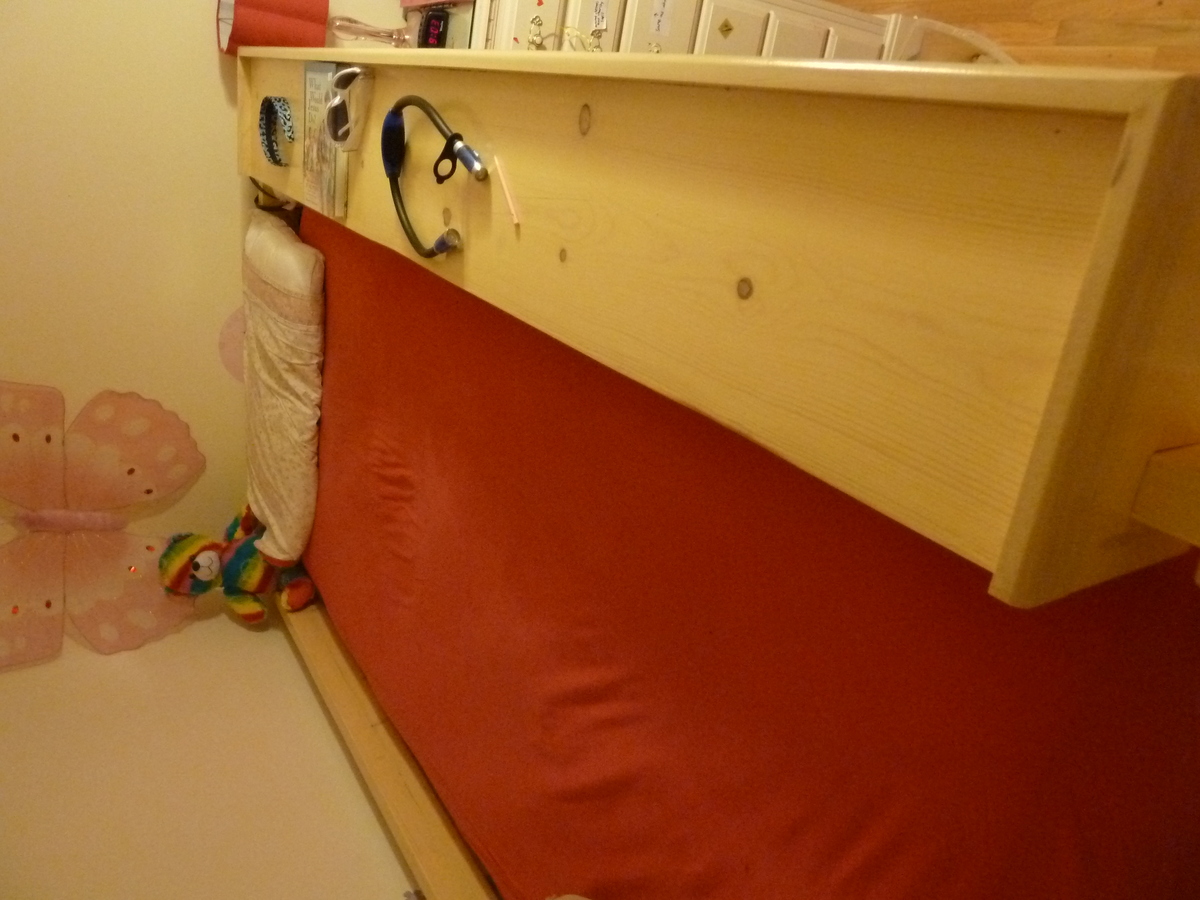
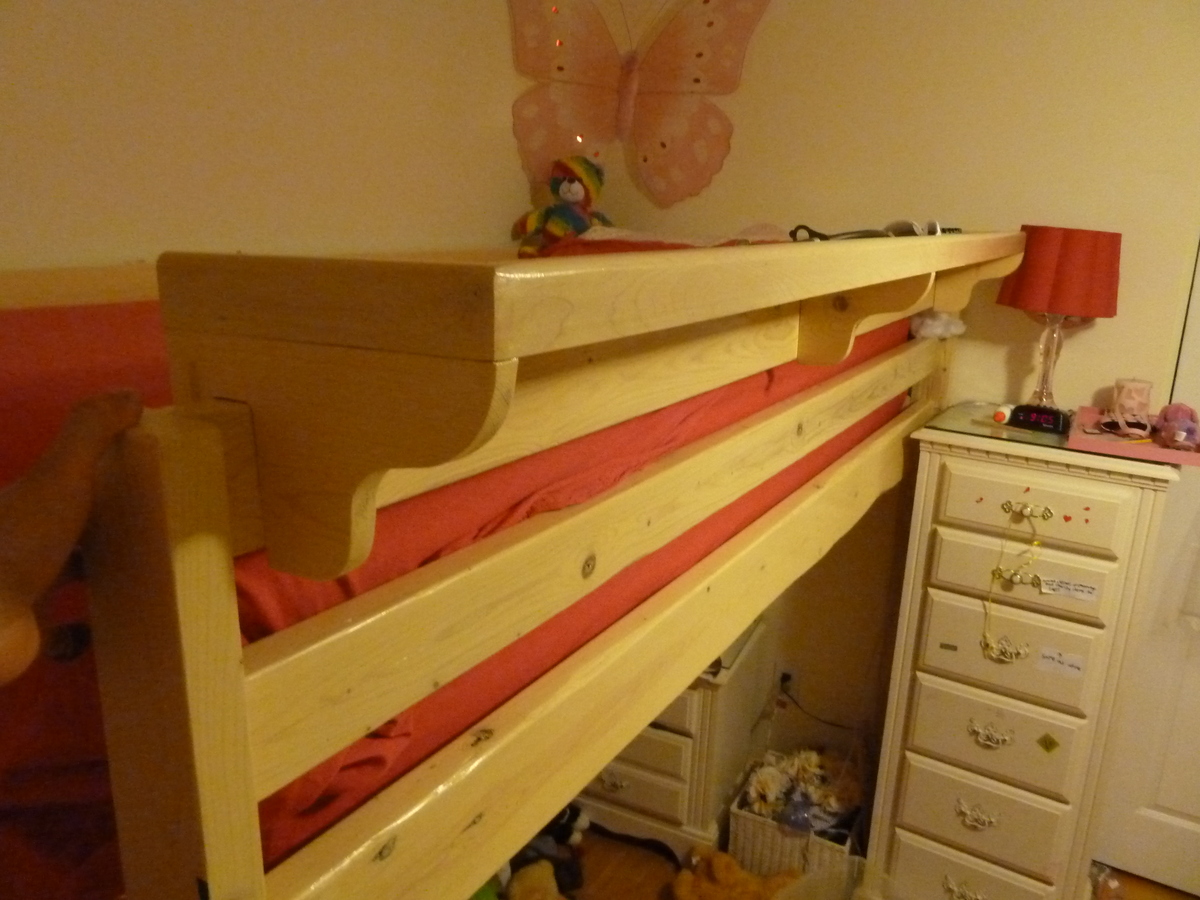
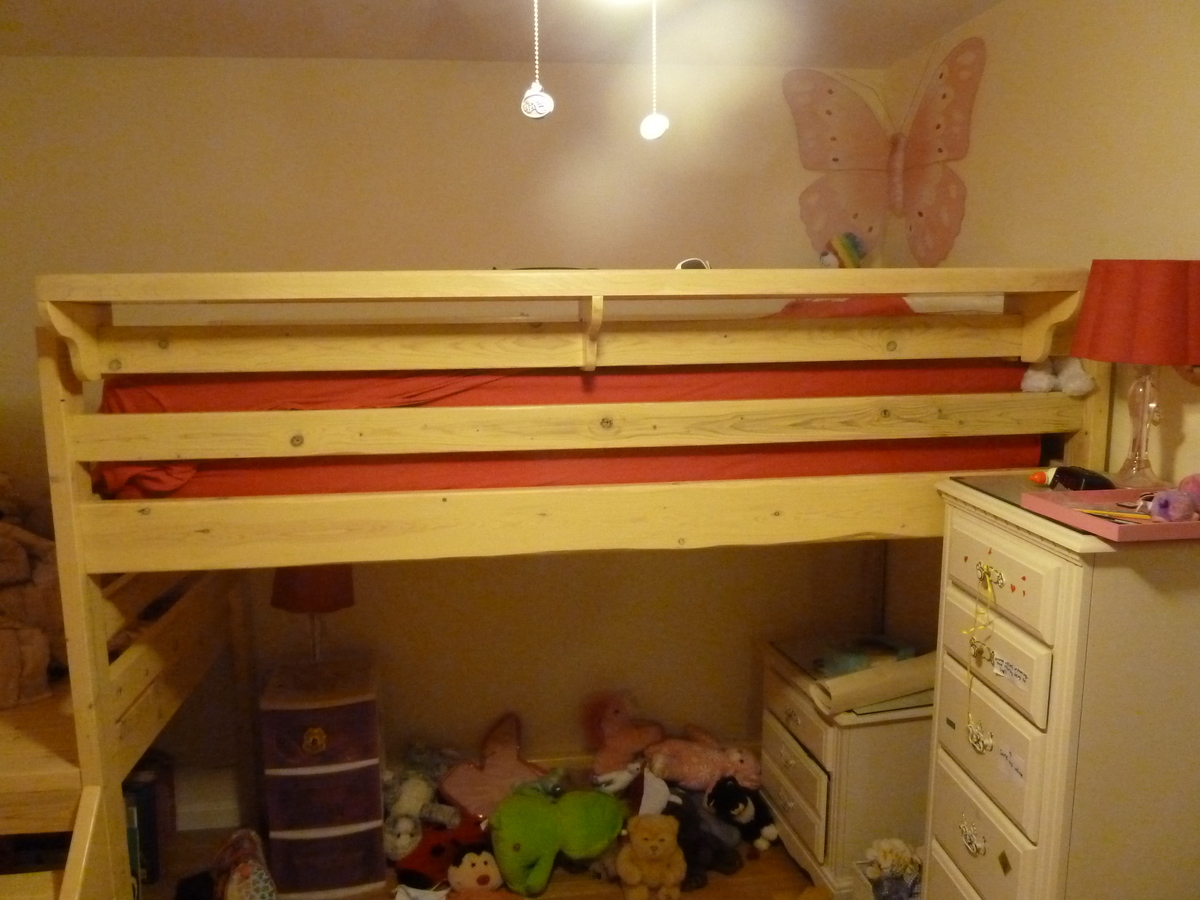
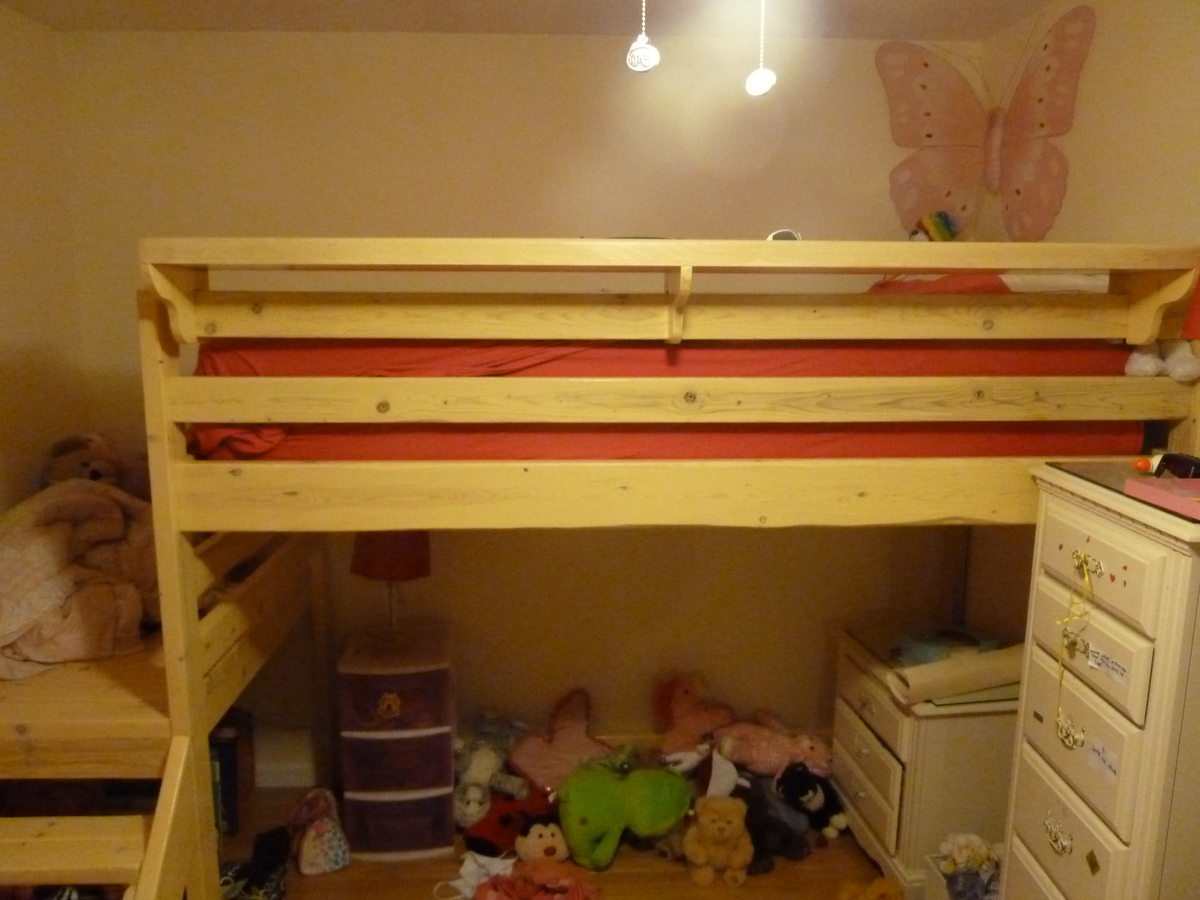
My daughter needed a loft bed to give her more floor and storage space in her bedroom. I modified the original plans to fit her twin XL bed, which is 5 inches longer than a regular bed. I also added an extra 2x6 across the back two posts for extra support.

Cutting and assembly was relatively easy; I glued every joint and used pocket holes per the instructions. I sanded using 80, 120 and 220 grit. The finish is a Minwax "parchment" water-based stain, with 3 coats of Polycrylic. All pocket holes were pre-drilled prior to finishing.

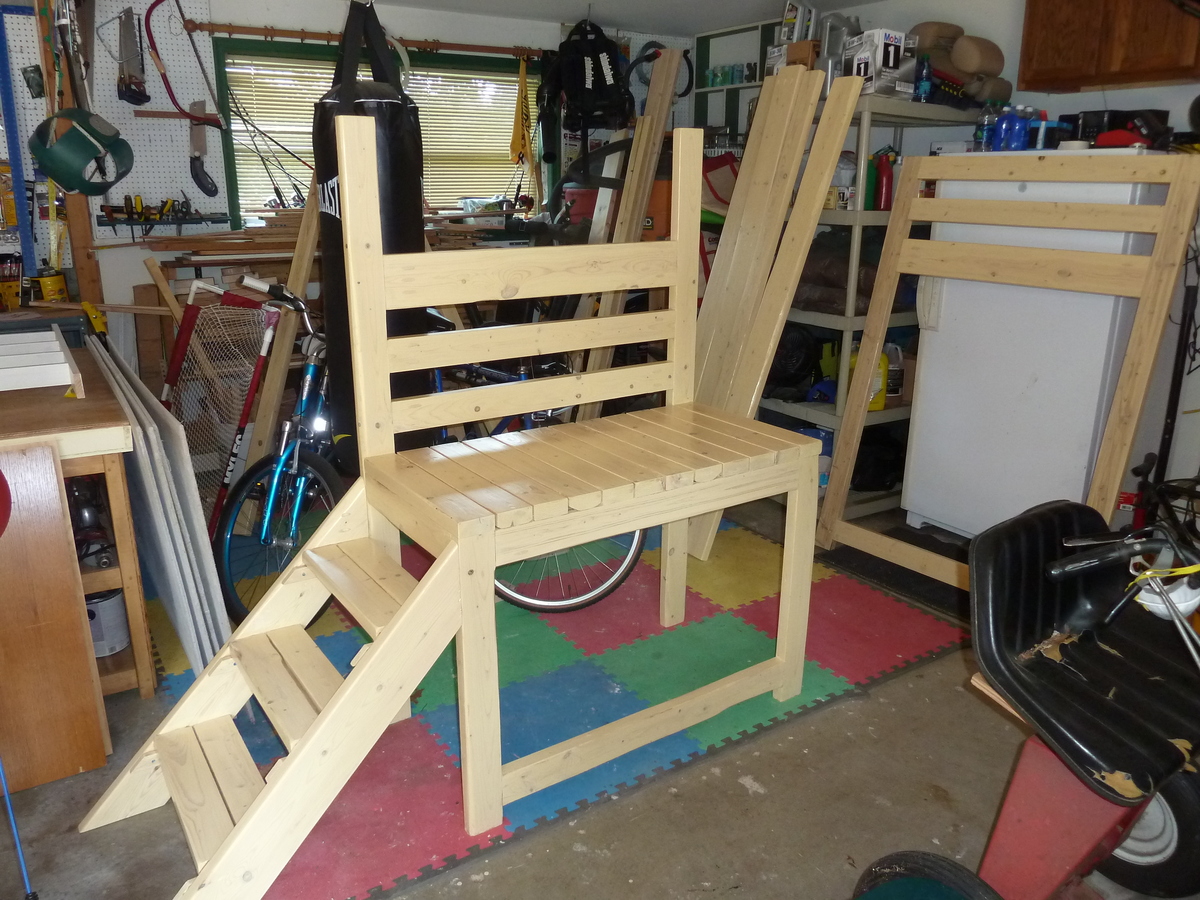
I assembled the platform and footboard in the garage and brought it into the house as a single unit; same with the headboard. I brought in the rails separately. To assemble, I marked 1 1/4 inches from the outside post edges, and used wood scraps/clamps to align and hold the rails while securing them with pocket hole screws.

My daughter's mattress is very high; it rises only about an inch below the top of the top rail. So I build a bed-length shelf which also had the added benefit of providing a little more height/protection against her rolling out of bed in the middle of the night (see pics).

In all, I was surprised at how long this took me. Probably because I'm a novice and this was only my 2nd project. The totals are:
- Cut and assembly: 14 hours
- Sanding: 25 hours
- Finishing: 2 days

After finishing, I left all pieces in the garage for 5 days to air-out before bringing into the house.

Total cost the lumber was $125, 1 qt stain @ $13, 1/2 gal Polycrylic @ $50 per gal, and $20 hardware for a total of just over $200.
Estimated Cost
$210
Estimated Time Investment
Week Long Project (20 Hours or More)
Finish Used
Minwax water-based stain, "parchment" (single coat)
Minwax Polycrylic (three coates)
Recommended Skill Level
Beginner

Comments

mariad444

Tue, 03/15/2016 - 22:17

I am curious what your mattress size was here, please educate me as I think I will have a similar issue. I liked the shelf idea you did! 
Farmhouse Table and Matching Bench

Submitted by Anonymous (not verified) on Thu, 11/24/2016 - 06:35

So we finished construction on a new house in September and my wife wanted to buy a $3000 table for our keeping/breakfast room. I bet her a new TV that I could do it for 10% of that. 

It's not perfect... there are some gaps between the boards and especially between the breadboard and those perpendicular to them... but it still looks amazing. And. Ow I have a new TV. 

Estimated Cost
$350
Estimated Time Investment
Week Long Project (20 Hours or More)
Finish Used
The table was built using pressure treated 2x8s (that's all that was available), and one 2x10 that wasn't pressure treated. (Again, that's all that was available, but it actually gave it a unique look with the lighter center board) so that's just Minwax Early American for the top and Satin White chalk paint for the legs. The bench was stud grade 2 and 1 Xs, so I used 2 coats of early American and then to try to match the darkness of the table I added 1 coat of Minwax Gel Hickory. The bench color turned out much better than I expected.
Recommended Skill Level
Intermediate
Back