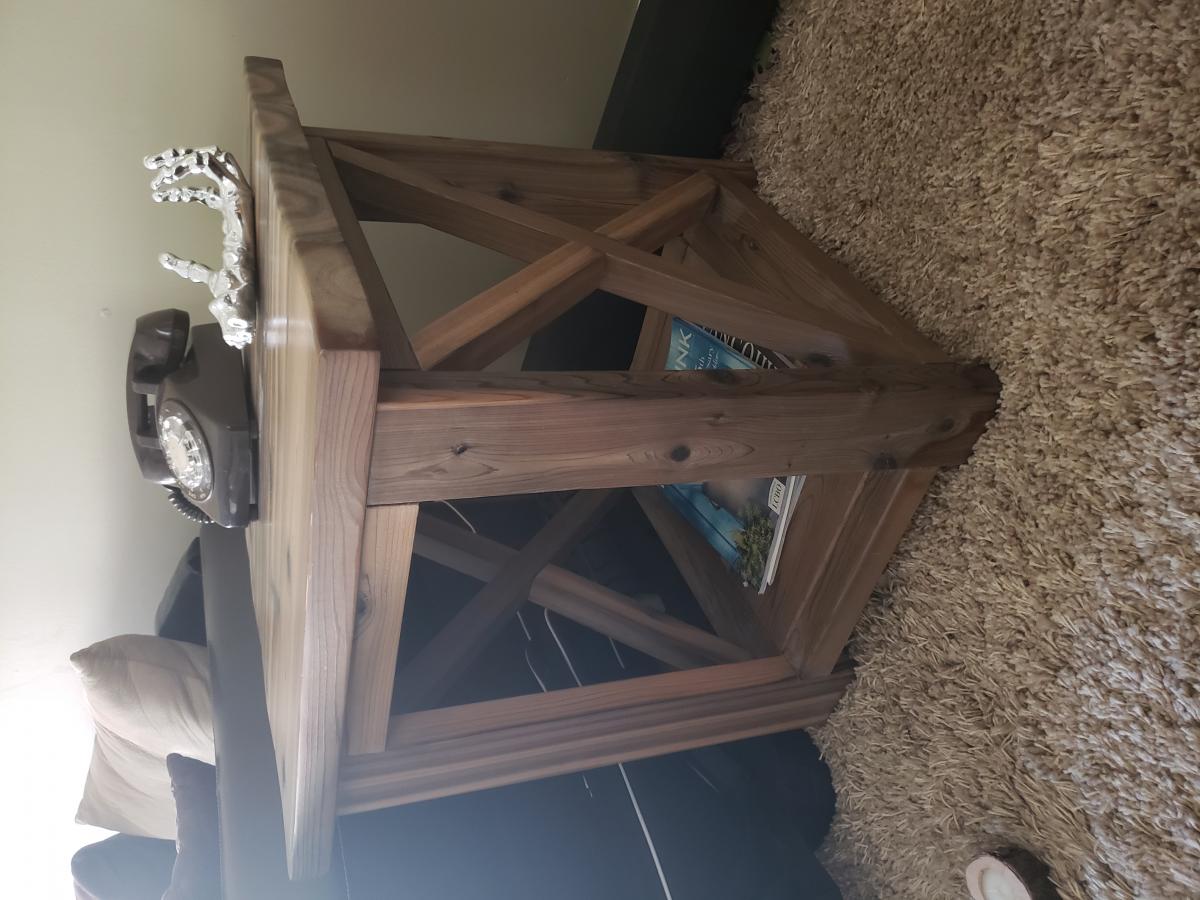
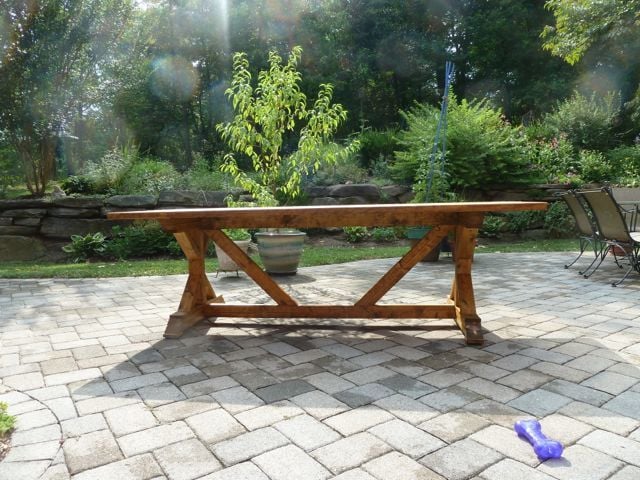
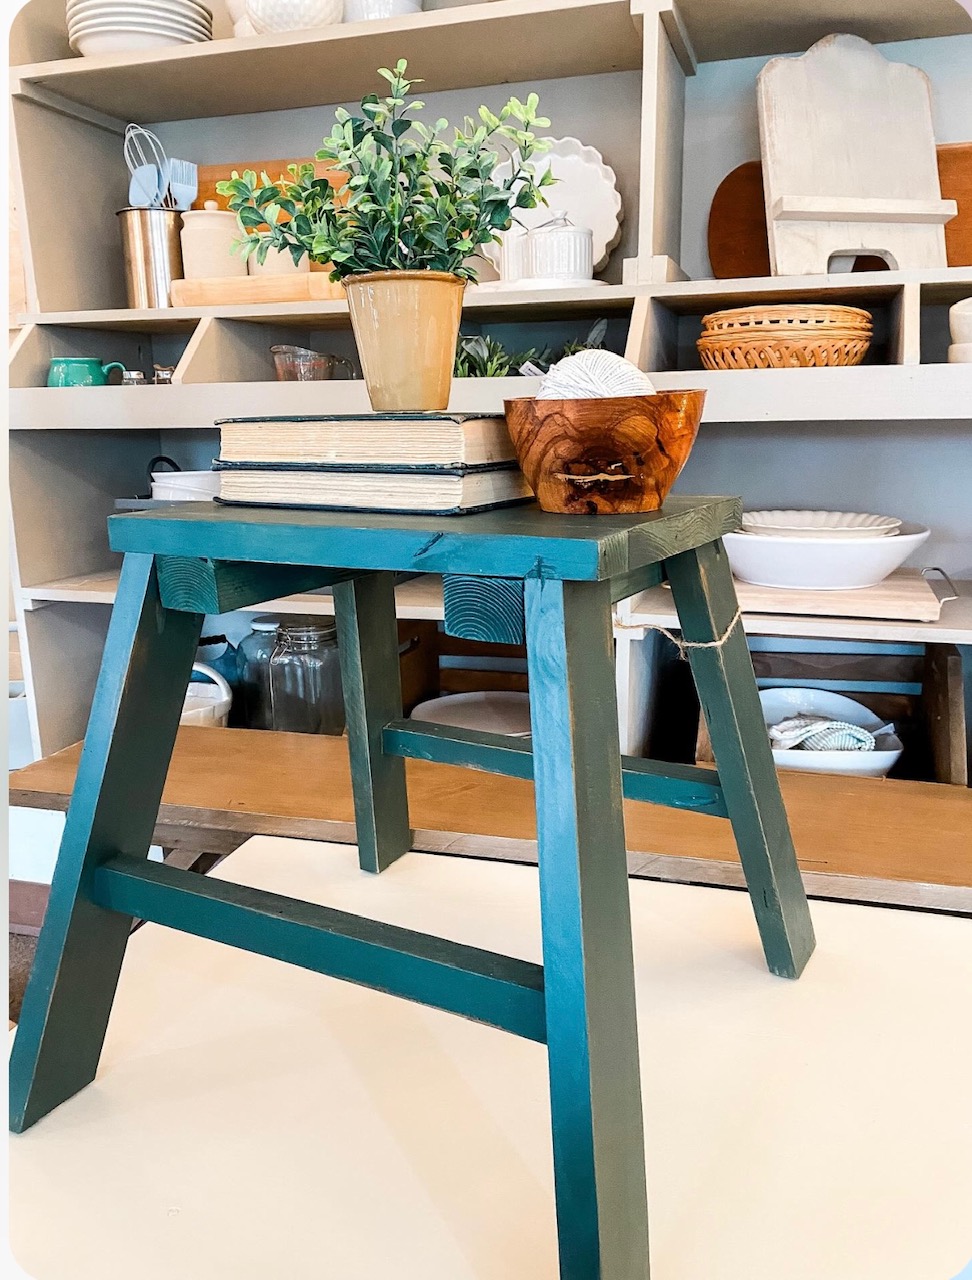
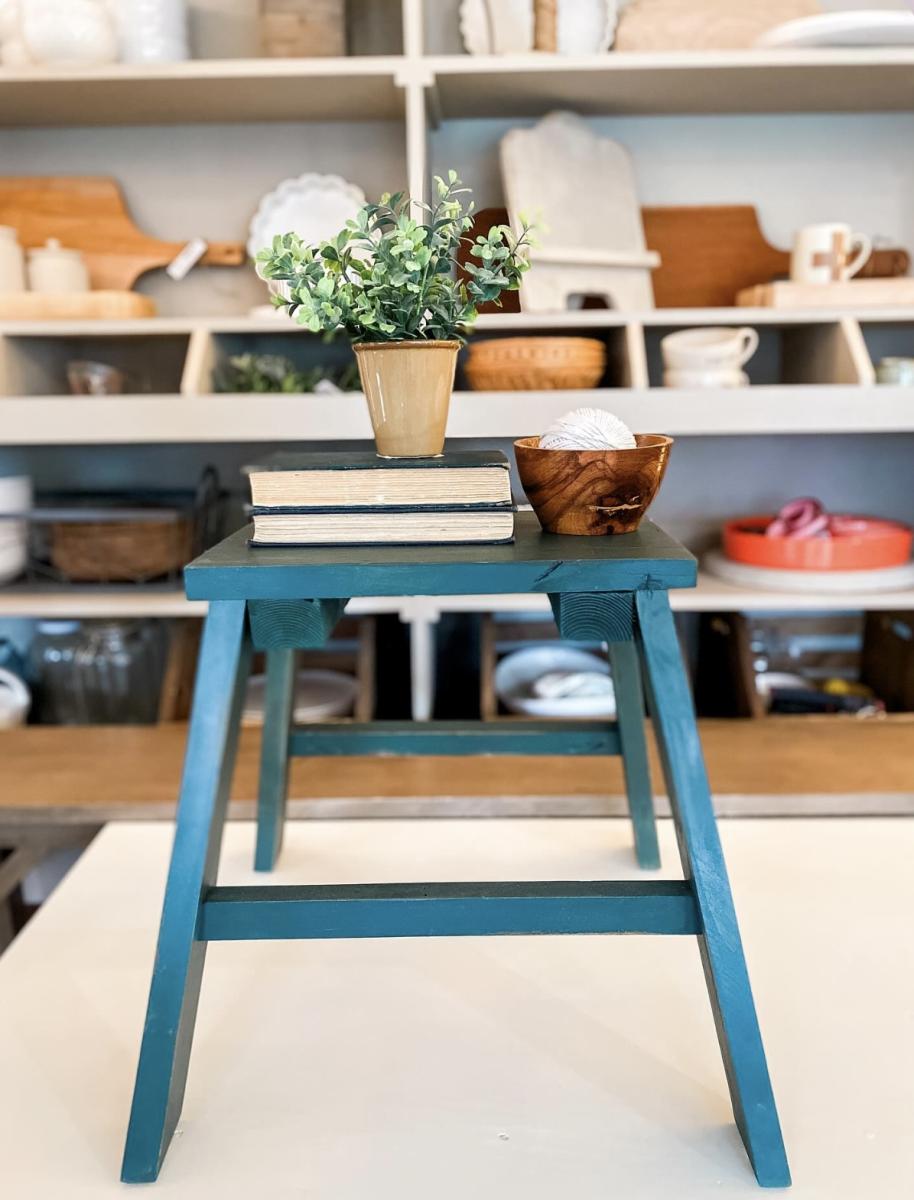
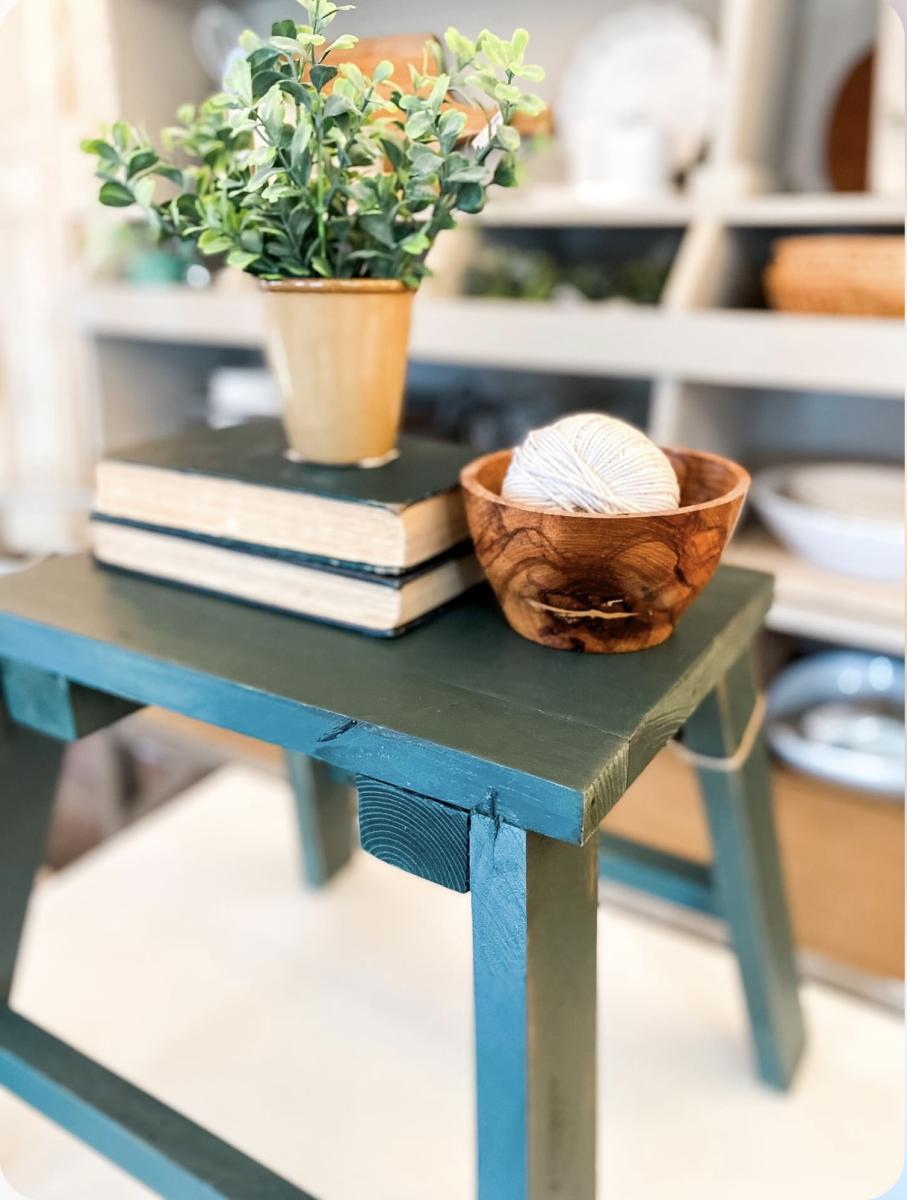
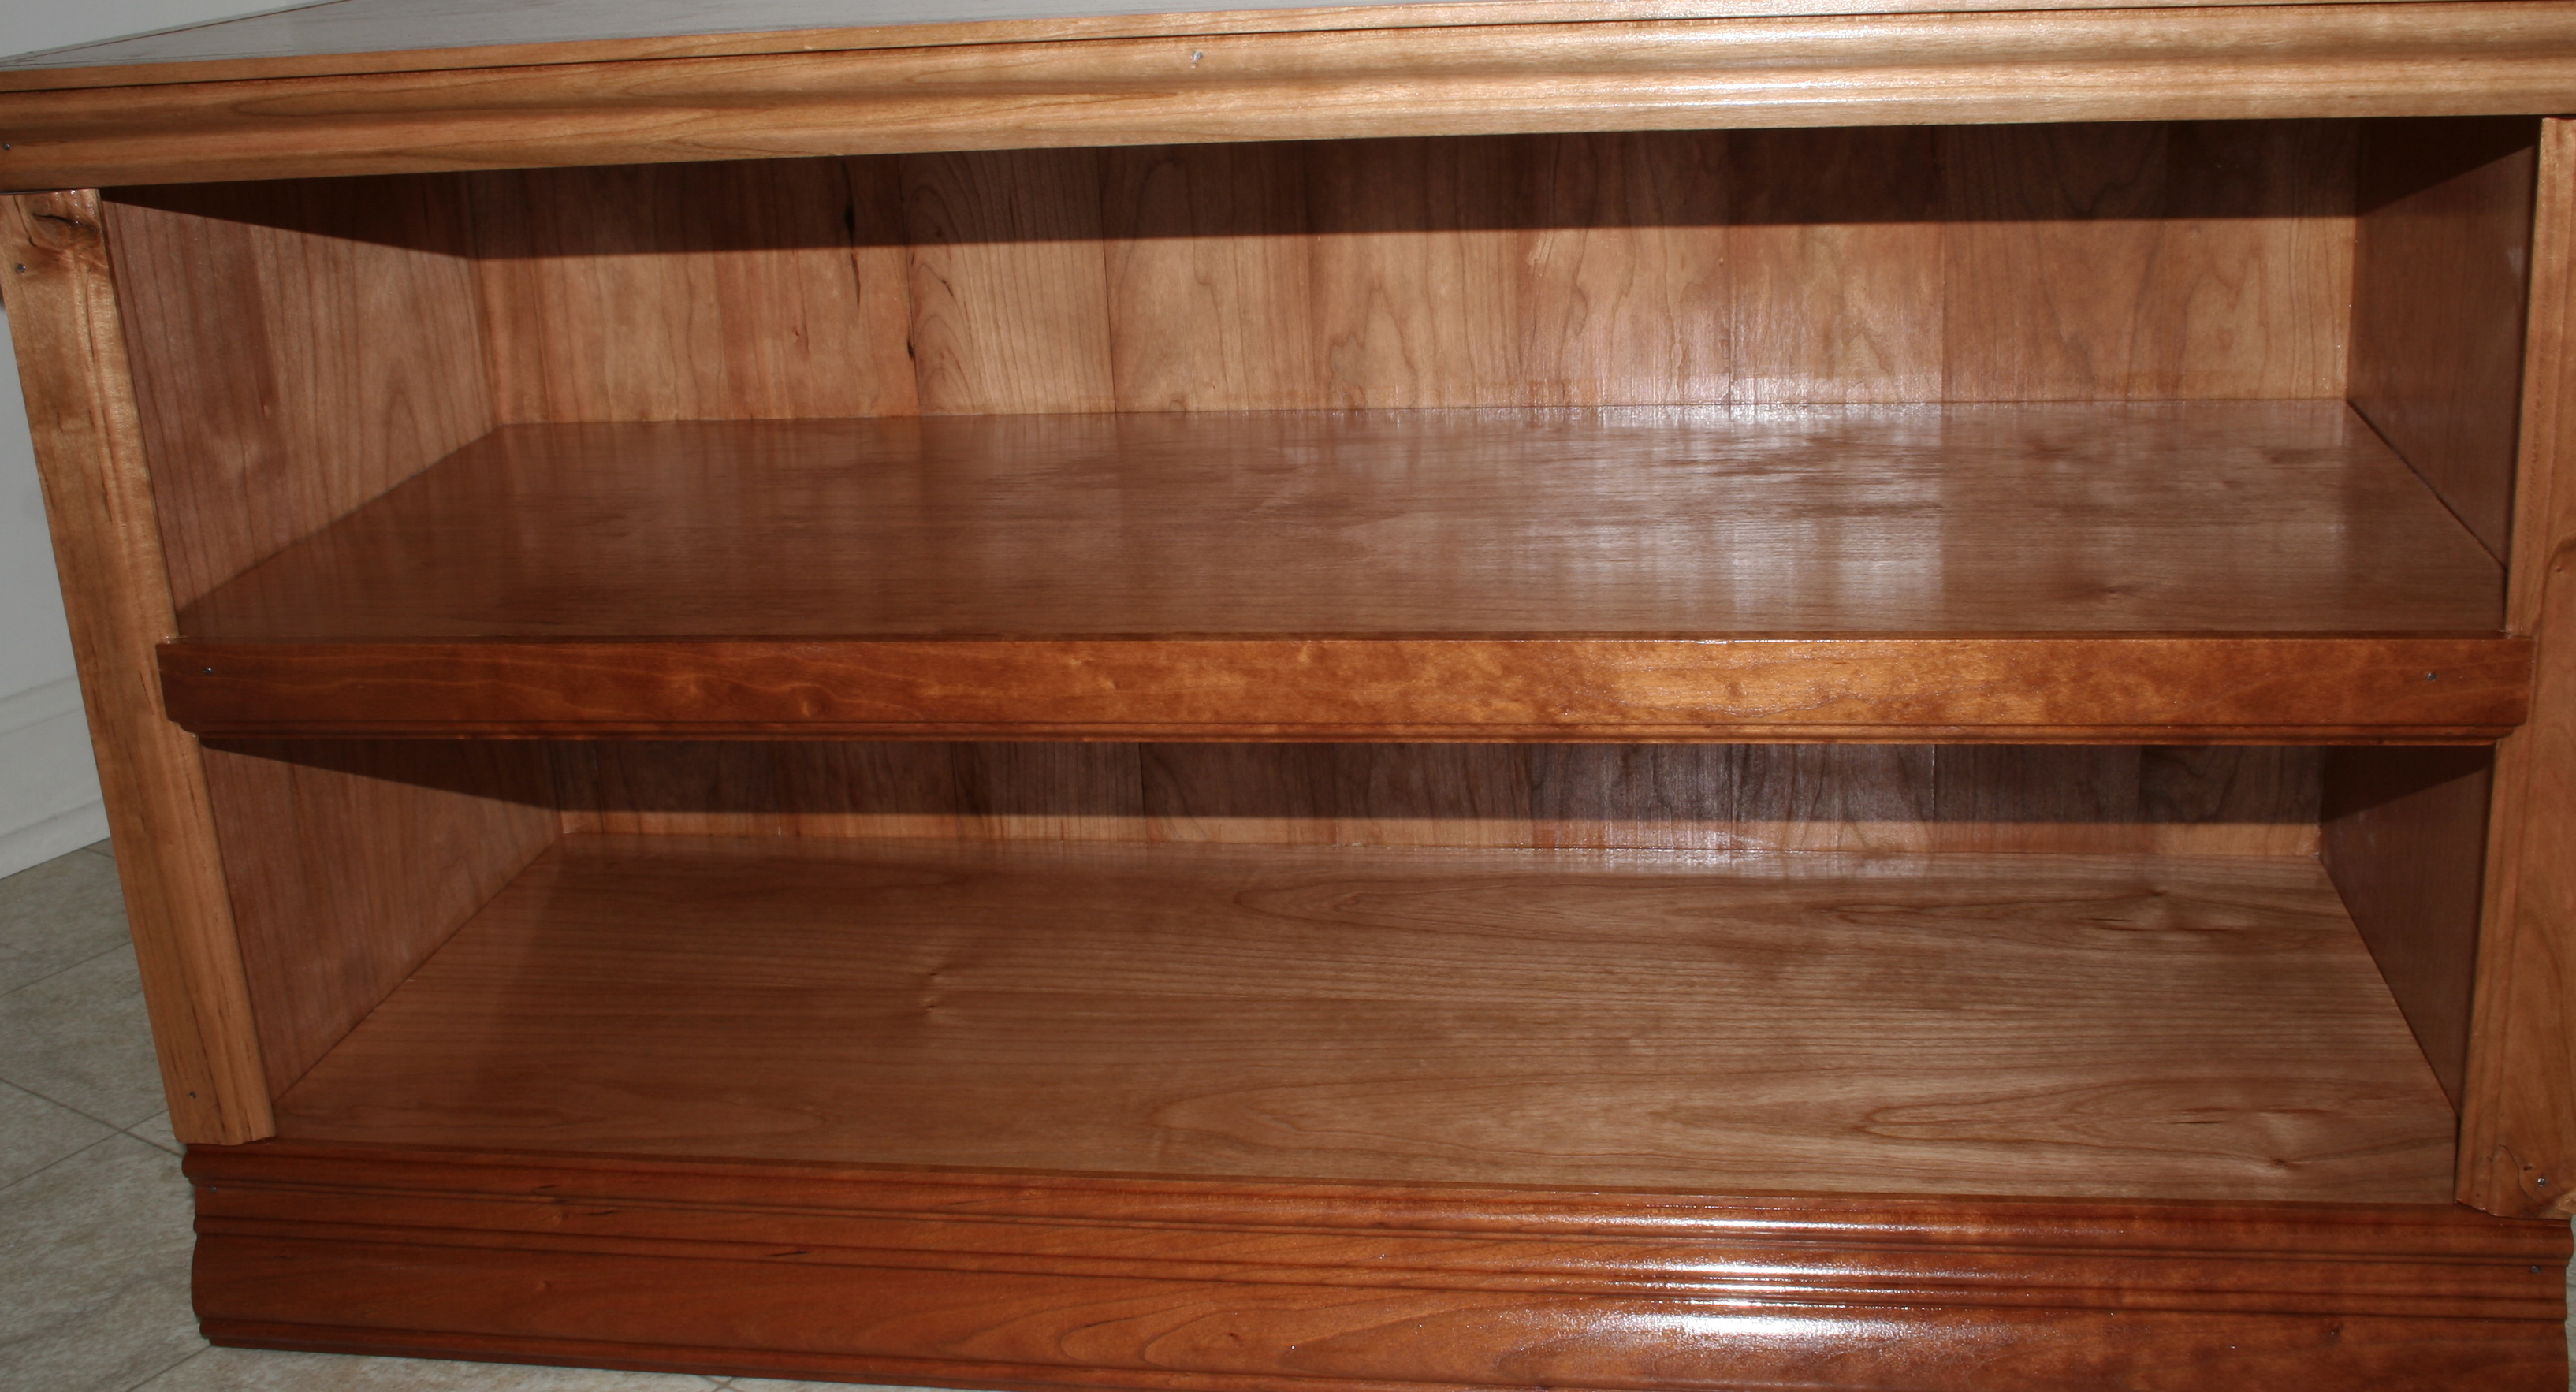
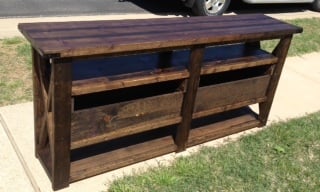
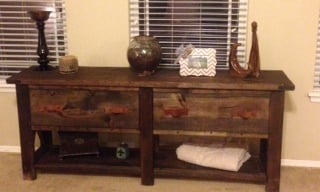
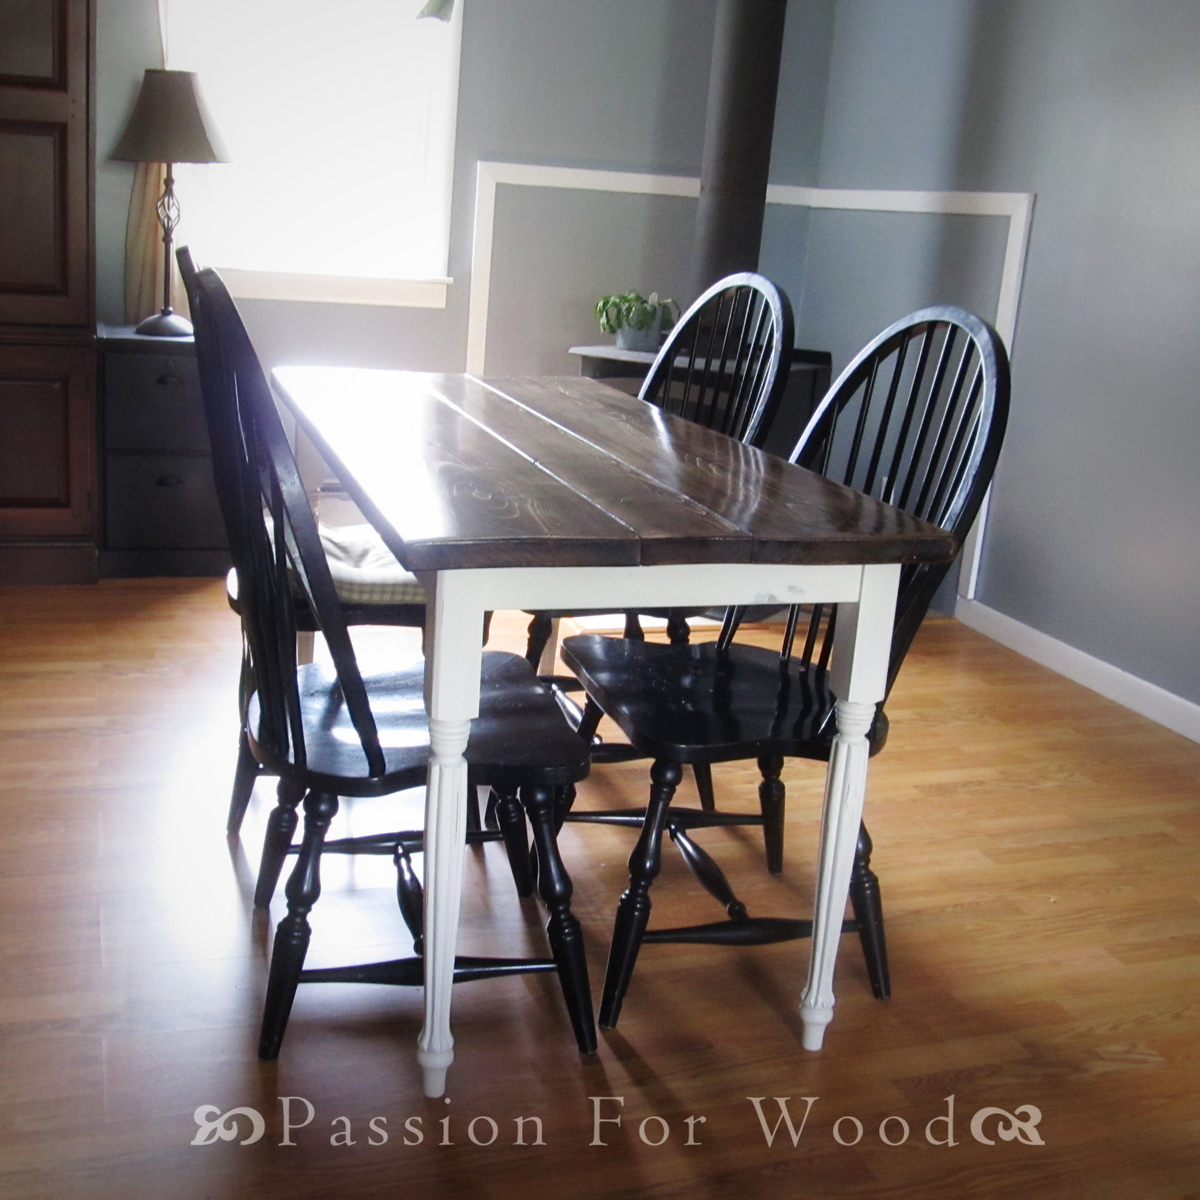
Smaller Version finished in colonial
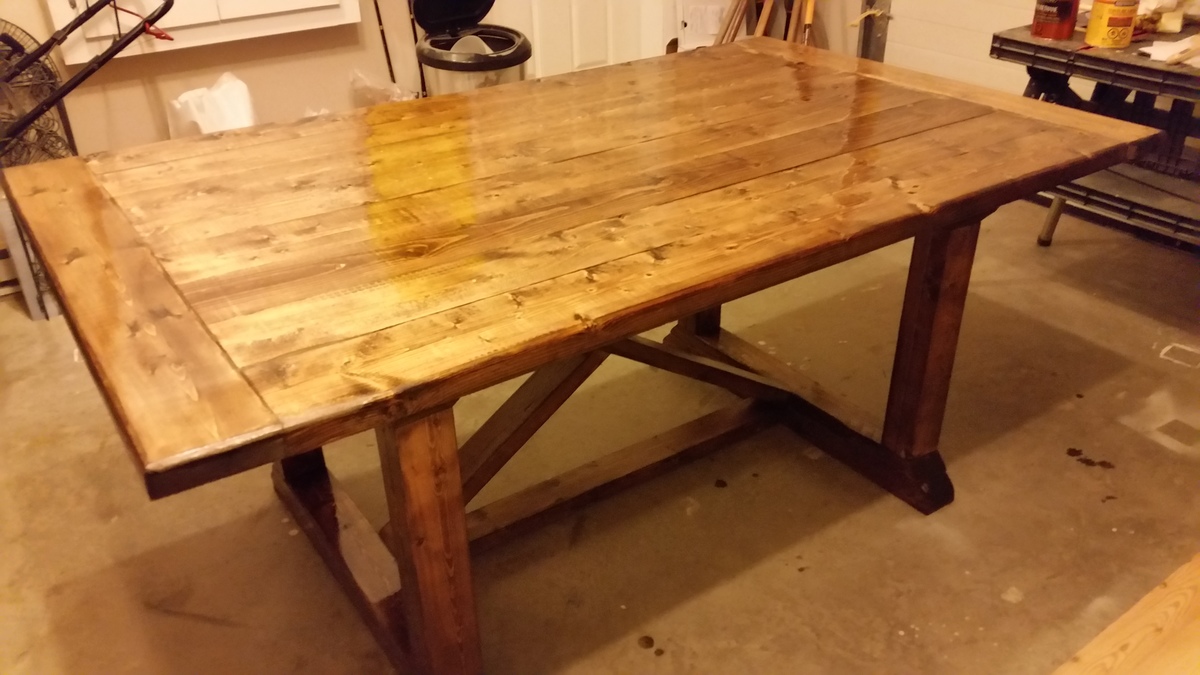
I modified the table to be a little smaller for a space. it came out beautifully. Love this build as it allows for a very large yet stable table that allows for seating on the ends as well.
Side note i found notching out the x brace and using only two solid pieces to a be a more effective way of creating both a solid joint as well as well as a smoother looking joint.
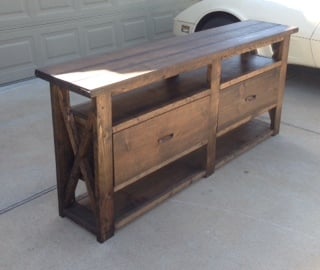
Built from Plan(s)
Estimated Time Investment
Weekend Project (10-20 Hours)
Finish Used
Minwax Colonial
Recommended Skill Level
Intermediate