Community Brag Posts

Loft med with modification

Submitted by Anonymous (not verified) on Mon, 04/03/2017 - 13:36

My husband built the loft bed and added a side rail on the landing just in case our little one was drowsy during the middle of the night. We added an extra rail to the top (...mommy didn't read the measurements correctly on the website for the mattress but it all worked out). I dont have the picture with her new bed on top with twinkle lights on the bottom but you get the idea. p.s. mommy built the desk on the left :) 

Estimated Time Investment
Weekend Project (10-20 Hours)
Recommended Skill Level
Beginner

Plant Corner

Submitted by Anonymous (not verified) on Tue, 02/23/2021 - 08:35

This was my first piece of furniture to make all on my own and the Corner Cupboard plans were soooo helpful! I needed more space for plants and had already built shelves in every window of my house, so I decided it was time to make a larger space to house my plants and add supplemental lighting so I could put it anywhere I wanted. This corner was dark and I don't love lamp light, so I thought a pop of color + plants + daylight grow lights would be perfect for the space! I've been taking on more carpentry projects and also wanted something that was a bit more challenging. This plan was perfect! I'm more of a napkin planner myself, so it was nice having the structure provided in Ana's plans and the cut list was super helpful. I had to make some modifications to fit things into my car, but it all came together nicely! This being a plant hutch with grow lights was the plan all along, but I gotta tell ya, when it came to having to drill 3/4" holes in the back of my newly built beautiful hutch, it took me a minute to work up the courage! I really love how it all came together - thanks for sharing your plans, Ana!

Built from Plan(s)
Estimated Cost
$100
Estimated Time Investment
Weekend Project (10-20 Hours)
Finish Used
Kilz primer + Behr orange flambe paint
Recommended Skill Level
Intermediate

Comments

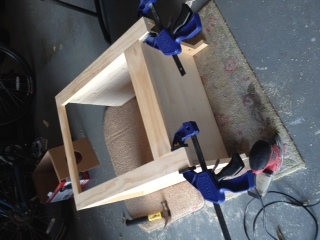
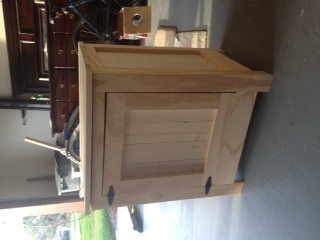
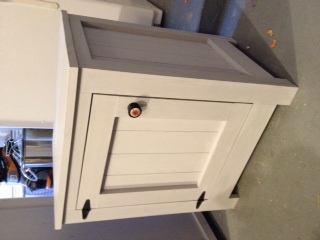
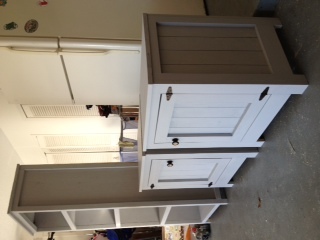
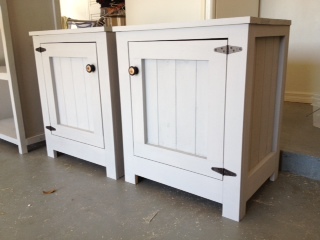
Kentwood Night Stands

Submitted by jbayer80 on Thu, 02/28/2013 - 19:49

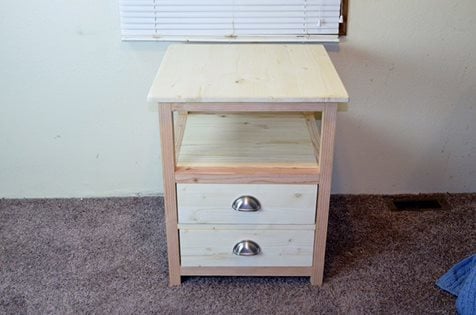
1st the bookshelf, now the nightstands, soon the bed, then.....my sons toddler room is DONE!

Estimated Cost
$50 Each
Estimated Time Investment
Weekend Project (10-20 Hours)
Finish Used
A. S. Chalk Paint (Paris Grey)
Recommended Skill Level
Beginner

Comments

bhoppy

Fri, 03/01/2013 - 07:37

Looks great! How did the A.S. paint do on unfinished wood? Did you prime before hand?

jbayer80

Sat, 03/02/2013 - 08:49

It did fine. I did no prep work before I painted. Since the cans are almost $40 per can I've tried to stretch the paint as far as possible so there is only a thin layer on there. I gave it a lite...and I mean lite sanding after it dried. Since it was such a thin layer you can see some of the wood under but it sort of gives it a antique look. I also added wax (not the A.S. wax) to protect it.

Next time I will be making my own chalk paint for half the cost.

jbayer80

Sat, 04/06/2013 - 05:33

I just wanted to make a note that these night stands are VERY big, actually to the point of looking odd next to the bed I made. I know I could have looked at the dems before hand but never imagined they were this big. I still love them, I just wish they were a bit smaller.

I will be posting the bed I made and the night stands will be in the pic as well so you can see and let me know your thoughts.

Basement Storage Shelves

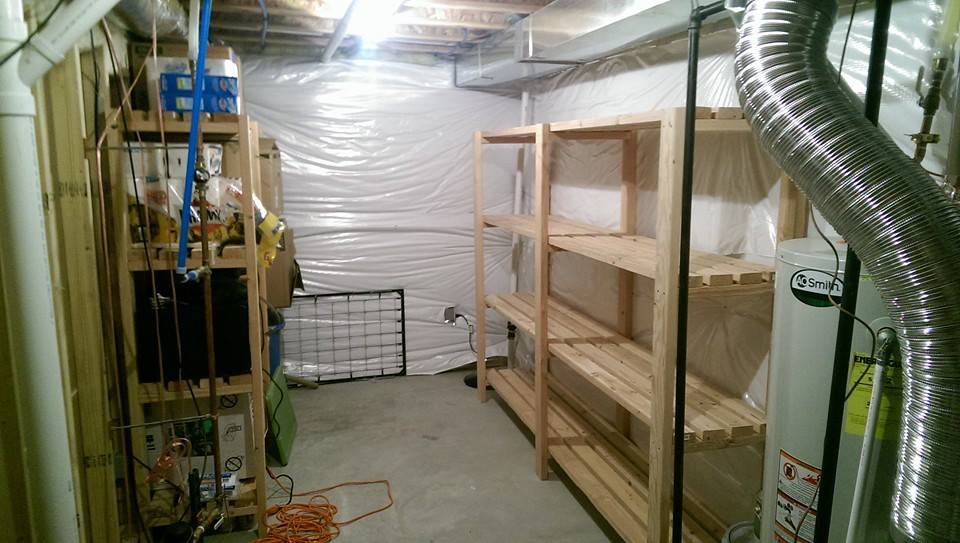
Submitted by dmozer74 on Tue, 01/06/2015 - 08:46

Using Ana's plan for the garage shelves I was able to shorten them up and turn my basement storage area into a well-organized storage area.  This was my first real wood working project ever. The detailed plans from Ana's site made this a very doable and easy project.

Estimated Cost
For all the wood, glue and self-tapping screws the project cost right at $170 to build both shelves.
Estimated Time Investment
Afternoon Project (3-6 Hours)
Finish Used
Unfinished.
Recommended Skill Level
Beginner

Red Oak Table

Submitted by Anonymous (not verified) on Thu, 04/06/2017 - 11:58

Fun Project. Wife loves it! Adds a much better look to our dining room!

Estimated Time Investment
Week Long Project (20 Hours or More)
Finish Used
4 Coats of Minwax Stain-Red Oak

3-4 Coats of Minwax Wipe on poly Satin
Recommended Skill Level
Beginner

Rolling Shoe Storage

Submitted by BeingHome on Sun, 03/03/2013 - 06:12

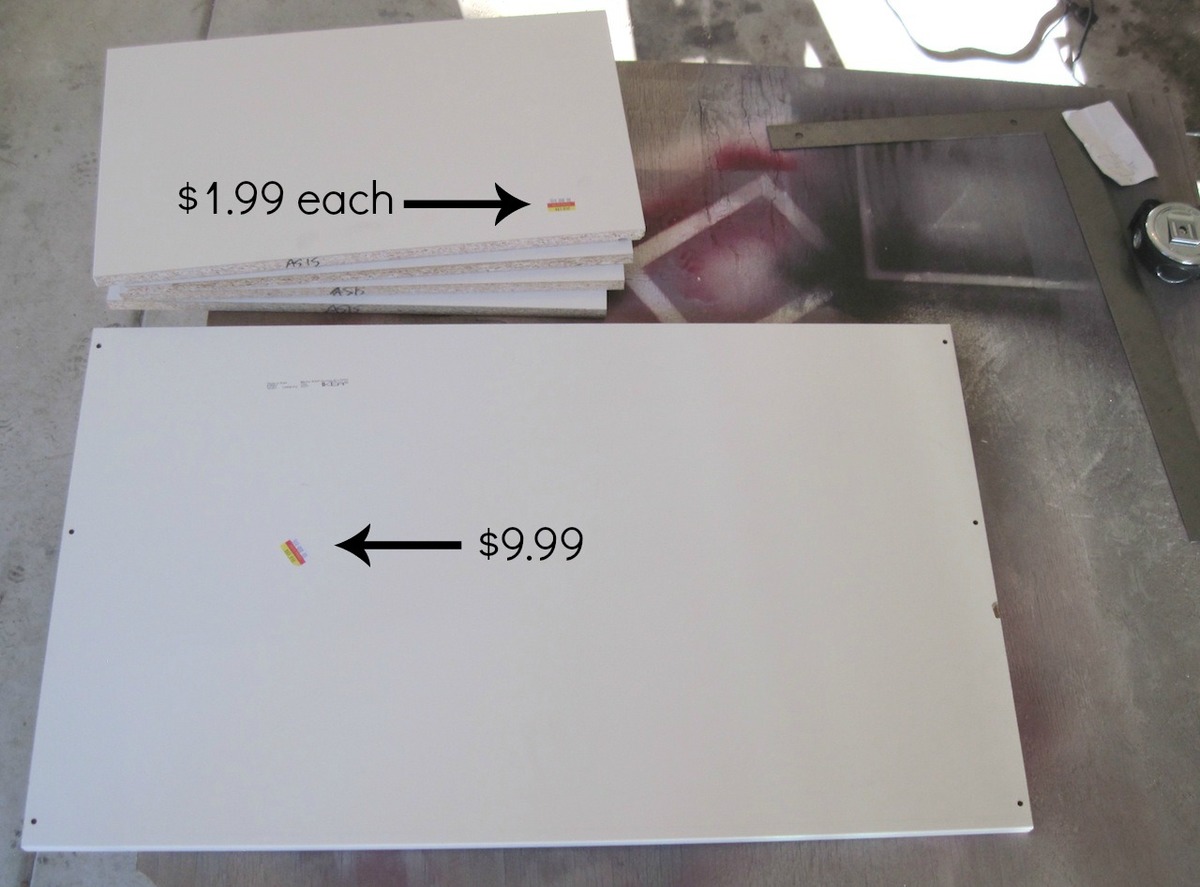
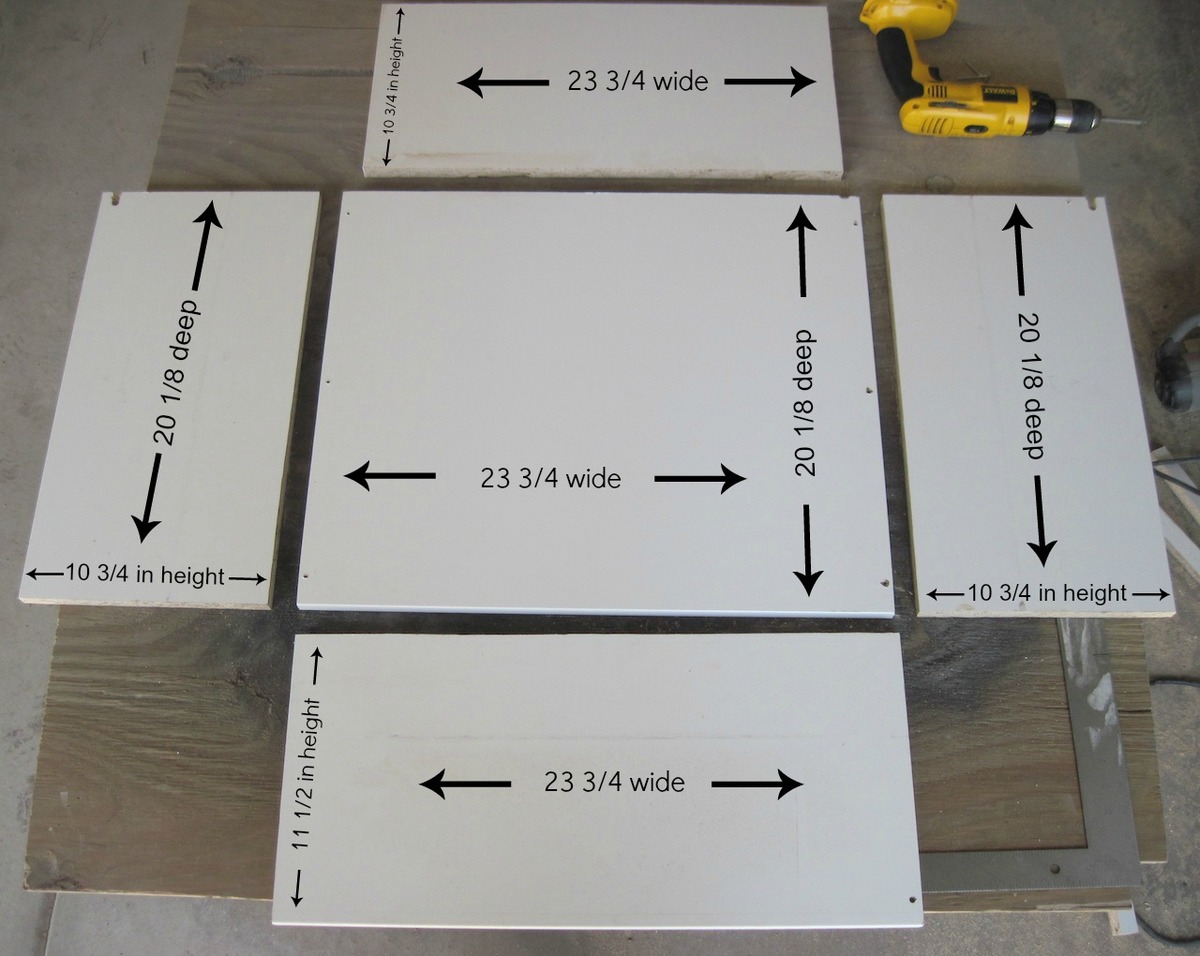
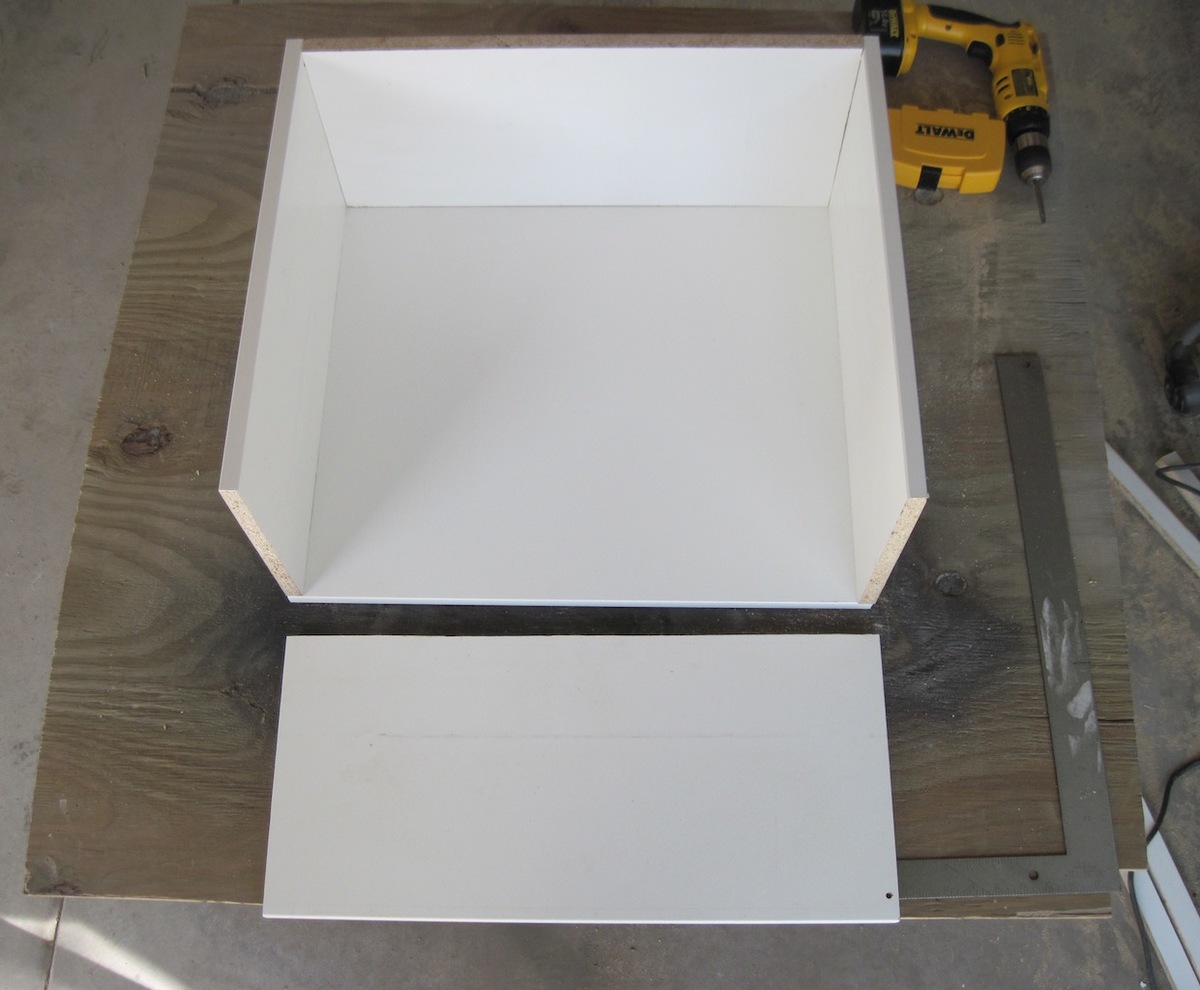
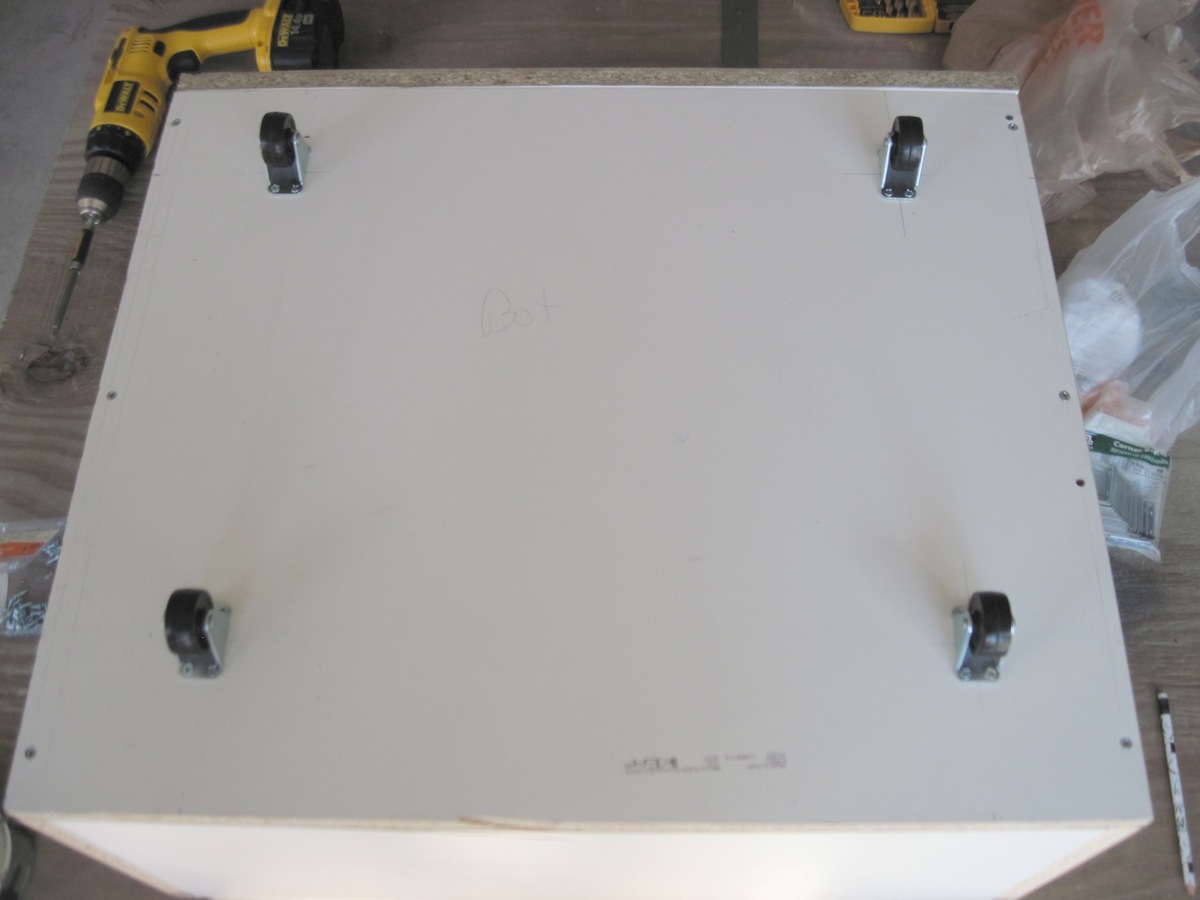
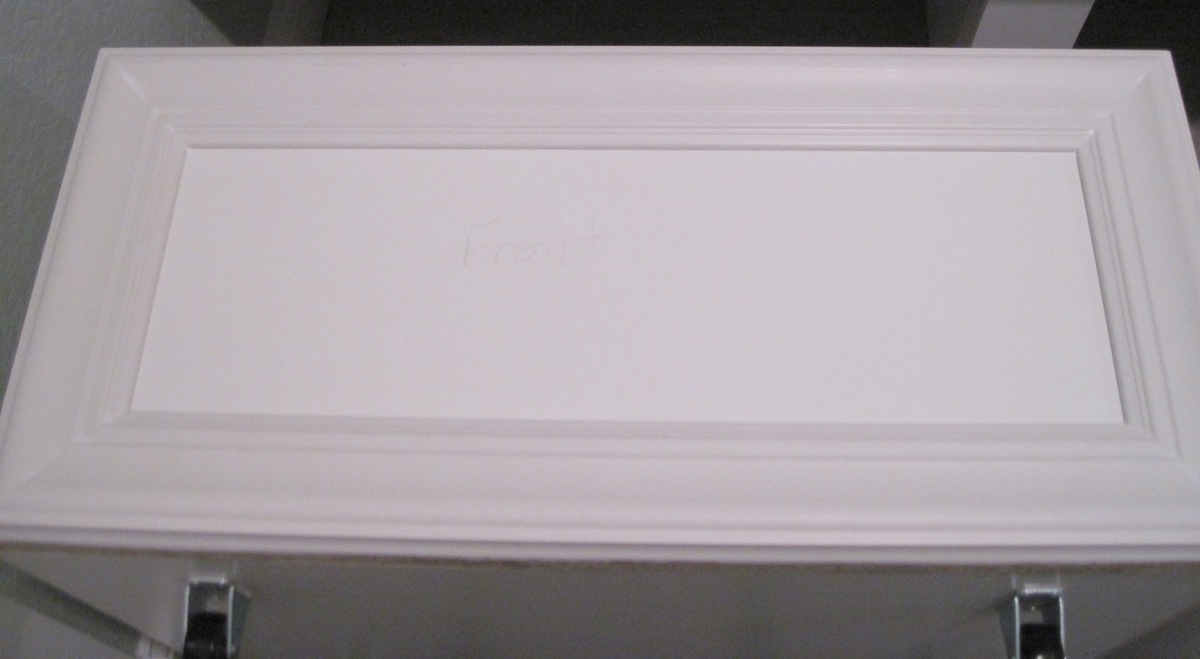
After building the mudroom bench I knew I would need something to store our shoes. After being inspired by images of unused dresser drawers with casters added on, I decided to and base my idea off of this. However, I knew that our shoe drawer would need to be much bigger to nicely fit under the mudroom bench.


Ironically, this rolling shoe drawer is made out of unused shelves and bookcase sides that I found at the as-is section at Ikea! The handles on the drawers were found there, as well. For .50 cents each, I could not pass that up. :)


Estimated Cost
$38.00 per drawer
Estimated Time Investment
Weekend Project (10-20 Hours)
Finish Used
Glidden gripper paint and BEHR Ultra in Ultra white.
Recommended Skill Level
Starter Project

Hannah's Doll Bed

My husband and I love to spoil our God Daughter. I used some scrap mouldings that I got from work and used the dimensions from the Farmhouse Doll Bed to create this. Literally cost me nothing other than the paint and the fabric was remnants from Joanne's, a coupon and I think I spent a total of $10. 

Estimated Time Investment
An Hour or Two (0-2 Hours)
Finish Used
White & Pink Paint
Recommended Skill Level
Starter Project

Comments

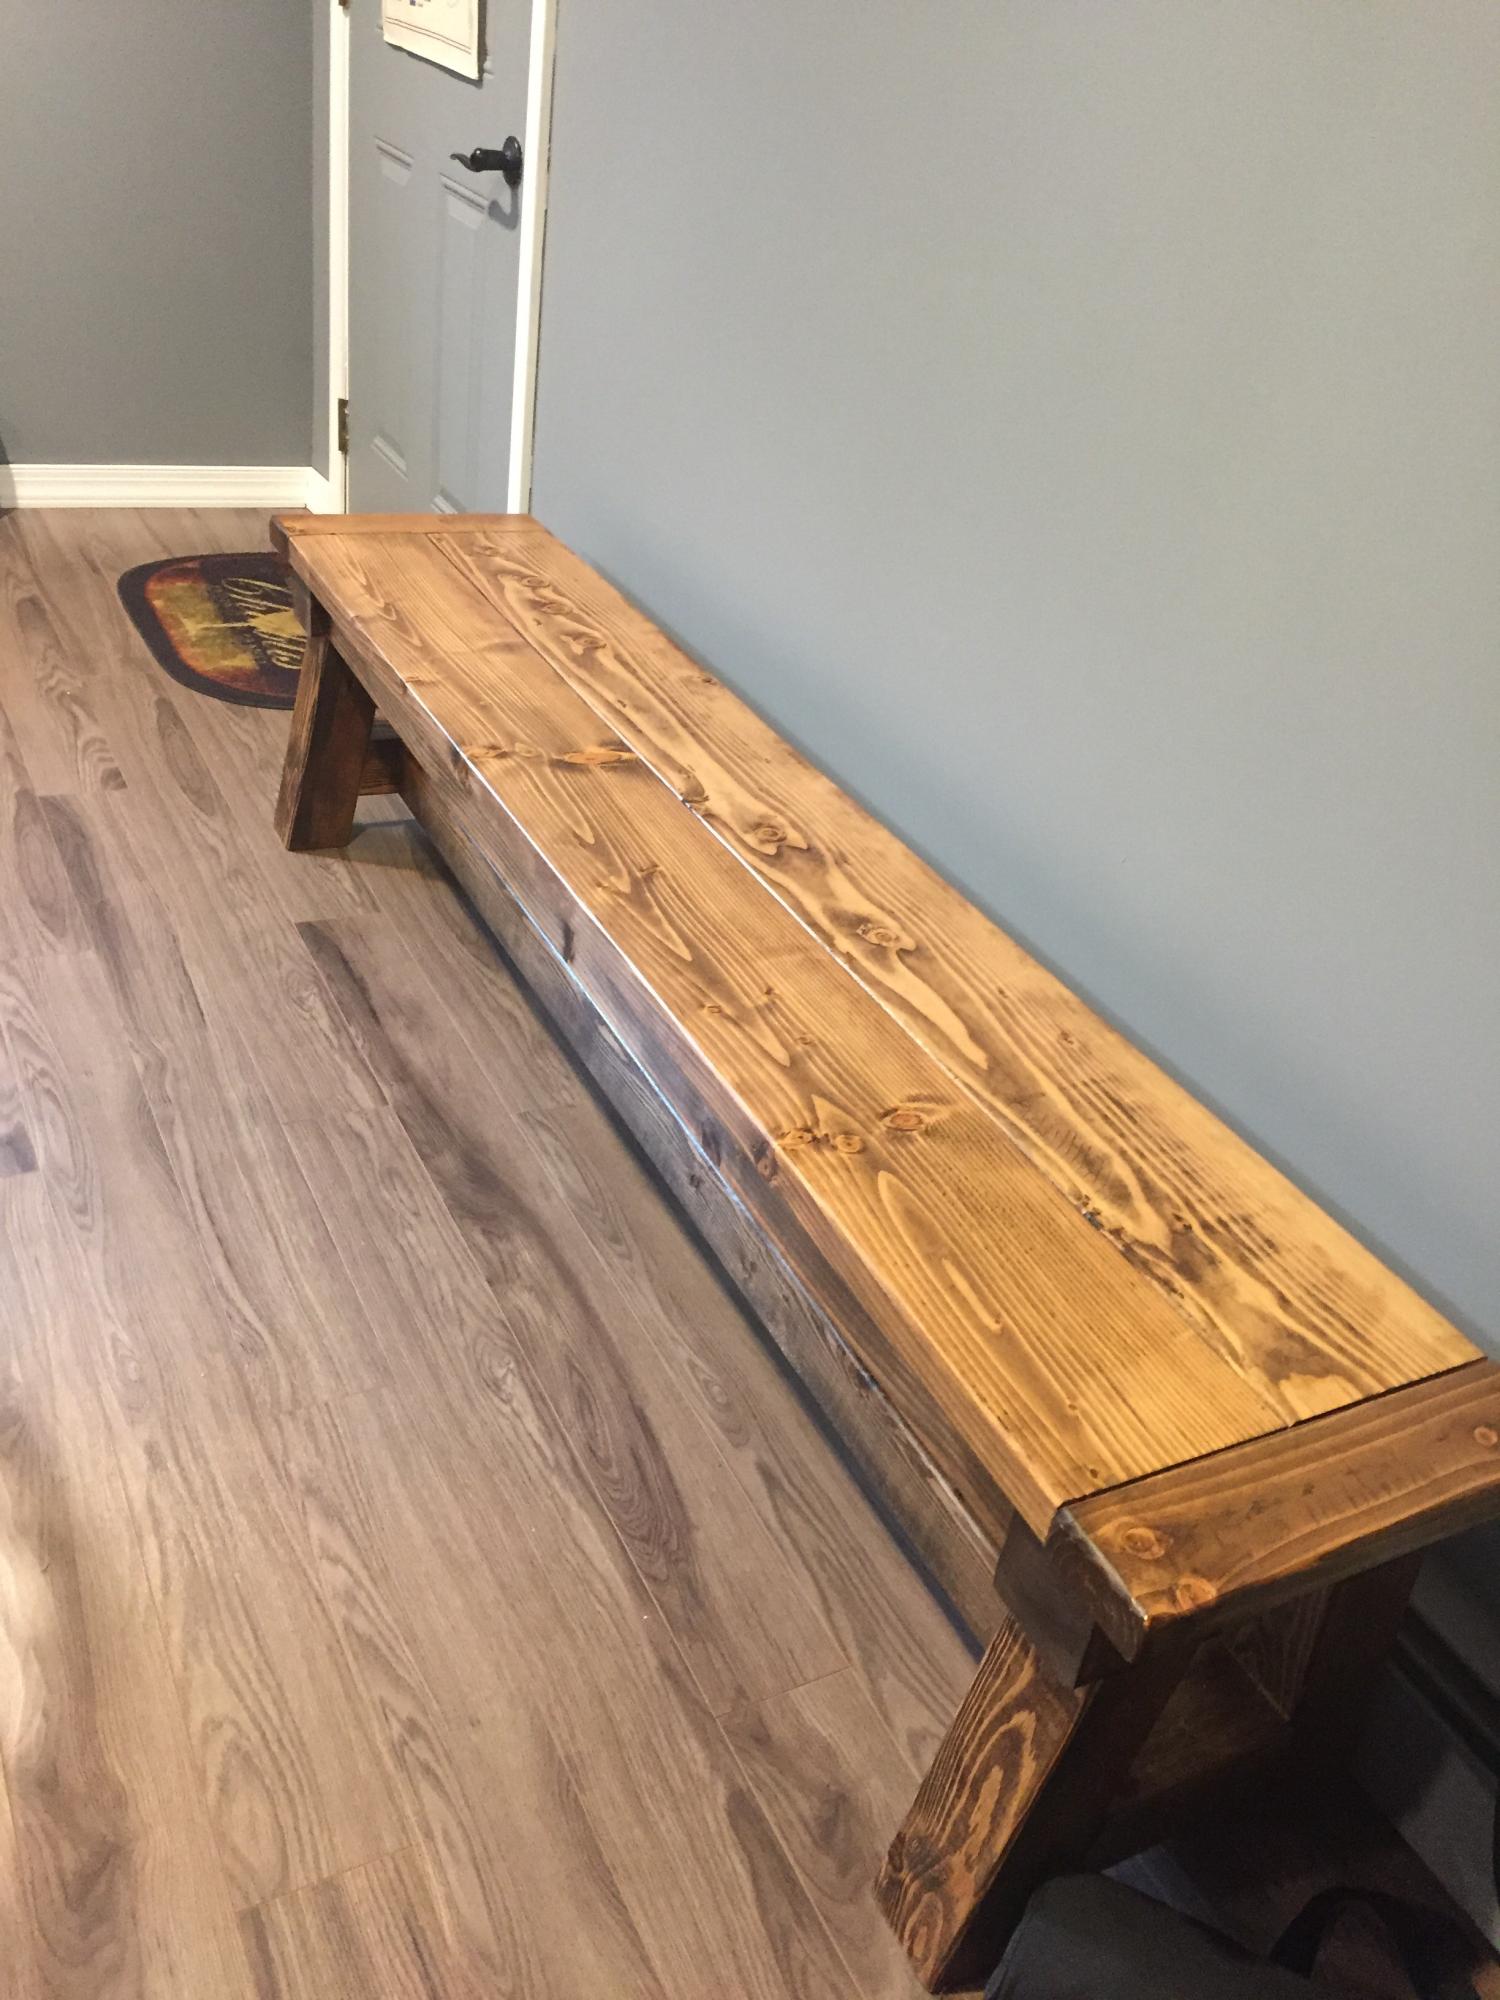
The most beautiful bench

Submitted by Anonymous (not verified) on Sun, 04/09/2017 - 11:04

This bench is the most beautiful bench I have ever seen. My husband made ours long so all the grandkids to sit on it at one time. Made with love. I am having him make another one for our deck.  Thank you for the plans. 

Estimated Time Investment
Weekend Project (10-20 Hours)
Recommended Skill Level
Beginner

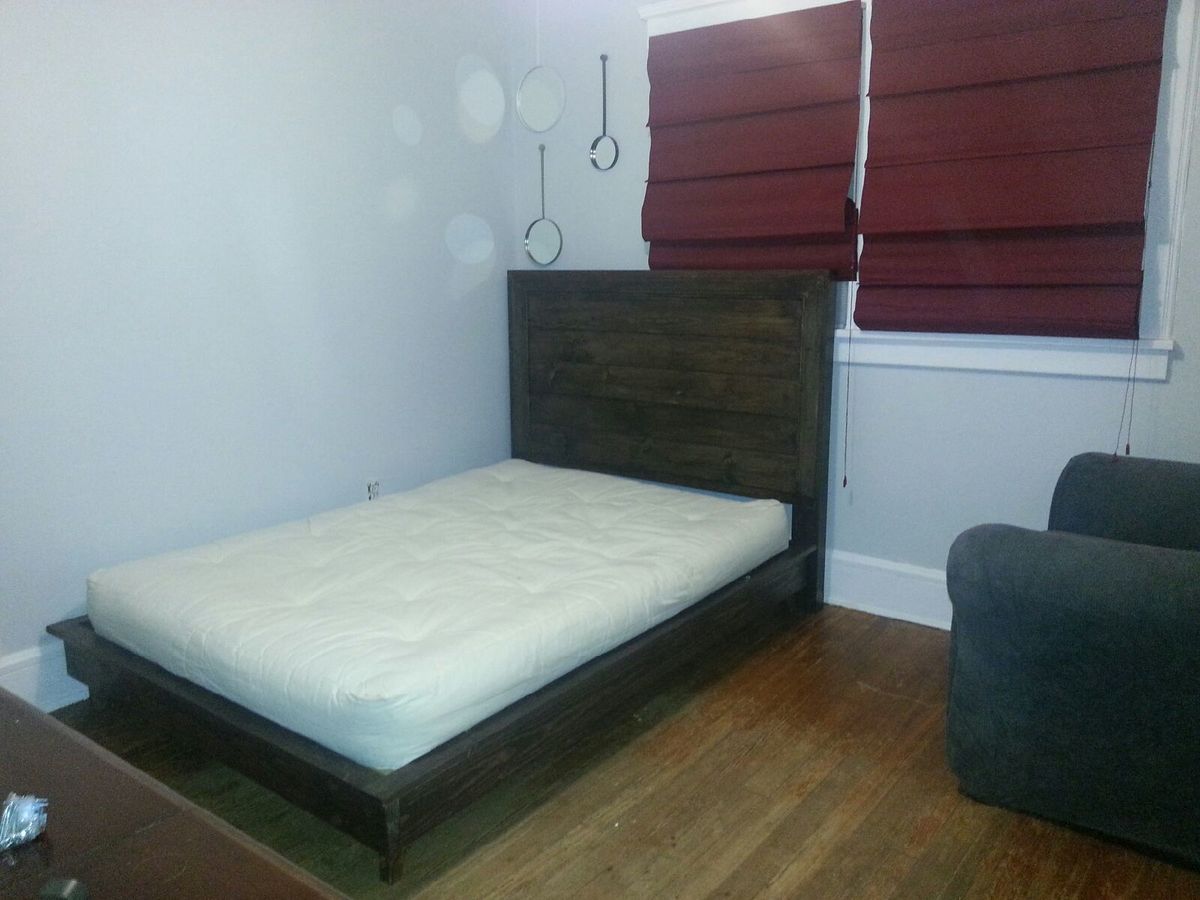
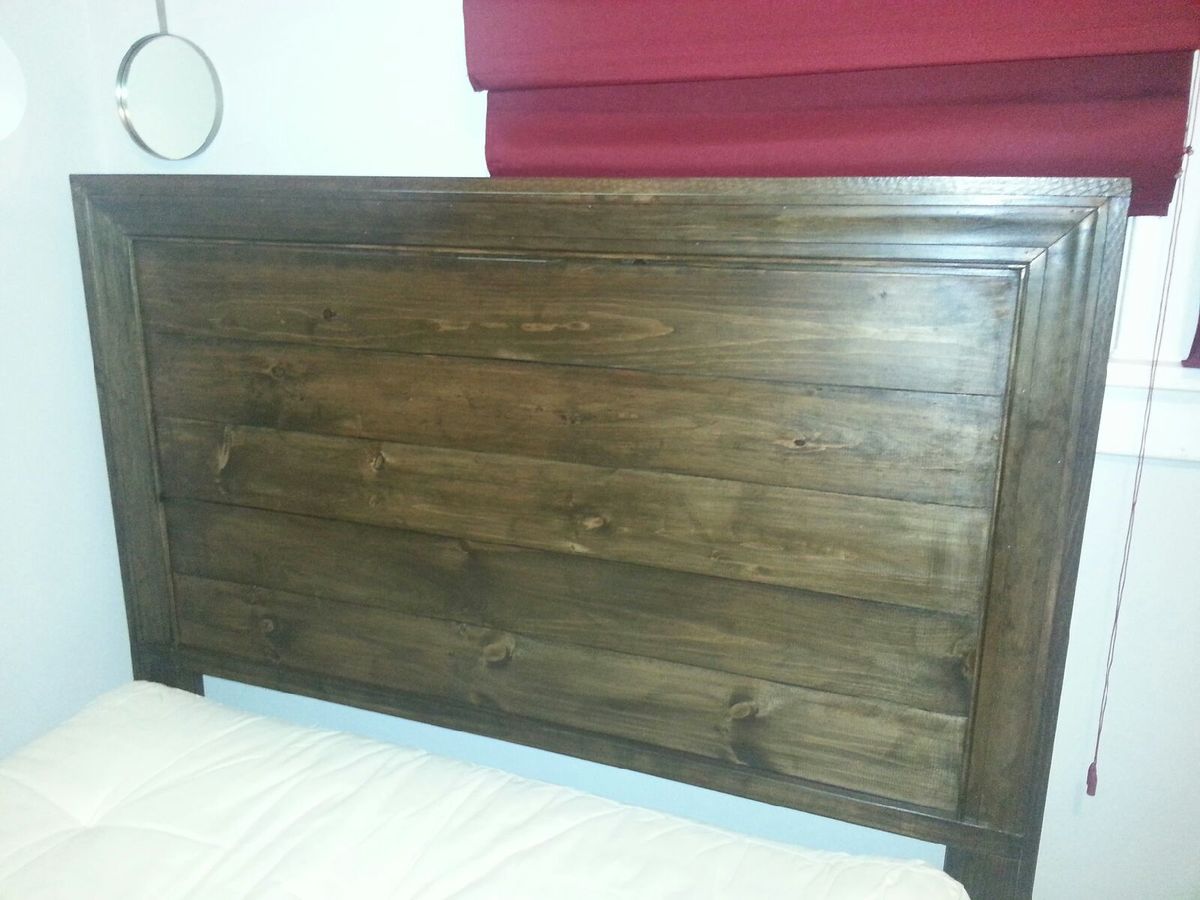
Hailey Full Bed and scrap dog bed

Submitted by bellcynt on Tue, 03/05/2013 - 18:53

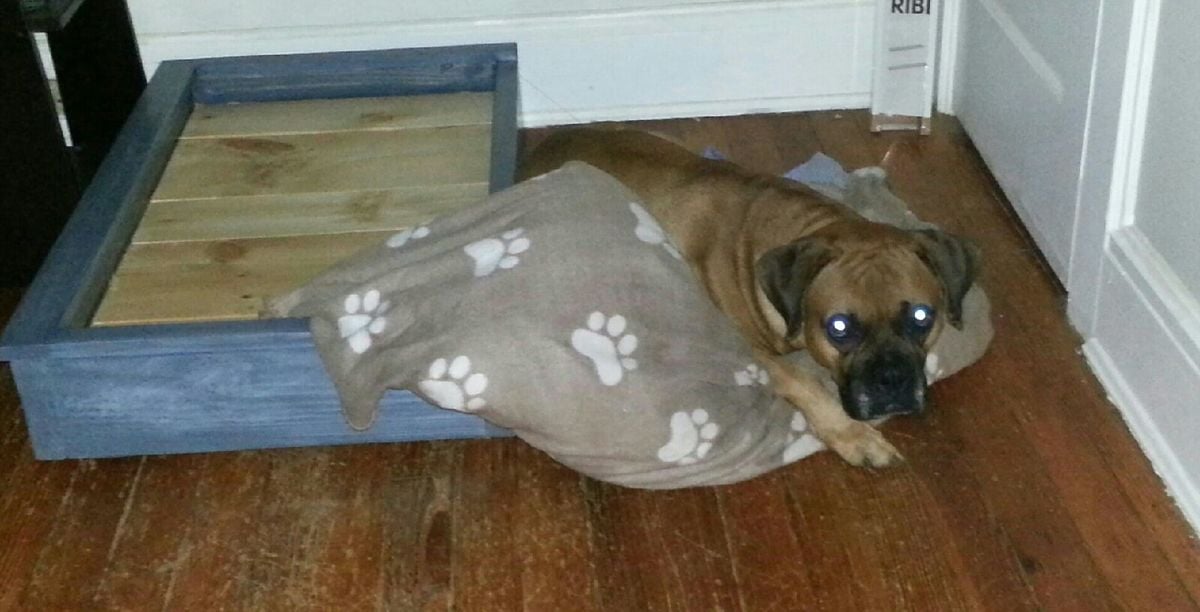
This is the first project that I made using the Kreg Jig. I was a little intimidated at first so with the scraps I had left over after making all my cuts (and a few scraps from other projects) I started with the dog bed so I could get use to making pocket holes etc. That project went great the only modification I made was I skipped the headboard, made the legs lower and the left the molding off one side. It looks great but as you can see in the pic...he still prefers the floor and his pillow.

Making the actual bed I learned so much...#1) Its super important to have straight boards...A few of my boards were warped and it made it a bit difficult to join and required a lot of sanding. The directions were very straight forward and easy to follow the only modification I made was to the headboard which I made only 48 inches high so it wouldn't block the window so much and wouldn't over power the room. Also to attach the headboard tot he bed I used surface mount brackets from Rockler which make the headboard easy to remove and very sturdy.

I love it...had our first guest sleep on it last week and they loved how sturdy and comfortable it was.

Thank you Ana for the great plan and this wonderful site...can't wait to start my next project.

Built from Plan(s)
Estimated Cost
$150
Estimated Time Investment
Week Long Project (20 Hours or More)
Finish Used
Rustoleum Dark Walnut and Satin Polyurethane
Recommended Skill Level
Beginner

Farmhouse Storage bed with 80+ year old reclaimed barn wood headboard

Submitted by anthropete on Sat, 01/10/2015 - 12:03

I built the headboard out of reclaimed barn wood that I purchased on Craigslist. The seller worked for the DOT and was responsible for demolition of old barns that were in the path of new roads in North Carolina. He takes the barns down and salvages all of the wood he can and sells it on Craigslist. The wood I purchased used to be the interior walls of an 80+ year old barn that used to stand somewhere outside of Raleigh. I built the bed mostly out of red oak plywood, but the posts for the footboard are cedar (the only non-pressure treated 4x4's I could find in my area). I used Minwax Wood Finish Classic Gray for the stain. The drawer pulls are hand made from a local NC blacksmith named Northern Crescent Iron who I found on Etsy. Here is a link to his Etsy site: https://www.etsy.com/shop/NorthernCrescentIron
This was a fun project and my wife LOVES the size of the six drawers. :)


Estimated Cost
$900
Estimated Time Investment
Week Long Project (20 Hours or More)
Finish Used
MinWax Wood Finish Classic Gray, Valspar Flat Clear spray finish on headboard
Recommended Skill Level
Intermediate

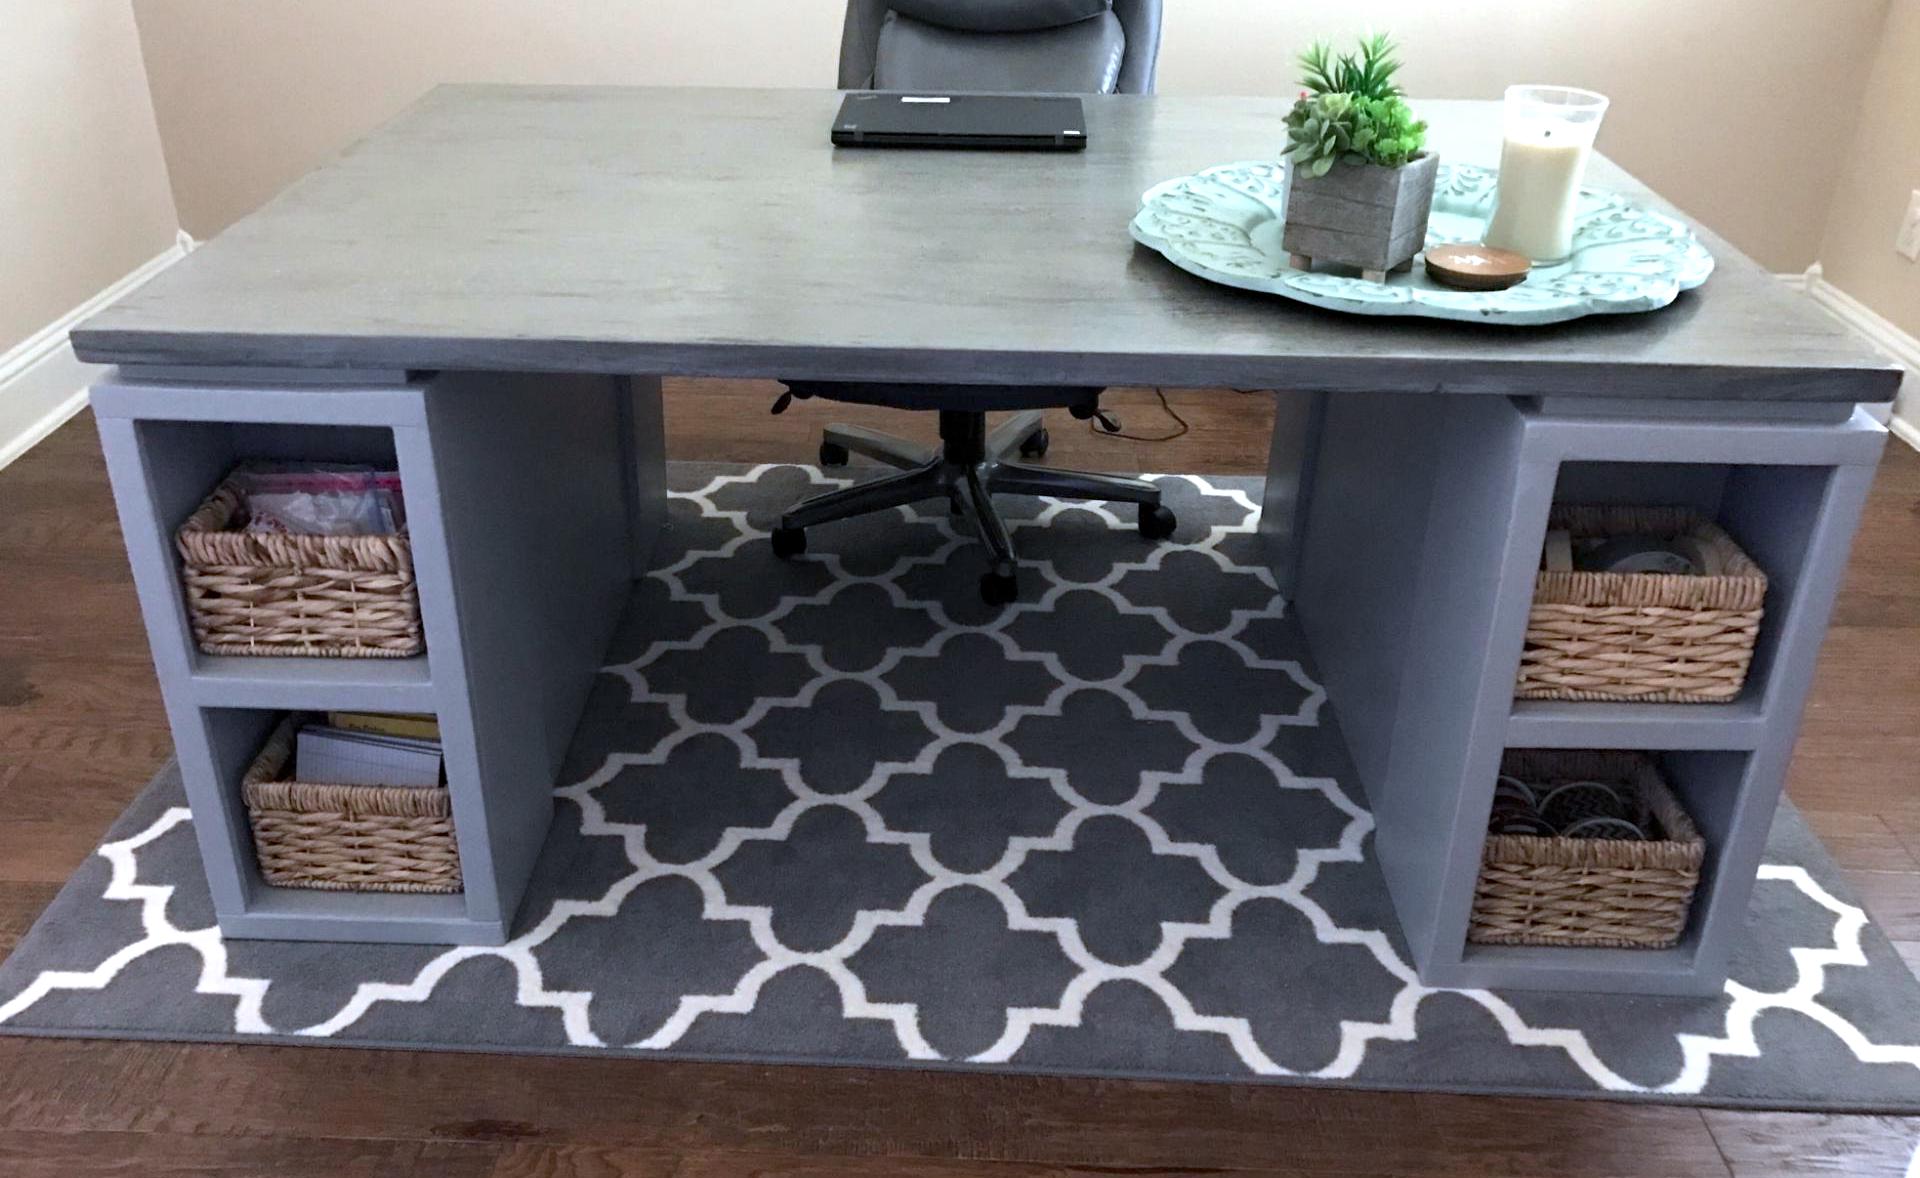
Storage Leg Desk

Submitted by Anonymous (not verified) on Thu, 04/13/2017 - 09:56

I made this for a friend!  She has cubbies on all four corners.

Built from Plan(s)
Recommended Skill Level
Intermediate

farmhouse style kitchen table

Submitted by JKG2525 on Fri, 03/08/2013 - 10:58

Great fun project...cant wait to do some more........

Estimated Cost
$ 150.00
Estimated Time Investment
Weekend Project (10-20 Hours)
Finish Used
all minwax....wood cleaner...dark walnut stain..tung oil finish
Recommended Skill Level
Beginner

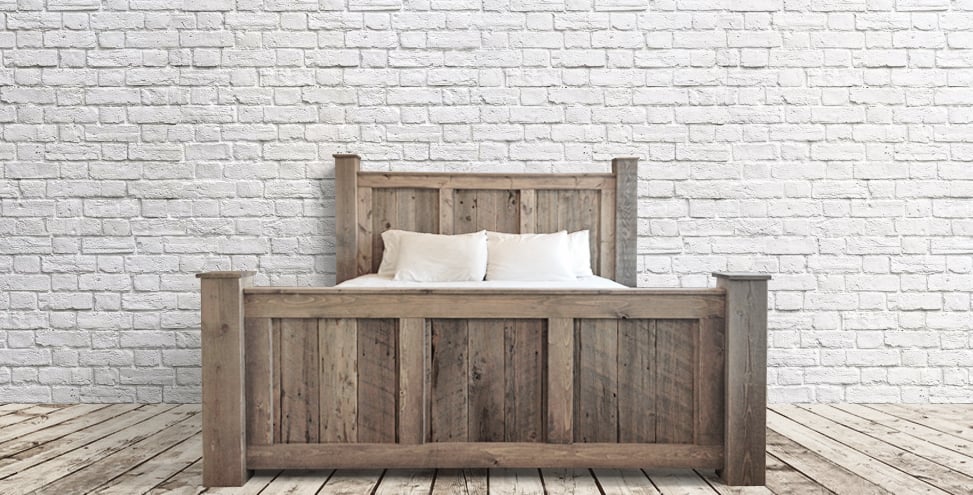
Custom Rustic King Bed

Submitted by jhavinga on Wed, 01/14/2015 - 14:55

My wife is always annoyed with me. I make something for our home, and a few months later I decide I dont like it and want something better! I sold our 5th bed set months ago (Farmhouse Bed made through Ana White) and have been sleeping on the floor for the last few months.. Figured it was time to create something I wouldnt sell! Took some plan ideas from the Farmhouse King Bed Plans and came up with something a little more extravagent.

Hopefully I dont sell this one.

Estimated Cost
$350 With Reclaimed Wood, Im sure much cheaper with HD Wood.
Estimated Time Investment
Weekend Project (10-20 Hours)
Finish Used
For the Pine. used my favourite combo; Weathered Oak and Special Walnut.
For the Fir and Cedar I just sanded.
Recommended Skill Level
Beginner

Comments

jhavinga

Thu, 01/15/2015 - 05:06

Thanks thewoodbuilder, its super easy and you could probably figure it out just by looking at it. =)
I extended the legs 2" past top of footboard, and 4" past top of headboard with caps on top. And layed 1x4 vertically over top of the 1x6 planks, and horizontally across the top of both foot and head board.

Cheers!
Justin

tracygator

Wed, 01/21/2015 - 20:47

This bed is gorgeous!!!! If you don't mind I have a couple of questions... For your stain combo of Weathered Oak and Special Walnut do you layer the weathered oak, wipe it off then apply special walnut? Or do you mix the two stains? Your footboard looks taller than the plan calls for , did you make it higher , if so by how much? And what dimensions are your footboard posts? This seriously is an amazing build. Great job!

In reply to by tracygator

jhavinga

Fri, 01/23/2015 - 14:04

Thank you! I don't mind at all. =)
The stains I do seperataely. I start with weathered oak and let sit for 15min, wipe off. Than do special walnut right after for 15min than wipe off. I repeat this until I like my color. From the farmhouse plans I really only took the planking idea and how to attach planking section to legs. The foot board is higher by 11" while the headboard posts are higher by 10".

The posts are reclaimed fir 6x6's. Thank again very much tracygator! Its a super easy design! if you have any other questions just let me know. =)

Cheers,
Justin

awheat1

Sat, 05/23/2015 - 20:13

Do you have any other pictures of the side rails? I'm curious how you did them? Specifically, how did you mount them to the head and footboard?

Antiqued dark walnut

Submitted by Anonymous (not verified) on Sat, 04/15/2017 - 20:42

My first project of this size.  I think it turned out great!  Did a gray weathered stain and drybrushed bright white over the base.  Sanded the top 60, 120, 220, 320, and just for fun I finished it with 1000 grit.  Stained dark walnut, finished with three coats of poly, sanding 320 in between coats.  Love this table!!!!

Built from Plan(s)
Estimated Cost
$89
Estimated Time Investment
Week Long Project (20 Hours or More)
Finish Used
Dark walnut and poly
Recommended Skill Level
Intermediate

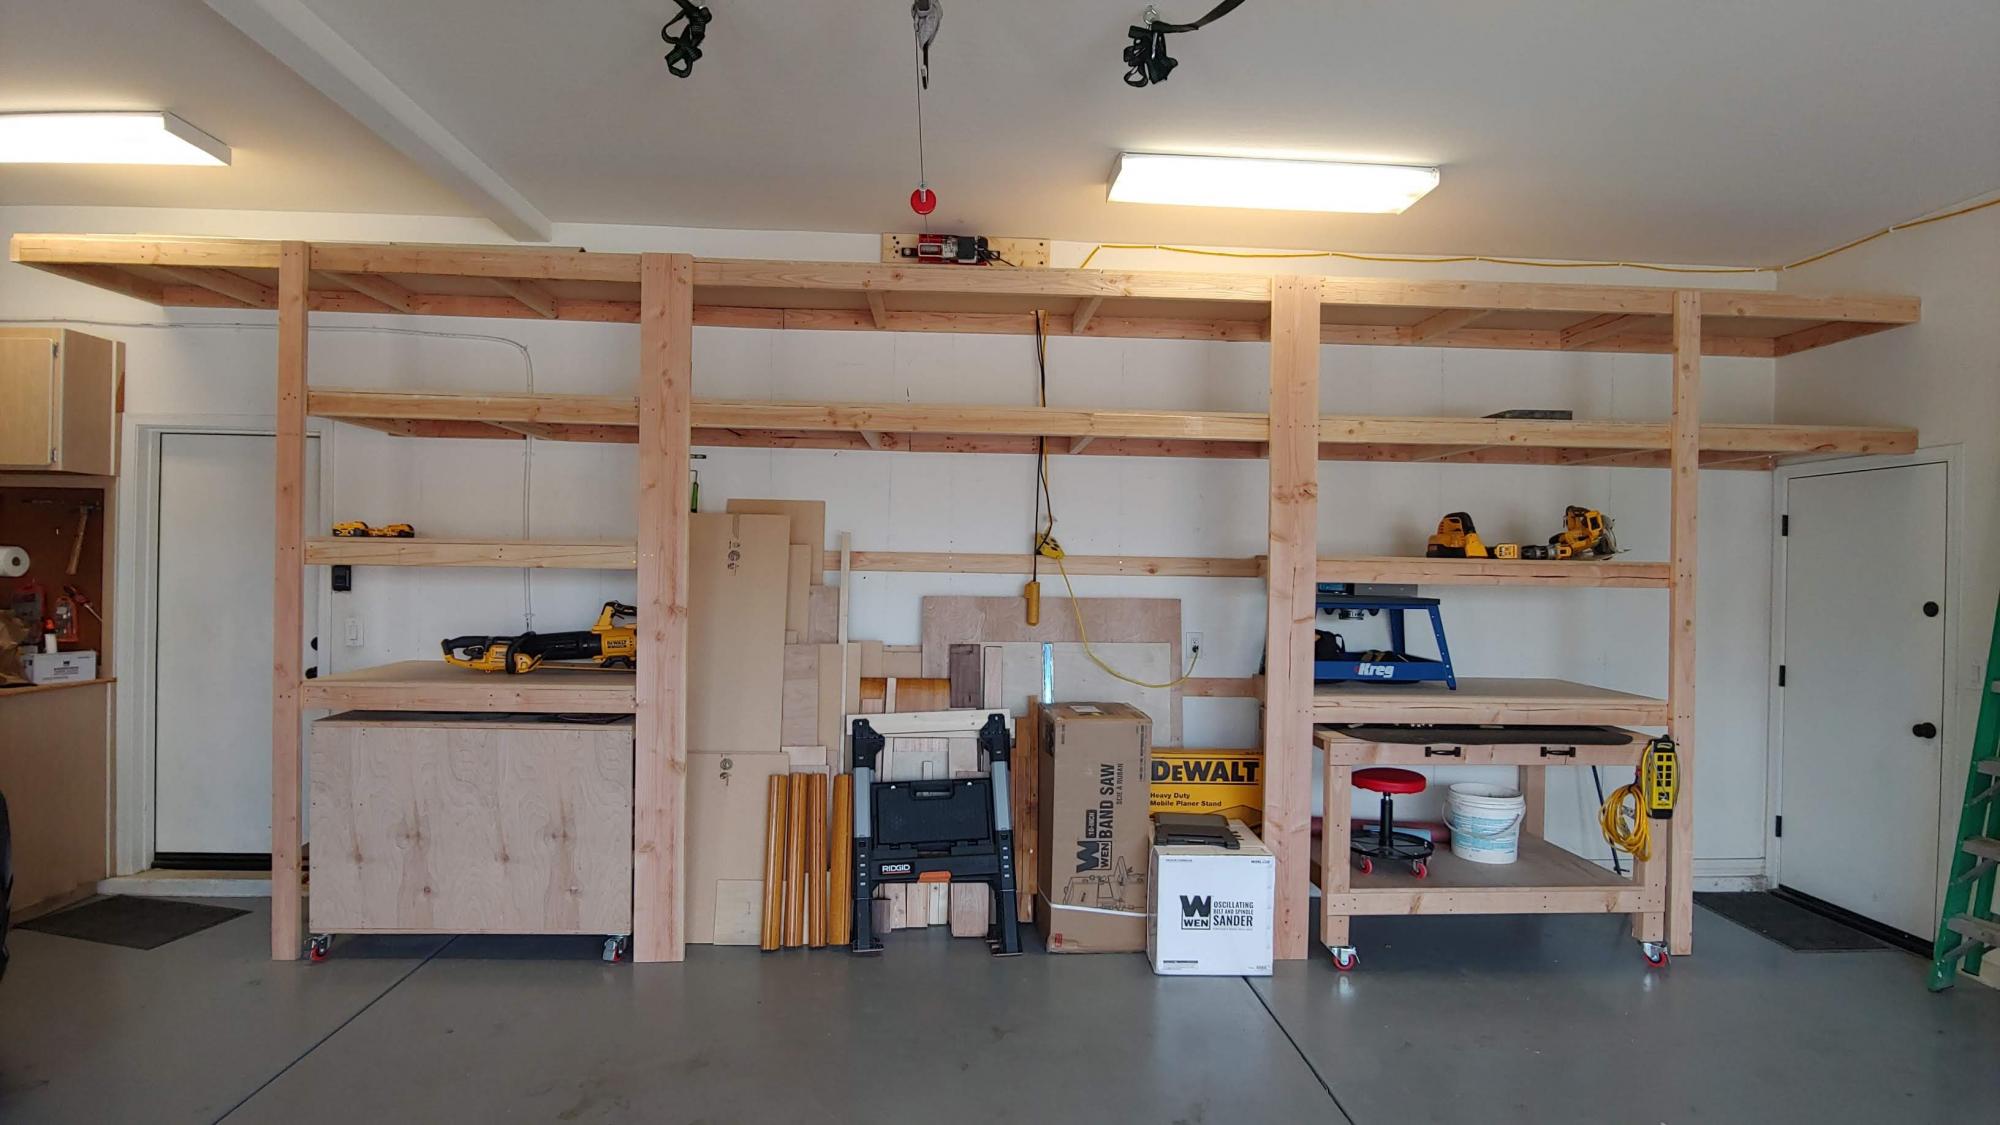
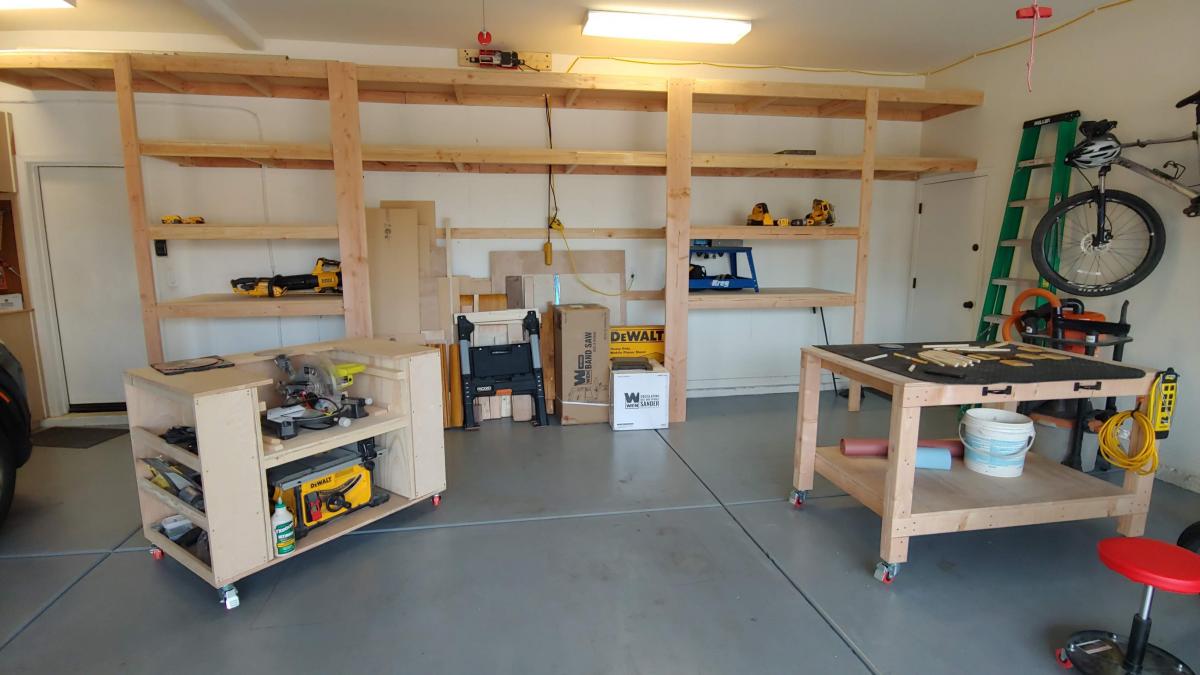
Garage shelving to fit workbenches

Submitted by jamesjill on Wed, 03/17/2021 - 20:40

Garage shelving fit to allow workbenches to slide under when not in use.

Estimated Time Investment
Weekend Project (10-20 Hours)
Recommended Skill Level
Intermediate

Comments

Fancy Hall Tree

Submitted by KCreel29 on Mon, 03/11/2013 - 07:39

The well-laid out plans from this site made it a pleasure to build. I used pine for everything and stained with Rust-Oleum Early American. Also, I did three coats of Minwax Clear Satin Polycrylic. My wife and I decided to use 8 hooks because we have two young children who could not reach the top row of hooks.

Built from Plan(s)
Estimated Cost
$120
Estimated Time Investment
Weekend Project (10-20 Hours)
Finish Used
Minwax Wood Conditioner, Rust-Oleum Early American, Minwax Clear Satin Polycrylic. I recommend doing small sections when doing the wood conditioner. I tried doing too much at one time and had to rush to make sure I got the stain on before the conditioner dried. Also, I used 3 coats of the poly.
Recommended Skill Level
Beginner

Comments

Christmas Doll Cribs

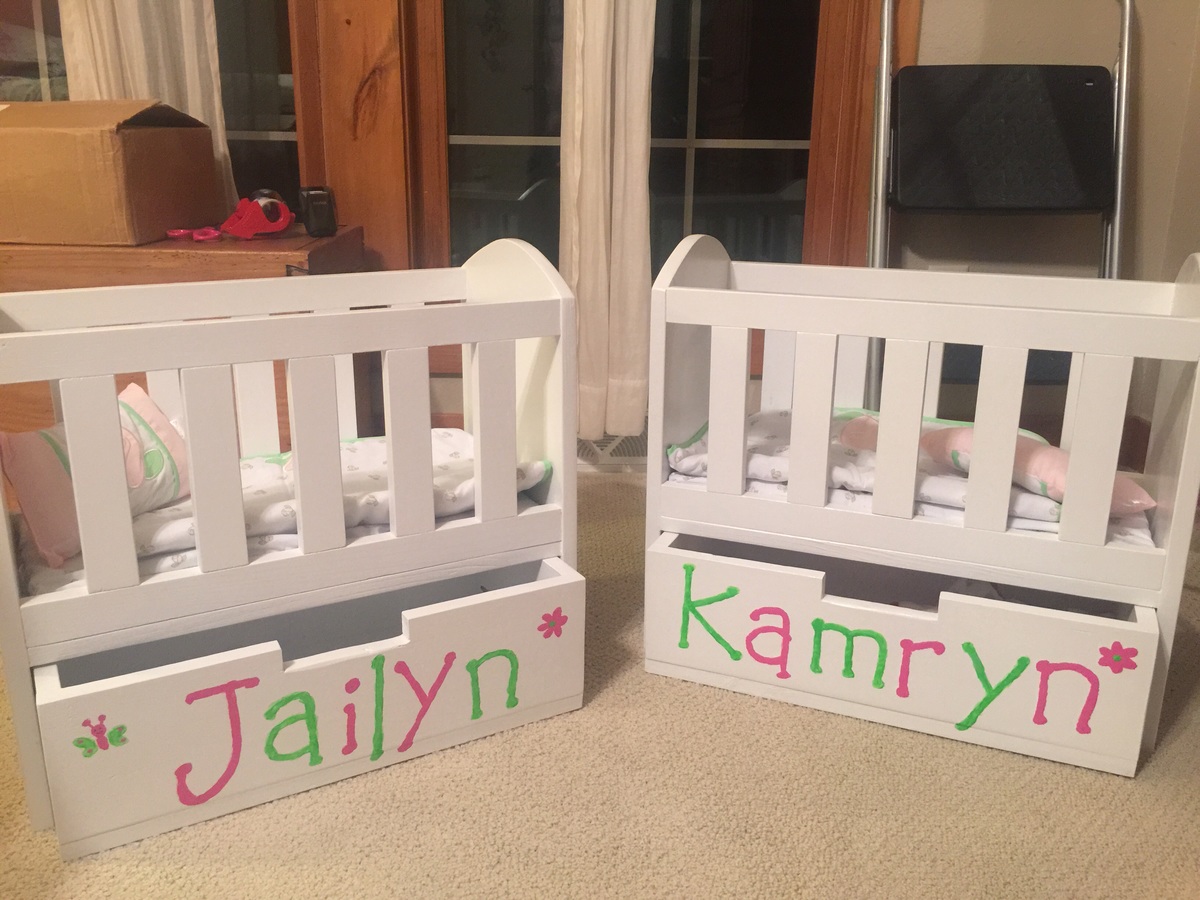
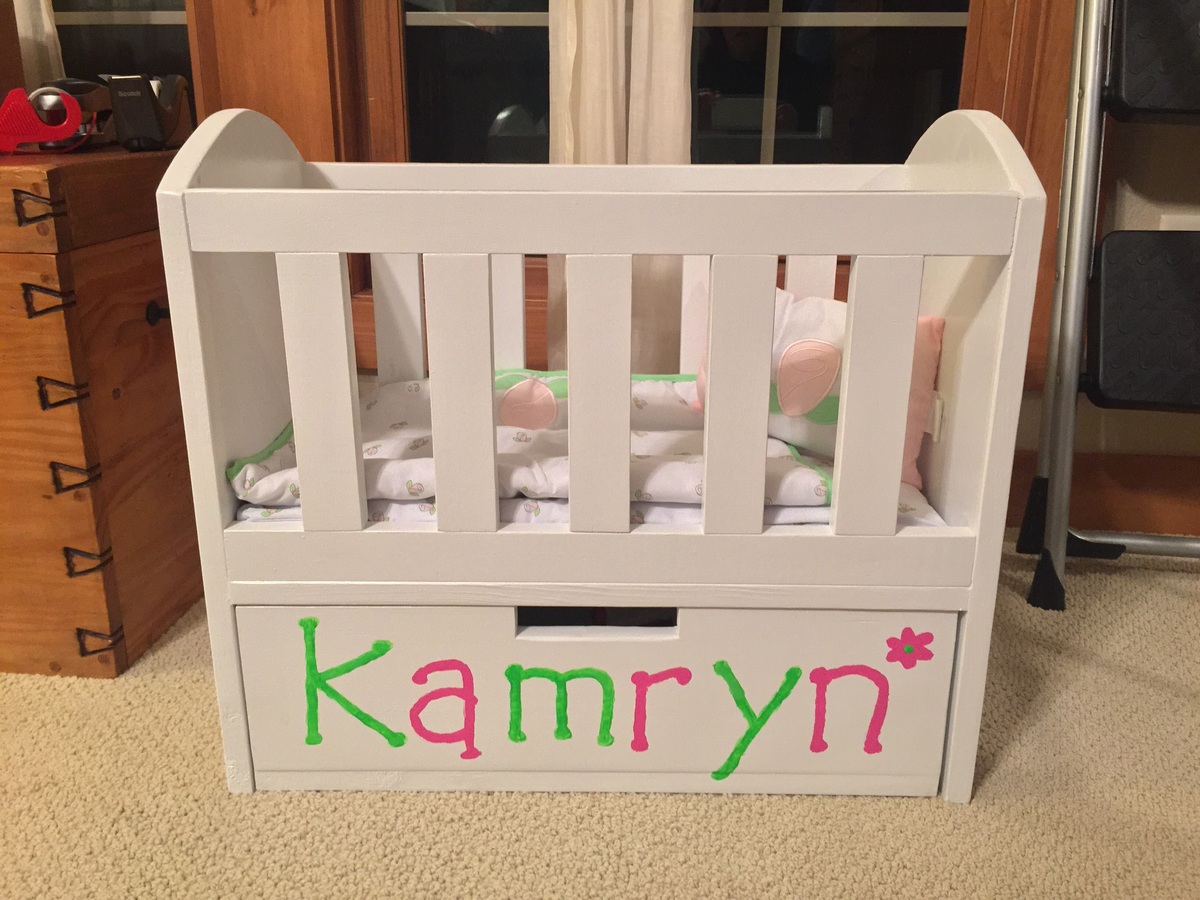
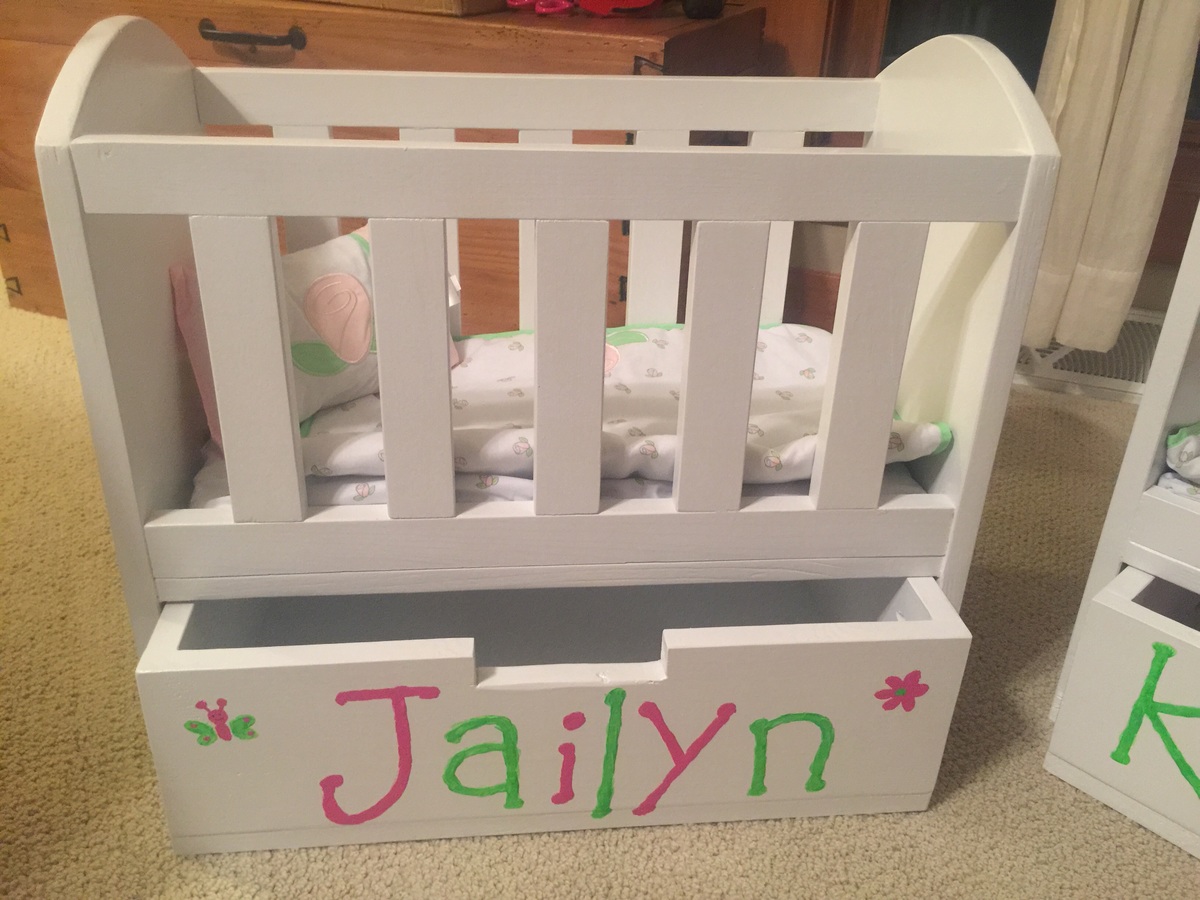
My husband made these for our 5 year old daughter and our 1 year old granddaughter. They turned out adorable! Our first project with a kreg jig, best tool ever! It took a few weekends, but we are also building a house. The longest time was spend waiting for paint to dry!

Built from Plan(s)
Estimated Cost
100 dollars for both including the kreg jig, glue, paint and of course the wood.
Estimated Time Investment
Day Project (6-9 Hours)
Finish Used
White semi gloss. Acrylic paint for the names.
Recommended Skill Level
Beginner

Comments

Fancy X Farmhouse Table & Bench

Submitted by Anonymous (not verified) on Sun, 03/21/2021 - 16:22

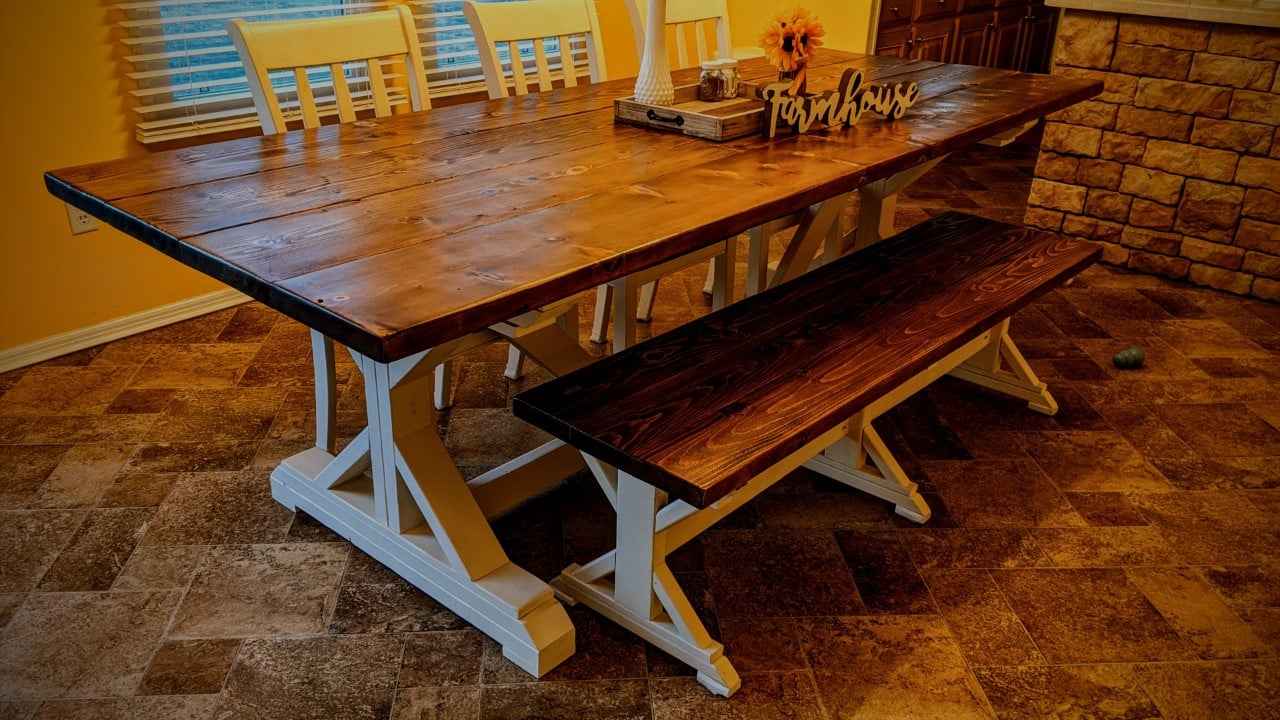
Thank you for the easy to follow plans! This table is a wonderful addition to our home!

Comments

Play Kitchen

Submitted by sraper2 on Wed, 03/13/2013 - 18:22

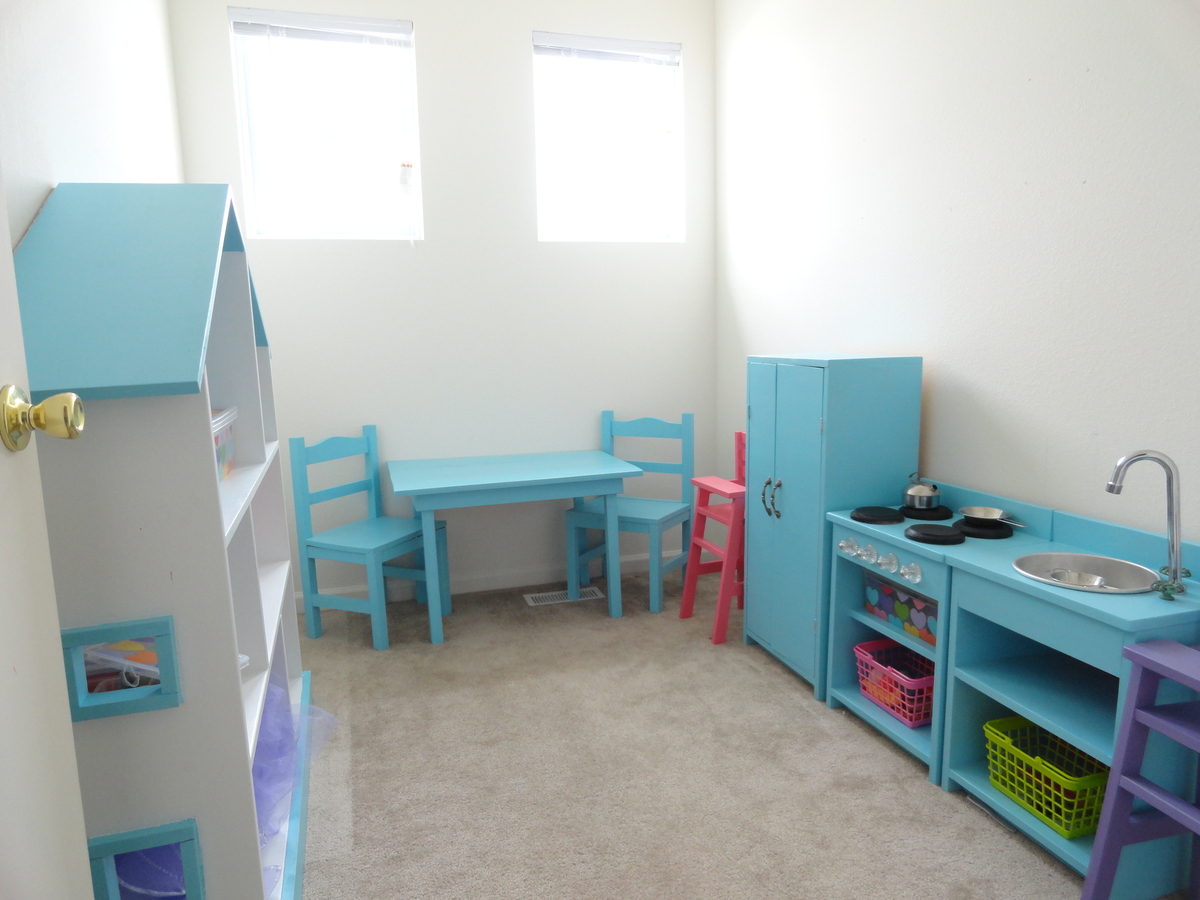
I built the kitchen as a Christmas present. I still need to put the oven door on but still love how it all came out. I just started a blog and as I was posting my latest blog post I realized how obsessed I am with all of your plans!! Thanks so much :) I'm not sure how long it took to build because I only get to work in the garage an hour or two a few nights a week.

Estimated Time Investment
Day Project (6-9 Hours)
Recommended Skill Level
Beginner