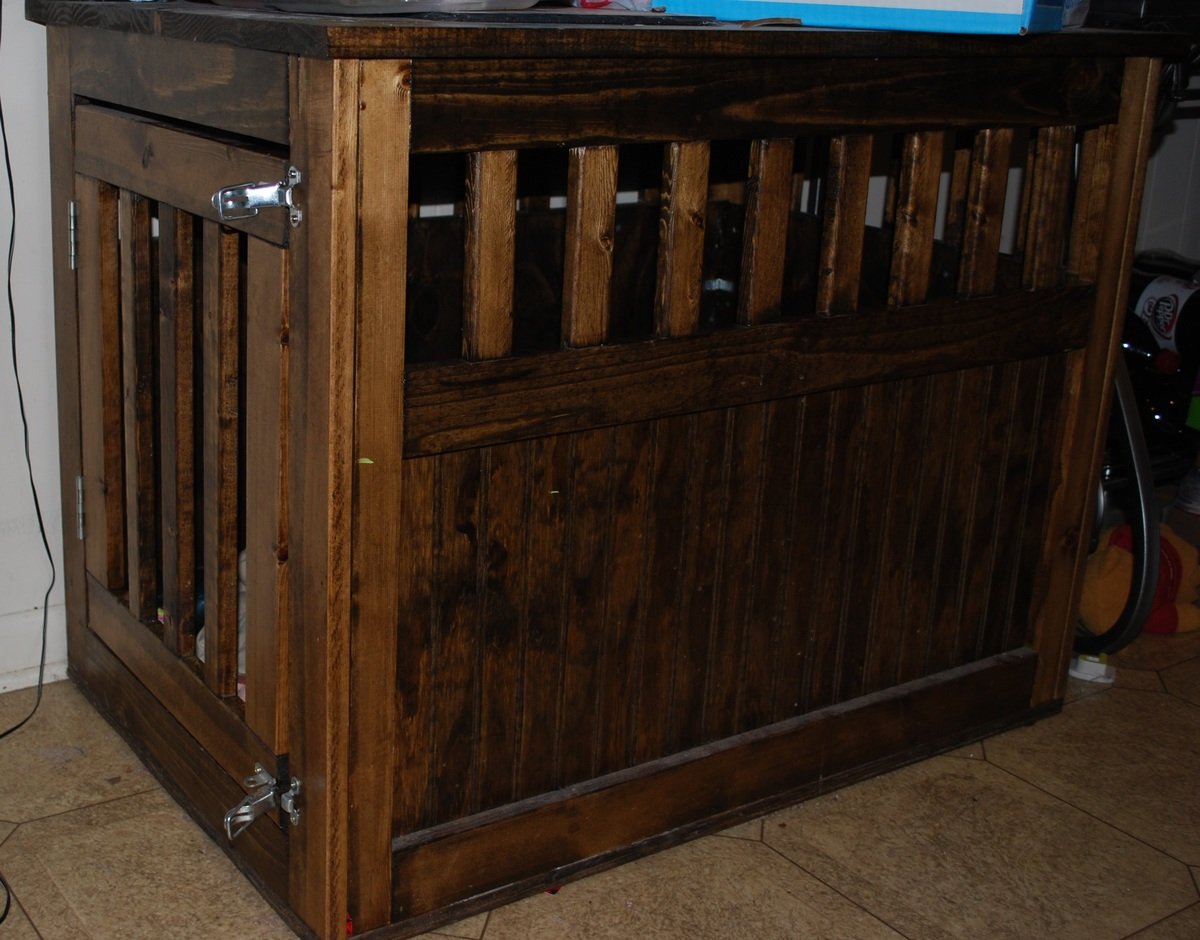
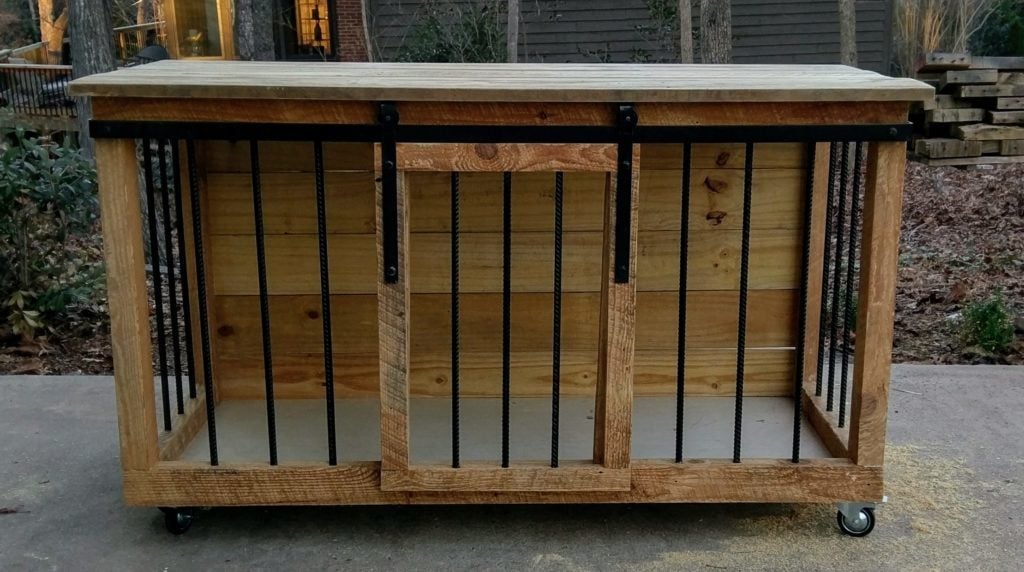
Here is a custom rustic barn wood dog crate we built for our friends – with the majority of the barn wood reclaimed from their own barn. The piece is approximately 36″ high, 60″ wide, and 29″ deep; with interior dimensions of 30″ x 56″ x 26″ – plenty of room for a large dog to move around and stretch out. Of course, it is on locking casters too so it can be easily moved around.
The frame of this piece is made from the reclaimed barn wood, which was 2 x 6 stock resawn down to 2 x 3. The sliding barn door also started as 2 x 6 material which we cut down to 1 x 2 stock. The barn door was the only piece of this where we used a Kreg jig and pocket hole screws. The rest of this custom rustic barn wood dog crate used miter joints for the front corner, while the back and bottom were attached in rabbets we cut in the outer frame.
The spindles are standard 1/2″ rebar, cut to the appropriate length and painted with a hammered black spray paint. They are are recessed about 1″ into the wooden frame to ensure the dog can’t push them out or crack the wood while leaning on them.
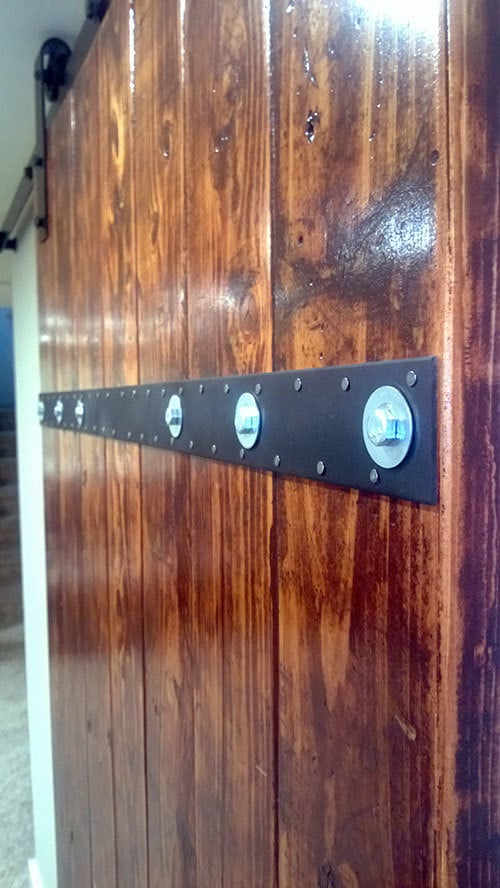
This custom rustic barn wood dog crate also includes custom, hand made barn door hardware we made ourselves. Yes, we do some metal work too! We made this barn door hardware from standard flat bar steel and pulley wheels. We even made custom clevis pins from 5/8″ steel rod to hold the wheels in place.
There are more pictures here.


Comments
YankeeBelle
Tue, 07/23/2013 - 19:01
Fun colors!!
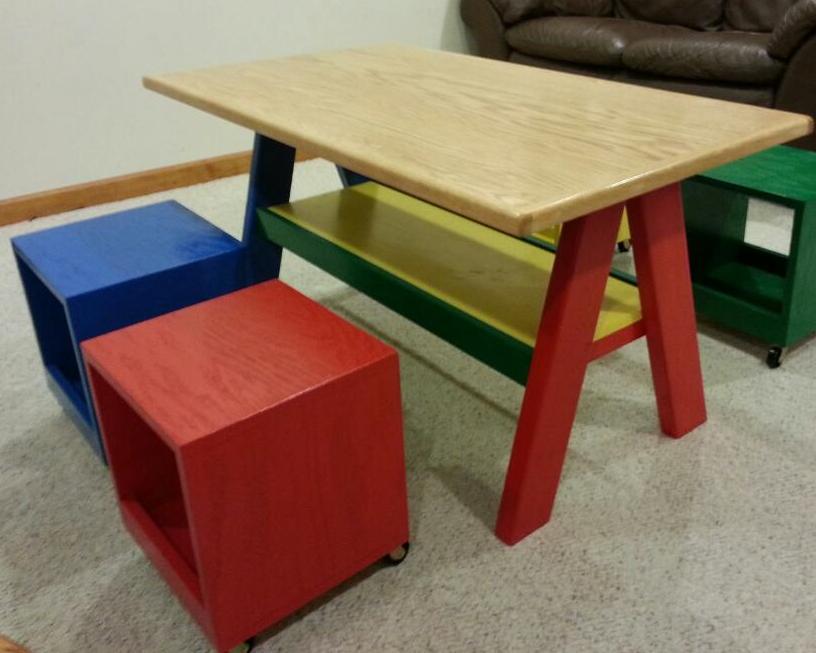
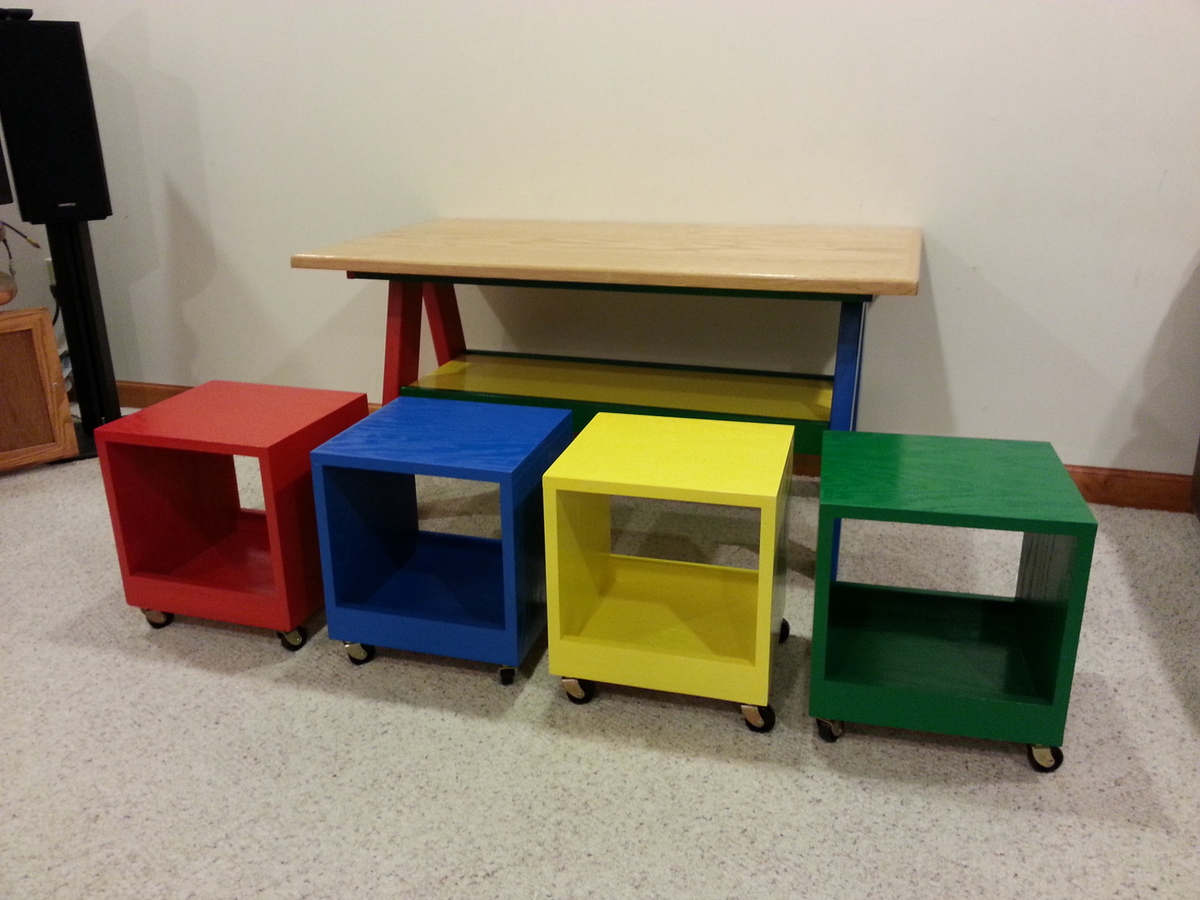
I built this as one of my first projects...it was a great confidence builder!! I love the way yours turned out and your colors are so cheerful and fun! Great job!!